On board Air setup on your Ranger

Manny

Well-Known Member
First Name
Manny
Joined
Mar 31, 2019
Threads
18
Messages
207
Reaction score
595
Location
07631
Vehicle(s)
2019 Ford Ranger XLT
Vehicle Showcase
1
Installed the ARB Air Compressor. I mounted the compressor in the area just above the spare tire, I went ahead and removed the spare tire for now (now that i have on board air and a tire seal /repair kit, although the spare tire fits perfect in its original place). I installed the air chuck in the rear bumper and the hose is long enough to reach all four tires. This install took a lot longer than I thought and the work was done by a mechanic not a DIY job for me.

912E6B74-904E-447F-995B-7961A669999D.jpeg


0B32057B-4BA0-4F54-BF65-56A34A253587.jpeg


C835400D-524A-4512-B017-4813659D8240.jpeg


AB66089C-3BE2-4D15-9203-9E714F8984AC.jpeg


E84E0C98-97AF-4C08-8EAE-67882C3D4A3C.jpeg


FE12192A-25C9-40AB-AF94-34513732B385.jpeg


24C971B8-FDC3-4F43-9584-44838A3DCE1B.jpeg


6408F99C-CE10-458D-90AD-767A3CB6BE47.jpeg


B1DFE8DE-414C-4CFF-B82E-DEB90B0A4115.jpeg
Sponsored


Jrel209

Well-Known Member
Joined
Sep 30, 2020
Threads
16
Messages
497
Reaction score
815
Location
Wa
Vehicle(s)
2020 Ranger XLT crew cab
I put one of these in my Ranger last year, so far heat hasn't proven to be an issue, as I have have this same compressor mounted in the engine bay of my last jeep and tacoma. (It has actually been in 4 engine bays so far.)
My only concern with temp is it contacting the seat fabric and I plan on making a small plastic "heat shield" to protect the fabric. But I like the mount so far, I haven't had any issues with it and I like the convenience of opening the door and plugging the hose in.
I also Should note my compressor is mounted backwards to the way they expect you too as I got the wrong length Steel Line. Flipping it would move it farther away from the seat.
1130201618.jpg
1130201558 (1).jpg
How has this held up? I like the idea but concerned about heat.
 

Frenchy

Well-Known Member
First Name
Chris
Joined
Mar 15, 2020
Threads
98
Messages
6,143
Reaction score
8,291
Location
Elizabeth, Colorado
Vehicle(s)
2019 Ford Ranger, 2019 cargo van, soon to be 1993
Occupation
Crown Forklift Technician
How has this held up? I like the idea but concerned about heat.
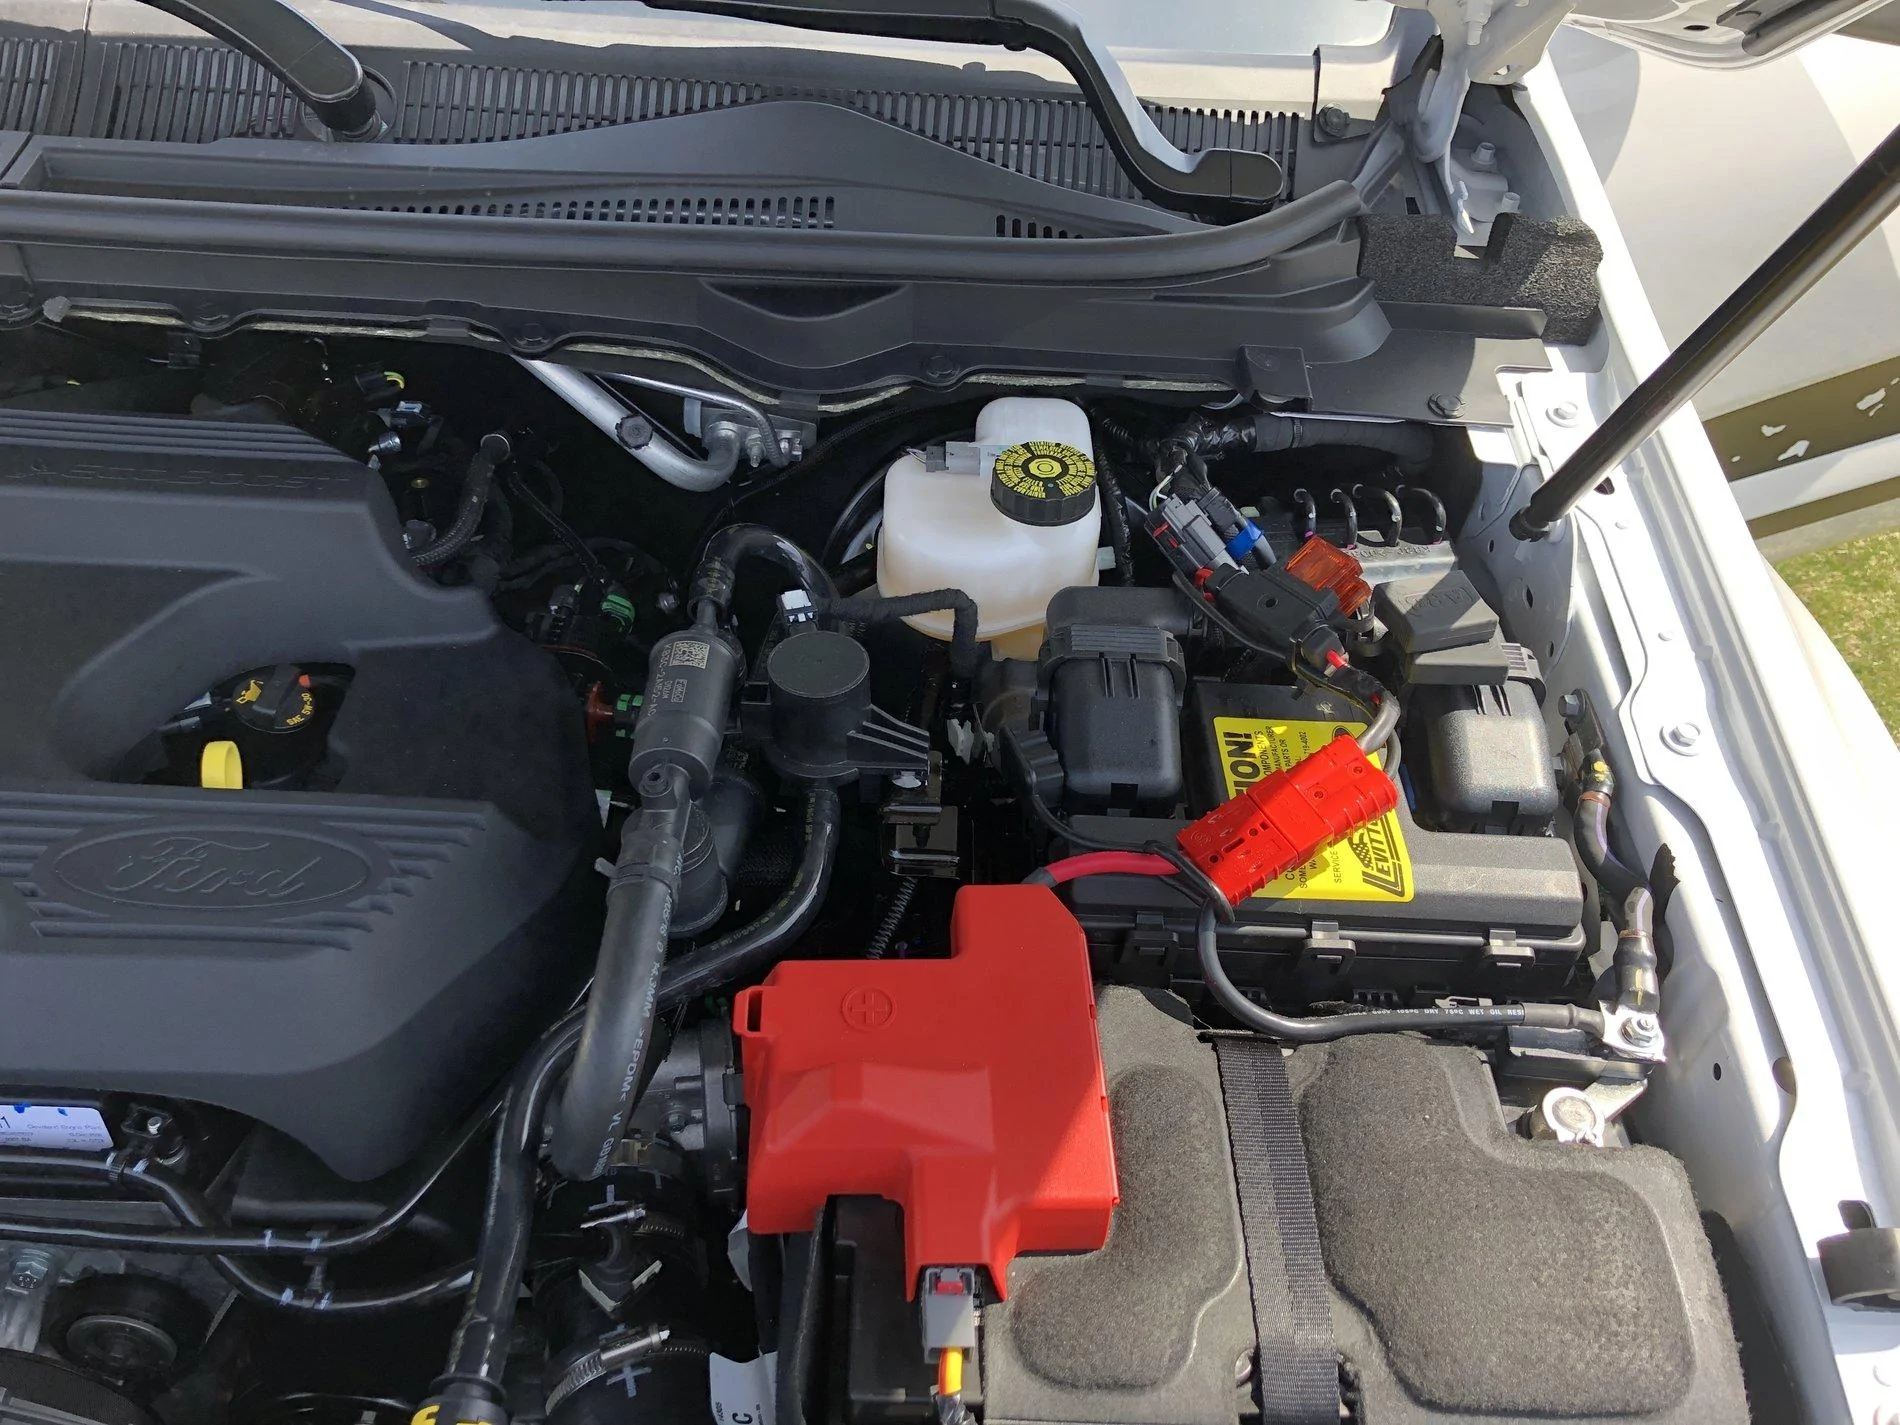
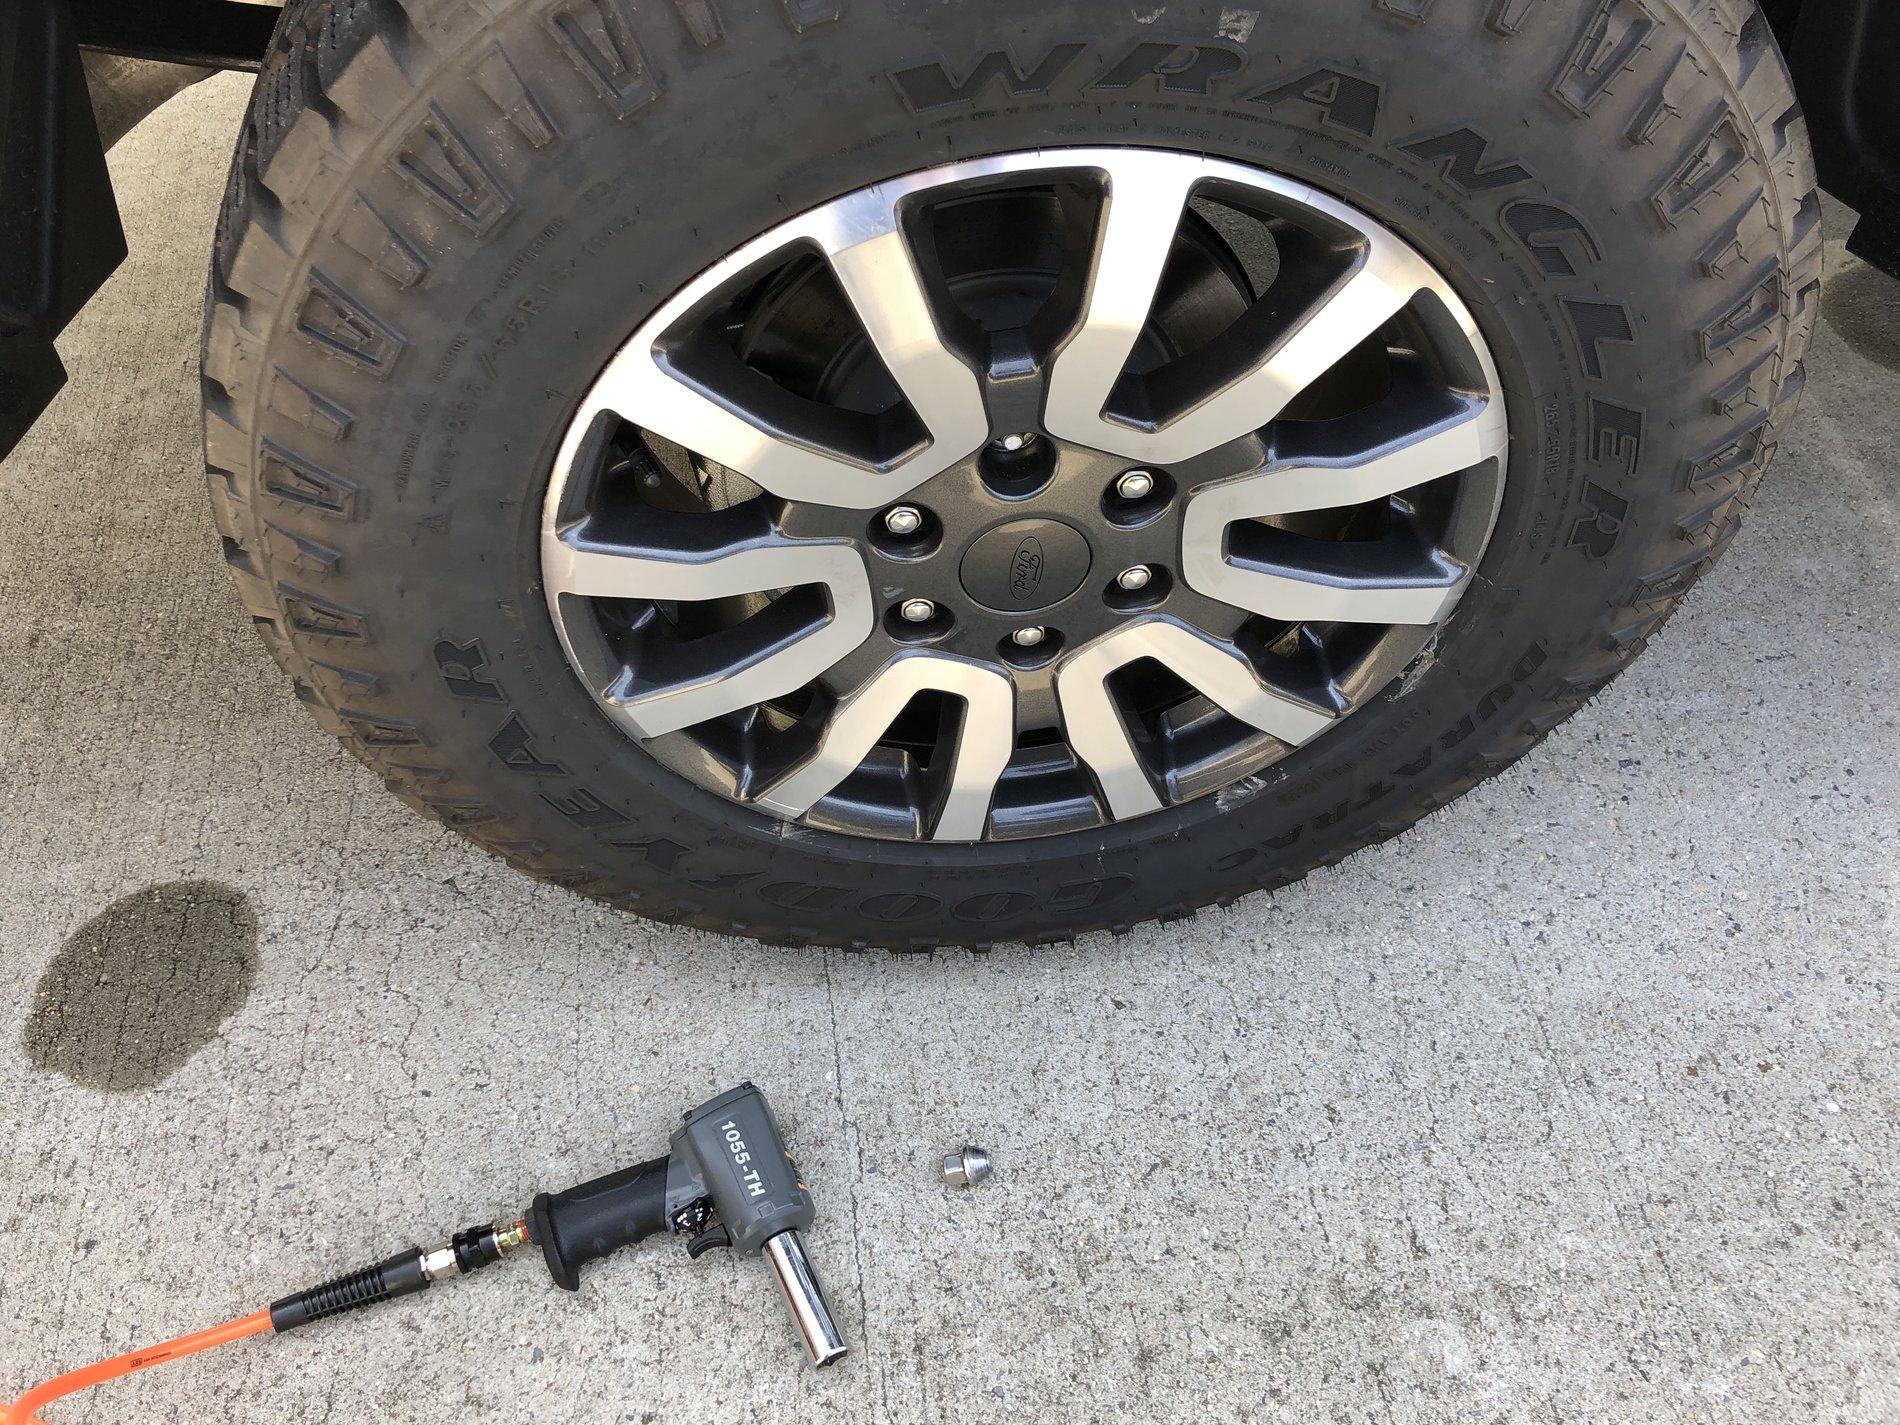
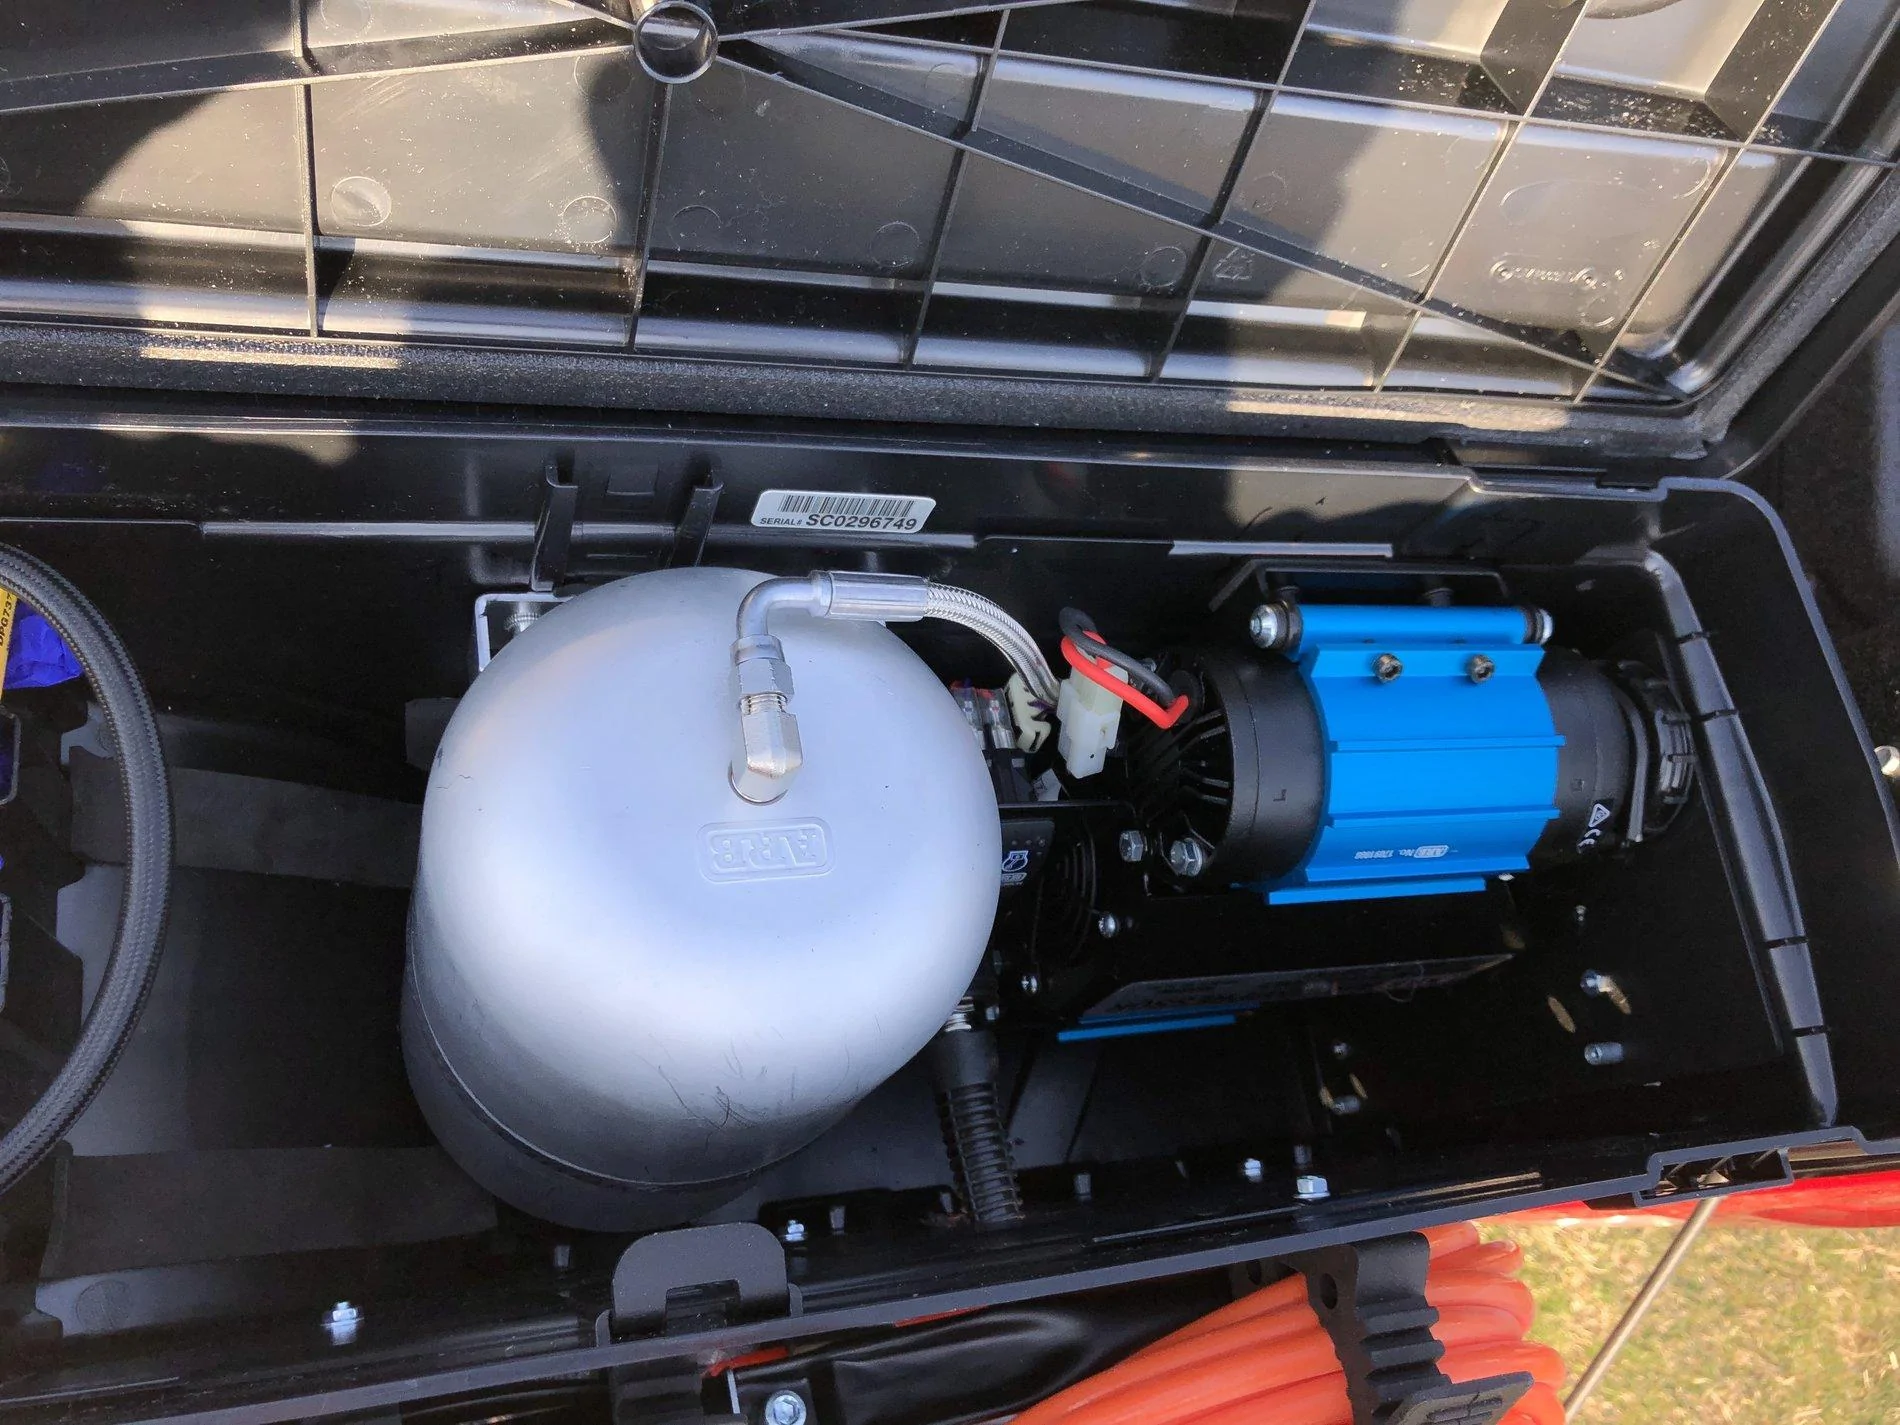
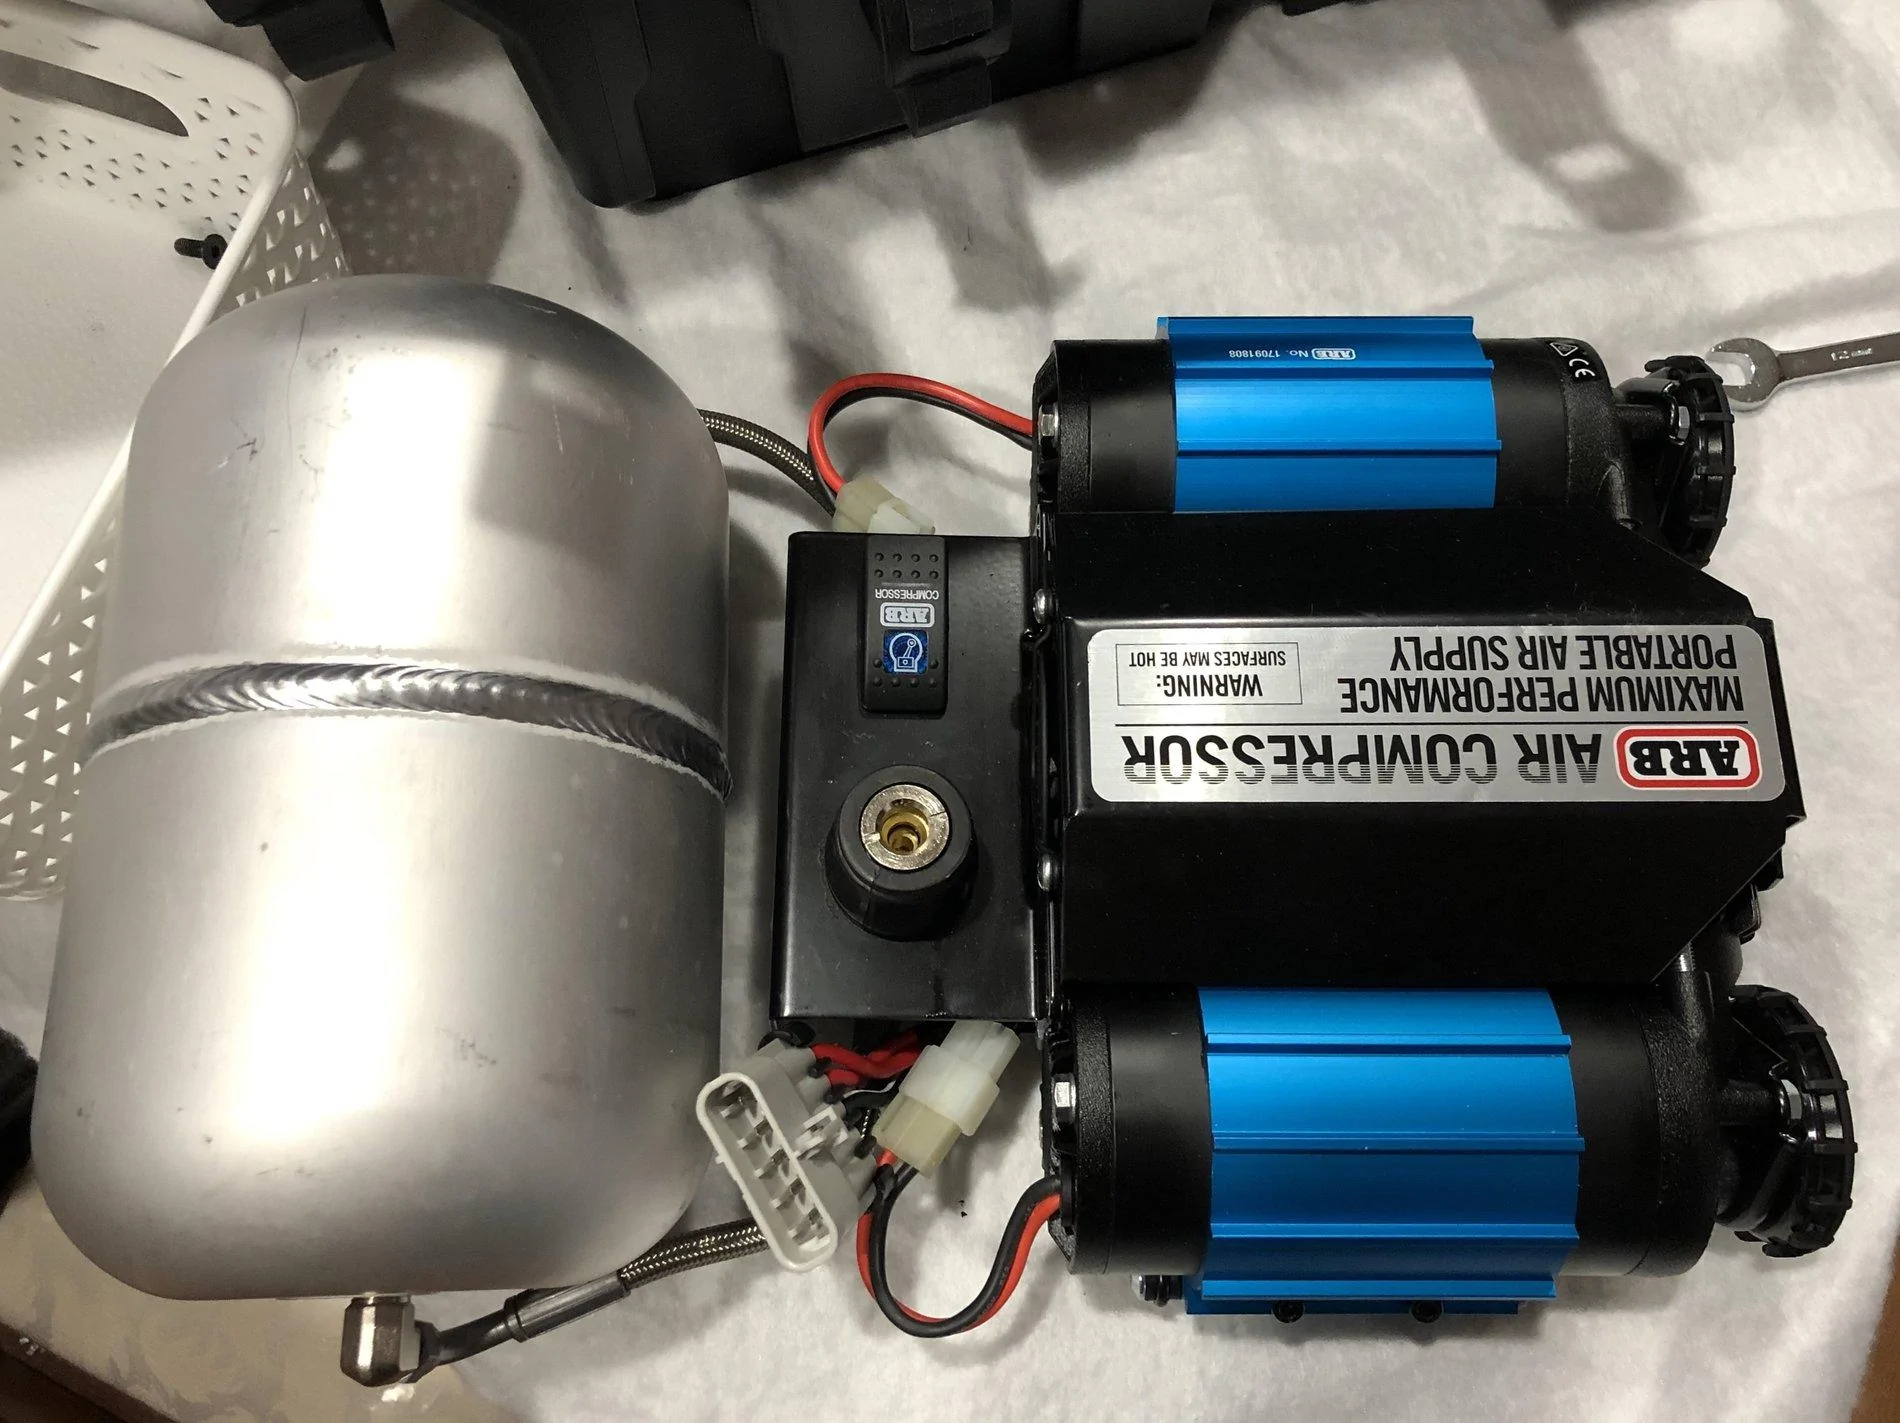
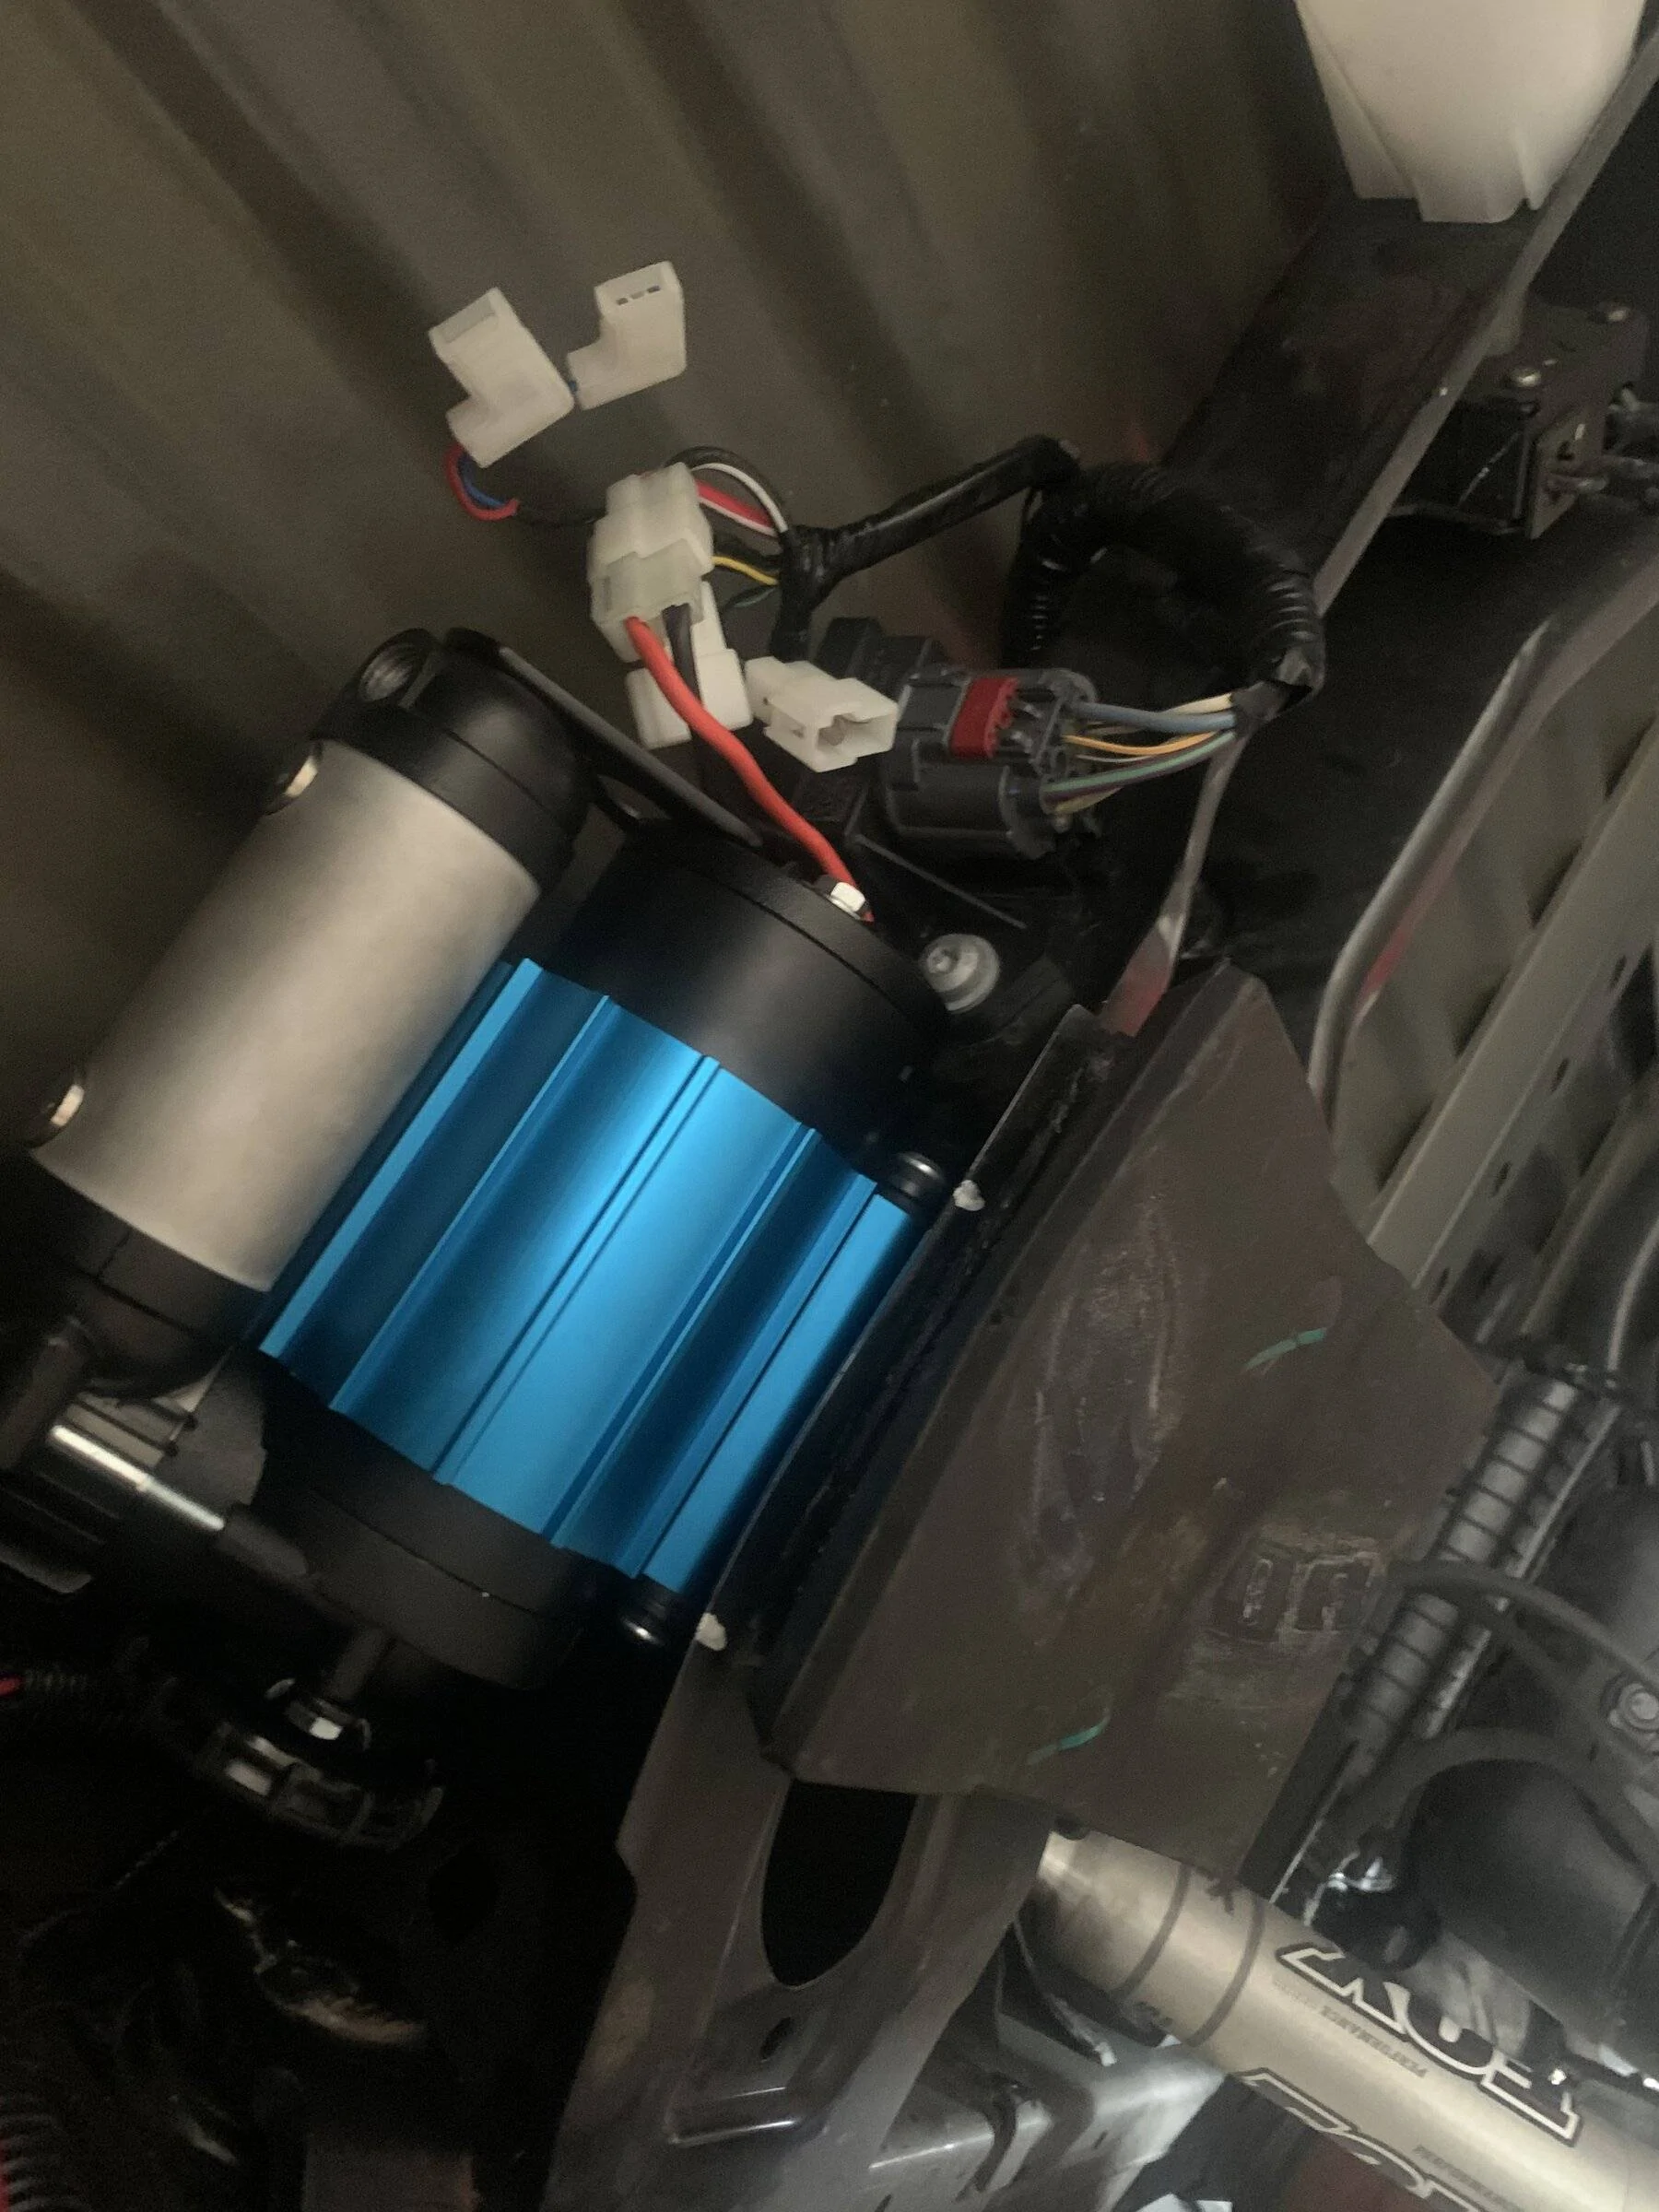
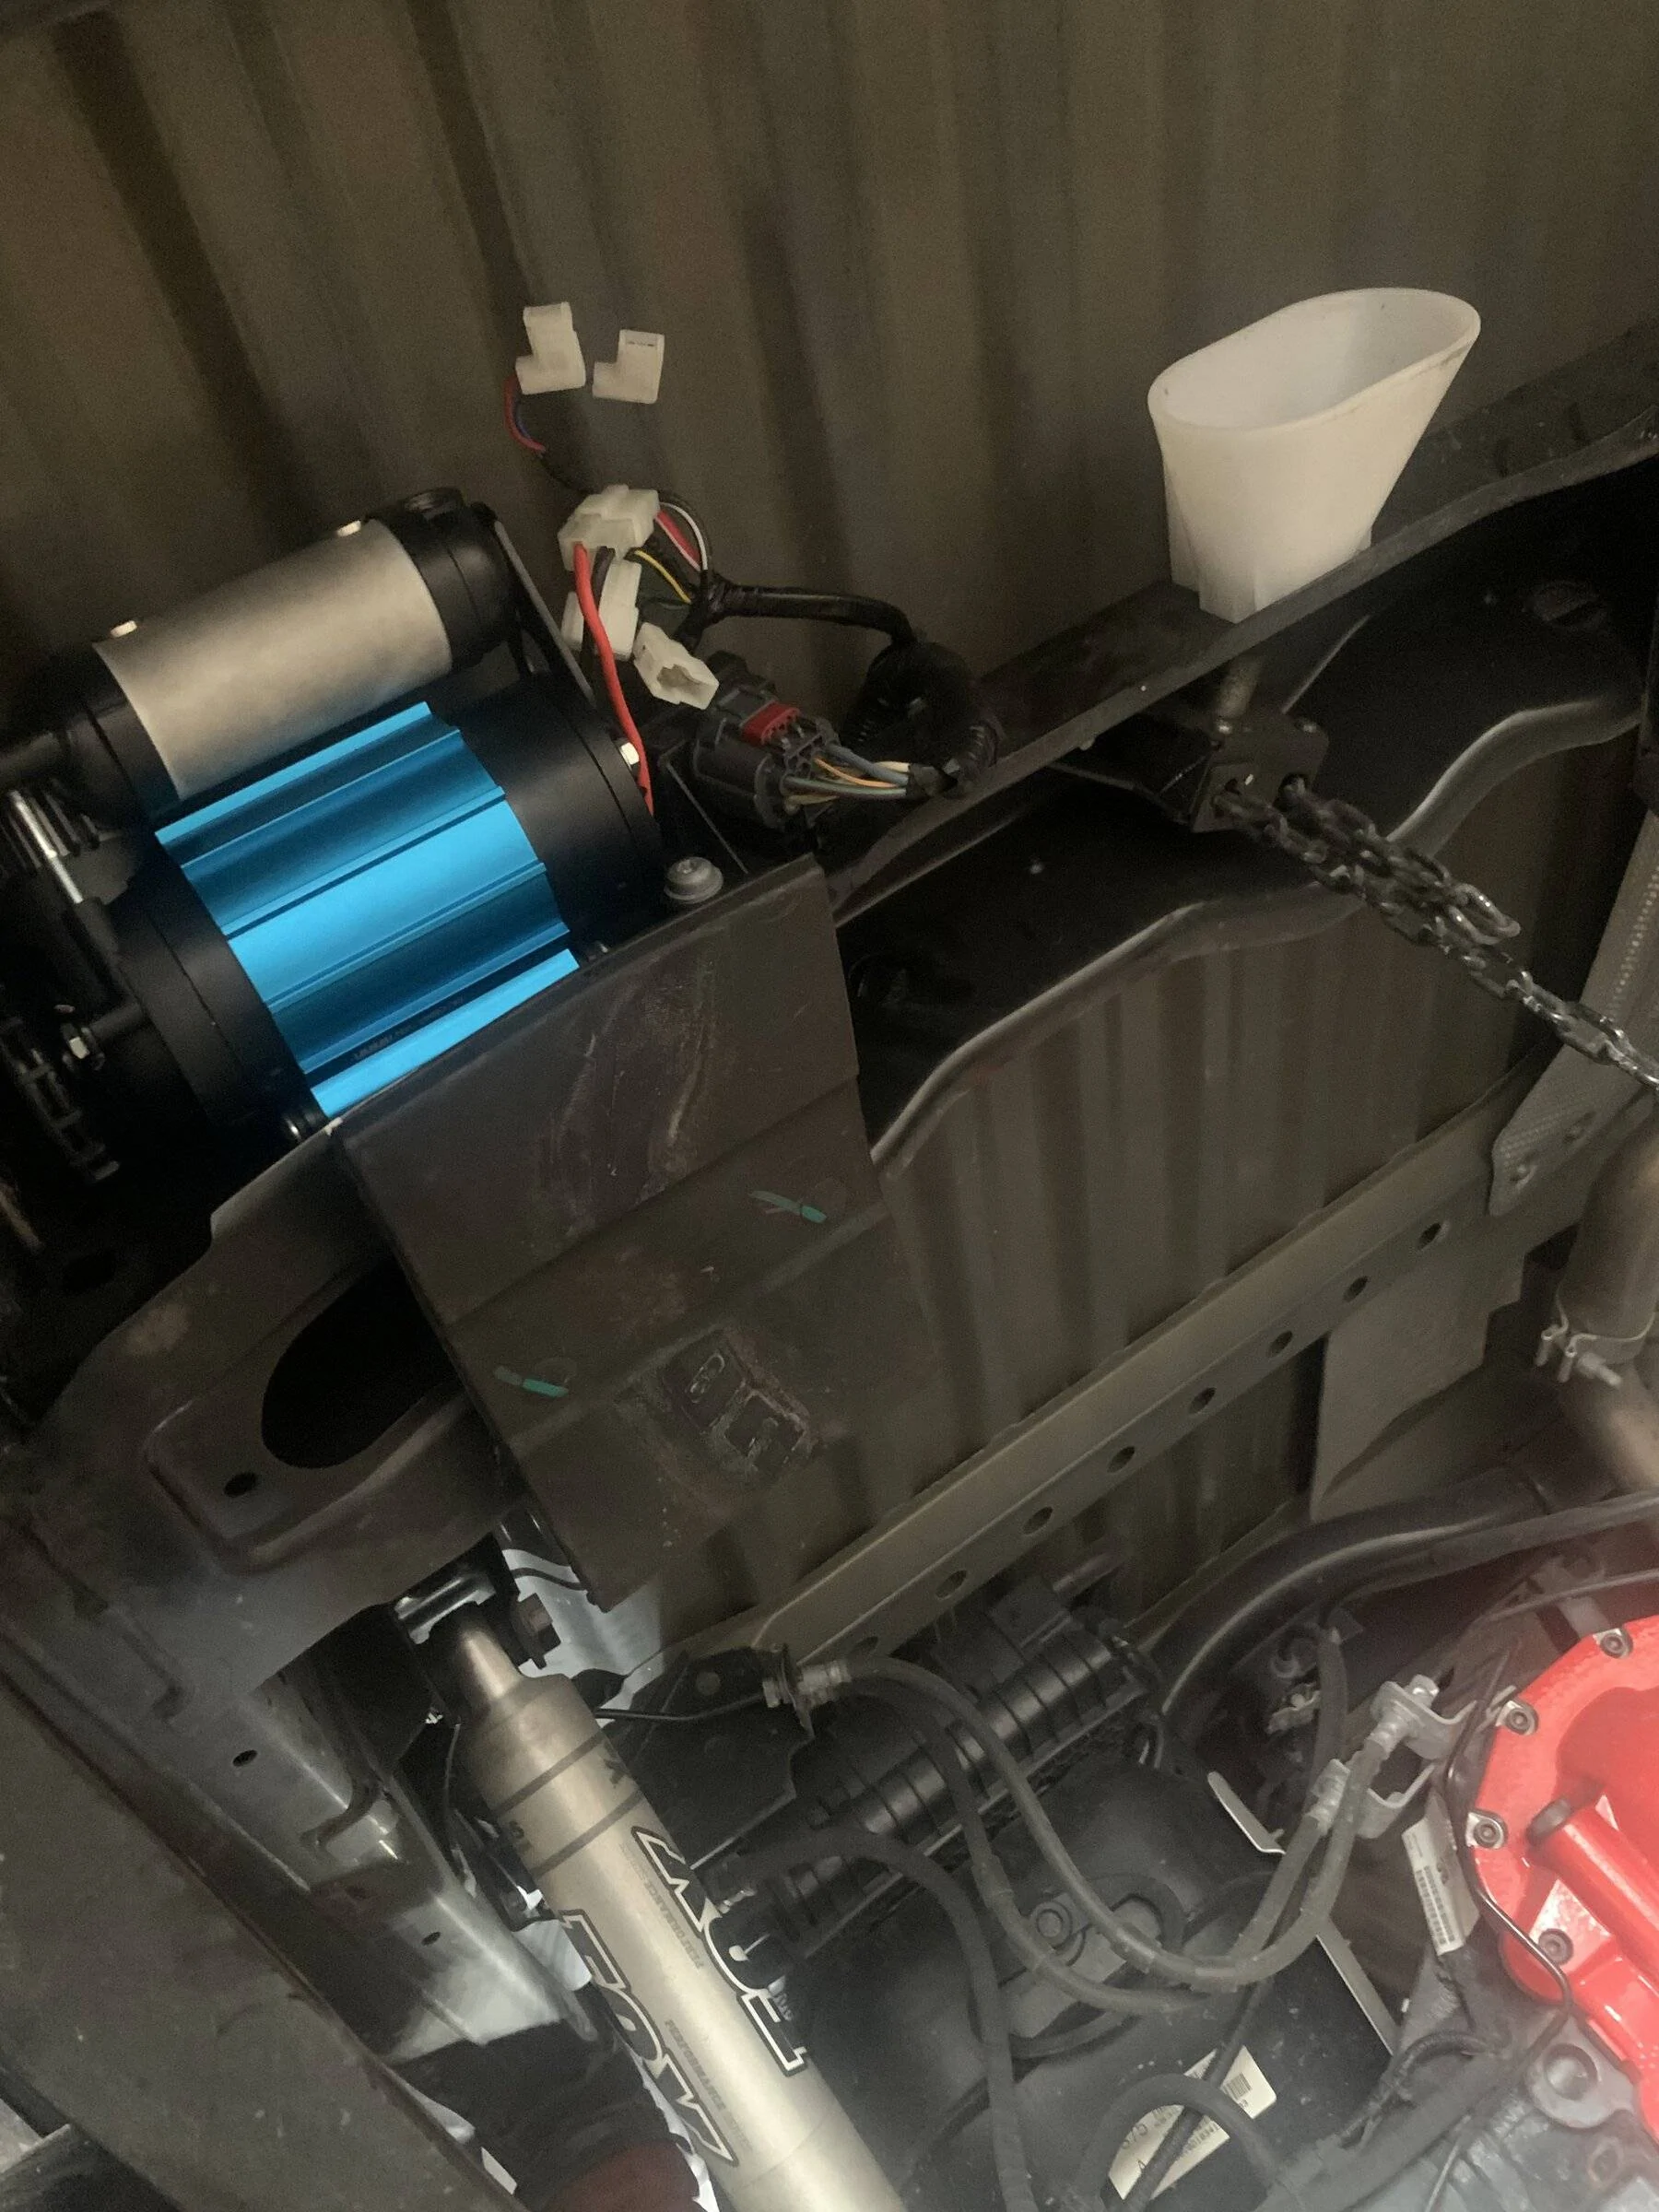
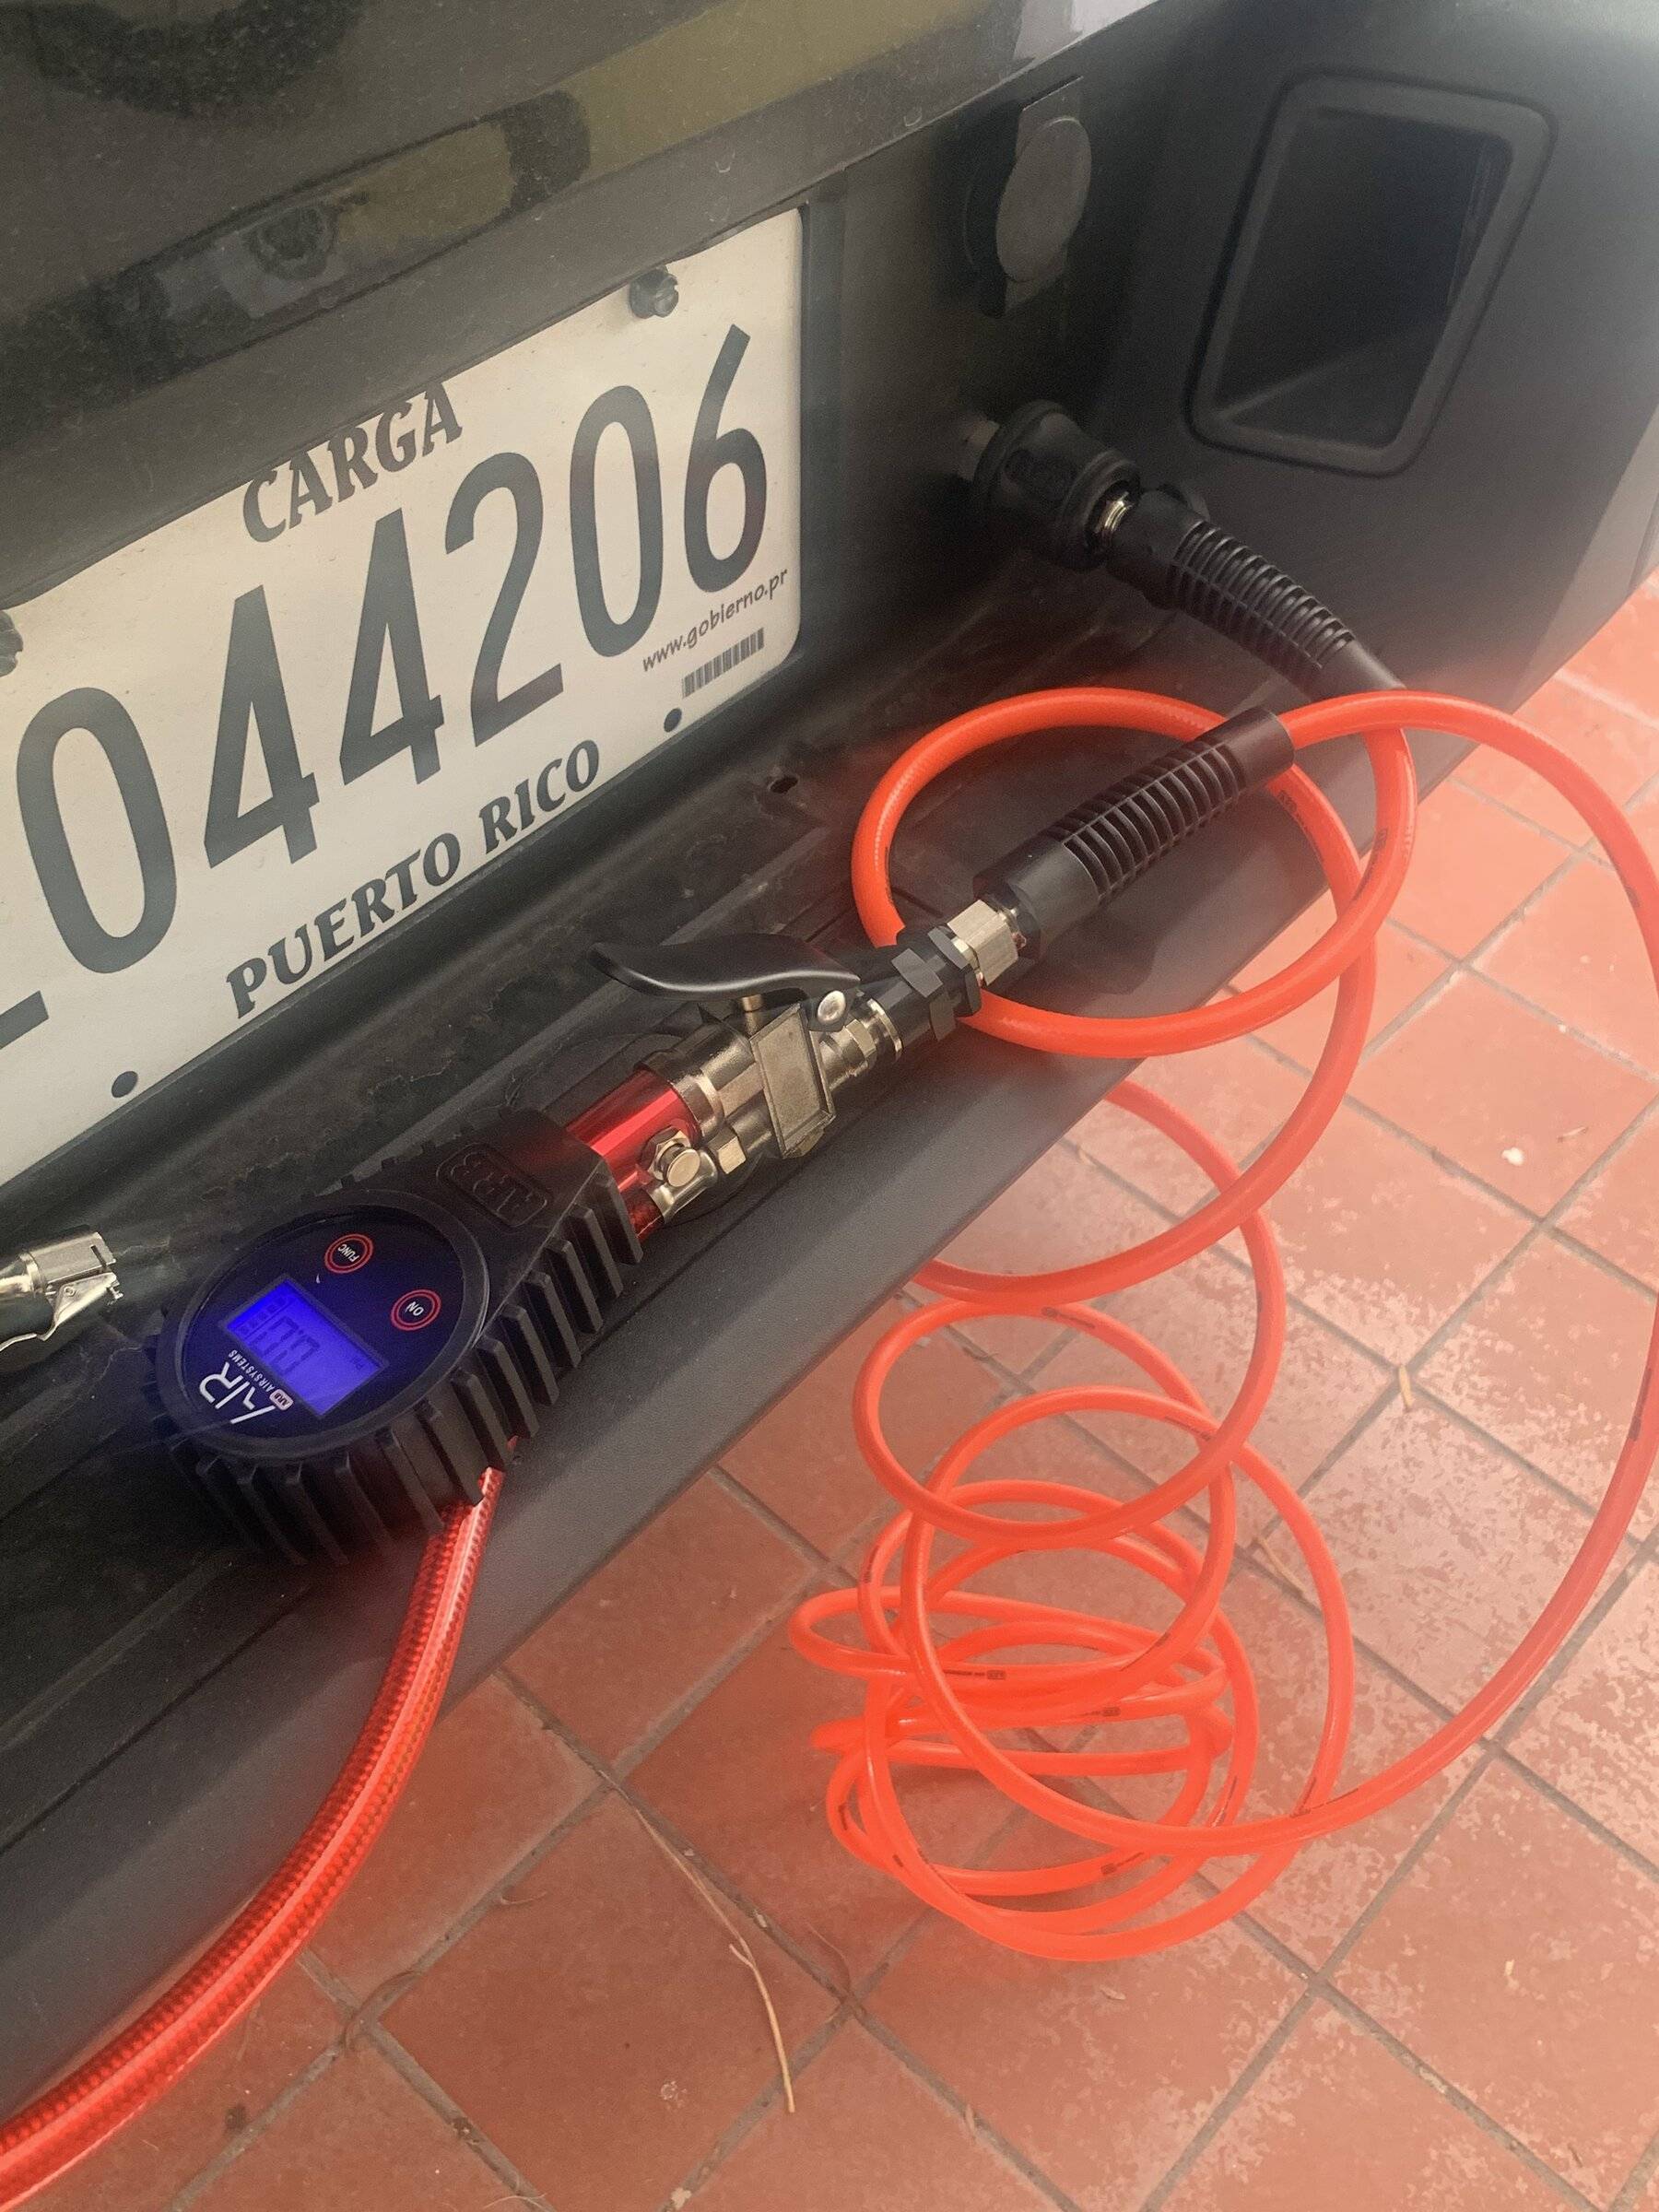
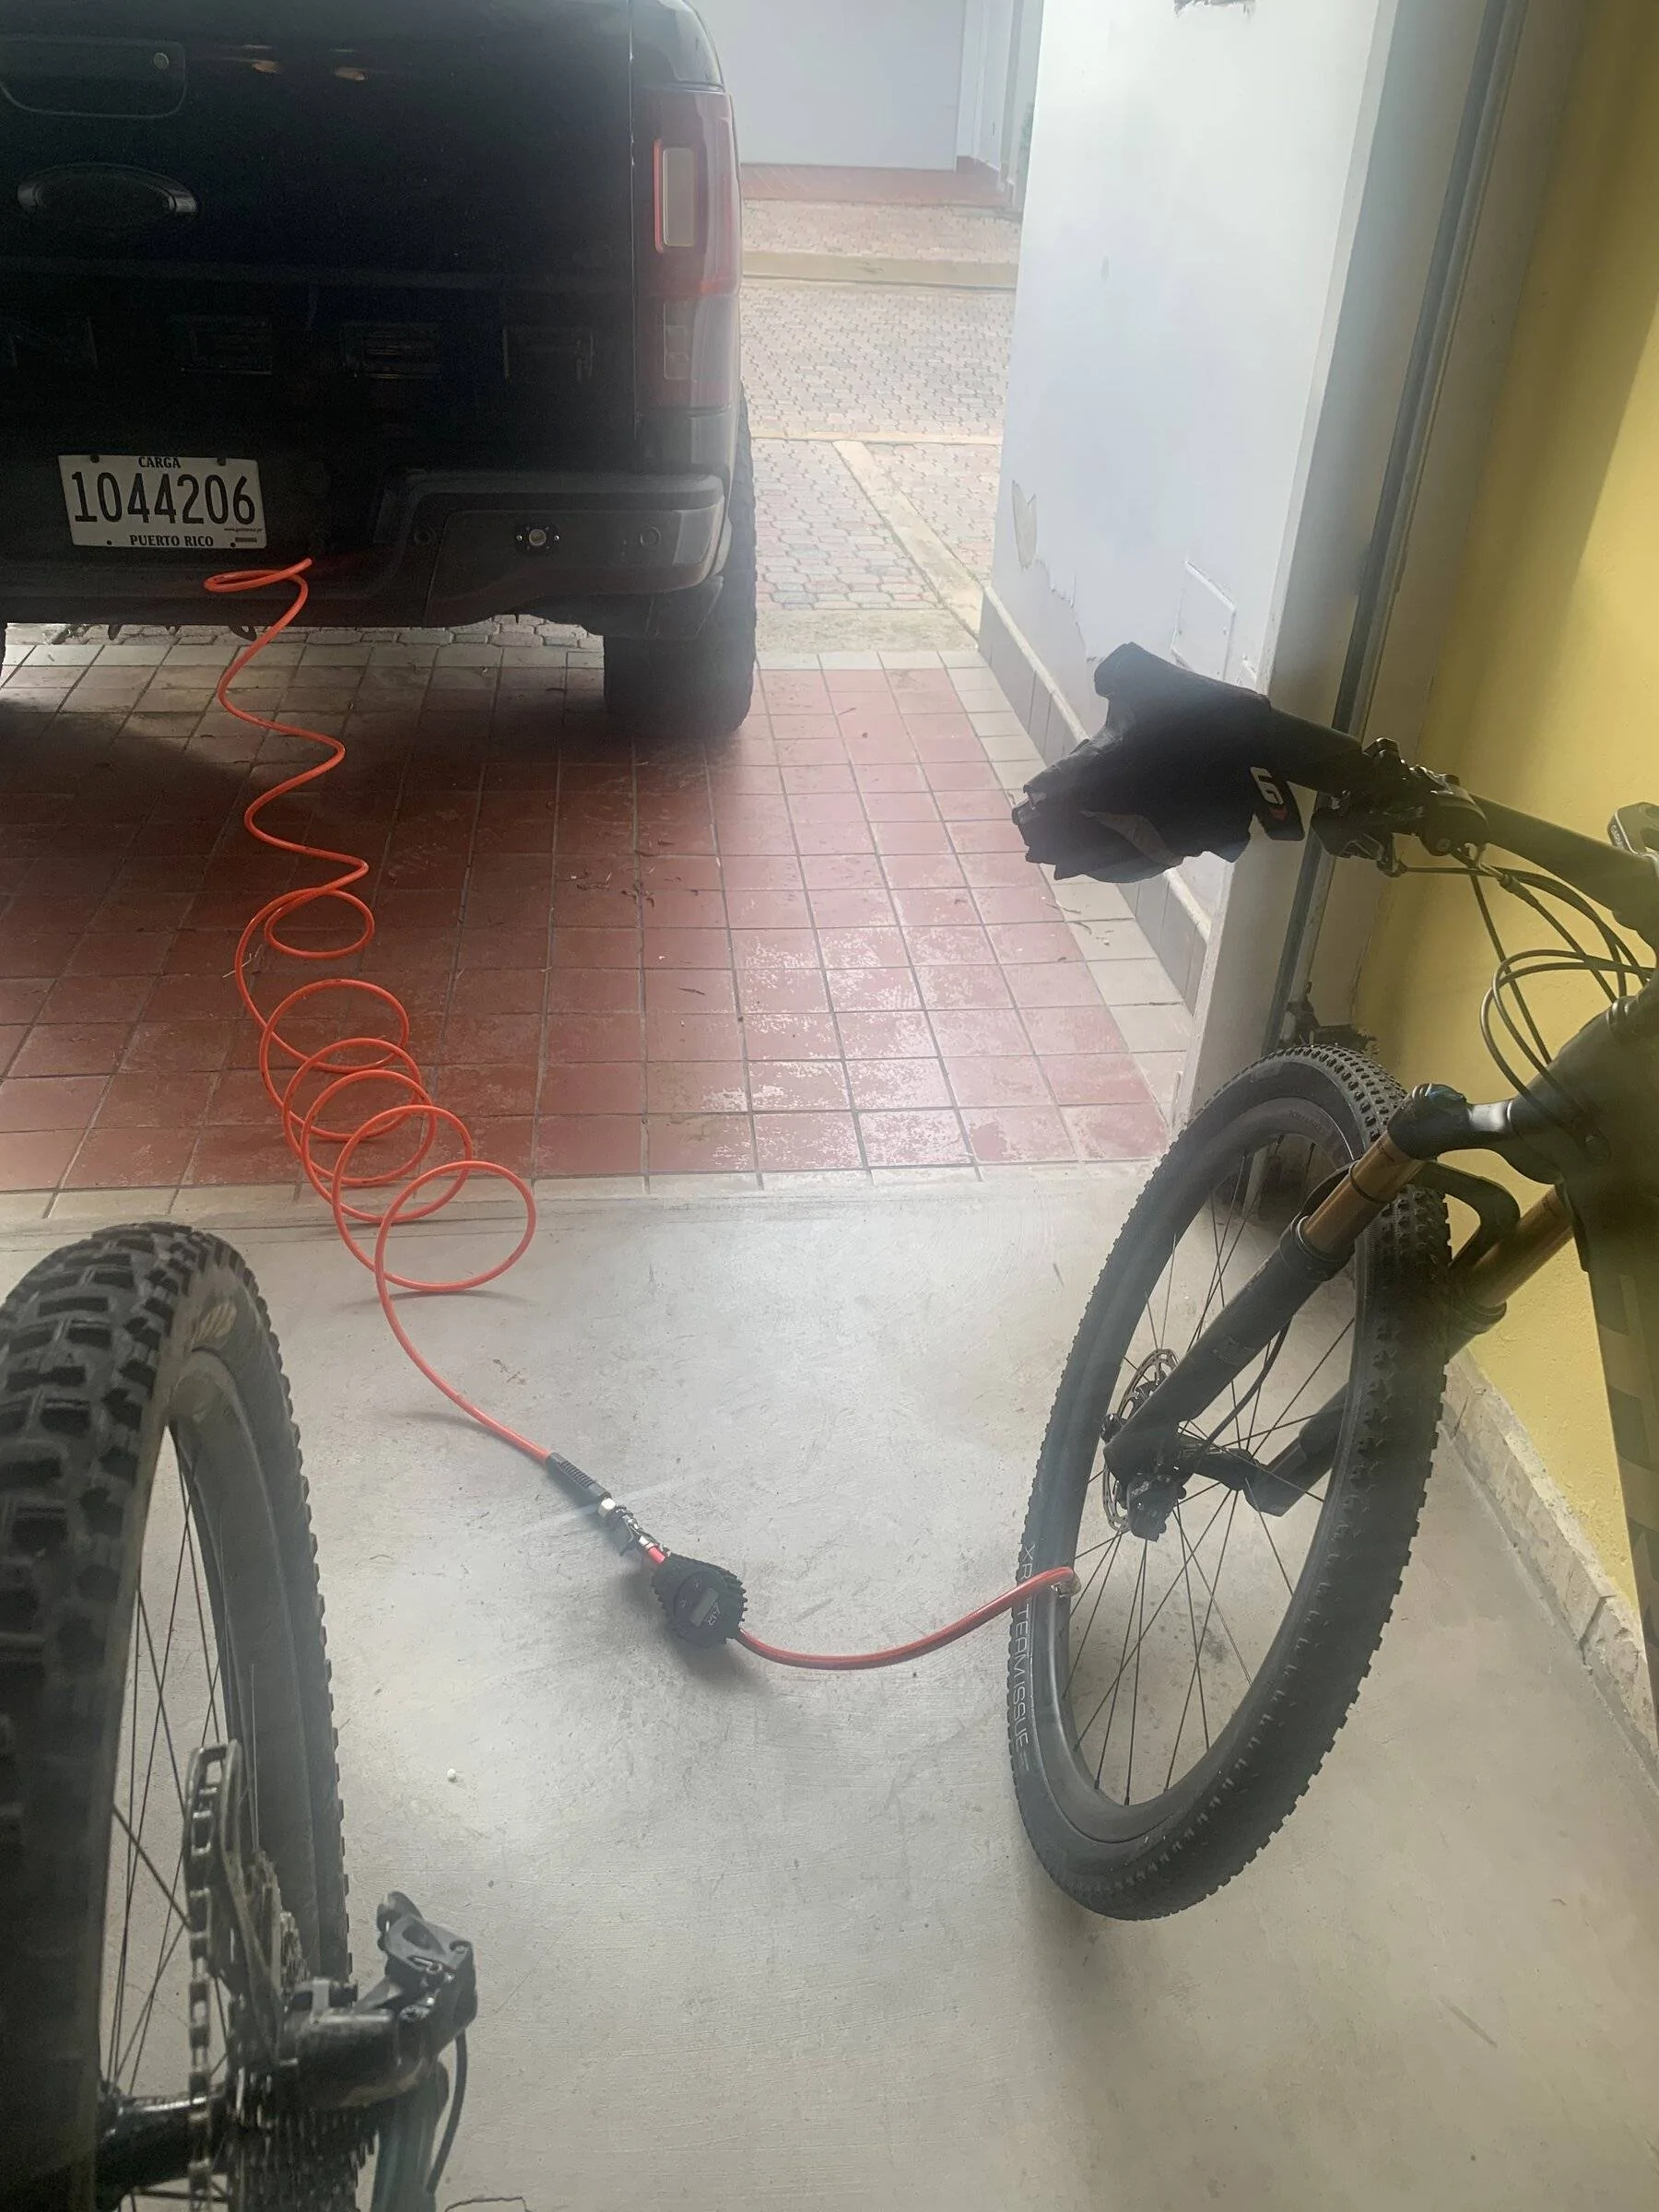
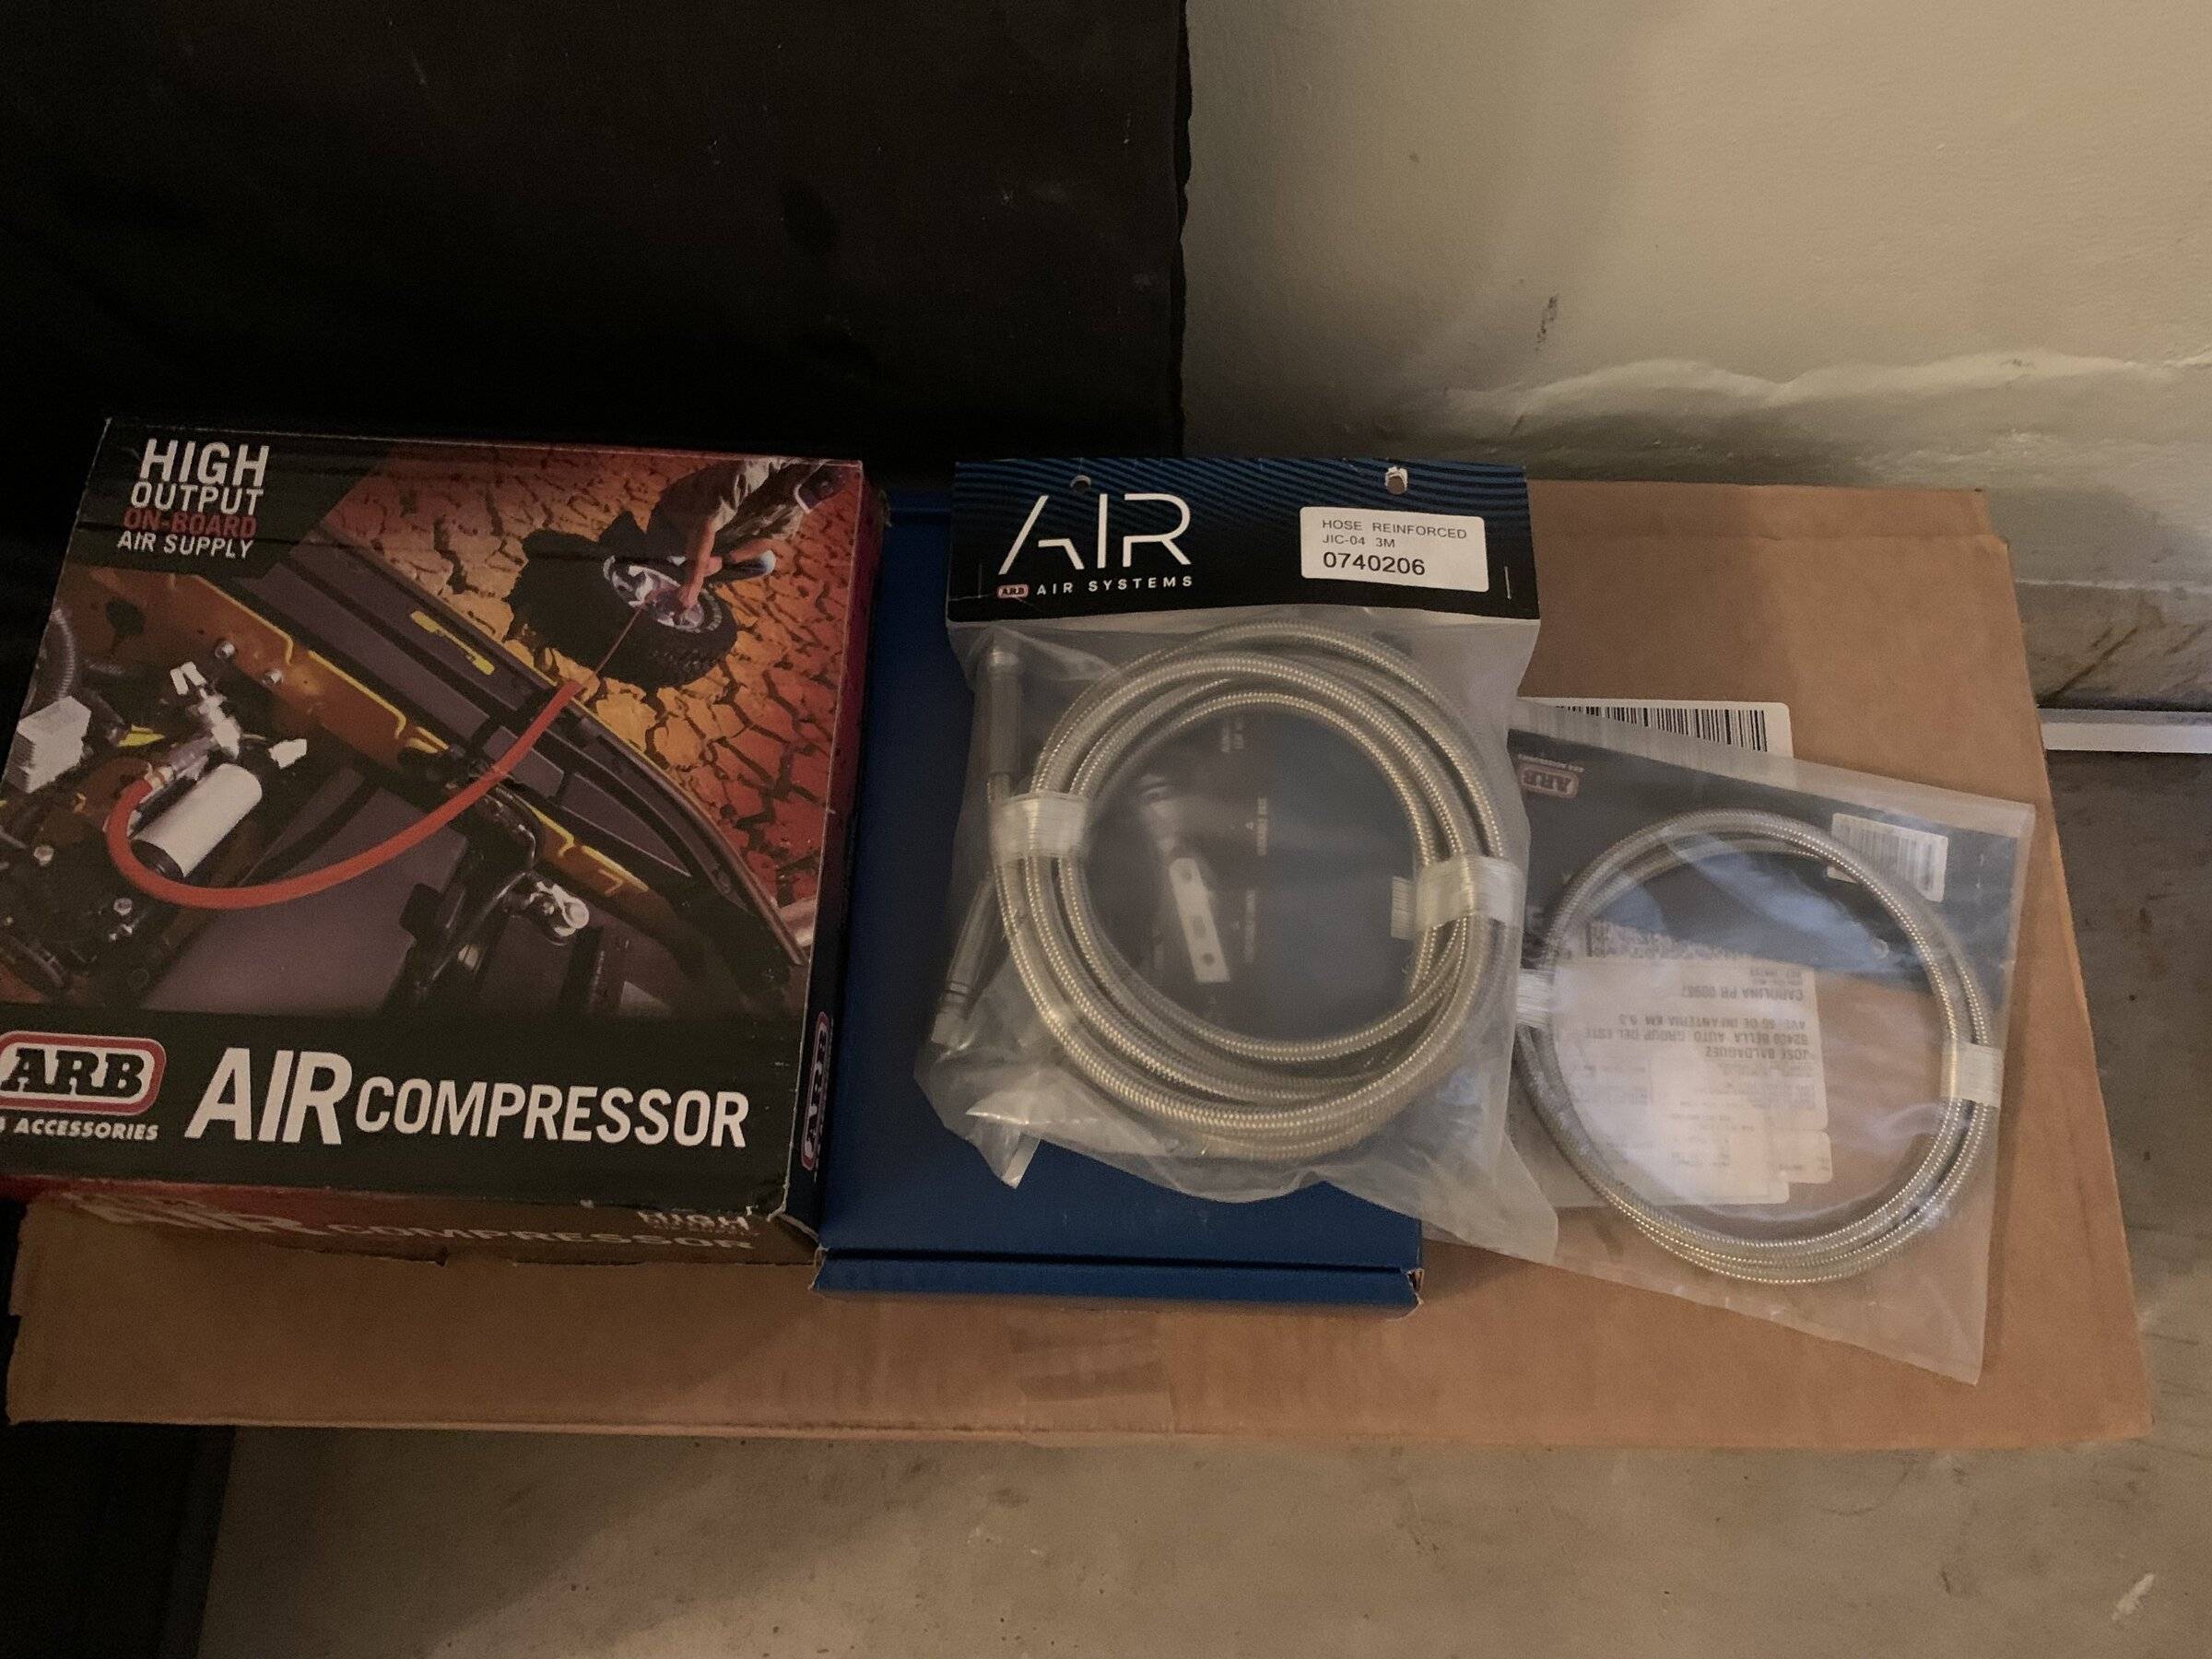
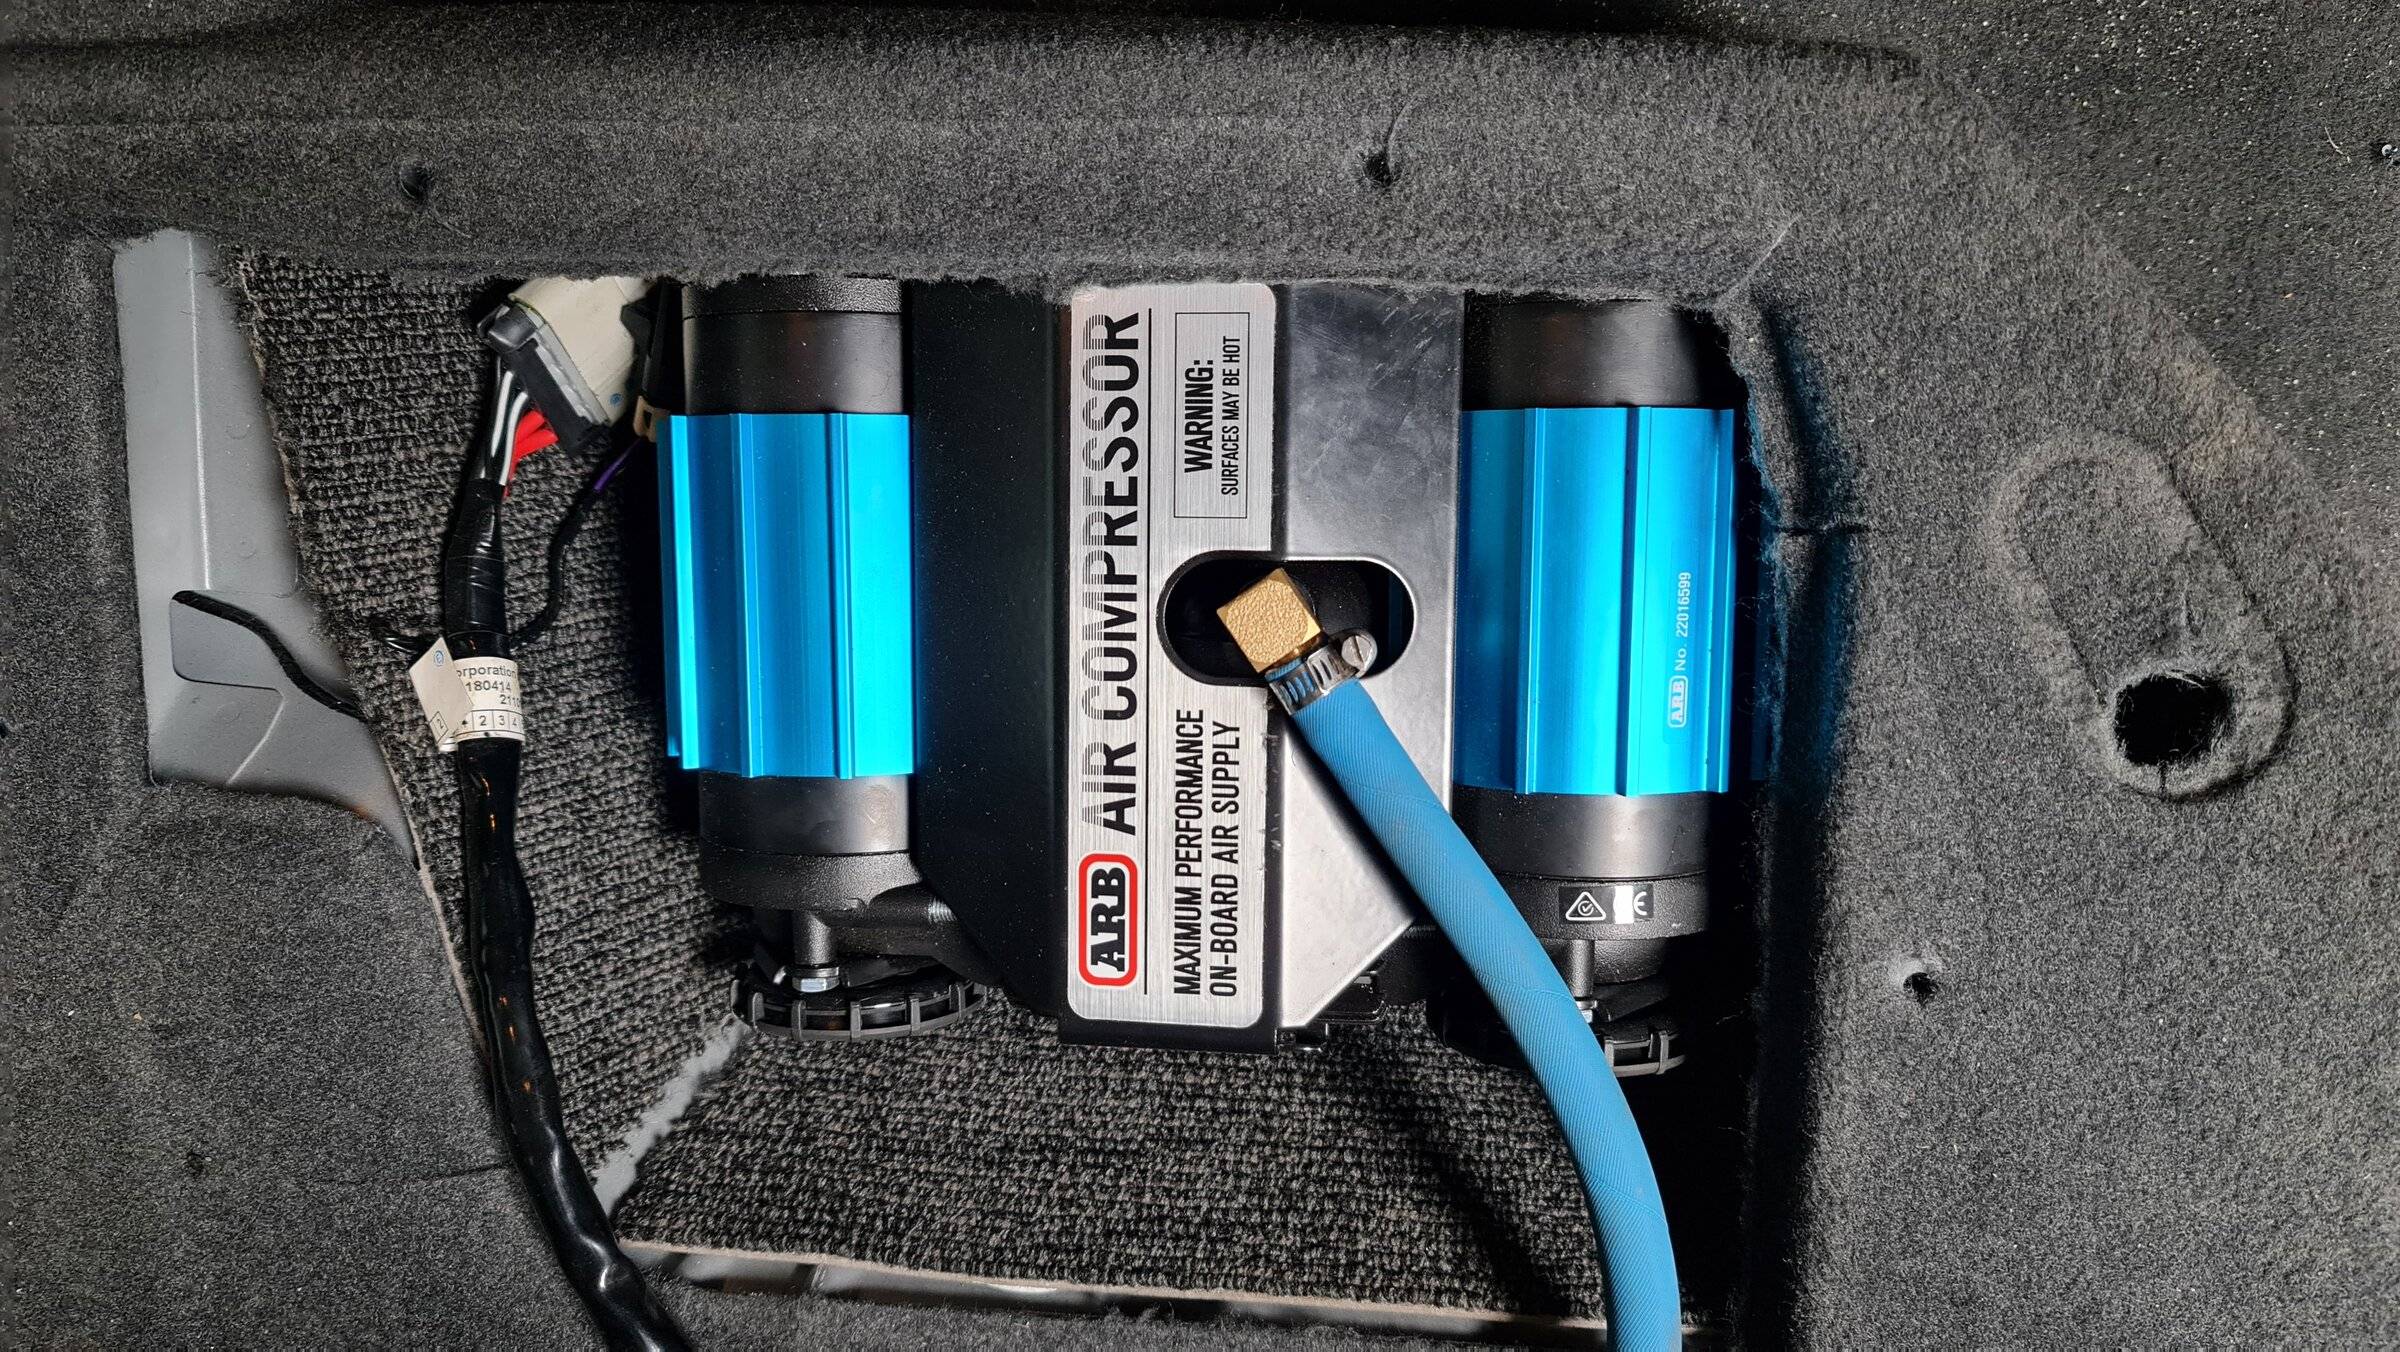
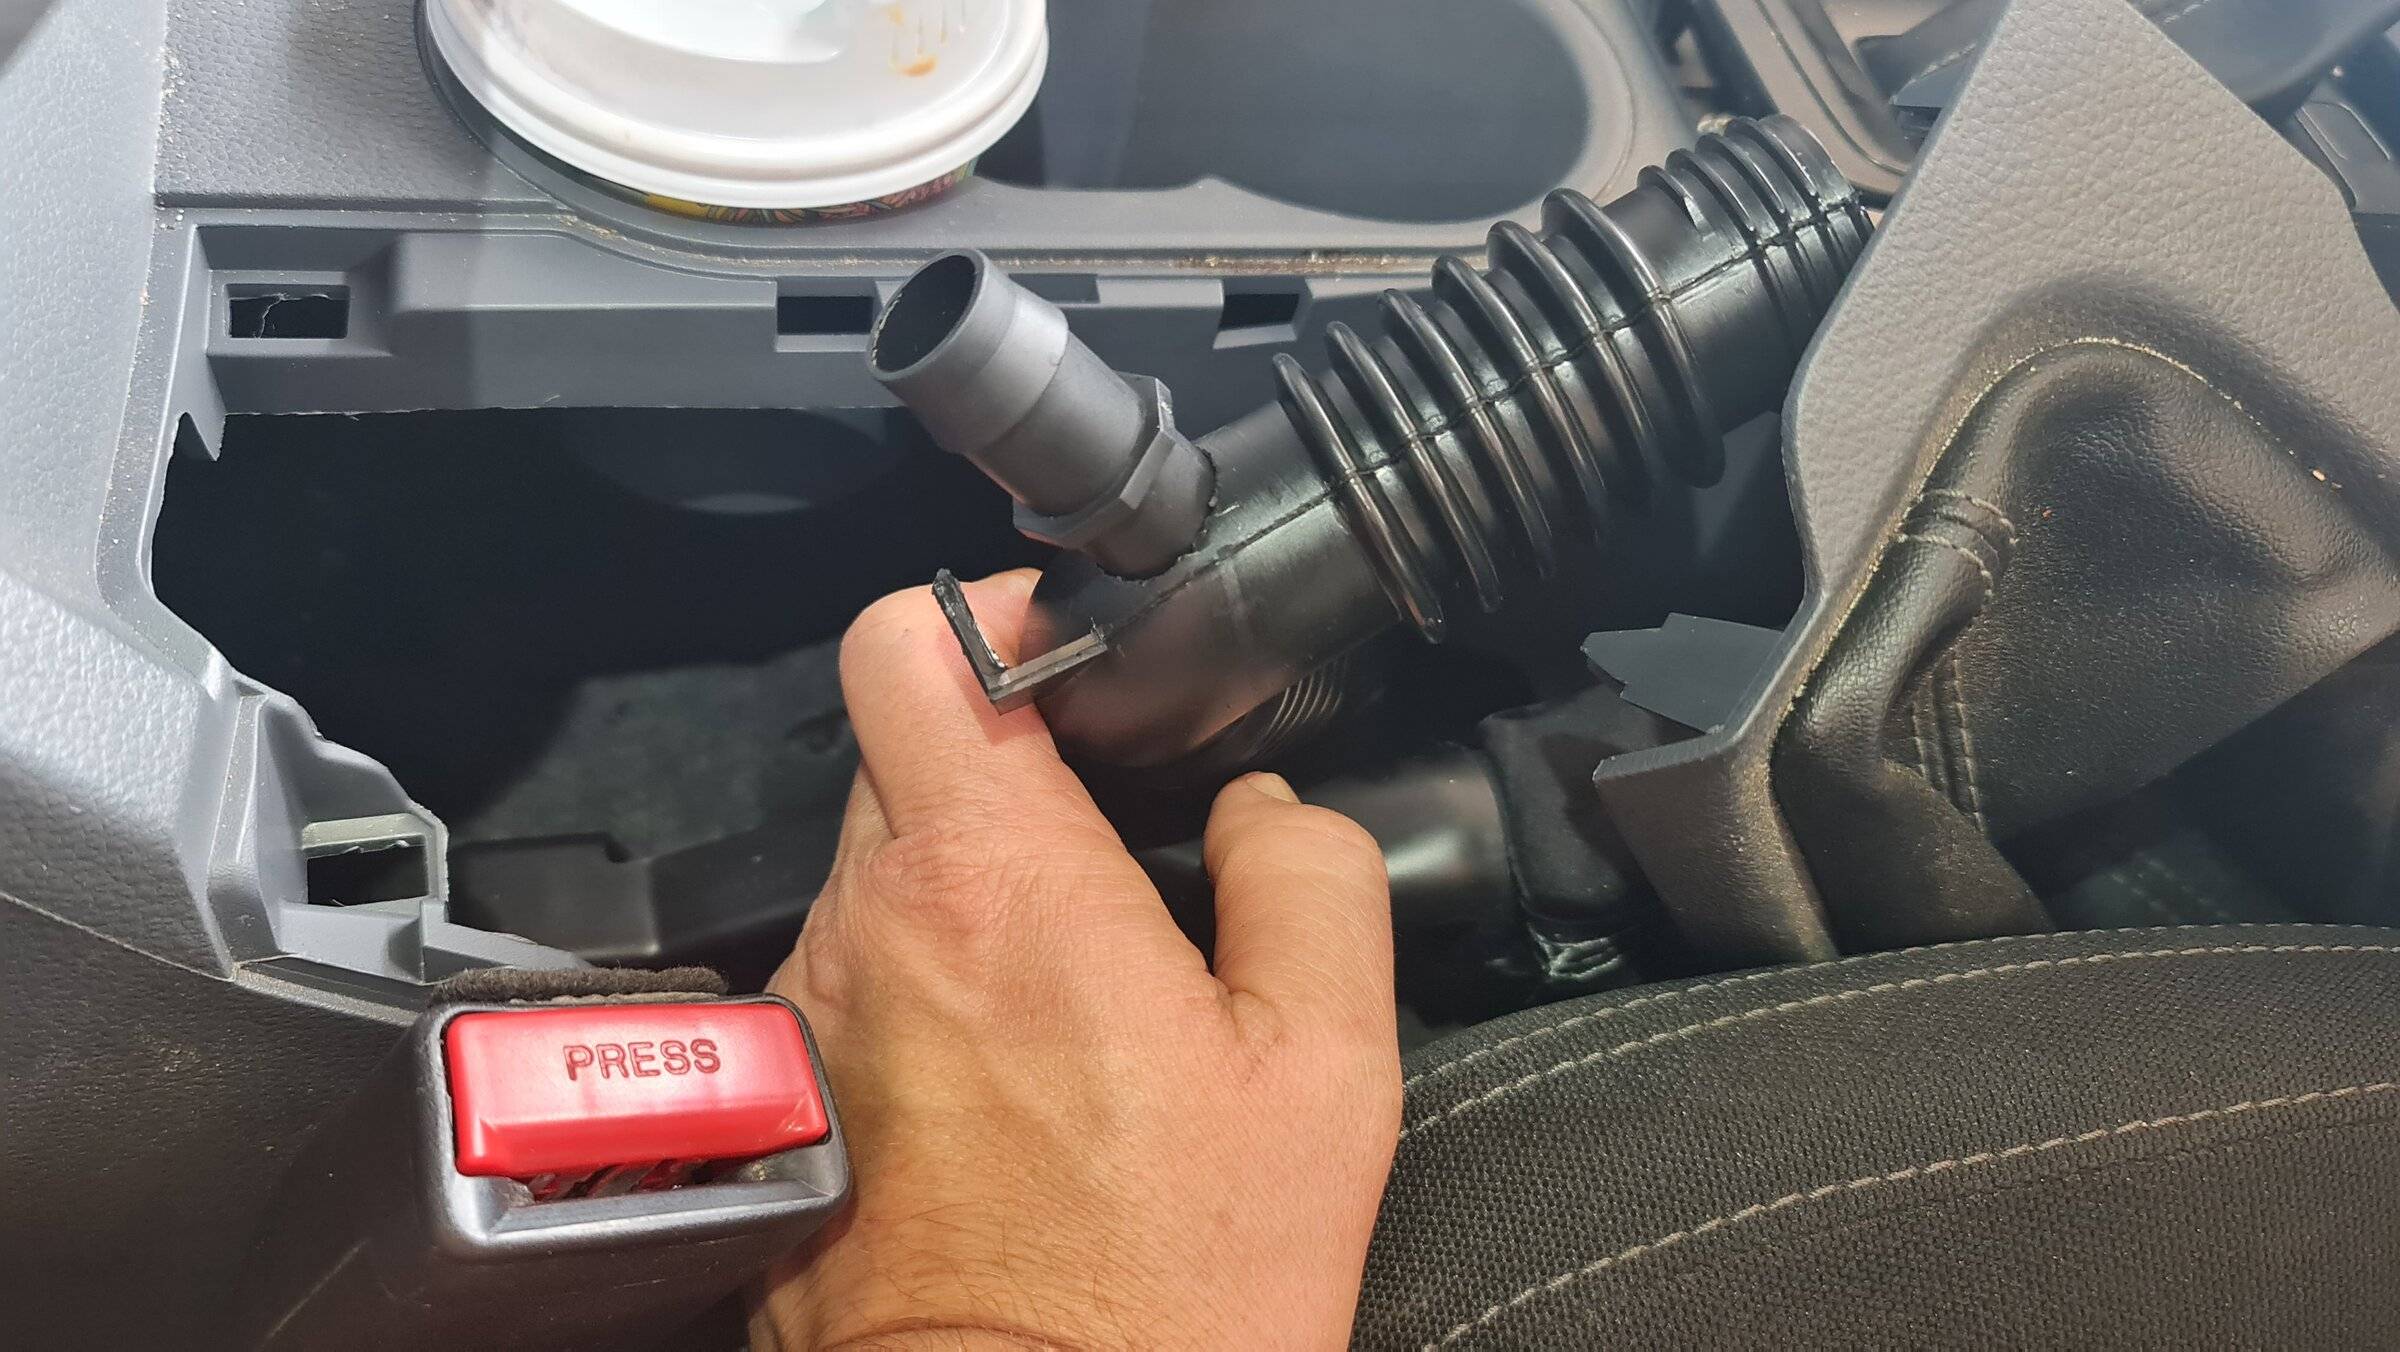
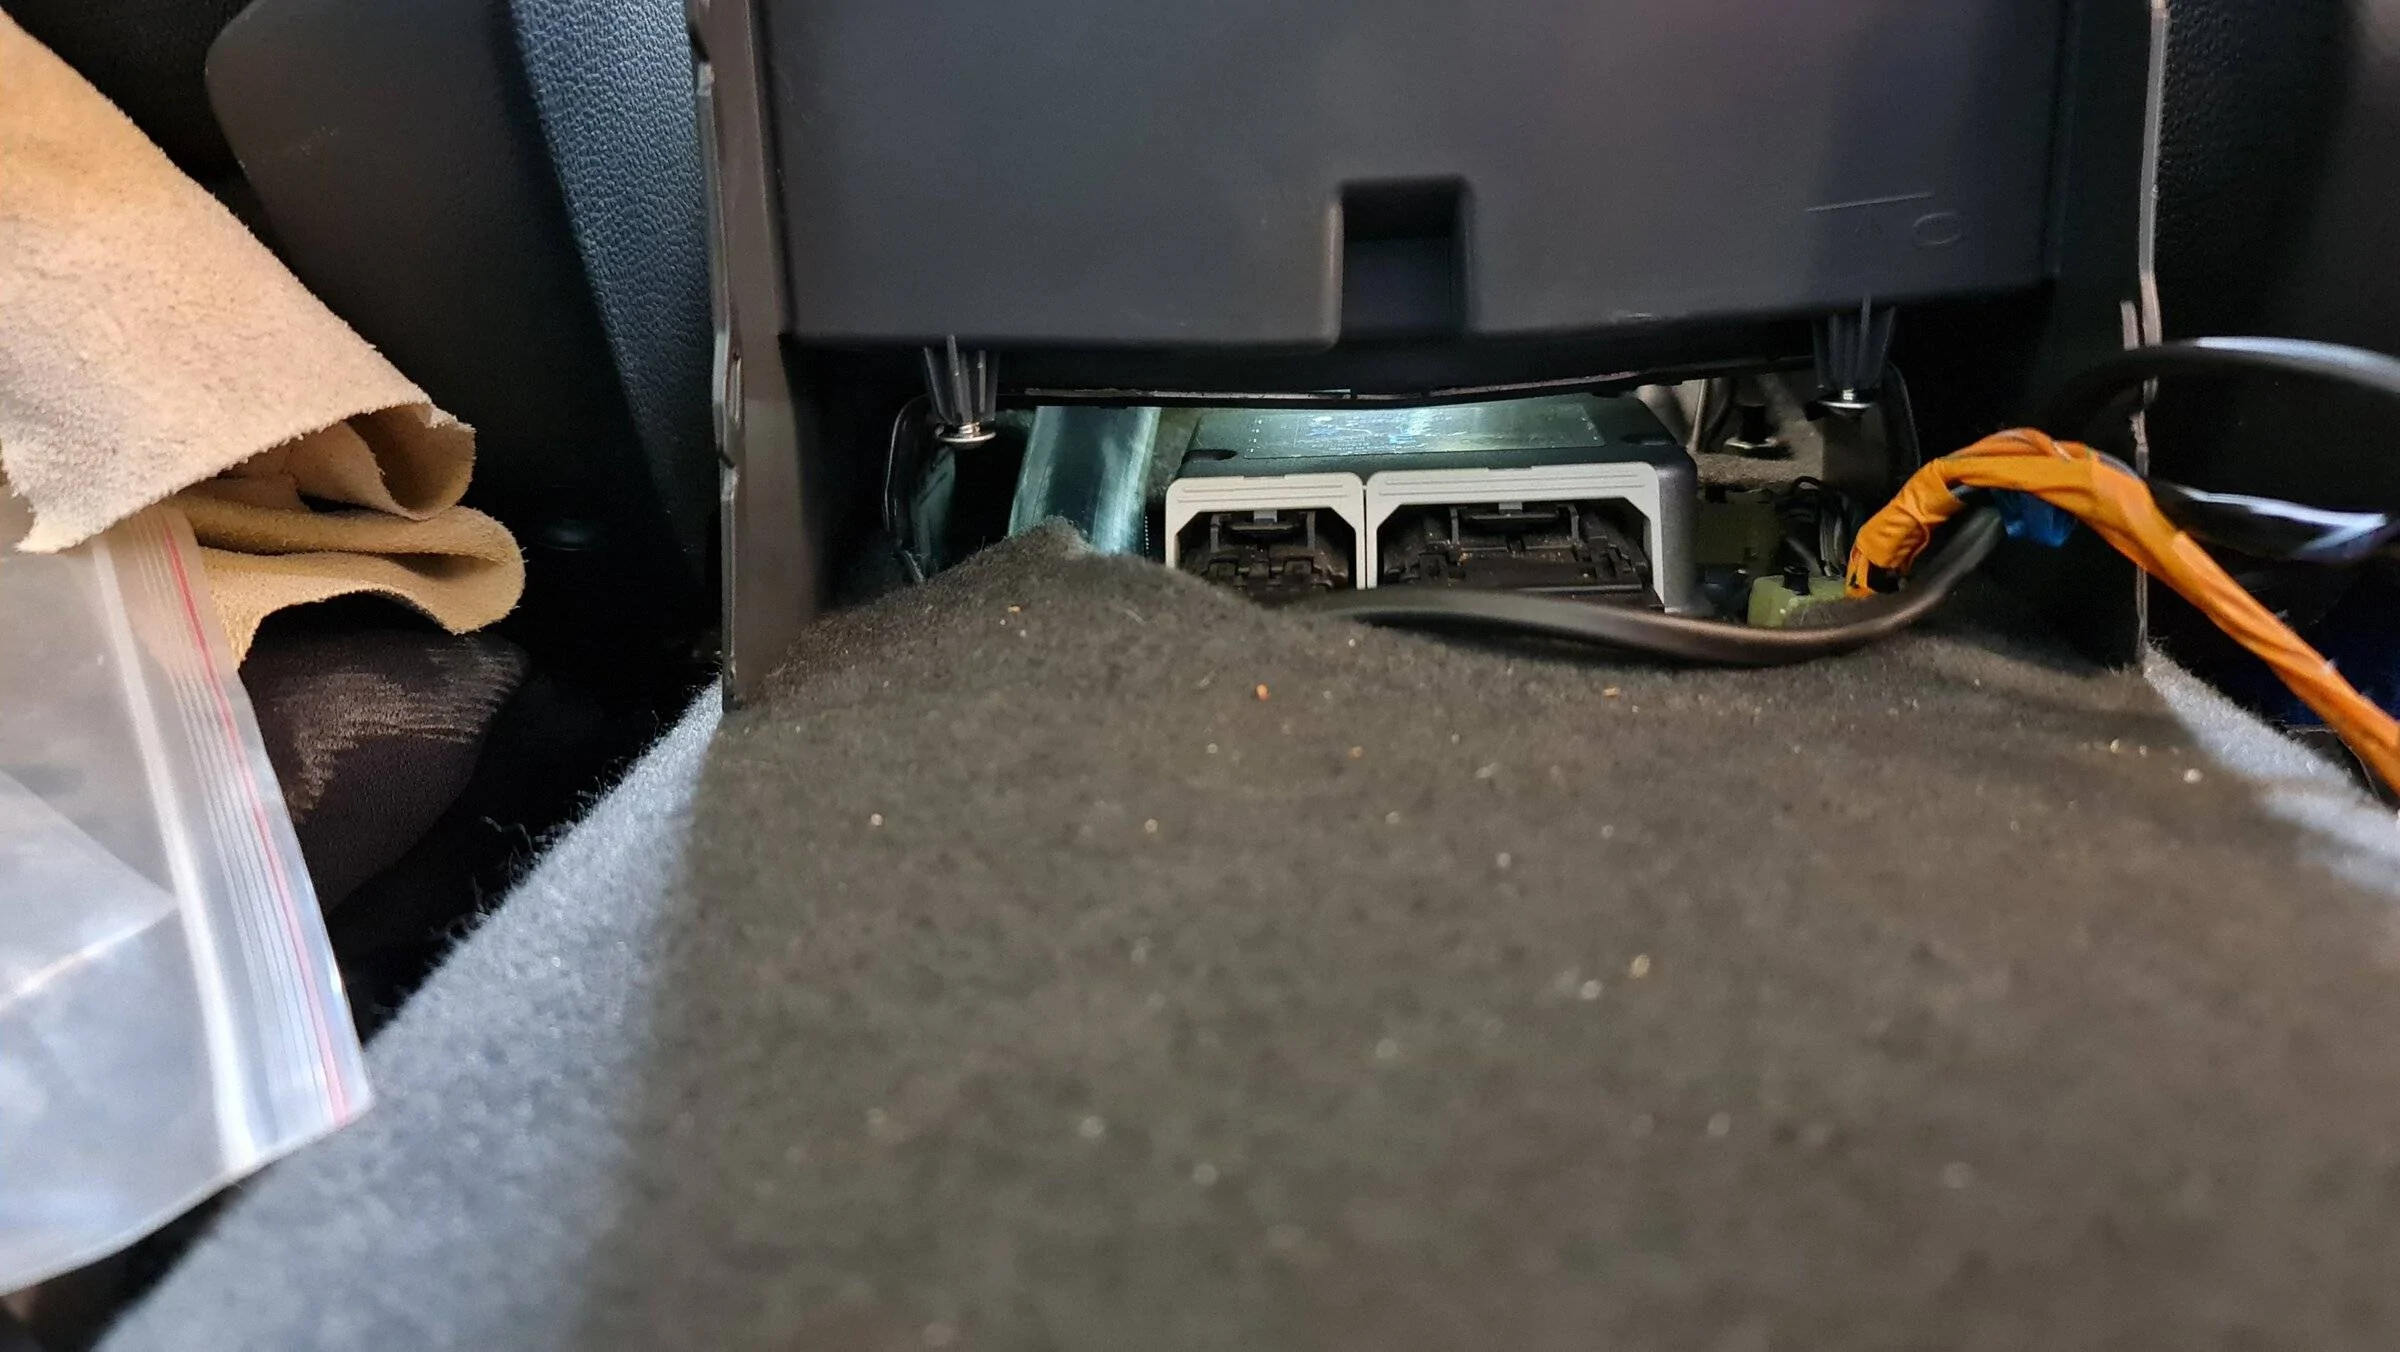
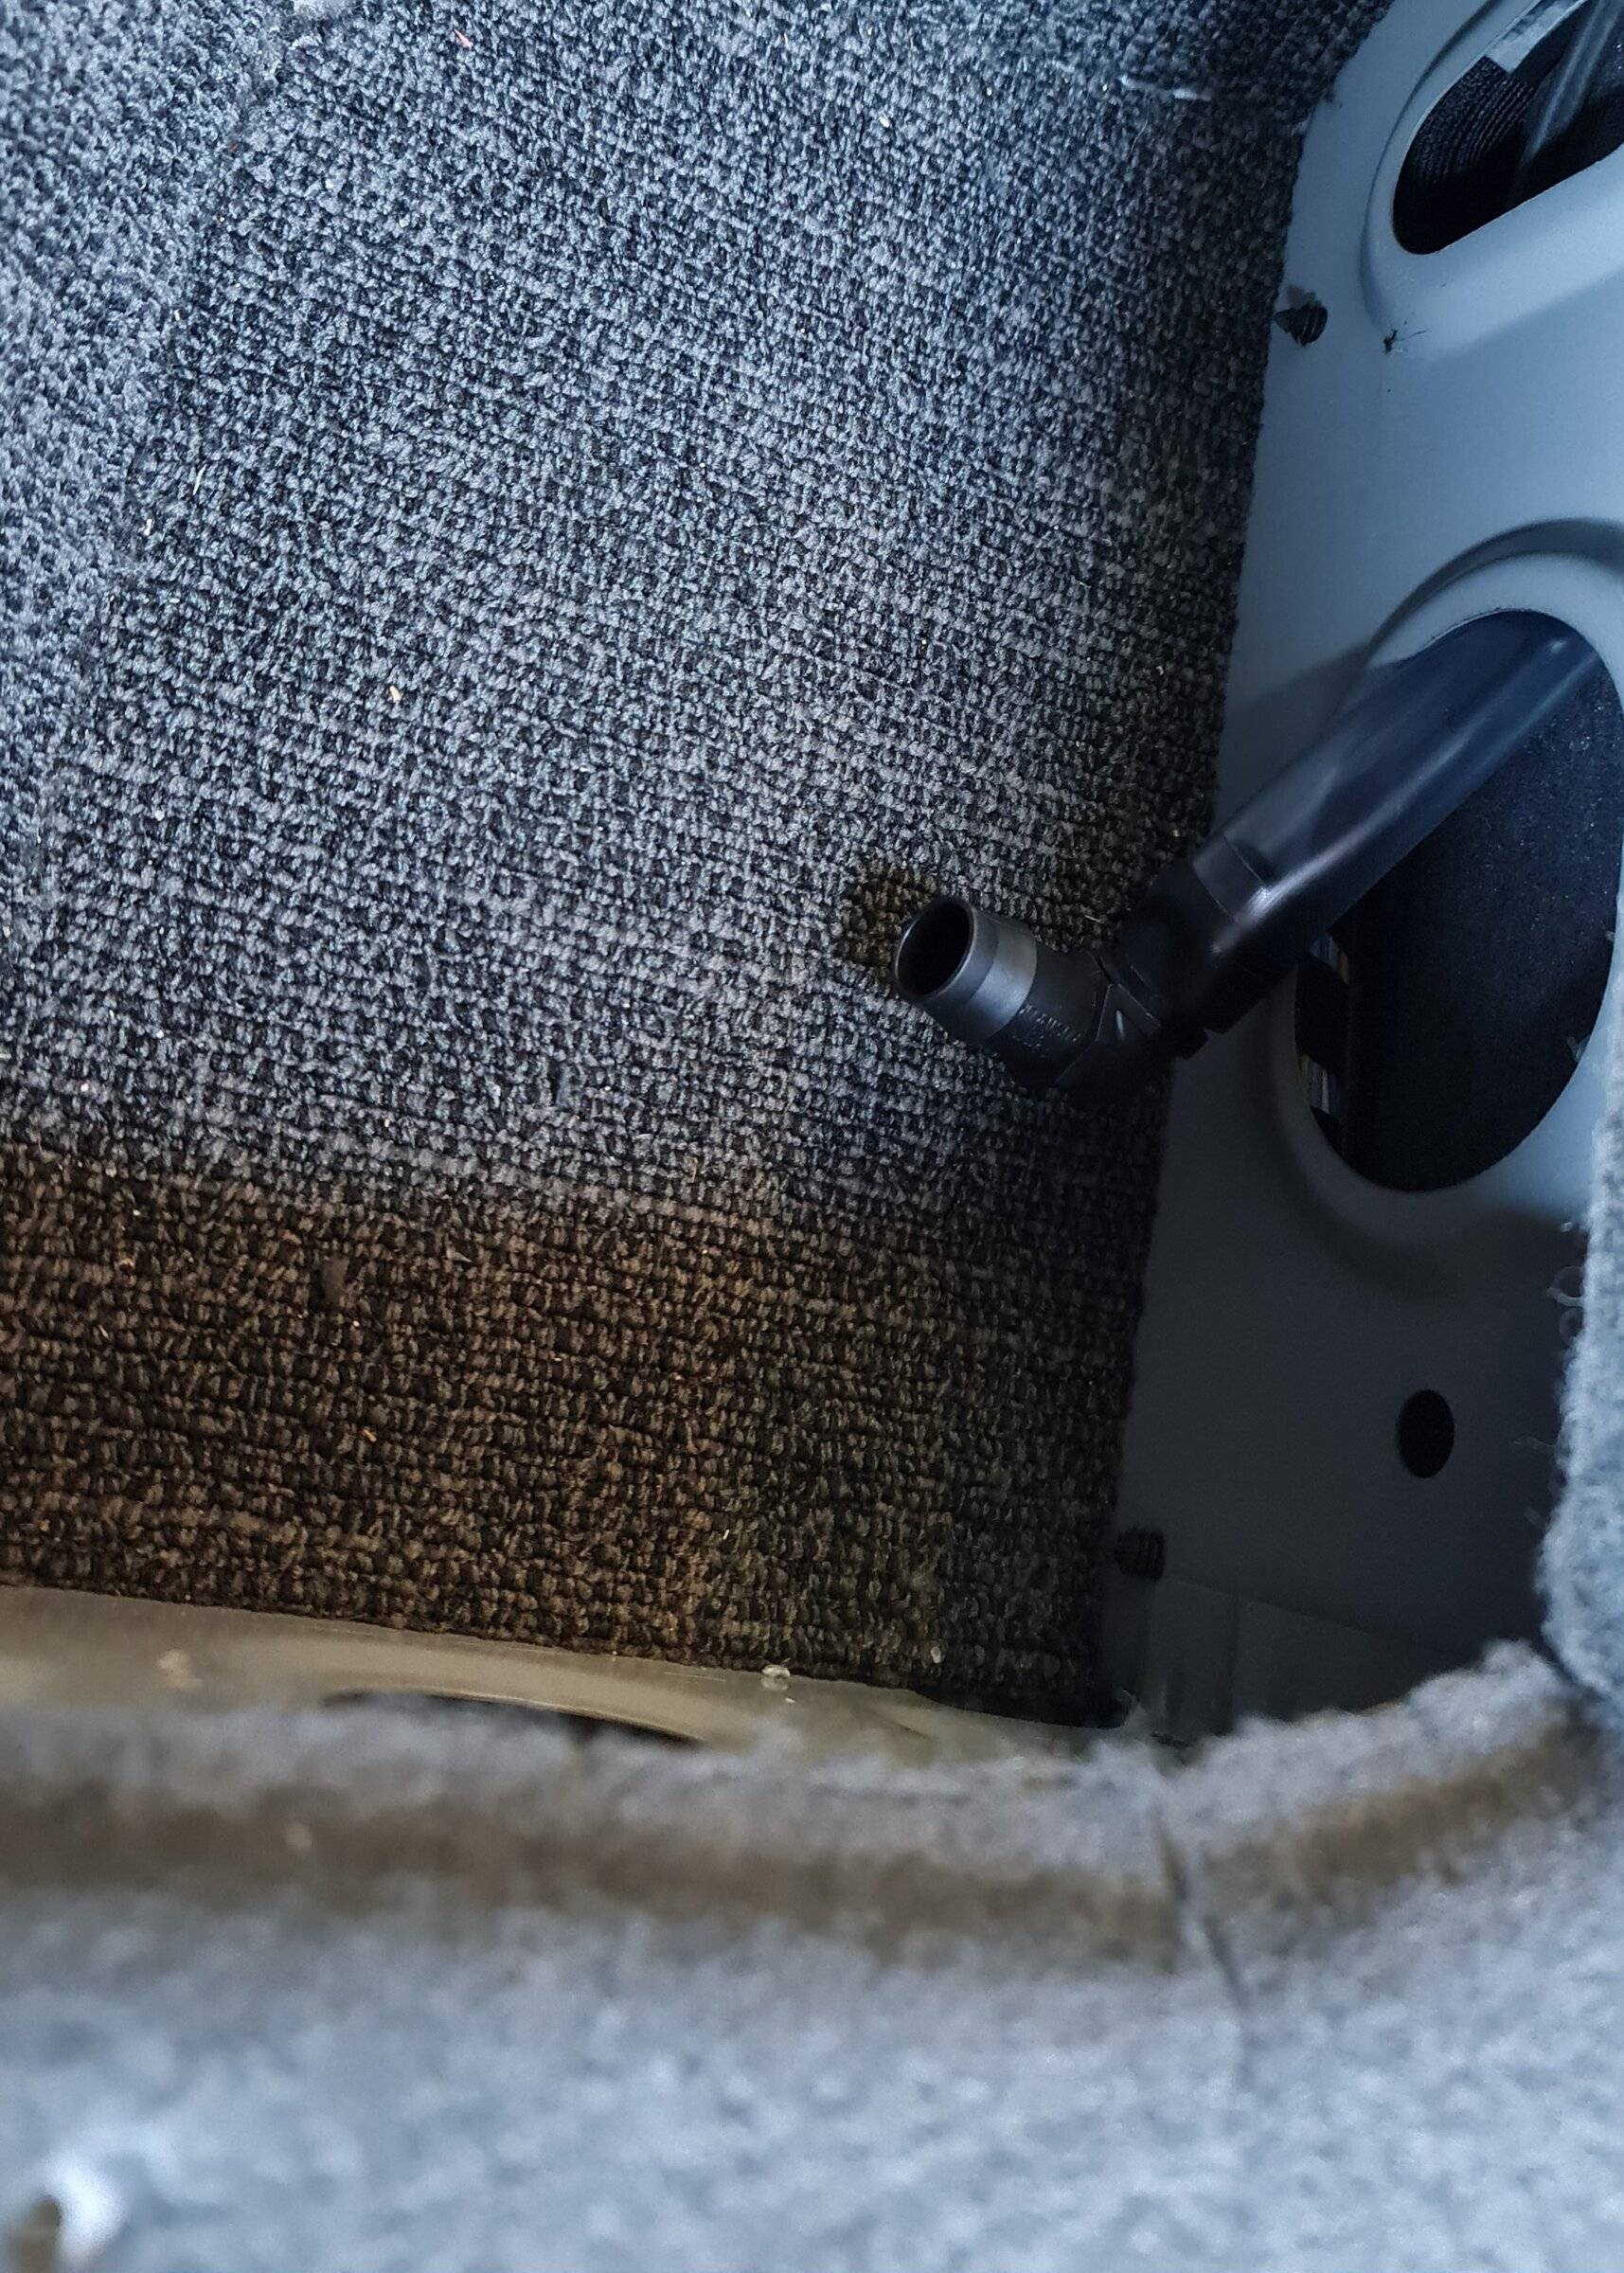
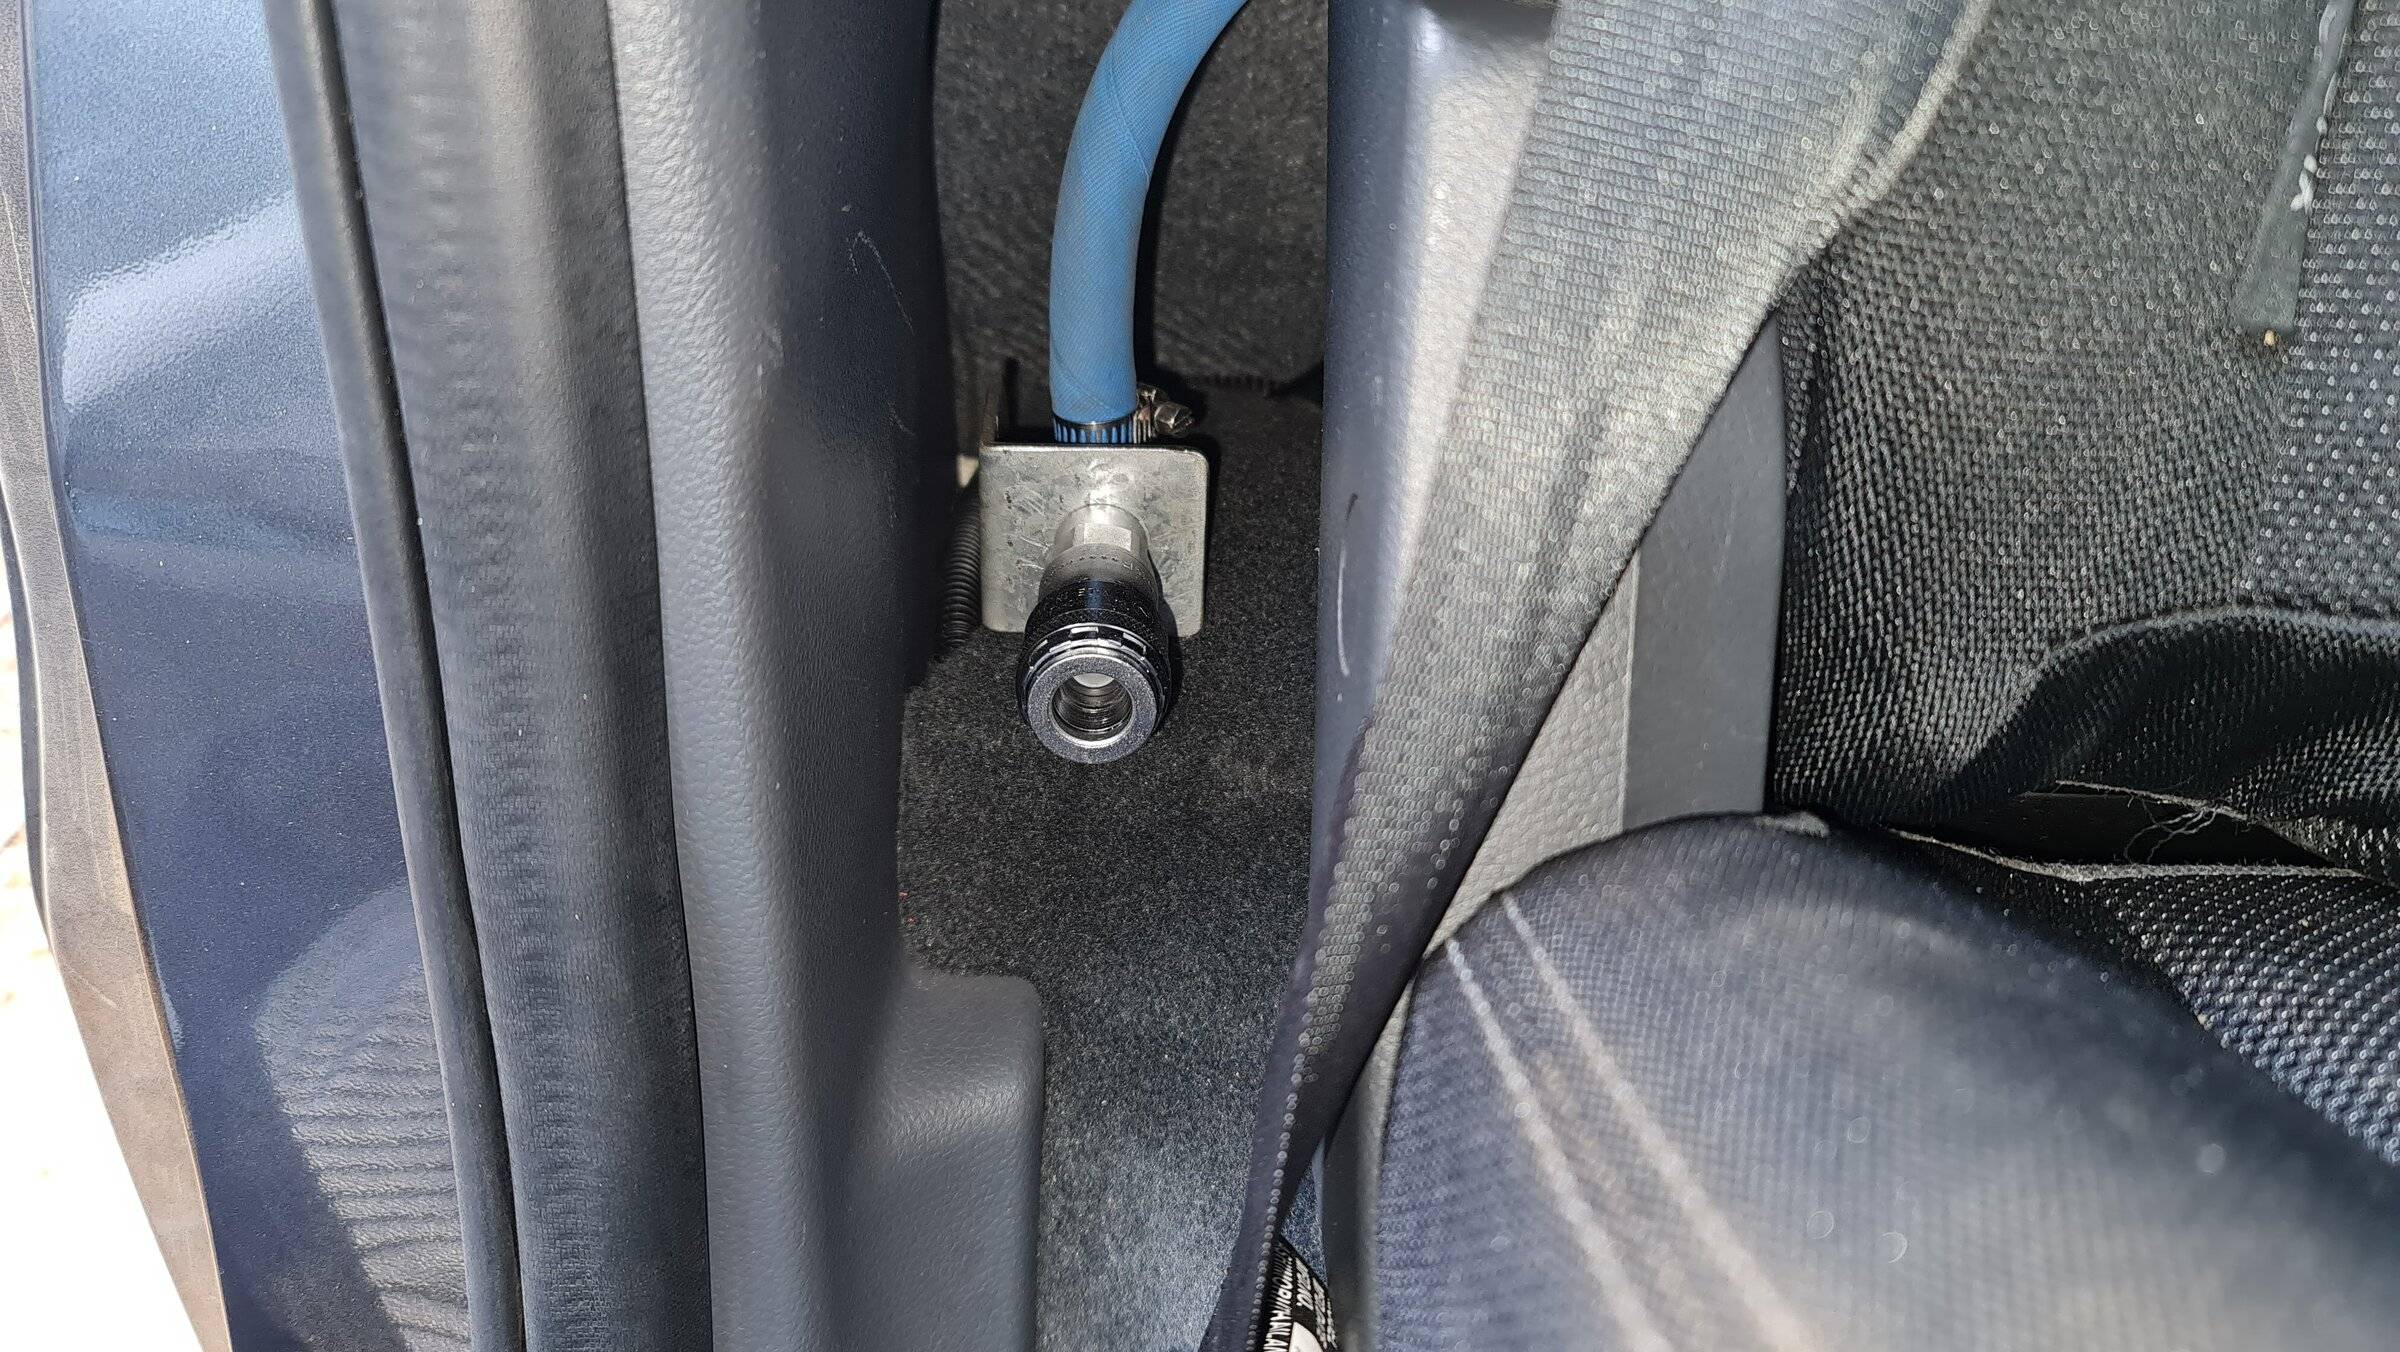
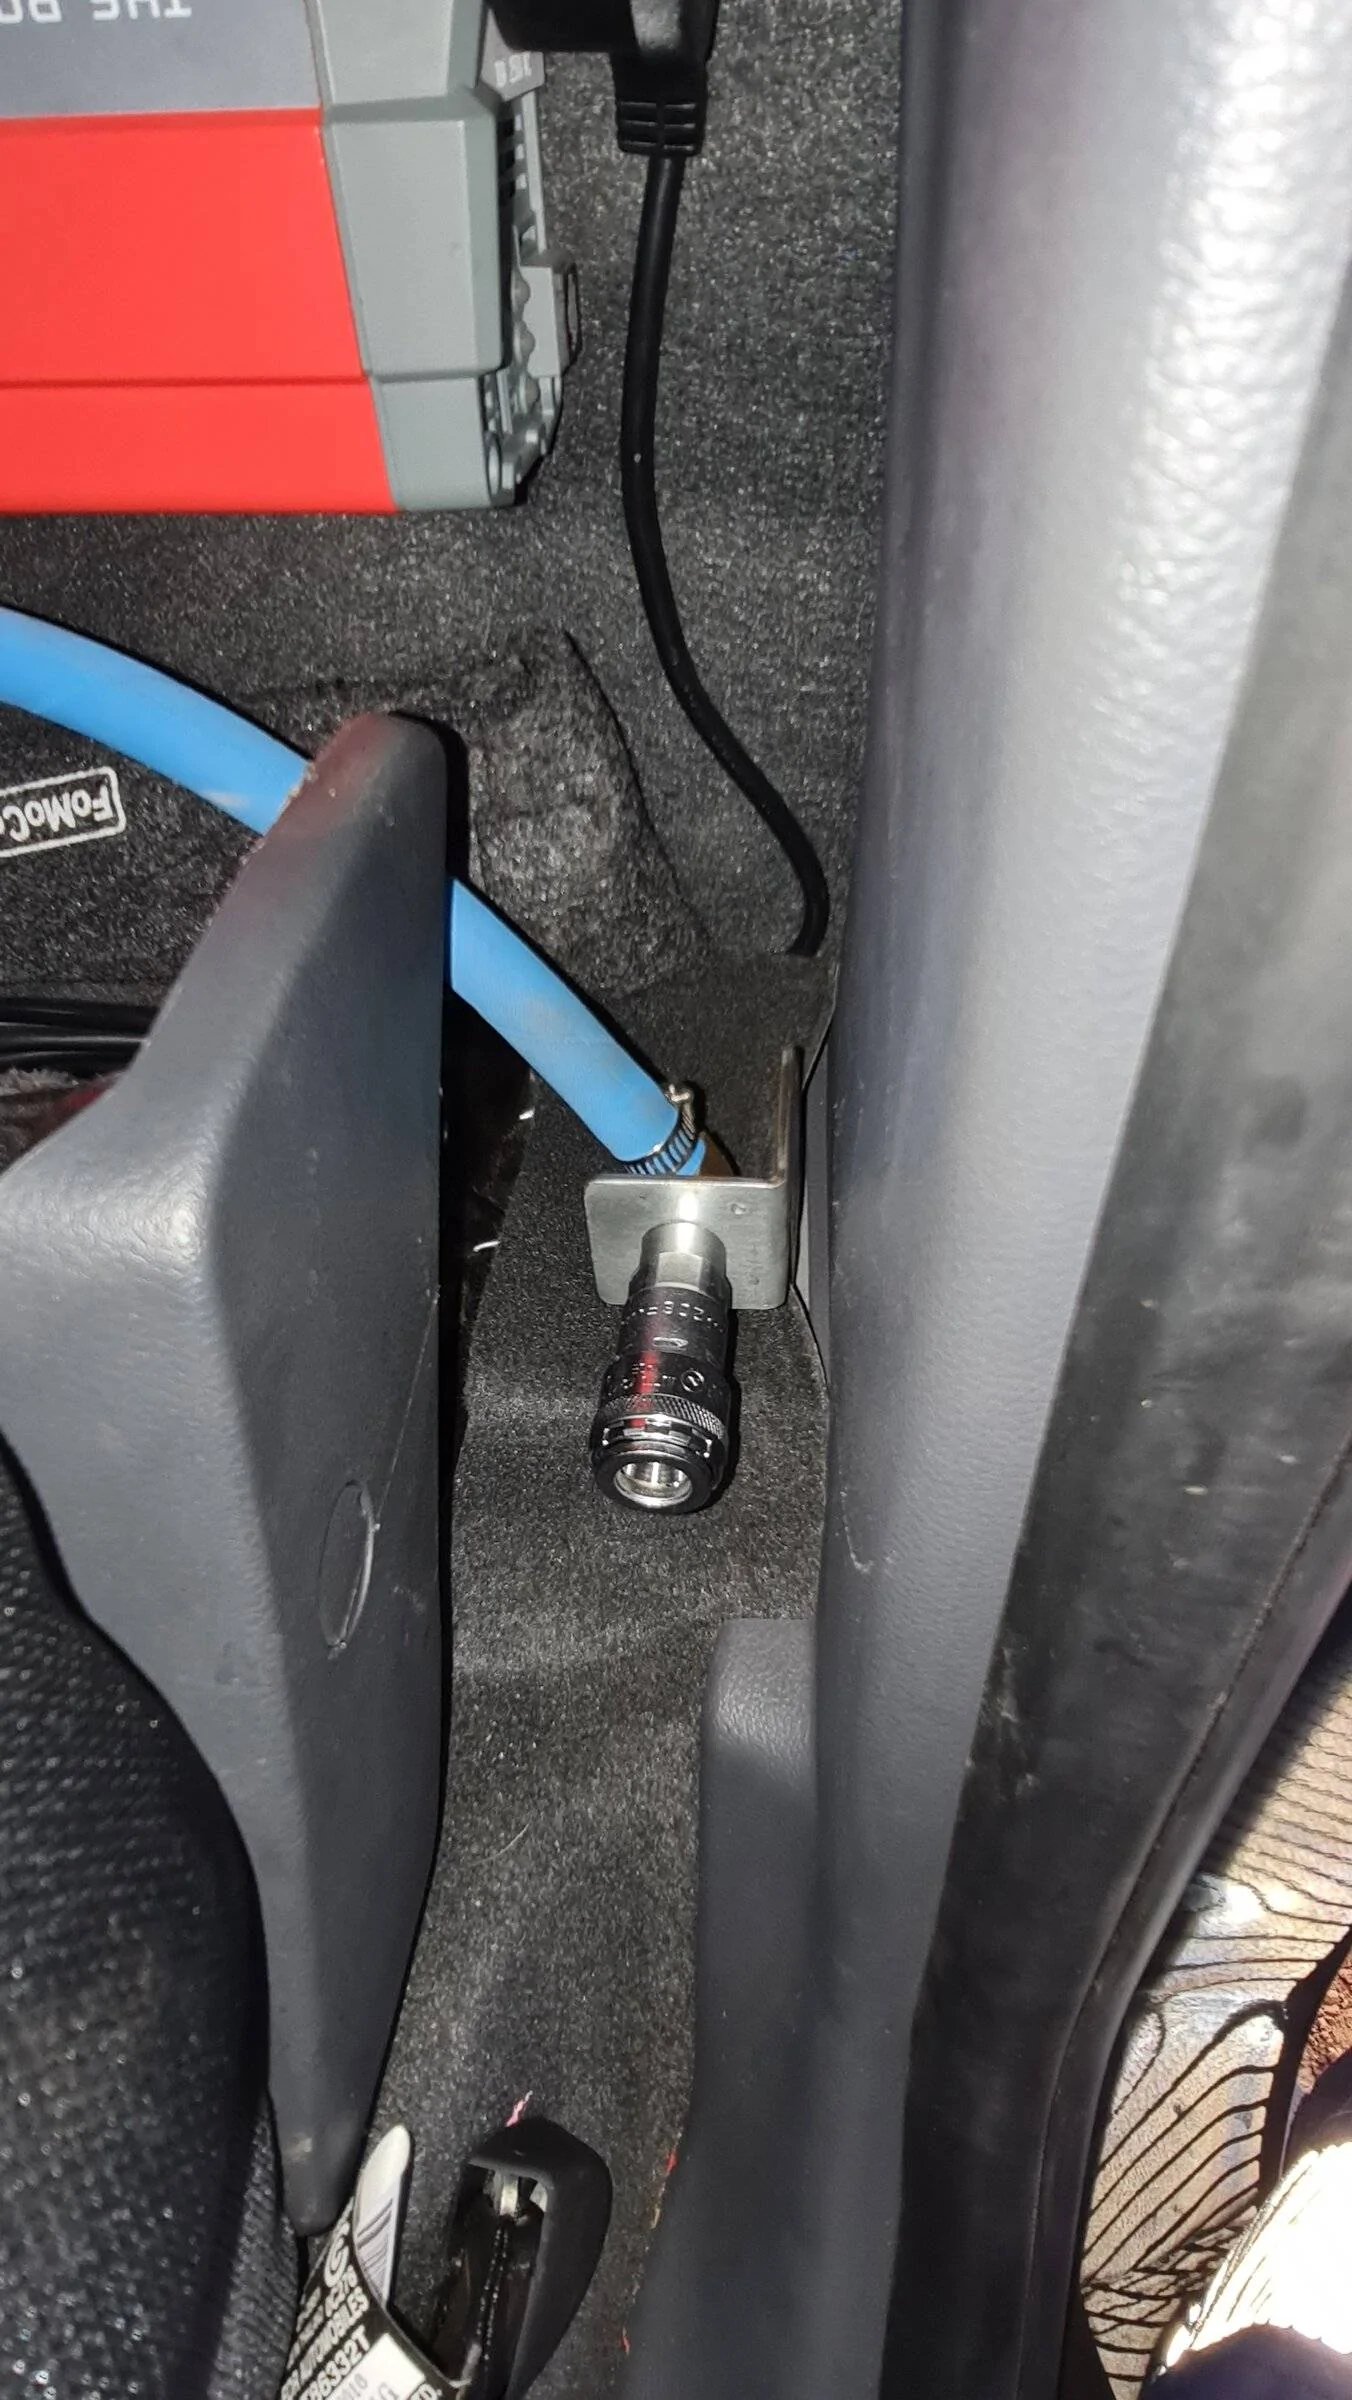
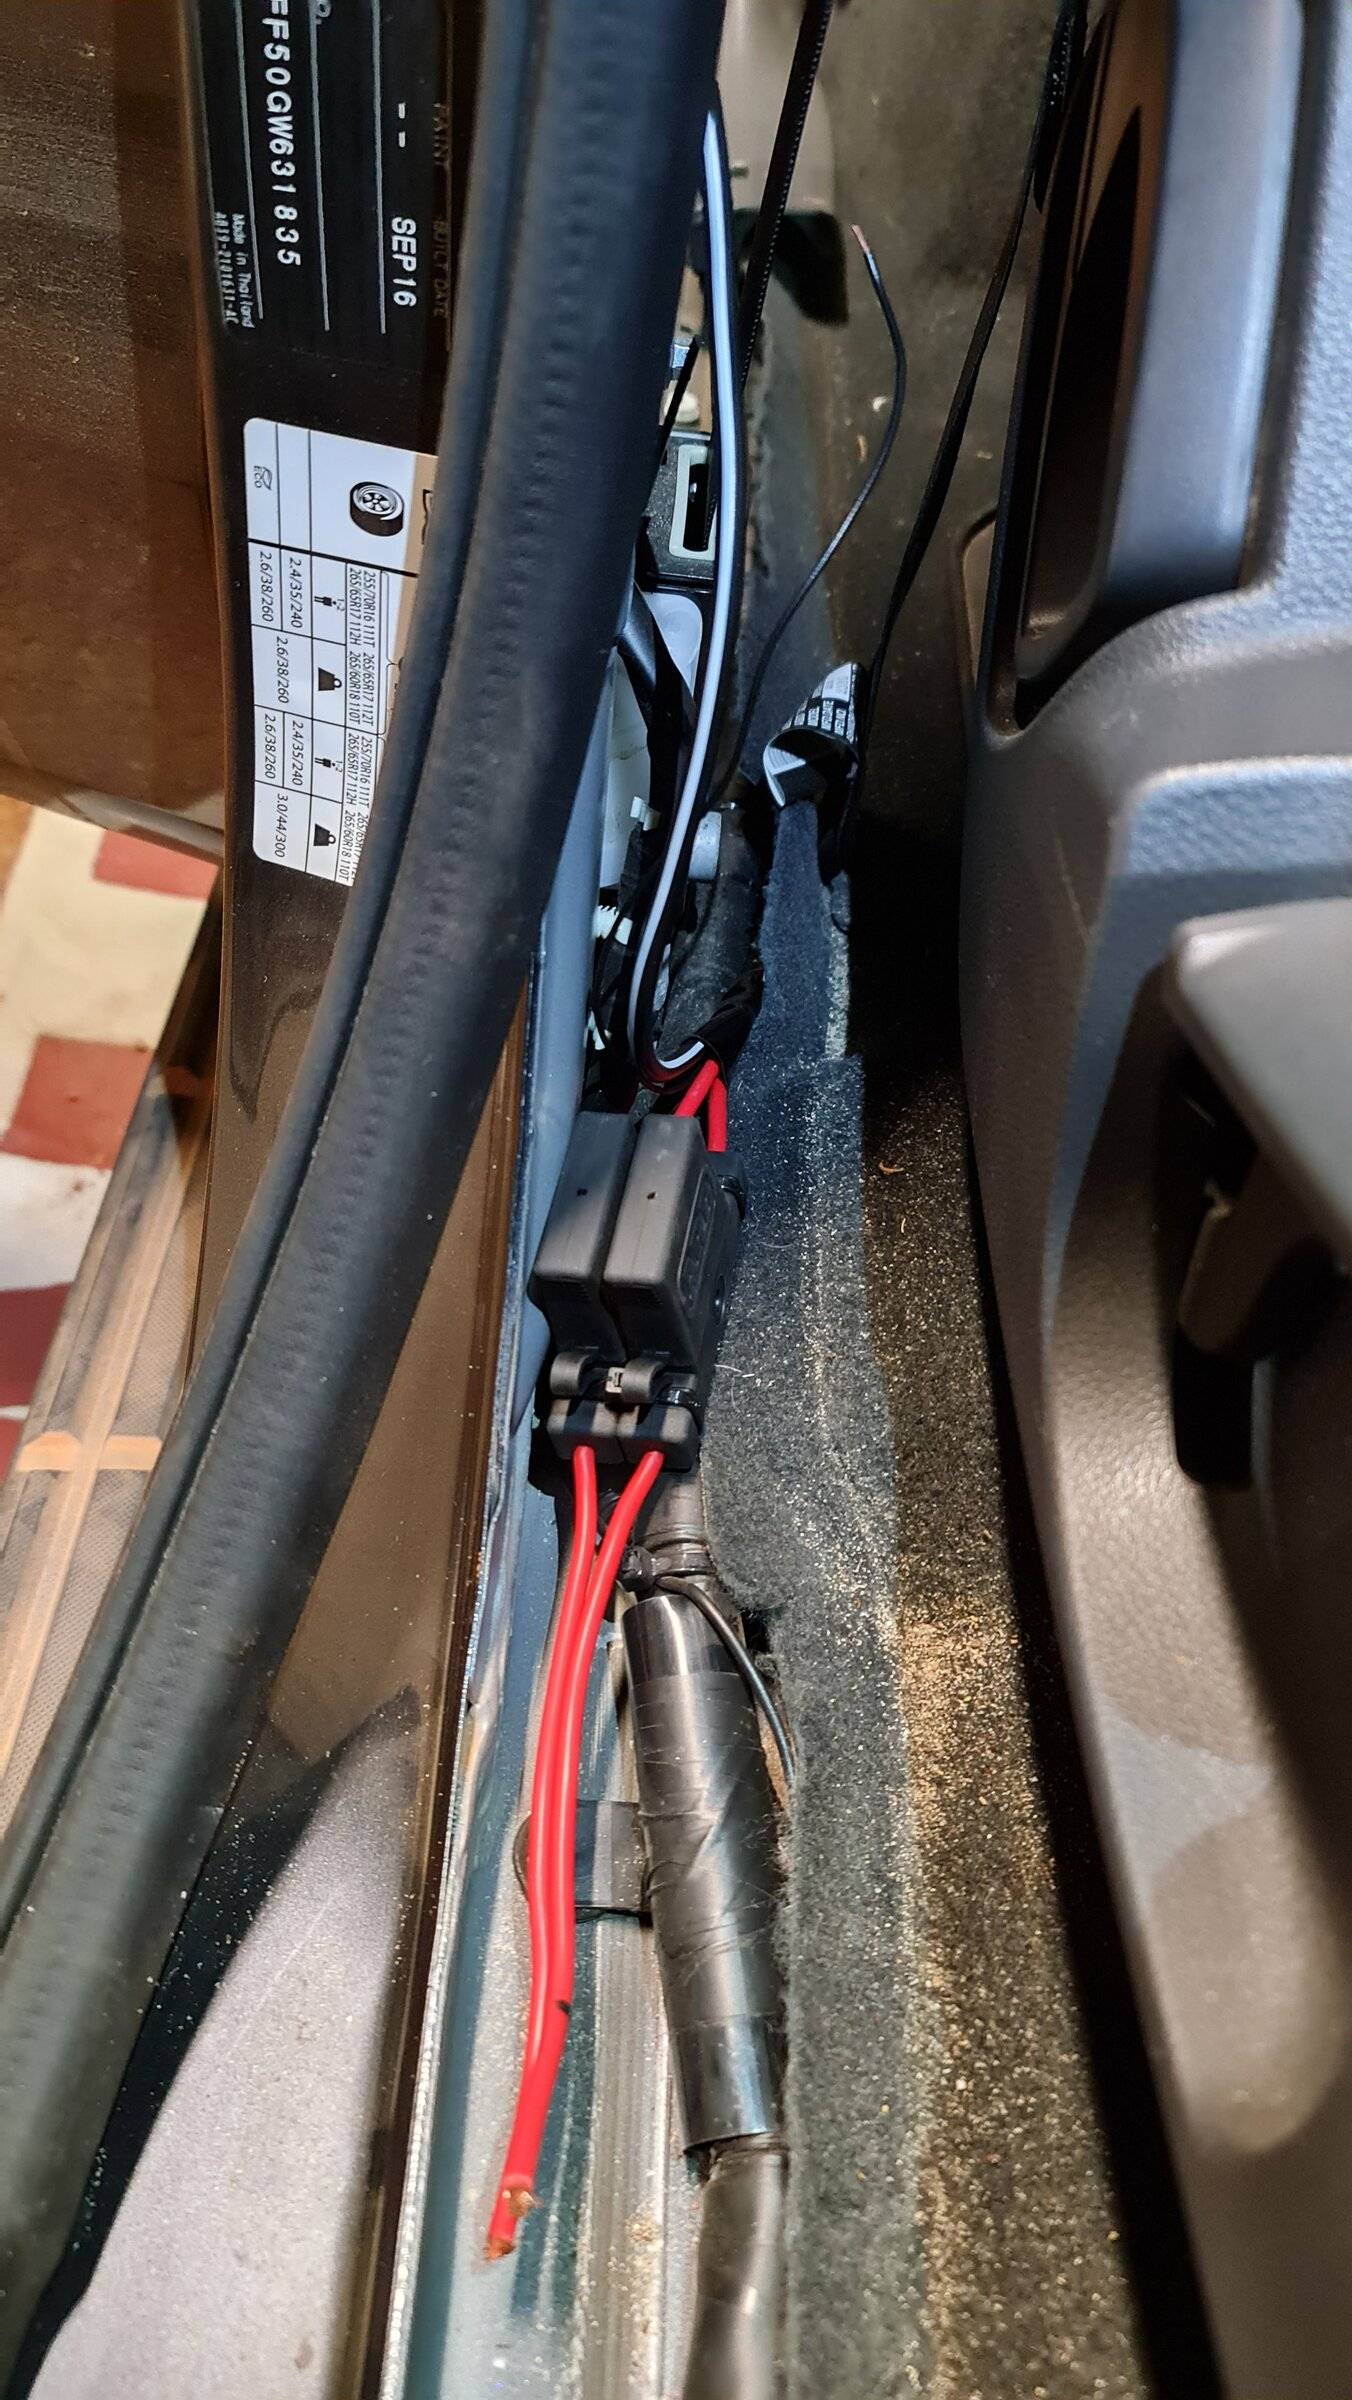
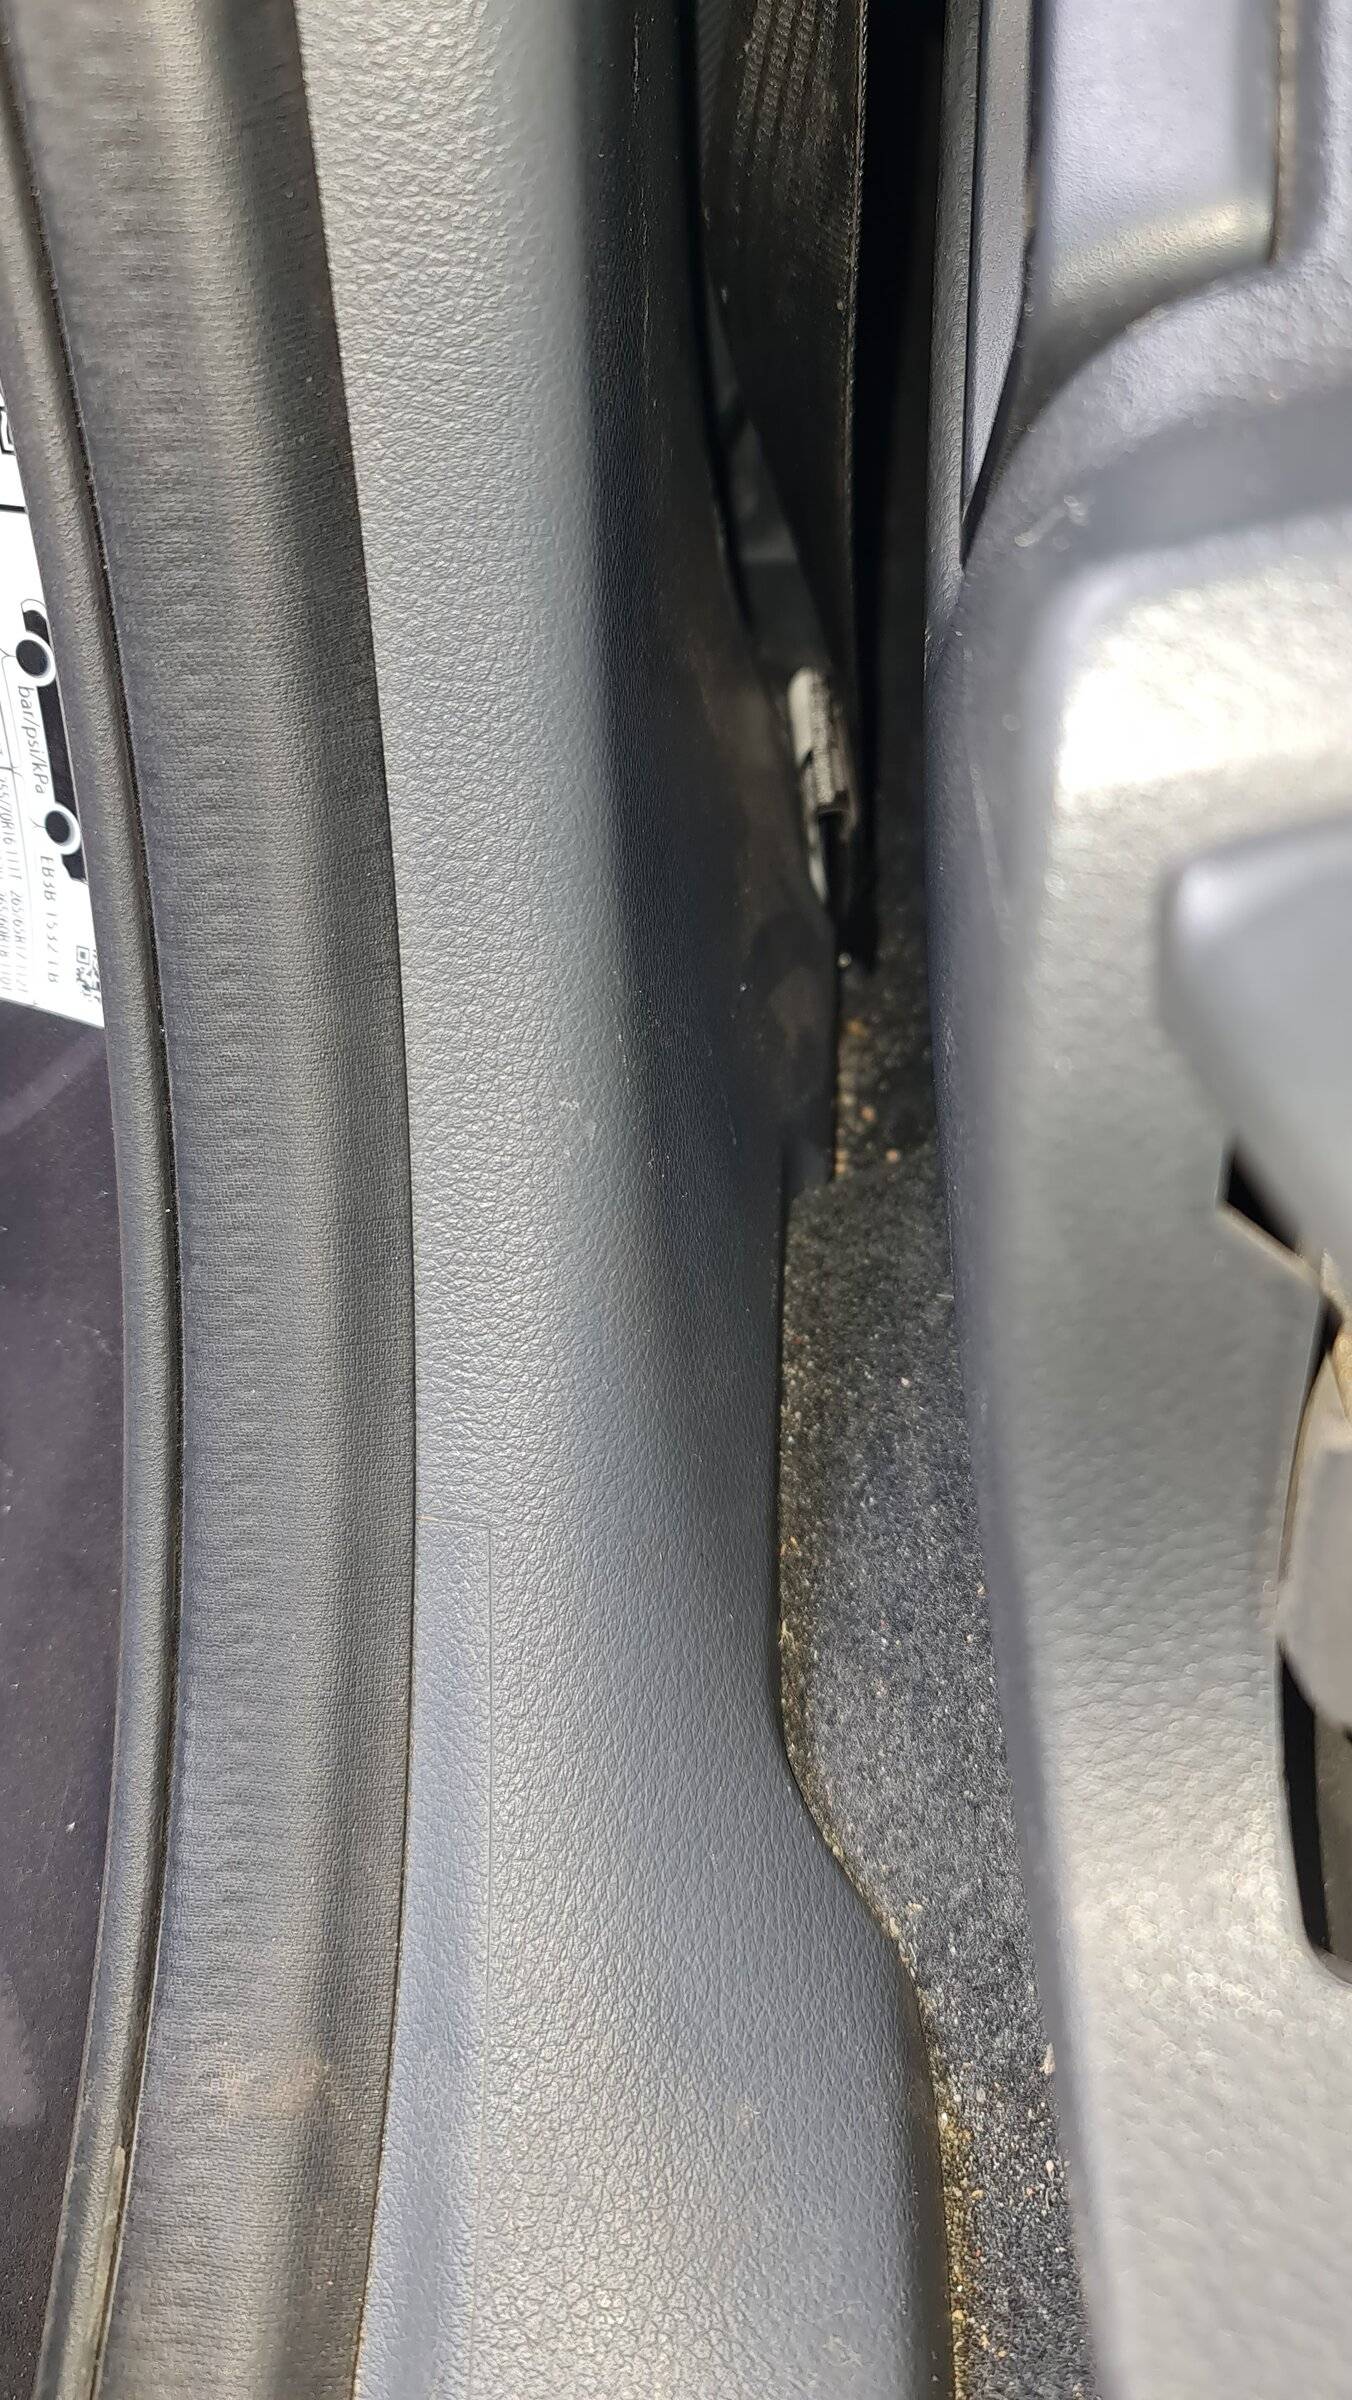
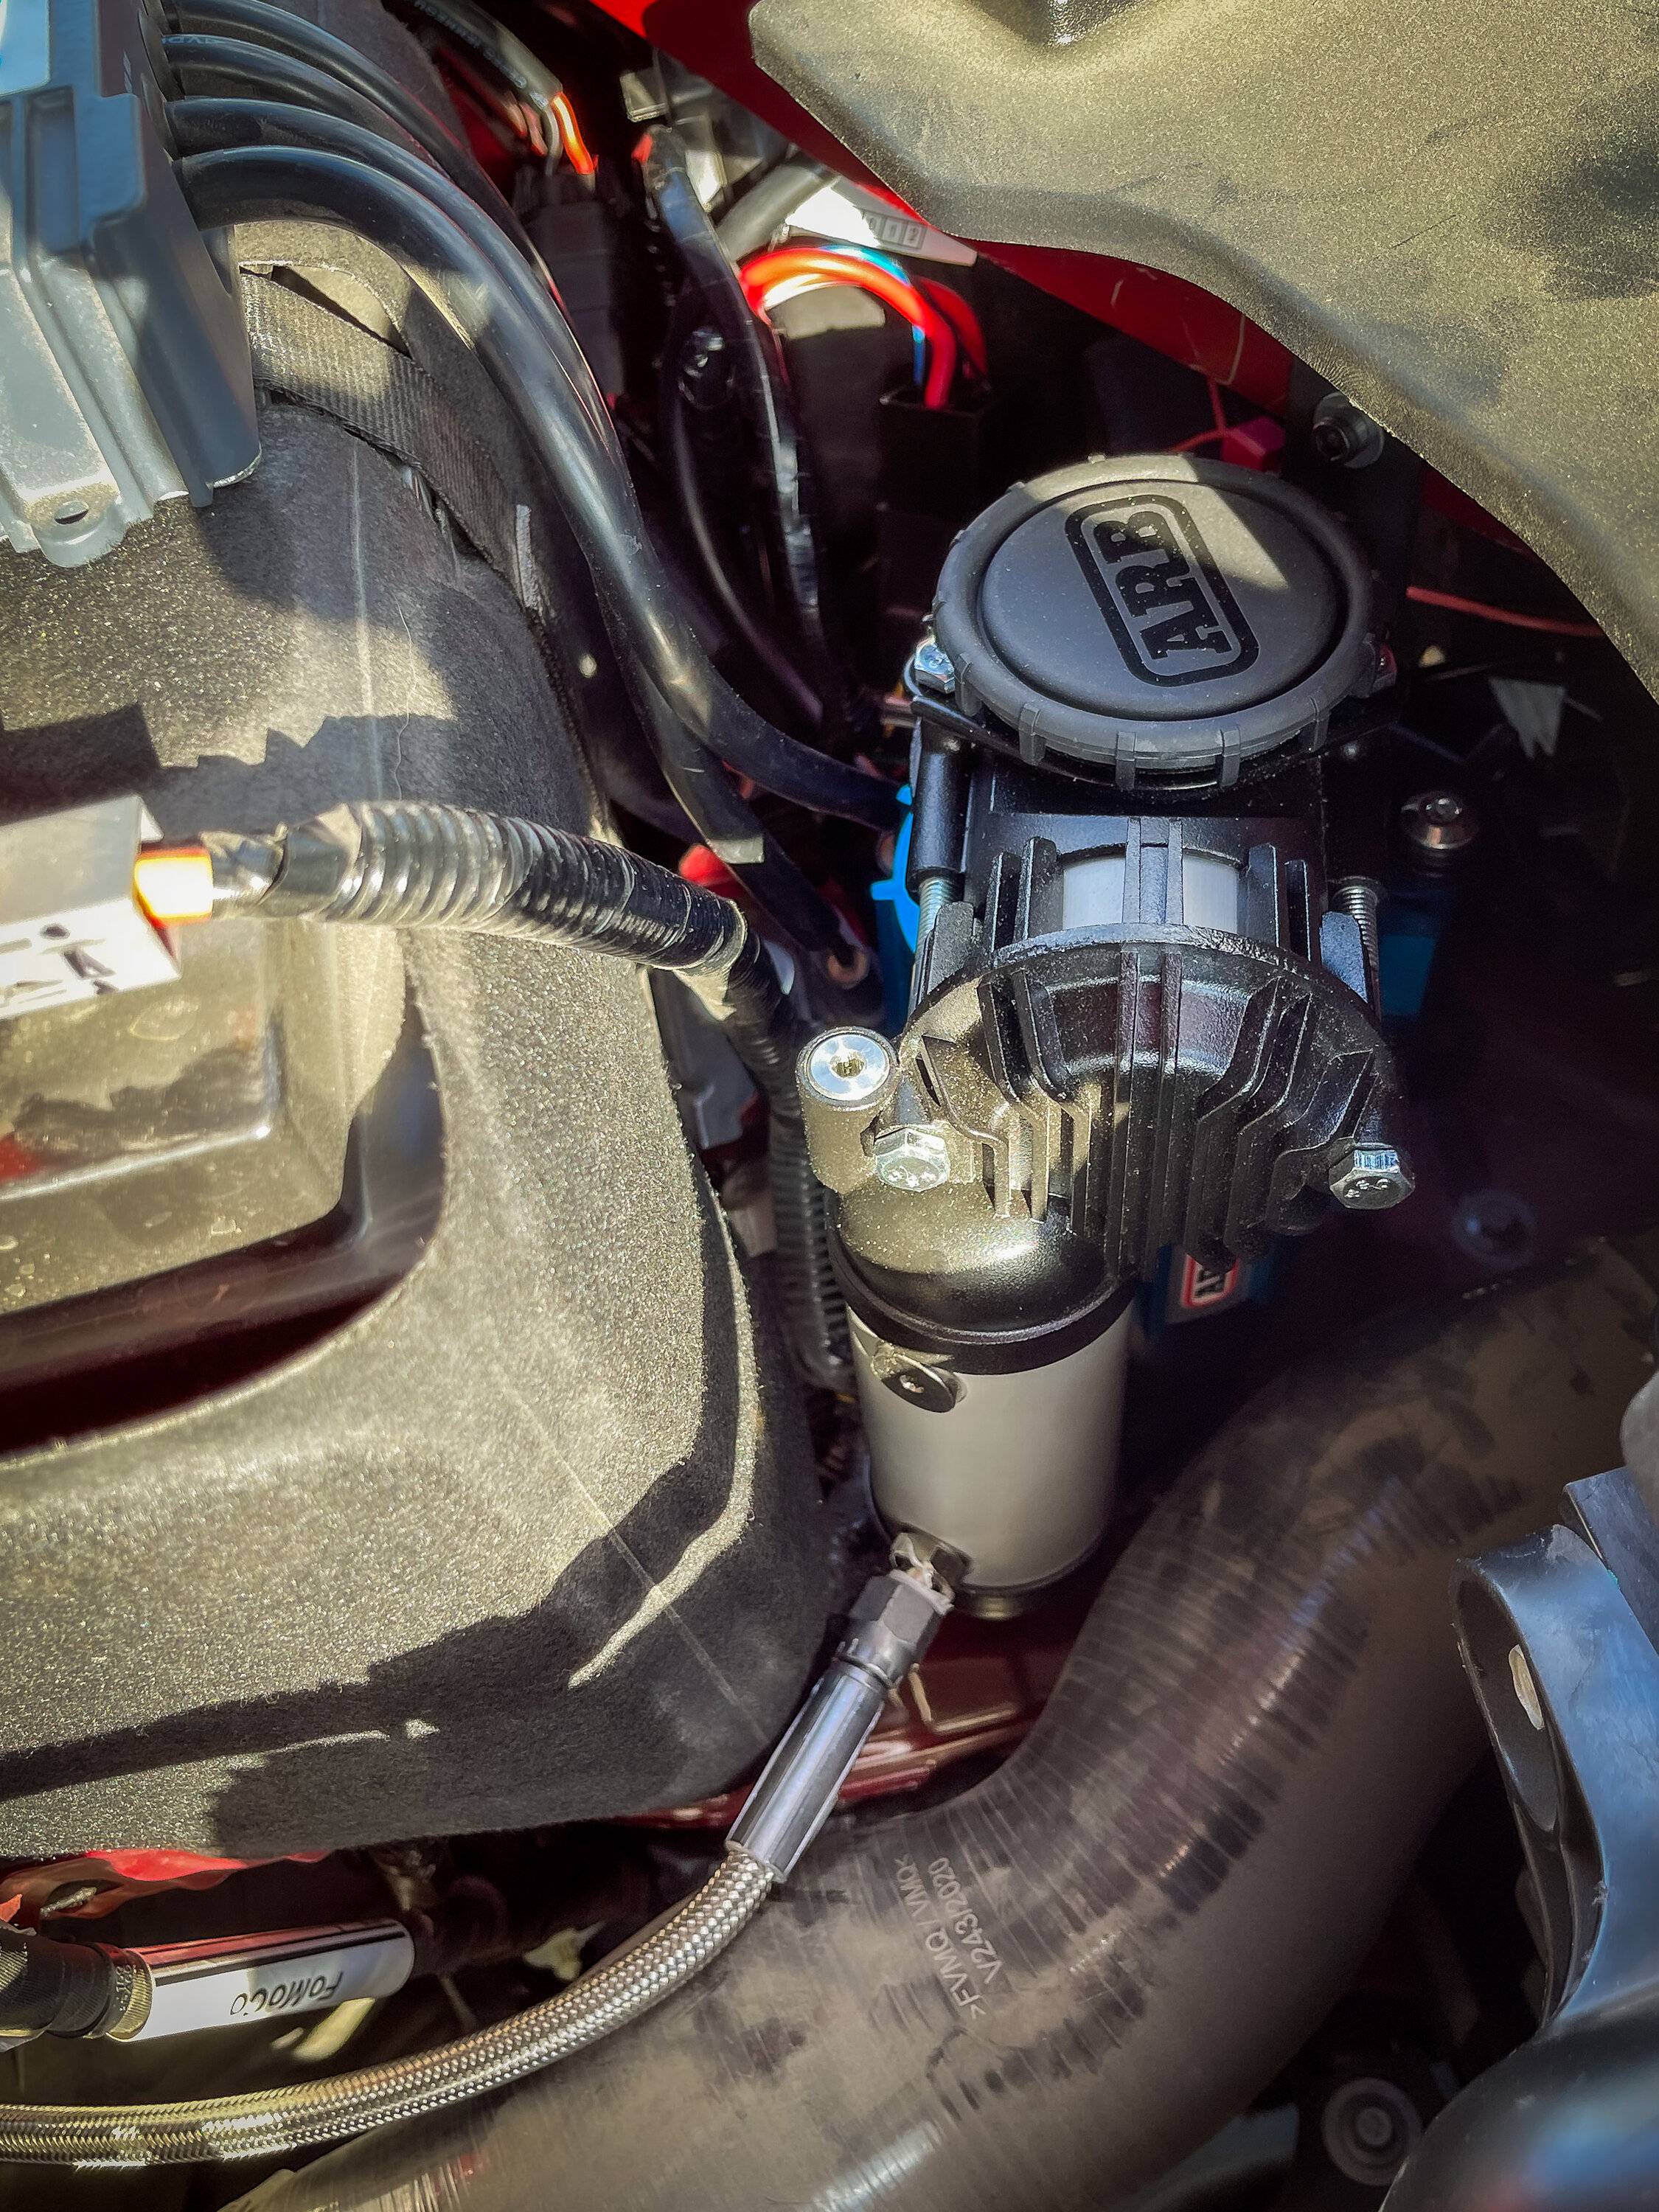
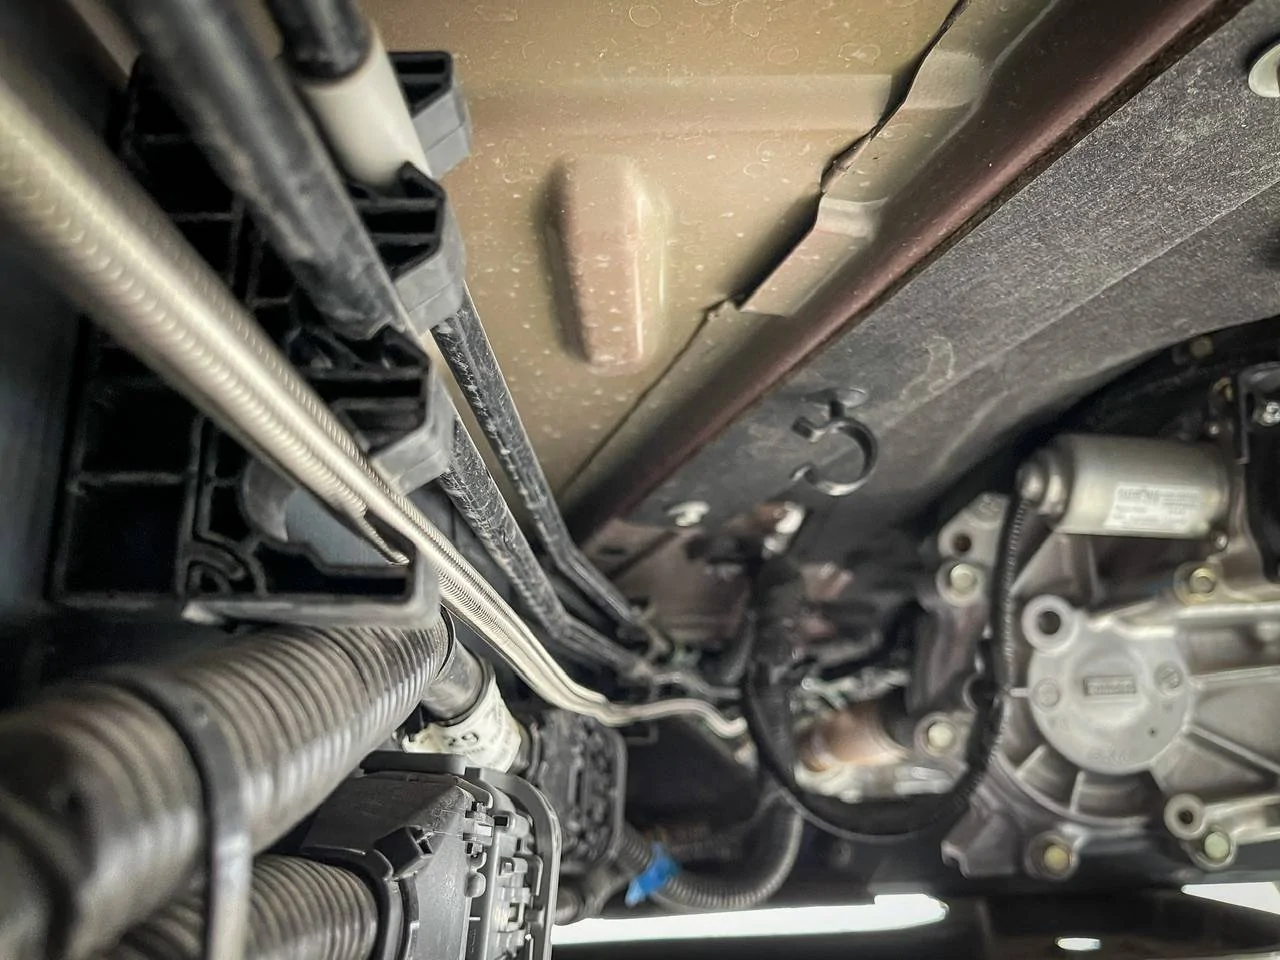
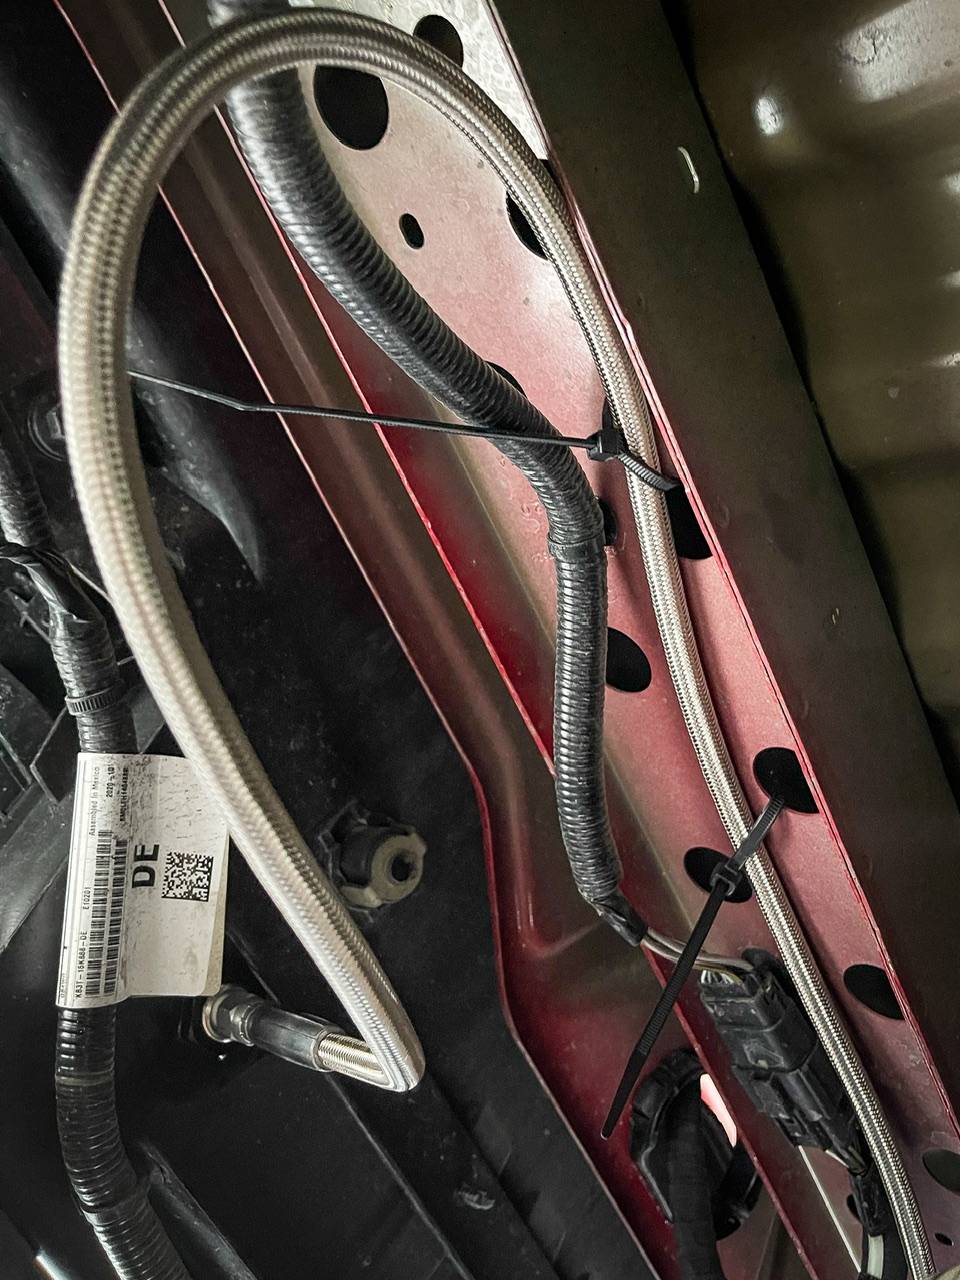
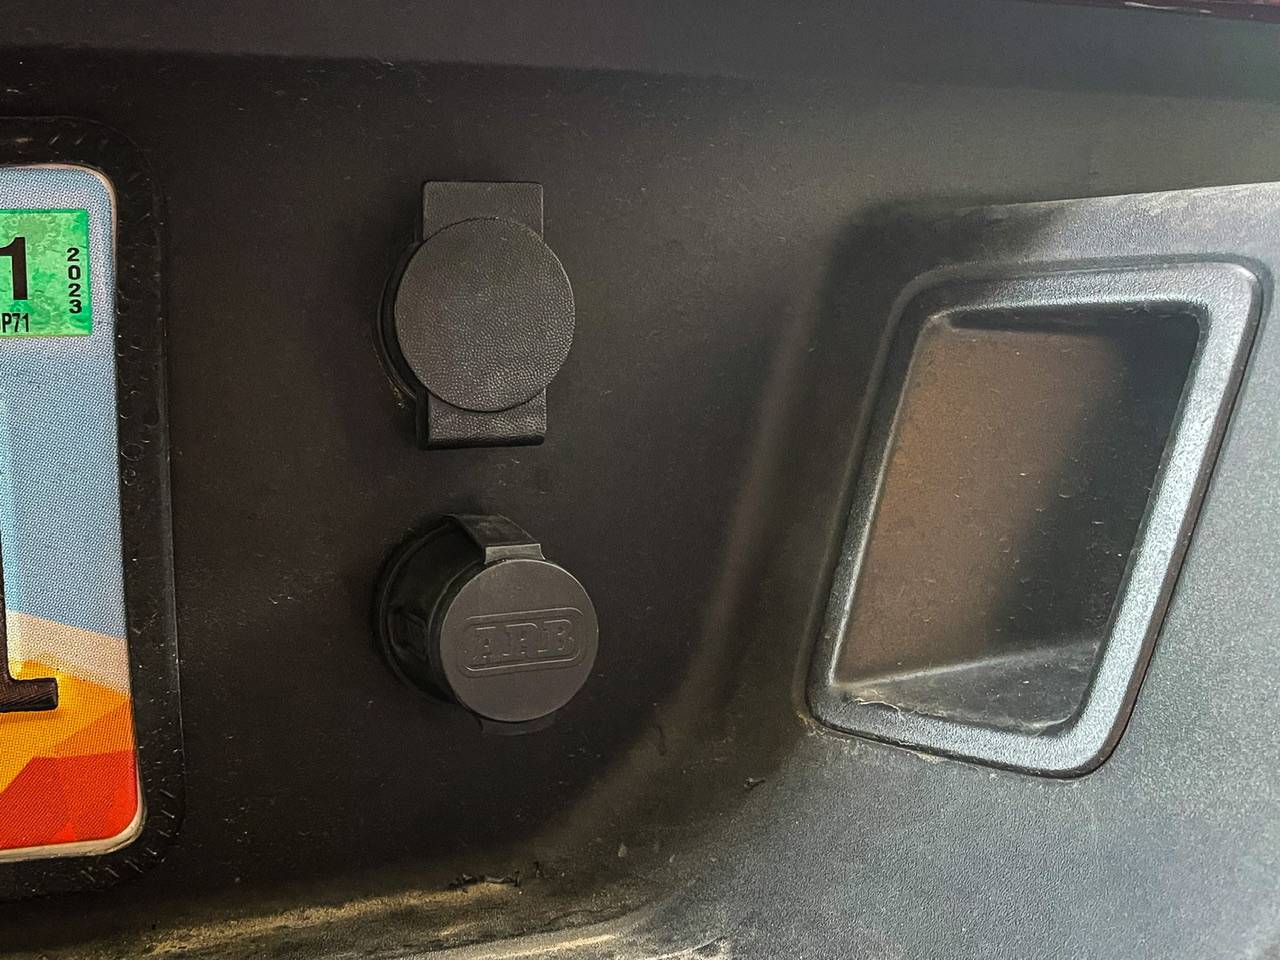
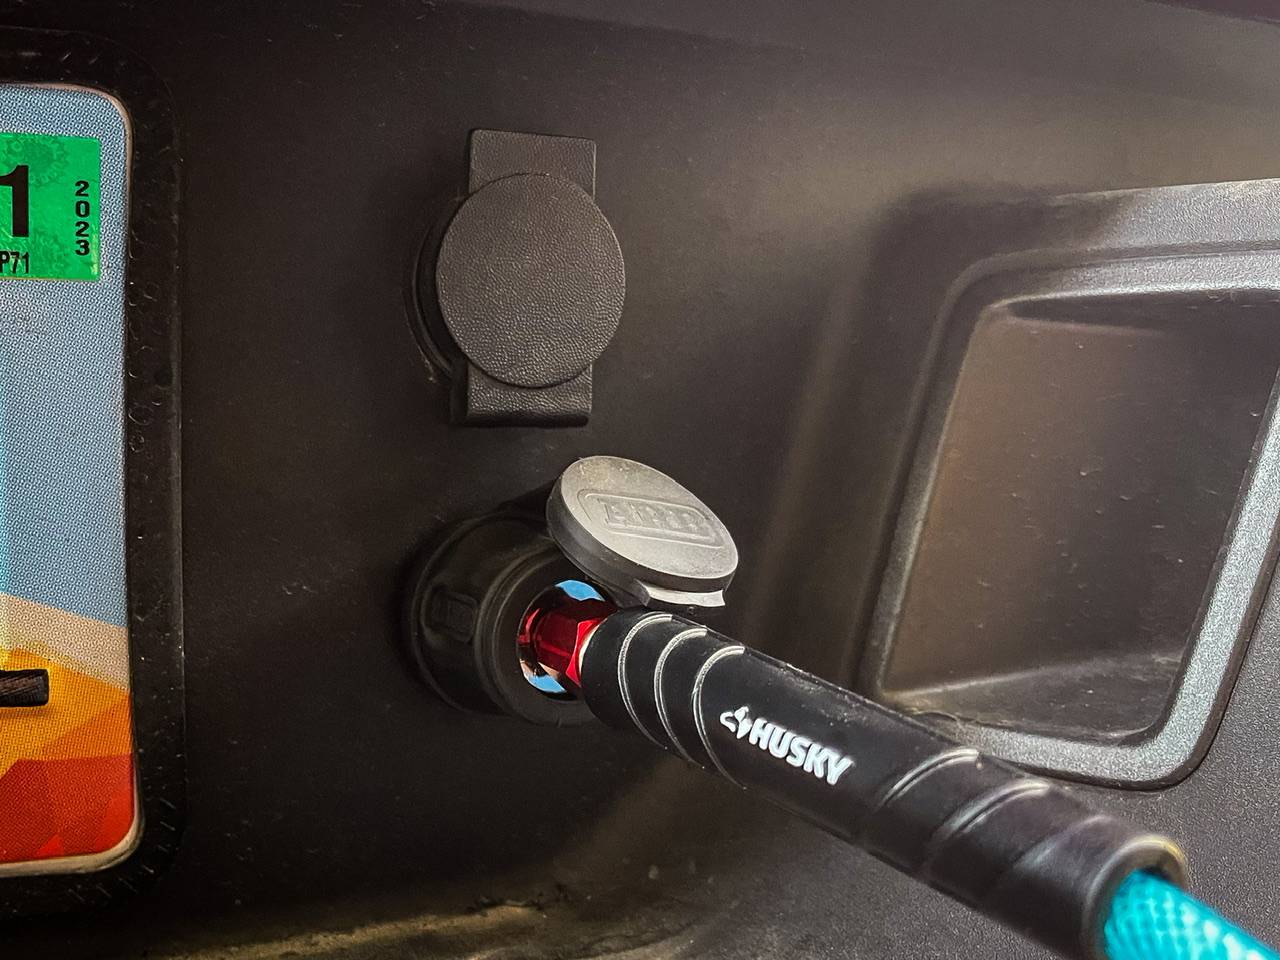
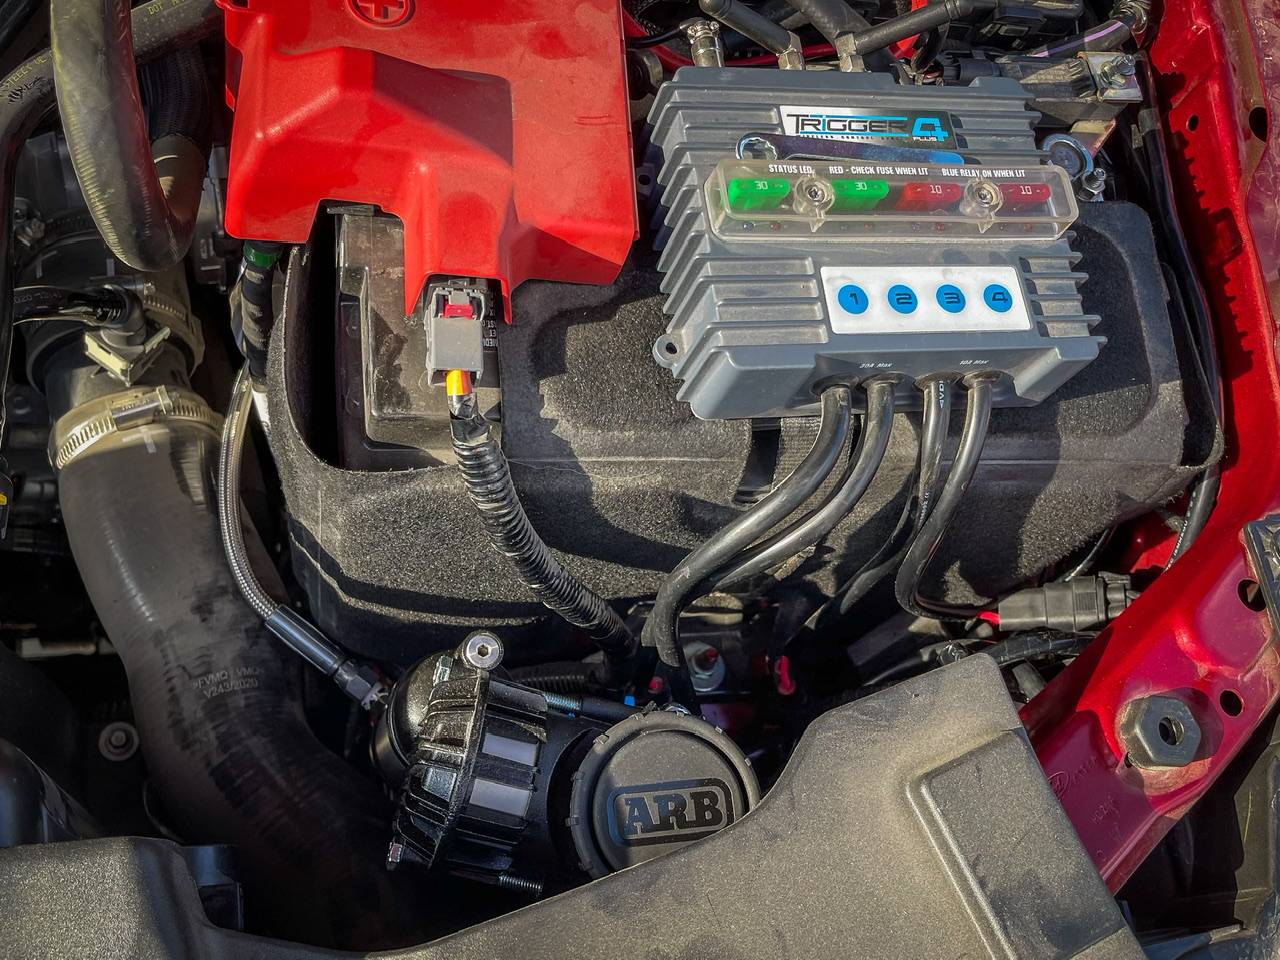
I wouldn't be surprised if a r b did enough testing to make sure it wouldn't cause an issue on any of the interior parts. If you were truly concerned though it wouldn't hurt to put on some extra thermal tape along be carpet in other panels.
 

Lames Jahey

Member
First Name
Harry
Joined
Nov 18, 2020
Threads
1
Messages
7
Reaction score
5
Location
Vancouver, BC
Vehicle(s)
Ranger XL
I finally finished my in-cab wiring tonight. There is a super easy place to drill your pass-through hole. It's next to a big harness pass-through, above your left foot. I put a little dab of silicone around the wire for vibration resistance and to keep the critters out (not pictured). From there, I basically followed the hood release cable up to near the headlight where my compressor is (that cable is pictured here, it's the black under the red arrow). Very easy process.

IMG_1484.jpg


I was able to find an otherwise unused (listed as spare in the manual) fuse to put my tap in. This fuse is switched with the key. This is the cabin fuse box, #35. Use the left side of the fuse, which is downstream. This wire is only running the signal side of the circuit to the relay. I would not recommend anyone try to run their full compressor power through the cabin.

IMG_1482.jpg


All buttoned up and pretty. Very pleased with the outcome.

IMG_1488.jpg
I’m curious how you did this fuse tap? I’m working on similar wire routing and am trying to use the classic piggy back fuse tap (red wire, blue connector) but it doesn’t fit nicely. This however, looks very clean and I like how it doesn’t jut out to one side, looks like you just stacked it above the current fuse?
 

dmeyer302

Well-Known Member
First Name
Daniel
Joined
Feb 18, 2019
Threads
21
Messages
689
Reaction score
1,633
Location
Carthage, MO
Vehicle(s)
2014 Escape, 2016 Odyssey
Occupation
Mechanical Engineer
Vehicle Showcase
1
I’m curious how you did this fuse tap? I’m working on similar wire routing and am trying to use the classic piggy back fuse tap (red wire, blue connector) but it doesn’t fit nicely. This however, looks very clean and I like how it doesn’t jut out to one side, looks like you just stacked it above the current fuse?
I used this style of tap, which extends down alongside the existing fuse. Then made my own harness with a female spade connector and a bit of heat shrink tube.

1647198606183.jpeg


ouroboros87

Active Member
First Name
Jonathan
Joined
Apr 7, 2022
Threads
6
Messages
29
Reaction score
24
Location
CA, USA
Vehicle(s)
2021 Ford Ranger Lariat Tremor
Occupation
Business Analyst
Installed the ARB Air Compressor. I mounted the compressor in the area just above the spare tire, I went ahead and removed the spare tire for now (now that i have on board air and a tire seal /repair kit, although the spare tire fits perfect in its original place). I installed the air chuck in the rear bumper and the hose is long enough to reach all four tires. This install took a lot longer than I thought and the work was done by a mechanic not a DIY job for me.

912E6B74-904E-447F-995B-7961A669999D.jpeg


0B32057B-4BA0-4F54-BF65-56A34A253587.jpeg


C835400D-524A-4512-B017-4813659D8240.jpeg


AB66089C-3BE2-4D15-9203-9E714F8984AC.jpeg


E84E0C98-97AF-4C08-8EAE-67882C3D4A3C.jpeg


FE12192A-25C9-40AB-AF94-34513732B385.jpeg


24C971B8-FDC3-4F43-9584-44838A3DCE1B.jpeg


6408F99C-CE10-458D-90AD-767A3CB6BE47.jpeg


B1DFE8DE-414C-4CFF-B82E-DEB90B0A4115.jpeg
What mounting solution did you use to place under the bed?
 

Lucille003

New Member
First Name
Vanessa
Joined
Jan 18, 2022
Threads
0
Messages
1
Reaction score
0
Location
Texas
Vehicle(s)
Ford ranger 2019 xlt 4x4
It looks like they will utilize the space behind the rear seat.
Only issue with me, is from past experience running Arb twin...even with built in fan they get hot and its not a quiet compressor.
(noise level is kinda high)

I would imagine if you have passengers, they have to get out when using the compressor.
(noise level will reverb from the back to the cabin)

Kudos to Arb for making this...its a start.
But, I would’ve liked a bed specific mount rather than in-cab.
Do you think a single Arb would be better for this location ?
 

Frenchy

Well-Known Member
First Name
Chris
Joined
Mar 15, 2020
Threads
98
Messages
6,143
Reaction score
8,291
Location
Elizabeth, Colorado
Vehicle(s)
2019 Ford Ranger, 2019 cargo van, soon to be 1993
Occupation
Crown Forklift Technician
That particular bracket is designed for a single ARB Compressor. I can also confirm they make noise and get warm but they do the job well
 

Hoody

Member
First Name
Justin
Joined
Apr 1, 2022
Threads
1
Messages
8
Reaction score
53
Location
WA, Australia
Vehicle(s)
2017 Ranger XLT
Installed the ARB Twin Compressor recently and have been really happy with it given the use it's had so far. I was previously using a smaller portable twin compressor, which was great for the price and very handy the amount of times I used it. However it used to take around 25-30 minutes or so to inflate all four tires, usually running from 16-18psi back up to 30-35psi (on 31.6'' tires) or enough til I got to a service station to finish topping up.

I managed to mount it under the rear seat on a simple little skid mount I knocked up for now, which is a snug fit, and carpeted half the inside to try reducing the vibration and noise a bit- she is a little loud when running but not too obnoxious, seat down and it is fine!

I did find a company online that sells a nice dedicated mount for this spot under the seat, which runs around $260AUD with another mount for the air fitting just inside the door next to the seat.

20220512_114329.jpg


I also decided to route some tube and plumb into the a/c pipe that comes into the vent to cool the center console compartment. Shutting the compartment vent allows the air to carry on back to the compressor giving it a cooler environment, as I didn't want to worry too much about the heat this thing generates when under the closed seat, because it does get rather warm after operating for a little while!

You do have to switch the zone and blast it onto your feet for it to be effective enough. I used to sit my portable compressor in the passenger side foot well and do the same to keep it from running up into thermal cutout sometimes, so it's no different for me having it like this when doing the tires.

20220330_133352.jpg


20220330_131211.jpg


20220407_143644.jpg


I was able to make the coupler mount no worries out of some spare galv plate I had and fixed them on both the passenger and drivers sides, which seem to be rock solid when plugging in and removing the inflation hose. I'd prefer them painted black or charcoal to match the carpet but they will do for now. External coupler points will be plumbed in when I have more time to do it.

20220512_115224.jpg


20220512_131850.jpg


I routed the main harness down alongside the door trim and found the fuses would sit happily enough under the bottom of the B pillar trim. Sending the wires under the drivers seat, out the grommet and along the chassis to the battery. The pic below is testing locations before I wired it in. (Please excuse the sandy mess?)

20220323_193618.jpg


20220512_122332.jpg


The switch runs off of the Lightforce custom dual switch fascia that replaces the original trim that mounts the two 12V sockets in the front dash/console area. You can get away with just running a smaller switch like this to the harness as the relay is built into the compressor package on this model. I did take out the part of the harness for the air lockers however because I won't need them.

20220512_114747.jpg


Running this new setup I can get all tires done and the inflation gear packed away in around 12 minutes or so which includes me checking pressures and fluffing around haha.
 
Last edited:

Mastodon

Well-Known Member
First Name
Jacob
Joined
Apr 16, 2021
Threads
2
Messages
118
Reaction score
487
Location
Las Vegas
Vehicle(s)
2020 Ranger Lariat FX4, 2020 Explorer Limited
I finally installed the ARB single in my Ranger.
B2E36282-021F-41CA-A302-2E660BE41733.jpeg
Couldn’t come up with a better way to stick it in the engine bay, so I fabricated the same style of bracket as dmeyer302 did back in post #23
936E372F-D463-44A3-BA6E-F4B8AFAD8635.jpeg

Fits well vertically, with a trimmed down wiring harness ran underneath it. Controlled by the Trigger 4, I can use the phone to turn it on/off, as well as the switch on the trigger itself. No need for an in-cab switch, since it’s not like I’ll be using it from the driver’s seat anyways.

Two 3-meter hoses aren’t cheap, but at least I won’t ever have to worry about melted or punctured lines. Besides. I didn’t need to run the whole length as a braided hose, but I didn’t know how I’d route it when I purchased the lines.

5E58189D-9E6D-47A1-8A31-E9B5FD9D97D2.jpeg

6AEFE79A-0654-4545-A9DE-AA53A448D492.jpeg

It’s convenient that the reinforcement behind the bumper only covers a portion of that area, makes it easy to drill a hole for the quick-connect fitting.
E8D7368D-CEC9-4523-8B99-F33F7E0A300C.jpeg

21137875-9E9A-4306-9202-12A17FB1C25C.jpeg

All-in-all, install was easy and the final result is both functional and discrete.

63157AA3-461F-4592-BA56-493DDAB23BCC.jpeg


285E3CE1-8DB4-490A-A376-F822A1AEF6C8.jpeg
 

Colo_Ranger

Well-Known Member
Joined
Apr 19, 2021
Threads
42
Messages
2,520
Reaction score
8,015
Location
Colorado
Vehicle(s)
2021 Ford Ranger XLT FX4
Vehicle Showcase
1
I finally installed the ARB single in my Ranger.
B2E36282-021F-41CA-A302-2E660BE41733.jpeg
Couldn’t come up with a better way to stick it in the engine bay, so I fabricated the same style of bracket as dmeyer302 did back in post #23
936E372F-D463-44A3-BA6E-F4B8AFAD8635.jpeg

Fits well vertically, with a trimmed down wiring harness ran underneath it. Controlled by the Trigger 4, I can use the phone to turn it on/off, as well as the switch on the trigger itself. No need for an in-cab switch, since it’s not like I’ll be using it from the driver’s seat anyways.

Two 3-meter hoses aren’t cheap, but at least I won’t ever have to worry about melted or punctured lines. Besides. I didn’t need to run the whole length as a braided hose, but I didn’t know how I’d route it when I purchased the lines.

5E58189D-9E6D-47A1-8A31-E9B5FD9D97D2.jpeg

6AEFE79A-0654-4545-A9DE-AA53A448D492.jpeg

It’s convenient that the reinforcement behind the bumper only covers a portion of that area, makes it easy to drill a hole for the quick-connect fitting.
E8D7368D-CEC9-4523-8B99-F33F7E0A300C.jpeg

21137875-9E9A-4306-9202-12A17FB1C25C.jpeg

All-in-all, install was easy and the final result is both functional and discrete.

63157AA3-461F-4592-BA56-493DDAB23BCC.jpeg


285E3CE1-8DB4-490A-A376-F822A1AEF6C8.jpeg
any pictures of the mount you used to mount the compressor? This is exactly what I want to do.
 

TOMDEE

Banned
Banned
First Name
tom
Joined
Sep 5, 2022
Threads
9
Messages
235
Reaction score
278
Location
niagara falls
Vehicle(s)
2019 lariat
Occupation
retired
Hi, just want to start a thread about onboard air and also to see other members setups.
I also wanted to share where I put mine and why I went with the ARB twin compressor.
It was abit of a pain trying to run wiring from battery to bed...but it’s all worth it in the end.
Some of you guys already know, I modded one of the factory swing out tool box to hold my ARB compressor.
https://www.ranger5g.com/forum/thre...m-swing-out-tool-boxes.2397/page-2#post-31548
Anyway, I’ve been lucky with ARB twin compressor in the past with my Jeeps, that’s why I chose to install it in the Ranger. Aside from airing up, I also like the versatility to be able to run air tools (135 up to 150 psi per ARB) when needed.
During a test I was surprised how quickly the Aircat/ ARB combo took a lug nut off with ease.

So please, If you have different locations or ideas for onboard air, you can share them here.:)
I know under the hood behind the drivers side headlight, there’s a small area that can prob fit a small compressor, but I couldn’t use it cause the ARB twin is huge. LoL.

F6F98EDC-67FD-424B-8B93-84491C949900.jpeg


View attachment 7854

392EEF5D-18C1-4E96-85B3-8D7F98A87441.jpeg


AE7D98E5-D6E4-42AA-BC8A-8C4DA972D61A.jpeg


View attachment 7857

CAA40EF4-1B92-4F4F-A075-58B39304D91E.jpeg


34162CF7-067C-47BB-846C-17317B666665.jpeg


12CD067B-4D7B-43B9-9EB9-410FA9B6574C.jpeg


F6BDE9B0-C733-4091-B543-E1F20E414AFC.jpeg


C576078E-F094-42EF-8623-EC56D2CC5C4B.jpeg


441A969D-11A5-4783-91E9-B2EC2BED16E9.jpeg
YOURE ARE ALL SET FOR A QUAD TRAIN HORN NOW..AMAZON SELLS THEM
 

Mastodon

Well-Known Member
First Name
Jacob
Joined
Apr 16, 2021
Threads
2
Messages
118
Reaction score
487
Location
Las Vegas
Vehicle(s)
2020 Ranger Lariat FX4, 2020 Explorer Limited
any pictures of the mount you used to mount the compressor? This is exactly what I want to do.
I don’t have any of mine, didn’t start taking picture until the install was finished, but take a look at Post #23. The bracket I made is a copy of that one, but where his is wide enough for 2 screws to attach it to the core support, mine’s only wide enough for 1. The little bit of flex from the compressor torque doesn’t seem to be a problem but, if you’ve got the material, his is stronger.
Sponsored


Top