OP
OP
micl9
Well-Known Member
- Thread starter
- #61
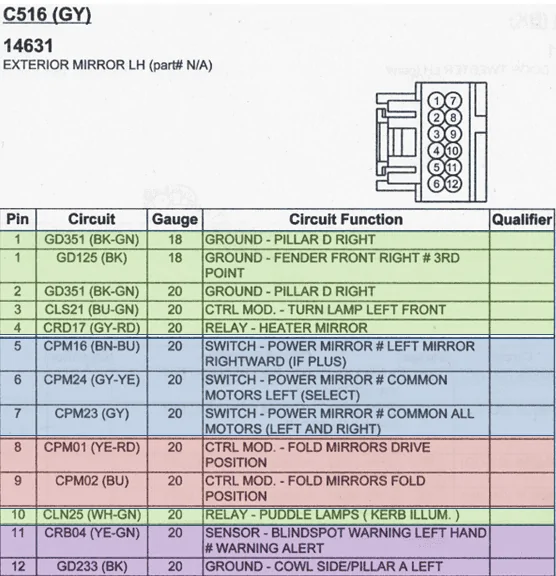
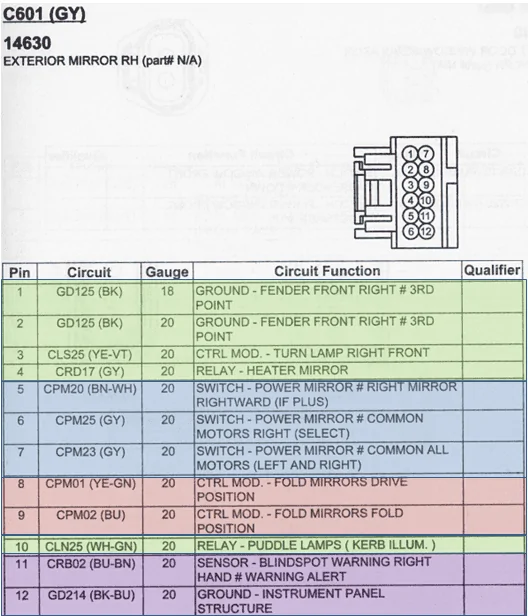
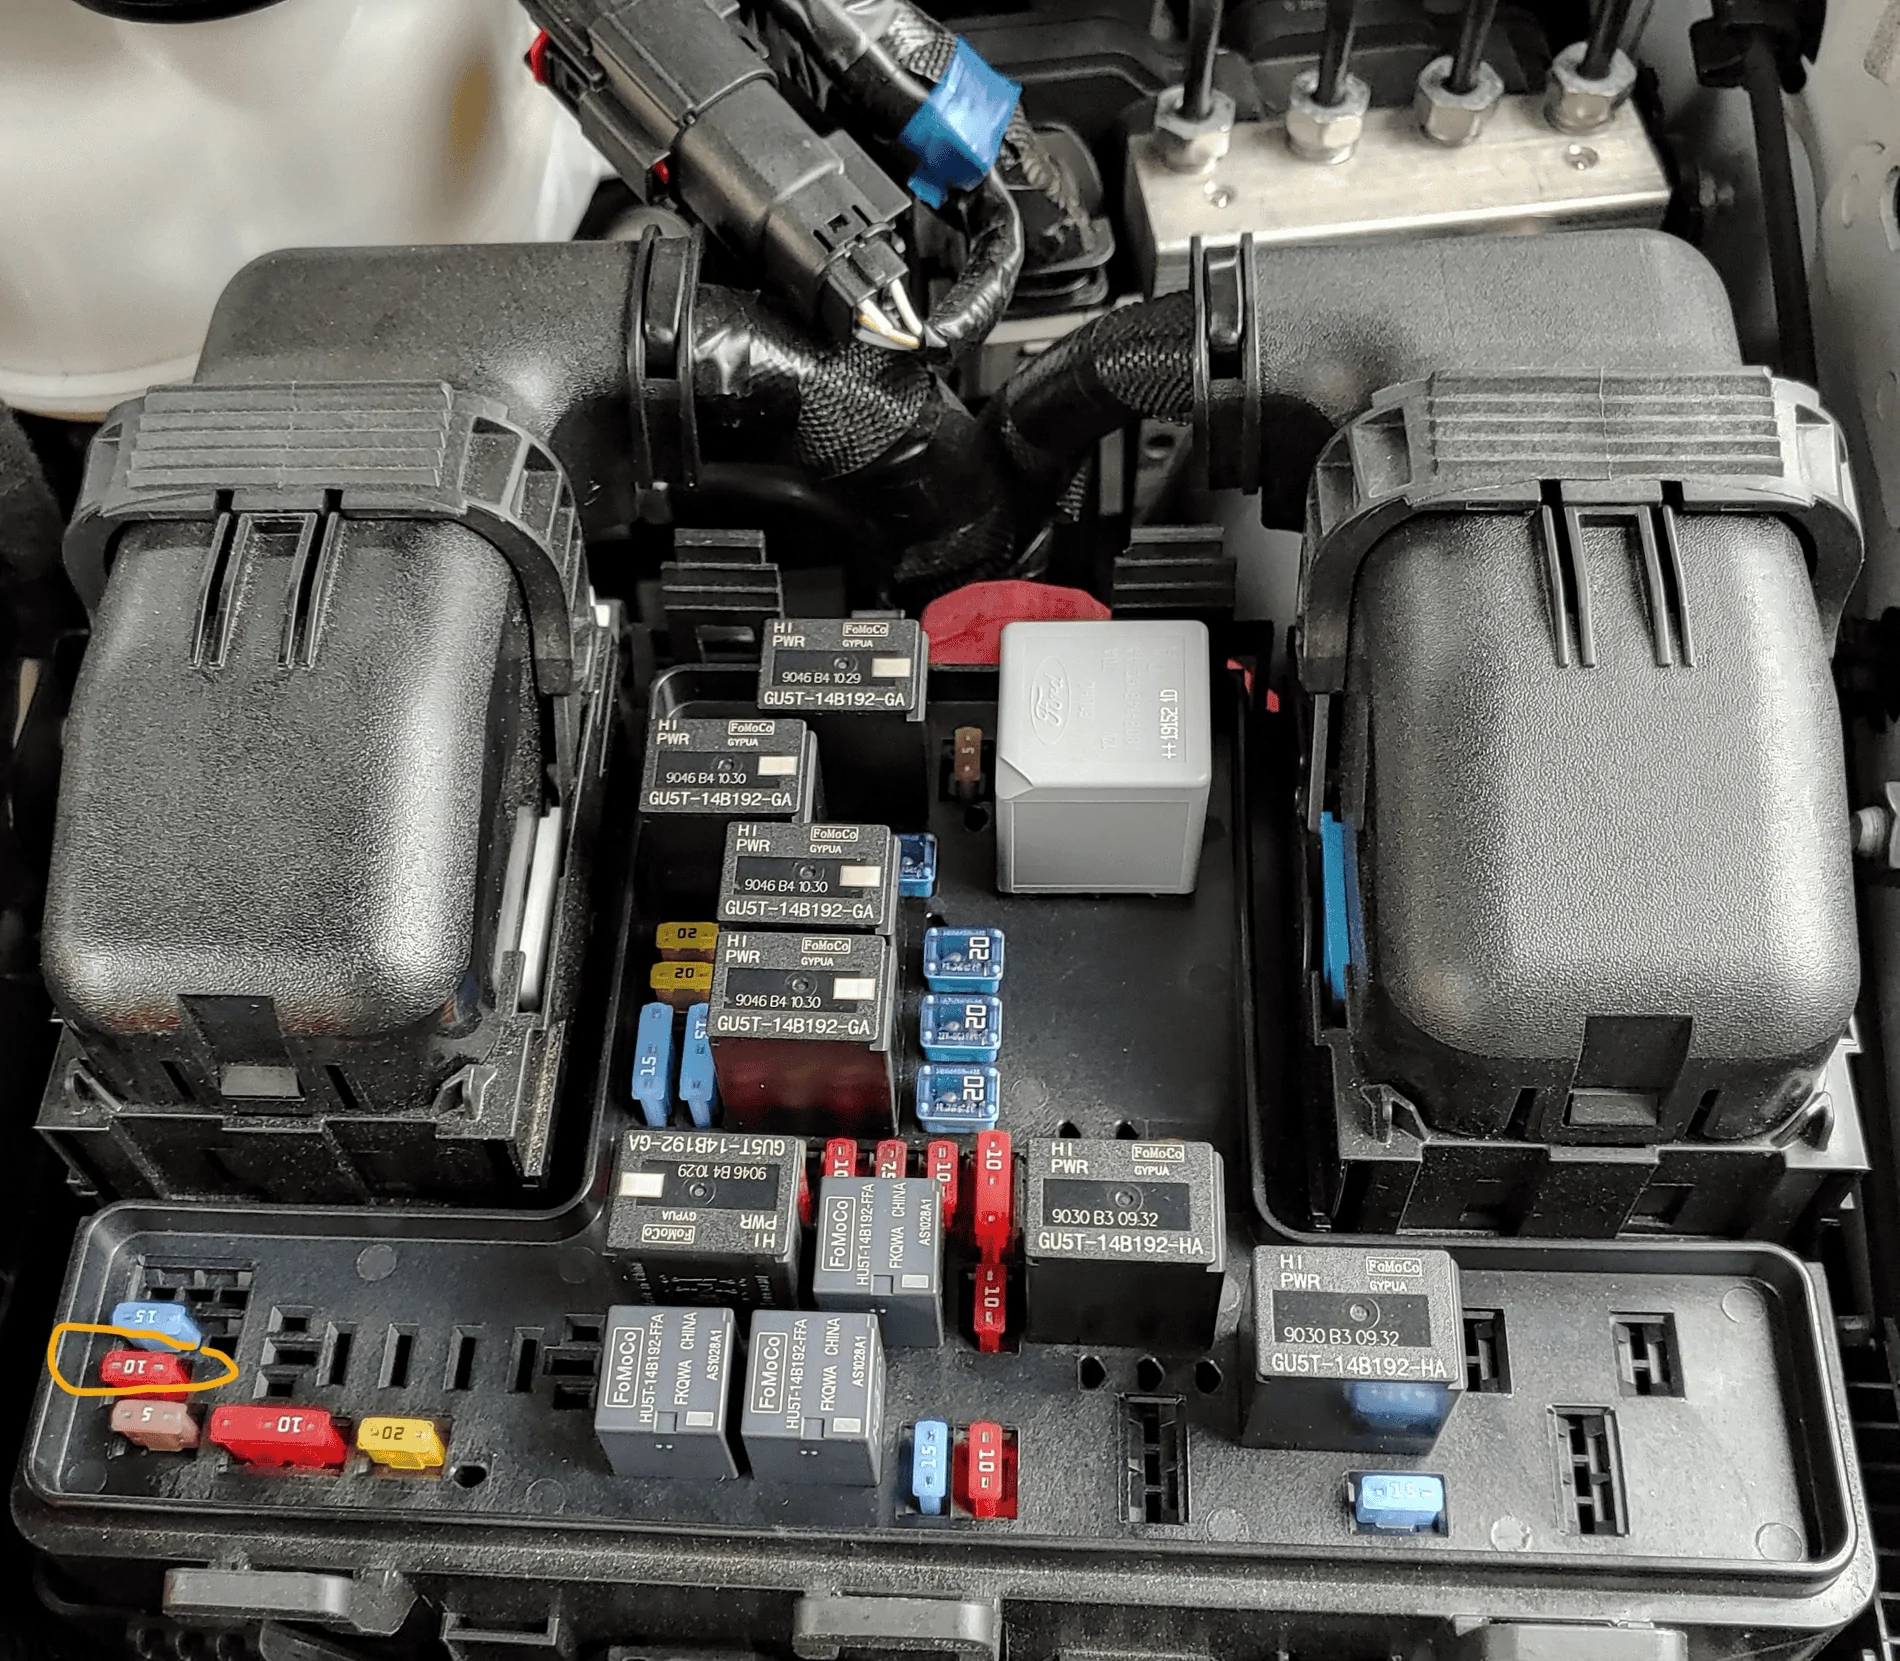
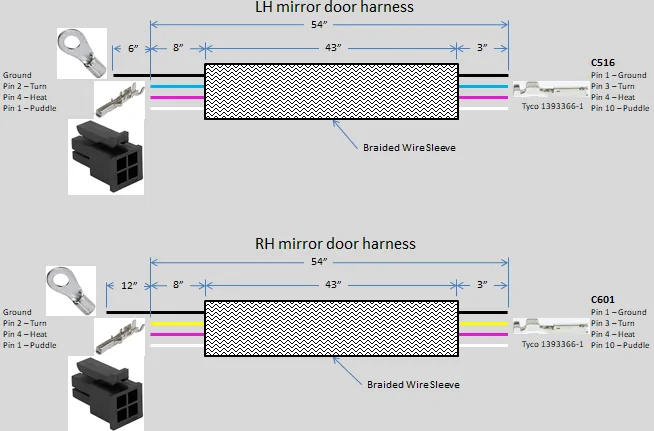
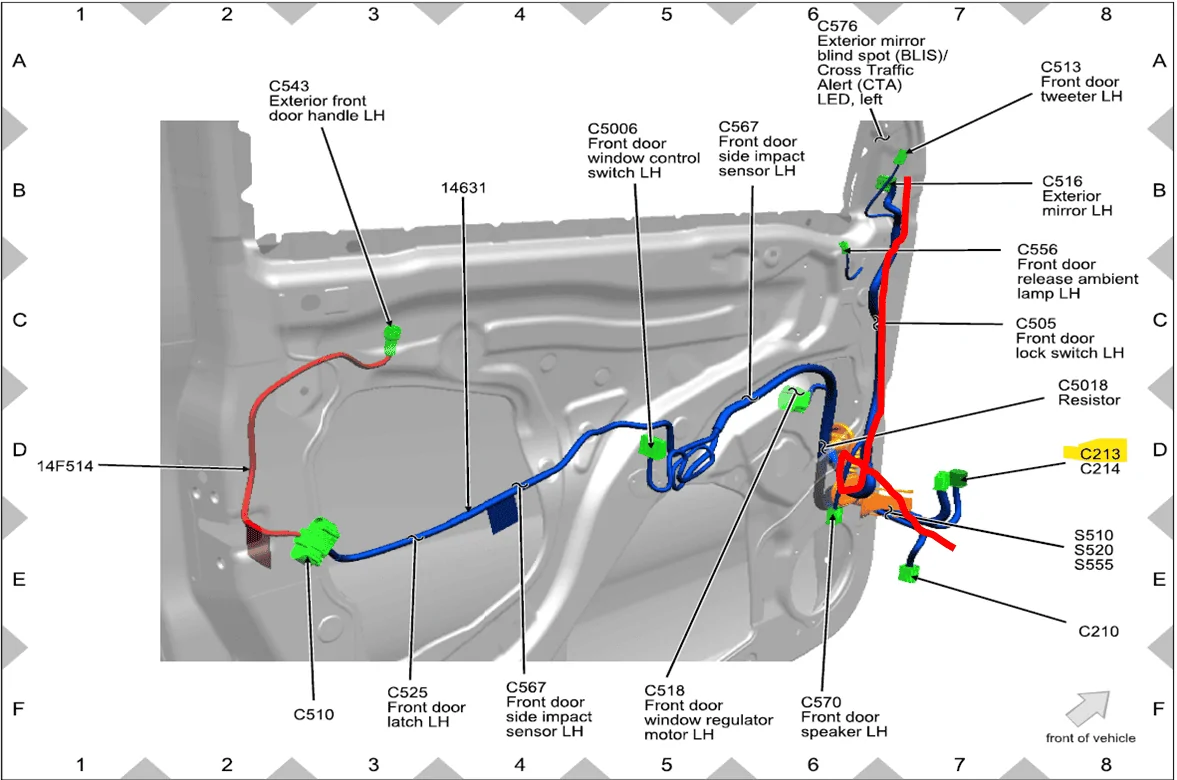
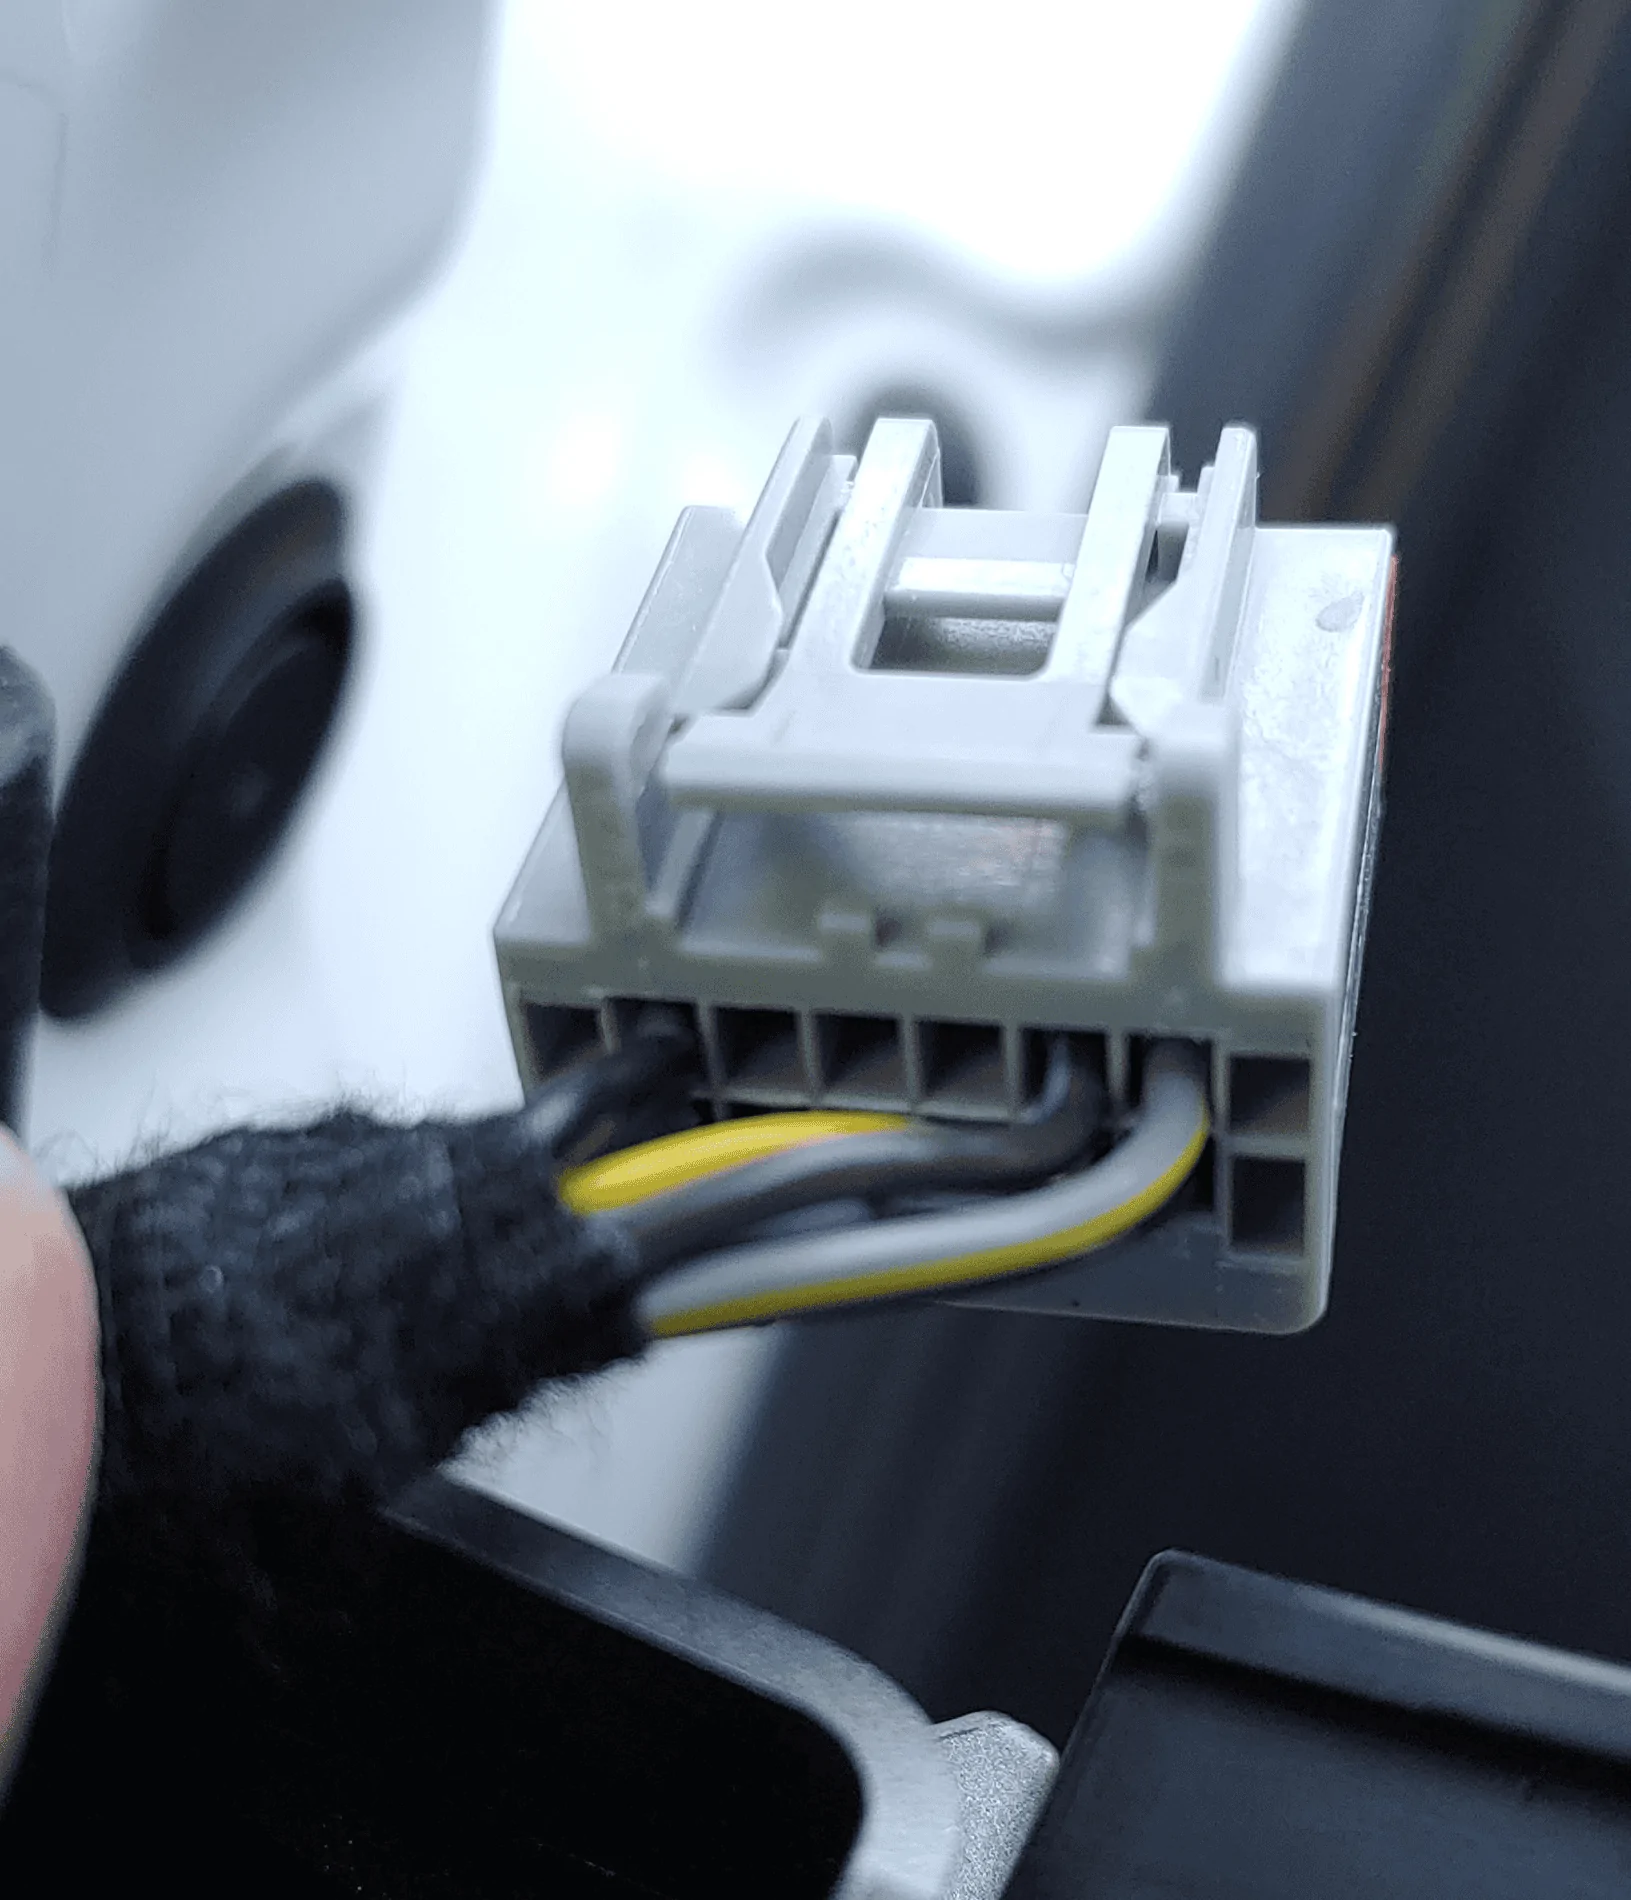
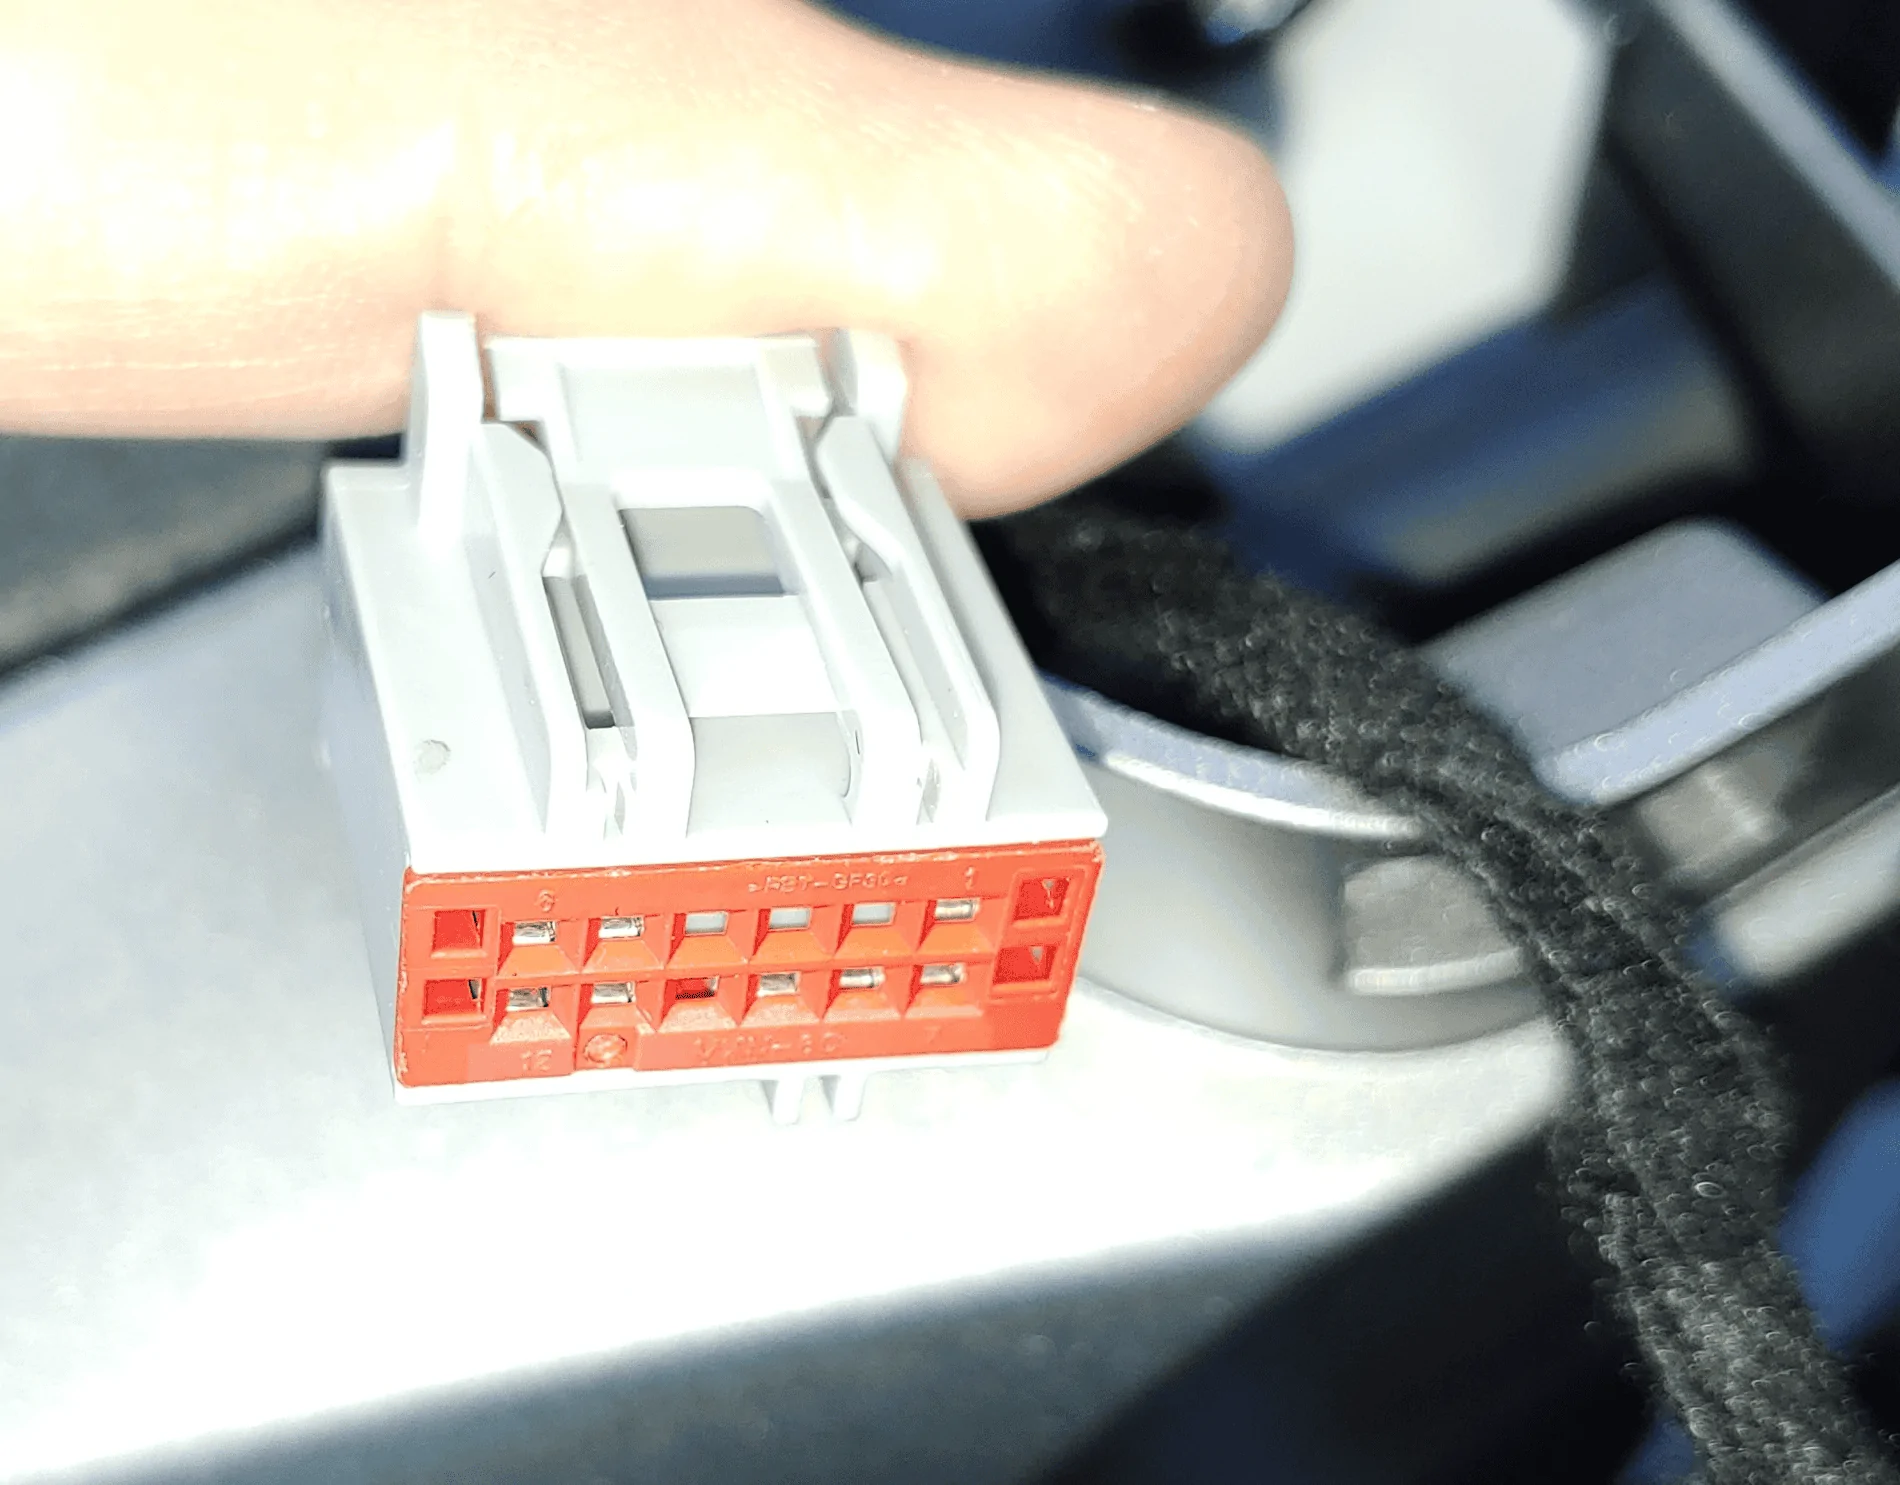
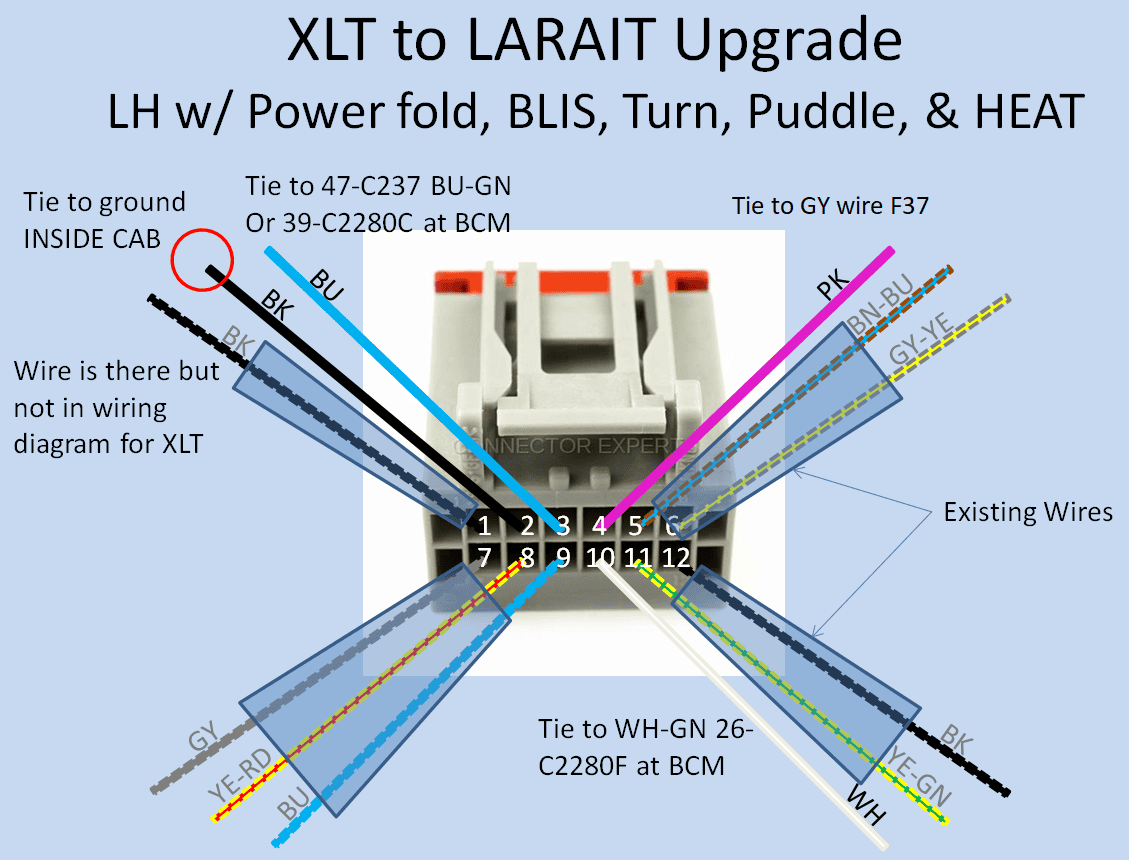
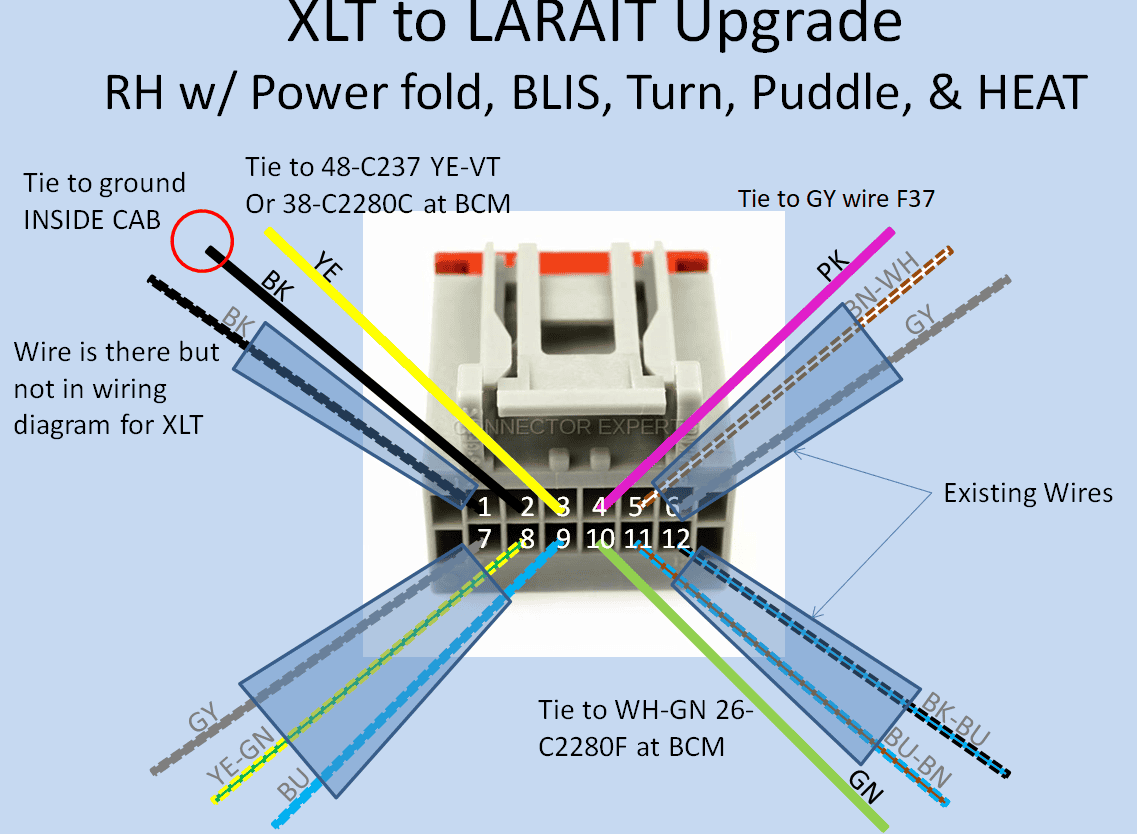
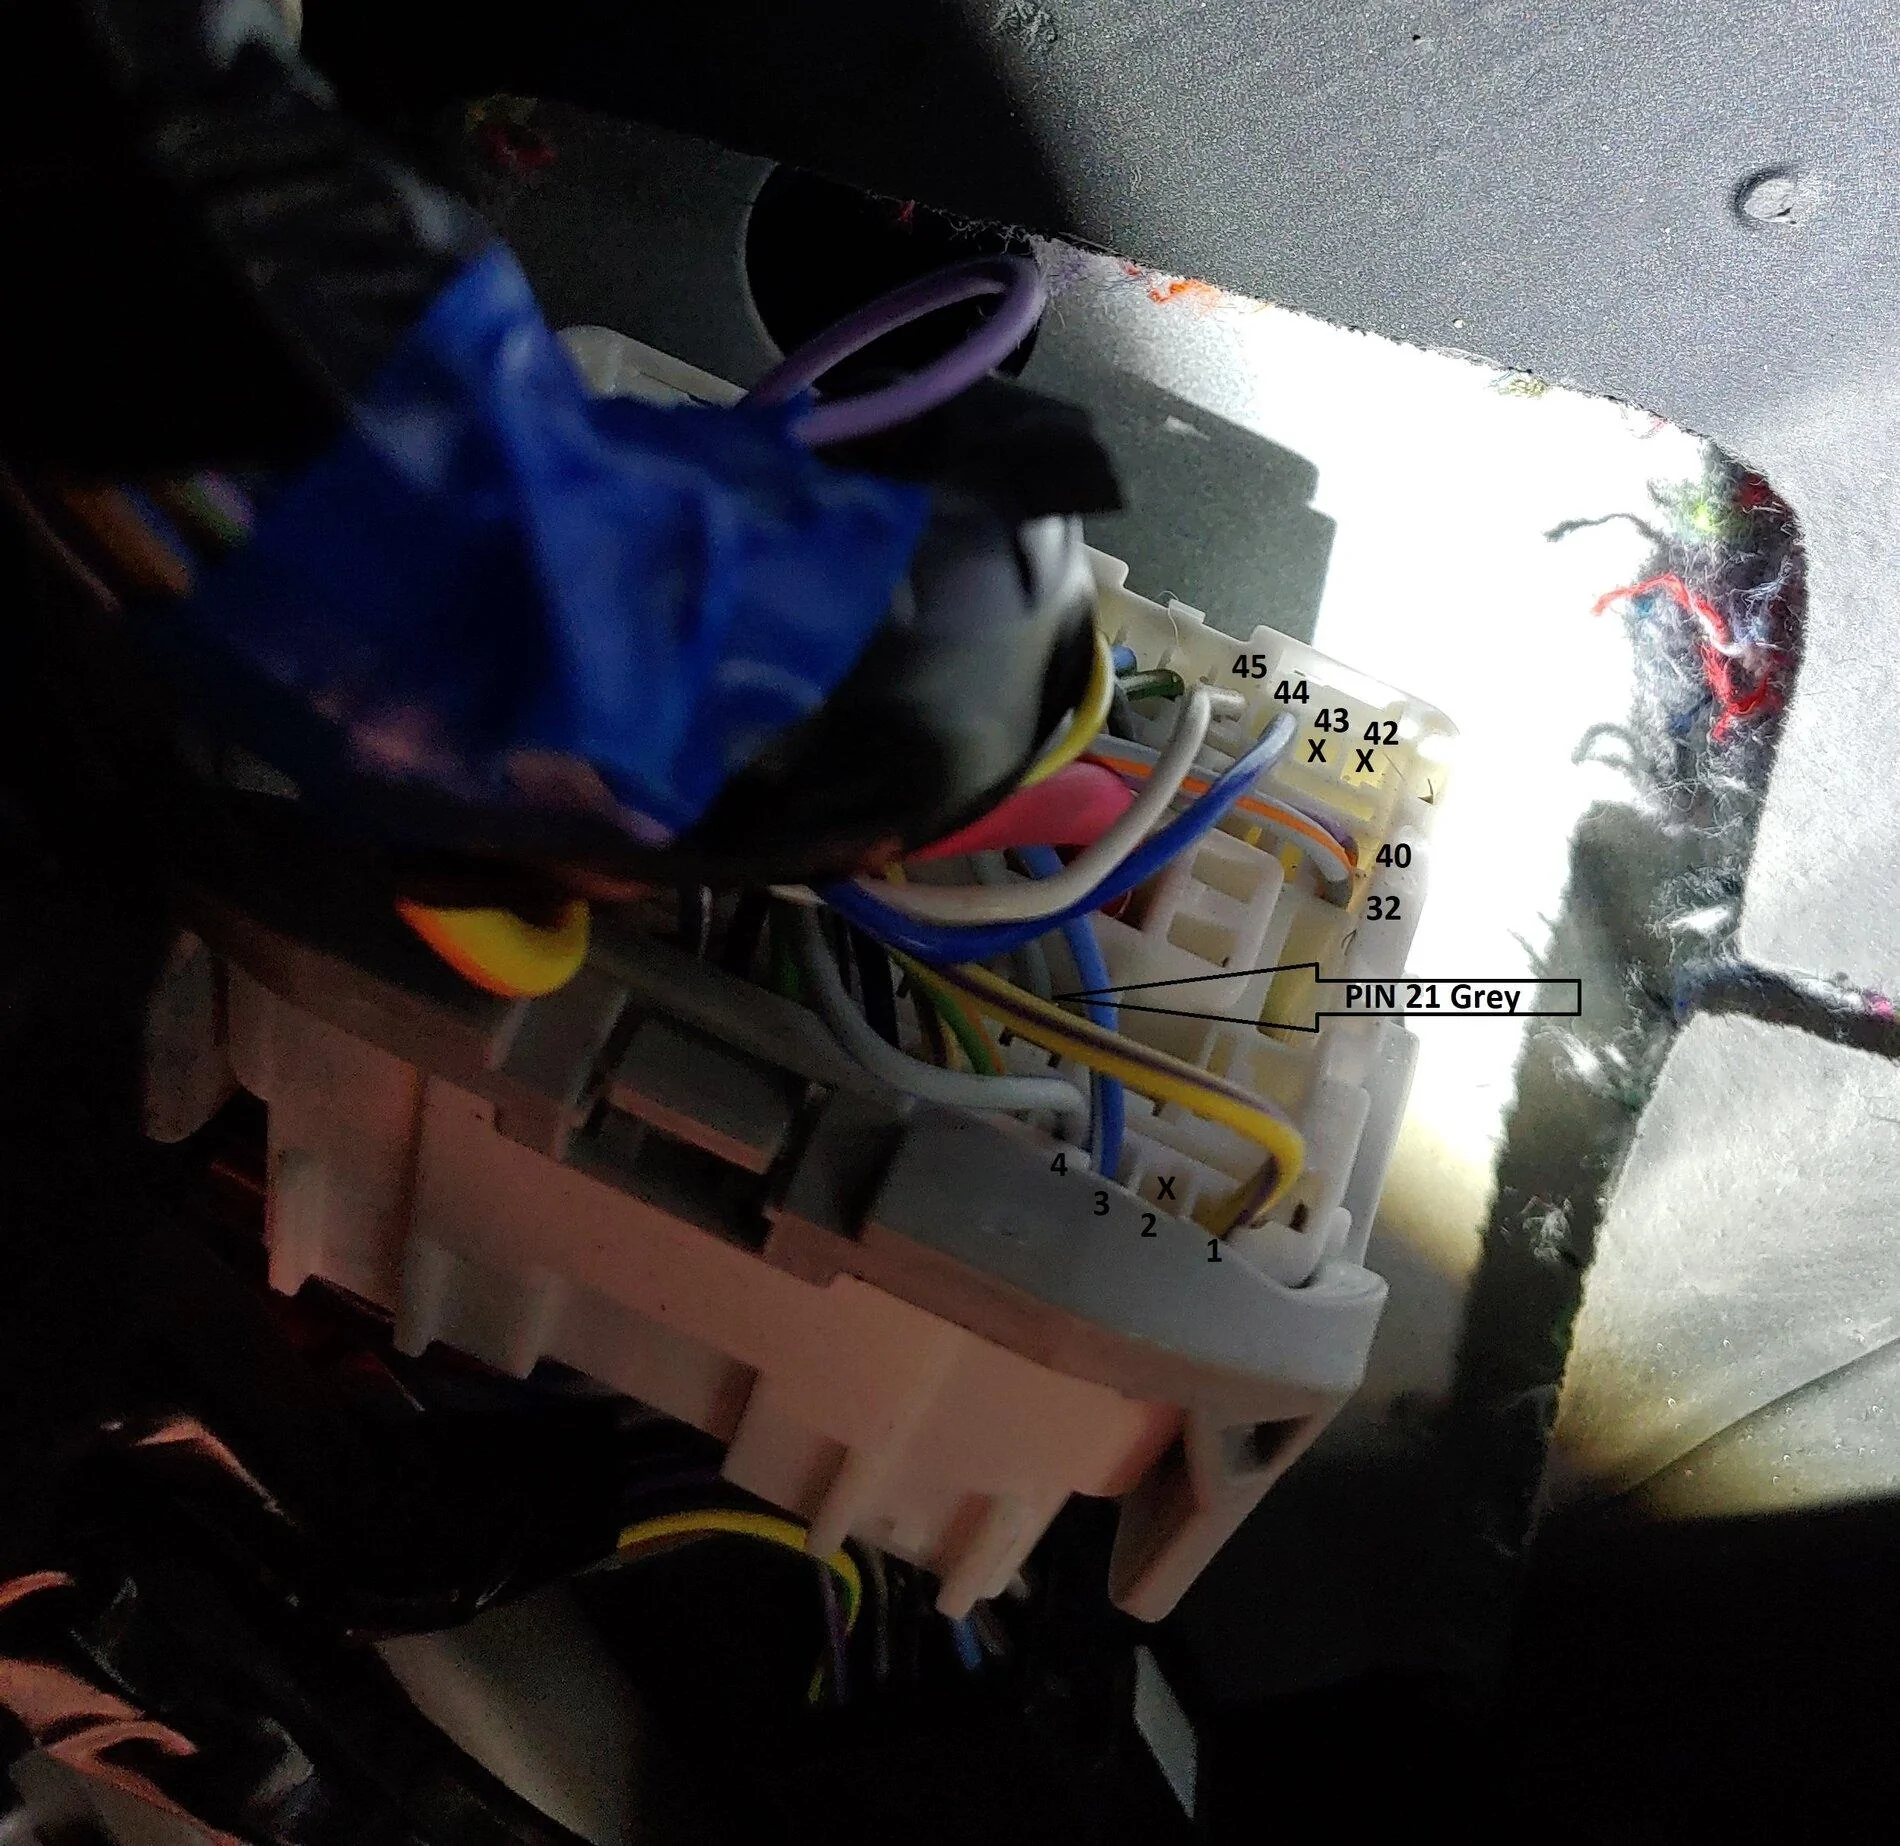
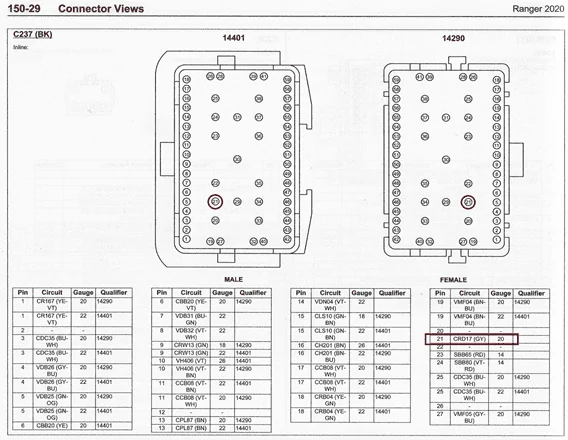
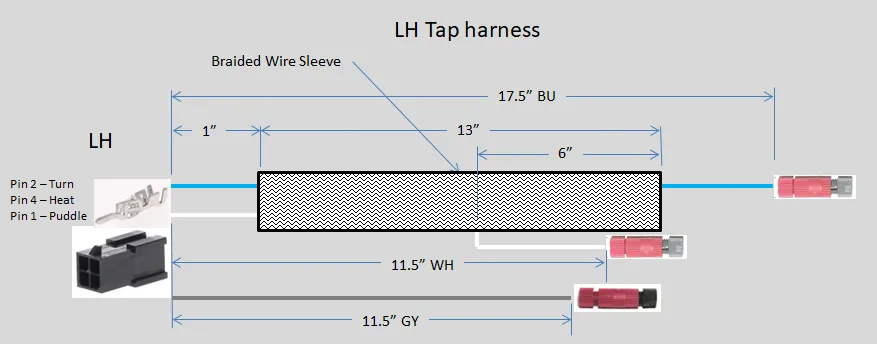
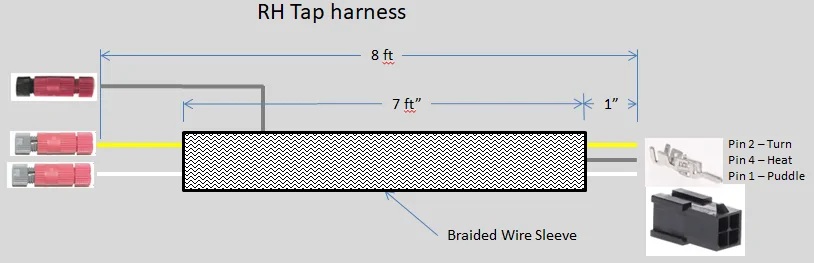
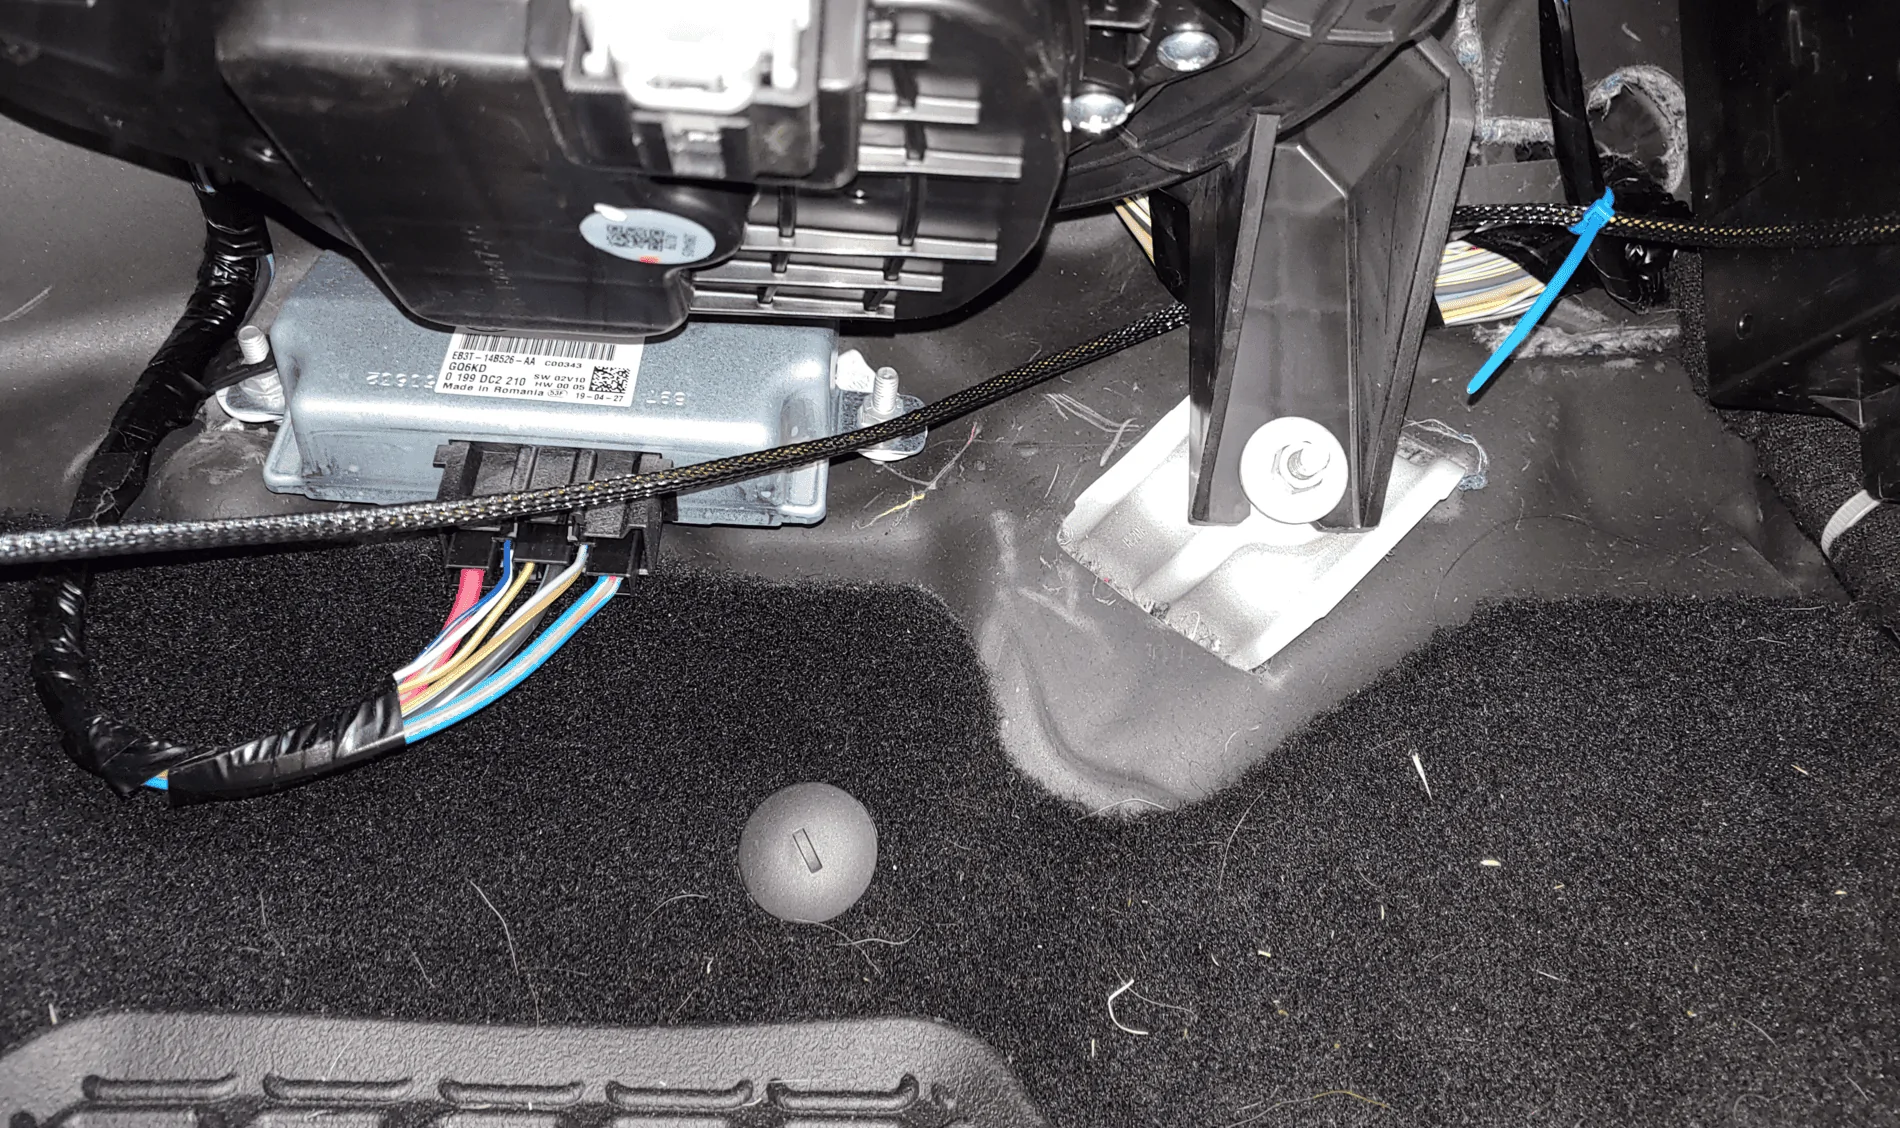
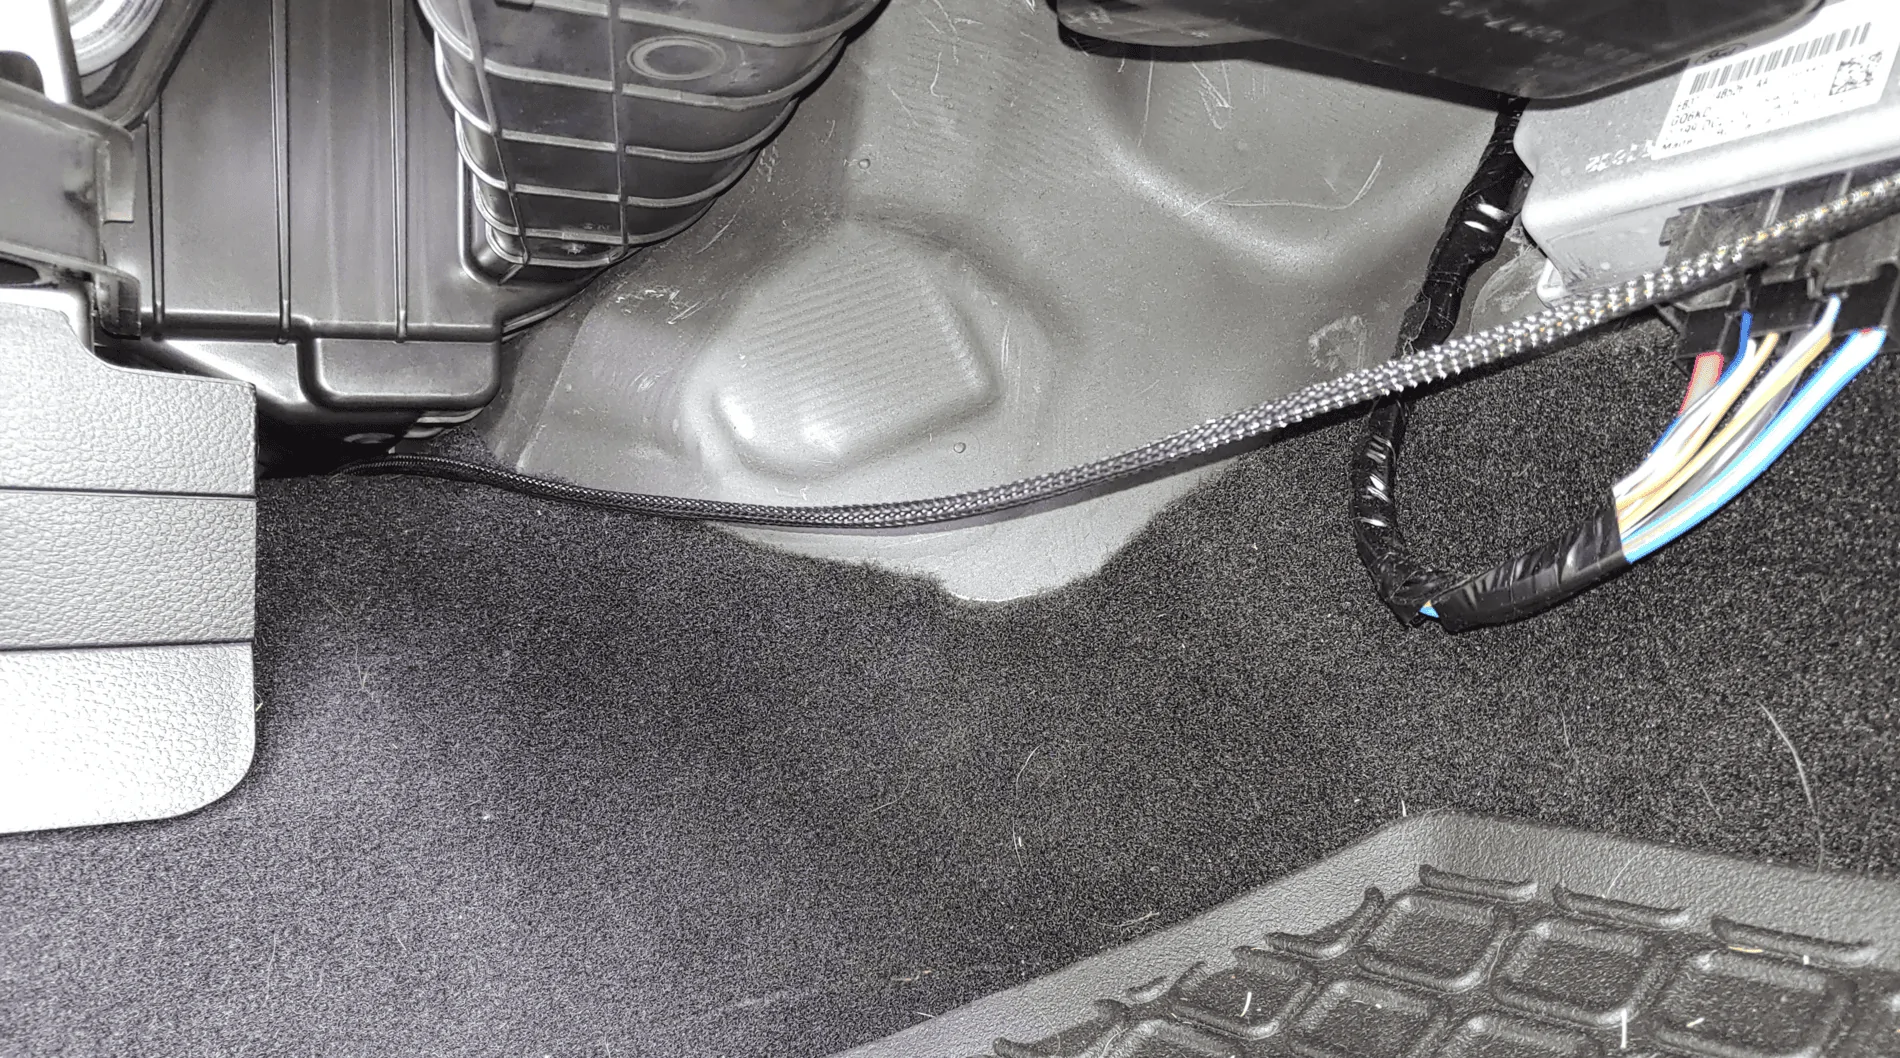
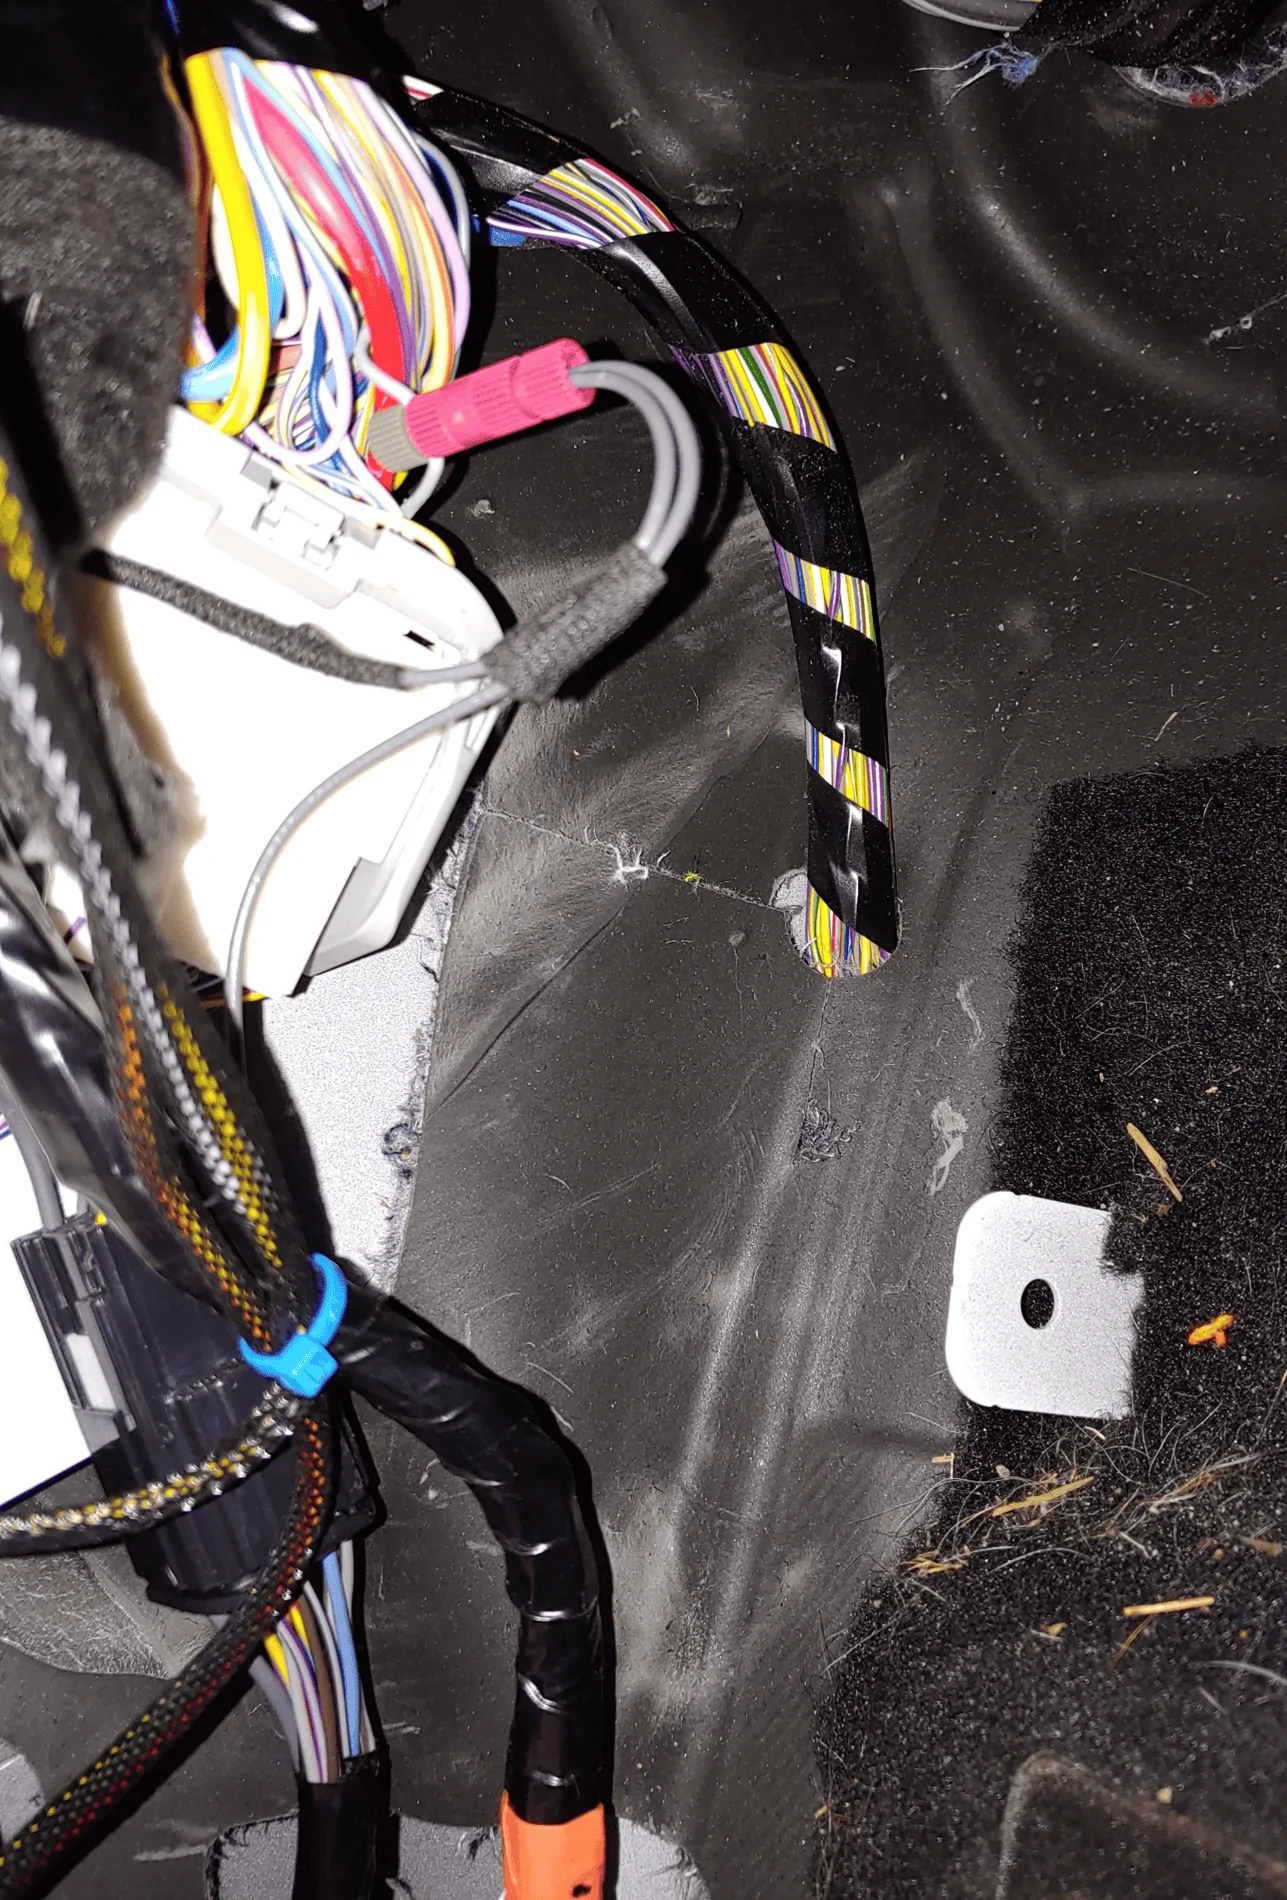
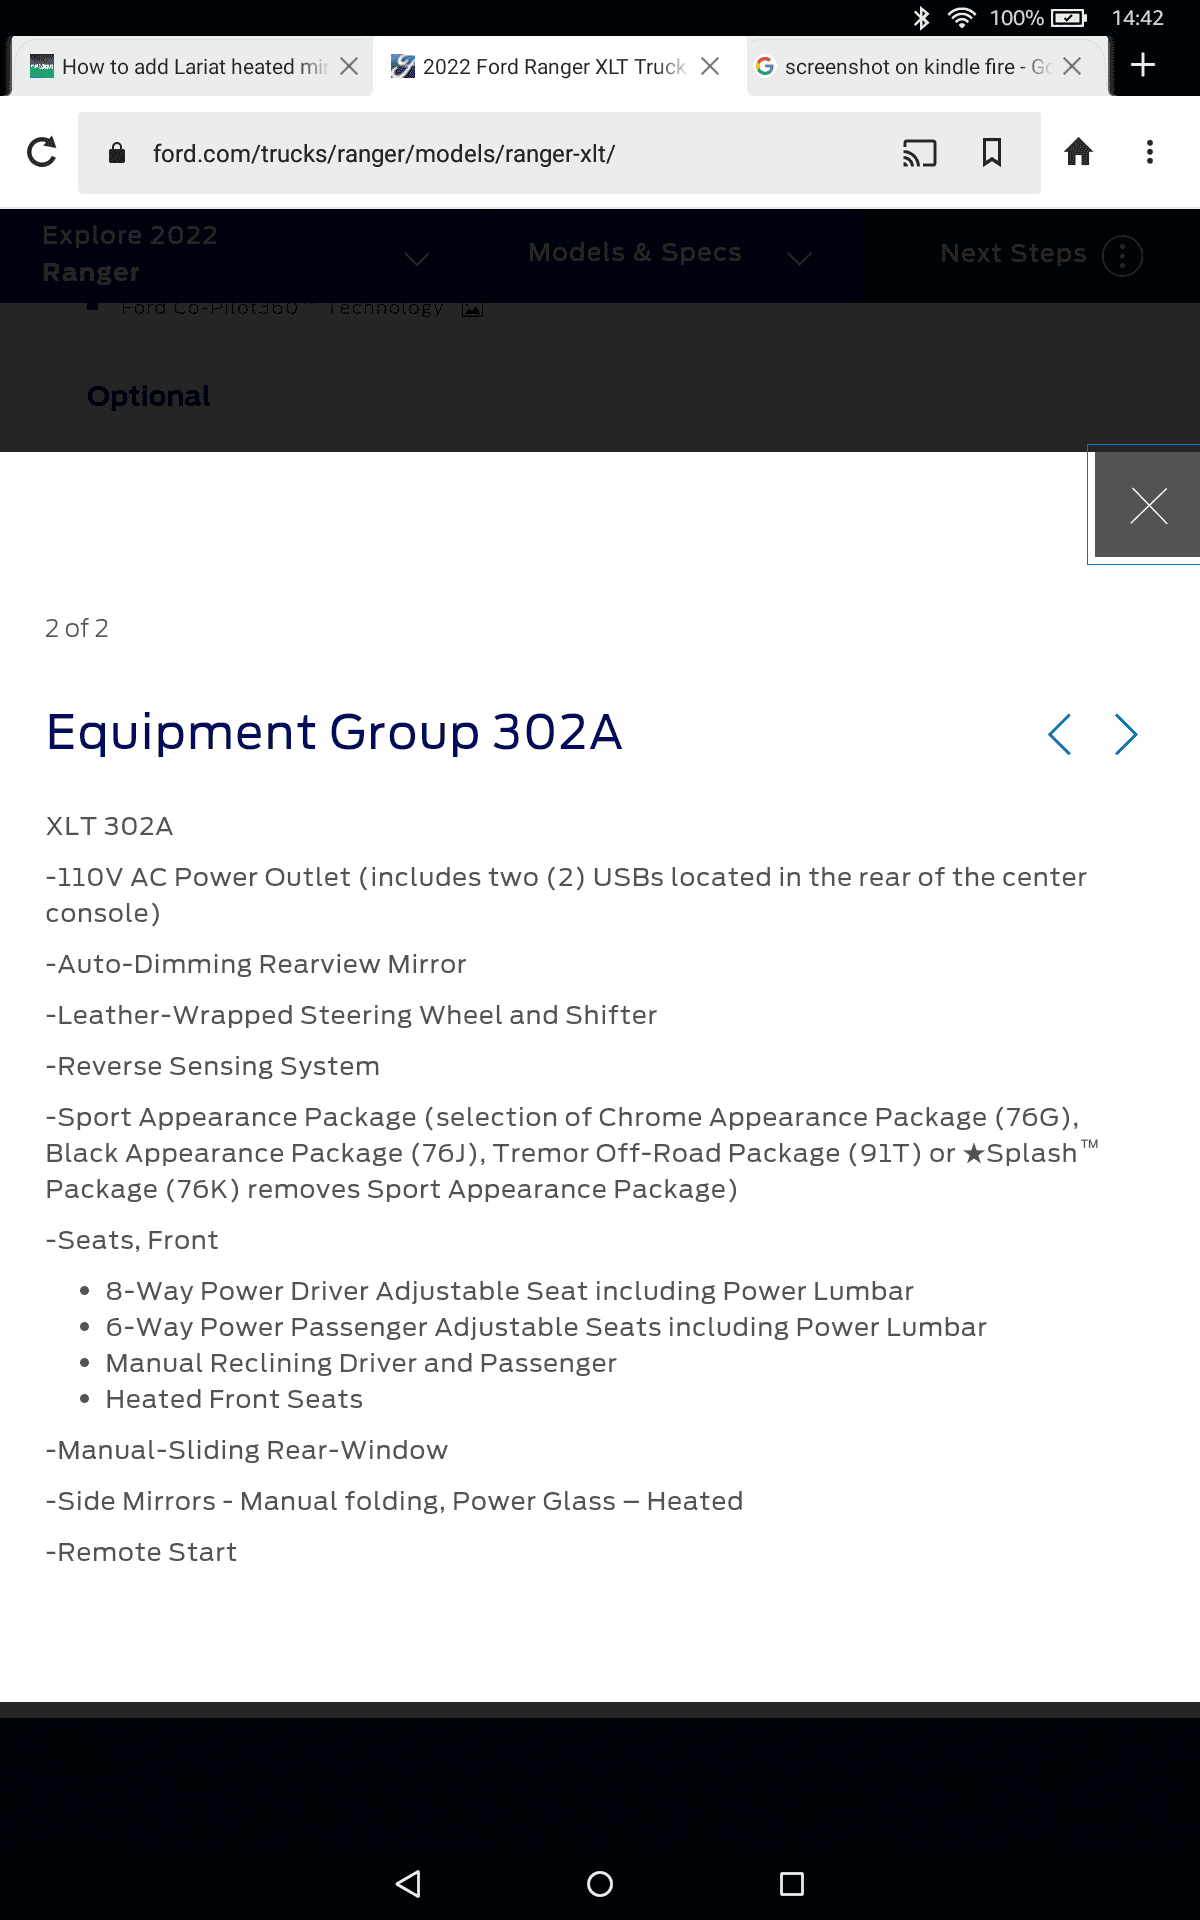
Ryan from the pic you sent me you are correct there is no wire in C237 pin 21 (grey or otherwise!). Its either the option package or the model year. I suspect the later as Ford probably went thru and tried to cut costs.I do have the fuse. I'm reaching now but only thing I can think of is the 301A vs 302A package?
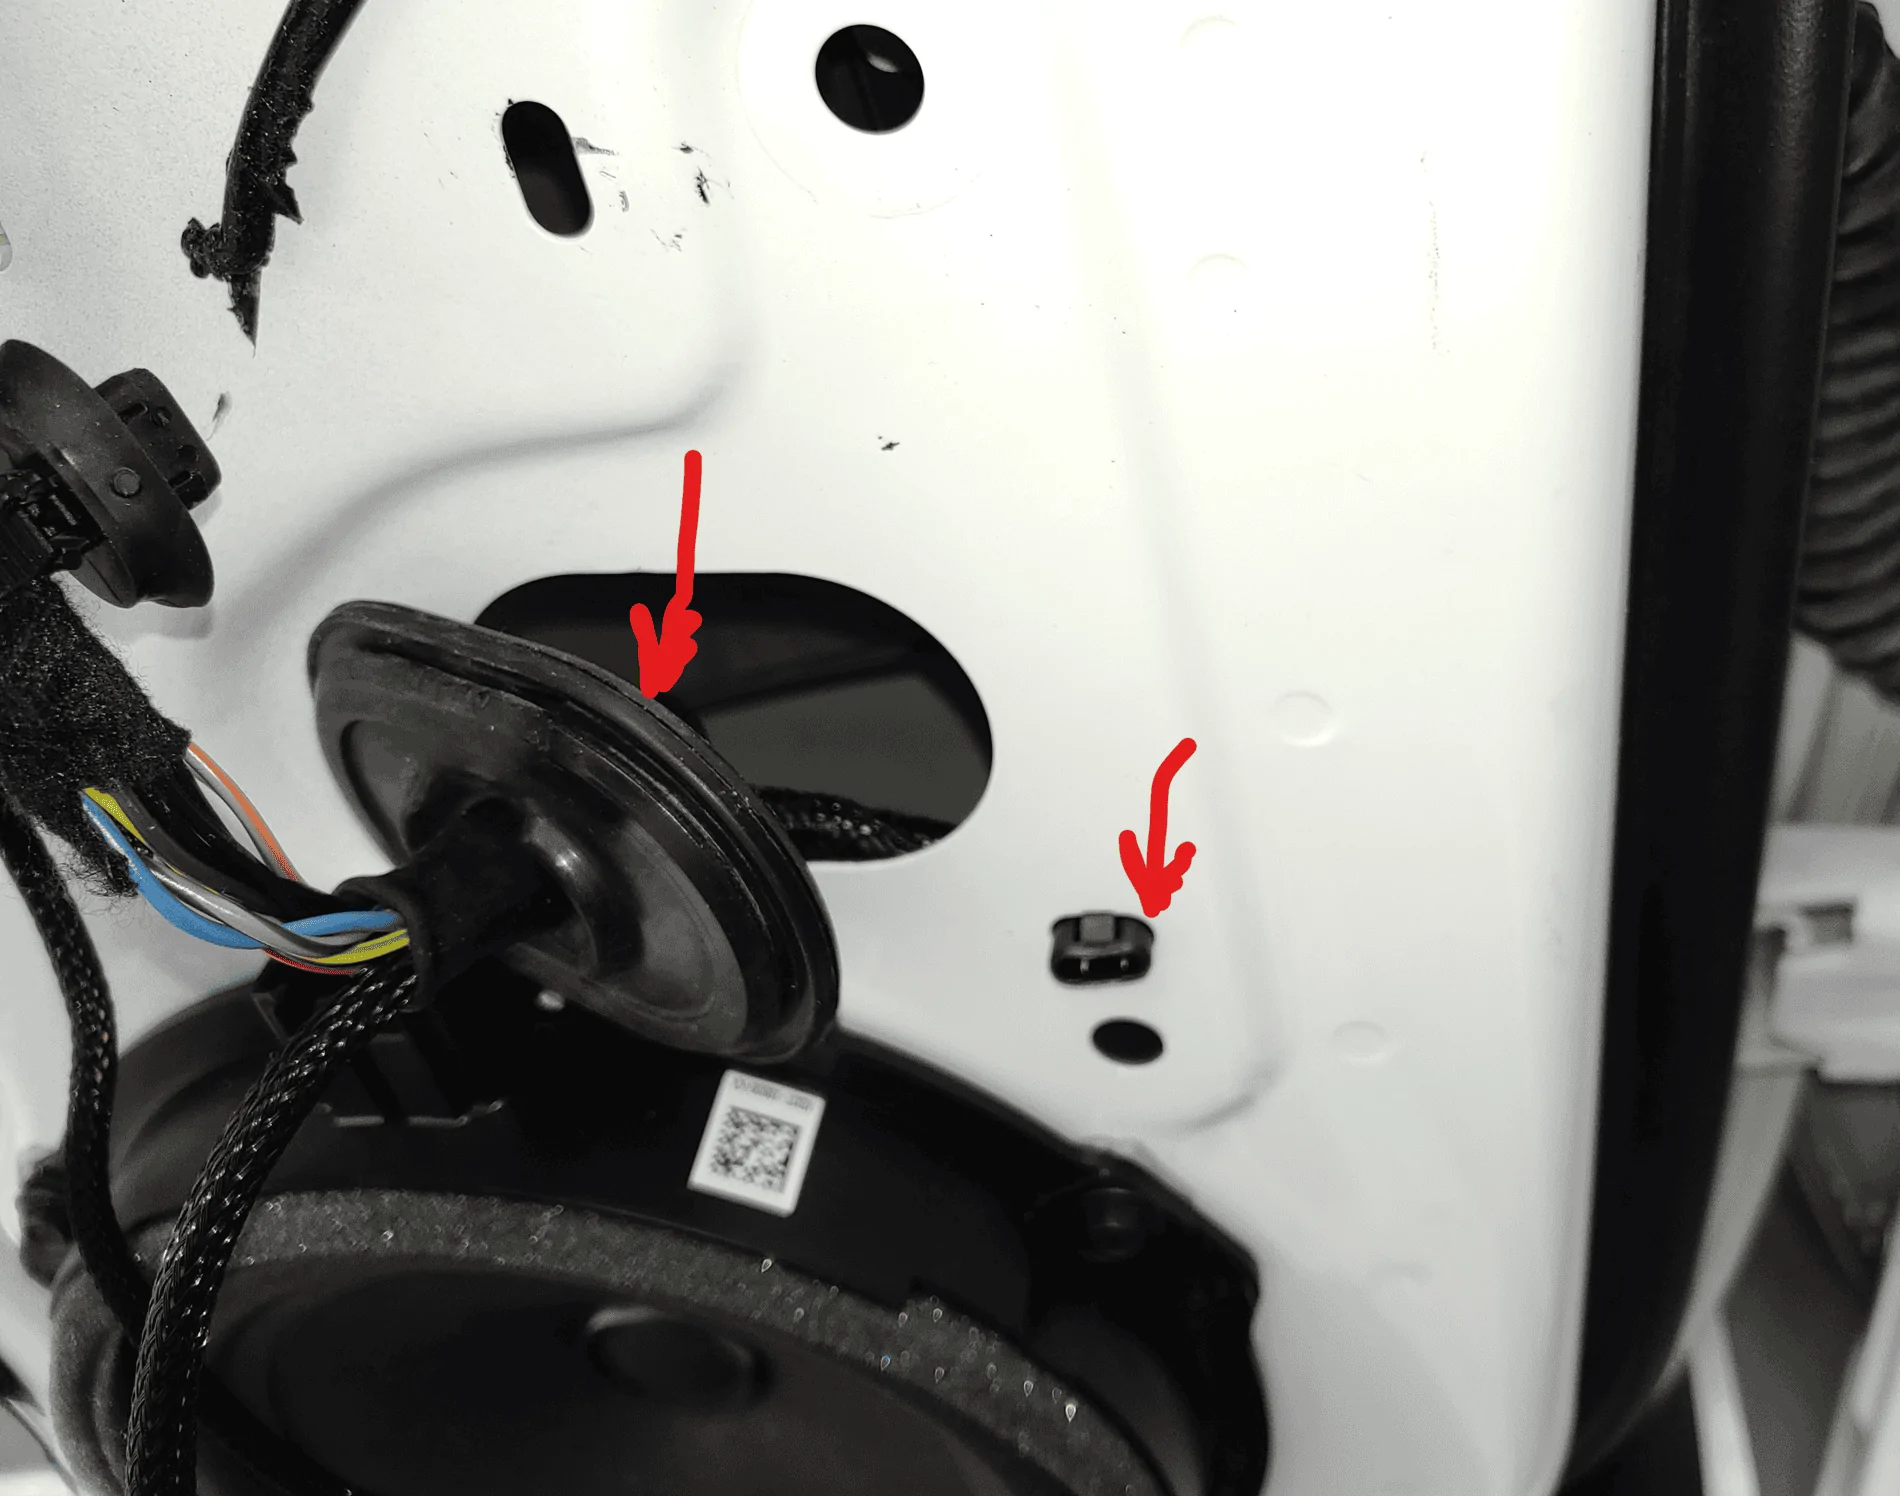
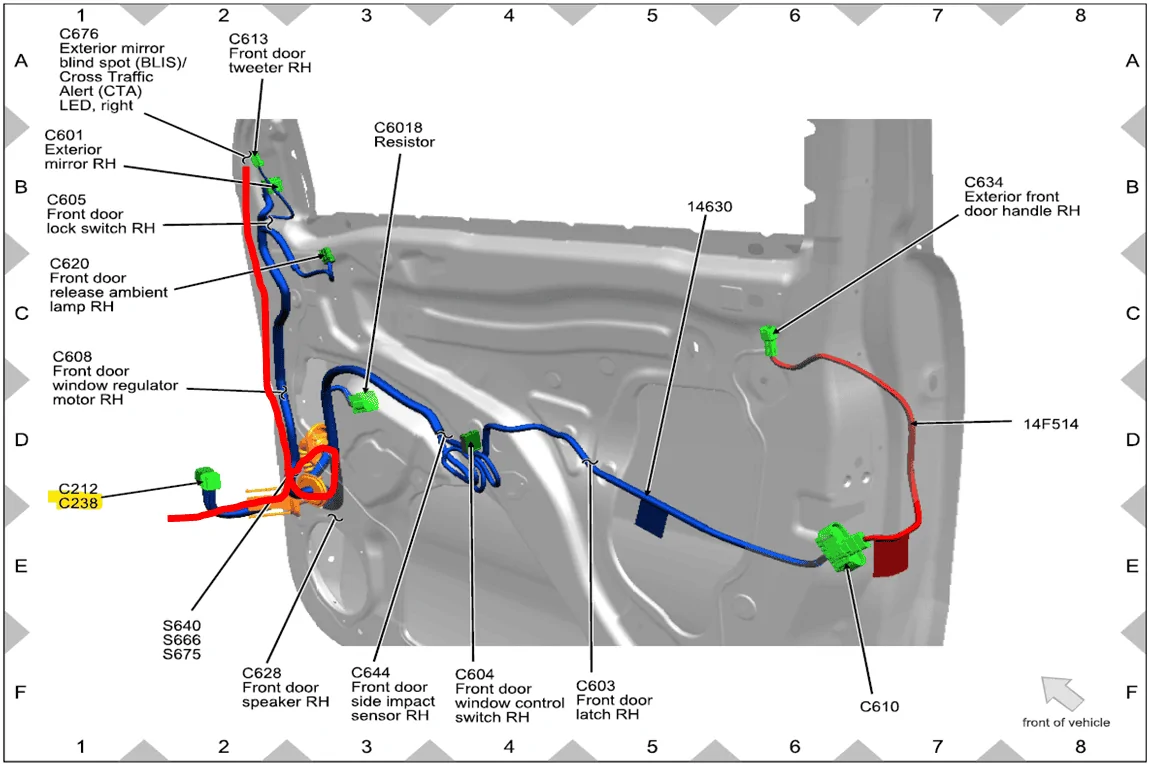
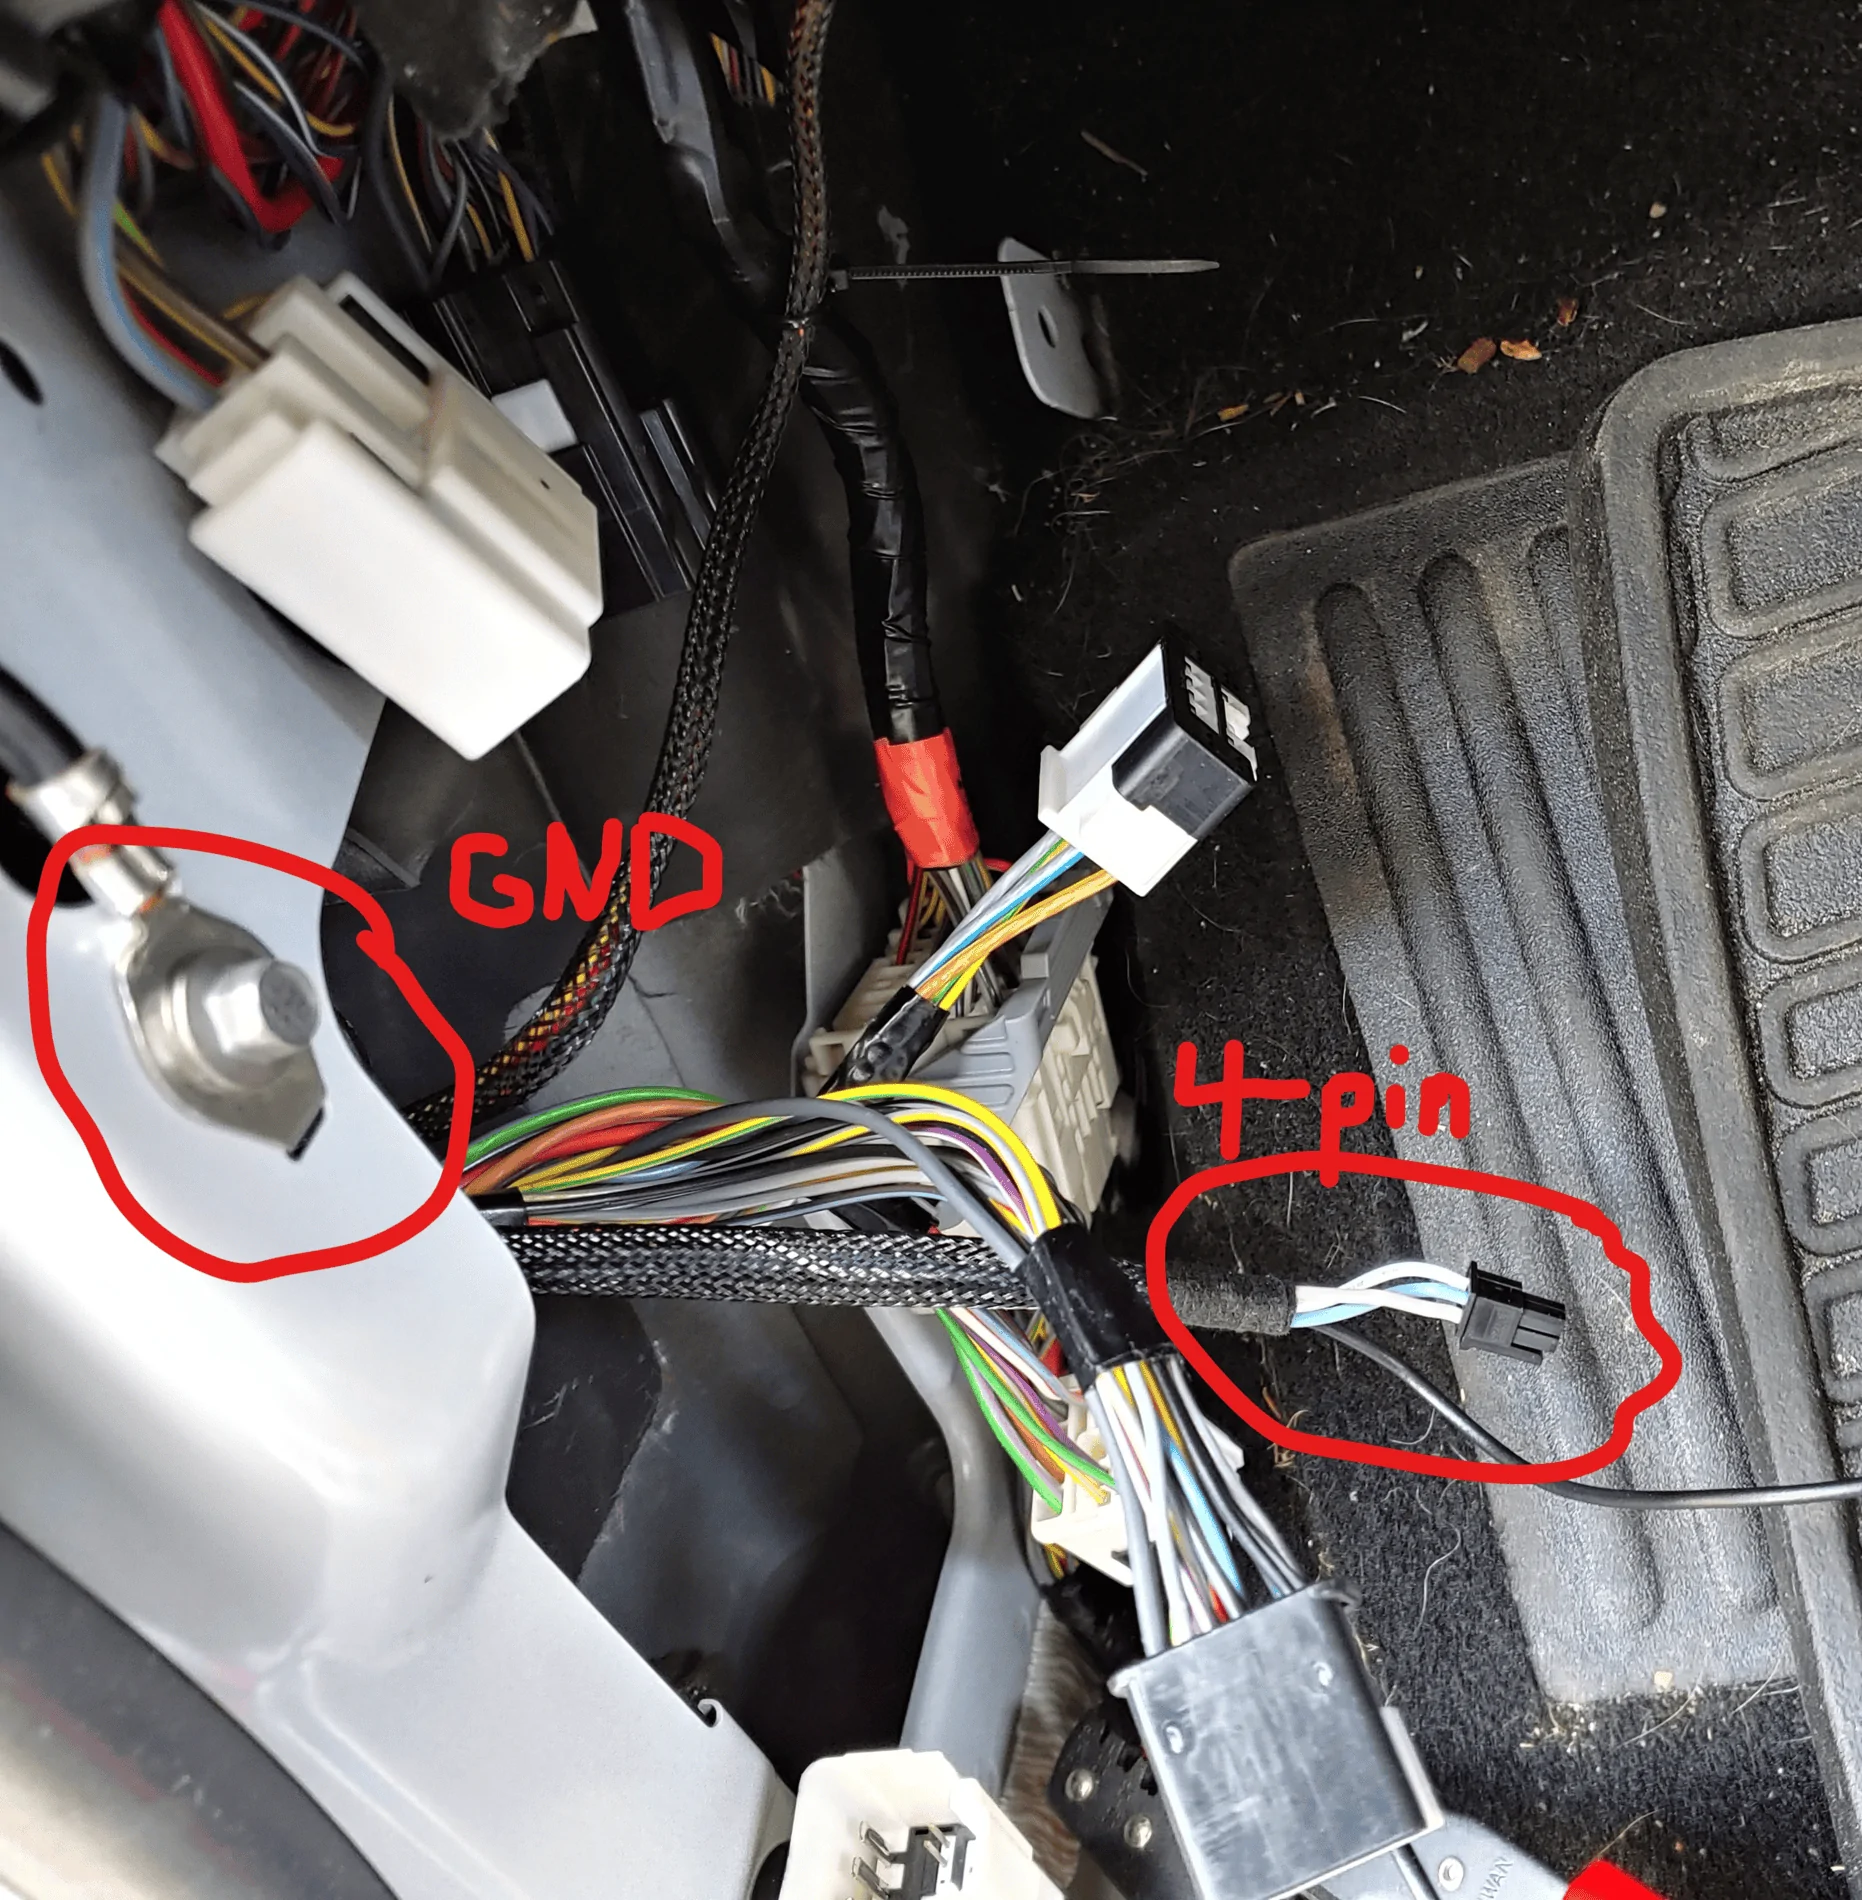
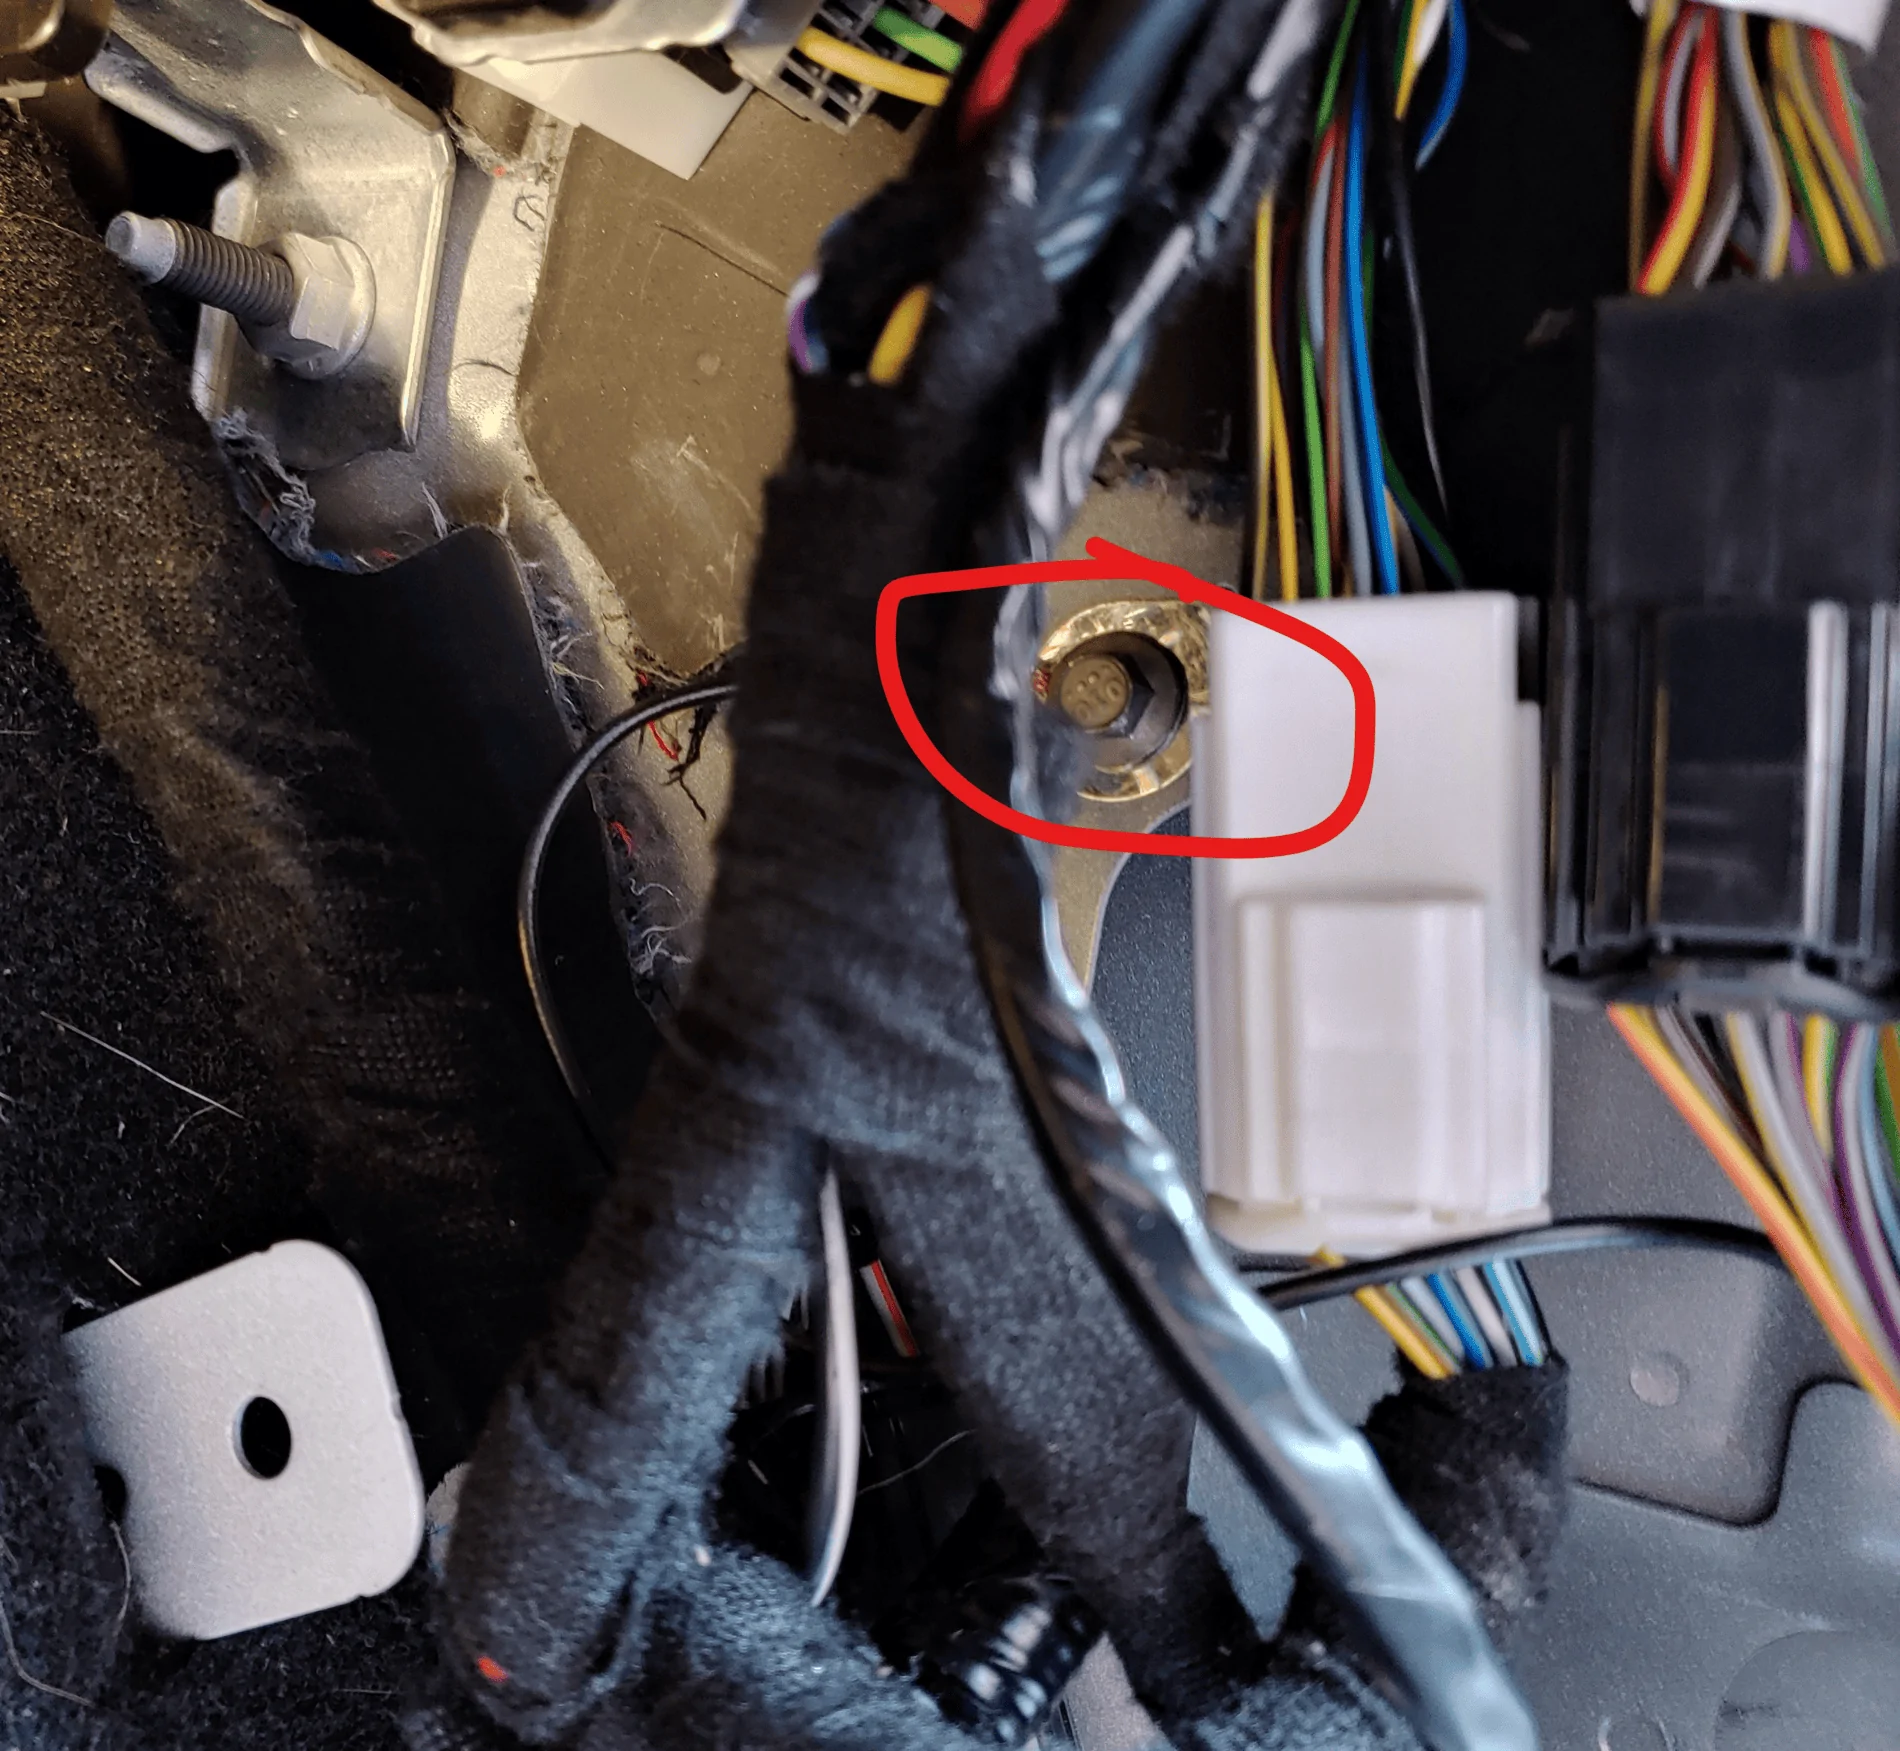
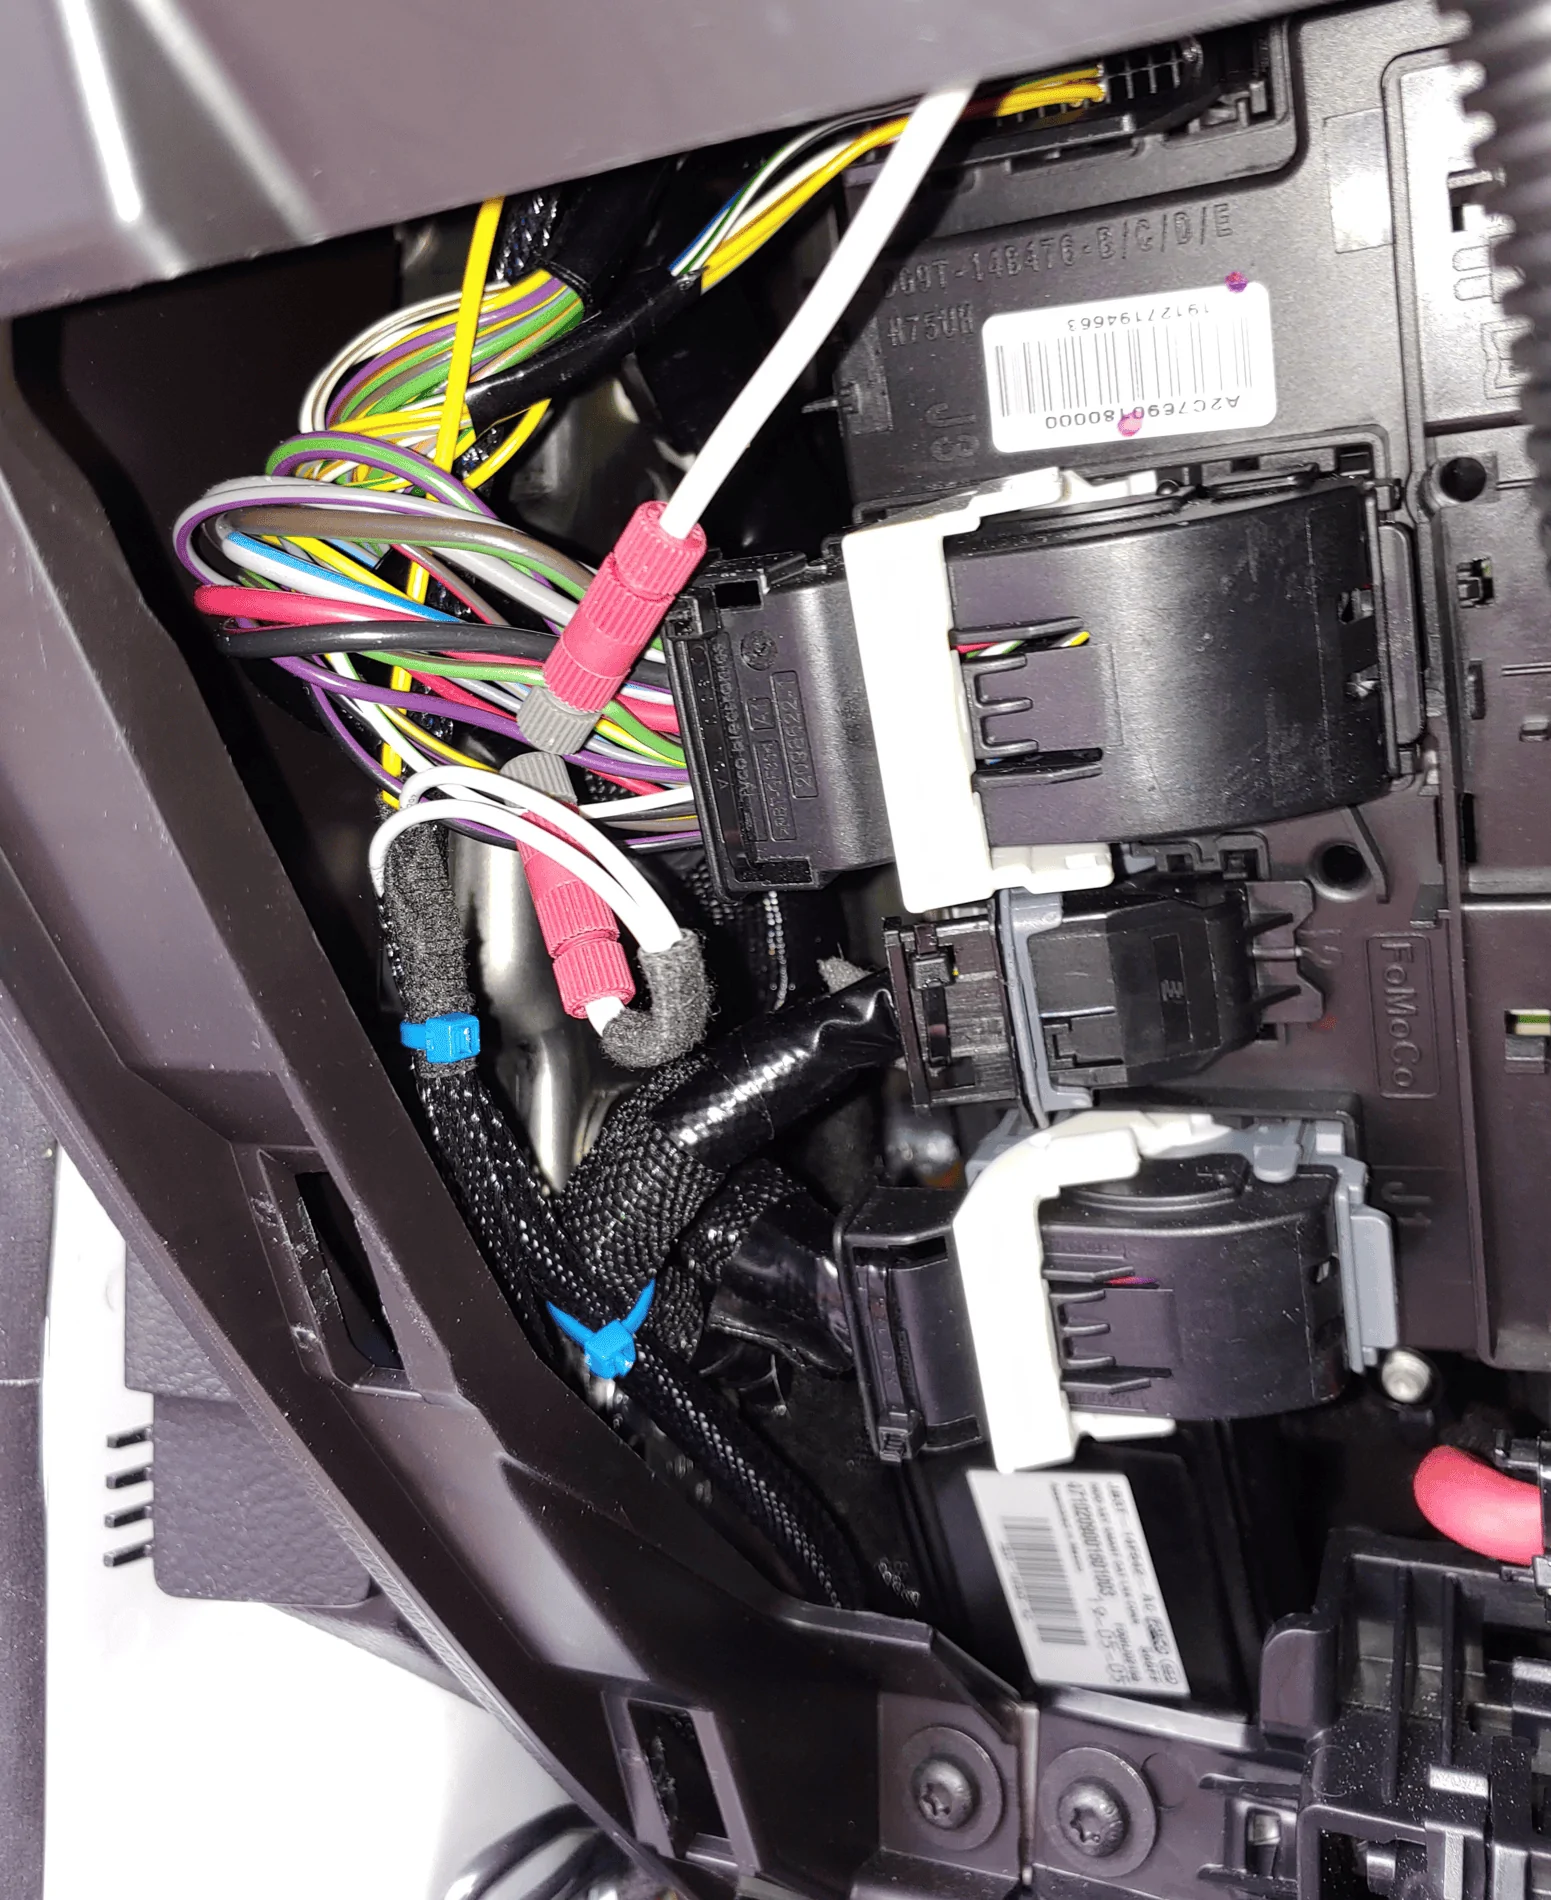
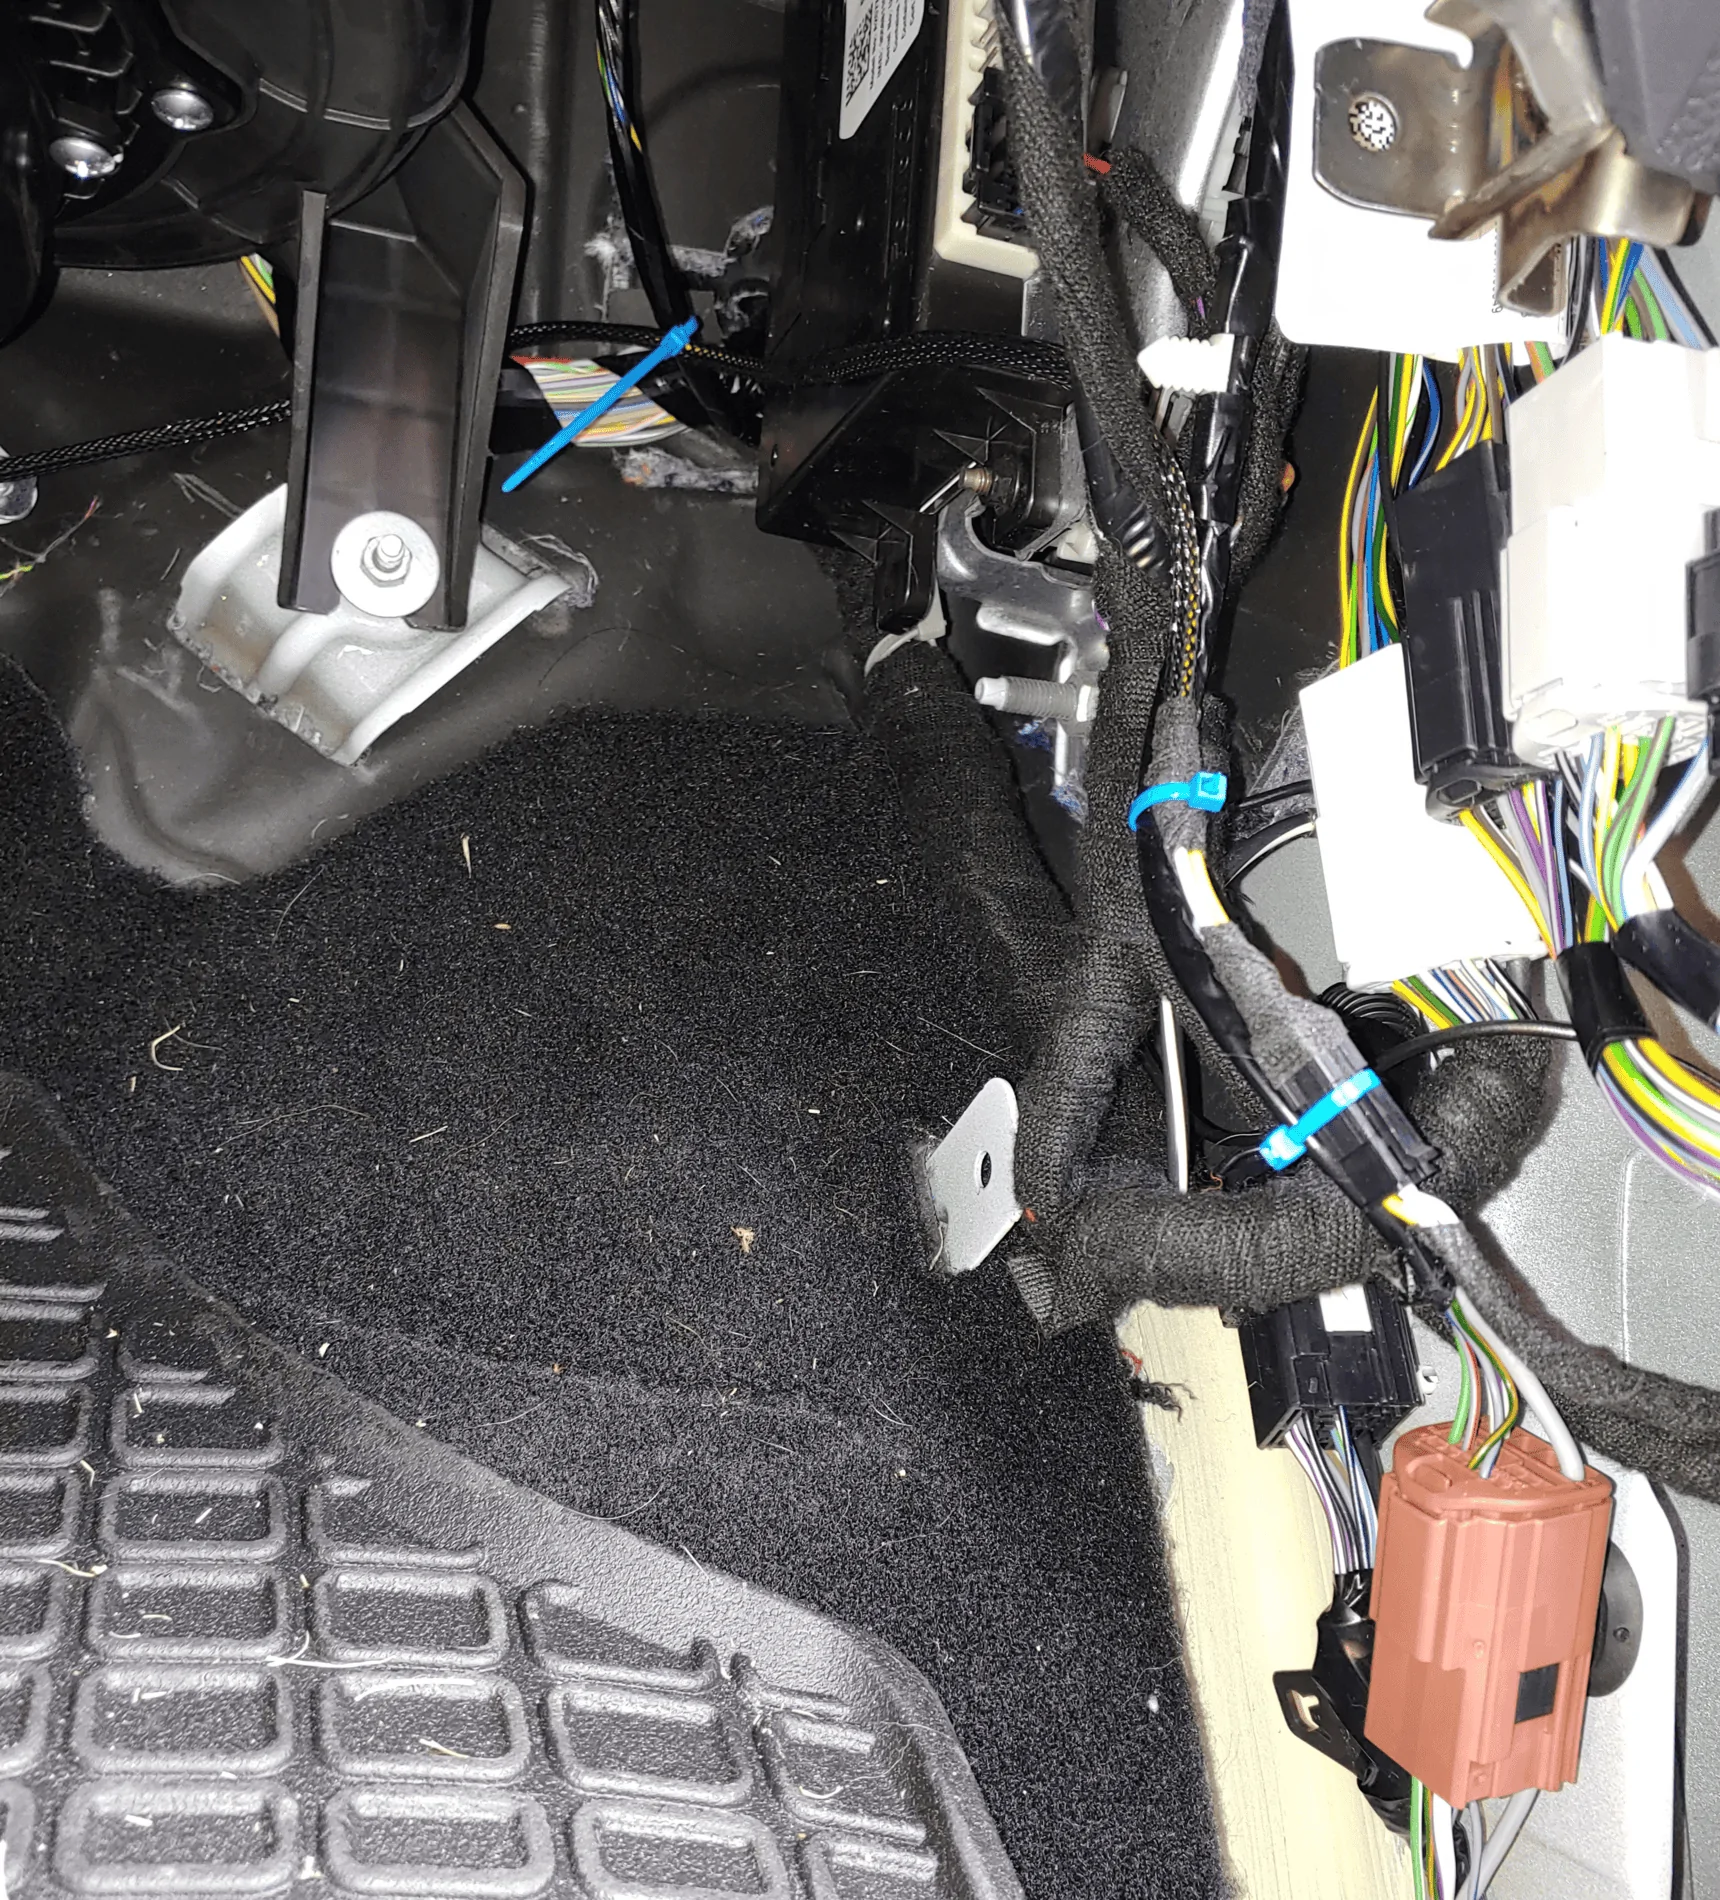
I am pretty sure I took pictures of the connector at the fuse block under the hood. I think I located the grey wire there also as this was my original planned location to tap into.
Sponsored