quangdog
Well-Known Member
- First Name
- Kimball
- Joined
- Mar 31, 2020
- Threads
- 36
- Messages
- 735
- Reaction score
- 2,516
- Location
- Meridian, Idaho
- Website
- www.youtube.com
- Vehicle(s)
- 2019 Ranger Lariat FX4
- Thread starter
- #1
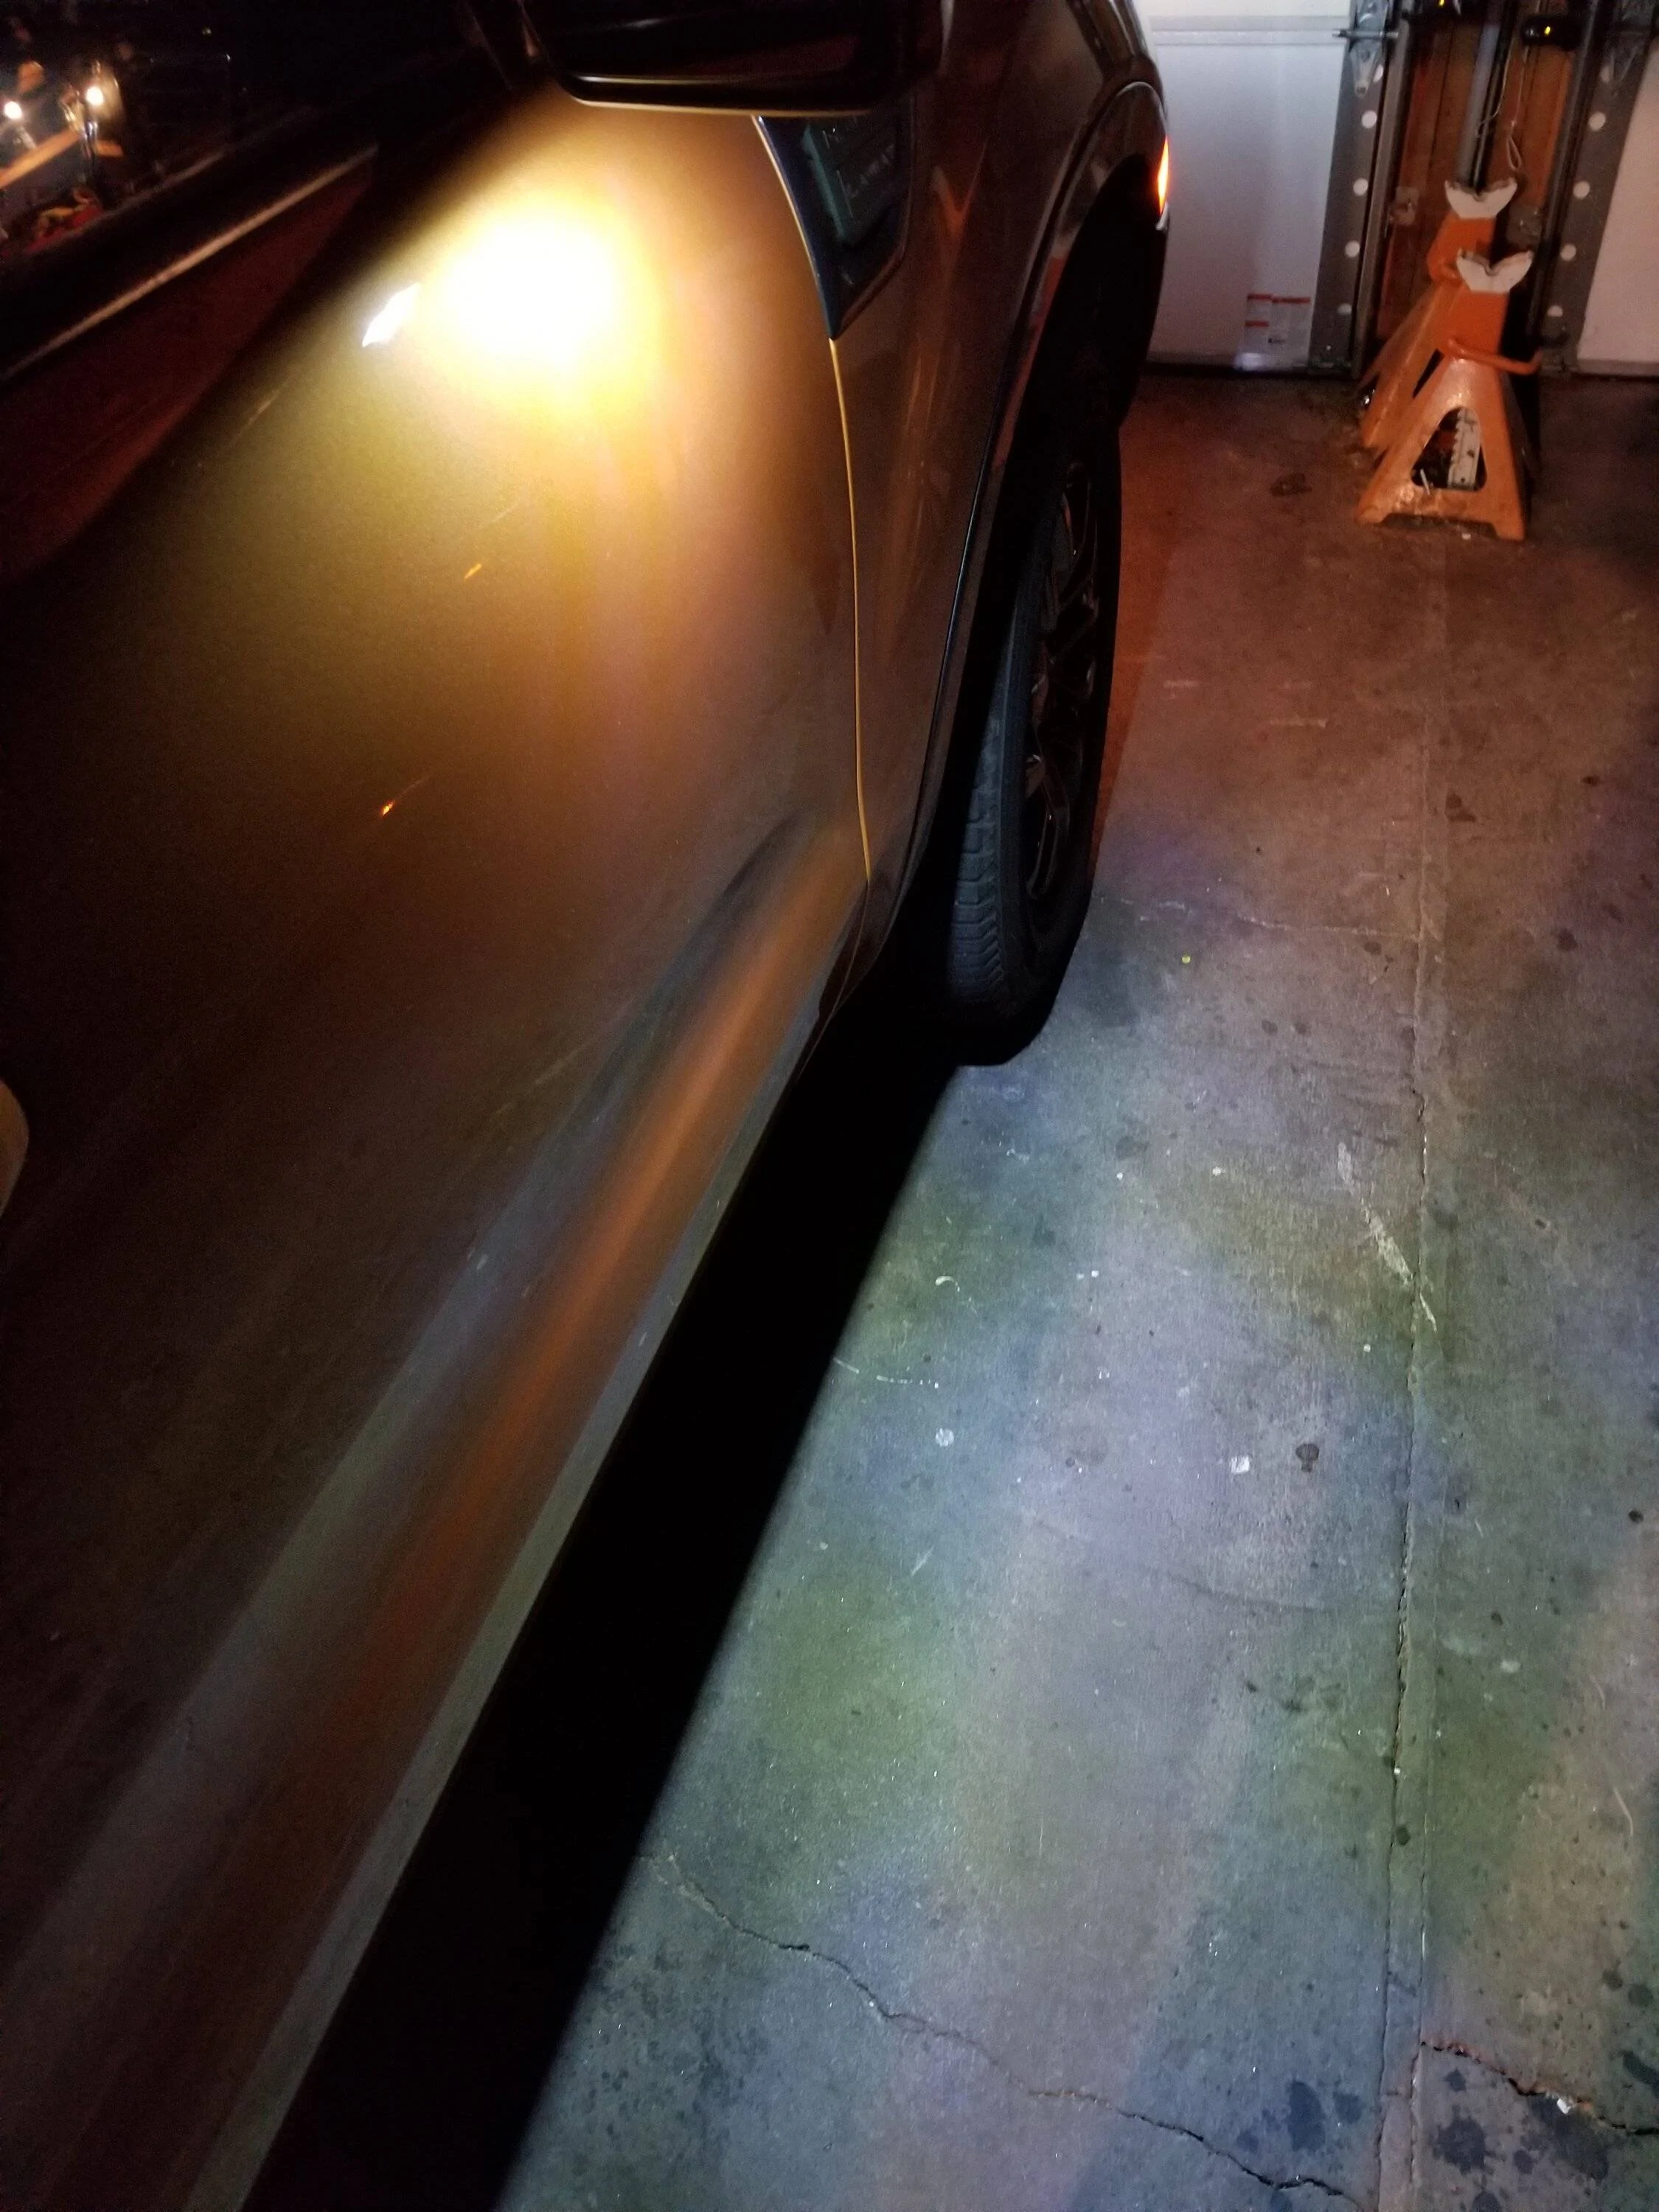
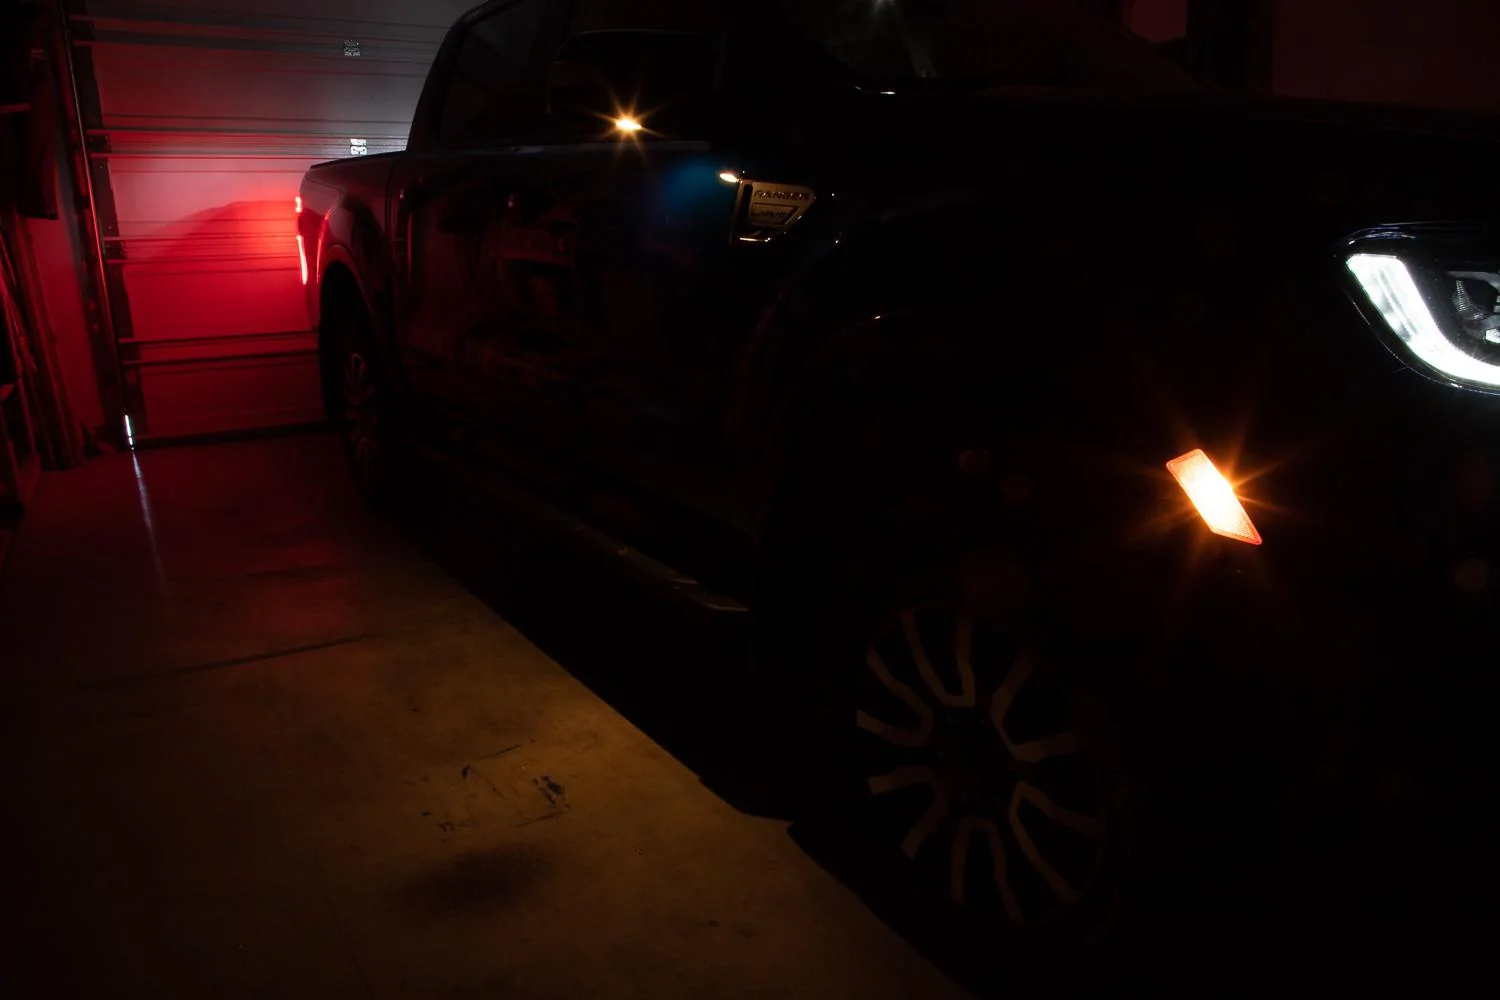
The factory puddle lights are so piddly that I didn't even realize they were there at first.
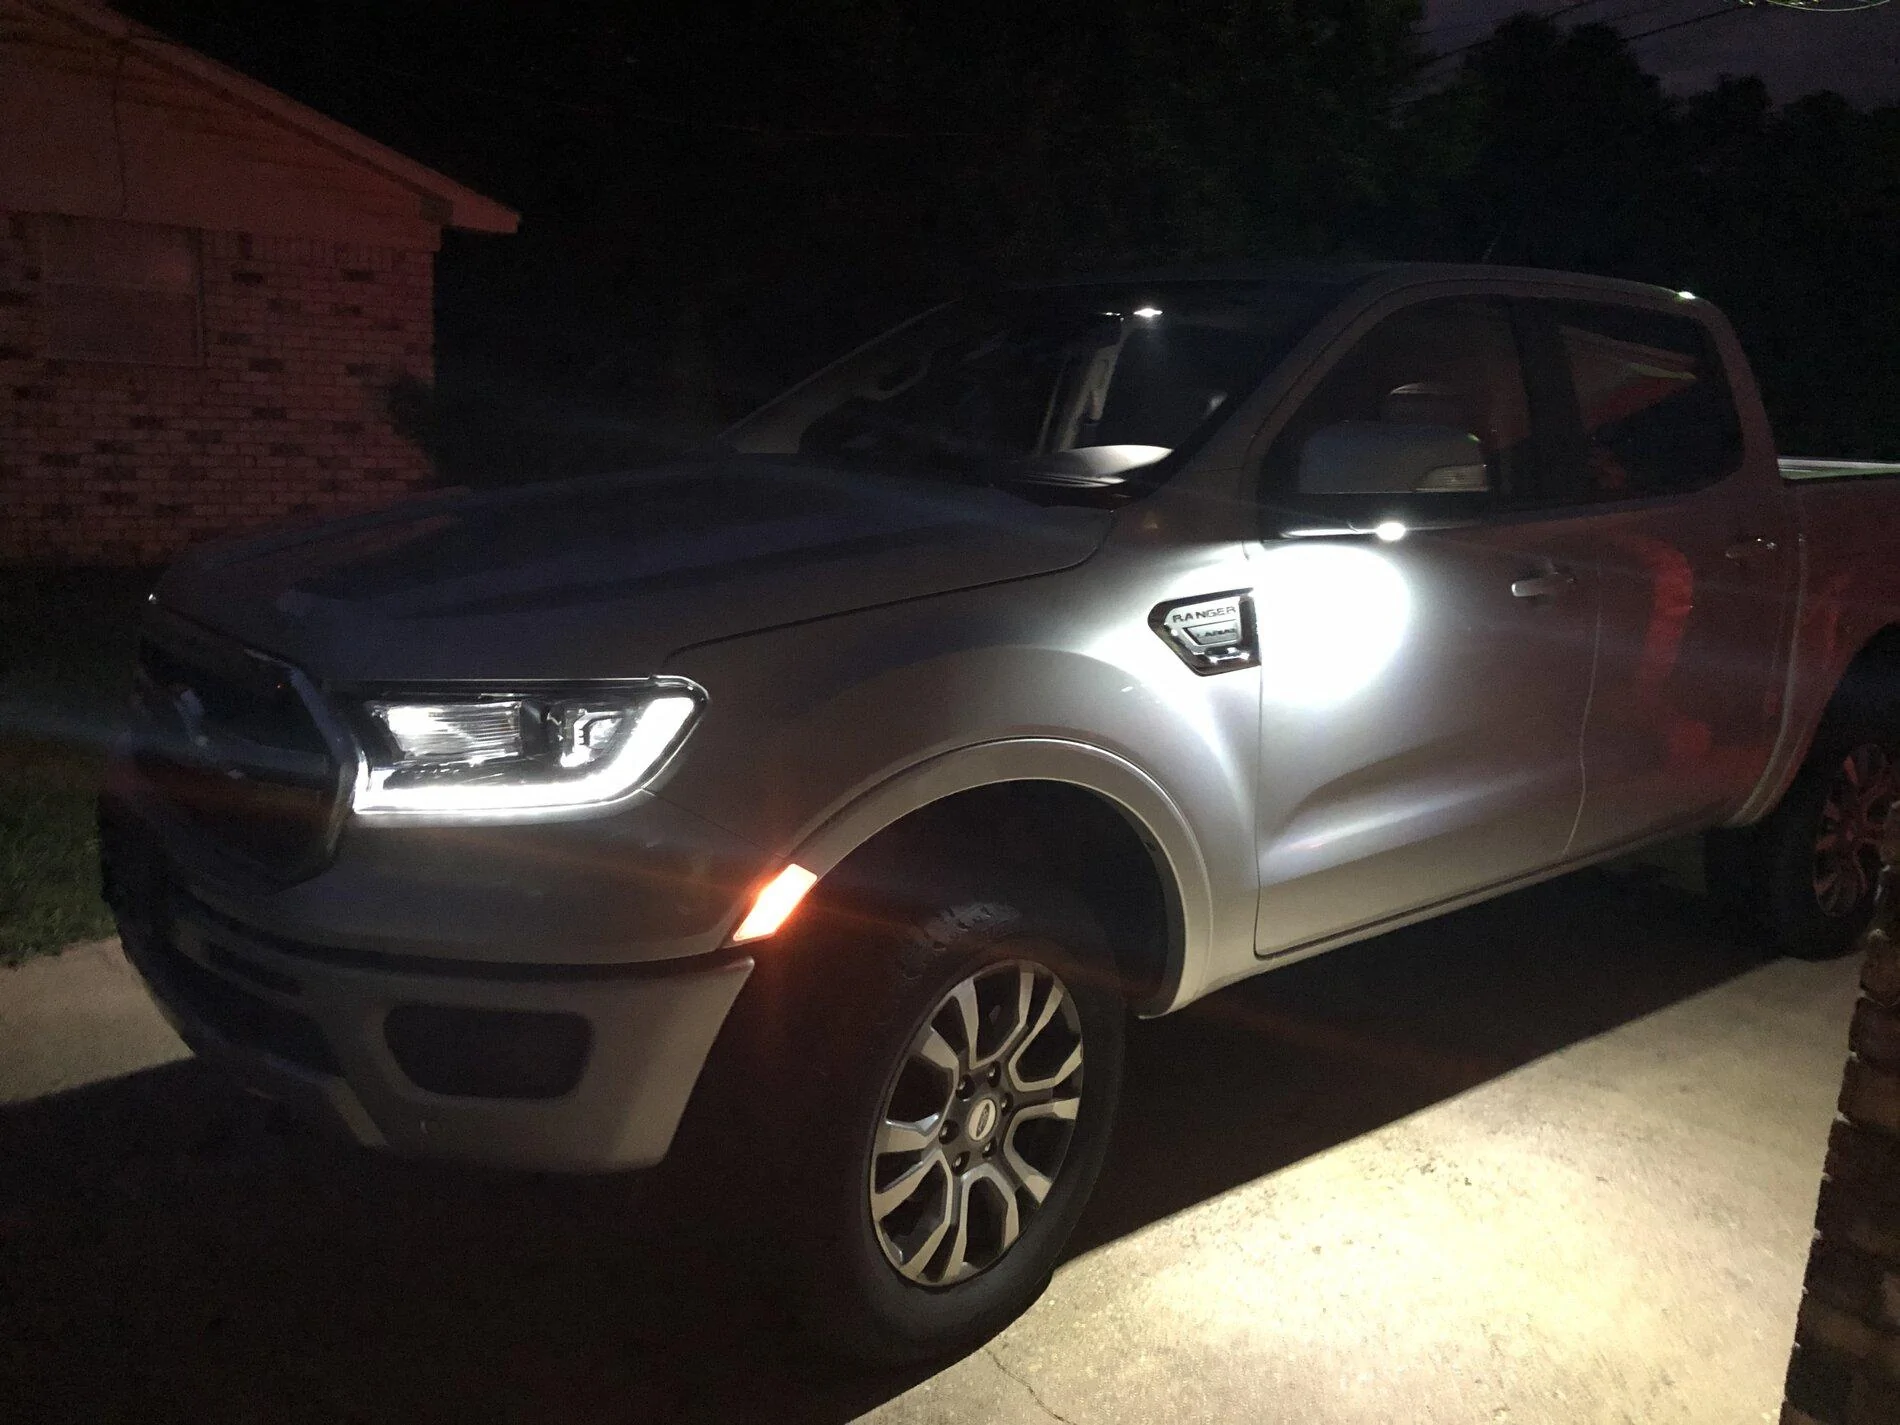
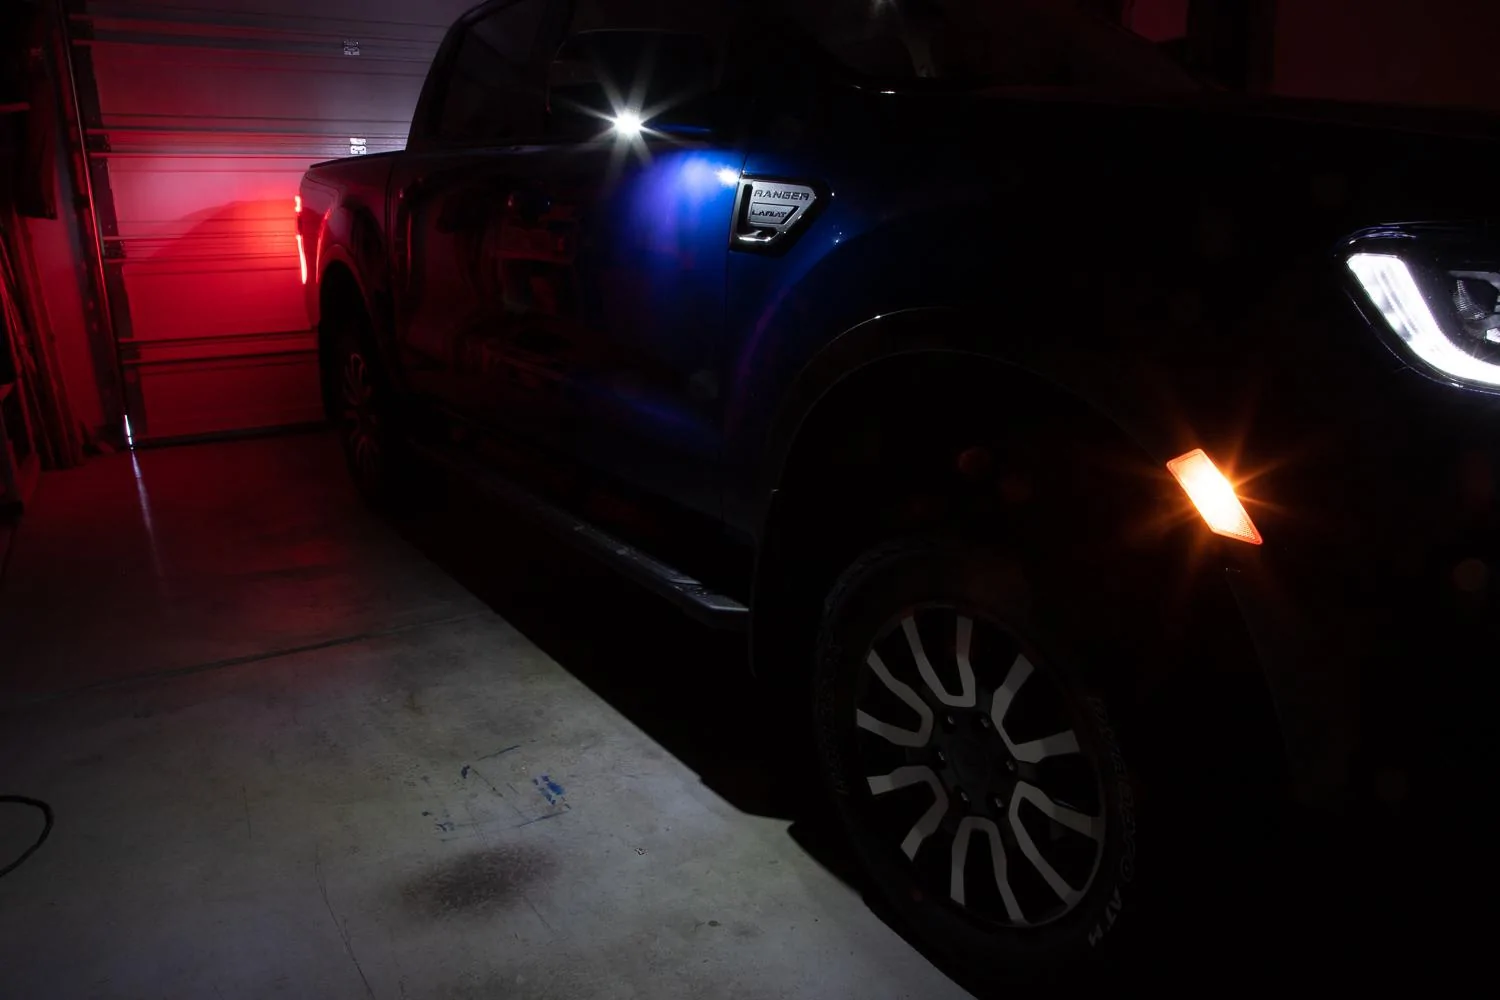
Here is a before and after picture, with the camera settings (ISO, shutter speed, F-stop and color temperature) all locked to exactly the same settings, shot from exactly the same angle.
Before:

After:
There is an inexpensive upgrade available on Amazon which is a perfect fit, and literally takes less than 5 minutes per side to install. I just did mine today, and made a really quick install guide:
You can get the lights I used here: https://amzn.to/2Ato4rq
And here are a few pictures that are a little better than the video.
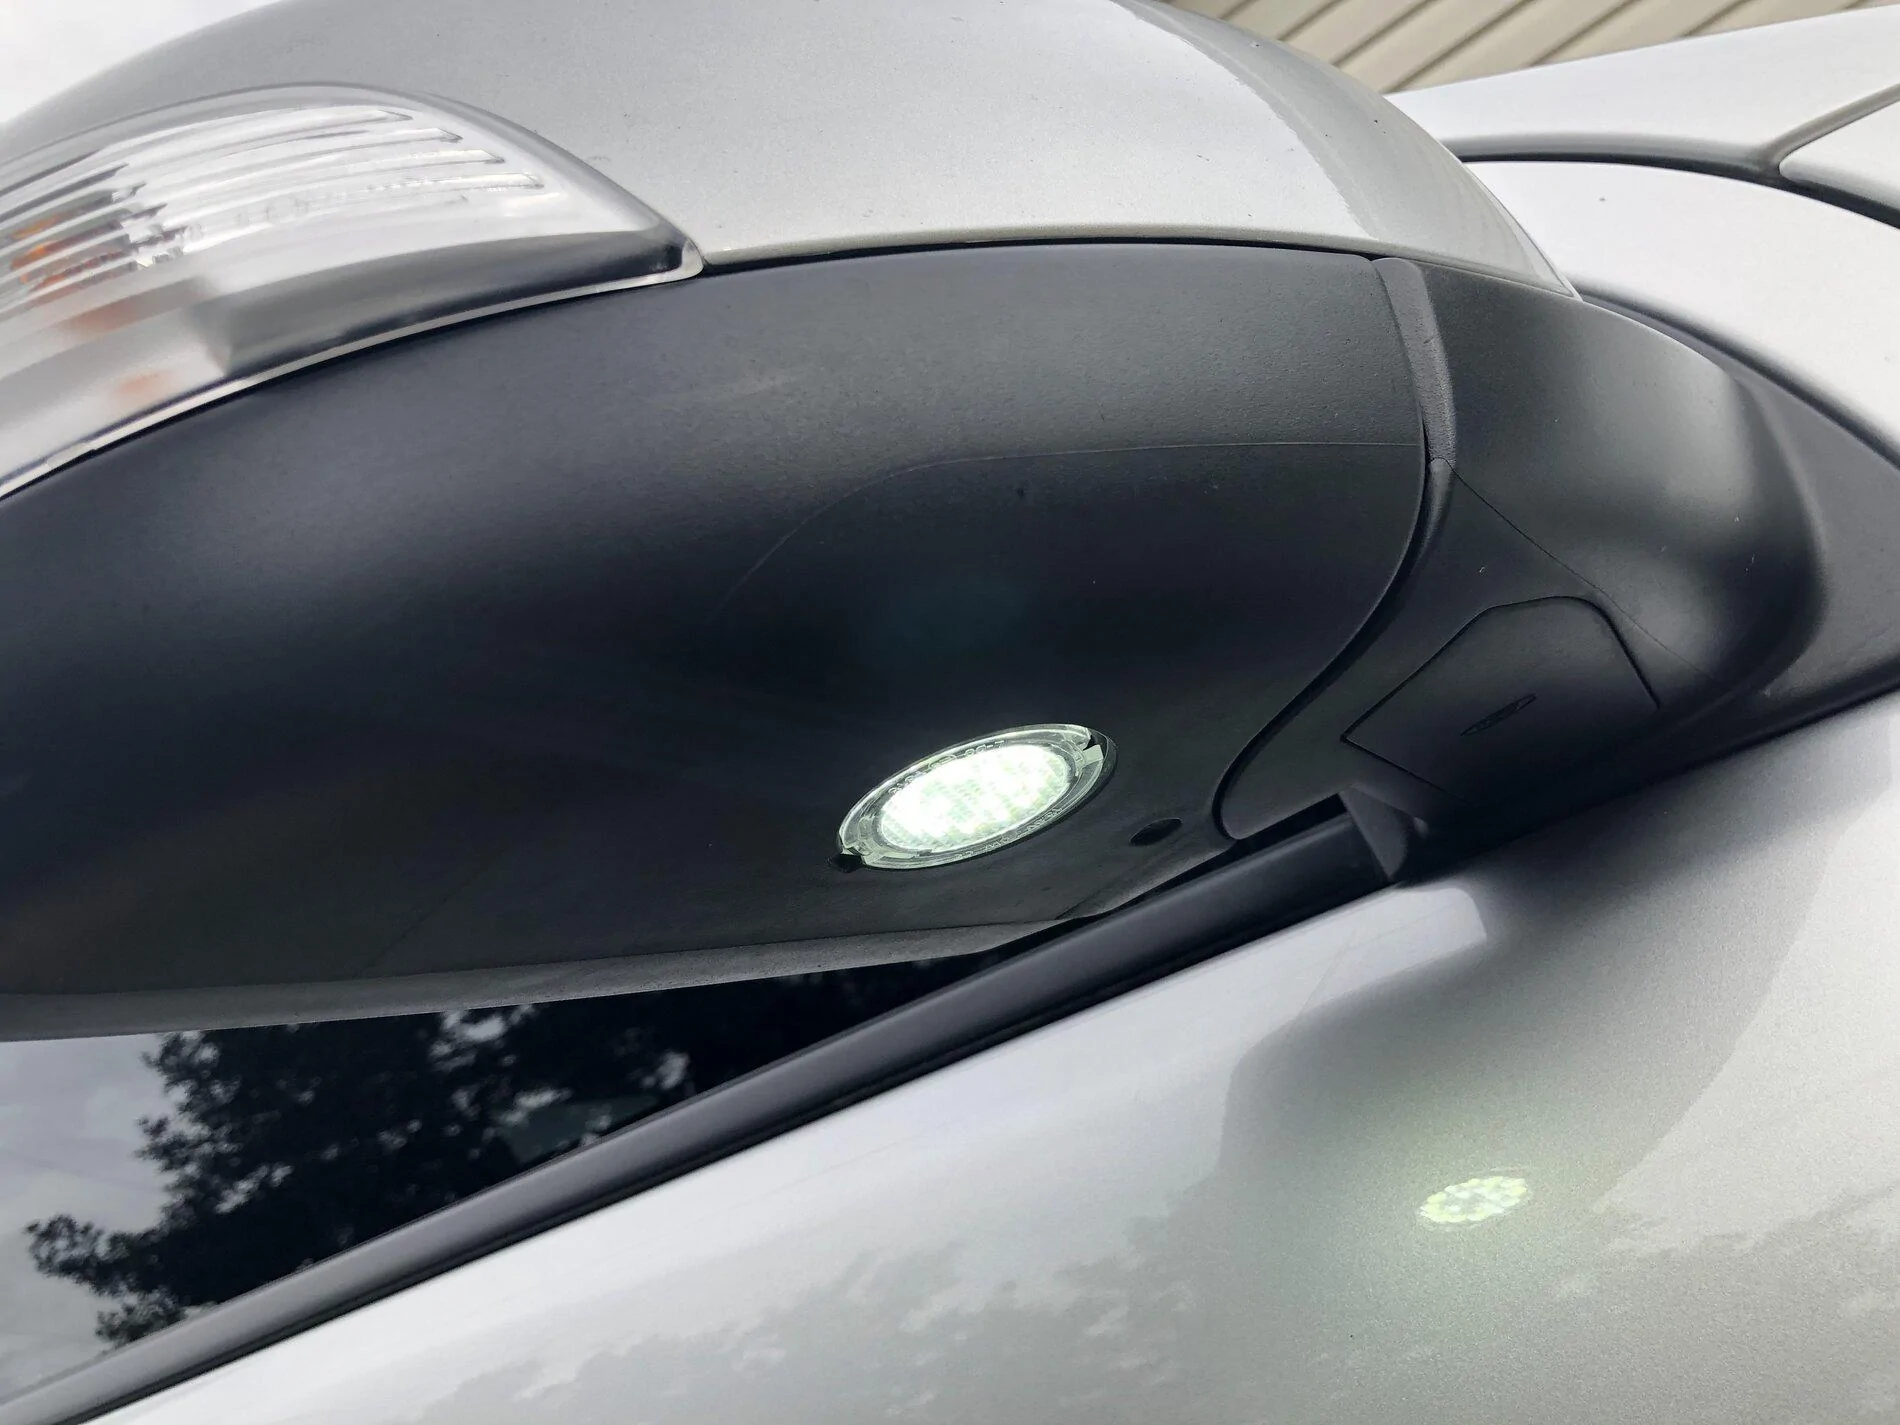
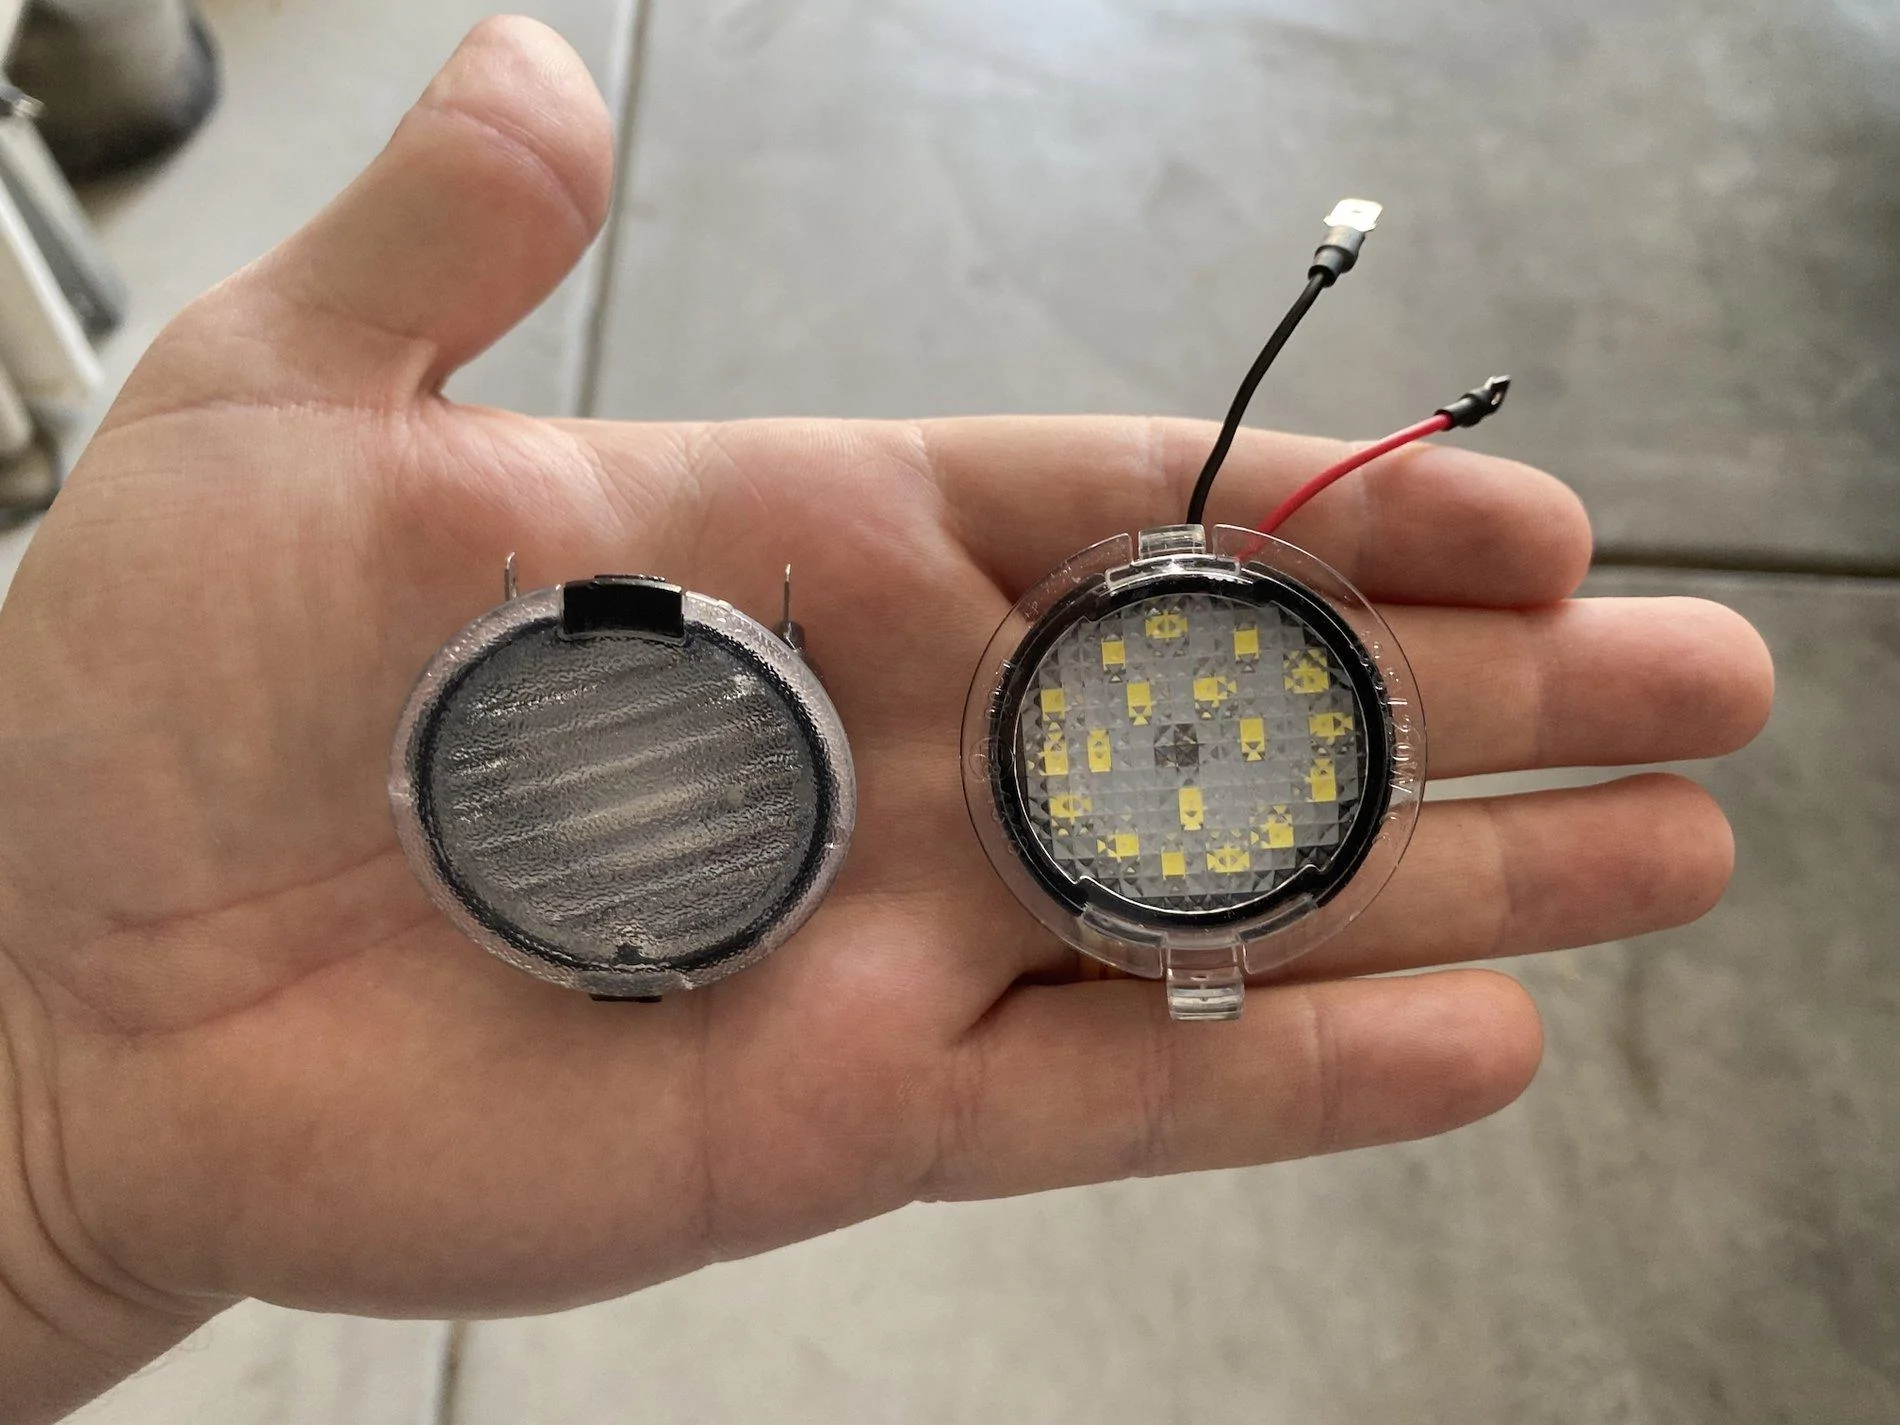
Factory light on the left, upgraded light on the right:

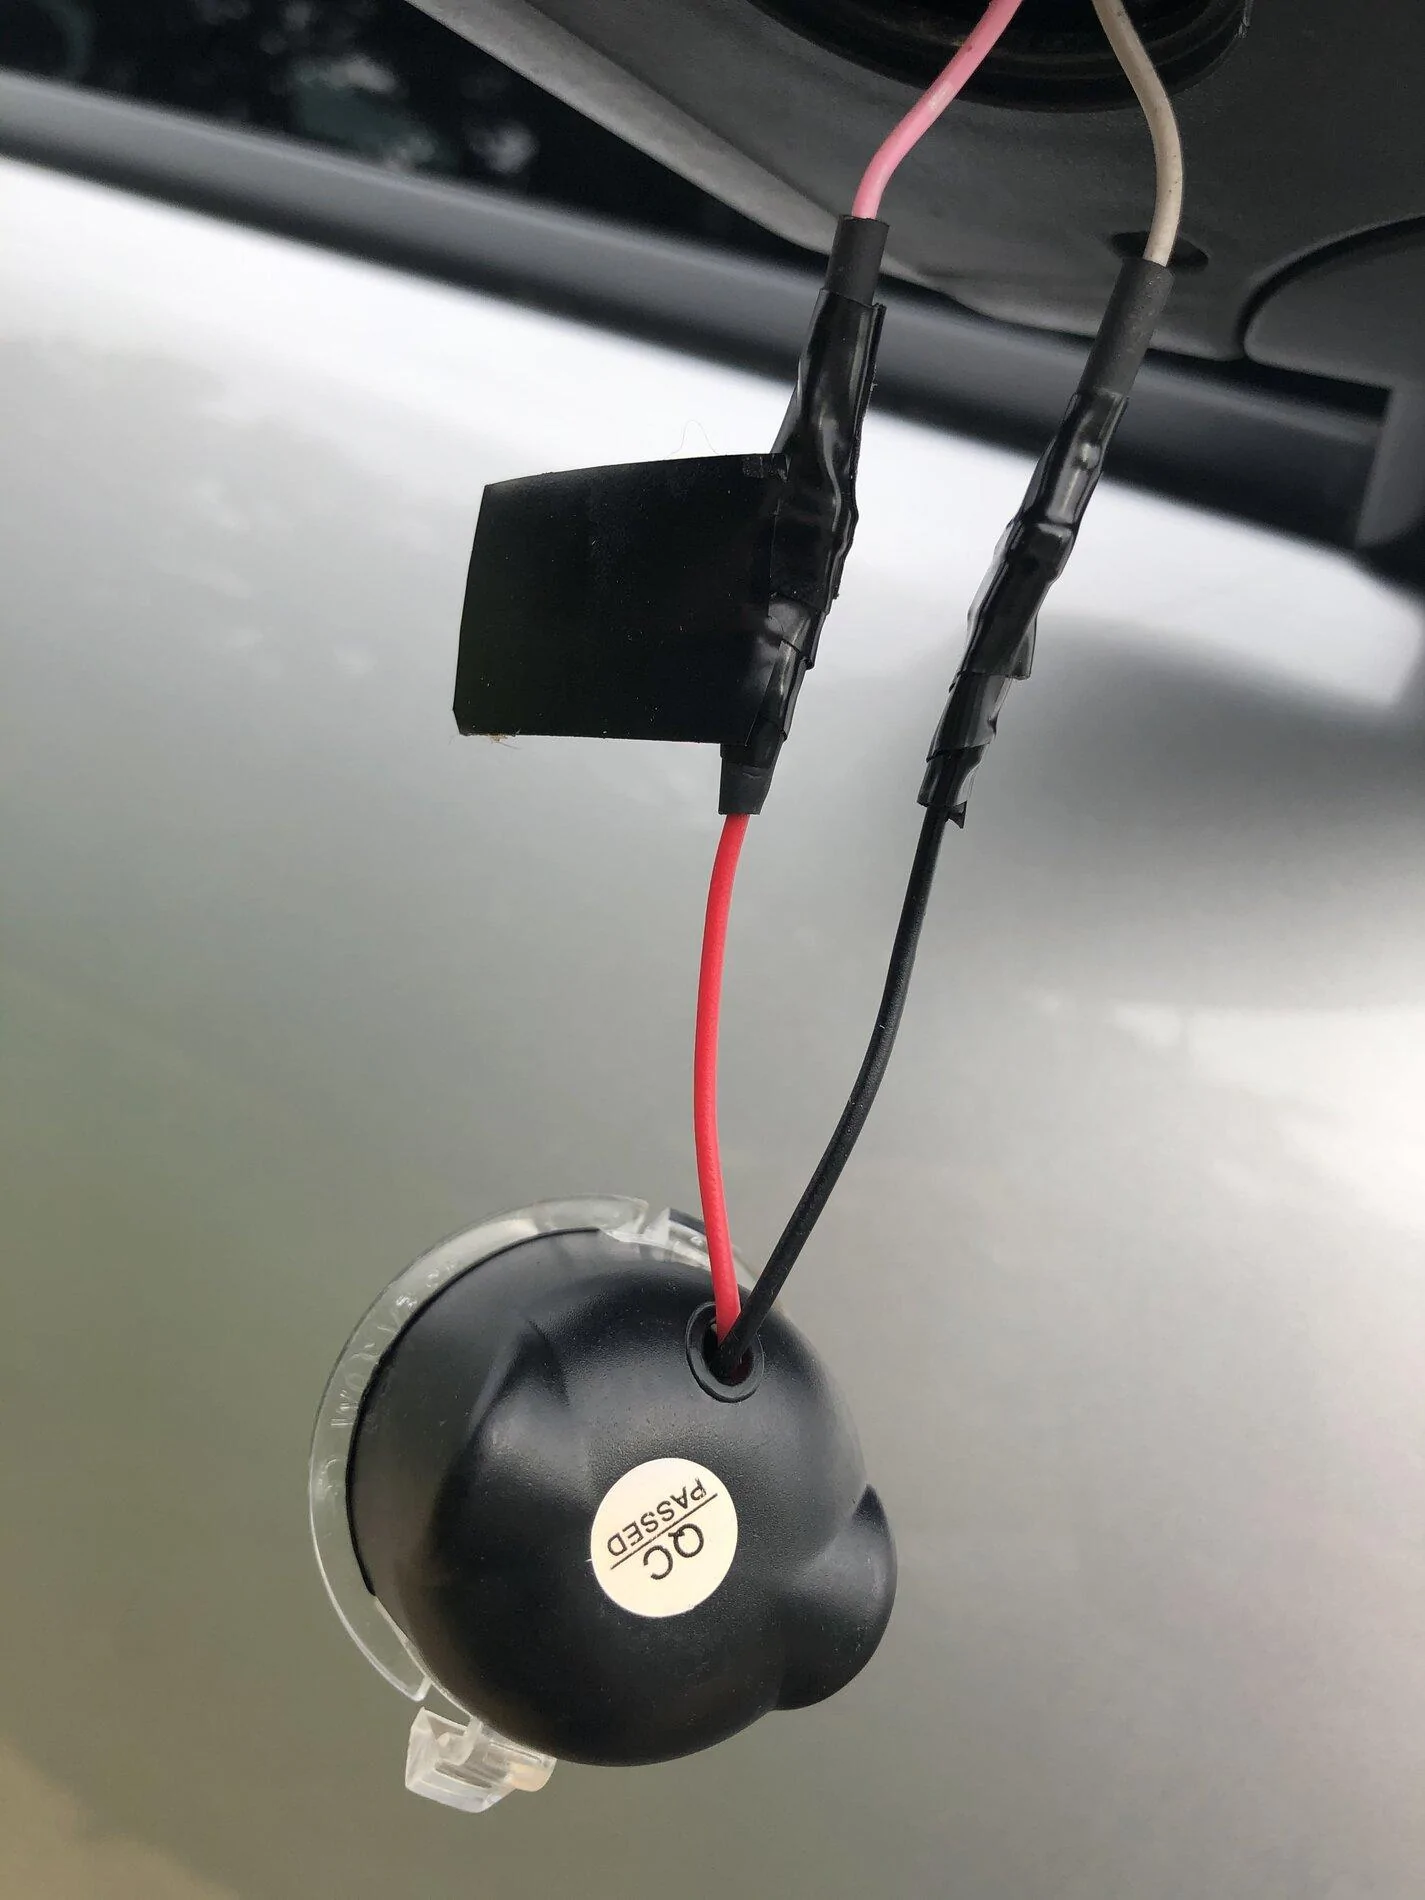
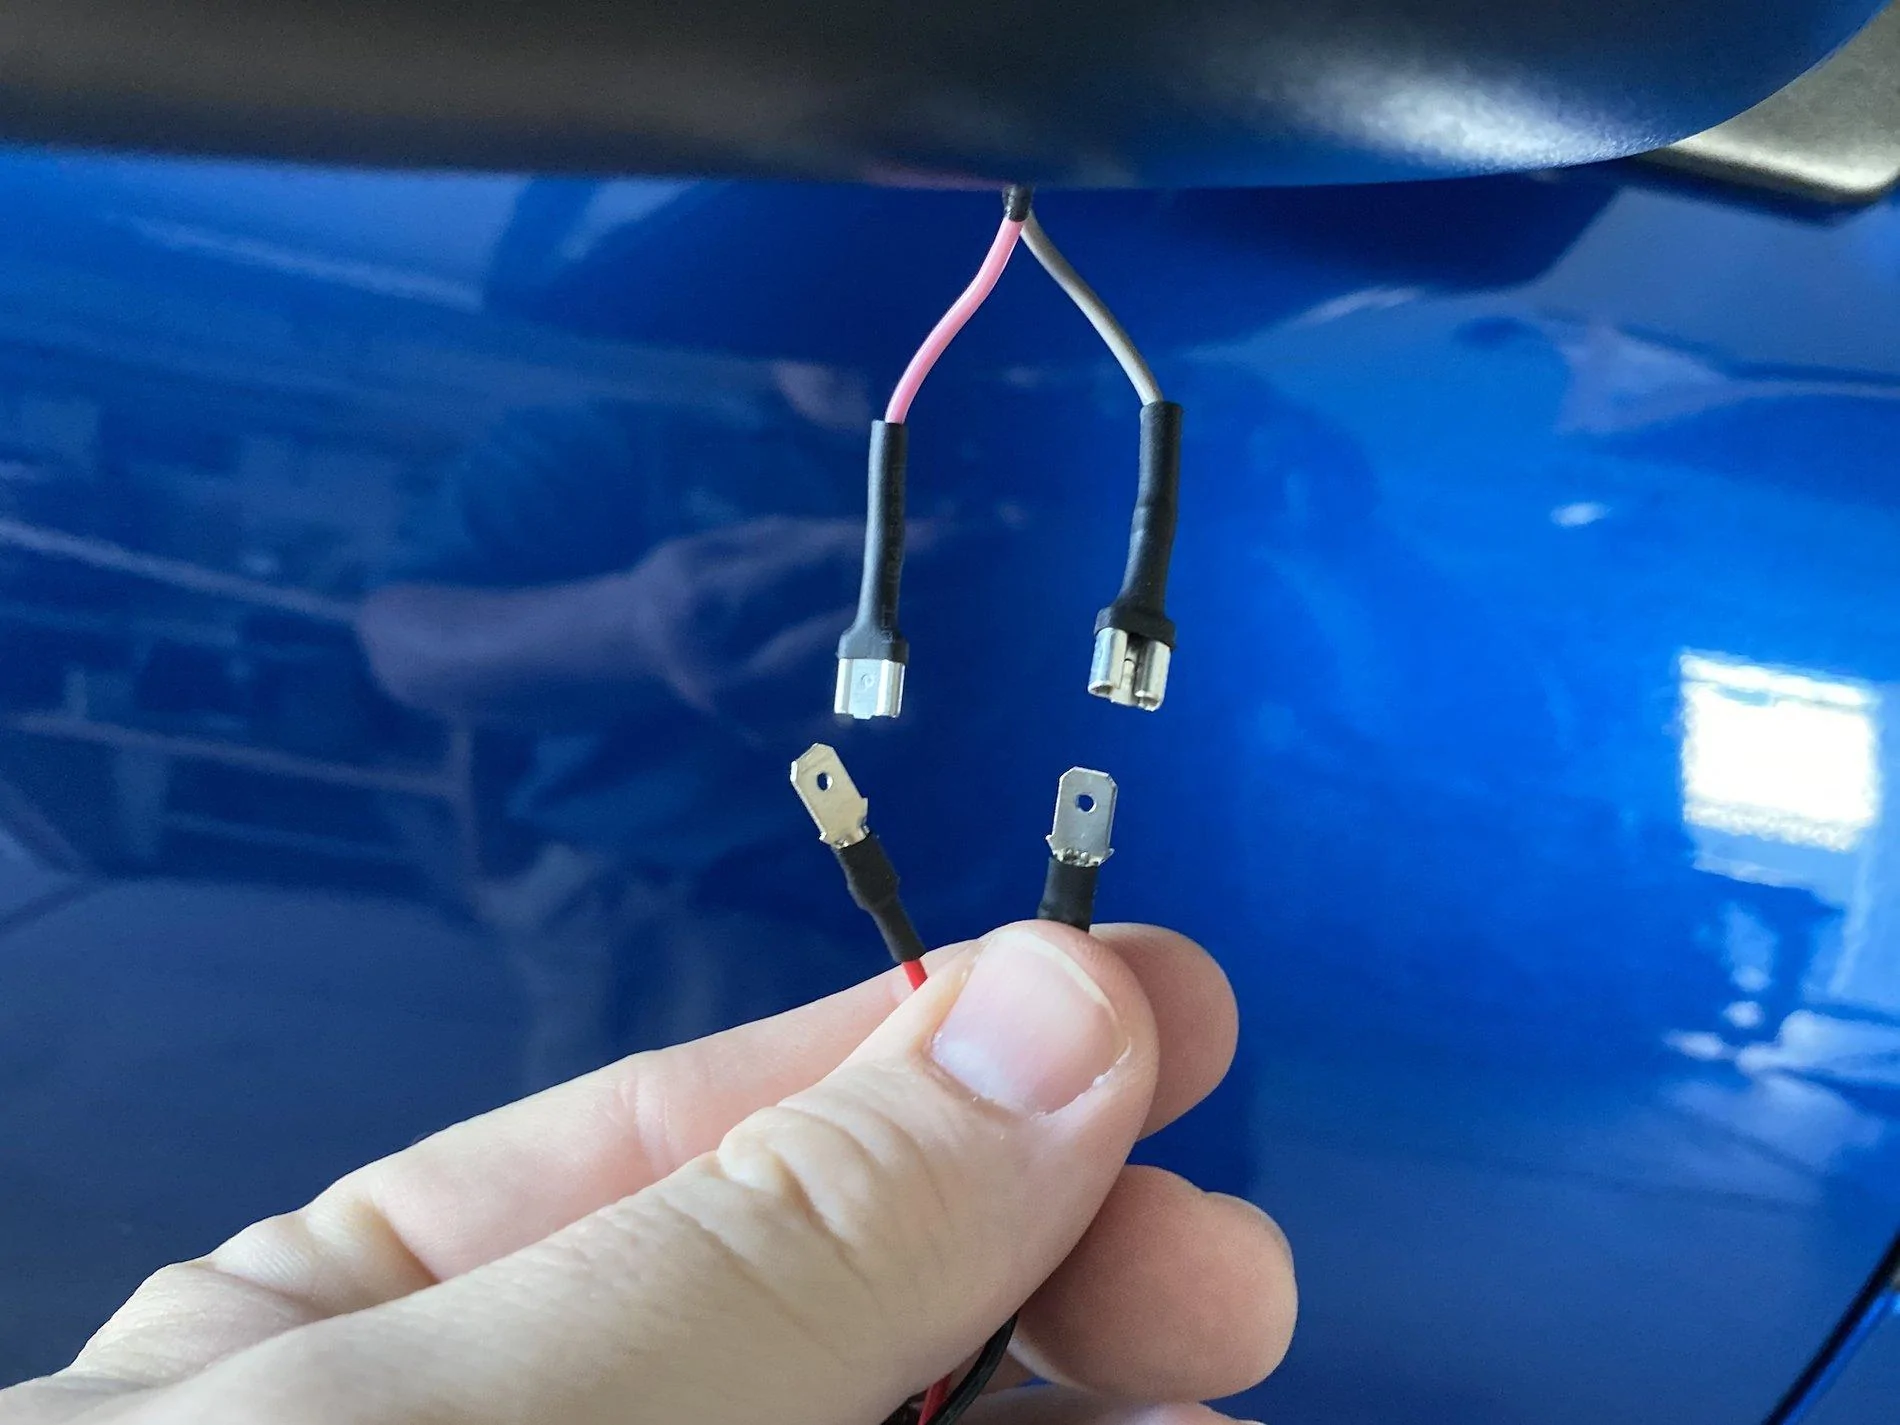
The factory wiring harness could easily short out without some extra insulation, so either use some heat-shrink tube or electrical tape to insulate the connectors from touching each other:
I decided to use heat shrink. Here it is on one side, before I shrank it:
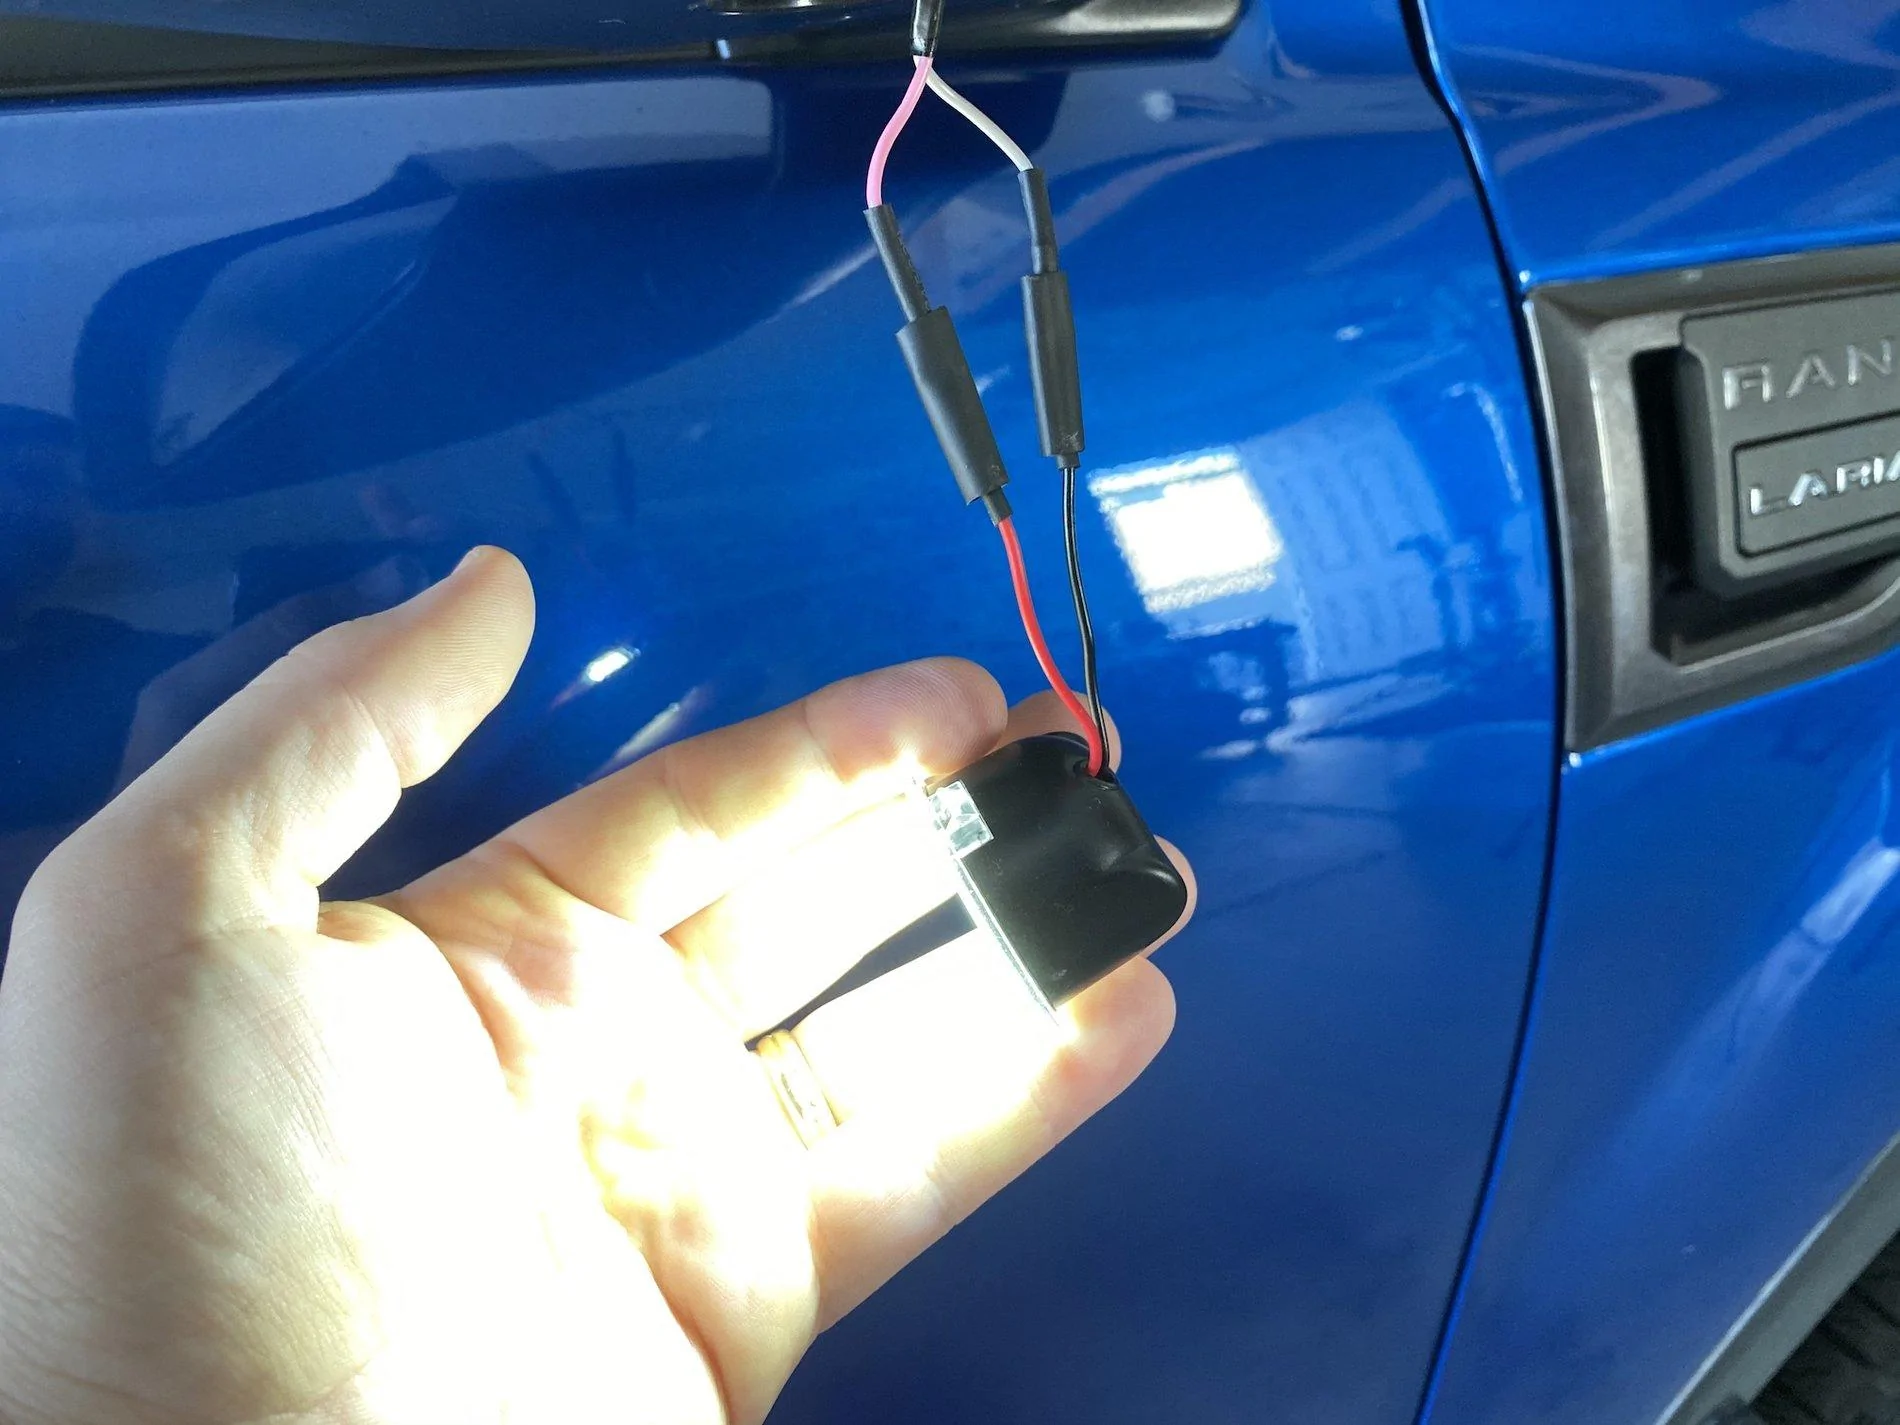
Both sides with heat shrink on, but not yet shrunk. Test the light to make sure it's wired correctly before you shrink the insulation:
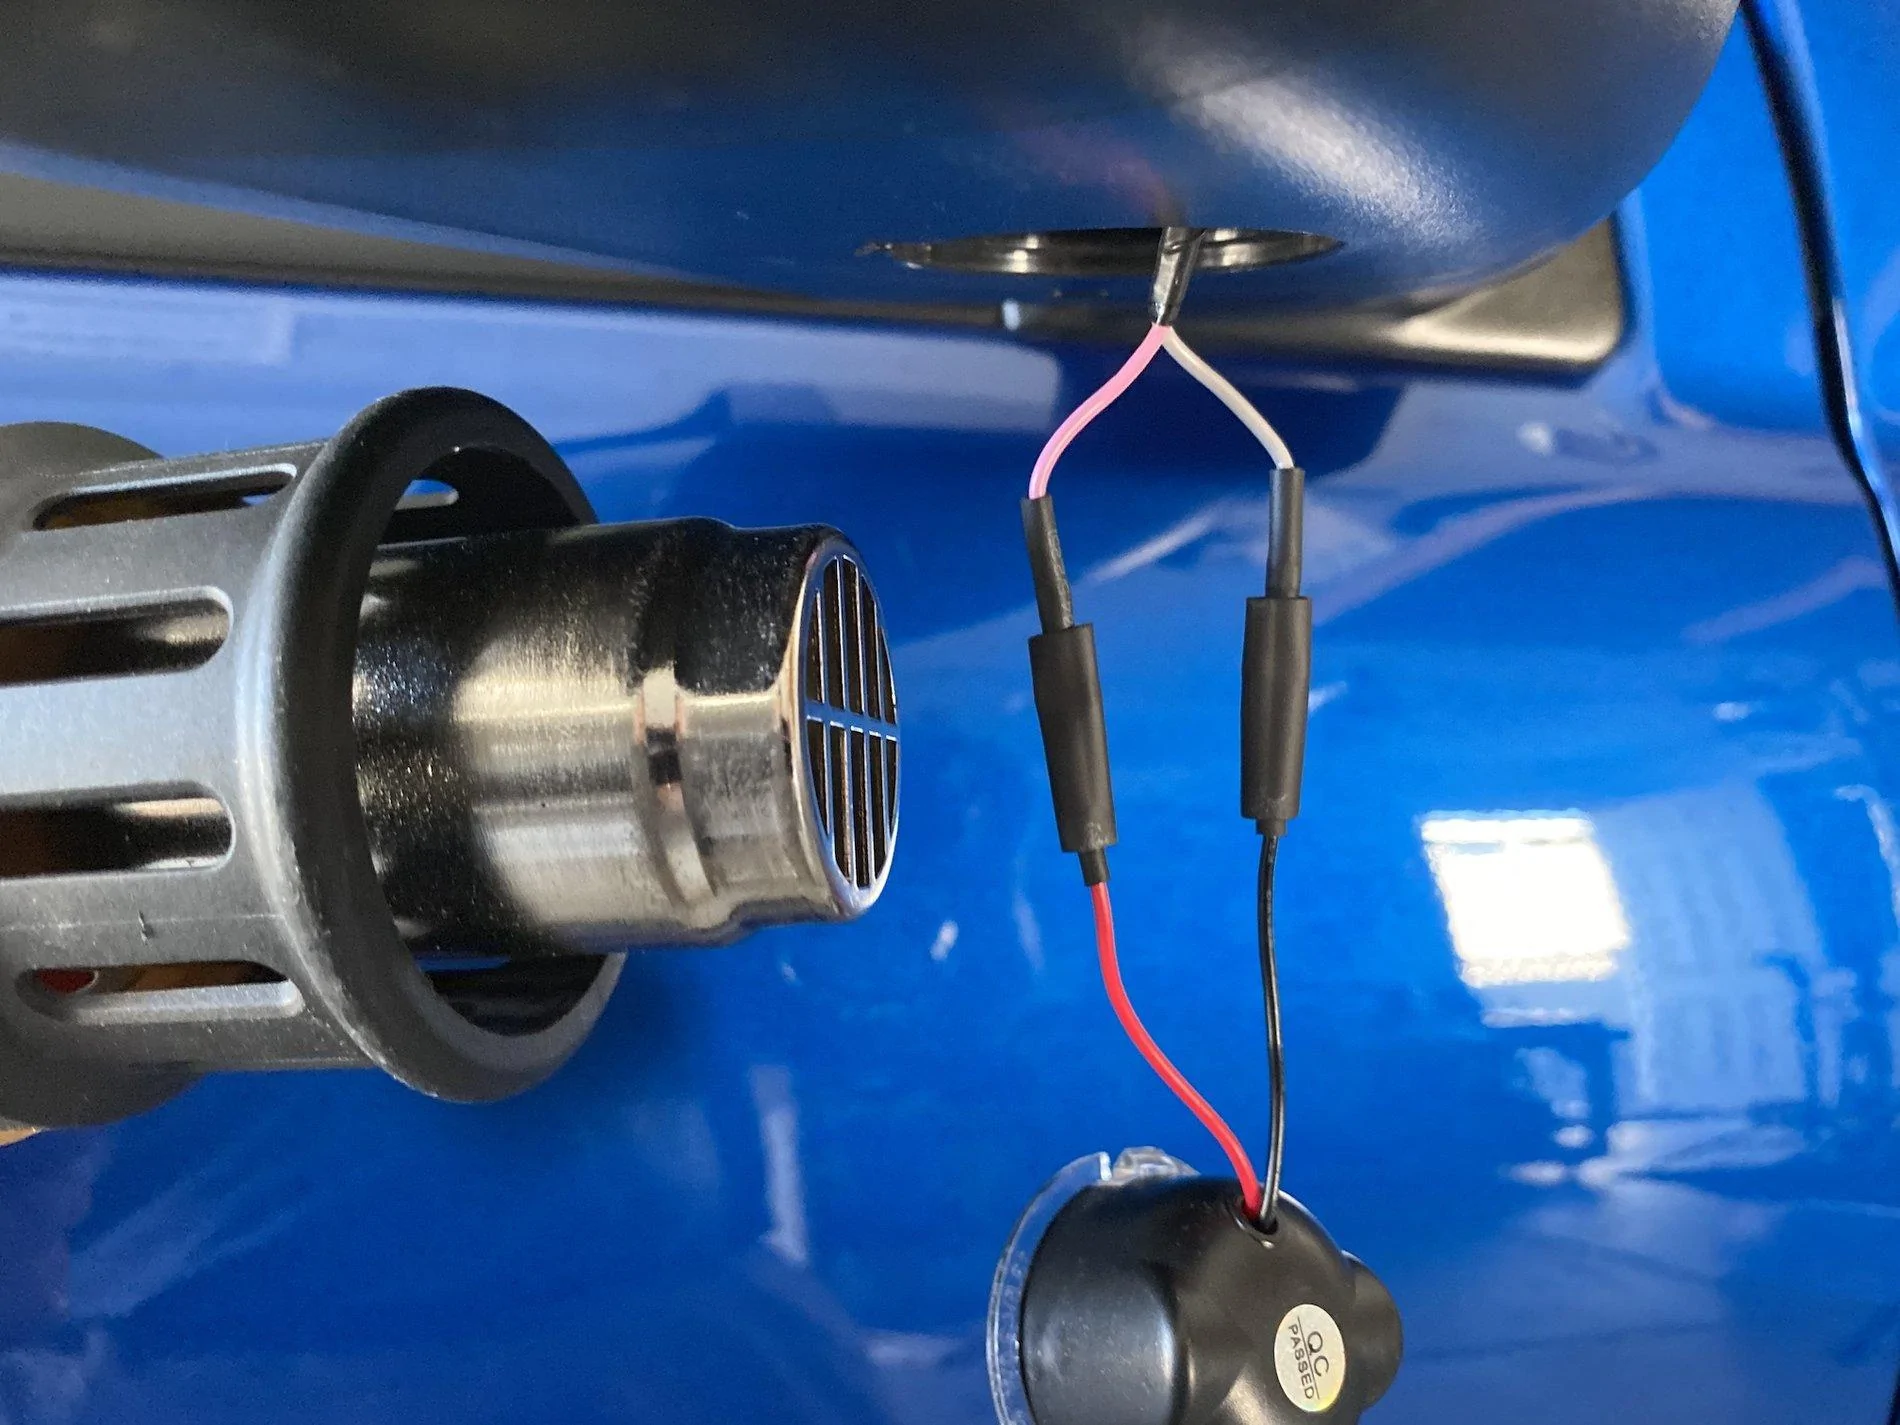
Use a heat gun to shrink the insulation. Tuck the wires up into the body, snap the light back into place:
For $14 shipped to my door, this is a fantastic little upgrade. Enjoy!
Here is a before and after picture, with the camera settings (ISO, shutter speed, F-stop and color temperature) all locked to exactly the same settings, shot from exactly the same angle.
Before:
After:
There is an inexpensive upgrade available on Amazon which is a perfect fit, and literally takes less than 5 minutes per side to install. I just did mine today, and made a really quick install guide:
You can get the lights I used here: https://amzn.to/2Ato4rq
And here are a few pictures that are a little better than the video.
Factory light on the left, upgraded light on the right:
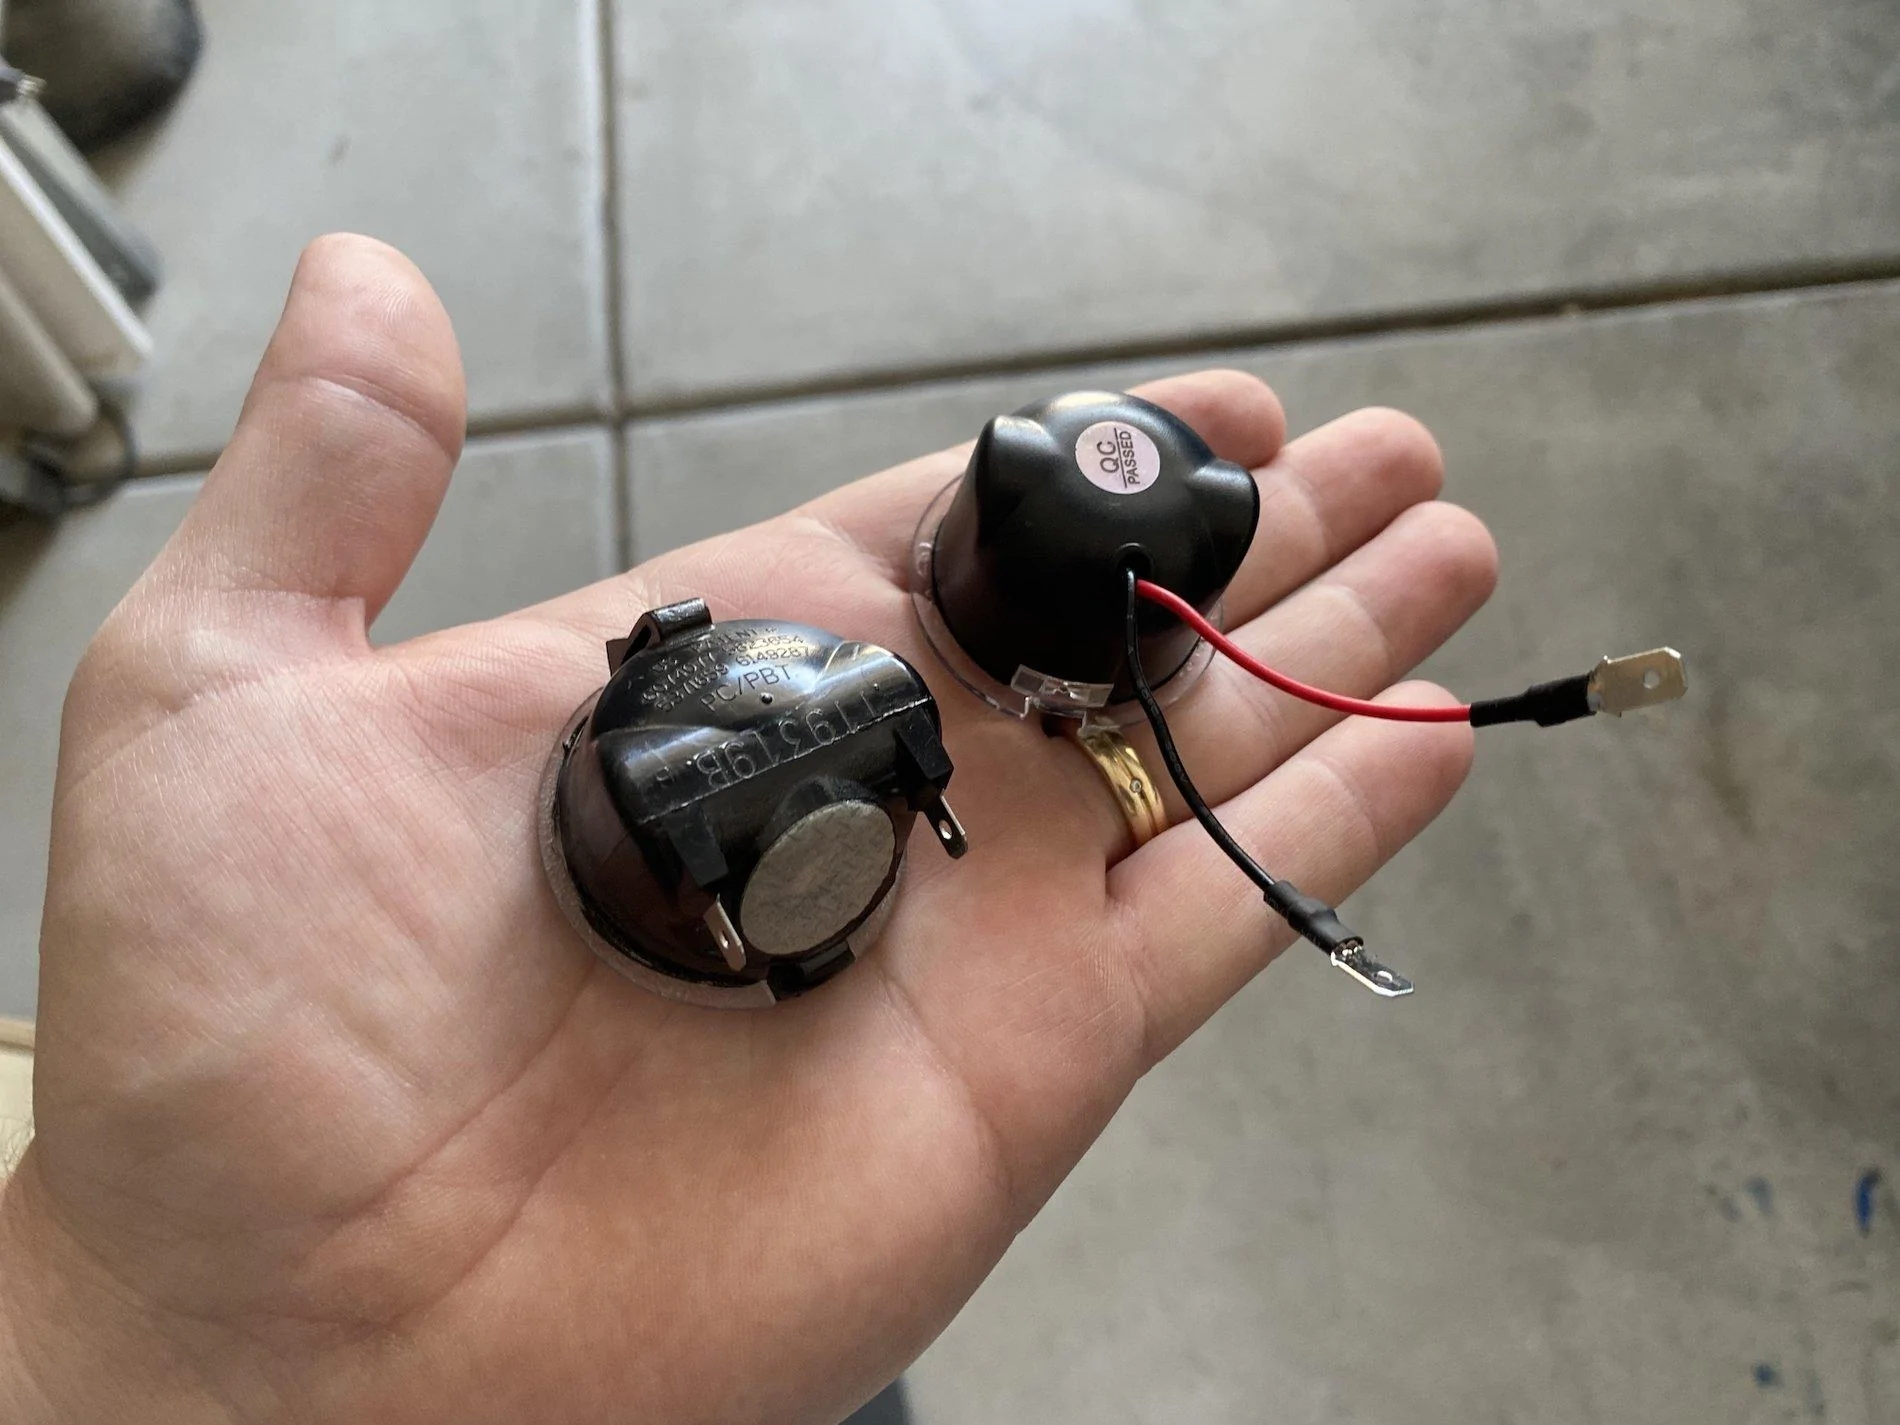
The factory wiring harness could easily short out without some extra insulation, so either use some heat-shrink tube or electrical tape to insulate the connectors from touching each other:
I decided to use heat shrink. Here it is on one side, before I shrank it:
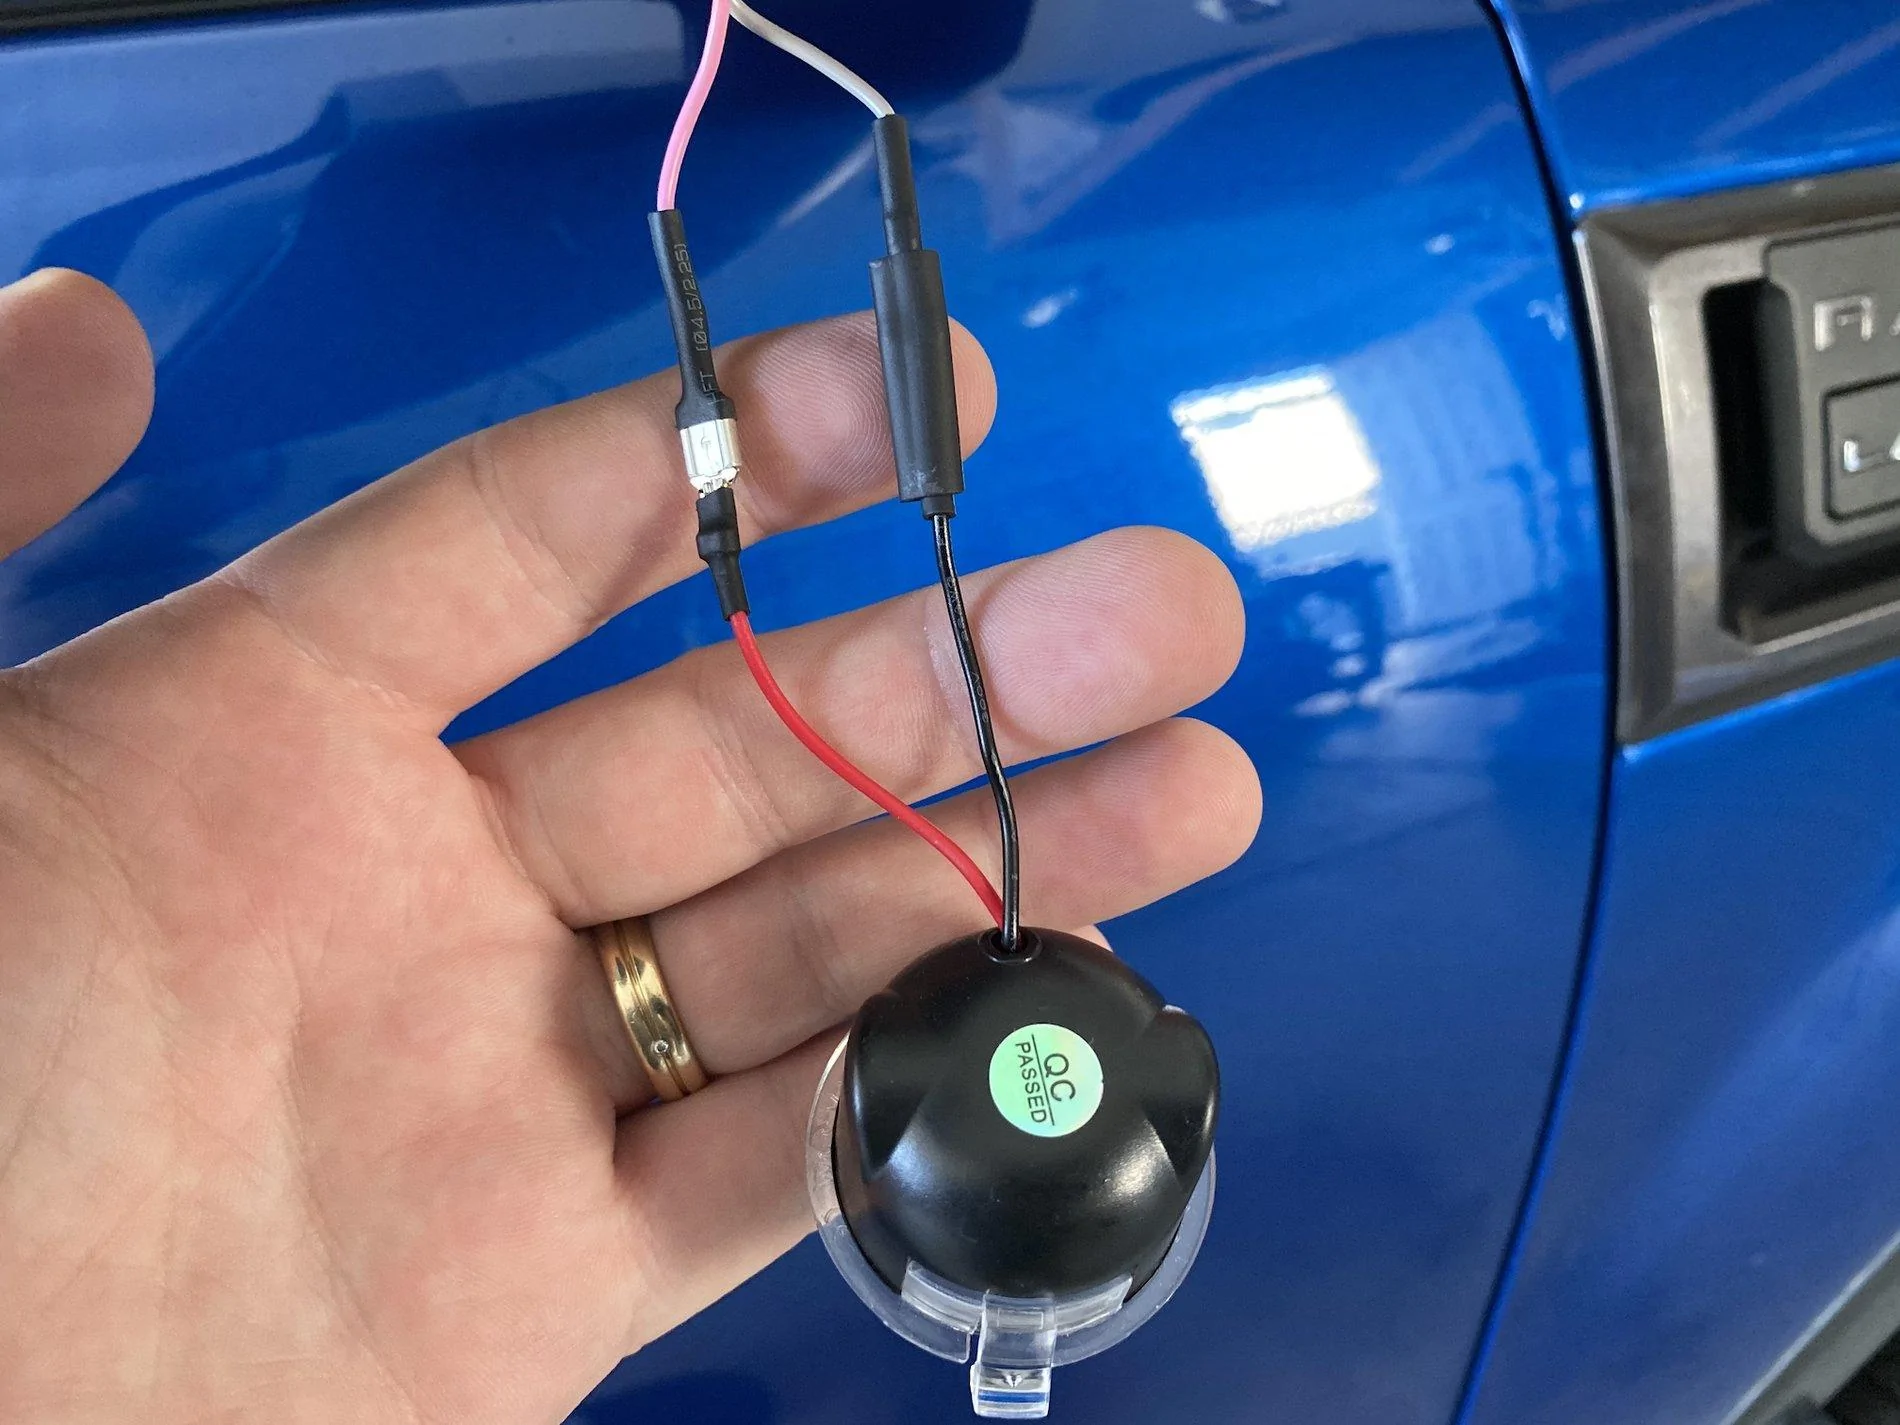
Both sides with heat shrink on, but not yet shrunk. Test the light to make sure it's wired correctly before you shrink the insulation:
Use a heat gun to shrink the insulation. Tuck the wires up into the body, snap the light back into place:
For $14 shipped to my door, this is a fantastic little upgrade. Enjoy!
Sponsored
Last edited: