Sponsored

Back to the 2020 FX4 Salvage Rebuild

OP
OP
XionUAV

XionUAV

Well-Known Member
Joined
Mar 11, 2023
Threads
11
Messages
244
Reaction score
696
Location
Utah
Vehicle(s)
2020 FX4
Looks like next on the list is a new battery. After the truck came back from the repair shop I didn't move or start it but noted the next day that the fob wouldn't lock the doors. Didn't think much of it until it still wouldn't work after changing the fob battery. Then I tried the spare fob. Nothing. Crap.

It started fine when it was loaded on the truck both going to the shop and when they loaded it for the trip home. But sure enough, the battery was dead.

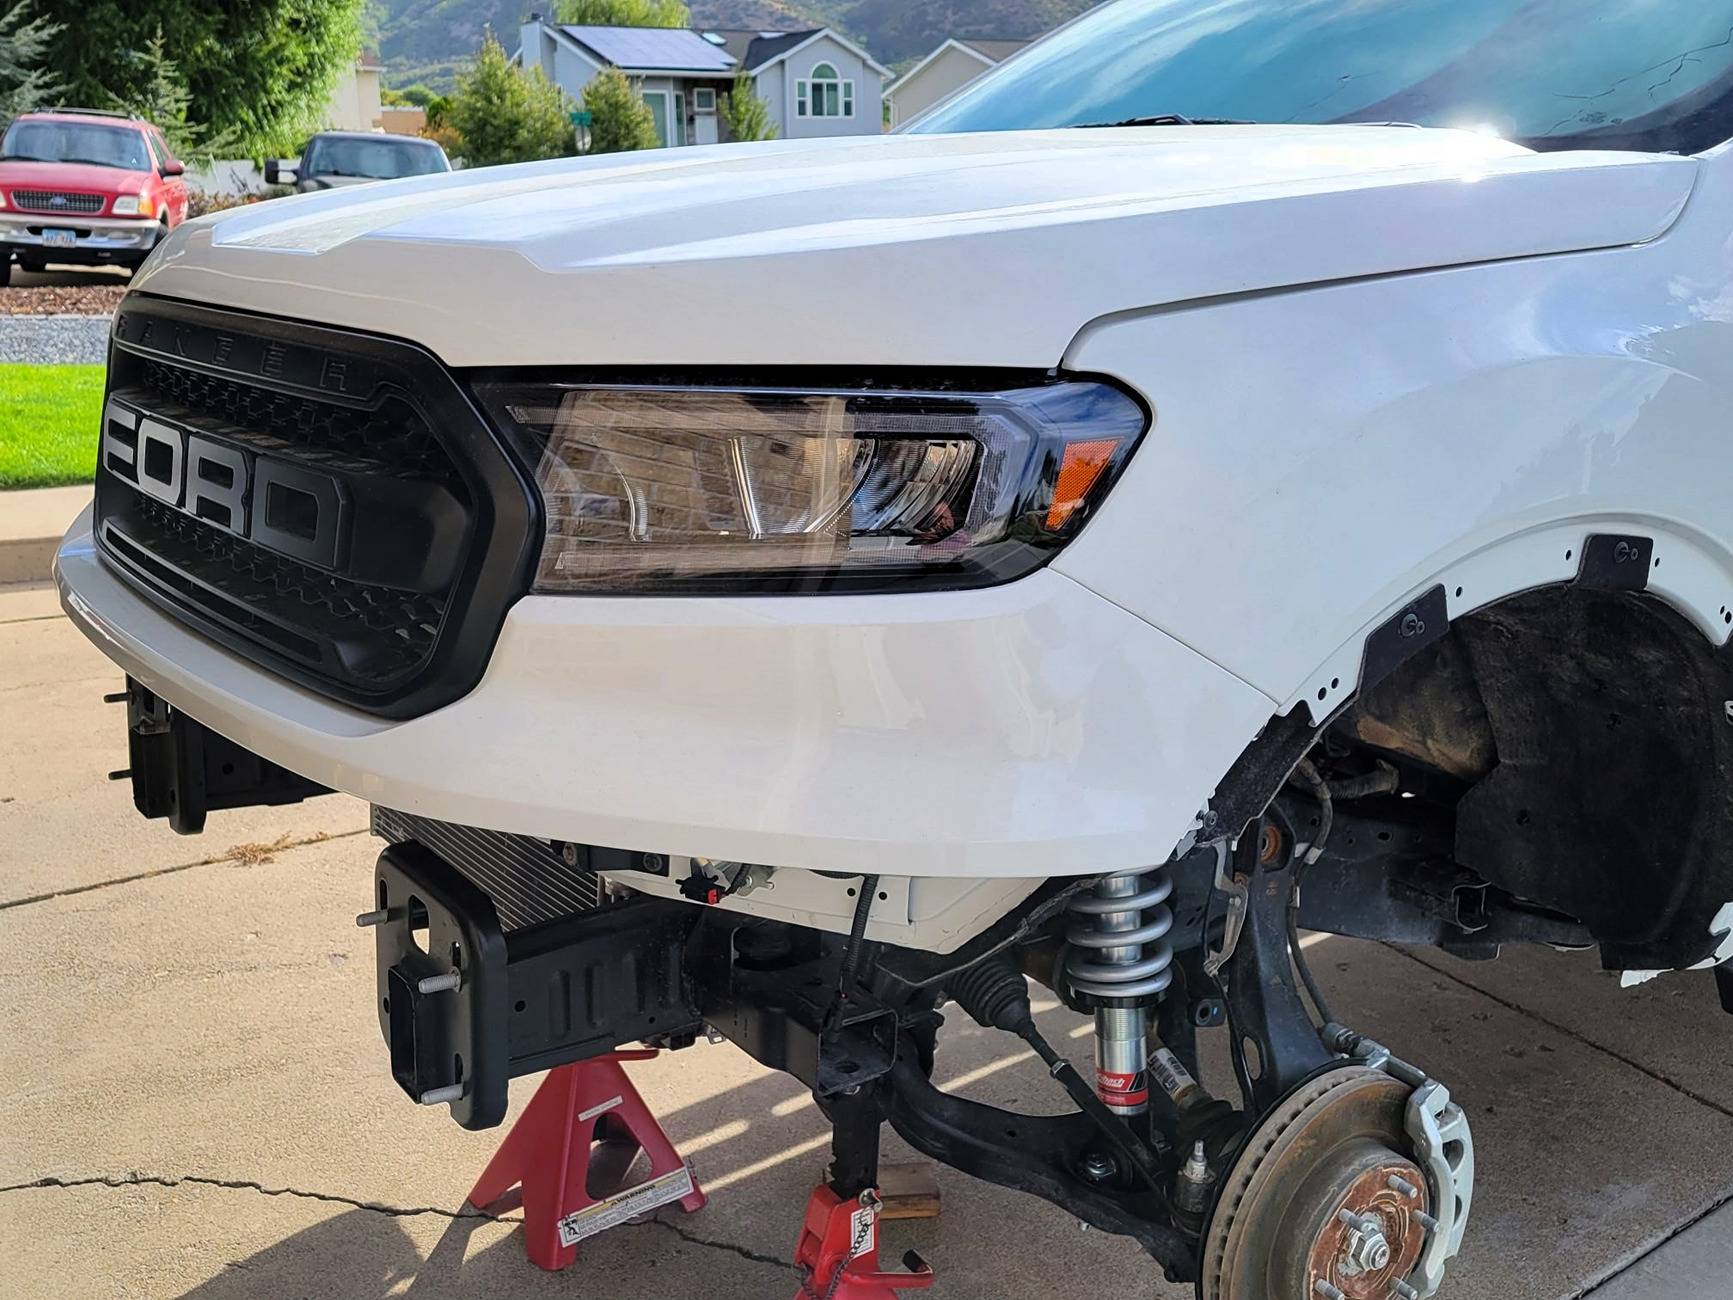
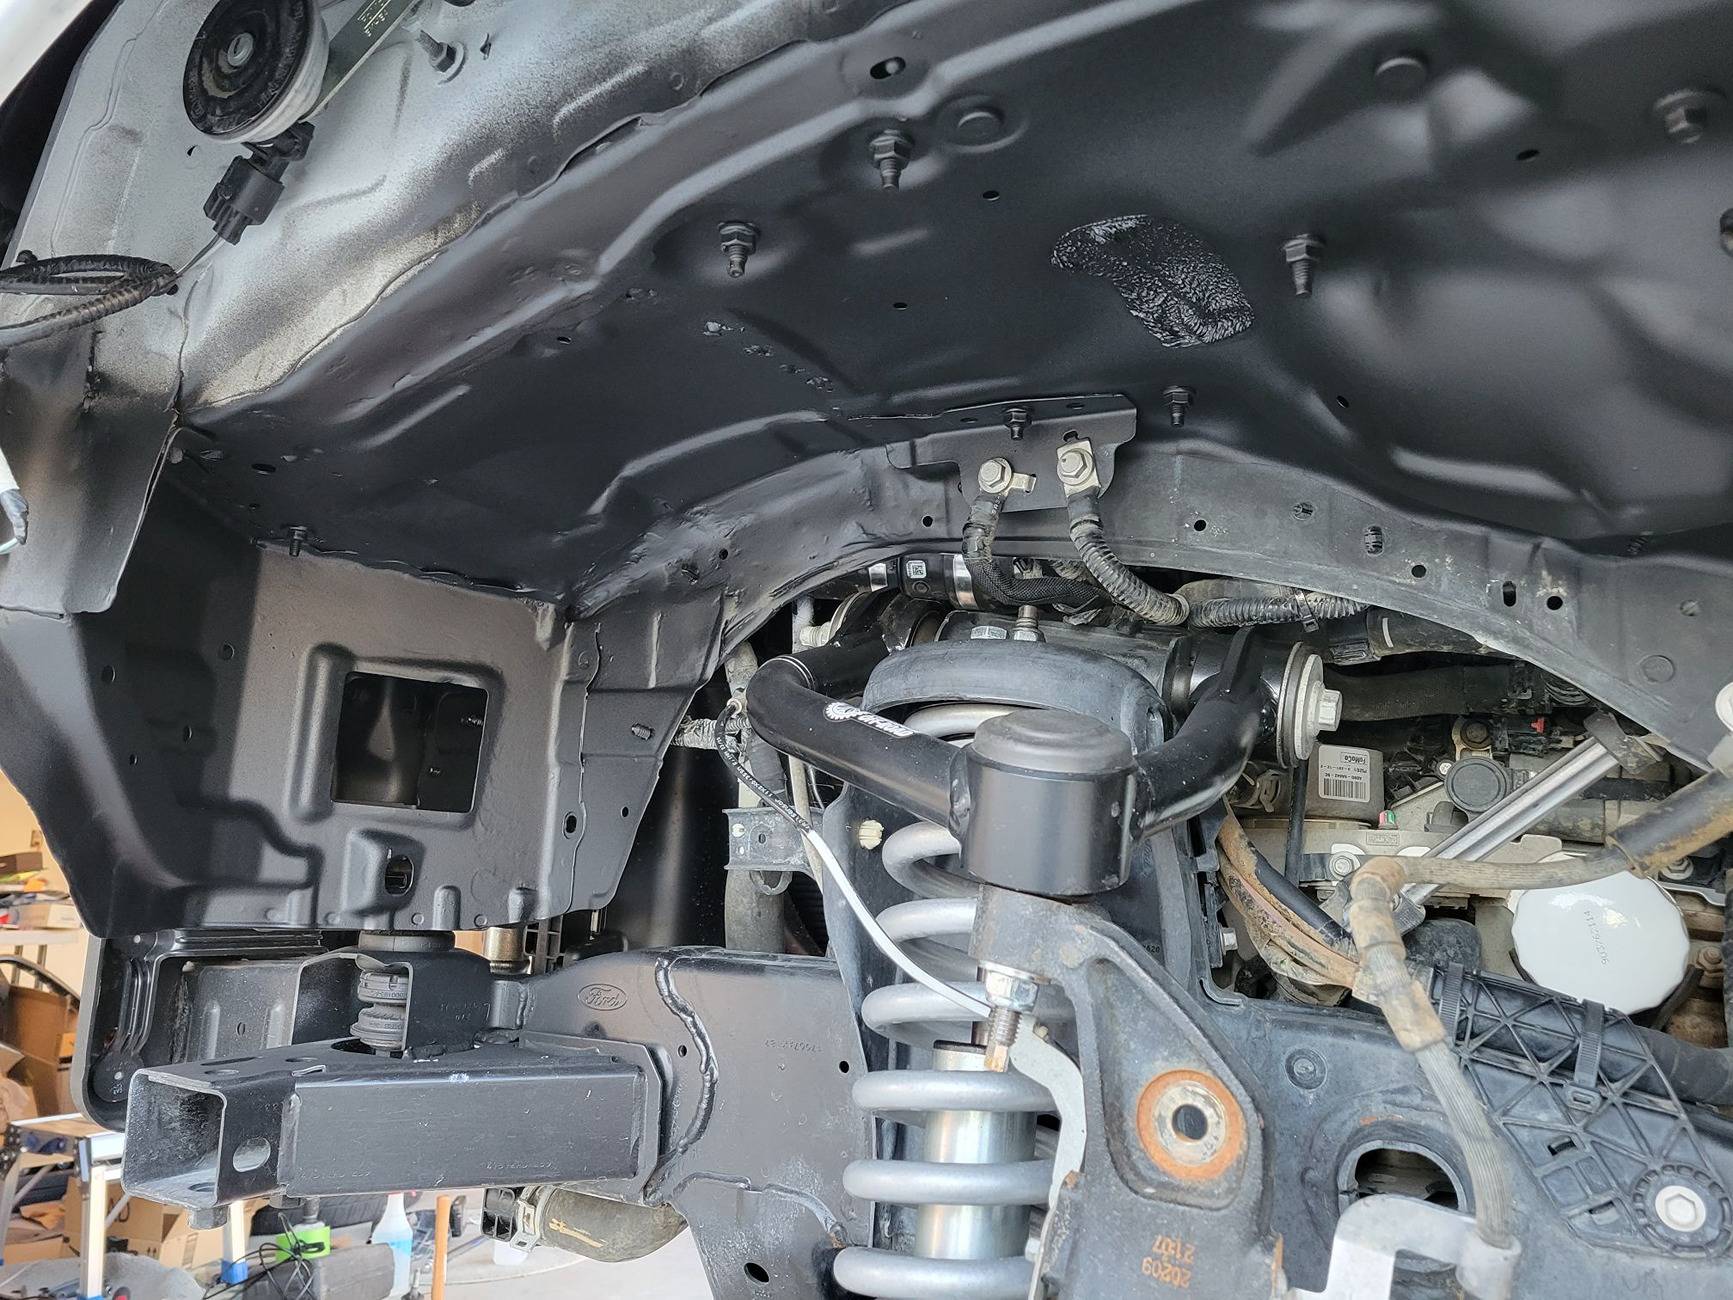
The charger jumped to 15 amps and stayed close to that only going down to 12 amps after about 15 minutes, and staying there. I freaked because I don't believe in coincidence and thought somehow the new/used steering rack was drawing excessive current. Disconnected the negative terminal and tried the charger again. It stayed at 12 amps.

So, good and bad. Good because that means it isn't a draw from the vehicle. Bad because that means a new battery. This one probably has a shorted cell. It's likely the original.

Read up and apparently all models use the H6 size except the Lariat, which uses a slightly larger H7. I've always had excellent luck with the Everstart batteries from Walmart so that's what I'll get. Ordered a new insulator jacket for the slightly larger battery.

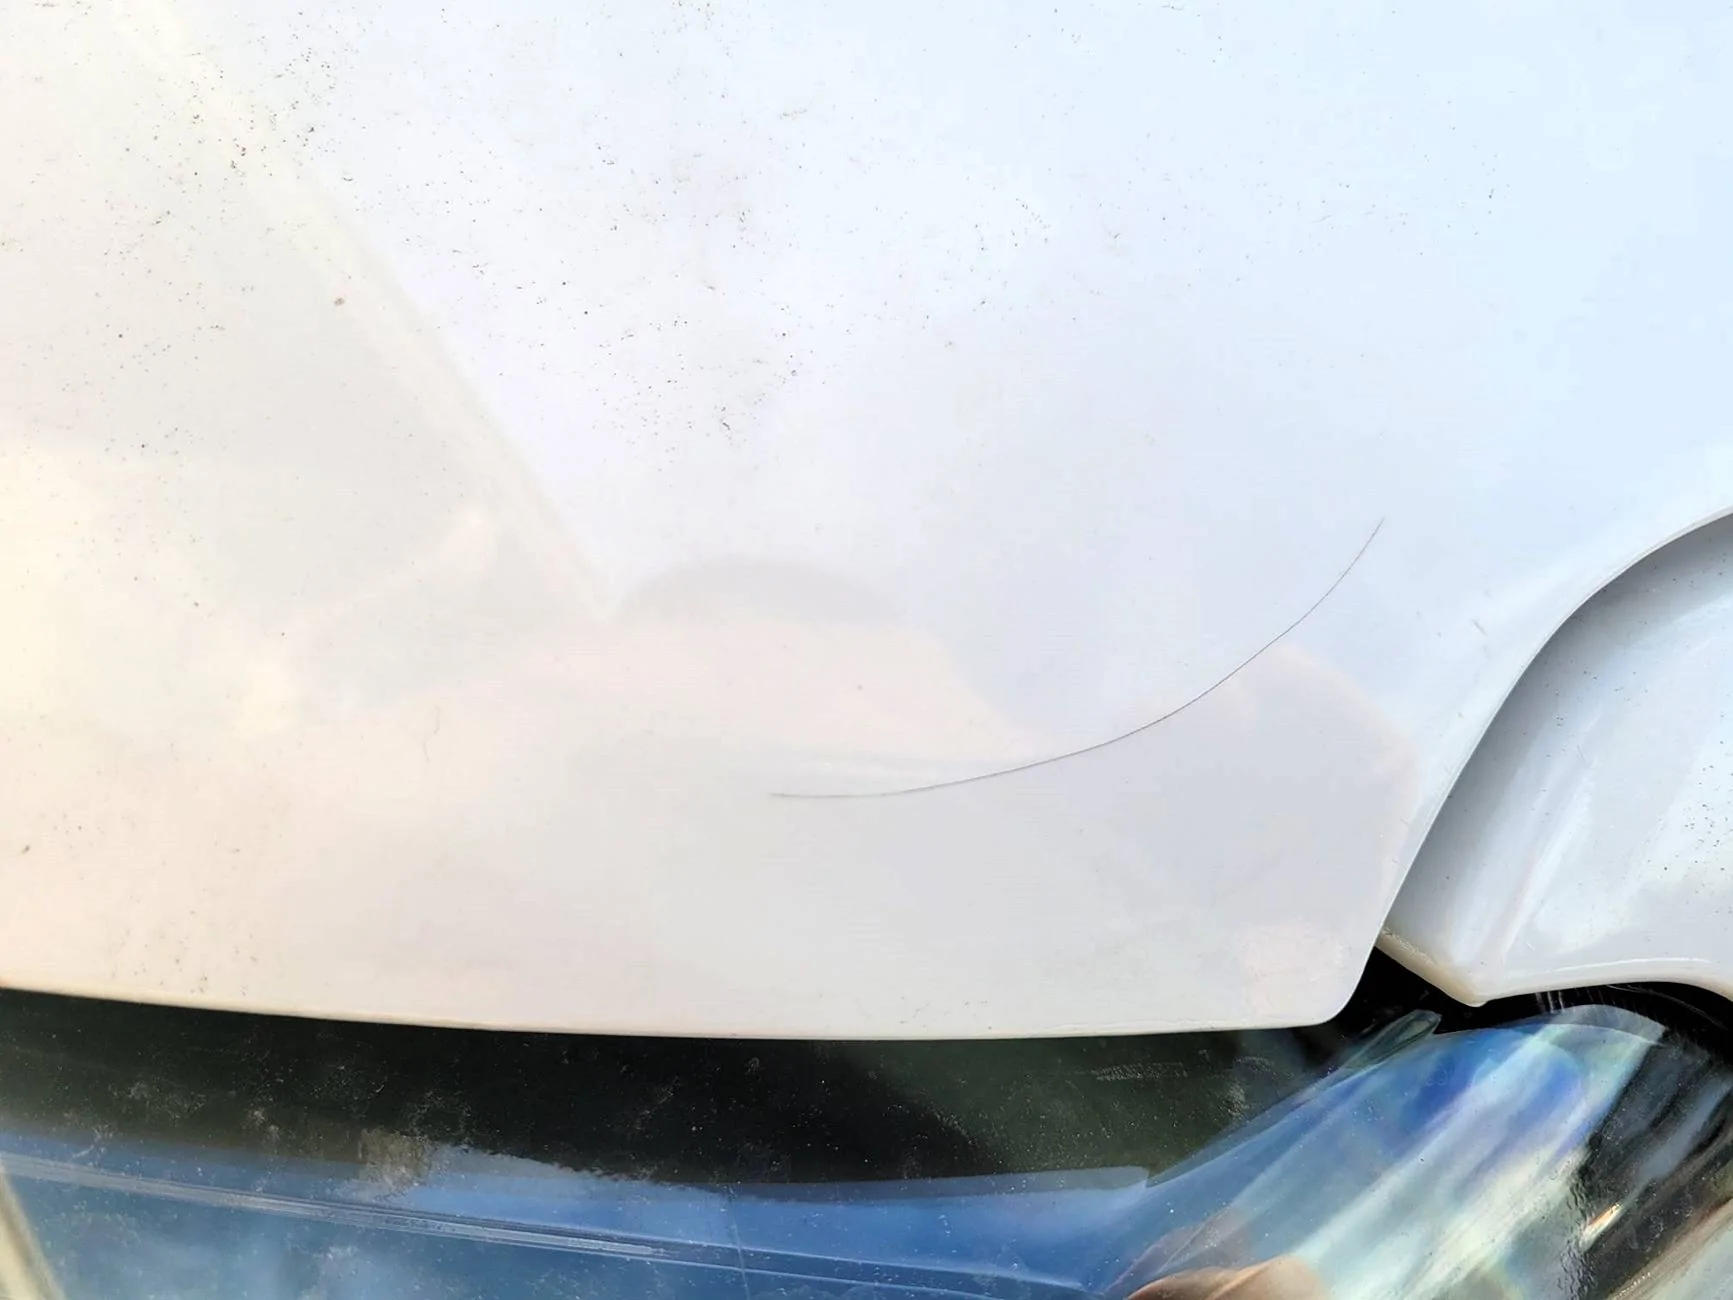
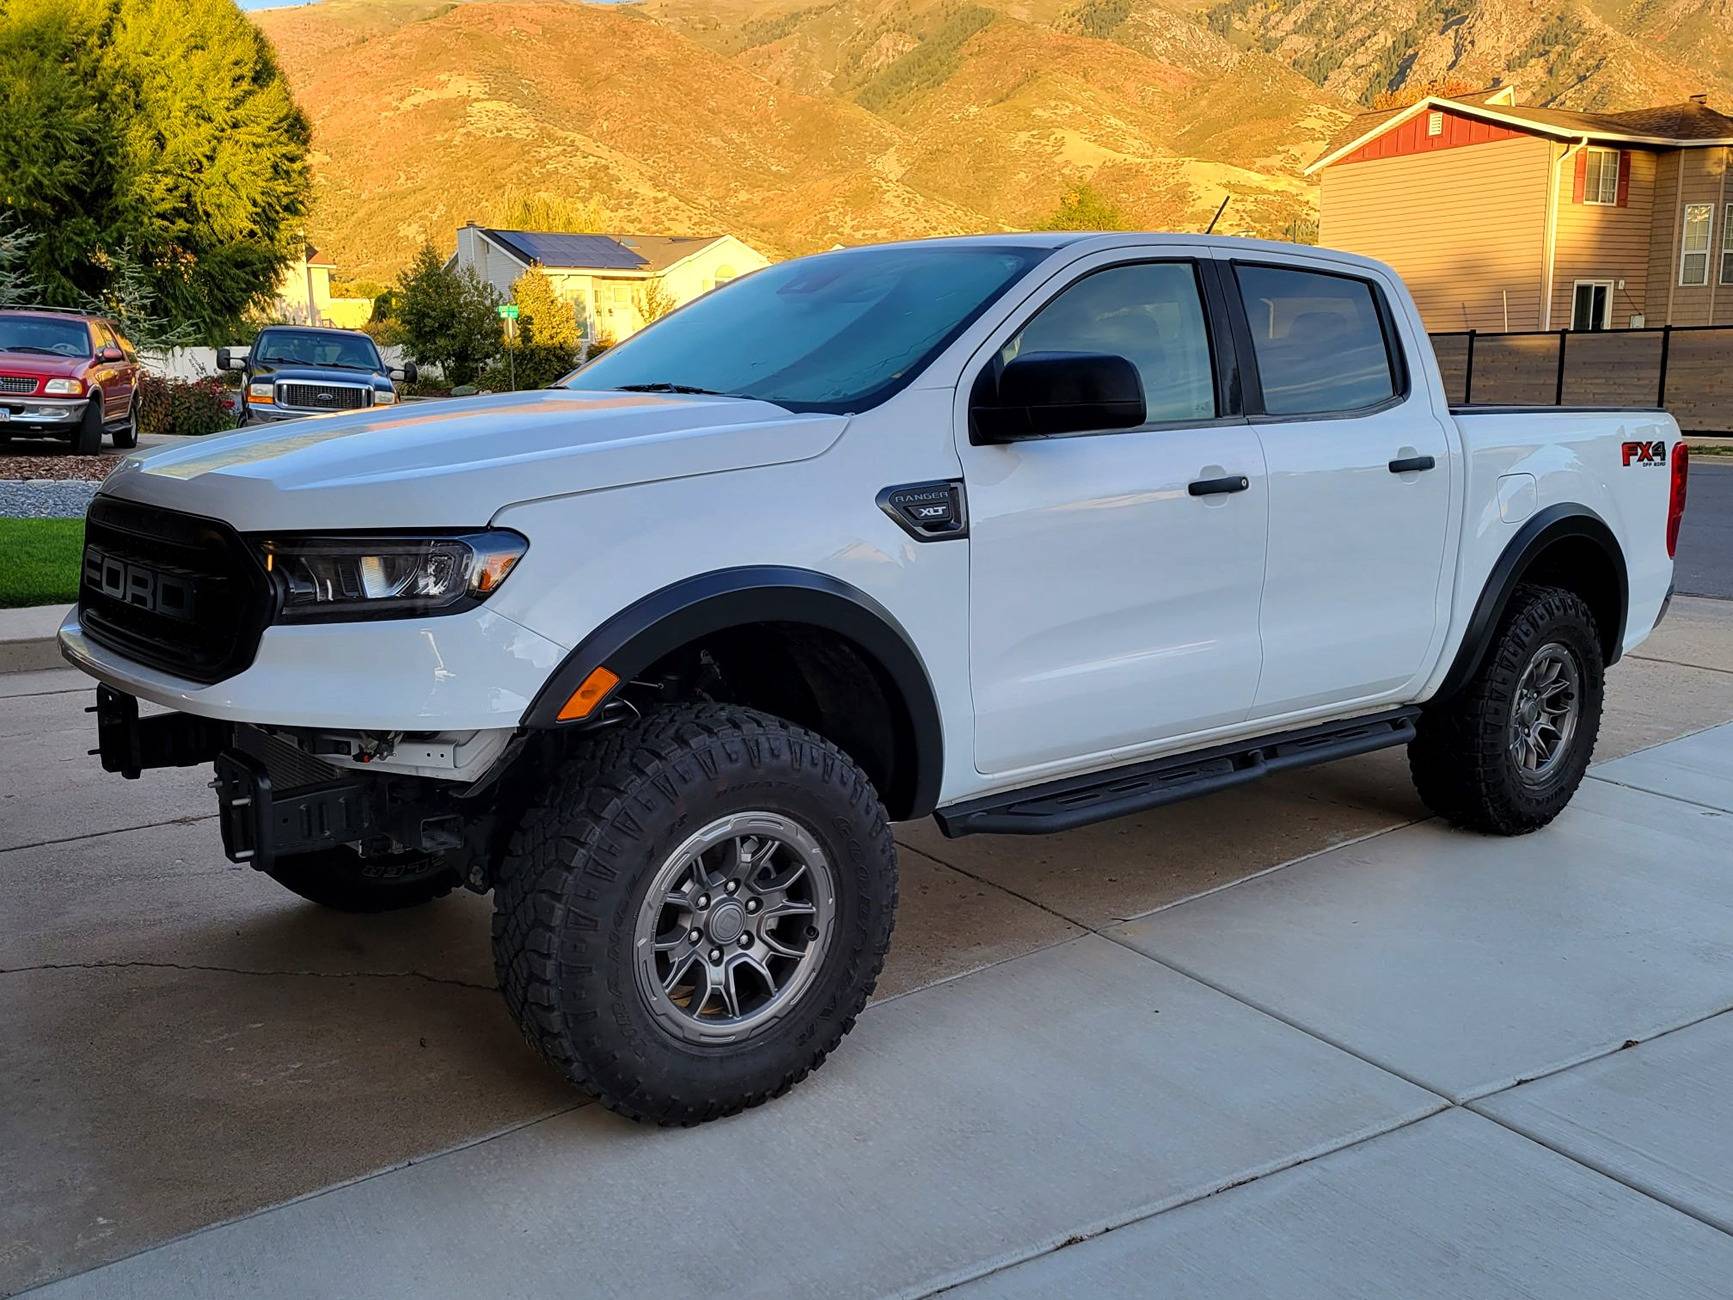
Also decided the black textured Bushwhacker flares make it look like a utility vehicle. Took a new set of Husky smooth flares (which I'm pretty sure use the same mold shape as the textured Bushwhackers) to a reputable local body shop to have painted the original dark metallic gray trim color, Magnetic (J7). They also said it shouldn't be a big deal to pull the passenger side frame rail down slightly to even them up.

Told my wife I feel like I'm 9,500 miles into a 10,000 mile journey. She suggested I'm probably still around 9,000. She's right. Perspective is a bit skewed these days.
Sponsored

 
Last edited:
OP
OP
XionUAV

XionUAV

Well-Known Member
Joined
Mar 11, 2023
Threads
11
Messages
244
Reaction score
696
Location
Utah
Vehicle(s)
2020 FX4
Not much progress to report. Got the new Sealight LED bulbs installed in the OEM-style headlight housings and tested them, then decided I might as well install DRL assemblies instead. Did a bunch of research and settled on a pair of Carbide headlights from Headlight Revolution.

About a half hour later I get an email stating that the headlights are back-ordered with no ship date estimate. Companies that do that just seriously tick me off. There is no reason for a supposed professional company to show an item in stock when they actually have no stock. If they drop ship then they should be able to sync with the supplier's inventory.

Bottom line, no new headlights. Still looking at others.

And I decided the black, textured Bushwackers are actually fine. They're staying on.
 
OP
OP
XionUAV

XionUAV

Well-Known Member
Joined
Mar 11, 2023
Threads
11
Messages
244
Reaction score
696
Location
Utah
Vehicle(s)
2020 FX4
Thought I was ready to finish the front suspension after getting the Eibach struts installed. But could something actually go right? Of course not. This is "Whitemare," the salvage Ranger rebuild project from hell.

The shank and bolt on the Mevotech tie rods I ordered are smaller than the OEM tie rods. When Ford Parts tie rods were then ordered, which I should have just ordered in the first place, they were spec'd for 2020-2023. Most aftermarket parts, including the Mevotech tie rods, are spec'd for 2019-2023. So it's possible the ones on the 2019 are slightly different. Still waiting for the correct tie rods to arrive.

The alignment of the front driver side components isn't terrible, but not great. For some reason the totally incompetent body shop installed new hood hinges, which I did not supply to them and were totally unnecessary. The original hinges had not been compromised in any way. The new hinges they installed is the only thing I can account for the hood being about a quarter inch too far forward. There is no additional range adjustment available. The hood latch receiver hits the plastic pieces at the front of the latch. The only way I can see to properly adjust the hood at this point is to elongate the holes in the hinges.

With the front of the hood adjustments made such that the gap around the grill is uniform, the hood-to-fender gap on the driver side is wide enough to almost make it look like the hood has been released. And then this morning I noticed a big crack in the paint where the damage from shipping was repaired.

The Husky flares look good. They appear to be the same as the Bushwhackers only substantially less expensive. I had to epoxy several of the mounts on the stock trim before attaching the passenger-side flare. The stock trim is necessary because the front of the aftermarket flare screws into the OEM trim.

Because the fender liners are mostly rigid and the trim mounts are hidden above the liner, I thought the trim would pop out when pulled. Nope. The fasteners that secure the trim are one-way. The only way to get them out properly is to squeeze the pins from the back. But the pins are hidden above the fender liner, and the liner can't be removed without removing the trim because part of the liner is attached behind the trim. Ended up breaking several of the mounts on the trim trying to remove it last year. The liner would have to be folded down and each push pin squeezed from the back to remove the trim without damage.

The VLAND daytime running lights look good. No idea how they look at night yet, of course, but otherwise appear decent. There's an additional harness supplied with them than needs to be installed between the headlight and vehicle harness in order for the turn signals and DRLs to work. The only issue is a constant power wire for the DRLs needs to be attached in the fuse box. The fuse box lid is sealed when closed with a lip and gasket. The only way I saw to properlly close the lid was to dremel out a slot in both the fuse box and lid so when the lid is closed it seals around the wire and continues sealing the fuse box.

Once the front suspension is finally all back together, then the Eibach rear shocks and BDS 1" shackle lift will go on. Then it goes to a COMPETENT body shop to hopefully get the front bumper mounts evened up since they are 3/4" out of alignment vertically. Then the bumper, tow hooks, air deflector, skid plates and driving lights can be intalled. Then a new windshield, and the AC still needs to be charged. Plus the used steering rack programming needs to be addressed, and it will need an alignment.

At this point I am so fed-up with the whole project I just want it finished so the truck can be sold and never seen or thought of again. A memory wipe of the entire project would be nice as well. Helps avoid therapy.

Some people don't care about flaws with their nice, new-ish vehicles. I'm not one of those people. I really thought this Ranger could be brought back to a point where the panels would fit properly and I wouldn't notice obvious problems when looking at it. Mostly thanks to the pathetic excuse for a body shop, that just isn't going to happen. I'll see the crappy hood and fender alignments and gaps every time I walk up to it and reminded every time of the stupidity that went on and on and on. Hopefully it will make a nice vehicle for someone with less OCD than me.

Kind of regretting selling the 6-spd manual Nissan Frontier purchased around the same time I got this thing. My very nice Touareg has been sitting outside all spring and summer because the spot it normally takes in the garage is still full of Ranger parts. Really hoping to get it all sorted before the snow starts flying, which could be in the next few weeks. Never, ever, ever again.

20240916_085231_compress89.webp


20240916_092240_compress60.jpg


20240916_092213_compress43.webp


20240907_101633_compress10.jpg
 
OP
OP
XionUAV

XionUAV

Well-Known Member
Joined
Mar 11, 2023
Threads
11
Messages
244
Reaction score
696
Location
Utah
Vehicle(s)
2020 FX4
Well folks, Whitemare has smacked me upside the head once again. The OEM tie rods arrived. The passenger side is correct, the driver side is not. It's the same smaller shank and bolt as the Mevotechs I received and returned. However, as irritating as it is, this mistake appears to be my own.

I did not notice on the original ordering page that there is a parts split in Rangers manufactured before and after 6/2020. I had mistakenly ordered the driver side for a Ranger manufactured pre 6/2020. Mine was manufactured in 8/2020. It appears I just got lucky on the passenger side.

Just sent in a request for a return. Also just ordered the correct one along with a couple of nuts. They don't even come with nuts, which is stupid because you aren't' supposed to reuse the nuts. New nuts should always come with new tie rods. They do with aftermarket.

I need a hug and a shoulder to cry on. Good thing my wife is genuinely sympathetic to this whole mess.


Sojourner

Well-Known Member
Joined
Jul 25, 2023
Threads
1
Messages
188
Reaction score
472
Location
Maryland
Vehicle(s)
2023 Ford Ranger XLT Tremor
Occupation
Retired Army / Disabled Vet
The pix show an amazingly good looking Ranger.

Maybe, after the projects completed, take a few days to sit back and decompress? Maybe you'll see the great job you've been doing all the way along and keep it?

FWIW, I would be very proud of this restoration. It looks fantastic.

? x 1000.
 
Last edited:
OP
OP
XionUAV

XionUAV

Well-Known Member
Joined
Mar 11, 2023
Threads
11
Messages
244
Reaction score
696
Location
Utah
Vehicle(s)
2020 FX4
The pix show an amazingly good looking Ranger.

Maybe, after the projects completed, take a few days to sit back and decompress? Maybe you'll see the great job you've been doing all the way along and keep it?

FWIW, I would be very proud of this restoration. It looks fantastic.

? x 1000.
Thanks. Yeah us passionate types have a tendency to overreact sometimes. I still wish I had just kept the Frontier, but that's ancient history now.

I wanted a rebuild back to OEM, which the body shop failed at fairly miserably. But I am getting it cleaned up decently. My problem is I strive for perfection, and I expect that perfection when the cost is high. In this case that cost is mostly my labor, time and sanity. But you're right. I need to back off, stay calm and keep working at it.

One thought was to sell it and get another cheaper, less perfect truck that I wouldn't be as concerned about the value or keeping it scratch free. Every Taco and Frontier I looked at that was under $15k and not more than 10 years old had upwards of 200k miles. I wouldn't even consider a higher mileage vehicle unless it was a standard transmission. Wasn't finding anything remotely worth considering.

A really nice young man purchased the Bilsteins I had originally purchased. His Ranger was also a white 2020 but an STX. He had done some stuff to his I wouldn't do to mine but it was a bit of an eye opener. He said he got a really good deal on his as a dealer vehicle that had about a thousand miles on it. He said he paid $31k something. His had some obvious dents and dings.

I'll just keep at it and try not to have more meltdowns.

Tonight I sprayed some bedliner in the fender-wells to clean those up a bit. Still need to cover the big square opening at the front of the driver fender well, but the spray-on bedliner looks really good. It's some Rustoleum advertised as super tough and impact resistant. Put on two coats. We'll see how it fairs after some of my 70 MPH sprints on desert roads. Of course by the time I get it ready for that there will likely be snow on the ground again so...

20240920_180918_compress79.jpg


20240920_180926_compress52.jpg
 

Mighty Little Blue

Well-Known Member
First Name
Jeff
Joined
Jul 11, 2021
Threads
17
Messages
372
Reaction score
1,257
Location
Wisconsin Rapids, WI / Philippines
Vehicle(s)
2021 Velocity Blue Supercab FX4
Occupation
Printer/Retired
Vehicle Showcase
1
Because the fender liners are mostly rigid and the trim mounts are hidden above the liner, I thought the trim would pop out when pulled. Nope. The fasteners that secure the trim are one-way. The only way to get them out properly is to squeeze the pins from the back. But the pins are hidden above the fender liner, and the liner can't be removed without removing the trim because part of the liner is attached behind the trim. Ended up breaking several of the mounts on the trim trying to remove it last year. The liner would have to be folded down and each push pin squeezed from the back to remove the trim without damage.

Yes, the trim on the wheel wells are hard to remove. I made a tool out of hard plastic similar to a trim tool and drilled a beveled hole in to use on backside to depress the clip. By accident I discovered the middle ones 3 or 4 not sure on exact number, those slide off without removing clips. Sort of like a keyhole shape.
I was lucky, and removed all 4 of mine without breaking any. Then had bed liner sprayed on them. First time removing trim without breaking a clip or 2.


IMG_6610.webp
 

TJC

Well-Known Member
First Name
Tony
Joined
Aug 28, 2020
Threads
45
Messages
3,965
Reaction score
9,993
Location
North Carolina
Vehicle(s)
93 Miata, 05 Ranger 4x4, 20 Ranger 4x4, 23 CX-5
Thanks. Yeah us passionate types have a tendency to overreact sometimes. I still wish I had just kept the Frontier, but that's ancient history now.

I wanted a rebuild back to OEM, which the body shop failed at fairly miserably. But I am getting it cleaned up decently. My problem is I strive for perfection, and I expect that perfection when the cost is high. In this case that cost is mostly my labor, time and sanity. But you're right. I need to back off, stay calm and keep working at it.

One thought was to sell it and get another cheaper, less perfect truck that I wouldn't be as concerned about the value or keeping it scratch free. Every Taco and Frontier I looked at that was under $15k and not more than 10 years old had upwards of 200k miles. I wouldn't even consider a higher mileage vehicle unless it was a standard transmission. Wasn't finding anything remotely worth considering.

A really nice young man purchased the Bilsteins I had originally purchased. His Ranger was also a white 2020 but an STX. He had done some stuff to his I wouldn't do to mine but it was a bit of an eye opener. He said he got a really good deal on his as a dealer vehicle that had about a thousand miles on it. He said he paid $31k something. His had some obvious dents and dings.

I'll just keep at it and try not to have more meltdowns.

Tonight I sprayed some bedliner in the fender-wells to clean those up a bit. Still need to cover the big square opening at the front of the driver fender well, but the spray-on bedliner looks really good. It's some Rustoleum advertised as super tough and impact resistant. Put on two coats. We'll see how it fairs after some of my 70 MPH sprints on desert roads. Of course by the time I get it ready for that there will likely be snow on the ground again so...

20240920_180918_compress79.jpg


20240920_180926_compress52.jpg
FWIW, Considering what you started with I am amazed at how well it looks.

An artist sees all the flaws. The patron only sees the beauty.

I think you've accomplished a great deal, and you are on the home stretch. You should be proud.

That truck would have been parted out by now if you had not come along.

And the upside of doing all this work is that you know this truck better than most body shop professionals.
 

Sojourner

Well-Known Member
Joined
Jul 25, 2023
Threads
1
Messages
188
Reaction score
472
Location
Maryland
Vehicle(s)
2023 Ford Ranger XLT Tremor
Occupation
Retired Army / Disabled Vet
An artist sees all the flaws. The patron only sees the beauty.
Great line!

And the upside of doing all this work is that you know this truck better than most body shop professionals.
Absolutely spot-on correct. Or, as Tom Hanks says in "Cloud Atlas": "True, true."
 
OP
OP
XionUAV

XionUAV

Well-Known Member
Joined
Mar 11, 2023
Threads
11
Messages
244
Reaction score
696
Location
Utah
Vehicle(s)
2020 FX4
Finally got the correct driver-side tie rod yesterday and spent a good part of today putting everything back together All the fender splash panels, flares, shorter sway bar end links and so forth. Set the camber bolts on the lower control arms so they're out as far as they'll go, put it on the ground to load up the suspension and tightened the upper control arms. I had lowered the front Eibachs by 1 turn but will probably lower them one more turn. Loading up the front end with the bumper will drop it slightly as well. It's a balance of lift vs. CV joint angle. Don't want to have more than I reasonably need.

Cleaned the rust off the rotors, added a little grease to the mating surface and used anti-seize on the studs. Might install the 1" BDS shackle lift and rear Eibachs tomorrow. Changed the oil as well.

Here's a good one. Obviously a person isn't supposed to drive on the road with an unregistered vehicle. Where I live I need an emissions test to register the thing. It's had a total of maybe 10 minutes running on the new battery. No driving. It will need to drive for probably a good half hour before the ECU will be ready. Keep in mind it won't get the front bumper until the front mounts are evened up as well.

So, I'll insure it then take it to the emission center where they'll fail it because the ECU won't be ready. Then I'll have the paperwork that will give me 30 days as I recall to finish the emissions, just in case I get stopped. It will go to the competent body shop to level up the bumper mounts, then back to the emissions center to get the emissions certificate. Then off to the DMV for registration and to the glass shop for a new windshield. Somewhere in there it will get an alignment.

Something I didn't really notice until today is the headlights have side-markers built in. I have some smoke markers so may install those.

Oh yeah, and figure out the programming for the new/used steering rack.

20240923_153740_compress50.jpg


20240923_185540_compress45.jpg
 
Last edited:

TJC

Well-Known Member
First Name
Tony
Joined
Aug 28, 2020
Threads
45
Messages
3,965
Reaction score
9,993
Location
North Carolina
Vehicle(s)
93 Miata, 05 Ranger 4x4, 20 Ranger 4x4, 23 CX-5
Is that the default Eibach lift height out of the box for the front end? I thought they were set to 2".

How much does one turn lower the height?
 
  • Like
Reactions: Doc

Doc

Well-Known Member
First Name
Doc
Joined
Dec 24, 2018
Threads
94
Messages
5,783
Reaction score
23,312
Location
Live oak fla
Vehicle(s)
2026 5.0 Mustang GT, 2024 Ranger STX
Occupation
Retired
Finally got the correct driver-side tie rod yesterday and spent a good part of today putting everything back together All the fender splash panels, flares, shorter sway bar end links and so forth. Set the camber bolts on the lower control arms so they're out as far as they'll go, put it on the ground to load up the suspension and tightened the upper control arms. I had lowered the front Eibachs by 1 turn but will probably lower them one more turn. Loading up the front end with the bumper will drop it slightly as well. It's a balance of lift vs. CV joint angle. Don't want to have more than I reasonably need.

Cleaned the rust off the rotors, added a little grease to the mating surface and used anti-seize on the studs. Might install the 1" BDS shackle lift and rear Eibachs tomorrow. Changed the oil as well.

Here's a good one. Obviously a person isn't supposed to drive on the road with an unregistered vehicle. Where I live I need an emissions test to register the thing. It's had a total of maybe 10 minutes running on the new battery. No driving. It will need to drive for probably a good half hour before the ECU will be ready. Keep in mind it won't get the front bumper until the front mounts are evened up as well.

So, I'll insure it then take it to the emission center where they'll fail it because the ECU won't be ready. Then I'll have the paperwork that will give me 30 days as I recall to finish the emissions, just in case I get stopped. It will go to the competent body shop to level up the bumper mounts, then back to the emissions center to get the emissions certificate. Then off to the DMV for registration and to the glass shop for a new windshield. Somewhere in there it will get an alignment.

Something I didn't really notice until today is the headlights have side-markers built in. I have some smoke markers so may install those.

Oh yeah, and figure out the programming for the new/used steering rack.

20240923_153740_compress50.jpg


20240923_185540_compress45.jpg
Nice !
 
OP
OP
XionUAV

XionUAV

Well-Known Member
Joined
Mar 11, 2023
Threads
11
Messages
244
Reaction score
696
Location
Utah
Vehicle(s)
2020 FX4
Is that the default Eibach lift height out of the box for the front end? I thought they were set to 2".

How much does one turn lower the height?
Oddly, the preset lift height is not listed in any of the material that comes with the shocks. I watched a review before purchasing them in which it was stated that the shocks are set at a 3" lift. They come with a detailed installation guide and at the very end it's listed that 1 (one) full turn of the collar is equal to approximately 3/16" height change. So two turns is close to 1/2".

I'll finalize the height adjustment after the bumper and the rest of the parts are installed. That will be done by measuring the height on each side at the top of the fender lip and making sure they're both the same.
Sponsored


Top