WalkerTexasRanger
New Member
- First Name
- Chris
- Joined
- May 19, 2019
- Threads
- 0
- Messages
- 2
- Reaction score
- 16
- Location
- North Carolina
- Vehicle(s)
- 2019 Ford Ranger XLT Sport 4X4
- Occupation
- Fleet Maintenance Technician at The Biltmore Company
I wanted to chime in on this conversation, if I may.
After reading through all 35 pages of the thread, I see there is a lot of high-quality information and also a little bit of confusion about the cause and the remedy.
To save everyone the trouble of reading through all 35 pages, the important bits are:


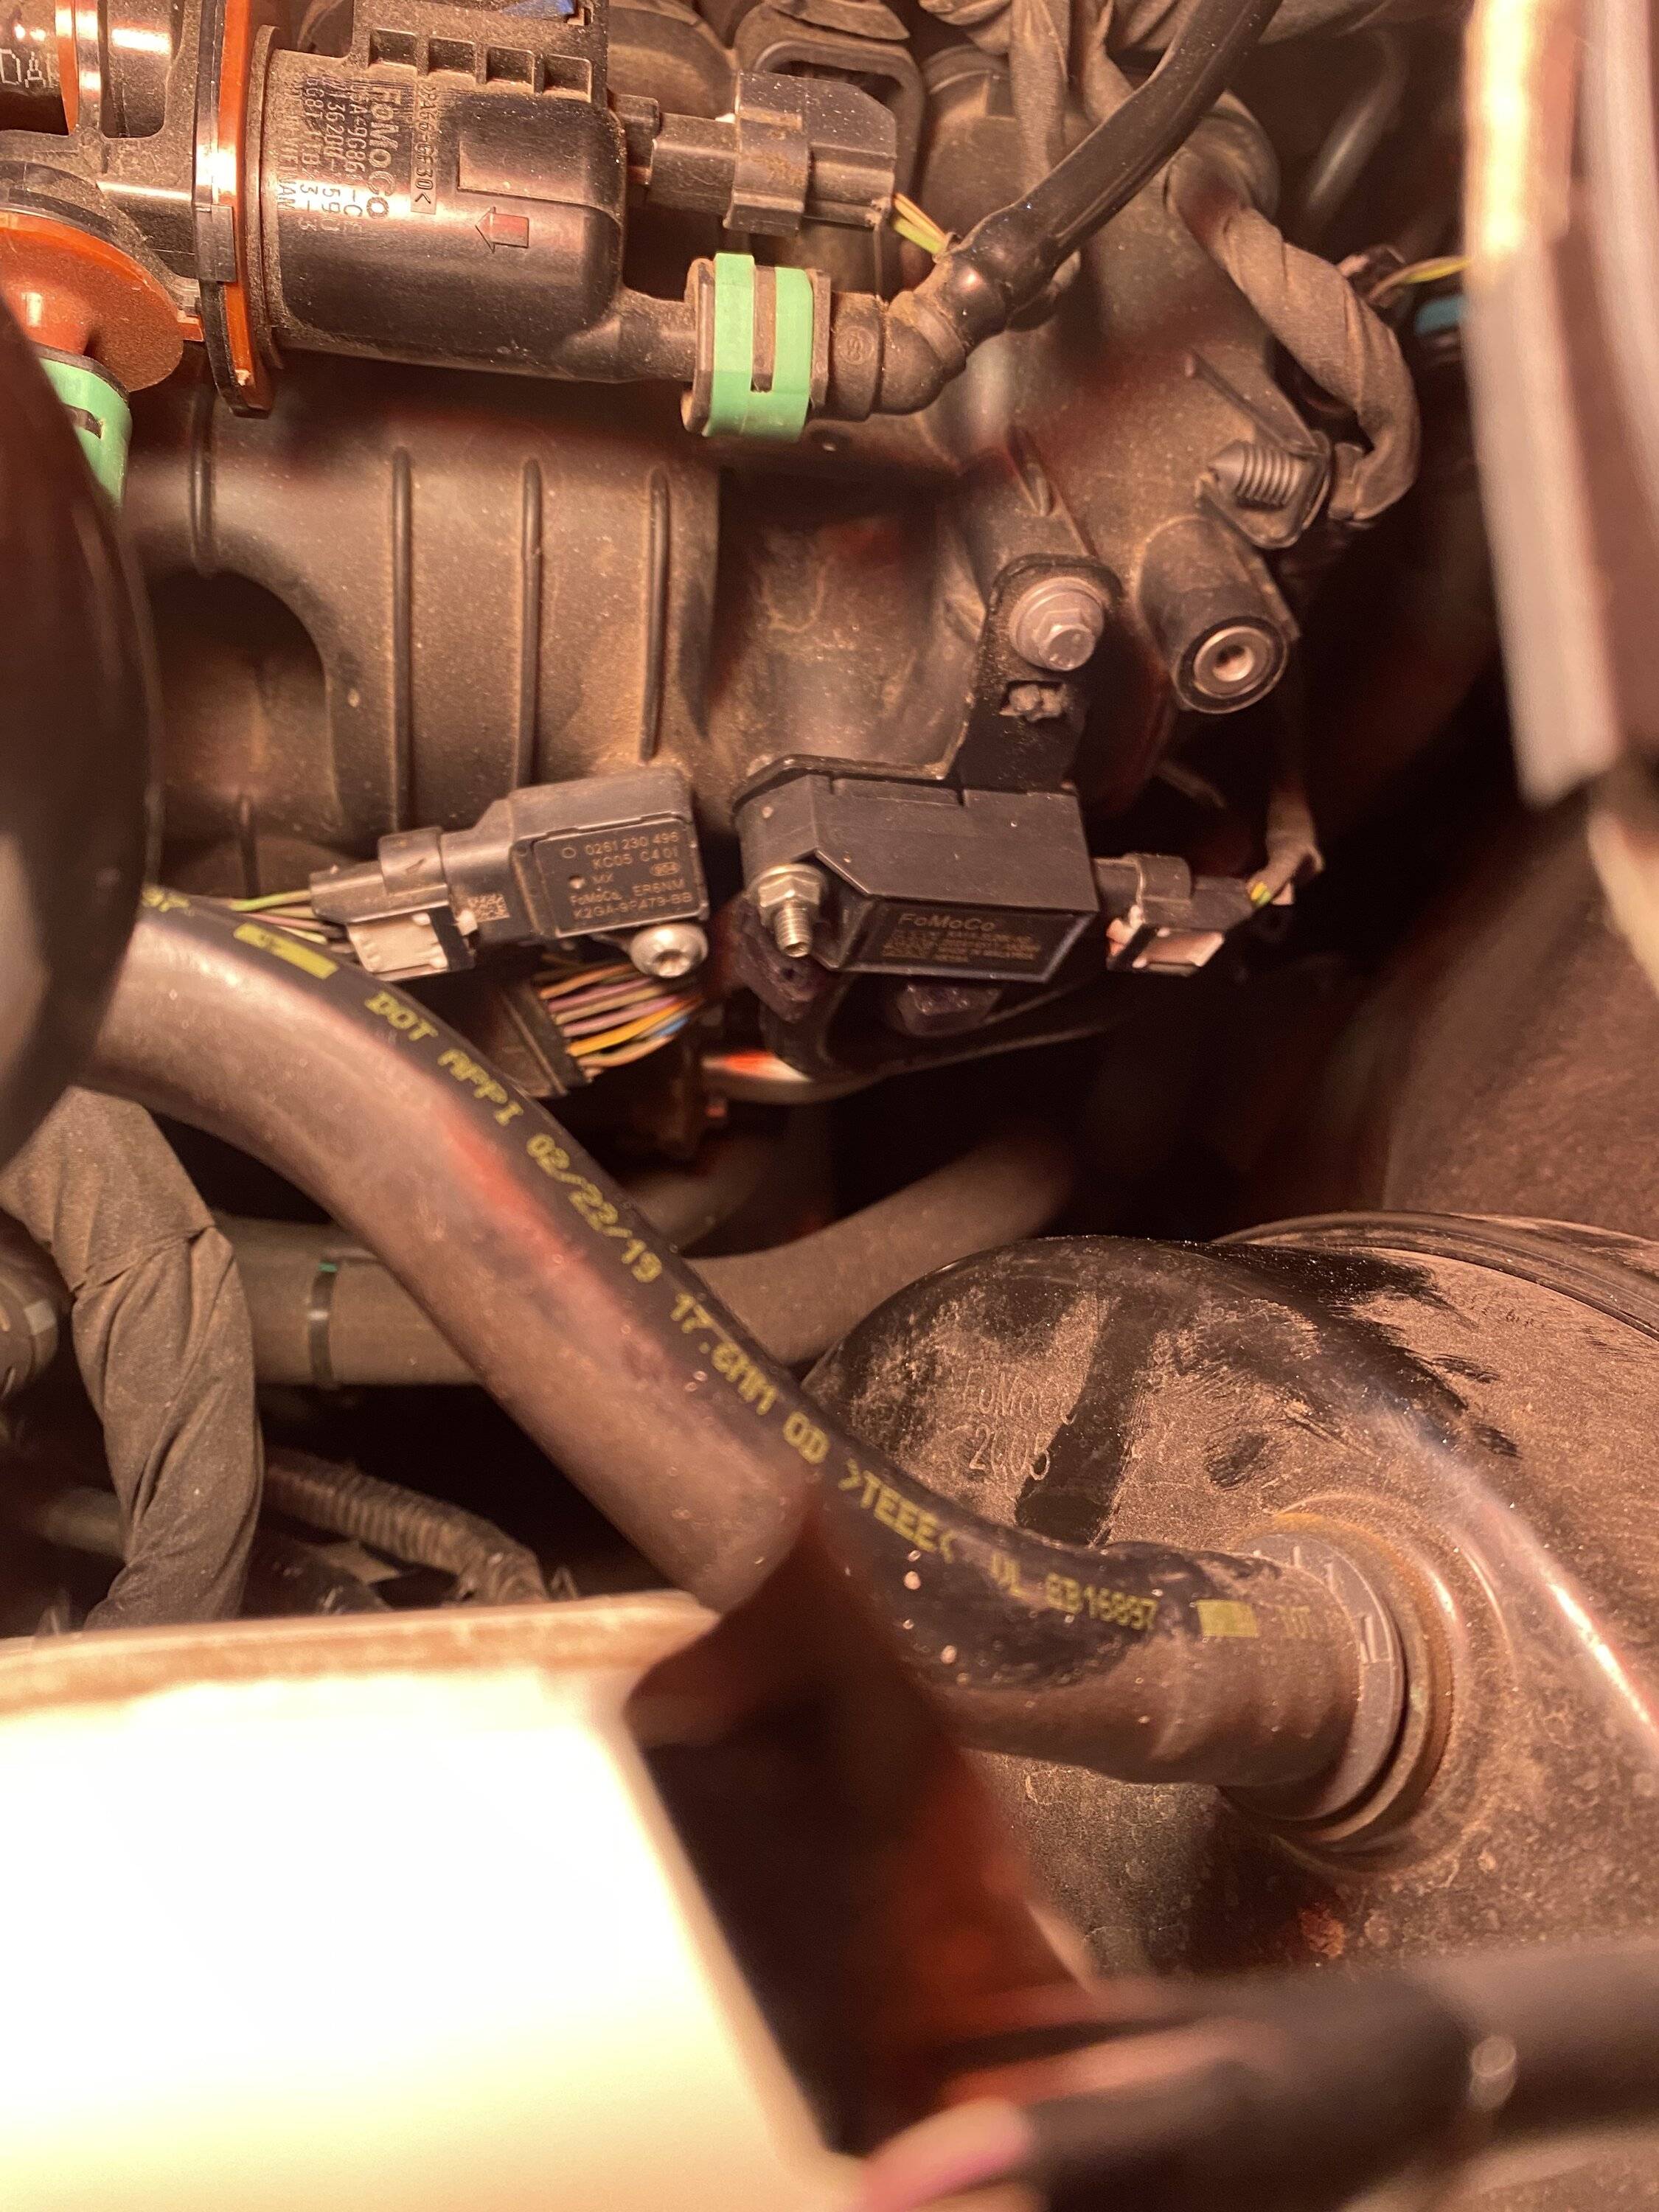
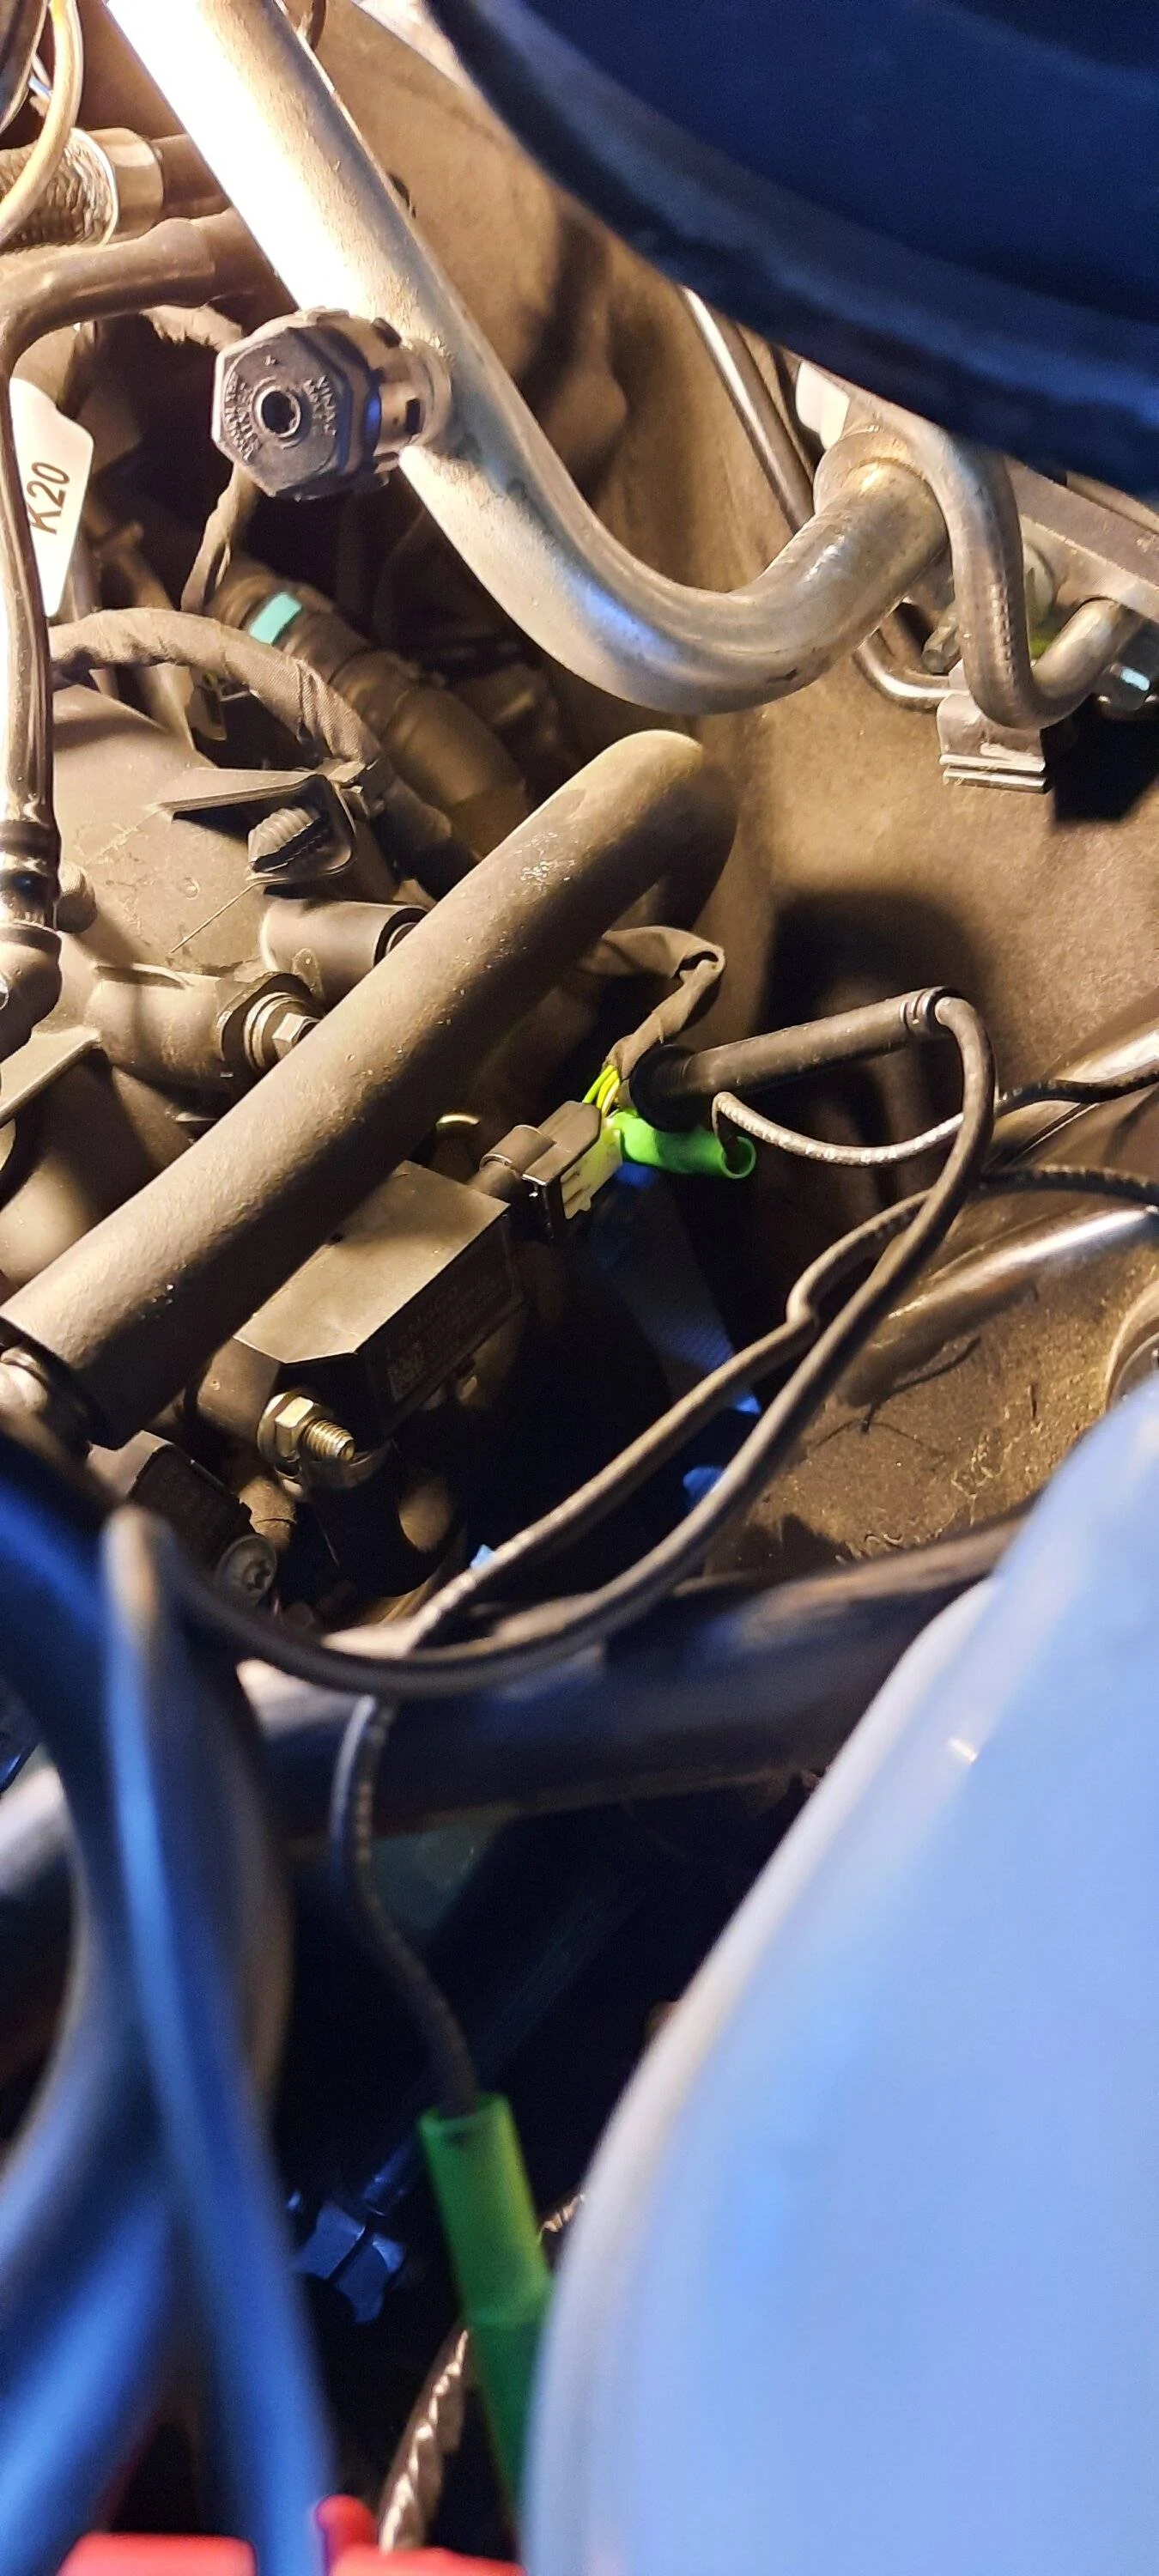
It is easiest to remove the sensor's hoses if you unbolt the 8 mm bolt first and then swing the old sensor down towards the brake booster. A good headlamp is essential for hands-free light so you can see the clamps and still have both hands to get at them.
Installation is the reverse of the installation with hoses pushed on first, then secure the sensor and tighten down the bolt.
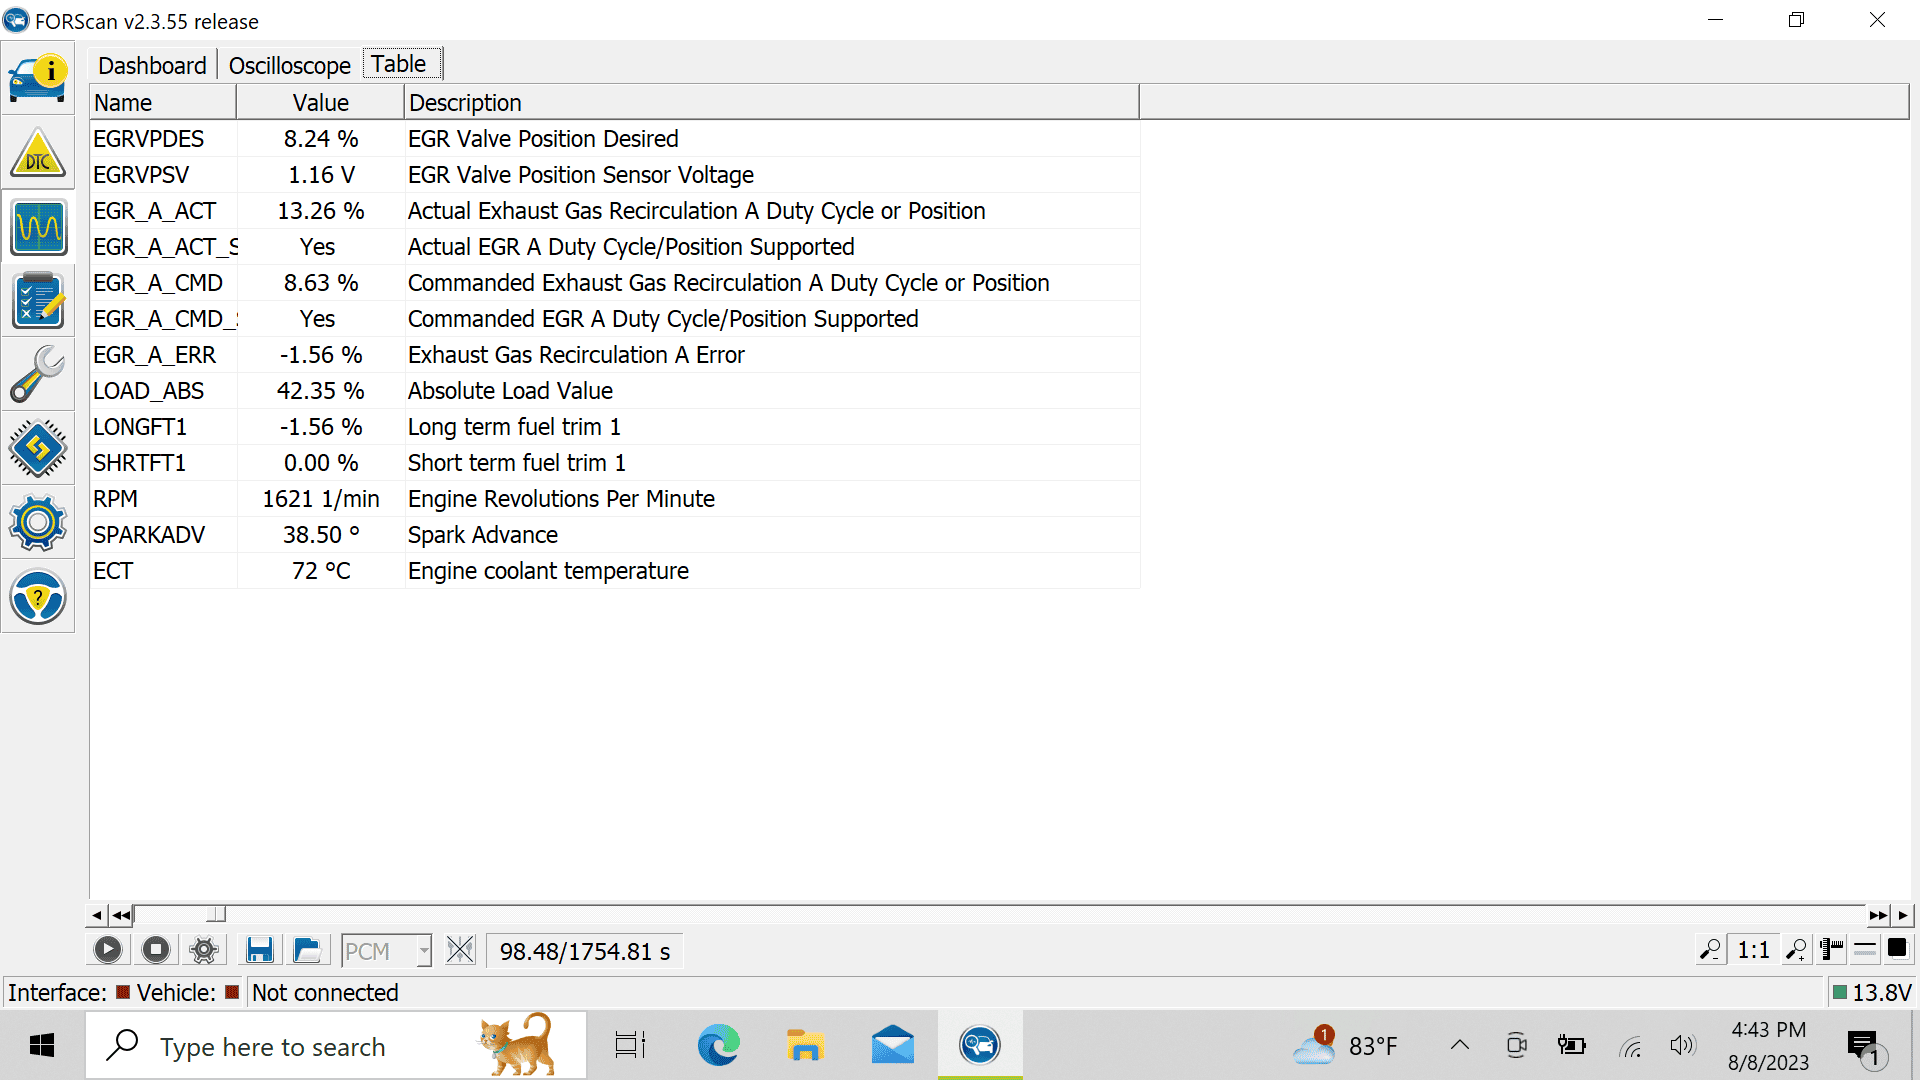
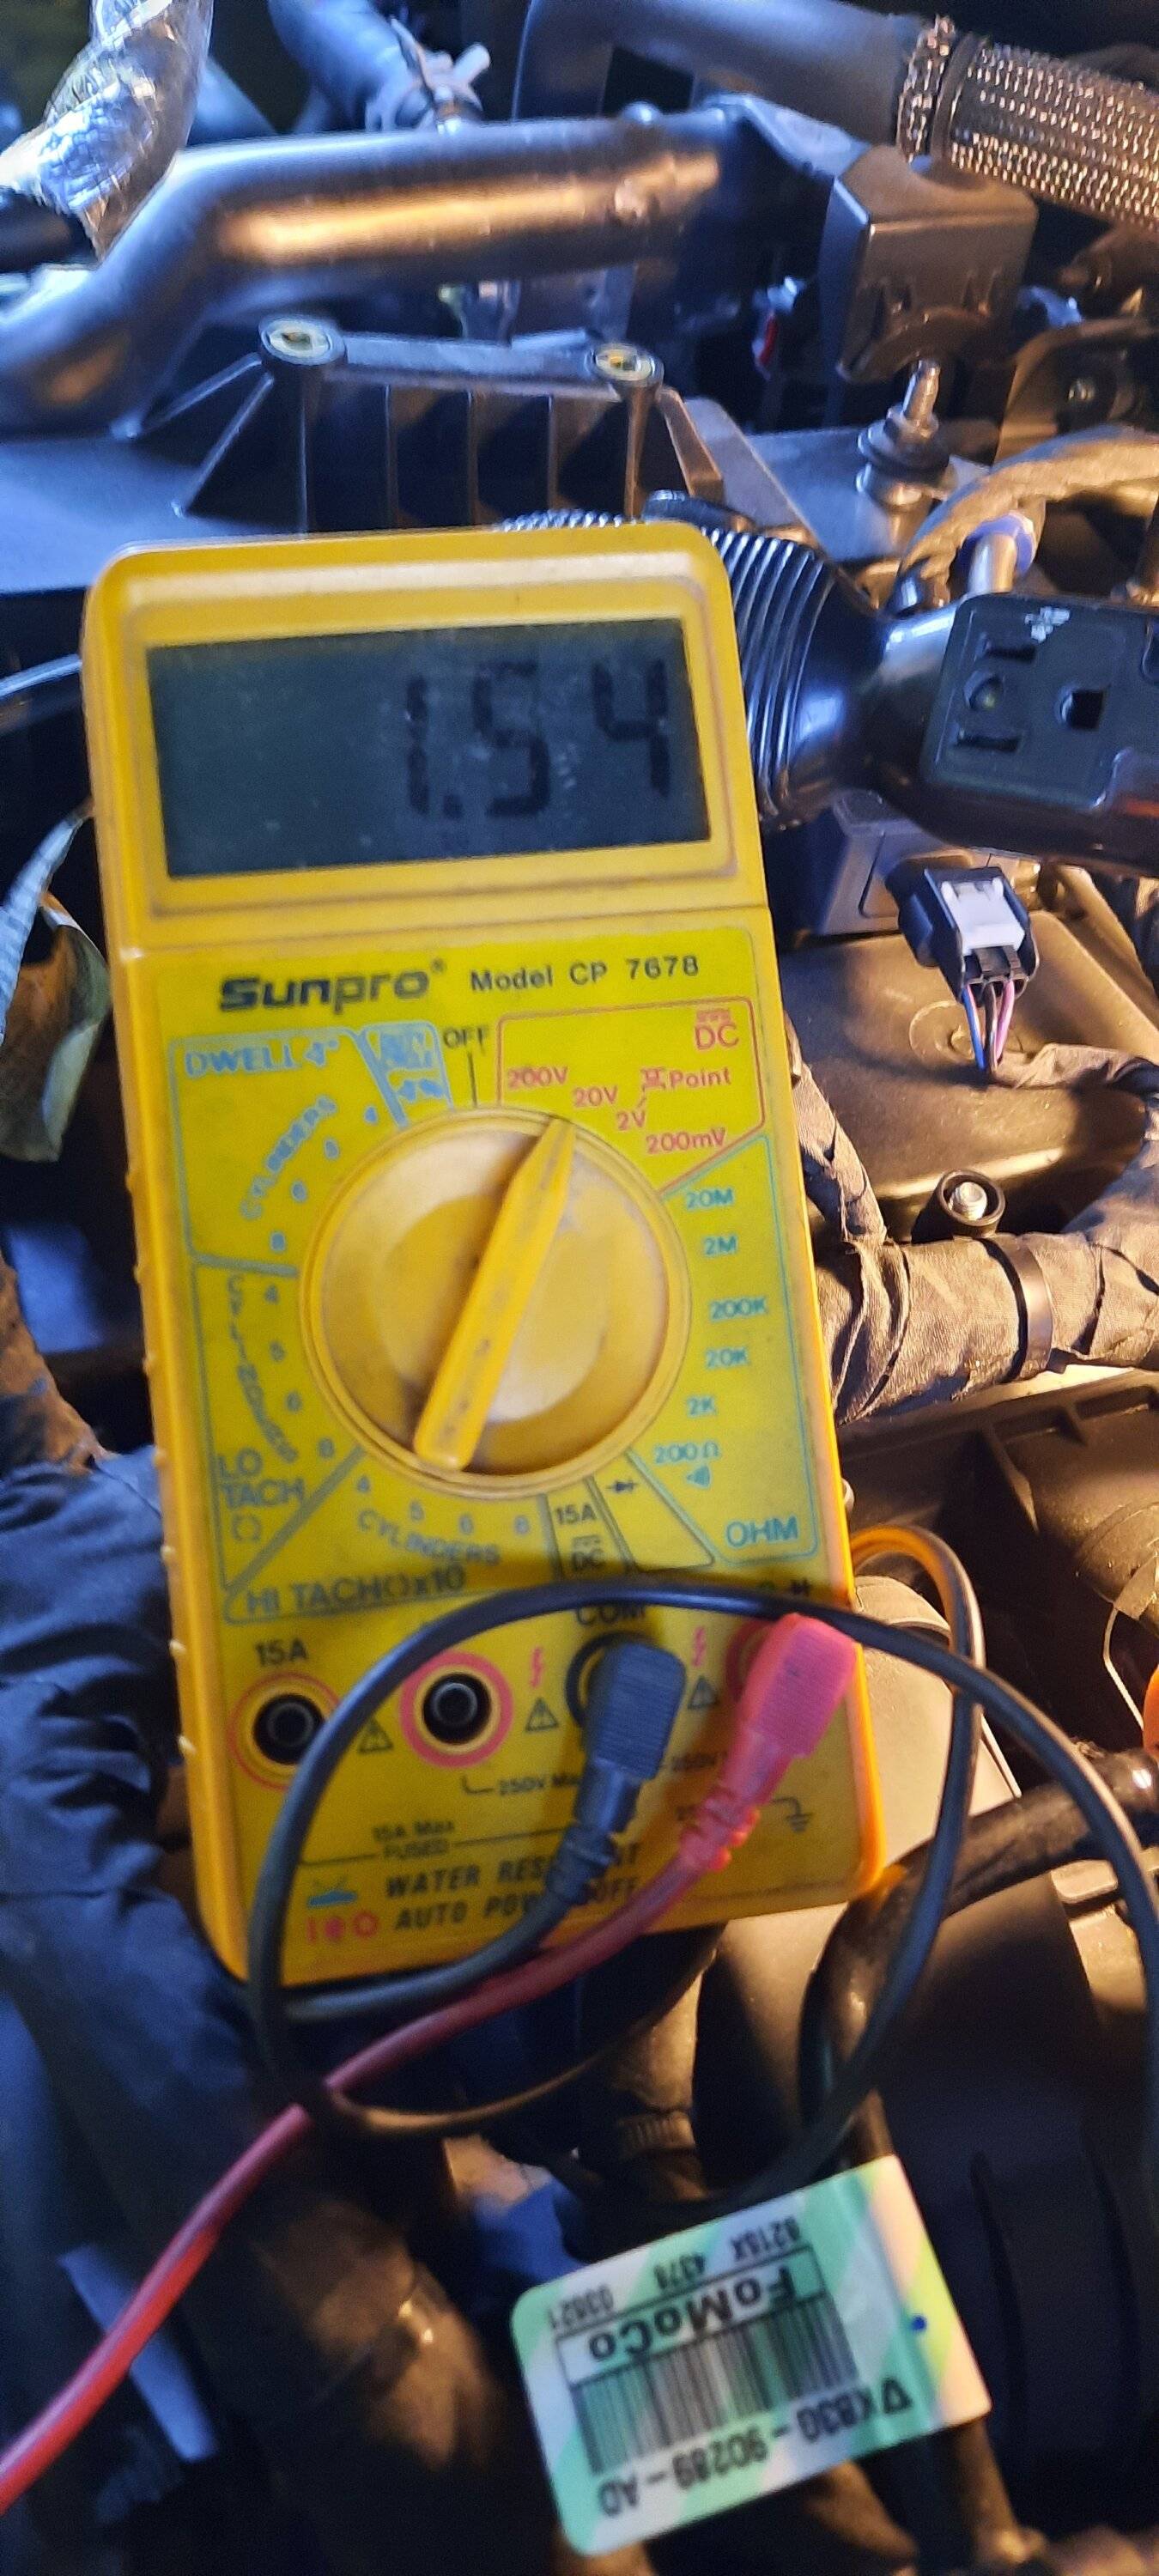
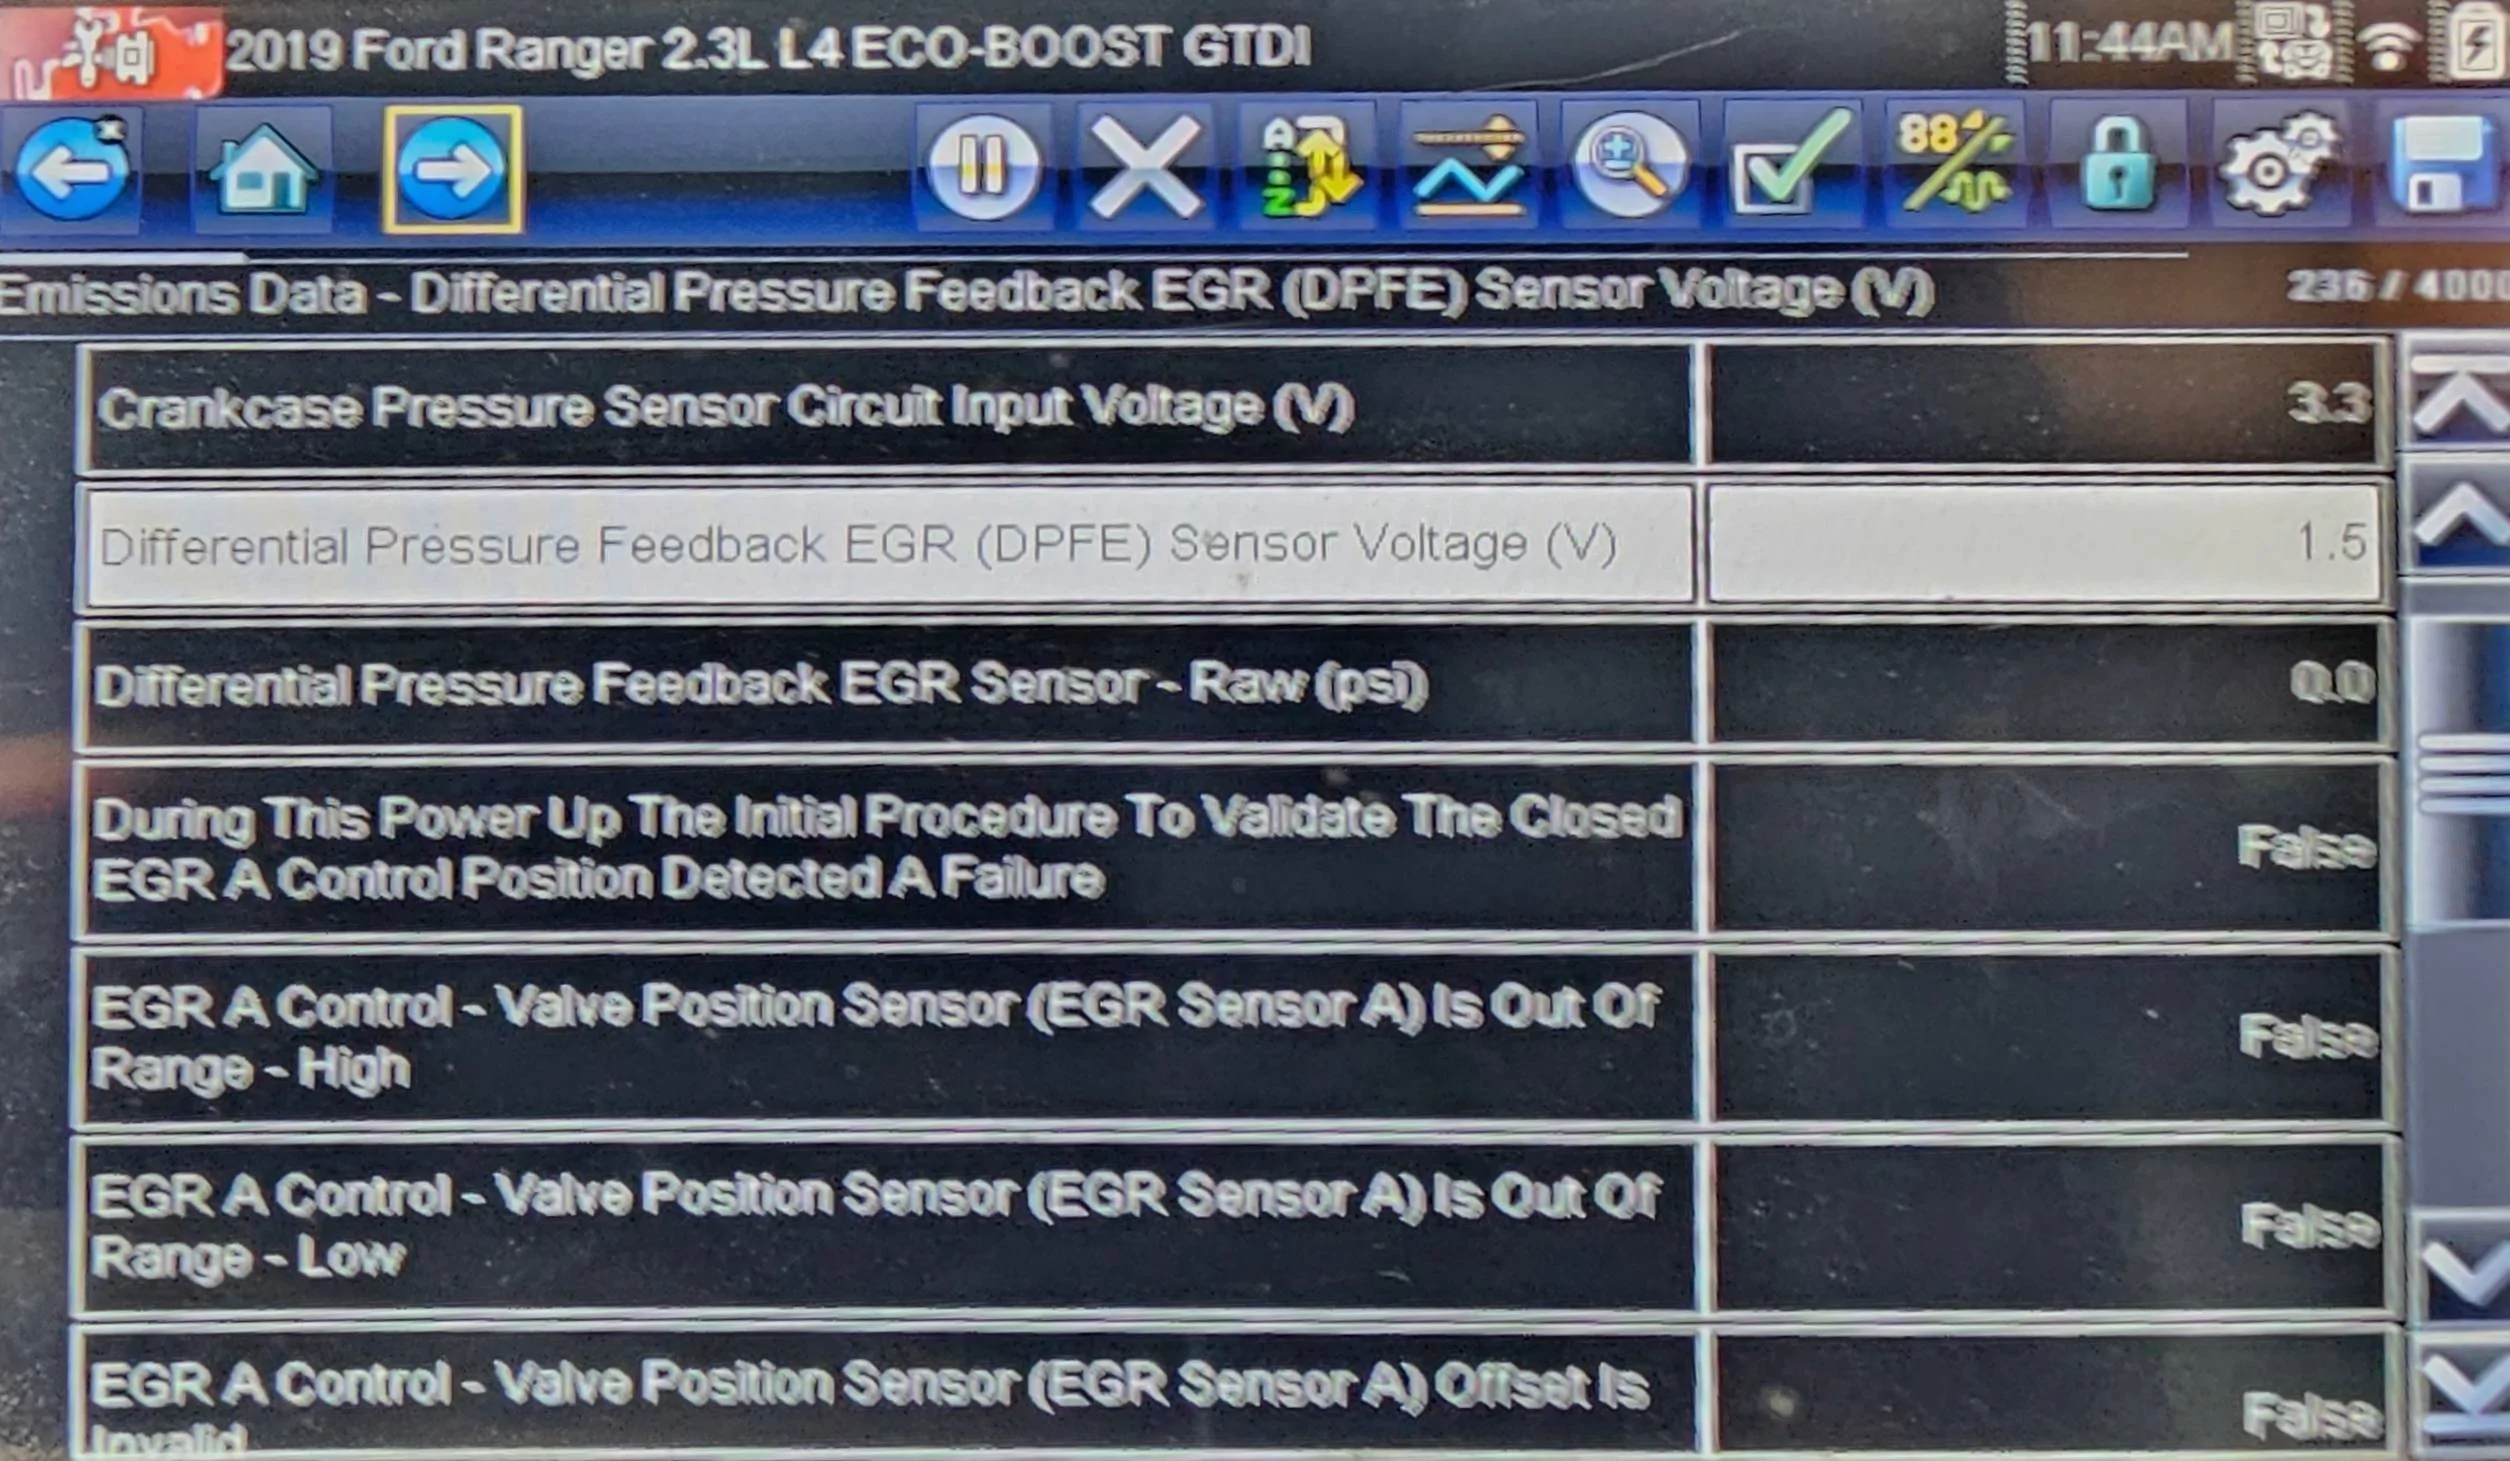
I've attached a picture of the DPFE data PID on the scan tool (Snap-On Solus Edge) after the repair was completed and am pleased to add my name to the list of people who had their issue completely resolved.

After reading through all 35 pages of the thread, I see there is a lot of high-quality information and also a little bit of confusion about the cause and the remedy.
To save everyone the trouble of reading through all 35 pages, the important bits are:
- Tools Needed:
- 8 mm socket with ratchet (or wrench/adjustable wrench)
- Flat-head screwdriver
- Needle-nose pliers
- Step ladder if vertically impaired
- Torque wrench capable of 97 lb.-in. if you're a freak for proper torque specifications.
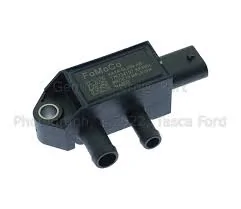
- Replacement Differential Pressure Feedback Exhaust (DPFE)
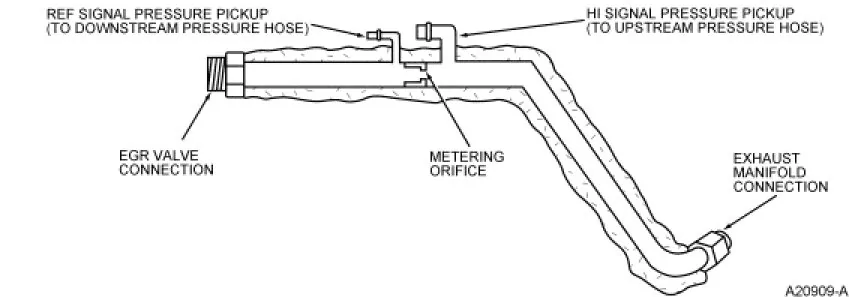
- Sensor senses the difference in pressure across a fixed orifice. When the EGR valve is open, there is higher pressure on the EGR valve side of the orifice and lower pressure on intake manifold side. A larger difference in pressure comes from the EGR valve opening. When the valve closes, the pressure difference (the differential) becomes less, and the sensor reports back to the PCM that exhaust gases are no longer flowing.
- The issue with these sensors is that they are internally exposed to acidic exhaust gases and moisture that degrade the pressure transducer inside the sensor housing.
- As the sensor degrades, it "sees" less and less of the actual exhaust gas flow from the EGR valve and therefore "lies" to the PCM and reports less flow than what is actually occurring. What this means in practical terms is that the PCM is seeing that there is insufficient flow, so it commands the EGR valve to open even further to allow more exhaust gases to flow. The result is more exhaust gases than necessary flowing into the intake manifold, which causes misfires and the tell-tale bucking. This explains why the symptom shows up when cold, when taking off (high load), and when cruising around in 8th gear.
- A good way to tell if your sensor may be the cause of your bucking is to do a simple power-brake test after your truck has warmed up and entered closed-loop fuel control mode (which generally occurs within a few minutes of starting a cold engine depending on coolant temp, ambient temp, and other various factors).
- To perform the power-brake test:
- Set parking brake
- Hold down foot brake with left foot
- Press accelerator pedal with right foot and aim for 1,000-1,200 rpm.
- In my case the bucking was easily replicated in this range as this places the engine under load and duplicates the conditions that the engine experiences when taking off and coasting in 8th gear. You can also shift to reverse and repeat the test.
- If the result of the test shows that the bucking is present, the next step is to prove the the DPFE sensor is the root cause.
- In my case, I did this by unplugging the sensor, starting the truck, and redoing the test.
- This will not set a DTC right away, but will after the next key cycle if you do not plug the sensor back in. If this happens and you don't have a scan tool, don't worry as the code will clear itself after 3-5 start cycles with the sensor properly plugged all the way in.
- If the bucking has disappeared, you have just proven that the value being reported by the sensor is what the PCM is acting on when the bucking problem presents.
- If you do have a scan tool, the data PID for the DPFE sensor will show +5V when the sensor is unplugged.
- To perform the power-brake test:
- Sensor senses the difference in pressure across a fixed orifice. When the EGR valve is open, there is higher pressure on the EGR valve side of the orifice and lower pressure on intake manifold side. A larger difference in pressure comes from the EGR valve opening. When the valve closes, the pressure difference (the differential) becomes less, and the sensor reports back to the PCM that exhaust gases are no longer flowing.
- Sensor is available in two forms:
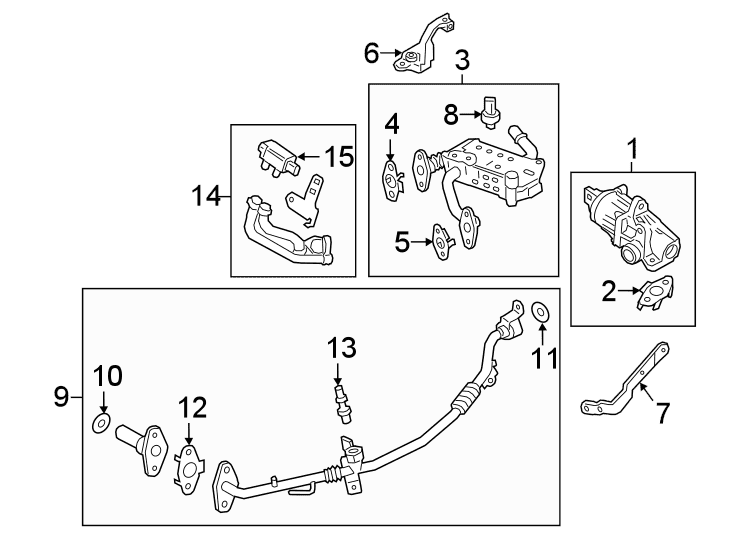
- Sensor-only - KA1Z-5L200-A (Most diagrams call this "sensor. valve." #14 in attached parts diagram) The sensor itself is not a valve, but it does measure the flow of exhaust from the EGR valve to the intake manifold:
- This option is cheaper if you don't mind using either worm-style hose clamps or sourcing the correct size oetiker clamps.
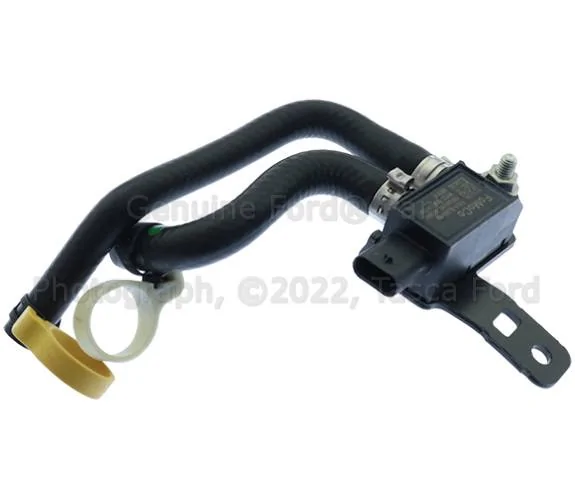
- Sensor with bracket, new hoses, and quick-twist plastic-tabbed clamps for easy installation - LB5Z-9J433-B (Most diagrams call this version "Egr vacuum control" #15 in attached parts diagram):
- This option is the one that I went with for my truck due to the convenience of the plastic twist-off hose clamp pieces that hold the spring clamps open so that you can install the sensor assembly with one hand. This also ensures that the hoses are fully and properly seated on the EGR tube and that the clamps are seated correctly on the hoses at the ends.
- If you go with this option, installation is super easy as you just need to press the hoses on the EGR pipes (they are different sizes, so pay attention to the size of the openings on the pipe fittings and the sensor's hoses) and install the bracket bolt.
- For those that are stiflers for torque like me, the torque specification for the sensor bracket bolt is 97 lb.-in. (97 INCH pounds). The bracket bolt itself is 8 mm.
It is easiest to remove the sensor's hoses if you unbolt the 8 mm bolt first and then swing the old sensor down towards the brake booster. A good headlamp is essential for hands-free light so you can see the clamps and still have both hands to get at them.
Installation is the reverse of the installation with hoses pushed on first, then secure the sensor and tighten down the bolt.
I've attached a picture of the DPFE data PID on the scan tool (Snap-On Solus Edge) after the repair was completed and am pleased to add my name to the list of people who had their issue completely resolved.
Sponsored
Last edited: