Kevin Franklin
Well-Known Member
- First Name
- Tinmender1963
- Joined
- Dec 22, 2019
- Threads
- 10
- Messages
- 238
- Reaction score
- 490
- Location
- Louisville KY
- Vehicle(s)
- Honda FT500. Honda 700SC. 2019 Ford Ranger Sport. 2014 Ford Focus ST. 2017 Ford Escape Titanium. 1994 Ford Ranger Splash. 1986 Ford Mustang GT Splash
- Occupation
- Damn good question. A lot of different things
- Vehicle Showcase
- 1
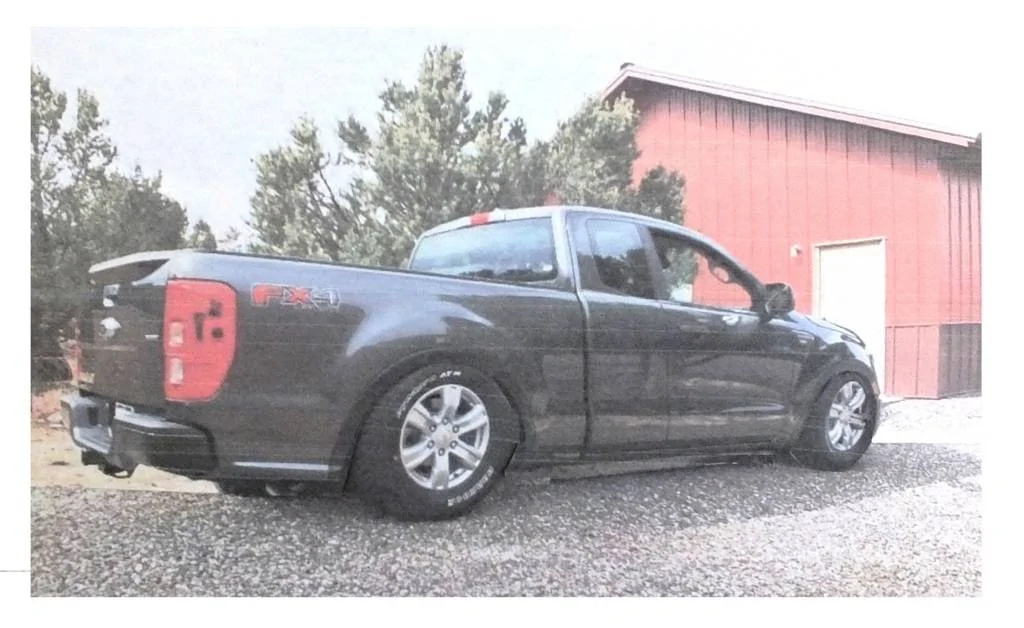
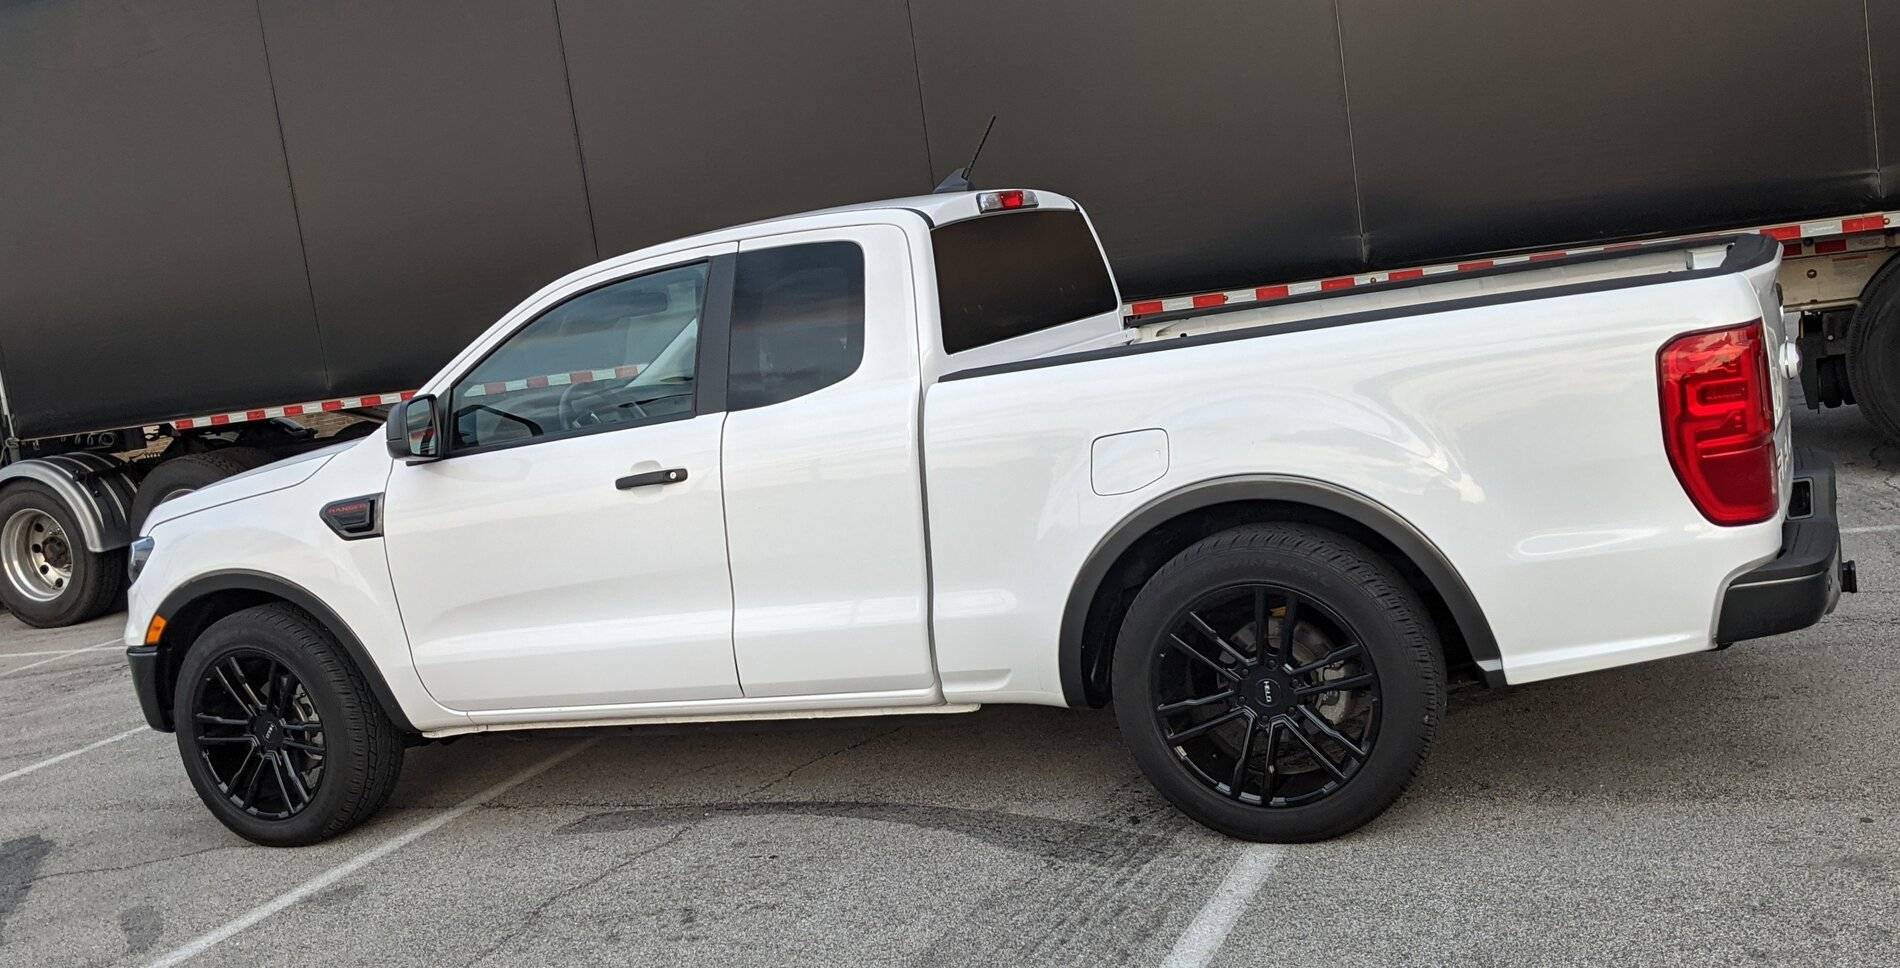
Finished!
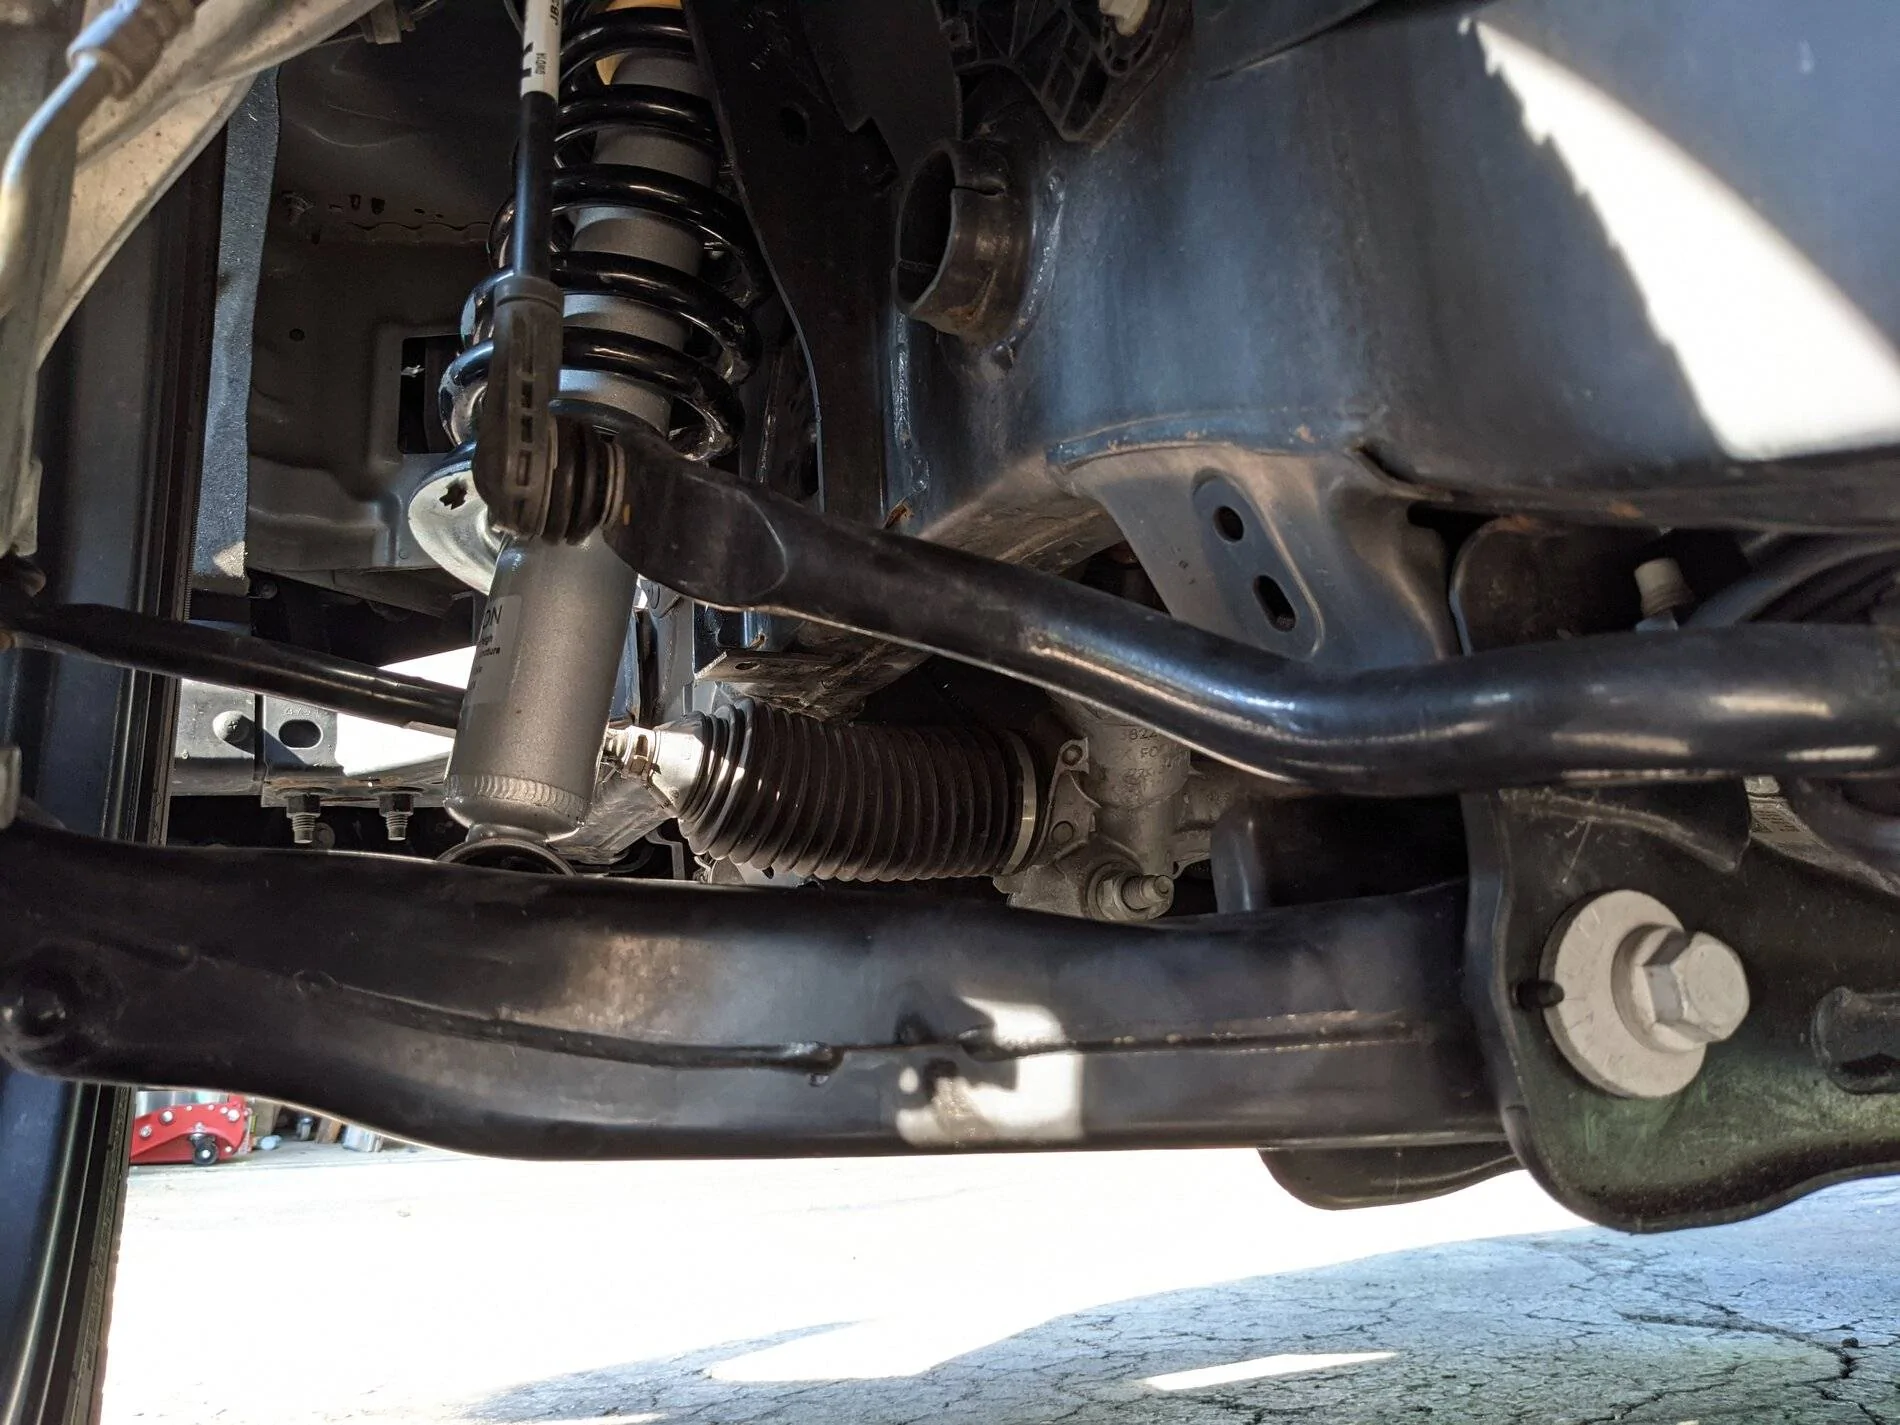
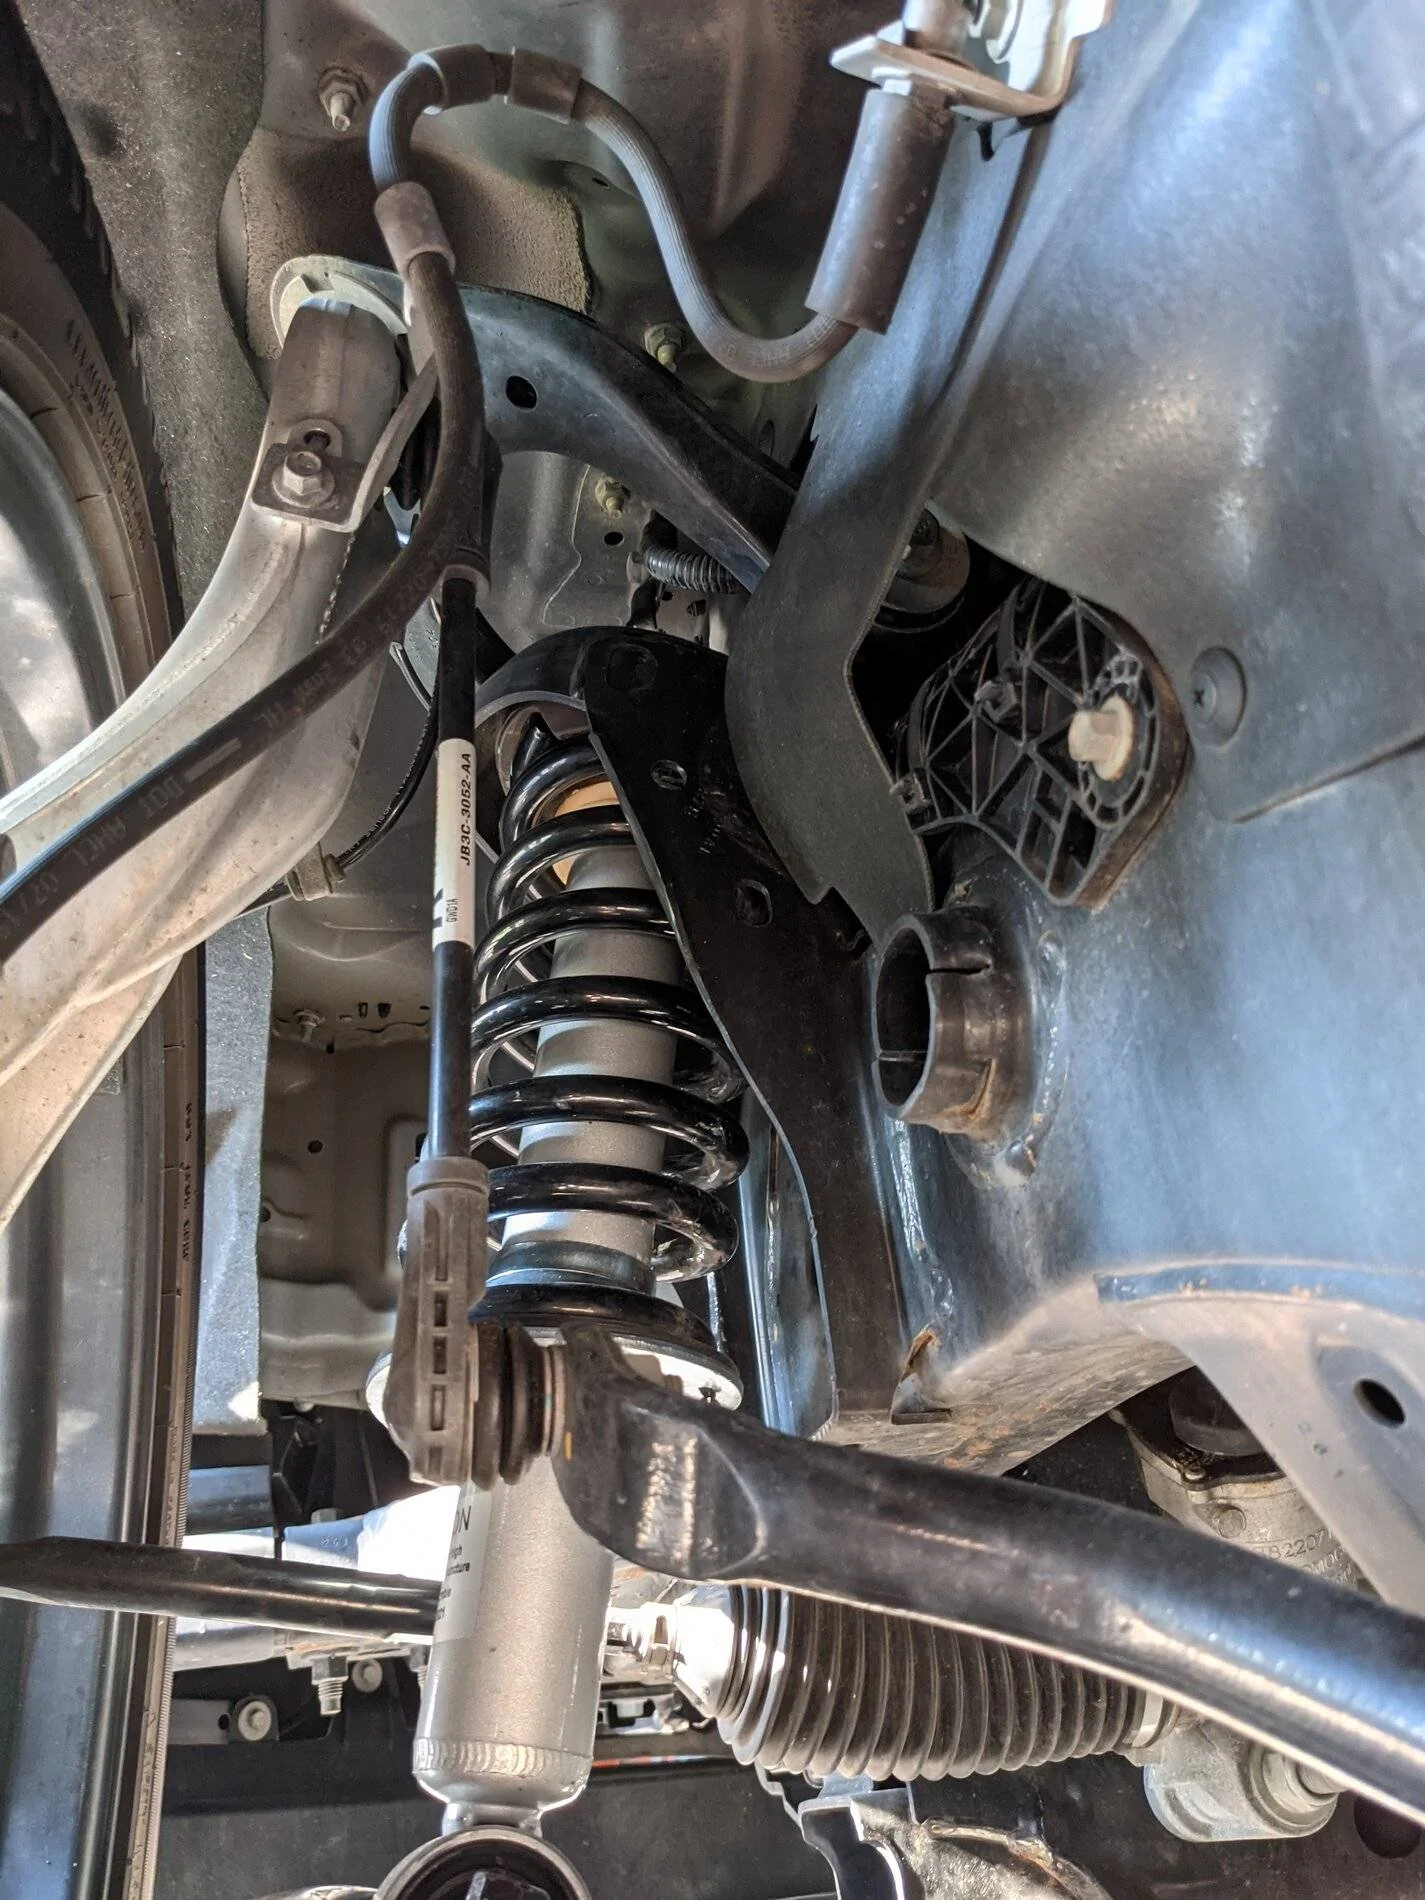
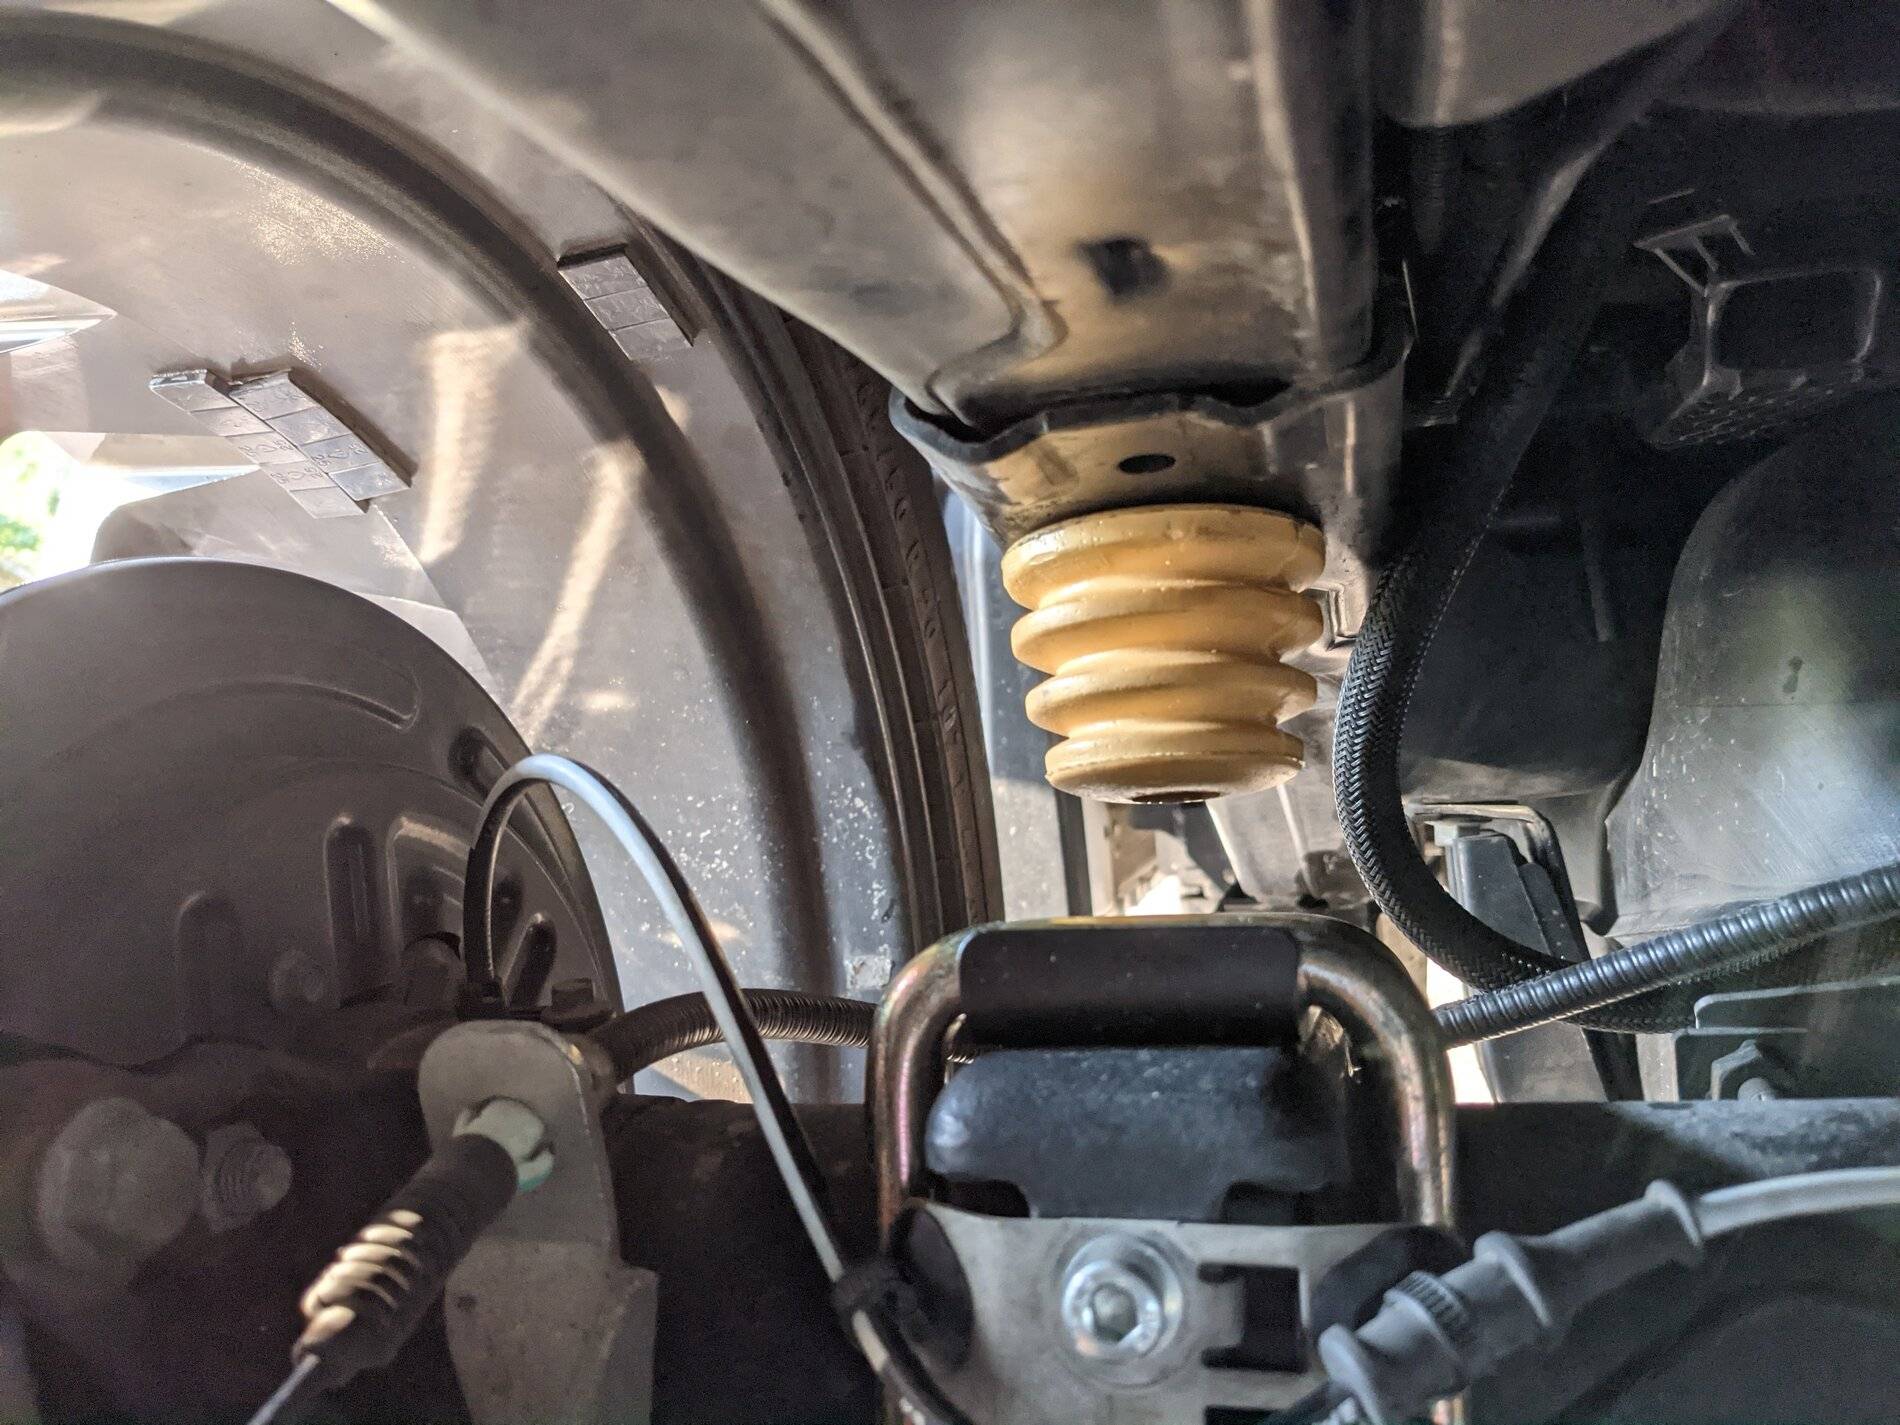
Settled on going with the -2.0 for now on the front struts after attempting to go with a -2.5 drop. Tried the +2.5 first knowing that -3.0 was not possible without a redesigned upper control arm. I could not achieve an adequate camber or toe setting with the -2.5 drop, so regrouped and went with the -2.0 which pushes the camber adjustments to the limits. There is little adjustment left on the tie rods for toe adjustment, but there are ways to cheat if you find that you are unable to dial the toe dial that in. The assembly was pretty straight forward. If you have experience with changing out struts and springs, you will have no issues. Do not panic if there is a bit of play left between the spring and upper seat. This small amount will disappear once the the front is laden. I will eventually make the transition to a -3.0 when the upper control arm becomes available as I'd prefer a bit more drop.
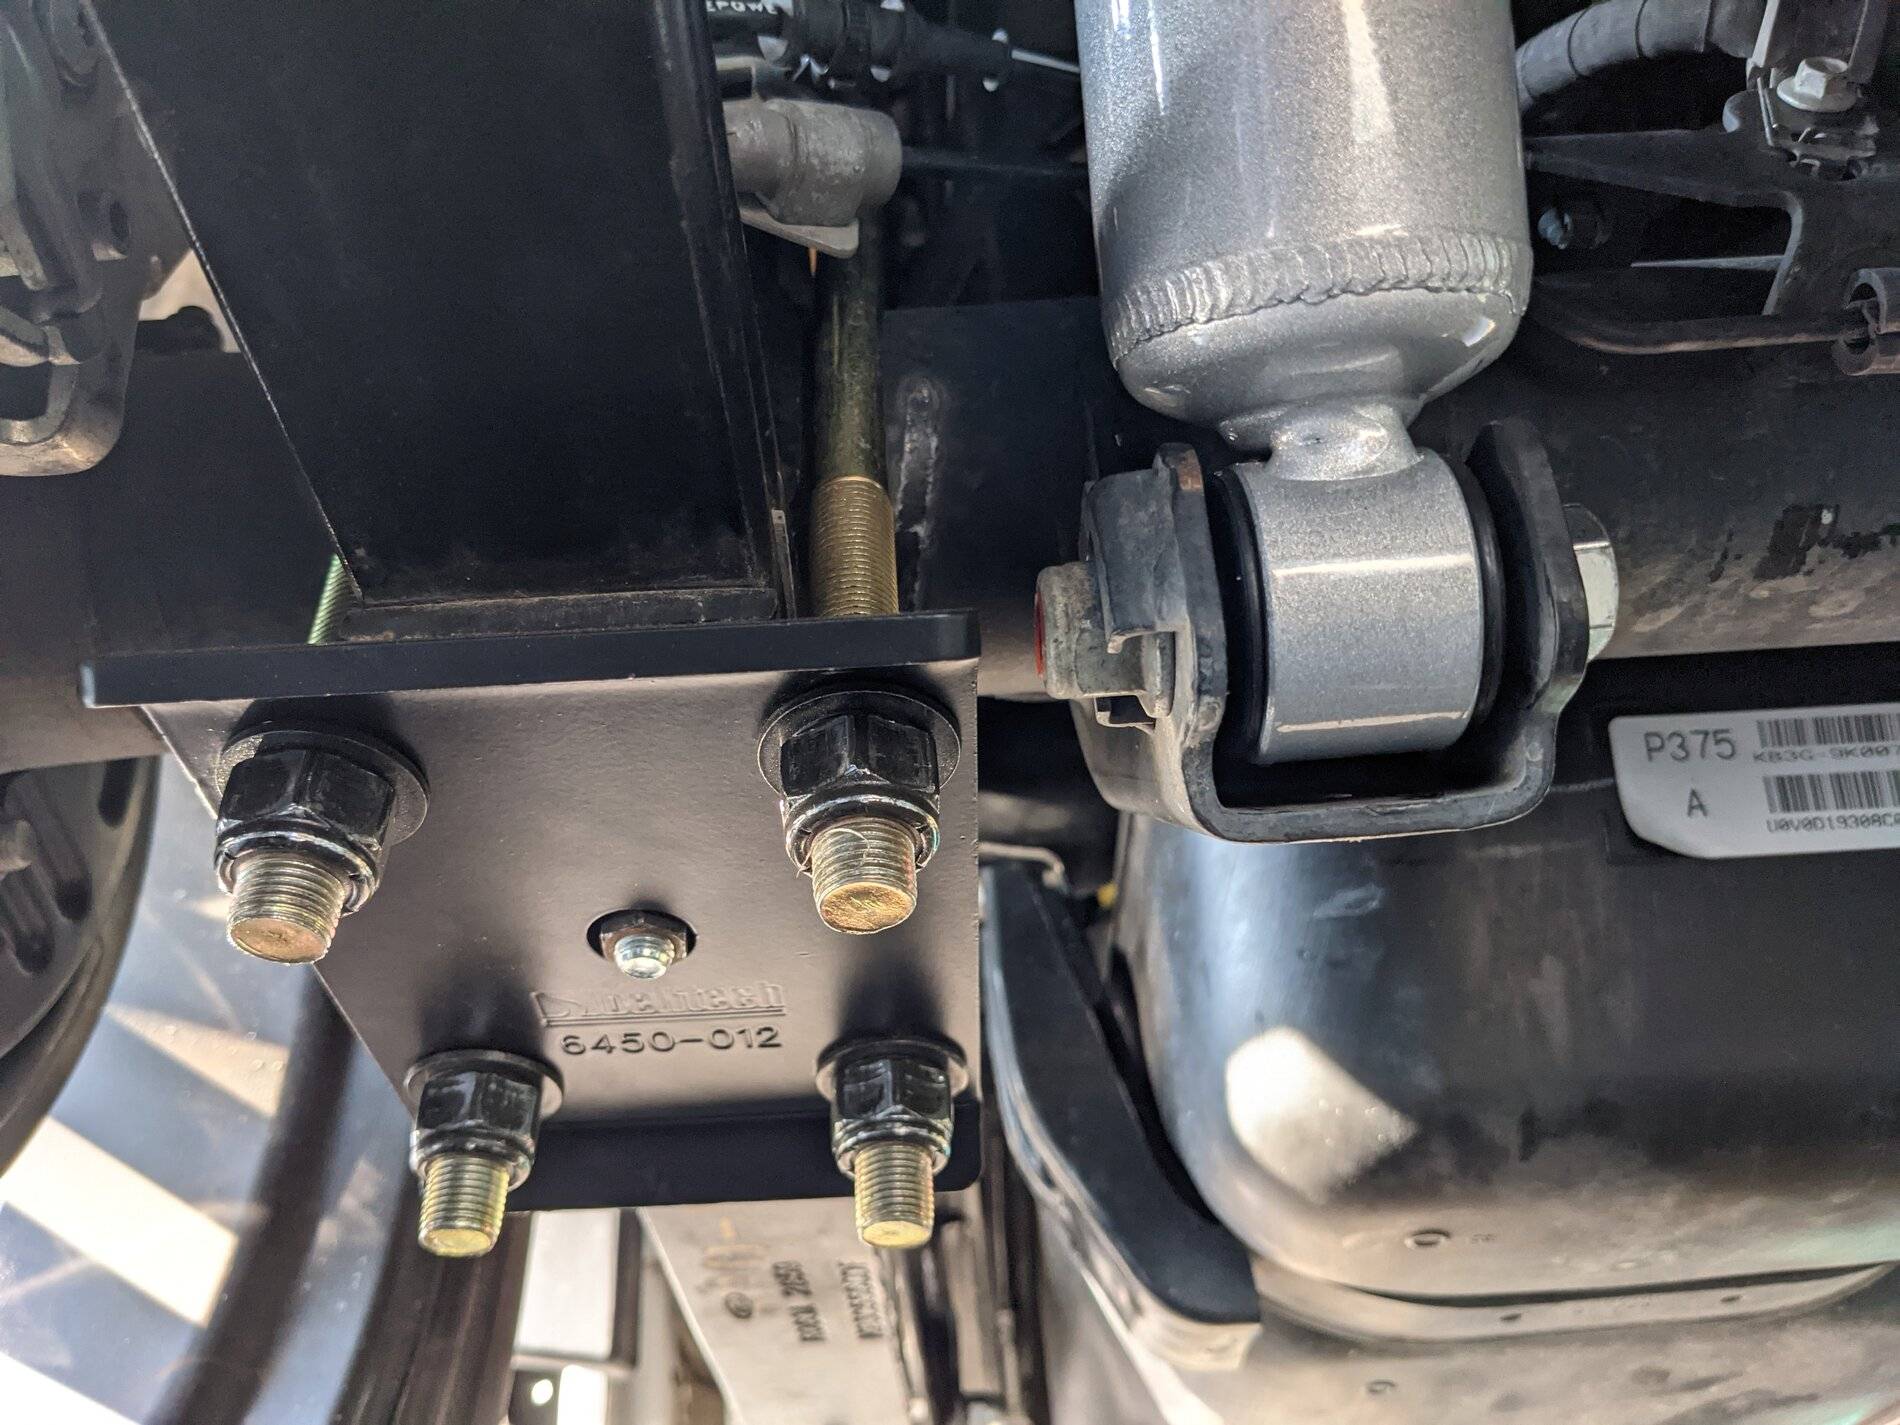
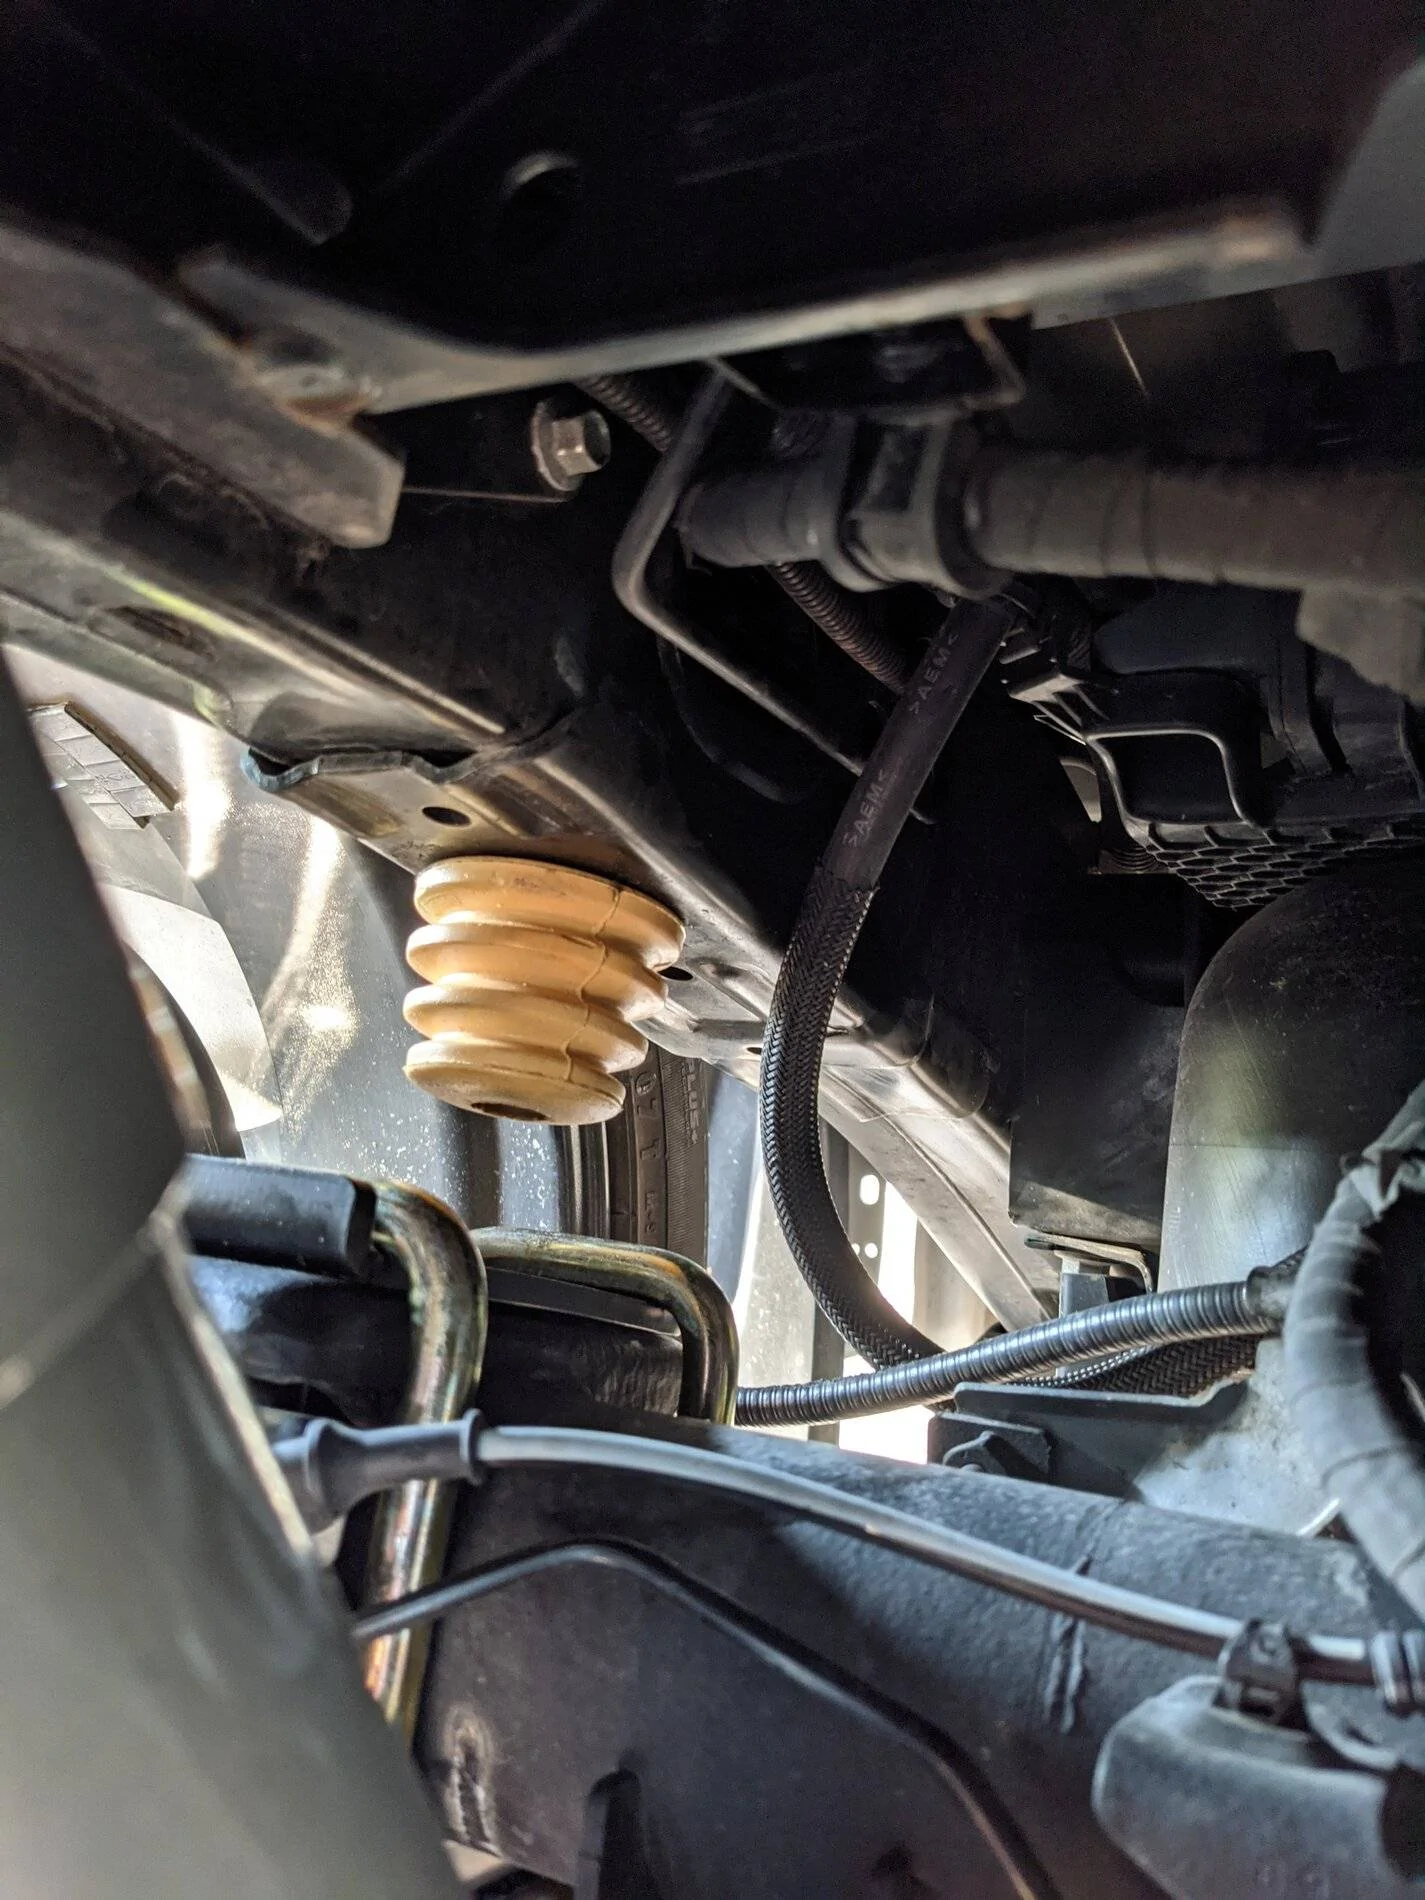
On to the rear. I chose to go with a -5.0 drop. By going this route, it provides a generous amount of drop once the truck is laden with a result of an actual -5.5 inches of rear drop at the axle. The overall installation was relatively easy. Just a lot of on your back time if you do not have access to a lift and truly, having done axle flips with and without a lift, I feel much more comfortable doing this with multiple jack stands and floor jacks.
One of the most important things to remember, is you will need to keep the front of the axle assembly supported. I have threaded jack stands that are infinitely adjustable, so this was not a problem for me. I used three to support and to move the axle assembly up and down as needed.
When it was time to set the axle assembly onto the saddles, you will most likely need to use a floor jack as this procedure will require moving the axle forward unless you have kept the assembly centered in the wheel openings which is difficult to do
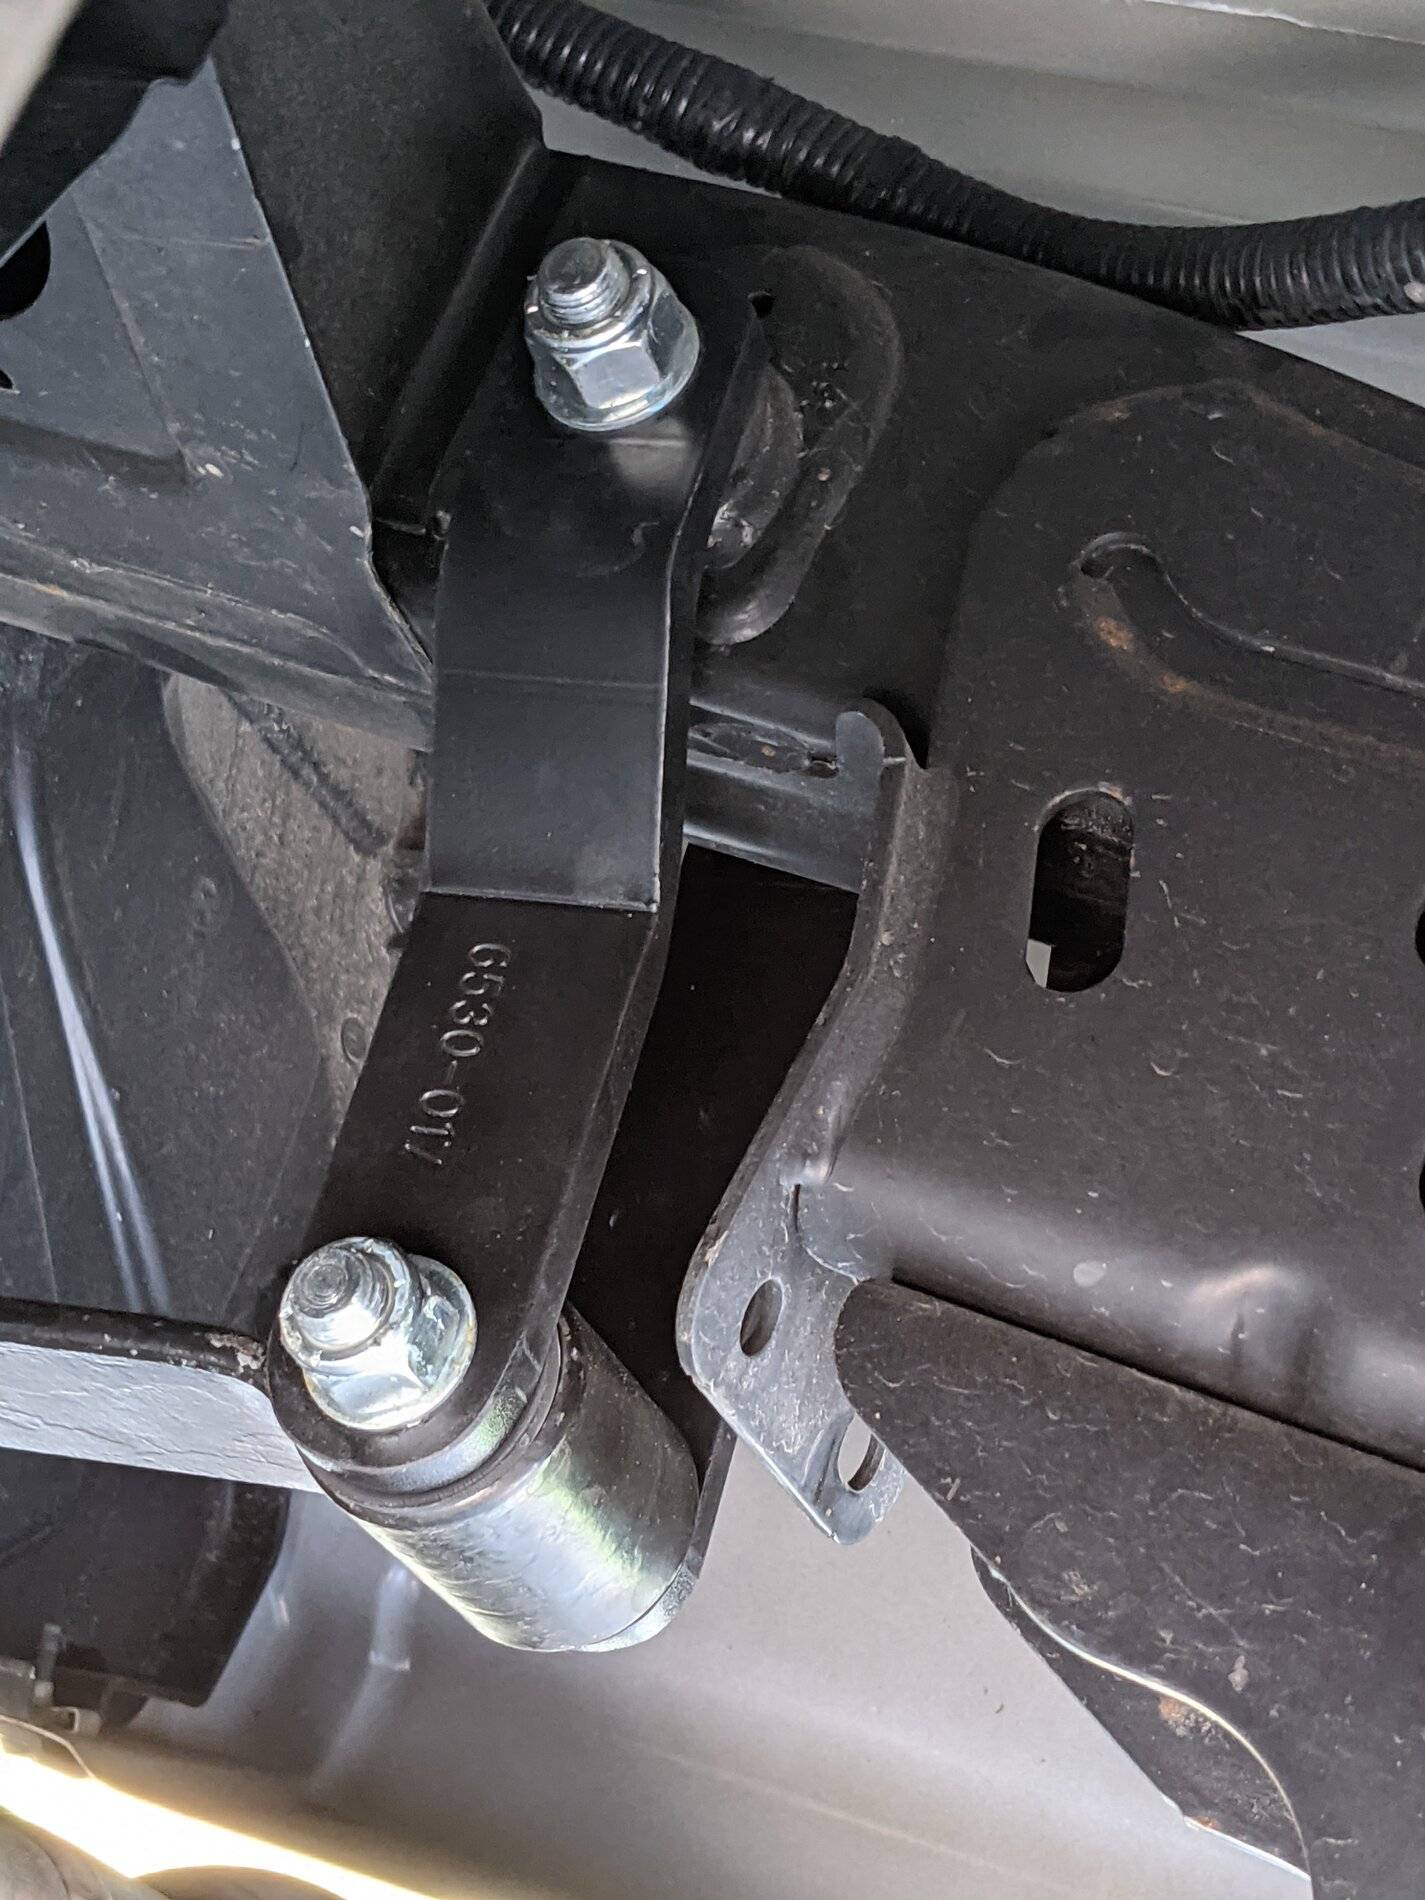
Every piece fit well which made the job much easier than some of lowering jobs I have done where the parts were not of the same quality as the Belltech parts are. The supplied hardware is top grade as well. The one thing that you need to know, is that U-bolts and shackle hardware is SAE, not metric. No big deal. Just keep that in mind.
Now the question that seems to be a hot topic of discussion. Will the tires be centered exactly in the wheel openings, most likely not, but let me tell you what I found on my pre-installation measurements that I made. The wheelbase on the passenger side was 8mm shorter than the driver's side. Neither side was centered as you would hope that they would be from the factory. Are all Rangers like that, I have no way of knowing. My guess is that there will be variances on some of our trucks. Did I freak out, NO and nor should you unless you have a major discrepancy in dimensions between each side.
After all was said and done, I found that I was able to get both sides wheelbase within 2mm of each other. There is an 8mm gap difference between the front of the tire and the wheel opening moulding on the driver's side with the front being closer than the rear. That is 2mm better than the factory gap of 10mm. The passenger side is now the same as the driver's side with an 8mm difference between the front gap and the rear. This is something that I personally will not worry about. The pivot angle moved 1° which is quite acceptable.
Overall, this is a good quality kit. Some people will have better results than others. That is the nature of these types of modifications. If I was using this as a the track vehicle, which I am not, then I would be making a few changes like moving the centering holes in the saddle and lower spring plate. For me, this is not a big deal. Maintaining correct geometry is the number one concern which this rear kit achieved.
For the cost and quality of components, this is a good kit and a good deal. Just be prepared to put in some work on the rear flip kit. I had to go solo with mine and I can tell you that it would be best to have an assistant to help with some of the procedures.
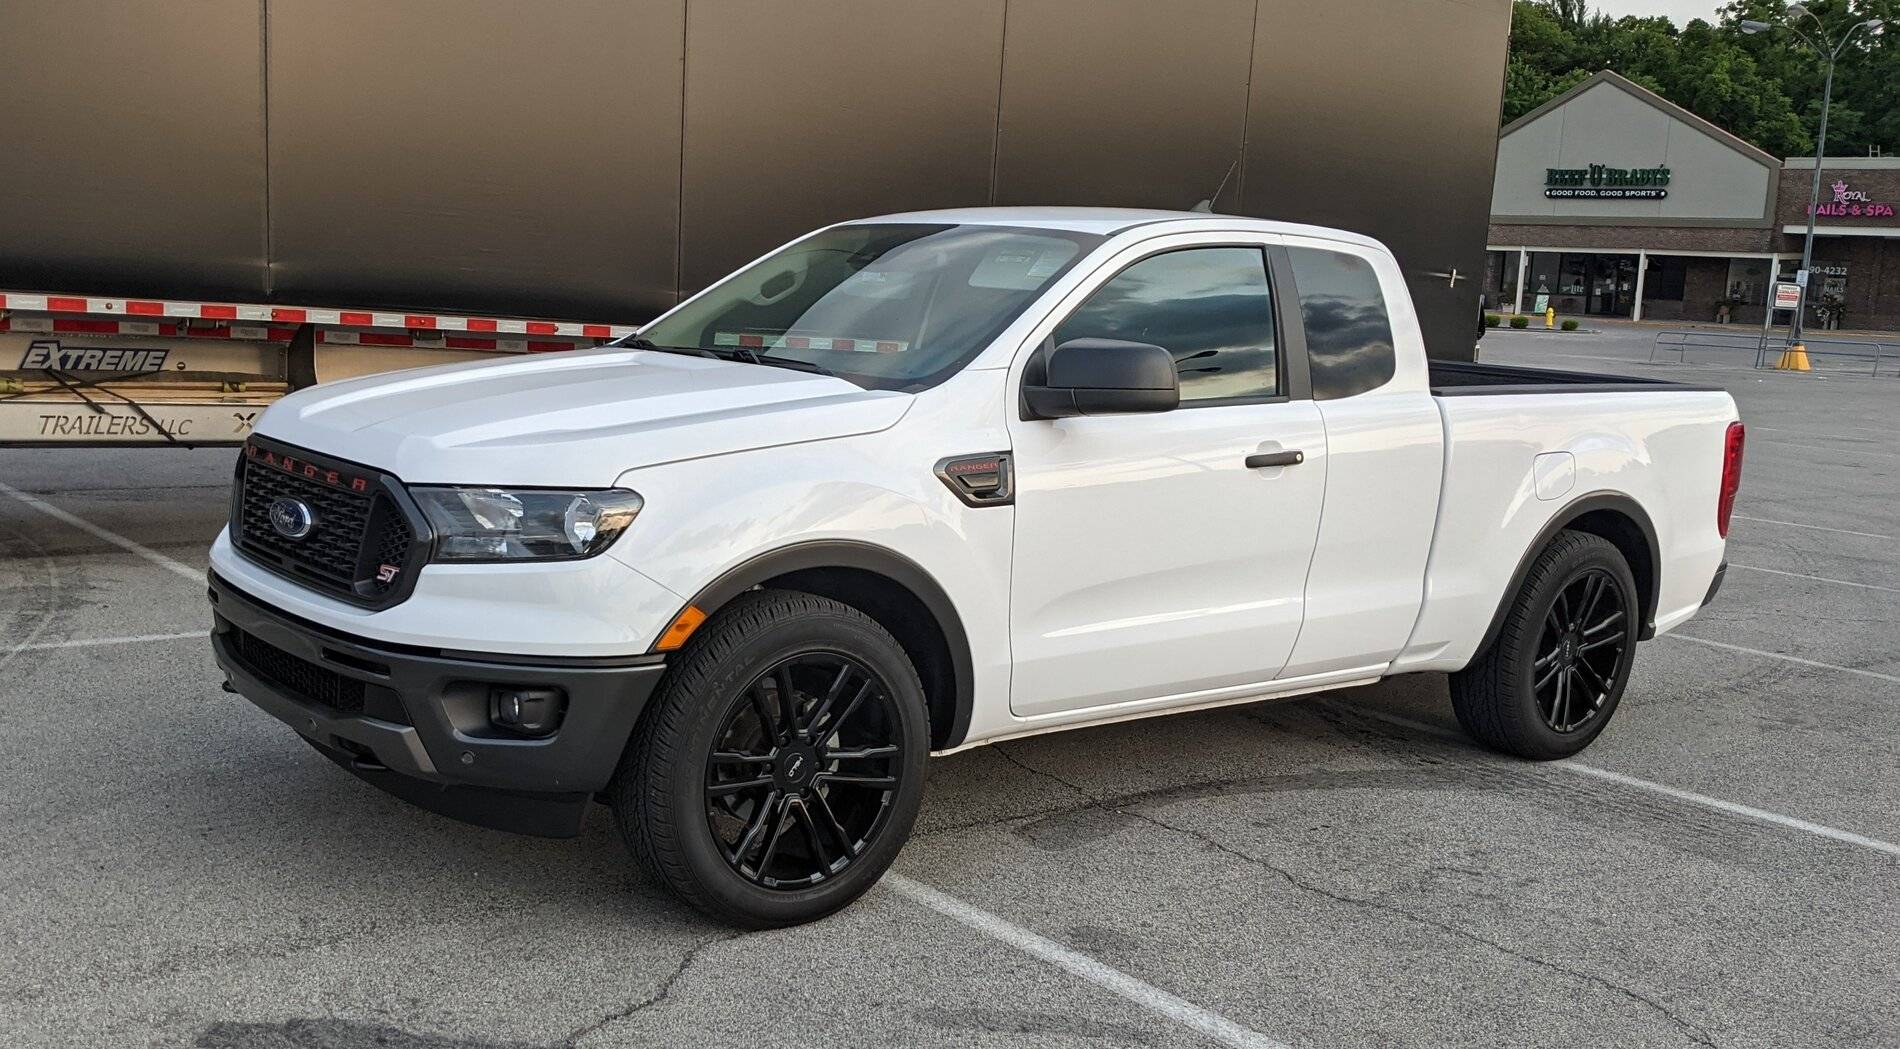
In the end, I achieved what I wanted. A truck that is more driver and accessibly friendly for a 5'6" guy. I can now reach over the bedside behind the cab and touch the bed floor and easily pop into
the back of the bed. I call that a success!
Driving wise, the truck is more firm than it was which I personally prefer, the rear end does not dance nearly as much on hard bumps etc and the steering feels more precise. Body roll has decreased which is always a good thing.
Simply put, I LOVE IT! Next, a rear sway bar to reel in a bit more rear positivity.


Settled on going with the -2.0 for now on the front struts after attempting to go with a -2.5 drop. Tried the +2.5 first knowing that -3.0 was not possible without a redesigned upper control arm. I could not achieve an adequate camber or toe setting with the -2.5 drop, so regrouped and went with the -2.0 which pushes the camber adjustments to the limits. There is little adjustment left on the tie rods for toe adjustment, but there are ways to cheat if you find that you are unable to dial the toe dial that in. The assembly was pretty straight forward. If you have experience with changing out struts and springs, you will have no issues. Do not panic if there is a bit of play left between the spring and upper seat. This small amount will disappear once the the front is laden. I will eventually make the transition to a -3.0 when the upper control arm becomes available as I'd prefer a bit more drop.
On to the rear. I chose to go with a -5.0 drop. By going this route, it provides a generous amount of drop once the truck is laden with a result of an actual -5.5 inches of rear drop at the axle. The overall installation was relatively easy. Just a lot of on your back time if you do not have access to a lift and truly, having done axle flips with and without a lift, I feel much more comfortable doing this with multiple jack stands and floor jacks.
One of the most important things to remember, is you will need to keep the front of the axle assembly supported. I have threaded jack stands that are infinitely adjustable, so this was not a problem for me. I used three to support and to move the axle assembly up and down as needed.
When it was time to set the axle assembly onto the saddles, you will most likely need to use a floor jack as this procedure will require moving the axle forward unless you have kept the assembly centered in the wheel openings which is difficult to do
Every piece fit well which made the job much easier than some of lowering jobs I have done where the parts were not of the same quality as the Belltech parts are. The supplied hardware is top grade as well. The one thing that you need to know, is that U-bolts and shackle hardware is SAE, not metric. No big deal. Just keep that in mind.
Now the question that seems to be a hot topic of discussion. Will the tires be centered exactly in the wheel openings, most likely not, but let me tell you what I found on my pre-installation measurements that I made. The wheelbase on the passenger side was 8mm shorter than the driver's side. Neither side was centered as you would hope that they would be from the factory. Are all Rangers like that, I have no way of knowing. My guess is that there will be variances on some of our trucks. Did I freak out, NO and nor should you unless you have a major discrepancy in dimensions between each side.
After all was said and done, I found that I was able to get both sides wheelbase within 2mm of each other. There is an 8mm gap difference between the front of the tire and the wheel opening moulding on the driver's side with the front being closer than the rear. That is 2mm better than the factory gap of 10mm. The passenger side is now the same as the driver's side with an 8mm difference between the front gap and the rear. This is something that I personally will not worry about. The pivot angle moved 1° which is quite acceptable.
Overall, this is a good quality kit. Some people will have better results than others. That is the nature of these types of modifications. If I was using this as a the track vehicle, which I am not, then I would be making a few changes like moving the centering holes in the saddle and lower spring plate. For me, this is not a big deal. Maintaining correct geometry is the number one concern which this rear kit achieved.
For the cost and quality of components, this is a good kit and a good deal. Just be prepared to put in some work on the rear flip kit. I had to go solo with mine and I can tell you that it would be best to have an assistant to help with some of the procedures.
In the end, I achieved what I wanted. A truck that is more driver and accessibly friendly for a 5'6" guy. I can now reach over the bedside behind the cab and touch the bed floor and easily pop into
the back of the bed. I call that a success!
Driving wise, the truck is more firm than it was which I personally prefer, the rear end does not dance nearly as much on hard bumps etc and the steering feels more precise. Body roll has decreased which is always a good thing.
Simply put, I LOVE IT! Next, a rear sway bar to reel in a bit more rear positivity.

Sponsored
Last edited: