Sponsored

SSM 49264 - Climate Control Temperature Will Not Adjust With Clicking/Snapping Noise From The Dash

Bsthroop

Well-Known Member
First Name
Brian
Joined
Oct 4, 2022
Threads
6
Messages
479
Reaction score
2,263
Location
New Mexico
Vehicle(s)
2019 Lariat 4x2 Sport
Occupation
Broadband/ Microwave Engineer
After @airline tech saved my butt, Rusty started right up with no error codes and the blend box working perfect. The replacement was a full day job (mine was a bit messier due to a lot of added wiring), but was not difficult but was tedious. My recommendations are:

1. Get a small hex drive angle drill adaptor that makes the firewall box screws super easy. (I did them twice while figuring out how to get the box mounted) and it was painless.

2. I used a 3/8 air ratchet to remove the main dash bolts since they are tight all the way out. Saved a lot of time ratcheting.

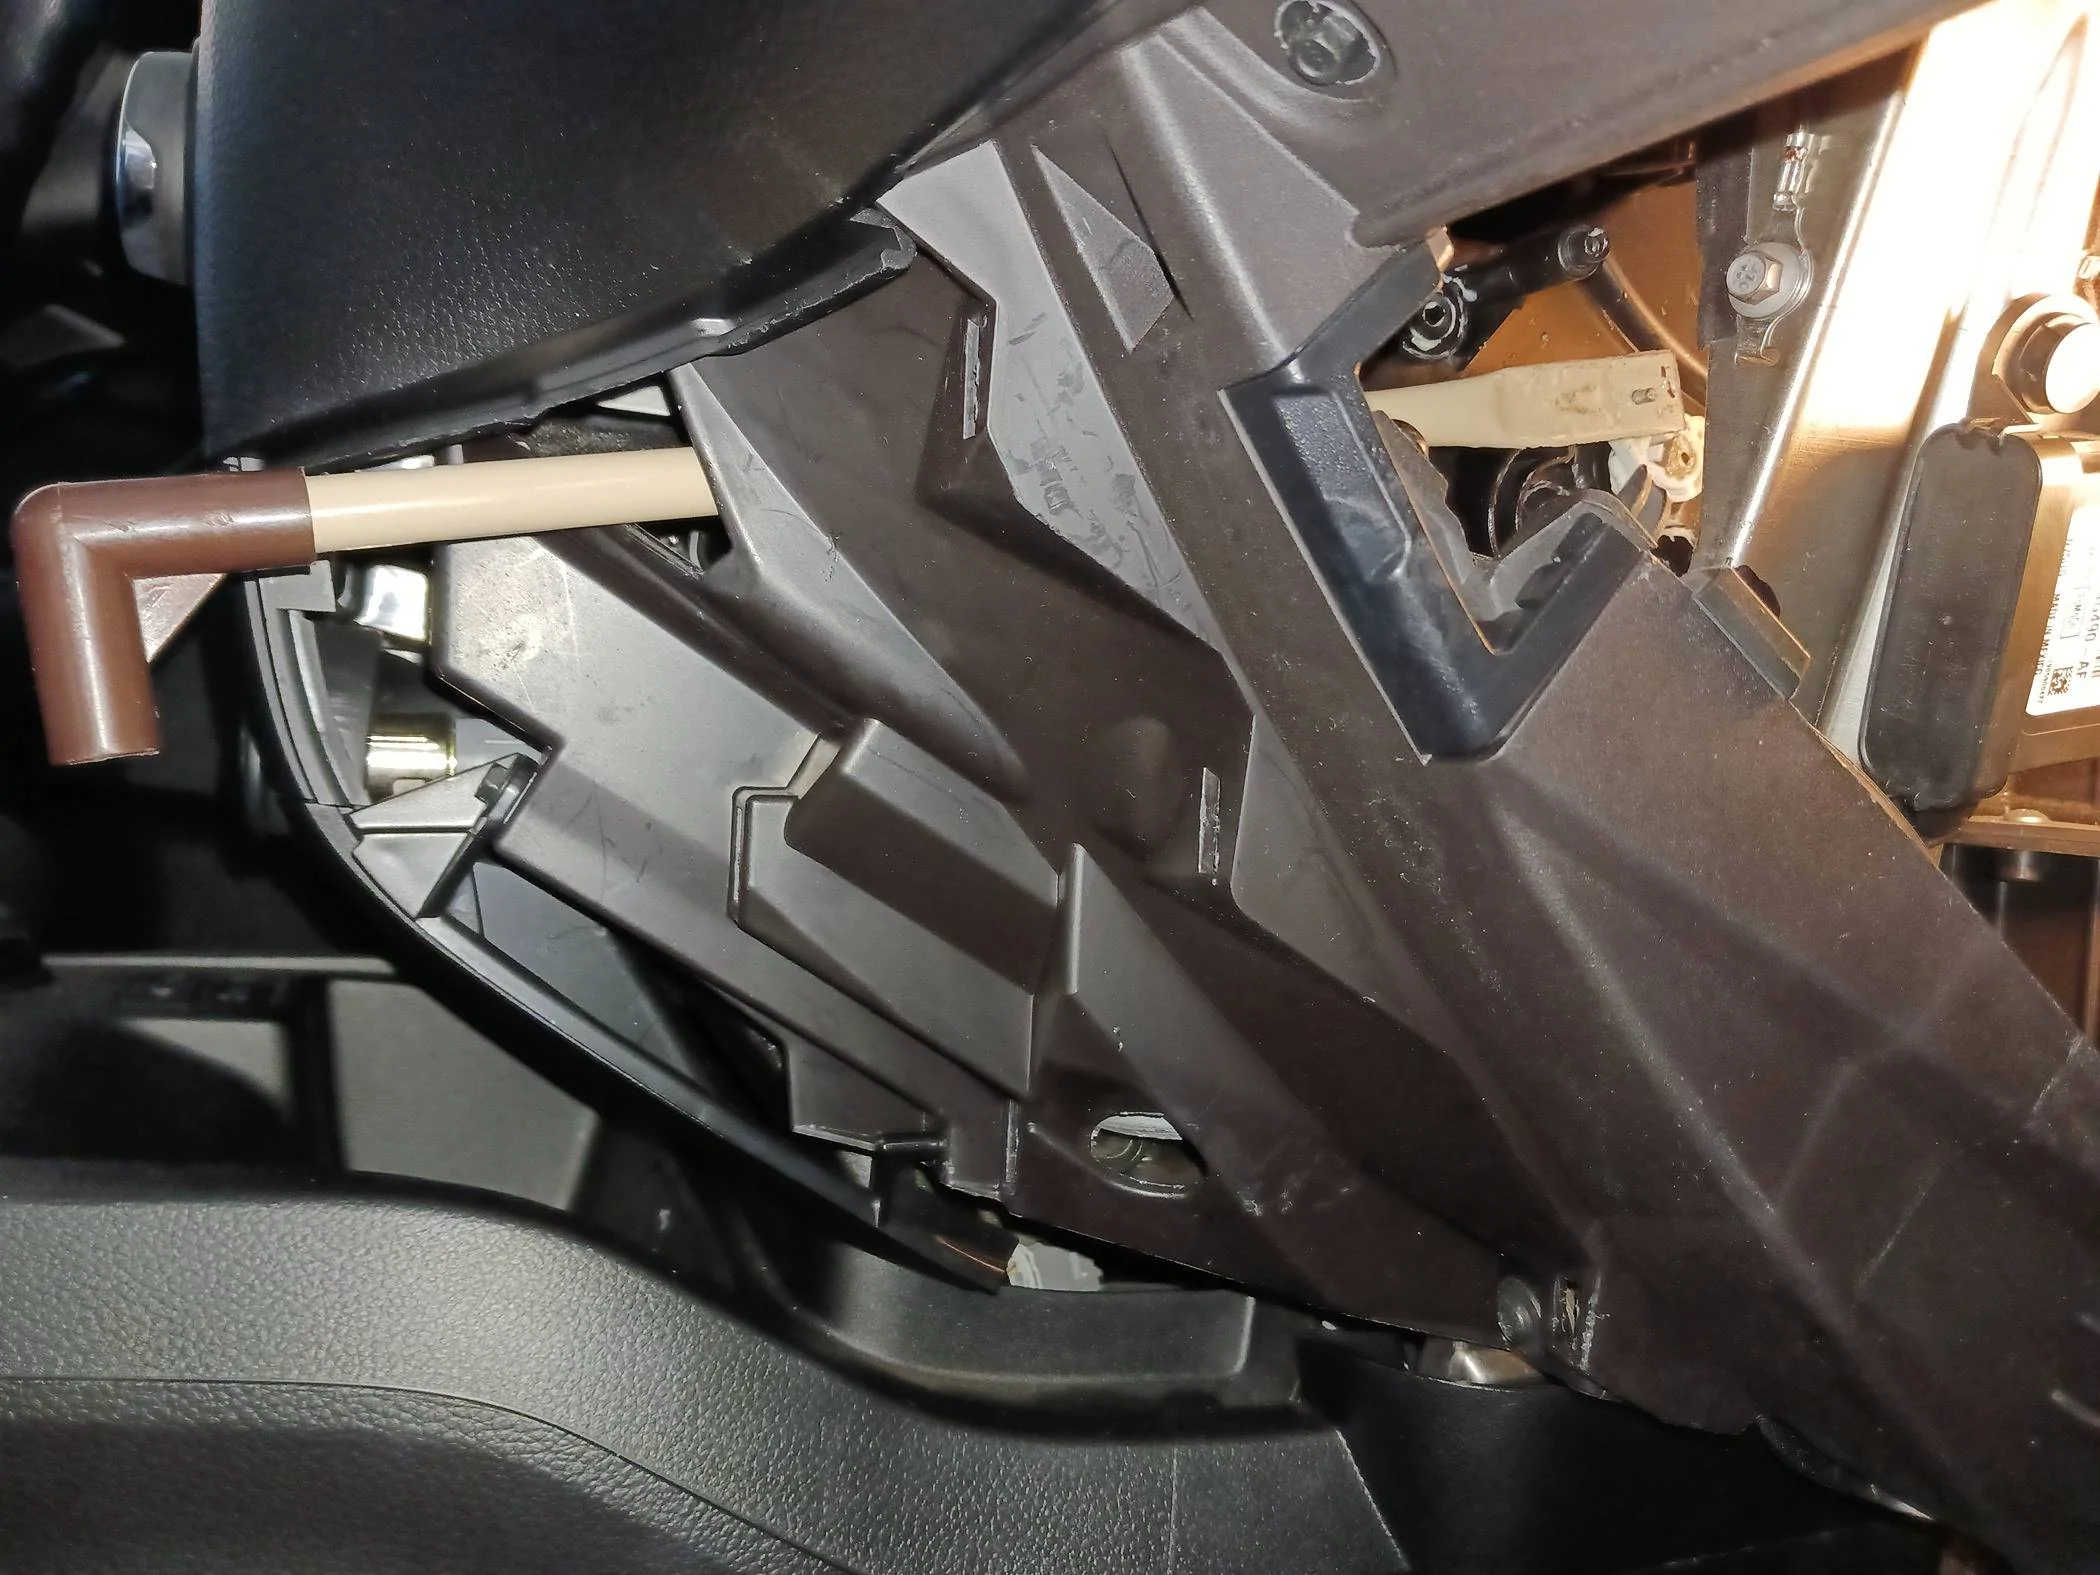
3. The box is a super snug fit, more than I expected. Because it has 2 studs that stick out from the firewall, I started by setting it in place and putting in the top screws. This made it impossible to get the bottom set, even used a ratchet strap. It has a flange that goes all the way around that is very tight. I ended up removing the box, slightly bending the firewall studs upward, and screwing the bottom screws in. Then you can start tightening the nuts on the firewall studs while ensuring the flange around the box lines up. As it pulls forward you will be able to install the screws and clips ending with the top two on the firewall side.

4. Remove the front seats to give you room to move around.

5. As mentioned before, the allen bolt next to the windshield only needs to be loosened a few turns.

6. The worst part of the wiring disconnect/reconnect is around the fuse box. Take time to unplug and pull the wires/ plugs back behind the dash before pulling the dash. The video recommends pulling the fuse box which I didn't do but may make it easier.

7. If you have a cordless drill, get torx 20 and 25 hex bits which will speed up removal and replacement of lot of screws.

8. If you forget to shift out of park, once you remove the cover from the shifter you can push a small white tab under the bsck of the shifter that you can push to shift.

9. Be very careful making sure you confirm all wire plugs are reconnected, maybe make a list as you unplug. The one that caused me a problem which completely immobilized the truck was a small 2 wire plug that @airline tech tracked down. This is mounted to the inside of the center console near the dash. I didn't see it when removing the console and pulling the console back to remove it unplugged that connector, so i was not aware of it. This was the smallest plug of all and made a huge difference.

10. Use light gloves because everything is sharp, otherwise you will need a transfusion at the end of the project.

11. Use ziploc bags to keep hardware with each part. This made reassembly much easier and i had no left over hardware when i was done.
Sponsored

 
Last edited:

airline tech

Well-Known Member
Joined
Aug 24, 2022
Threads
28
Messages
4,463
Reaction score
8,537
Location
Midwest - KS
Vehicle(s)
2022 Ranger Lariat-Super Crew, Cactus Gray
Occupation
Aircraft Tech
Yes, being that this is trending towards a DYI project.
When doing repairs that involves a good deal of open up, it is a GOOD IDEA to:

1. Have separate containers for hardware, do not intermix hardware. (You know exactly what the hardware came from)

2. Wire Routing - Take a Pic of wire harness routing if it interweaves throughout the dash, makes it easier to reinstall in the OE routed position. (You do not have to guess as to how the wire harness was routed - Less chance of wire chaffing against a bracket etc.)

3. Document every disconnect, take the time to write down how many connectors you disconnected at each location, and just for added measure, get some tape and number them to identify exactly where it connects.
This is especially important for Ground wire points, easy to miss if not attentive.
Sometimes wire harness connectors can be the same and close proximity of each other that they can be connected to a connector it's not meant to be connected to.
(Easily and Quickly Identify, the exact connection points and crosscheck what you documented)

Before the final, let's see if this works, it's a good idea to mentally do the job again in your head with (Point and Touch) as a secondary validation, did I get everything connected and am I good to start the operational test.

Trust Me, the above helps the job go much easier with just a few extra steps and you are not scratching your head where the heck does this connector go or what did I miss ?‍♂
 

Blue Streak

Well-Known Member
First Name
Larry
Joined
Jul 11, 2019
Threads
38
Messages
1,314
Reaction score
5,047
Location
New Location still in Missouri
Vehicle(s)
2019 Ranger XL STX FX 2021 Honda CR V
Occupation
Retired
Vehicle Showcase
1
Had a little time so I made a new temp control rod for my temporary fix. Works much better than the wire, wire was too flexible. If I paint it black it would not be as noticeable.
I guess I should put this in the hillbilly DIY thread.
20240320_105956.jpg
 

airline tech

Well-Known Member
Joined
Aug 24, 2022
Threads
28
Messages
4,463
Reaction score
8,537
Location
Midwest - KS
Vehicle(s)
2022 Ranger Lariat-Super Crew, Cactus Gray
Occupation
Aircraft Tech
Had a little time so I made a new temp control rod for my temporary fix. Works much better than the wire, wire was too flexible. If I paint it black it would not be as noticeable.
I guess I should put this in the hillbilly DIY thread.
20240320_105956.jpg
Good use for what appears to be a straw and a vacuum elbow.
 

Blue Streak

Well-Known Member
First Name
Larry
Joined
Jul 11, 2019
Threads
38
Messages
1,314
Reaction score
5,047
Location
New Location still in Missouri
Vehicle(s)
2019 Ranger XL STX FX 2021 Honda CR V
Occupation
Retired
Vehicle Showcase
1
Good use for what appears to be a straw and a vacuum elbow.
Actually it is part of an old laundry cart. Thin metal tube & the plastic corner tube connector. I save old junk for a reason. At the time I save it I'm not sure for what. ?


Waxthis

Well-Known Member
First Name
Eric
Joined
Aug 27, 2020
Threads
12
Messages
164
Reaction score
331
Location
Colorado
Vehicle(s)
2020 Ranger XLT FX4
Occupation
Controls Tech
For those of you in Colorado that had the dealer fix this issue, where did you go and were you happy with the result. I've been hearing more and more clicking sounds behind the dash and have a feeling I'll be using my a Ford Extended warranty this spring...:rolleyes:
 

NOVA_Ranger

Well-Known Member
Joined
May 16, 2019
Threads
14
Messages
590
Reaction score
1,626
Location
Northern Virgnia
Vehicle(s)
2019 Ranger XLT FX4
My driver’s side dash vents are stuck on heat only, which was tolerable this winter. As it warms up here, is it possibly to manually move the blend door to AC for summer? Sounds like a PITA to fix this problem on our trucks and not looking to dig into it any time soon.

IMG_6409.jpeg
 
Last edited:

airline tech

Well-Known Member
Joined
Aug 24, 2022
Threads
28
Messages
4,463
Reaction score
8,537
Location
Midwest - KS
Vehicle(s)
2022 Ranger Lariat-Super Crew, Cactus Gray
Occupation
Aircraft Tech
Yes, it can be done, but its a PITA to get to:
Somewhere on here there is a documentation on getting the Driver's side actuator out.
Limited access to the mounting screws and you can shortcut it by drilling a hole in the support structure to allow a screwdriver to be inserted through the hole to get on the screwhead.

Once removed you can manually rotate the door:
Now its decision time on what to do from here:
1. Leave the actuator - OFF and electrical connector connected, and then devise a way to allow manual movement of the door via (Dowel Rod or Similar)
This would allow you to manually adjust as necessary.

2. Manually move the door and then manually move the actuator to match alignment and reinstall the actuator and leave the electrical connector off.

Ref: Temp By-Pass by (Blue Streak)
This is on the passenger side, but same idea for driver's side (connected to the (White) lever that moves the door.

Actuator By-Pass Fix by Blue Streak.jpg


The white lever moves the Temp Door - This is the Driver's Side
Snapshot from (quangdog's) replacement video of the HVAC Box

Drivers Temp Actuator - White Lever.jpeg
 

Blue Streak

Well-Known Member
First Name
Larry
Joined
Jul 11, 2019
Threads
38
Messages
1,314
Reaction score
5,047
Location
New Location still in Missouri
Vehicle(s)
2019 Ranger XL STX FX 2021 Honda CR V
Occupation
Retired
Vehicle Showcase
1
Yes, it can be done, but its a PITA to get to:
Somewhere on here there is a documentation on getting the Driver's side actuator out.
Limited access to the mounting screws and you can shortcut it by drilling a hole in the support structure to allow a screwdriver to be inserted through the hole to get on the screwhead.

Once removed you can manually rotate the door:
Now its decision time on what to do from here:
1. Leave the actuator - OFF and electrical connector connected, and then devise a way to allow manual movement of the door via (Dowel Rod or Similar)
This would allow you to manually adjust as necessary.

2. Manually move the door and then manually move the actuator to match alignment and reinstall the actuator and leave the electrical connector off.

Ref: Temp By-Pass by (Blue Streak)
This is on the passenger side, but same idea for driver's side (connected to the (White) lever that moves the door.

Actuator By-Pass Fix by Blue Streak.jpg


The white lever moves the Temp Door - This is the Driver's Side
Snapshot from (quangdog's) replacement video of the HVAC Box

Drivers Temp Actuator - White Lever.jpeg
My idea is working well. I plan on keeping my truck so down the road if I can find a retainer to fit the pin it will help keep the rod on & if I can dill a hole in the trim panel insert a rubber grommet it would look much better. Also paint the rod.
 

NOVA_Ranger

Well-Known Member
Joined
May 16, 2019
Threads
14
Messages
590
Reaction score
1,626
Location
Northern Virgnia
Vehicle(s)
2019 Ranger XLT FX4
Yes, it can be done, but its a PITA to get to:
Somewhere on here there is a documentation on getting the Driver's side actuator out.
Limited access to the mounting screws and you can shortcut it by drilling a hole in the support structure to allow a screwdriver to be inserted through the hole to get on the screwhead.

Once removed you can manually rotate the door:
Now its decision time on what to do from here:
1. Leave the actuator - OFF and electrical connector connected, and then devise a way to allow manual movement of the door via (Dowel Rod or Similar)
This would allow you to manually adjust as necessary.

2. Manually move the door and then manually move the actuator to match alignment and reinstall the actuator and leave the electrical connector off.

Ref: Temp By-Pass by (Blue Streak)
This is on the passenger side, but same idea for driver's side (connected to the (White) lever that moves the door.

Actuator By-Pass Fix by Blue Streak.jpg


The white lever moves the Temp Door - This is the Driver's Side
Snapshot from (quangdog's) replacement video of the HVAC Box

Drivers Temp Actuator - White Lever.jpeg
Exactly what I was looking for, thanks!
 

Bsthroop

Well-Known Member
First Name
Brian
Joined
Oct 4, 2022
Threads
6
Messages
479
Reaction score
2,263
Location
New Mexico
Vehicle(s)
2019 Lariat 4x2 Sport
Occupation
Broadband/ Microwave Engineer

fjwlobo

Well-Known Member
First Name
Fred
Joined
Dec 4, 2020
Threads
2
Messages
296
Reaction score
1,142
Location
Brooklyn Park, Maryland
Vehicle(s)
2020 Ranger Lariat FX4 SCREW
Just curious ?, as I have a 20 with a little more than 15K on it.

Mine starts clicking in the morning about 3 - 5 minutes after I start the truck and continues until it's warmed up then stops when its cold.

How long after people started hearing the clicking did everything go FUBAR and stop working?

Good thing I have an extended warranty ?.
Sponsored


Top