DukeCanBuildit
Well-Known Member
- First Name
- Duke
- Joined
- Jul 27, 2020
- Threads
- 66
- Messages
- 9,677
- Reaction score
- 46,288
- Location
- Kitchener, Ontario
- Vehicle(s)
- 2019 XLT SuperCab - FTW!
- Occupation
- Retired (P/T) Caregiver (F/T)
- Vehicle Showcase
- 1
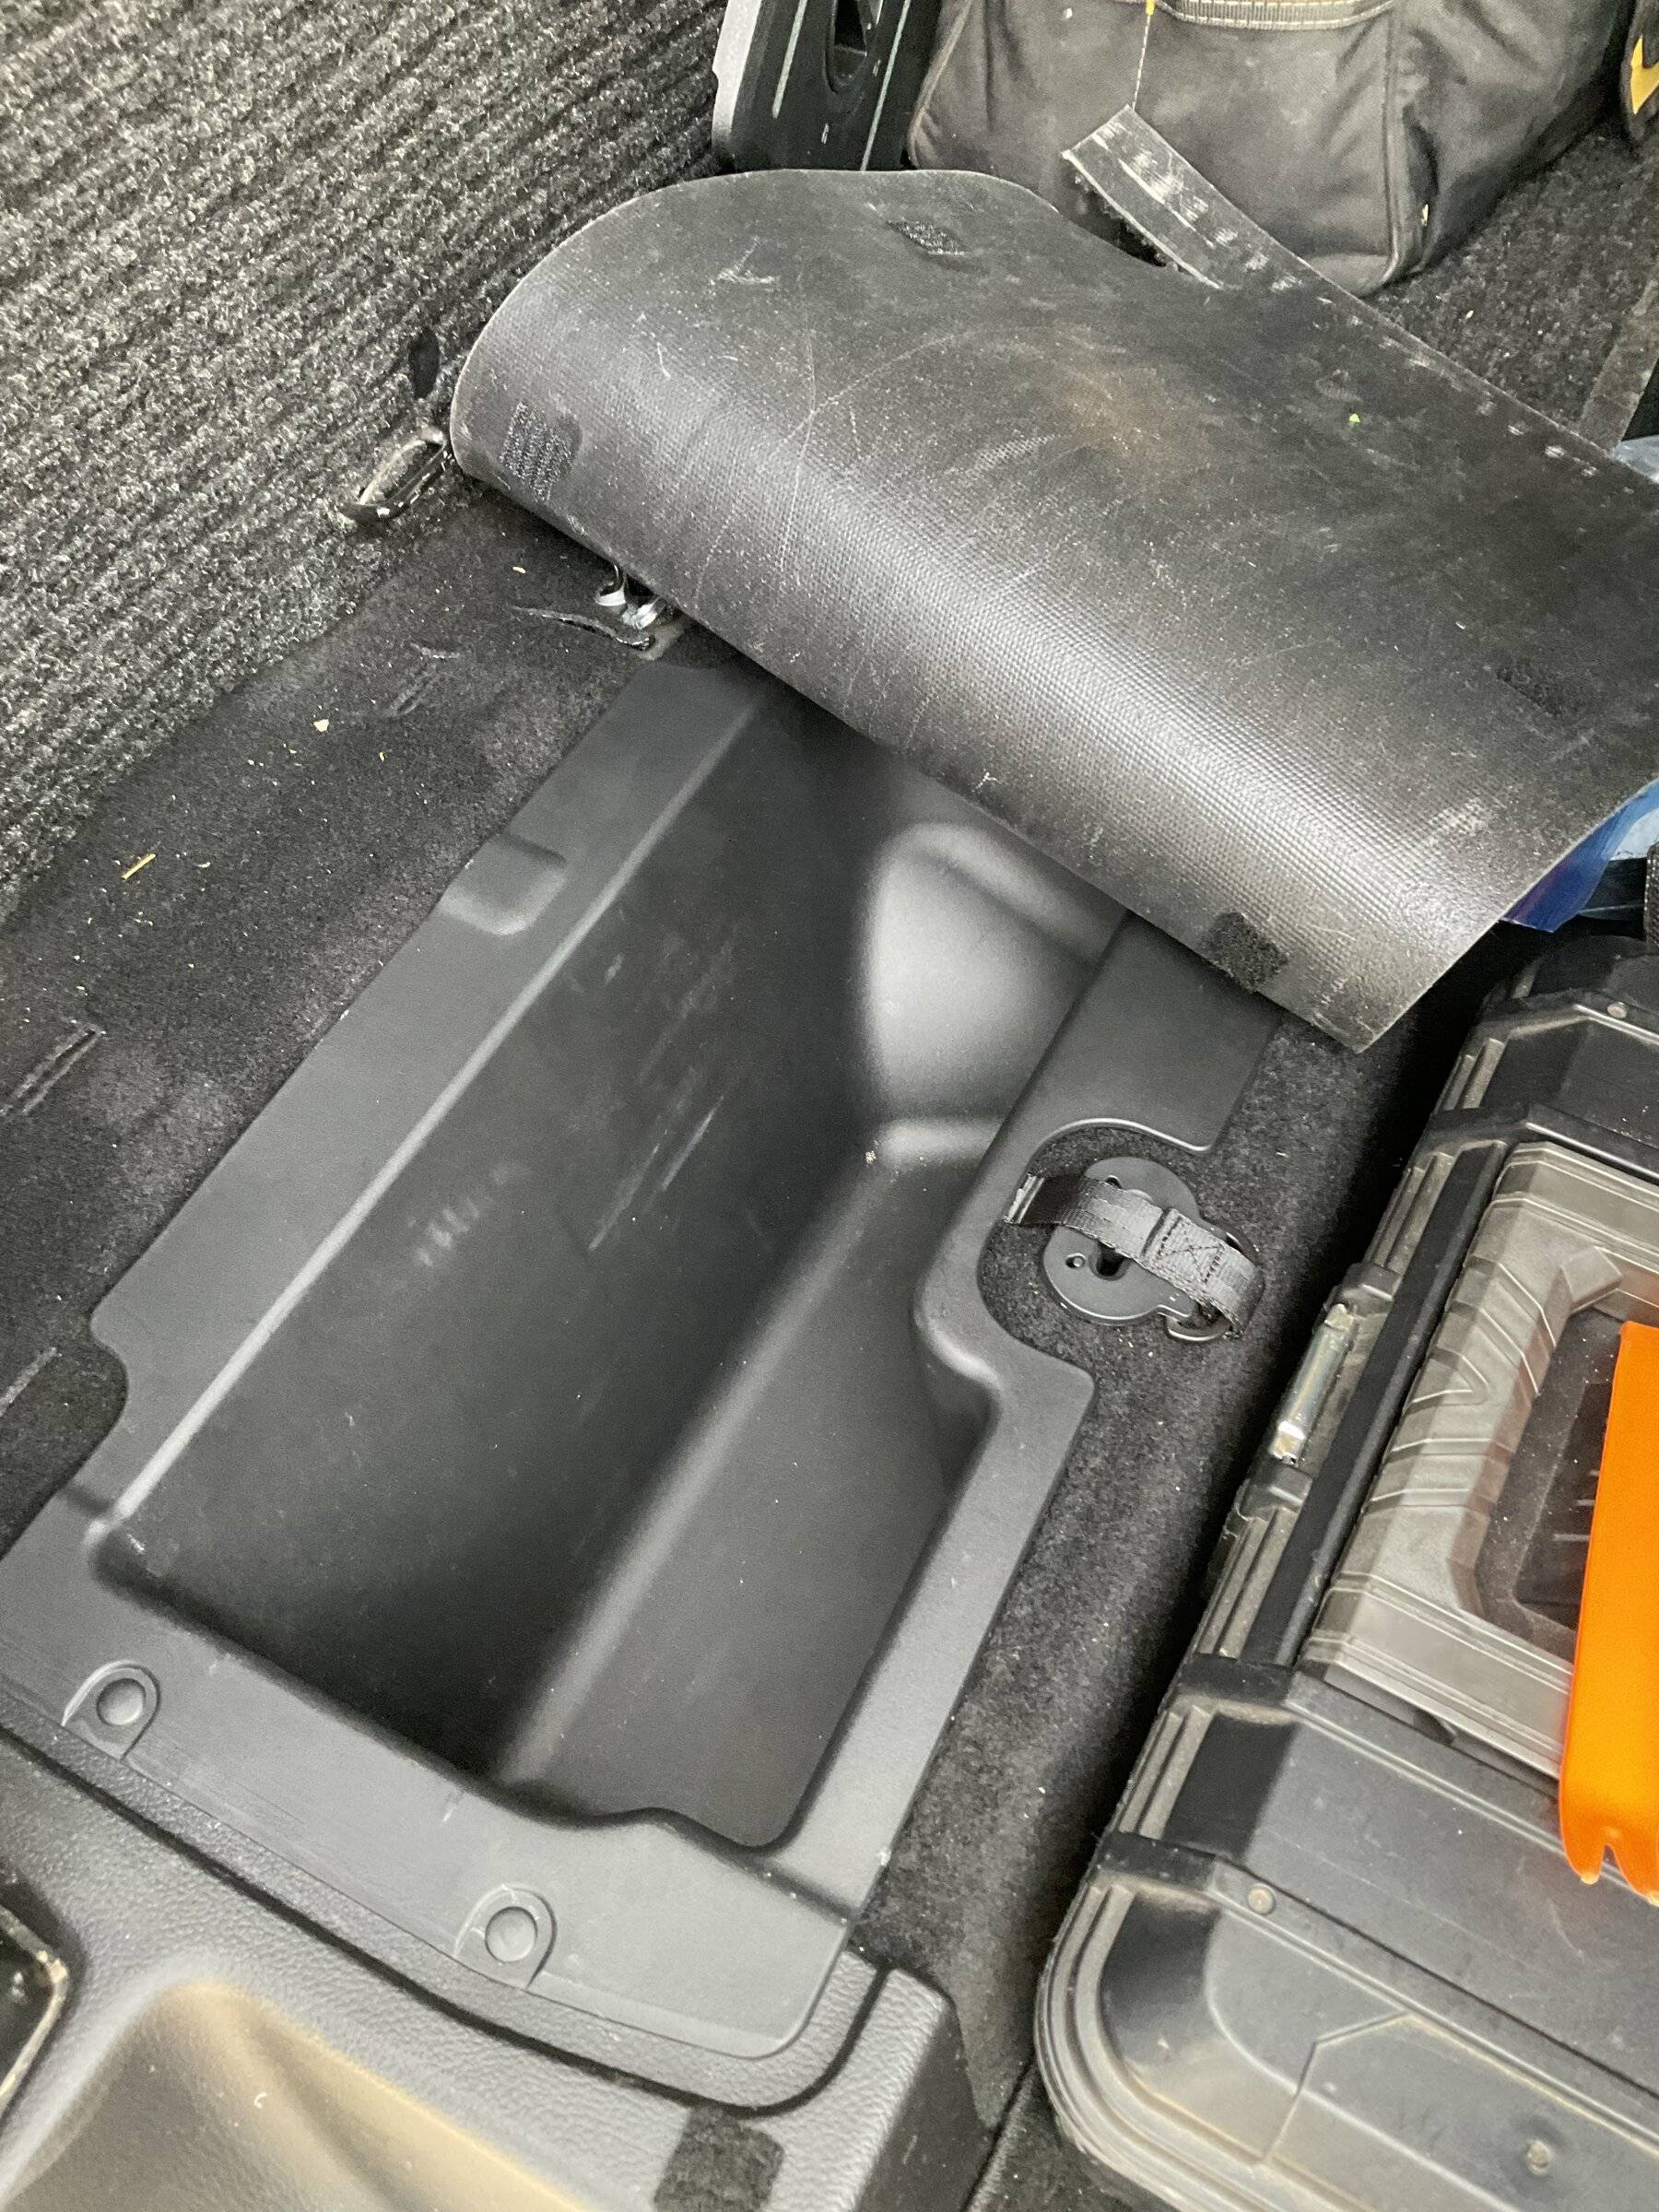
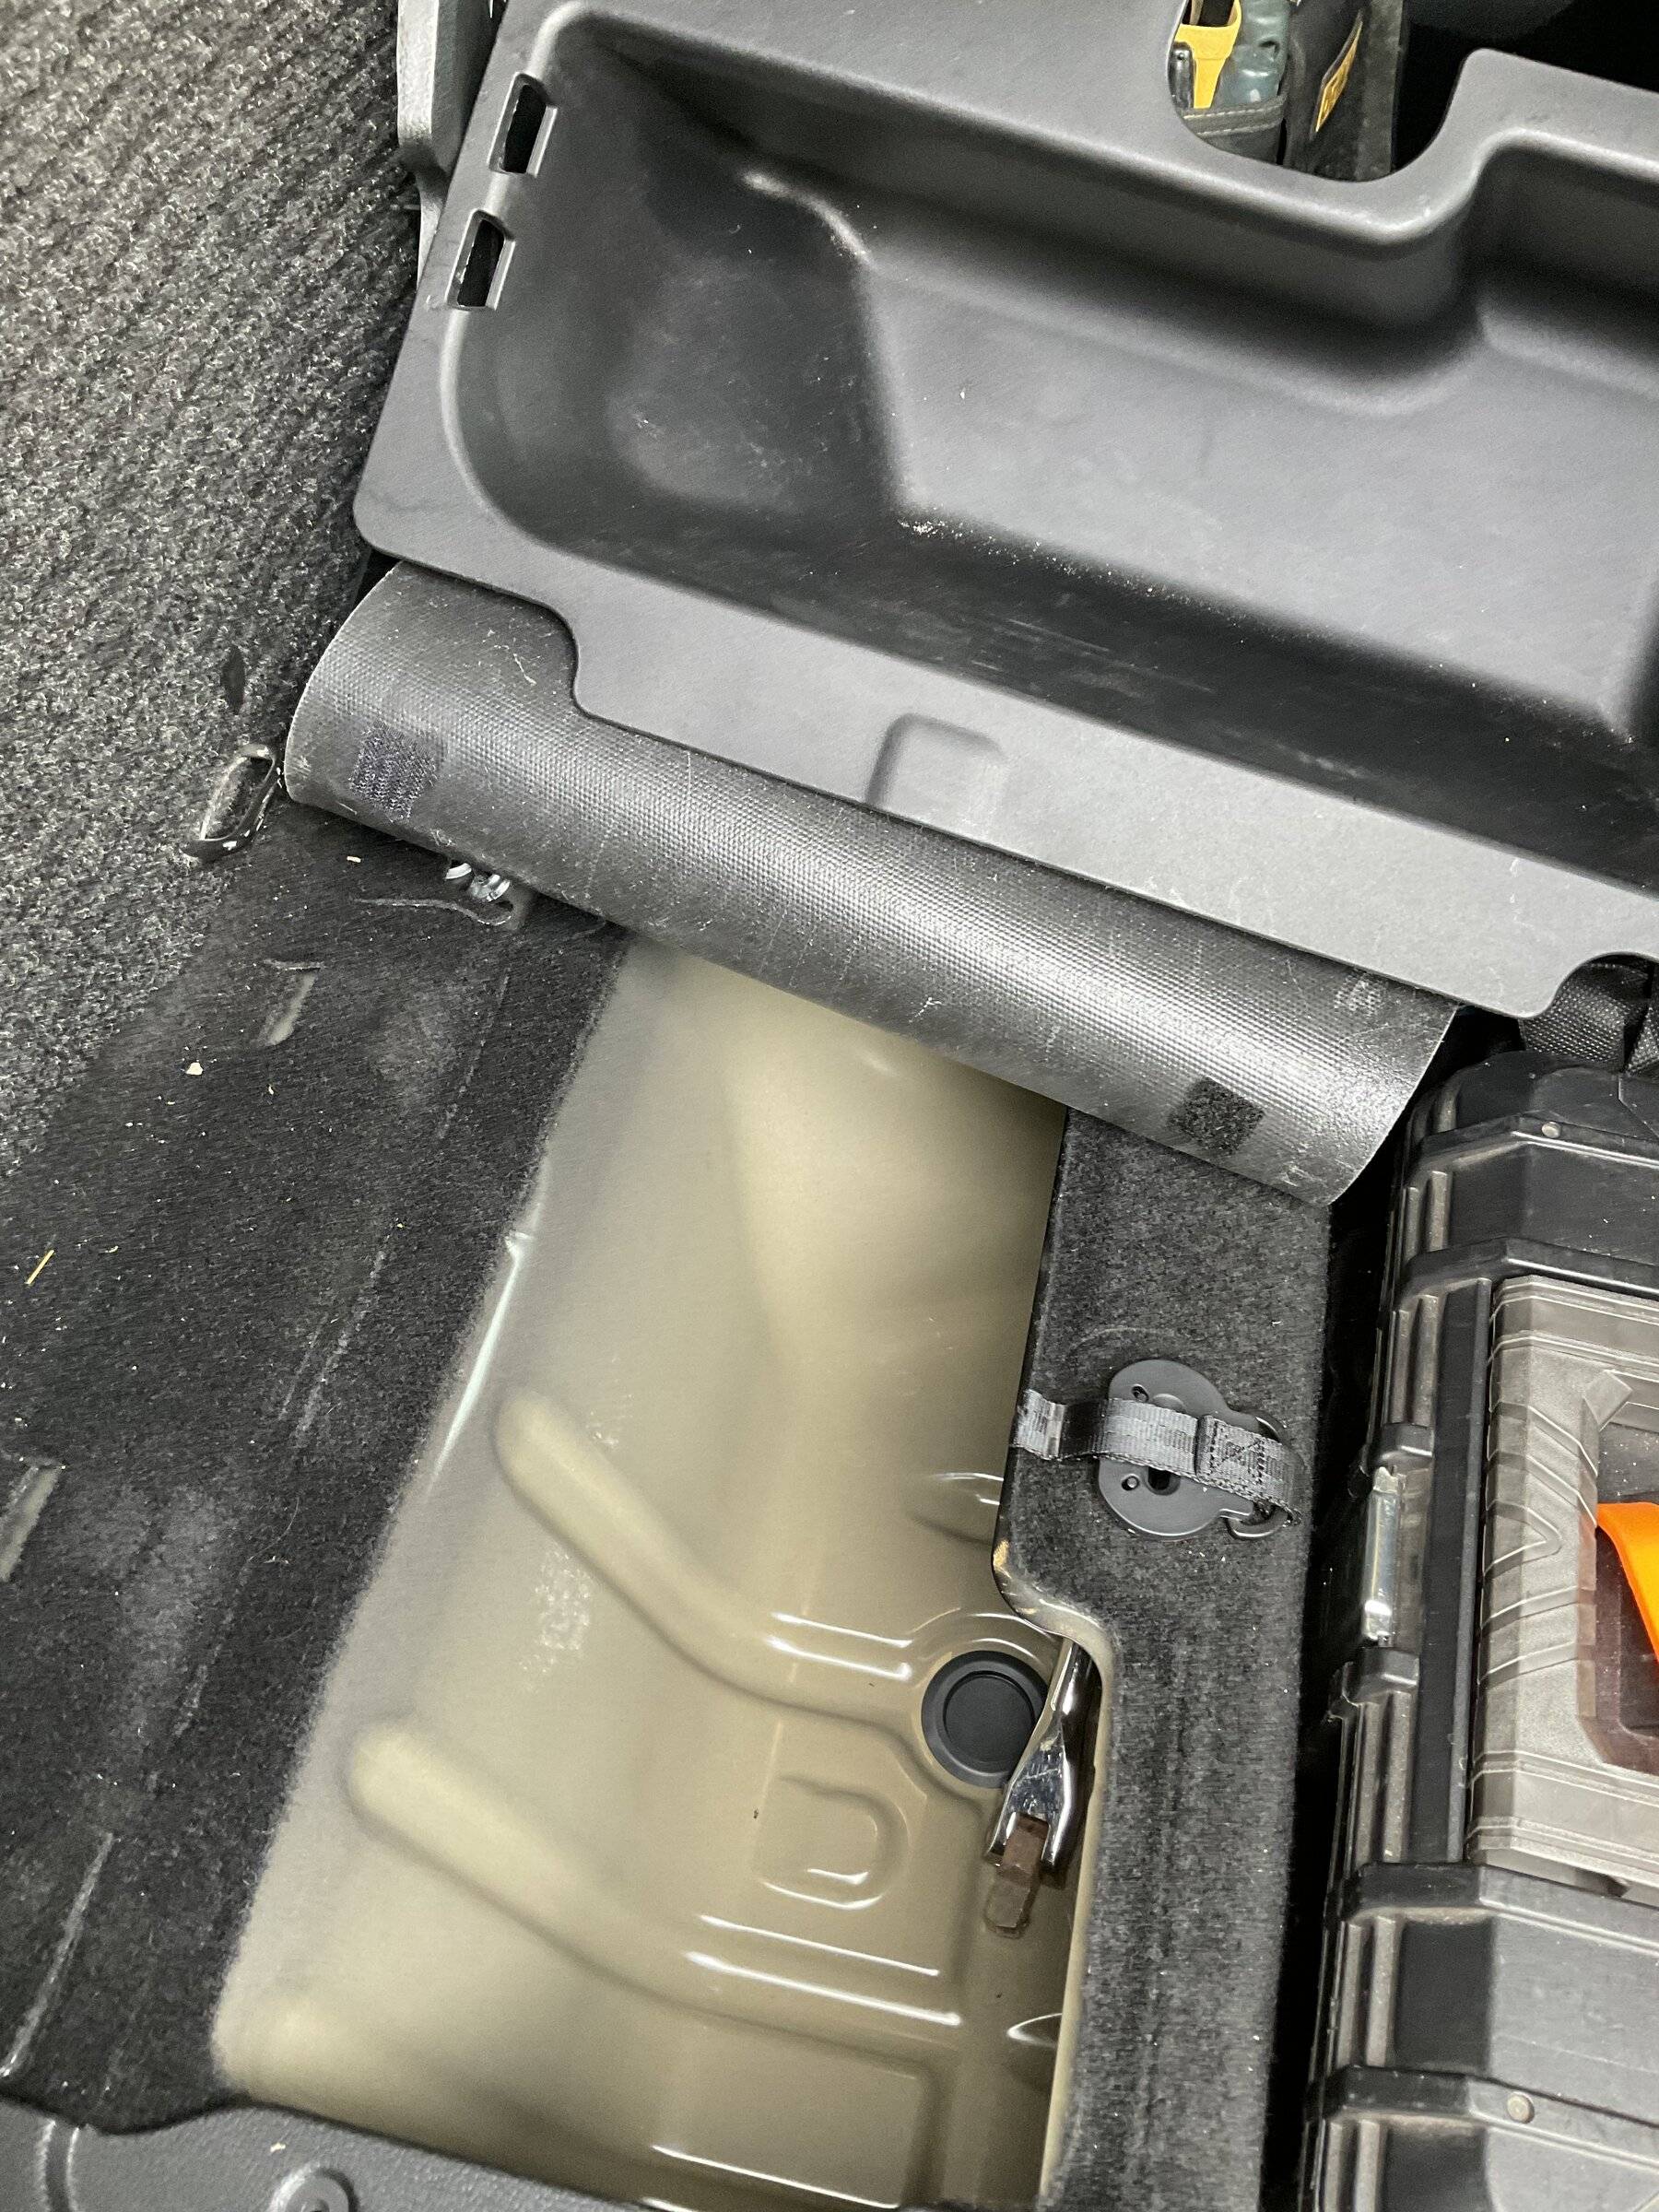
No problem David. The storage bin is easily removed with a trim tool (three push pins) and it’s a metal tub underneath.Thanks for the Scab pics, I'd like to do this too - for sound and winter insulation.
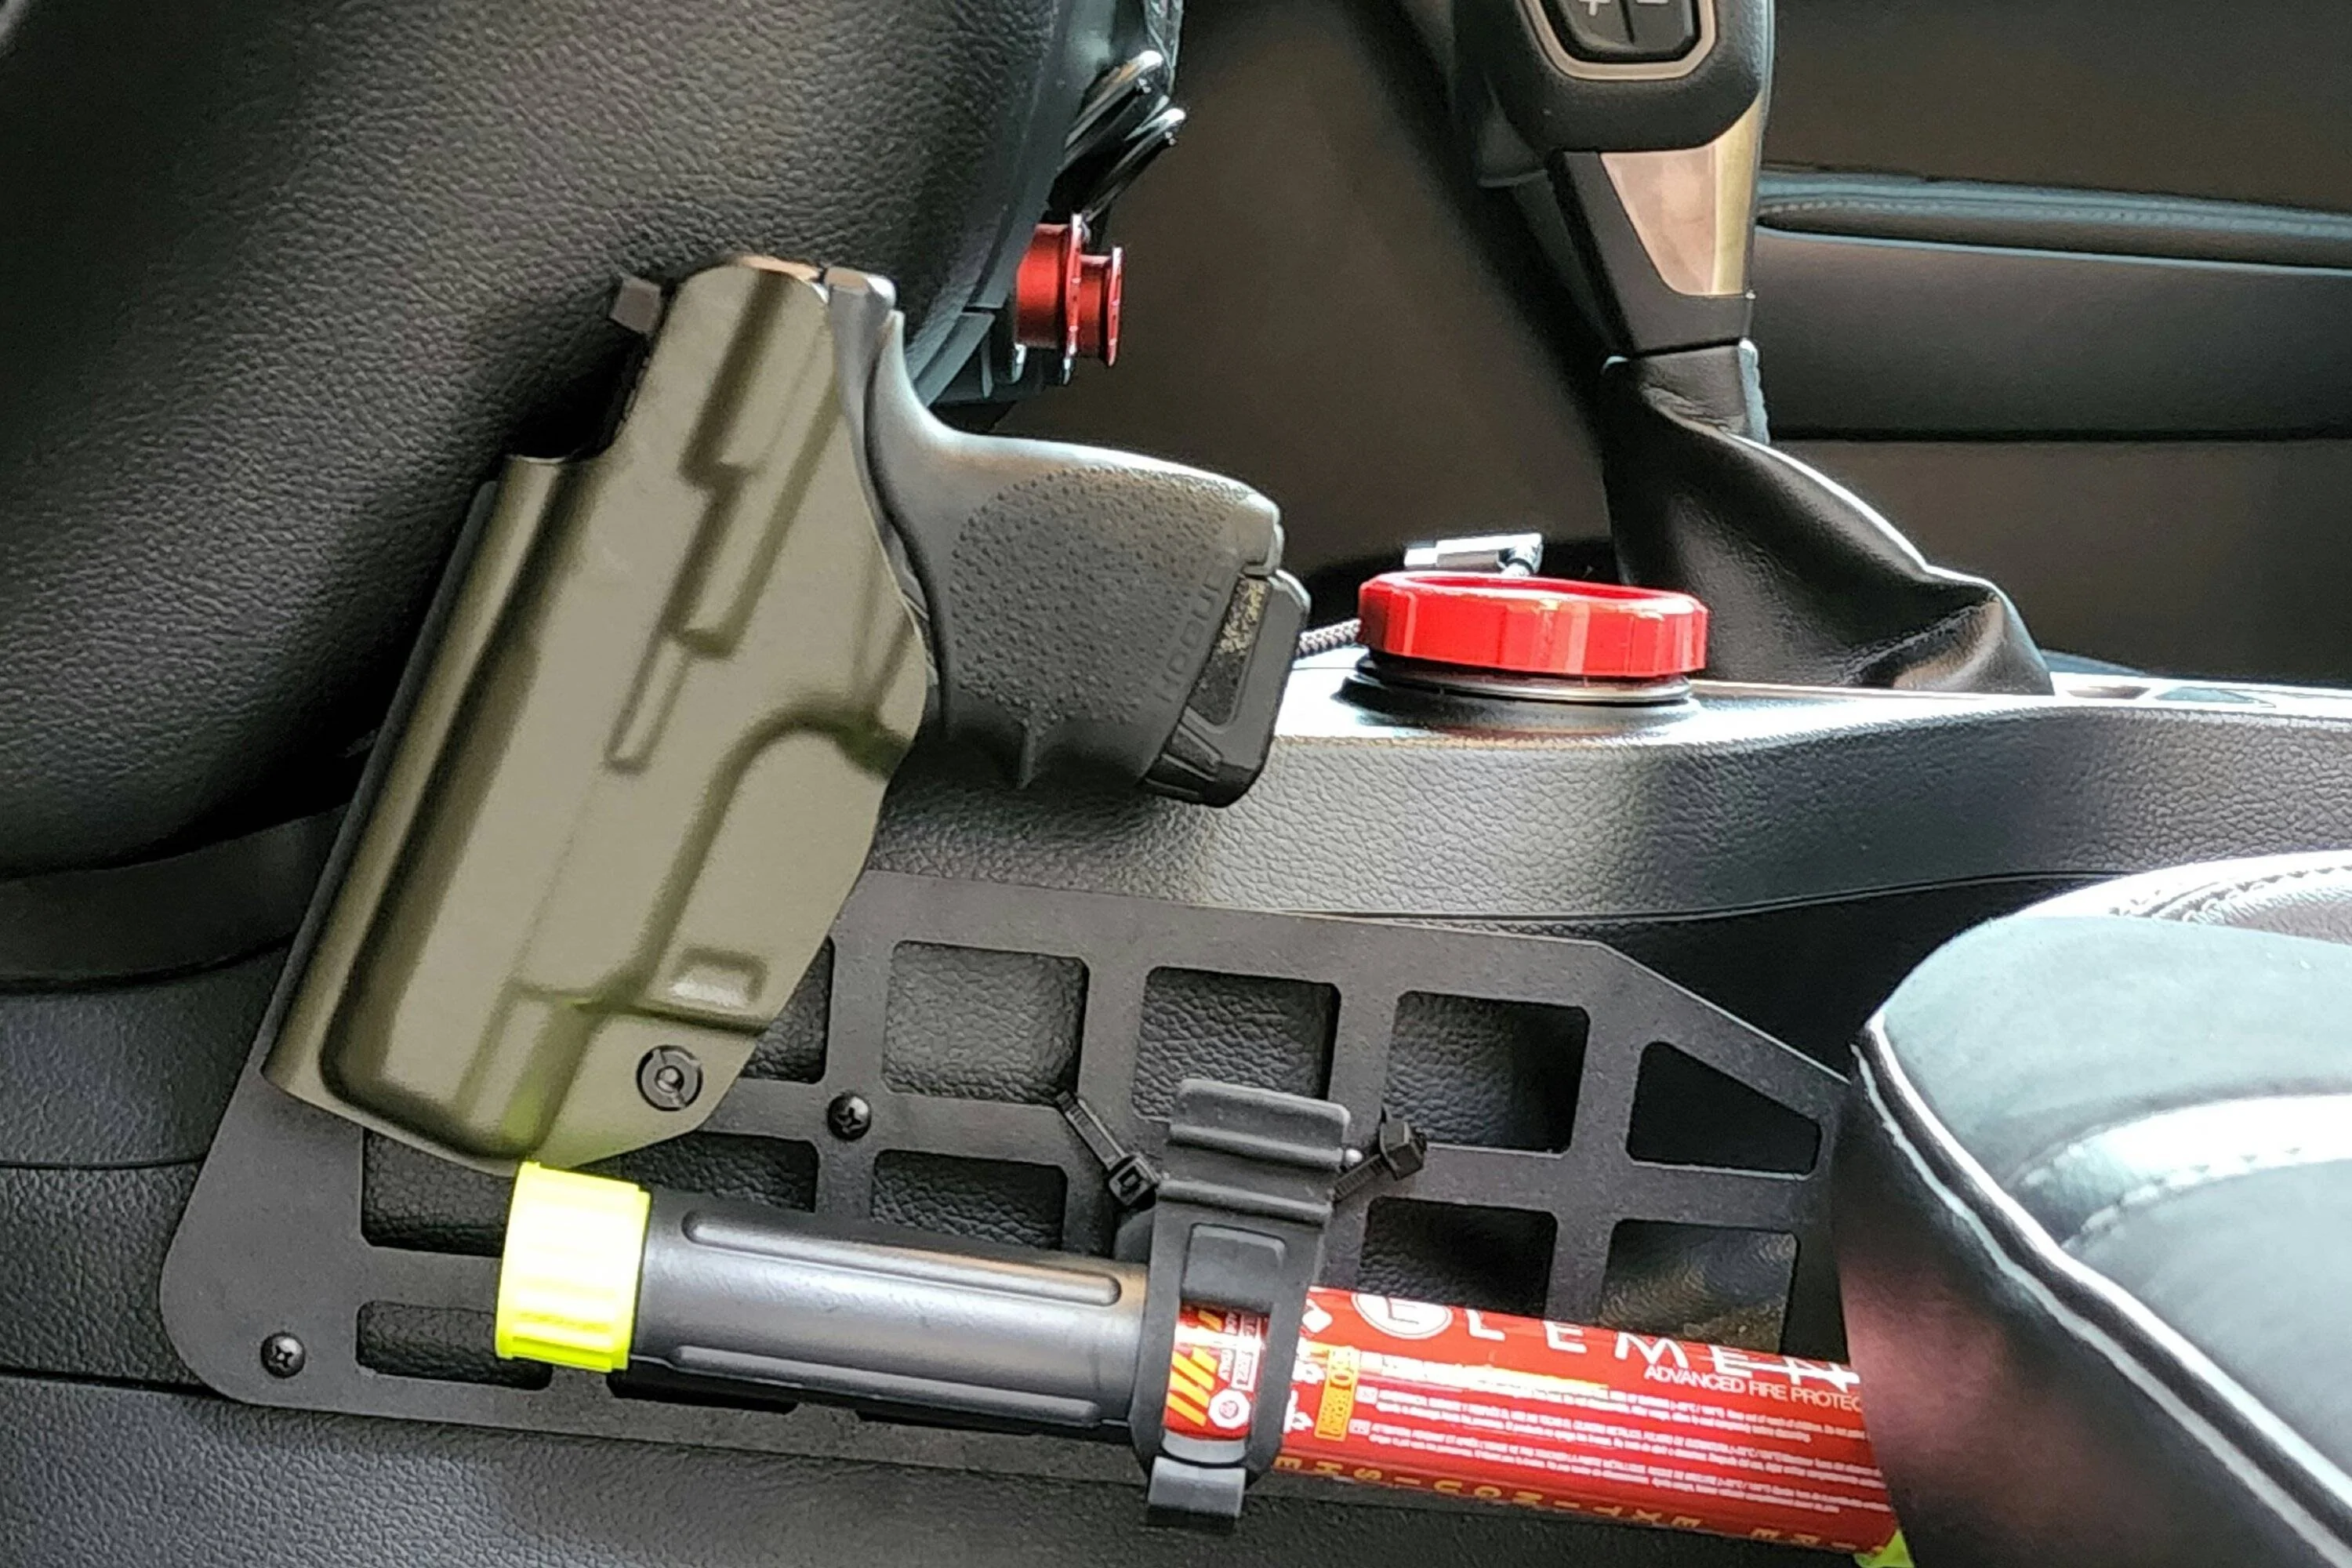
And that's really clever about accessing under the seats!
Sponsored