T-Wrecks
Well-Known Member
- First Name
- Mark
- Joined
- Aug 23, 2019
- Threads
- 19
- Messages
- 151
- Reaction score
- 124
- Location
- Roberts, WI
- Vehicle(s)
- 19 XLT FX4 S Cab, FX4, 301A, Tow, Technology
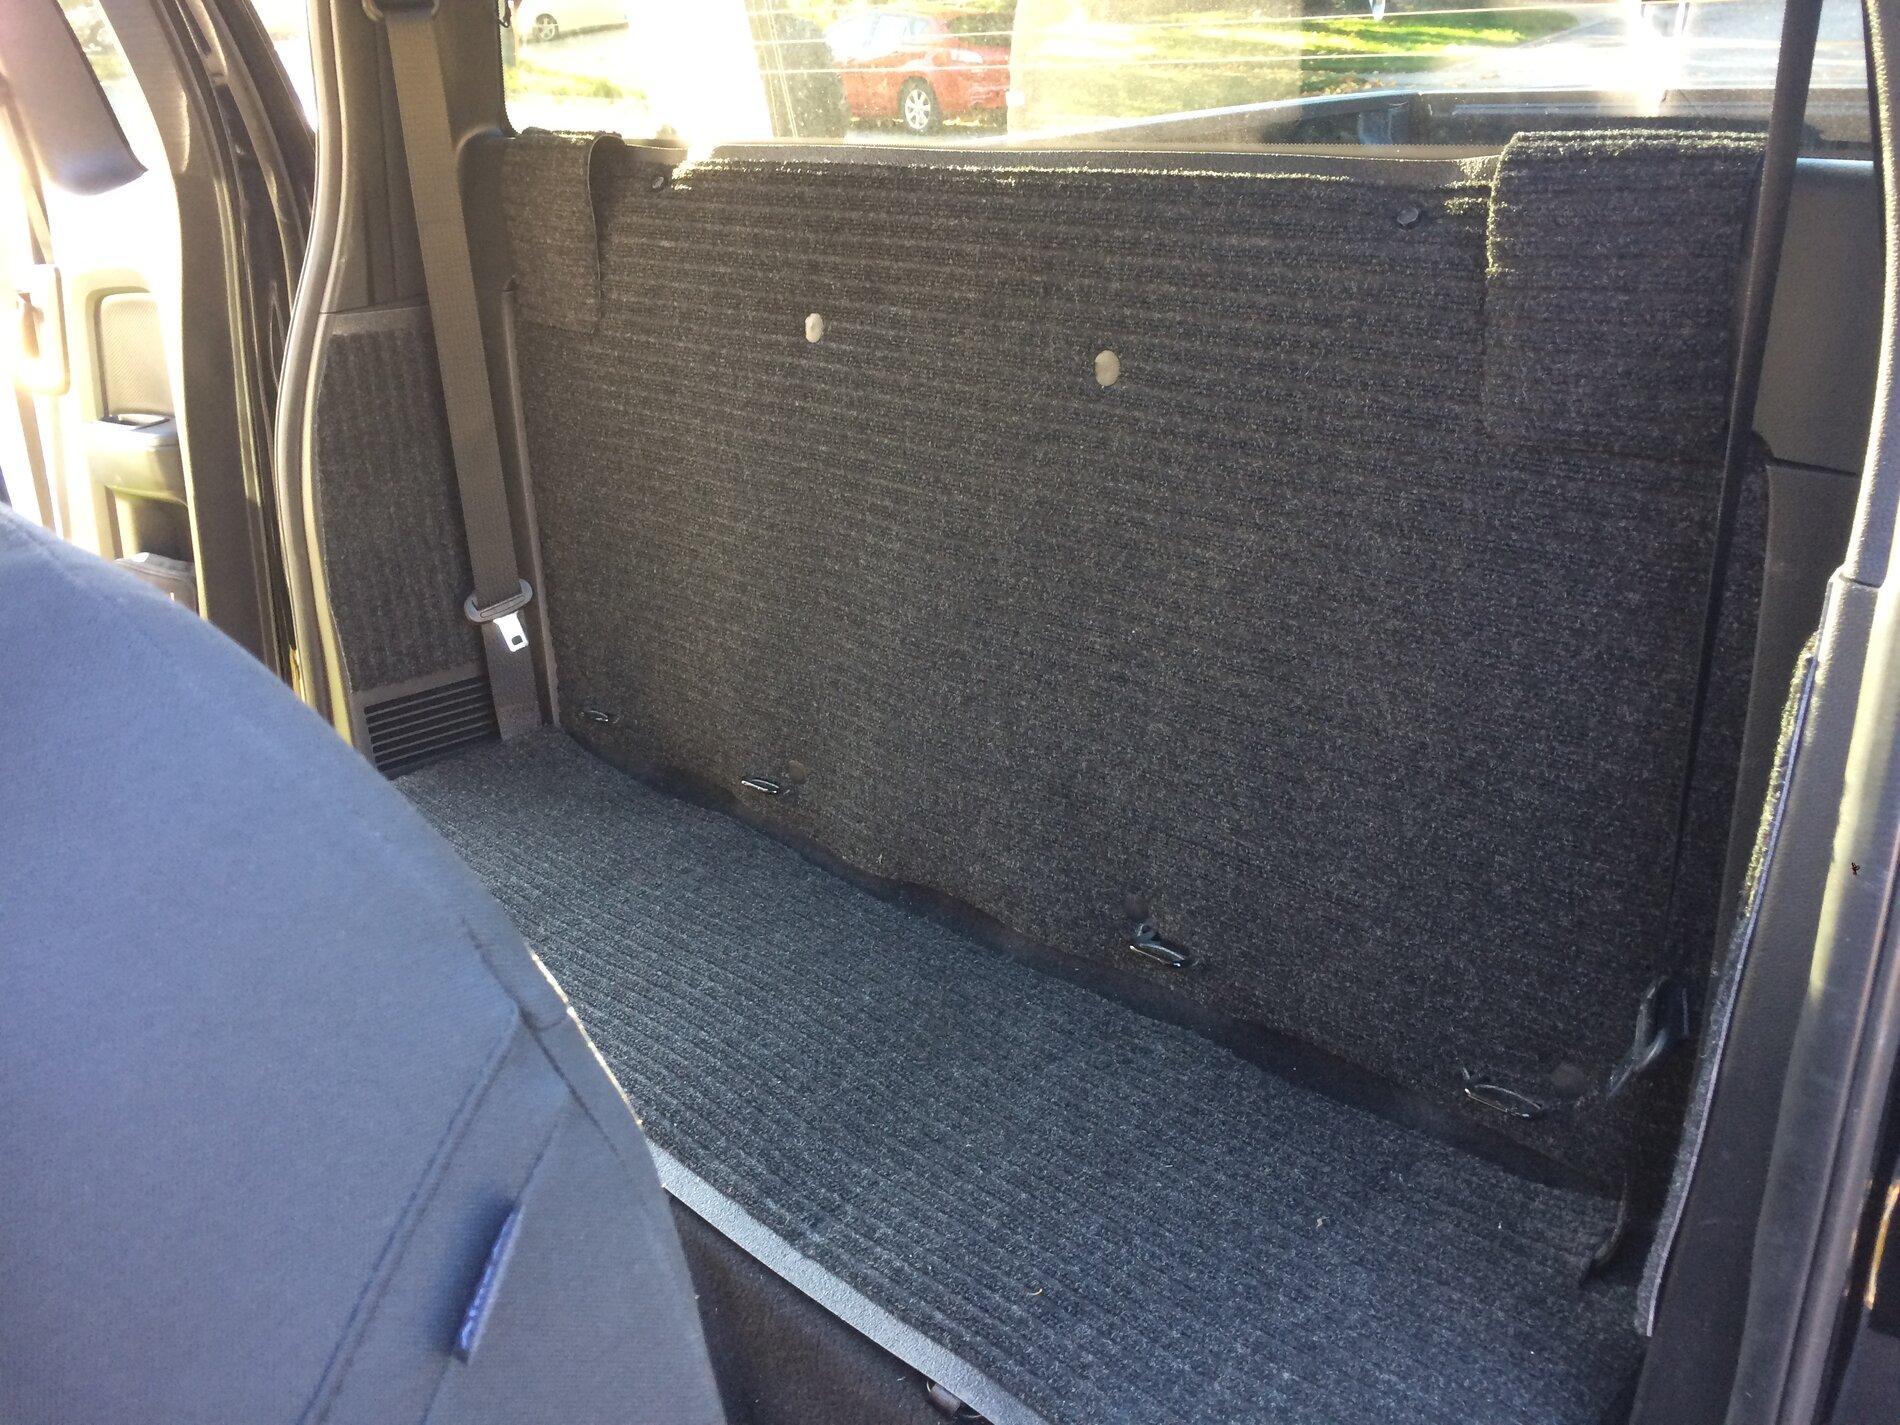
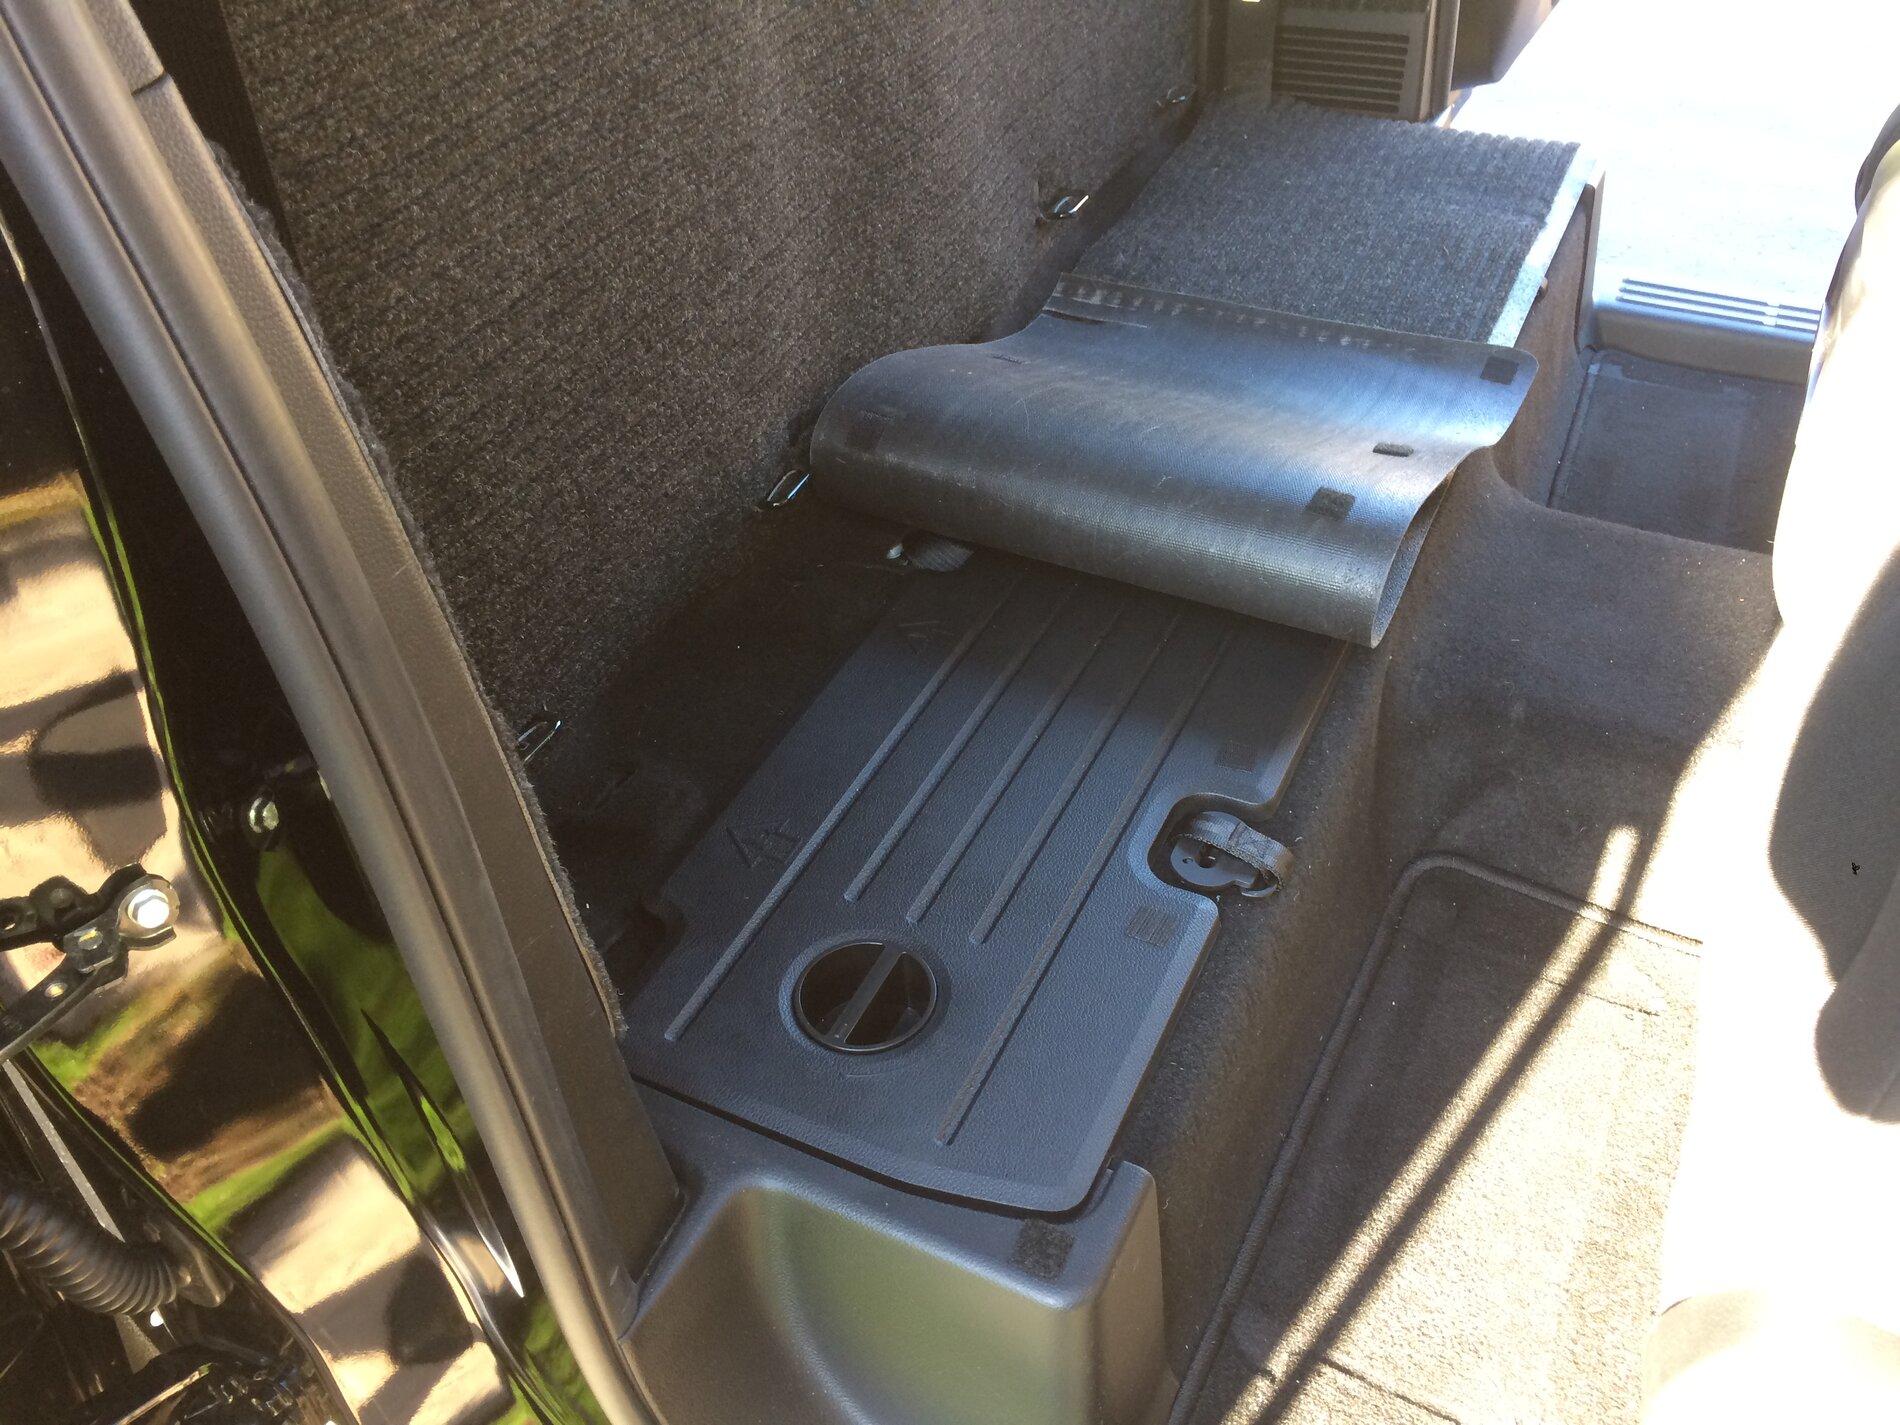
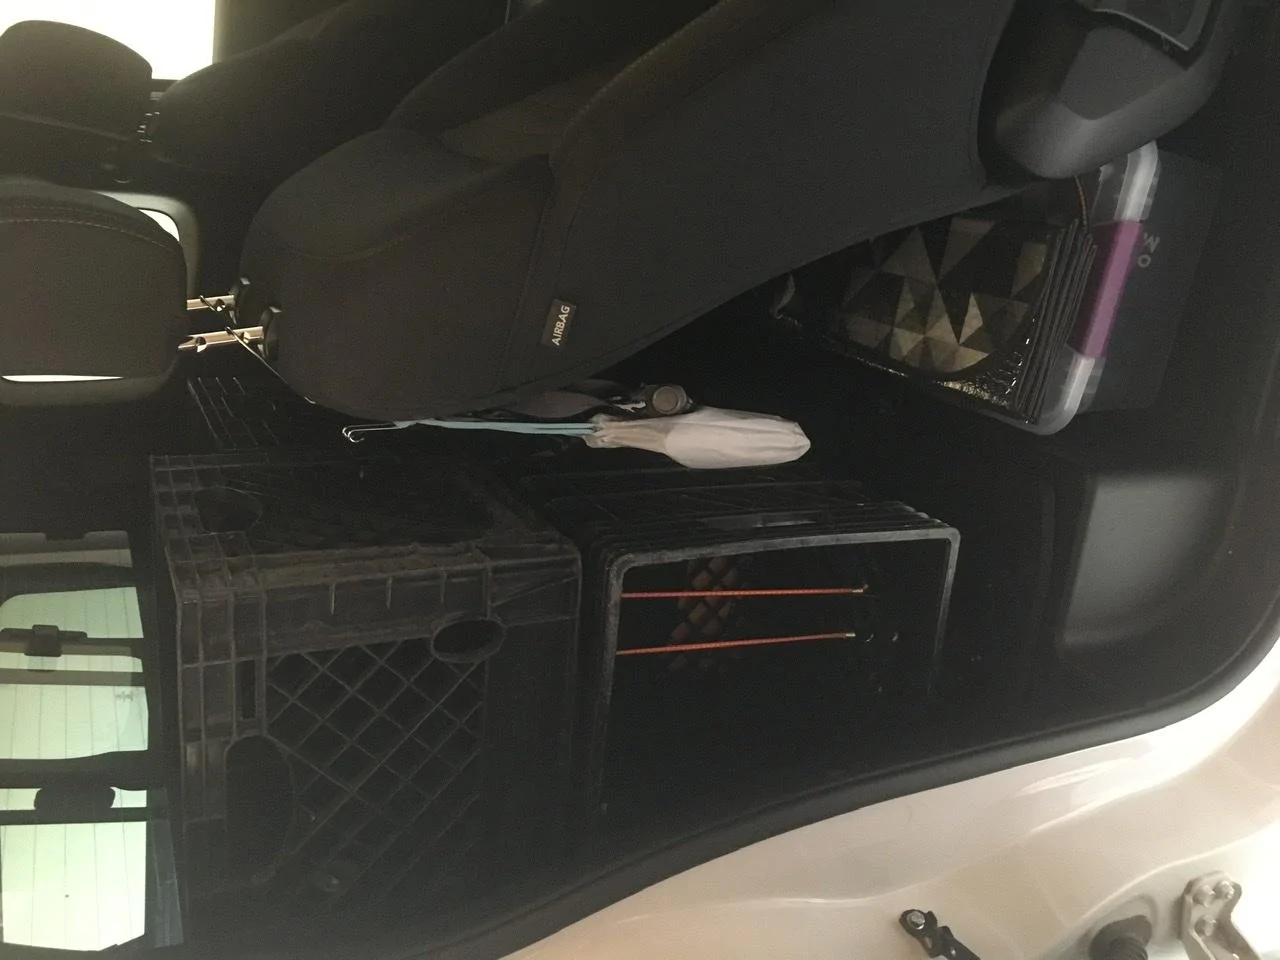
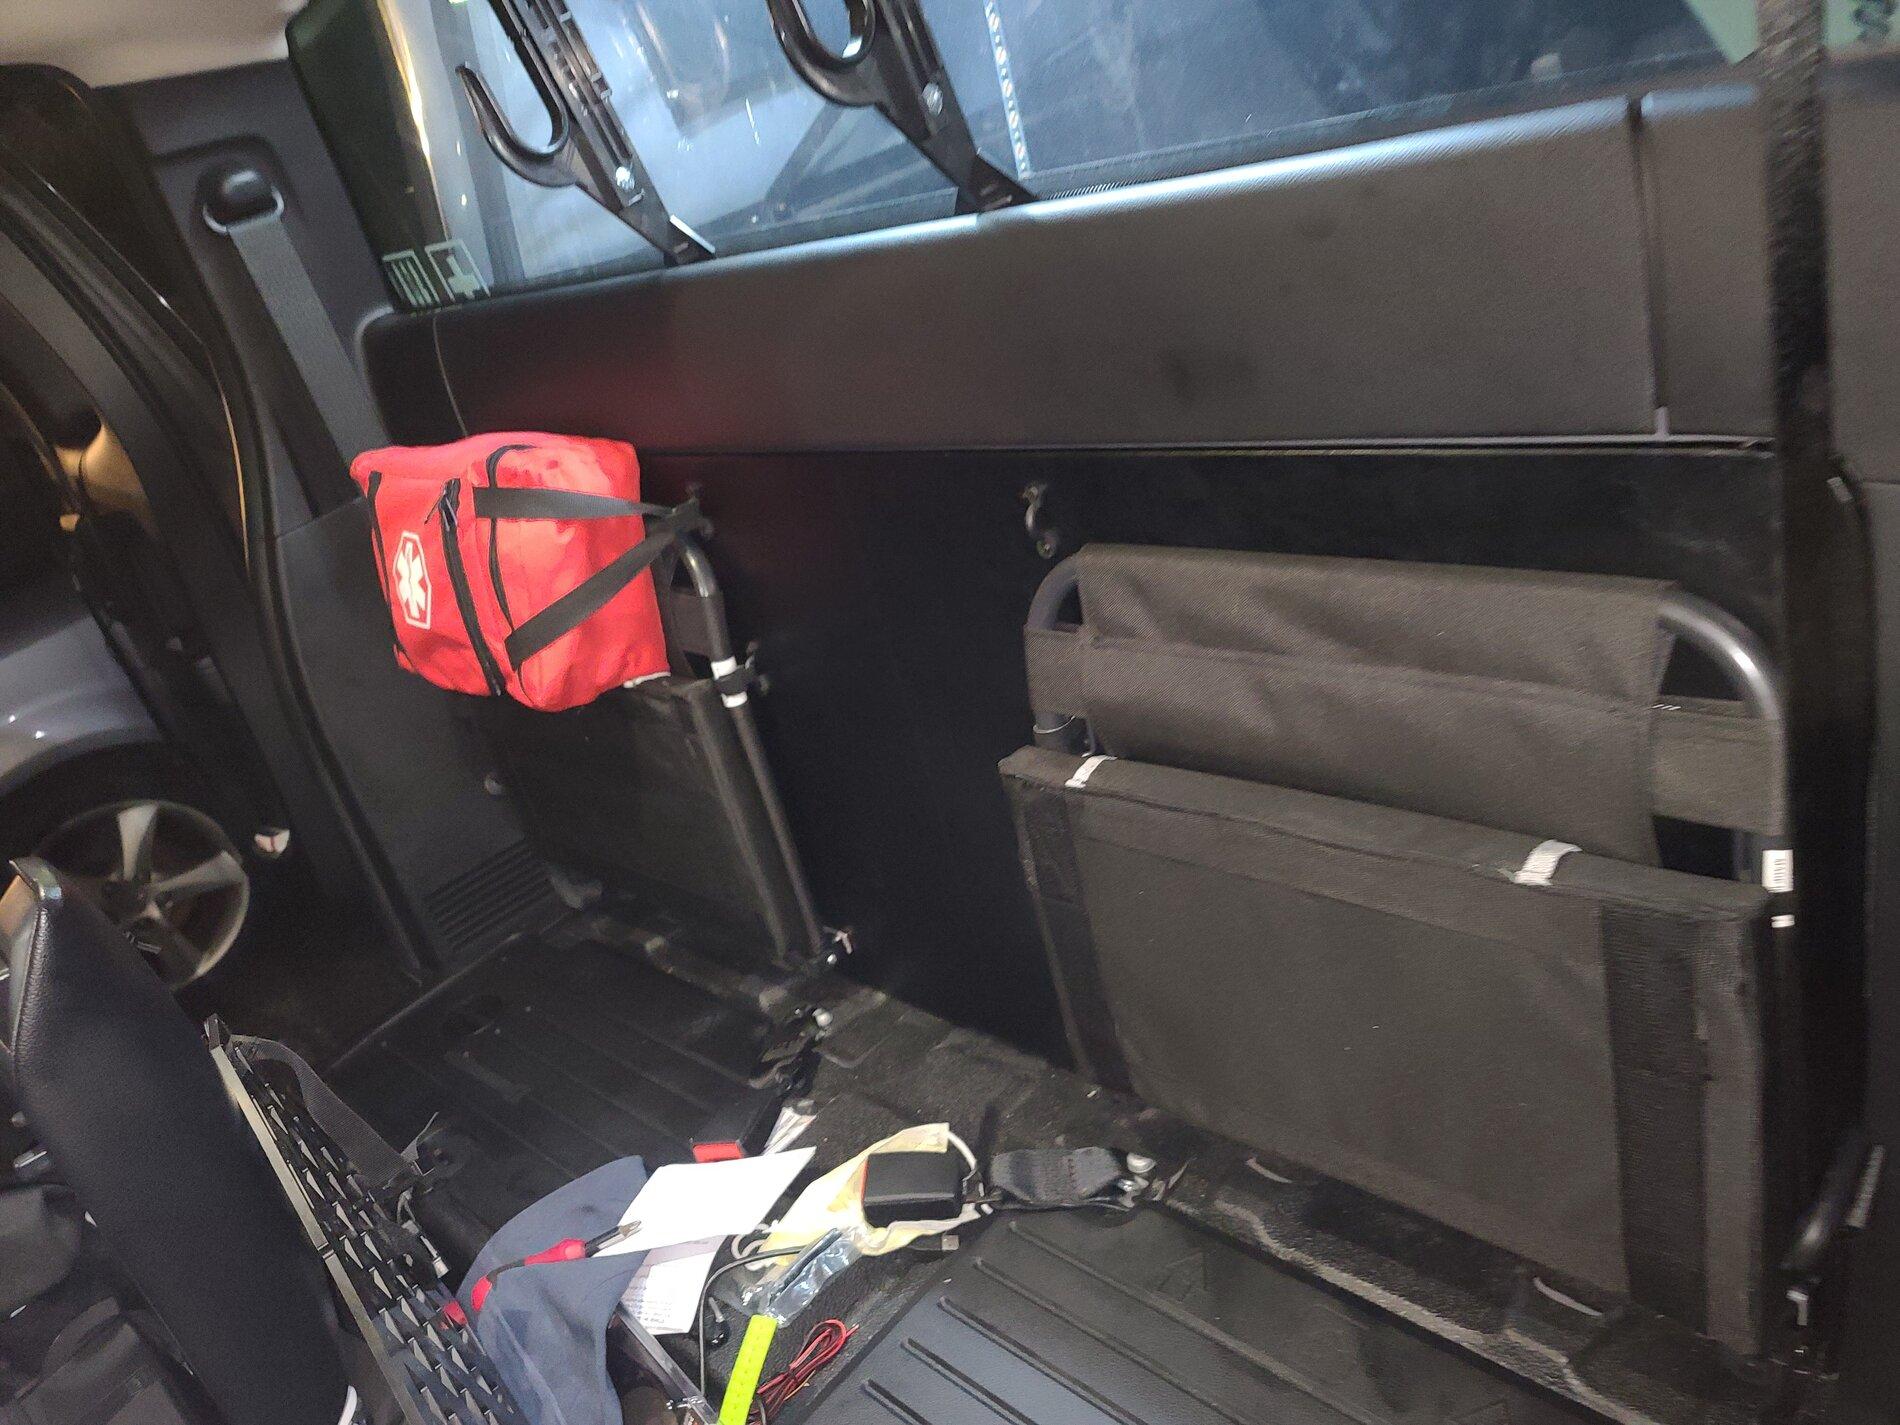
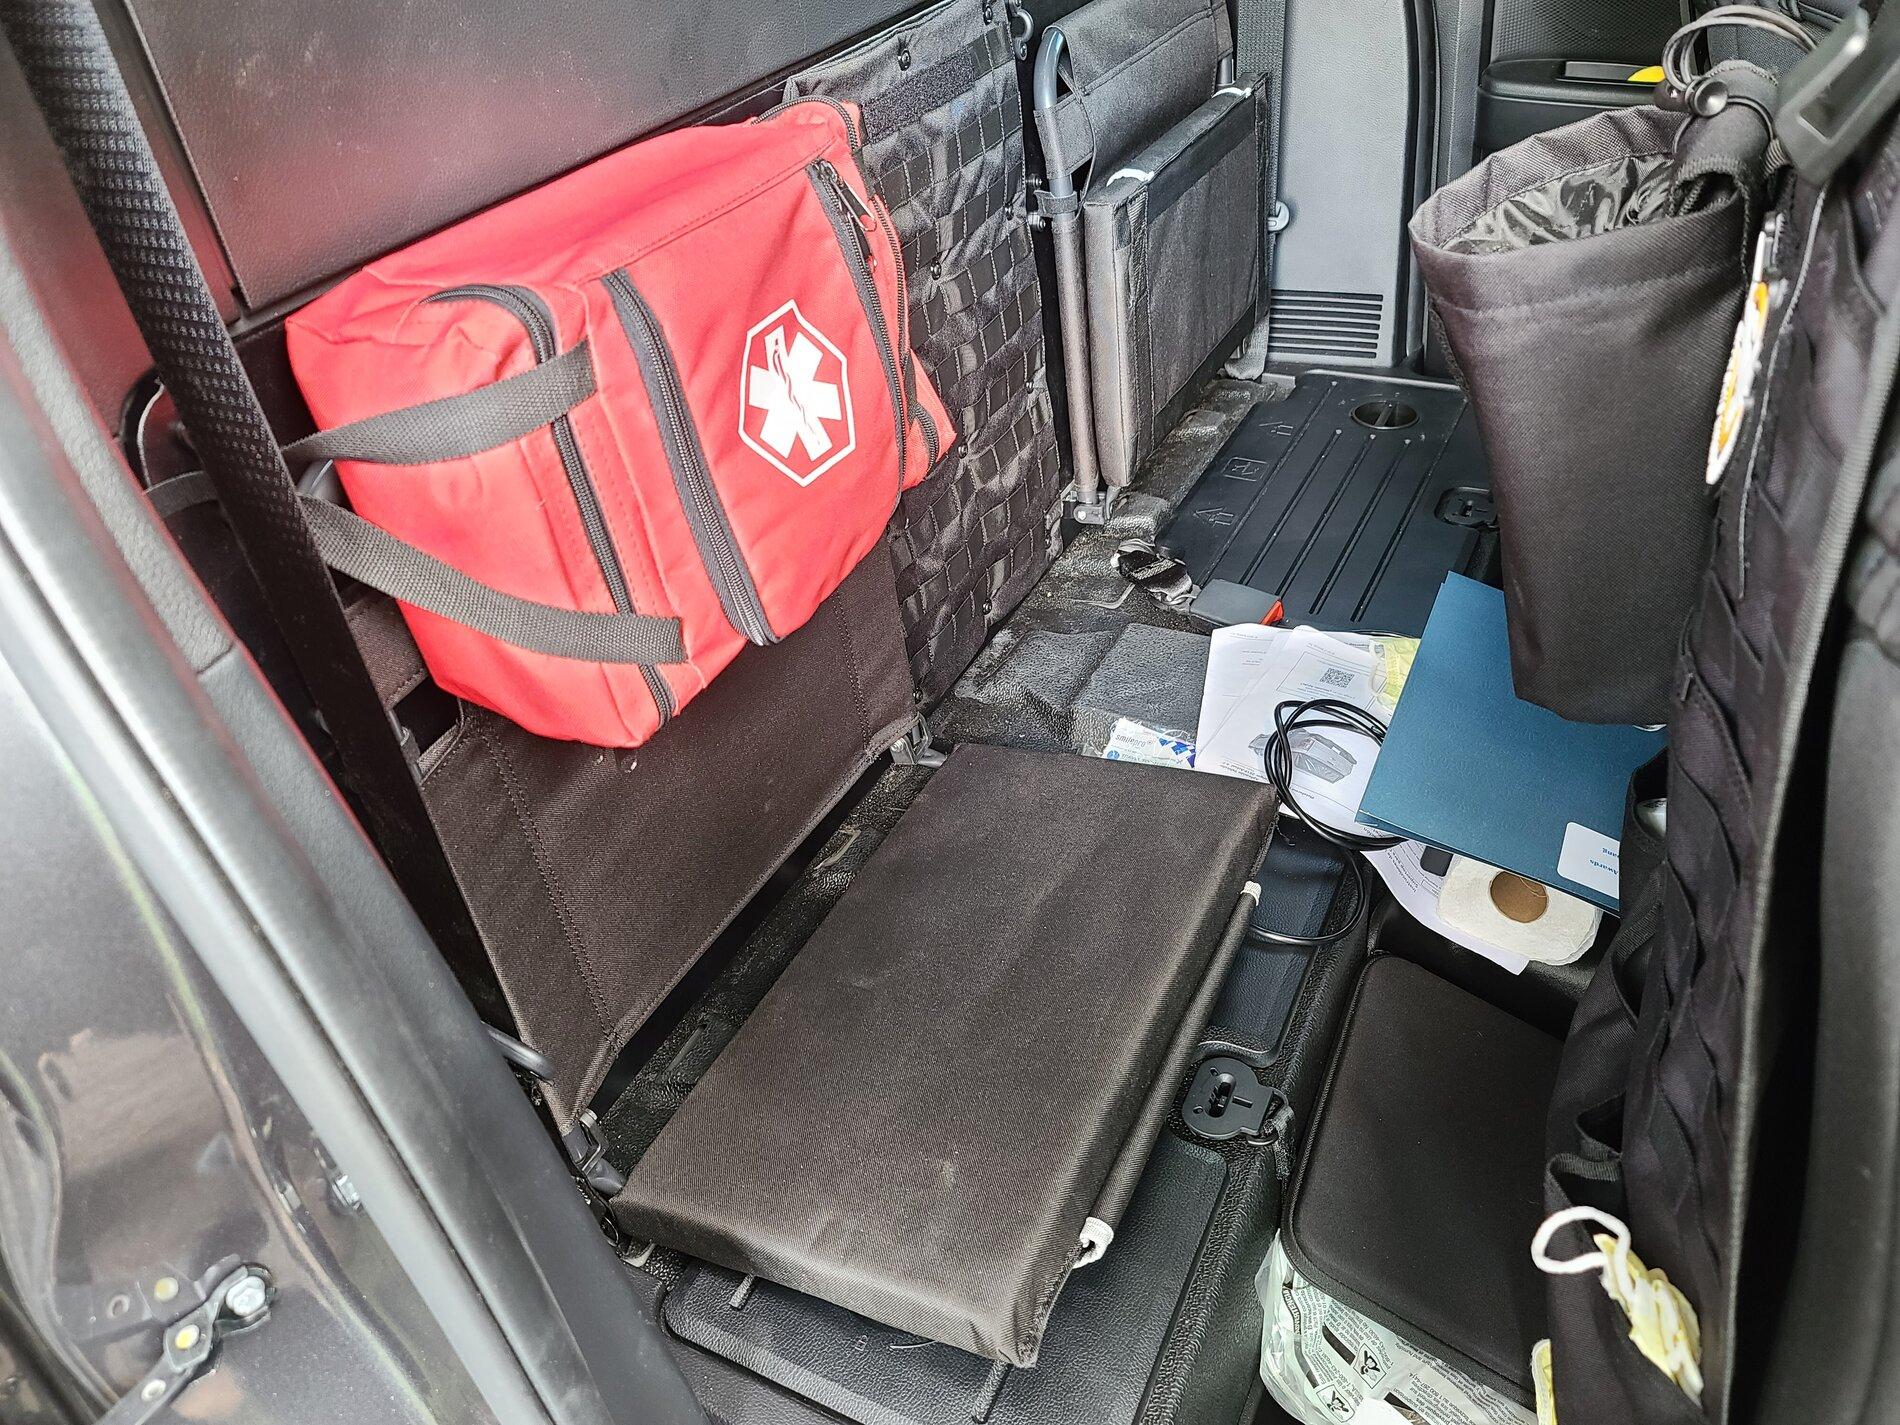
If that, there's only 1 bolt per seat back.Once you know how the seats come off only takes five minutes.
Sponsored