
Sponsored

supercab seat delete: need advice on sound proofing

Hounddog409

Well-Known Member
First Name
Tod
Joined
Apr 28, 2019
Threads
17
Messages
1,062
Reaction score
1,167
Location
Ohio
Vehicle(s)
F150
Vehicle Showcase
1
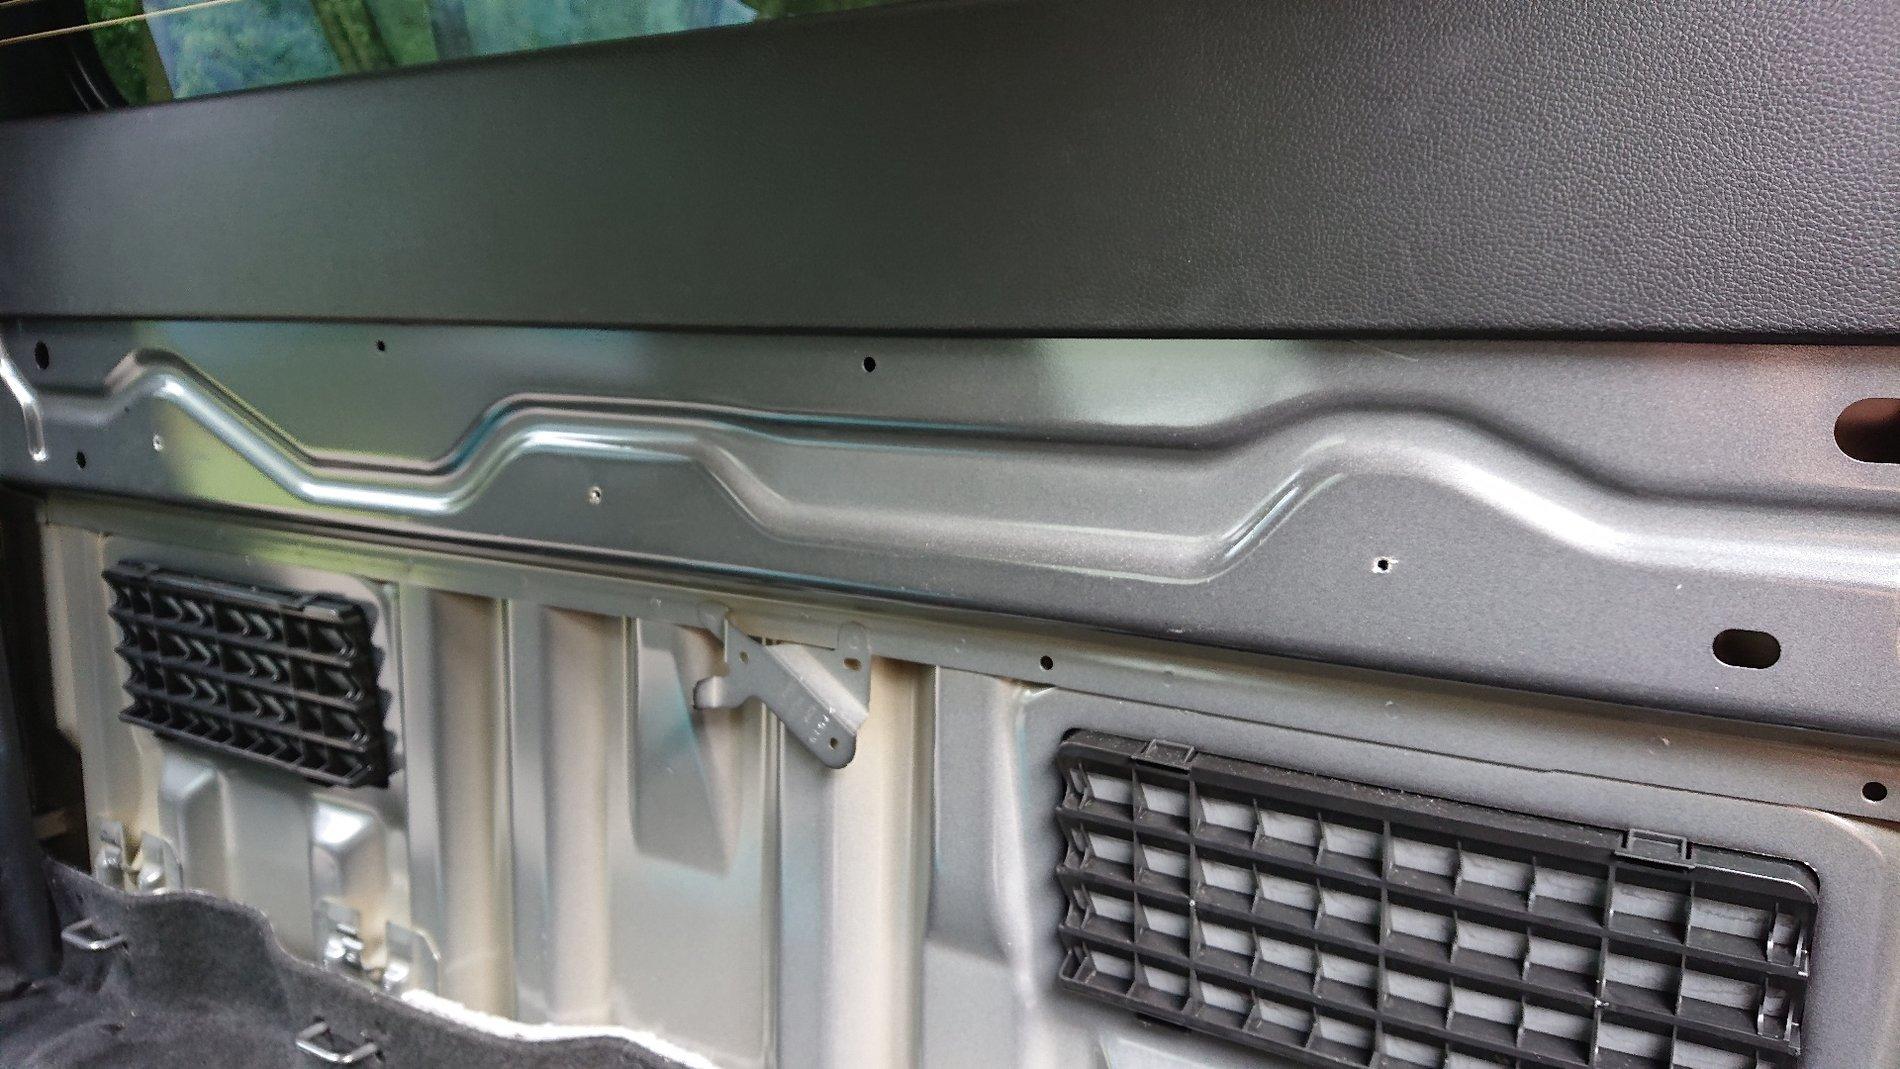
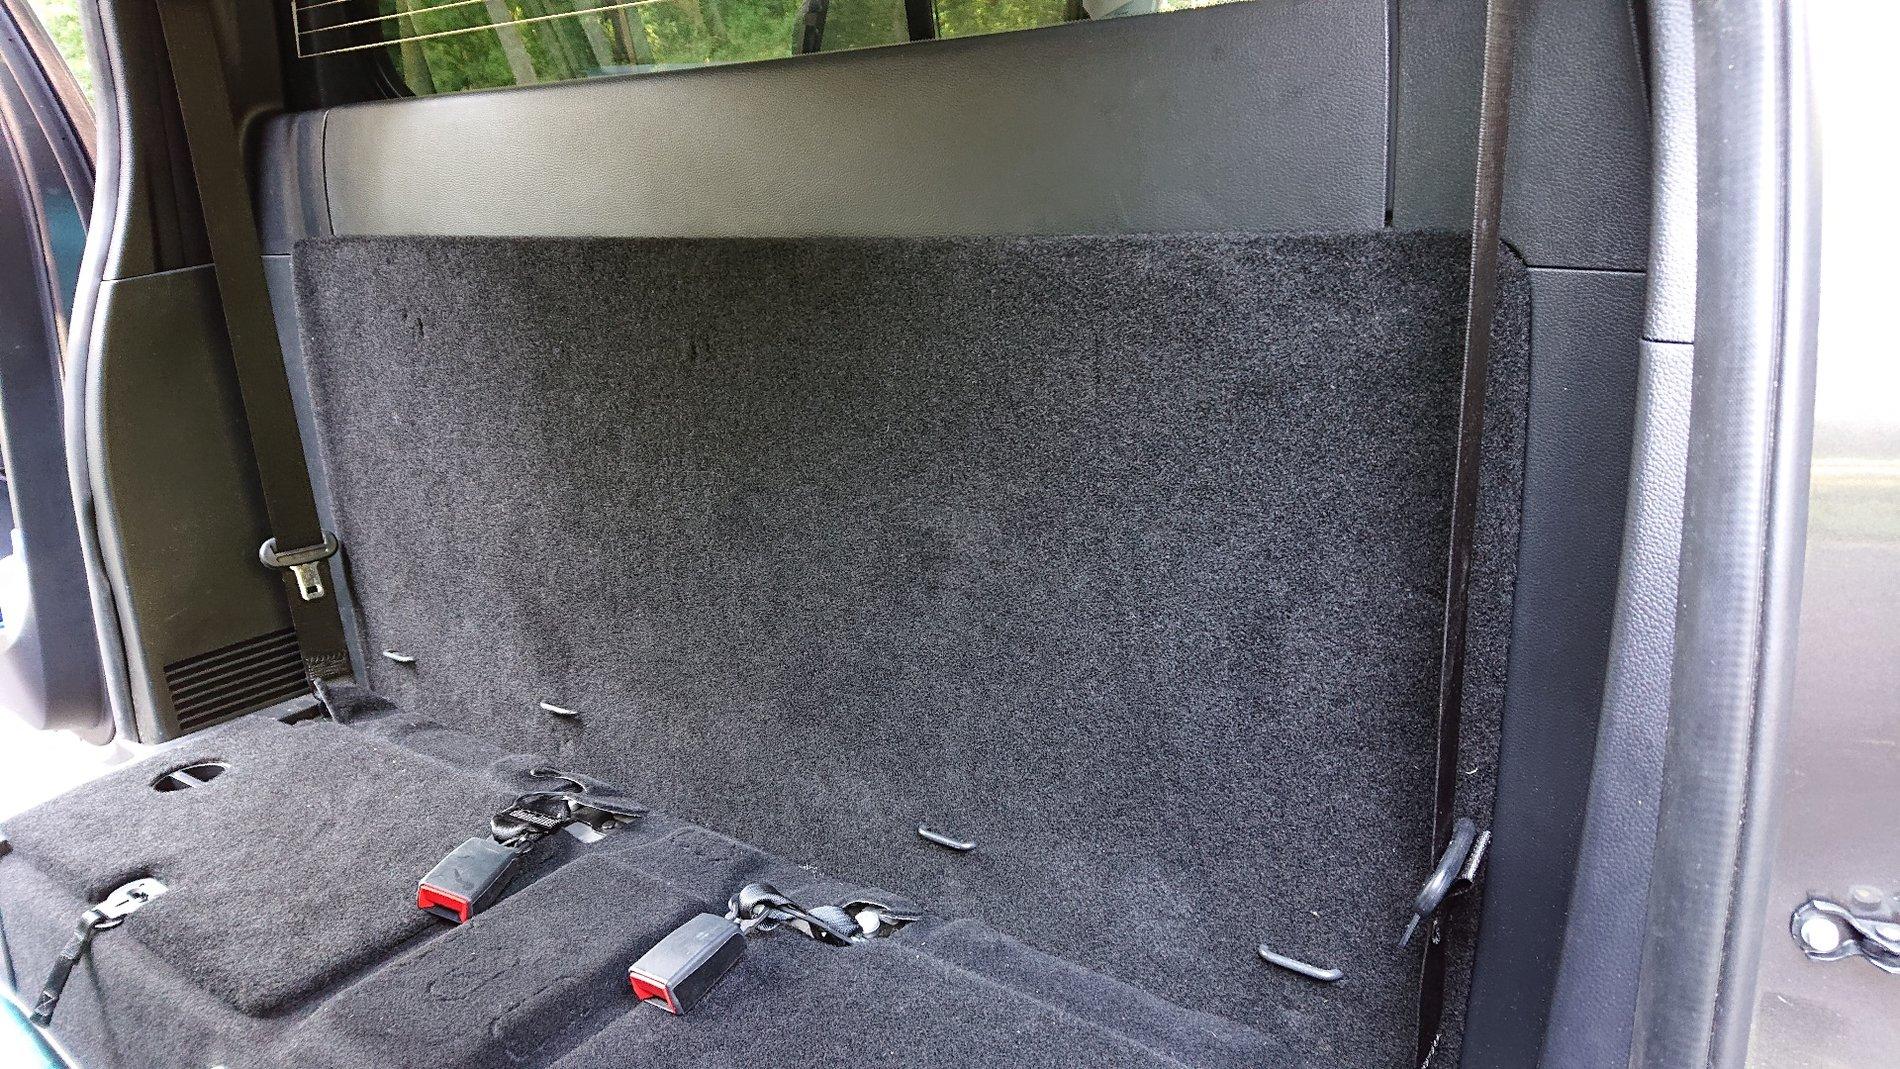
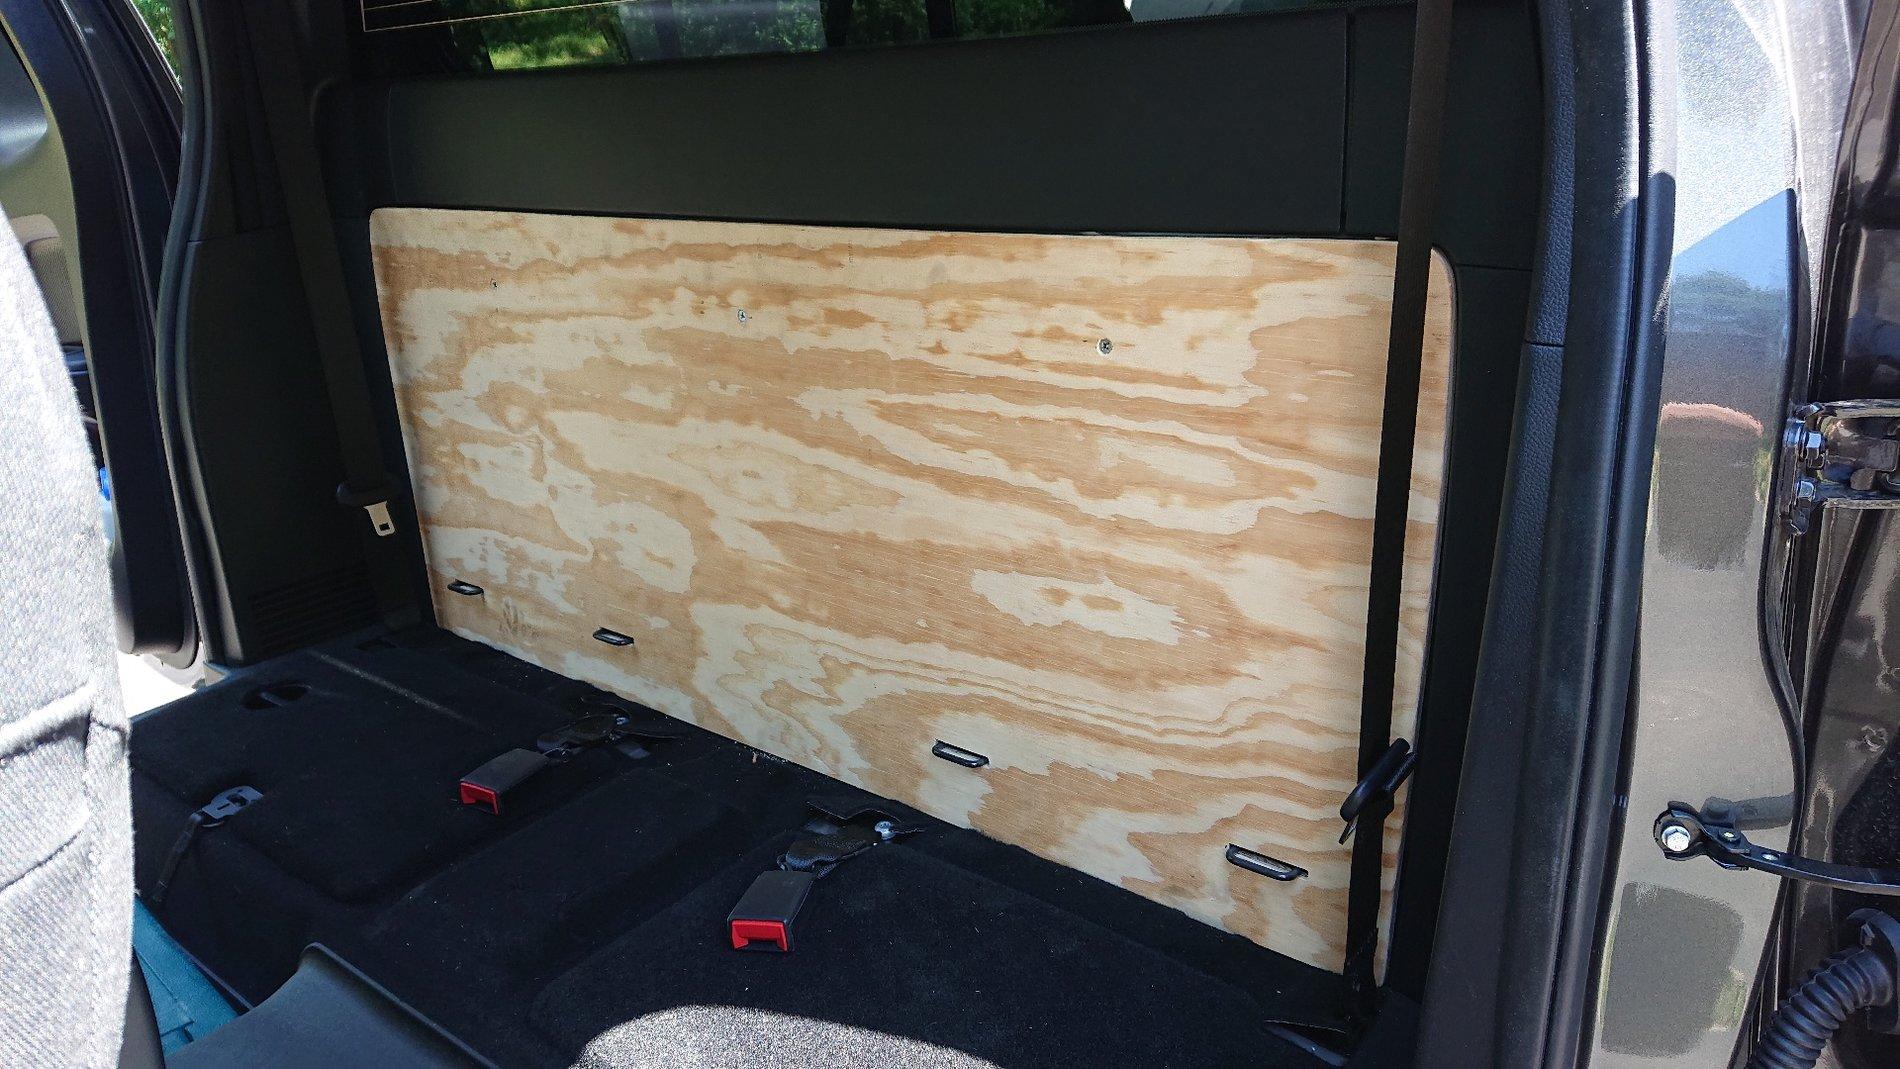
Here's my version. You are a better carpenter than I am so this cost $47 more for the top trim piece which snapped right in. This required 3 countersunk sheet metal screws into the seat back bracket to attach the plywood There's no wires or anything behind it and there's no harm to the truck. If you do this don't drill below this bracket or you will have a hole to the outside! Learned the hard way not to use stainless screws as that's some tough steel sheet metal.

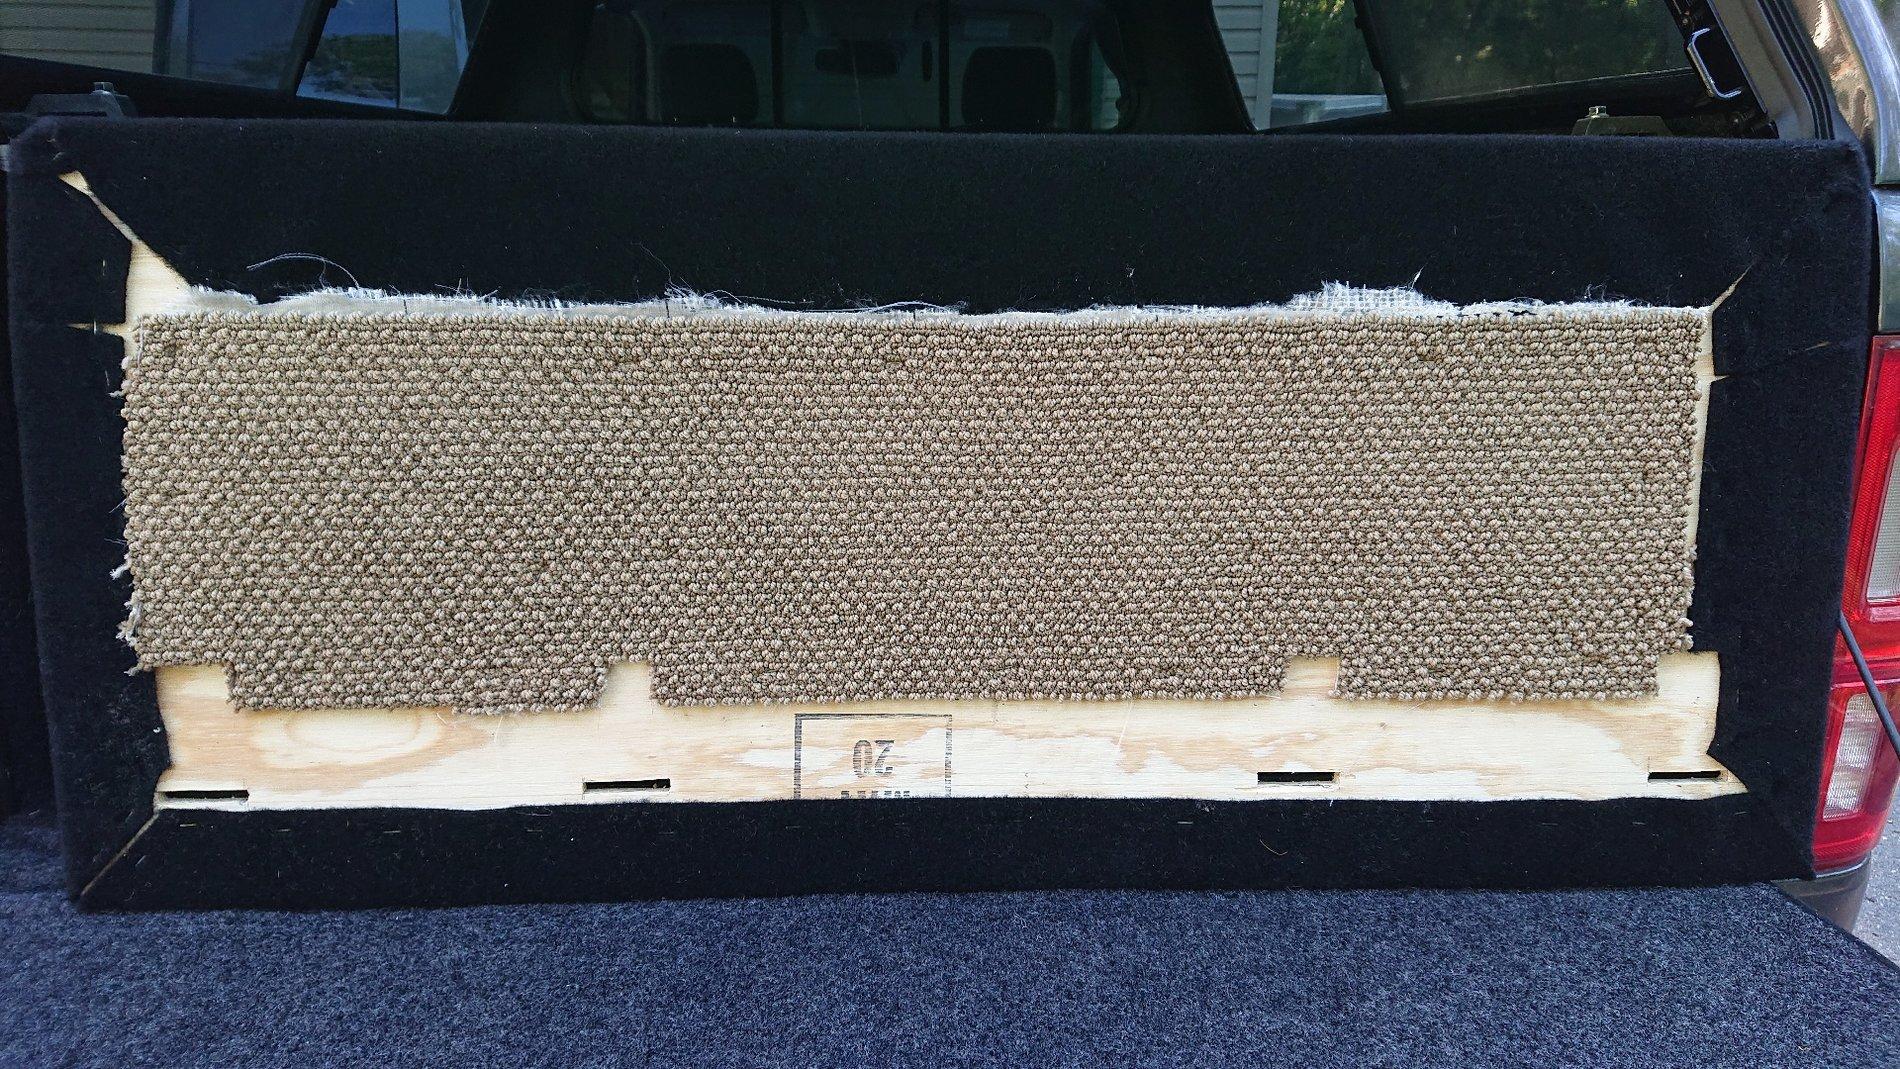
I also used 1/2 plywood but went all the way to the bottom and slotted for the u-bolts. It's just tight enough the bottom is wedged in, there's actually a little grove along the bottom it fits into so no further fasteners are needed and it can be removed in 30 seconds. Added the same carpet I used to cover the lids on the storage boxes using the same 3M adhesive and staples on the backside. Before I did this I installed the bare plywood and when for a sound check drive. Just the plywood kills about 85% of the road noise. I had an old carpet remnant that I used on the backside for sound insulation. I think it's quieter than before.

My wife said it looks professional so you can't get a better compliment than that! I plan to add some tie downs or webbing too. The cool part is someone can still sit back there in a pinch and they actually have more room.

DSC_0467.JPG


DSC_0461.JPG

DSC_0465.JPG

DSC_0466.JPG
Awesome job. Did you save the dimensions of the plywood??
Sponsored


lex1125

Member
Joined
Oct 14, 2021
Threads
2
Messages
13
Reaction score
12
Location
Upstate NY and Northern VA
Vehicle(s)
2021 Ford Ranger Lariat
Occupation
nuthin'
Here's my version. You are a better carpenter than I am so this cost $47 more for the top trim piece which snapped right in. This required 3 countersunk sheet metal screws into the seat back bracket to attach the plywood There's no wires or anything behind it and there's no harm to the truck. If you do this don't drill below this bracket or you will have a hole to the outside! Learned the hard way not to use stainless screws as that's some tough steel sheet metal.

I also used 1/2 plywood but went all the way to the bottom and slotted for the u-bolts. It's just tight enough the bottom is wedged in, there's actually a little grove along the bottom it fits into so no further fasteners are needed and it can be removed in 30 seconds. Added the same carpet I used to cover the lids on the storage boxes using the same 3M adhesive and staples on the backside. Before I did this I installed the bare plywood and when for a sound check drive. Just the plywood kills about 85% of the road noise. I had an old carpet remnant that I used on the backside for sound insulation. I think it's quieter than before.

My wife said it looks professional so you can't get a better compliment than that! I plan to add some tie downs or webbing too. The cool part is someone can still sit back there in a pinch and they actually have more room.
DSC_0467.JPG


DSC_0461.JPG

DSC_0465.JPG

DSC_0466.JPG
This looks great! I am thinking about something similar. I have read quite a few of these threads and it appears that (almost) no one removes the seat belts...I don't see a good reason to keep them and want to take them out, but I'm wondering if I'm missing something.

Just to check, It looks like you covered the back vents, I'm curious if the noise level is less now (vrs. stock) and if you have issues closing the doors due to the tighter seal in the cab.
Really nice job on this, It looks like a stock build!!!
 

lex1125

Member
Joined
Oct 14, 2021
Threads
2
Messages
13
Reaction score
12
Location
Upstate NY and Northern VA
Vehicle(s)
2021 Ford Ranger Lariat
Occupation
nuthin'
I agree, @T-Wrecks did a great job!

Some folks said they left them in place to use as needed to keep items from launching during sudden stops.

I saw wires attached to them and didn’t know what they were for. I didn’t want to risk causing an issue with the SRS if I removed them, so I left them in.

My truck was quieter after my rear seat delete because of the think high-density foam I put in place as well as the rubber-backed utility carpet I used to cover the back wall. I didn’t cover my vents with the foam but even with the heavy carpet, closing the doors was no different than when the seats were in.

In fact, when I recently reversed the delete, I installed p sound deadening foam against the back wall before putting the seats back in place.

Rear Seat Delete Post: https://www.ranger5g.com/forum/thre...eed-advice-on-sound-proofing.7976/post-153541

Rear Seat Delete Reversal Post: https://www.ranger5g.com/forum/threads/what-did-you-do-to-your-ranger-today.3511/post-452741

Good luck with your project.
Thanks. I lined the doors with Kilmat (Dynamat) and I wish I could get inside the rear wall cavity and do the same, but I think your approach is a good one, so I'm going to do the same. I was worried that the seat back might not go back in correctly afterwars, so thanks for mentioning that!

I'm tempted to just cut those wires running inside the seatbelt buckles , but like you said, I think this might cause some issues.

Anyone know how to take the seat belt buckles (the reciever bit) apart to discconnect the cable without cutting it?

Thanks for the reply and great pictures, btw. Very helpful.
Sponsored


Top