ThinkDefyUnite
Member
- First Name
- Jim
- Joined
- Jan 7, 2019
- Threads
- 1
- Messages
- 15
- Reaction score
- 49
- Location
- Long Island, NY
- Vehicle(s)
- 2019 Ranger Lariat FX4 Magnetic, 2015 BMW 435i GCM
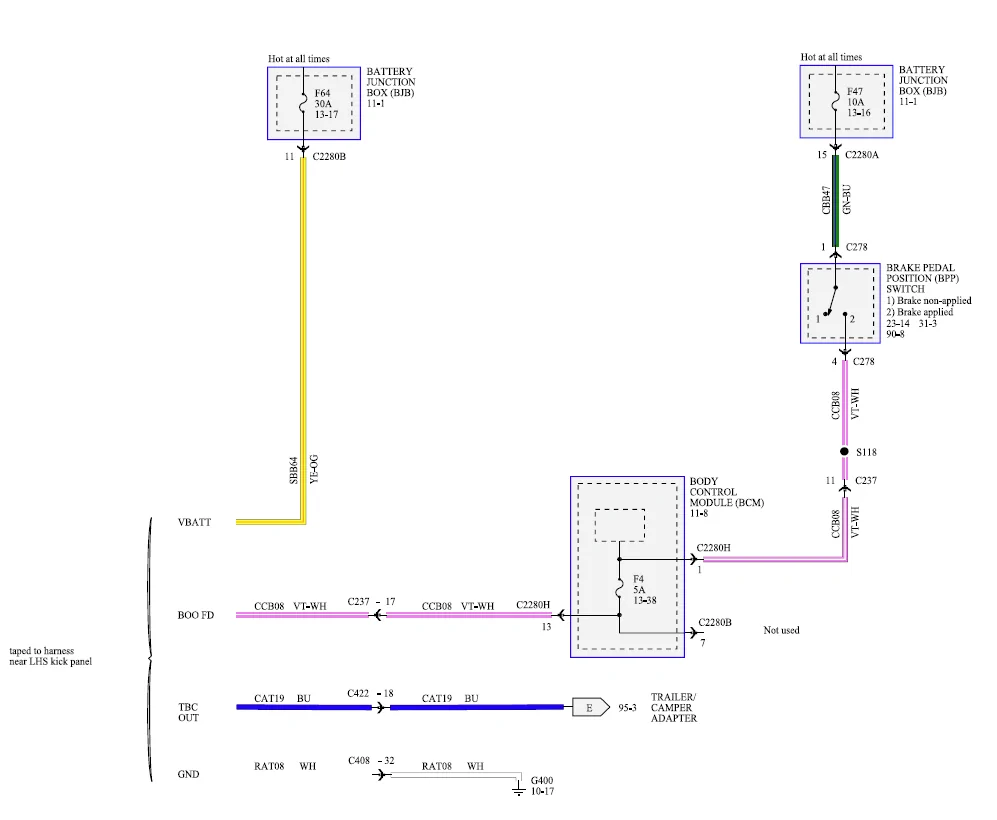
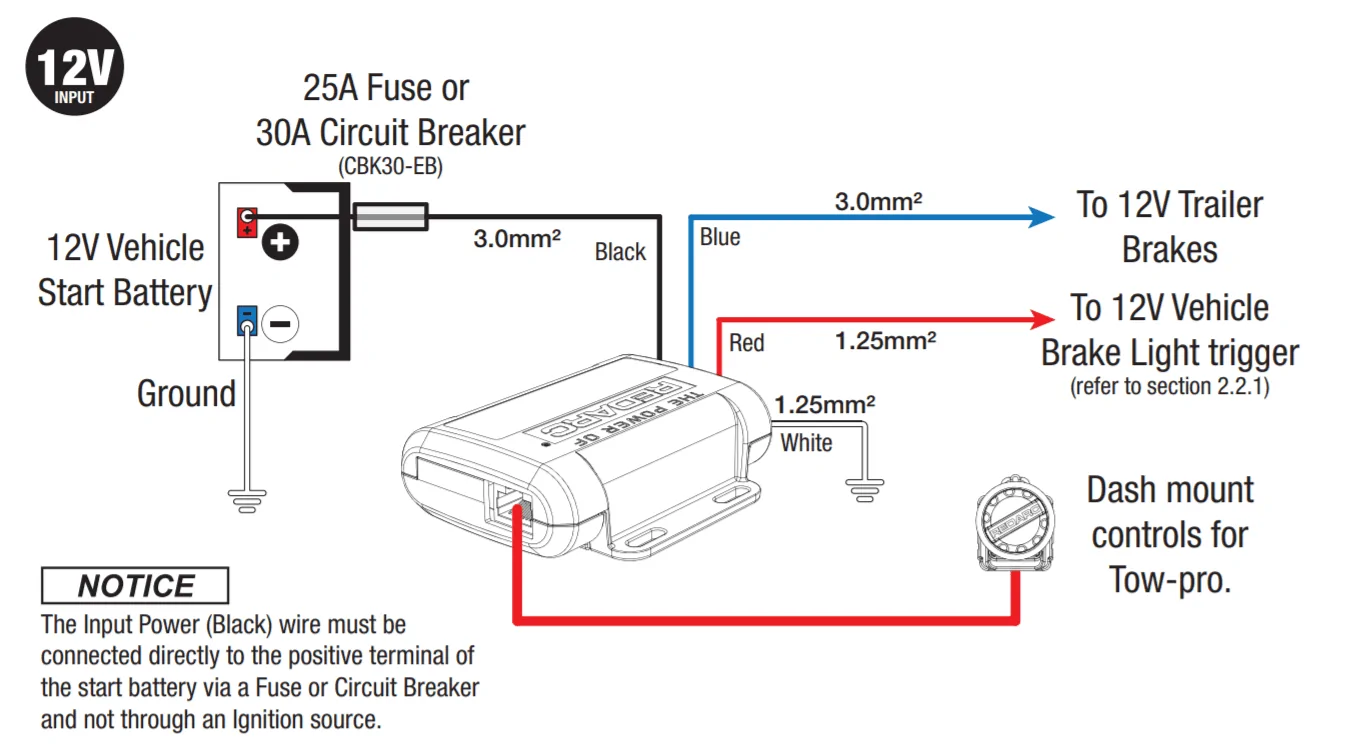
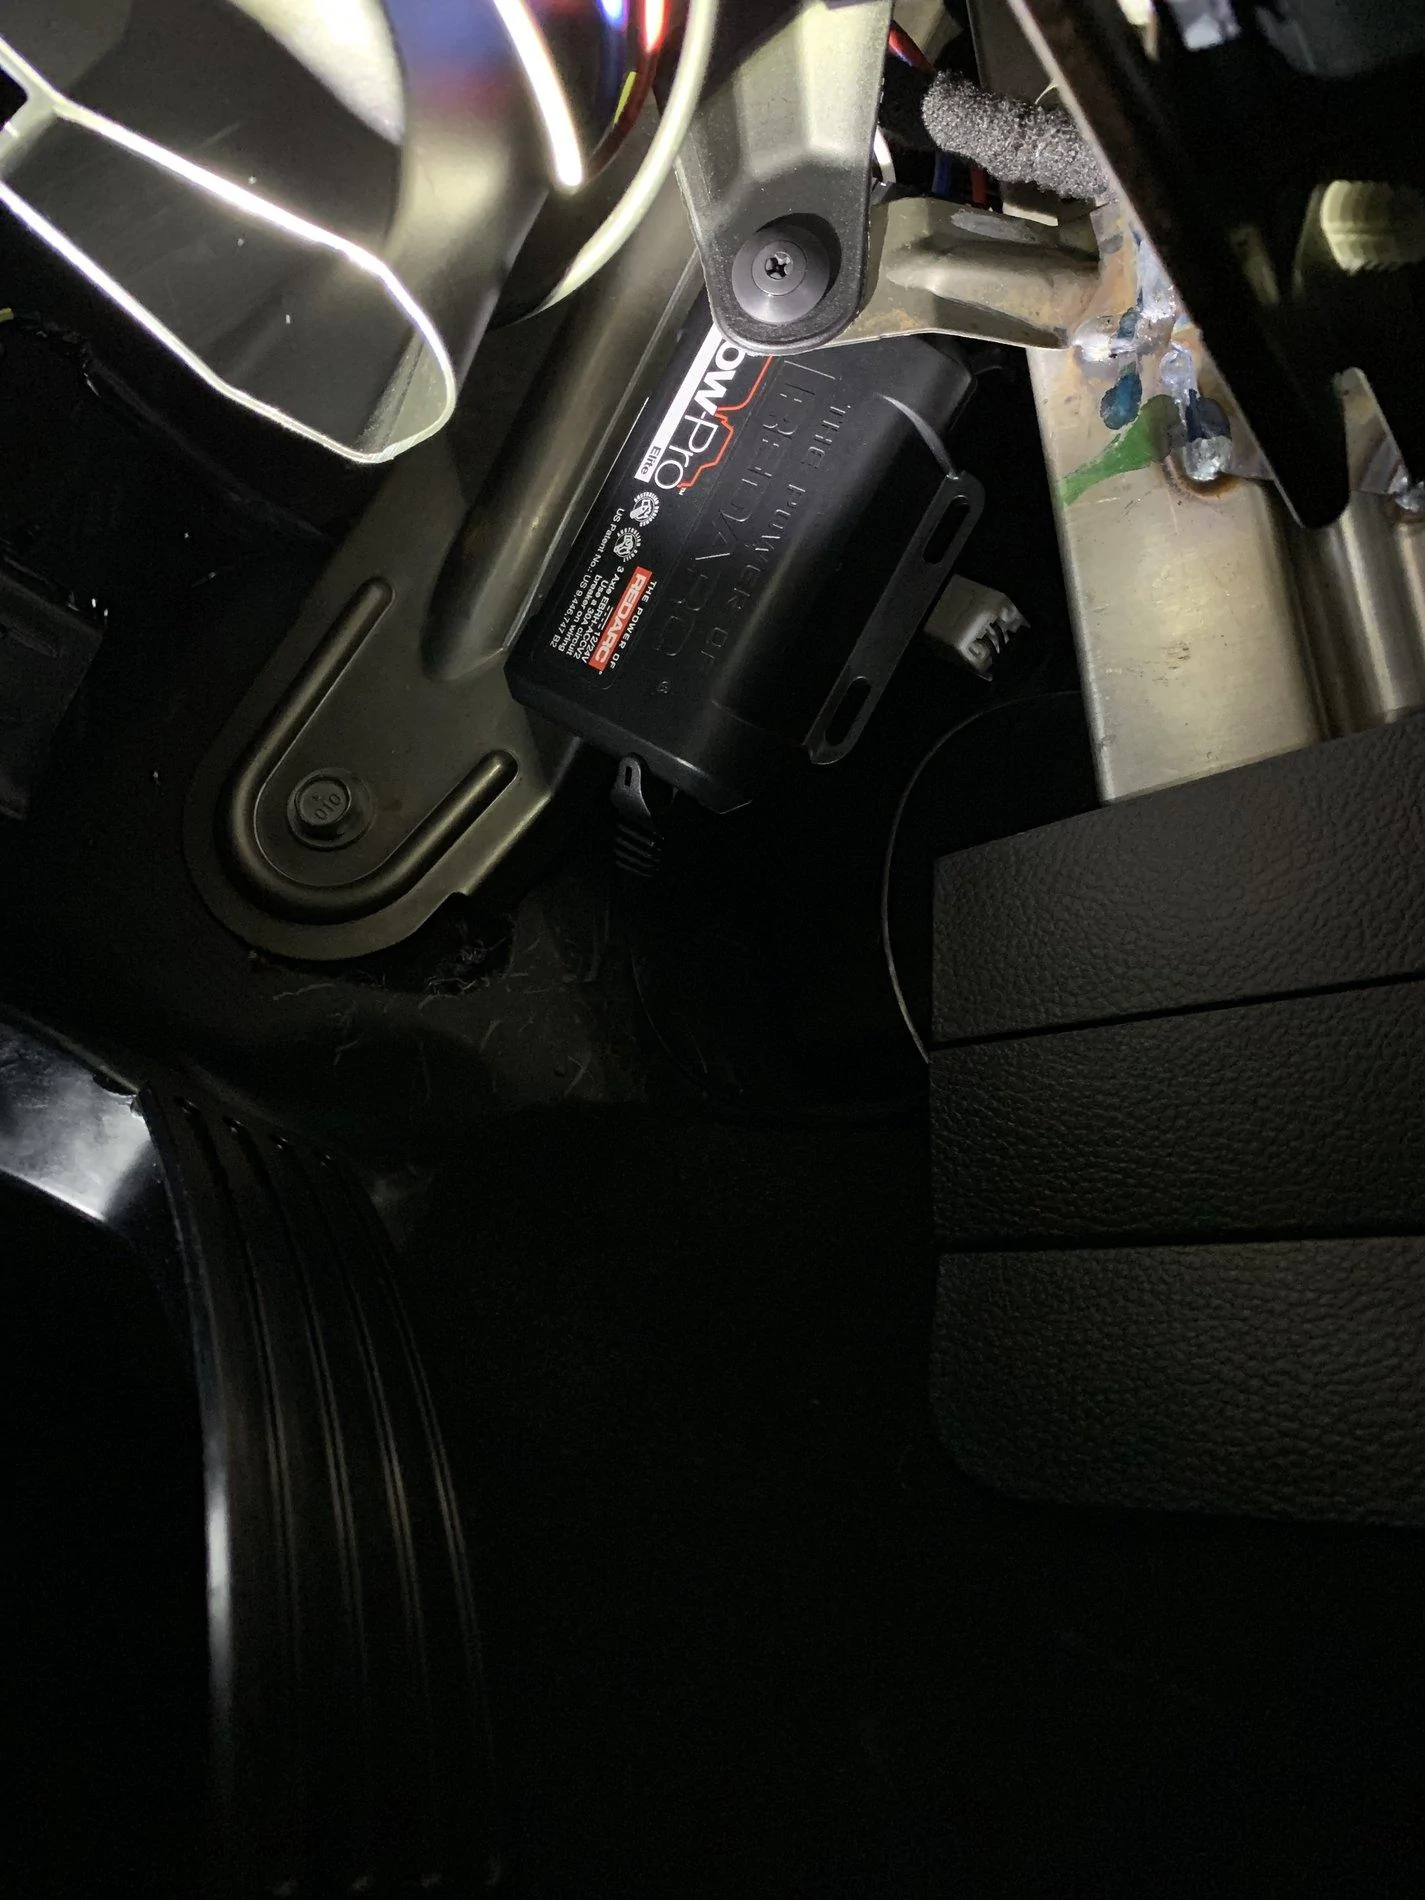
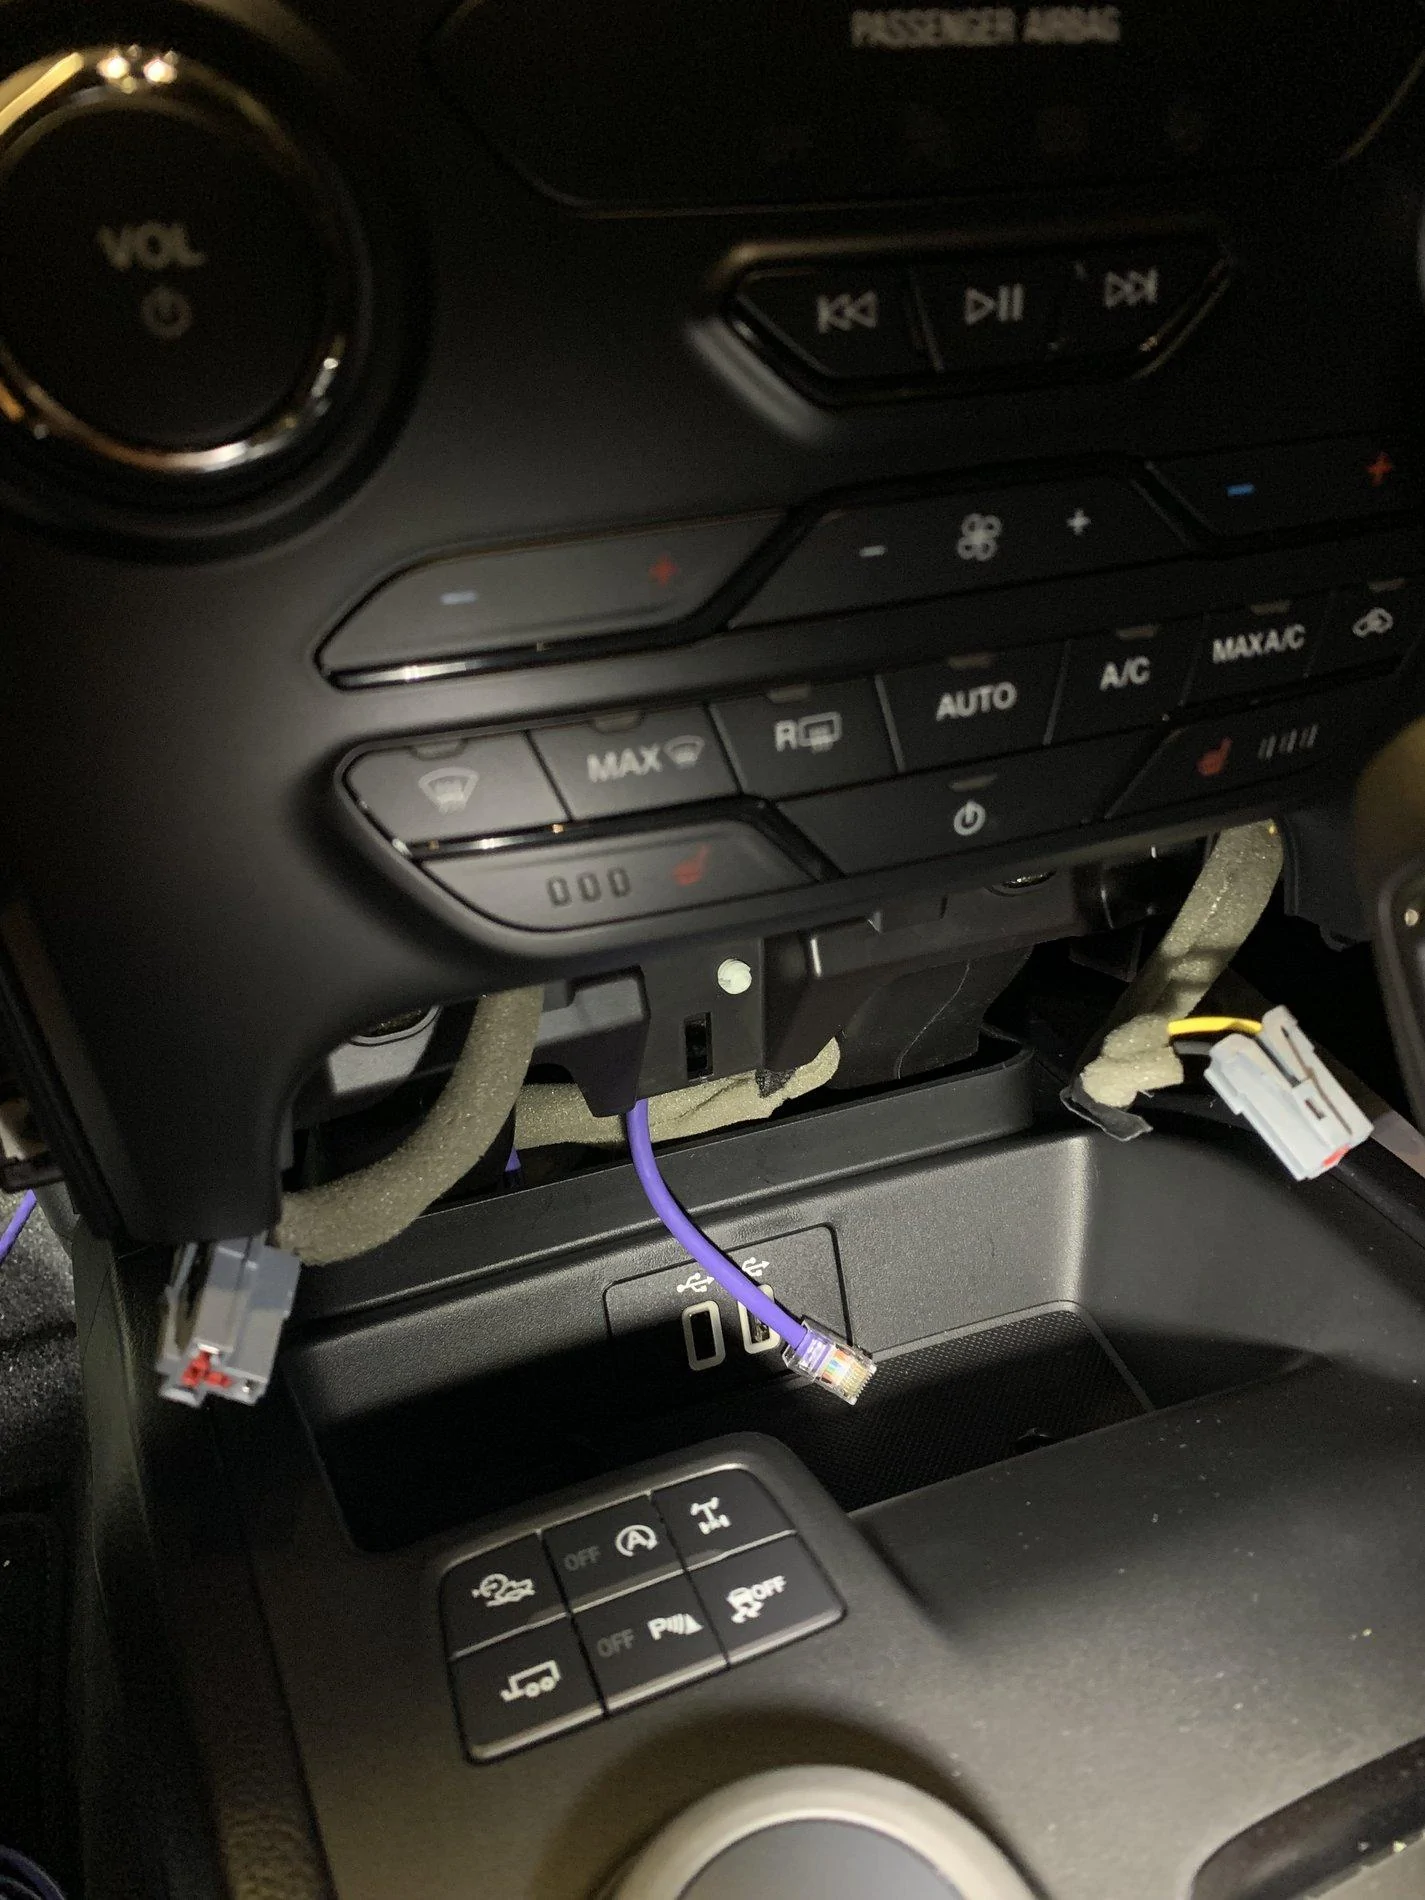
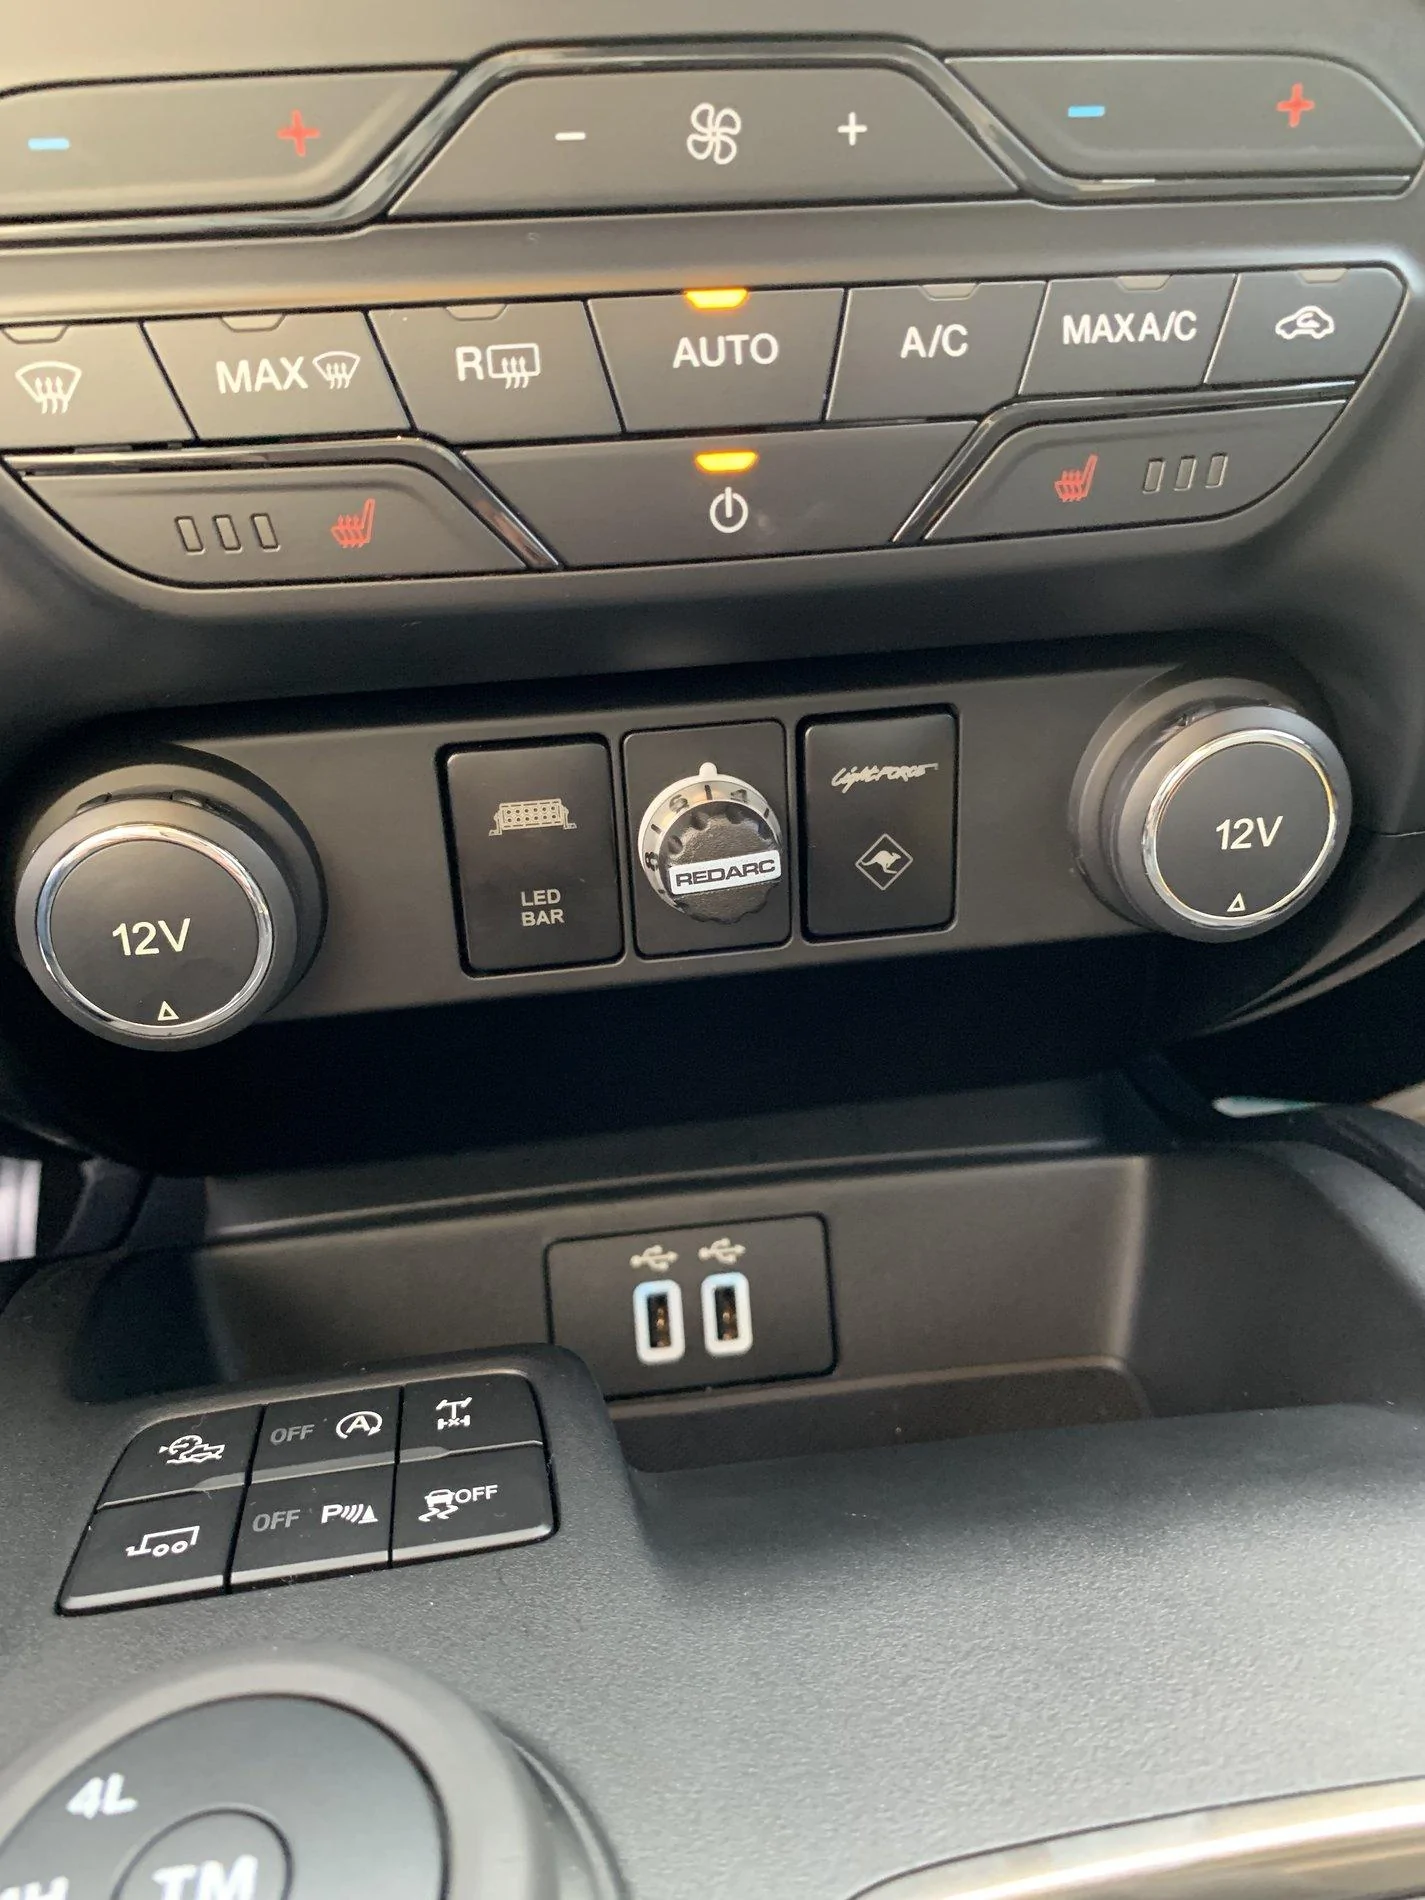
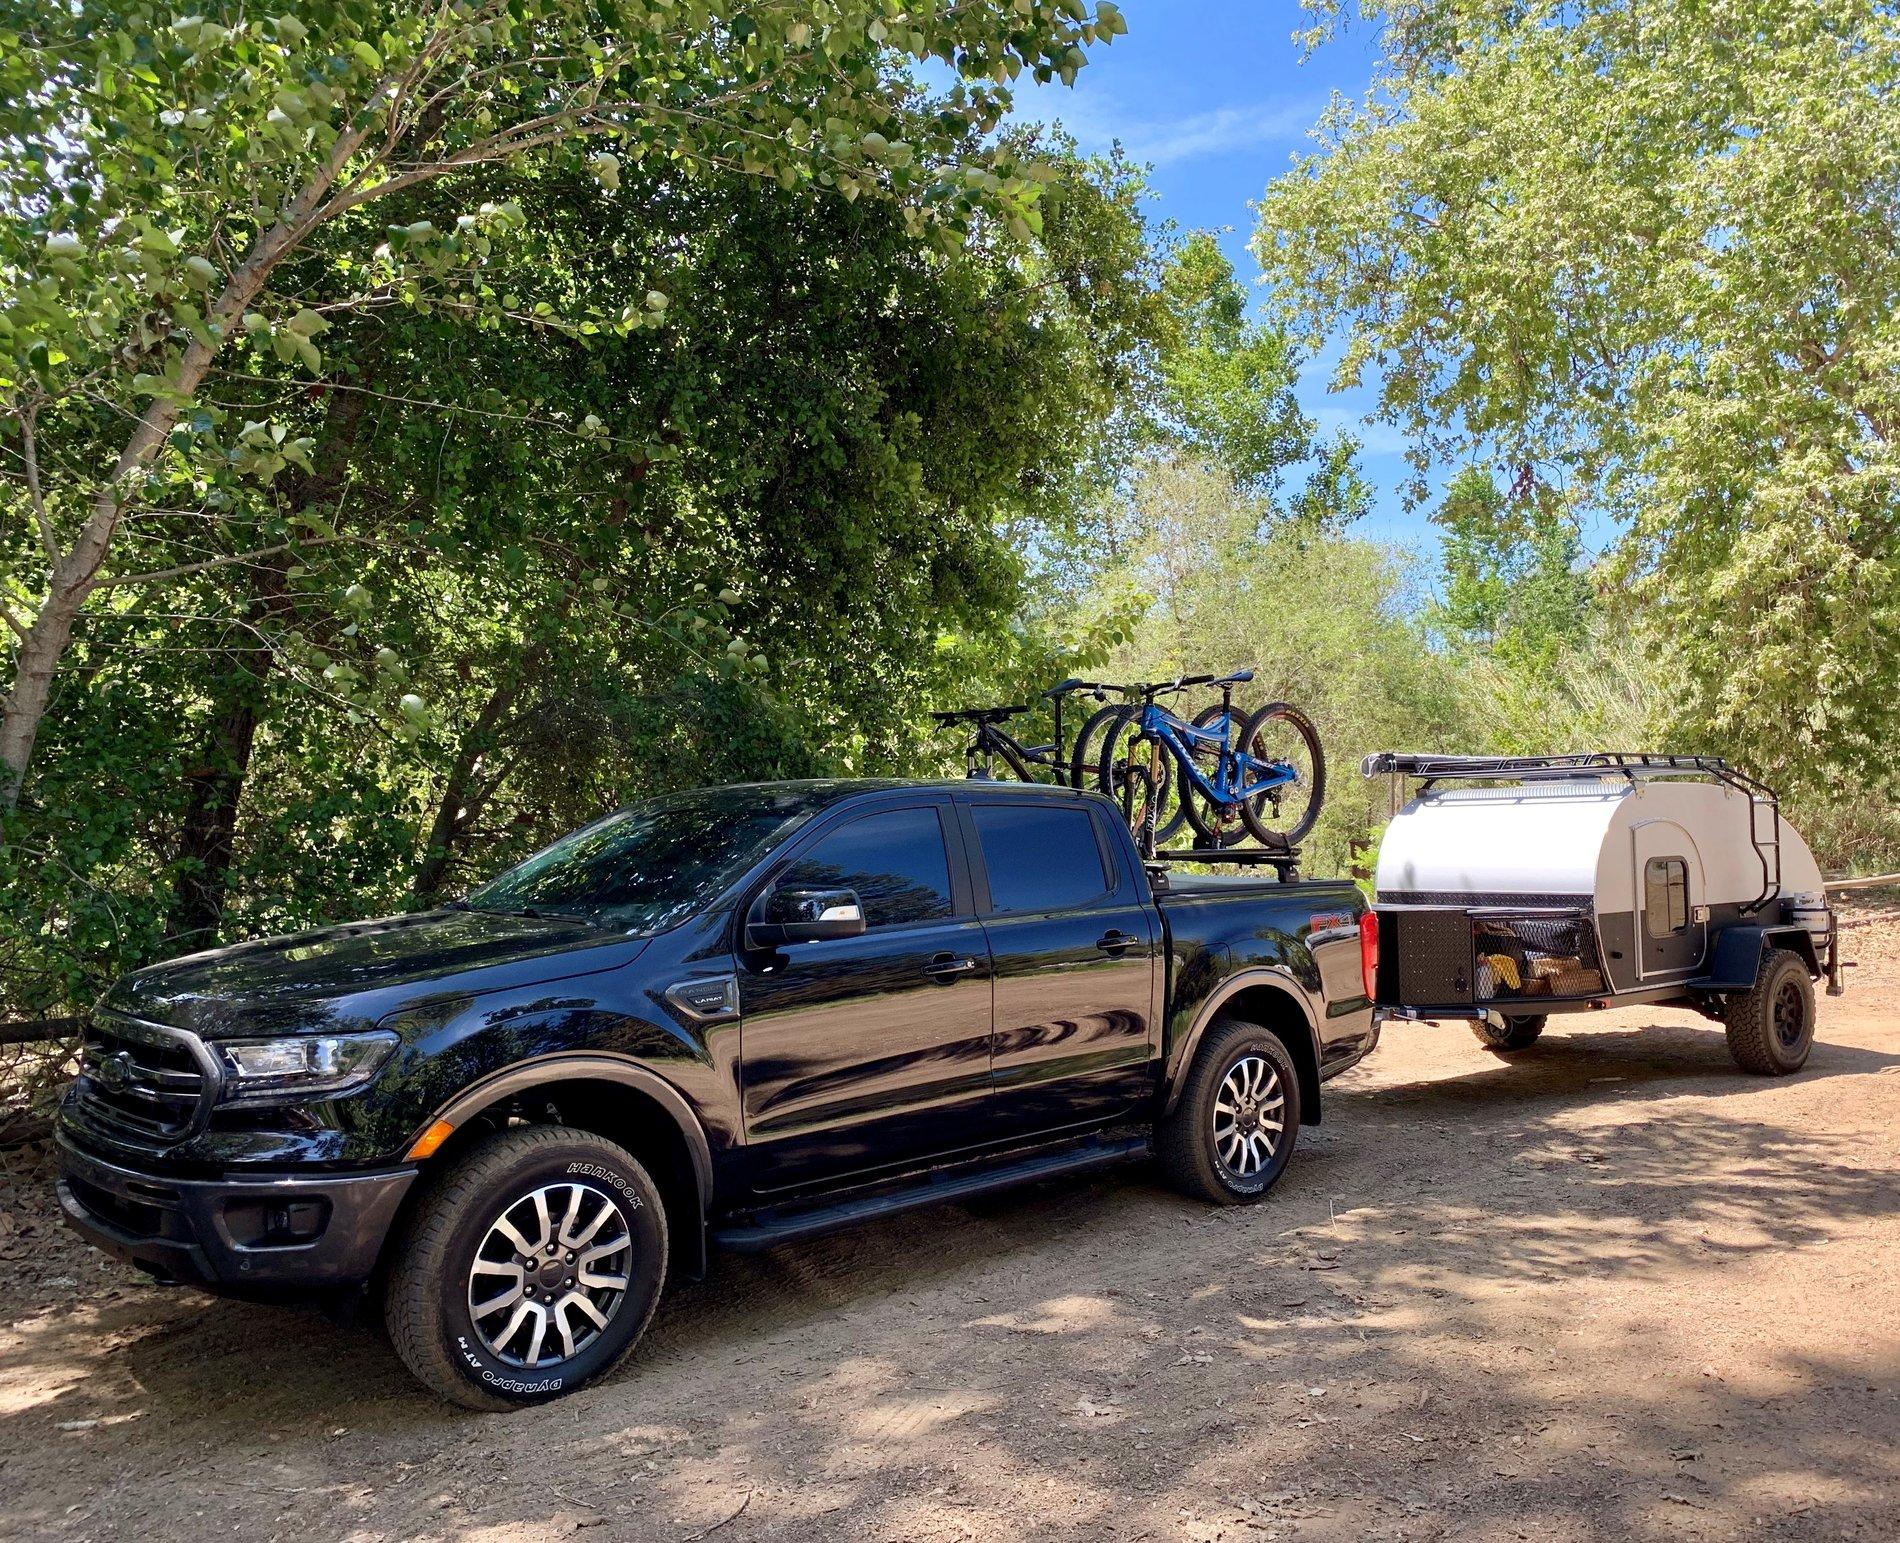
THANK YOU SO MUCH! YOU ARE THE MAN! I've used your excellent wiring instructions to install a Takonsha Prodigy P2, it works like a champ. Happy Trailering!
Sponsored
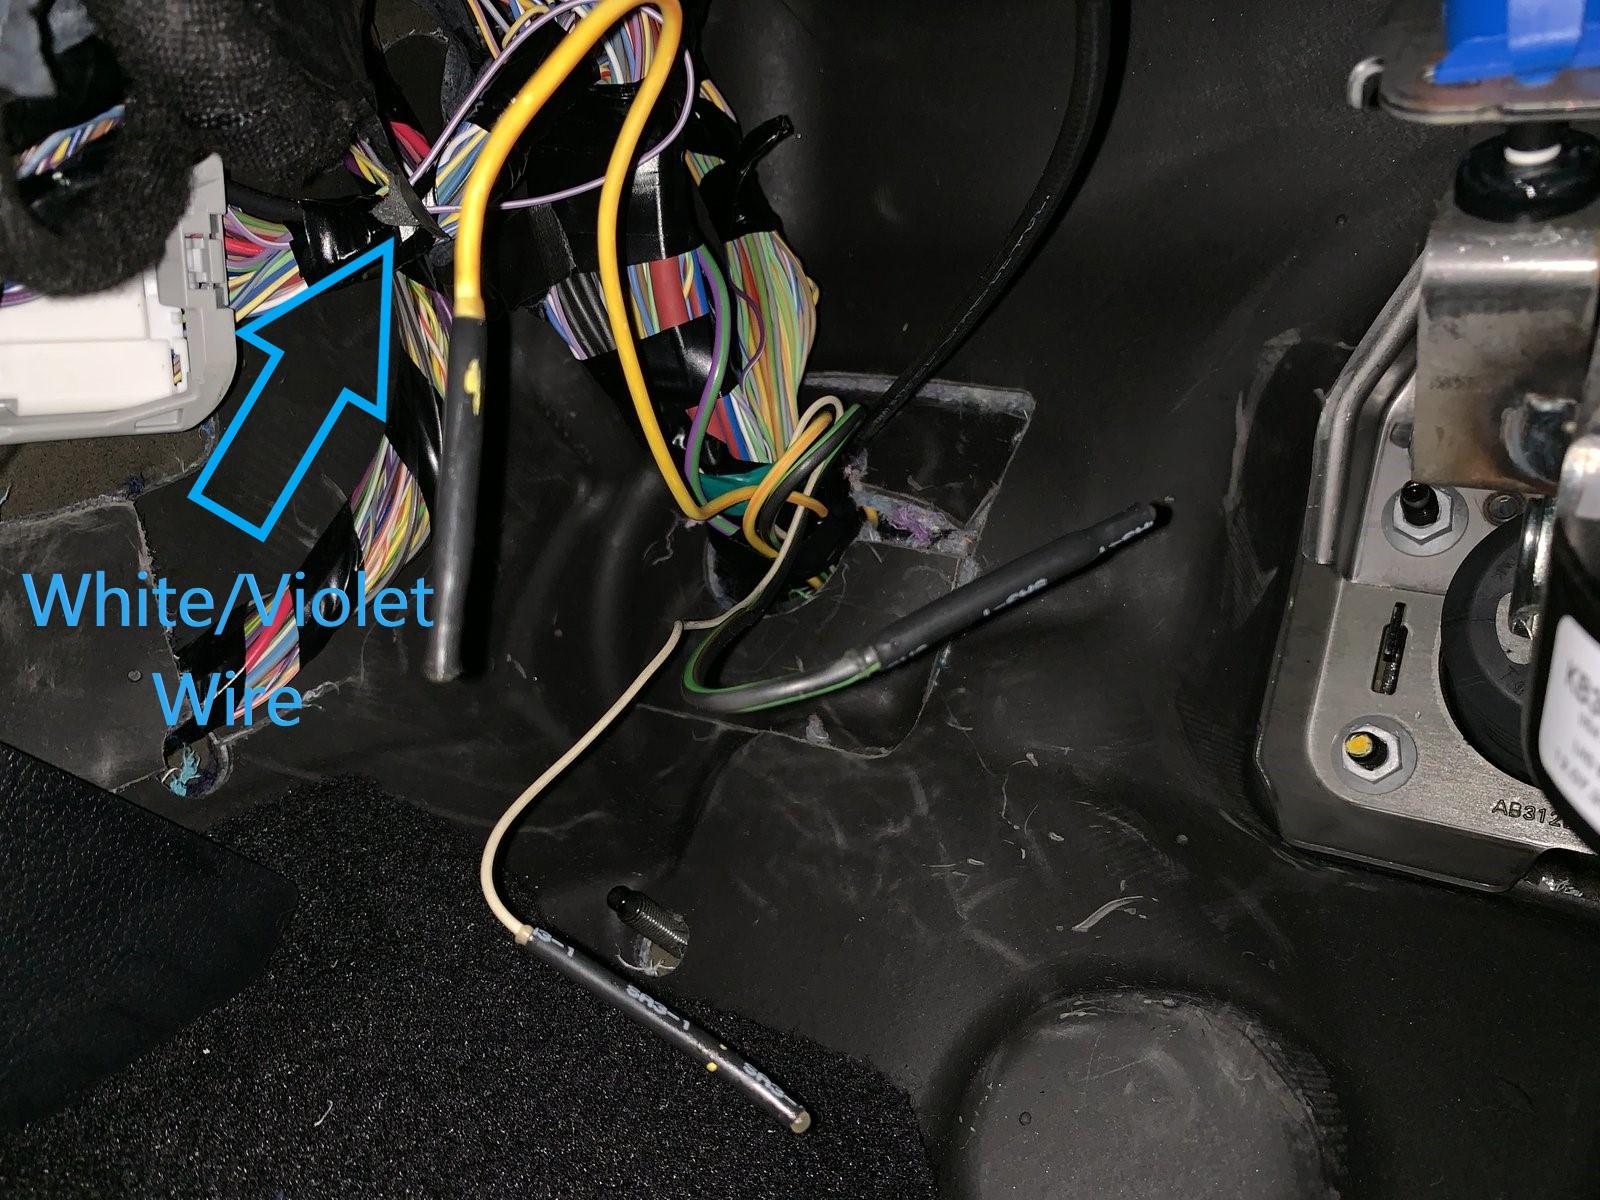
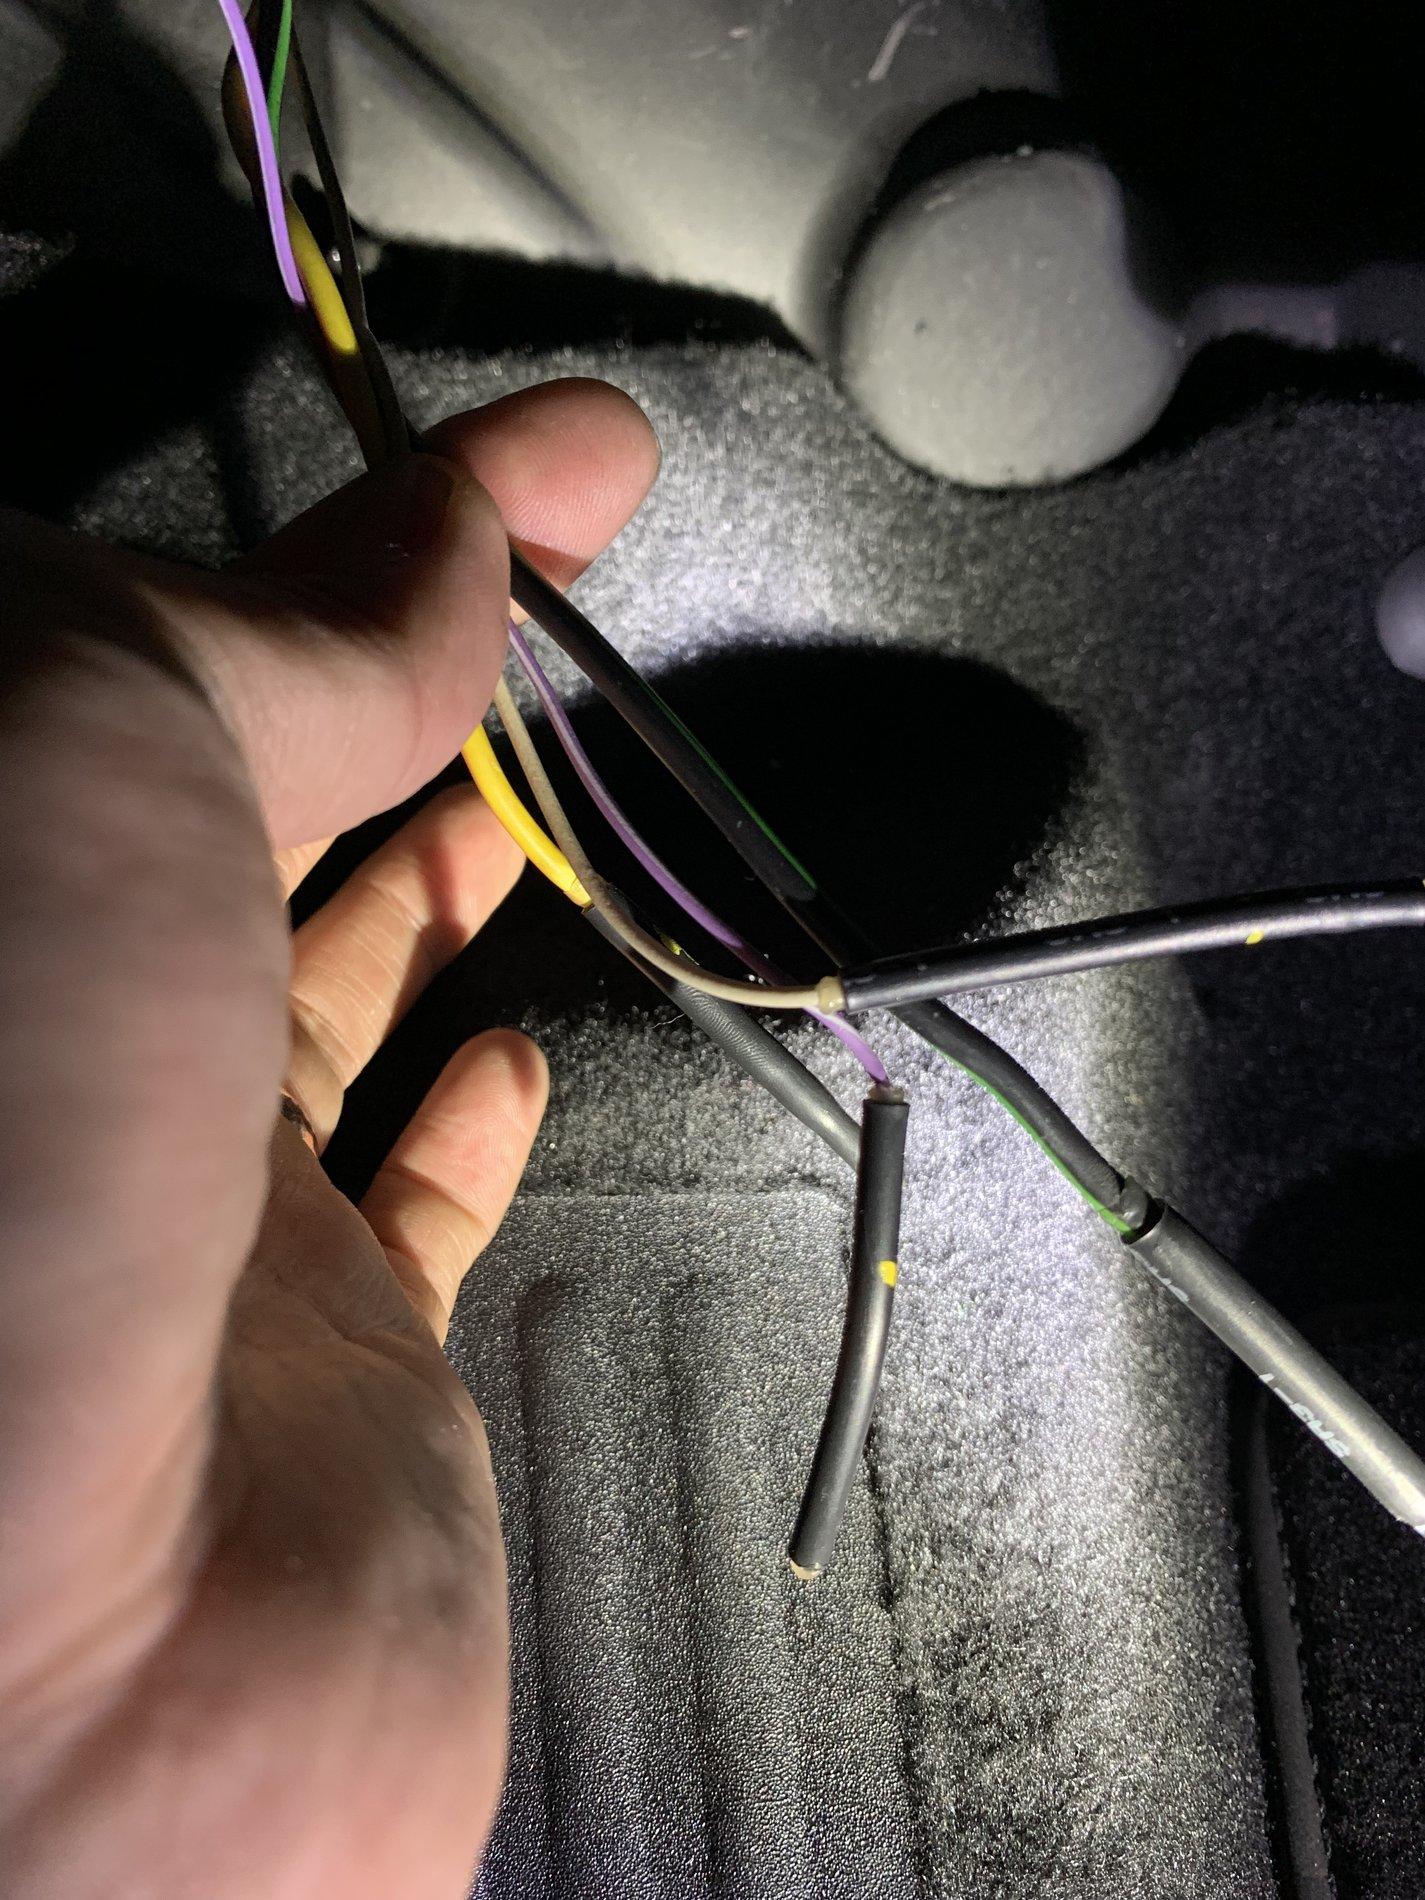
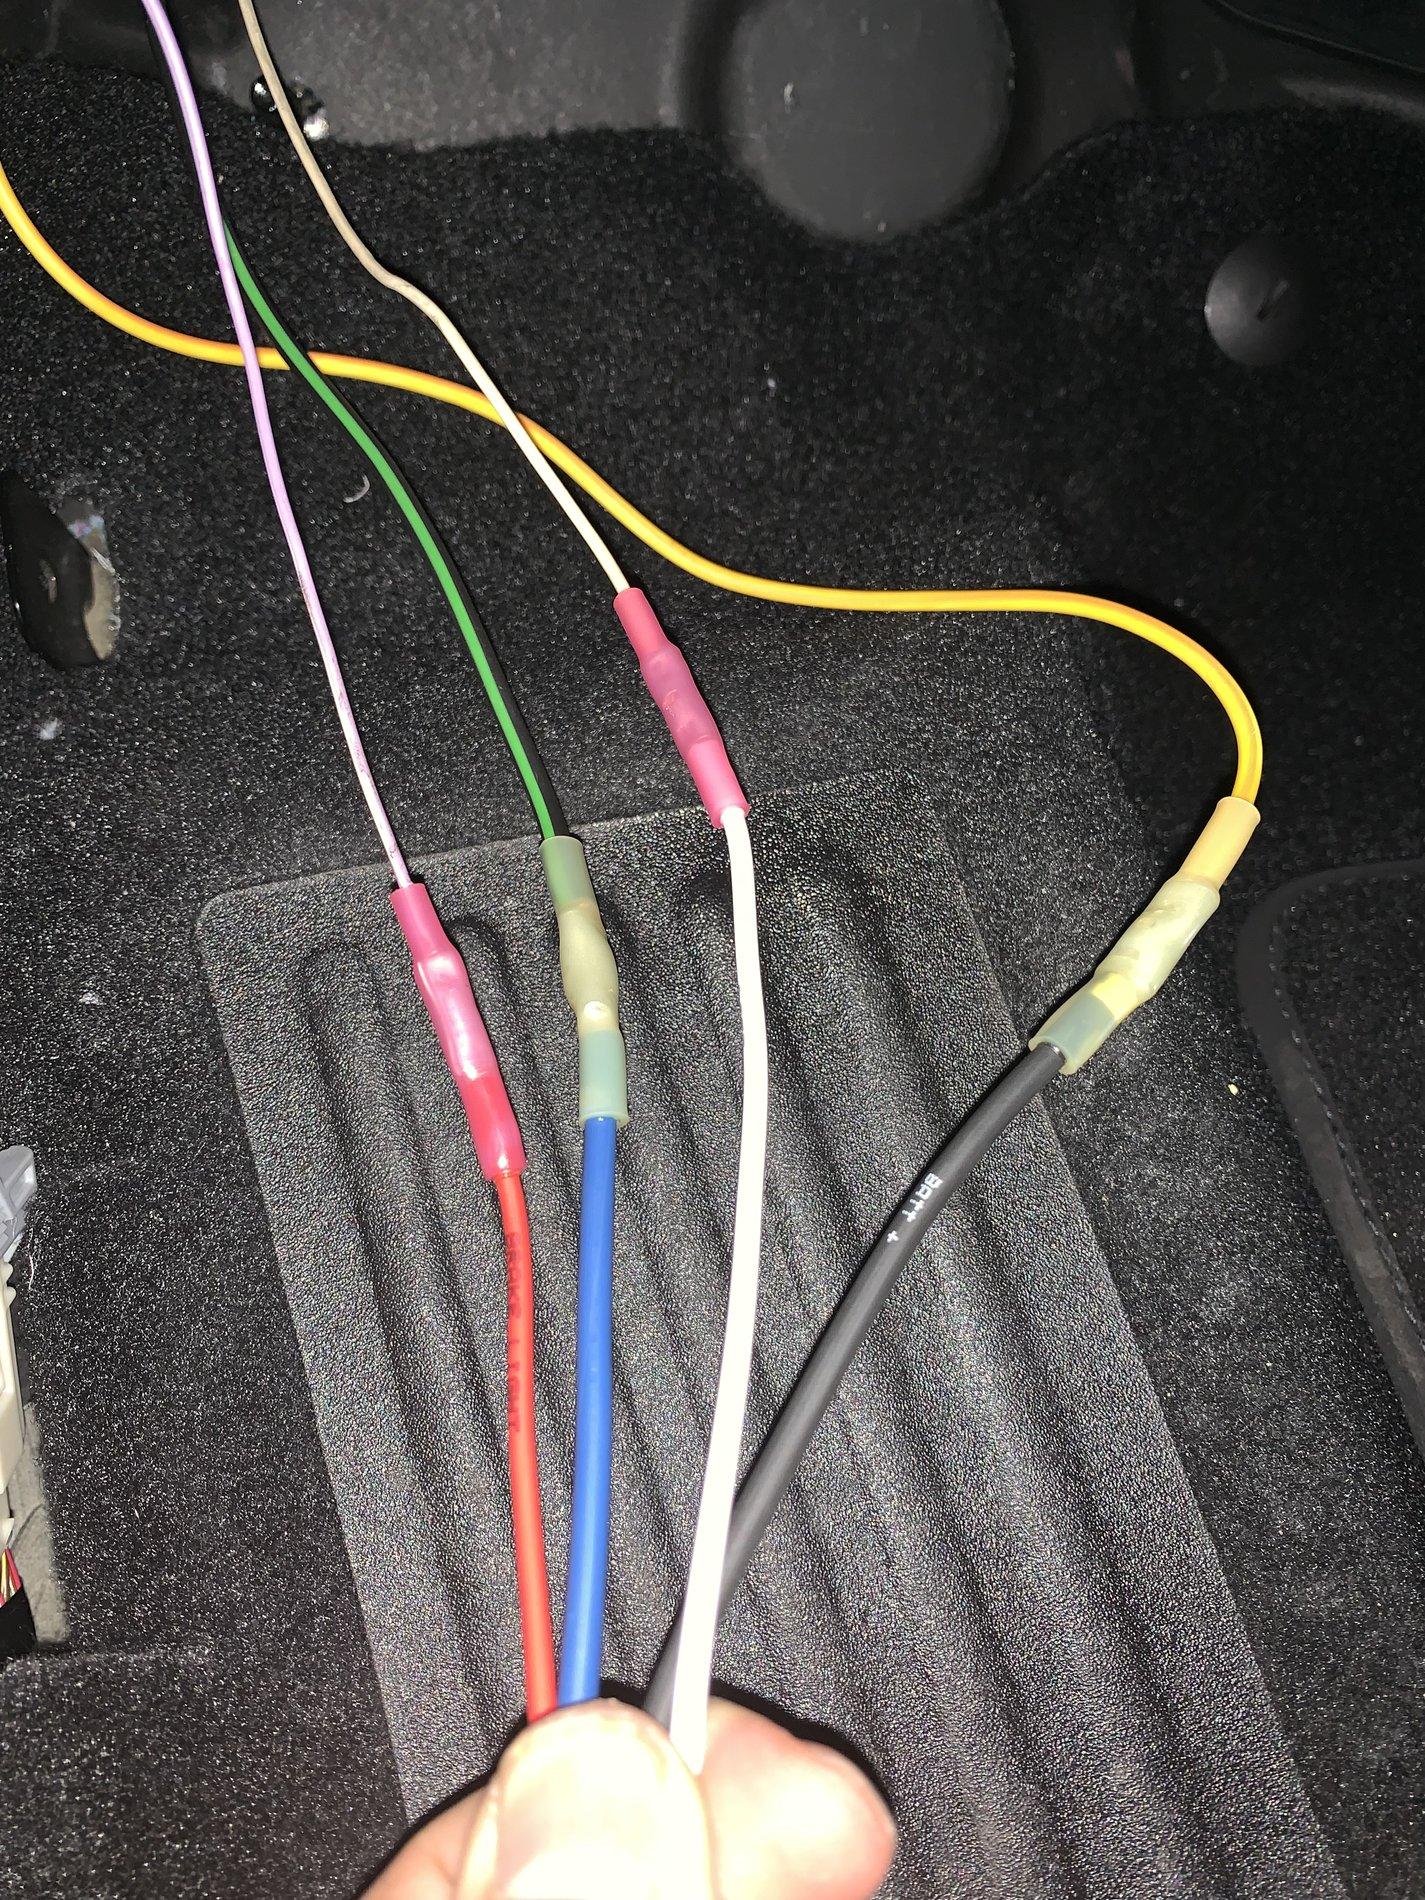
![Vehicle Wires [found].jpg](https://cdn.ranger5g.com/attachments/35/35781-aeacbc92dbc96874269e729e8356de5c.jpg)