Ranger Suspension, Lift Kits, Leveling Kits

LizardOfElgra

Member
Joined
Sep 30, 2019
Threads
1
Messages
17
Reaction score
11
Location
SF Bay Area
Vehicle(s)
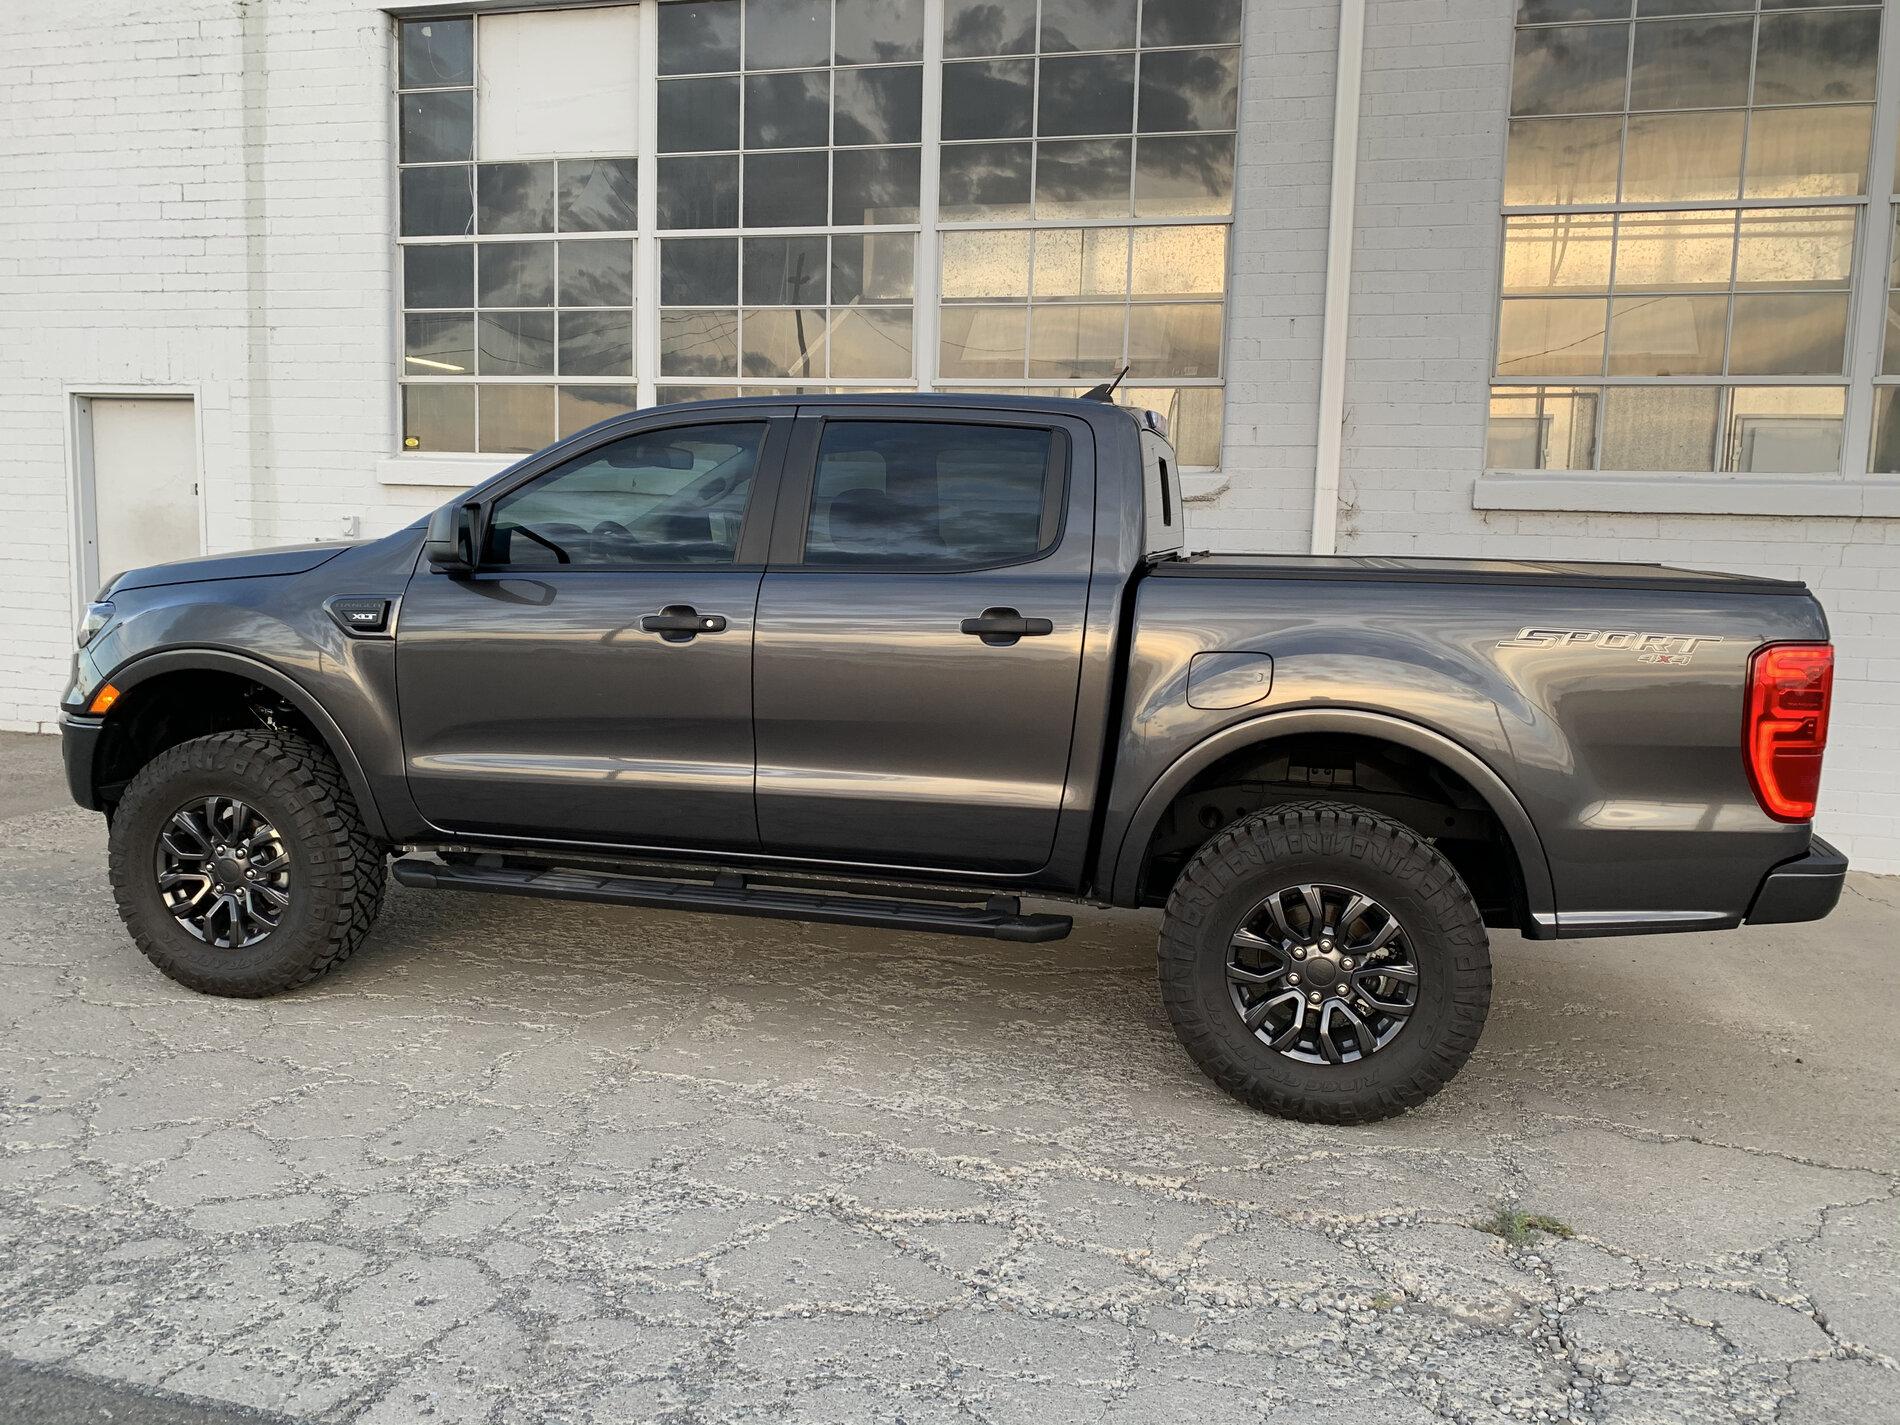
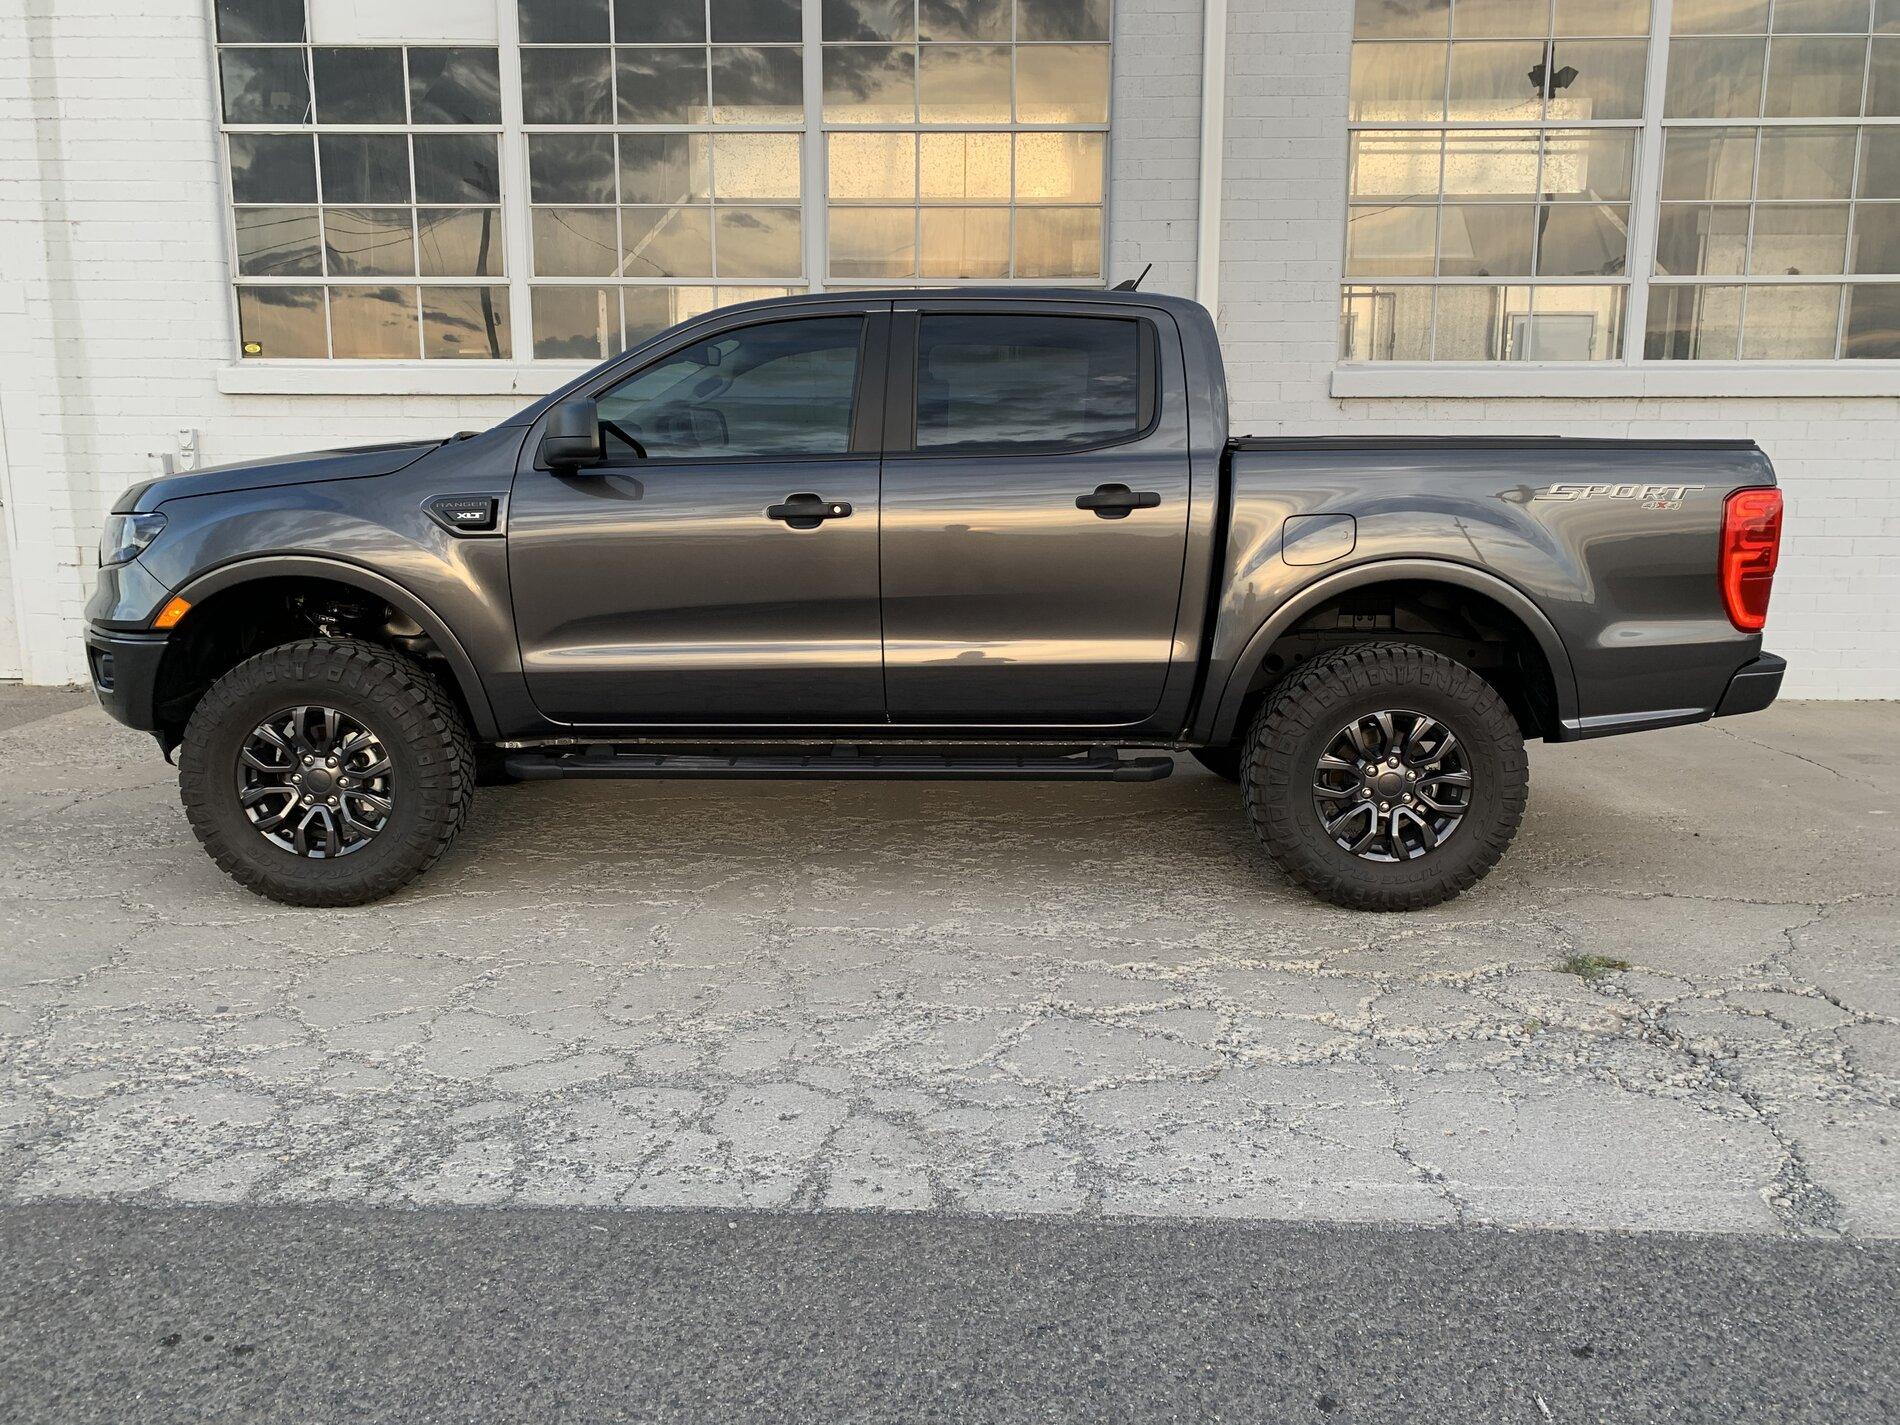
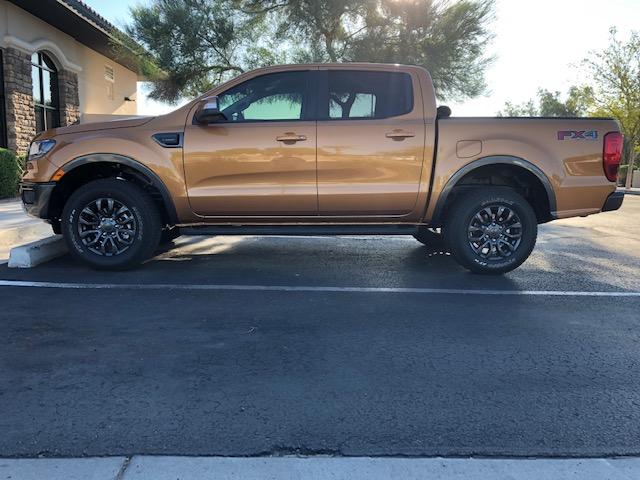
2019 Ranger Lariat 4x4, FX4, White Platinum, 501A, Tow Package, Factory spray in liner
Sure, here is the link. You need to specify your year, make and model, and 2WD or 4WD

https://eibach.com/us/c-56-car-truck-suv.html

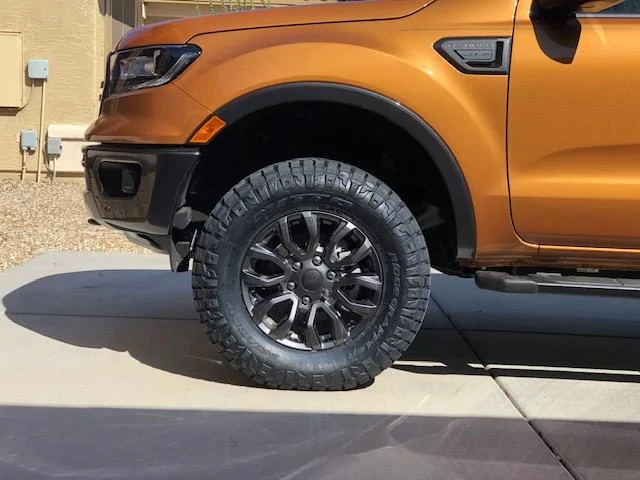
The first highlighted entry is the front coilovers, followed by the rear shocks. Stage3 motorsports has them for $50 less, but there is no guarantee you'll get the updated adjustment tool as it is not out in the channel yet.

- Tony
eibach shocks.jpg
Thanks!
Sponsored


AzScorpion

Moderator
First Name
Dave
Joined
Jul 25, 2019
Threads
280
Messages
21,289
Reaction score
101,274
Location
Arizona
Vehicle(s)
2023 Ford Ranger Tremor
Occupation
CEO of DeeZee
Got a question I can't come to grips with. I'm sure you guys/gals can help. Being a novice, I'm not sure what a "Ranger with 2 inch lift" means. Does that mean the front and back have been lifted 2" (maintaining a rake to the front), or does it mean the front has been leveled with the back, then the front and back lifted 2" (essentially lifting the front 4" and the back 2")? I'm guessing it's the latter, but I'm not sure. Thanks in advance.
It's a 2" or 2.5" front level kit which takes away the rake and makes it level with the rear. You still get about a 1/4" - 3/8" rake but looks level to then eye. If you go perfectly level then you need to be careful if you haul heavy loads or tow as the rear will now sag and your front will be nose high. In that case some will add a 1" level in the rear.

Fox and a couple others have adjustable shocks which are more expensive nut nice if you want it adjustable and they are better and less chance of wear on the front end parts than spacers. I went with the 2.5" RC level kit and like the results.


Before:

IMG_1396.jpg


IMG_1397.jpg


After Level:

IMG_1400.jpg


After level and larger tires:

IMG_1404.jpg


IMG_1405.jpg
 

Ranger_Pawl

Well-Known Member
First Name
Paul
Joined
Sep 30, 2020
Threads
9
Messages
351
Reaction score
1,776
Location
Huron Twp., Mi
Vehicle(s)
2020 Ranger XLT Supercab
Occupation
- Draftsman
It's a 2" or 2.5" front level kit which takes away the rake and makes it level with the rear. You still get about a 1/4" - 3/8" rake but looks level to then eye. If you go perfectly level then you need to be careful if you haul heavy loads or tow as the rear will now sag and your front will be nose high. In that case some will add a 1" level in the rear.

Fox and a couple others have adjustable shocks which are more expensive nut nice if you want it adjustable and they are better and less chance of wear on the front end parts than spacers. I went with the 2.5" RC level kit and like the results.


Before:

IMG_1396.jpg


IMG_1397.jpg


After Level:

IMG_1400.jpg


After level and larger tires:

IMG_1404.jpg


IMG_1405.jpg
Thanks for the great explanation Dave. It, and your pictures really helps me understand. Your truck has a great stance. Just what I'm looking for. :)
 

AzScorpion

Moderator
First Name
Dave
Joined
Jul 25, 2019
Threads
280
Messages
21,289
Reaction score
101,274
Location
Arizona
Vehicle(s)
2023 Ford Ranger Tremor
Occupation
CEO of DeeZee
Thanks for the great explanation Dave. It, and your pictures really helps me understand. Your truck has a great stance. Just what I'm looking for. :)
Anytime Paul. with this tire size 265/70/17 you don't have to adjust or cut the crash bars and there's no rubbing. Also didn't take much of a hit in mpg, maybe 1-2 at most.
 

veloci1

Well-Known Member
First Name
andres
Joined
Oct 31, 2020
Threads
3
Messages
109
Reaction score
67
Location
Las Vegas, NV
Vehicle(s)
2020 Ford Ranger 4wd XLT Ionic Silver.
My 1st post here. hope no one thinks i am nuts, but, when removing or installing the struts, would it not be easier to use the spring compressor once the spindle is lose while the struts is still in place?
this will alleviate the issue of risking pushing the lower a-arm too far down and potentially releasing the axle (talking 4WD here only) .
i am picturing that if the lower a-arm is supported by a jack and while the strut is compressed you use the spring compressor to keep the strut compressed, you could lower the jack and there should be plenty of room to just remove the compressed strut out. you would not have to push the lower a-arm down to make room for the compressed strut to come out.
granted, you need a good spring compressor to do this, but, it might be worth the try.

i know most of you guys that have done this install might know why my idea above might not work, so, [lease, let me know your thoughts.

i just picked up my XLT FX4 4WD last Friday and i am waiting for my shock (Bilstein) to arrive, so, i am getting ready to tackle this over the weekend.


DukeCanBuildit

Well-Known Member
First Name
Duke
Joined
Jul 27, 2020
Threads
48
Messages
6,454
Reaction score
30,174
Location
Toronto, Ontario
Vehicle(s)
2019 XLT SuperCab
Occupation
Husband-Caregiver
Vehicle Showcase
1
My 1st post here. hope no one thinks i am nuts, but, when removing or installing the struts, would it not be easier to use the spring compressor once the spindle is lose while the struts is still in place?
this will alleviate the issue of risking pushing the lower a-arm too far down and potentially releasing the axle (talking 4WD here only) .
i am picturing that if the lower a-arm is supported by a jack and while the strut is compressed you use the spring compressor to keep the strut compressed, you could lower the jack and there should be plenty of room to just remove the compressed strut out. you would not have to push the lower a-arm down to make room for the compressed strut to come out.
granted, you need a good spring compressor to do this, but, it might be worth the try.

i know most of you guys that have done this install might know why my idea above might not work, so, [lease, let me know your thoughts.

i just picked up my XLT FX4 4WD last Friday and i am waiting for my shock (Bilstein) to arrive, so, i am getting ready to tackle this over the weekend.
Congratulations on your new rig.

It would be great if it worked that way, but it doesn't. The spring compressor shortens the spring but not the rest of the strut. The overall length remains the same and you just can't force it down by hand.

There are two ways to do this - remove lower control arm from the frame (easier but a hoist is recommended) or from up top by disconnecting the knuckle (typical method).

If you choose the typical method, there are three extra steps you should perform. I know, extra work sucks, but this makes everything else easier. These steps are not widely covered in the posts you see or in the videos found online. You occasionally hear about them individually but this reply (and my build thread) might be the only places that mention all three together. Trust me, they will make your install so much easier - especially if you're doing it by yourself. You can accomplish it w/o these steps but it's at the peril of your sanity and your CV joint.

1 - Remove the calliper and rotor and tie the calliper up out of the way.

2 - Remove the anti-sway link from the knuckle so you don't pop the small ball joints in the link.

3 - Remove the axle nut and push the axle out of the knuckle and out of the way with a block of wood and a couple of hard taps. Strap it to the anti-sway link if that helps keep it out of the way. This step requires a new 35mm axle nut.

Actually, all the nuts (tie rod, upper ball, strut, etc.) should be replaced - they are intended for one-time use only.

The knuckle will now flop around like a rag doll so you will need to support it (spare jack, tool bag, etc.). Putting things back together will be WAY easier without the weight of the rotor and calliper to deal with. When you push down on the LCA, the only thing fighting you will be the rubber bushings in the arm - not the axle, not the anti-sway bushings. When you're putting the upper ball joint back in place, you won't have the rotor and calliper fighting you.

Also, do not raise one side at a time to do this install - you will put torque on your anti-sway bar and that will create issues. Raise, level, and support both sides at the same time.

Good Luck! PM me if you have any questions.

- Duke
 
Last edited:

ngarre2

Member
First Name
Nick
Joined
Nov 16, 2020
Threads
0
Messages
9
Reaction score
6
Location
Covington
Vehicle(s)
2020 Ford Ranger Lariet FX4
There are two ways to do this - remove lower control arm from the frame (easier but a hoist is recommended) or from up top by disconnecting the knuckle (typical method).


- Duke
Why is a hoist recommended for the lower control arm removal part? To line up the lower when re-assembling? Would a floor jack with a 2x4 supporting both sides of the lower control arm not work? I plan on trying this way this afternoon, so any advice is welcome.
 

DukeCanBuildit

Well-Known Member
First Name
Duke
Joined
Jul 27, 2020
Threads
48
Messages
6,454
Reaction score
30,174
Location
Toronto, Ontario
Vehicle(s)
2019 XLT SuperCab
Occupation
Husband-Caregiver
Vehicle Showcase
1
Why is a hoist recommended for the lower control arm removal part? To line up the lower when re-assembling? Would a floor jack with a 2x4 supporting both sides of the lower control arm not work? I plan on trying this way this afternoon, so any advice is welcome.
Hey Nick - I hope your install goes smoothly!

I recommend the hoist for two reasons...

1 - Way easier to move around with full range of motion, angle of approach, easy to get other tools if needed (breaker bar, pry bar, socket extension, etc).

2 - Personal safety. There's just no way I'm getting under my truck and torquing on those LCA bolts while 3 tons of Ranger is supported by jack stands. Better for me to be beside it. But that's just me.

I hope all goes well - it seems like a very straightforward approach - I've heard it's how the Aussies do it and they know a thing or two about Rangers.
 

ngarre2

Member
First Name
Nick
Joined
Nov 16, 2020
Threads
0
Messages
9
Reaction score
6
Location
Covington
Vehicle(s)
2020 Ford Ranger Lariet FX4
Hey Nick - I hope your install goes smoothly!

I recommend the hoist for two reasons...

1 - Way easier to move around with full range of motion, angle of approach, easy to get other tools if needed (breaker bar, pry bar, socket extension, etc).

2 - Personal safety. There's just no way I'm getting under my truck and torquing on those LCA bolts while 3 tons of Ranger is supported by jack stands. Better for me to be beside it. But that's just me.

I hope all goes well - it seems like a very straightforward approach - I've heard it's how the Aussies do it and they know a thing or two about Rangers.

For torqing the bolts, isn't that supposed to be done once the tires are back on and the truck is on the ground?
 

DukeCanBuildit

Well-Known Member
First Name
Duke
Joined
Jul 27, 2020
Threads
48
Messages
6,454
Reaction score
30,174
Location
Toronto, Ontario
Vehicle(s)
2019 XLT SuperCab
Occupation
Husband-Caregiver
Vehicle Showcase
1
For torqing the bolts, isn't that supposed to be done once the tires are back on and the truck is on the ground?
I meant it figuratively - torquing on them, not actually setting the final torque.
 

veloci1

Well-Known Member
First Name
andres
Joined
Oct 31, 2020
Threads
3
Messages
109
Reaction score
67
Location
Las Vegas, NV
Vehicle(s)
2020 Ford Ranger 4wd XLT Ionic Silver.
Congratulations on your new rig.

It would be great if it worked that way, but it doesn't. The spring compressor shortens the spring but not the rest of the strut. The overall length remains the same and you just can't force it down by hand.

There are two ways to do this - remove lower control arm from the frame (easier but a hoist is recommended) or from up top by disconnecting the knuckle (typical method).

If you choose the typical method, there are three extra steps you should perform. I know, extra work sucks, but this makes everything else easier. These steps are not widely covered in the posts you see or in the videos found online. You occasionally hear about them individually but this reply (and my build thread) might be the only places that mention all three together. Trust me, they will make your install so much easier - especially if you're doing it by yourself. You can accomplish it w/o these steps but it's at the peril of your sanity and your CV joint.

1 - Remove the calliper and rotor and tie the calliper up out of the way.

2 - Remove the anti-sway link from the knuckle so you don't pop the small ball joints in the link.

3 - Remove the axle nut and push the axle out of the knuckle and out of the way with a block of wood and a couple of hard taps. Strap it to the anti-sway link if that helps keep it out of the way. This step requires a new 35mm axle nut.

Actually, all the nuts (tie rod, upper ball, strut, etc.) should be replaced - they are intended for one-time use only.

The knuckle will now flop around like a rag doll so you will need to support it (spare jack, tool bag, etc.). Putting things back together will be WAY easier without the weight of the rotor and calliper to deal with. When you push down on the LCA, the only thing fighting you will be the rubber bushings in the arm - not the axle, not the anti-sway bushings. When you're putting the upper ball joint back in place, you won't have the rotor and calliper fighting you.

Also, do not raise one side at a time to do this install - you will put torque on your anti-sway bar and that will create issues. Raise, level, and support both sides at the same time.

Good Luck! PM me if you have any questions.

- Duke
thank you so much for the feedback.

i did it by removing lower control arm from the frame .

2 hours and i was done with both sides. the truck rides and looks amazing. i will post pictures soon.

for anyone tackling this project, please, do it by removing the lower control arms from the frame. much easier and less headaches. i installed Bilstein's, so, i did not have to worry about the bottom bolts since they are supplied by Bilstein and they are not attached to the bottom of the struts.

again, thank you so much for all the feedback.
 

DukeCanBuildit

Well-Known Member
First Name
Duke
Joined
Jul 27, 2020
Threads
48
Messages
6,454
Reaction score
30,174
Location
Toronto, Ontario
Vehicle(s)
2019 XLT SuperCab
Occupation
Husband-Caregiver
Vehicle Showcase
1
thank you so much for the feedback.

i did it by removing lower control arm from the frame .

2 hours and i was done with both sides. the truck rides and looks amazing. i will post pictures soon.

for anyone tackling this project, please, do it by removing the lower control arms from the frame. much easier and less headaches. i installed Bilstein's, so, i did not have to worry about the bottom bolts since they are supplied by Bilstein and they are not attached to the bottom of the struts.

again, thank you so much for all the feedback.
Glad to hear. If you didn't have a hoist and used jack stands, hats off to you for having the cherries to crawl under there.

When you post your pics, you should consider including a bit of a step by step on the procedure - Nick (above) and a lot of other members could really benefit from your first hand experience on this install.

Can't wait to see pics.
 

veloci1

Well-Known Member
First Name
andres
Joined
Oct 31, 2020
Threads
3
Messages
109
Reaction score
67
Location
Las Vegas, NV
Vehicle(s)
2020 Ford Ranger 4wd XLT Ionic Silver.
Glad to hear. If you didn't have a hoist and used jack stands, hats off to you for having the cherries to crawl under there.

When you post your pics, you should consider including a bit of a step by step on the procedure - Nick (above) and a lot of other members could really benefit from your first hand experience on this install.

Can't wait to see pics.
check out this video (from minute 4.16 ). that is exactly what i did and the video i studied for hours to make sure i got this right.


QuickSilver

Well-Known Member
First Name
Daven
Joined
Dec 14, 2020
Threads
5
Messages
87
Reaction score
199
Location
Vancouver Canada
Vehicle(s)
2020 Ford Ranger Lariat
Vehicle Showcase
1
Not sure if the bilstein 6112’s have a previous post. I didn’t see anything when I was looking to lift mine. I think it’s recently released for the ranger. I got the bilstein 6112 front coil over to add 2.5” lift and the bilstein 5160 remote reservoirs for the rear. I have been Offroad, towing and on road and so far am extremely happy with the ride quality and performance.
9FC95985-B310-4FA8-9C0B-1E69C66C7E55.jpeg
2E697EFF-D7CE-42D4-9695-9D1112535BDF.jpeg
Sponsored


Top