DreadPirateRoberts
Well-Known Member
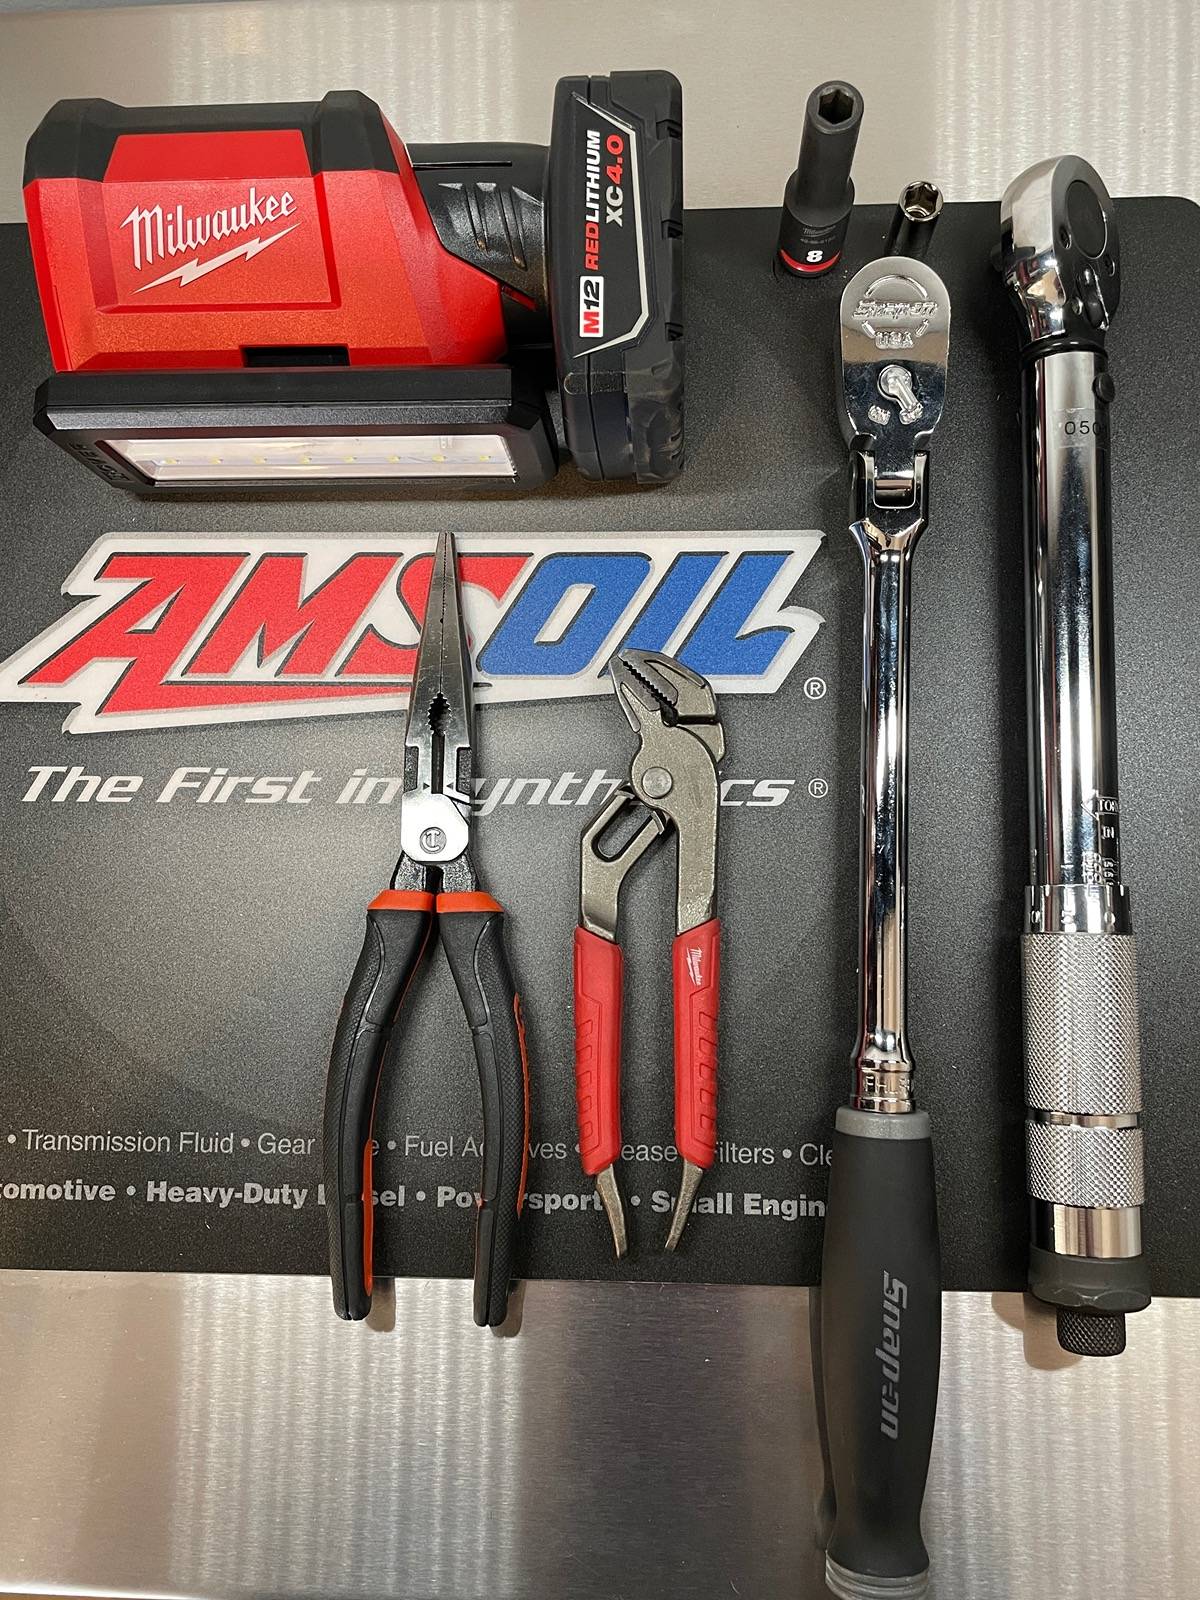
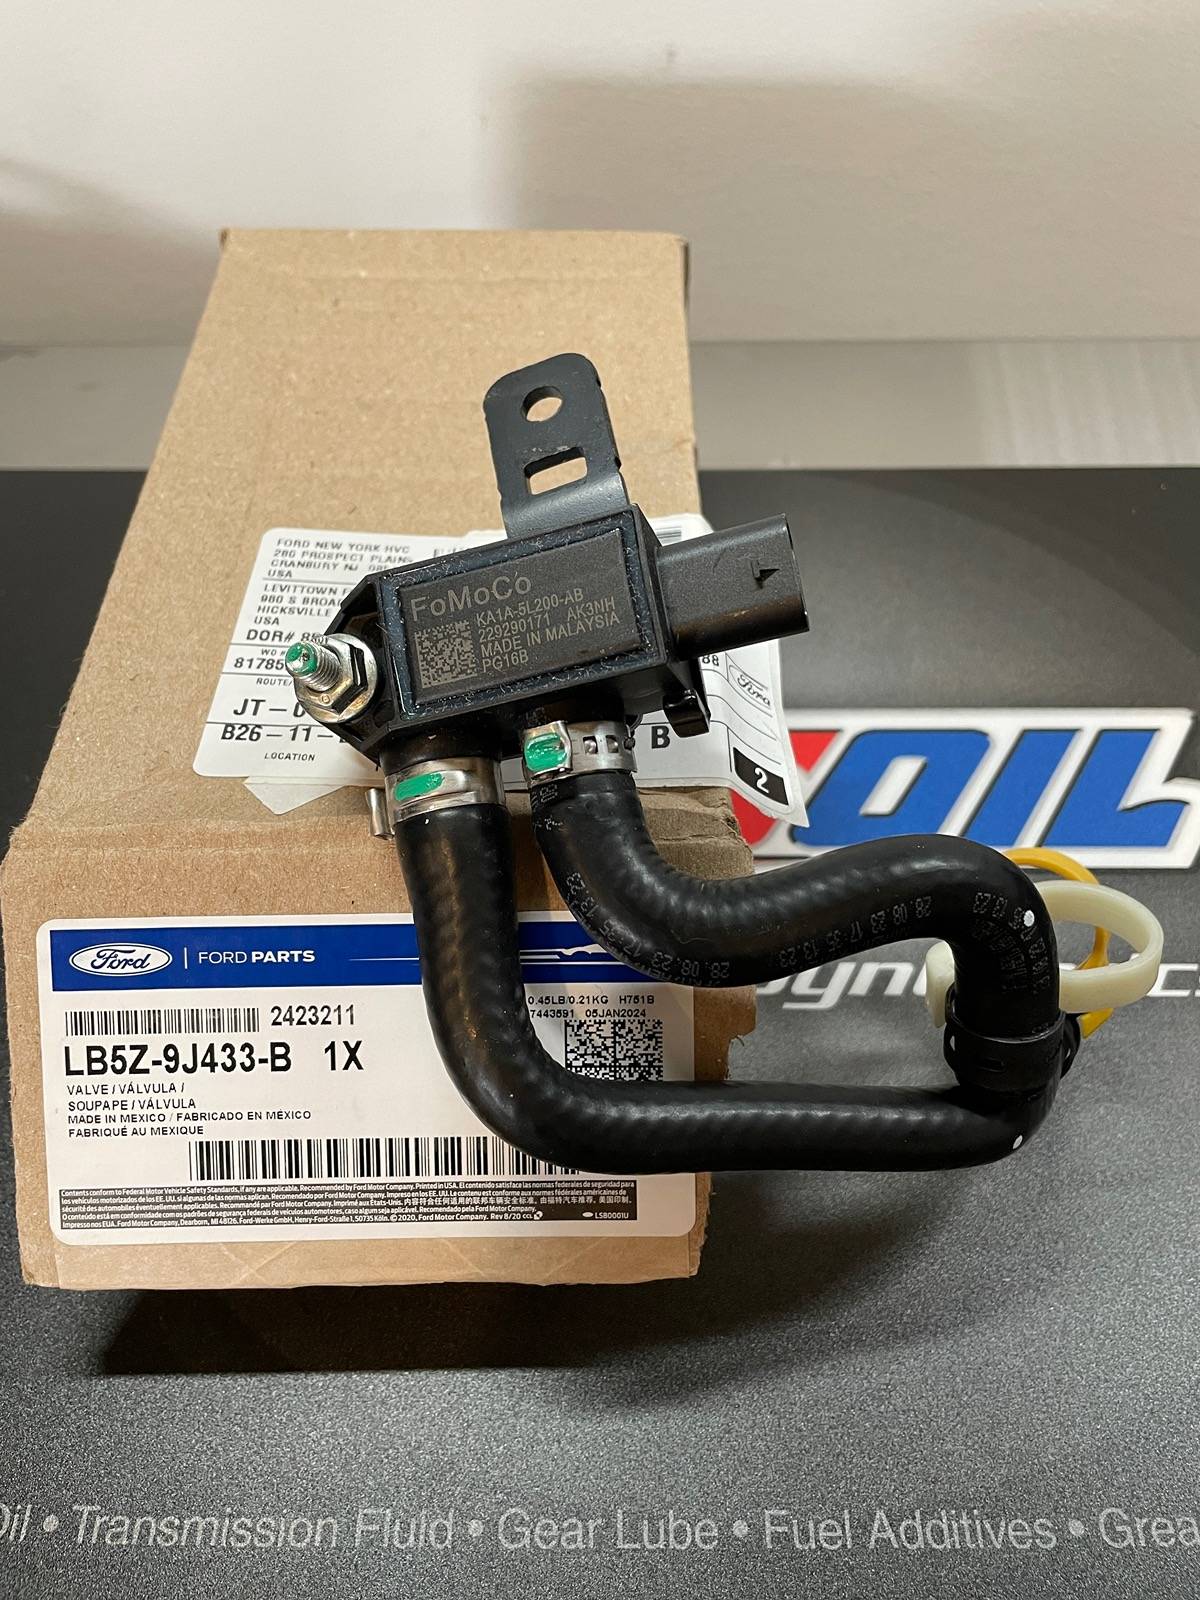
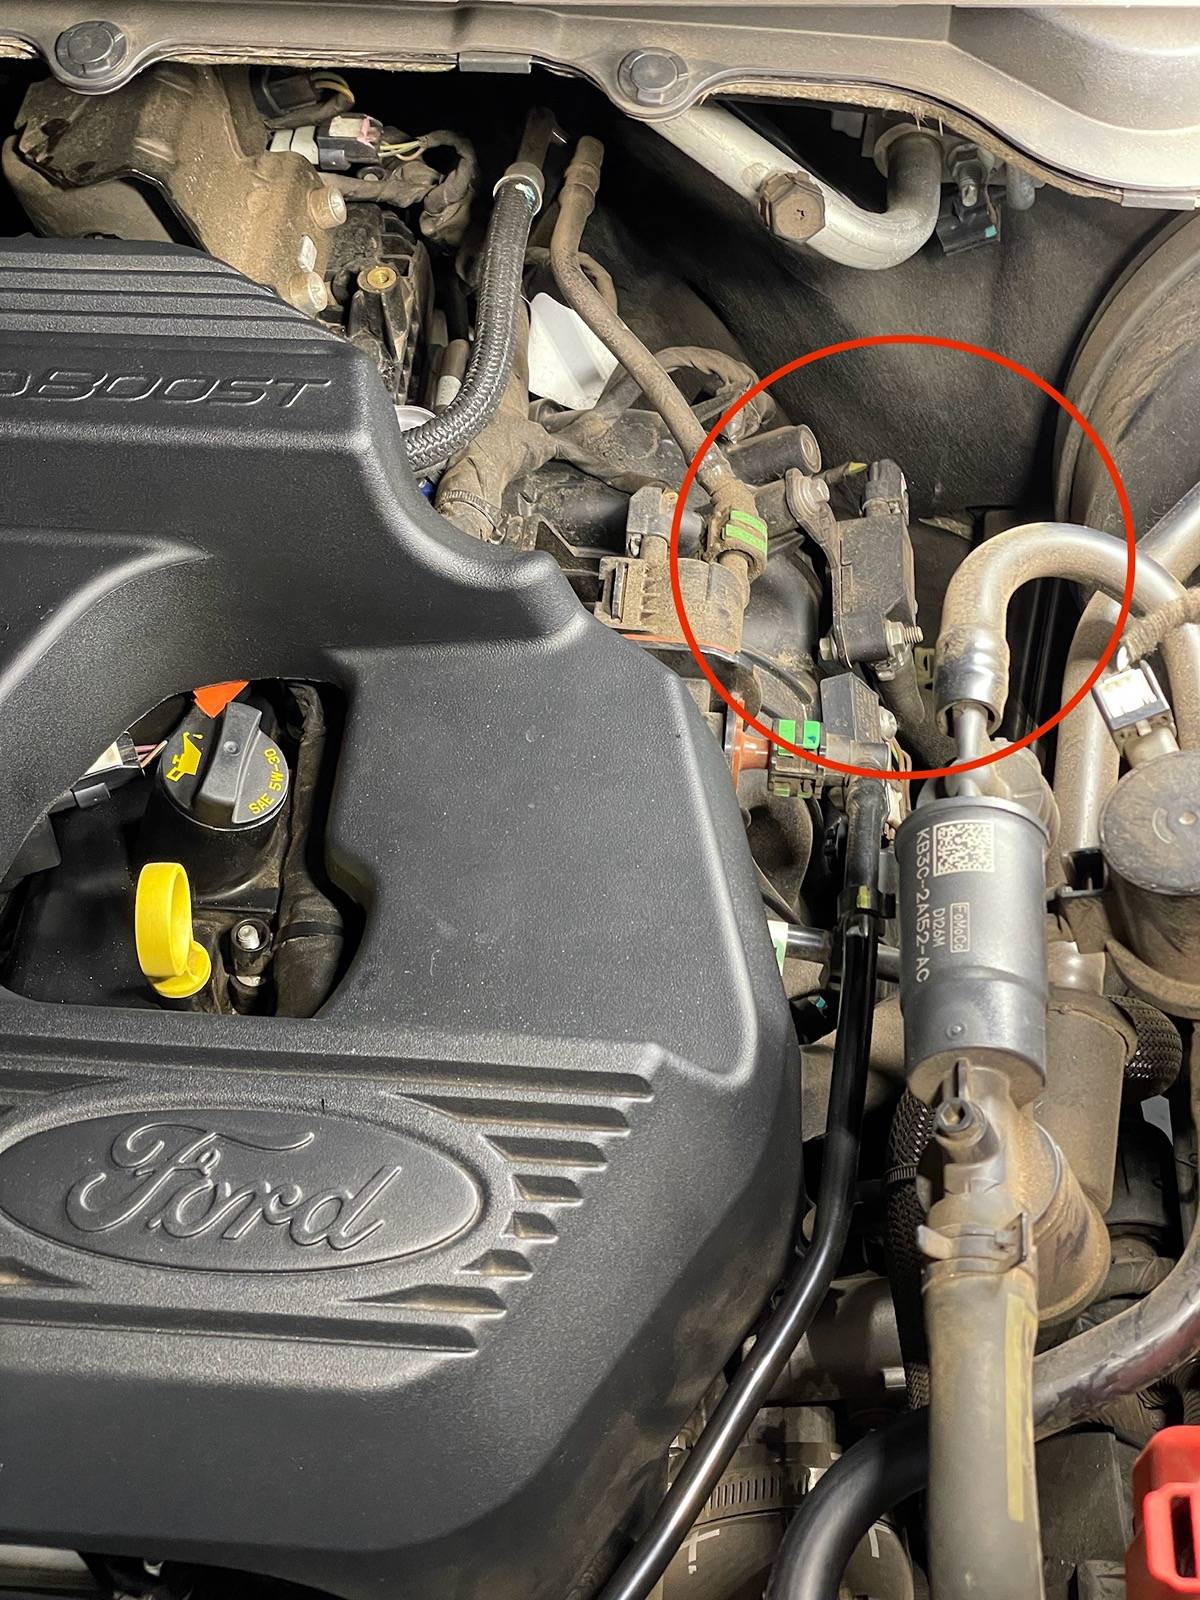
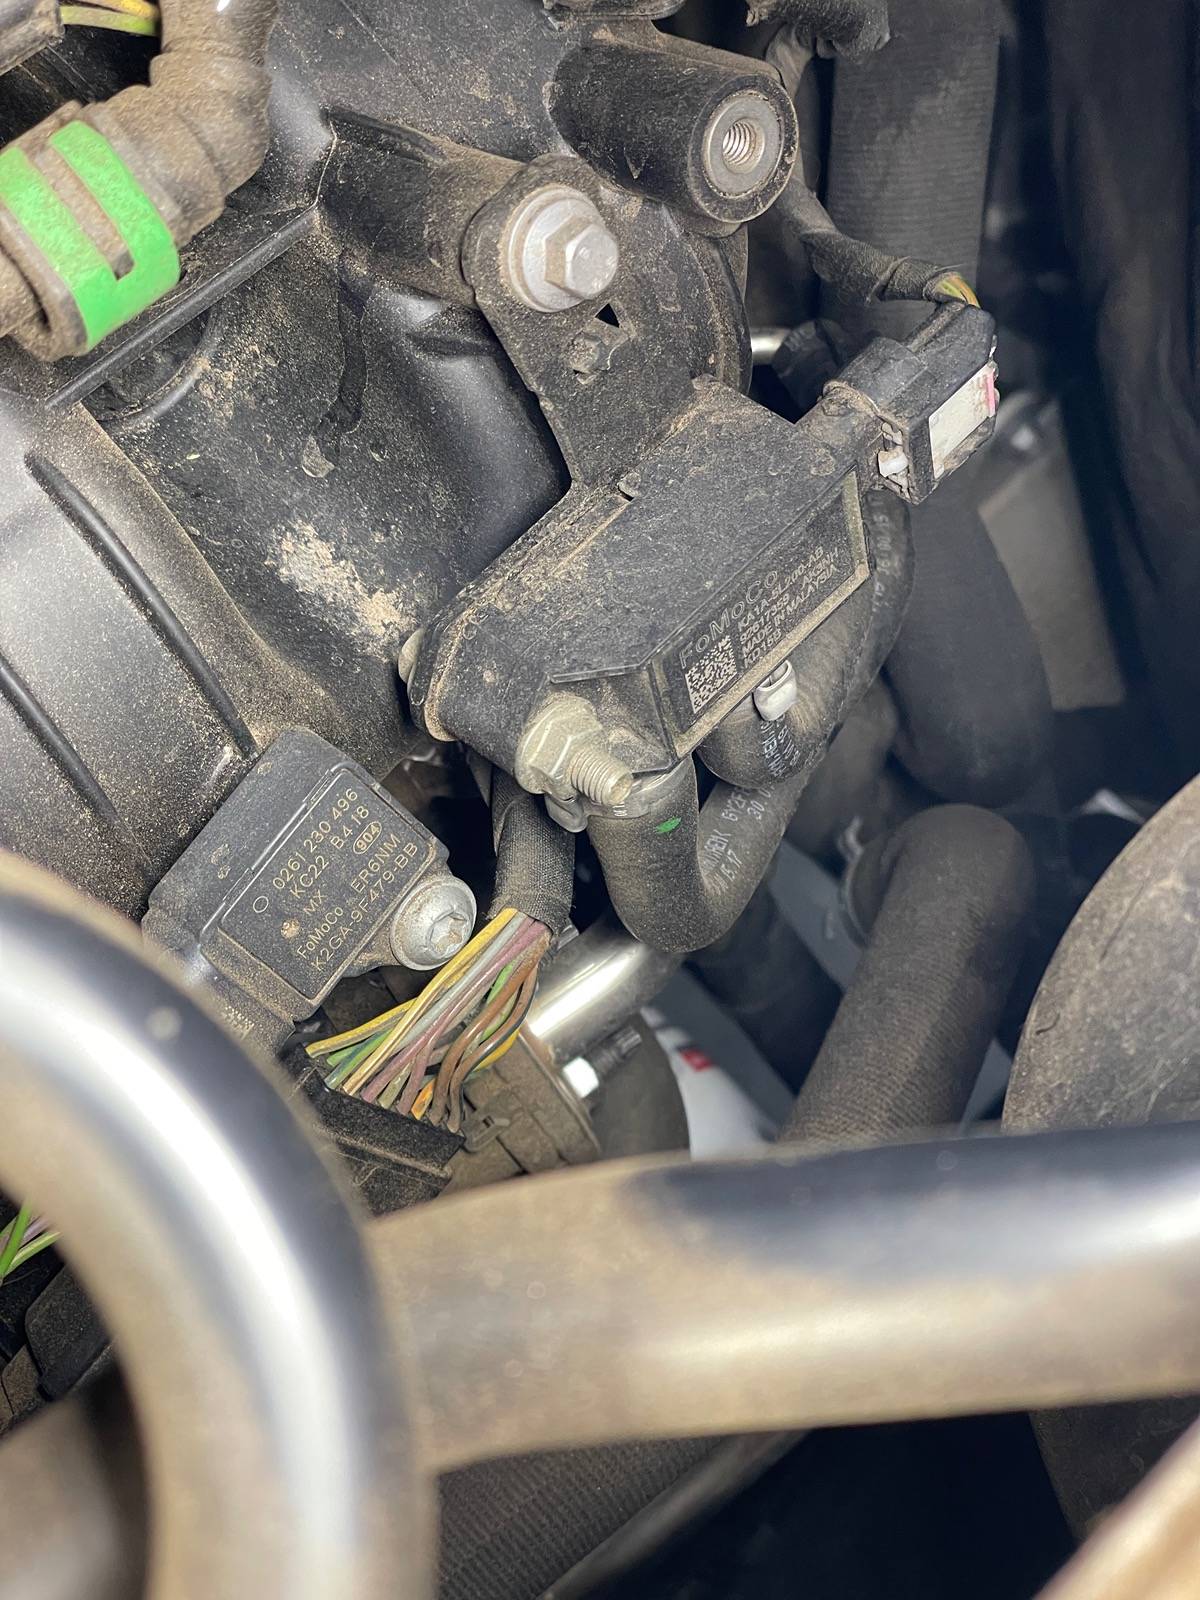
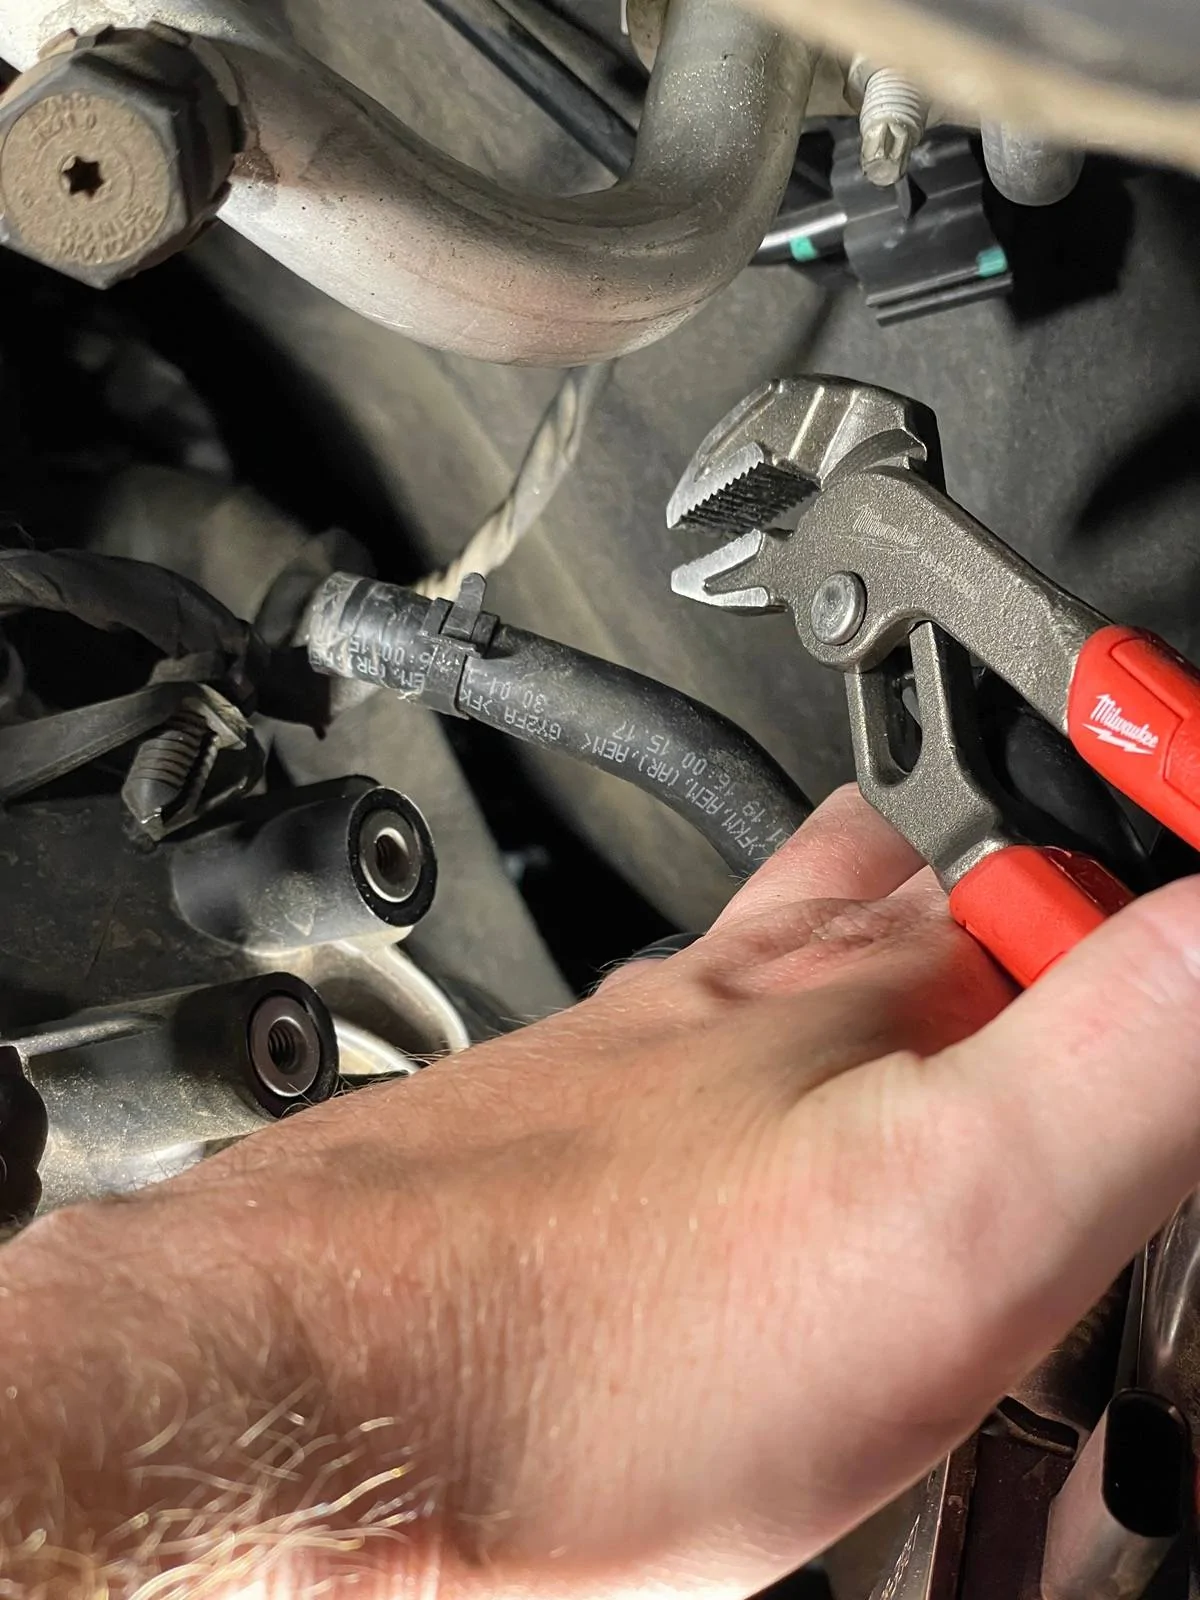
Just put a new LB5Z-9J433-B in mine and it's running like it's new. Thanks for the write up, helped a lot. You made it sound a lot easier than it was but most of my problems were self inflicted. I had to crawl under the truck and dig out wrenchs/pliers a few times.
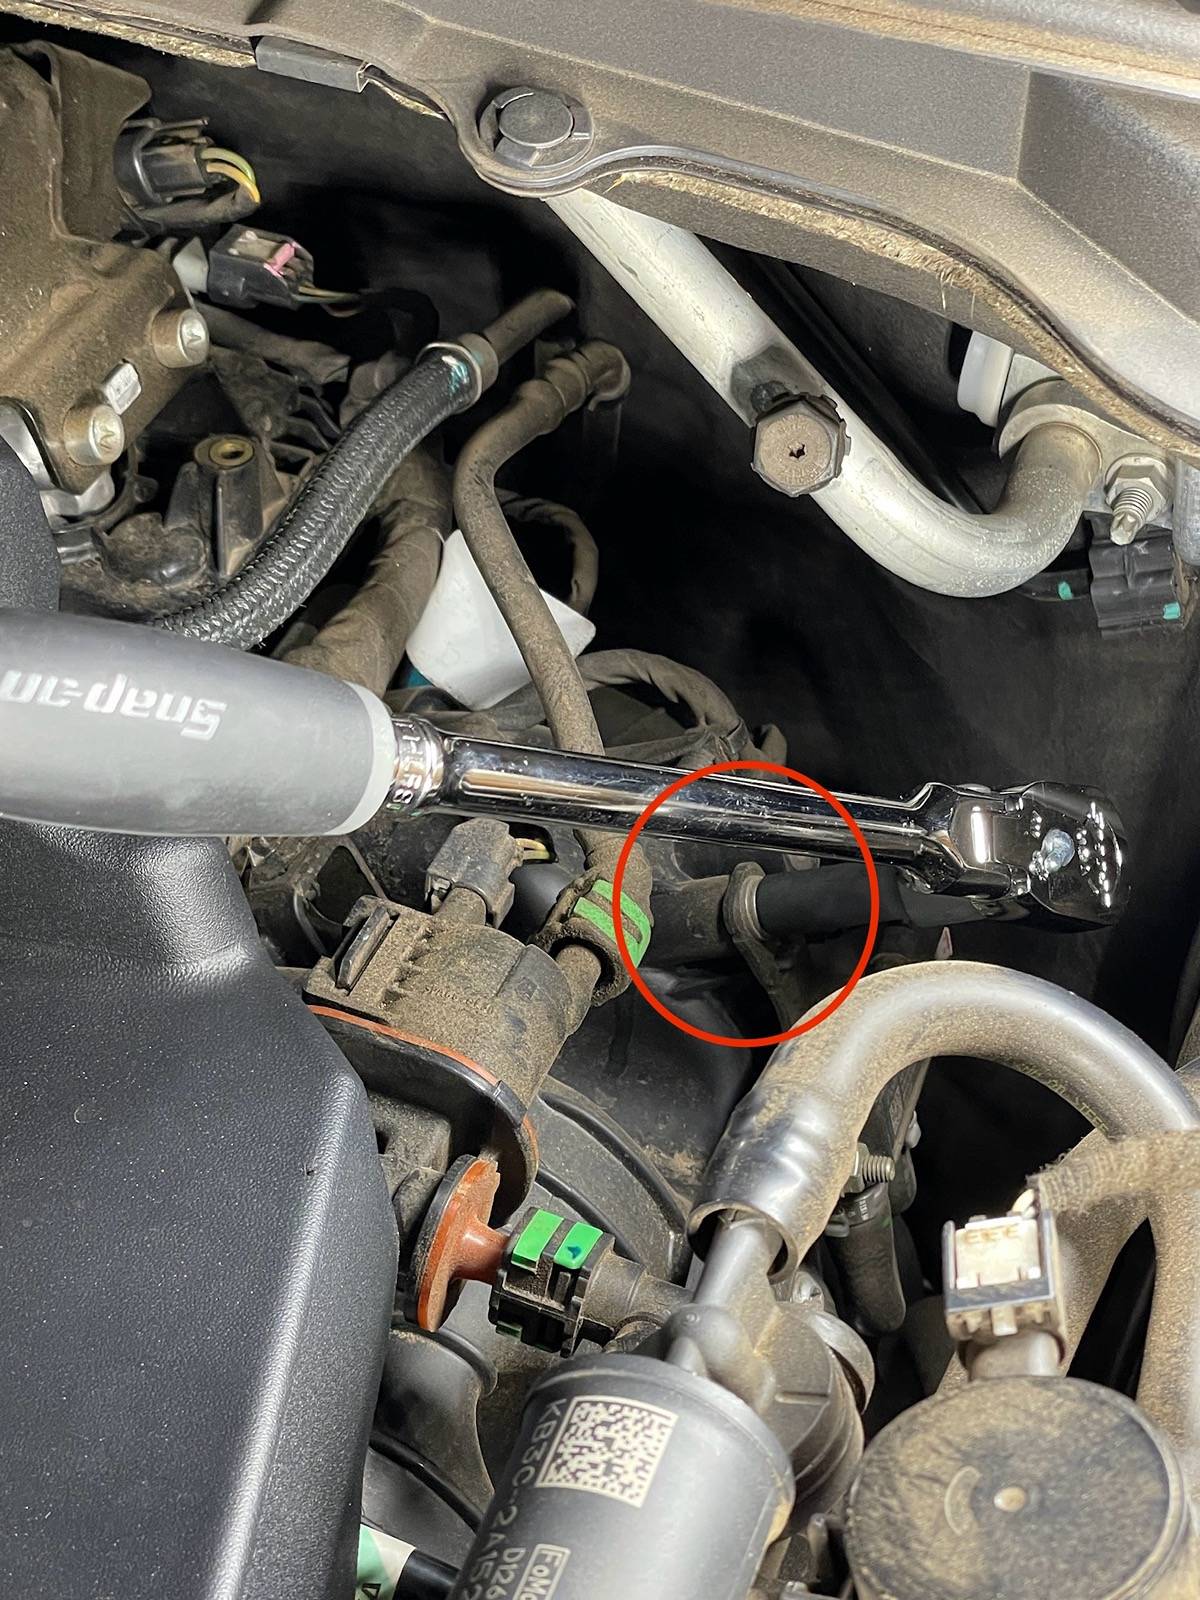
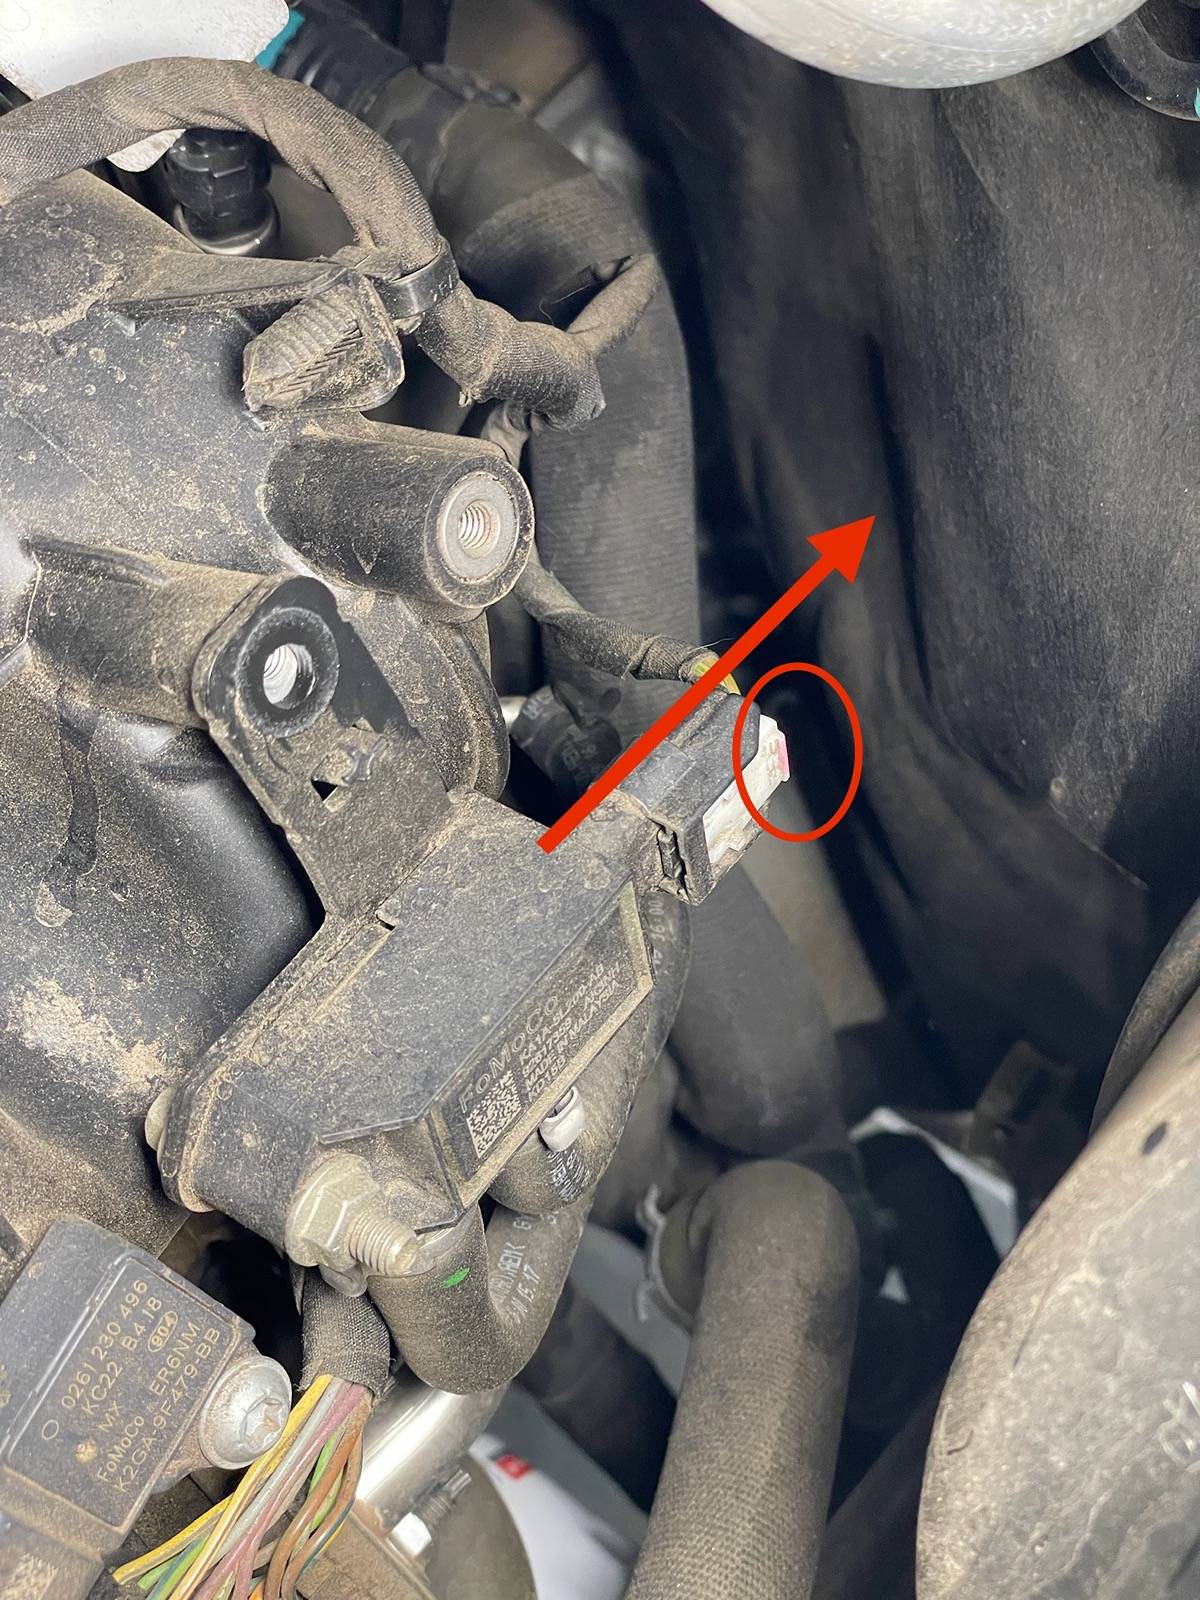
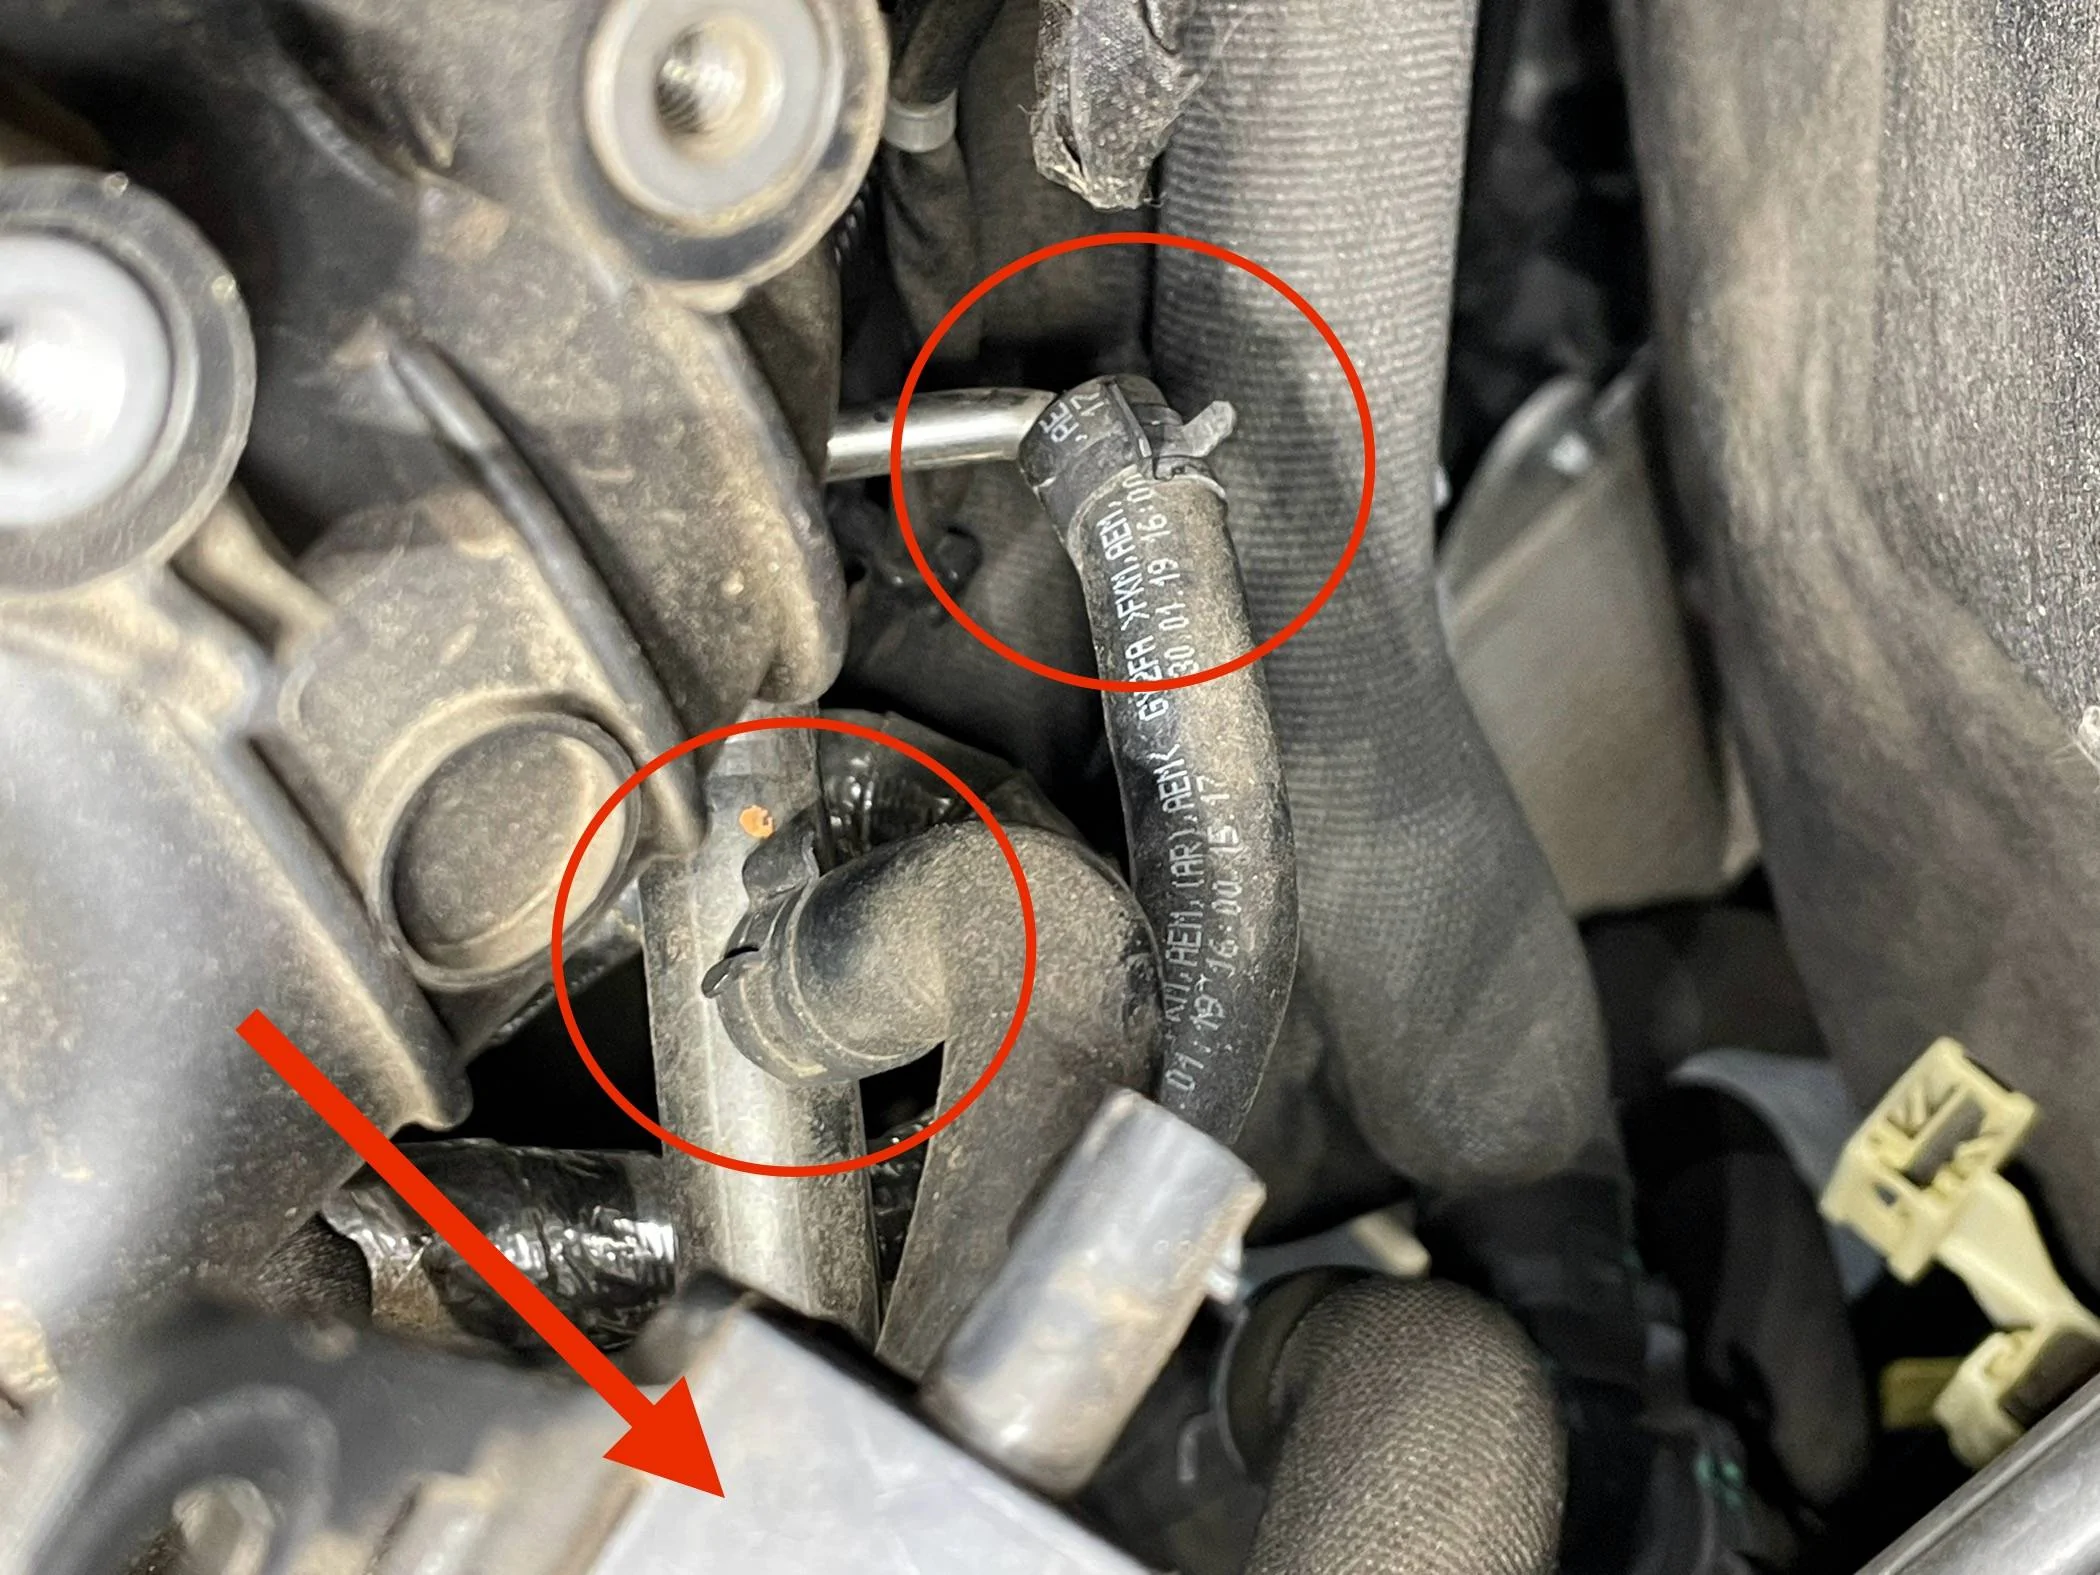
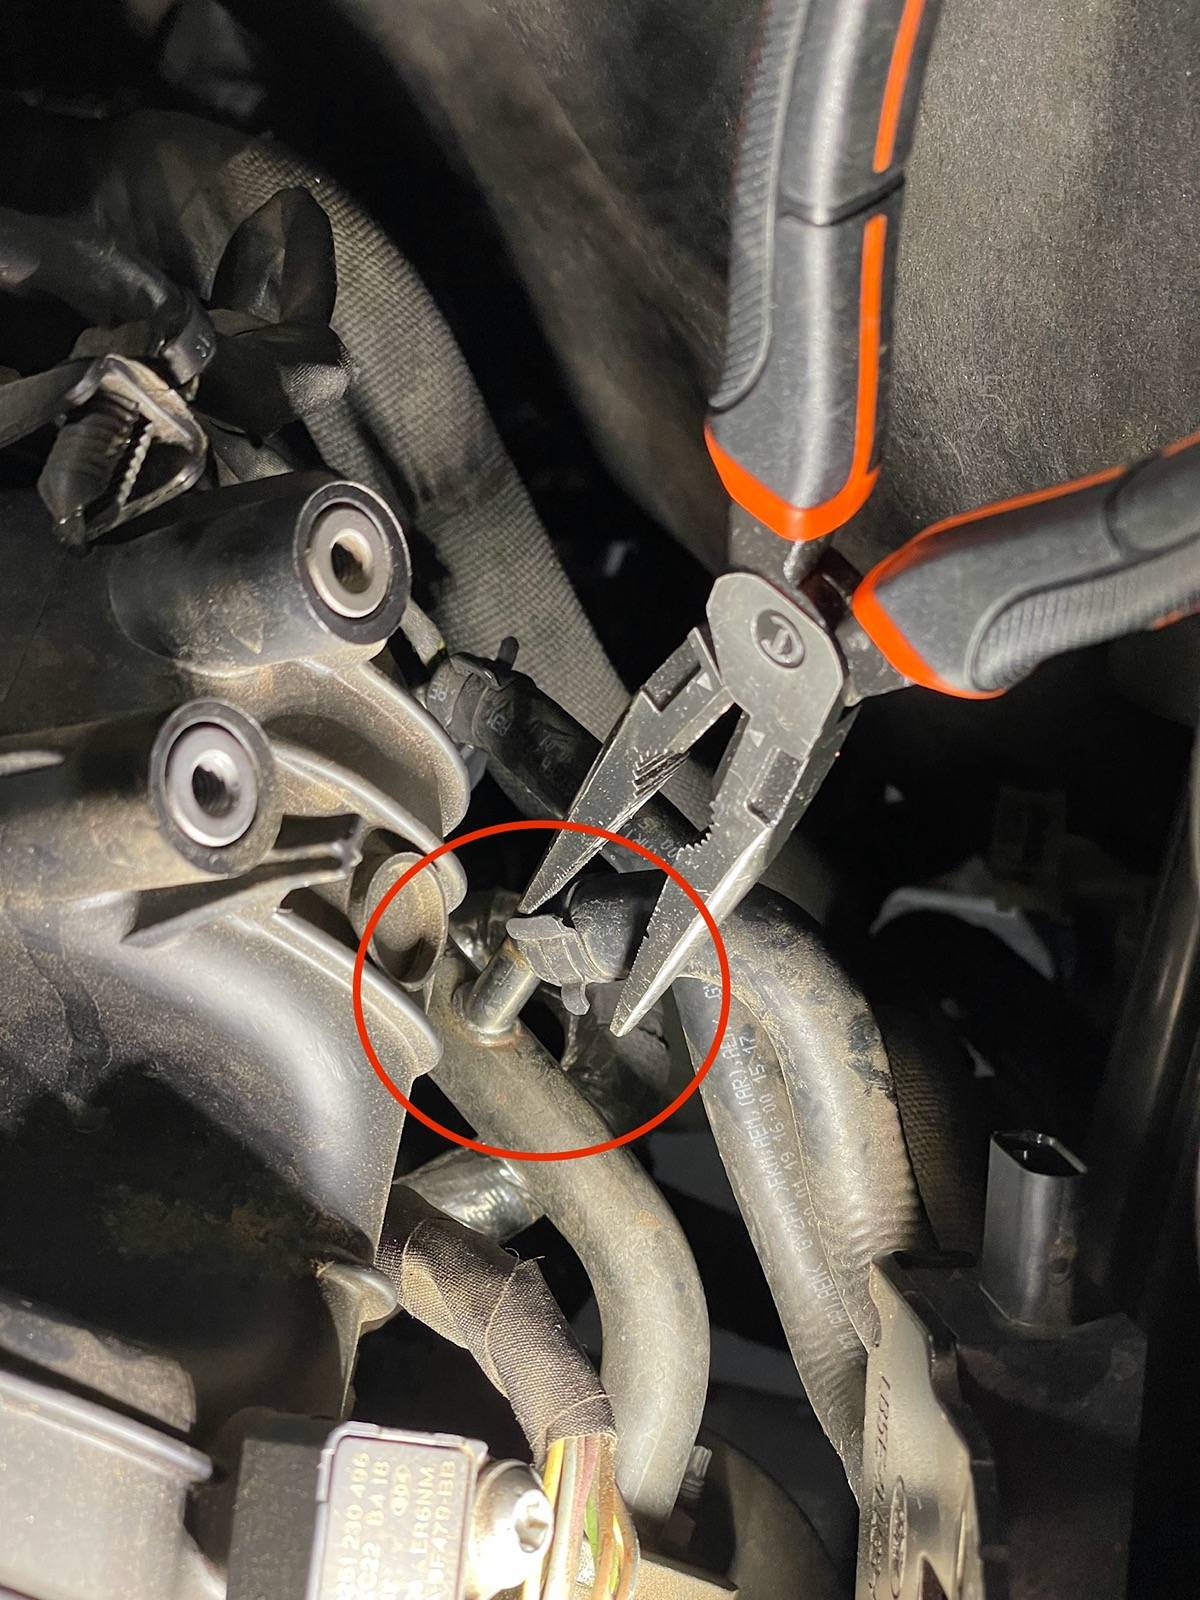
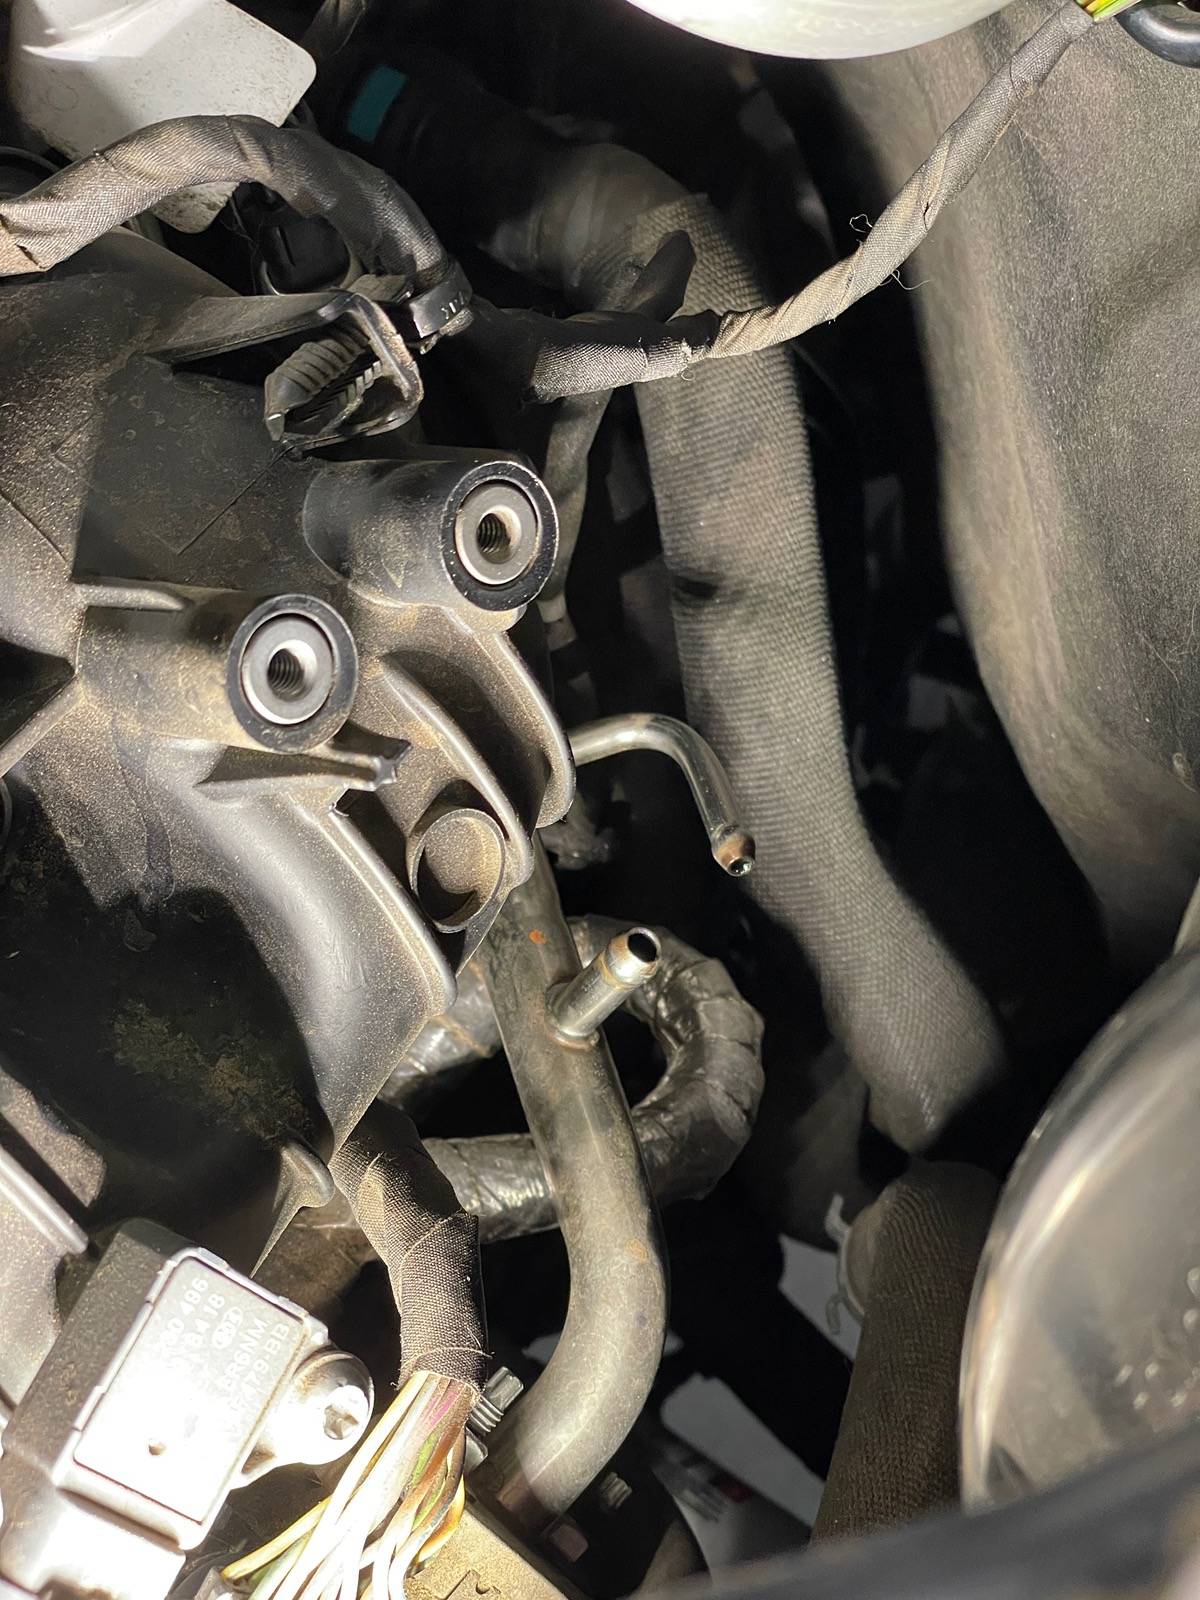
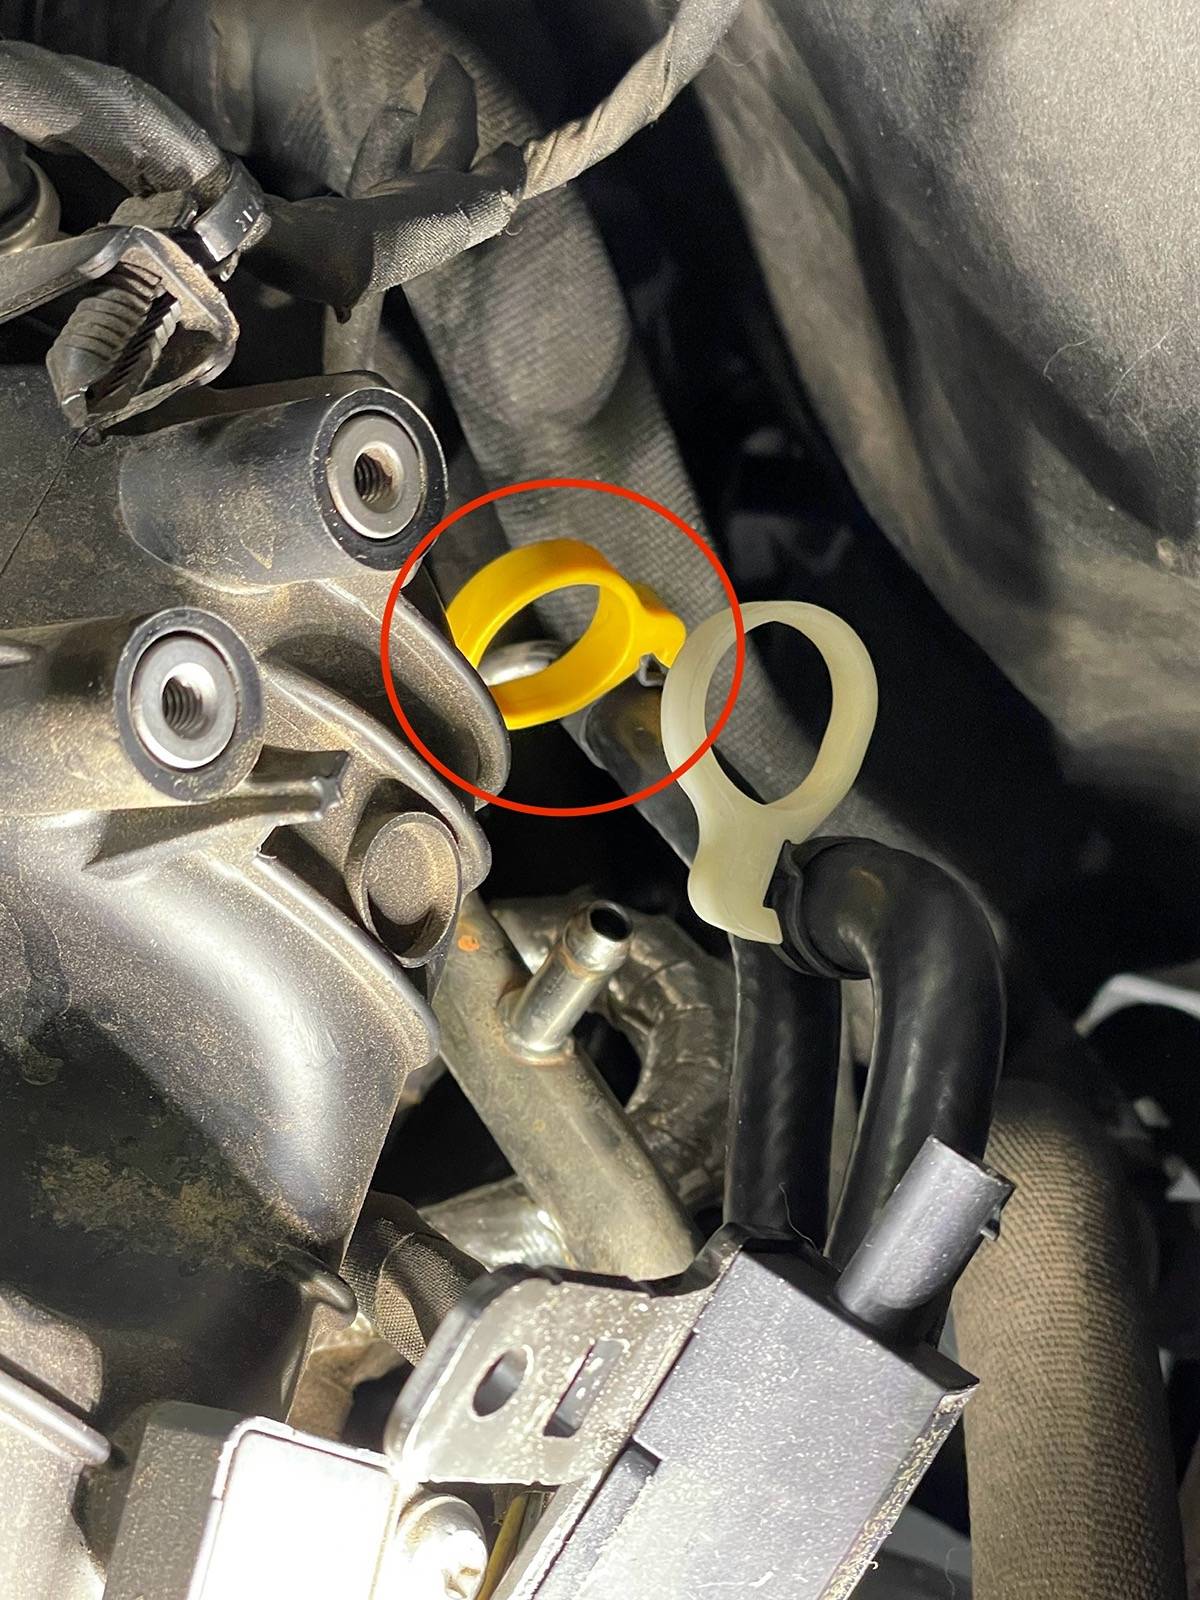
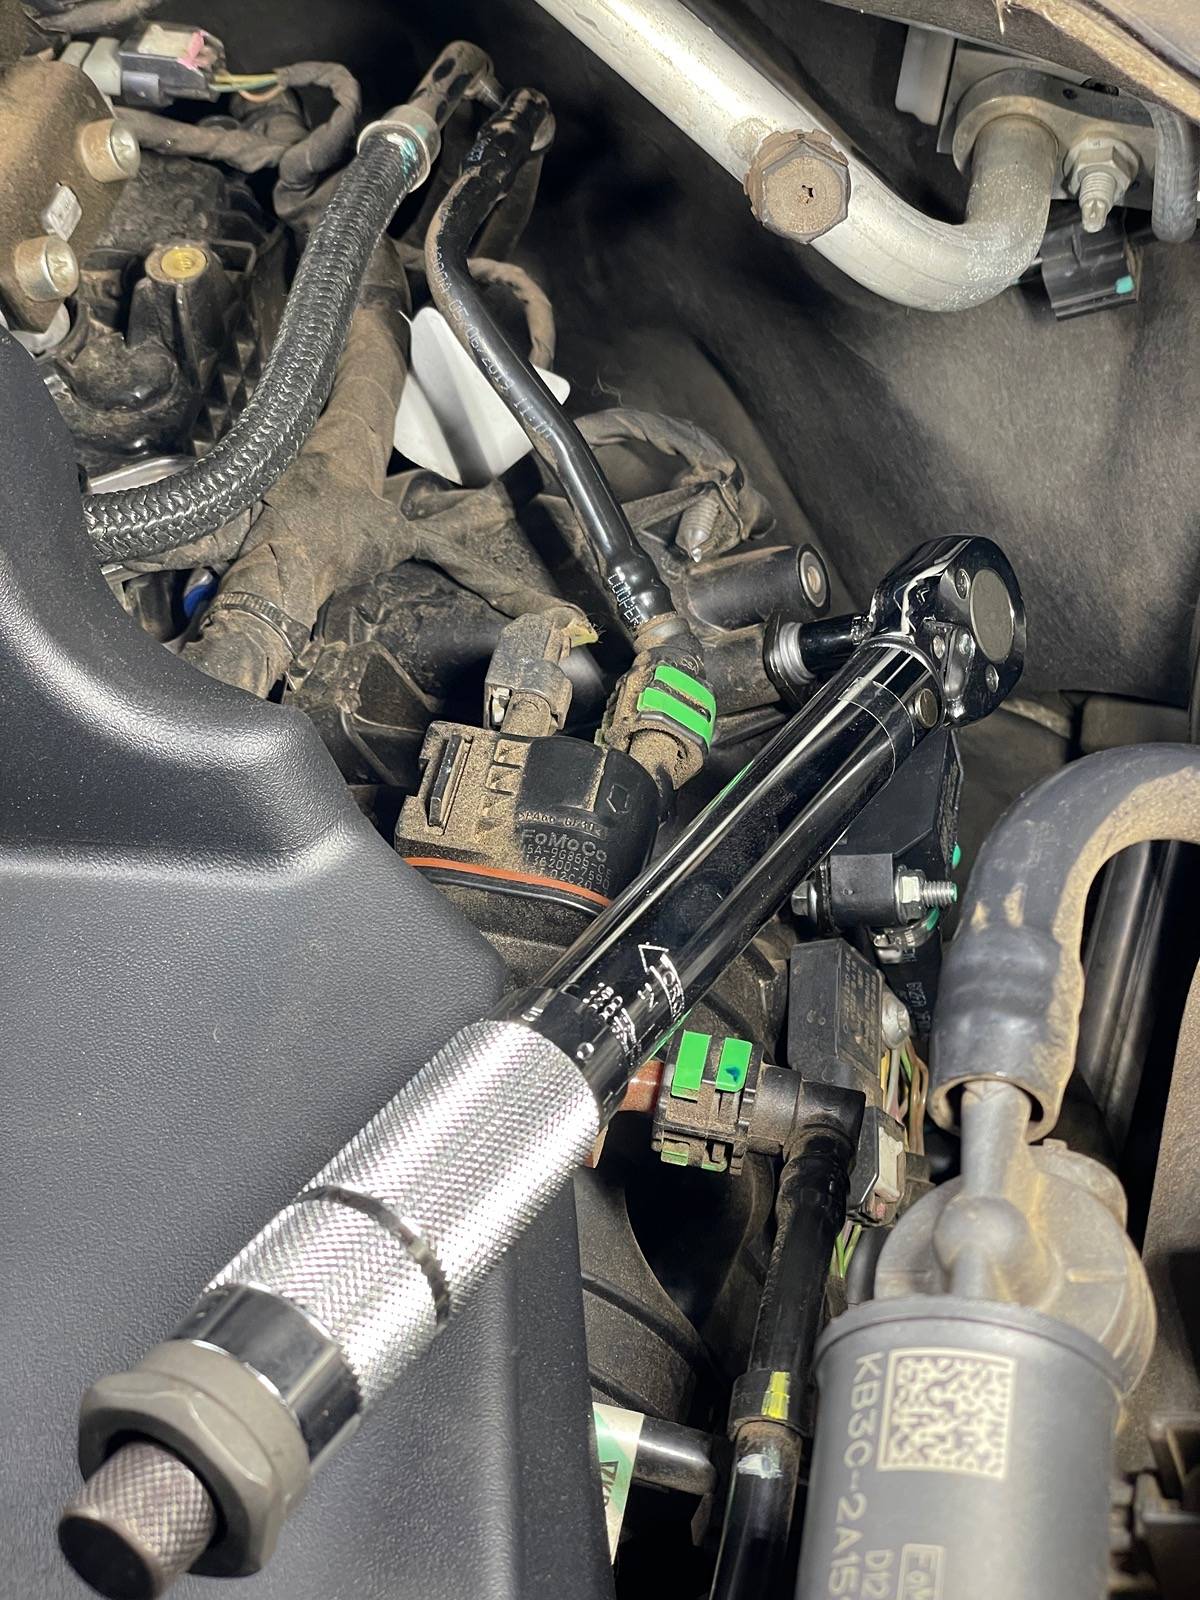
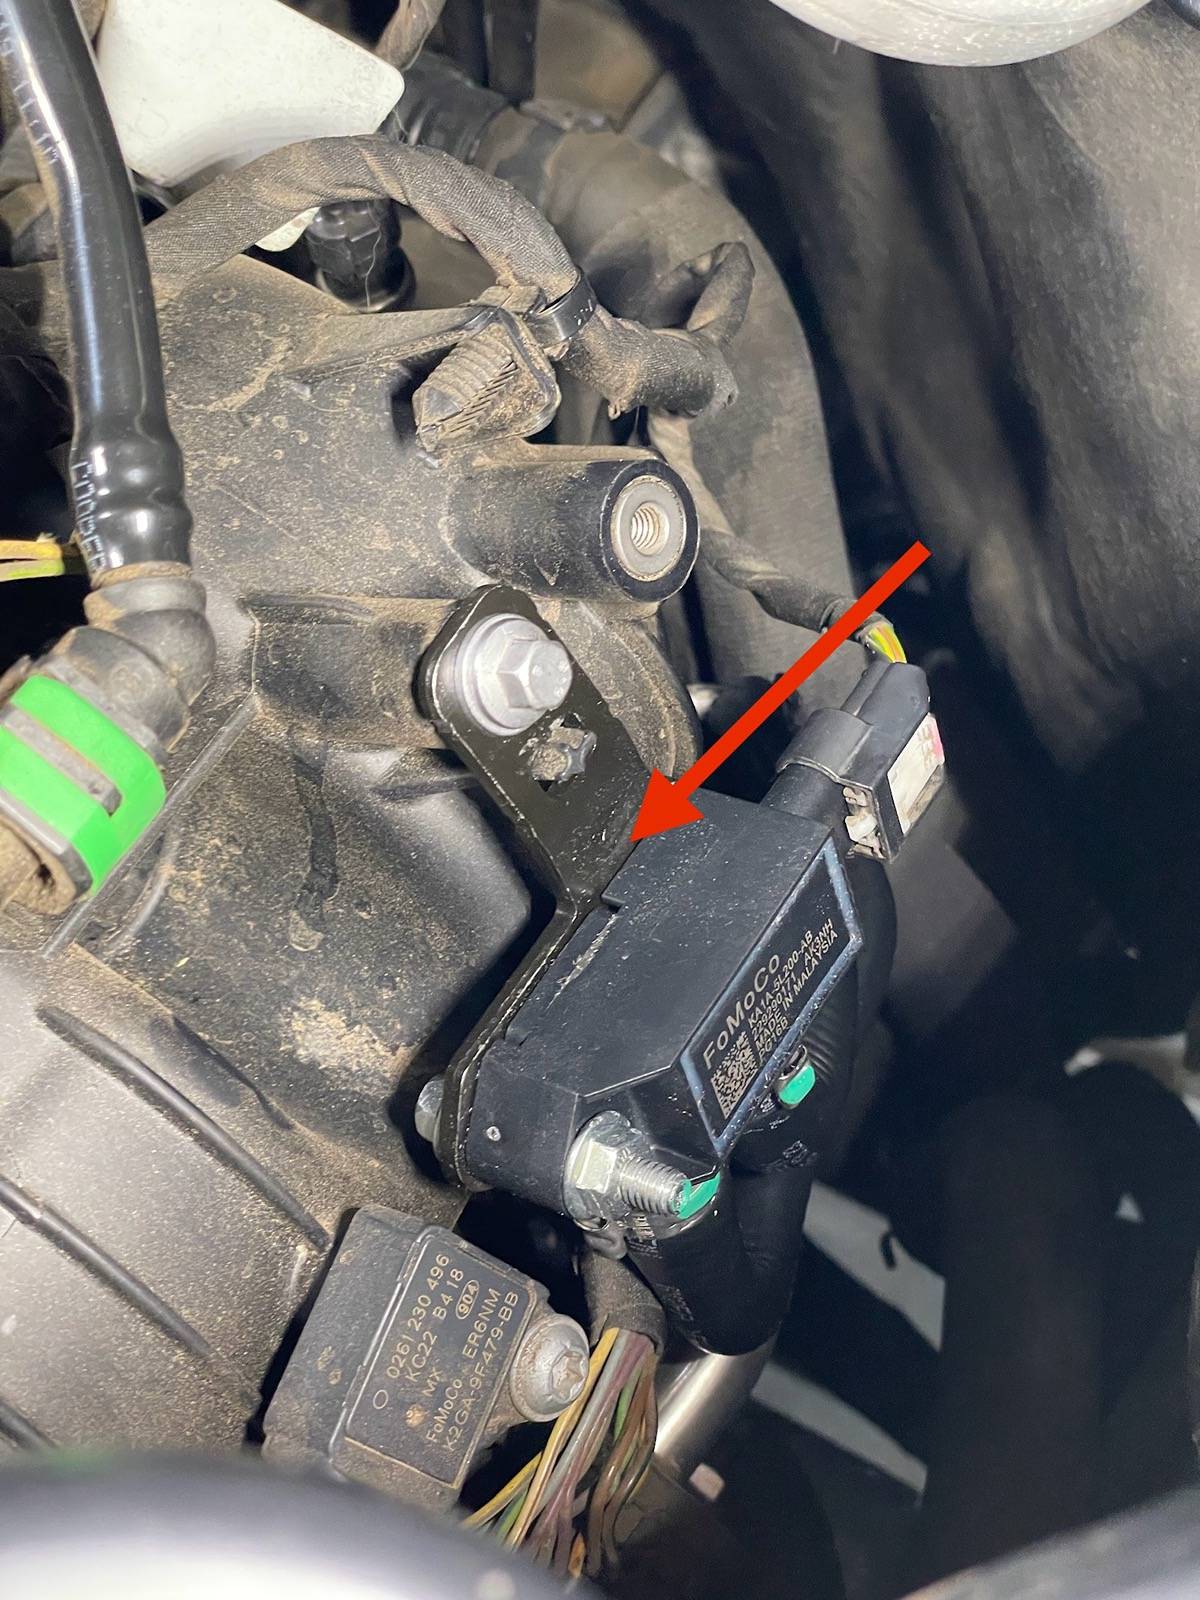
To anybody considering getting just the sensor and not the assembly to save some money....I wouldn't reccomend it. It took about 2 minutes to put the new assembly on. It would have been a nightmare dealing with radiator clamps with how tight everything was. It probably would have been easier if I weren't so damn short.
To anybody considering getting just the sensor and not the assembly to save some money....I wouldn't reccomend it. It took about 2 minutes to put the new assembly on. It would have been a nightmare dealing with radiator clamps with how tight everything was. It probably would have been easier if I weren't so damn short.
Sponsored