JACKSMYDOG
Well-Known Member
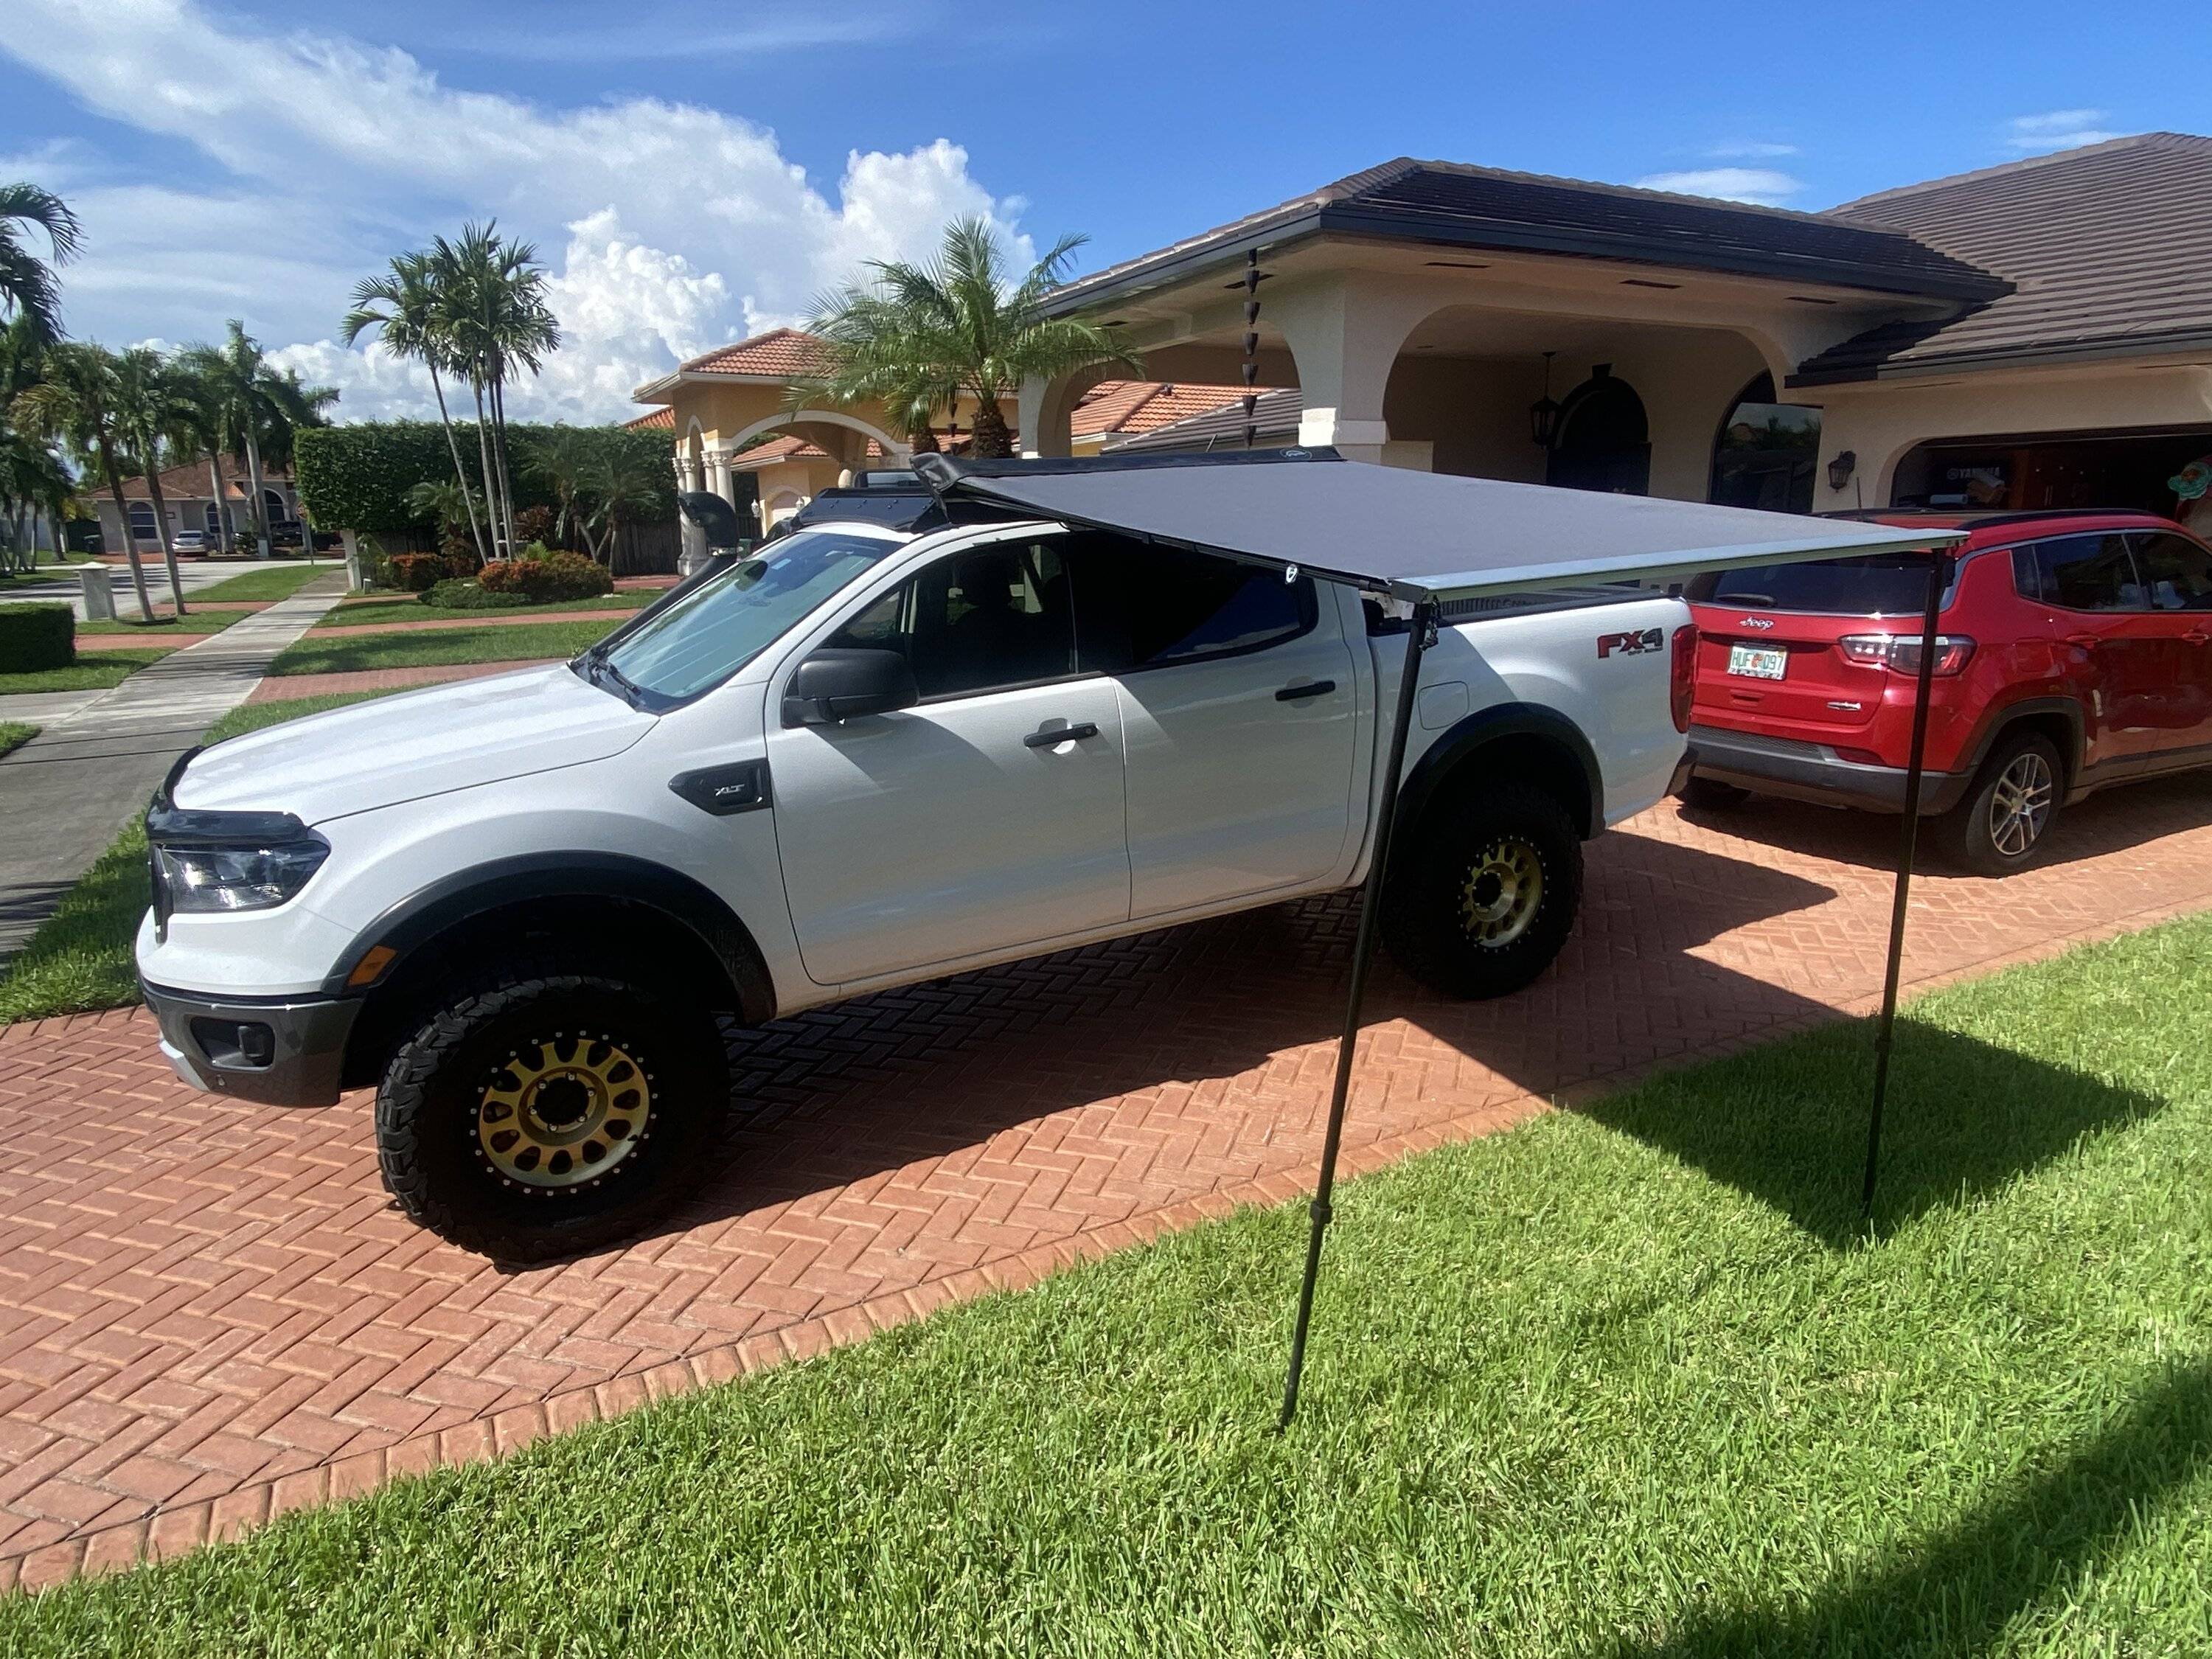
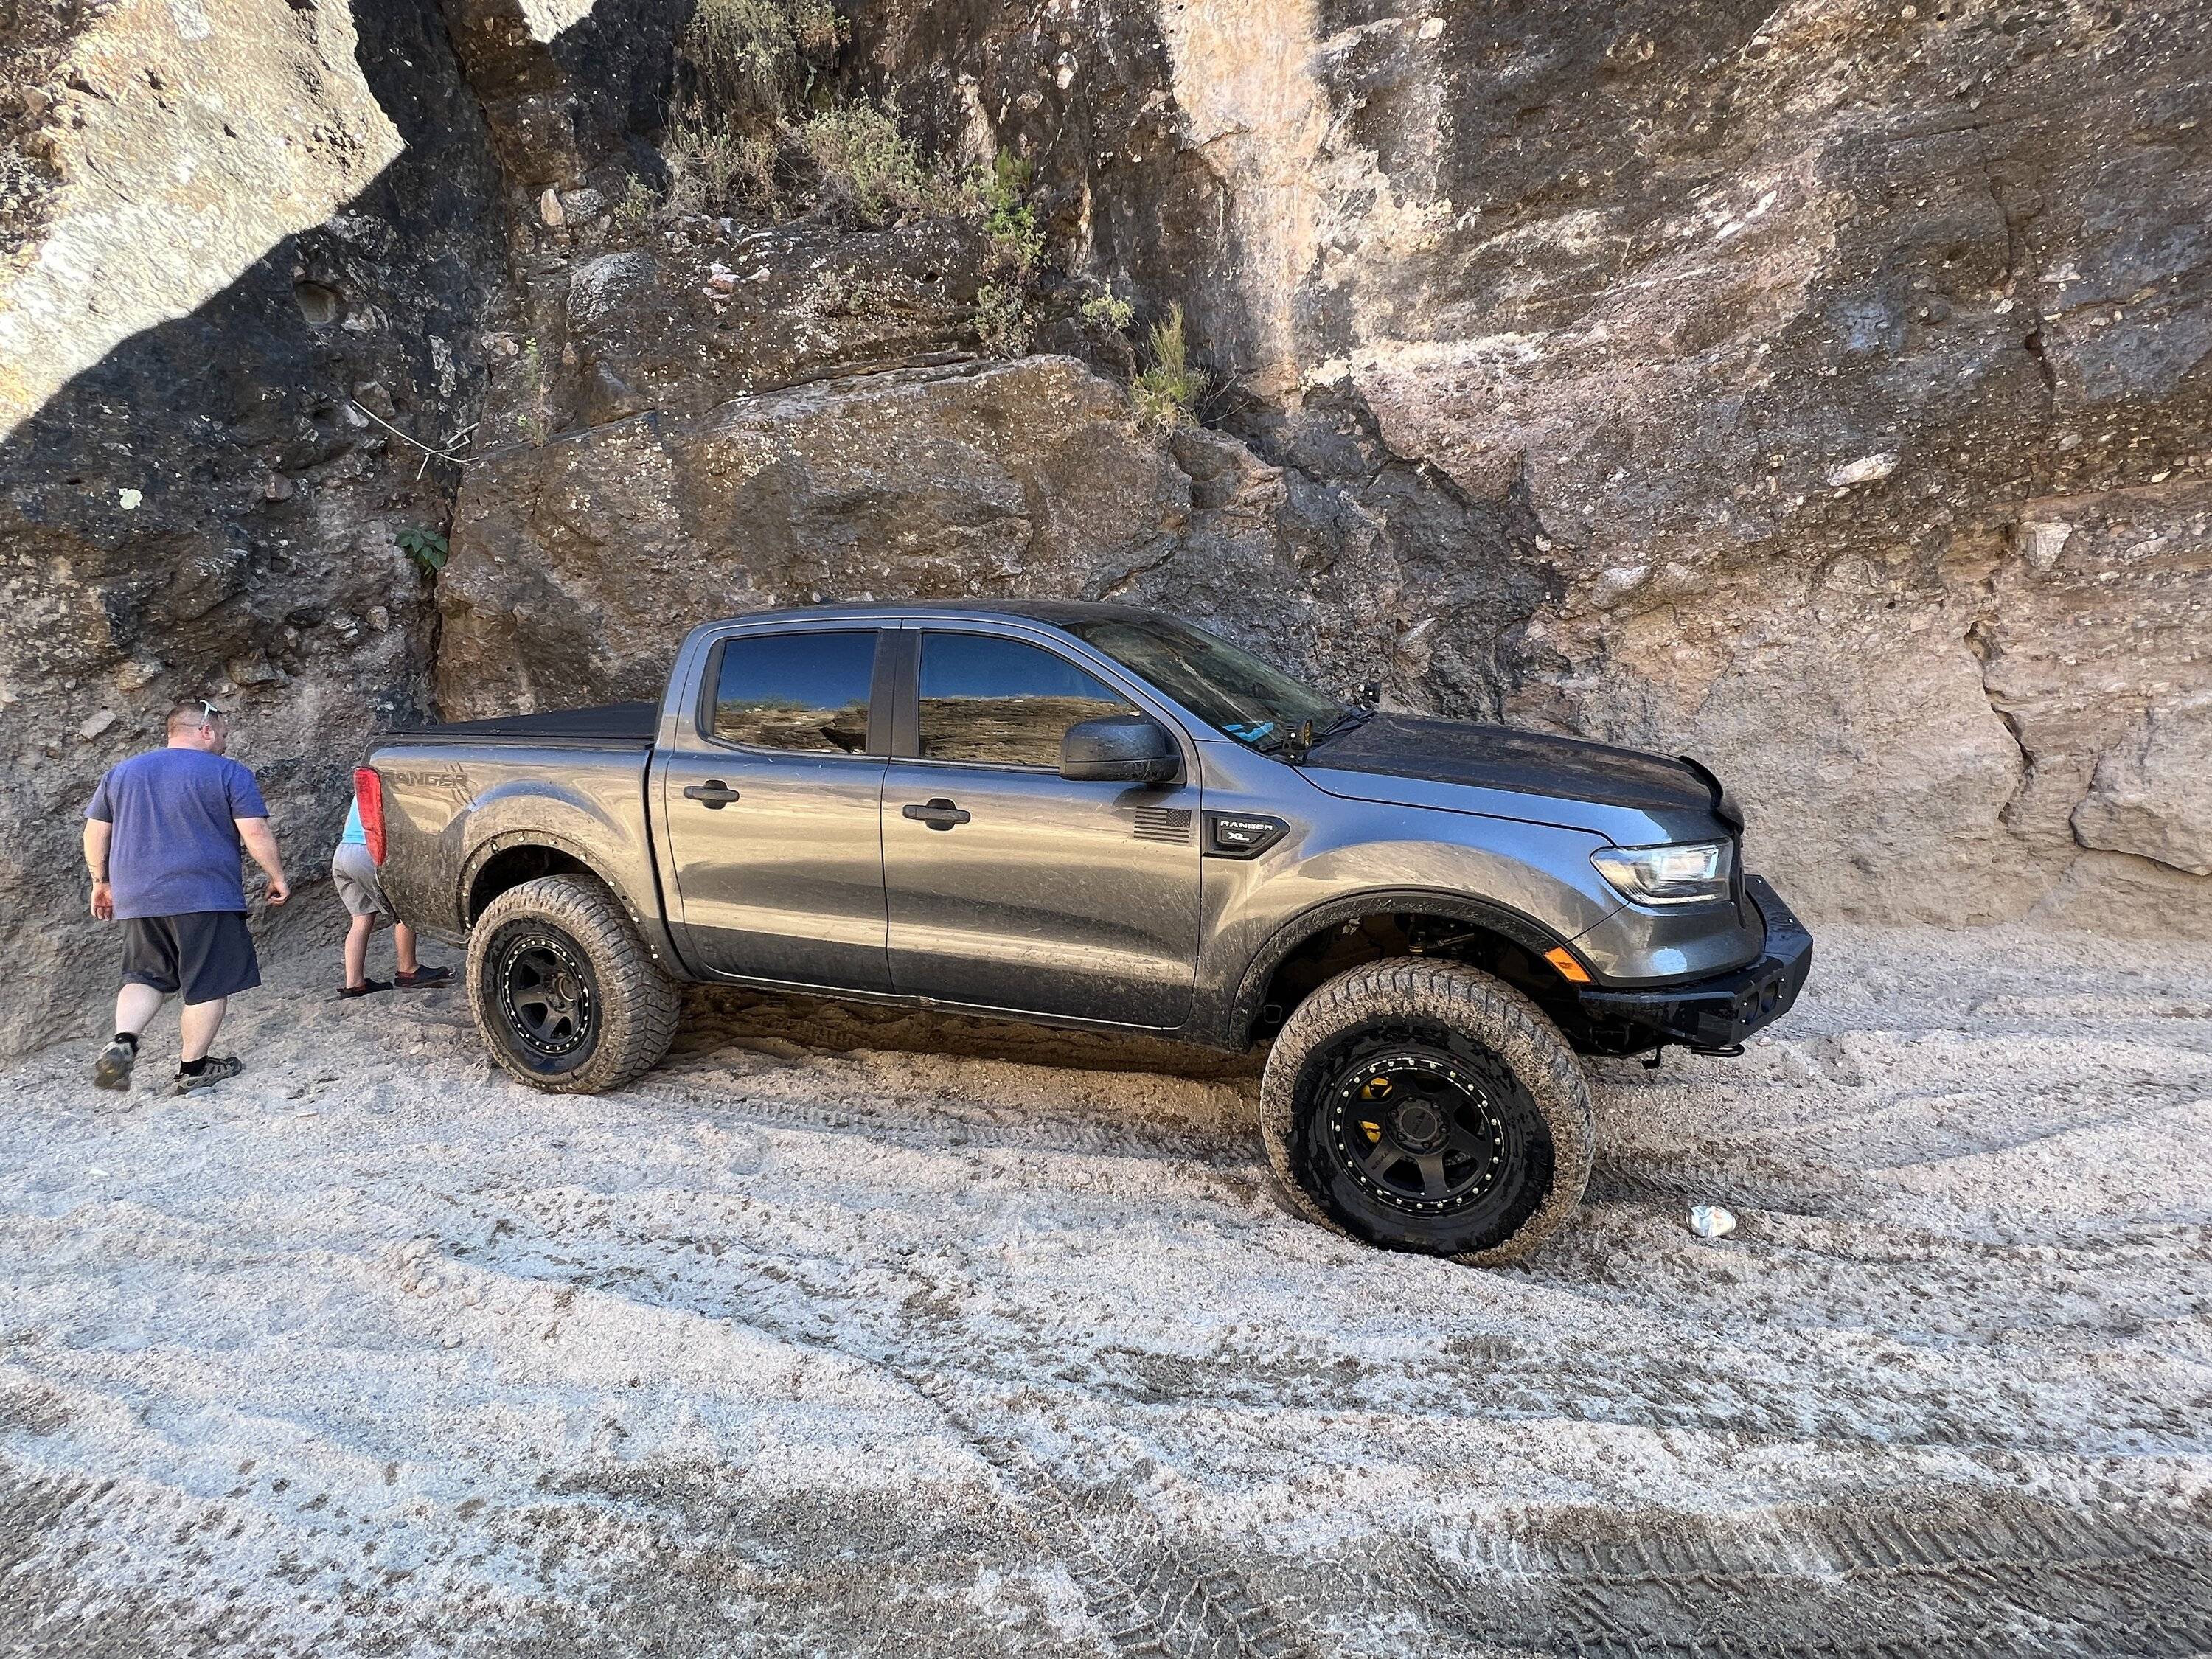
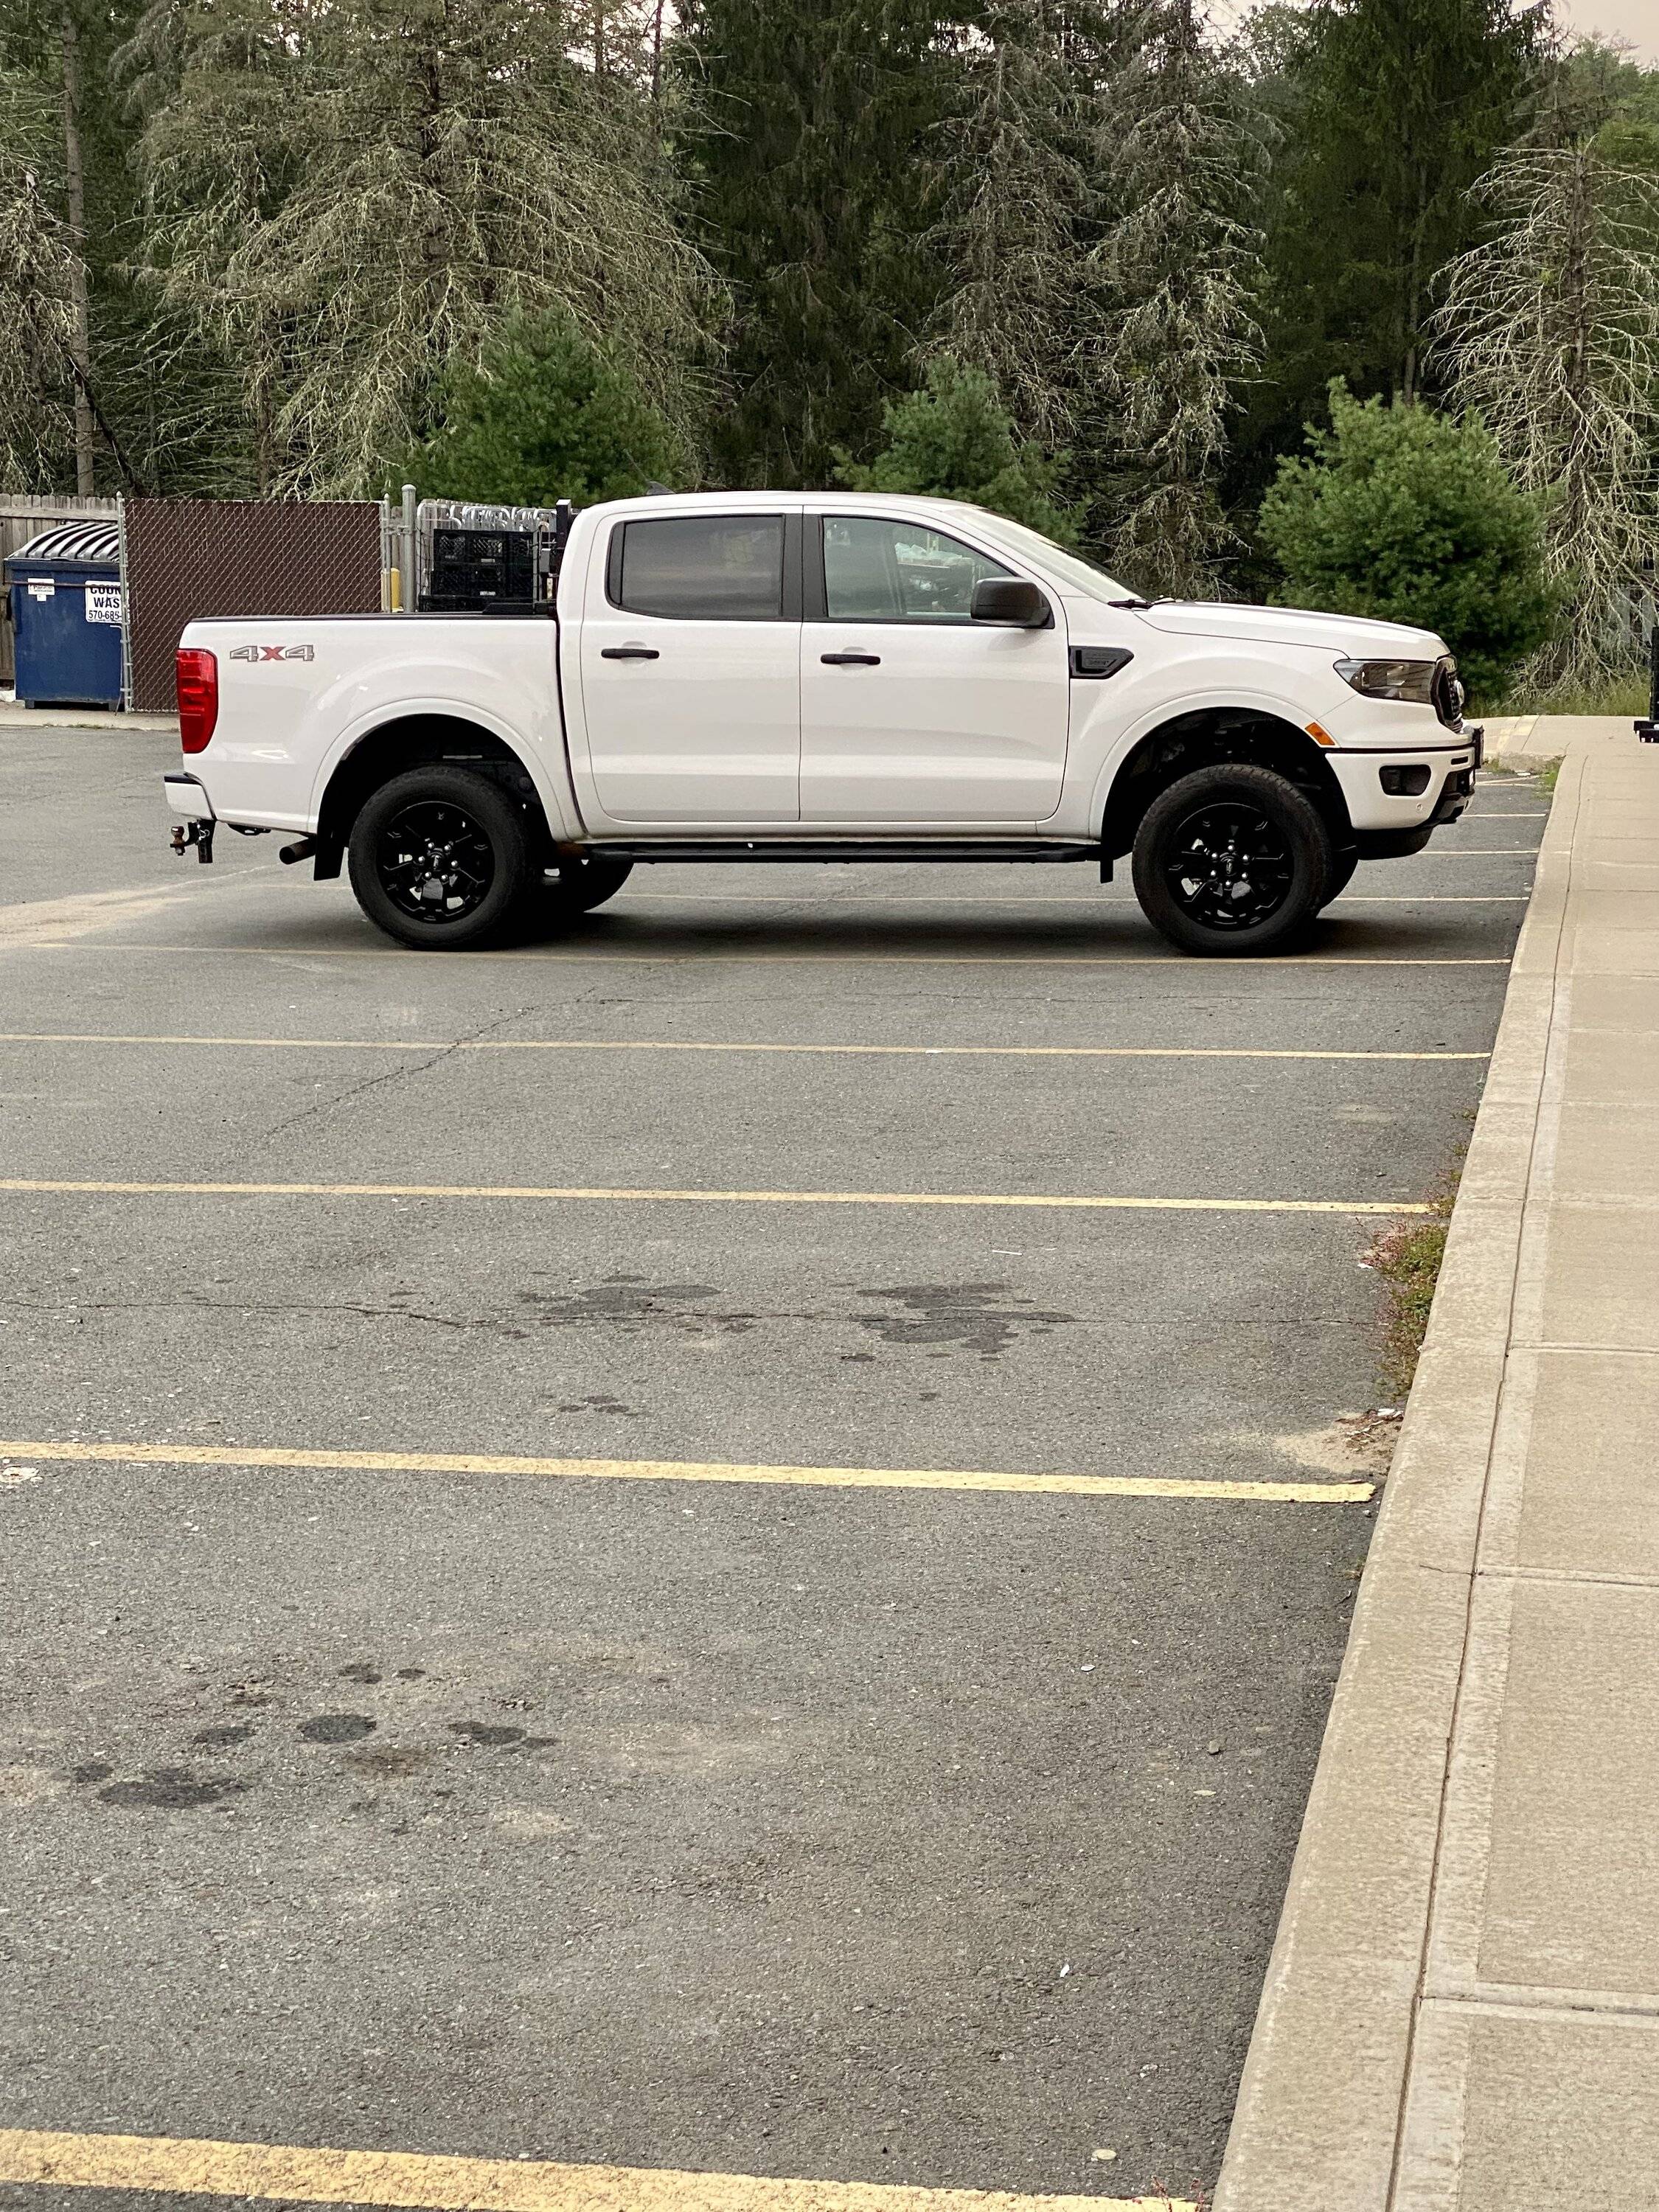
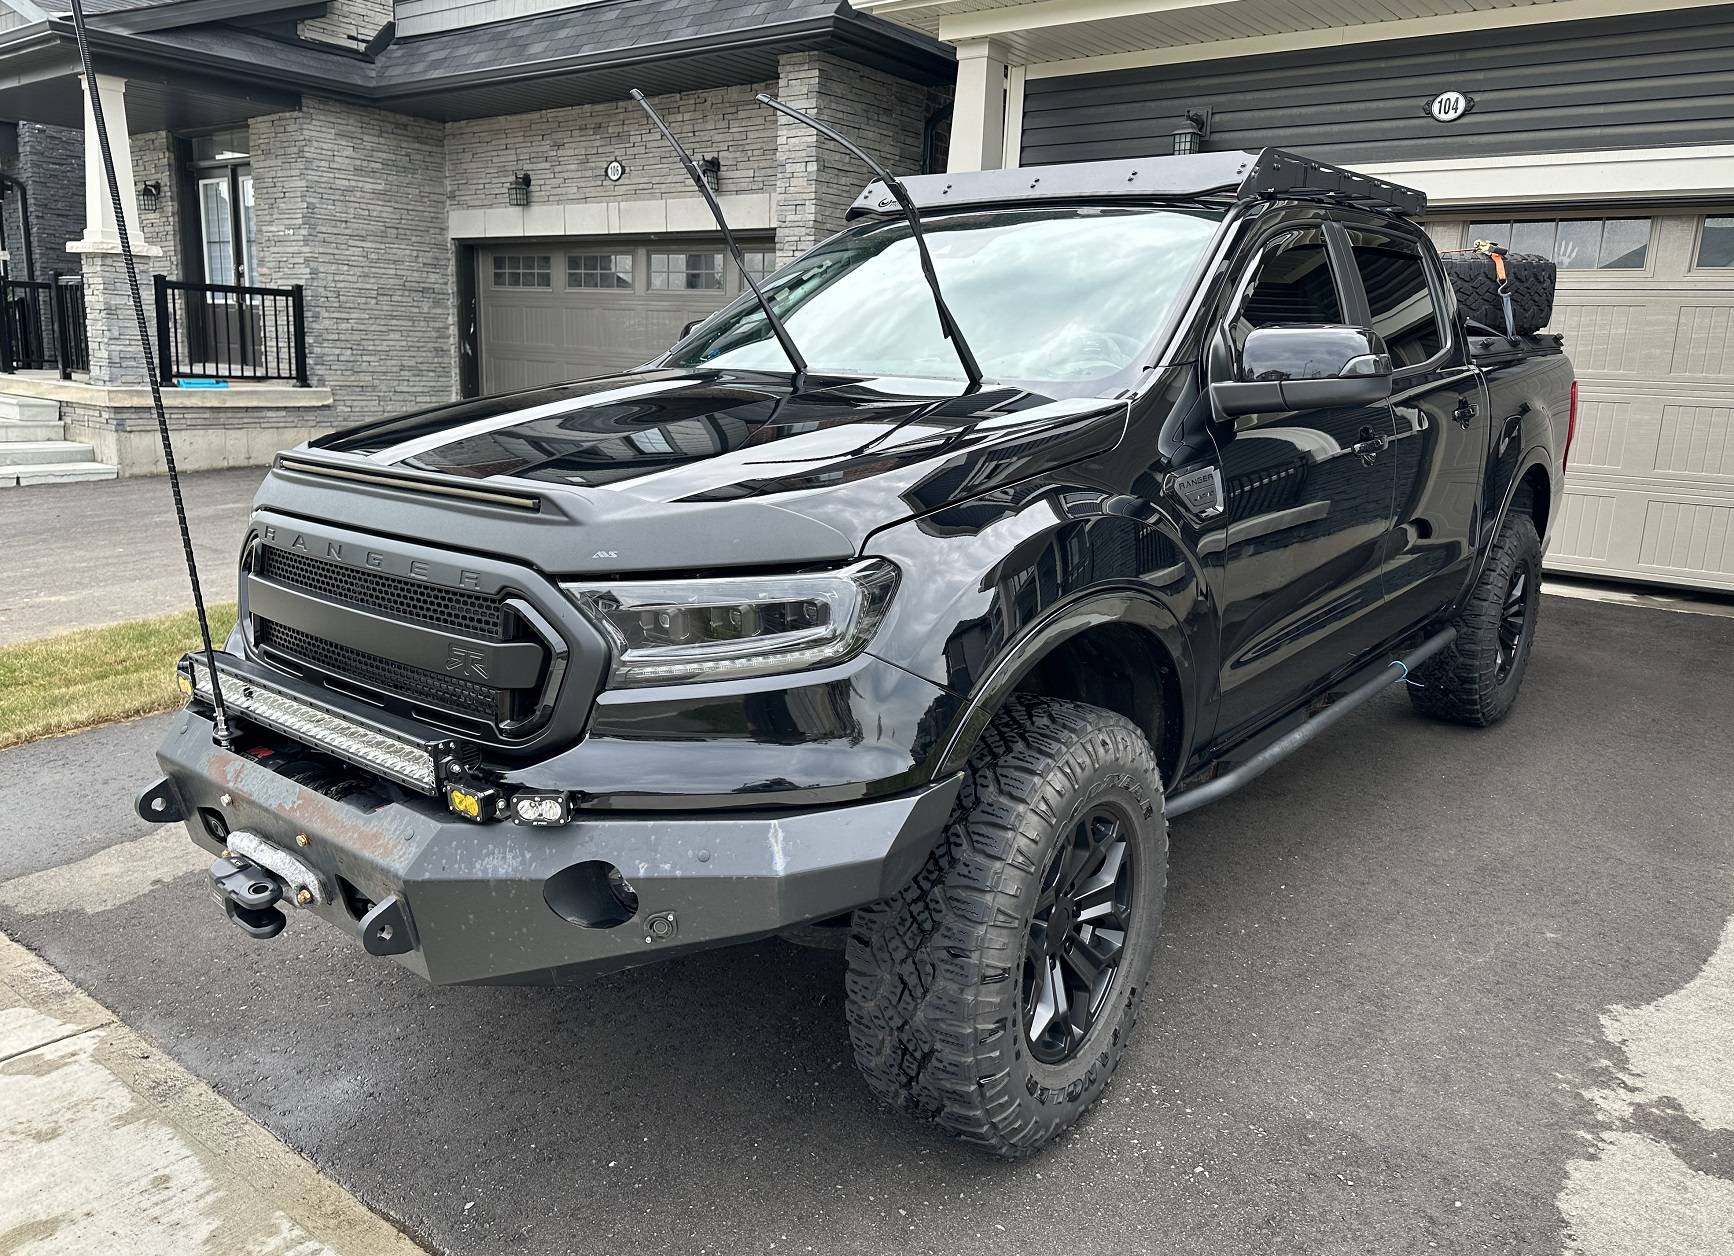
I've had my Ranger 857 days, and today it finally got a full hand wash, lol. I'm off-road pretty often and live rural lake side, so it gets dirt and bugs in every crack and crevice, which takes forever to get it all proper clean. I have a few projects this week which require 3M tape applications, so a good cleaning was in order before those.... unfortunately.
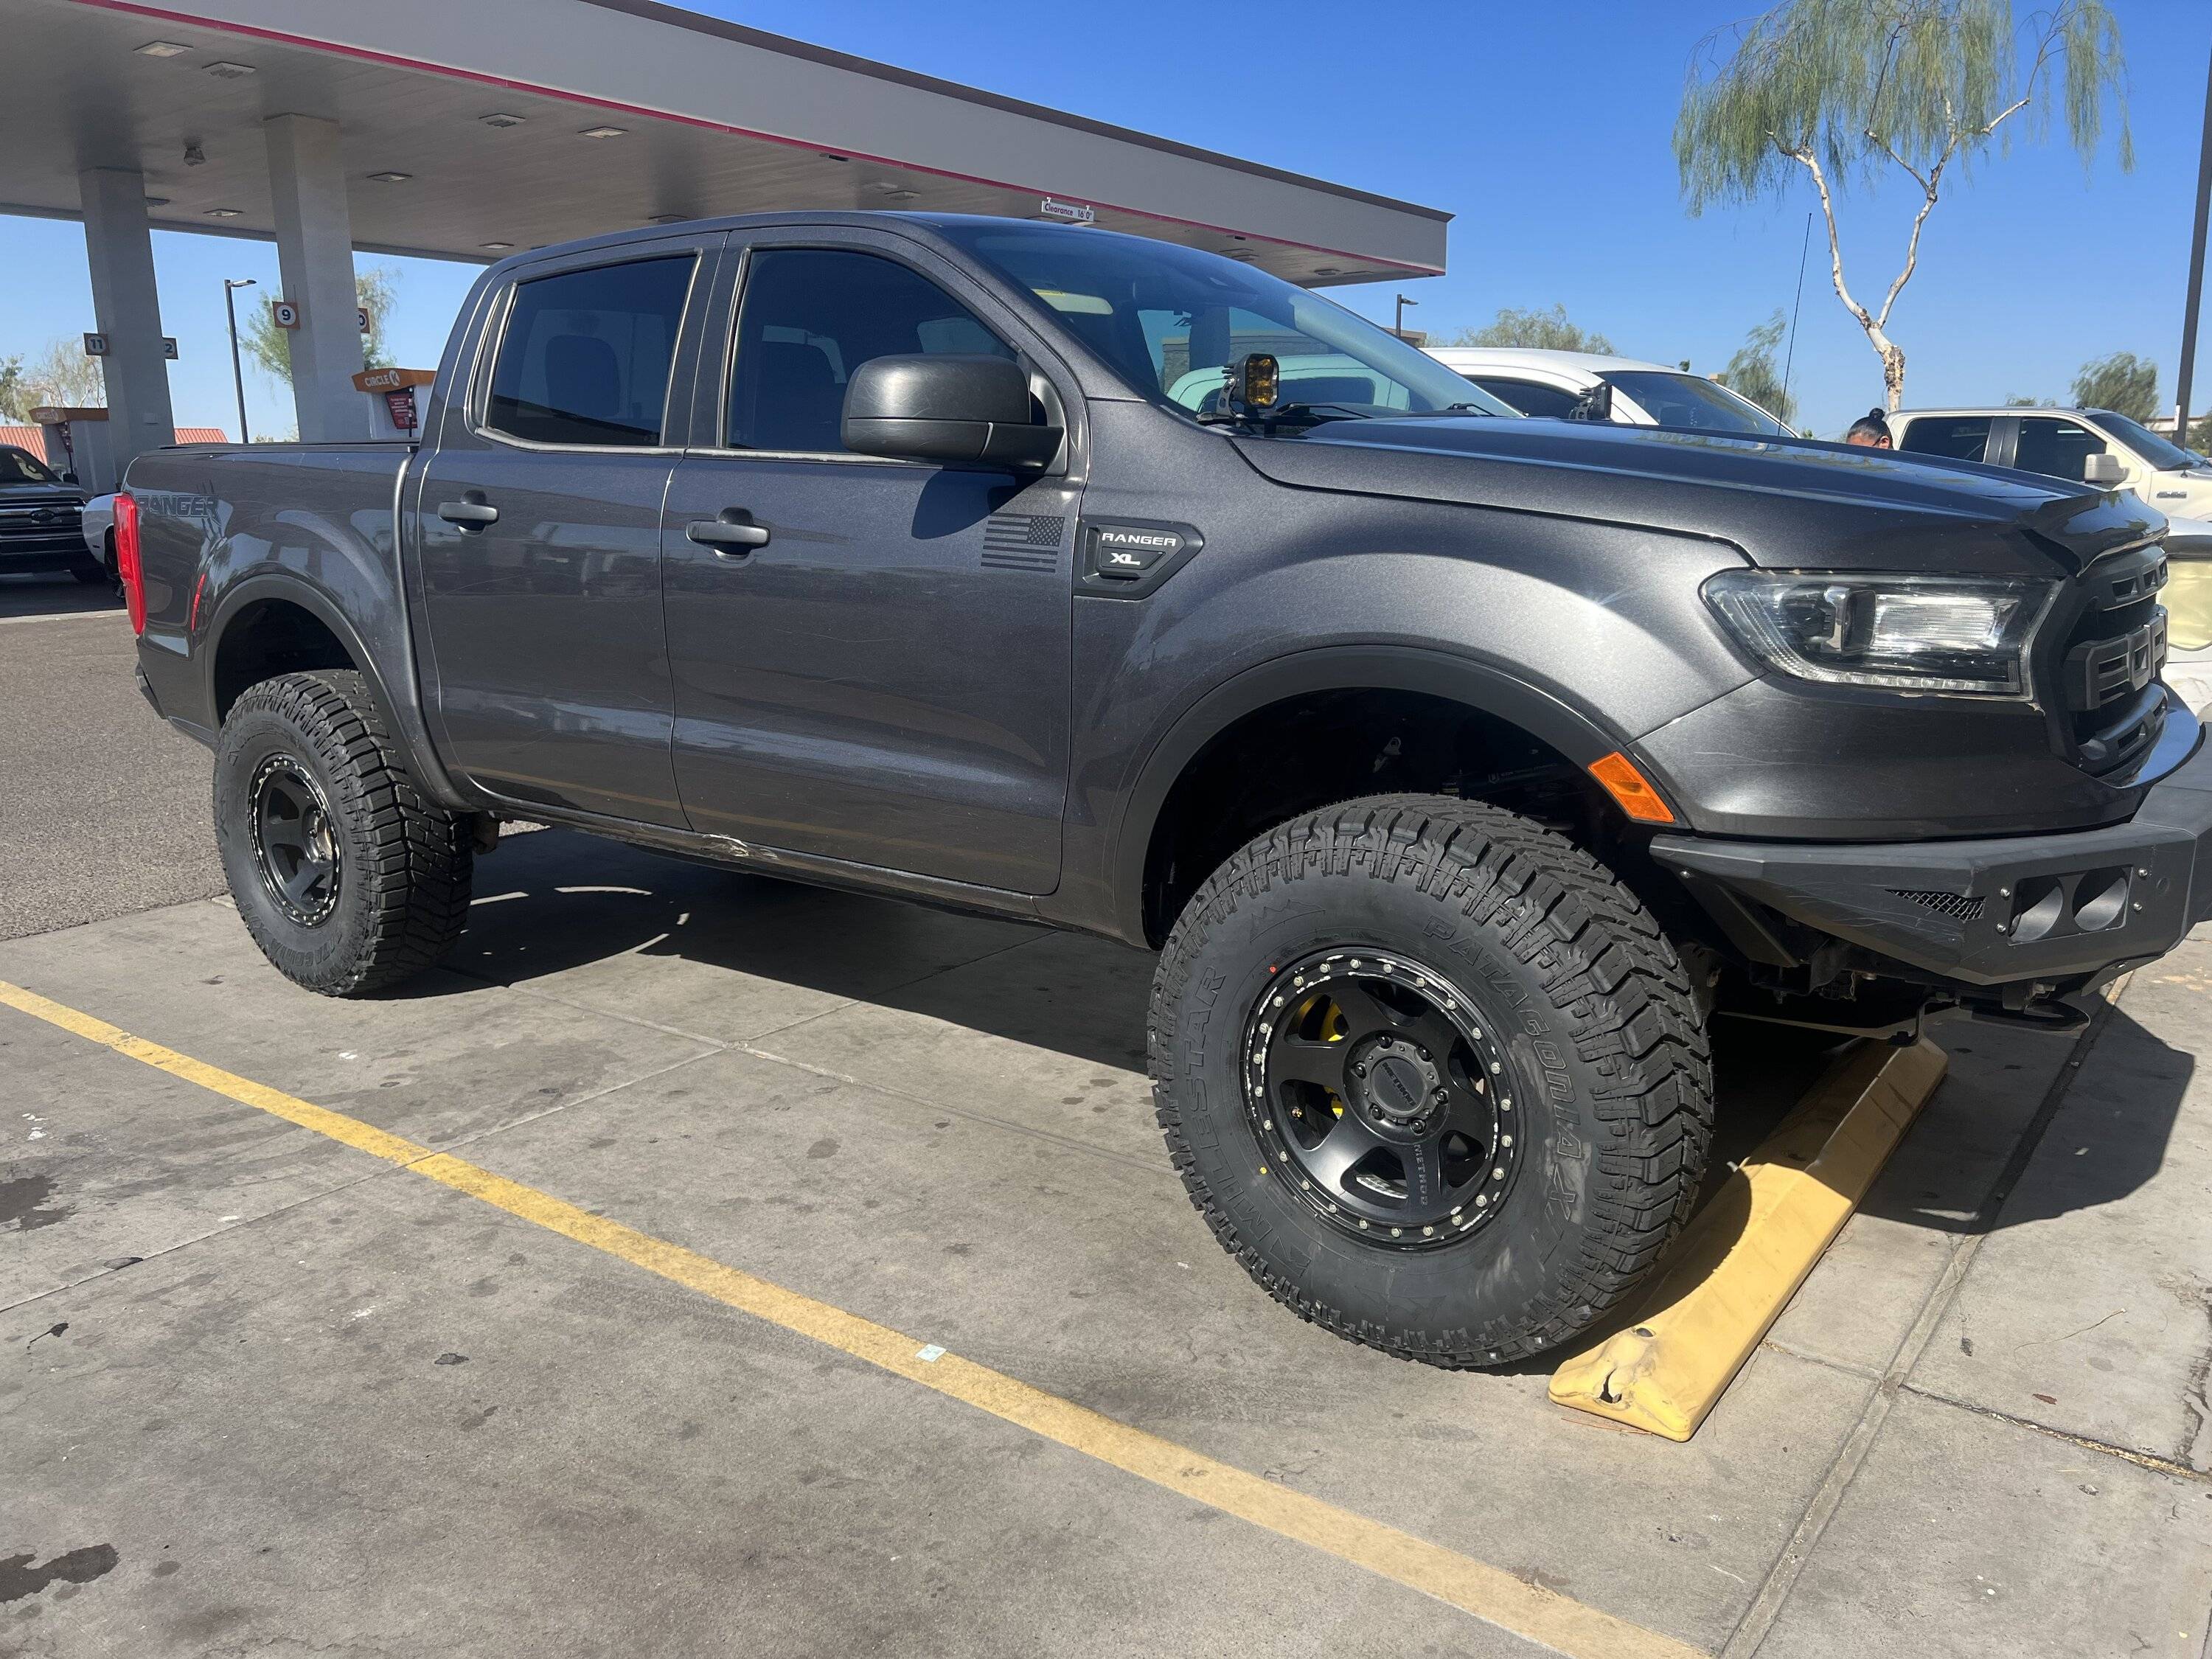
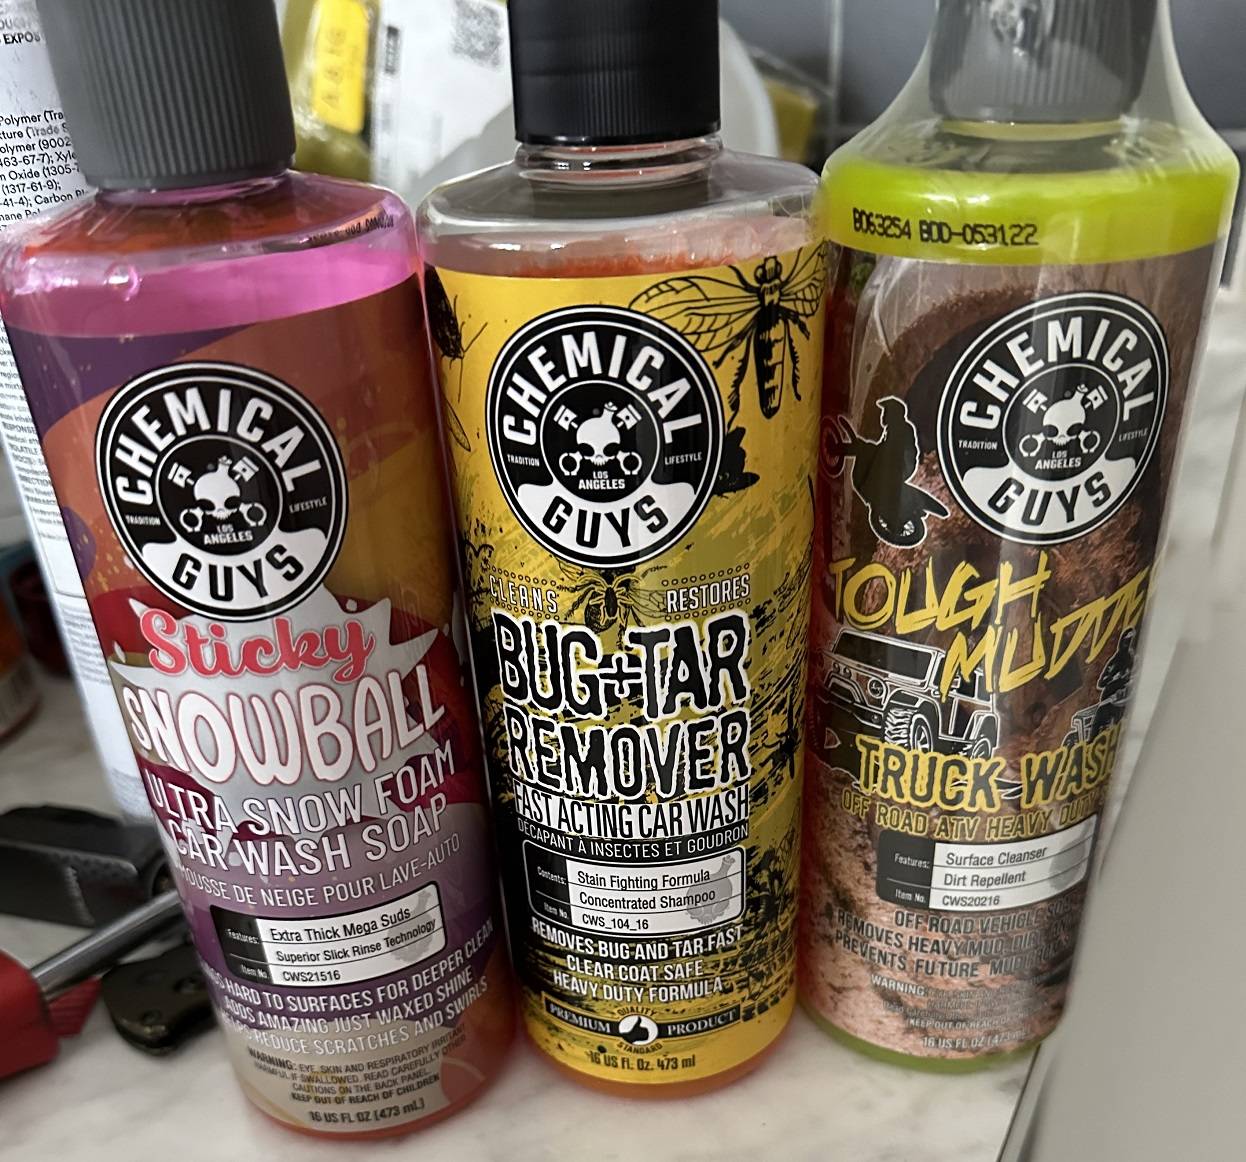
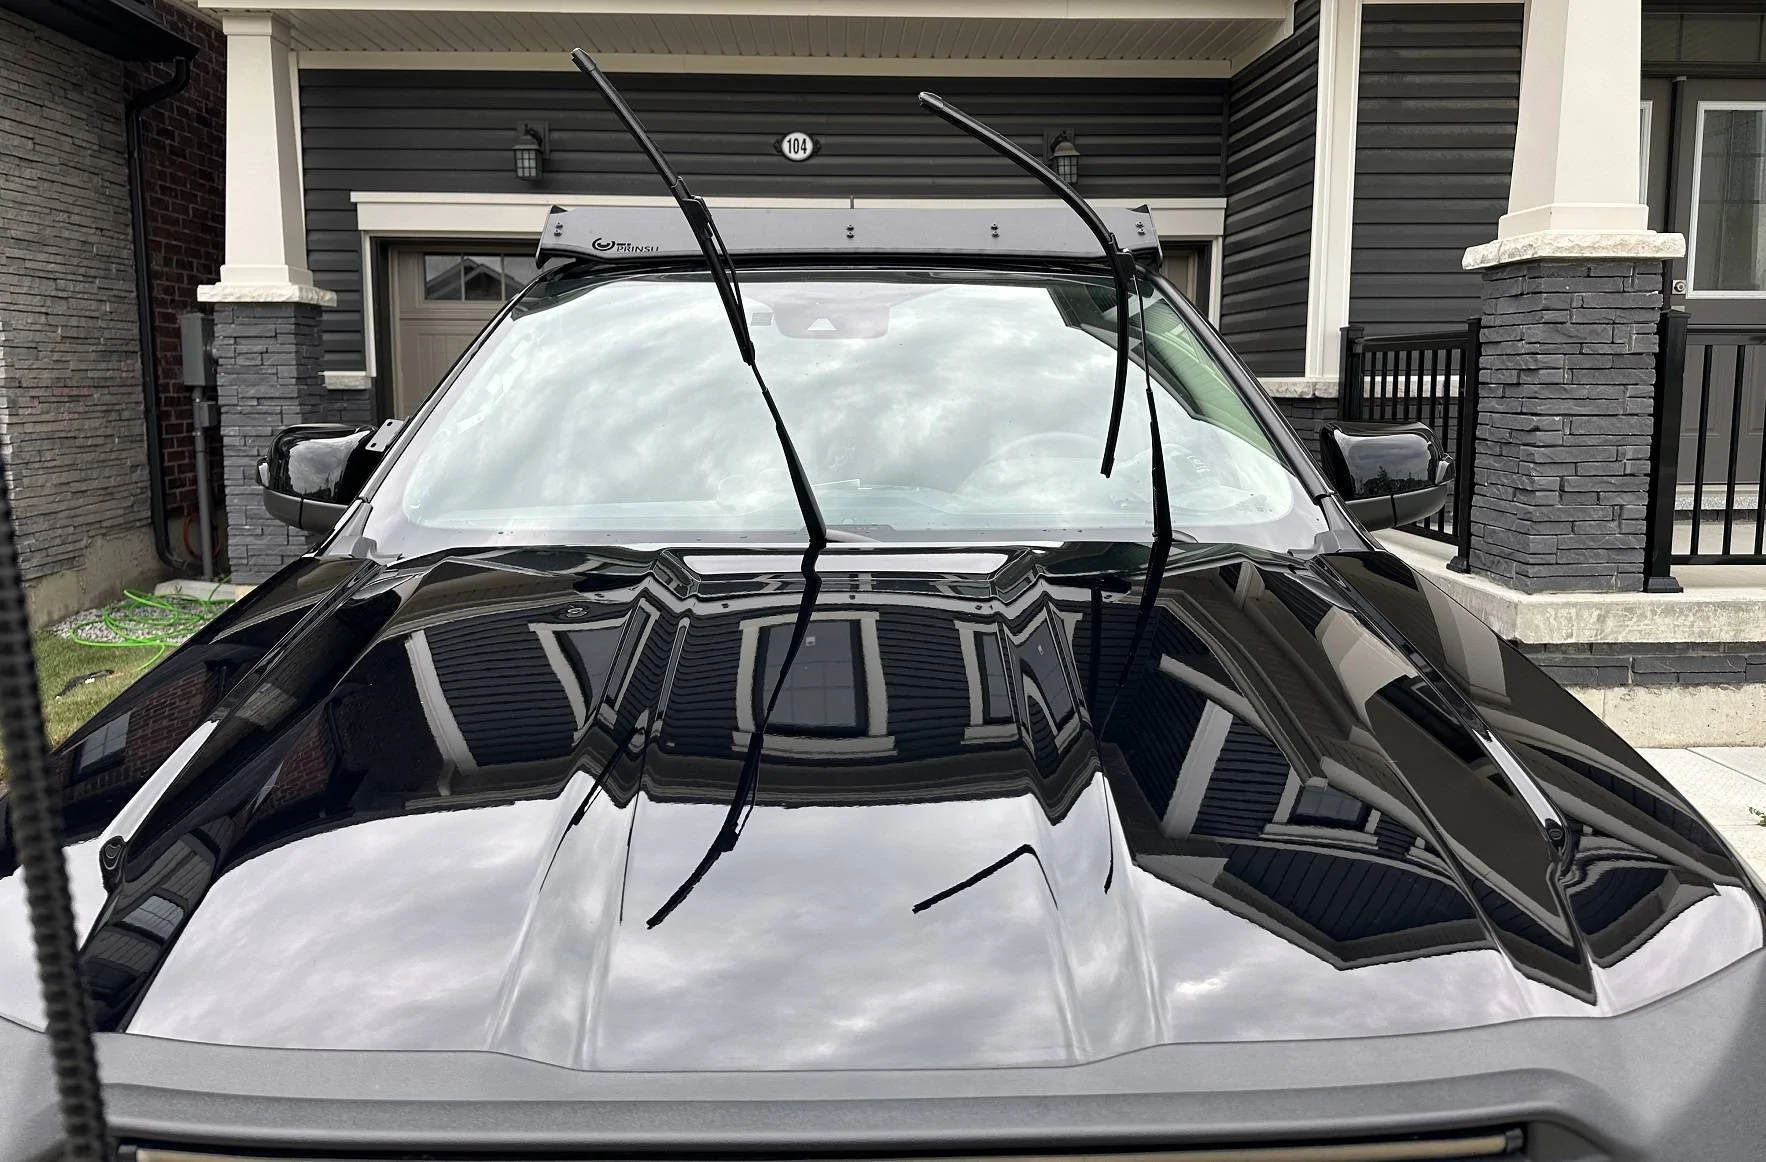
First was a complete hand wash with Chem guys Bug & Tar, including a moderate job on the wheels, then a complete foam cannon job with the Sticky Snowball.

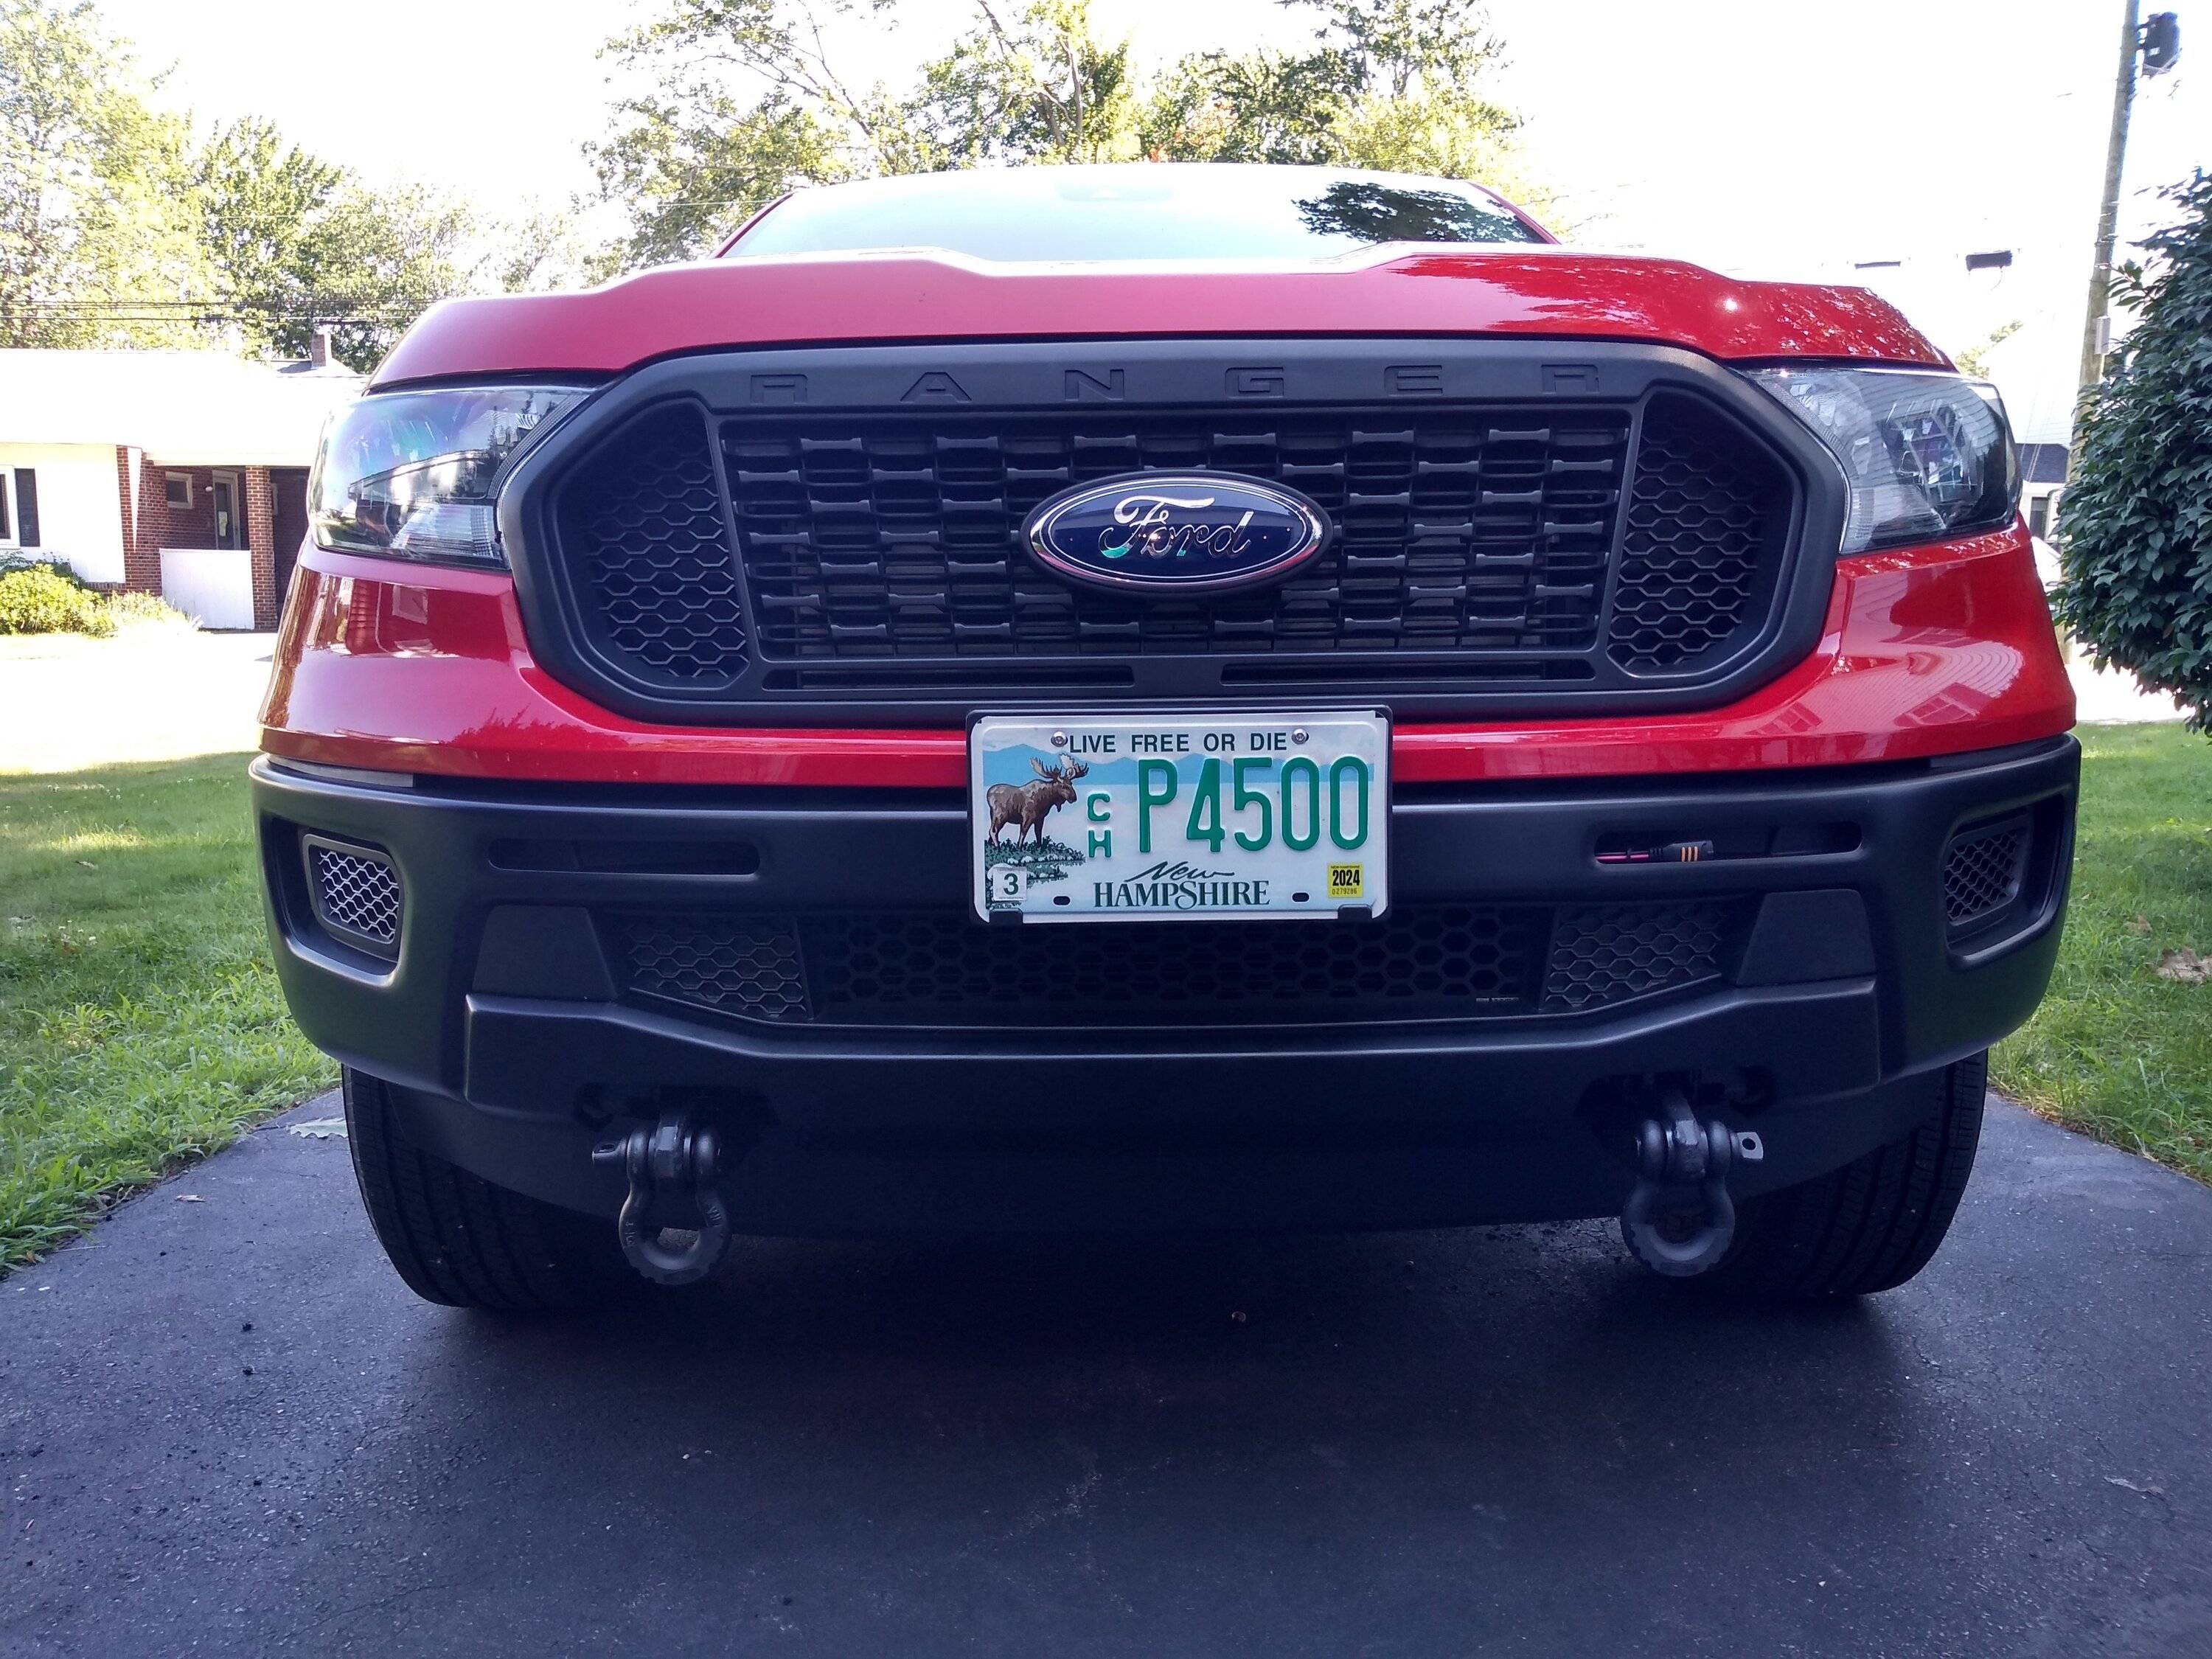
The black paint still has a nice shine when it's exposed.

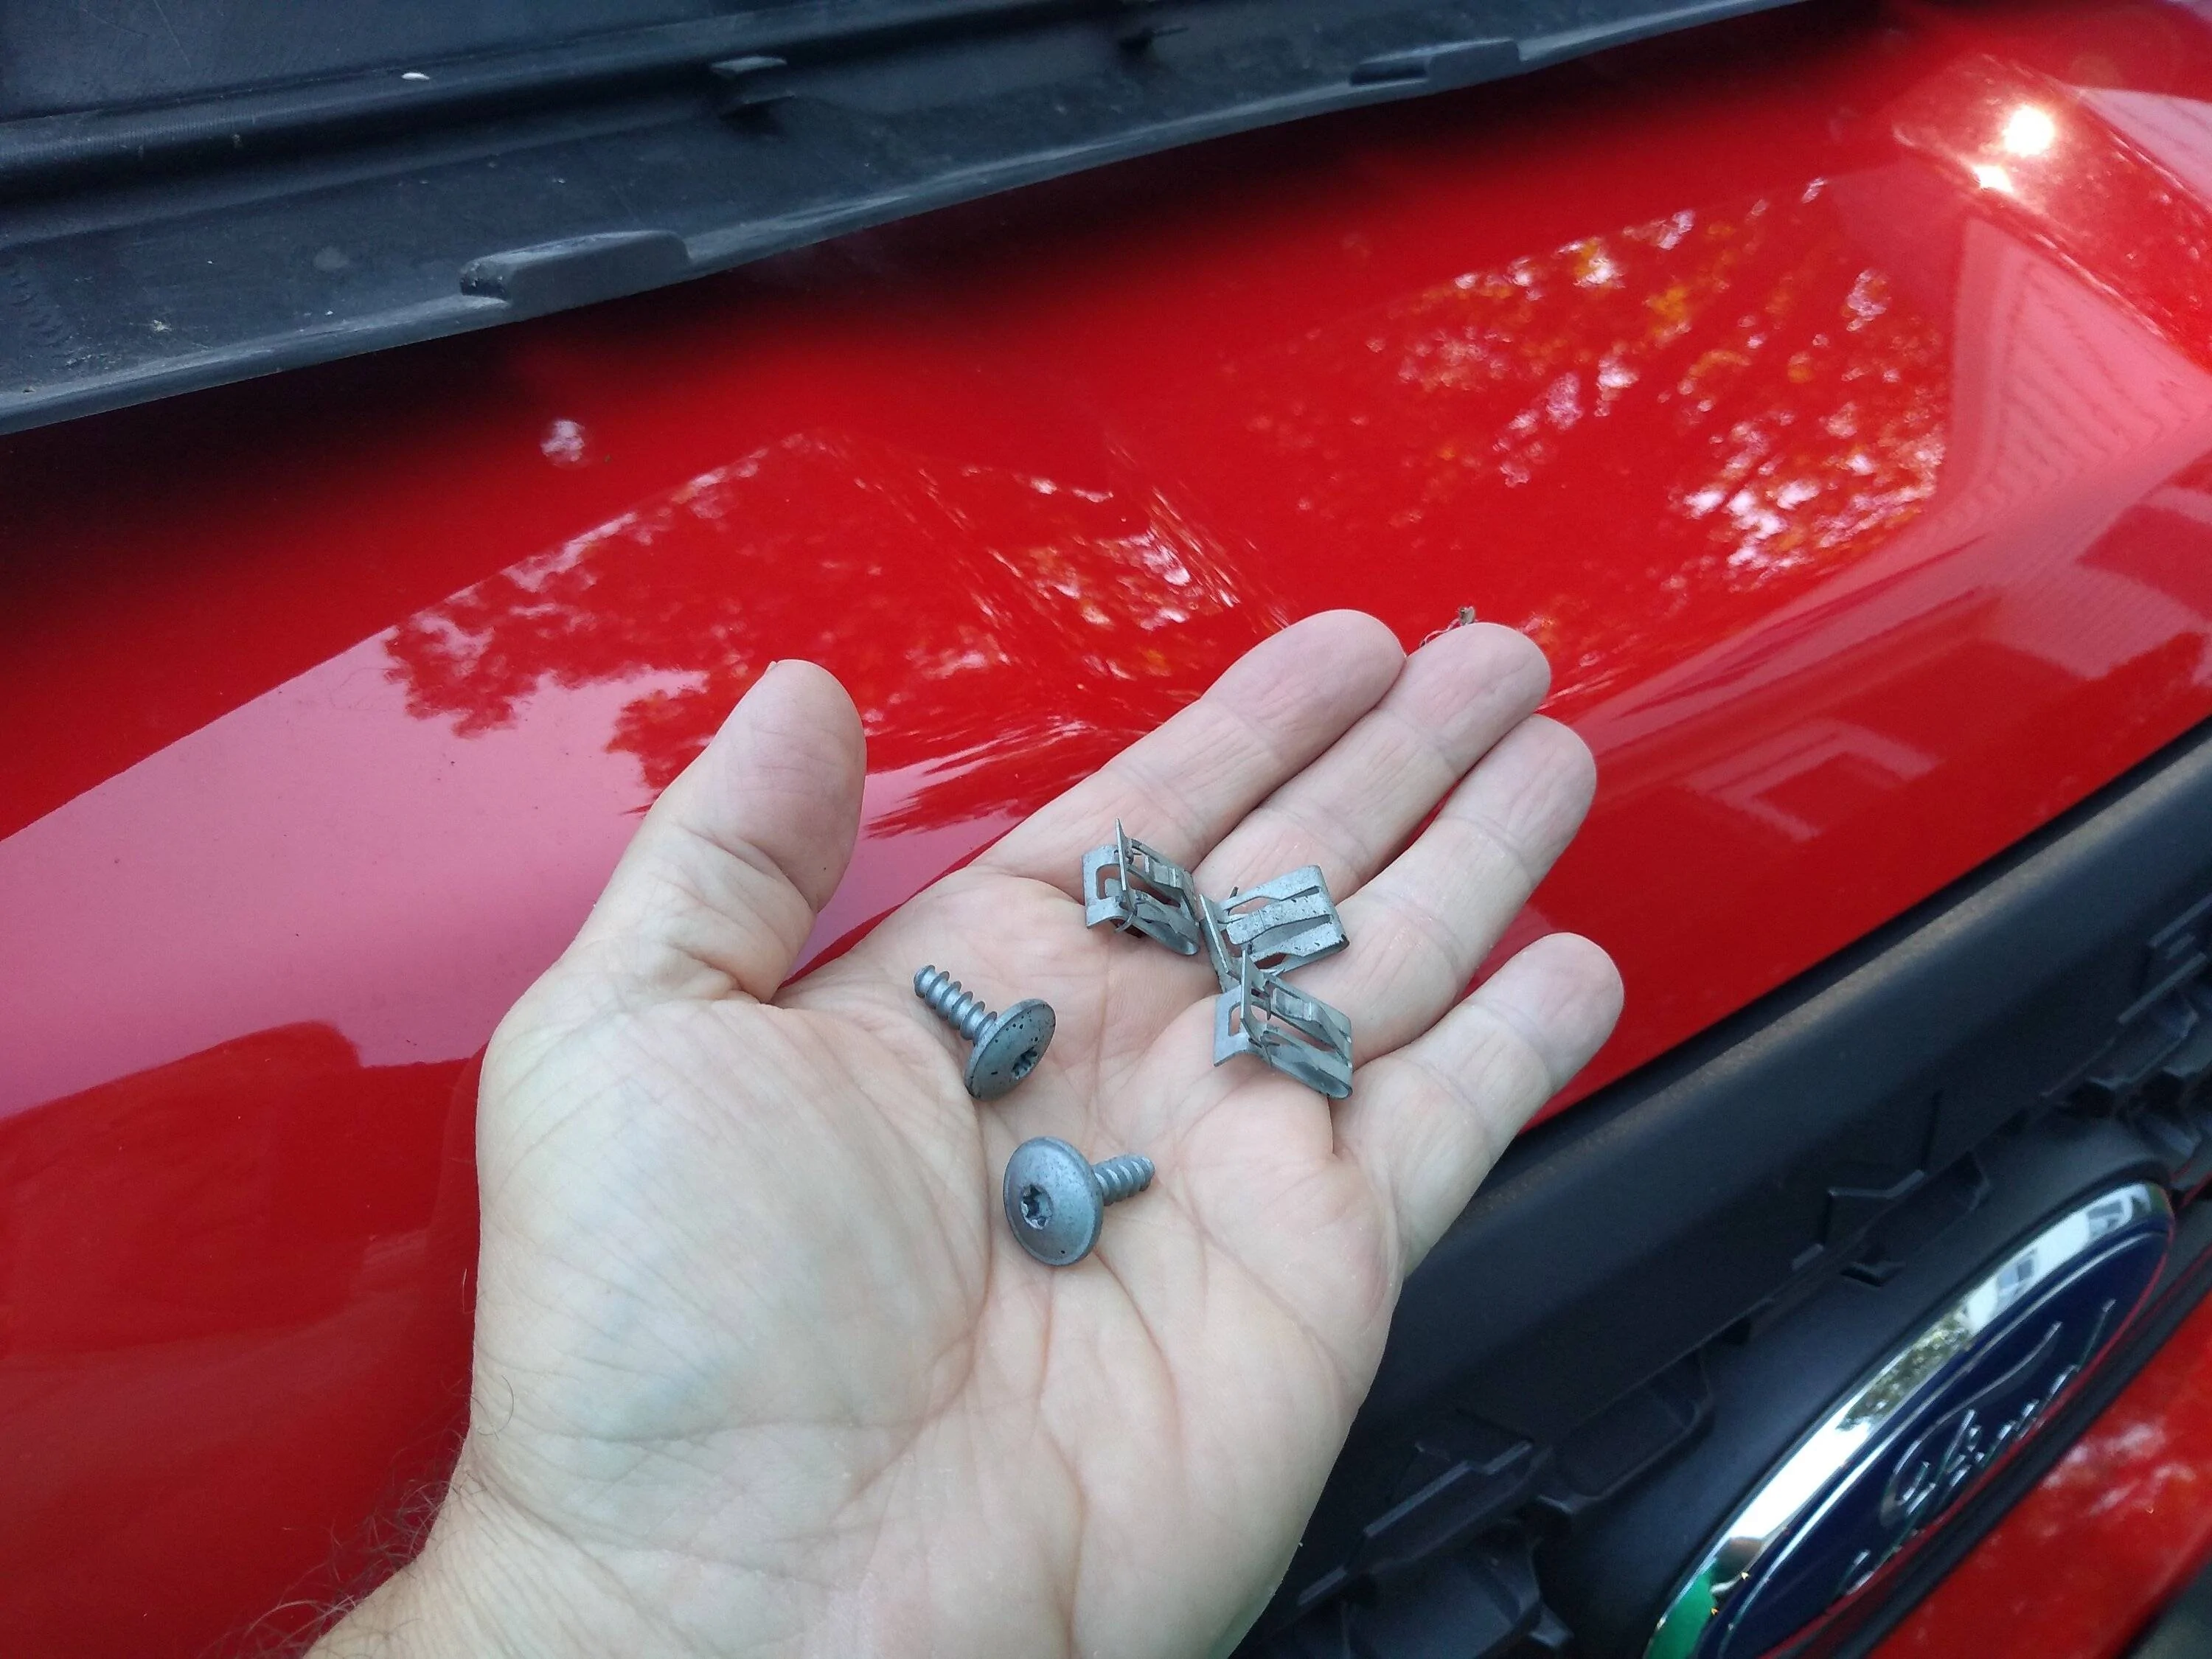
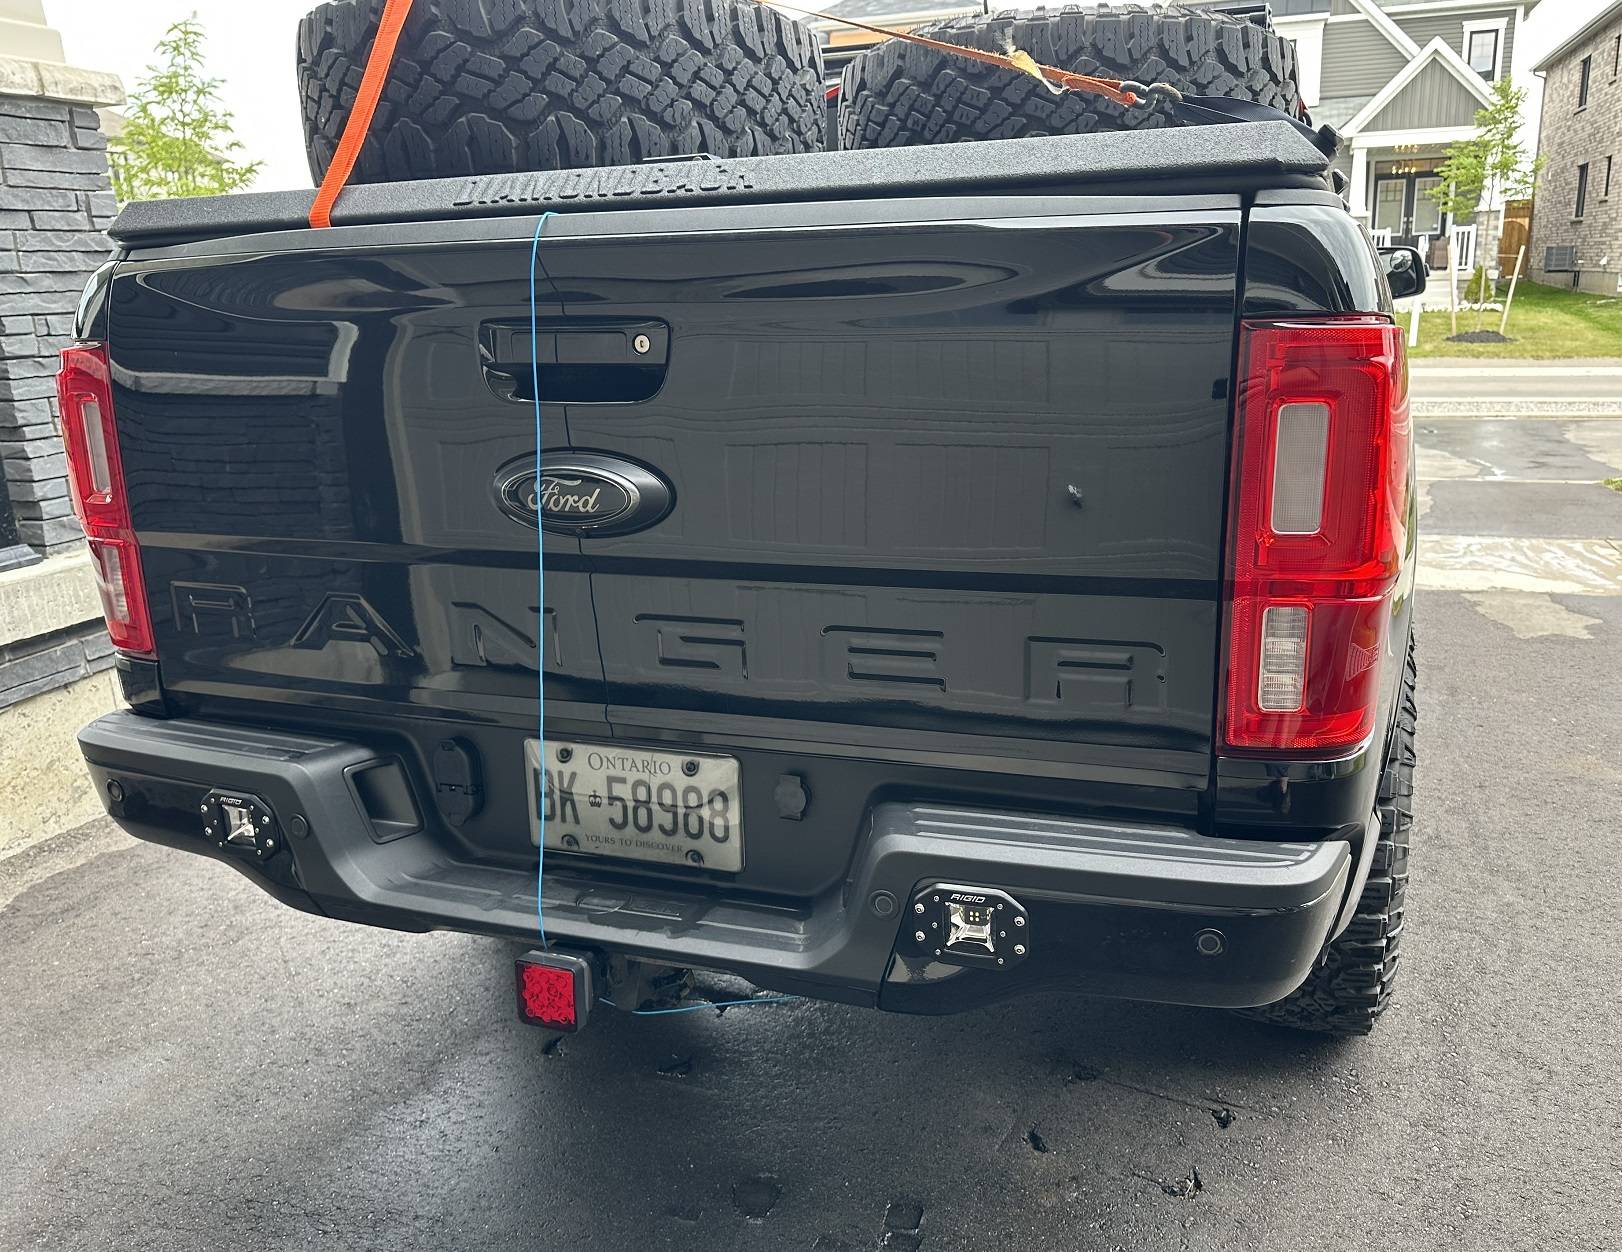
Although I say it was a complete wash, and done twice, it was still far from perfection. There are a few spots on the outside I noticed could have been better, some corners in the wheels for example. Also seen here are my new McGard lug nuts and Advance wheel locks.

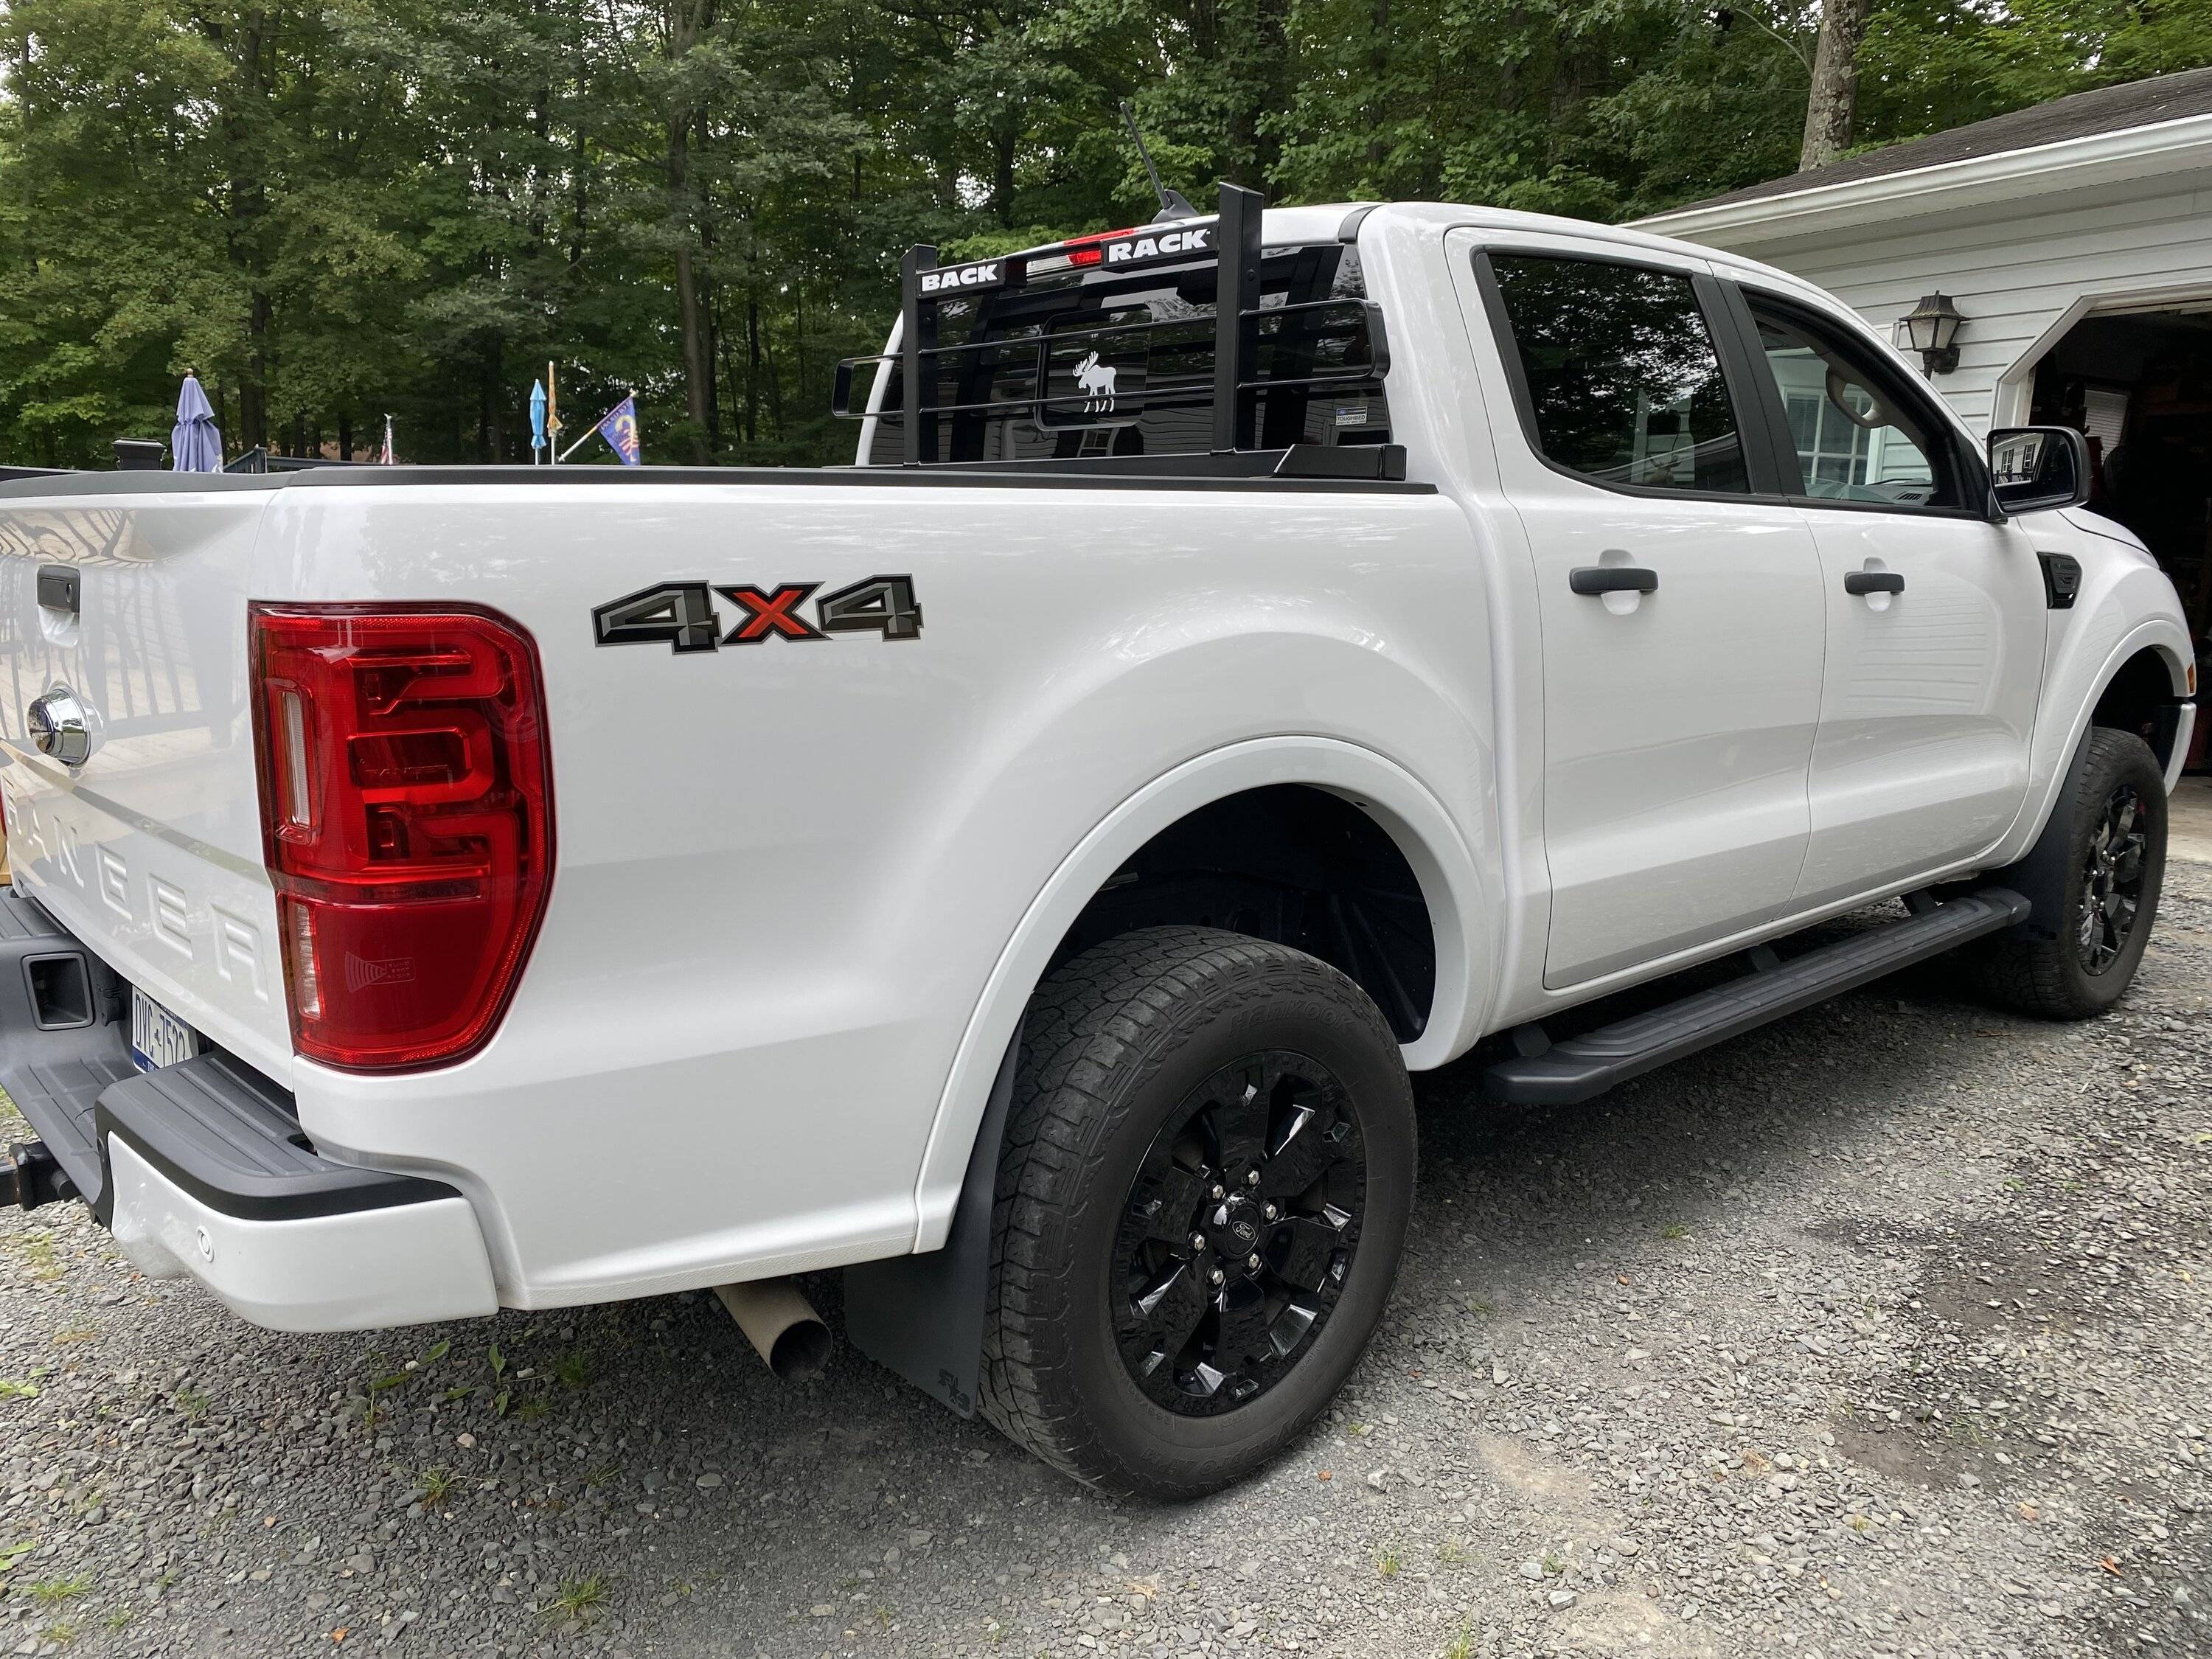
Also in the "not done today, but recently category" are the finish install and wiring of my Rigid Radiance Scene flush mount reverse lights, and trailer hitch Amazon cheap brake light. The blue wire is for one of the upcoming projects this week. I did the solder connection yesterday and tucked it in the tailgate until it gets connected maybe tomorrow.

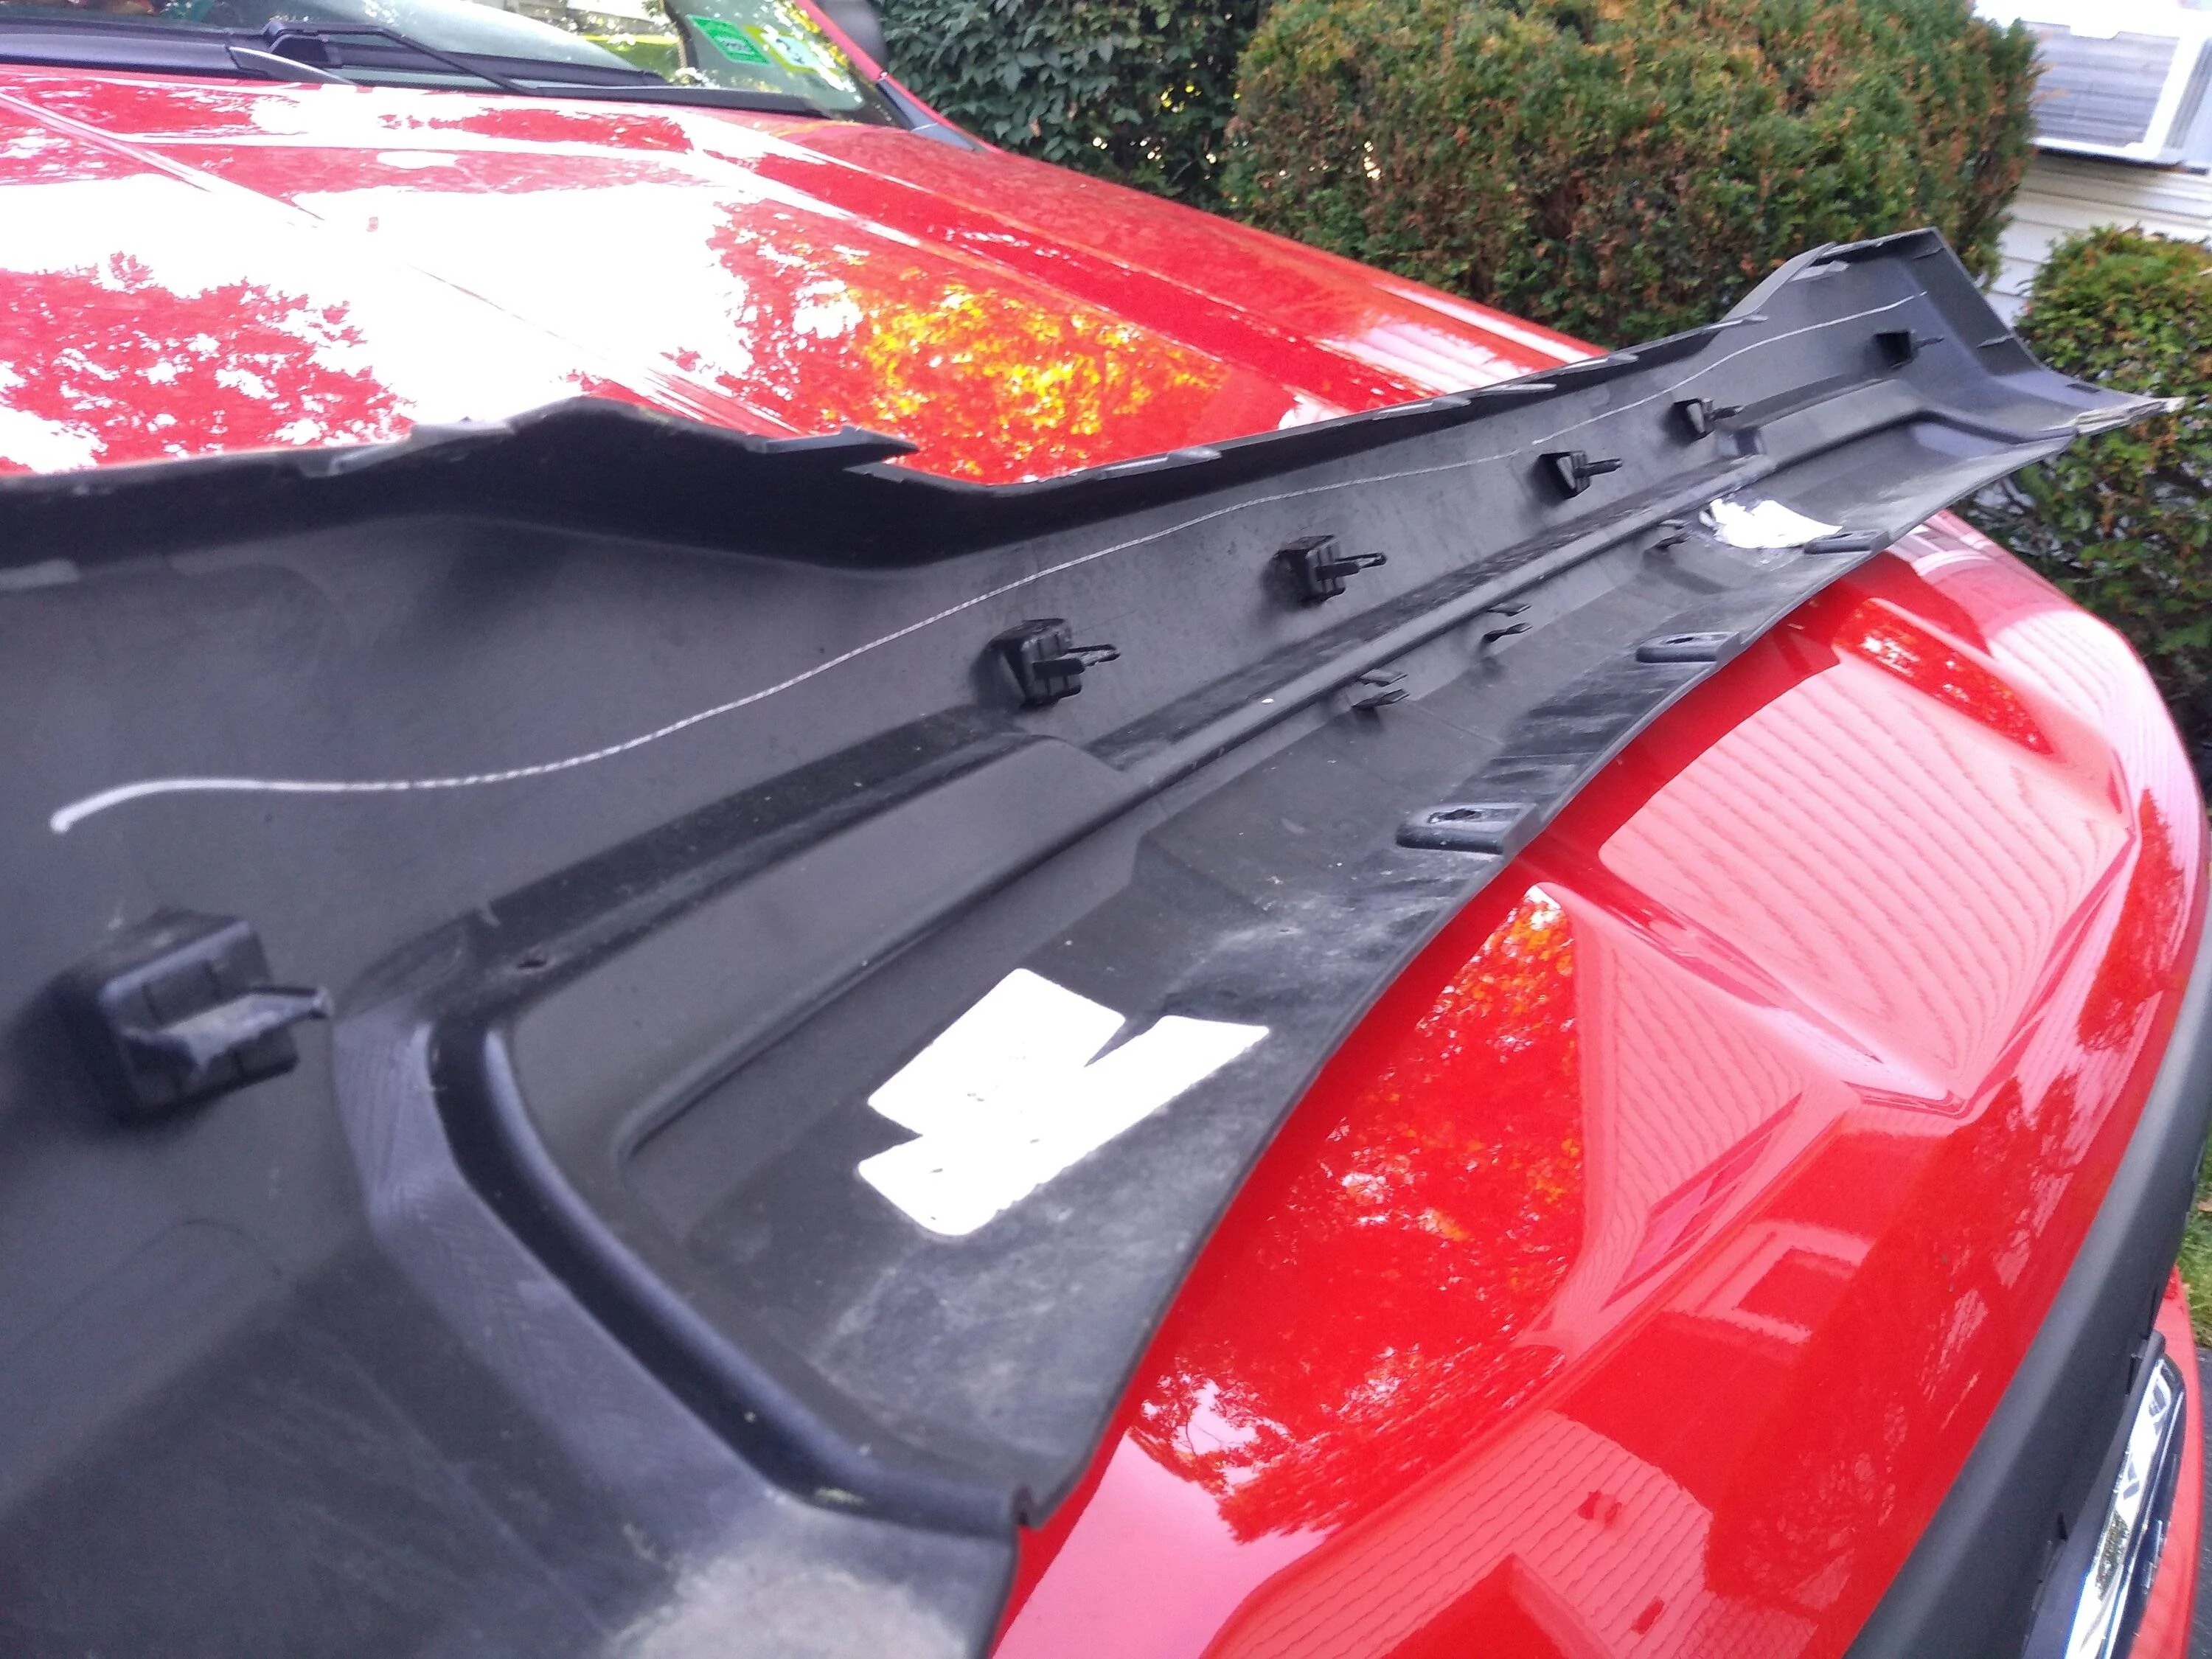
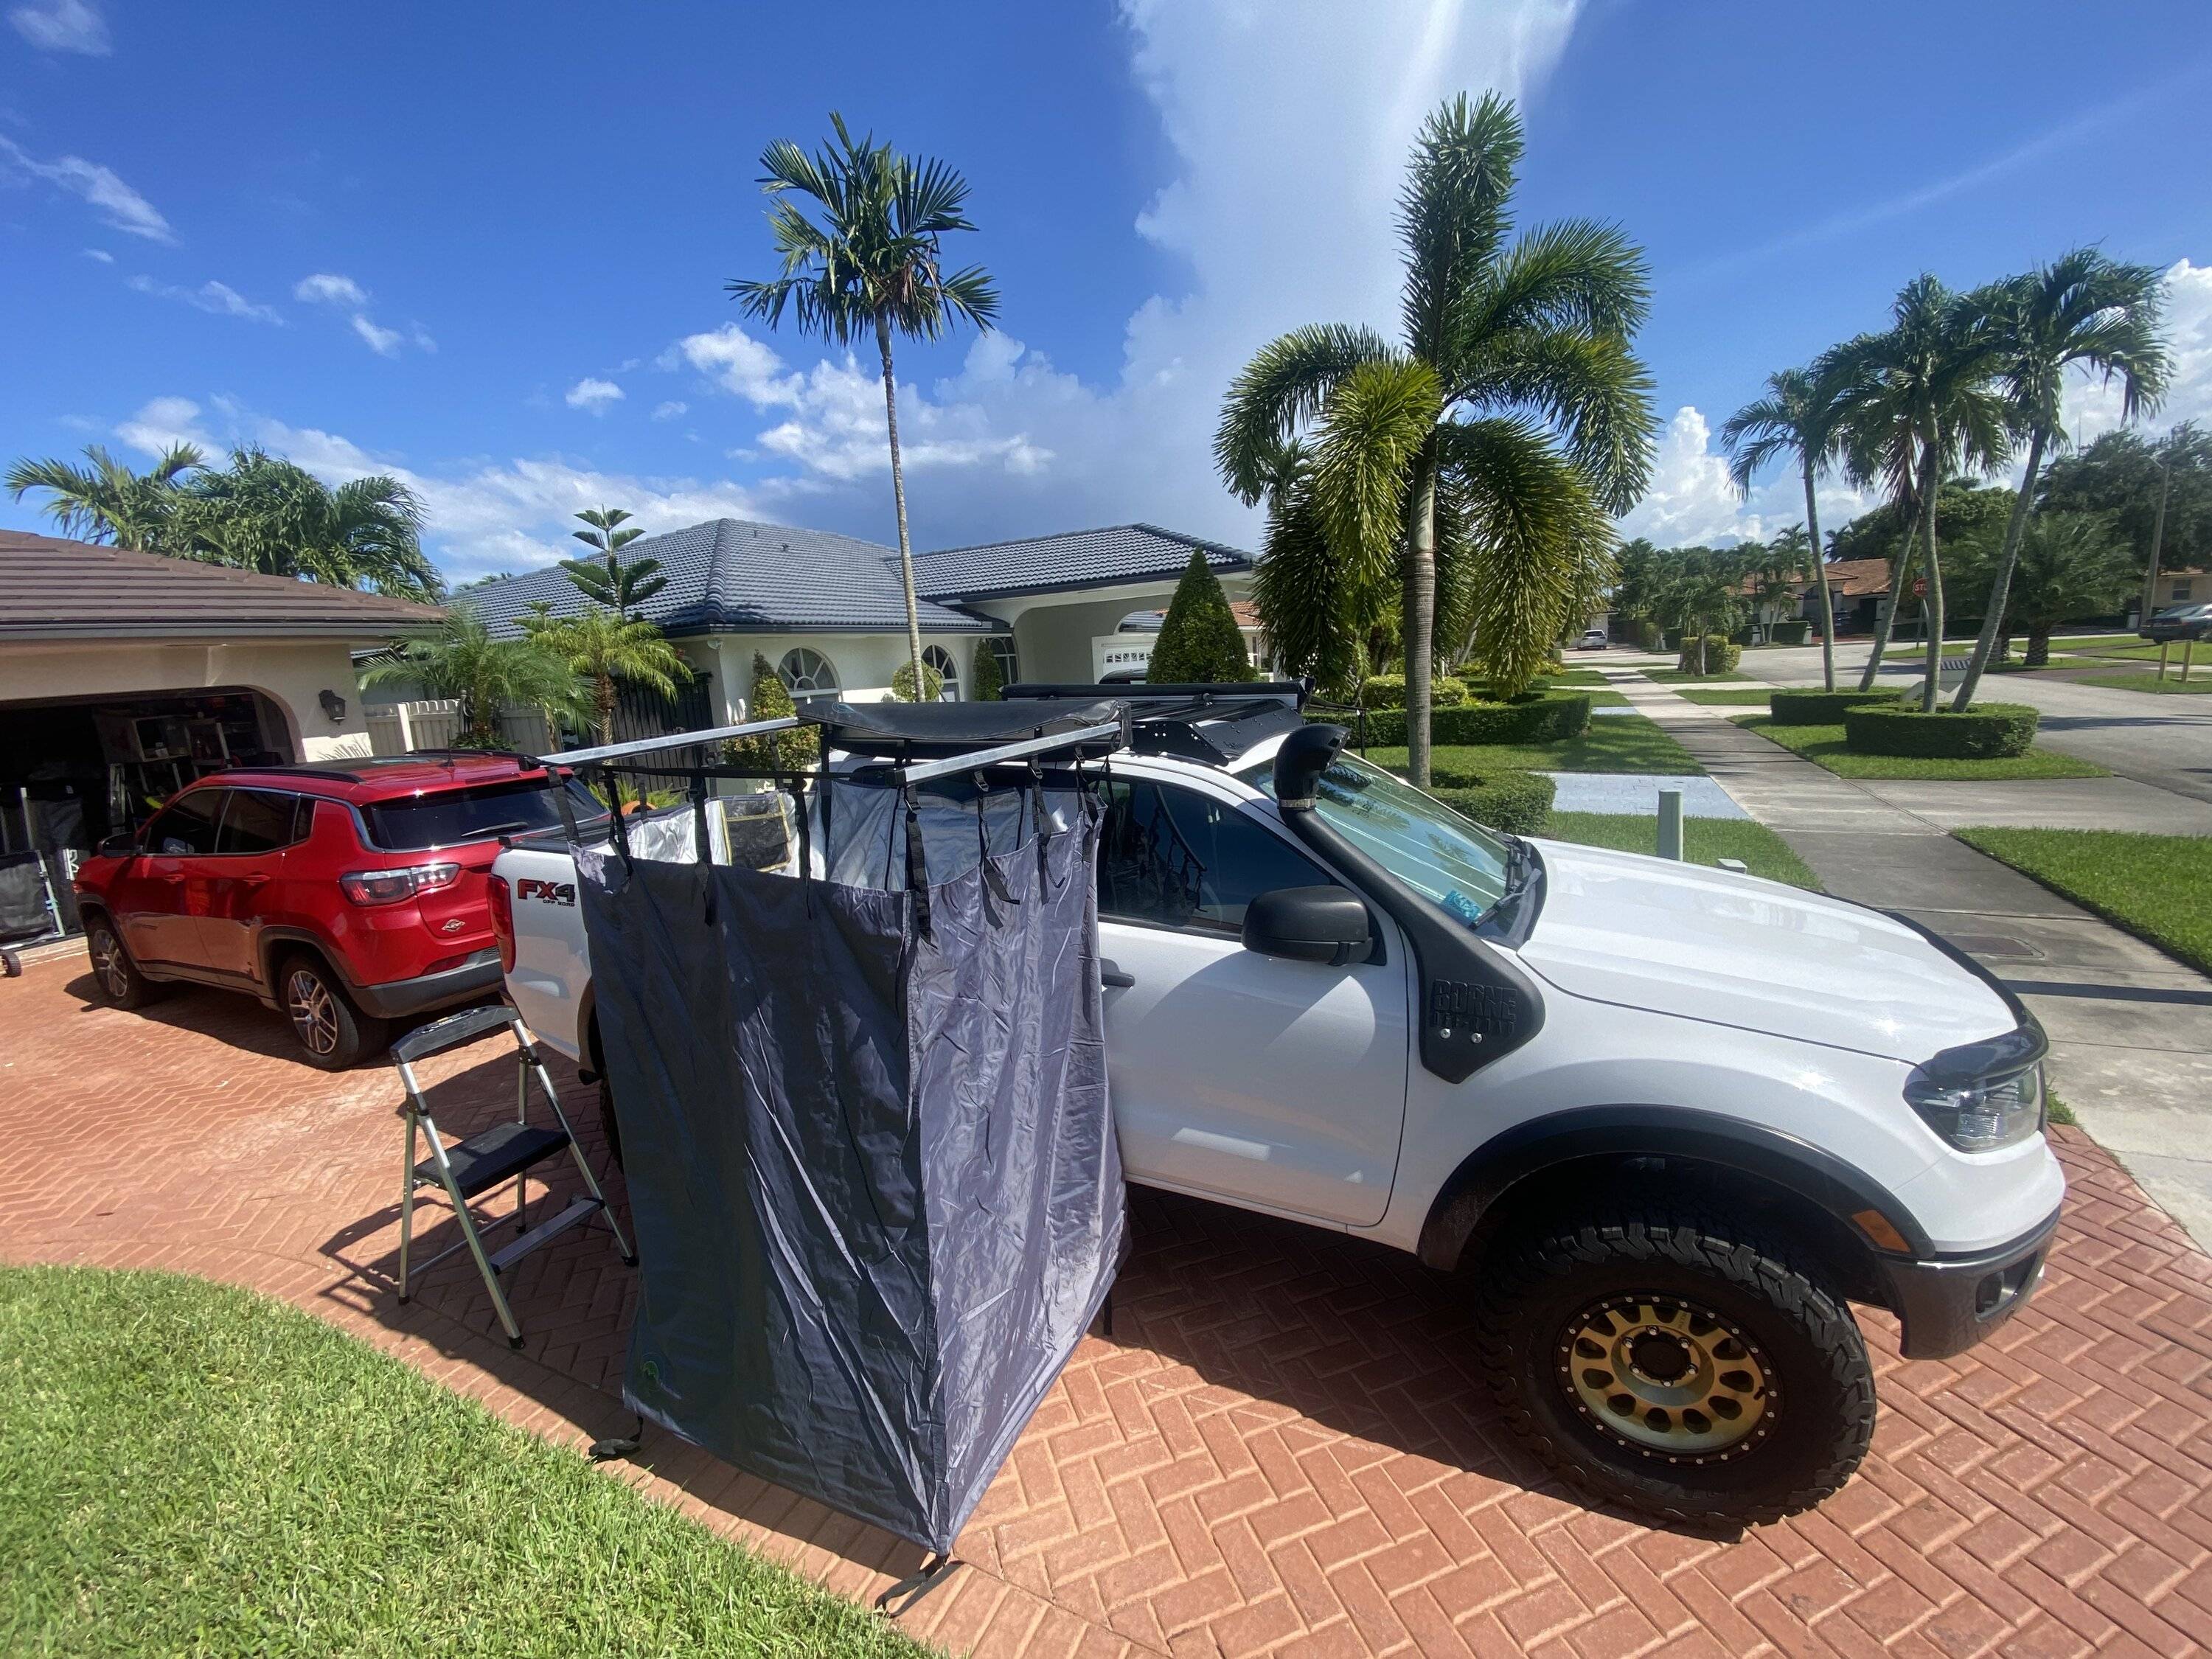
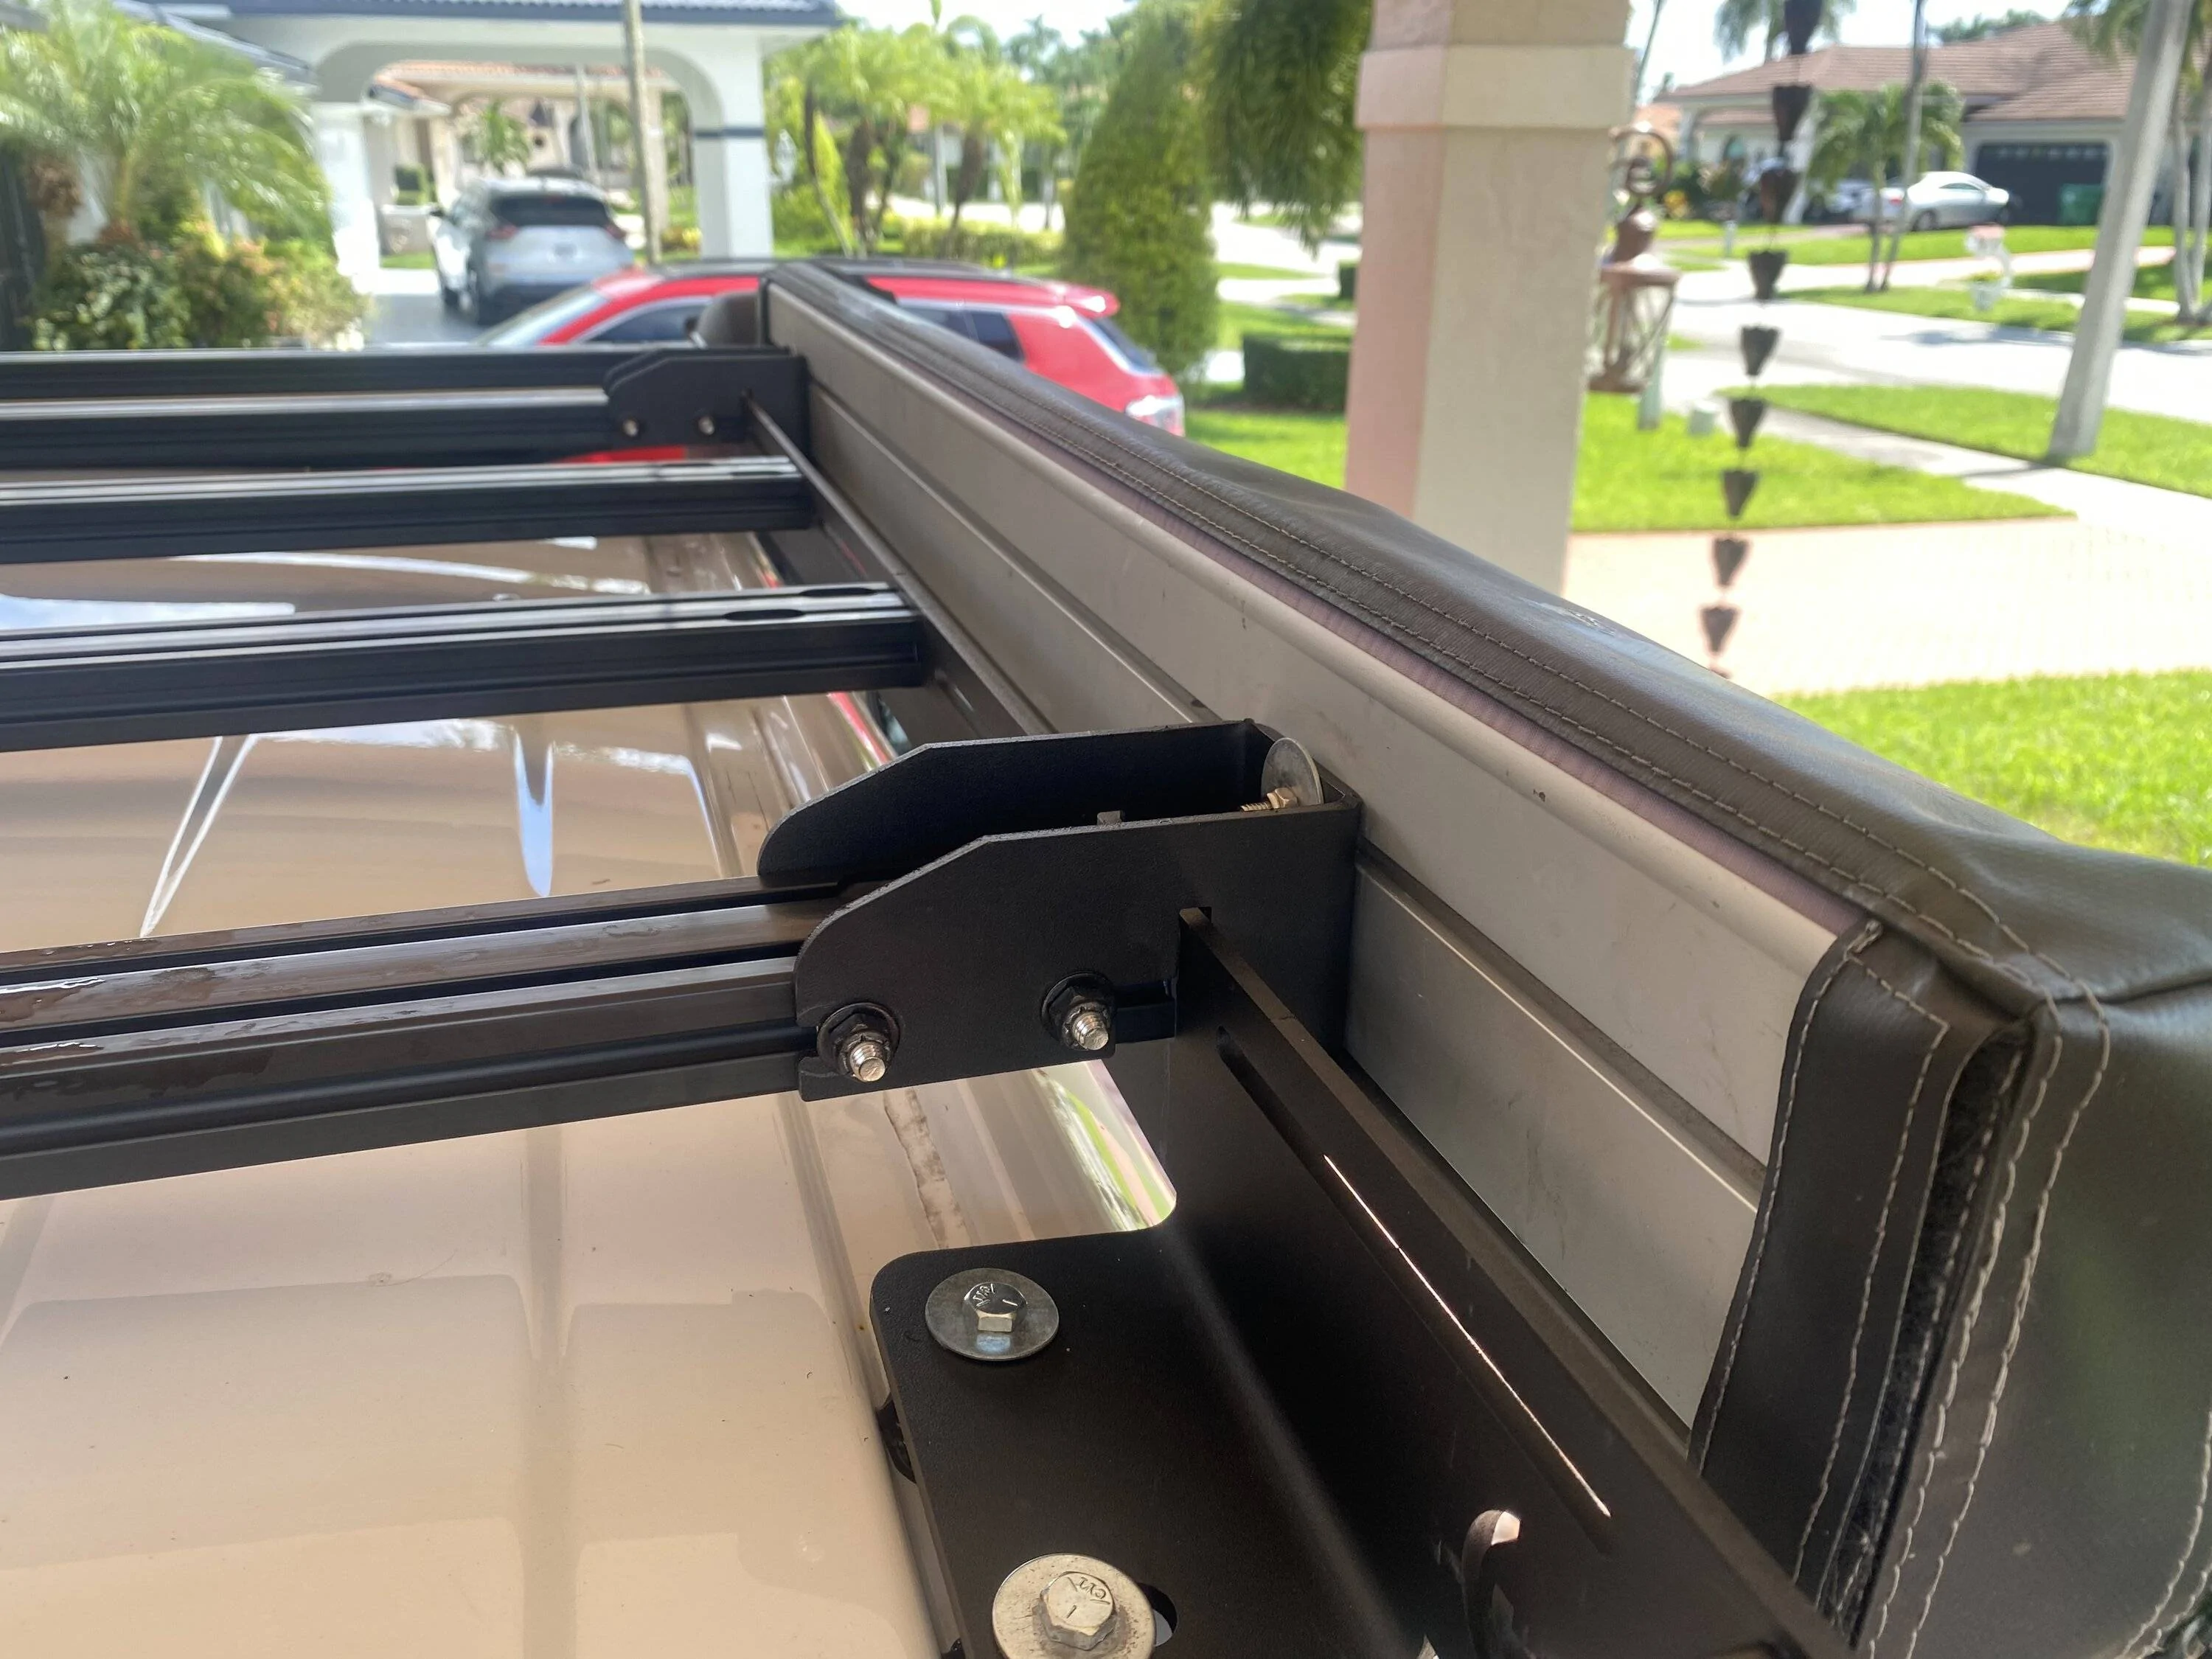
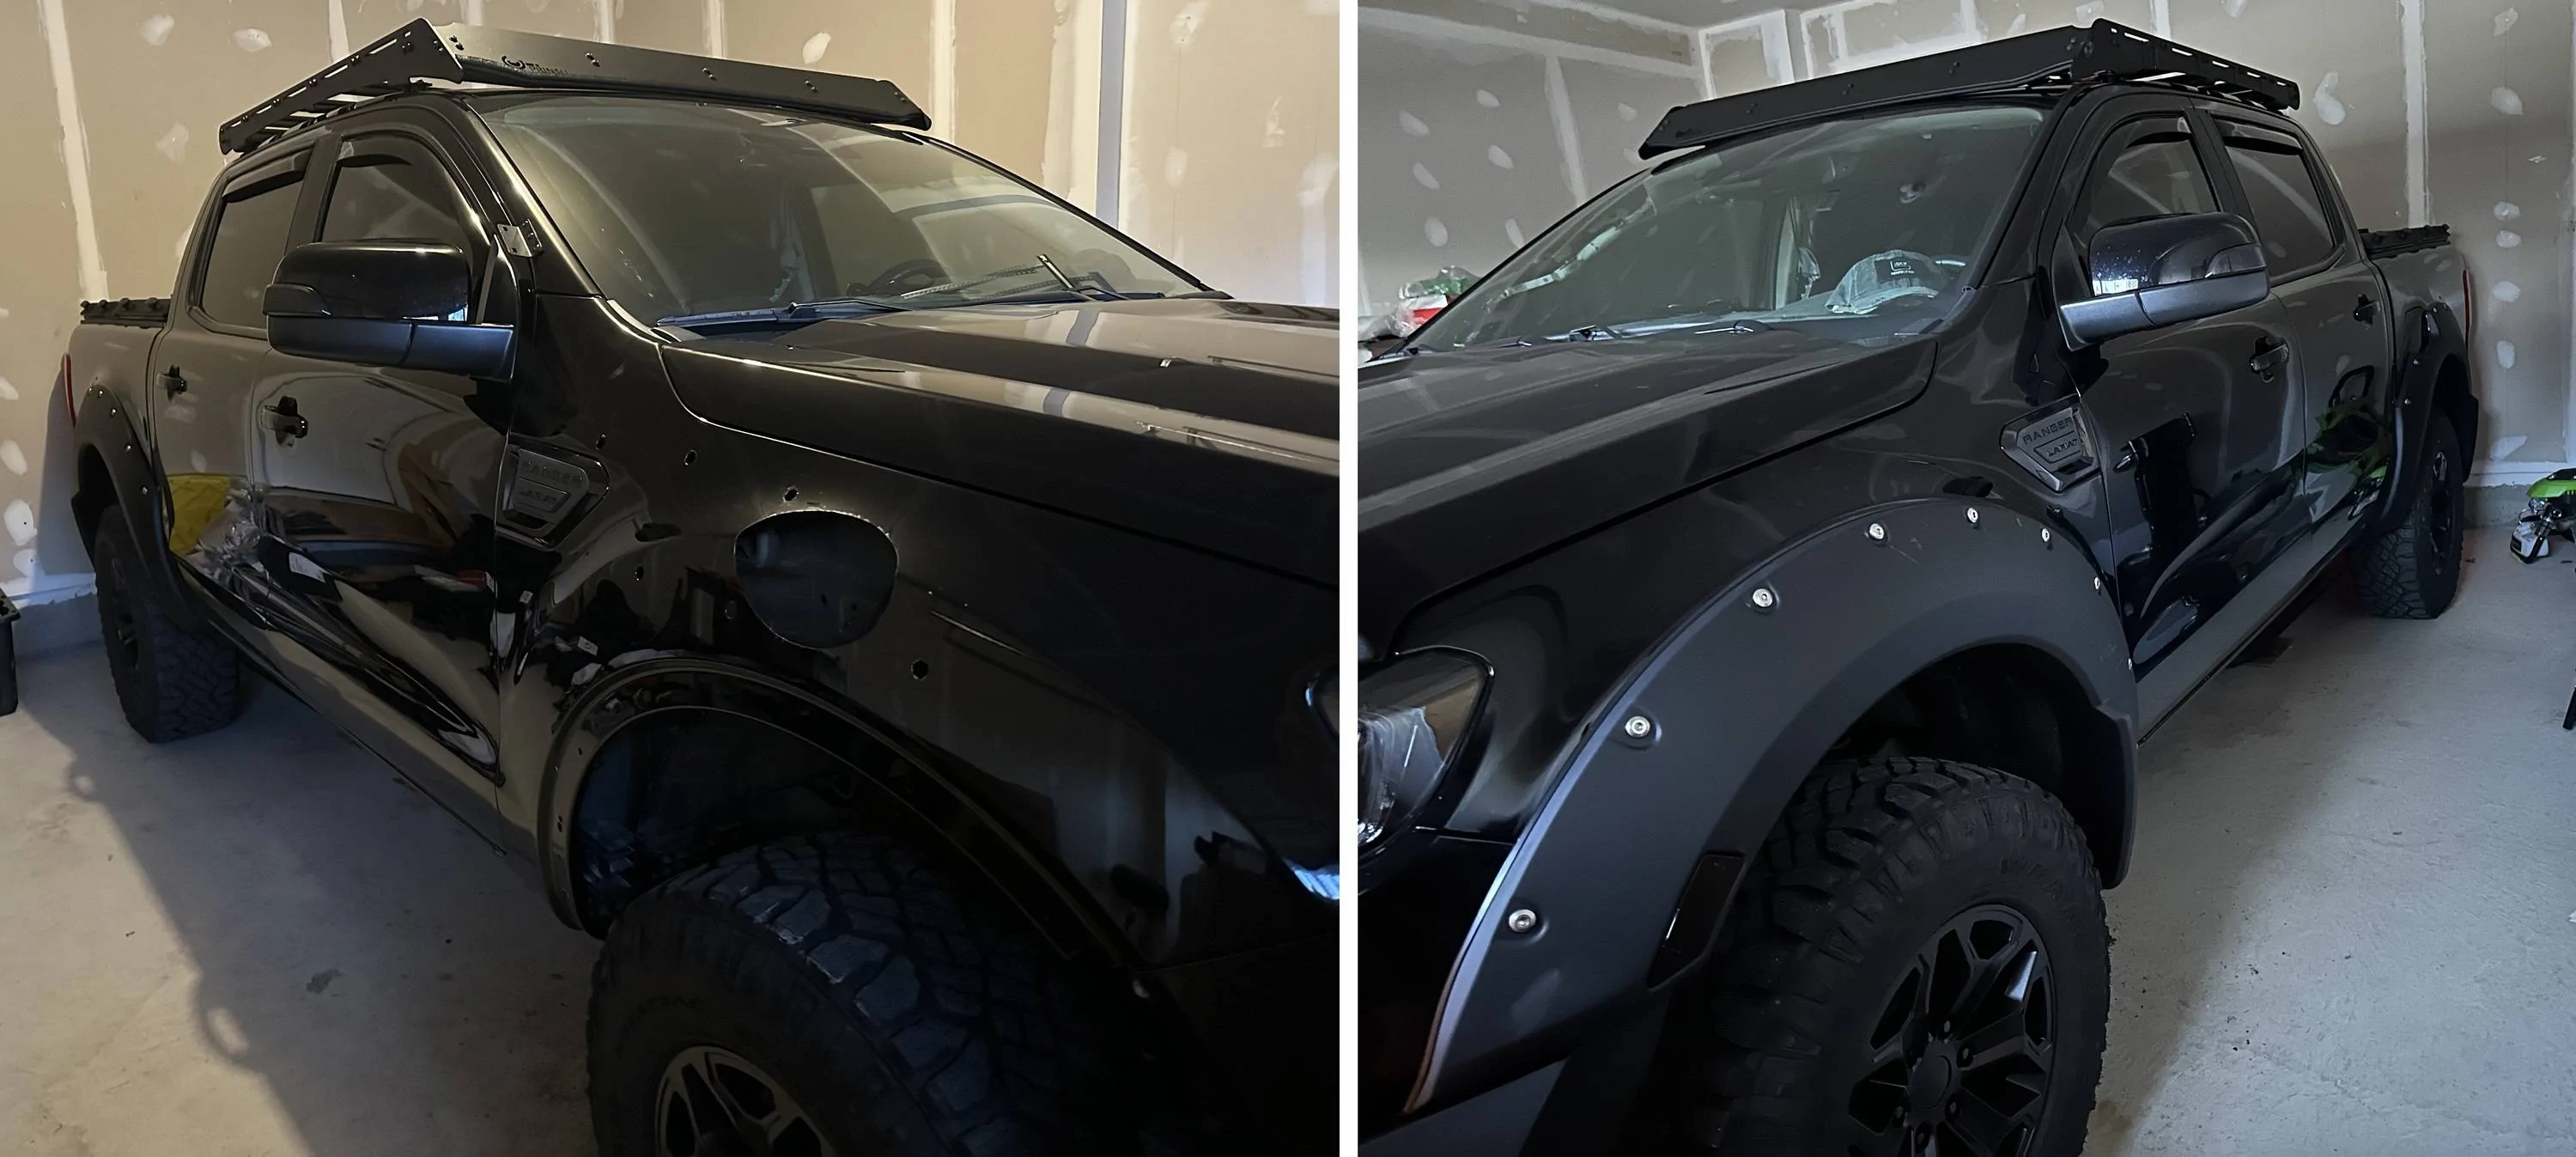
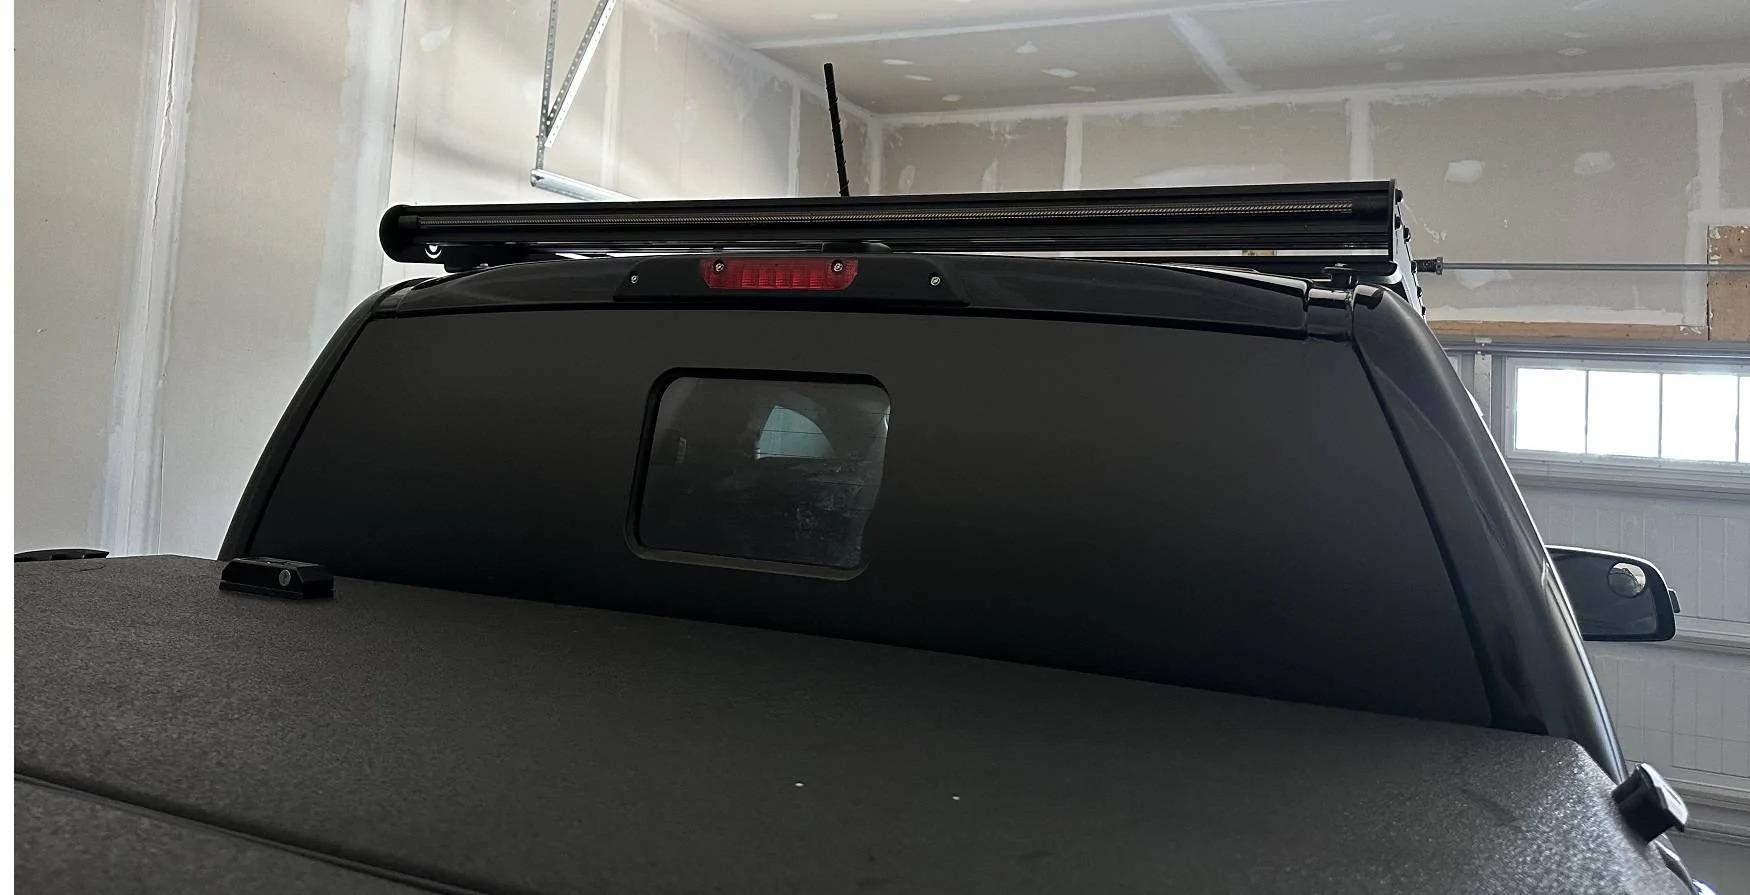
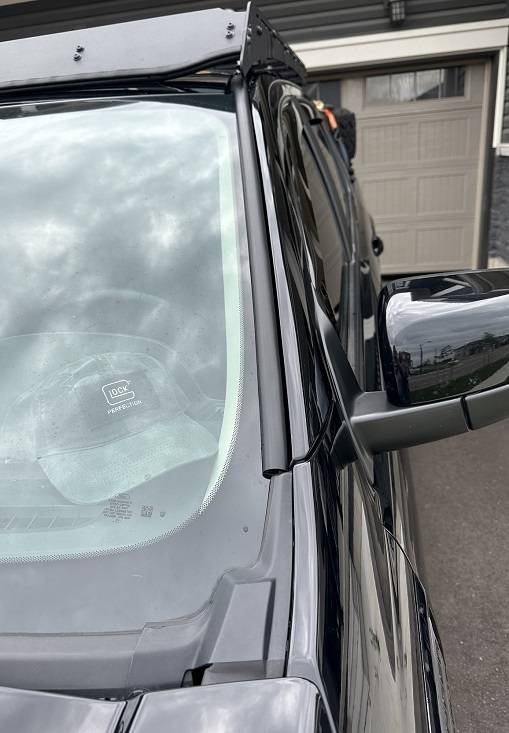
Also over the last bit I finished the wiring harness for the Blade tailgate light bar, which I moved to my roof rack. I re-wired their harness and used the 4 wire trailer bundle to run up to the roof rack. That wire is tucked under the edge of the windshield (so much room there with no outter trim piece) then also ran another pair of 14 gauge wires from my sPod controller and used this black rubber wire routing trim.


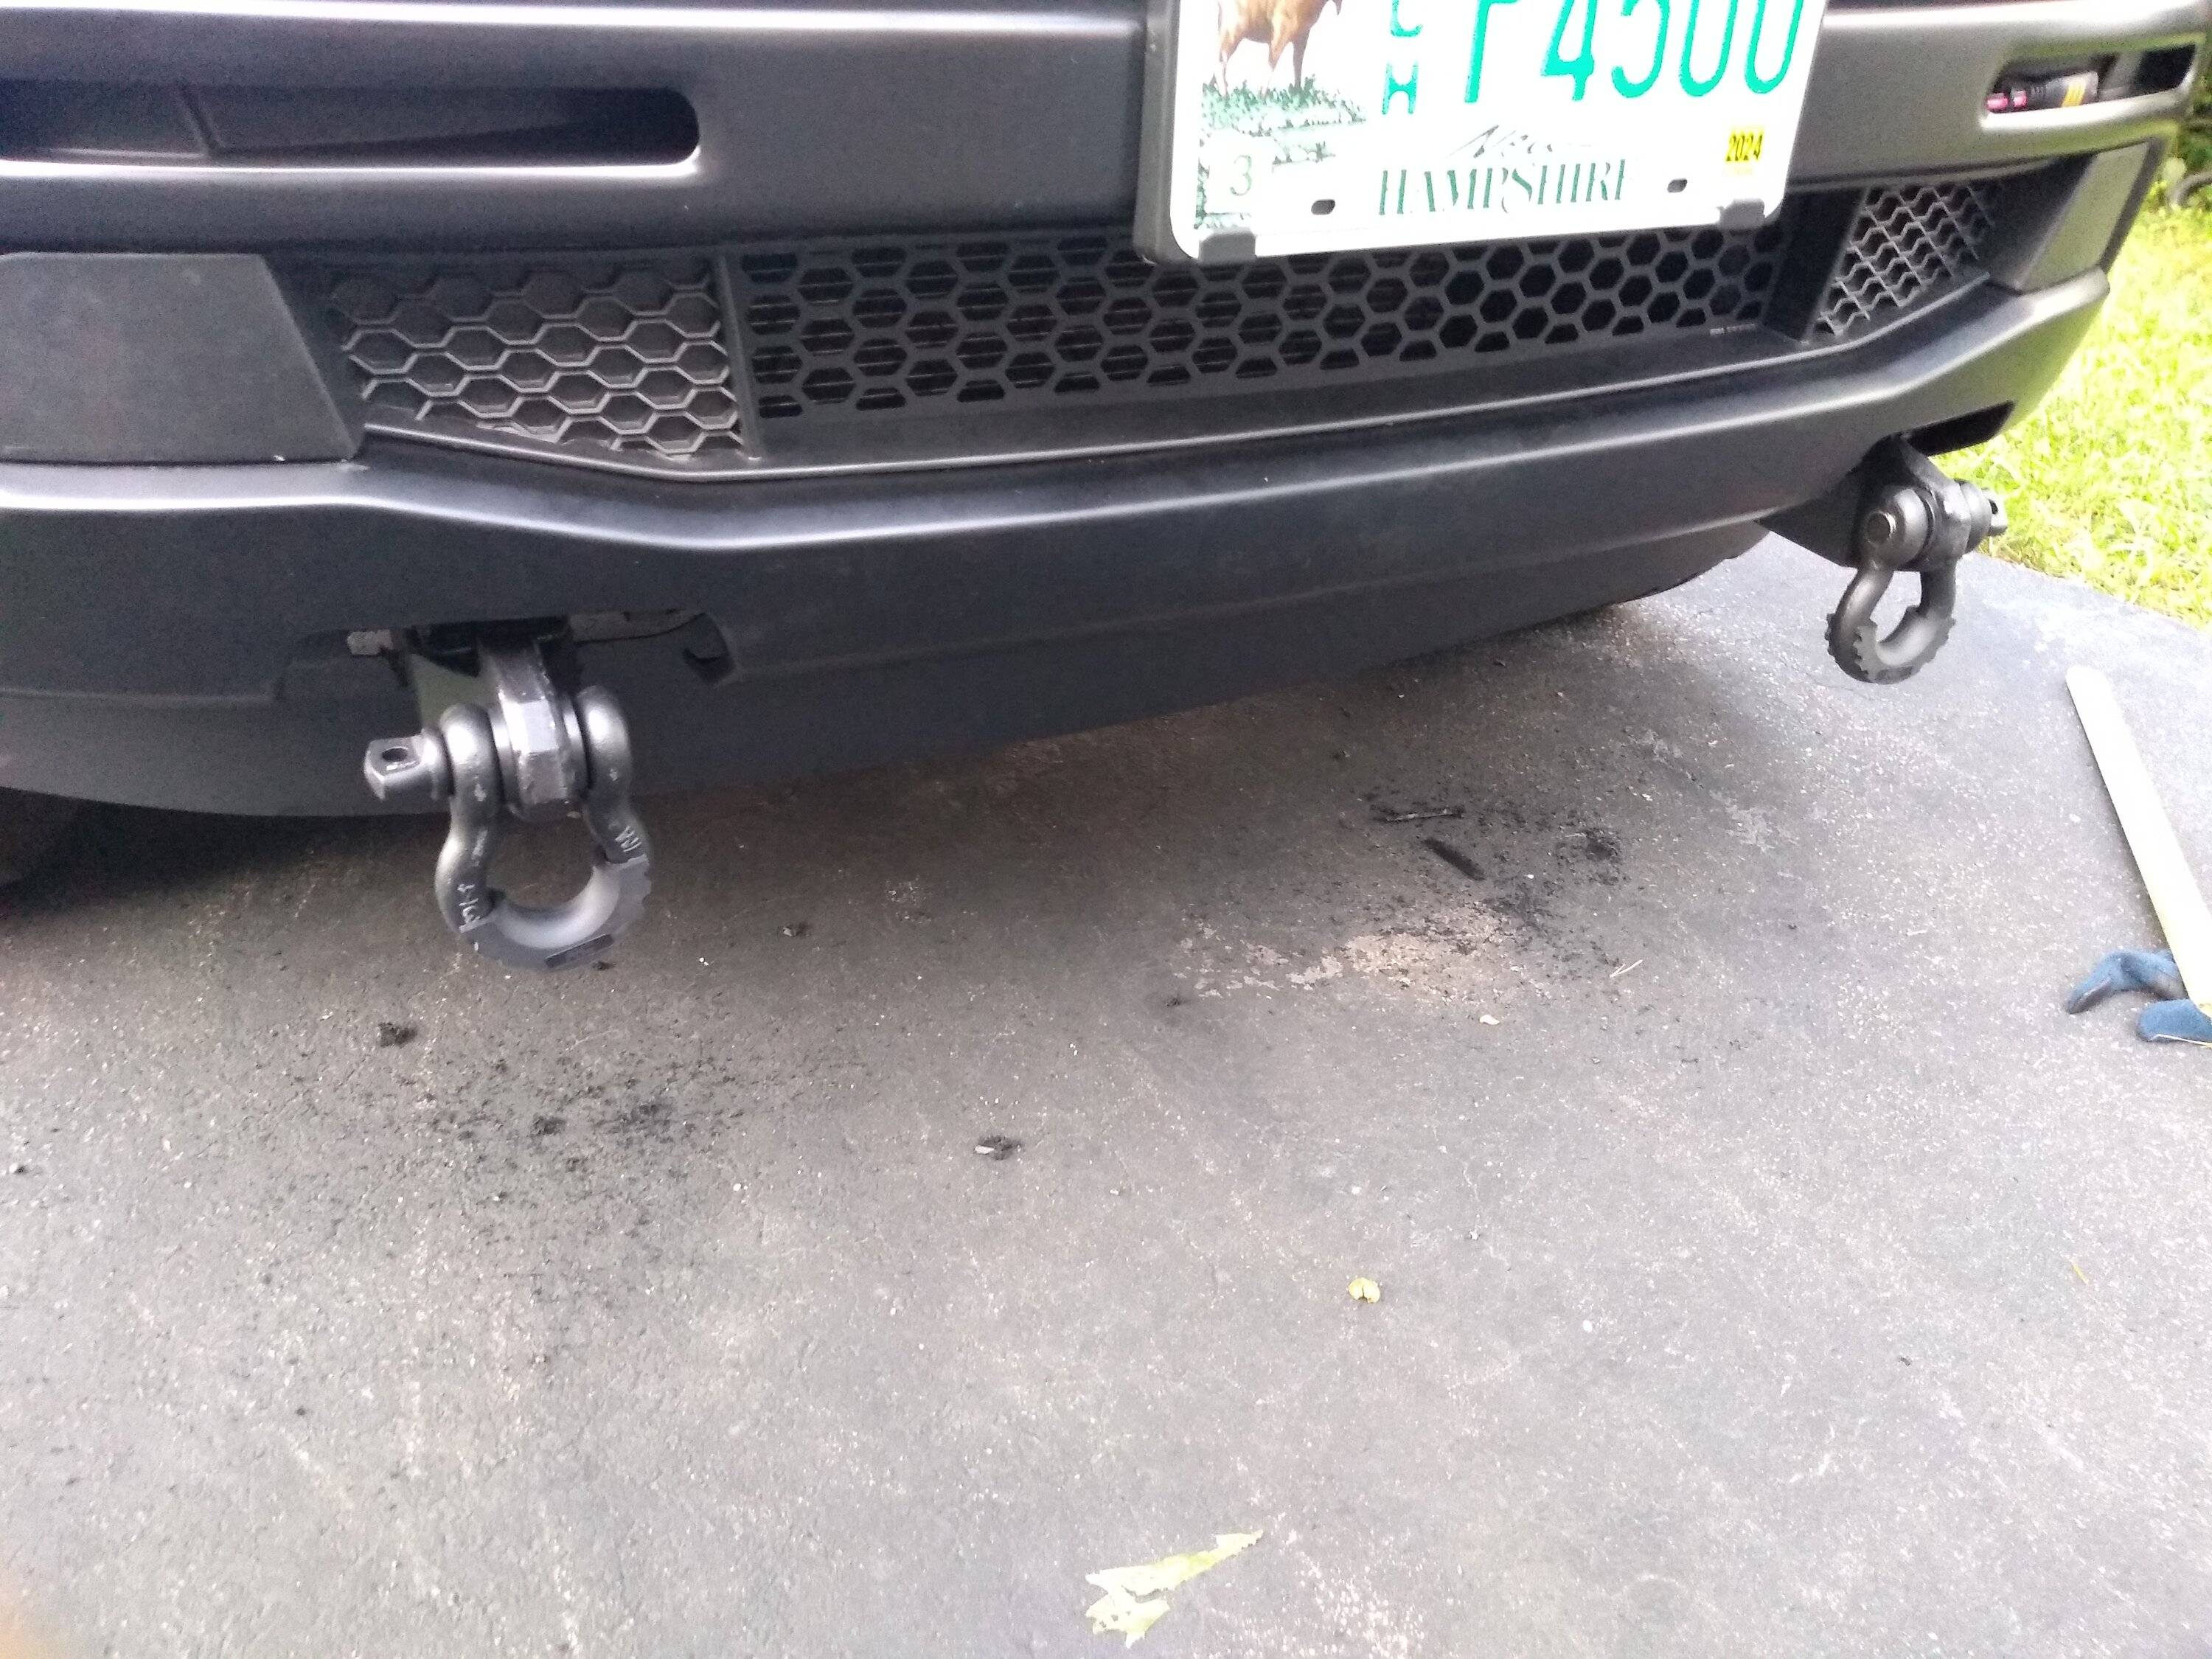
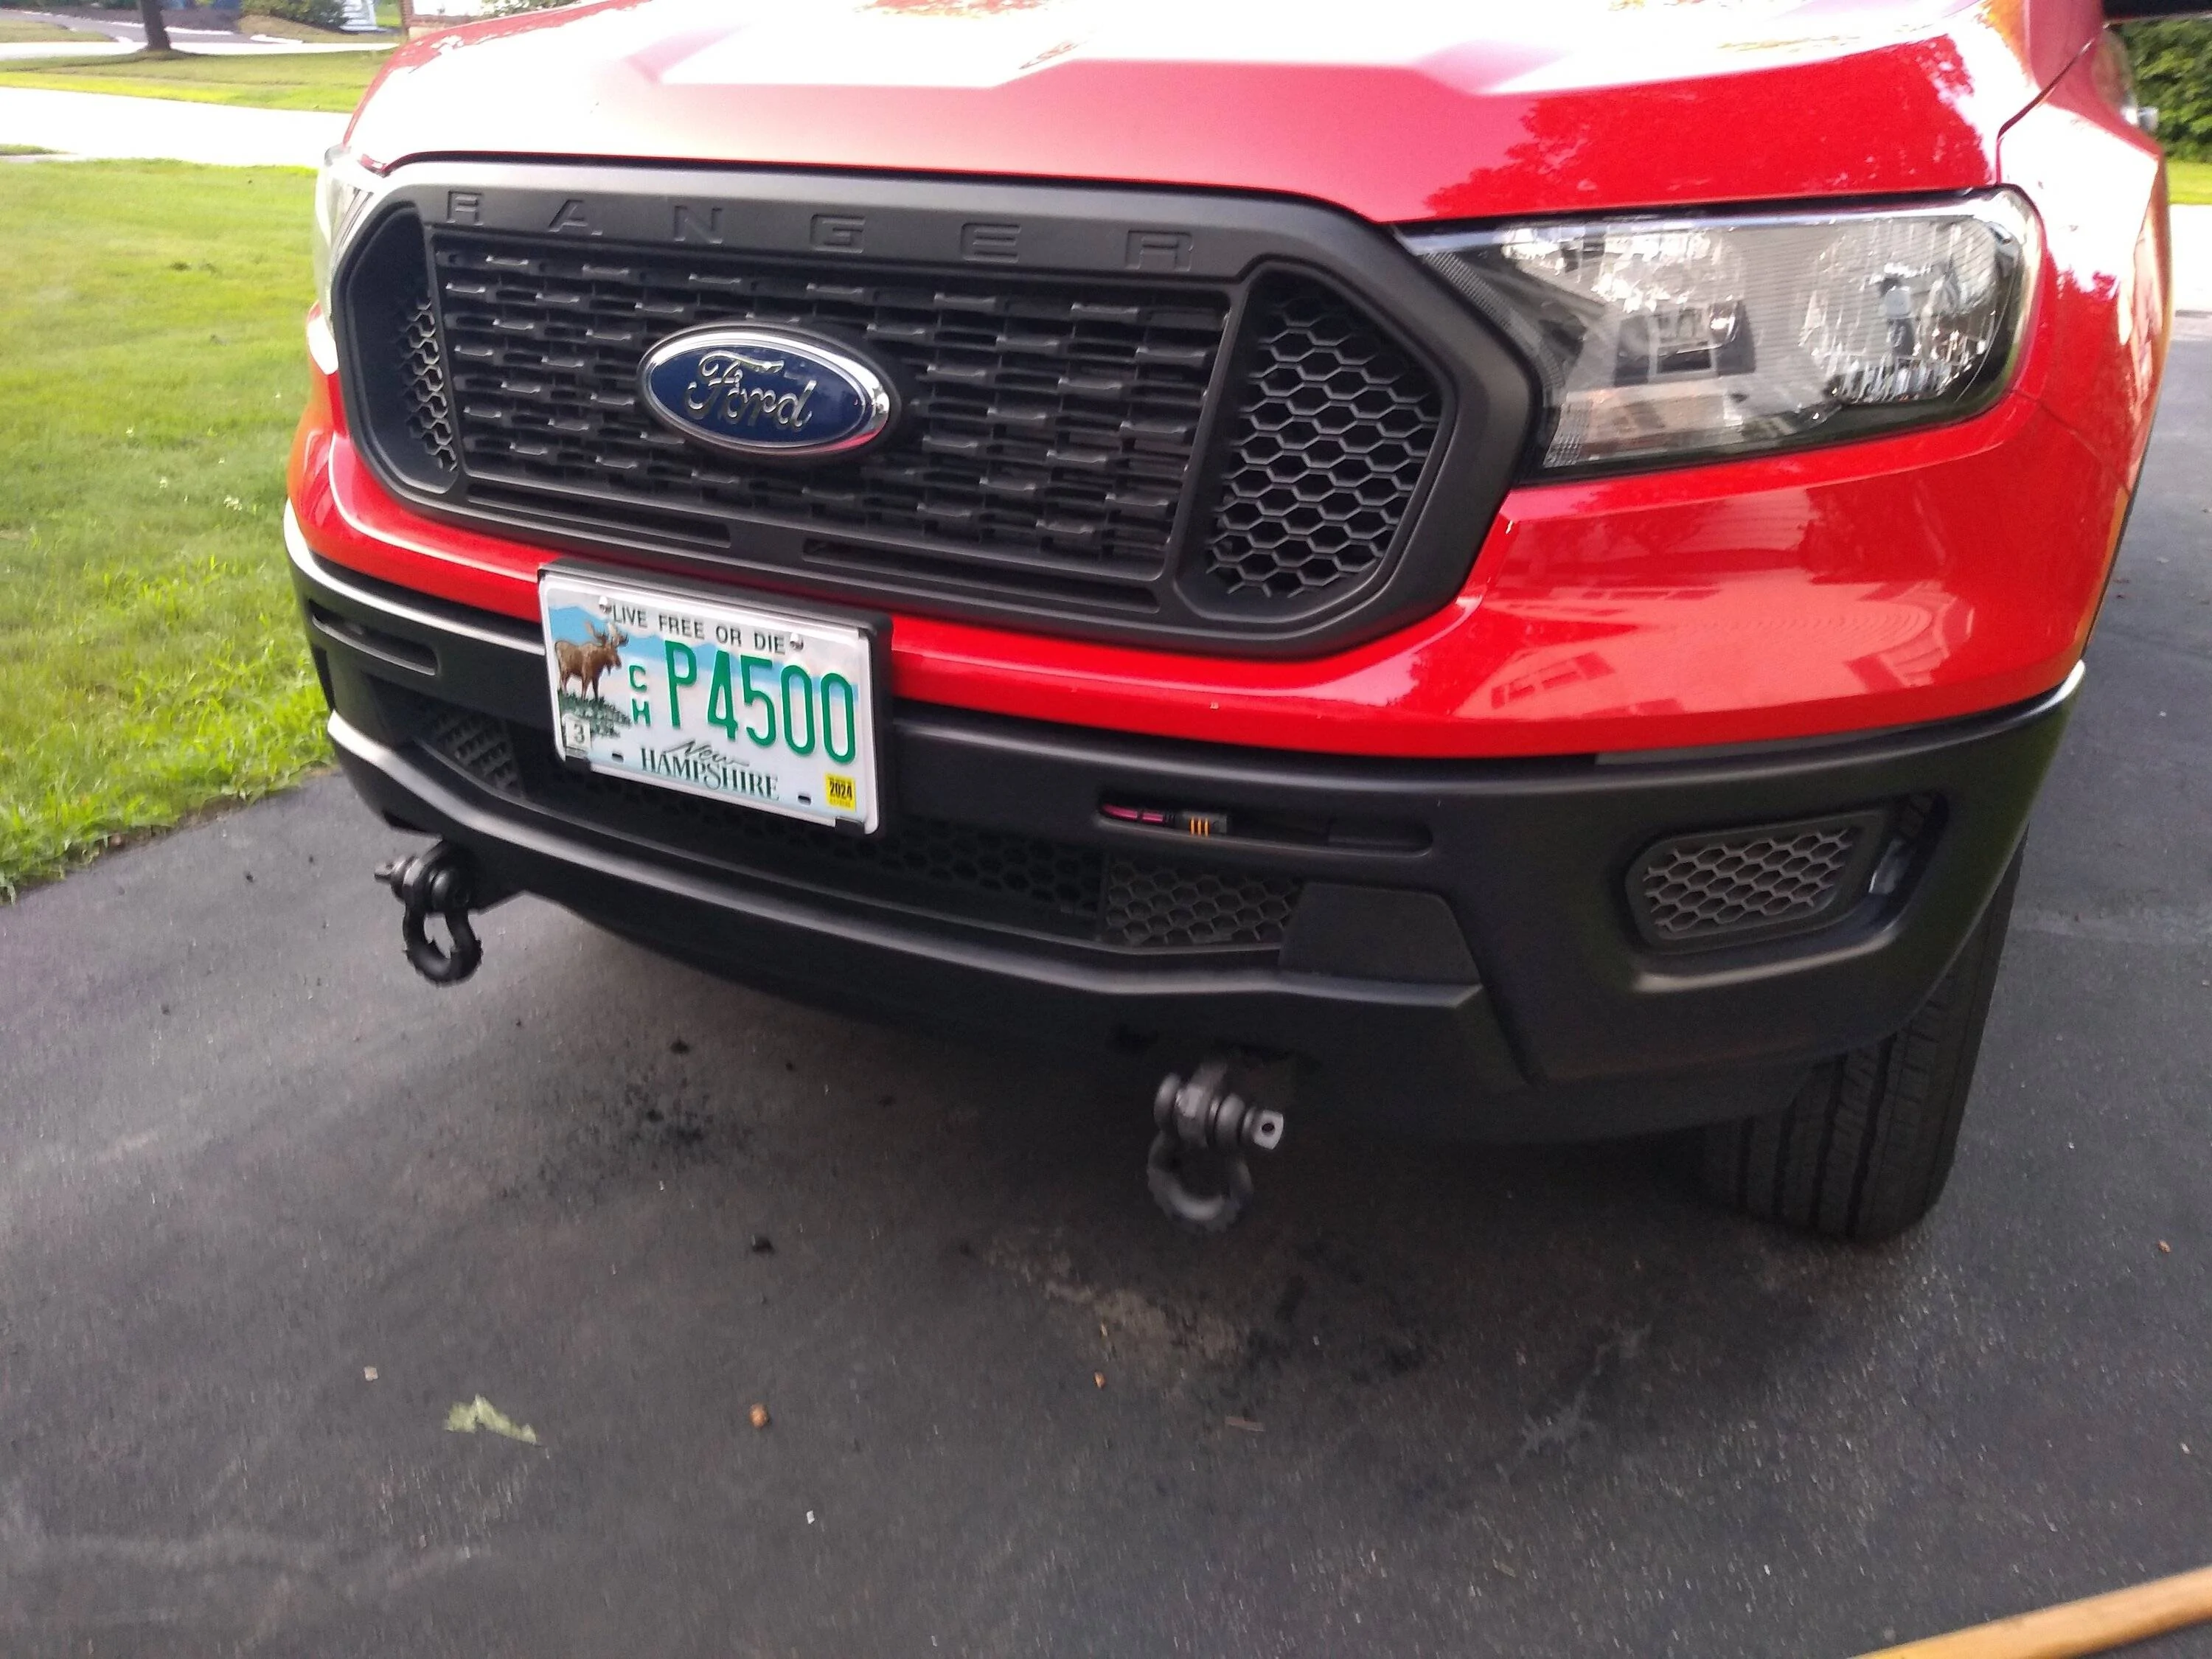
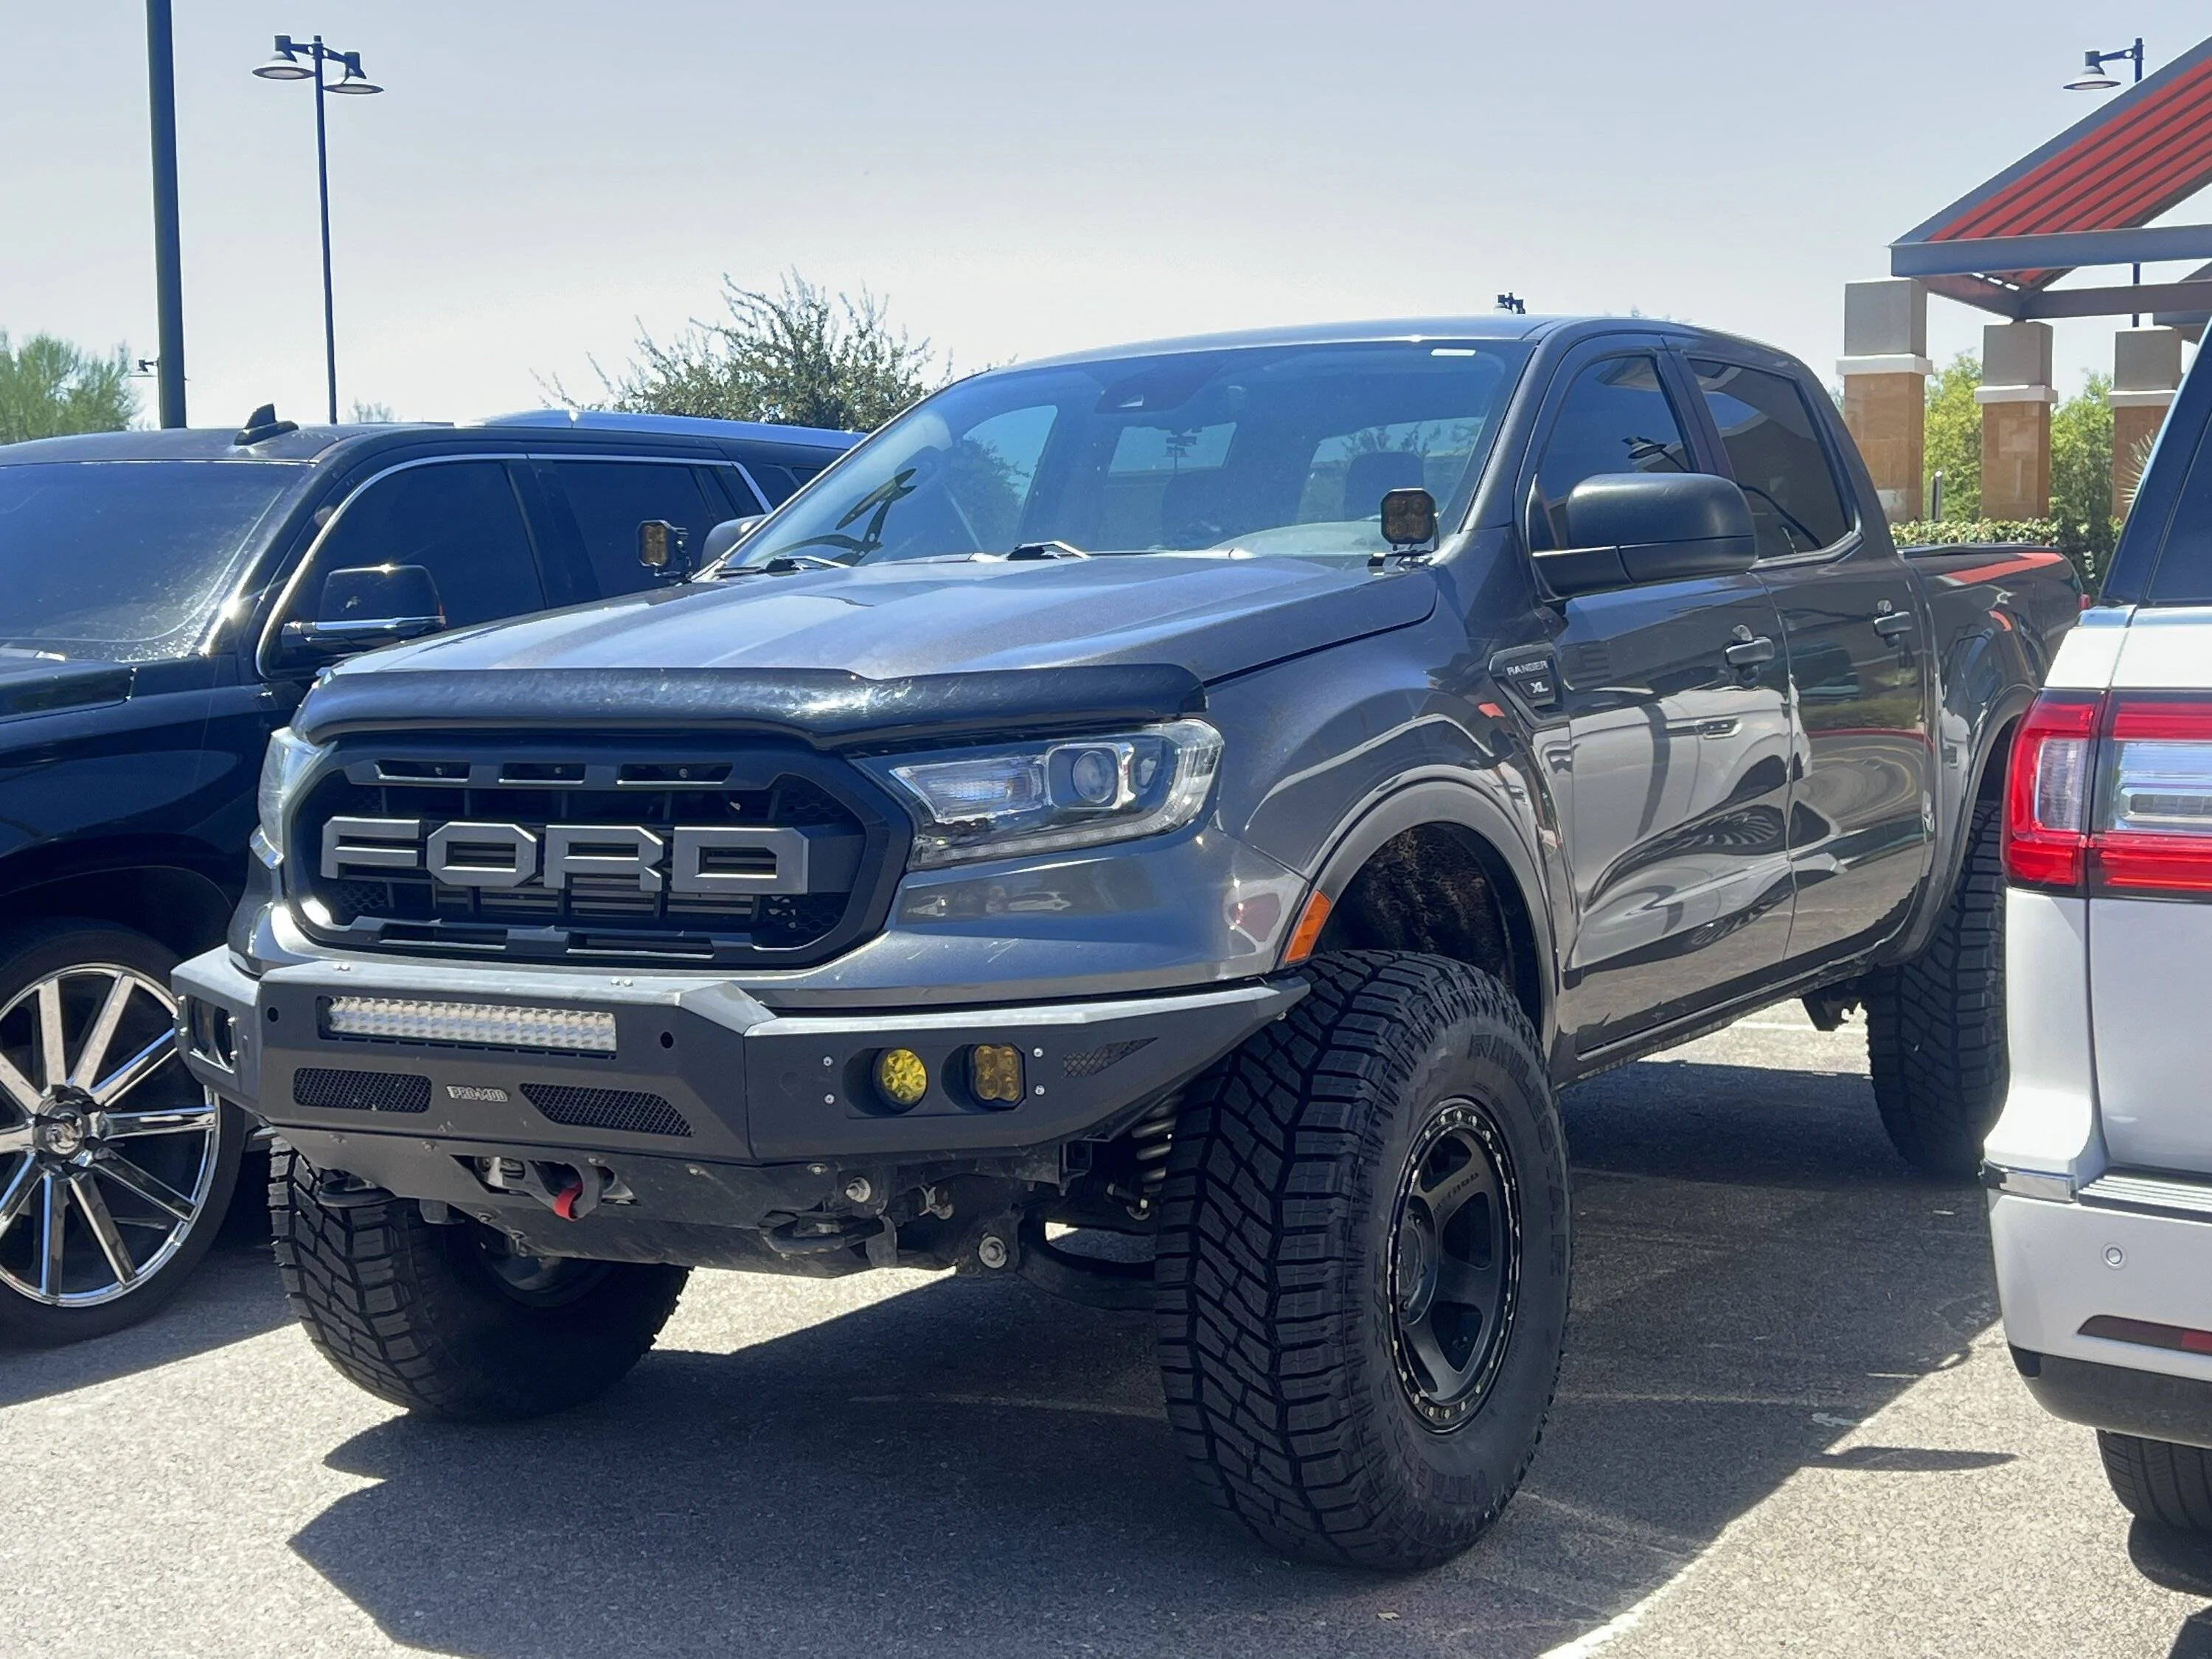
I installed a 2nd set of Baja Designs S2 Pro lights in clear driving pattern. They are set on the same angle as the bumper taper, to get more of the ditch line and hopefully see deer or other animals a little earlier. I got my antenna wiring complete and installed a 4' Firestick, which I had to make a bracket to fit the bumper. It's just a flat plate, cut to fit around the opening, but because of the way they cut and welded the bumper, it has a 5 degree forward lean to it.

The exterior work is complete for most of my light installs including the wiring to my sPod controller. All of the wiring through the firewall is also complete, but none of the interior work is done yet. This week's projects areRockscale Design's Builtright Industries' dash tray with sPod controller touch screen, 2 new camera screens, 4 exterior cameras, CB base unit, OPT7 running board lights, and AD Designs fender flares. The last 2 are both 3M tape jobs, that promoted me washing the truck today.
First was a complete hand wash with Chem guys Bug & Tar, including a moderate job on the wheels, then a complete foam cannon job with the Sticky Snowball.
The black paint still has a nice shine when it's exposed.
Although I say it was a complete wash, and done twice, it was still far from perfection. There are a few spots on the outside I noticed could have been better, some corners in the wheels for example. Also seen here are my new McGard lug nuts and Advance wheel locks.

Also in the "not done today, but recently category" are the finish install and wiring of my Rigid Radiance Scene flush mount reverse lights, and trailer hitch Amazon cheap brake light. The blue wire is for one of the upcoming projects this week. I did the solder connection yesterday and tucked it in the tailgate until it gets connected maybe tomorrow.
Also over the last bit I finished the wiring harness for the Blade tailgate light bar, which I moved to my roof rack. I re-wired their harness and used the 4 wire trailer bundle to run up to the roof rack. That wire is tucked under the edge of the windshield (so much room there with no outter trim piece) then also ran another pair of 14 gauge wires from my sPod controller and used this black rubber wire routing trim.
I installed a 2nd set of Baja Designs S2 Pro lights in clear driving pattern. They are set on the same angle as the bumper taper, to get more of the ditch line and hopefully see deer or other animals a little earlier. I got my antenna wiring complete and installed a 4' Firestick, which I had to make a bracket to fit the bumper. It's just a flat plate, cut to fit around the opening, but because of the way they cut and welded the bumper, it has a 5 degree forward lean to it.
The exterior work is complete for most of my light installs including the wiring to my sPod controller. All of the wiring through the firewall is also complete, but none of the interior work is done yet. This week's projects are
Sponsored
Last edited:


 I hope the hip is still doing well and the boss (Mary) is keeping you in line still.? Don't be a stranger and check your text more often. lol