Colo_Ranger
Well-Known Member
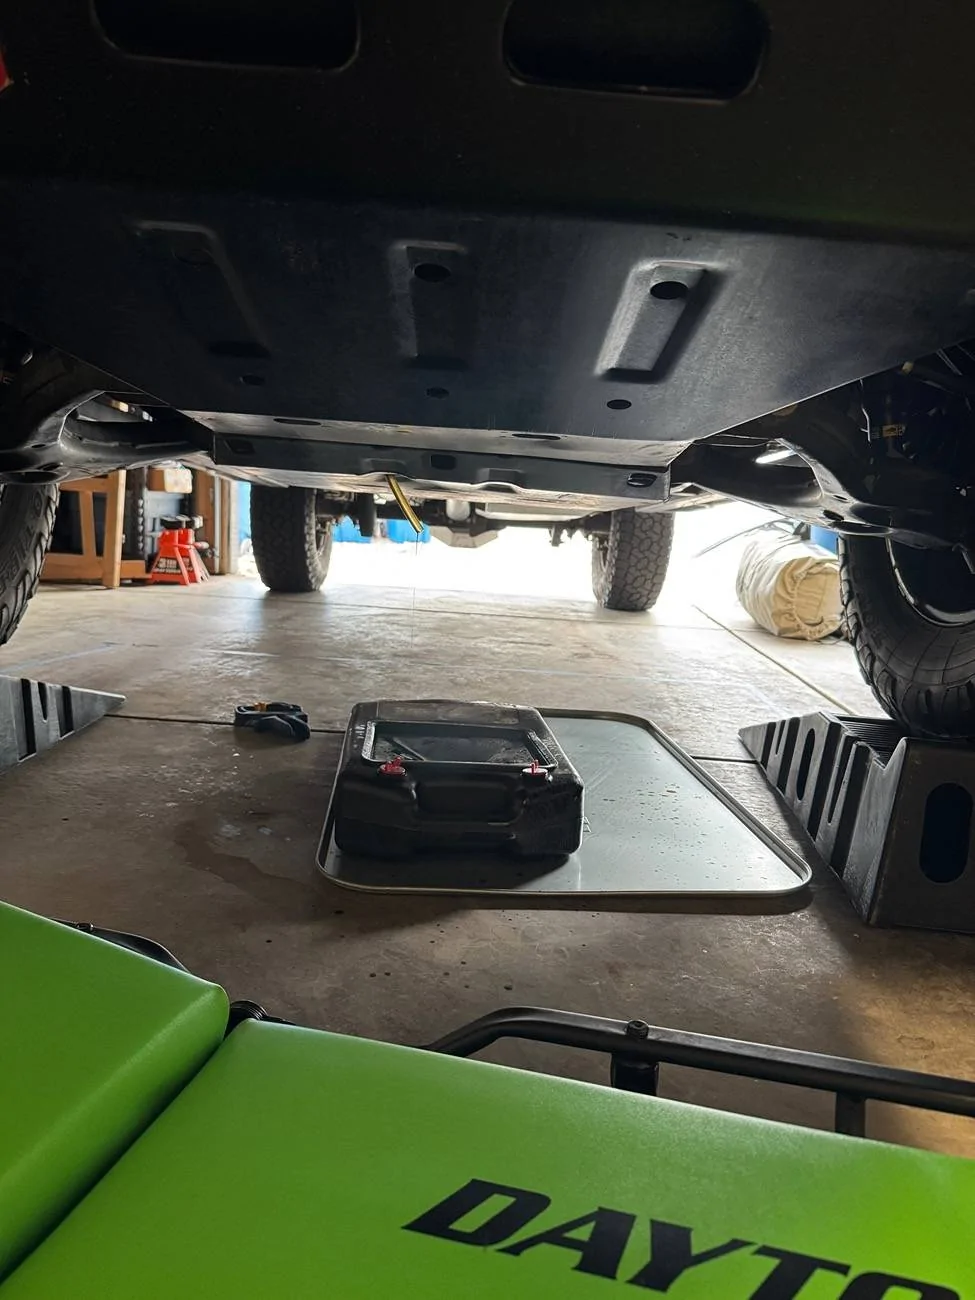
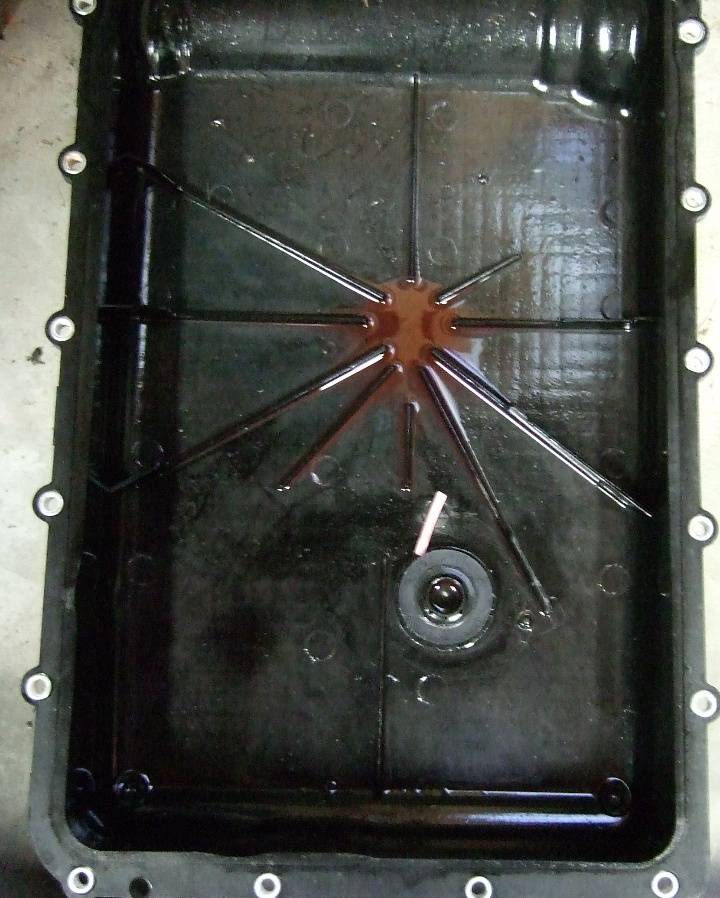
Changed the oil. The Valvomax plug works great, even with the ARB skids. I’m going to order a longer hose for the changes in the future, but… it made quick work of the change.
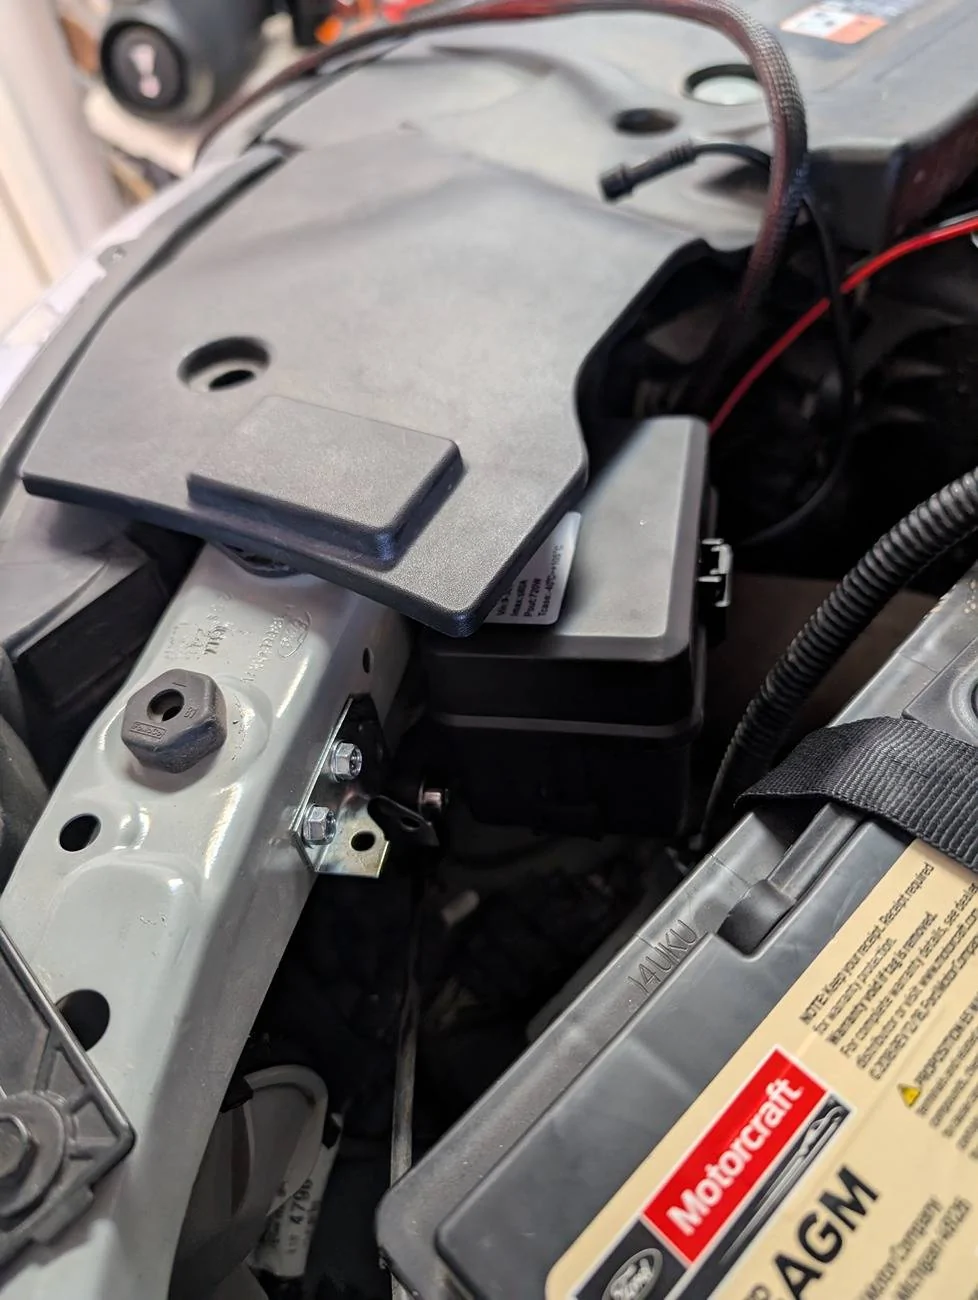
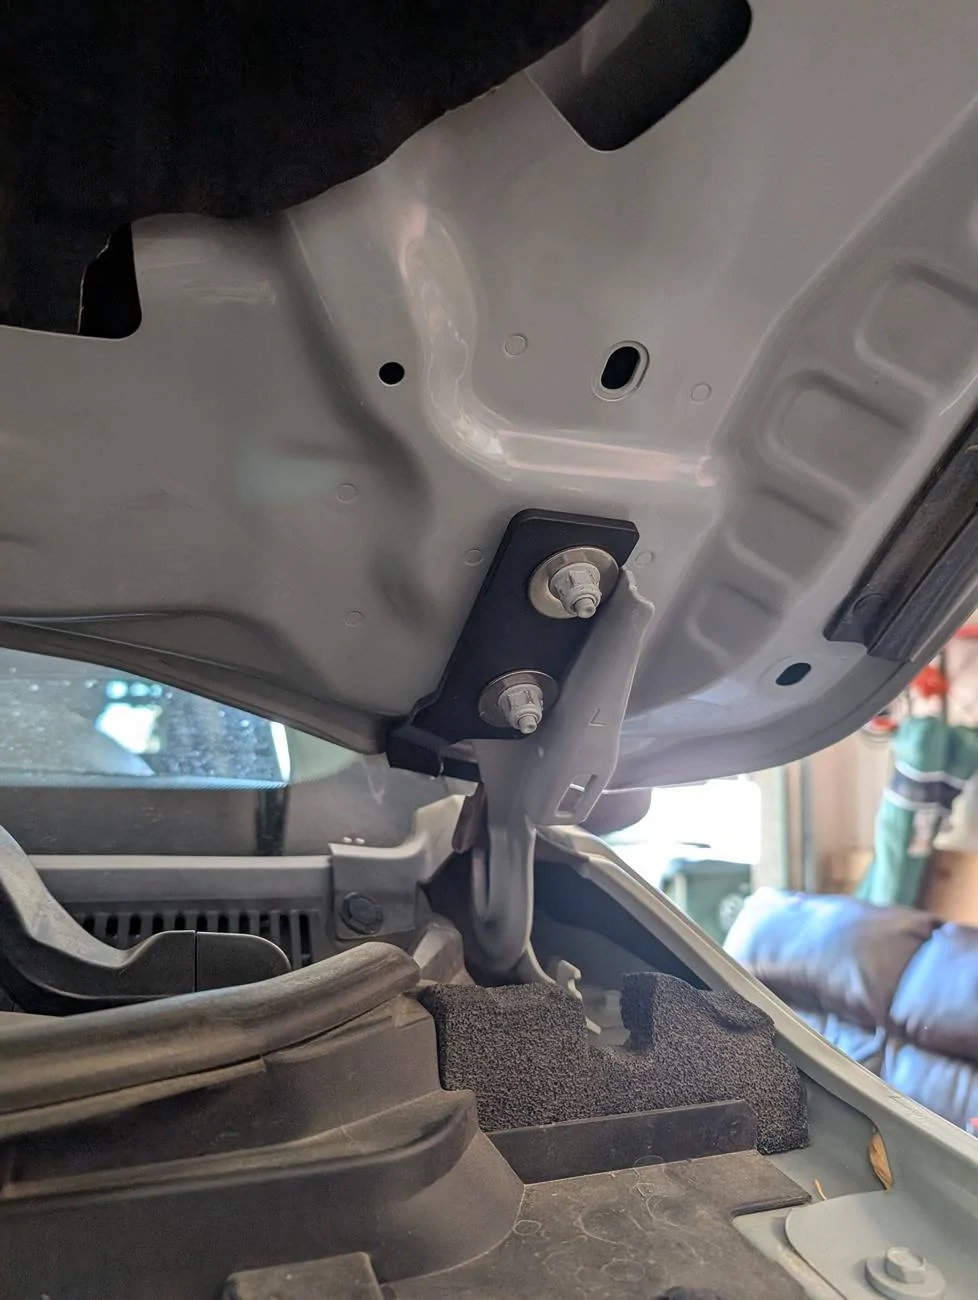
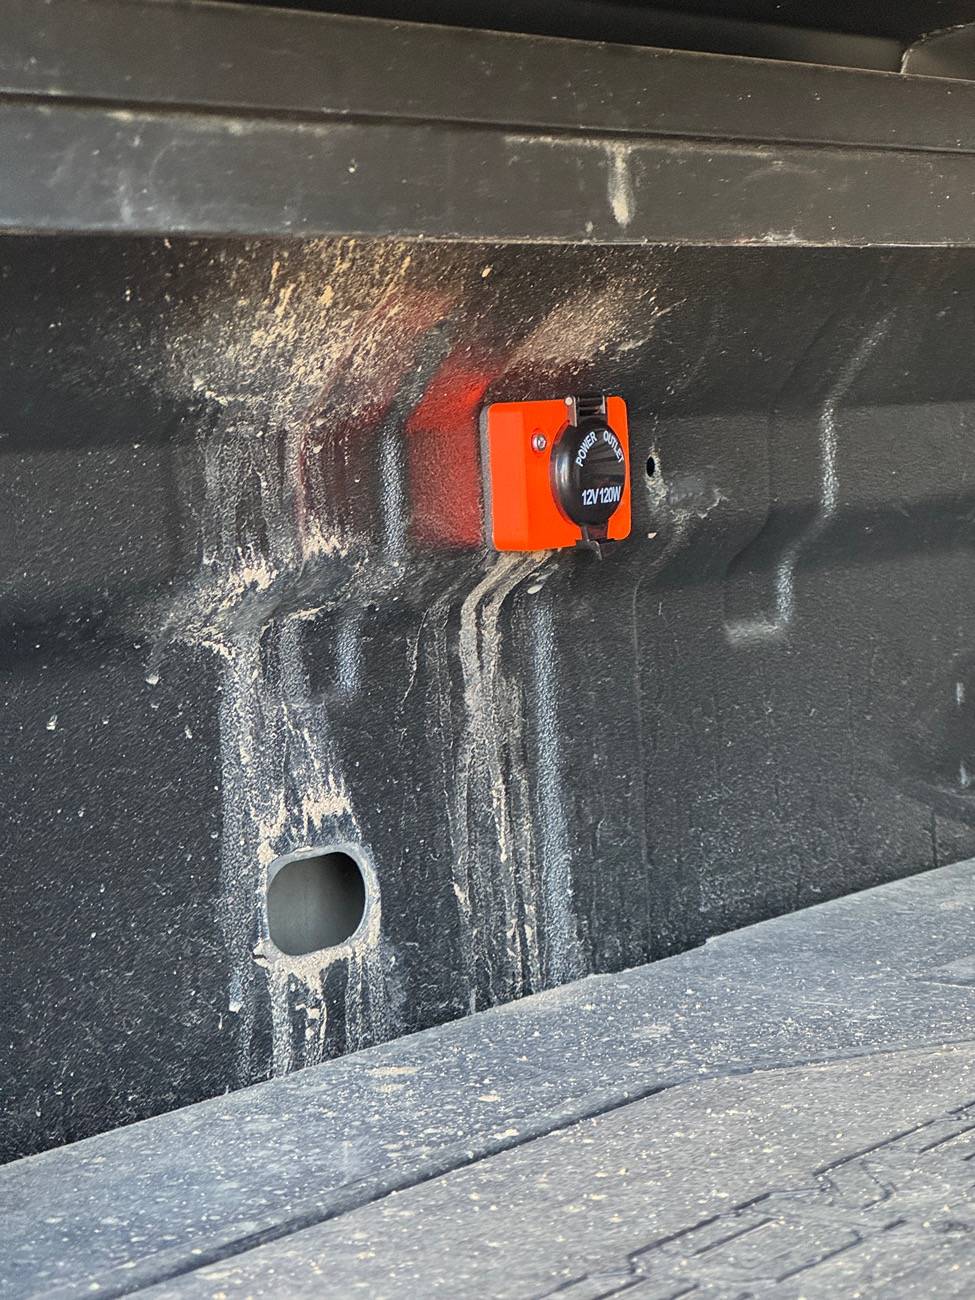
I also installed my Wolf Haus adapter in the bed. I’ll change Forscan tomorrow to allow it to run my fridge overnight.
also did the first setup of our new tent. We needed something large enough for a crib for the kiddo.
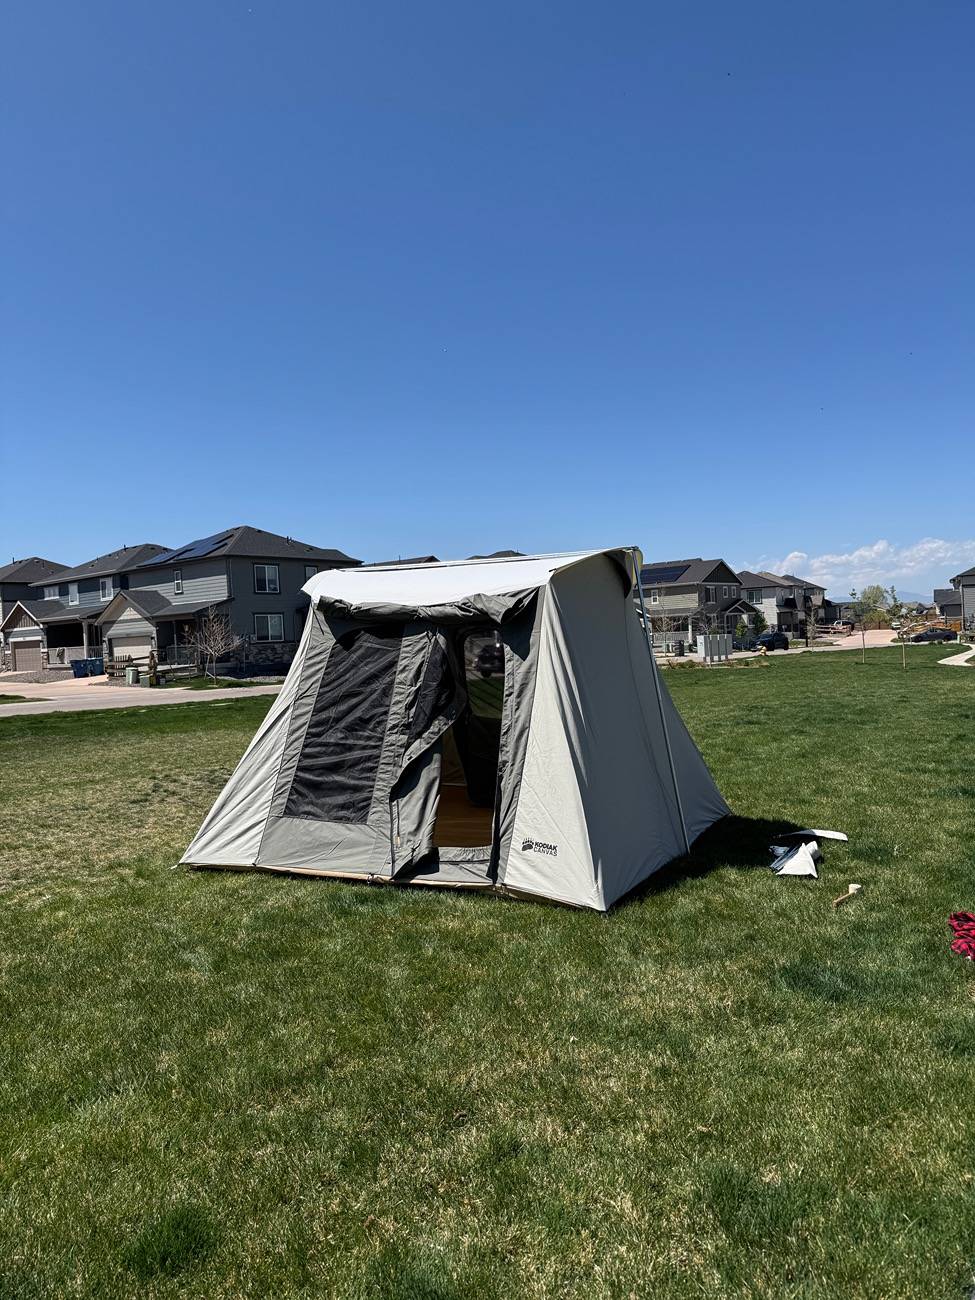
the first setup took 15-20 minutes but I’ll be able to cut that down to 10, now that I know what I’m doing.
Sponsored