RedDakooter05
Well-Known Member
Weeee

Sponsored
Last edited:

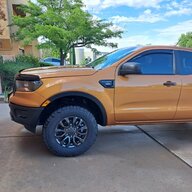
Clay barring is a safe way to get out any paint blemishes. I don't clay bar the whole paint area before waxing but only do the rough spots after running my fingers over the paint for distortions. I picked up some bugs on a previous trip in 2022 and tried tar and bug remover and it only partially removed the mess. So, I followed with clay bar and it sucessfully removed everything and left the surface in perfect condition! The bugs are pretty noticeable on the deflector and the Ford icons.I need to muster up the courage to try clay barring. Not only do I get sap on the bed rails from dump runs with brush. But I also park under a giant red oak that has tiny drops of something. Sap I assume. I can't see it with my eye but I can feel these tiny bumps. Kate gets them if her car is out (super rare, most neighbors probably think we divorced since her car's never out), but she does such a thorough detailing job that she keeps them off.
I guess a clay bar would get that off. Since I always park outside, my motivation is low to get that off. Maybe it'll form a protective layer!

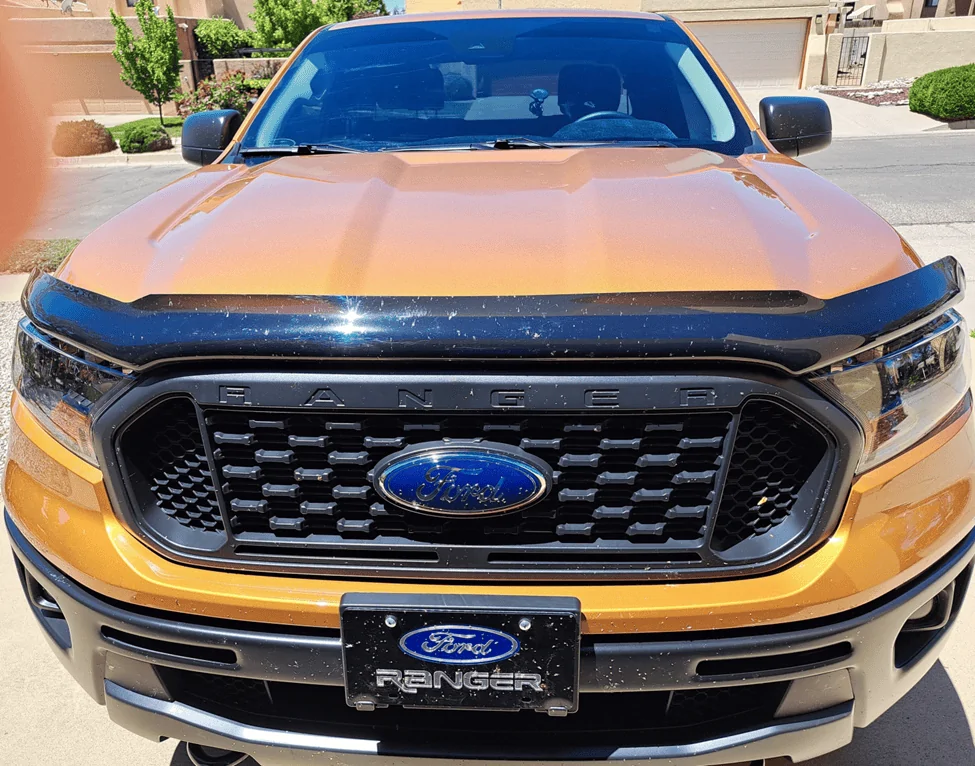
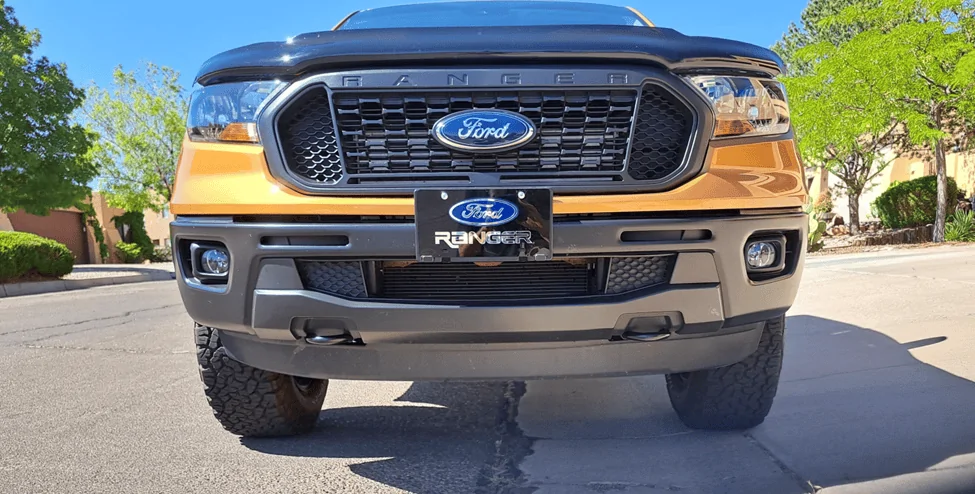

Yikes and Wow!Clay barring is a safe way to get out any paint blemishes. I don't clay bar the whole paint area before waxing but only do the rough spots after running my fingers over the paint for distortions. I picked up some bugs on a previous trip in 2022 and tried tar and bug remover and it only partially removed the mess. So, I followed with clay bar and it sucessfully removed everything and left the surface in perfect condition! The bugs are pretty noticeable on the Ford icons.
Before:

After:

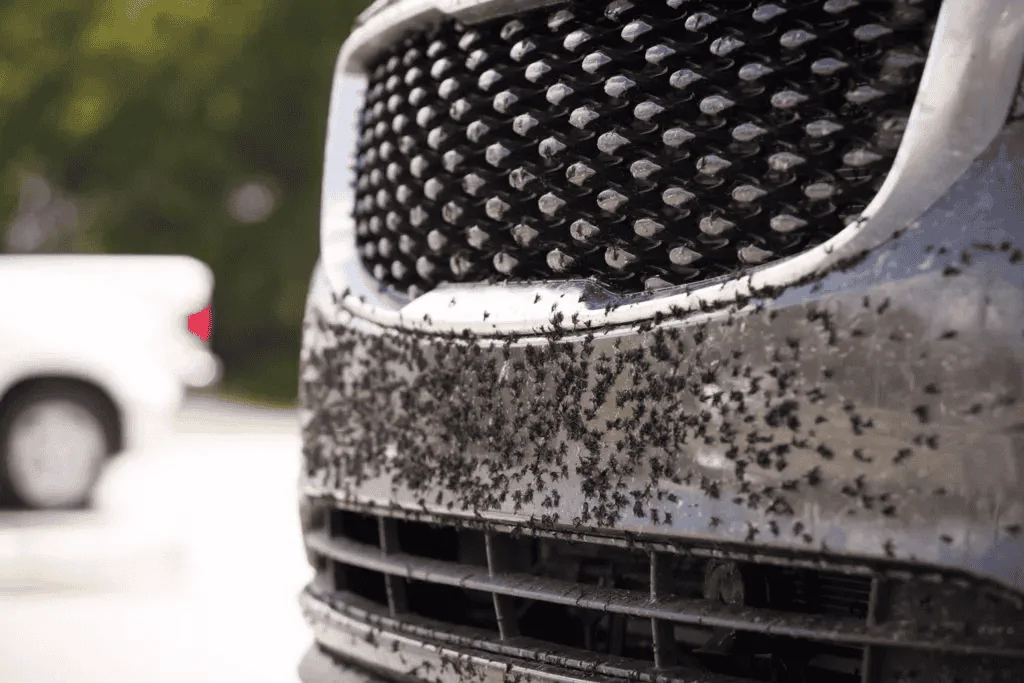
The clay mitts are really easy to use and do a good job.Yikes and Wow!
That sold me. Kate and I will put together a 303 order this weekend (funny the things that we can find fun) and that clay mitt is on there. @AzScorpion's been working on me to try a clay bar and your pics pushed me finally did it.
Kate has some tough bugs on her white car that never fully come off, I bet your technique clears them up!
Thanks and perfect before and after pics. =)

They showed up at my house too and demanded to look at my car detailing products. They were undercover from Meguiar's and left without incident after finding I had no 303 goods!LOL Steve! You must be one of @AzScorpion's sales associates! =D
These guys showed up one day wanting to know if I use 303 products ...

 They asked how to get in touch with Dave @AzScorpion
WOW! I haven't seen bugs like that since I drove through Texas farmland several years ago in June!Yikes and Wow!
That sold me. Kate and I will put together a 303 order this weekend (funny the things that we can find fun) and that clay mitt is on there. @AzScorpion's been working on me to try a clay bar and your pics pushed me finally did it.
Kate has some tough bugs on her white car that never fully come off, I bet your technique clears them up!
Thanks and perfect before and after pics. =)


Just a dedicated customer.LOL Steve! You must be one of @AzScorpion's sales associates! =D
These guys showed up one day wanting to know if I use 303 products ...

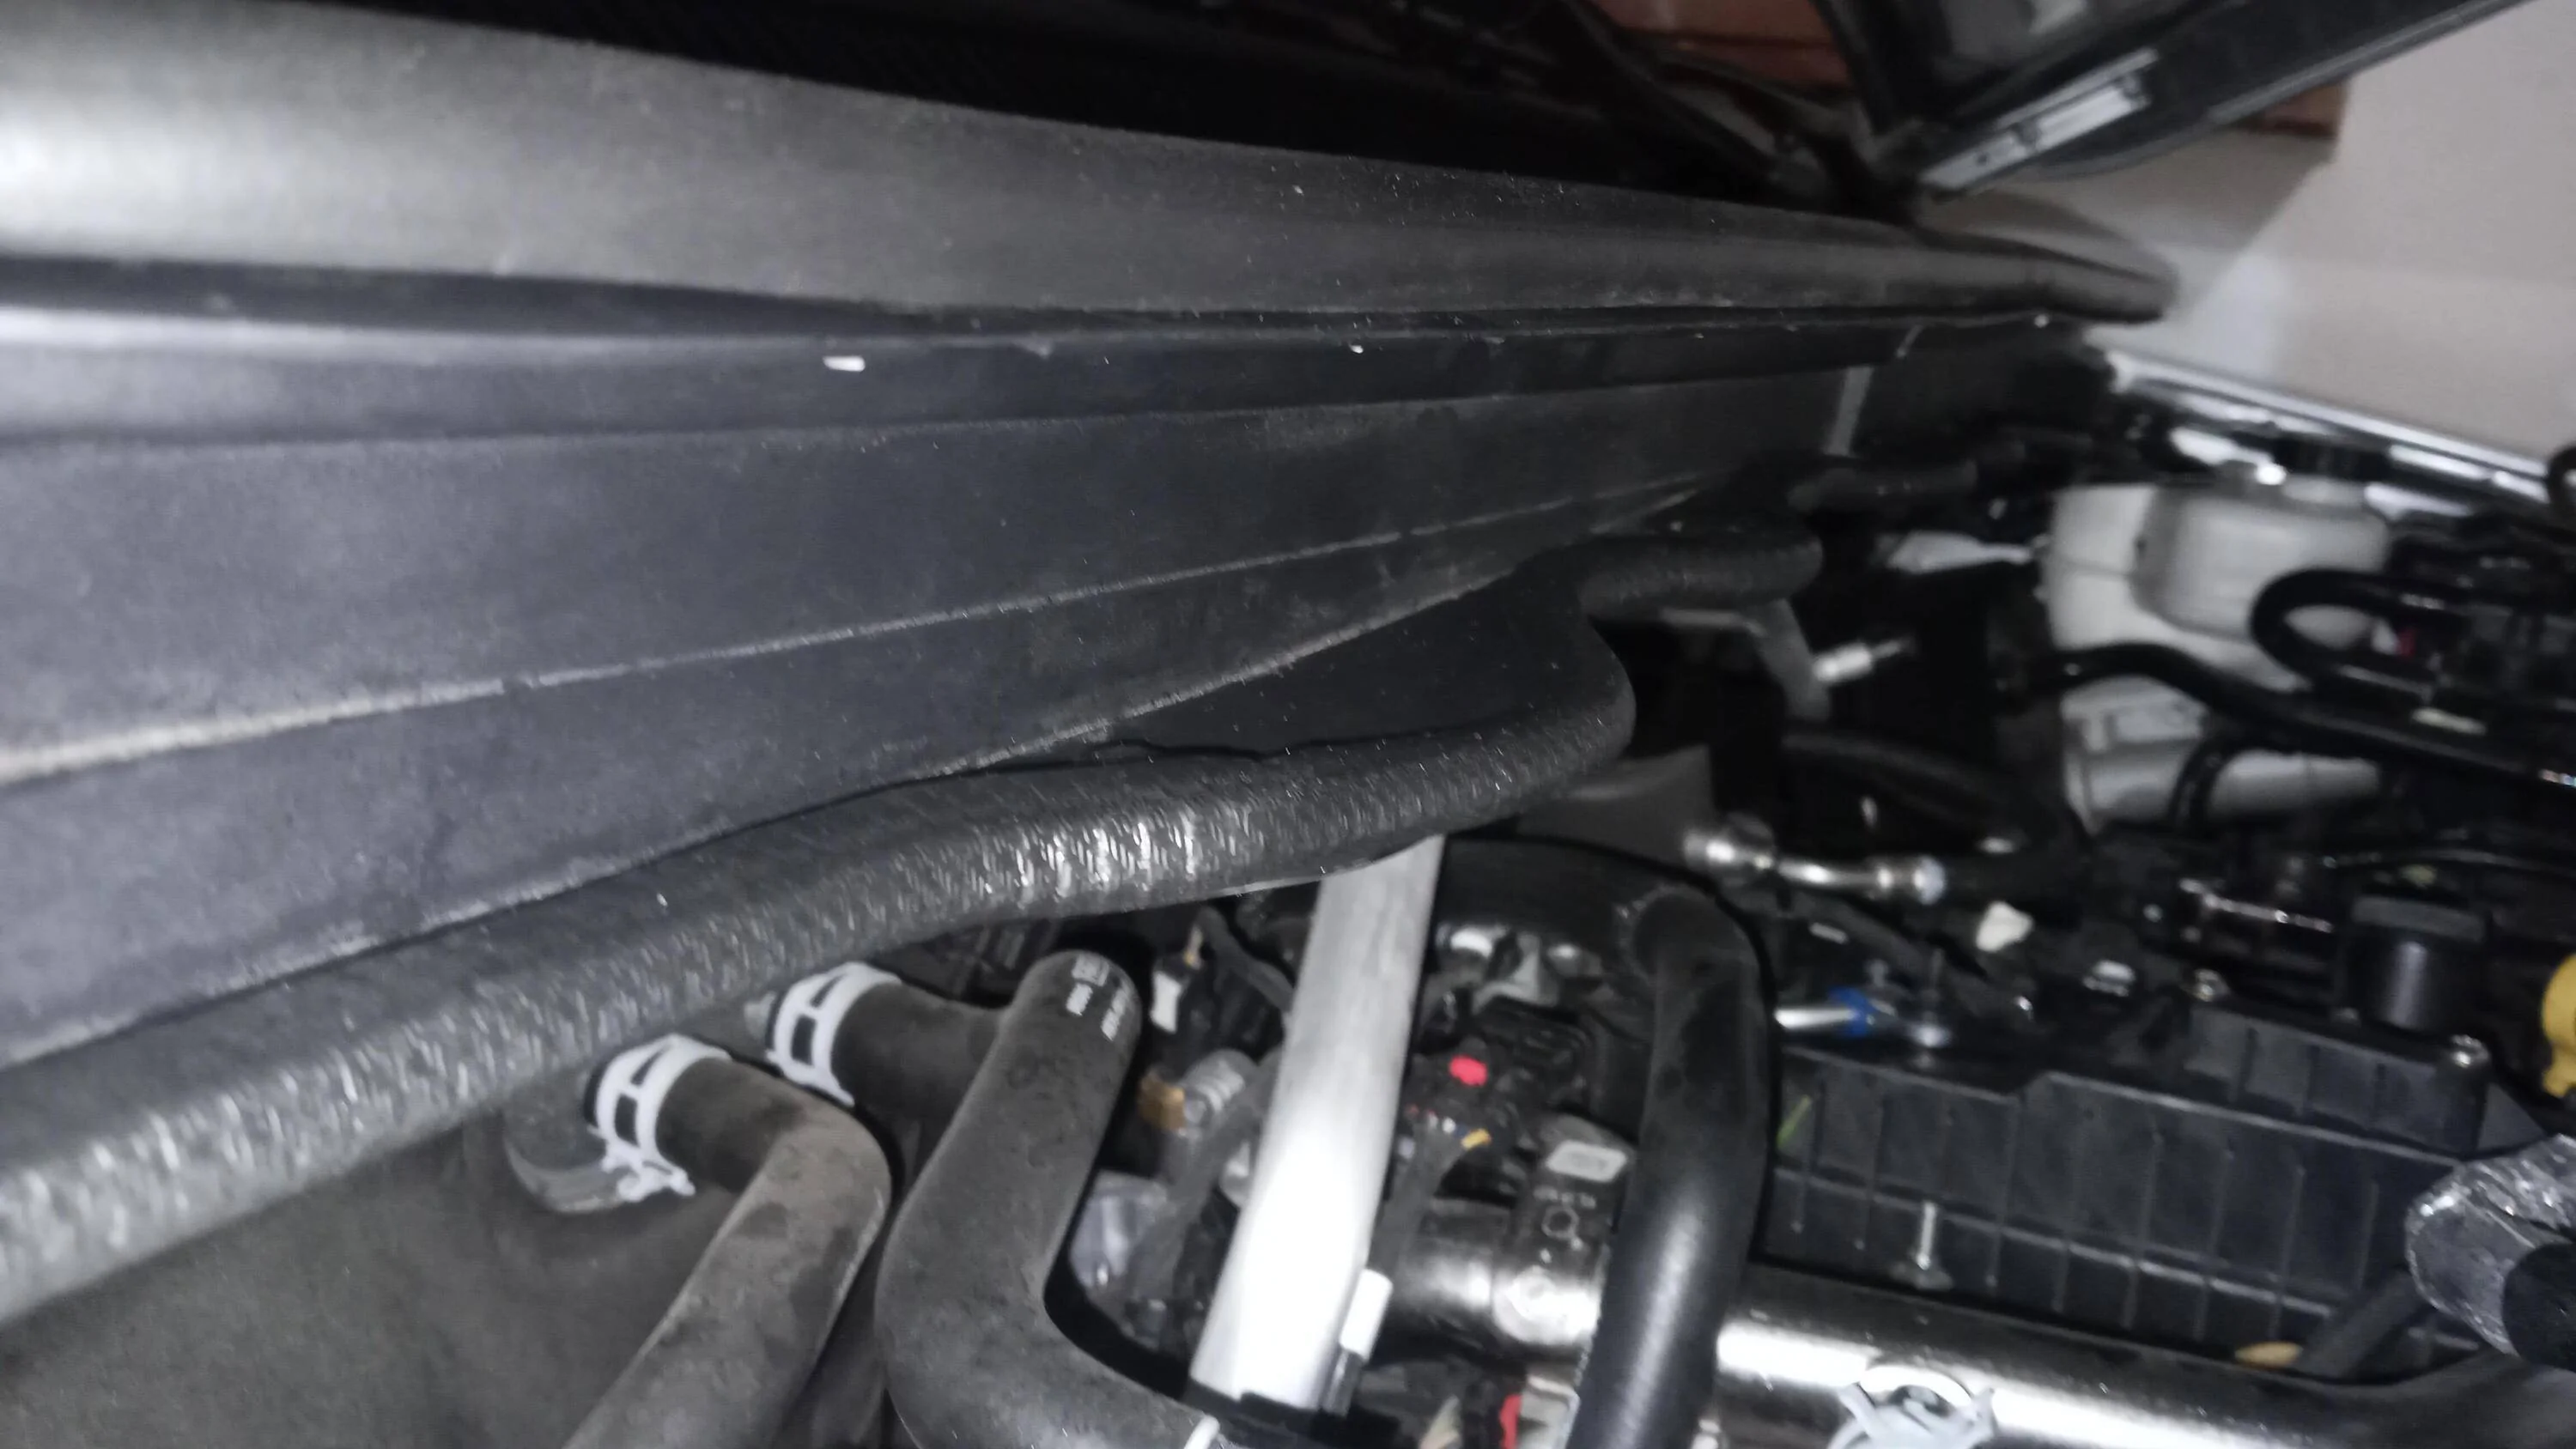
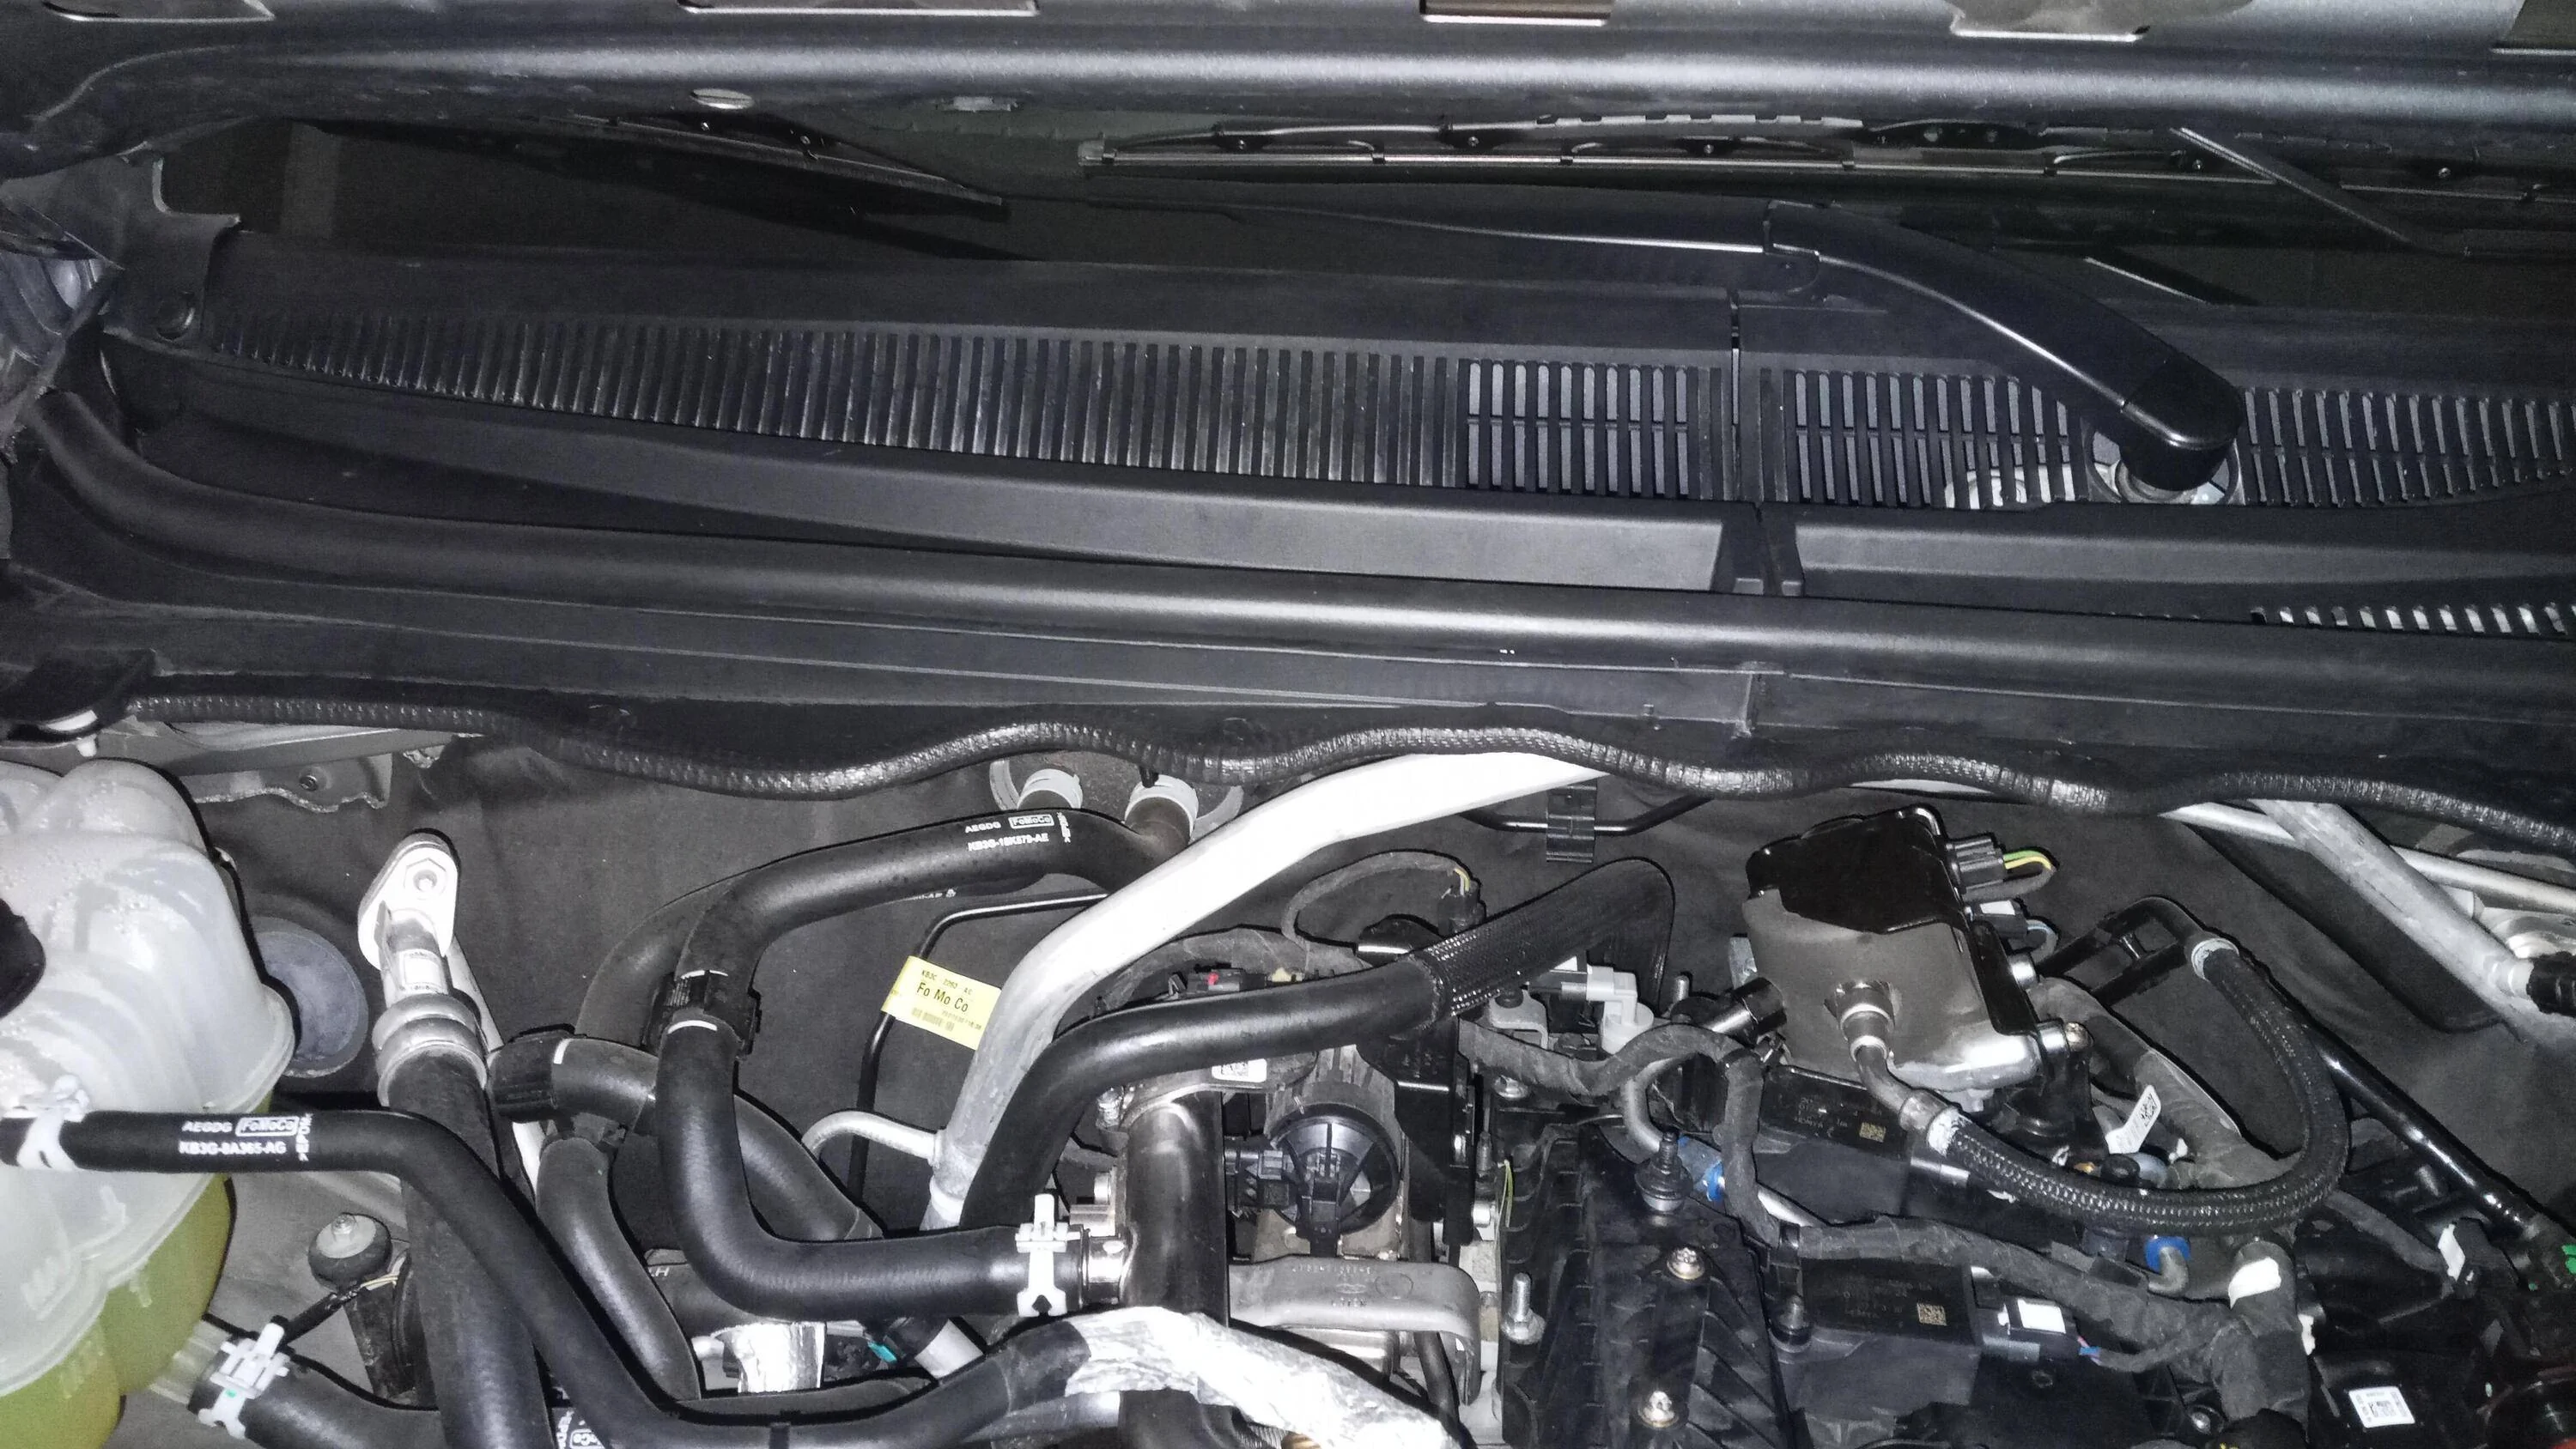
Look good to me!Woo hoo!
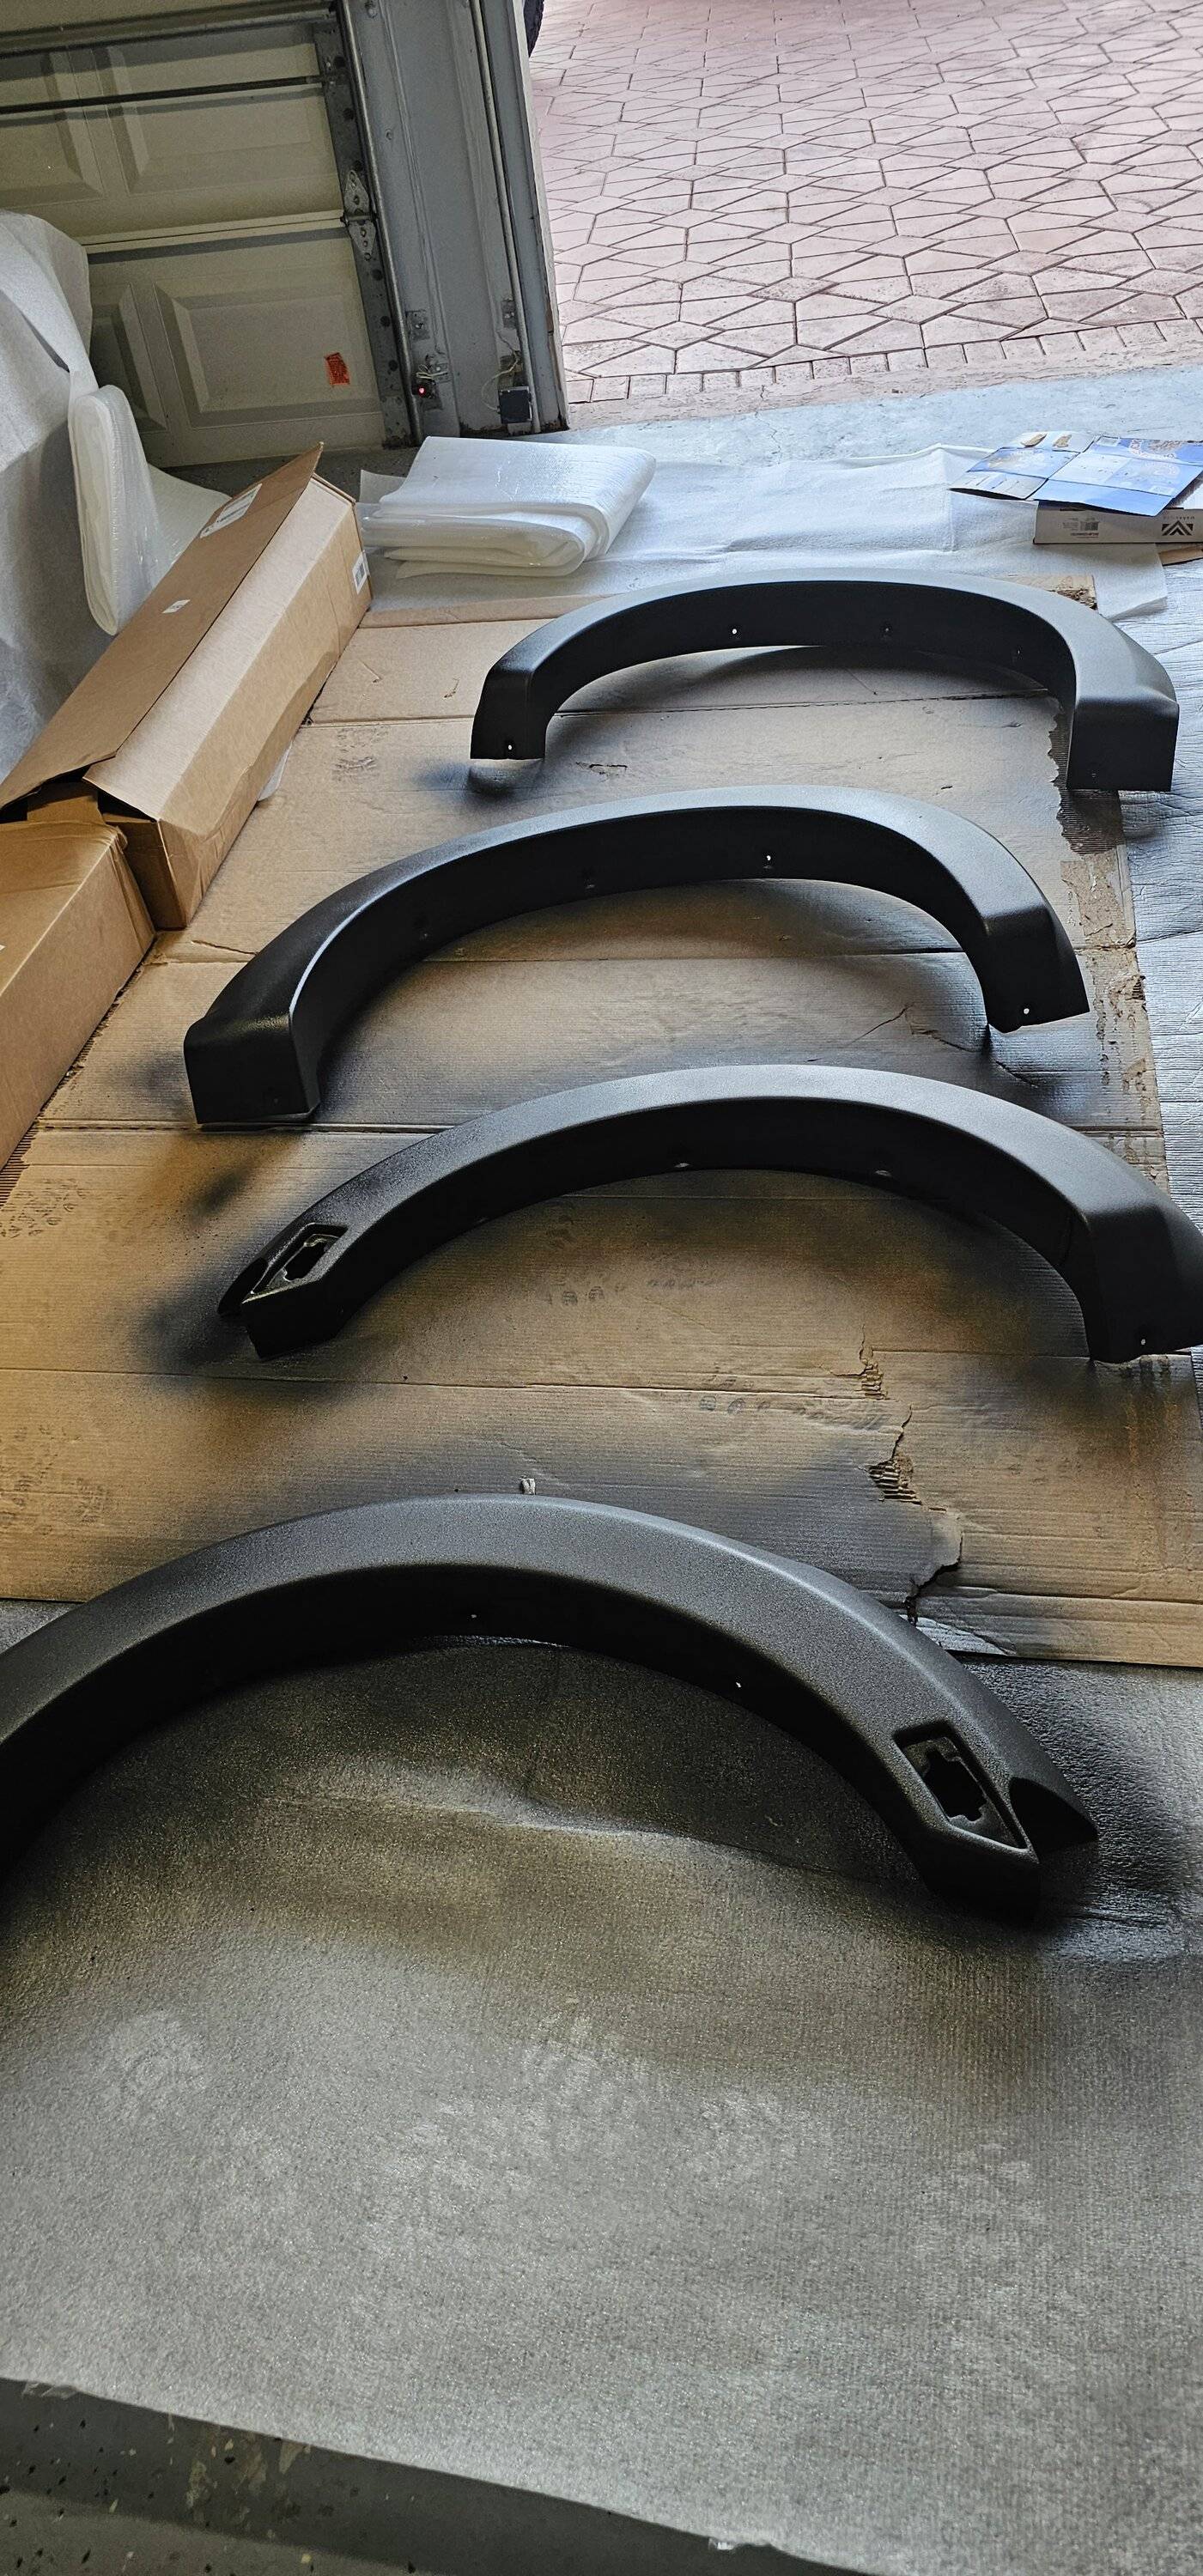
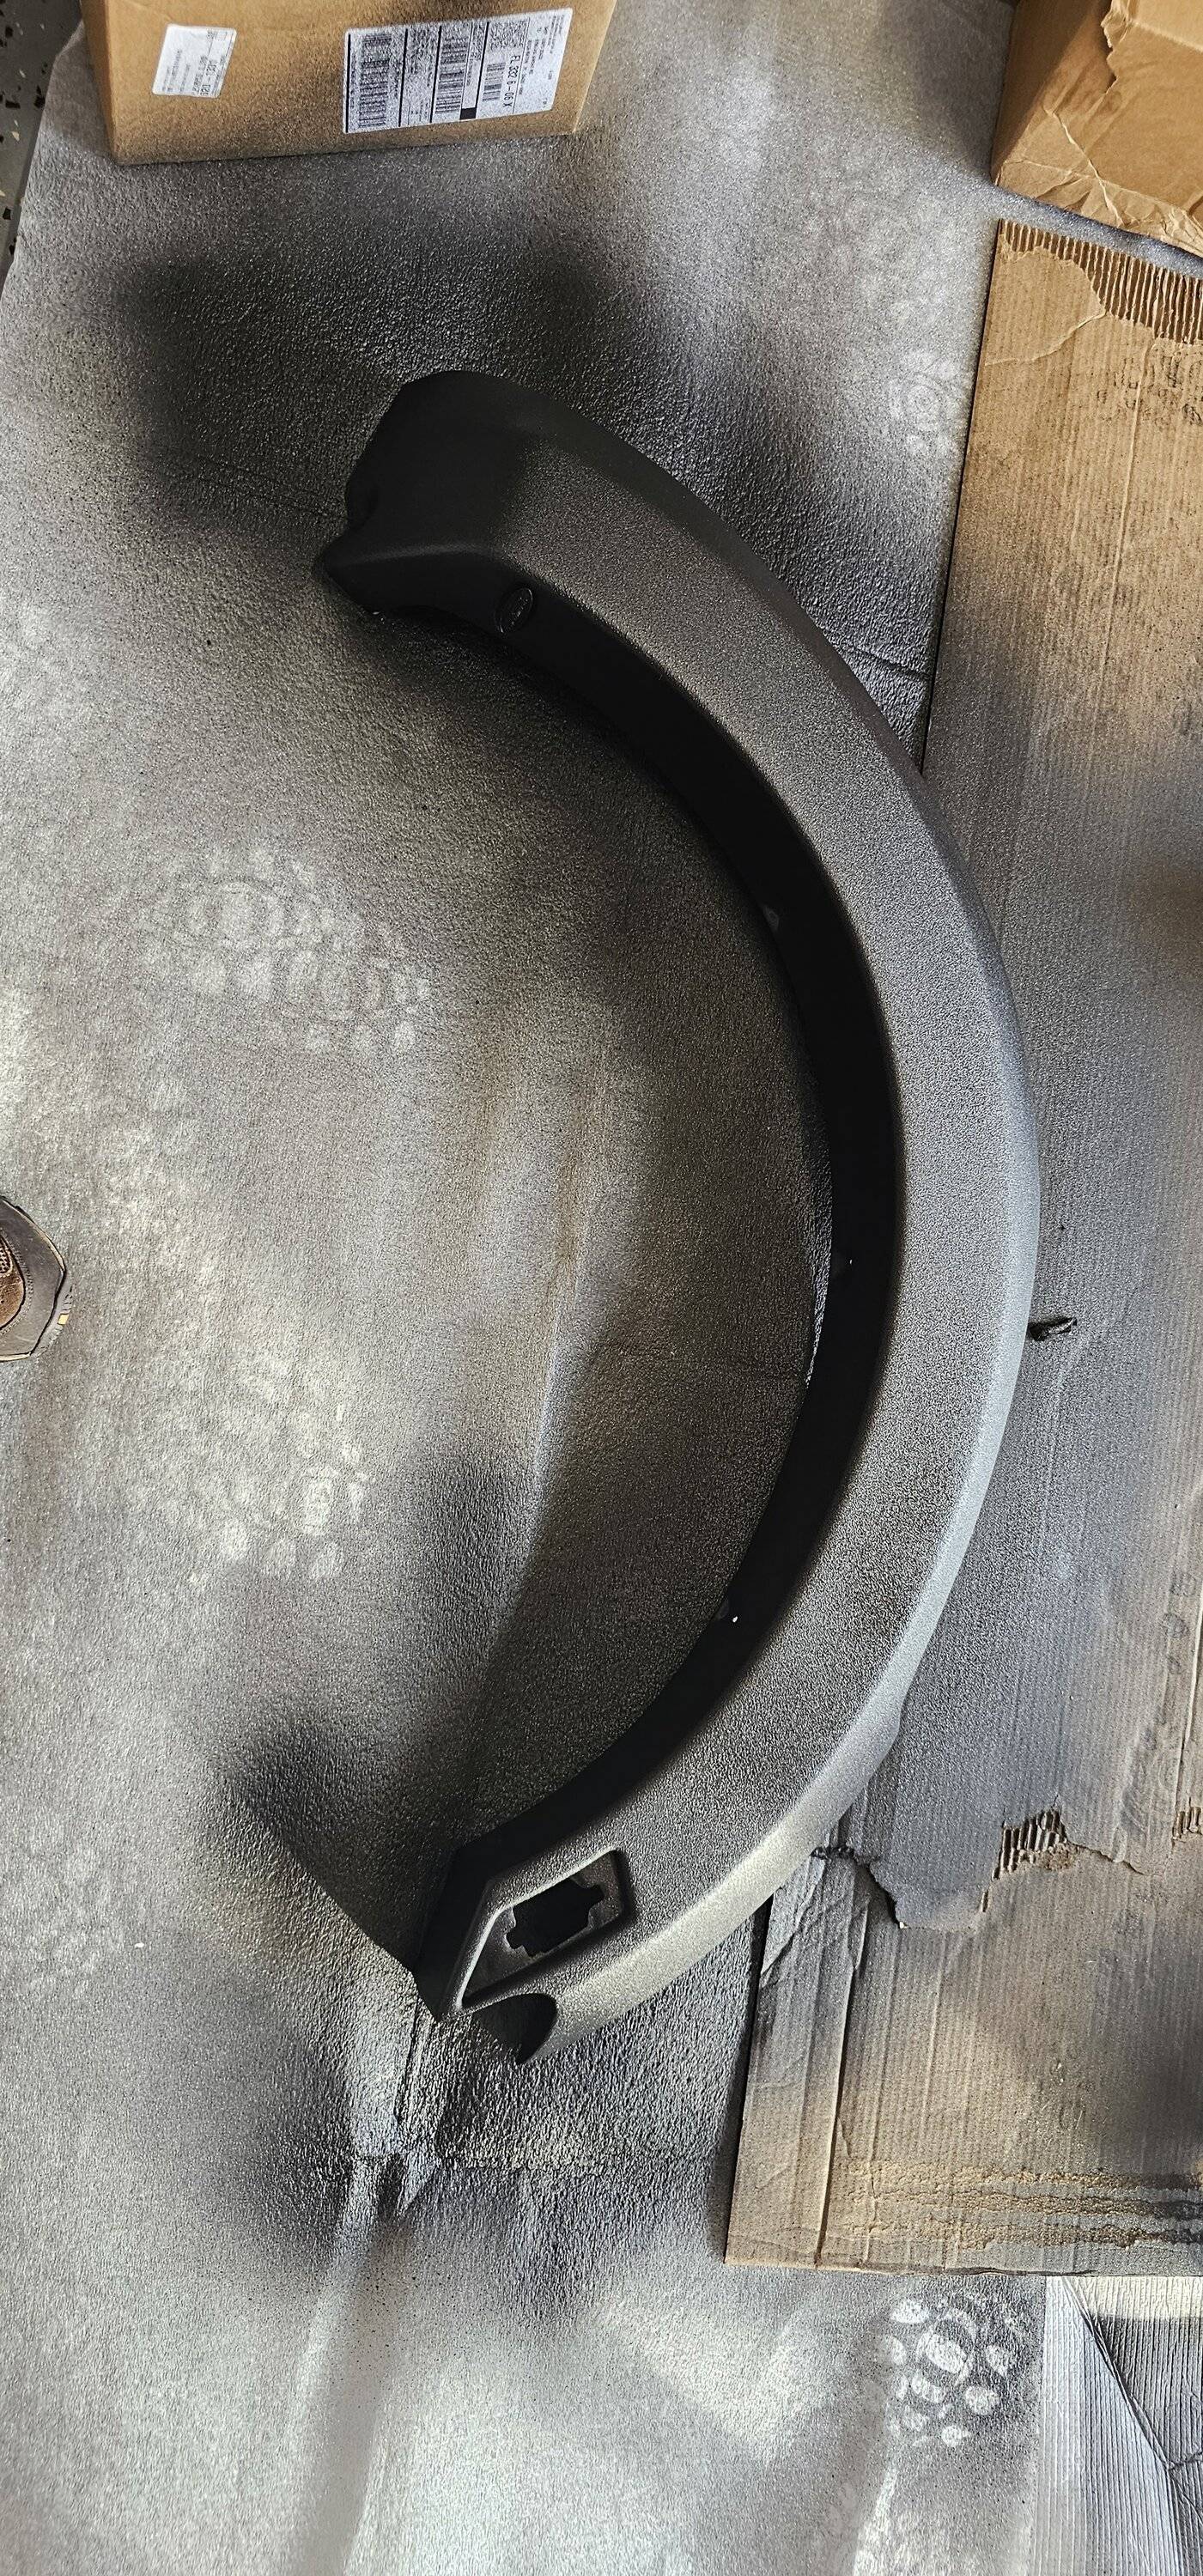
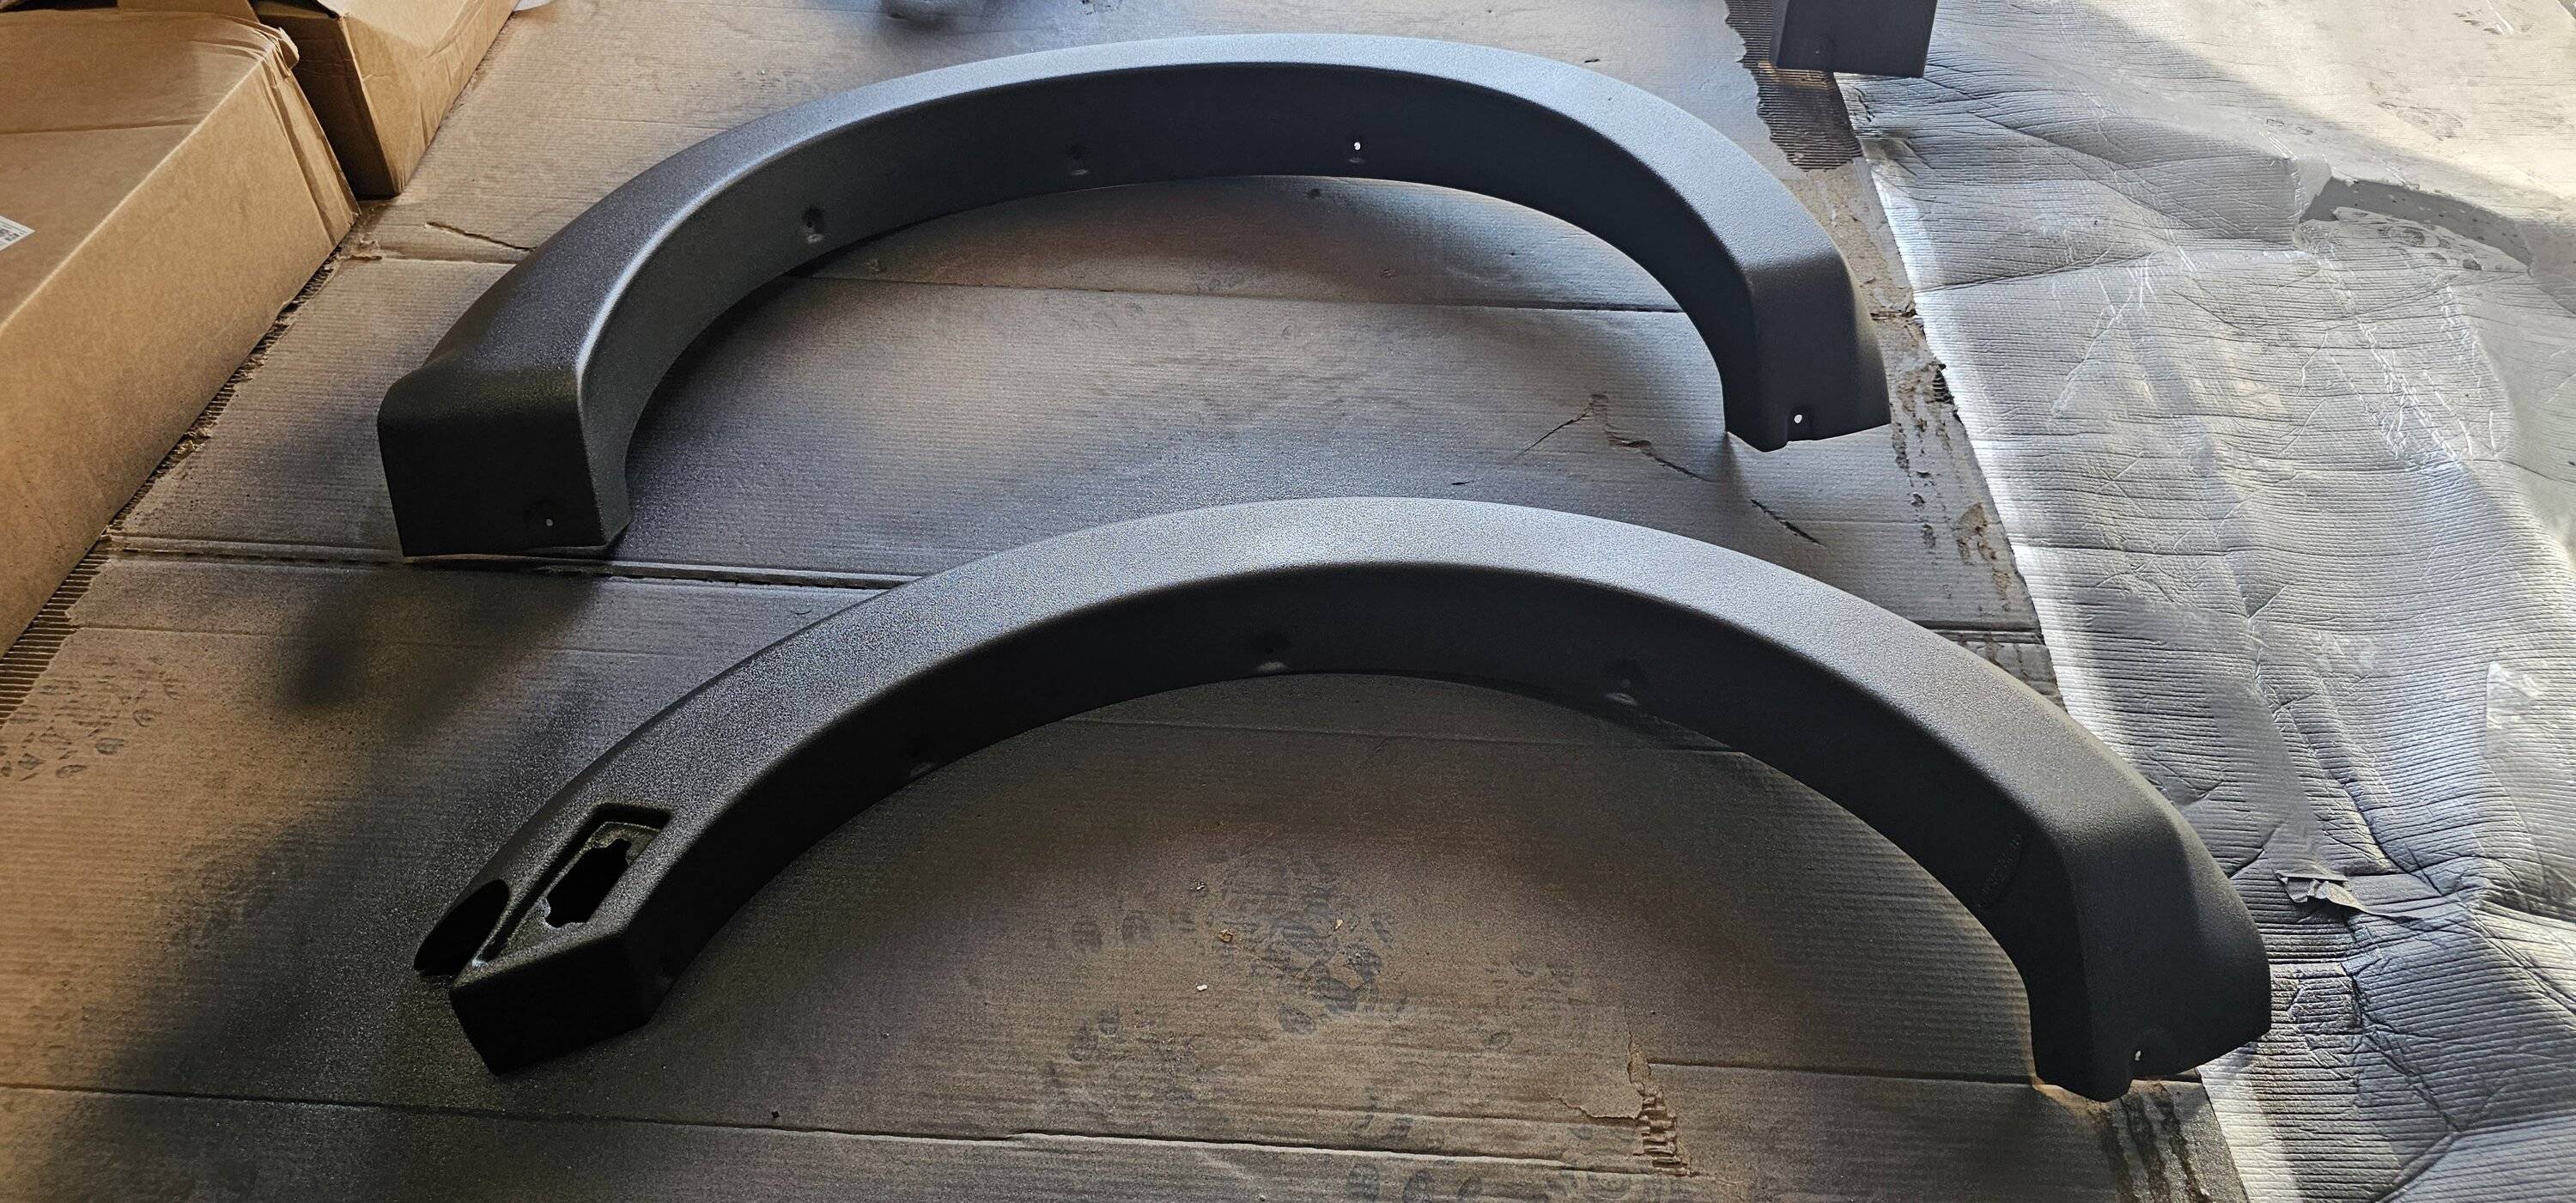
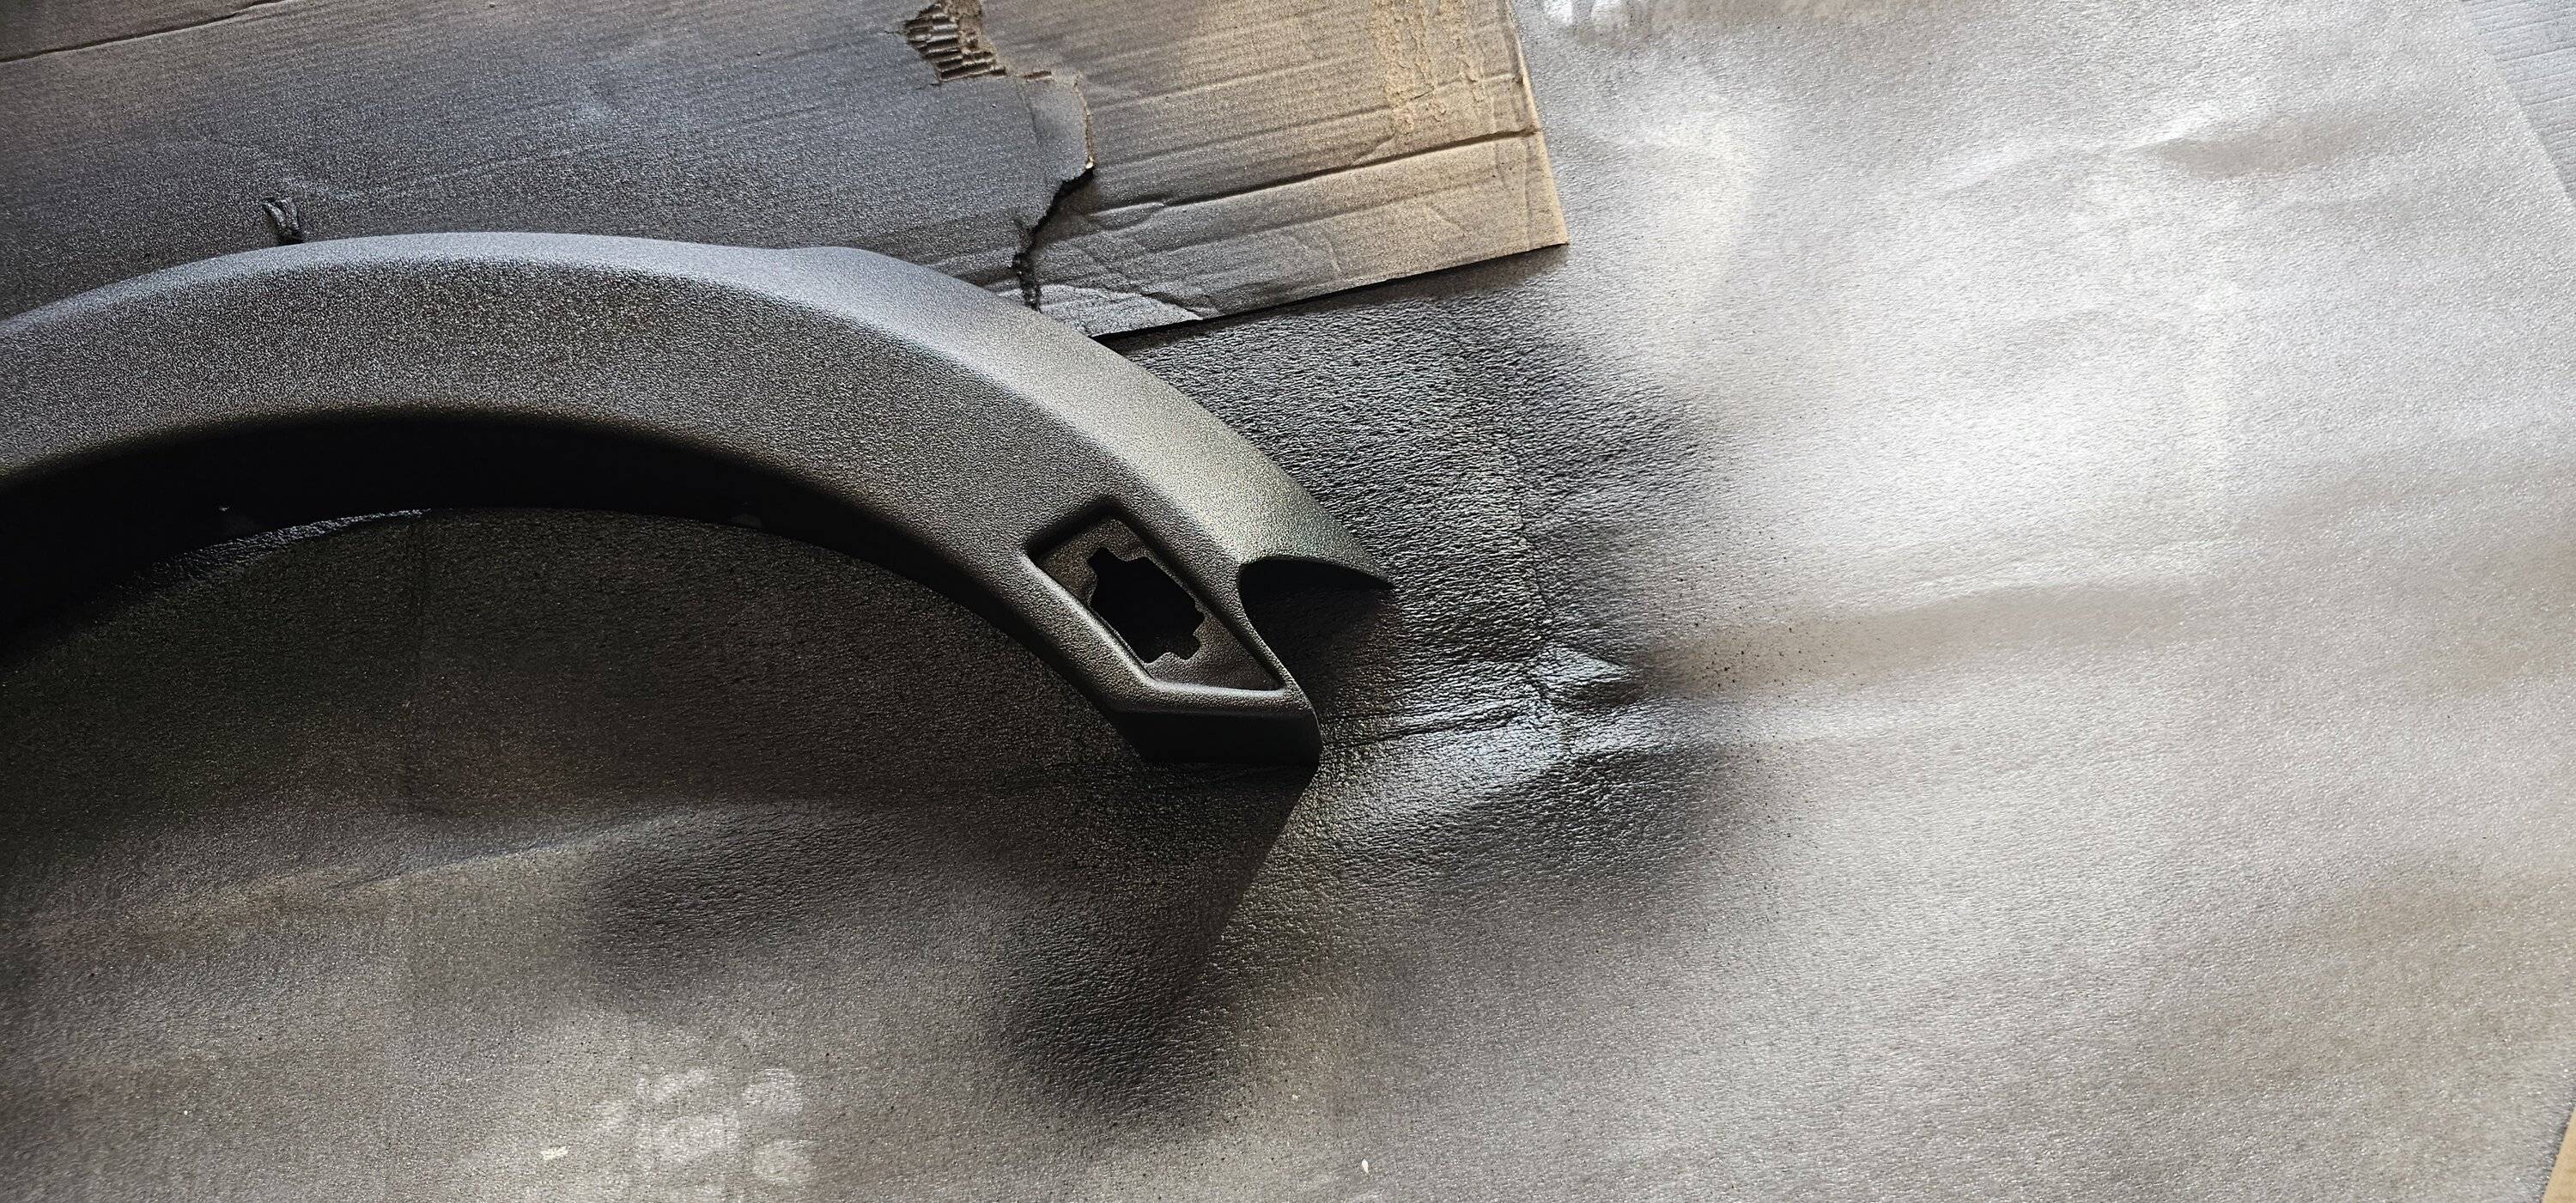
It's not perfect but I'm still happy with it (and that's unusual!). Starting two days ago, I sanded down and washed the fender flares that @OFC Ranger gifted to me (that I've been modifying to fit around my snorkel and front bumper). Last night I wiped them down with acetone, tacked them off, and then hit them with some adhesion promoter.
This morning I had to get up at 0500 to take my wife to the airport (?) so when I got home at 0640, I tacked them off again and got 'em with two coats of Raptor Liner.
Again, it's not perfect. My "body work" on where I bonded the plastic together leaves a little to be desired. I'm actually a little surprised that the Raptor liner actually accentuates my shoddy work rather than covering it. But I'm still happy with it.



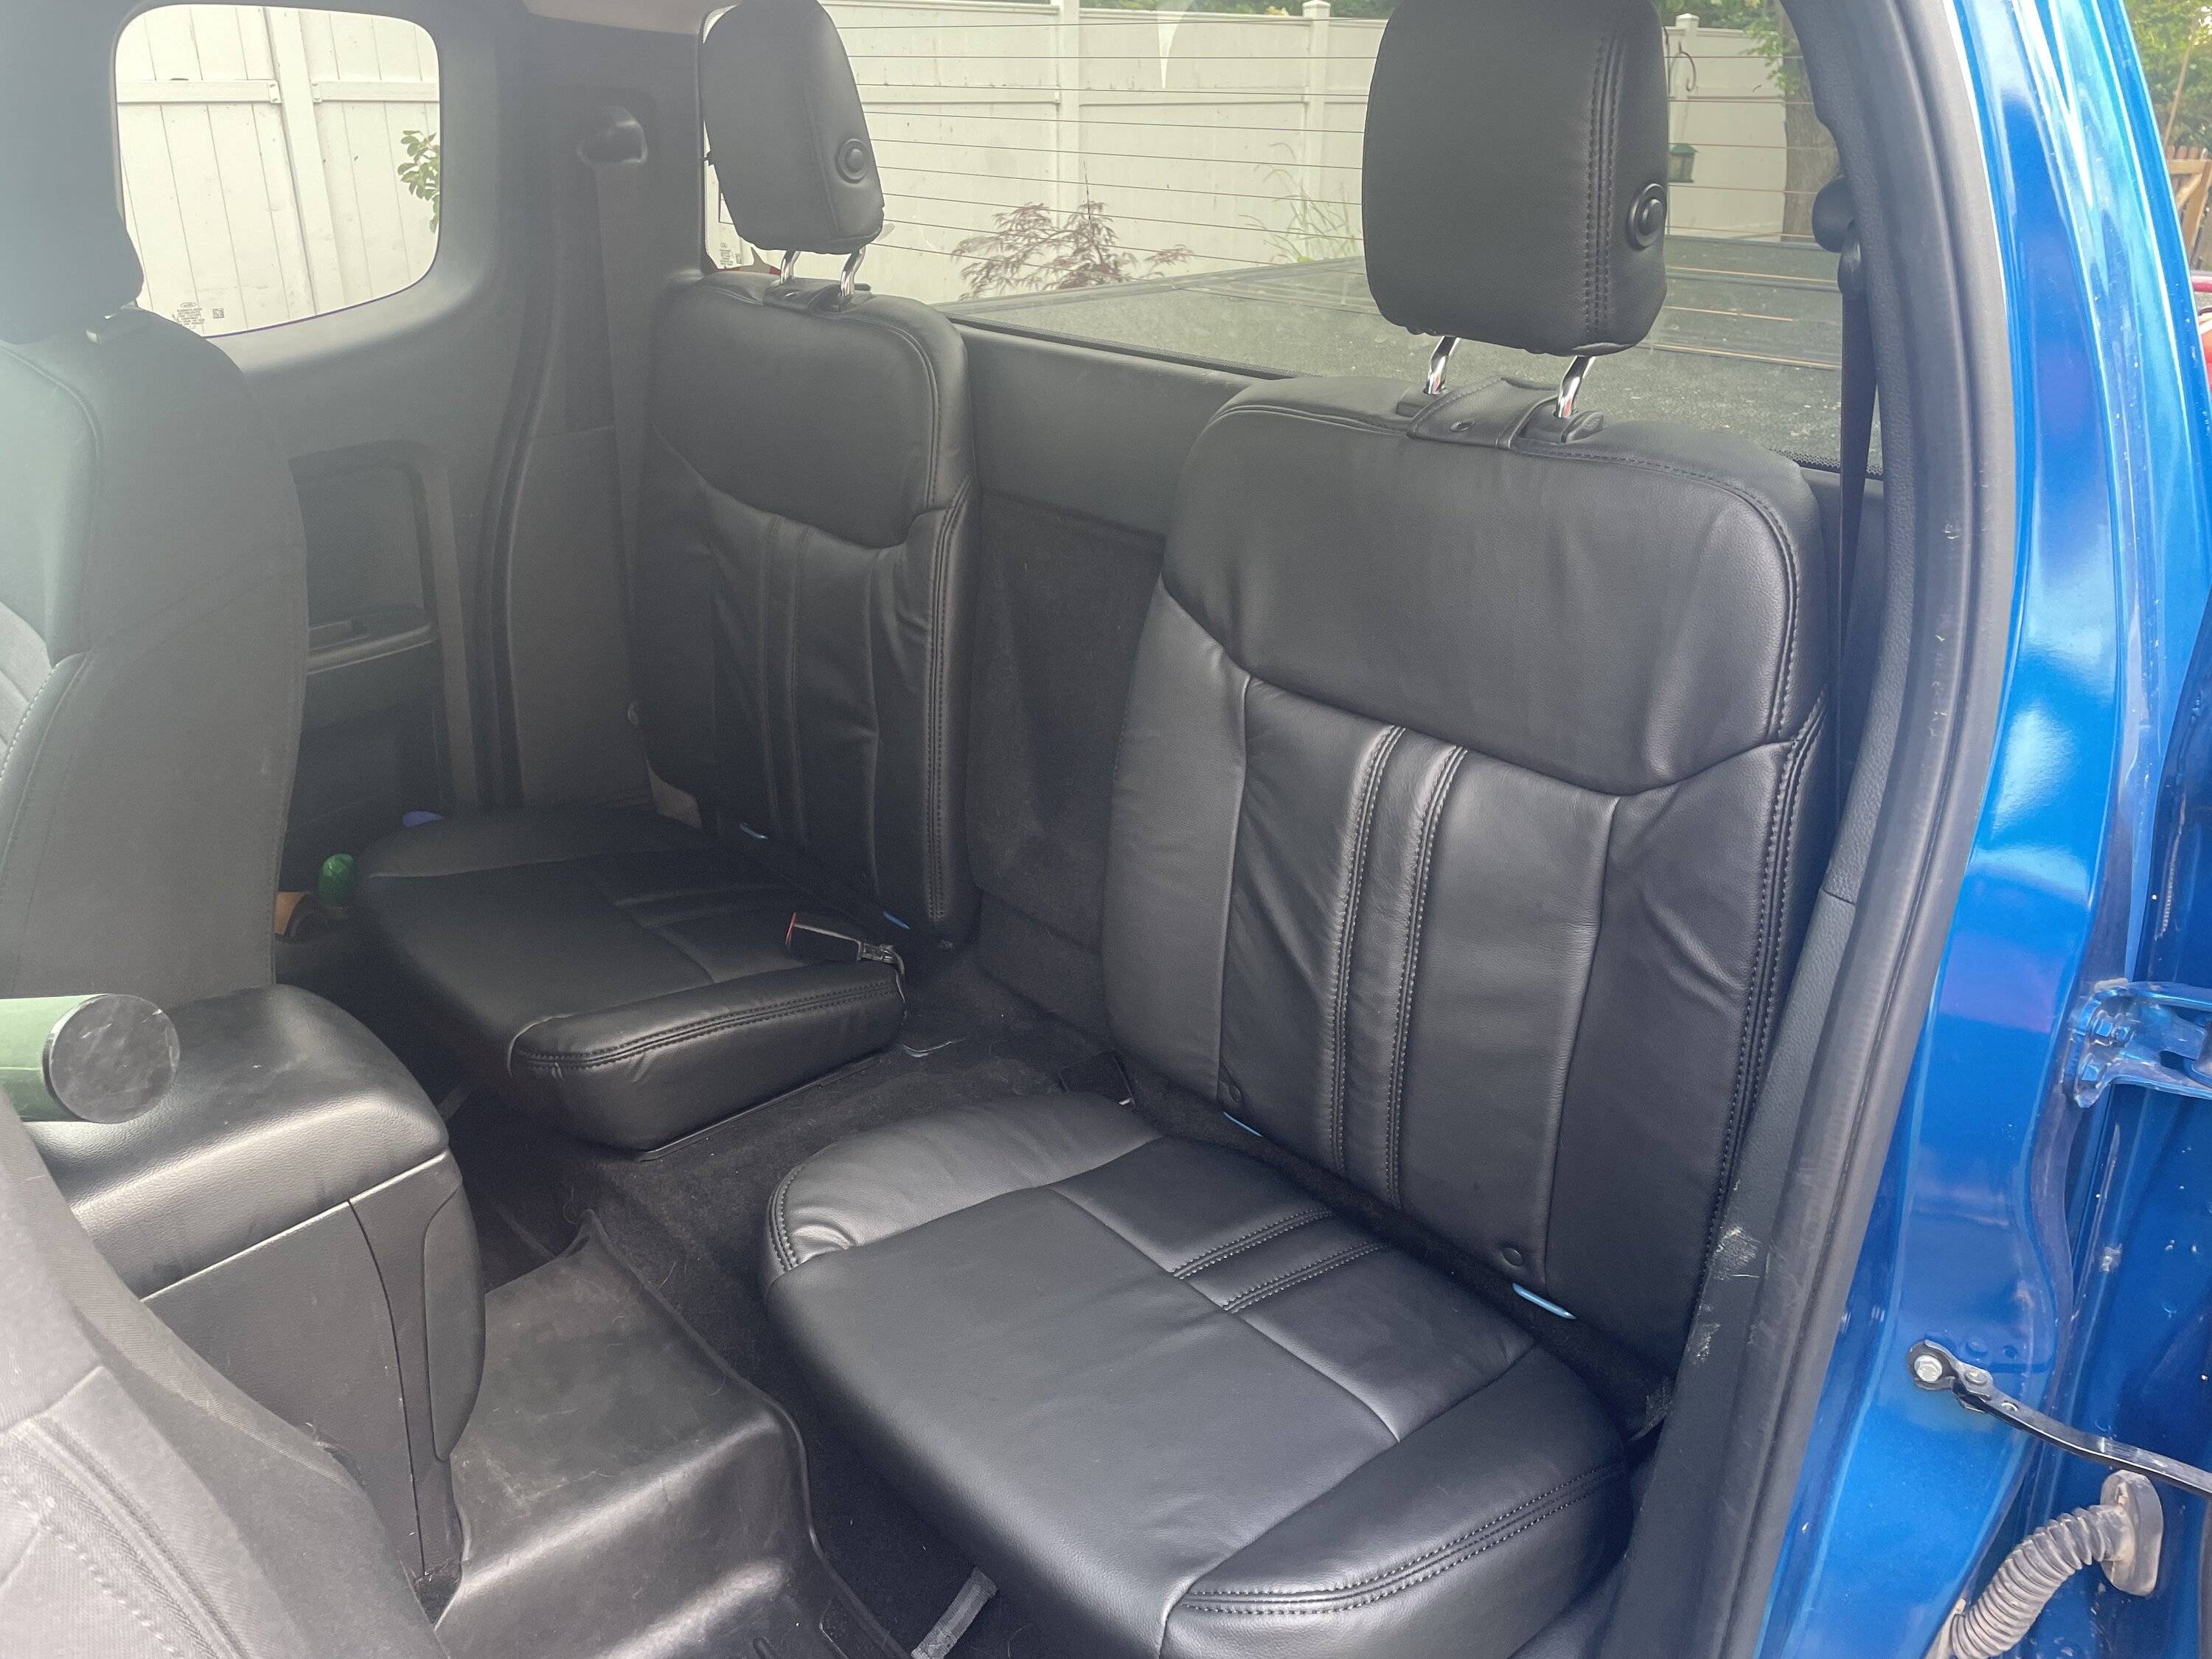
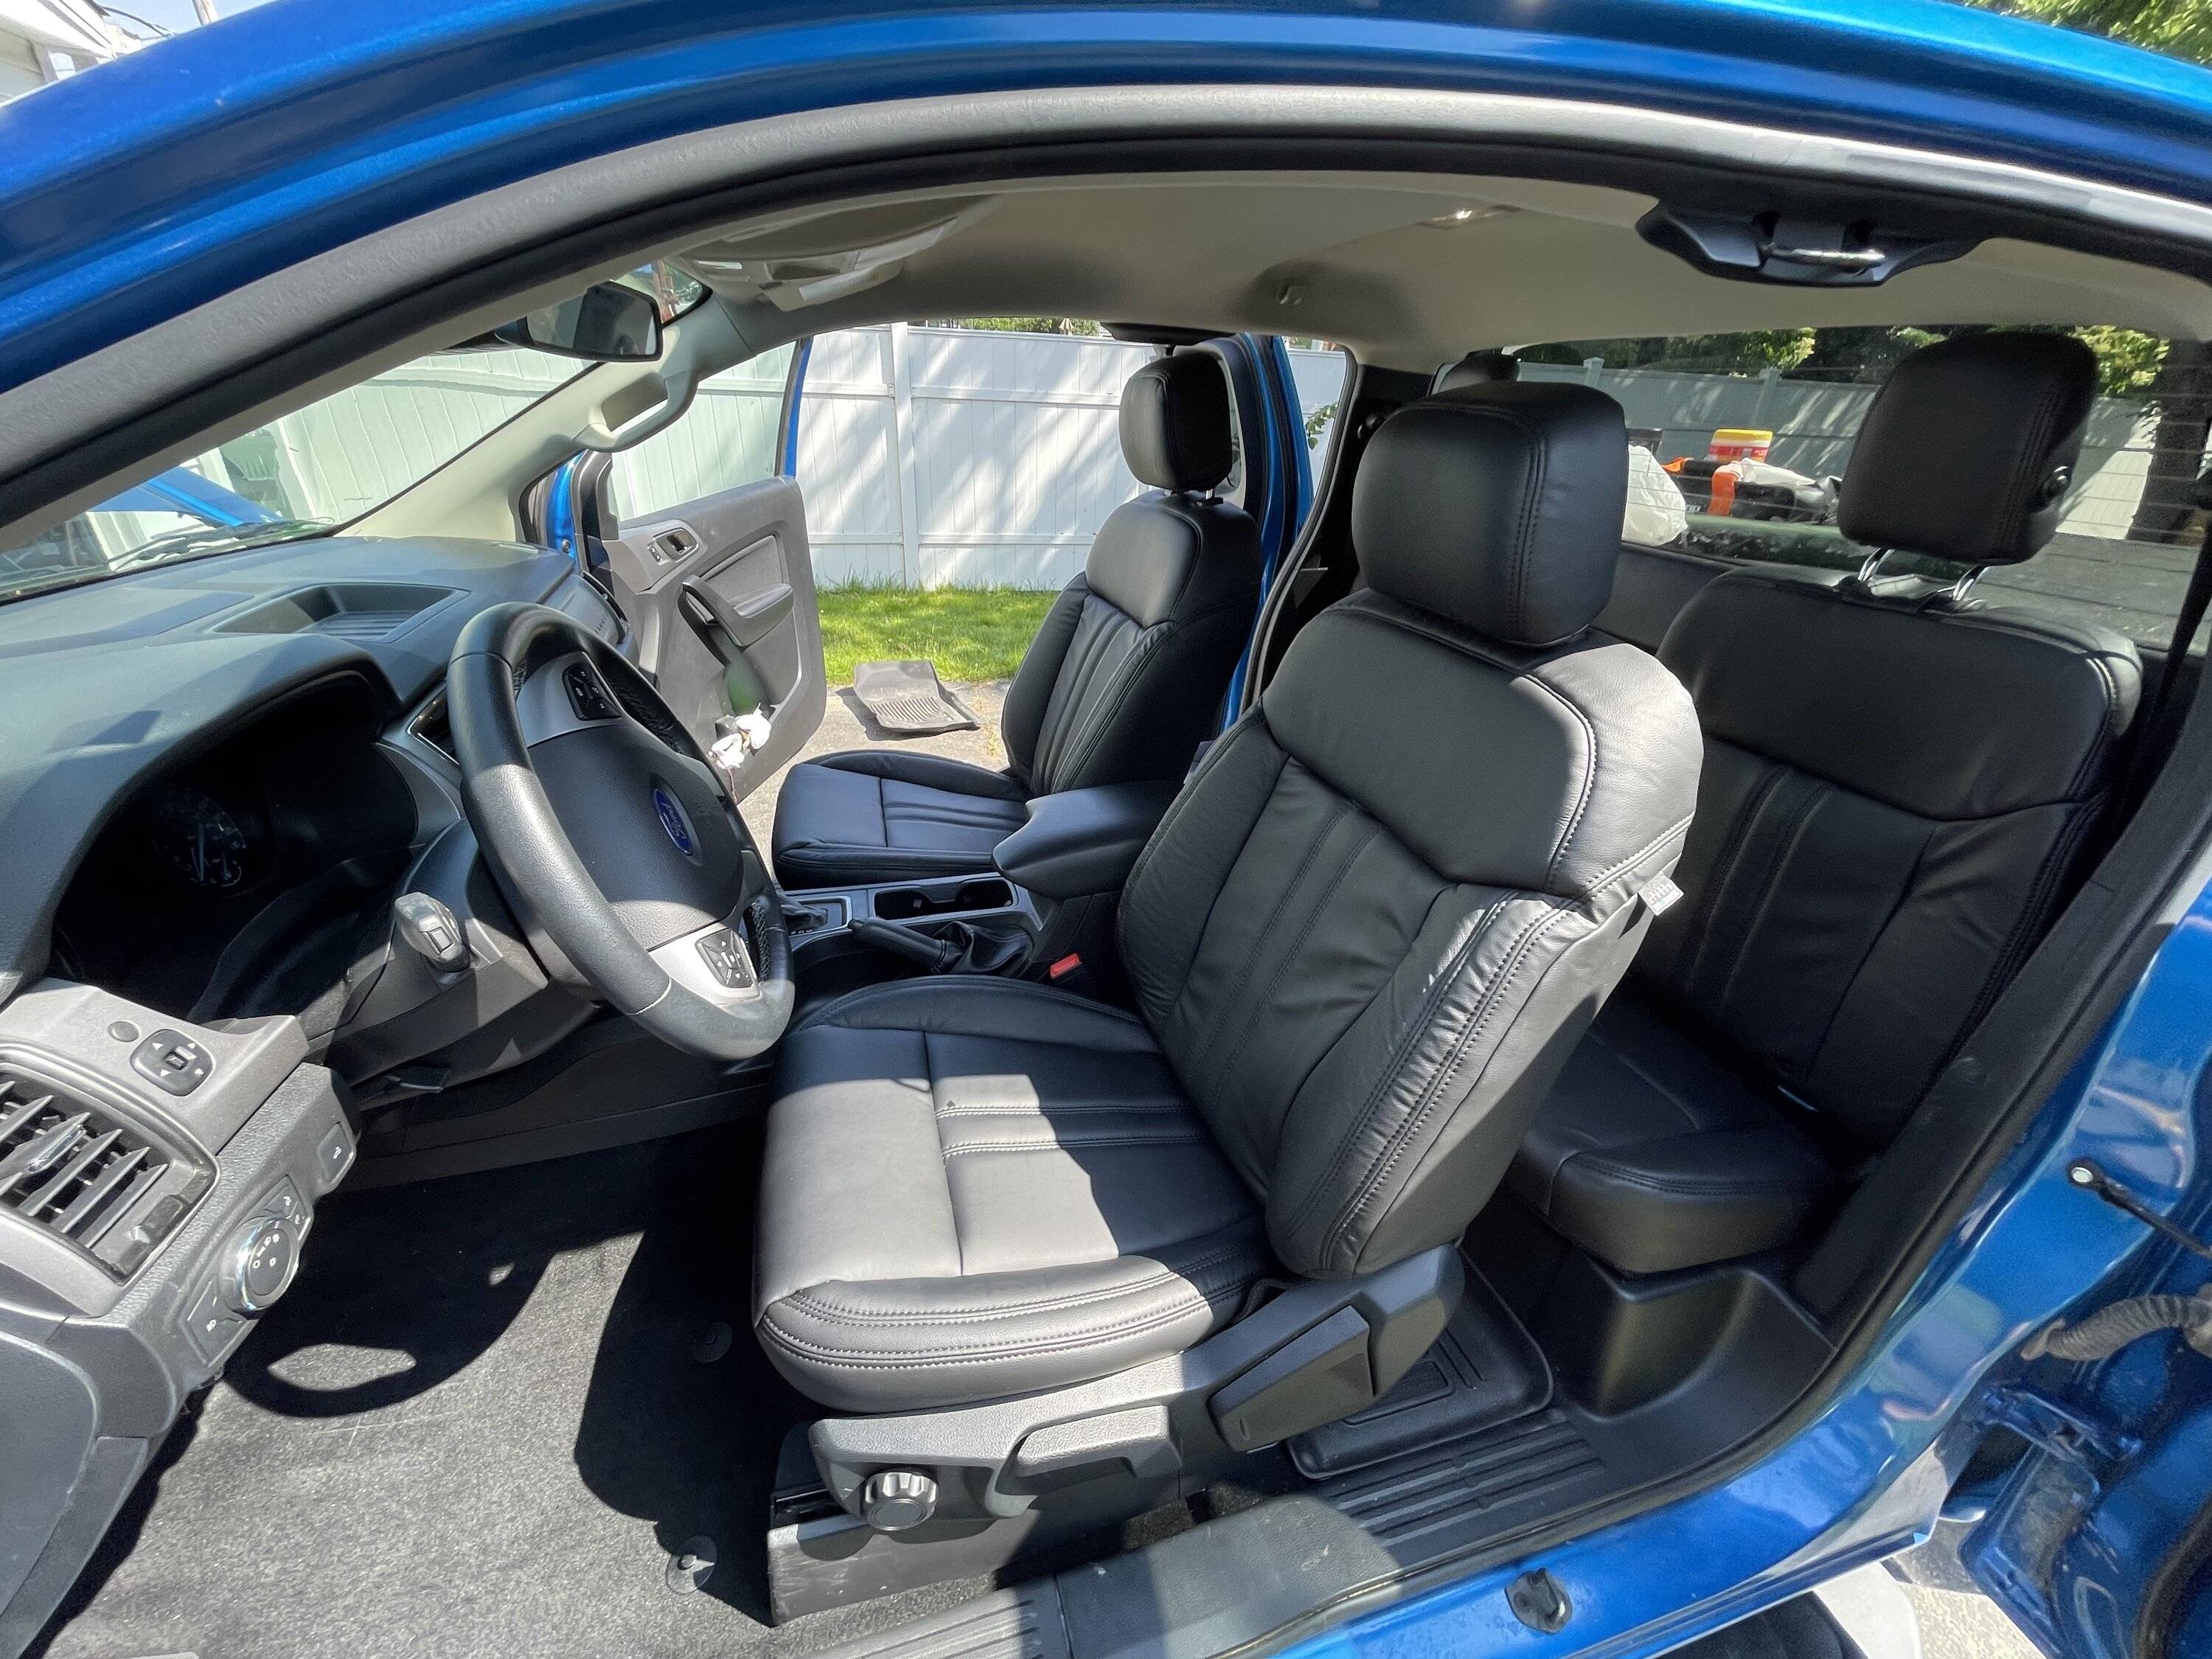
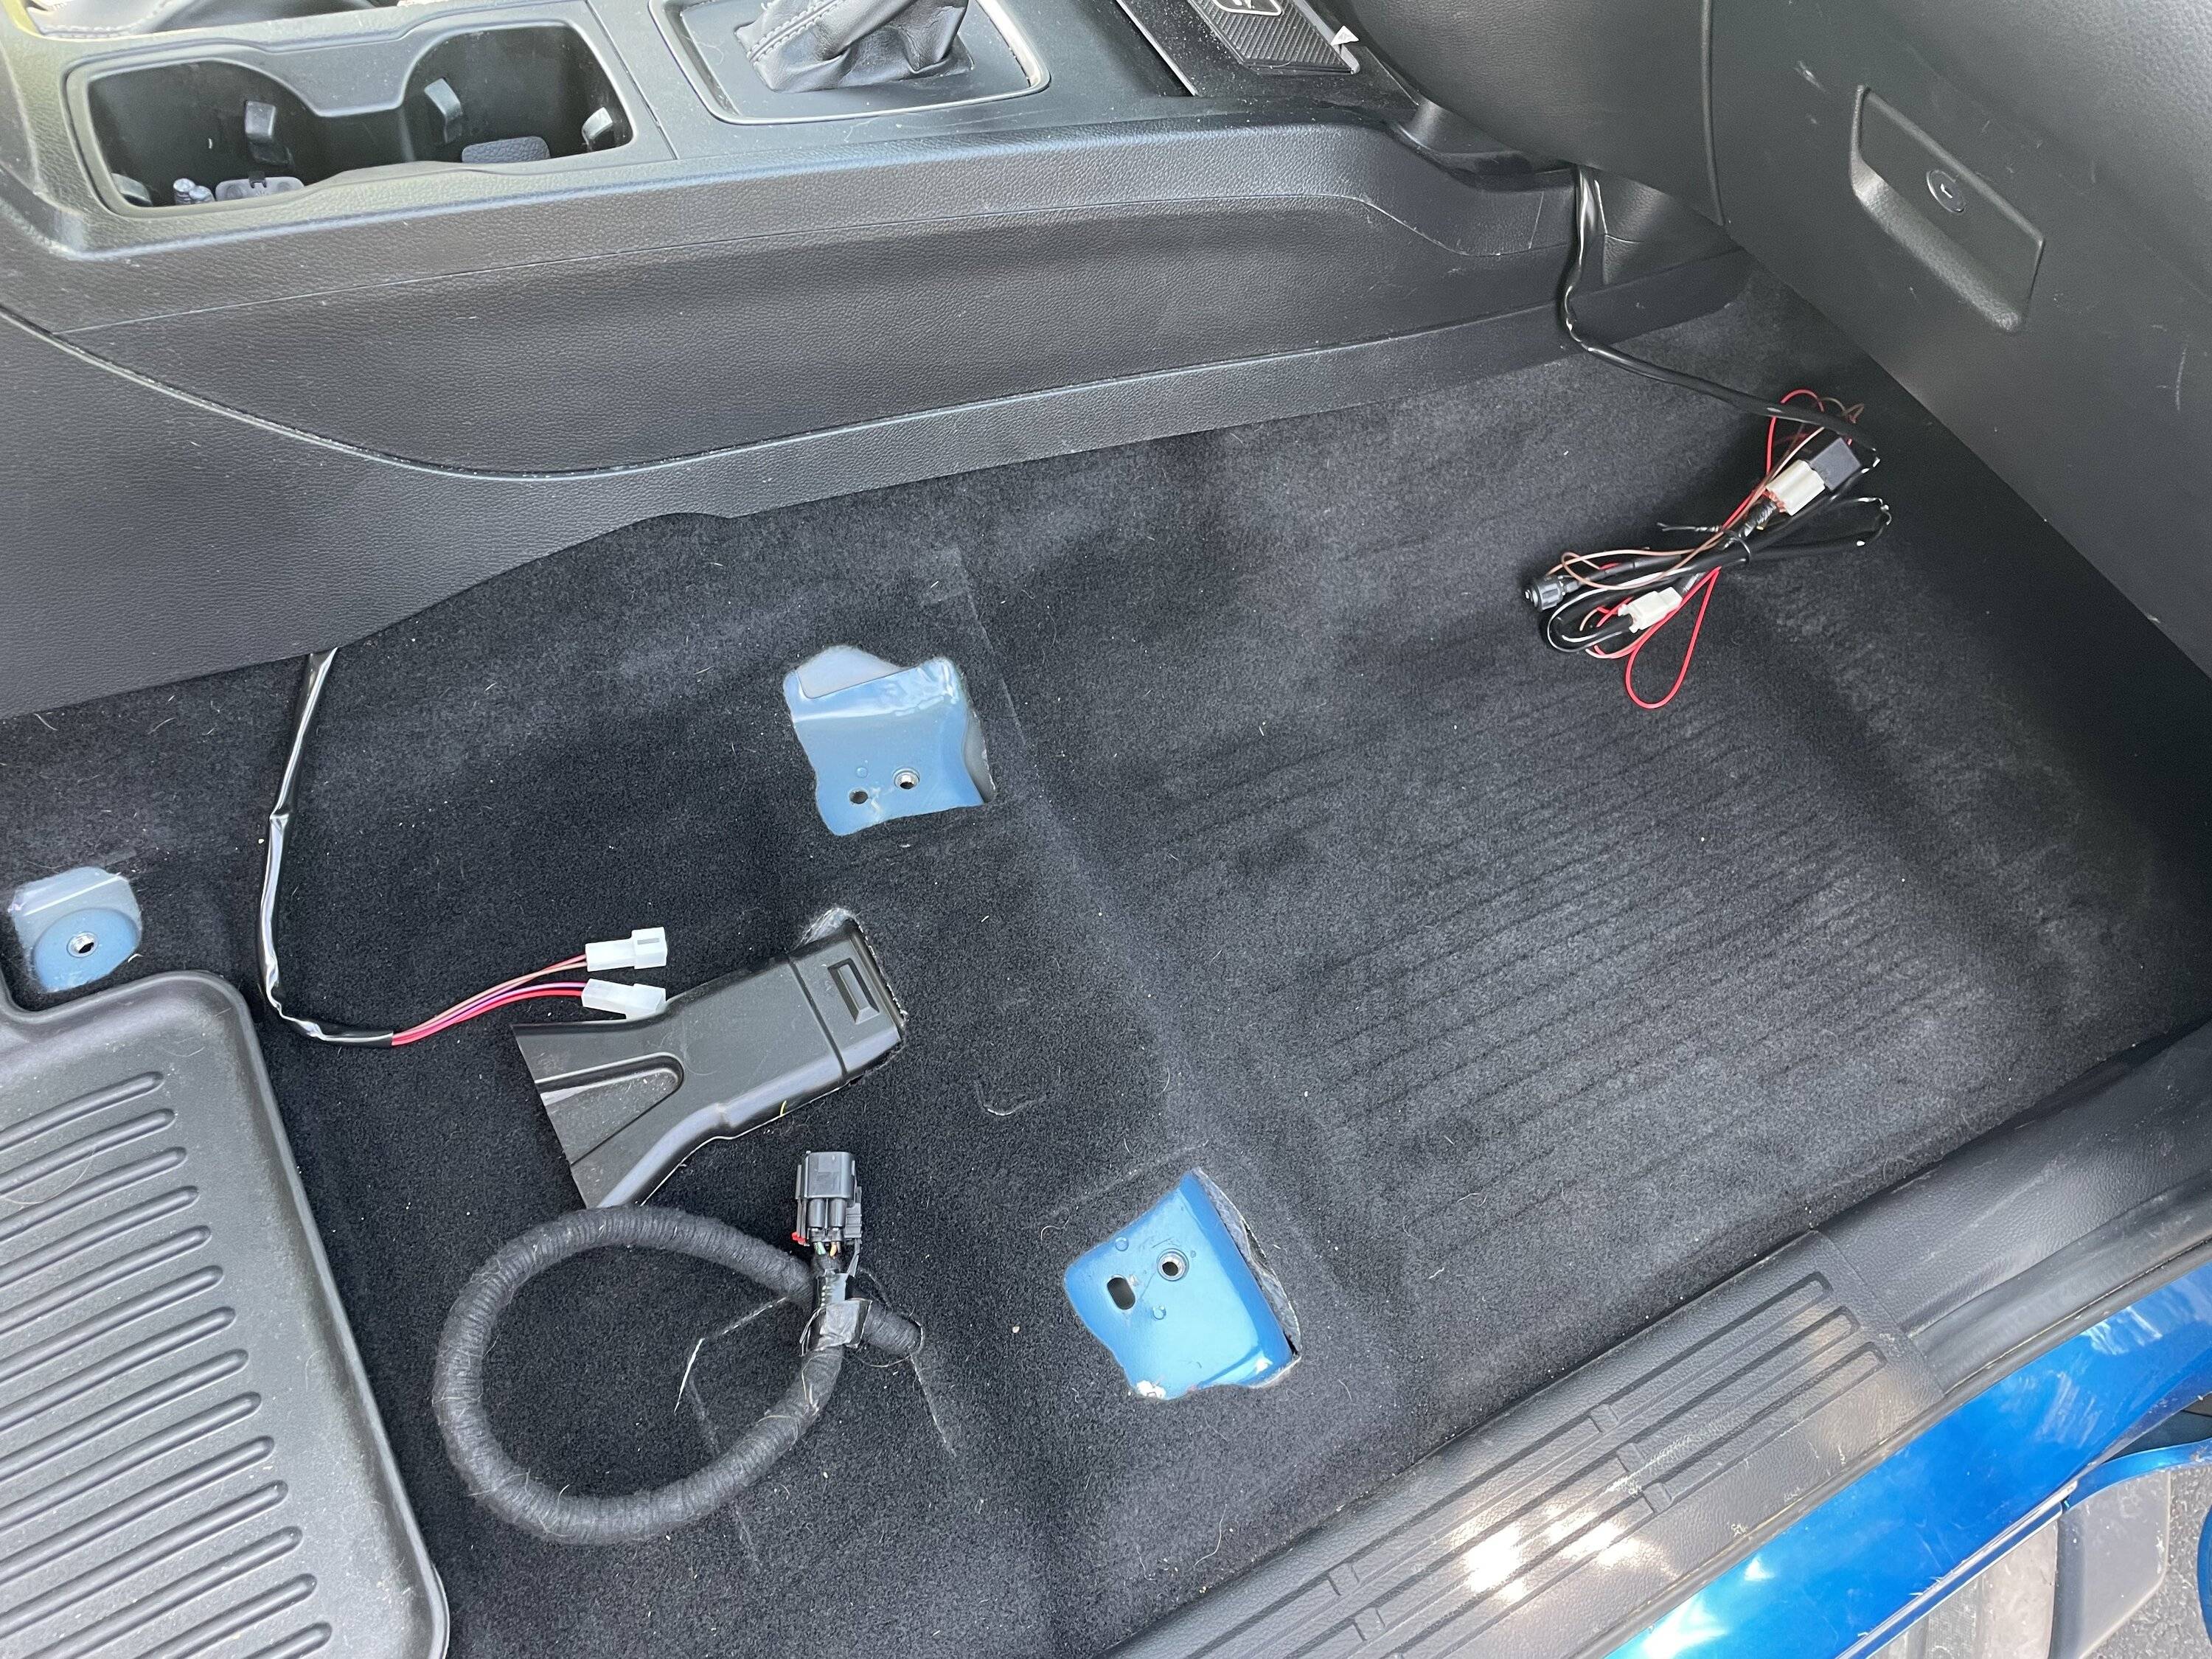
Just updating this - the leather has settled in NICELY. I am so excited with how it looks. it's a little shiny from the chemical guys leather conditioner I hit it with.I installed a full leather interior in my XLT today. Also added heated seat pads. I ran wiring for the heated seats, but am waiting on the new switch fascia (thinking I'll install there - wasn't seeing anywhere else that would look clean). Photos are immediately after install. will give feedback once they've sat in the sun a few days - i suspect they'll tighten up and lose the few wrinkles they have.
Whole process was around 8-9 hours.
edit: oh - i also changed my cabin air filter

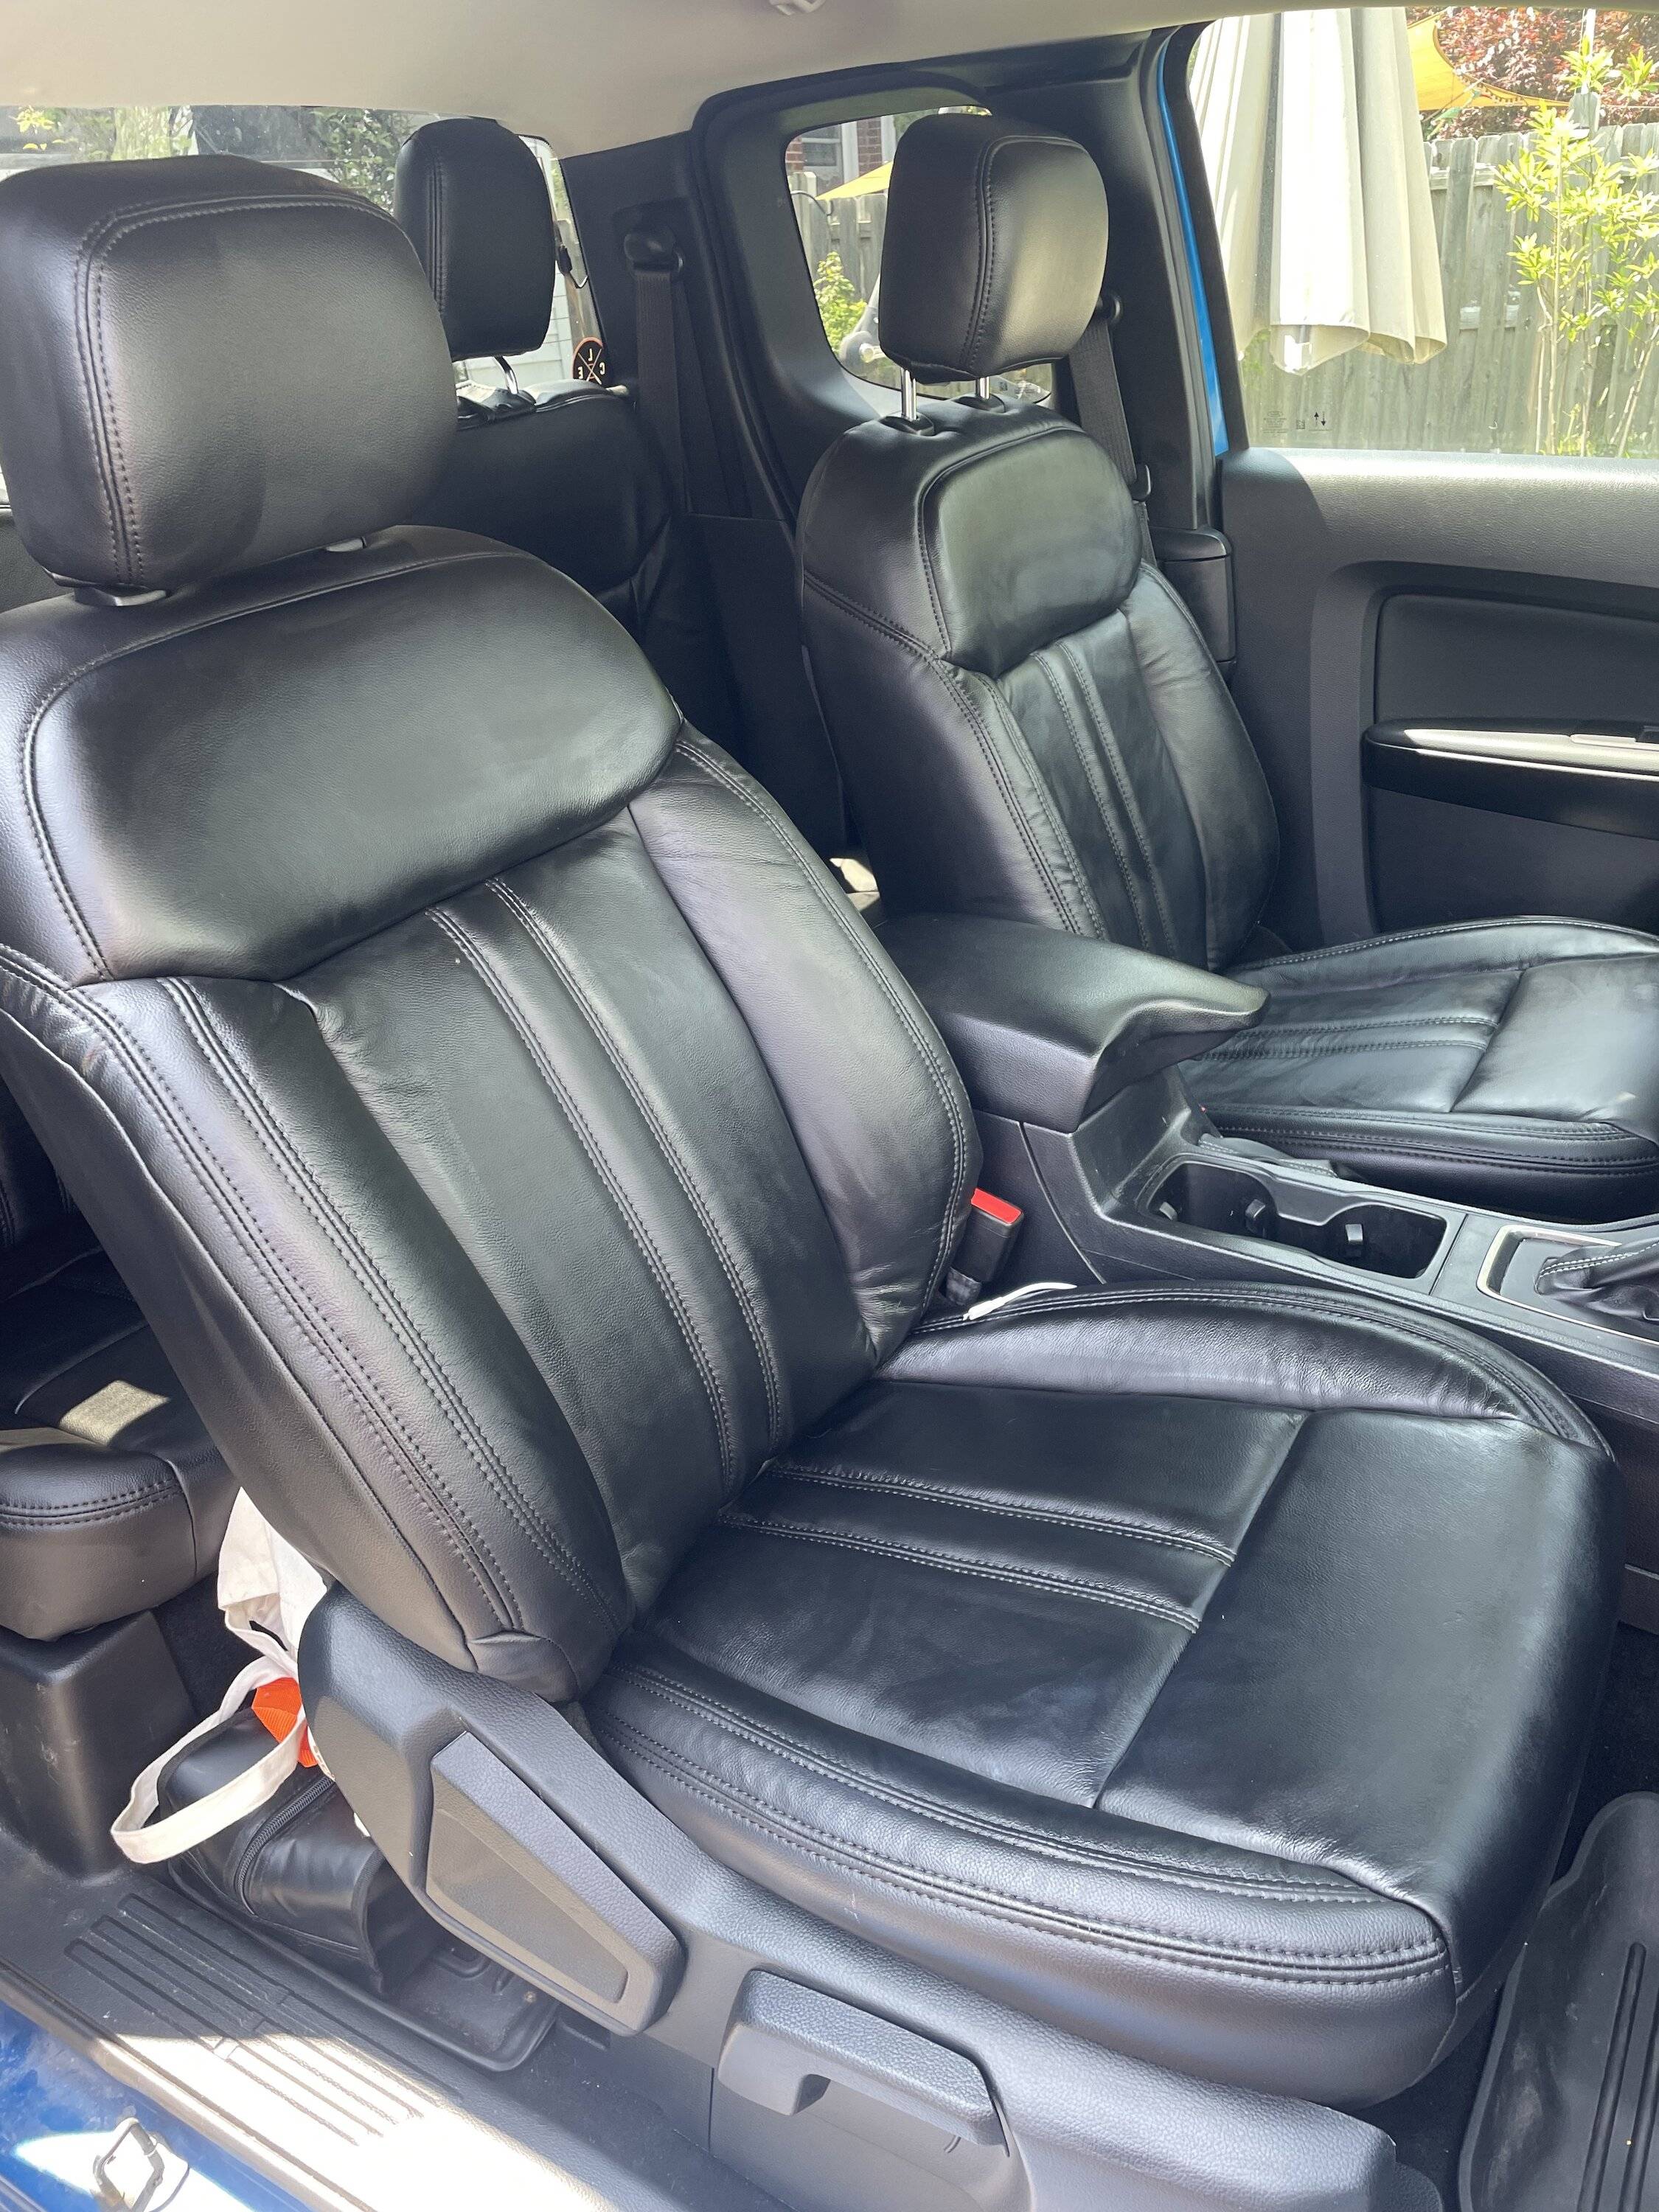

I've seen that with since leather conditioners, after you test the leather, buff it off with a microfiber so it returns the leather to its natural looking matte sheen.Just updating this - the leather has settled in NICELY. I am so excited with how it looks. it's a little shiny from the chemical guys leather conditioner I hit it with.

thanks. just hit it with some elbow grease while on a call - much more even.I've seen that with since leather conditioners, after you test the leather, buff it off with a microfiber so it returns the leather to its natural looking matte sheen.
Bite your tongue, mister!?It looks great! I love Mr. Pink and the two-bucket method always gets better results. But I'm pretty lazy - some times I only soap cannon and rinse! =O
Last time I was a little more motivated but only a single bucket with grate and a mitt-on-a-stick.
But that does miss spots that I tend to then do with a small microfiber. It would probably be less work if I just did your two-bucket way!
Anyway ... your truck looks great! Plus it's a SuperCab, so ... you know ... it always looks better anyway!
They look great!Just updating this - the leather has settled in NICELY. I am so excited with how it looks. it's a little shiny from the chemical guys leather conditioner I hit it with.