Sponsored

What did you do to your Ranger today?

OFC Ranger

Well-Known Member
First Name
Jack
Joined
Aug 3, 2020
Threads
297
Messages
5,019
Reaction score
13,926
Location
Georgia
Vehicle(s)
ZR2
Only issue I've seen so far is the bolts are getting rusty from being out in the weather. I need to do something about that.
rustingbolts.webp


At least it was a good excuse to buy some tools I wanted./needed.
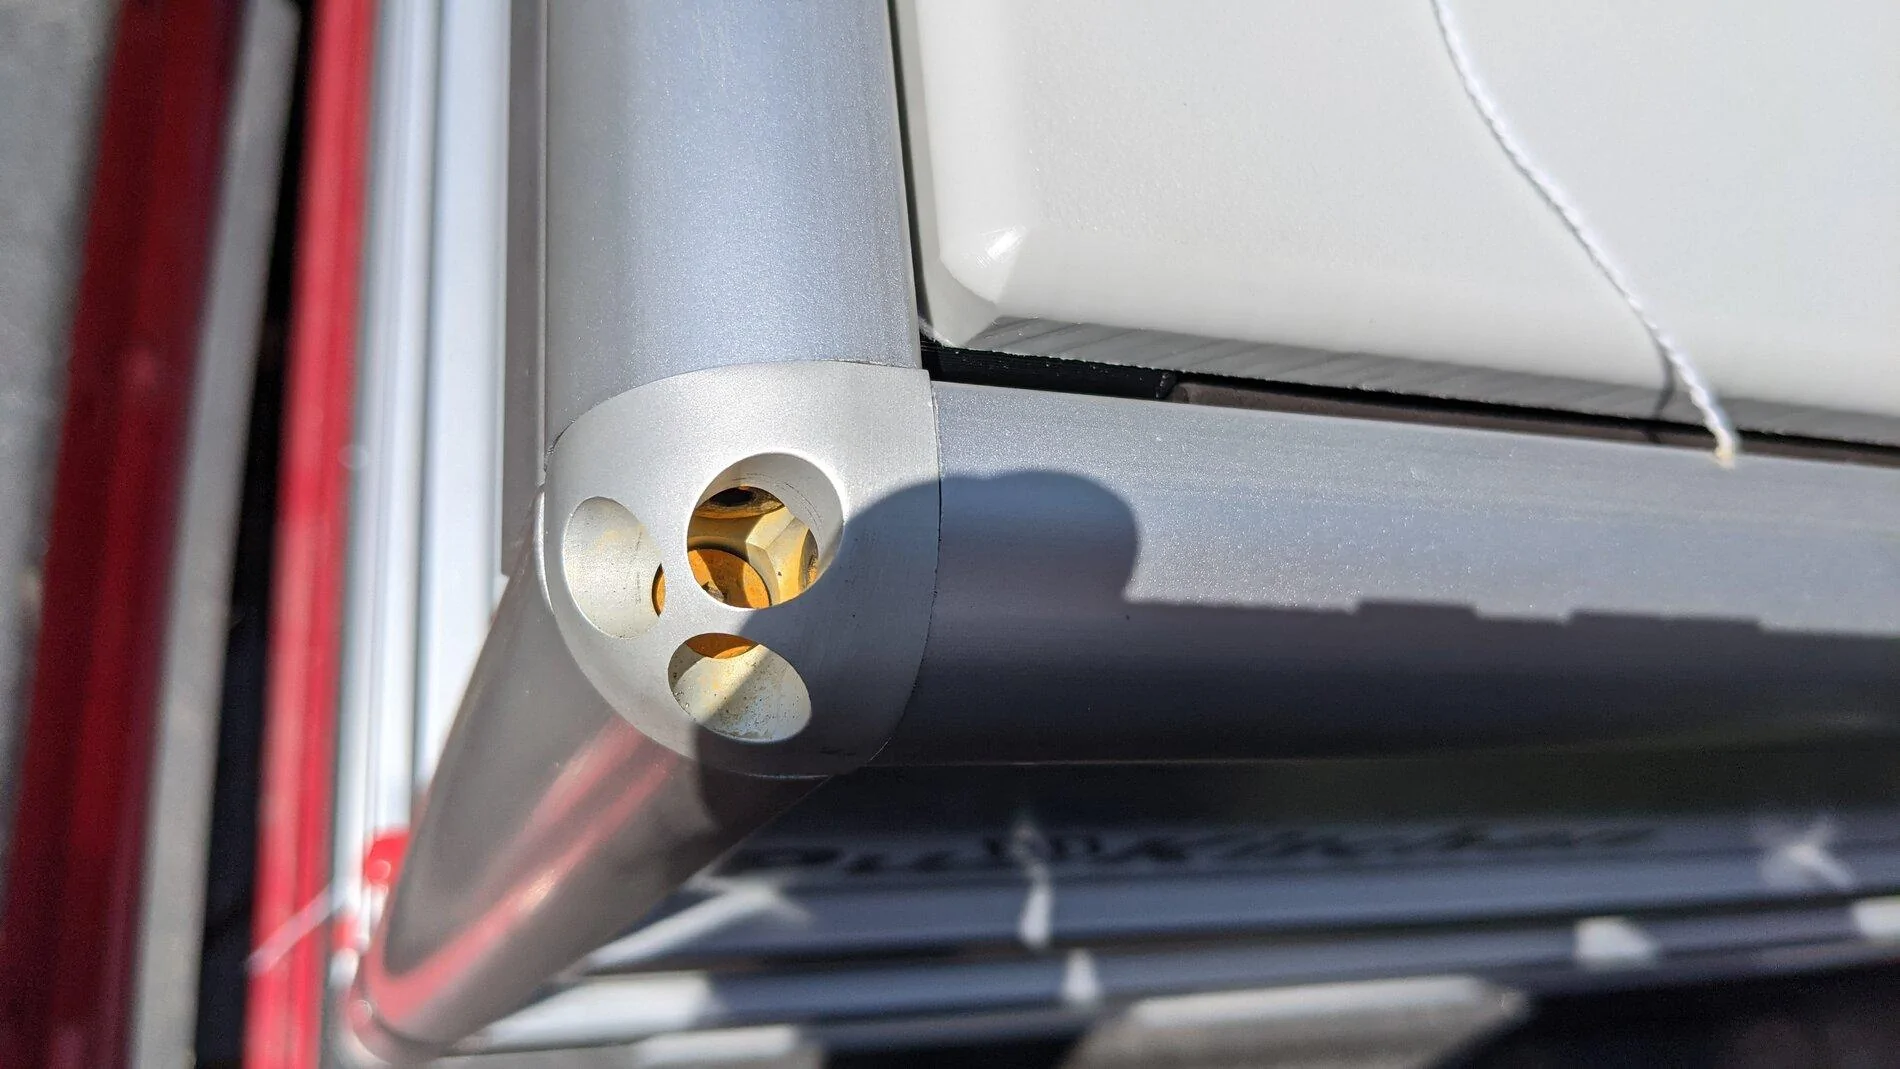
Clean them off, reinstall, use a art brush (like you used in art class in kindergarden) and put a light coating of color matching enamel on it.

Or if you never see having to take it a-part in future, put a glob of gasket maker over it.

On my rack I do that to any screw heads and on any overly long threads I put a glob of gasket maker on the threads then push a rubber thread protector over them. Not 100% waterproof, but pretty much solved any rusting issues I had on non-SS hardware.

Edit: Or invest in a canvas cover you can put over it when not in use.

Edit 2: I am doing something like that, but building it from scratch using aluminum 1" bar and heavy duty sliders. I am going to attach a blackstone griddle to it.
Sponsored

 
Last edited:

SVTPaul

Well-Known Member
First Name
Paul
Joined
Dec 8, 2020
Threads
2
Messages
268
Reaction score
719
Location
Newfoundland, Canada
Vehicle(s)
2021 Ranger, 2004 SVT Cobra, 2008 Subaru STi
Occupation
Engineer
Hope the install went smooth. Did mine not too long ago. Was a little annoying to get to the plug for the brake light, but overall I’d say 3.5/10 difficulty. Where’d you install your control knob? I put mine next to the shifter, beneath the TM knob.
98DB488A-ECD6-4EF5-9957-FEDBA54837B3.jpeg


1CE53BD1-59FC-4776-9649-F9DD3F7FDE37.jpeg
I always thought this is the ideal location...makes what should have been factory installed with the tow package look like it was factory installed. Do you have any pics of how you reworked the underside details of the console panel, cut or dremeled the rib supports etc? My dealer will be installing it before I take delivery of the truck and I plan to have them install the gain knob there vs. the left side of the dash by default (I'm not a fan of that location at all).
 

Trigganometry

Well-Known Member
First Name
Rick
Joined
Dec 4, 2020
Threads
153
Messages
5,833
Reaction score
25,359
Location
Massachusetts
Vehicle(s)
20 XLT scab 301A/tow 4X4 magnetic w/sport blackout
Occupation
Engineering
I am doing something like that, but building it from scratch using aluminum 1" bar and heavy duty sliders. I am going to attach a blackstone griddle to it.
Lookup 80/20 fab materials. You can cut it with a chop saw and a carbide blade if you take it easy and use wax occasionally to keep chips from sticking on the blade.

What they offer is extensive and could easily make your next project a one if a kind masterpiece. The rig you were commenting on was made using it
 

OFC Ranger

Well-Known Member
First Name
Jack
Joined
Aug 3, 2020
Threads
297
Messages
5,019
Reaction score
13,926
Location
Georgia
Vehicle(s)
ZR2
Lookup 80/20 fab materials. You can cut it with a chop saw and a carbide blade if you take it easy and use wax occasionally to keep chips from sticking on the blade.

What they offer is extensive and could easily make your next project a one if a kind masterpiece. The rig you were commenting on was made using it
Yea I'm familiar with 80/20 components, but generally I've found that using aluminum stock and making the components myself runs about half the cost.
 

Ugly_Betty

Well-Known Member
Joined
Jan 17, 2021
Threads
5
Messages
145
Reaction score
626
Location
PNW
Vehicle(s)
2019 Ford Ranger Lariat FX4
A2830DFC-6336-46F7-90CB-0D6A5C034670.jpeg

Learned my lesson after one of my cheap-o Amazon lights went TU and got condensation inside. Grabbed a set of VisionX lights today and swapped them out. Old set on the left, new on the right. Half the size and still a tad brighter.


OFC Ranger

Well-Known Member
First Name
Jack
Joined
Aug 3, 2020
Threads
297
Messages
5,019
Reaction score
13,926
Location
Georgia
Vehicle(s)
ZR2
A2830DFC-6336-46F7-90CB-0D6A5C034670.jpeg

Learned my lesson after one of my cheap-o Amazon lights went TU and got condensation inside. Grabbed a set of VisionX lights today and swapped them out. Old set on the left, new on the right. Half the size and still a tad brighter.
Yea but at 4x the price is my guess.

Amazon lights are great... IF you reseal them yourself with gasket maker. I've yet to have an electronic failure or moisture get into any of my Amazon lights (ranging from $20 to $280).

At least Diode Dynamics has TIR technology behind their price tag. I'm not sure Baja or Rigid are worth the instagram price tag. (from a purely cost argument). Then again I've dumped all my spare money into custom fabrication work (raw materials), so who knows.
 

Mastodon

Well-Known Member
First Name
Jacob
Joined
Apr 16, 2021
Threads
2
Messages
118
Reaction score
488
Location
Corn country
Vehicle(s)
2020 Ranger Lariat FX4, 2020 Explorer Limited
I always thought this is the ideal location...makes what should have been factory installed with the tow package look like it was factory installed. Do you have any pics of how you reworked the underside details of the console panel, cut or dremeled the rib supports etc? My dealer will be installing it before I take delivery of the truck and I plan to have them install the gain knob there vs. the left side of the dash by default (I'm not a fan of that location at all).
That was my thought exactly. And to think the instructions tell you to put it on the fuse panel access spot. Not only can I not see it there, but I’d have to move my knee to reach it. When your trailer starts to get away from you and you need to engage those brakes, you need the controller in an easy to reach spot. Next to the shifter not only looks good, but I don’t even have to move my arm from the armrest. Convenient!!

Unfortunately I don’t have a picture of the underside. But I can tell you how I did it:
  1. Disassemble dash, to remove console panel.
  2. Measure halfway between the panel edge and the shifter bezel. And half way between the TM knob and the panel edge. Position the button on the top of the cover between those two points, to visualize location.
  3. Drill a hole just big enough for the clear plastic retaining nut to slide through. Don’t use instructions, since they assume you’re putting in the entire rectangular faceplate.
  4. Flip panel over to access supports.
  5. Using the controller itself as a guide, cut away the supports around the hole you drilled.They’re roughly 1/2” tall, in a 1” grid. They’re narrow enough that I cut them out with the knife on my Leatherman.
  6. Push the controller through and secure with the clear retaining nut.
  7. Place the dial on the controller, with 5 aligned to the front of the vehicle.
  8. Reassemble truck.
For me, this was the most challenging part of the install, mostly because I don’t have a good shop manual for this truck yet, so I had to fumble my way through removing the panel. Dealer should have an easier time, but it’s more involved than the module’s instructions would have it done.
 
Last edited:

ndwgolf

Well-Known Member
First Name
Neil Williams
Joined
Feb 6, 2020
Threads
22
Messages
133
Reaction score
419
Location
Thailand
Website
neilsphotography.co.uk
Vehicle(s)
Benz E53 Coupe, Porsche 718, Gen 6 Ranger coming
Occupation
Retired (Oilfield)
Spent some time doing a polish on the ceramic coat. The ceramic coat is awesome, basically hard as a rock.
Looks great on platinum paint.

E4D31BBB-BBA0-4A32-B9DD-7787430C691D.jpeg


EAC805D2-7C23-4762-85FE-AC77FFC63745.jpeg


4768EECE-7996-46CF-87FA-E5E29519F625.jpeg


849AA320-4D41-43F0-88E3-EE5B8AB09CC5.jpeg
Looks great. I wouldn’t mind getting that done to my truck


Top