Mighty Little Blue
Well-Known Member
- First Name
- Jeff
- Joined
- Jul 11, 2021
- Threads
- 17
- Messages
- 364
- Reaction score
- 1,217
- Location
- Wisconsin Rapids, WI / Philippines
- Vehicle(s)
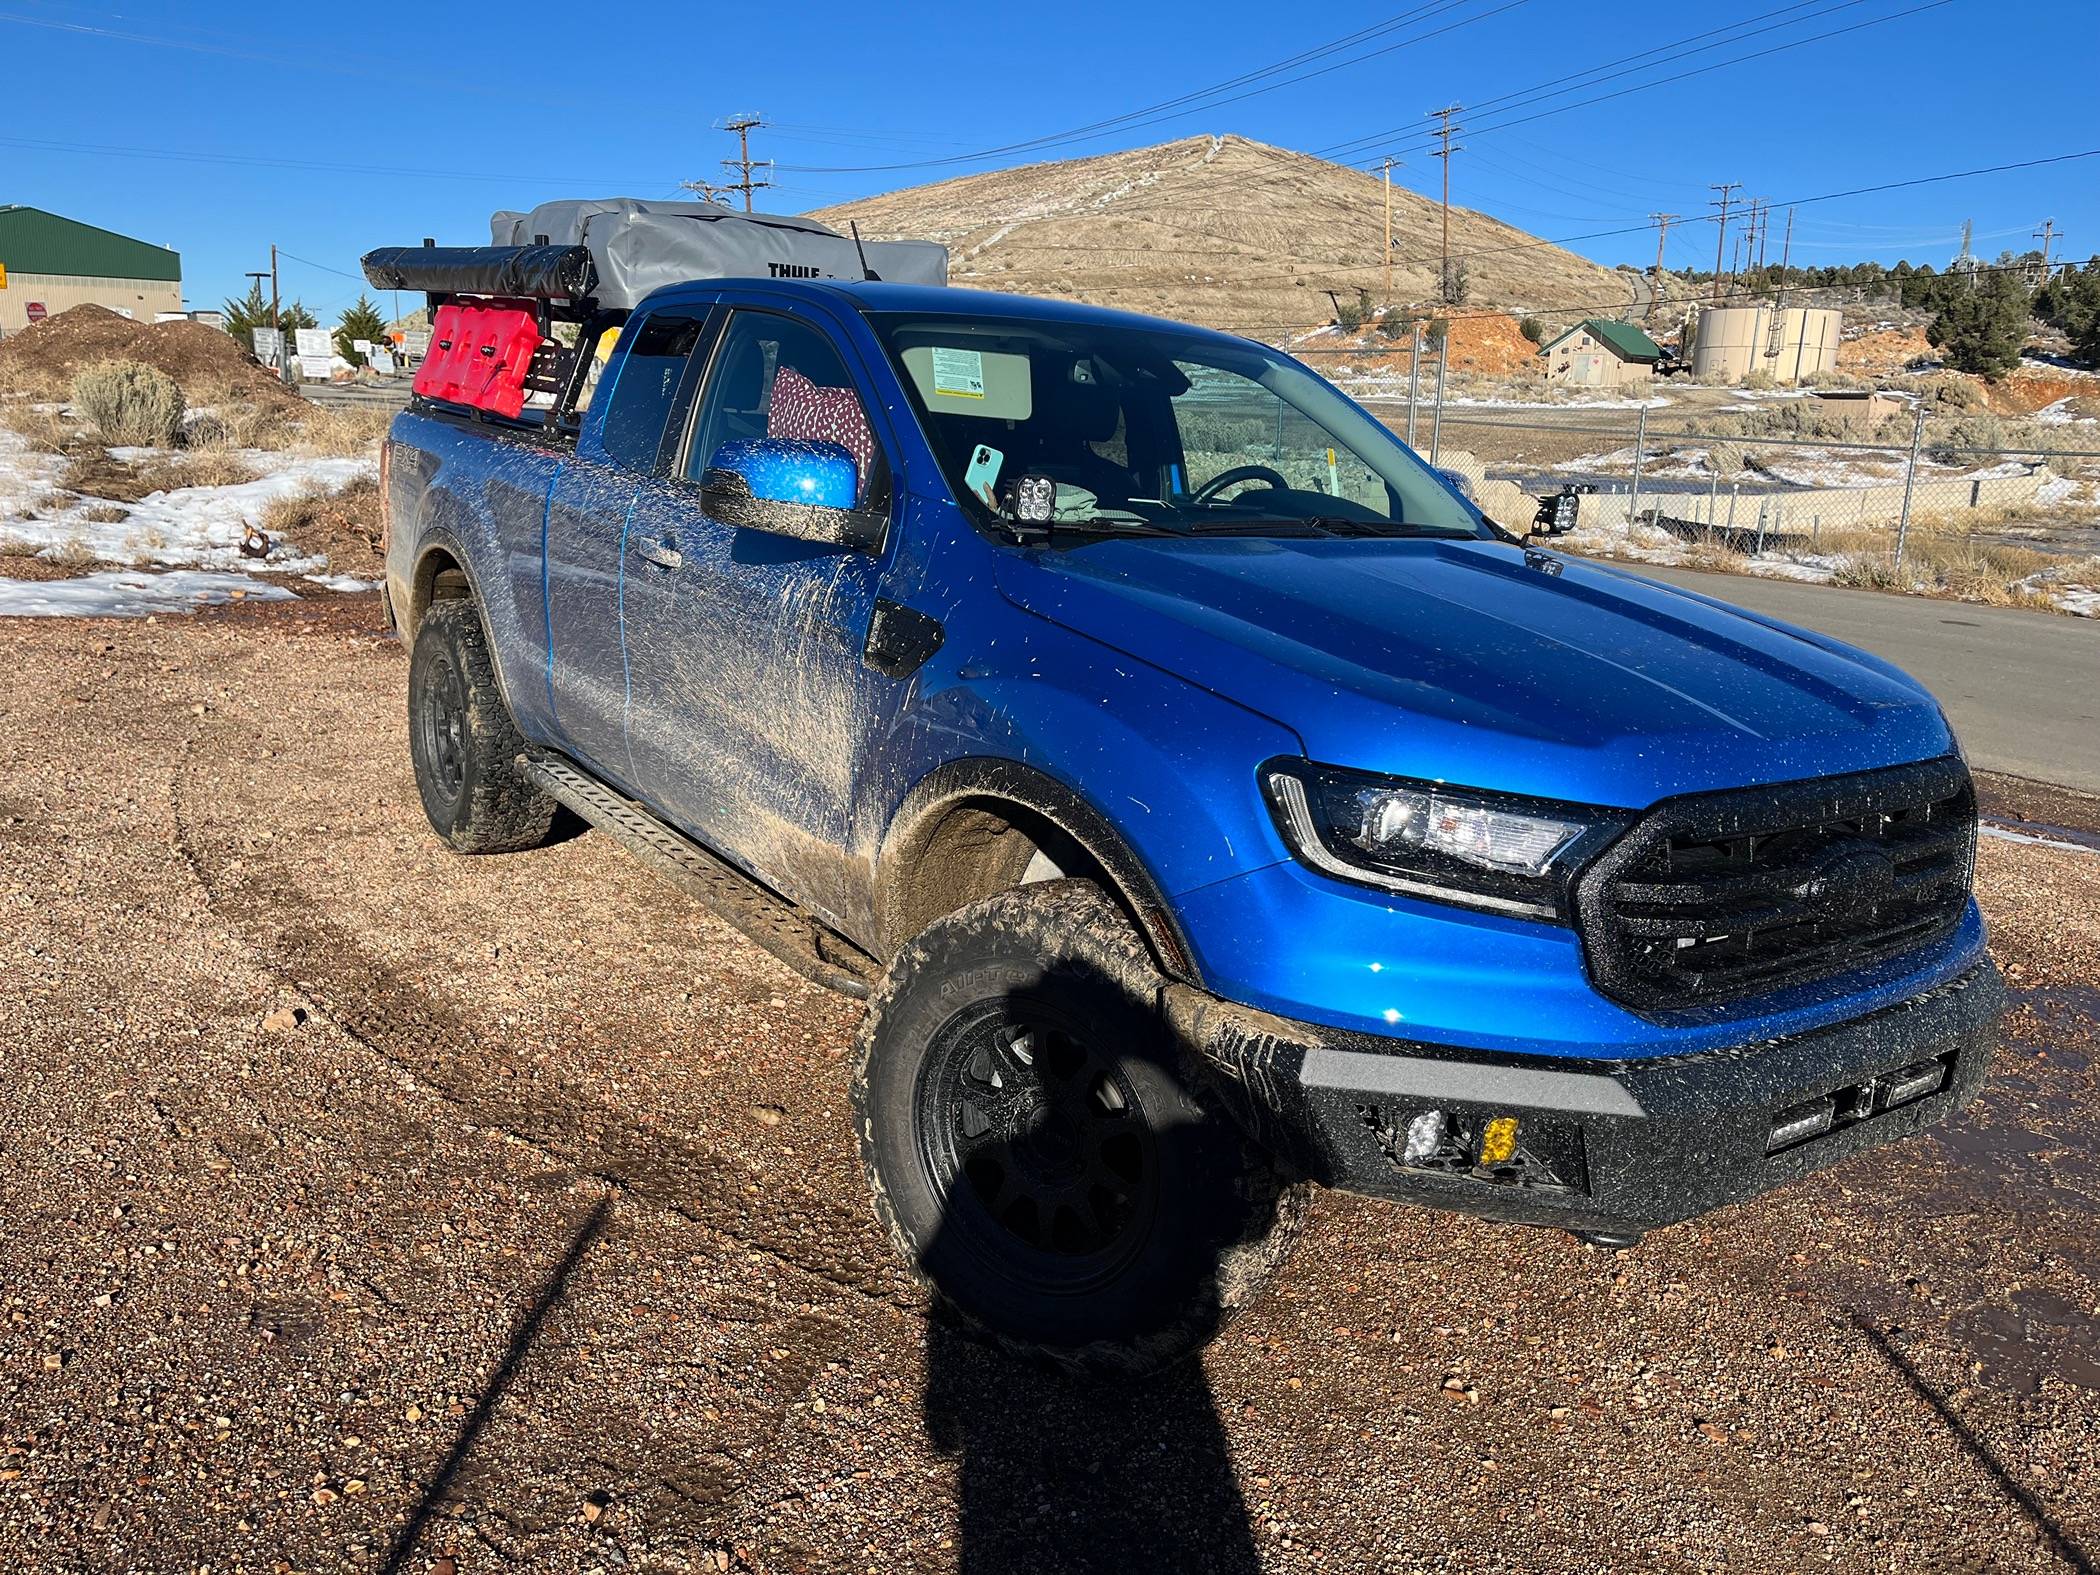
- 2021 Velocity Blue Supercab FX4
- Occupation
- Printer/Retired
- Vehicle Showcase
- 1
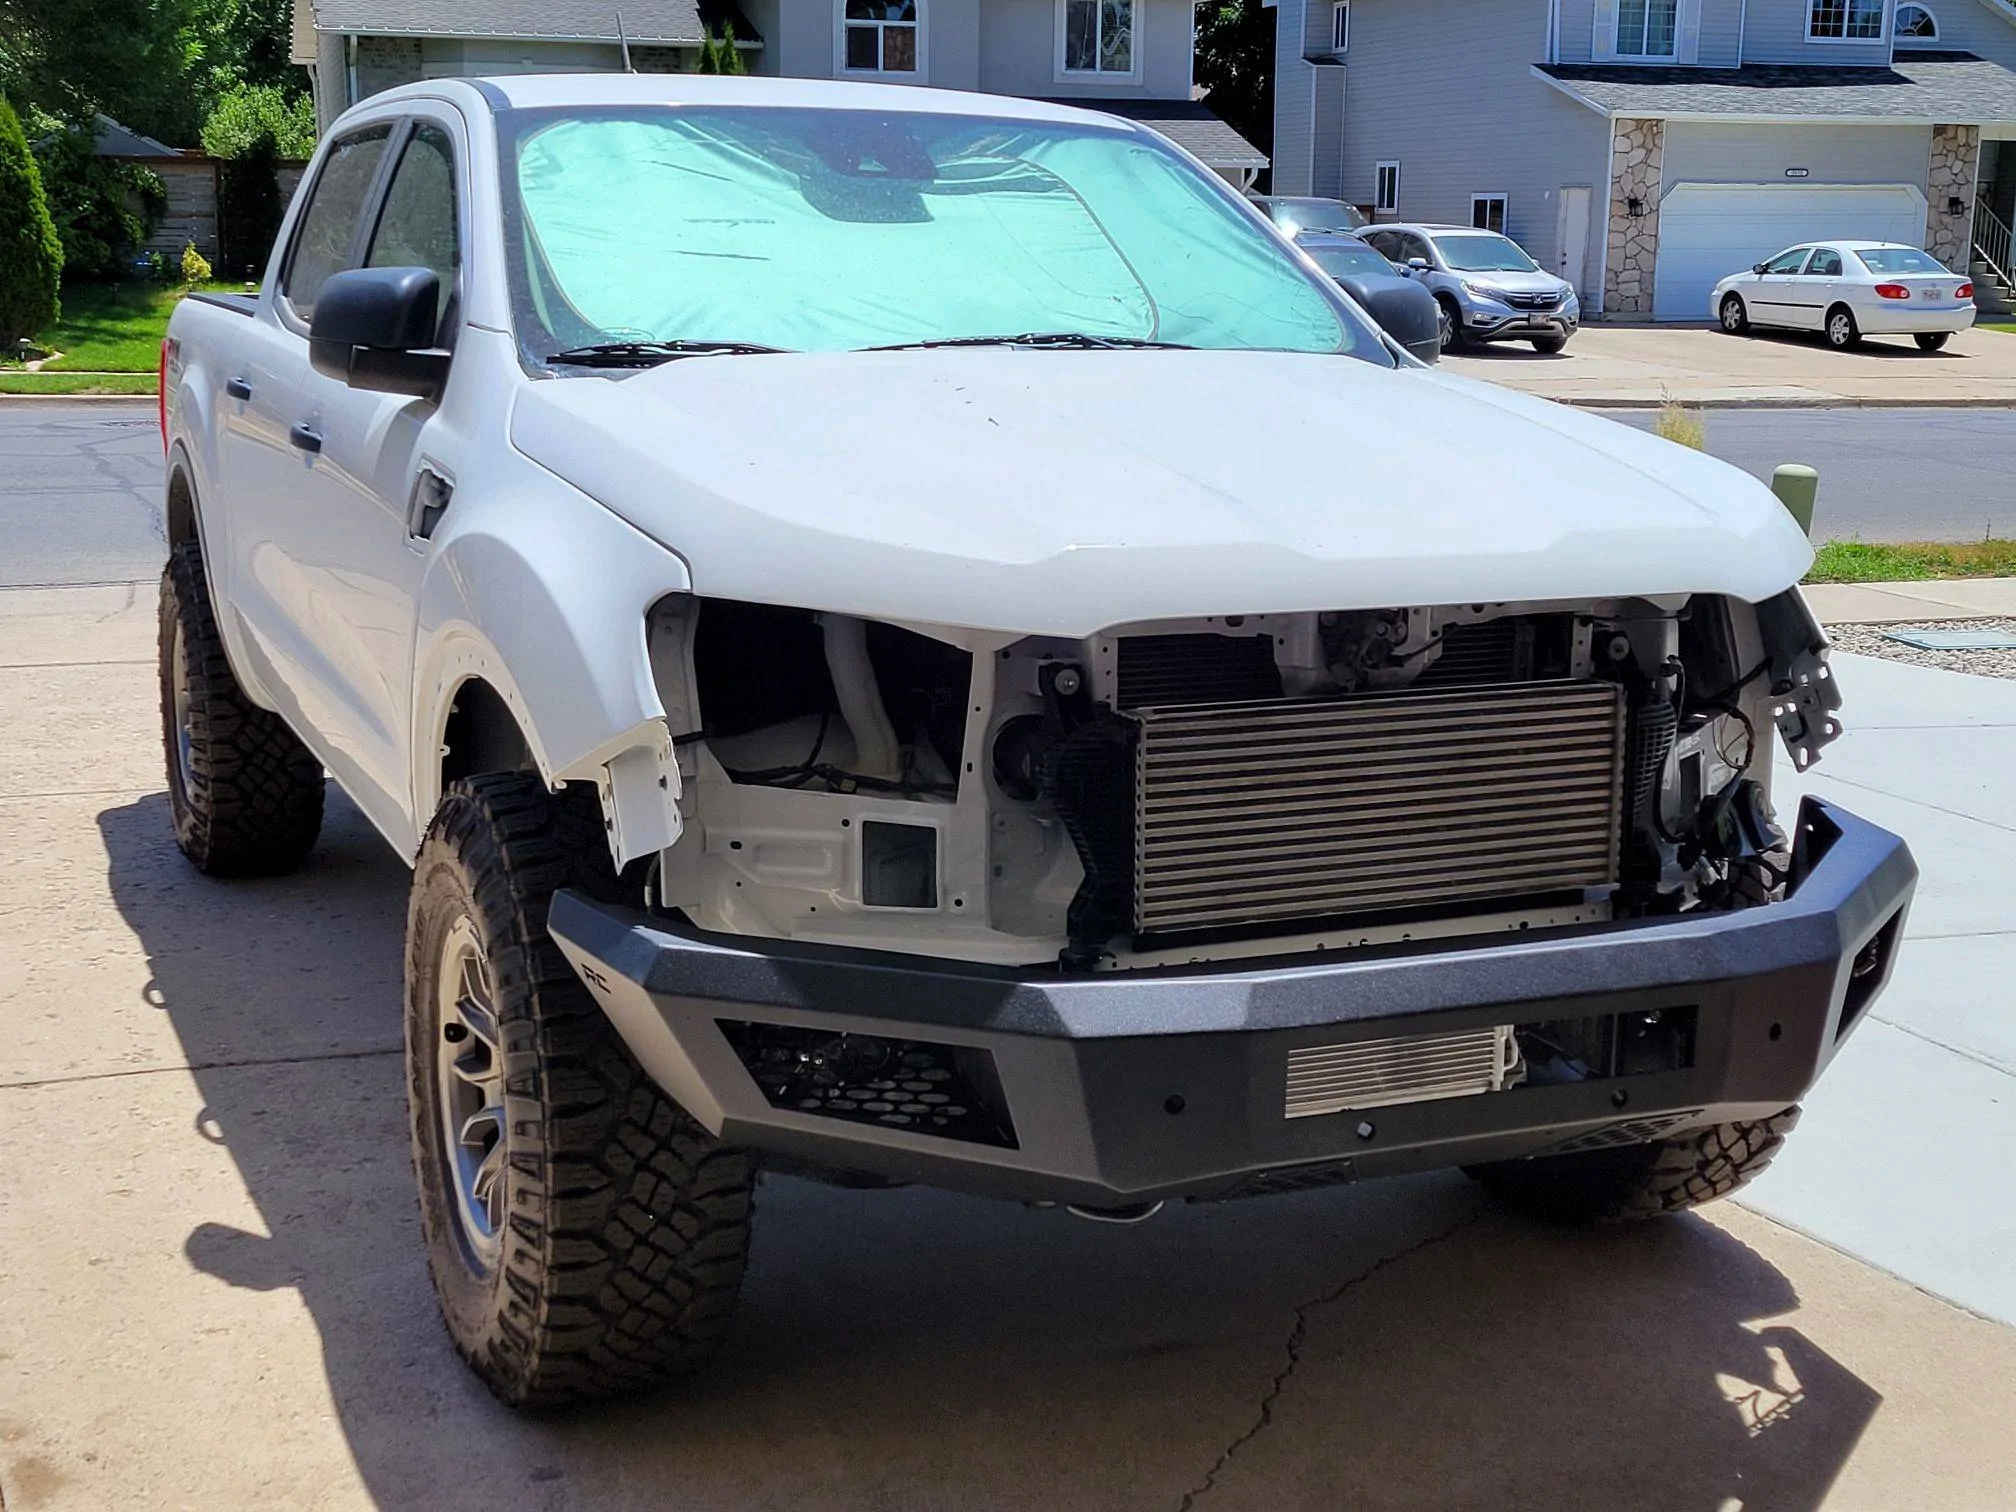
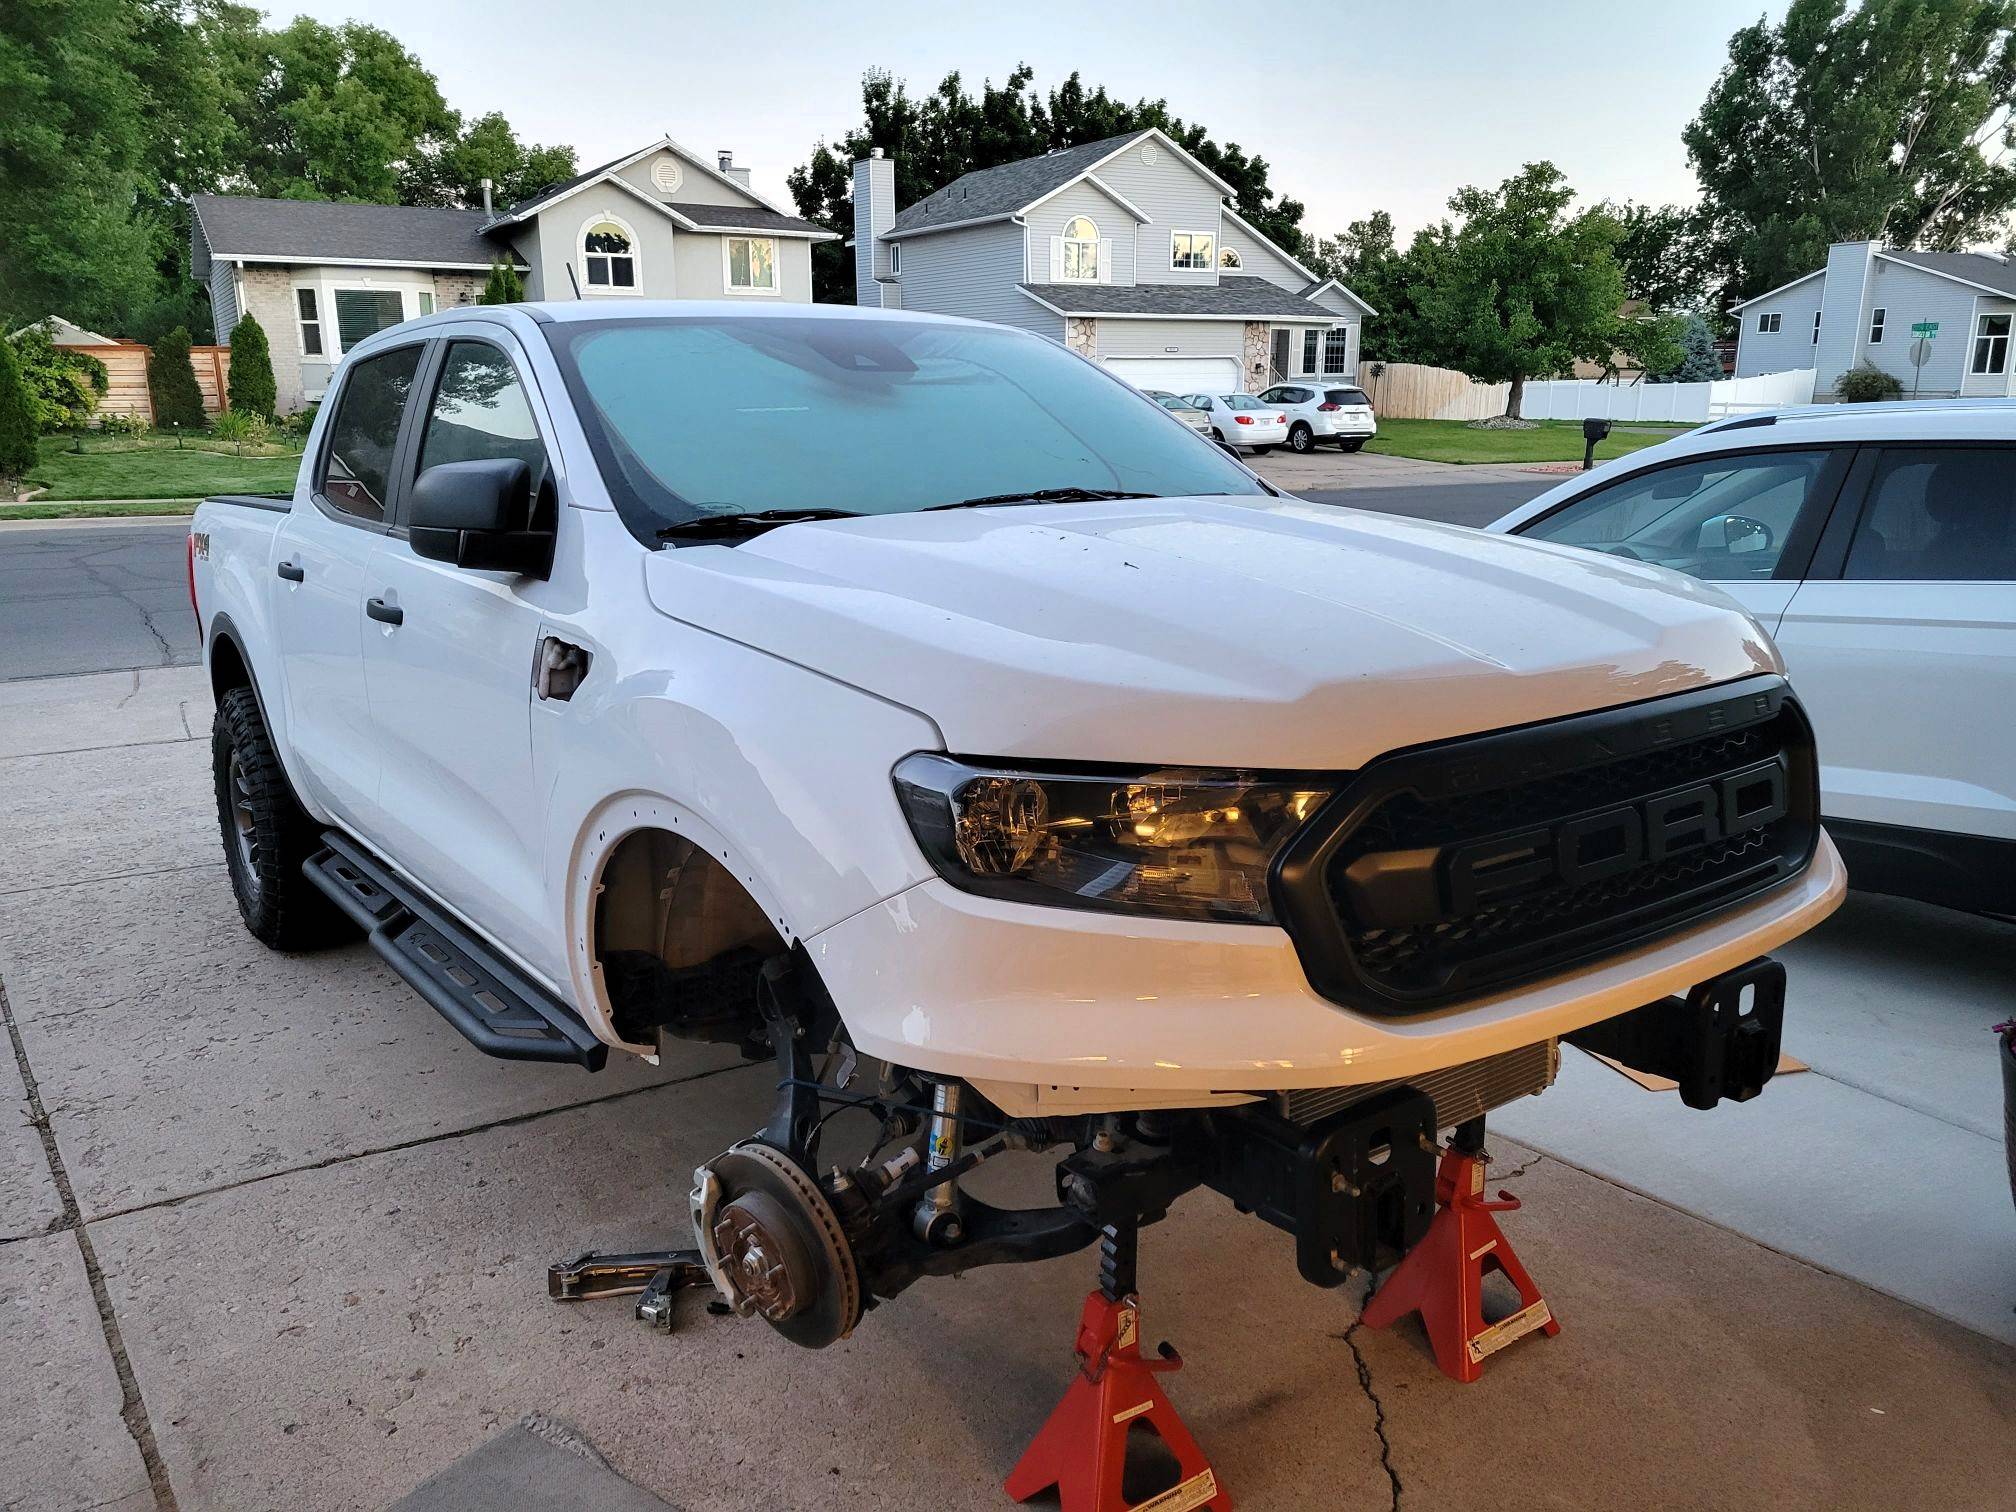
I have the Rough Country front bumper and all the air defectors remained in place. Could not say how much they are actually needed.Managed to get most of the wiring done. That means soldering new connectors for the headlight, intercooler map sensor, small horn in fender, main horns and side light. Had two extra small wires that are apparently for the ambient air sensor. It was completely missing. Fortunately they're very common so ordered one with the connector and bloody ends off Amazon. Hooked up FORscan and it showed the Ambient Air Sensor was open so 99% sure that's it.
The main horns were missing as well. I was planning to get an airless train horn but opted to just grab a couple of Fiamm's off an Explorer while at the salvage yard. Hooked them up and gave them a test. They're pretty loud so I think that will do.
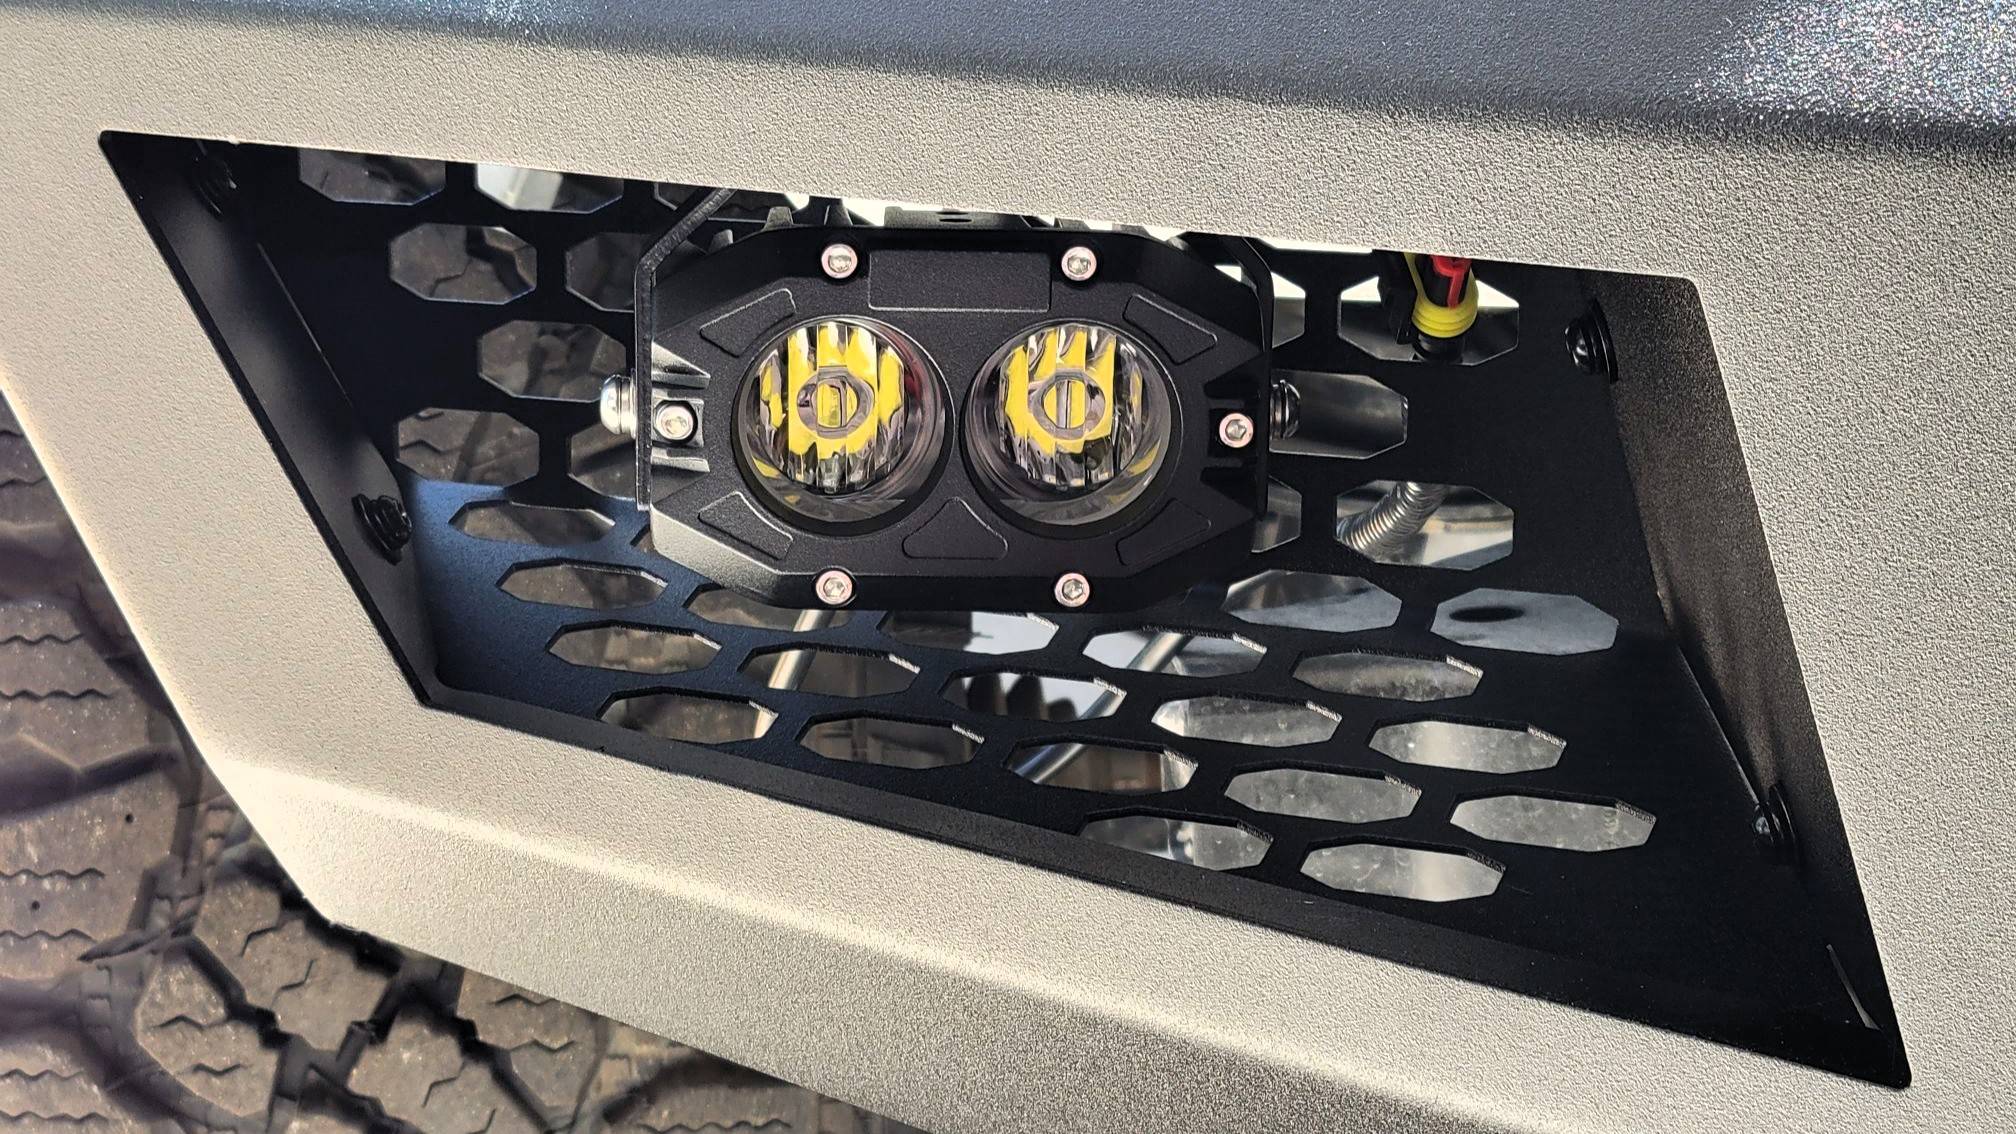
The last 4 wires I suspect are for the driving/fog lights. Still need to verify that. I'm installing aftermarket driving lights so those will be custom wired anyway.
Did a mock-up of the upper bumper cover support and discovered there are mounts that are missing. The entire support was missing when I bought it. Ford's parts diagrams leave a lot to be desired not accurately depicting the actual part design so I just ordered two sets of parts that show they're for the cover support. Guess we'll find out in a week or so.
Here's my next dilemma.
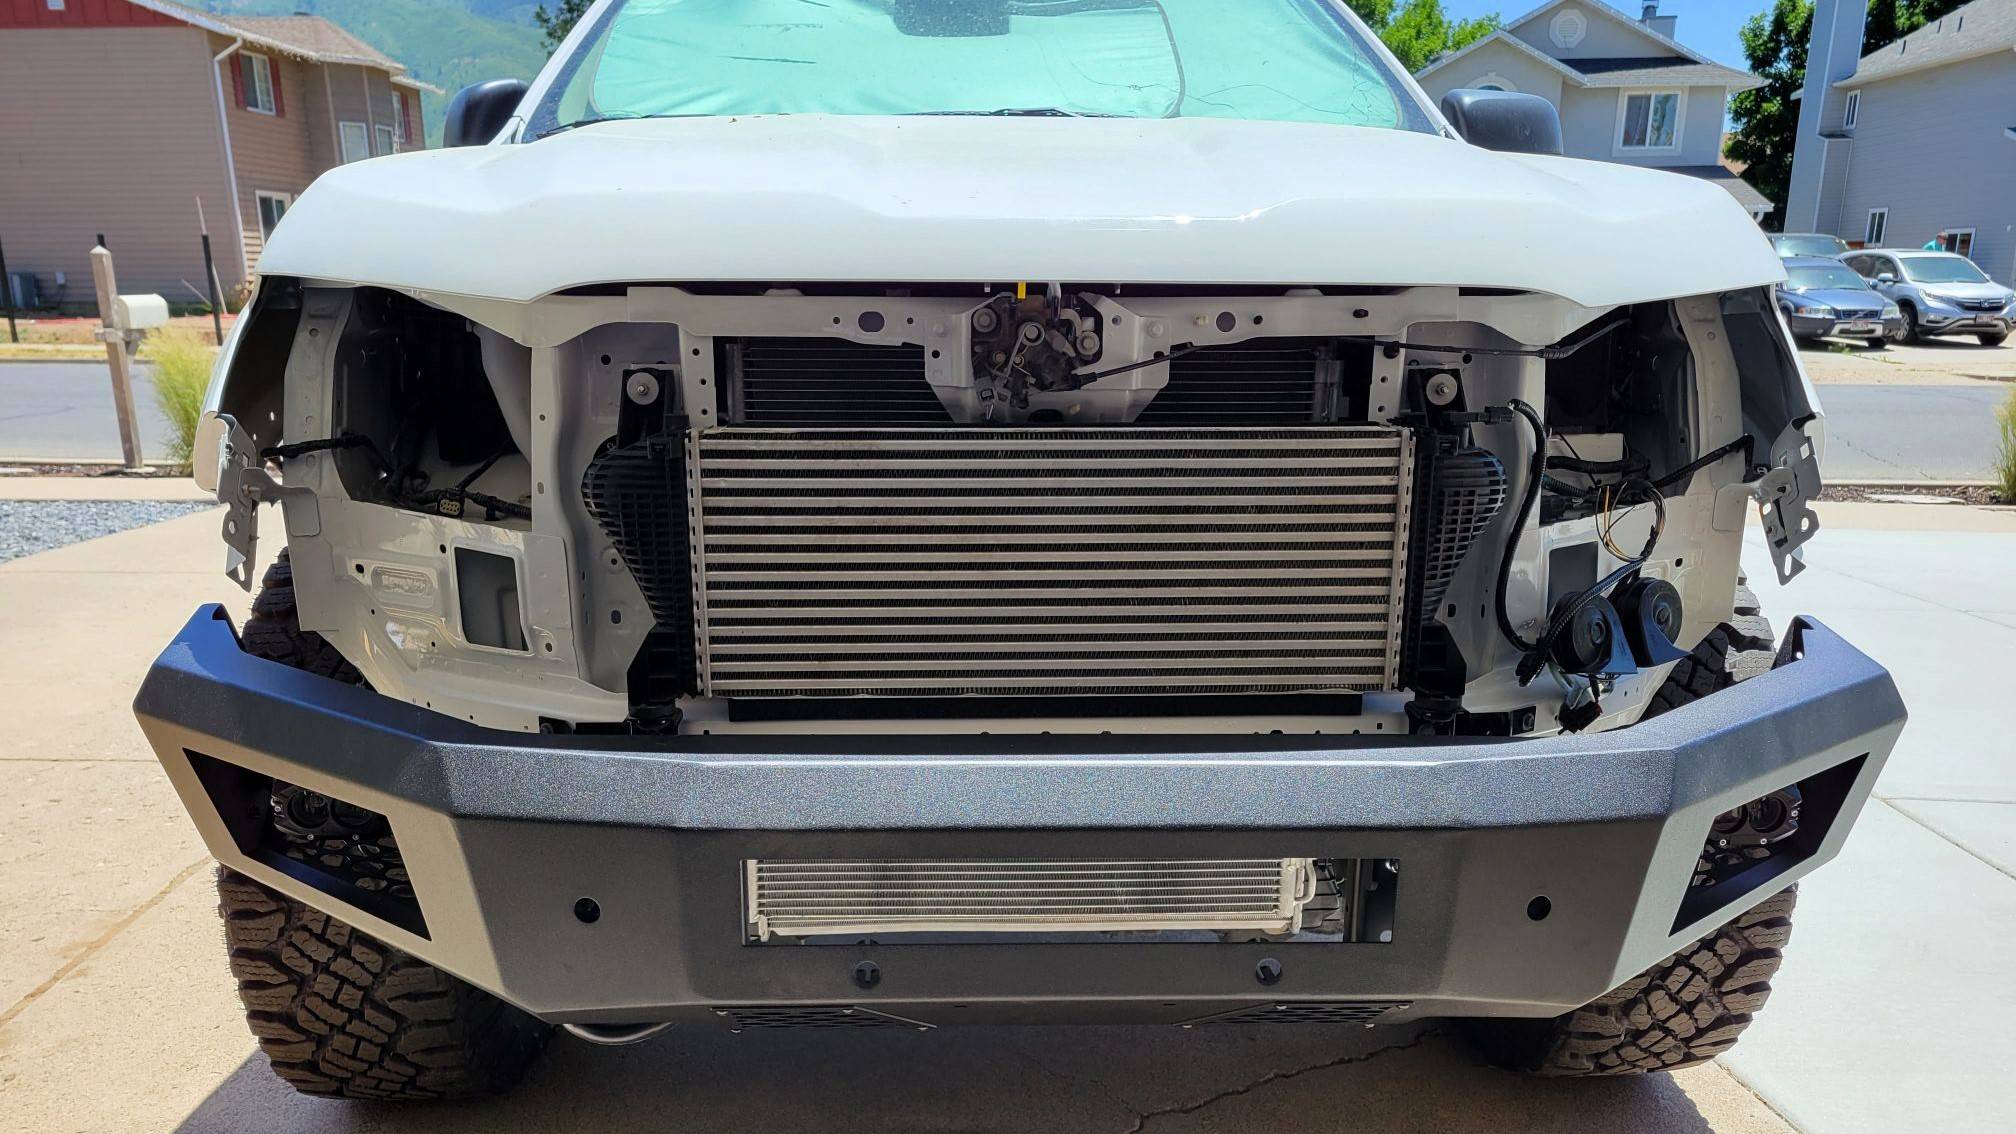
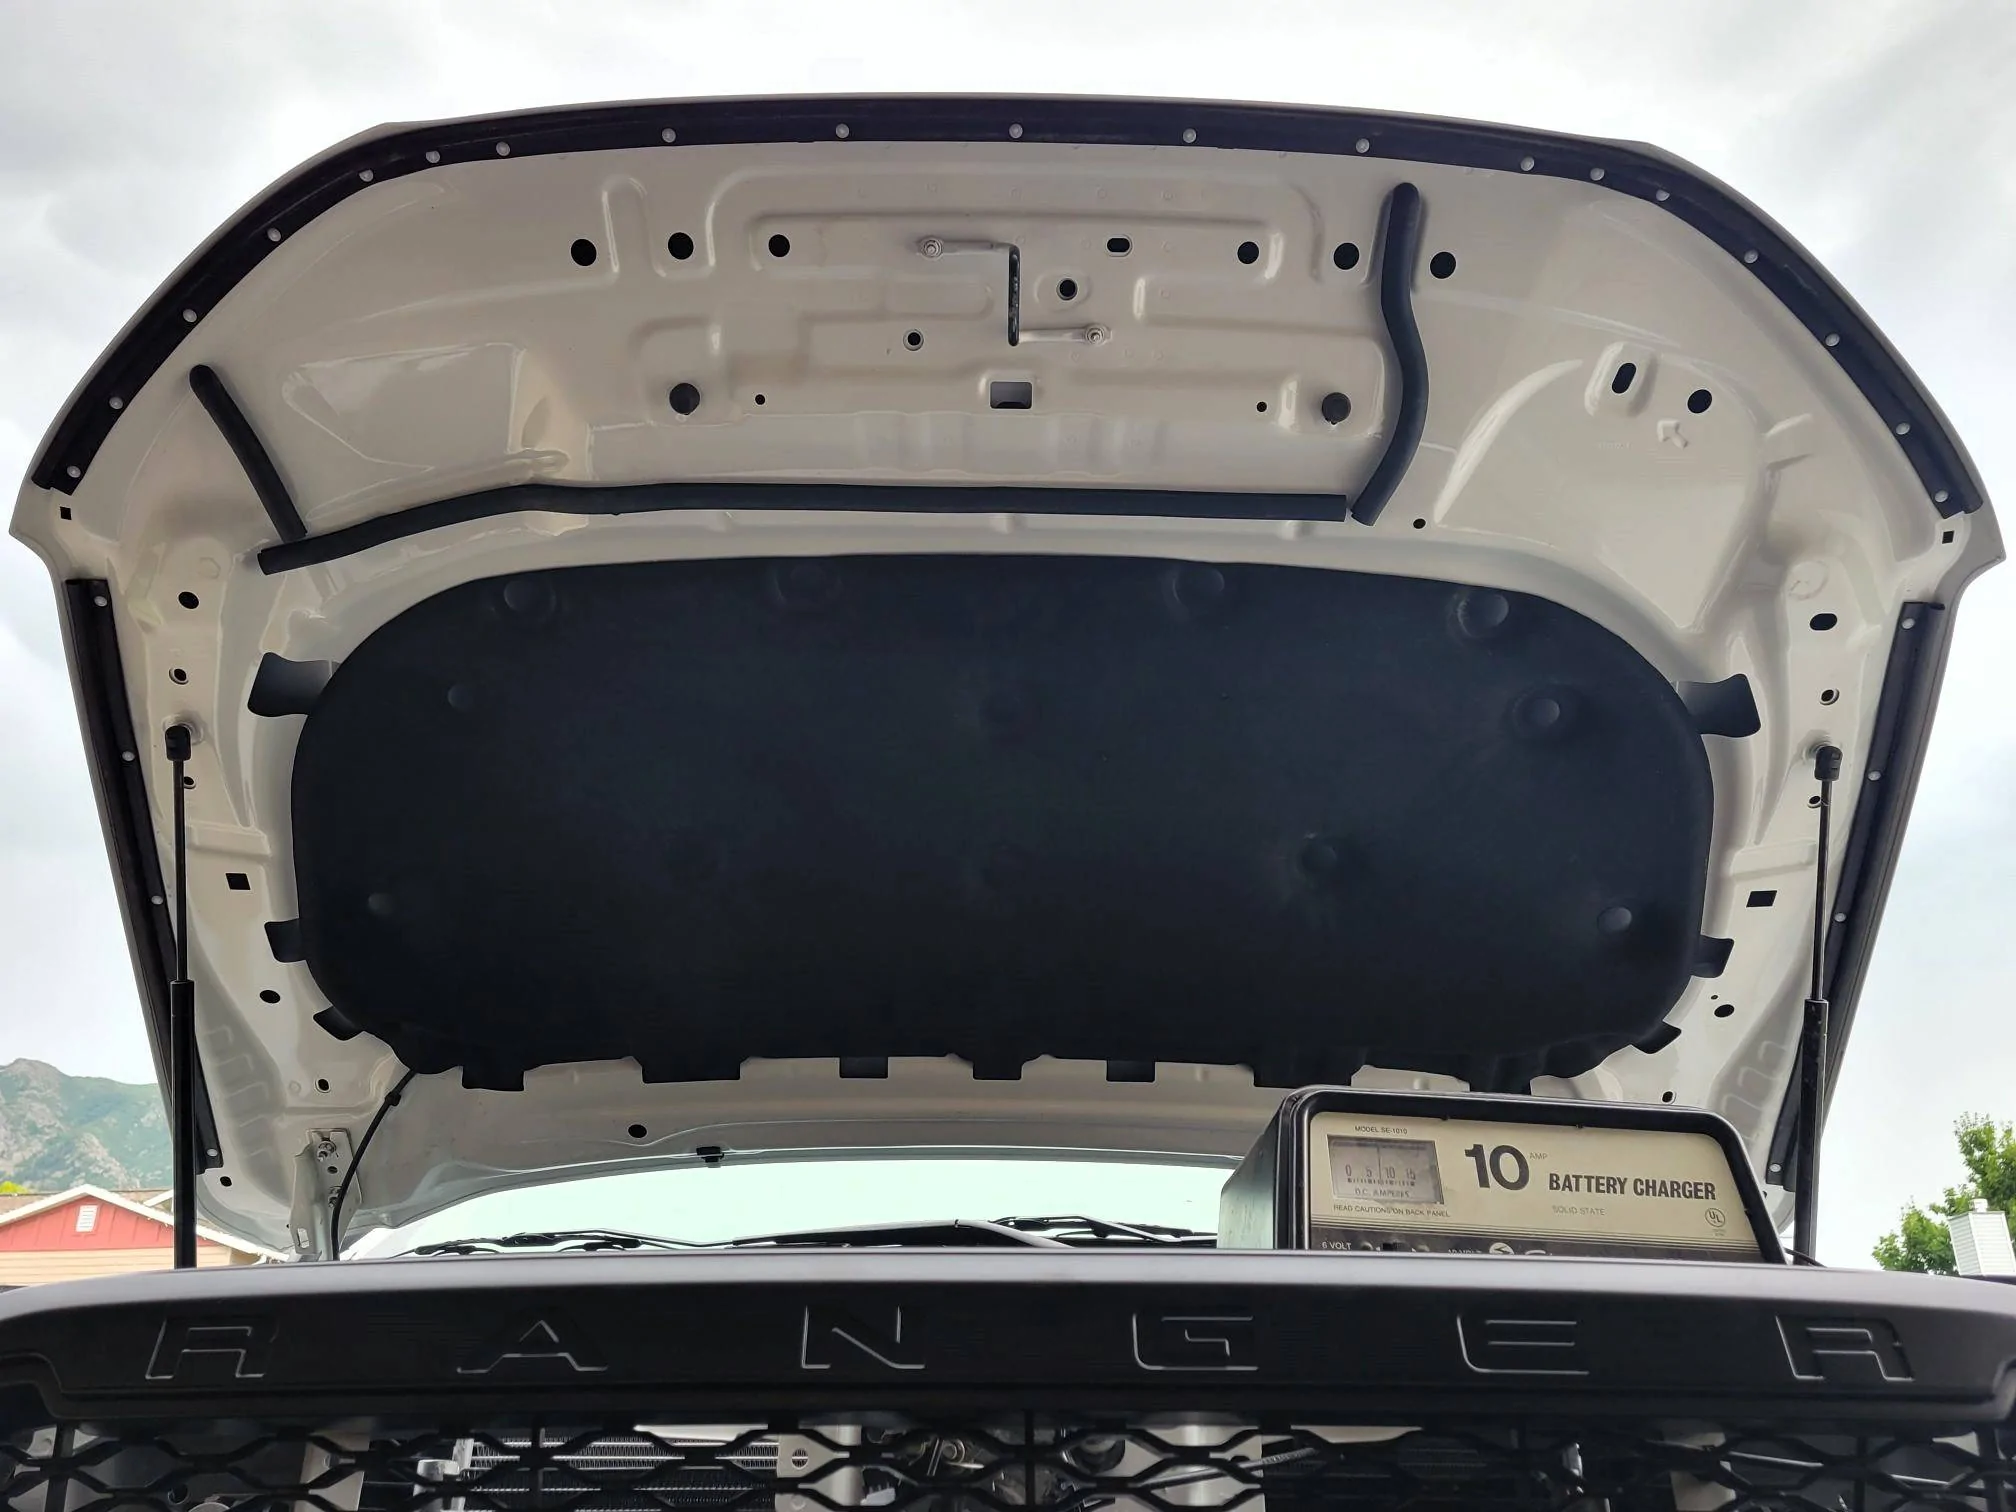
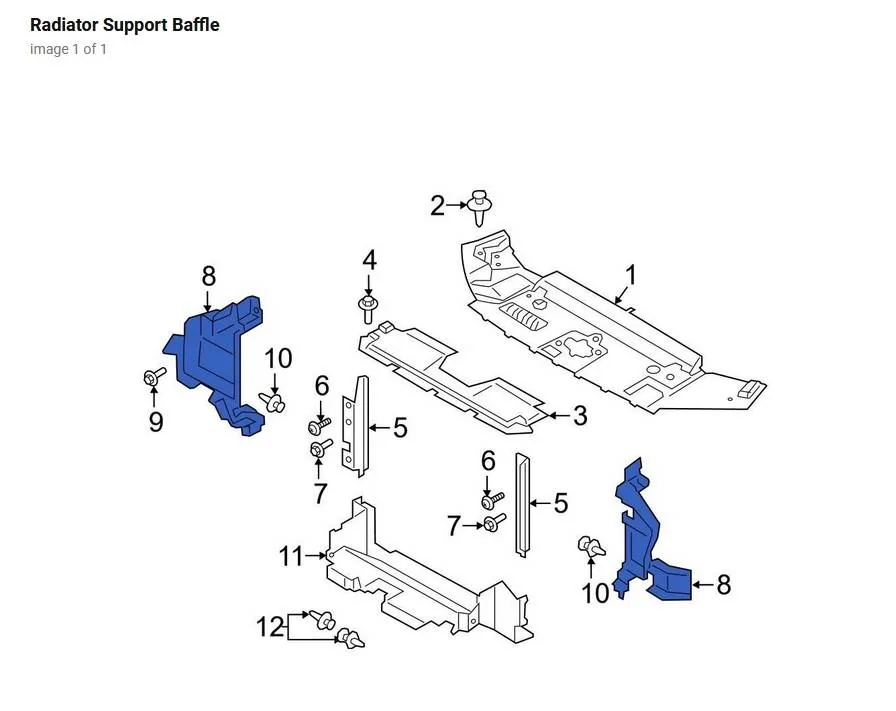
There are normally 4 air deflectors to the radiator - one above, one below, and a "baffle" on each side mounted to the radiator support. Spending money hand-over-foot on this thing is getting old so I'm wondering how many of these deflectors are really necessary and which ones are just an engineer's guess of what might be useful, but don't appreciably aid in cooling.
The upper piece (3) is only about $32 plus shipping. The lower one (11) around $100 to $125 and the side baffles (8) around $80 to $100 each. I honestly can't see that the side baffles do that much. The lower one looks like it might be intended to work with the stock bumper. This Ranger will be getting a Rough Country bumper so not sure about that one. The upper one looks like it helps keep air from going over the top of the radiator support.
Tried to figure out how to monitor the throttle body calibration in FORscan and never could. Lot's more research needed on that front. Too many acronyms, not enough plain English. Instead I just removed battery power, reconnected it and let it idle for about 10 minutes. It settled into a very nice idle. Won't be driving it though until more parts are installed.
Last actual failure that needs fixed is the coolant temp sensor. Gauge is pegged with an "overheat" message. Haven't found good information on that either, other than the sensor is apparently part of the thermostat housing buried under the intake manifold. I really, really, really don't want to take that thing off again.

Sponsored