Sponsored

What did you do to your Ranger today?

dlow206

Member
First Name
Derrick
Joined
Jan 31, 2021
Threads
0
Messages
20
Reaction score
103
Location
Seattle, WA
Vehicle(s)
2020 Ford Ranger Lariat
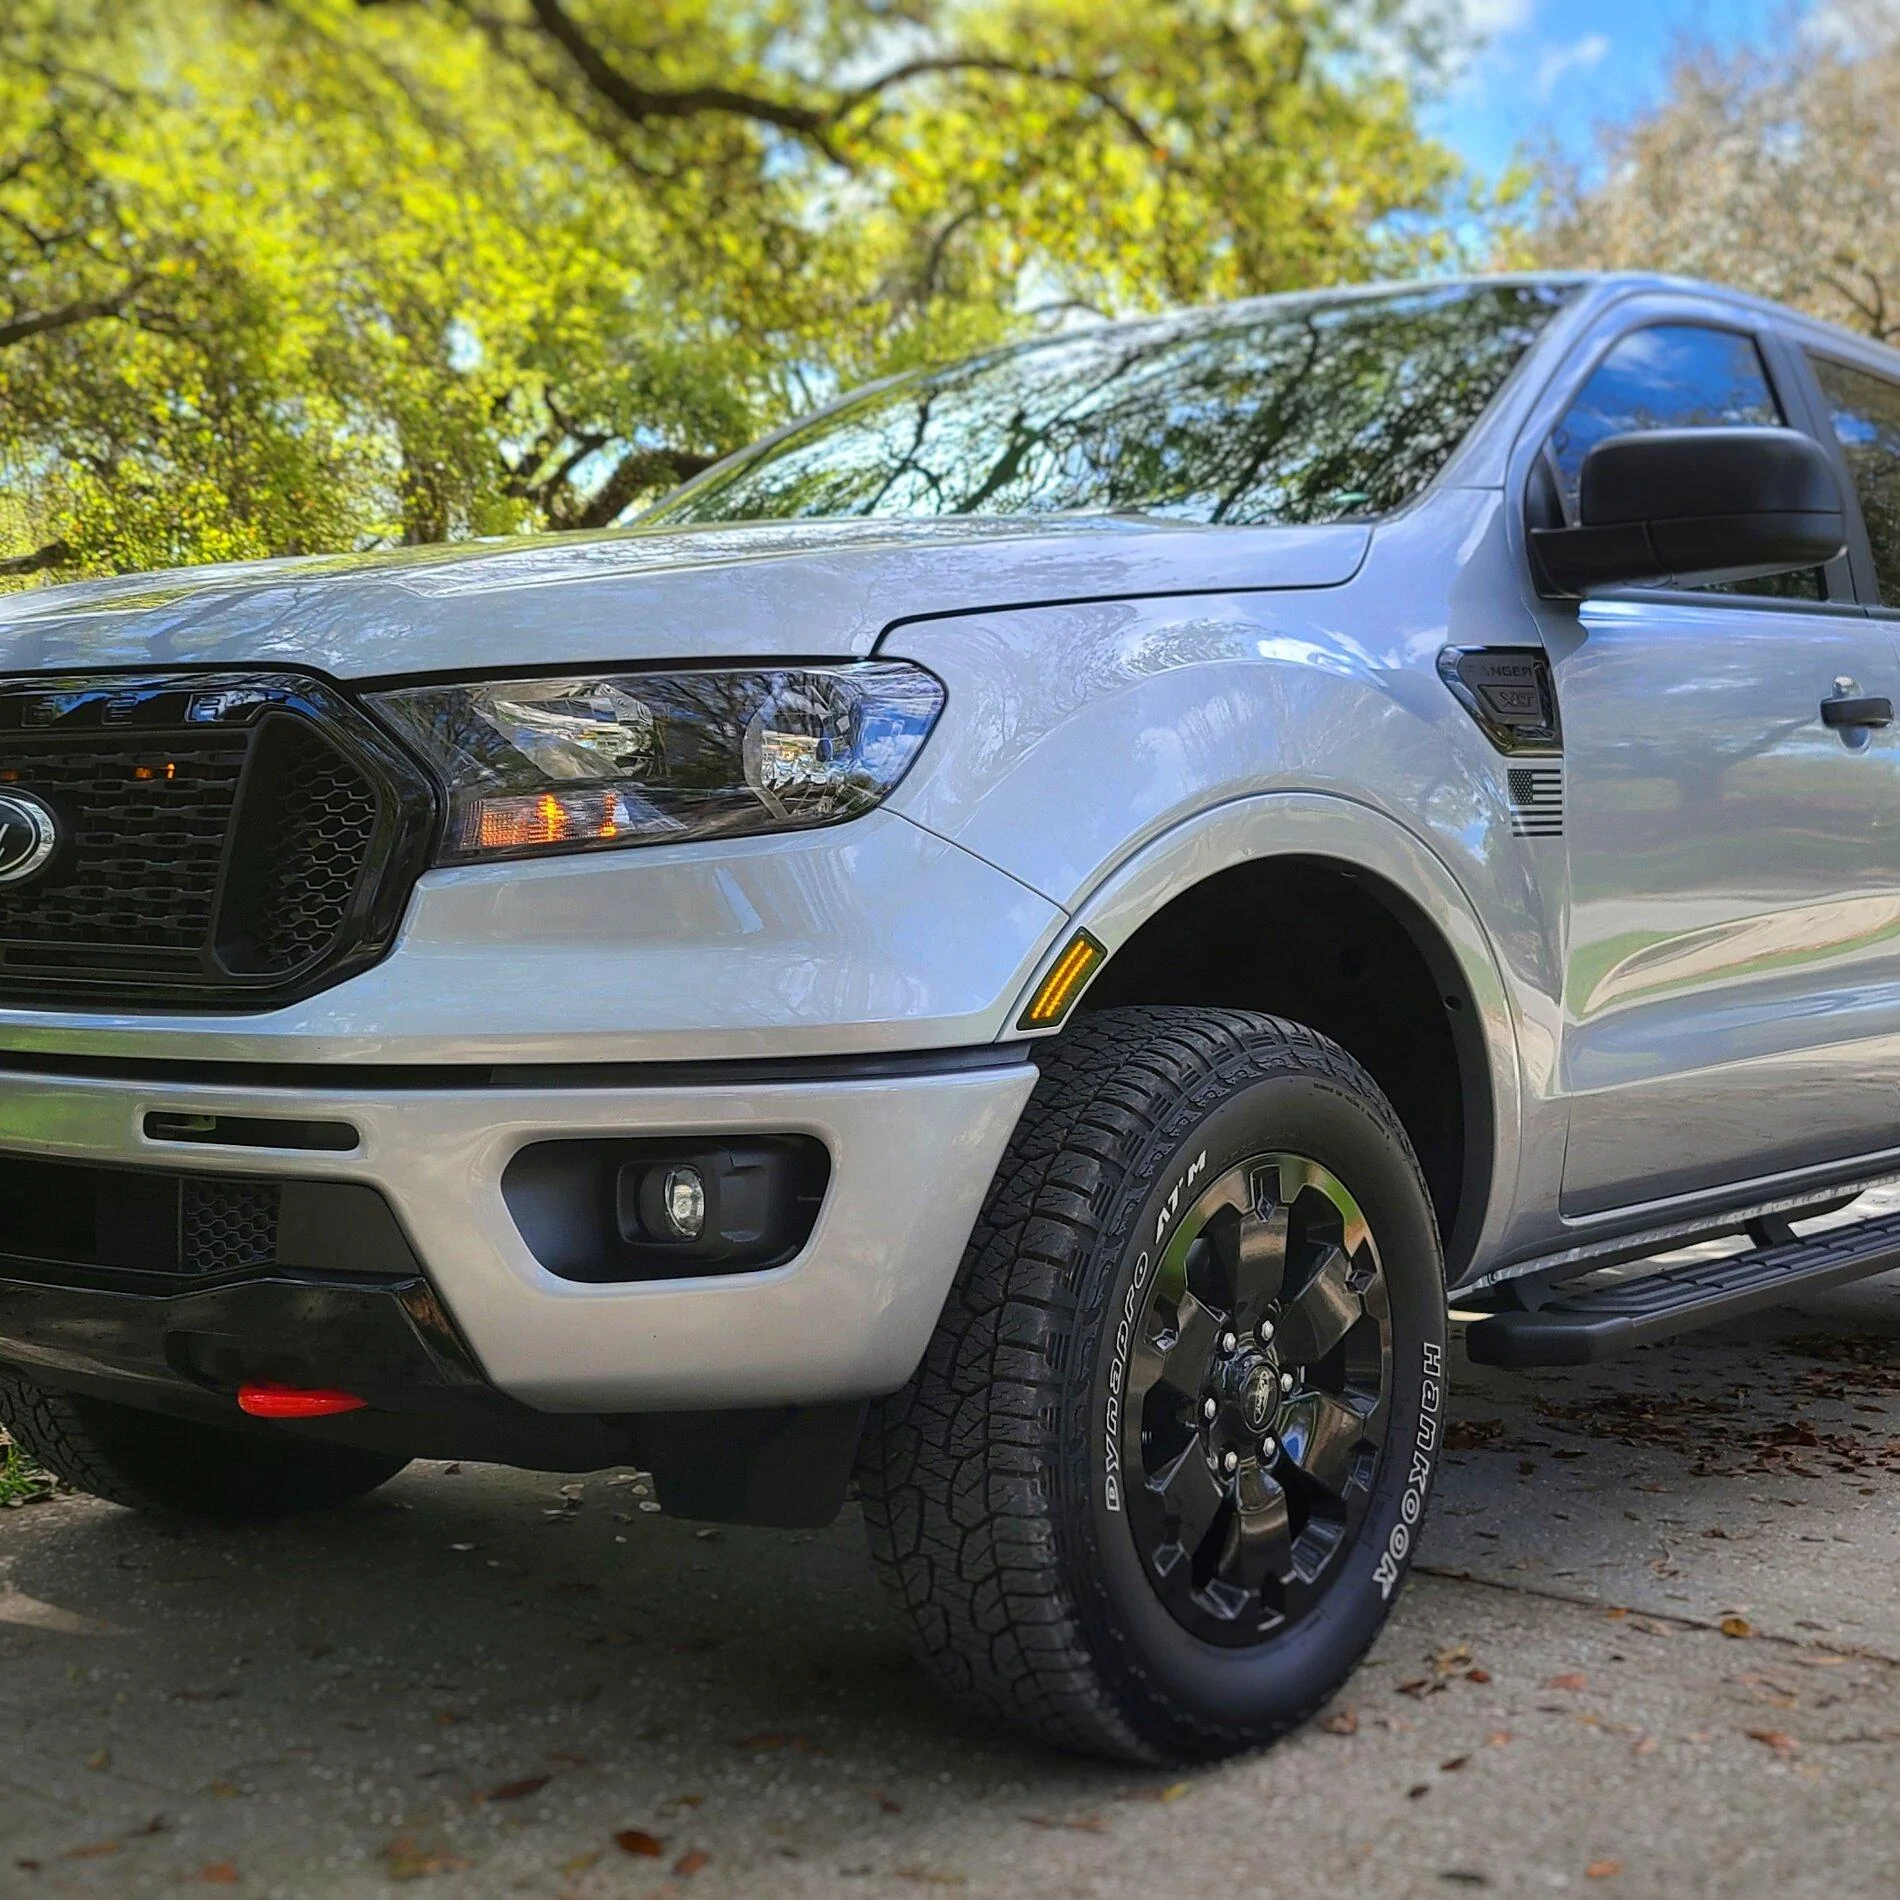
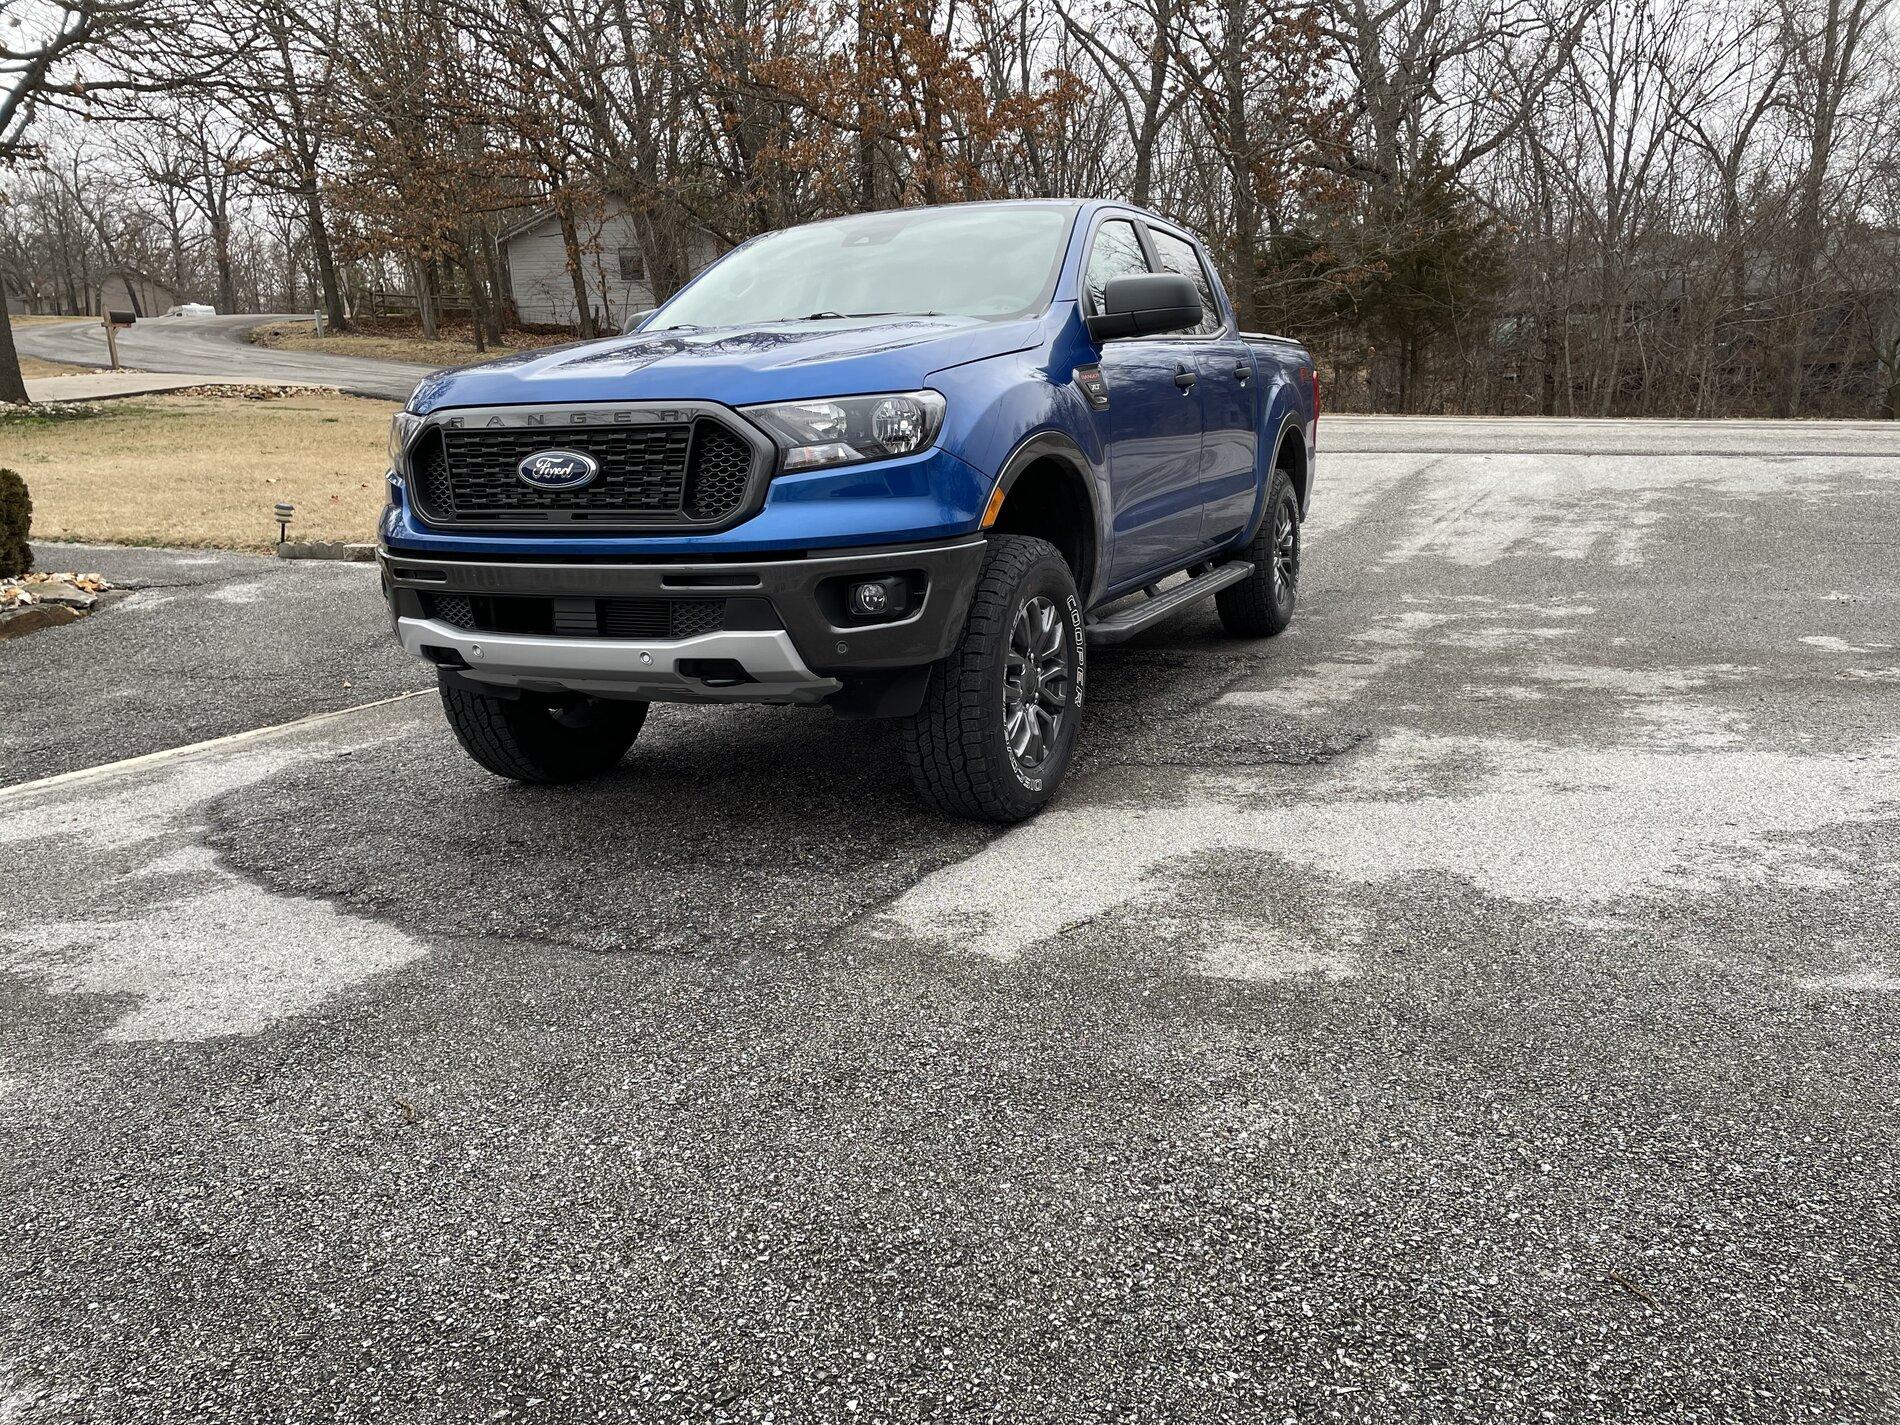
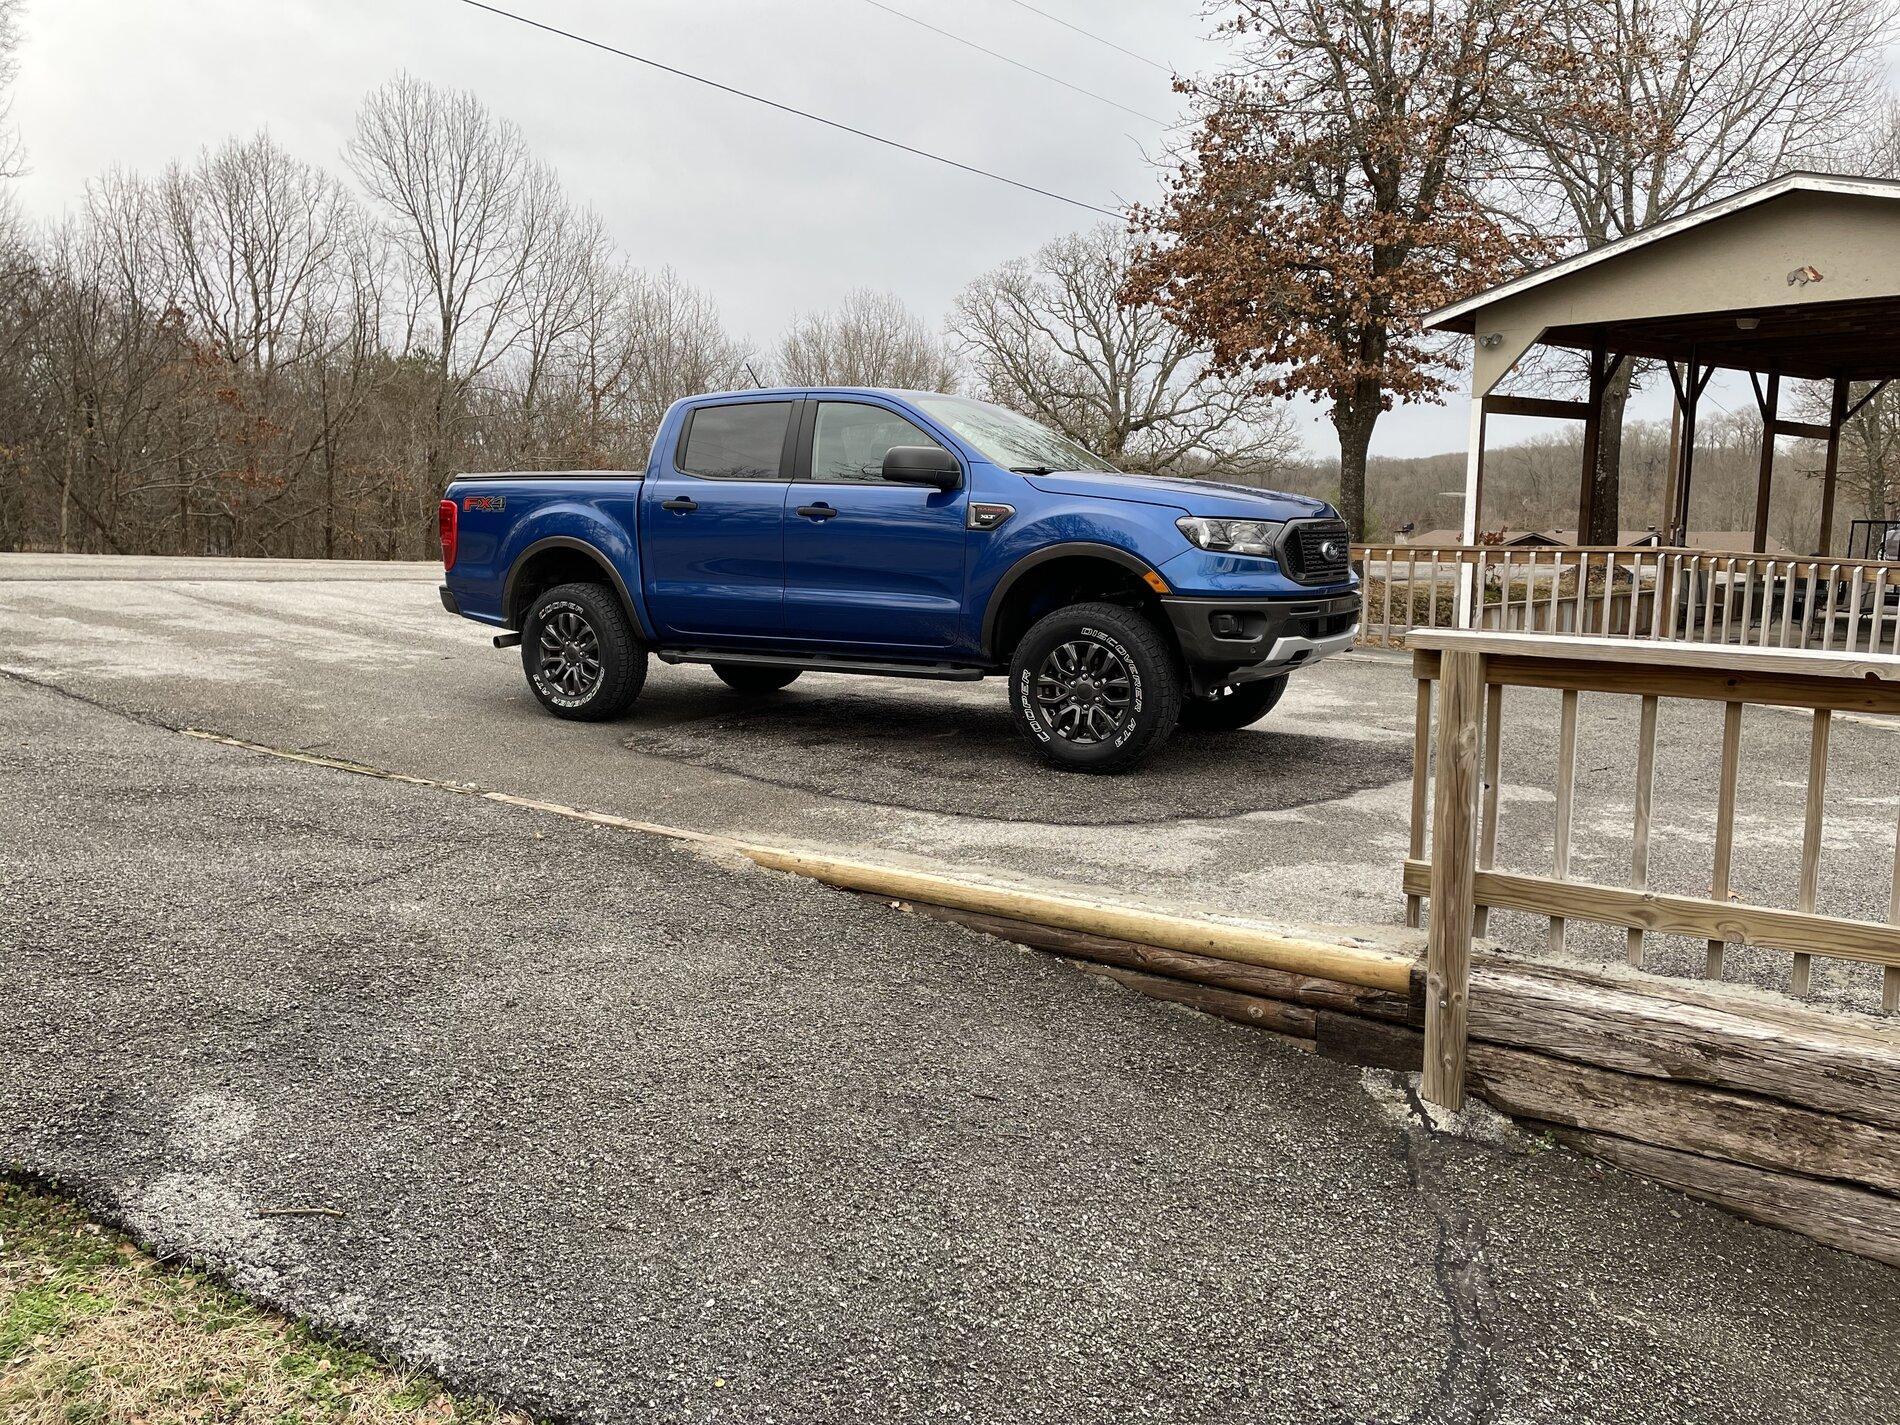
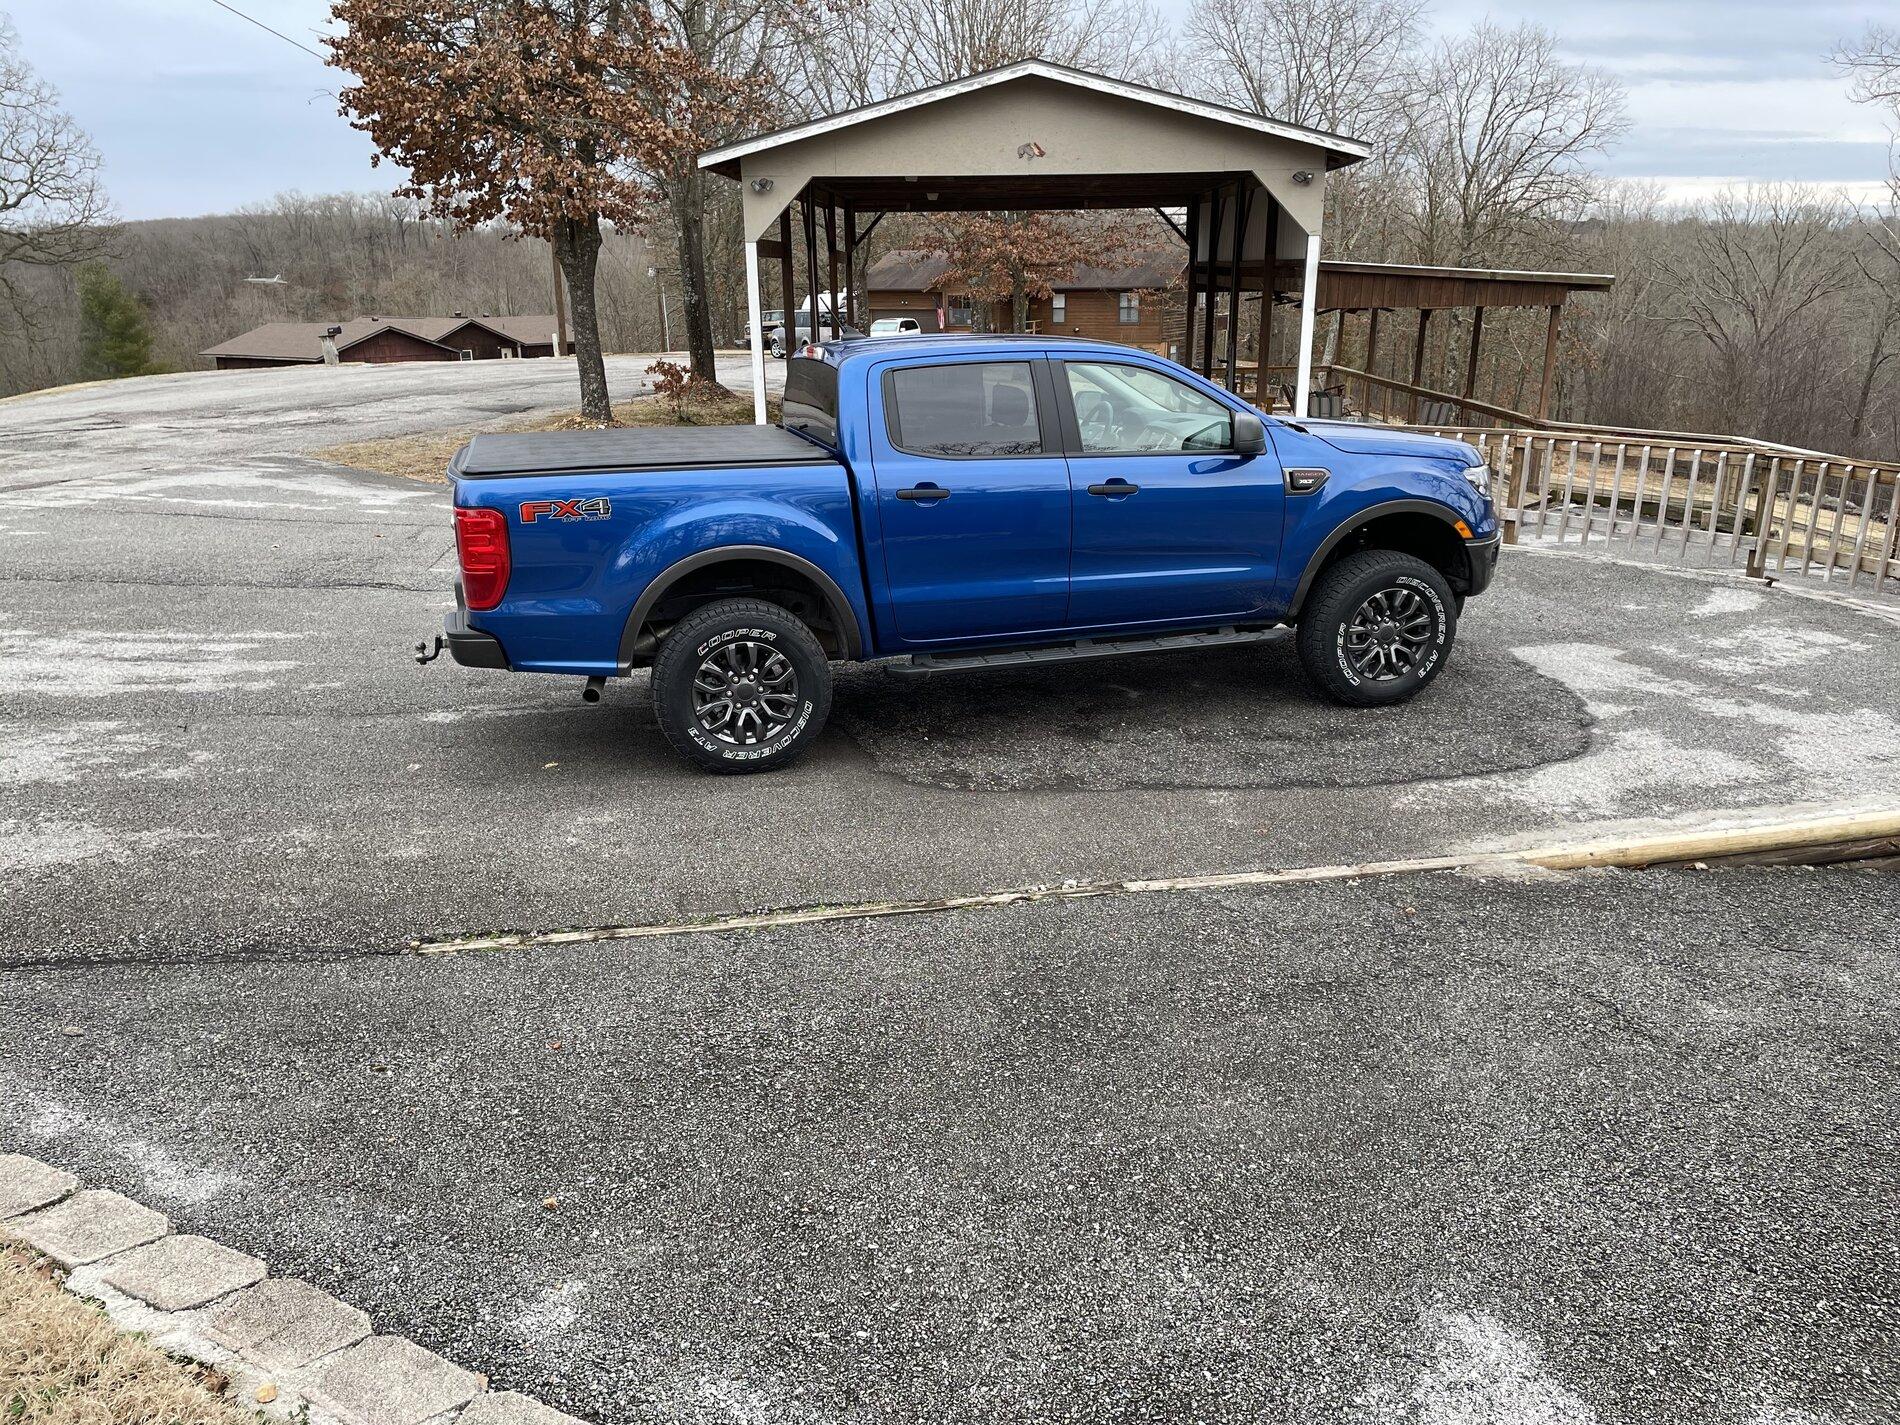
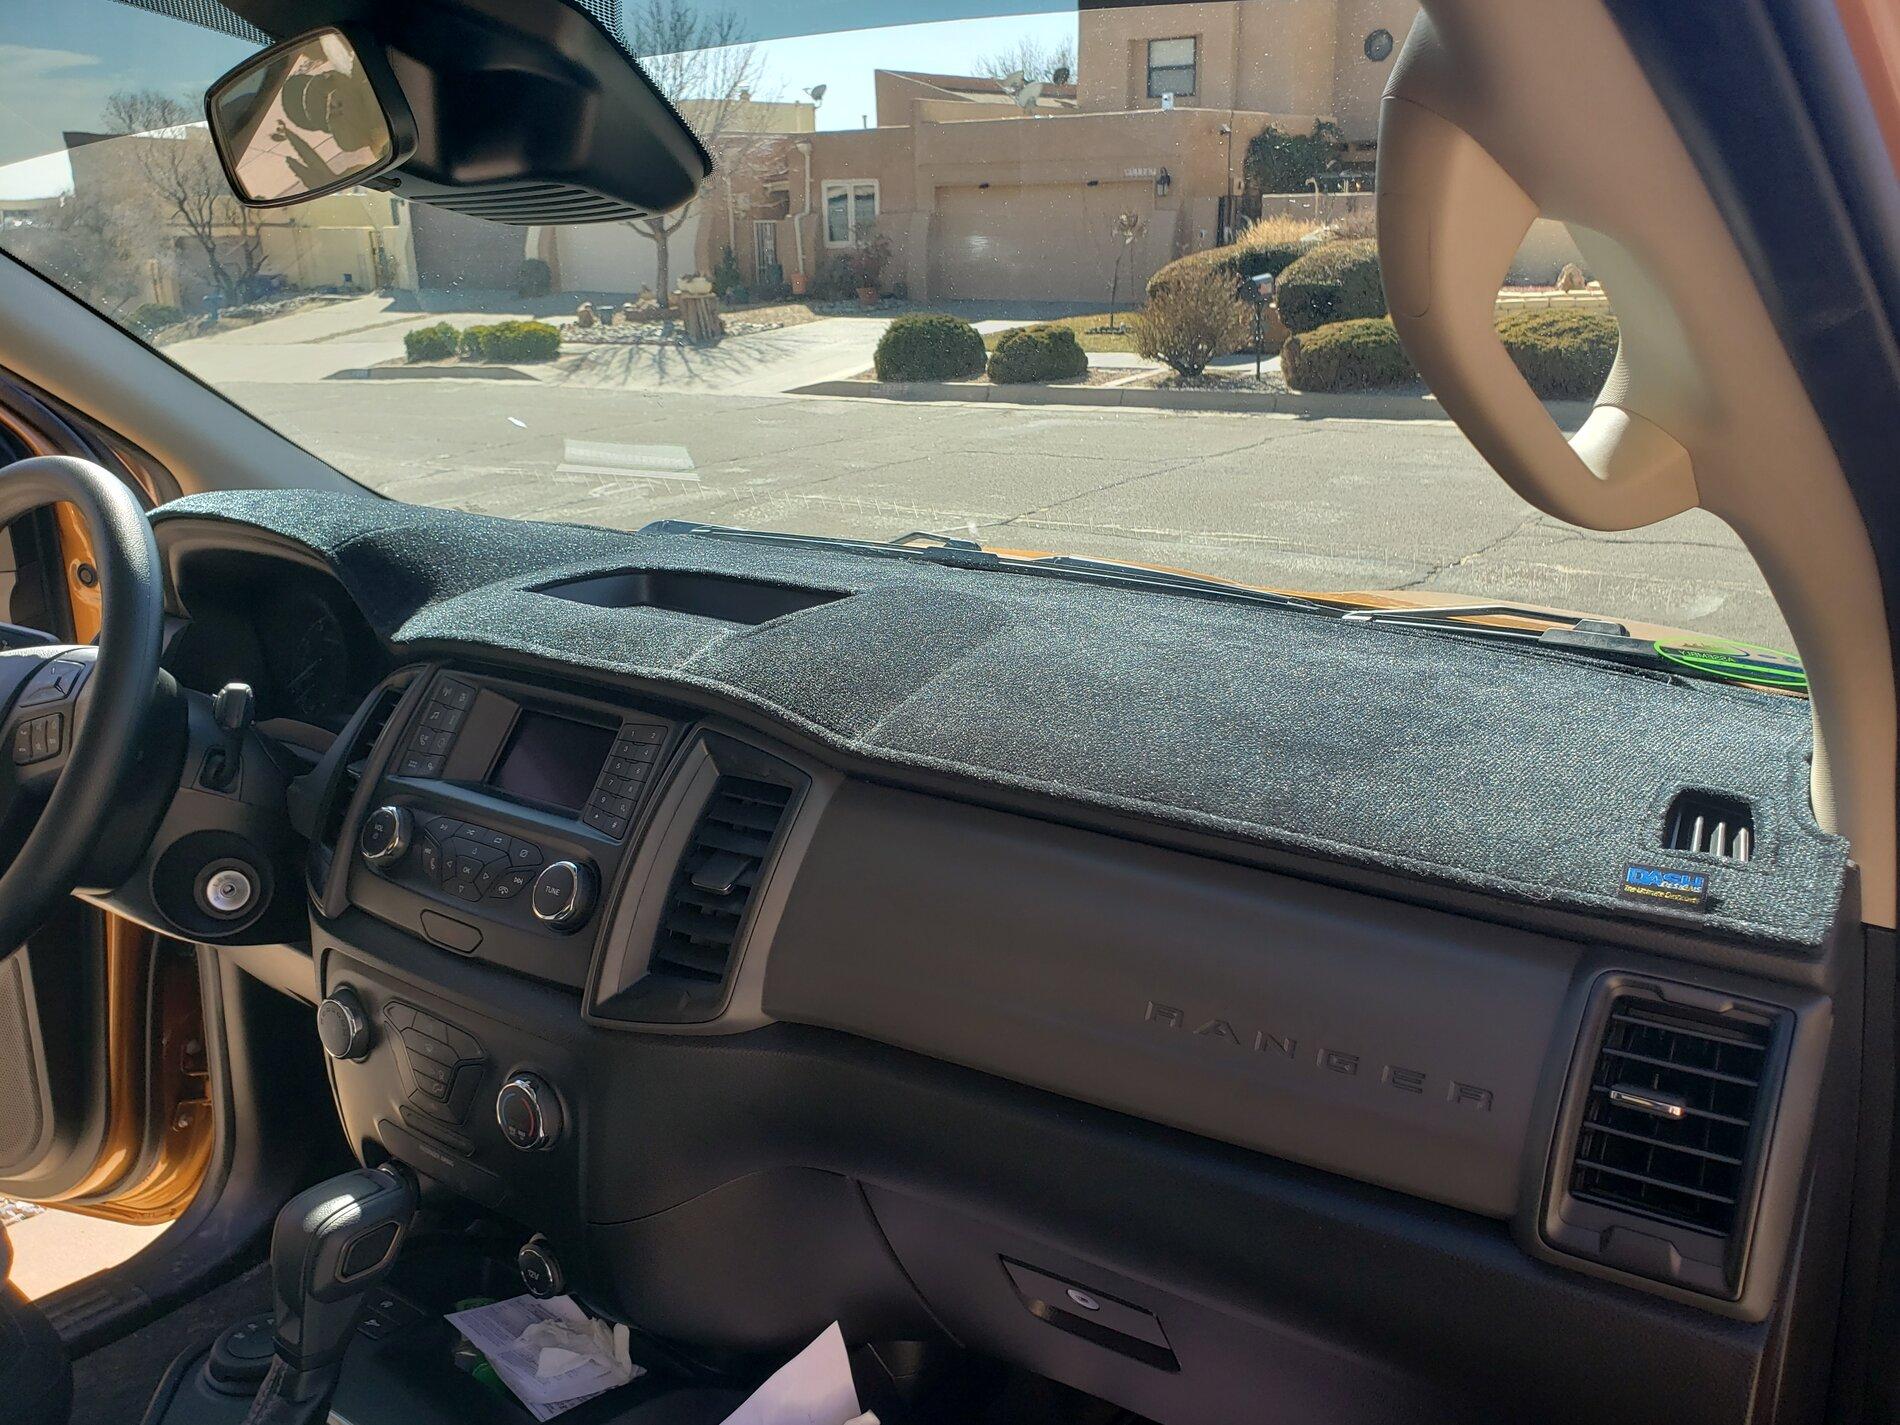
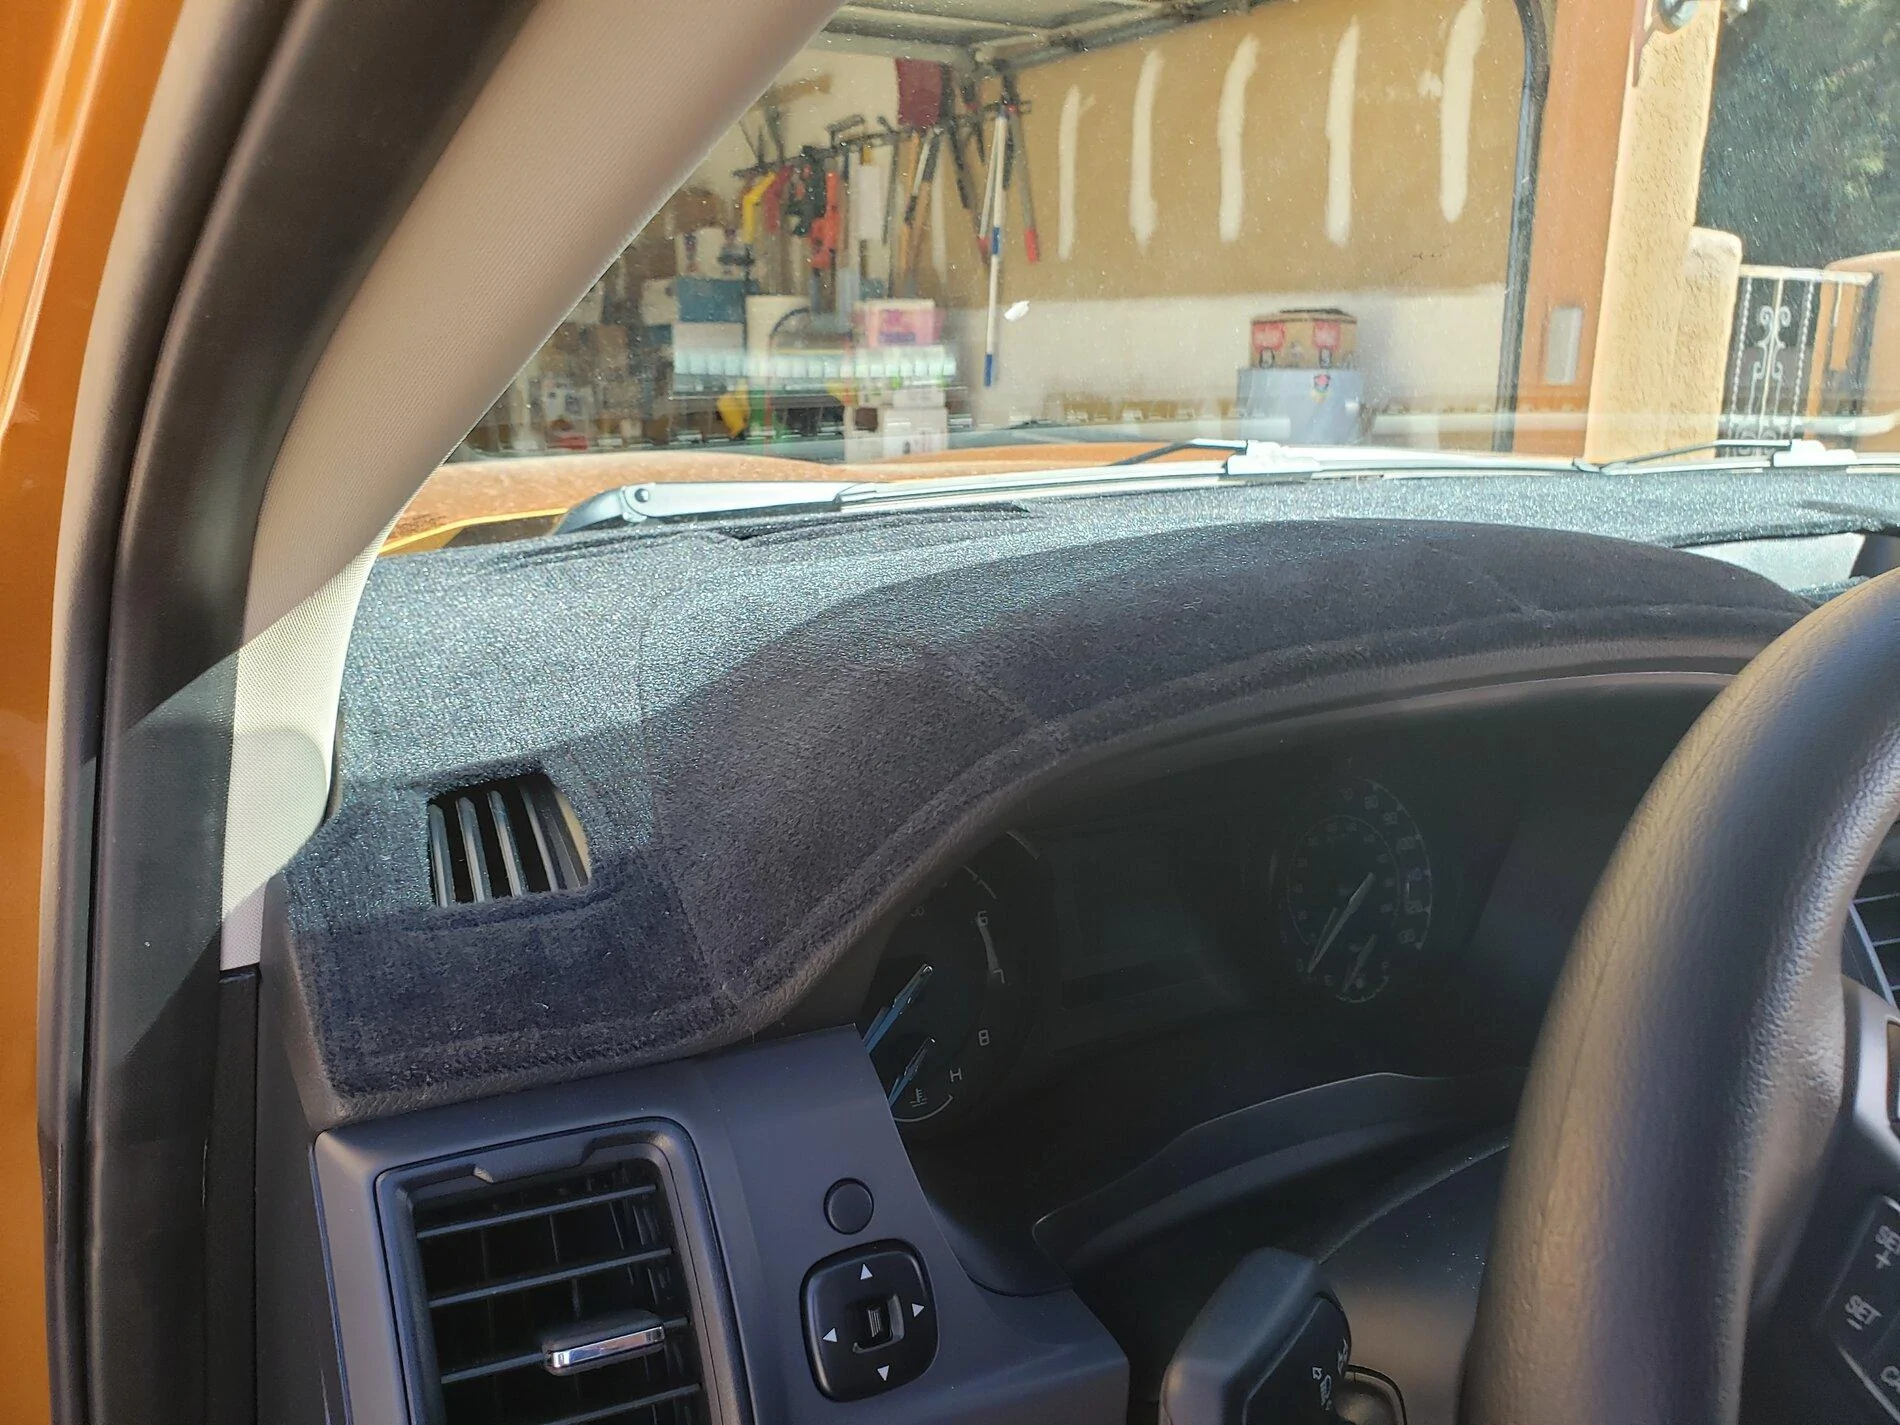
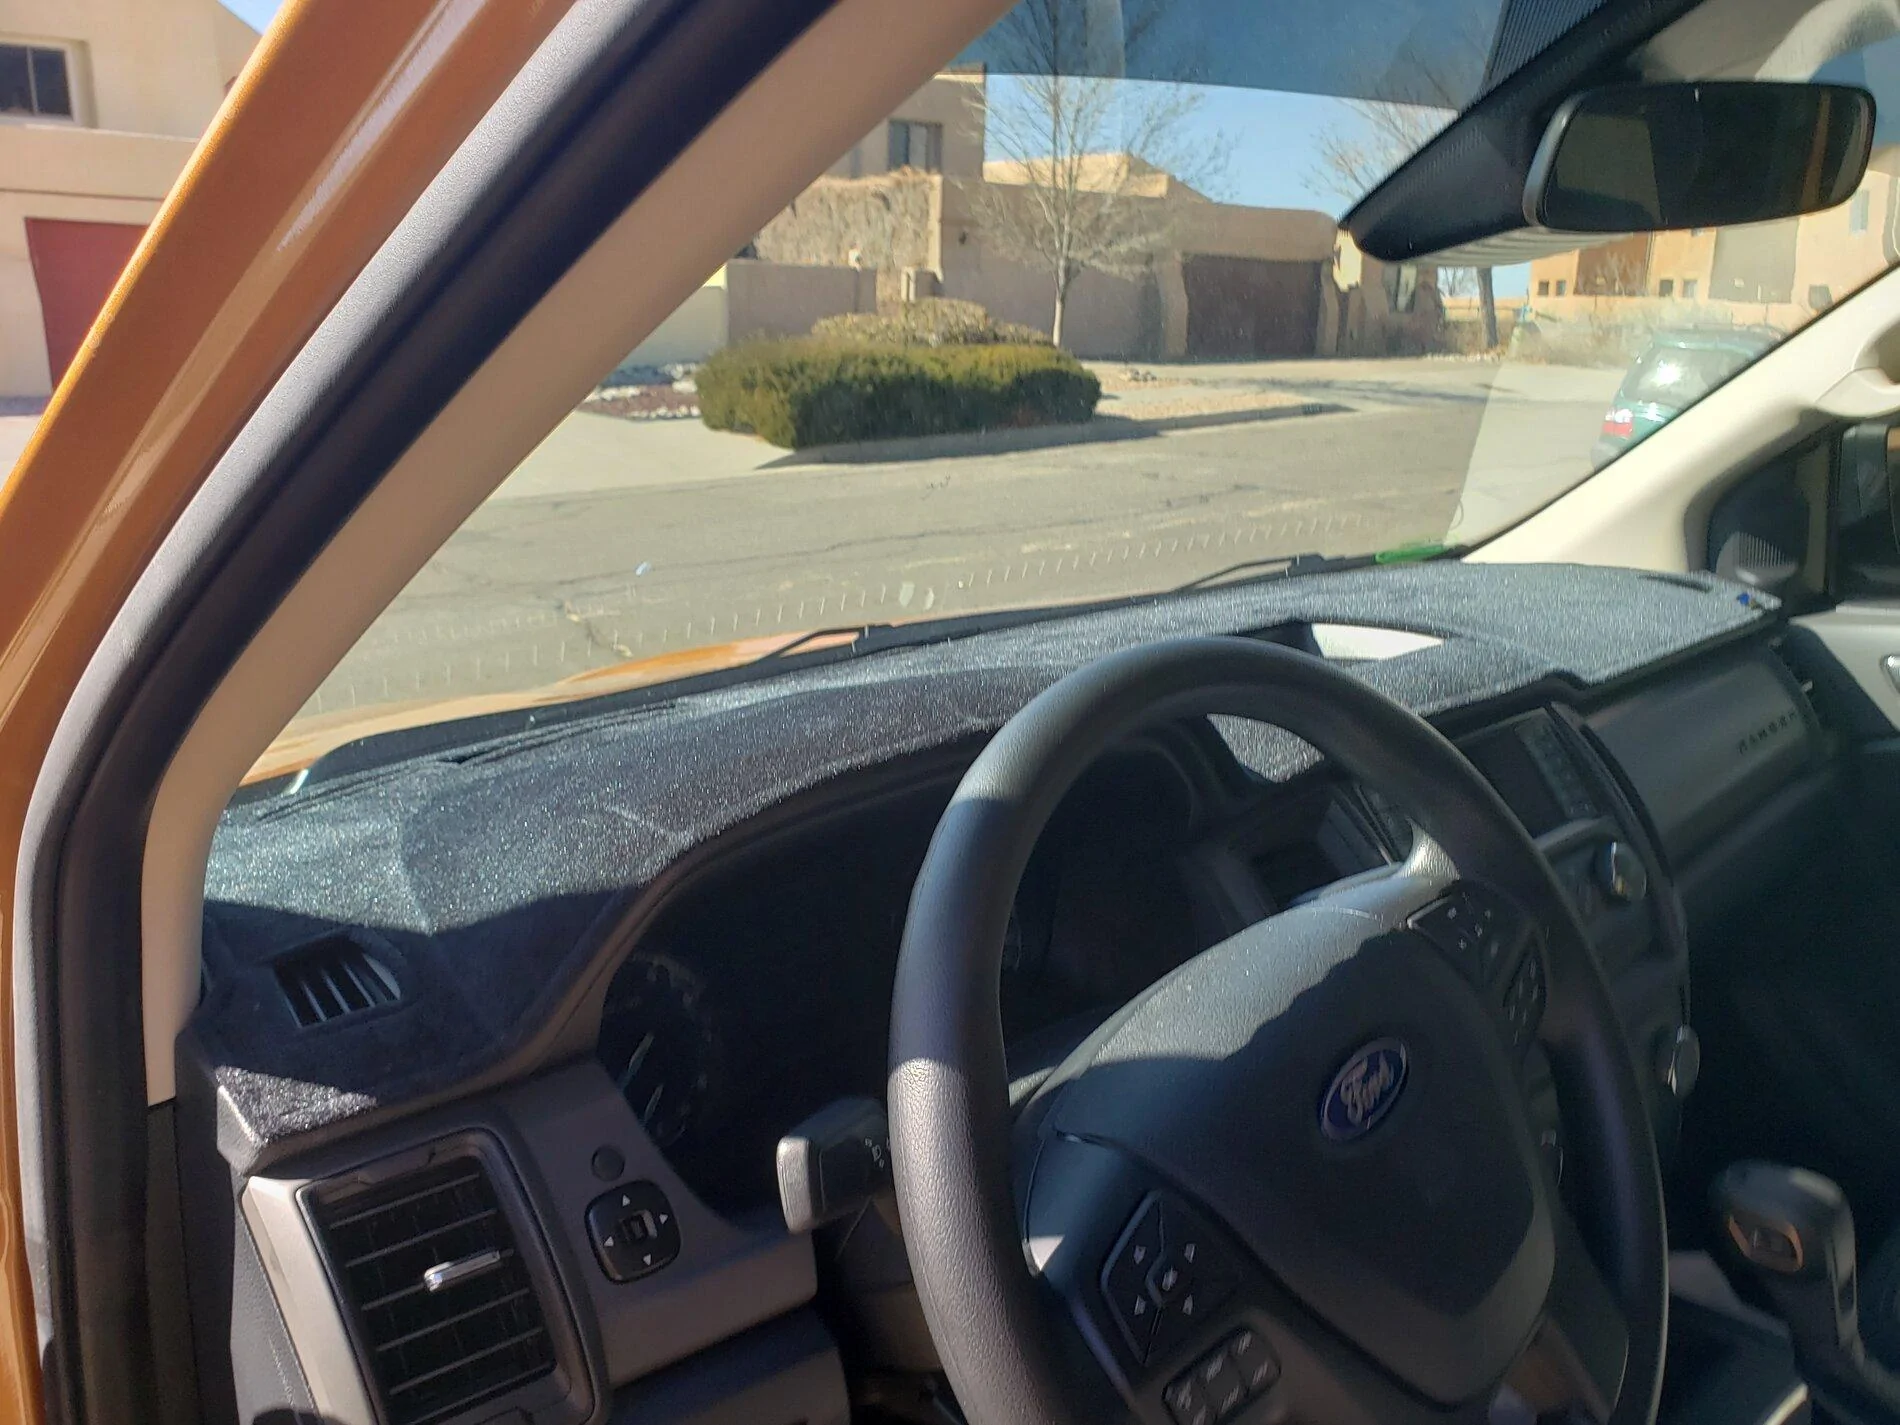
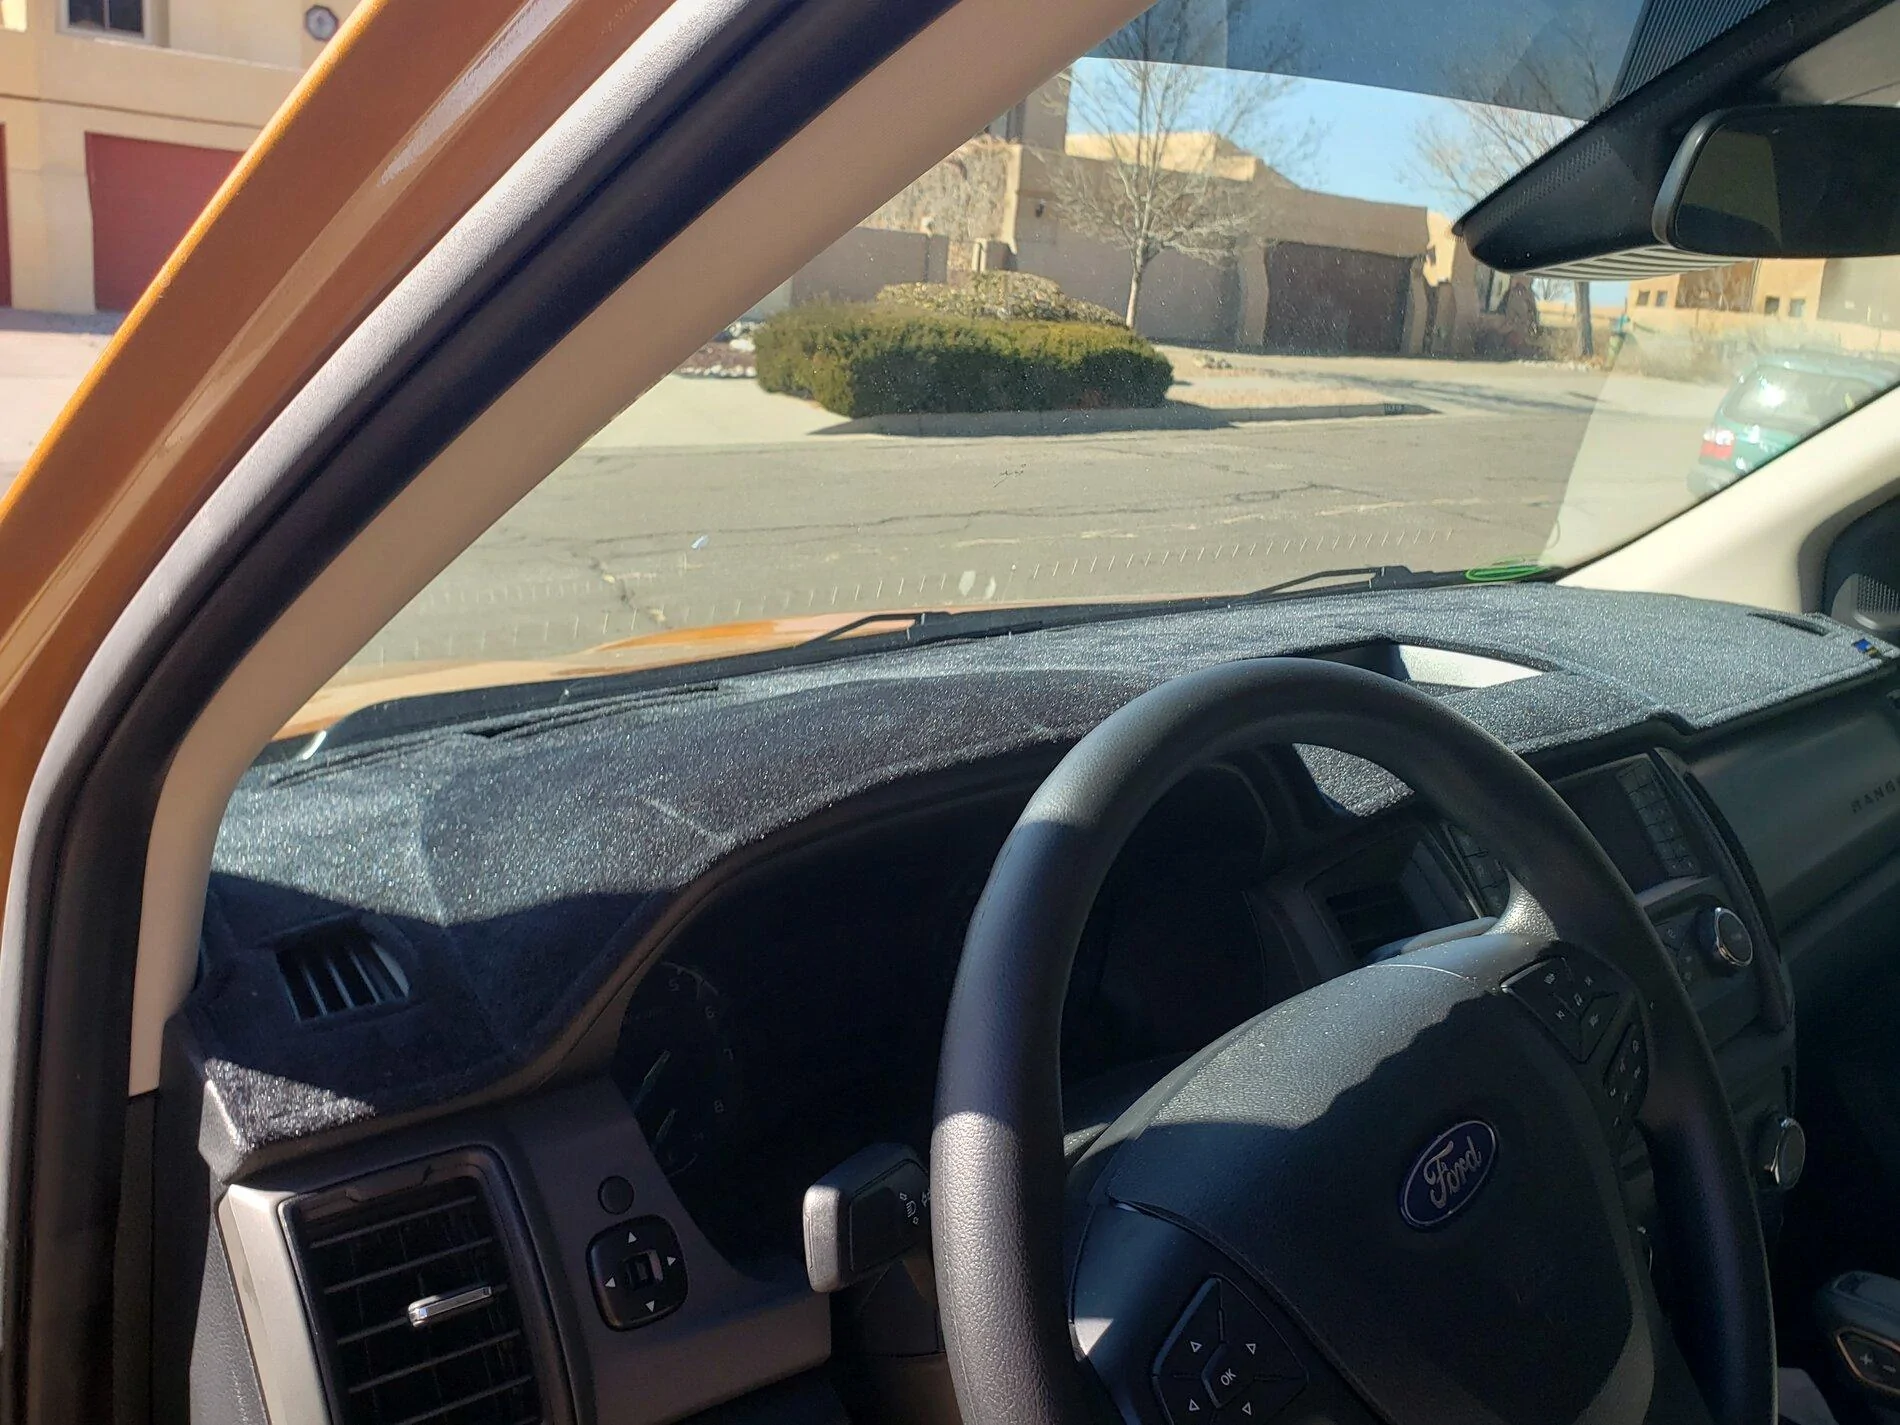
Got my windows tinted today. 20% in the front two windows, 35% on the rear windows. Reason for 35% was to not make the rear windows too dark. Got the Xpel Prime XR Ceramic film for the heat rejection. Seattle is not known for being hot but it does get hotter than people think here in the summer.
Sponsored


BigHen0213

Well-Known Member
First Name
John
Joined
Apr 22, 2020
Threads
0
Messages
56
Reaction score
200
Location
Fort Lauderdale, FL
Vehicle(s)
2024 Ranger XLT
Occupation
Sales/Management
1. Installed a Go Rhino Black Matte Exhaust Tip 3" inlet, 4" outlet, 10" length (GRT3410B). Matches great with the STX trim. I started by using a 3/8" drive and tightened it all the way but the Exhaust tip was still loose. I then decided to go with a 1/2" but said no, too much torque will surely strip the threads. I remembered that Turborave said to use WD 40 on the threads and this did the trick. I placed the back edge of the clamp 1/8" from the back edge of the Exhaust Tip and tightened it down easily with the 3/8" drive.

2. Installed a black velour Dash Designs dash cover to match the ebony interior. The cutouts for the vents, storage tray and Pre-collision indicator were exactly in the right positions. The overall size was a perfect fit everywhere. The seams were smooth and uniform. I used the velcro fasteners and the cover lies flat with no ripples or humps.

Exhaust Tip 1.jpg


Exhaust tip installed 1.jpg


Exhaust tip installed 2.jpg


Exhaust tip installed 3.jpg


Dash Cover 1.jpg


Dash Cover 2.jpg


Dash Cover 3.jpg


Dash Cover 4.jpg
I installed the same tailpiece extension. Be forewarned, it fades quickly. I repainted it once using a matte black heat paint (for grilles). Looks better, but I expect it to fade again over time.
 

OrangeStreak

Well-Known Member
First Name
Paul
Joined
Aug 18, 2020
Threads
32
Messages
3,195
Reaction score
13,997
Location
New Mexico
Vehicle(s)
2020 SCab STX 4X4 Towing Pkg. BFG K02's 265/70/17
Occupation
Retired. MTS. ANG veteran. 2nd Amendment supporter.
I installed the same tailpiece extension. Be forewarned, it fades quickly. I repainted it once using a matte black heat paint (for grilles). Looks better, but I expect it to fade again over time.
John, Thanks for the heads up. One issue is that Go Rhino said that this Exhaust tip should not be used as an extension but that the outer end of the tip should be installed as close as possible to the outer end of the tailpipe. Photo 2 shows my tailpipe end close to the end of the Exhaust tip. My thinking is that airspace between the tailpipe and the Exhaust Tip insulates the Exhaust tip from extreme exhaust temperatures to protect the paint? Let me know what brand of paint you used in case I have this problem. Any idea of what temperature rating it carries?
 

dapakattack

Well-Known Member
First Name
Daniel
Joined
Dec 30, 2020
Threads
5
Messages
398
Reaction score
1,642
Location
North Texas
Vehicle(s)
2020 Ranger XLT 4x4
Cool, thanks. I just found this picture on a Shrock Works rock slider thread. Shows all four. Great assist and info on this. Thanks for your help!

1583783259054.png

The bolts on most of the Ford parts sites are reasonably priced. When you add the 4 bolts (W505443S439) with the plate (KB3Z-7E063-A), roughly $11 for shipping seems fare. However, if you only order 1 bolt like I did :headbang: 
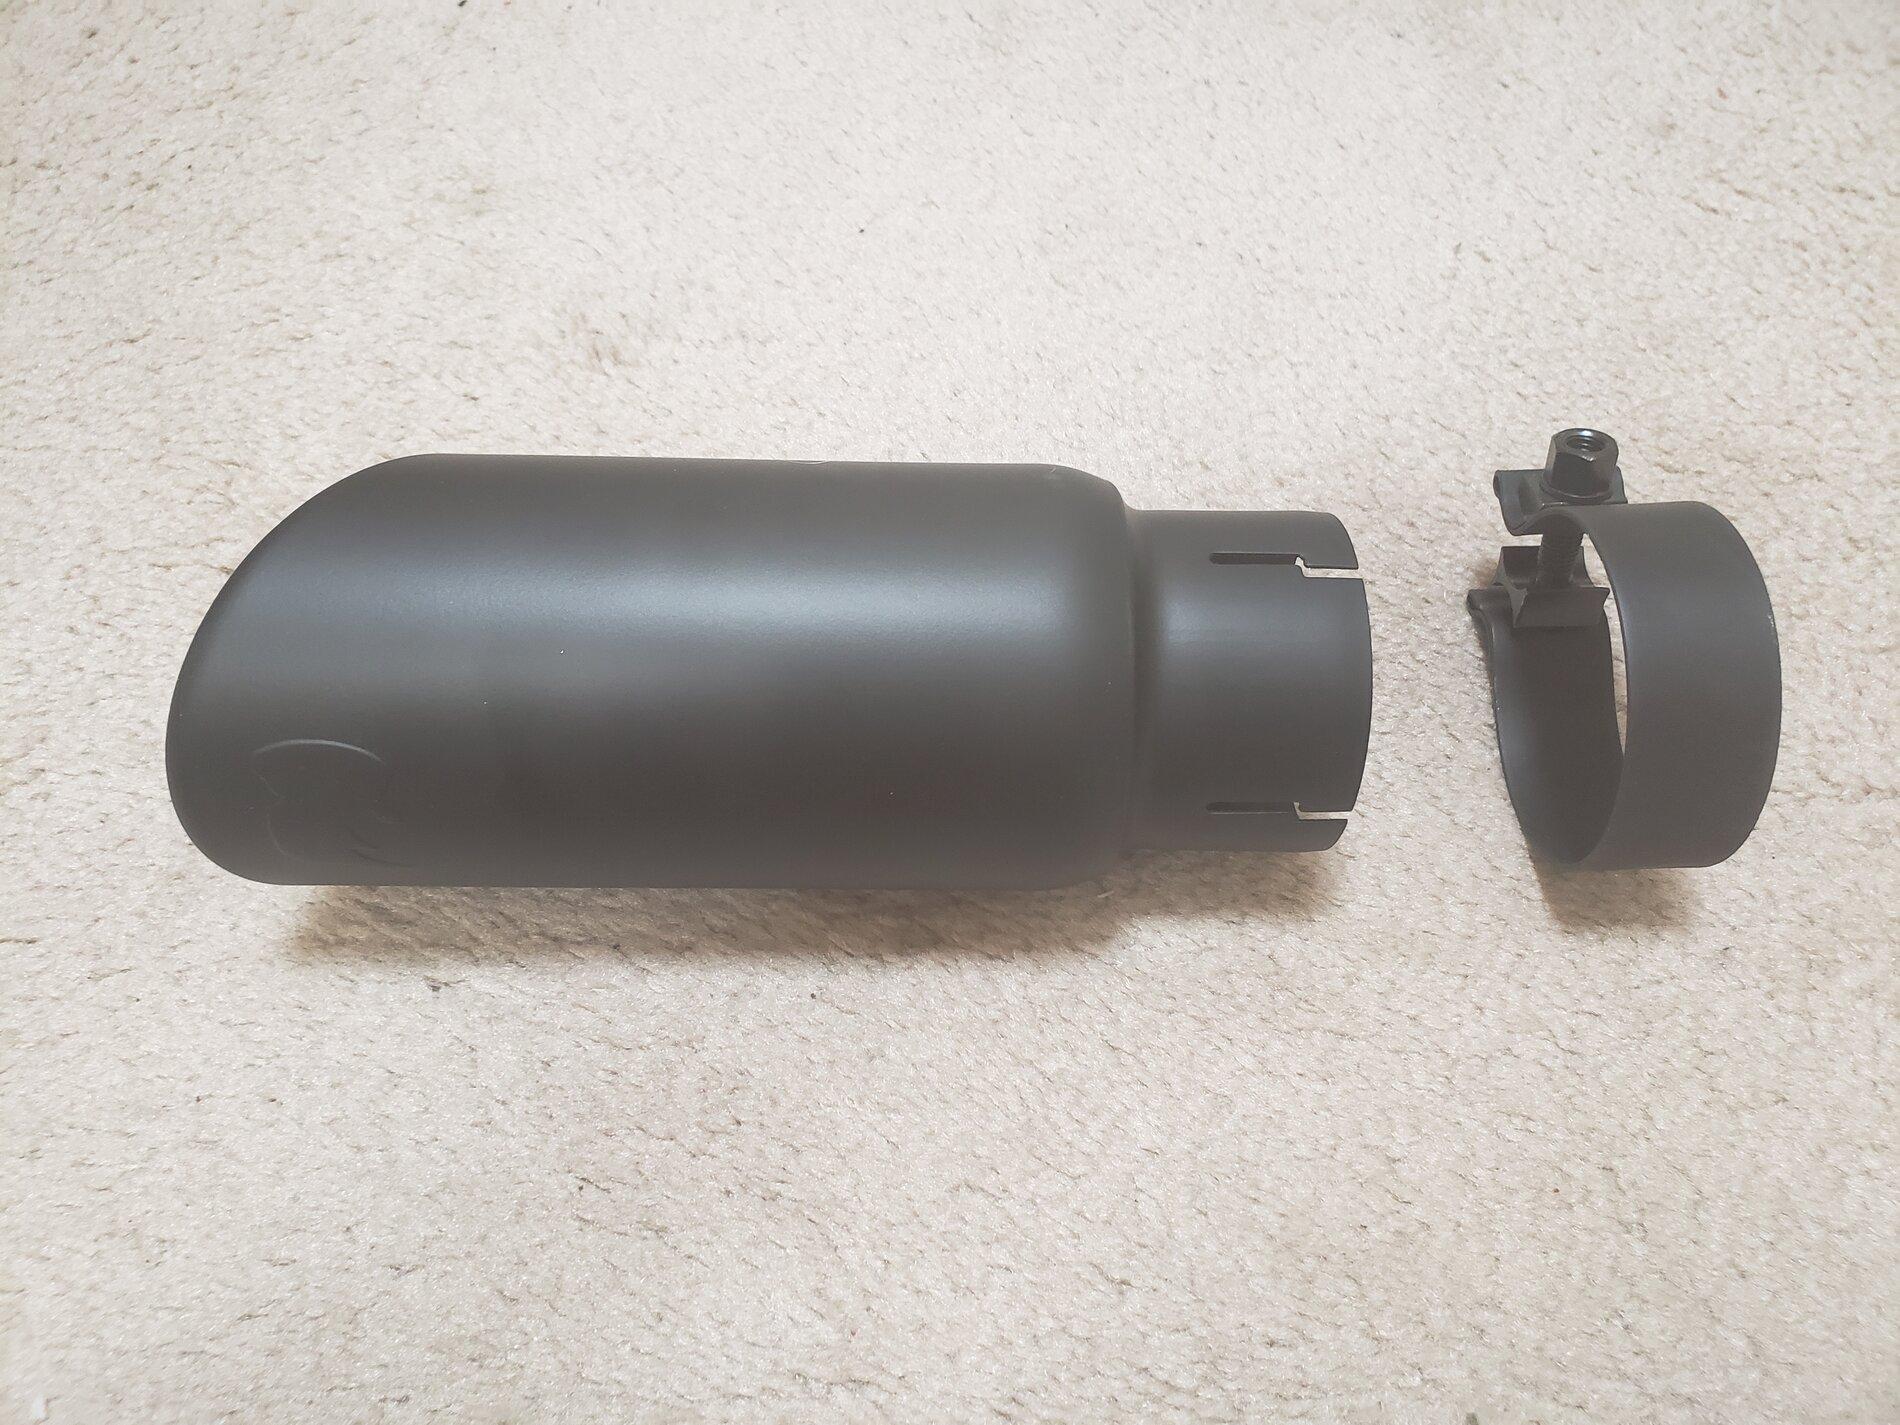
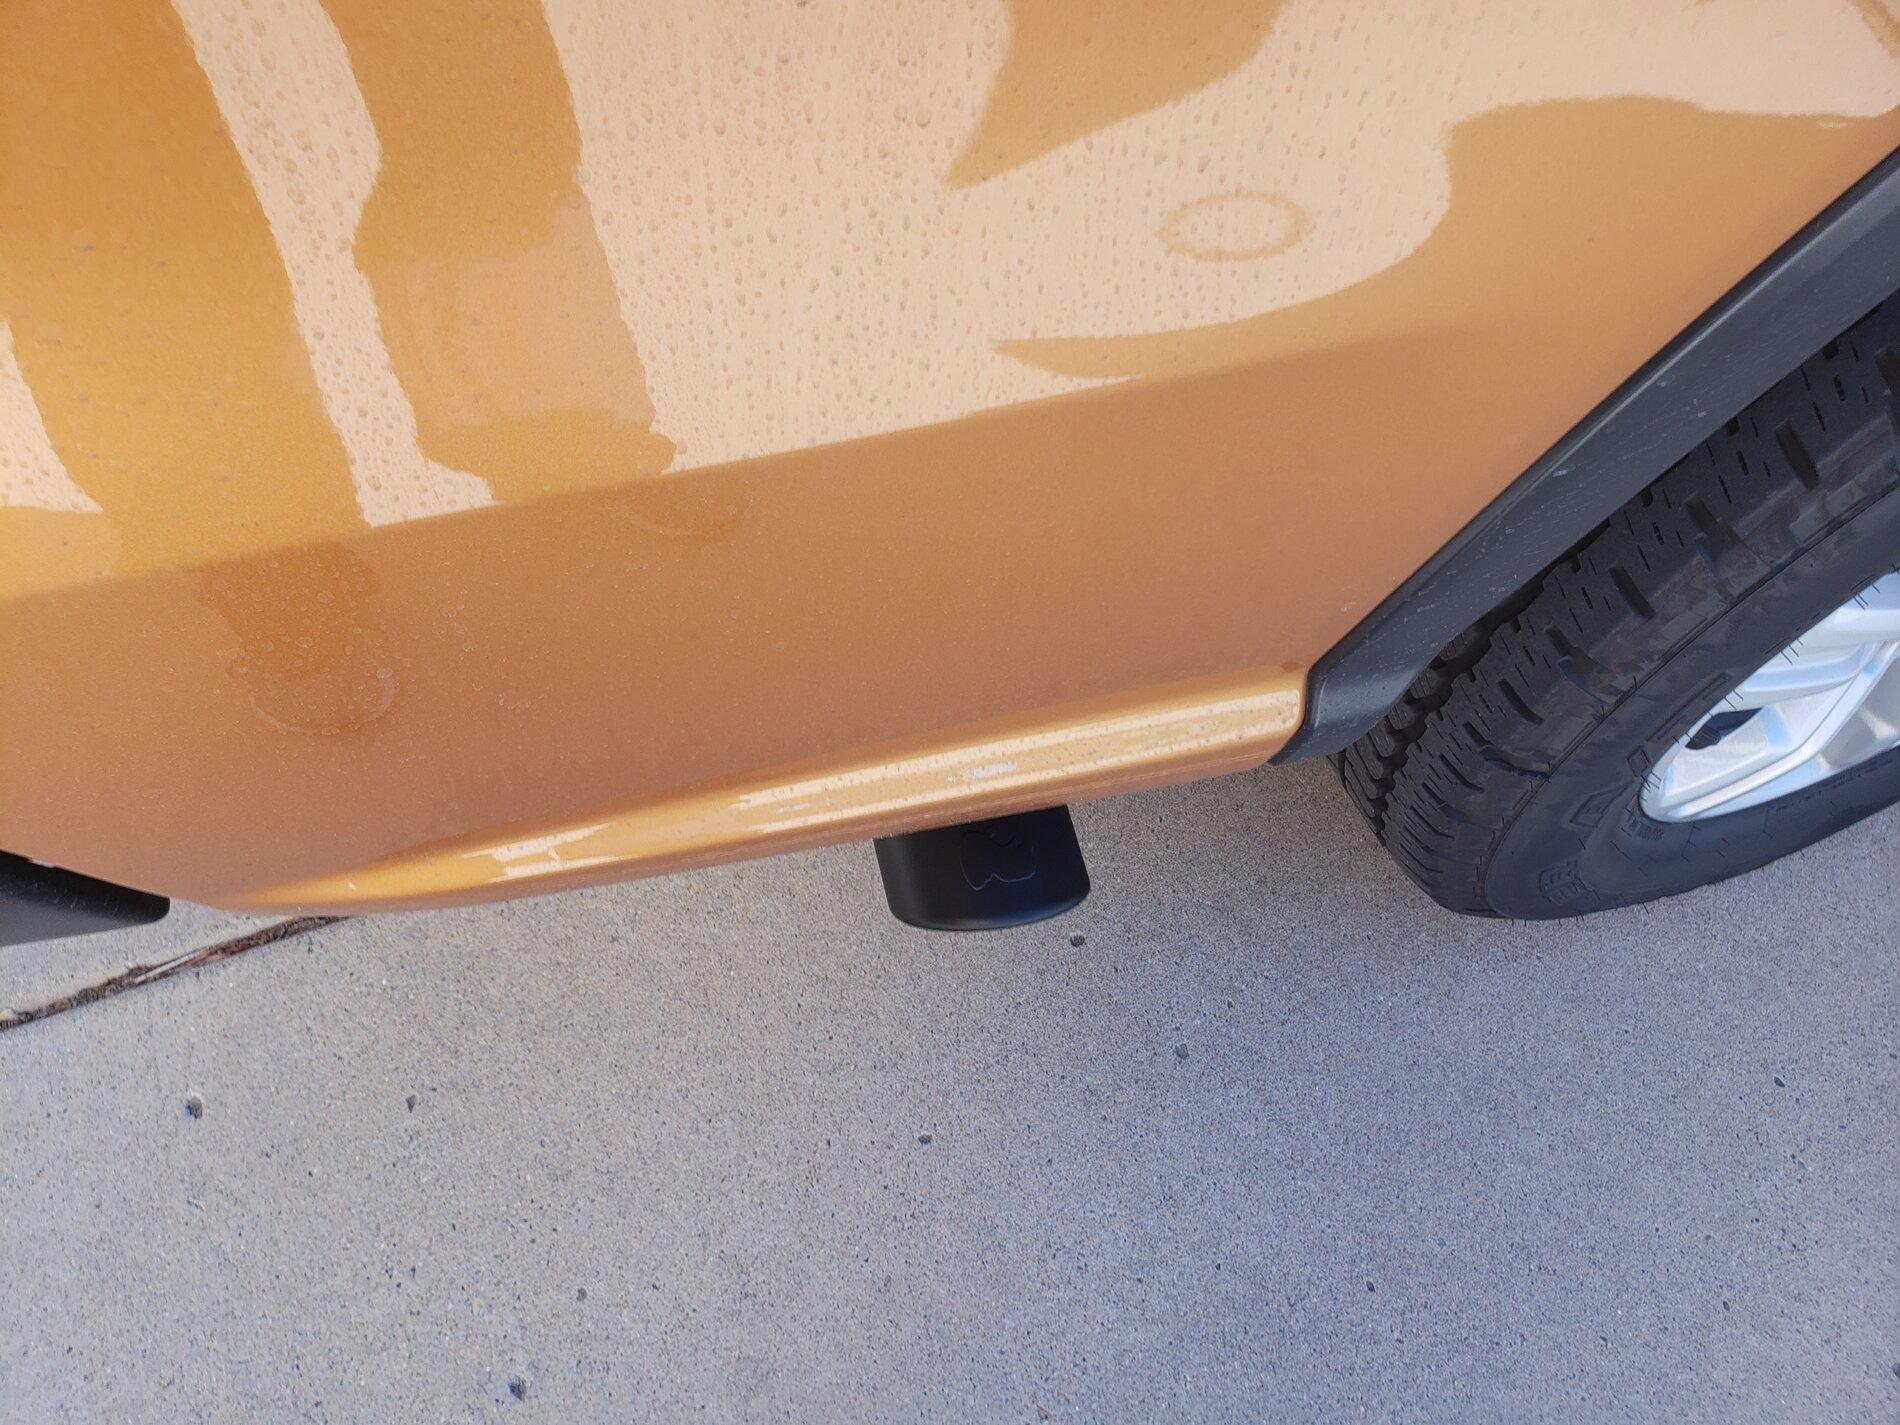
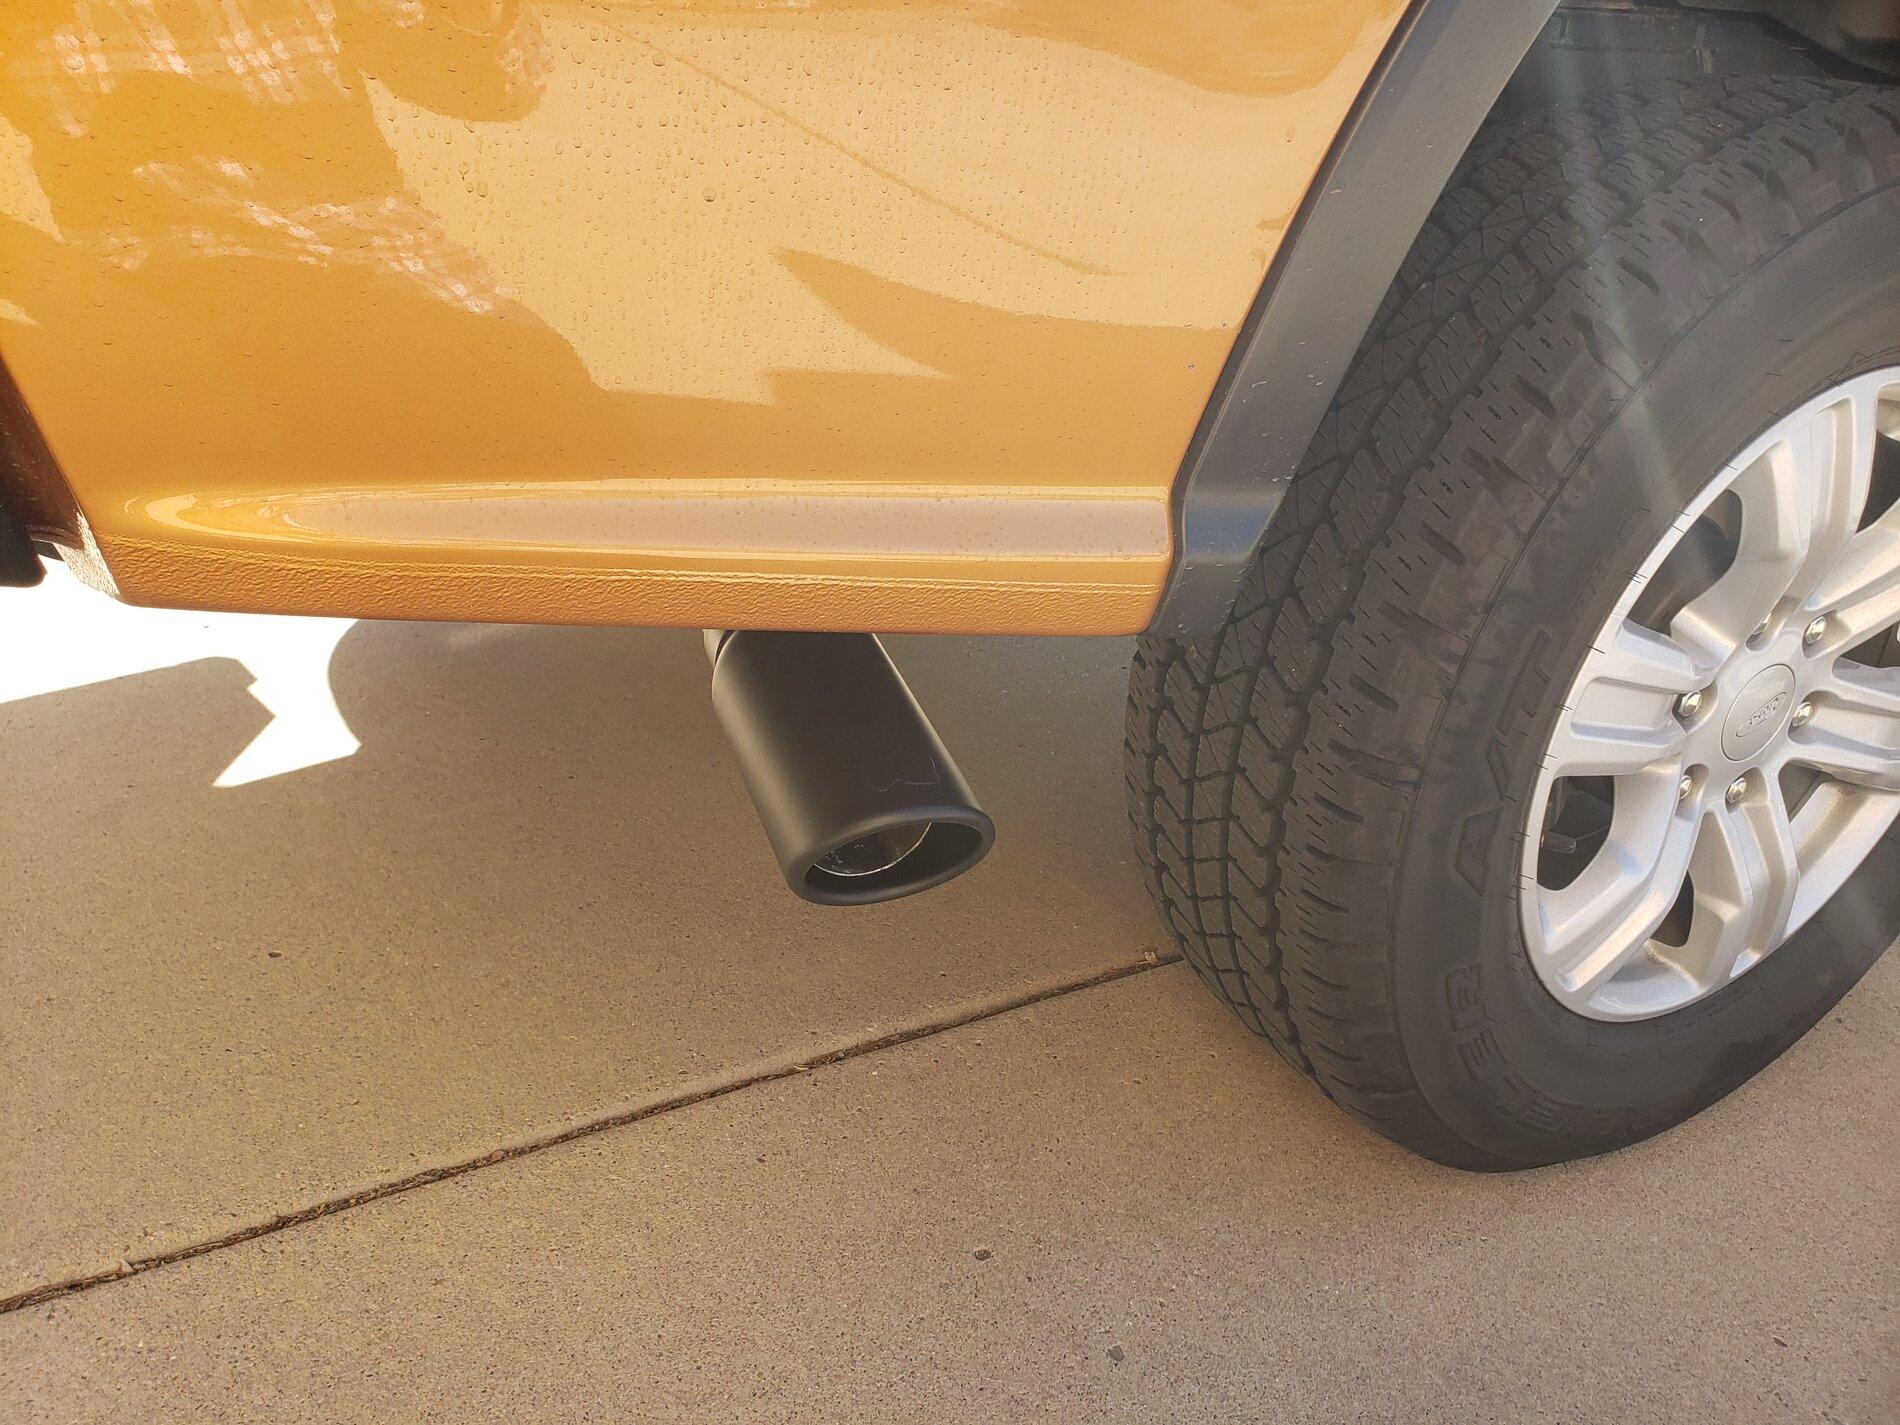
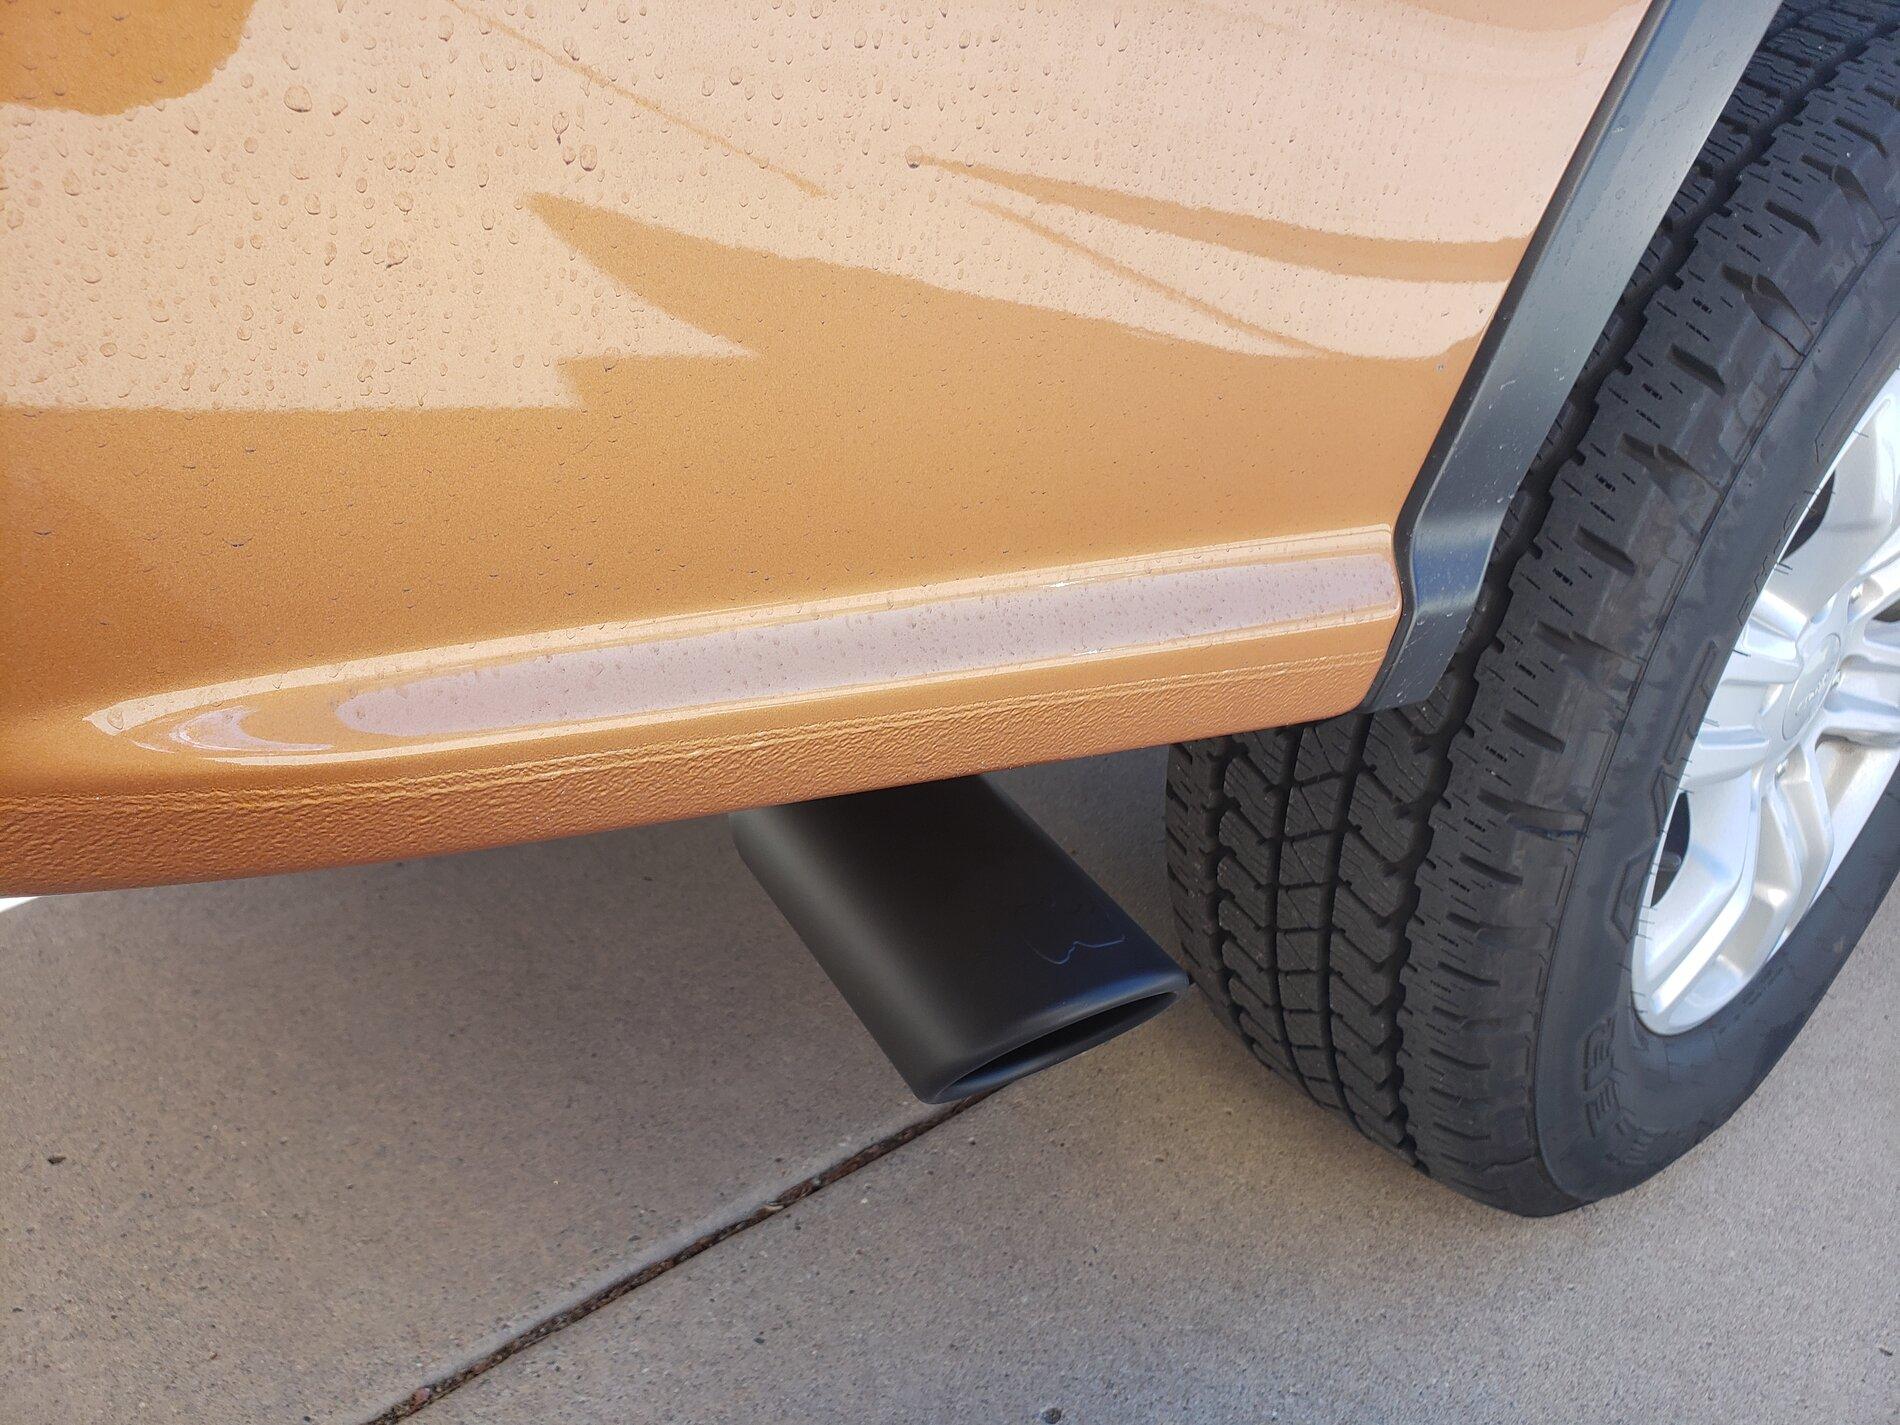
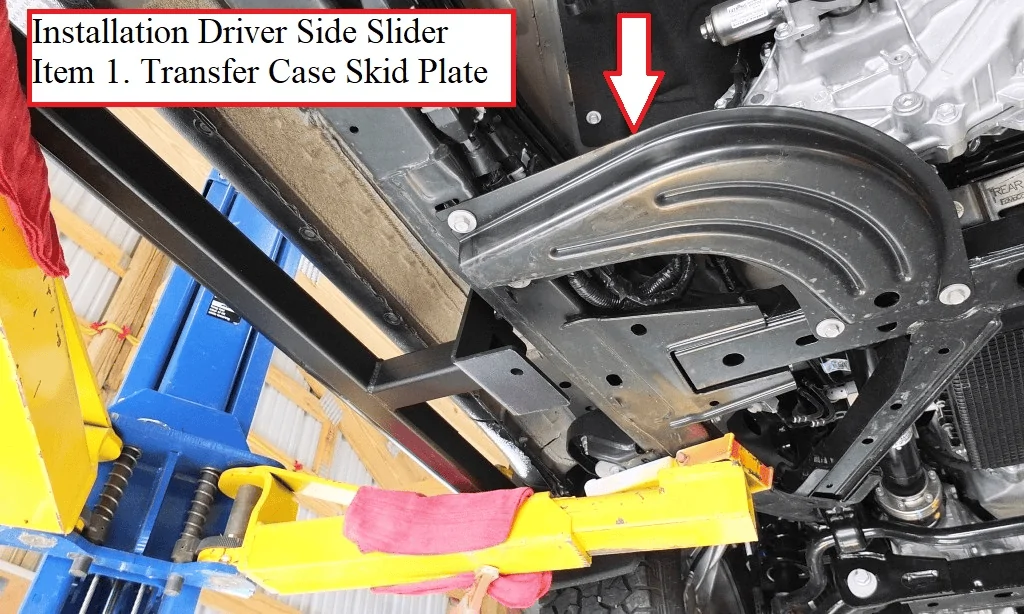
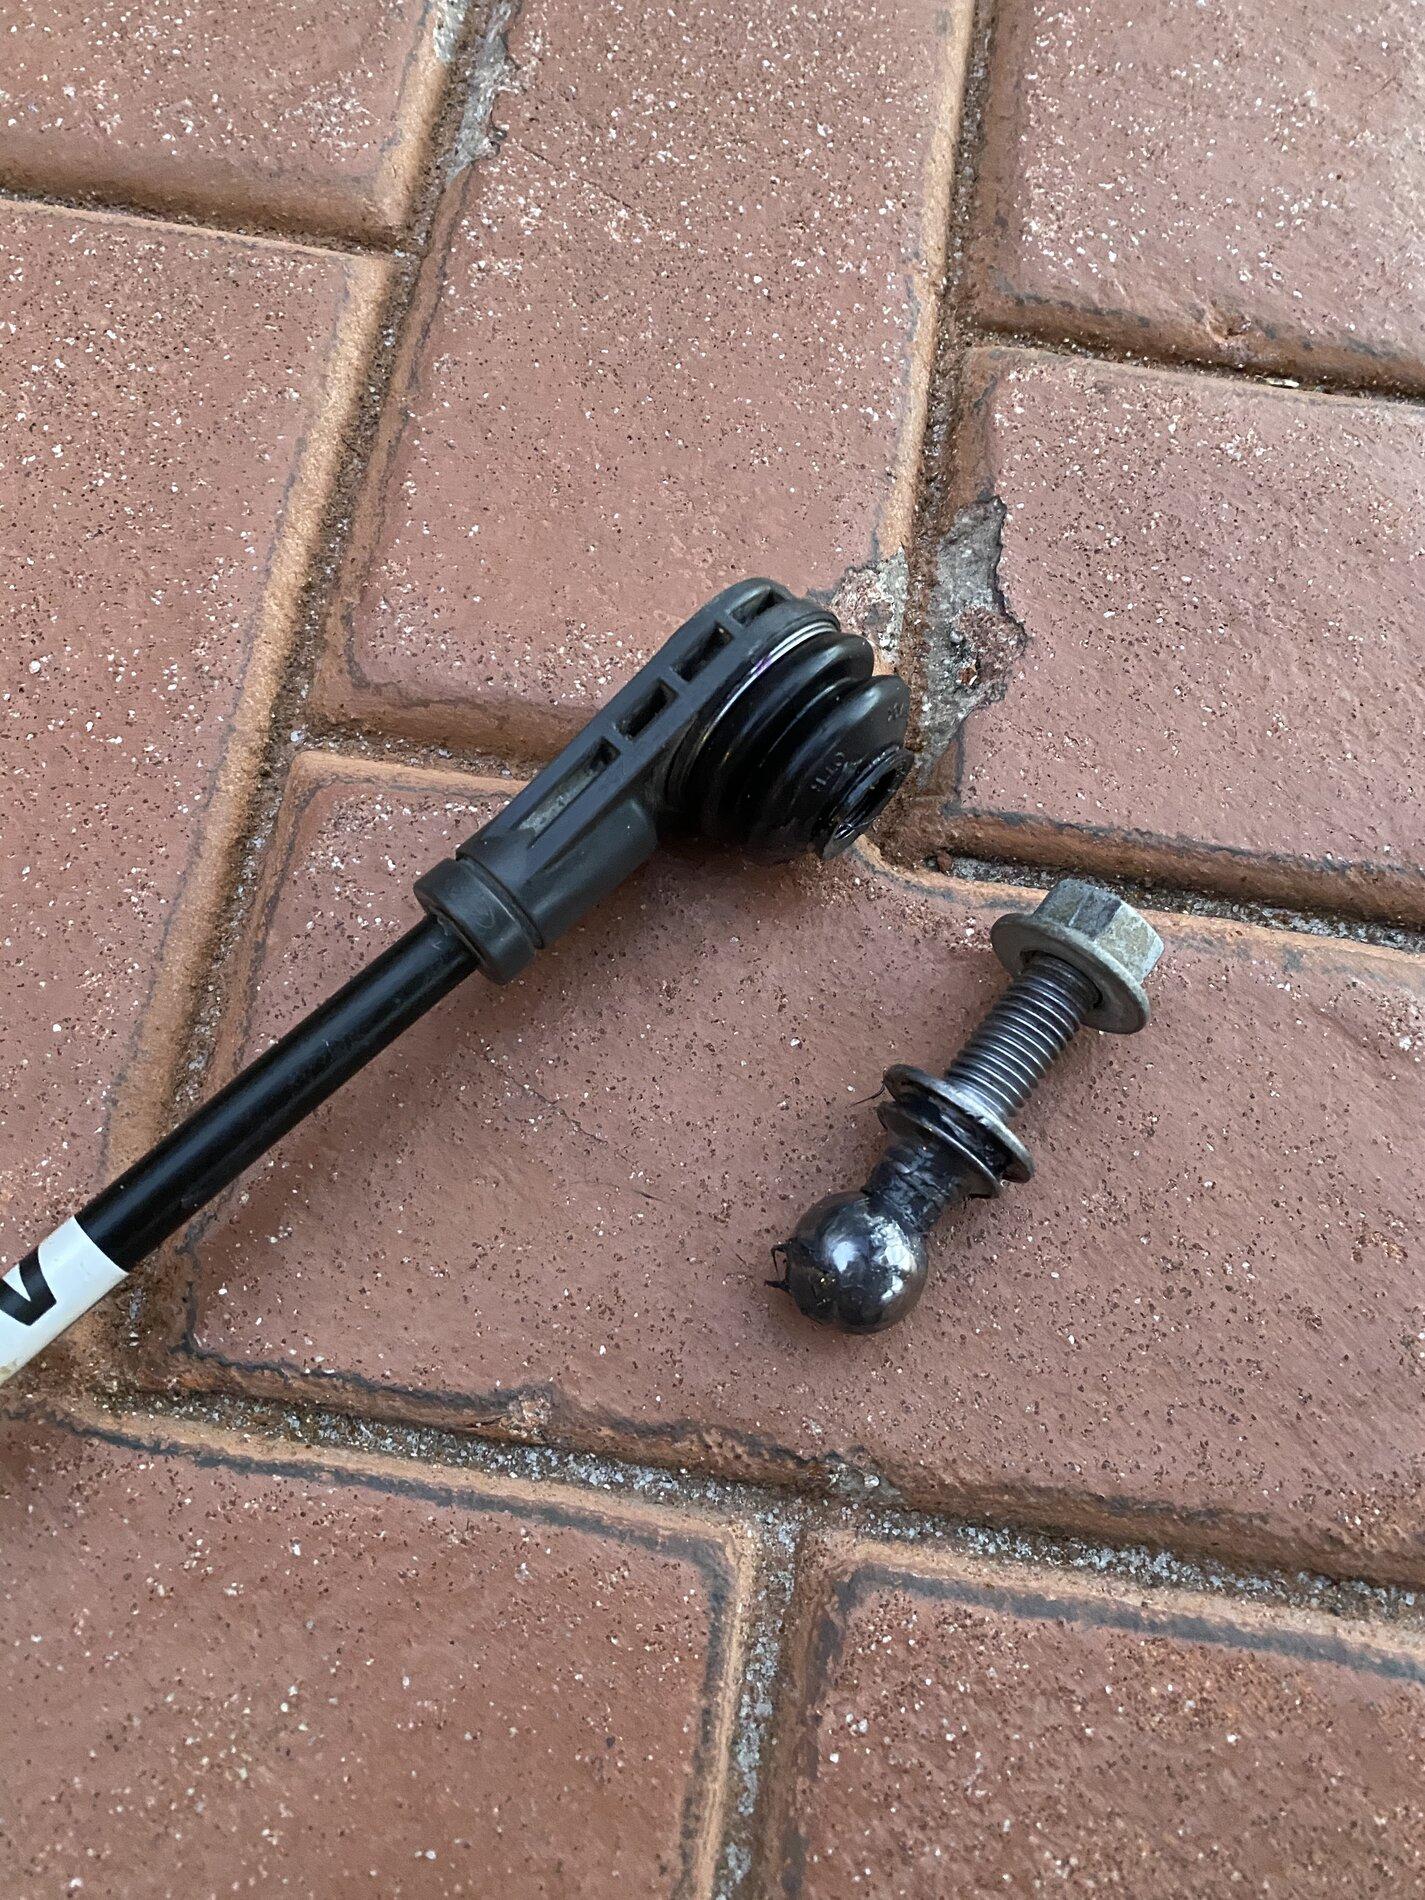
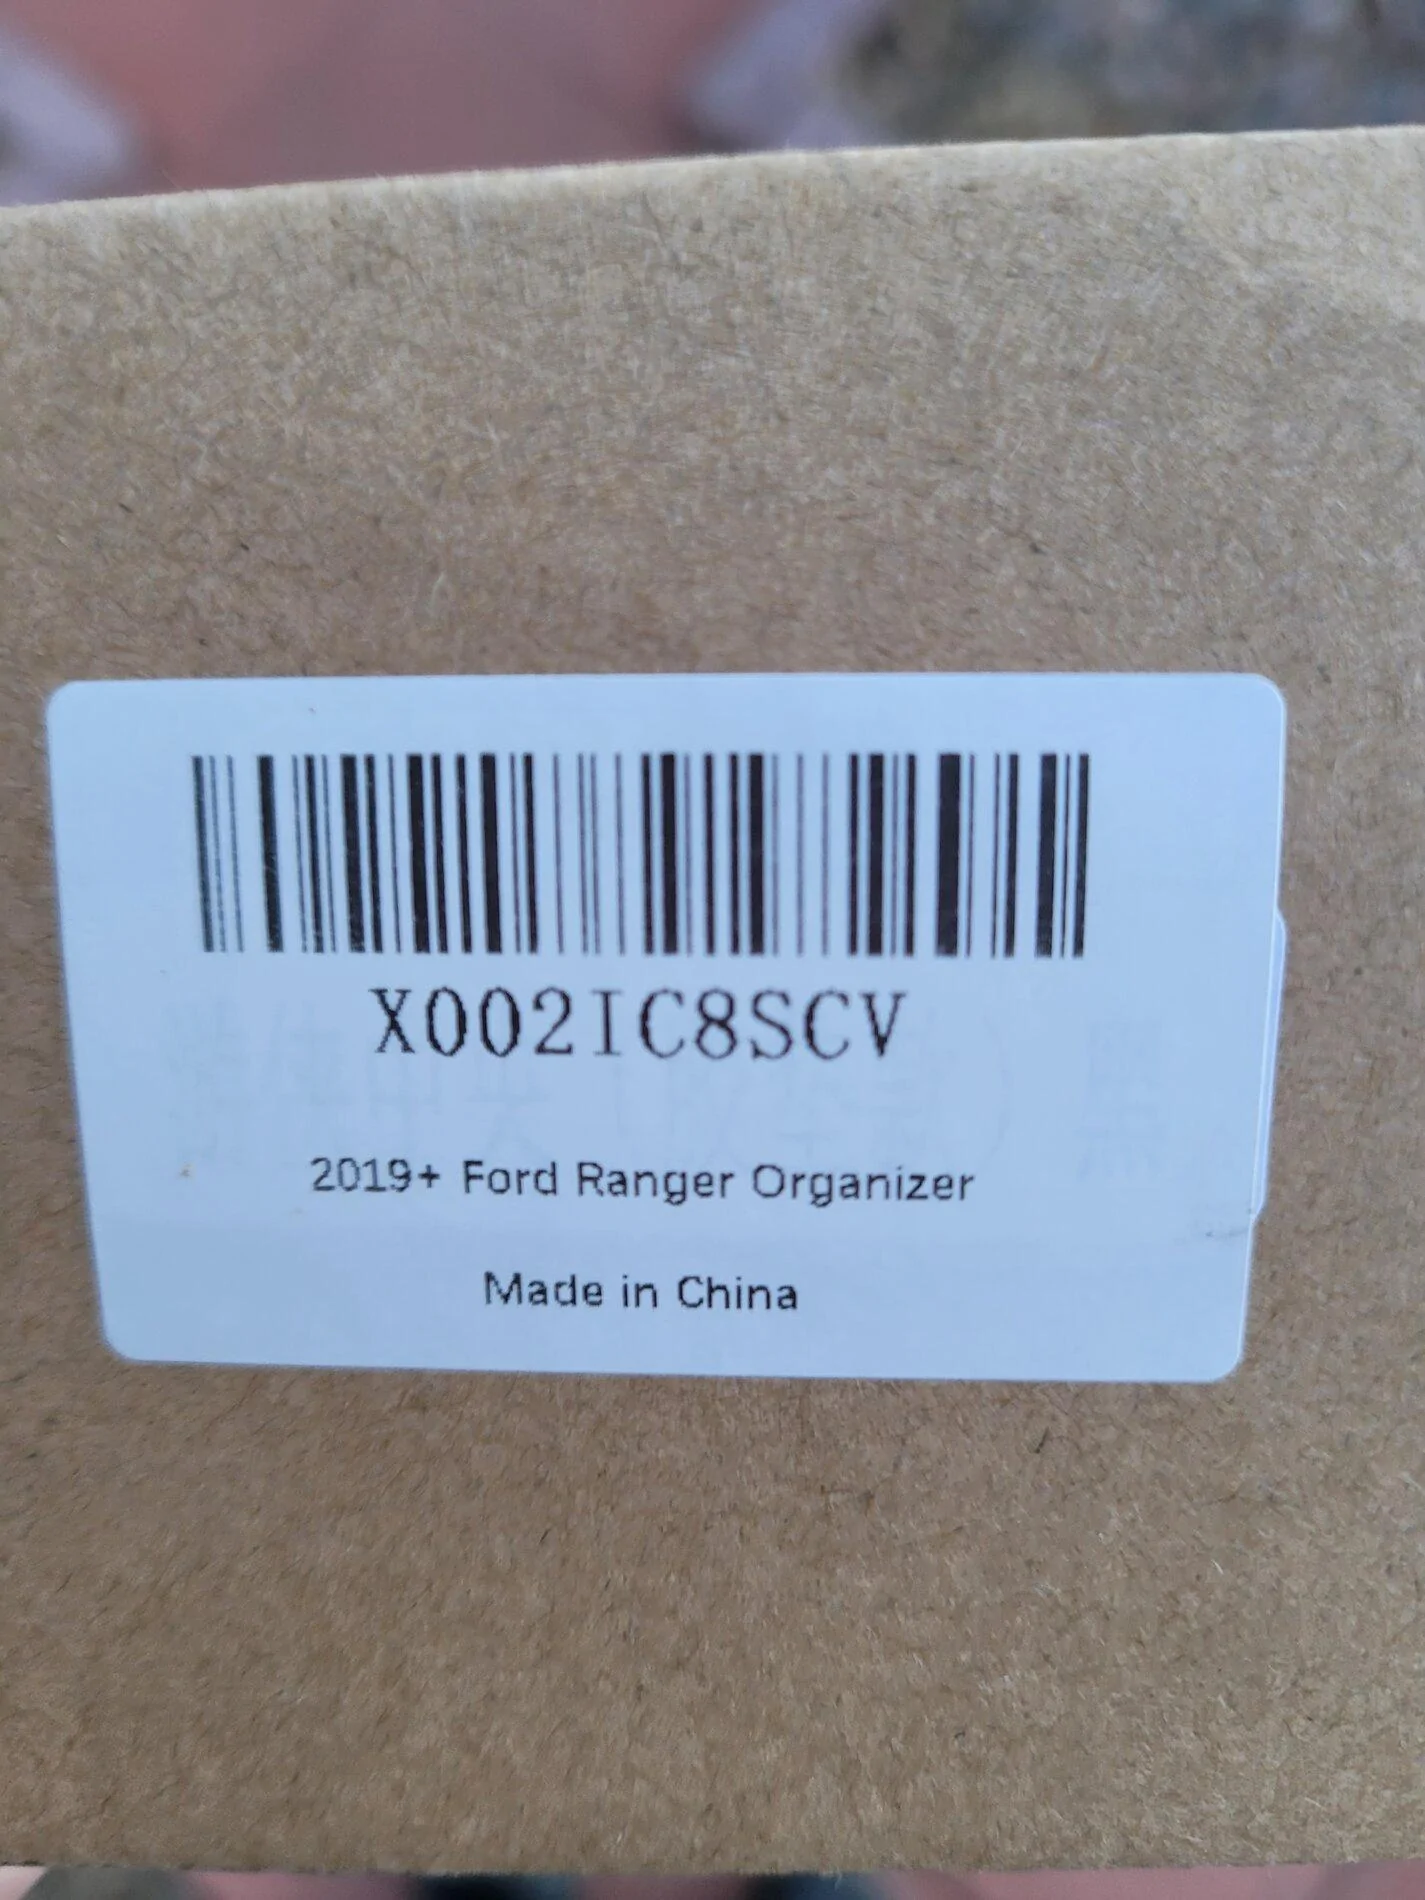
(I thought I was getting 4 like what was pictured on the parts site) then the same shipping cost for only 3 bolts is outrageous! An M10-1.5x30mm bolt from Home Depot will work. Make sure to pick up a few washers too.

That being said: "What did I do to my Ranger Today?" - I installed the plate this morning.


DukeCanBuildit

Well-Known Member
First Name
Duke
Joined
Jul 27, 2020
Threads
66
Messages
9,641
Reaction score
46,109
Location
Kitchener, Ontario
Vehicle(s)
2019 XLT SuperCab - FTW!
Occupation
Retired (P/T) Caregiver (F/T)
Vehicle Showcase
1
Installed the @Fordrangerlifts.com 2.5” Leveling kit. Unfortunately during the process I popped one of the sway bar end links.

37261C36-6146-4FB9-9E61-0B8F9478B979.jpeg
Joel, that anti-sway bar link should pop back in - it might take some force. There should be a retainer ring for the boot somewhere under your truck. ?

I read in one thread this sometimes happens if lifting one side of the truck at a time to do this work rather than placing it level on two jack stands - apparently, the angle places pressure/torque on the anti-sway bar.

The level looks great - certainly well-suited to your overlanding setup. Good job! The wobbly pop is well-deserved.
 

OFC Ranger

Well-Known Member
First Name
Jack
Joined
Aug 3, 2020
Threads
297
Messages
5,019
Reaction score
13,926
Location
Georgia
Vehicle(s)
ZR2
OK, just a few photos of what I have been working on.

I basically redid the entire sub-frame that connects the RCI bed rack to the top roof platform. So in a nut shell you have the same six "extension bars" that allow the roof platform to to have a connection point past the RCI racks support legs, but I also have these bars running the spine of the bed rack. More or less there are now a total of 22 heavy duty rubber spacers providing support. Each spacer has a 4 1/2" carriage bolt going down it and a wash with nylon locking nut draws everything tight. Previous design did have some limited metal on metal contact and this eliminates that and some odd vibrations it would cause under right circumstances (which I tried to quick fix with felt, but did not work). Once the skirting is re-install, as before all of this is hidden except if you look up from the bed area.

IMG-20210228-133858.jpg


Second up self explanatory, took the front light bar and tucked it under the rack, verses being on the outside of the frame.

IMG-20210228-133716.jpg


Last I got in the solar panel aluminum "Z" brackets. Cept they ain't for solar panels. I got my handy dandy drill and opened up the holes on them to accept the 1/2" bolts that RCI uses for their rack and panels. These will basically operate as stand-off brackets for the new panels coming in. Here is the best way I can mock it up for you. Five panels total (one slightly shorter for rear). All will be tied together using custom made mending plates as their lengths don't quite cover 120 inches. I will tie in the front somehow down the line, just still mulling over what to do.

Also I was screwing around with how aux lighting can connectot the RCI panels. It really is like molle, but for lights. No more drilling holes, then wanting to try something else.... and drilling more holes. Sure it limits me to some fixed points, but still a lot better than the previous method.

IMG-20210228-133651-Copy.jpg
 

VoodooRanger

Well-Known Member
First Name
Joel
Joined
May 6, 2020
Threads
10
Messages
493
Reaction score
2,337
Location
Miami, Florida
Vehicle(s)
2019 Ranger XLT FX4
Joel, that anti-sway bar link should pop back in - it might take some force. There should be a retainer ring for the boot somewhere under your truck. ?

I read in one thread this sometimes happens if lifting one side of the truck at a time to do this work rather than placing it level on two jack stands - apparently, the angle places pressure/torque on the anti-sway bar.

The level looks great - certainly well-suited to your overlanding setup. Good job! The wobbly pop is well-deserved.
Thanks for the tip. I tried yesterday with a clamp, as well the barbaric way of a hammer to no avail. I'm worried that after it popped out that the integrity of the link may be affected.
 

Ranger54

Well-Known Member
First Name
Ben
Joined
Jan 16, 2021
Threads
27
Messages
338
Reaction score
1,466
Location
Northwest Arkansas
Vehicle(s)
2020 Ford Ranger Lariat FX4
Occupation
Service advisor
Removed my Traxda 1” level on my Ranger, installed the Rough Country 2.5” Level on my Dad and I’s new Rangers! Alignment tomorrow. Next up for mine is 285/70R17/Fuel Trophy and dad will take my 1” faction fab spacers.

CA9A13DA-F0D1-48A6-94E7-2BD4D5EC1D5C.jpeg


6A091E76-126B-49CE-9457-BE8CA620EC56.jpeg


ECC532ED-E170-42F3-84FB-300A2B2F4D6F.jpeg


91C71777-A009-4ED4-890E-6447765C2587.jpeg


E03E76D3-D708-4B63-A7C7-2354896B6B25.jpeg


A167FB0B-7CCB-433B-8C07-7D6C7EB98350.jpeg


699D310C-CB16-449C-BE5E-6651529A644E.jpeg
 

Dinglehead

Well-Known Member
First Name
J
Joined
Jan 18, 2021
Threads
35
Messages
222
Reaction score
686
Location
Fla
Vehicle(s)
2021 Lariat FX4
I disabled that ASS with the little inline doohickie that forces the truck to remember whether you want it on or not.

Getting that wire unhooked from the button assembly is way harder than the dude in the video made it look - but it was worth the struggle.
 

JJG

Well-Known Member
Joined
Jul 10, 2019
Threads
2
Messages
195
Reaction score
462
Location
KY
Vehicle(s)
2019 Ranger Lariat Crew Cab
Installed Fox shocks on the rear, and I will say what a difference!!! The ride is now predictable, bounce is gone, and shall I say perfectly dampened ?. Now Im “double dampened” on the tailgate and rear suspension. Lets just say she was rode hard and put away damp, today. ?
 

RARanger

Active Member
Joined
Feb 13, 2021
Threads
0
Messages
34
Reaction score
125
Location
California
Vehicle(s)
2020 Ford Ranger
Installed the LED side marker lights, really like the way it looks. Got LED fog lights in the mail yesterday, but am having a hard time figuring out how to get them in there. Youtube shows being able to reach from underneath, but I think my arms are too short. Probably going to remove some of the retainer pins in the wheel well and go in that way.

IMG_5360.jpeg


Top