mlarma
Well-Known Member
- First Name
- Mark
- Joined
- Nov 18, 2020
- Threads
- 12
- Messages
- 217
- Reaction score
- 471
- Location
- North Carolina
- Vehicle(s)
- 2020 Ranger XLT 4x2
- Occupation
- Computers/Networks
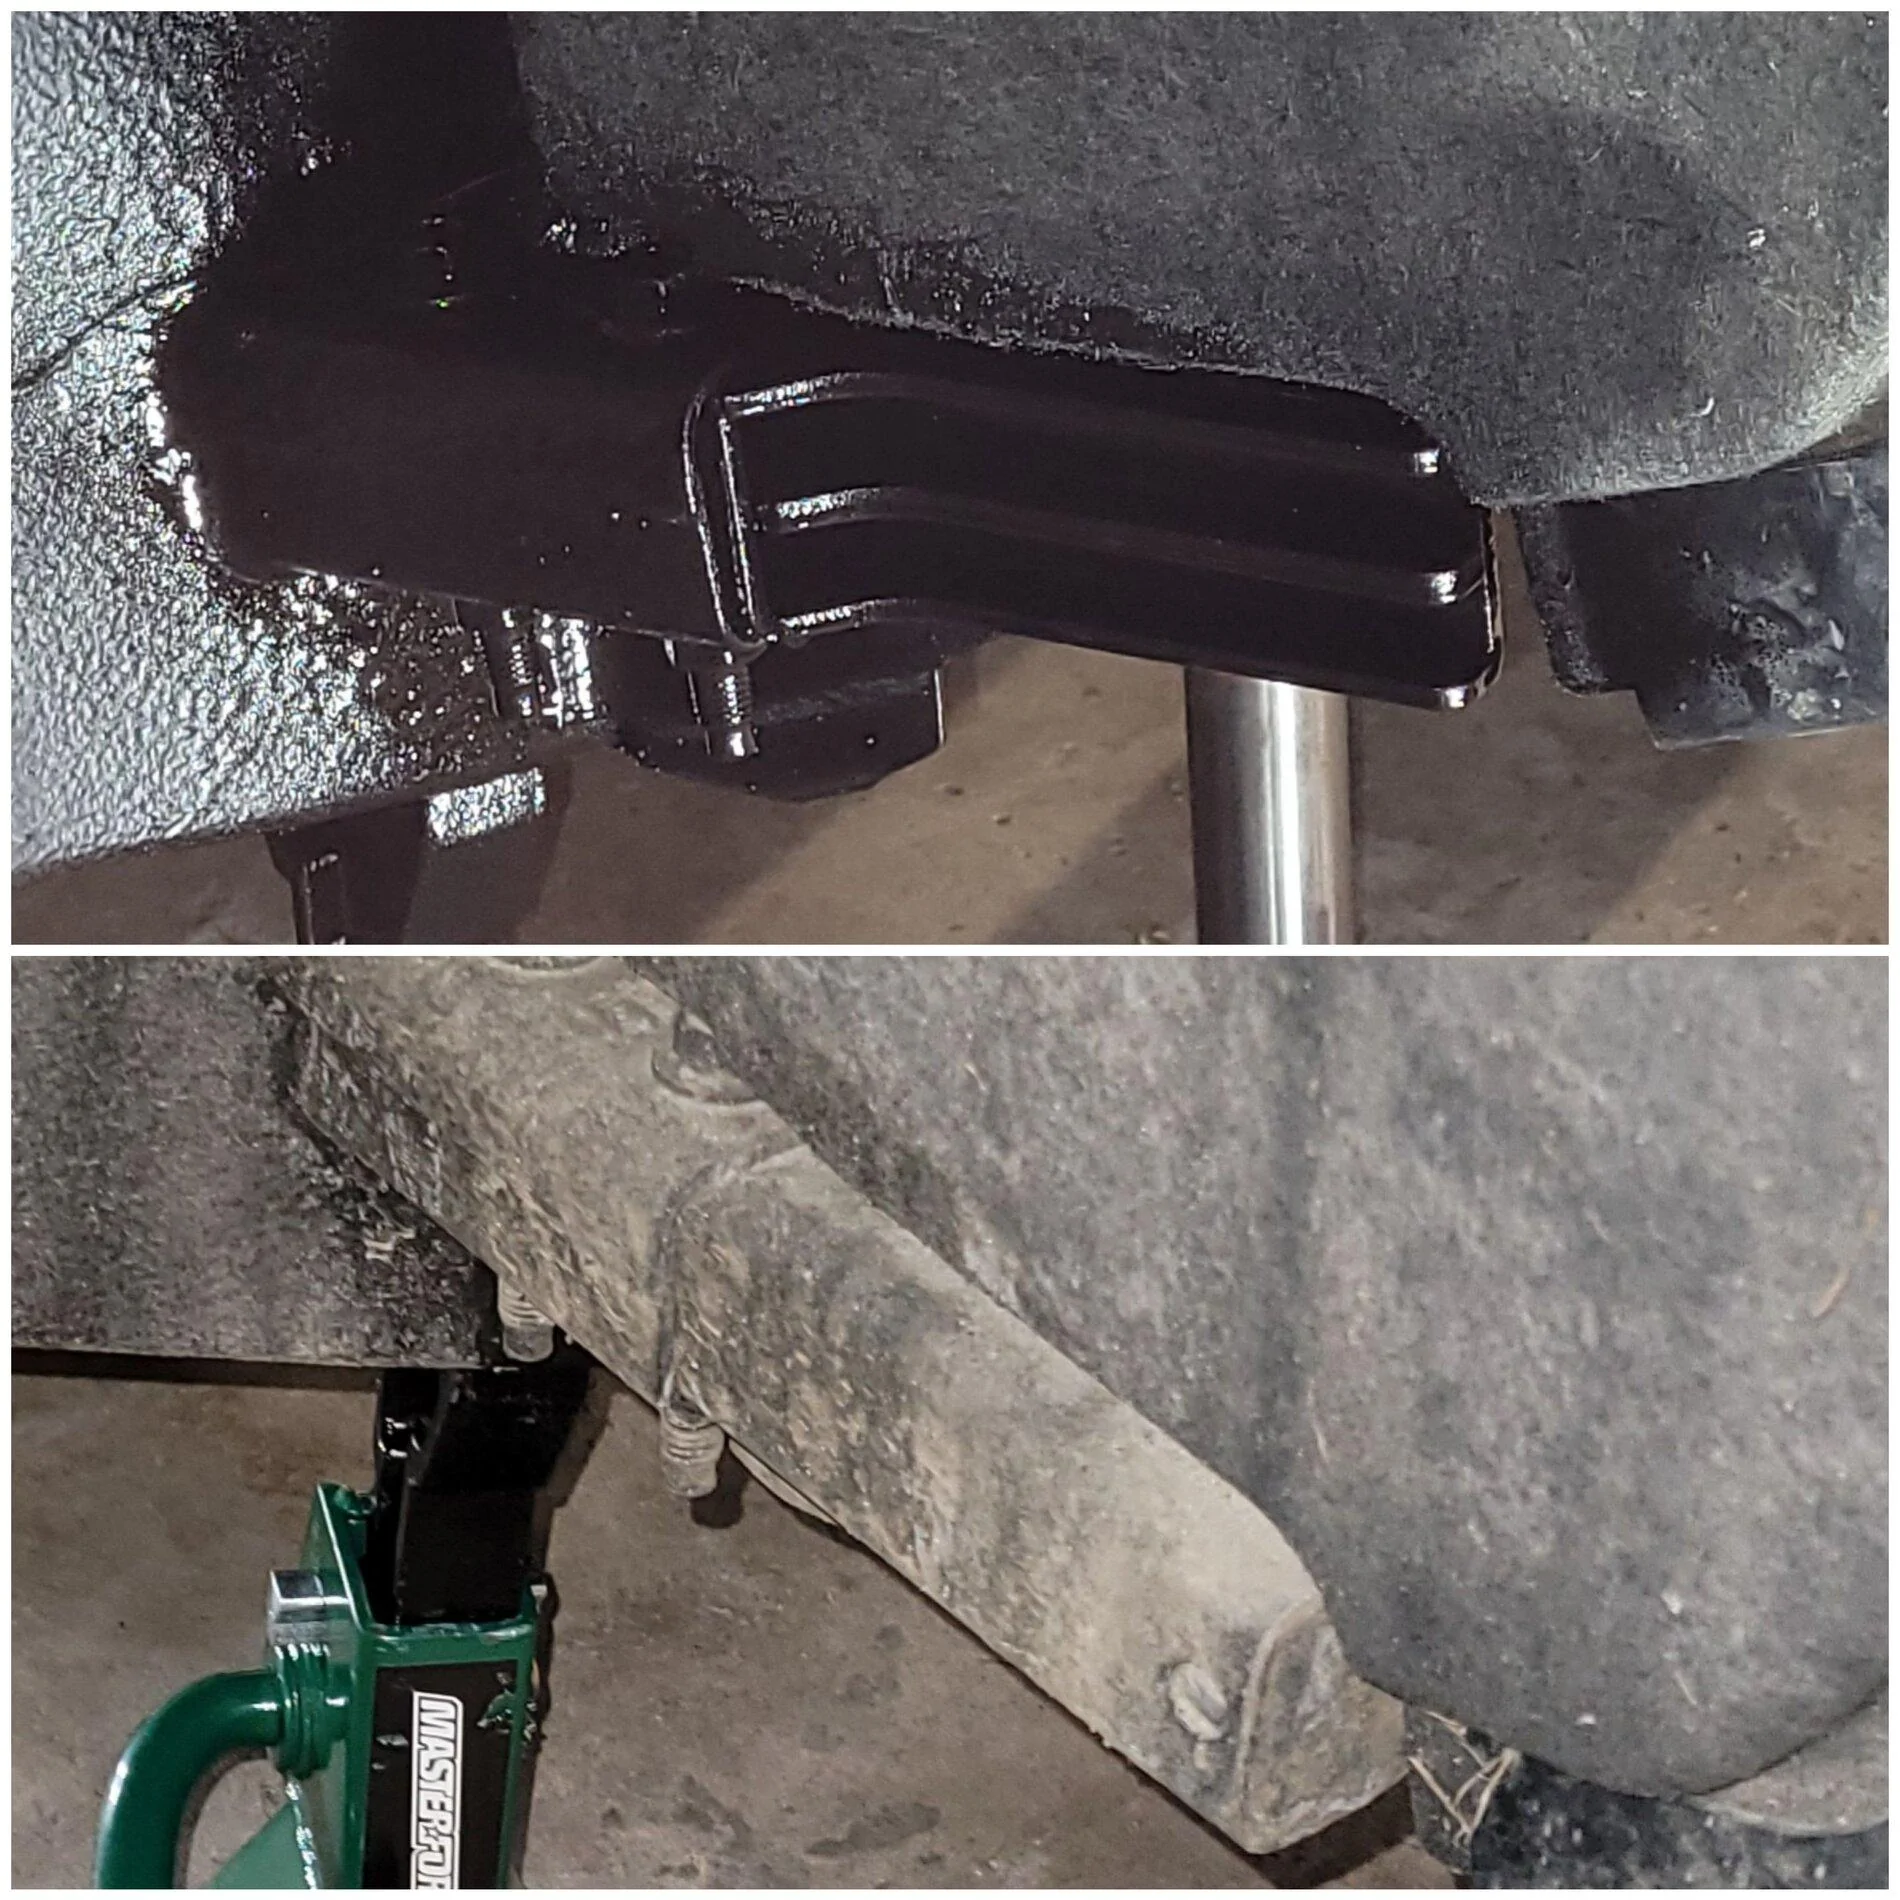
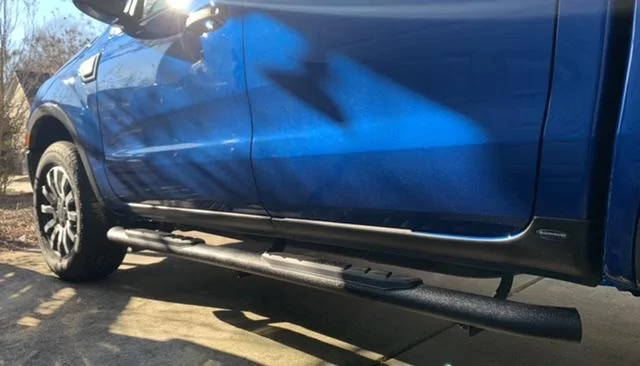
Bushwacker rocker panel and sill plate protector thingies FINALLY installed. First good day since before Christmas. Also got my 3D printed ignition bezel ring. Got tired of blindly putting key into hole around the ignition. How/why Ford didn’t put those in there is beyond me. So dumb.

Sponsored
") Anyway, maybe call those folks at Bushwacker and see what they say would be my suggestion. They make those for other vehicles so maybe checking on those forums. Gooogled for bushwhacker rocker rust and funny enough a lot of folks would get them to cover up rust they already had and used self tapping screws sometimes. That sounds terrible. It sticks great to clean paint so I don’t anticipate issues based on what I’ve read so far.
Anyway, maybe call those folks at Bushwacker and see what they say would be my suggestion. They make those for other vehicles so maybe checking on those forums. Gooogled for bushwhacker rocker rust and funny enough a lot of folks would get them to cover up rust they already had and used self tapping screws sometimes. That sounds terrible. It sticks great to clean paint so I don’t anticipate issues based on what I’ve read so far.