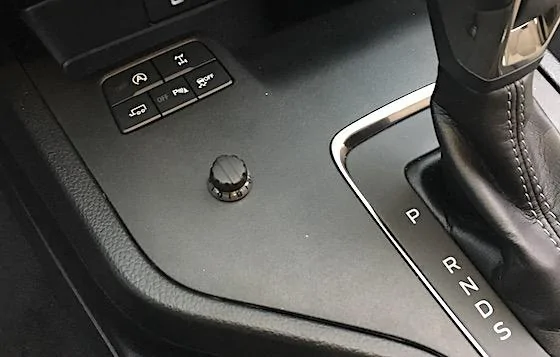
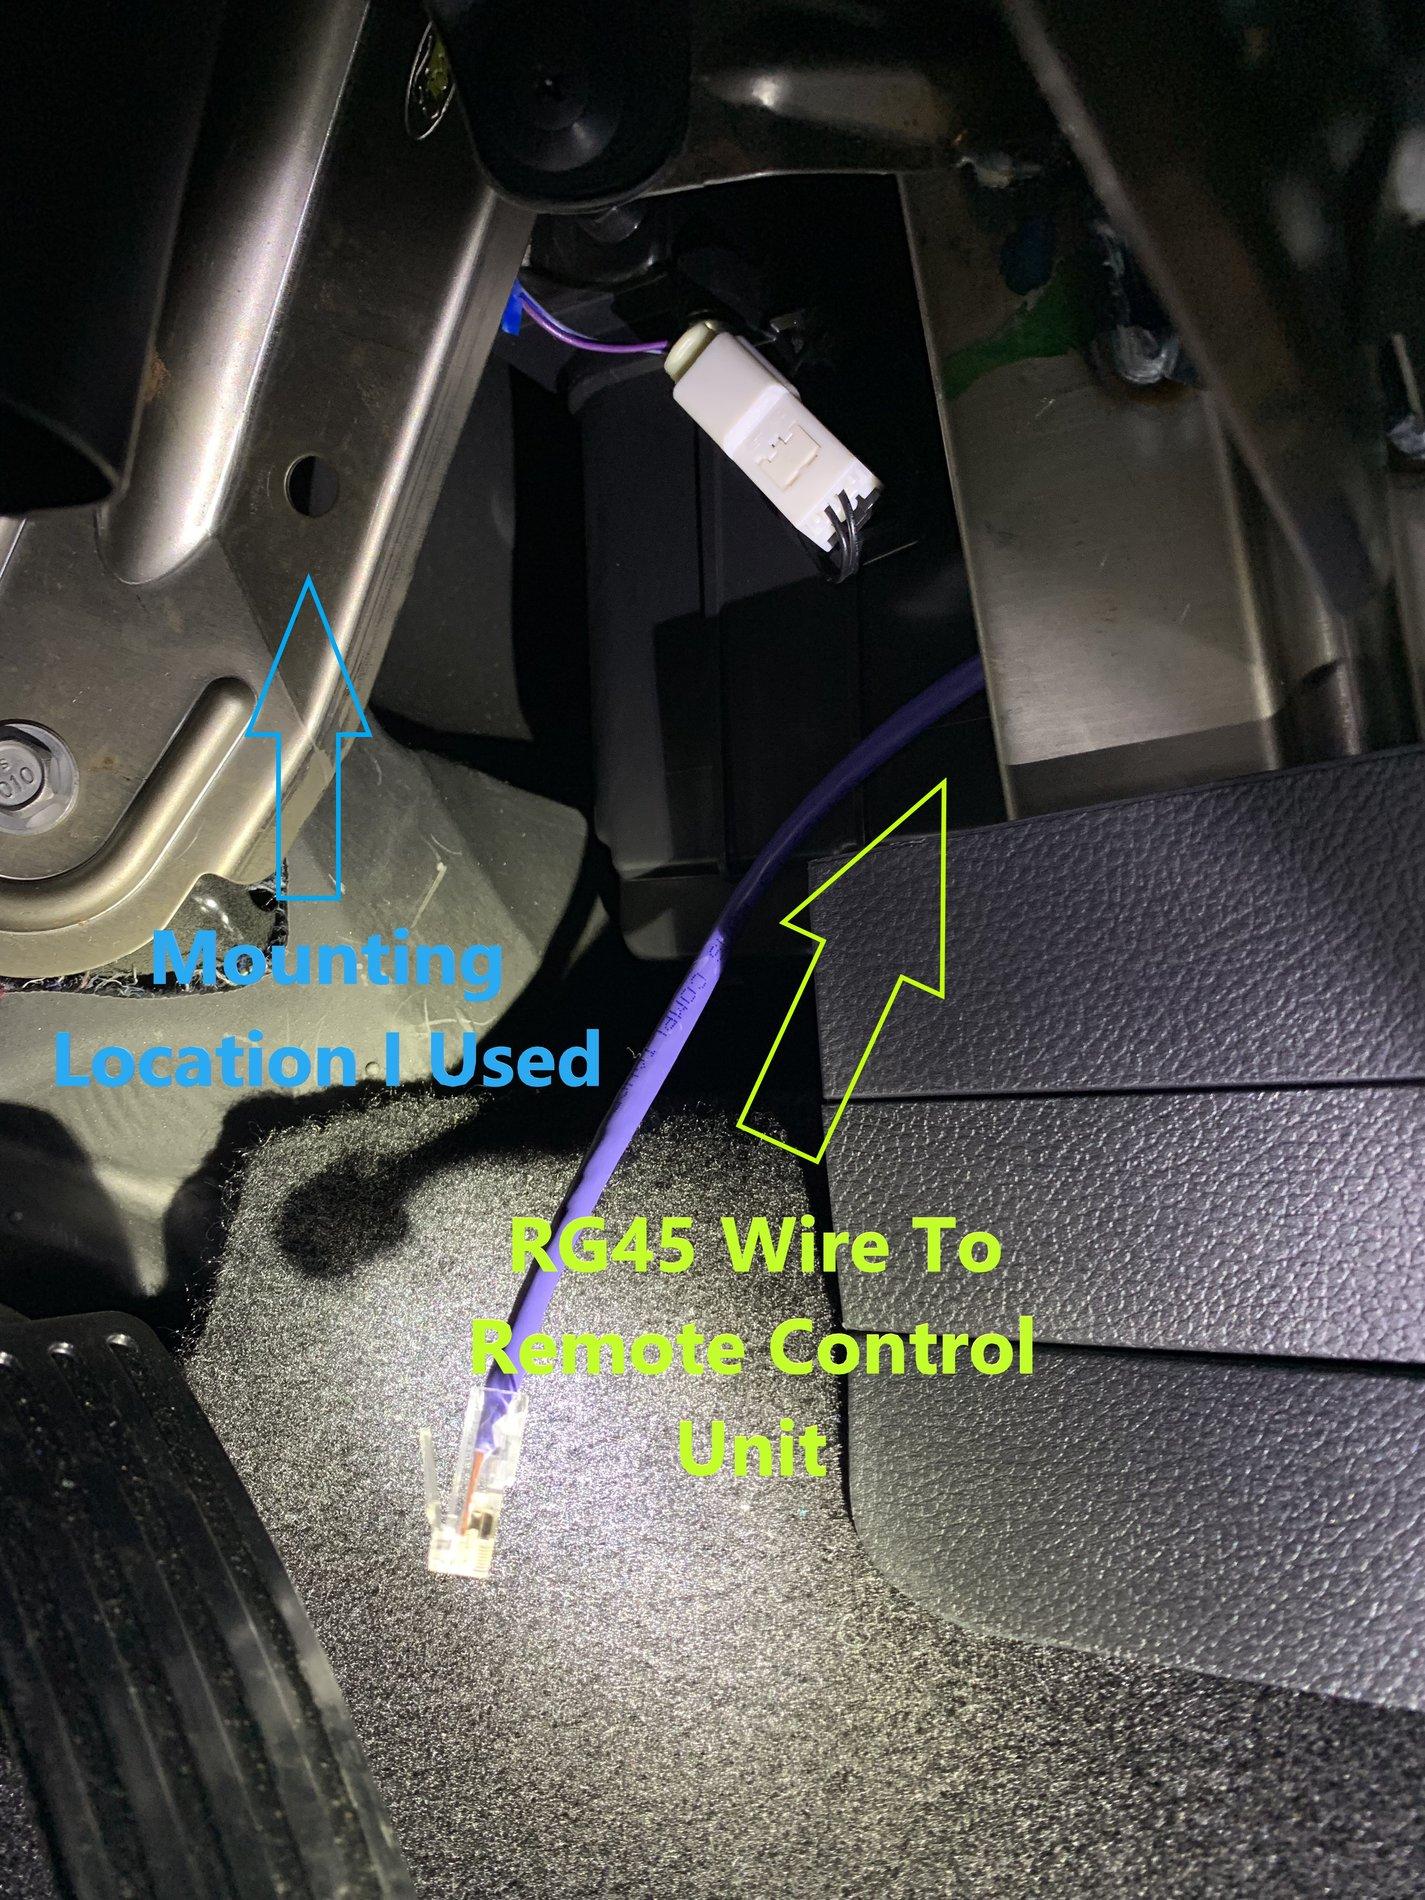
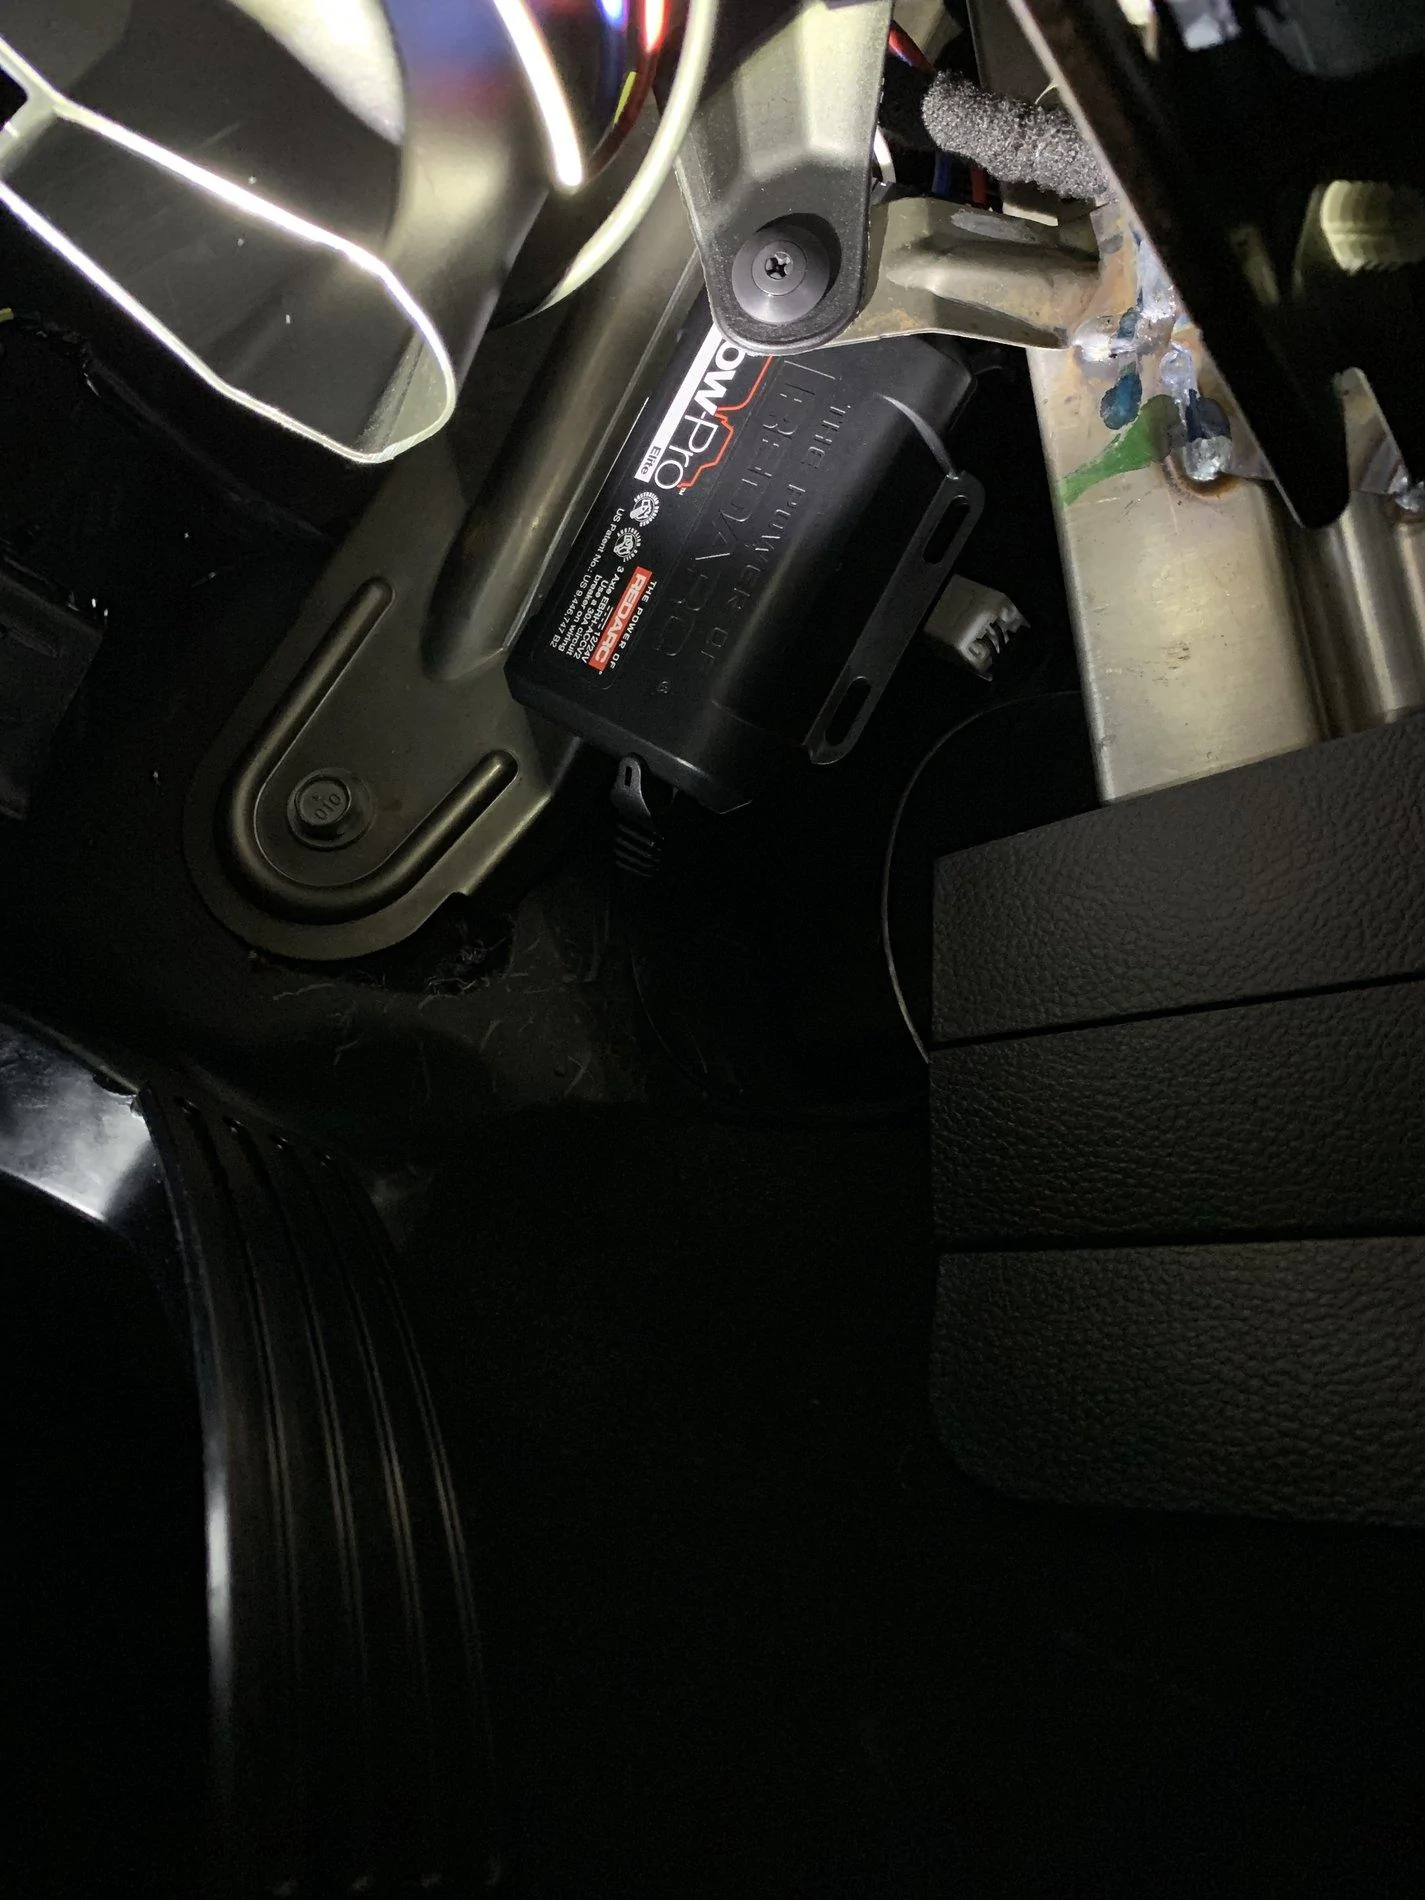
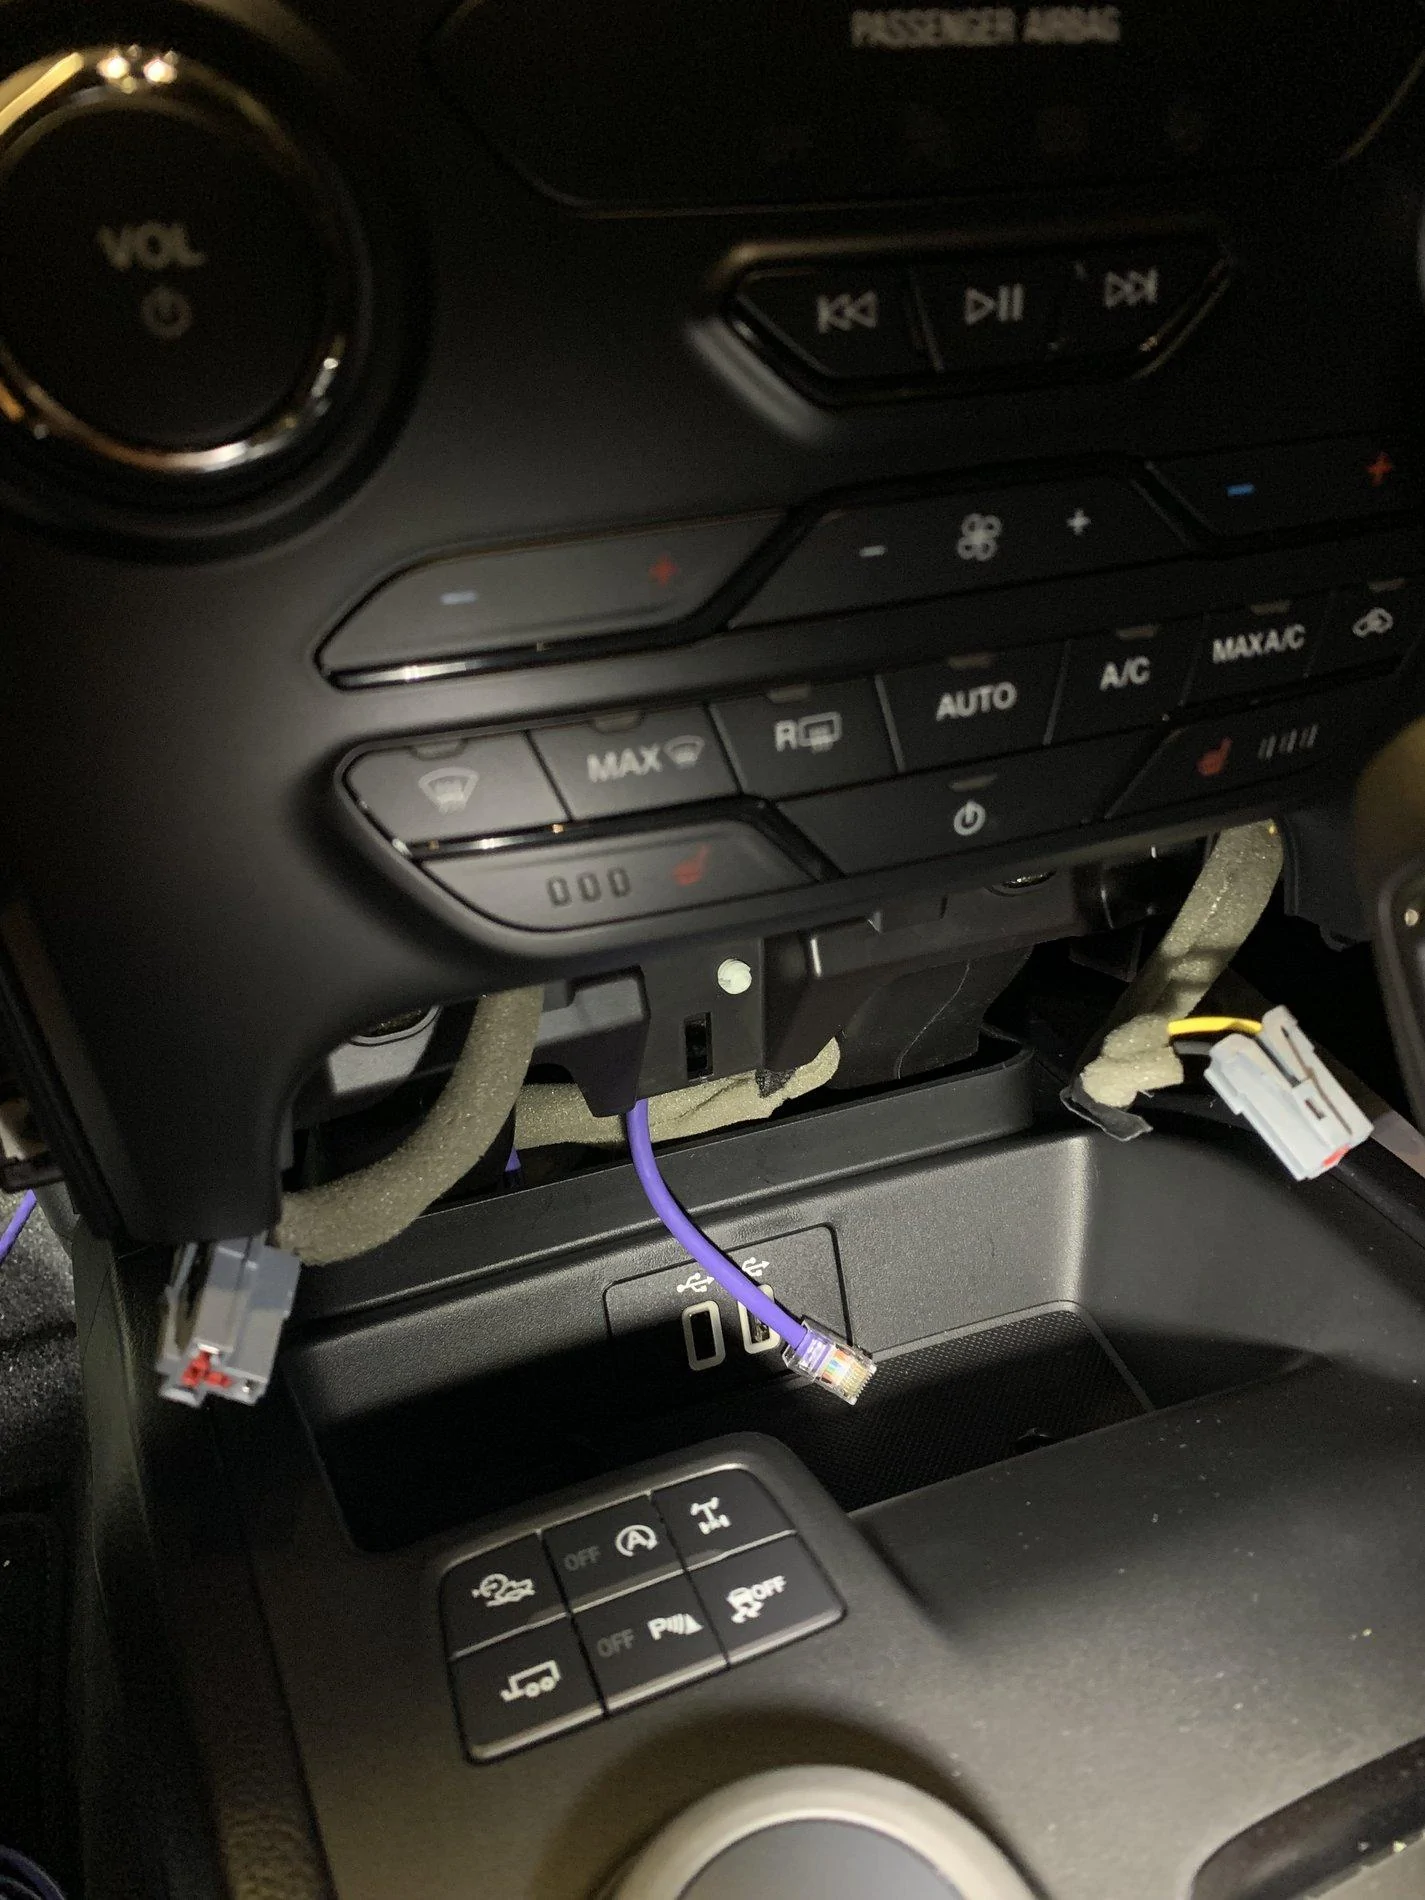
aeroshots
Well-Known Member
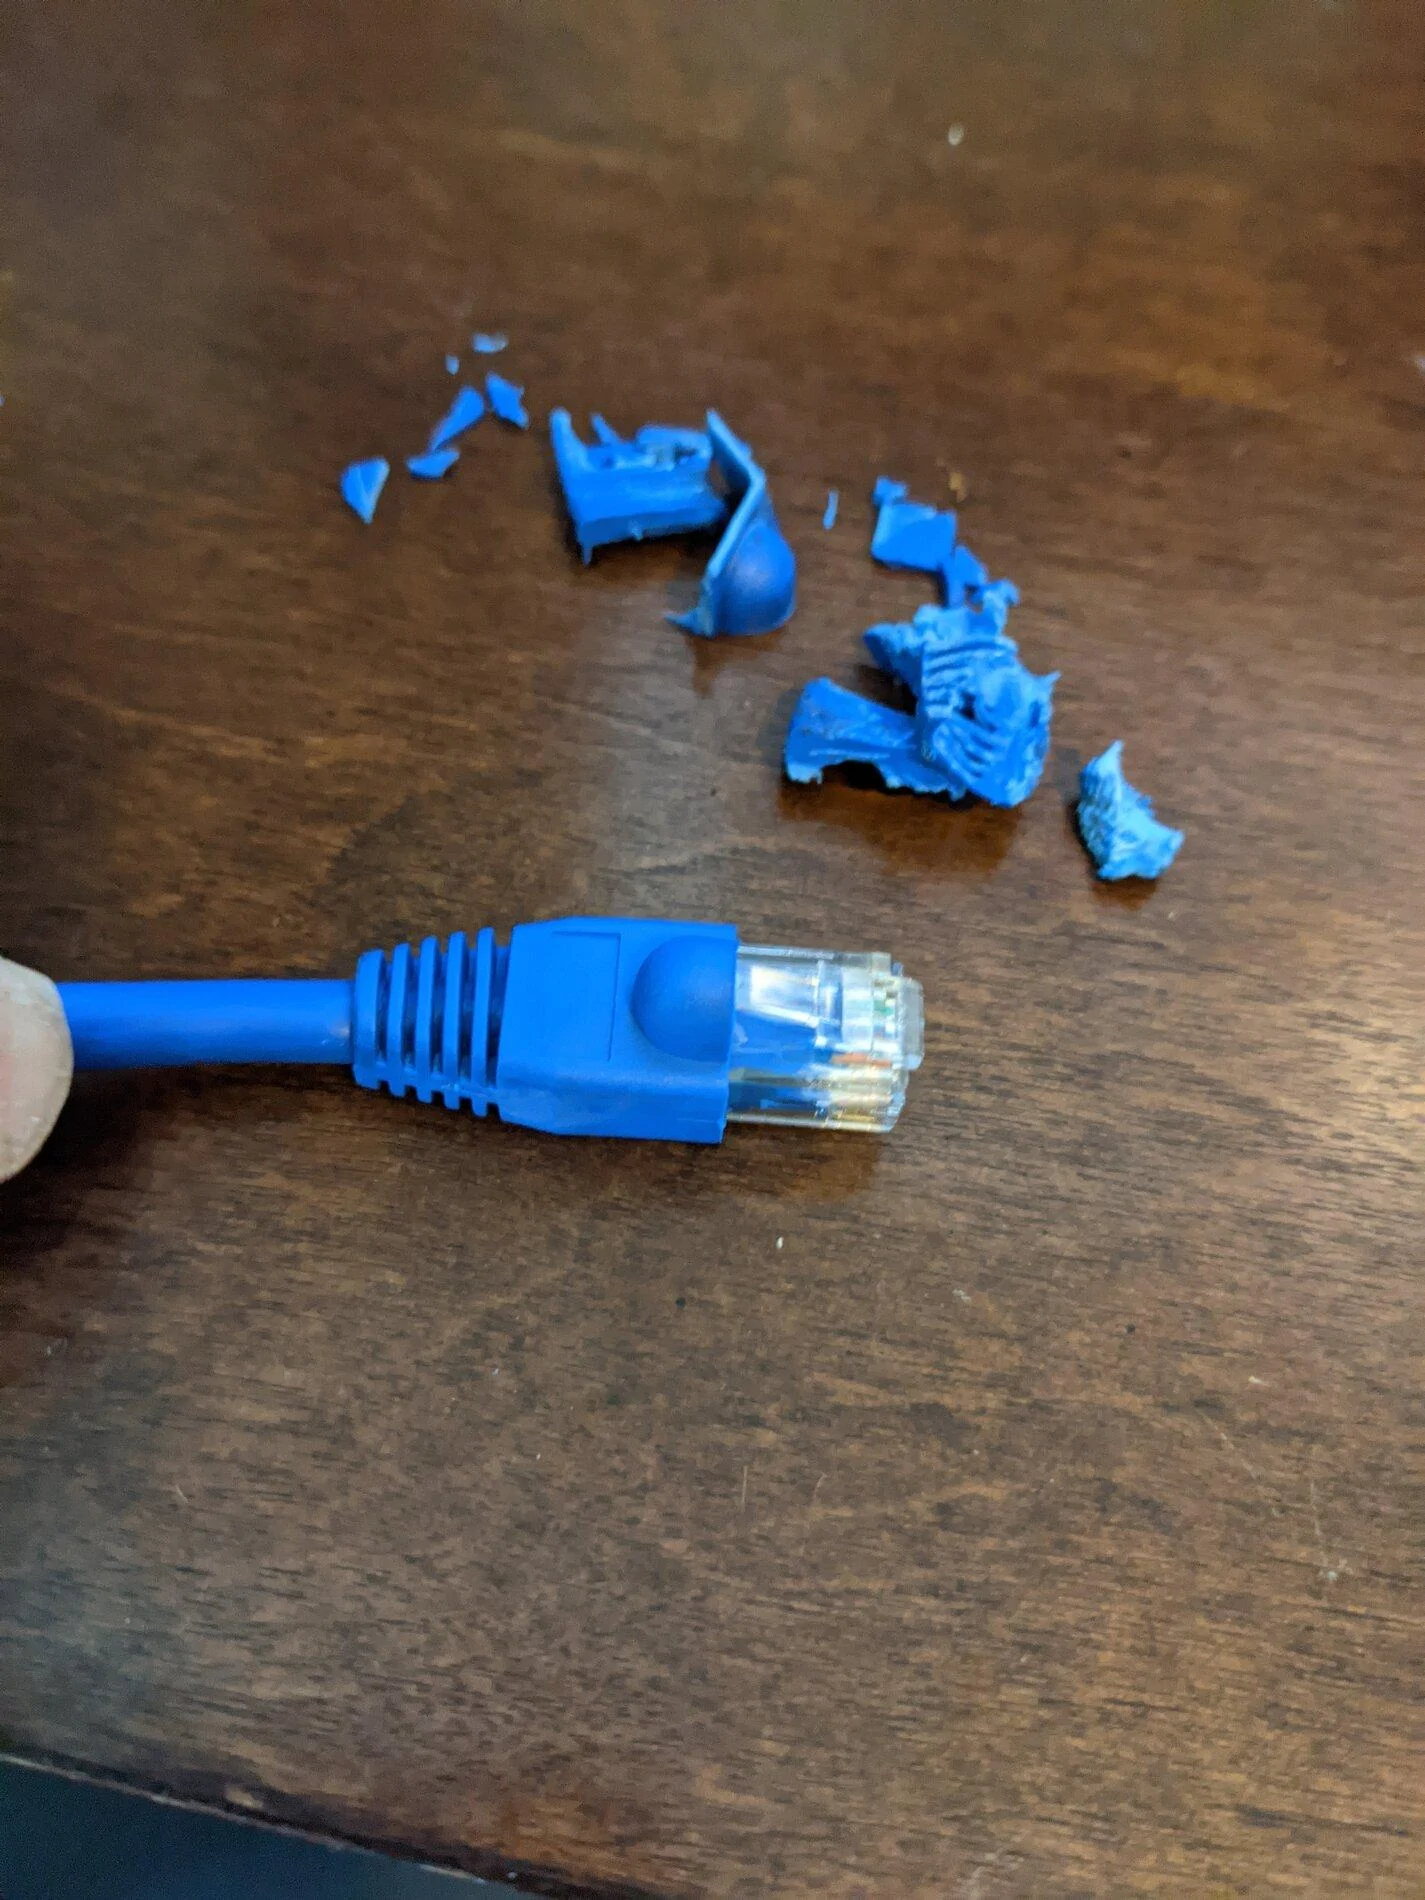
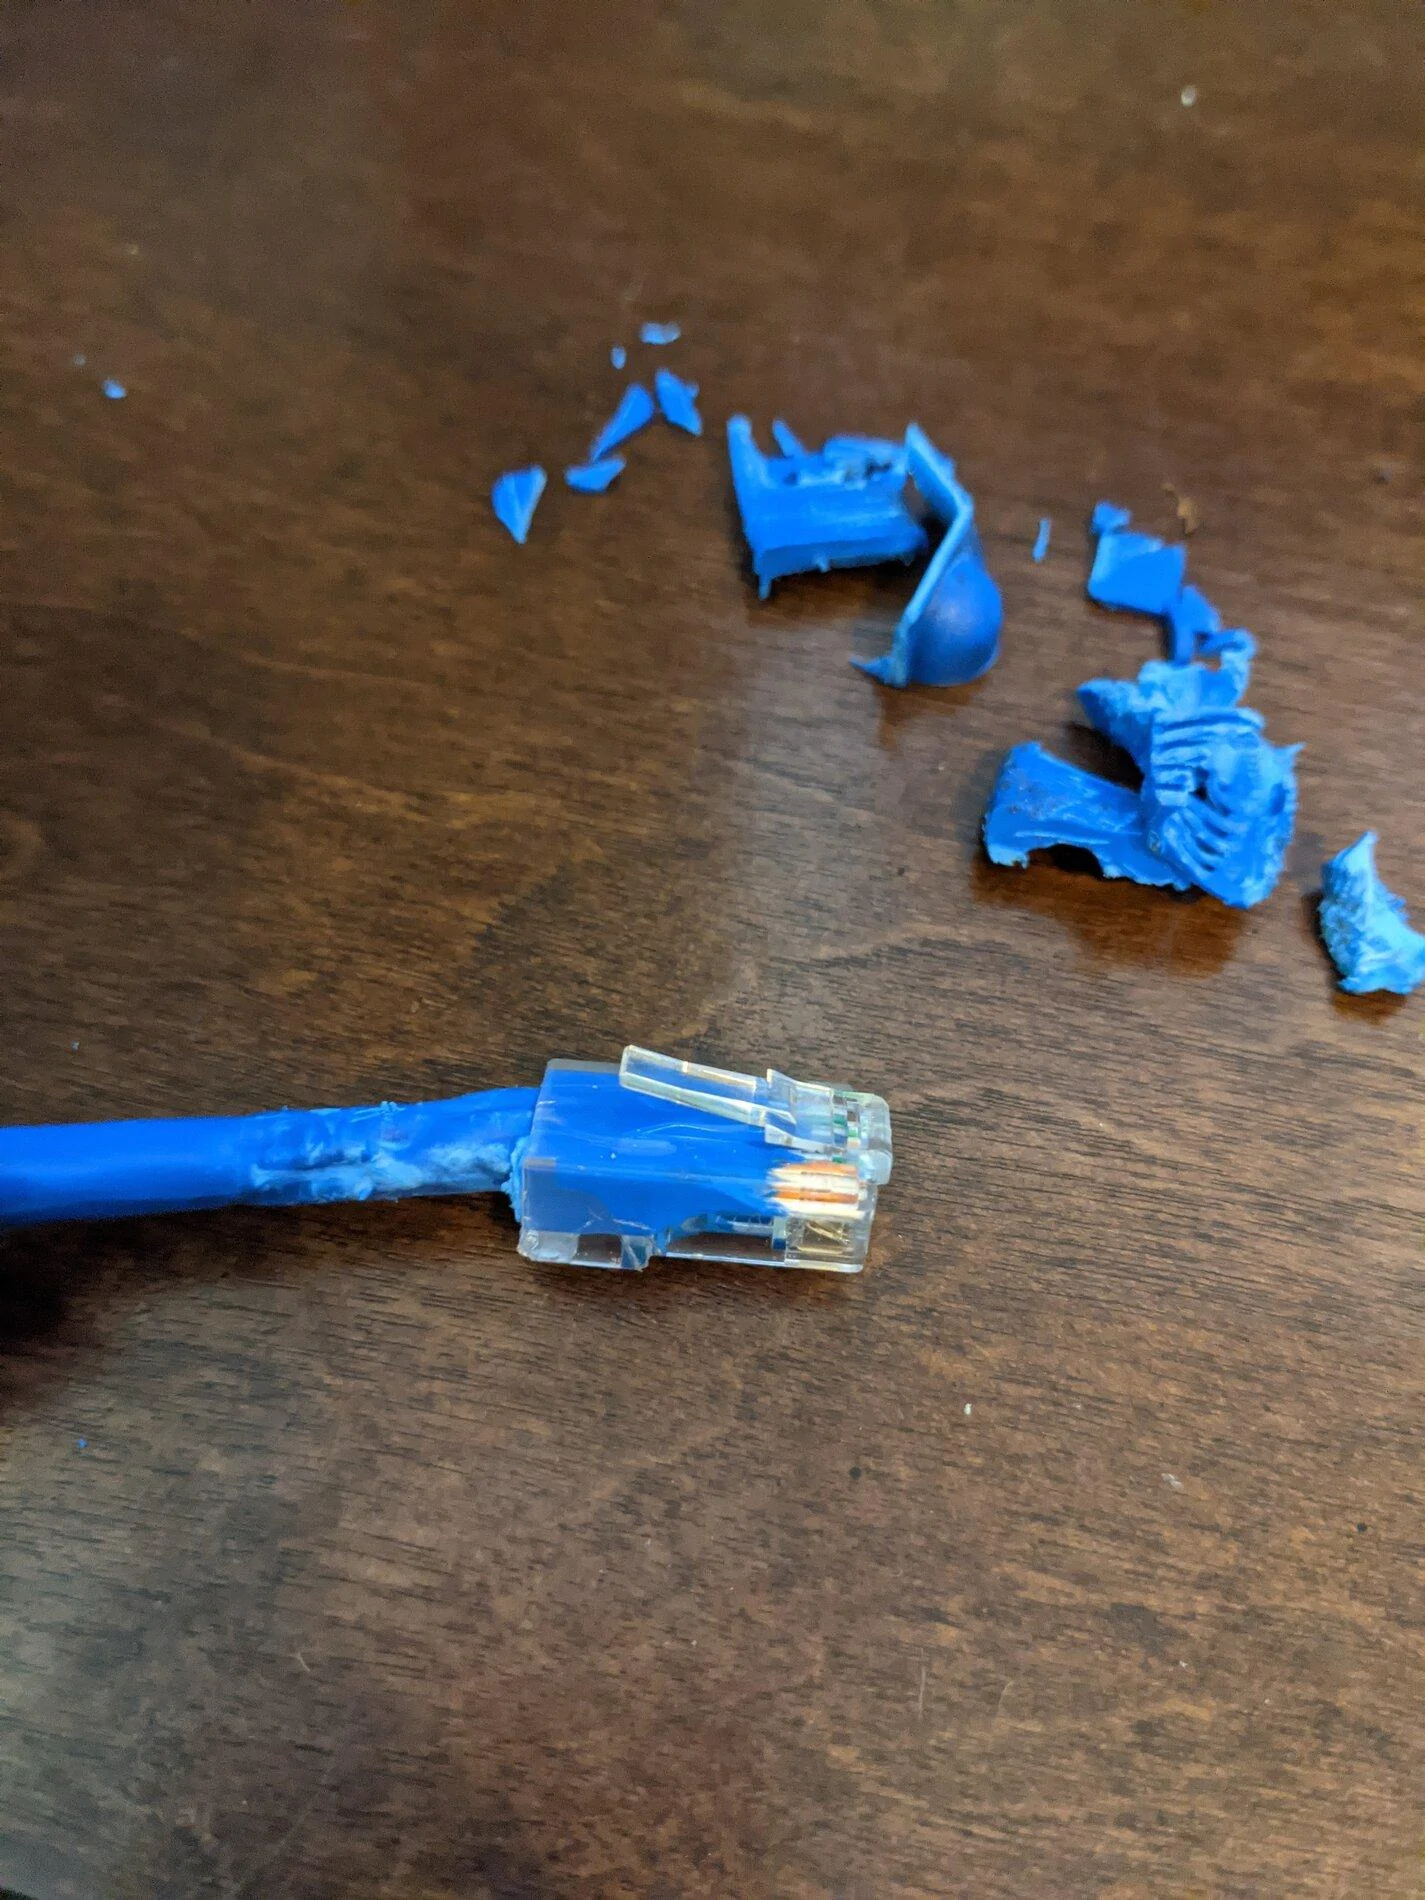
Edit--found this.I don't have a direct answer for you. But since you posted Friday I'll share my experiences. I've used those type of connections many times. Like them a lot. Have the same concerns. Some have melted like solder while others simply shrink. So.. don't know ?
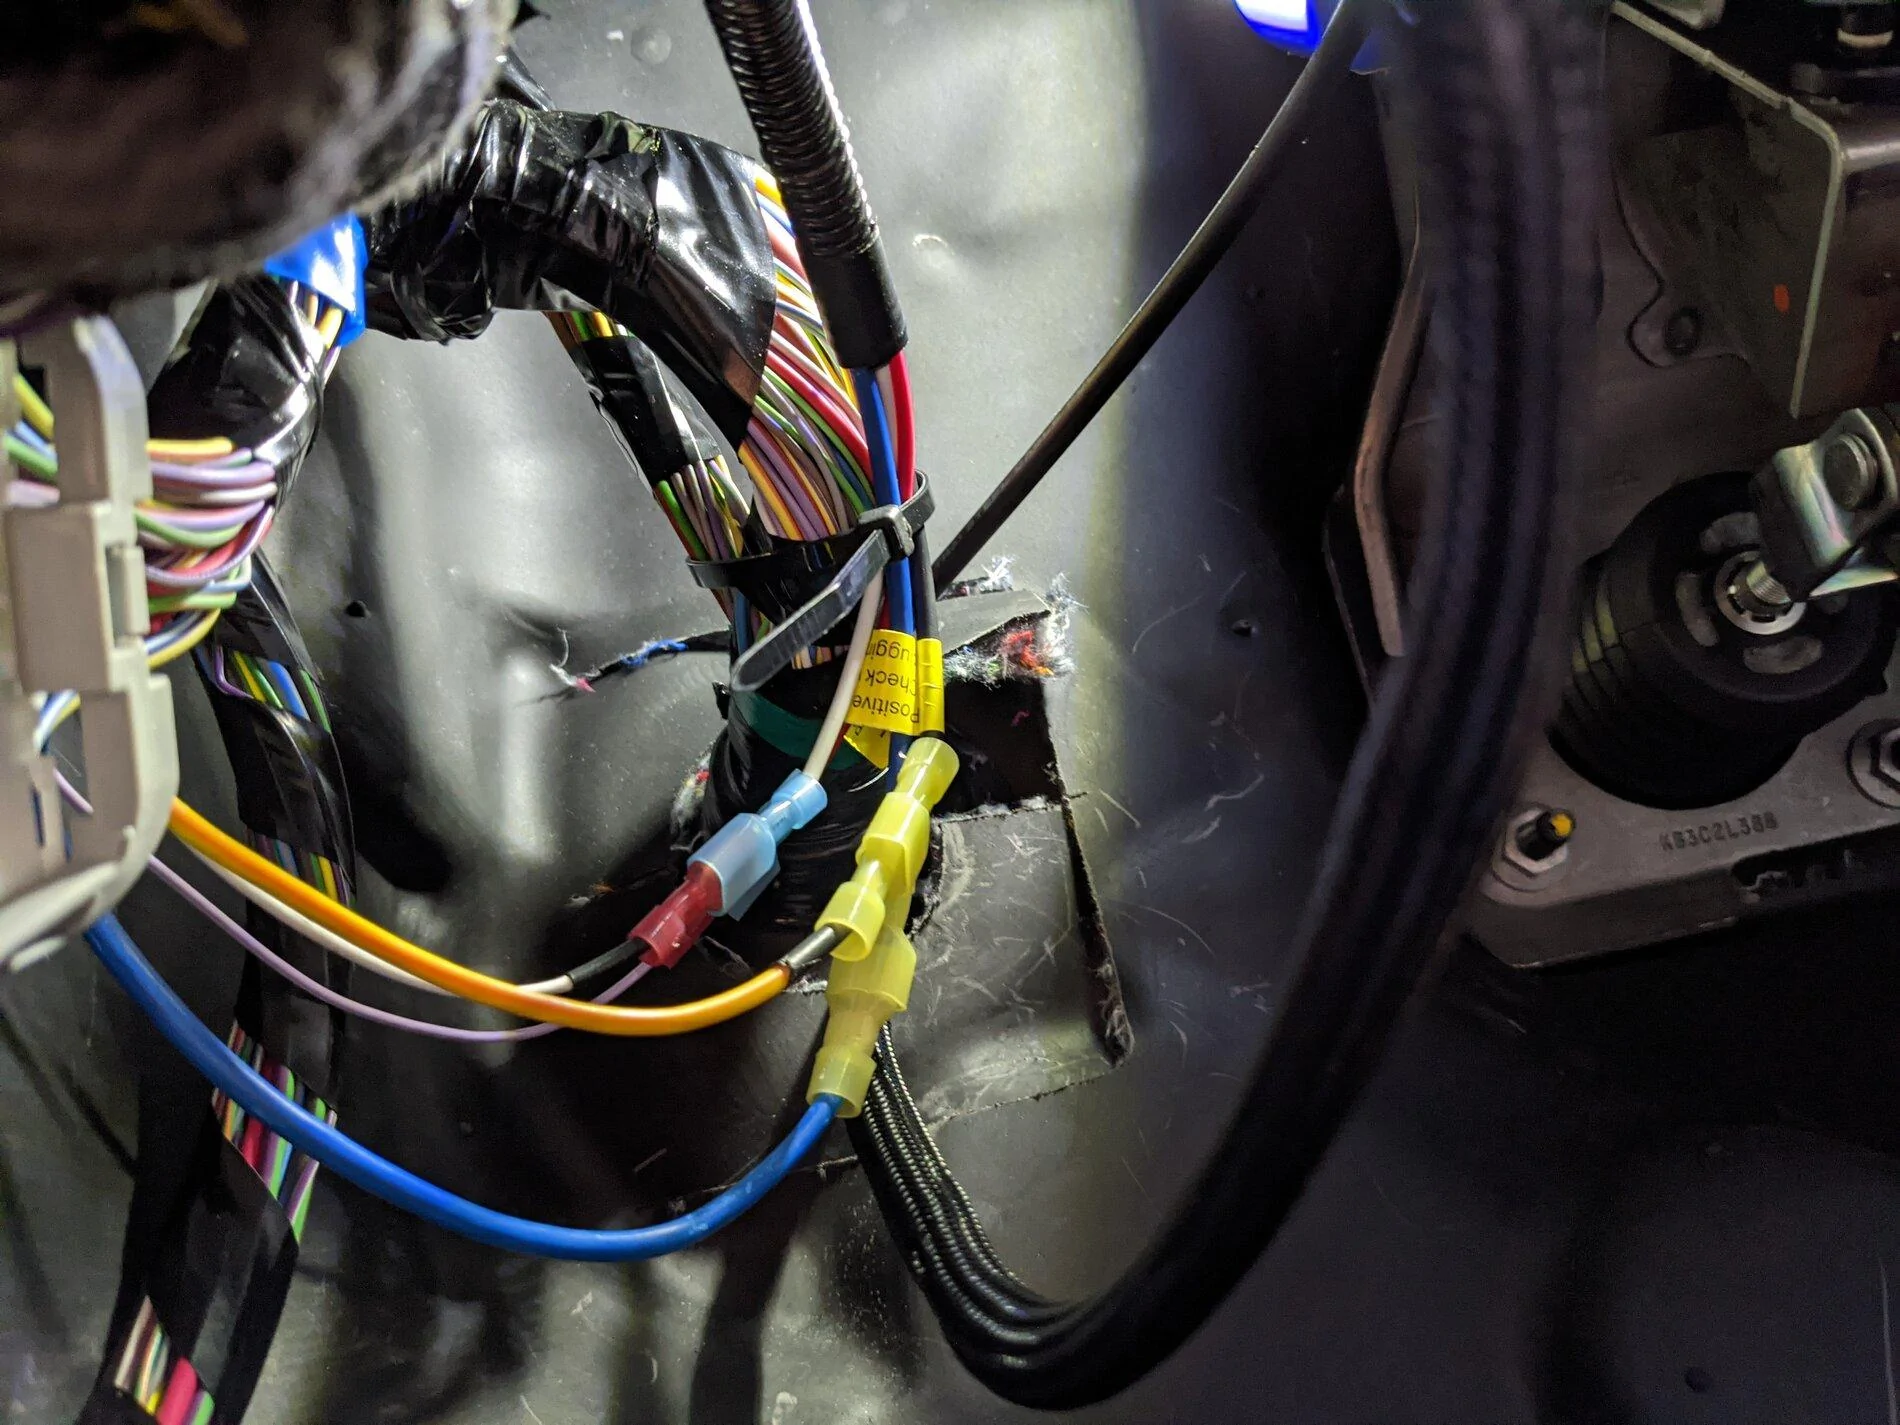
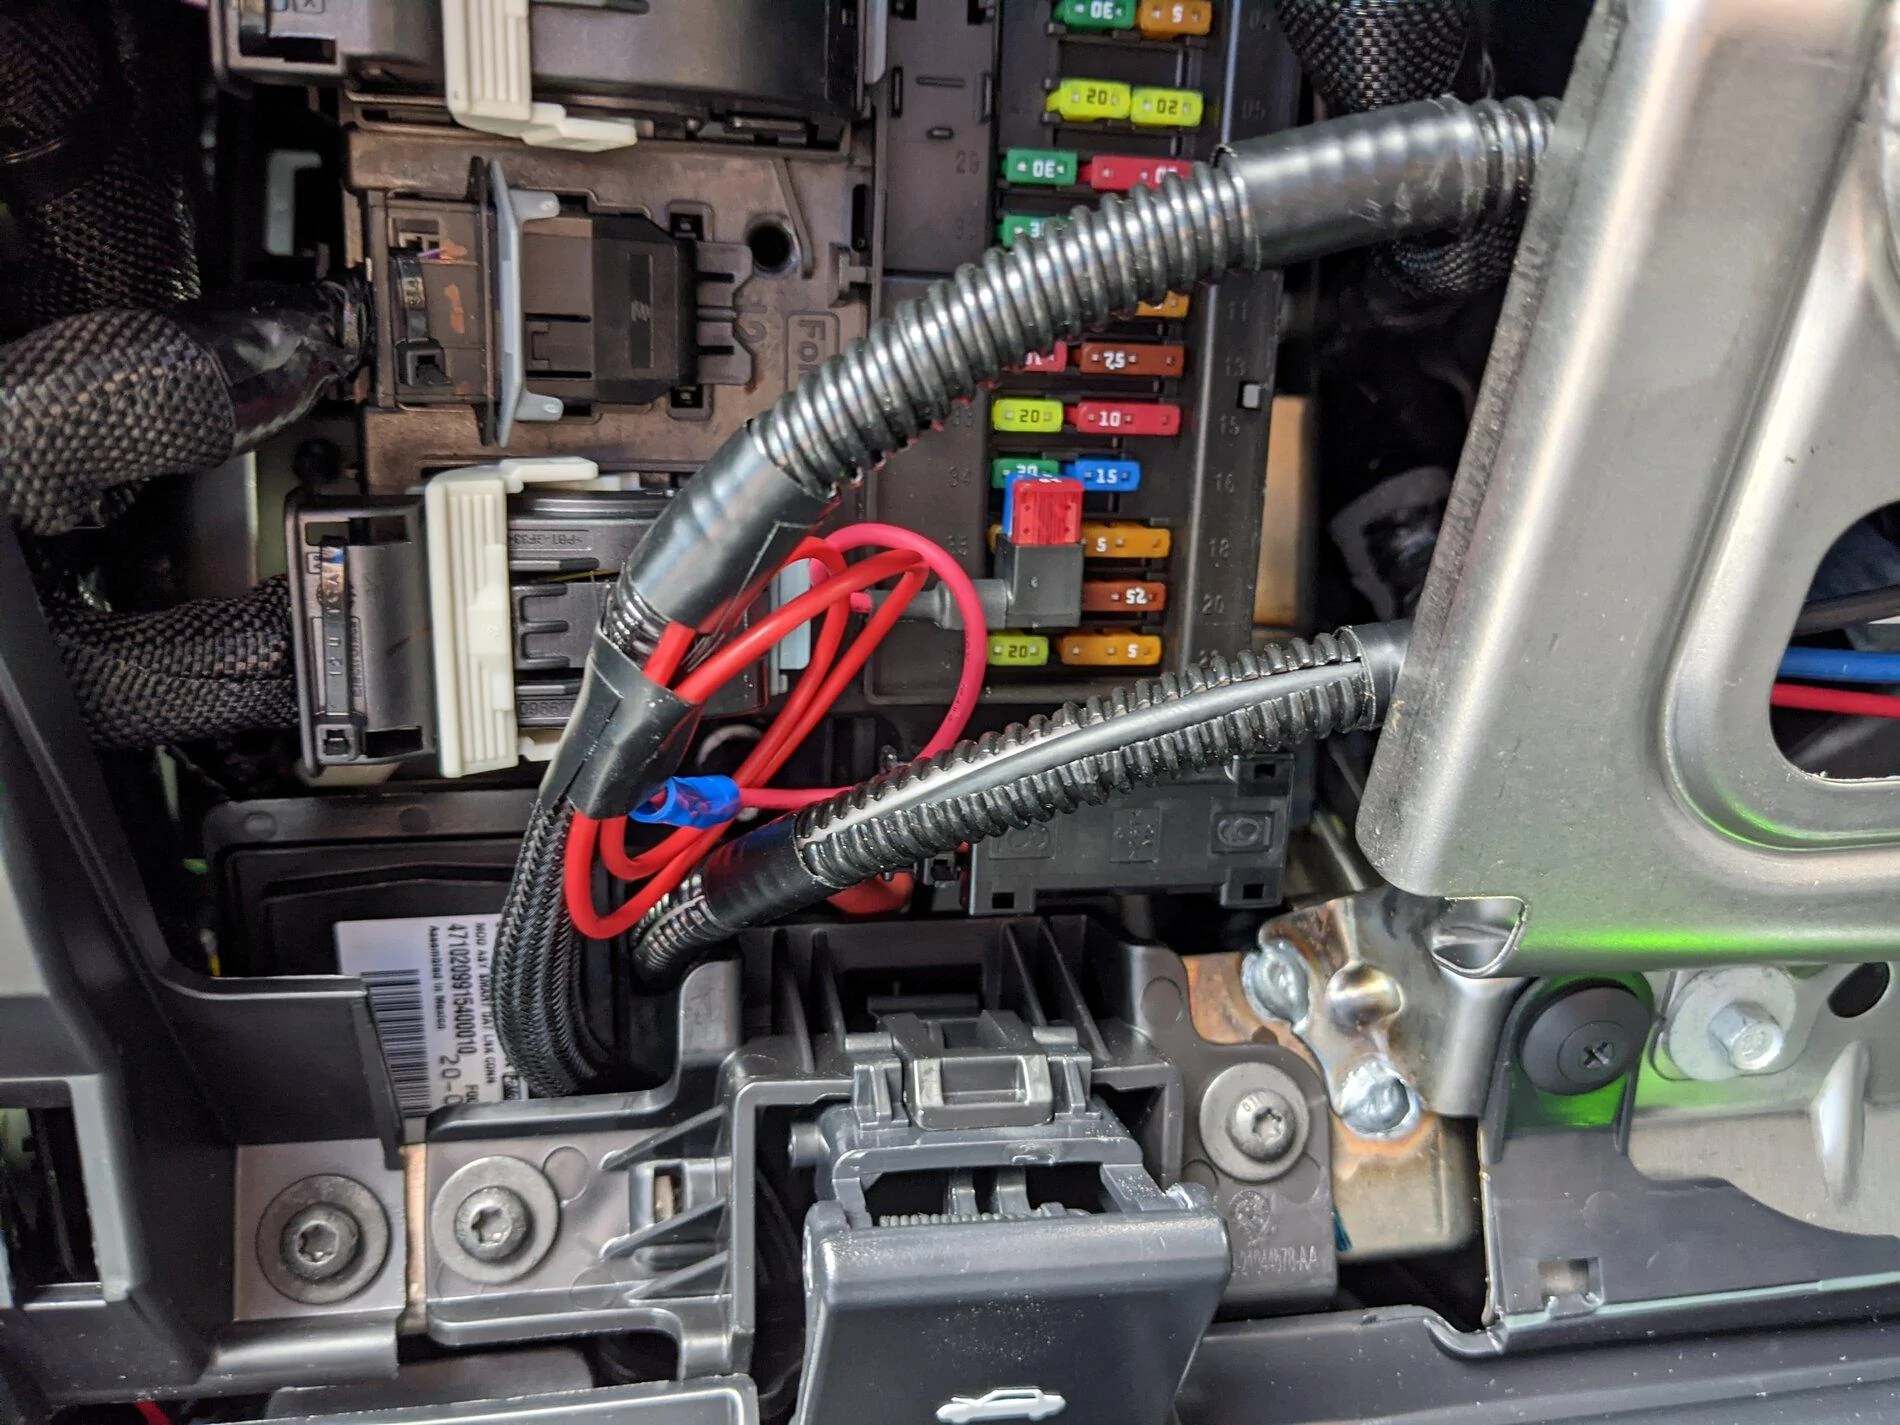
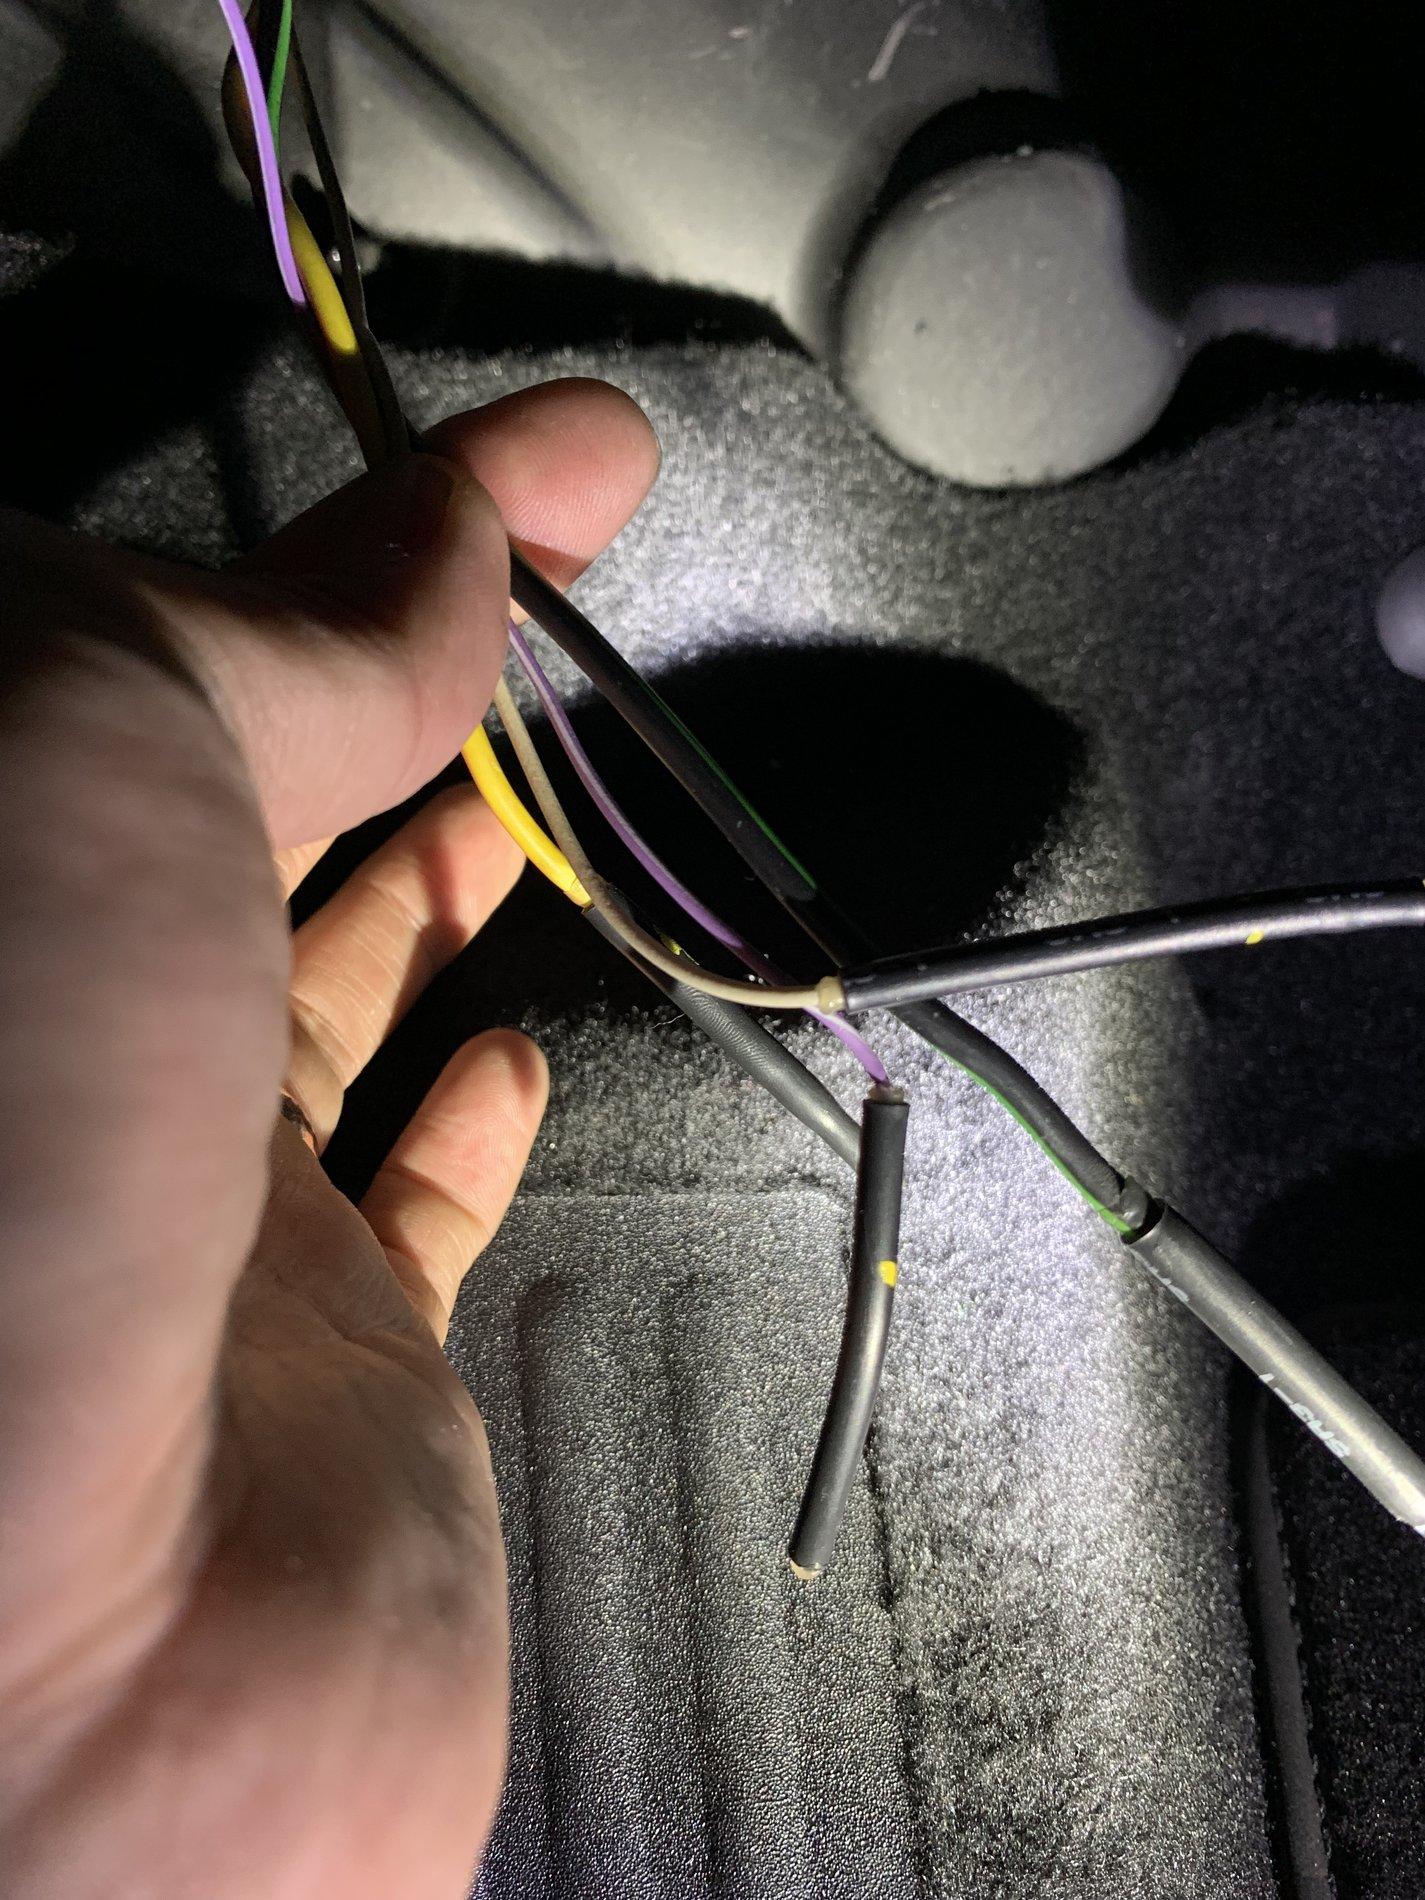
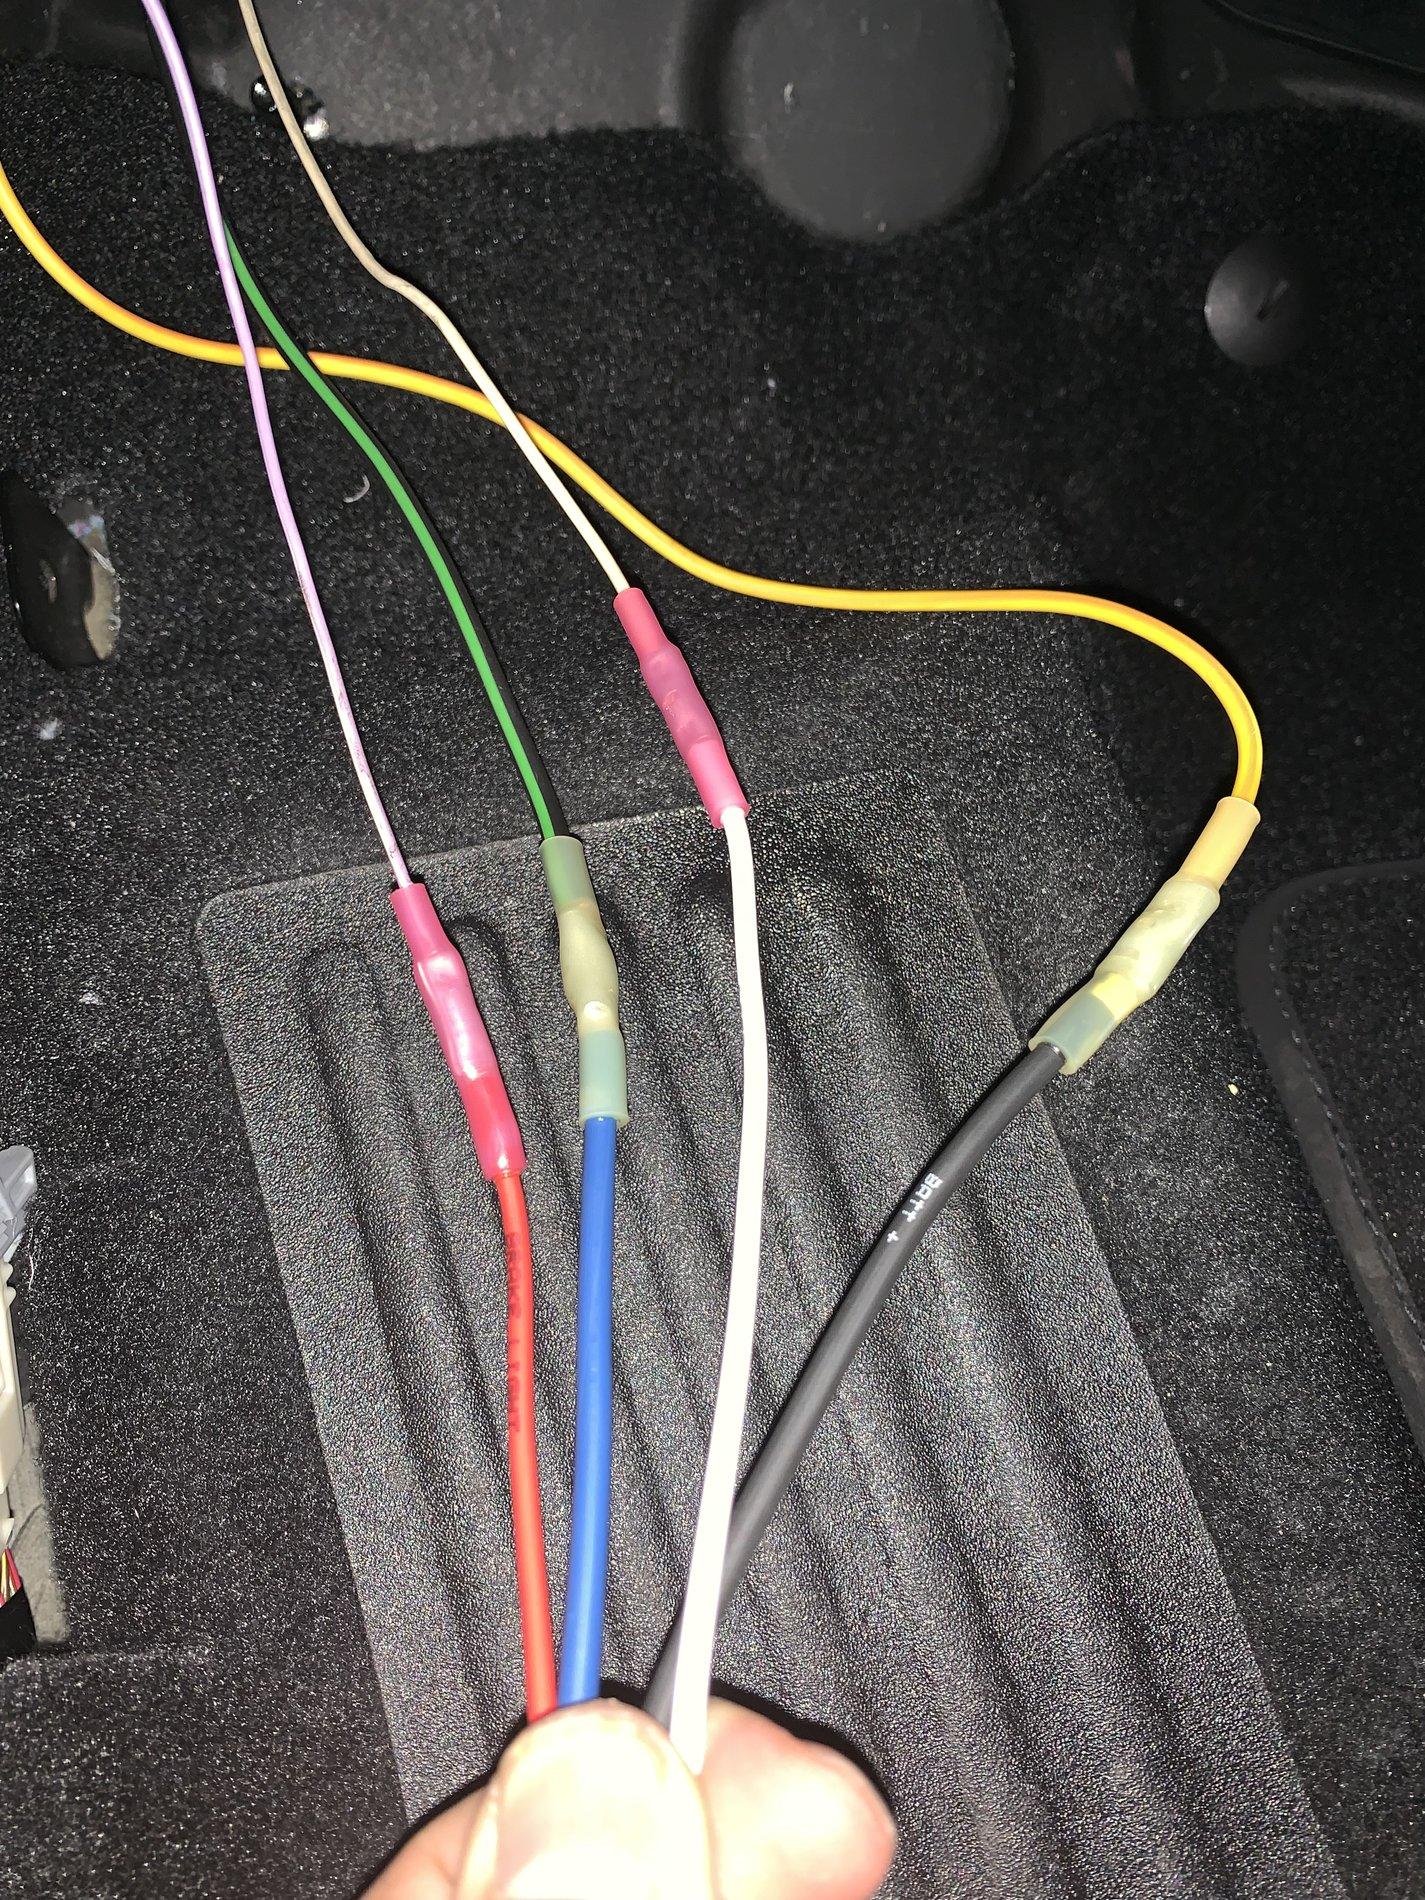
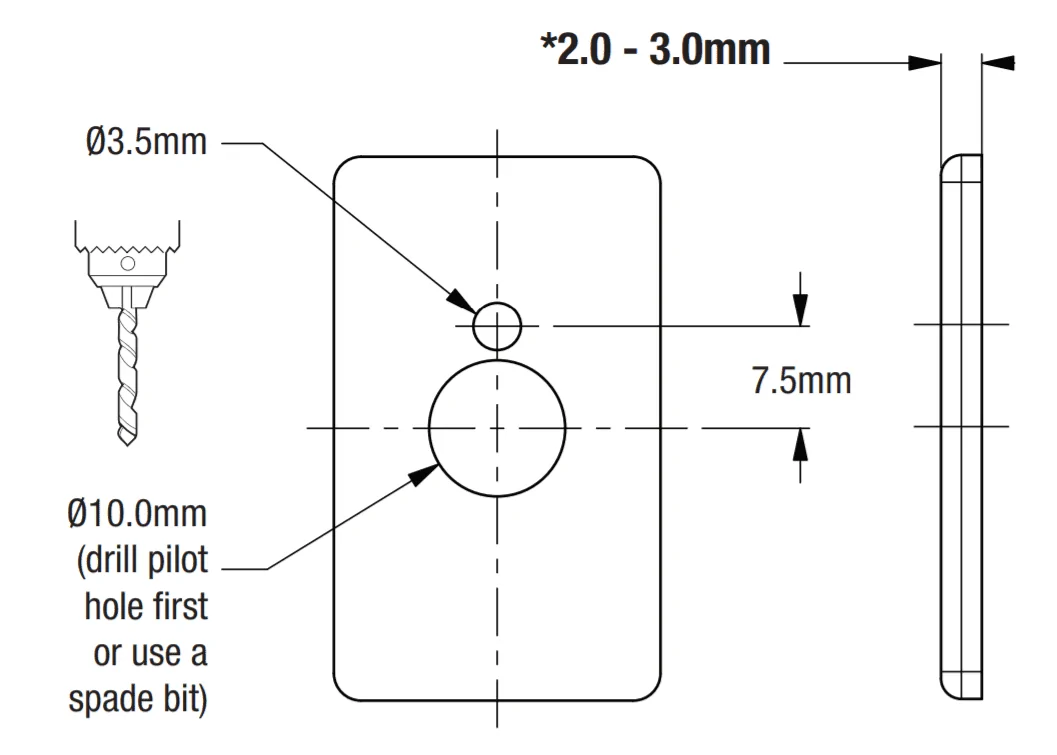
MPORTANT: DURABILITY OF THE HEAT SHRINK BUTT CONNECTION IS DEPENDENT ON SUFFICIENT HEAT DIRECTED TO THE SILVER COLORED RING LOCATED IN THE CENTER OF THE CONNECTOR. ENOUGH HEAT MUST BE APPLIED TO ENSURE THE SOLDER FLOW AROUND THE TWISTED WIRES AFTER THE SOLDER HAS FLOWED. THE HEAT GUN MUST BE DIRECTED TOWARDS BOTH ENDS OF THE CONNECTOR TO SHRINK THE WIRES TO CONFORM TO THE WIRE JEACKET AS WELL AS MELT THE ADHESIVE FROM INSIDE THE SHRINK CONNECTOR. SEE THE FOLLOWING 4 STEPS FOR FURTHER INFORMATION. 1. INSTALL HEAT SHRINK NUTT CONNECTOR AT LEAST 1” AWAY FROM ONE END OF THE STRIPPED. ENDS BEING SPLICED 2. TWIST THE BARE WIRE ENDS TOGETHER (VEHICLE HARNESS WIRES AND PRODUCT HARNESS WIRES) 3. EVENLY POSITION HEAT SHRINK TUBING OVER WIRE REPAIR AREA OF TWISTED WIRES. 4. USE A SHIELDED HEAT FUN TO HEAT ENTIRE LENFTH OF HEATSHRINK CONNECTOR UNTIL HOT MELT APPEARS ON BOTH ENDS OF THE TUBING
Sponsored