Sponsored
Cabose-1
Well-Known Member
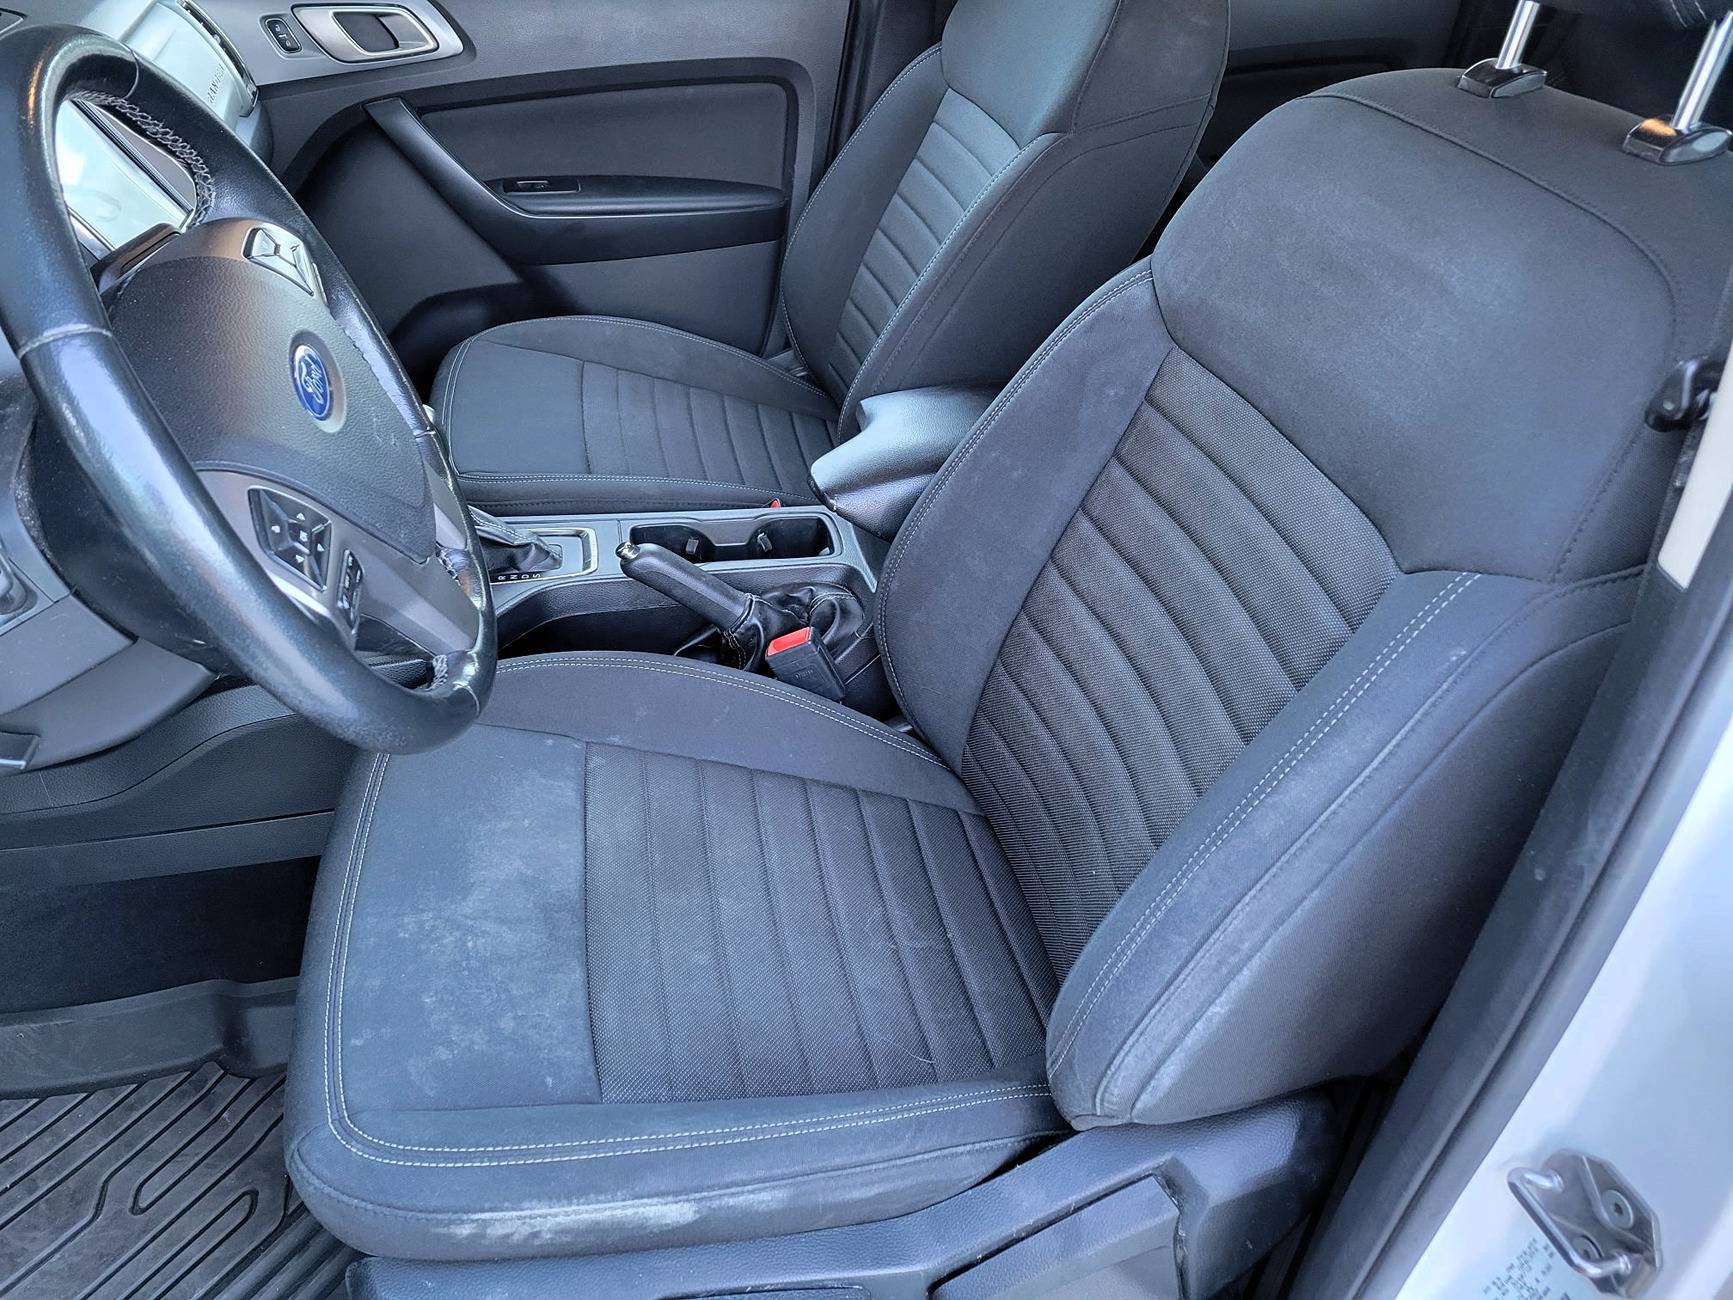
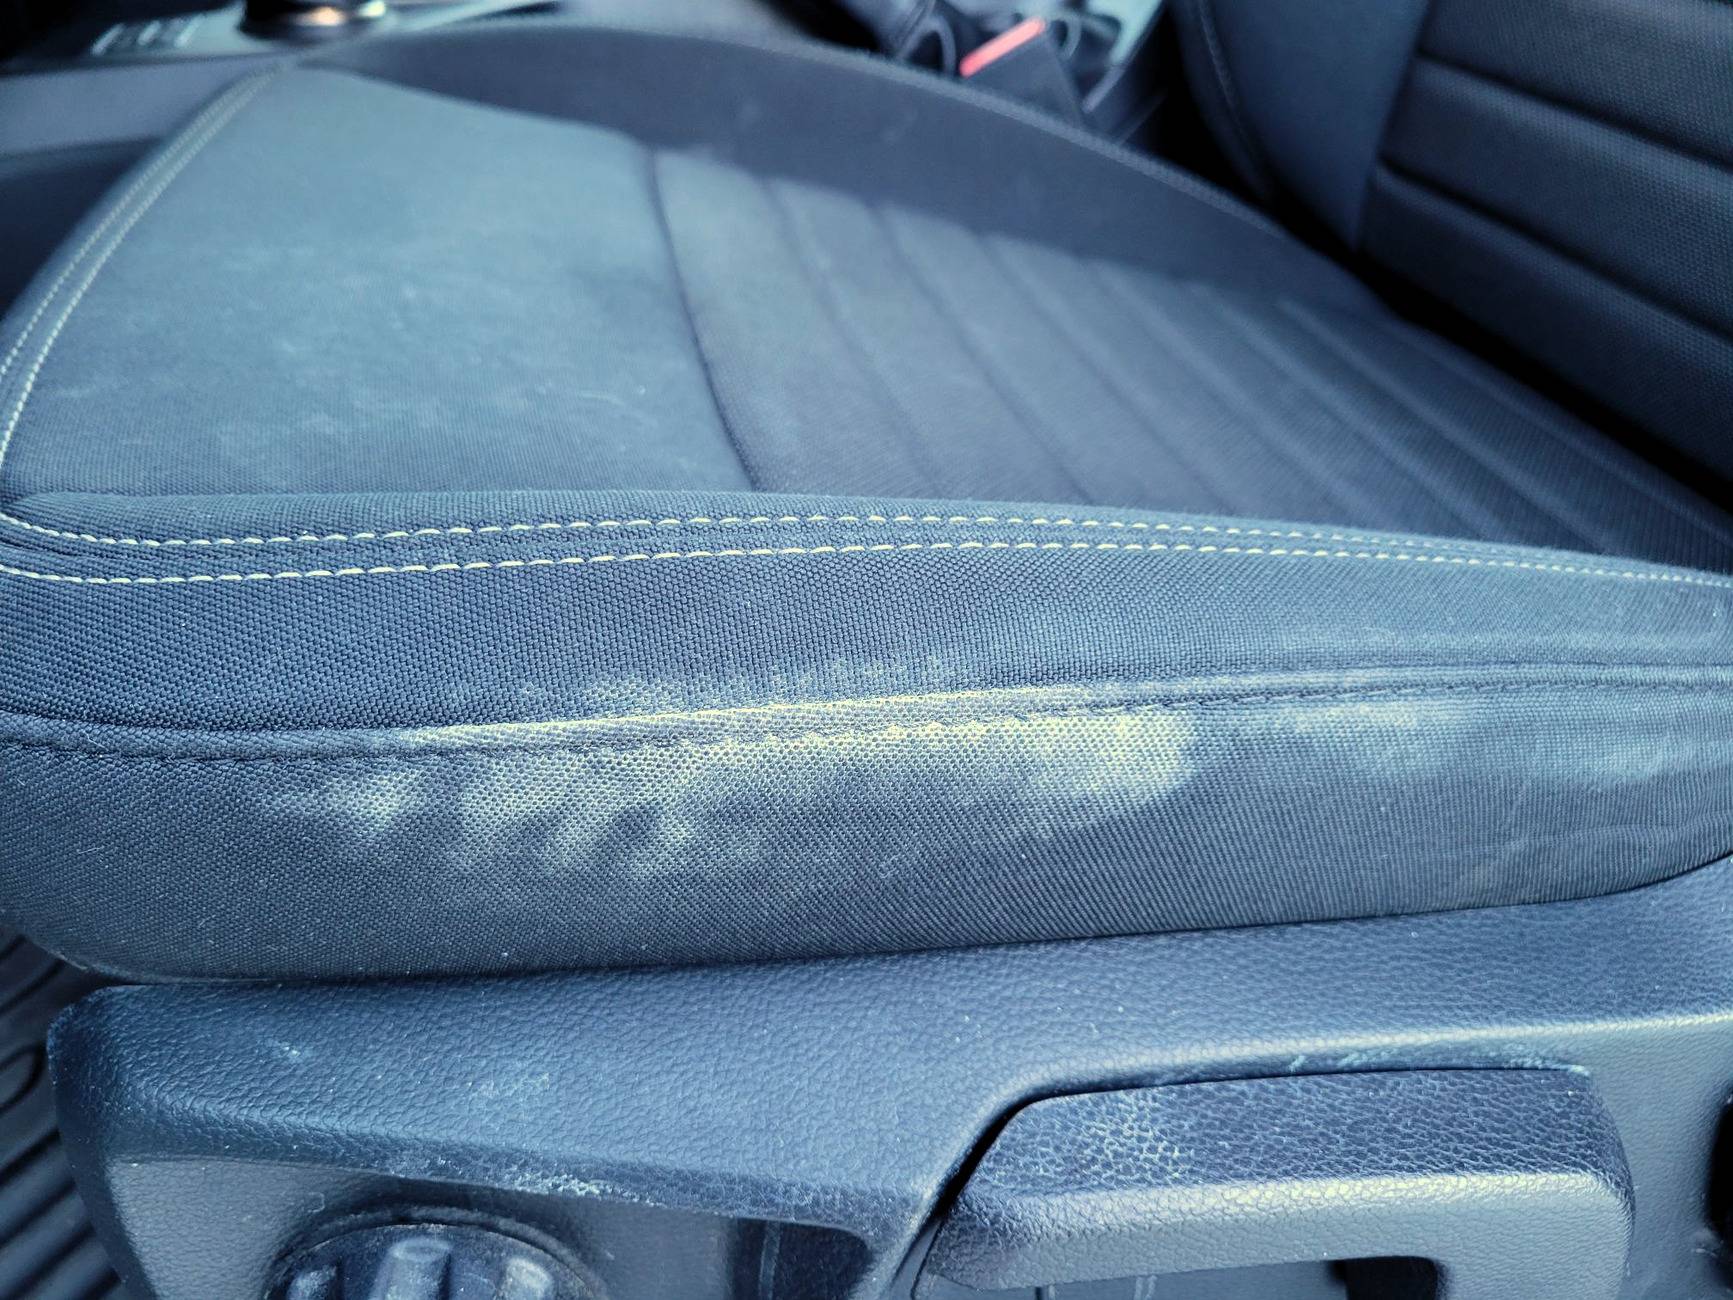
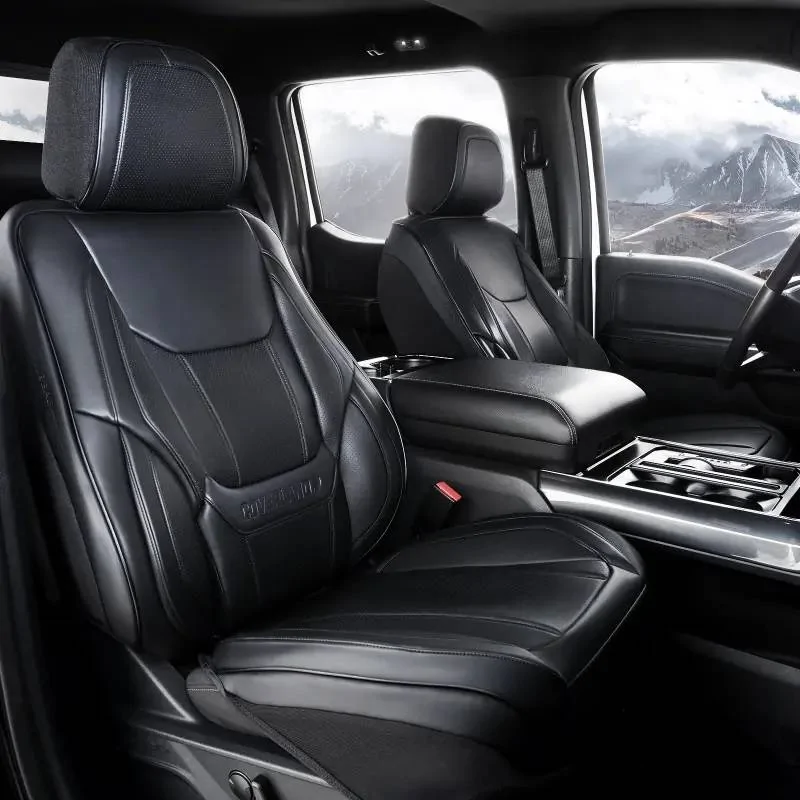
HOLY CRAP!!!! Did you graphene the seats!!! Where do I buy it!! I am convincedIdeally I'd prefer to swap out the interior with leather from another Ranger. The seats are now clean. They got a thorough chemical cleaning with upholstery cleaner, scrubbing and an upholstery machine. What you can still see is not coming out because as mentioned, it's some kind of residue that has bonded to the fabric. A process strong enough to remove whatever it is would likely bleach the fabric and make them look worse than they do.
Finding the right interior likely won't happen quickly so in the meantime I was considering these from Coverland. Reviews are good. But I may just leave the stock ones until a replacement interior can be sourced.


OP
OP
XionUAV
Well-Known Member
- Thread starter
- #183
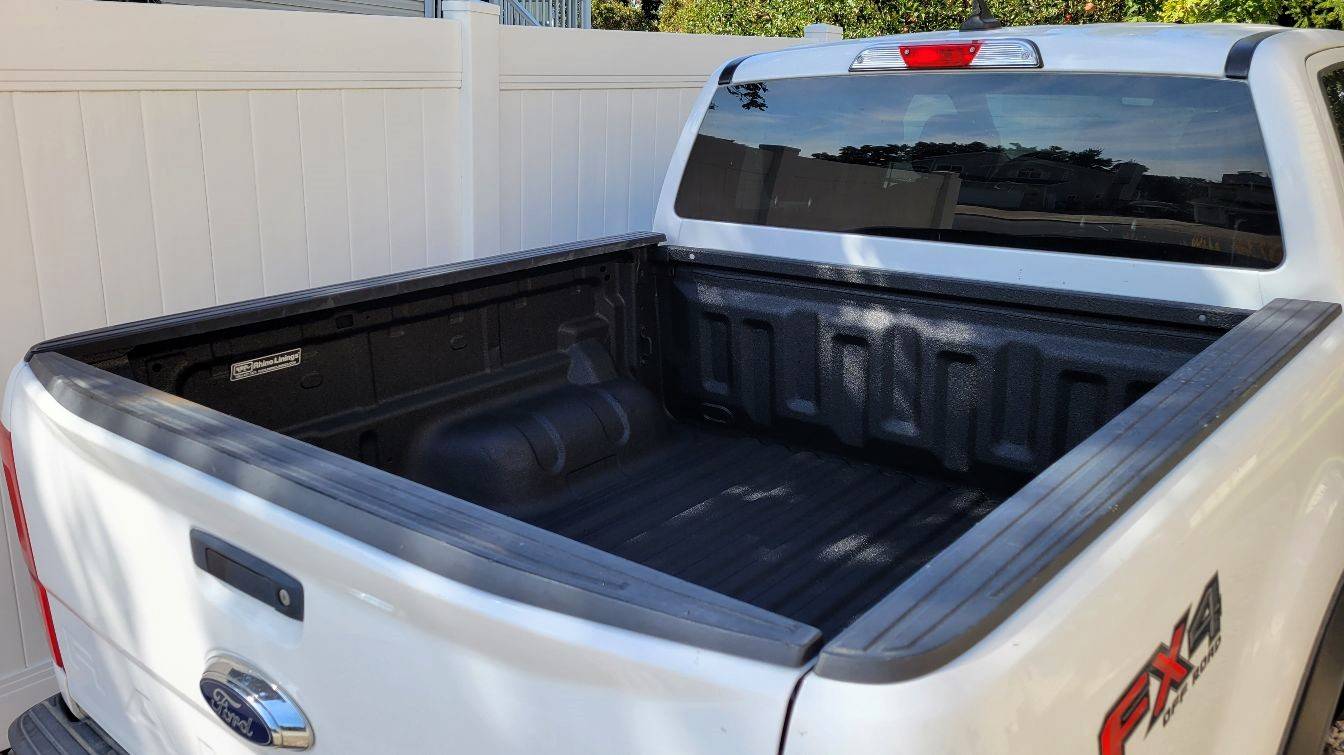
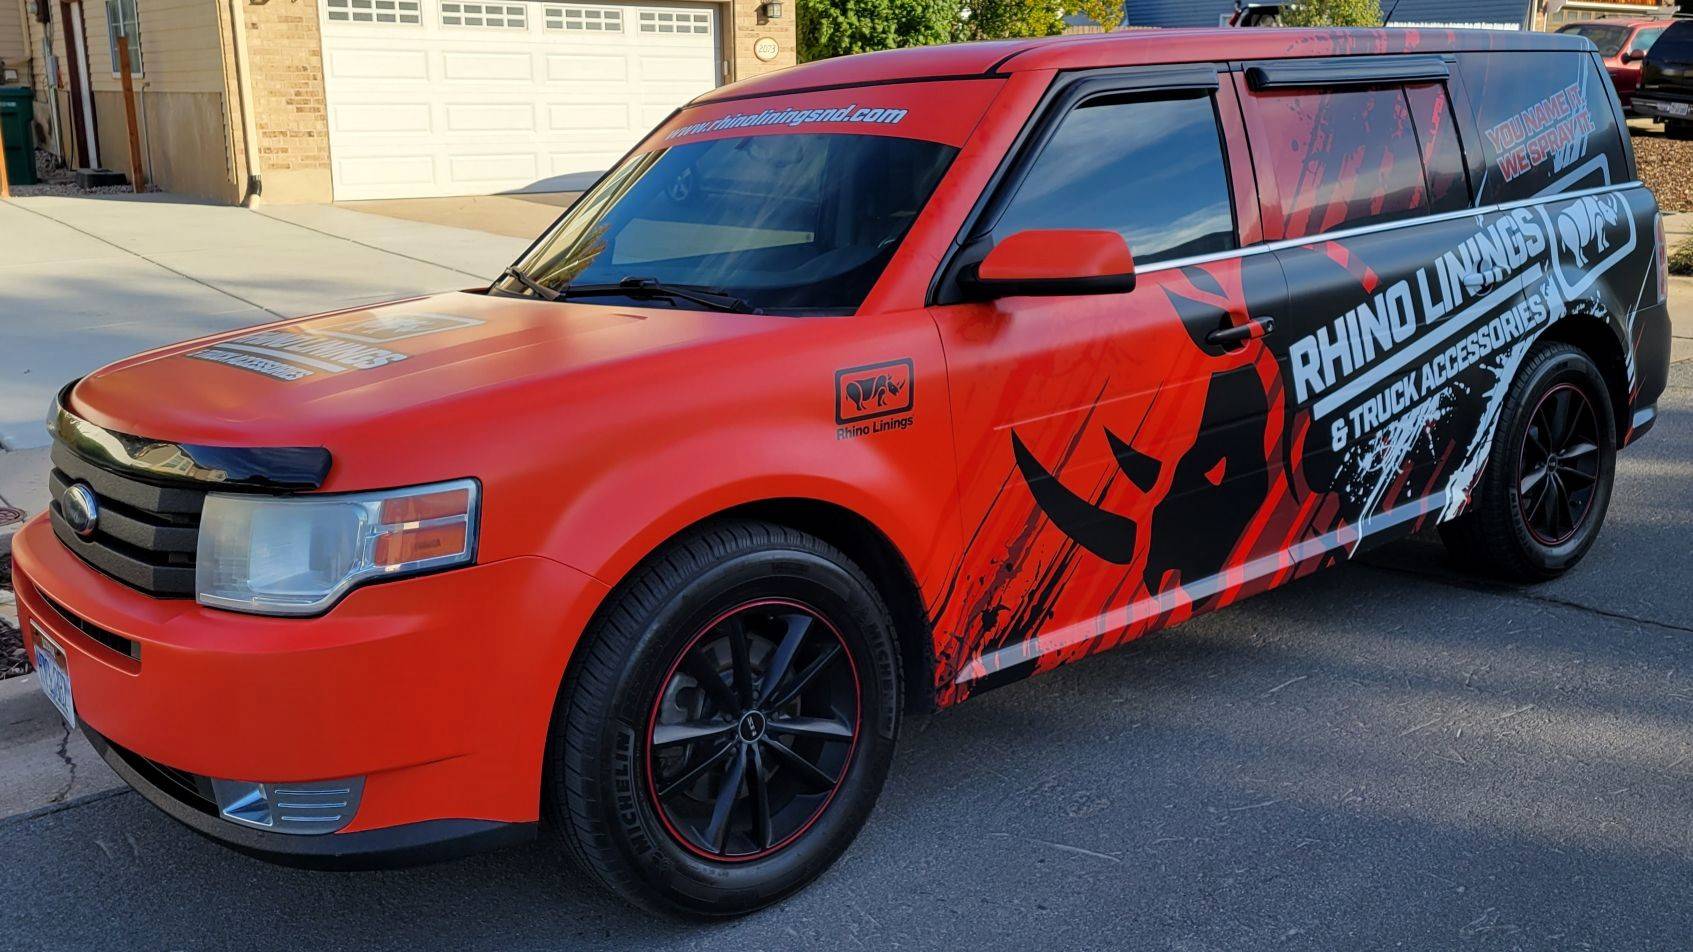
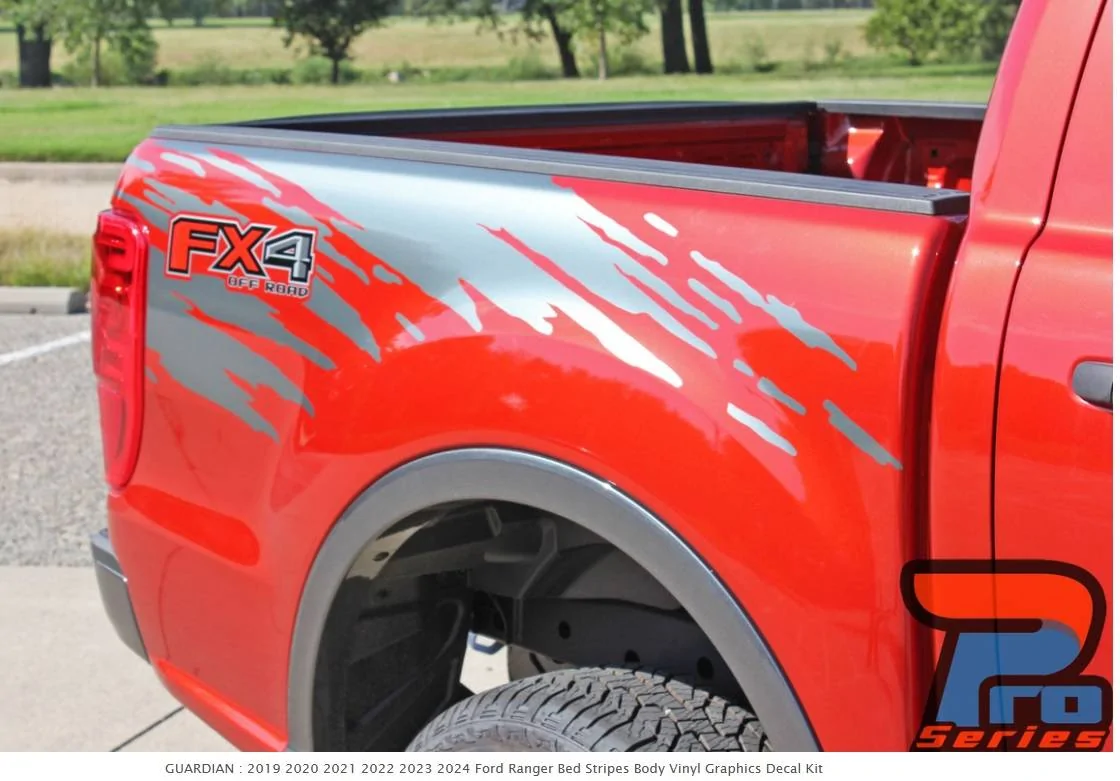
Normally I'm not a big fan of decals and striping on vehicles unless it's a muscle car, but have been toying with this graphic for the Ranger. Thought it might be a fun add. The FX sticker would be removed and the full splash graphic without cutout applied.
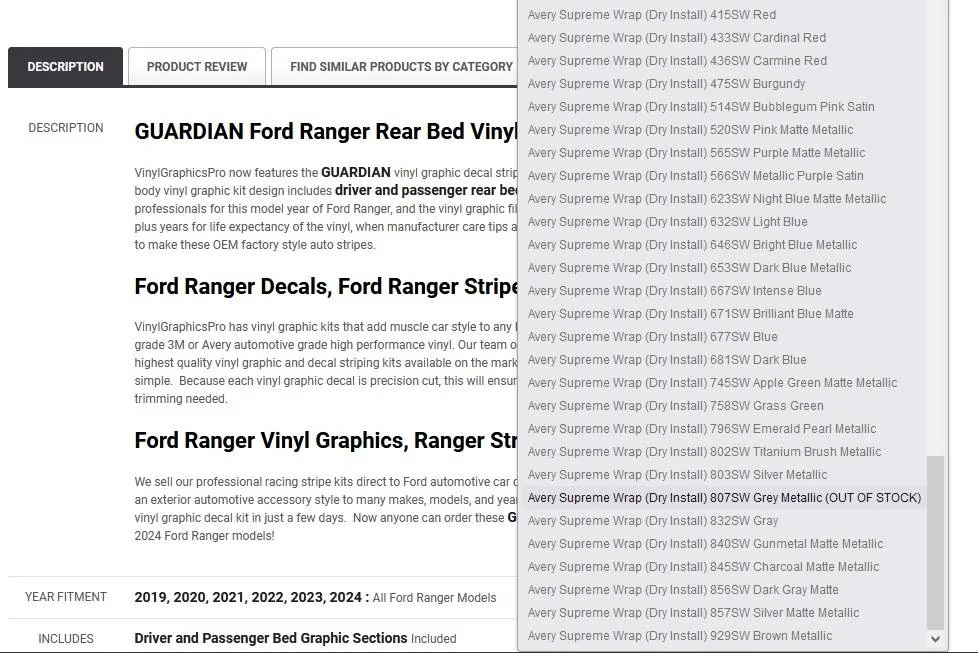
Thought matching the wheel color would look good. Wouldn't you know it. The one color I thought would match the best is the one color that's out of stock. I laughed out loud.


Thought matching the wheel color would look good. Wouldn't you know it. The one color I thought would match the best is the one color that's out of stock. I laughed out loud.
OP
OP
XionUAV
Well-Known Member
- Thread starter
- #184
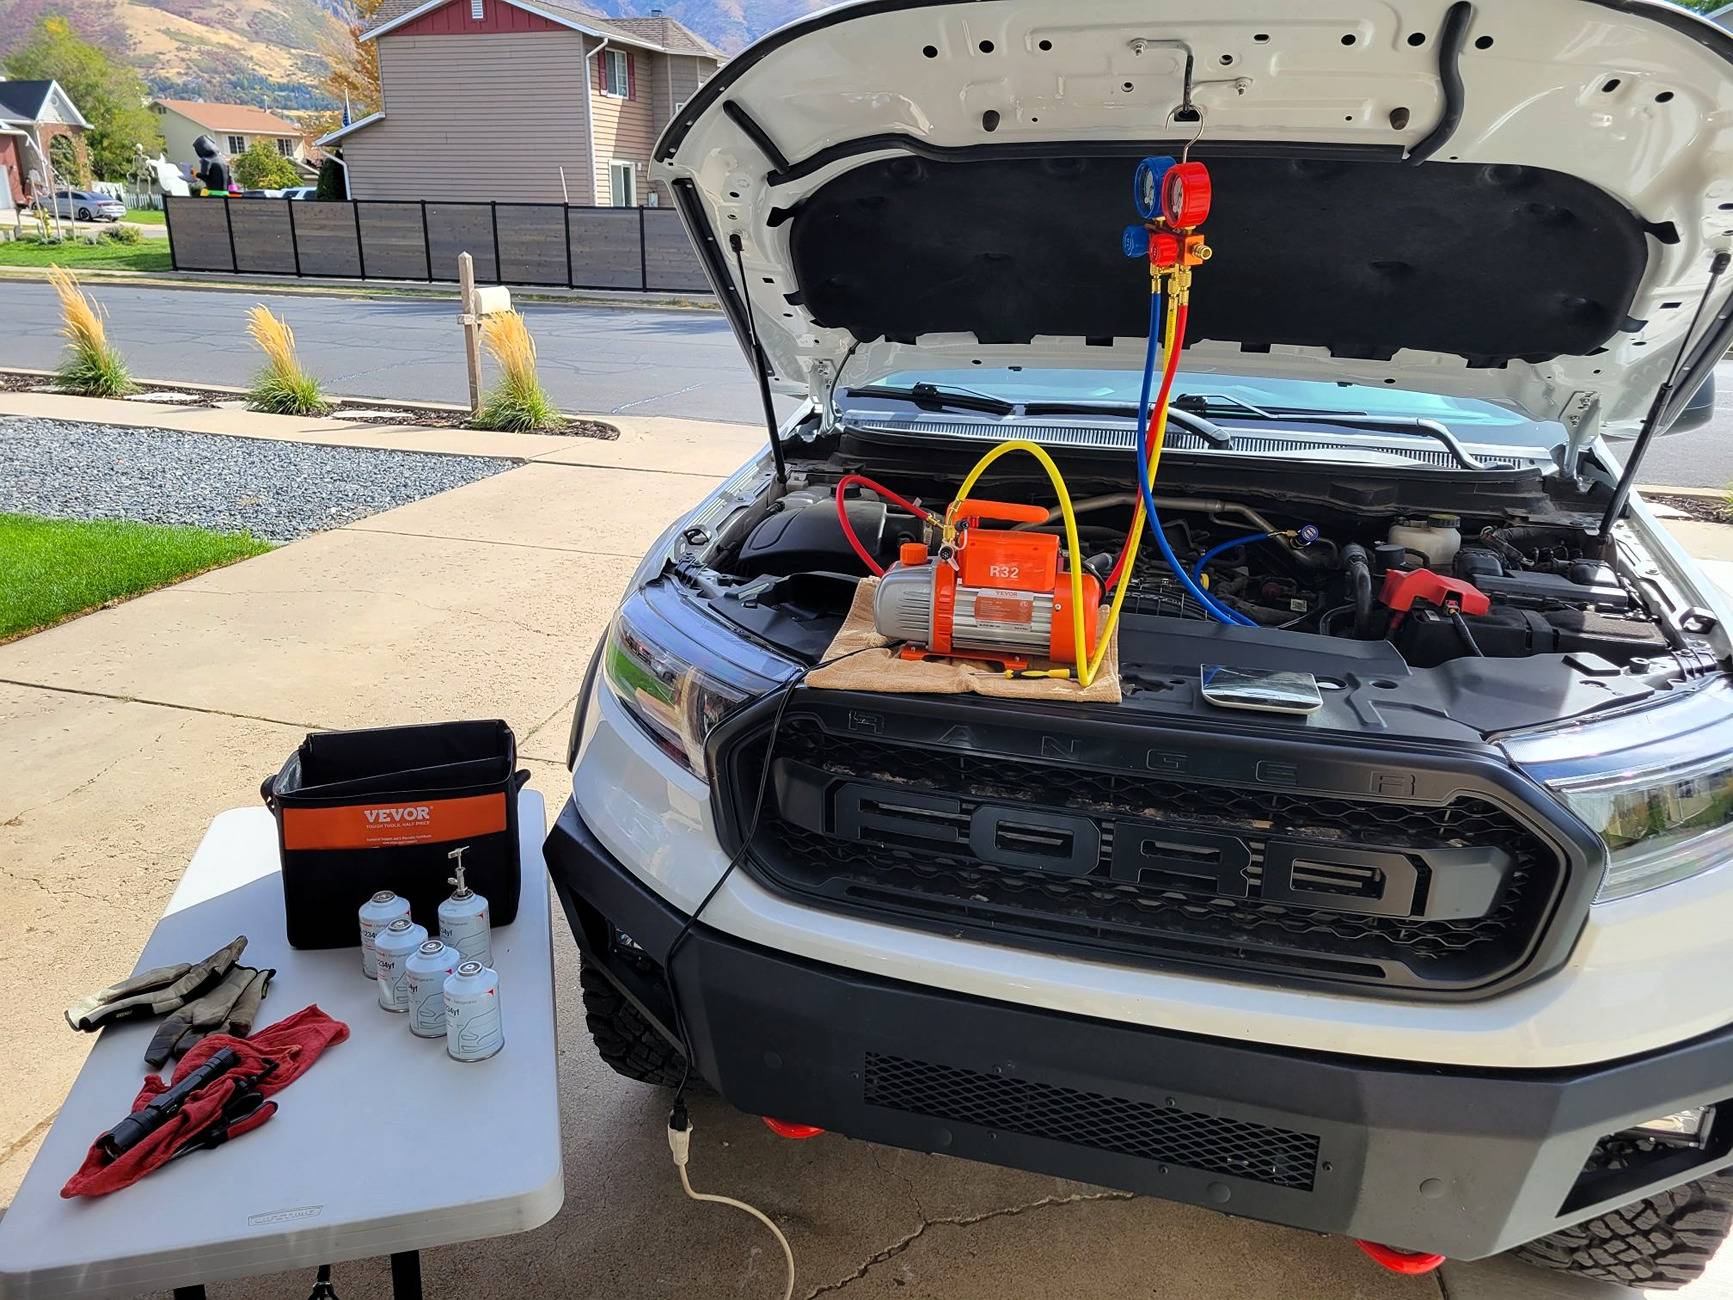
AC day for Whitemare. Naturally there had to be some drama.
The shop where the new/old steering rack was installed quoted around $550 to charge the AC system. To me that was like someone charging $80 to change a light bulb. They rationalized the high price of R-1234YF refrigerent, which is true. But still, that seemed overly steep. So I ordered a vacuum pump with gauge set and a case of 4 cans of YF from a refrigerant company. Cost for both was around $270
Finally got around to the job today. Hooked up everything and then realized I needed some PAG 46-H oil. Did some research and the consensus was that about 1.5 to 2 oz of oil should be sufficient for a new condenser. Oil is specifically for R-1234YF systems.
Getting the oil into the system was a little tricky. Ended up cutting off the can nozzle end of an old R134A hose, started the vacuum pump, opened the high-pressure side, connected the R134A hose to a YF adapter on the low-pressure port, stuck the cut end of the hose in the bottle of oil and sucked about 1.8 oz into the system.
Next was to evacuate the entire system. Basically that means running the vacuum pump for however long. Recommended is usually 30 to 45 minutes. I did around 45 minutes. It was then I realized my 4 cans of 8 oz YF were 3 oz short of the spec'd 35 oz. So I closed off the valves at the gauges, turned off the pump and grudgingly headed to AutoZone to get one overpriced can of YF (I have fond memories of paying only $5 for a can of R134A). This would also be the leak test to see if the system held the -1 bar of vacuum.
Got back and thankfully the dials hadn't moved. Fired up the vacuum pump a little longer for good measure, closed off the valves, removed the pump and proceeded to connect the can nozzle adapter to the yellow vacuum line, screwed on one of the cans, screwed the valve down to puncture the can then opened the valve. Pushed the purge valve at the gauge set and all I got was a short "piff." No fluid.
Long story short here, I never could figure out why the refrigerant wouldn't flow. Maybe the valve is goofy. No idea.
Since I had previously maimed the ONE HOSE I could have used to feed the refrigerant directly to the low-pressure port, it was back to AutoZone for a YF hose. In the meantime the vacuum pump was reconnected to evacuate the lines again because the vacuum was gone after messing around with things.
Good vacuum when I got back. YF hose worked fine. Left the high-pressure side connected, pulled the valve at the low port, connected the YF hose, punctured the can, opened the valve and could immediately feel the can emptying.
The vehicle was running of course and the interesting thing here is the AC compressor kicked on when maybe only 3/4 of the first can was in. I wasn't expecting the pressure switch to activate until maybe halfway through the second can. Continued on with the rest of the 4 cans. Closed everything up and checked the temp. It was nice and cold just idling. Took it for a drive around the block and it was working great.
So I'm guessing there's maybe 30 oz or slightly more in the system. Still short of the specs but it's working fine so I'll call that a win for today.
Of course I now have a $45 can of YF with a nozzle on it I'm not sure is working properly. Even with the valve closed it still leaks slightly. Fortunately the dial set had a threaded cap over the purge valve that I screwed onto the output of the can nozzle to stop it from oozing the rest of my $45.
Just ordered a hose with a pressure gauge and threaded female ends that also comes with the can nozzle (R134A) and port adapters. That way I can connect the hose to the existing nozzle on the can and use the other end with the low-pressure port 134A nozzle and a YF adapter. Dumping another 1/2 can or so into the system should bring it up to spec.
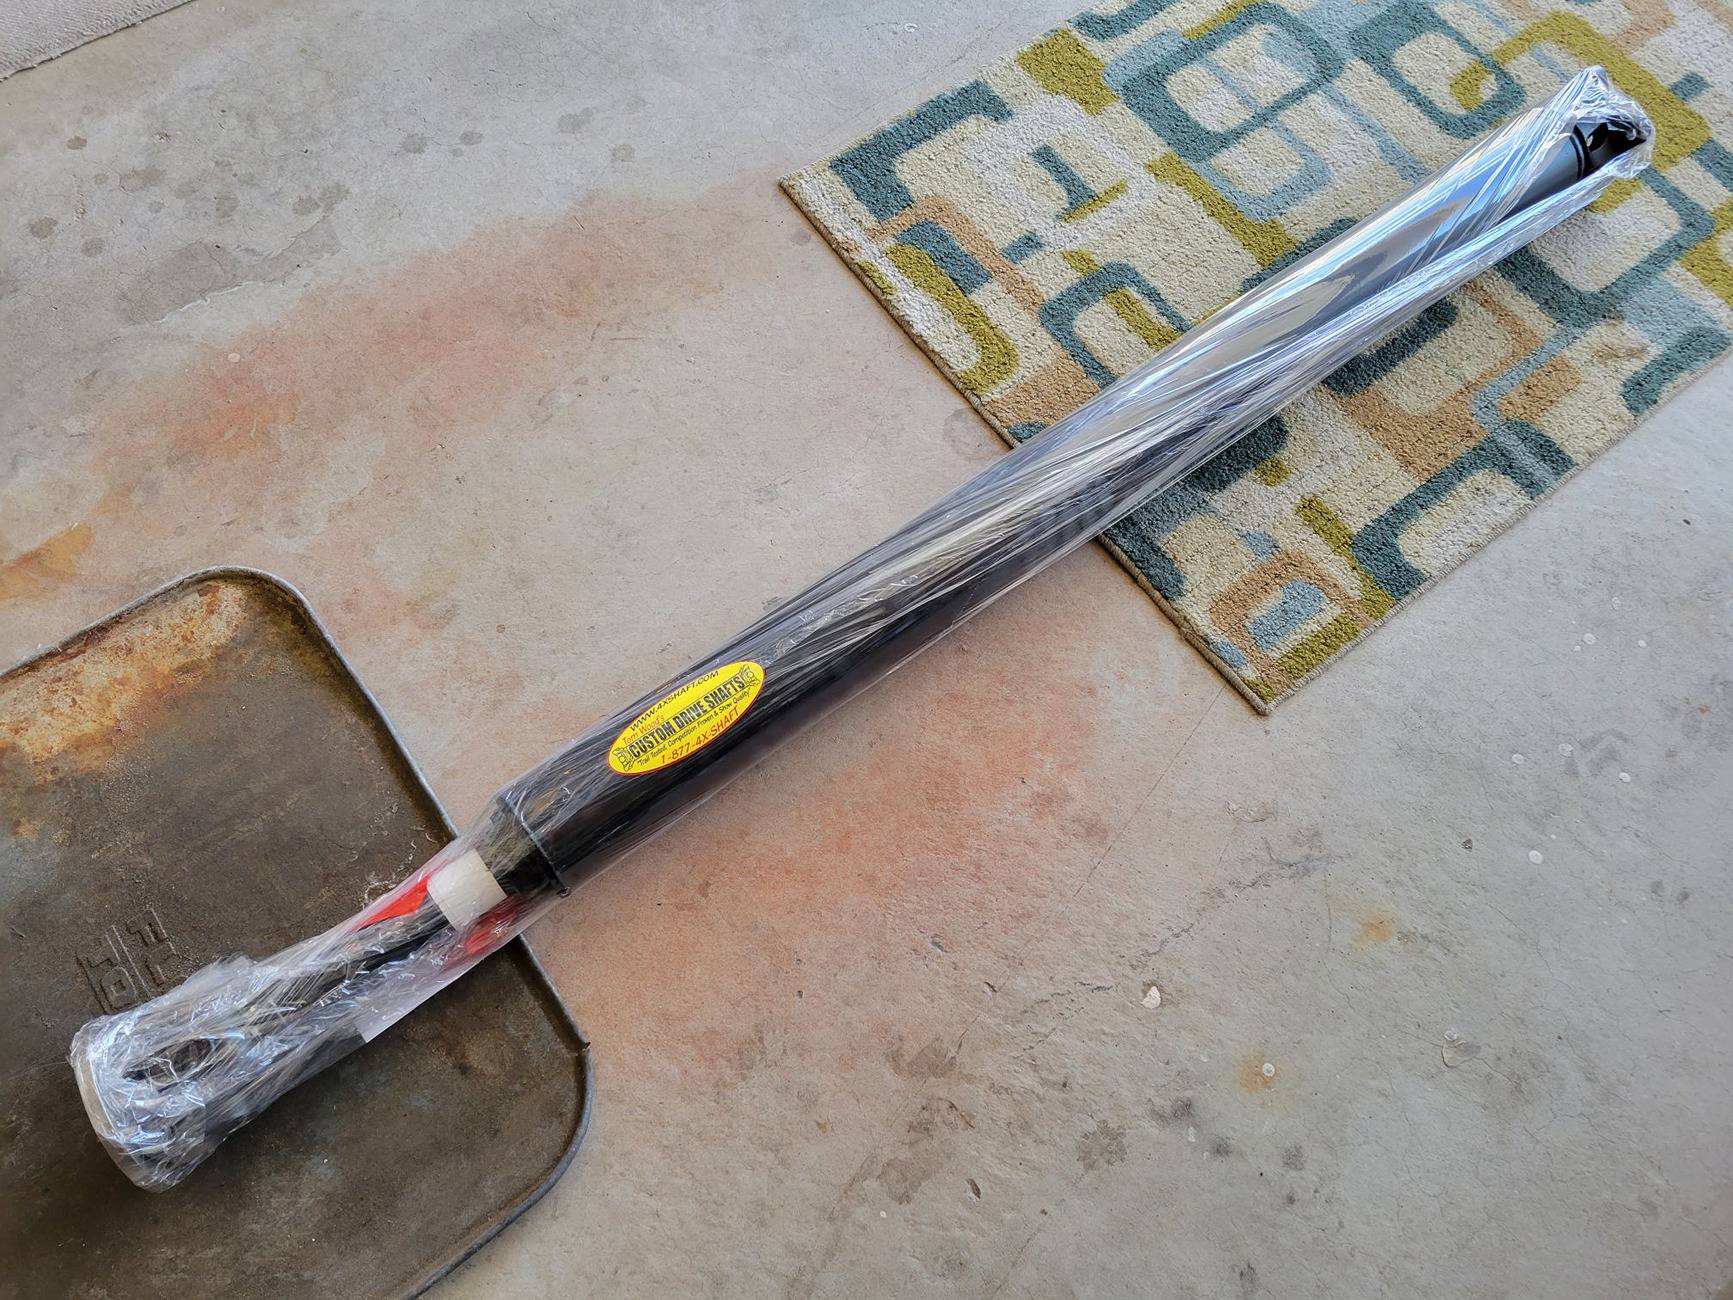
Only 2 planned jobs left aside from replacing the ill-fitting windshield - mud guards and one-piece drive shaft. Because of the flares, mudgaurds will be universal custom installs. Troy at Tom Wood's said the driveline would be ready by last Wednesday or Thursday. Still haven't heard from them so I'll ring them up Monday and see where they are.
The shop where the new/old steering rack was installed quoted around $550 to charge the AC system. To me that was like someone charging $80 to change a light bulb. They rationalized the high price of R-1234YF refrigerent, which is true. But still, that seemed overly steep. So I ordered a vacuum pump with gauge set and a case of 4 cans of YF from a refrigerant company. Cost for both was around $270
Finally got around to the job today. Hooked up everything and then realized I needed some PAG 46-H oil. Did some research and the consensus was that about 1.5 to 2 oz of oil should be sufficient for a new condenser. Oil is specifically for R-1234YF systems.
Getting the oil into the system was a little tricky. Ended up cutting off the can nozzle end of an old R134A hose, started the vacuum pump, opened the high-pressure side, connected the R134A hose to a YF adapter on the low-pressure port, stuck the cut end of the hose in the bottle of oil and sucked about 1.8 oz into the system.
Next was to evacuate the entire system. Basically that means running the vacuum pump for however long. Recommended is usually 30 to 45 minutes. I did around 45 minutes. It was then I realized my 4 cans of 8 oz YF were 3 oz short of the spec'd 35 oz. So I closed off the valves at the gauges, turned off the pump and grudgingly headed to AutoZone to get one overpriced can of YF (I have fond memories of paying only $5 for a can of R134A). This would also be the leak test to see if the system held the -1 bar of vacuum.
Got back and thankfully the dials hadn't moved. Fired up the vacuum pump a little longer for good measure, closed off the valves, removed the pump and proceeded to connect the can nozzle adapter to the yellow vacuum line, screwed on one of the cans, screwed the valve down to puncture the can then opened the valve. Pushed the purge valve at the gauge set and all I got was a short "piff." No fluid.
Long story short here, I never could figure out why the refrigerant wouldn't flow. Maybe the valve is goofy. No idea.
Since I had previously maimed the ONE HOSE I could have used to feed the refrigerant directly to the low-pressure port, it was back to AutoZone for a YF hose. In the meantime the vacuum pump was reconnected to evacuate the lines again because the vacuum was gone after messing around with things.
Good vacuum when I got back. YF hose worked fine. Left the high-pressure side connected, pulled the valve at the low port, connected the YF hose, punctured the can, opened the valve and could immediately feel the can emptying.
The vehicle was running of course and the interesting thing here is the AC compressor kicked on when maybe only 3/4 of the first can was in. I wasn't expecting the pressure switch to activate until maybe halfway through the second can. Continued on with the rest of the 4 cans. Closed everything up and checked the temp. It was nice and cold just idling. Took it for a drive around the block and it was working great.
So I'm guessing there's maybe 30 oz or slightly more in the system. Still short of the specs but it's working fine so I'll call that a win for today.
Of course I now have a $45 can of YF with a nozzle on it I'm not sure is working properly. Even with the valve closed it still leaks slightly. Fortunately the dial set had a threaded cap over the purge valve that I screwed onto the output of the can nozzle to stop it from oozing the rest of my $45.
Just ordered a hose with a pressure gauge and threaded female ends that also comes with the can nozzle (R134A) and port adapters. That way I can connect the hose to the existing nozzle on the can and use the other end with the low-pressure port 134A nozzle and a YF adapter. Dumping another 1/2 can or so into the system should bring it up to spec.
Only 2 planned jobs left aside from replacing the ill-fitting windshield - mud guards and one-piece drive shaft. Because of the flares, mudgaurds will be universal custom installs. Troy at Tom Wood's said the driveline would be ready by last Wednesday or Thursday. Still haven't heard from them so I'll ring them up Monday and see where they are.
airline tech
Well-Known Member
- Joined
- Aug 24, 2022
- Threads
- 28
- Messages
- 4,482
- Reaction score
- 8,548
- Location
- Midwest - KS
- Vehicle(s)
- 2022 Ranger Lariat-Super Crew, Cactus Gray
- Occupation
- Aircraft Tech
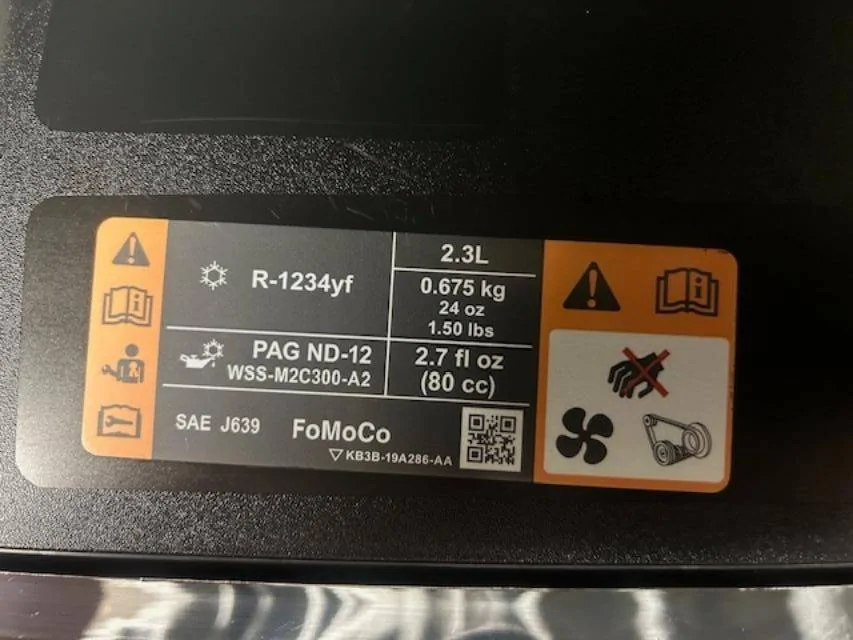
System Specs: Per Manual & PlacardAC day for Whitemare. Naturally there had to be some drama.
The shop where the new/old steering rack was installed quoted around $550 to charge the AC system. To me that was like someone charging $80 to change a light bulb. They rationalized the high price of R-1234YF refrigerent, which is true. But still, that seemed overly steep. So I ordered a vacuum pump with gauge set and a case of 4 cans of YF from a refrigerant company. Cost for both was around $270
Finally got around to the job today. Hooked up everything and then realized I needed some PAG 46-H oil. Did some research and the consensus was that about 1.5 to 2 oz of oil should be sufficient for a new condenser. Oil is specifically for R-1234YF systems.
Getting the oil into the system was a little tricky. Ended up cutting off the can nozzle end of an old R134A hose, started the vacuum pump, opened the high-pressure side, connected the R134A hose to a YF adapter on the low-pressure port, stuck the cut end of the hose in the bottle of oil and sucked about 1.8 oz into the system.
Next was to evacuate the entire system. Basically that means running the vacuum pump for however long. Recommended is usually 30 to 45 minutes. I did around 45 minutes. It was then I realized my 4 cans of 8 oz YF were 3 oz short of the spec'd 35 oz. So I closed off the valves at the gauges, turned off the pump and grudgingly headed to AutoZone to get one overpriced can of YF (I have fond memories of paying only $5 for a can of R134A). This would also be the leak test to see if the system held the -1 bar of vacuum.
Got back and thankfully the dials hadn't moved. Fired up the vacuum pump a little longer for good measure, closed off the valves, removed the pump and proceeded to connect the can nozzle adapter to the yellow vacuum line, screwed on one of the cans, screwed the valve down to puncture the can then opened the valve. Pushed the purge valve at the gauge set and all I got was a short "piff." No fluid.
Long story short here, I never could figure out why the refrigerant wouldn't flow. Maybe the valve is goofy. No idea.
Since I had previously maimed the ONE HOSE I could have used to feed the refrigerant directly to the low-pressure port, it was back to AutoZone for a YF hose. In the meantime the vacuum pump was reconnected to evacuate the lines again because the vacuum was gone after messing around with things.
Good vacuum when I got back. YF hose worked fine. Left the high-pressure side connected, pulled the valve at the low port, connected the YF hose, punctured the can, opened the valve and could immediately feel the can emptying.
The vehicle was running of course and the interesting thing here is the AC compressor kicked on when maybe only 3/4 of the first can was in. I wasn't expecting the pressure switch to activate until maybe halfway through the second can. Continued on with the rest of the 4 cans. Closed everything up and checked the temp. It was nice and cold just idling. Took it for a drive around the block and it was working great.
So I'm guessing there's maybe 30 oz or slightly more in the system. Still short of the specs but it's working fine so I'll call that a win for today.
Of course I now have a $45 can of YF with a nozzle on it I'm not sure is working properly. Even with the valve closed it still leaks slightly. Fortunately the dial set had a threaded cap over the purge valve that I screwed onto the output of the can nozzle to stop it from oozing the rest of my $45.
Just ordered a hose with a pressure gauge and threaded female ends that also comes with the can nozzle (R134A) and port adapters. That way I can connect the hose to the existing nozzle on the can and use the other end with the low-pressure port 134A nozzle and a YF adapter. Dumping another 1/2 can or so into the system should bring it up to spec.
Only 2 planned jobs left aside from replacing the ill-fitting windshield - mud guards and one-piece drive shaft. Because of the flares, mudgaurds will be universal custom installs. Troy at Tom Wood's said the driveline would be ready by last Wednesday or Thursday. Still haven't heard from them so I'll ring them up Monday and see where they are.
Pag Oil - 2.7 Oz's (Total Capacity)
Freon: - 24 Oz's or 1.5 lbs
After Condenser / Receiver Dryer Replacement - As I assume you replaced as an assembly
2.0 Oz's of Pag Oil (Assembly)
1.5 Oz's (Condenser Only)
These are the amounts (PLUS) recovered oil when Recovered (which is unknown) so you use the 2.7 Oz's
So, you may be overcharged vs undercharged
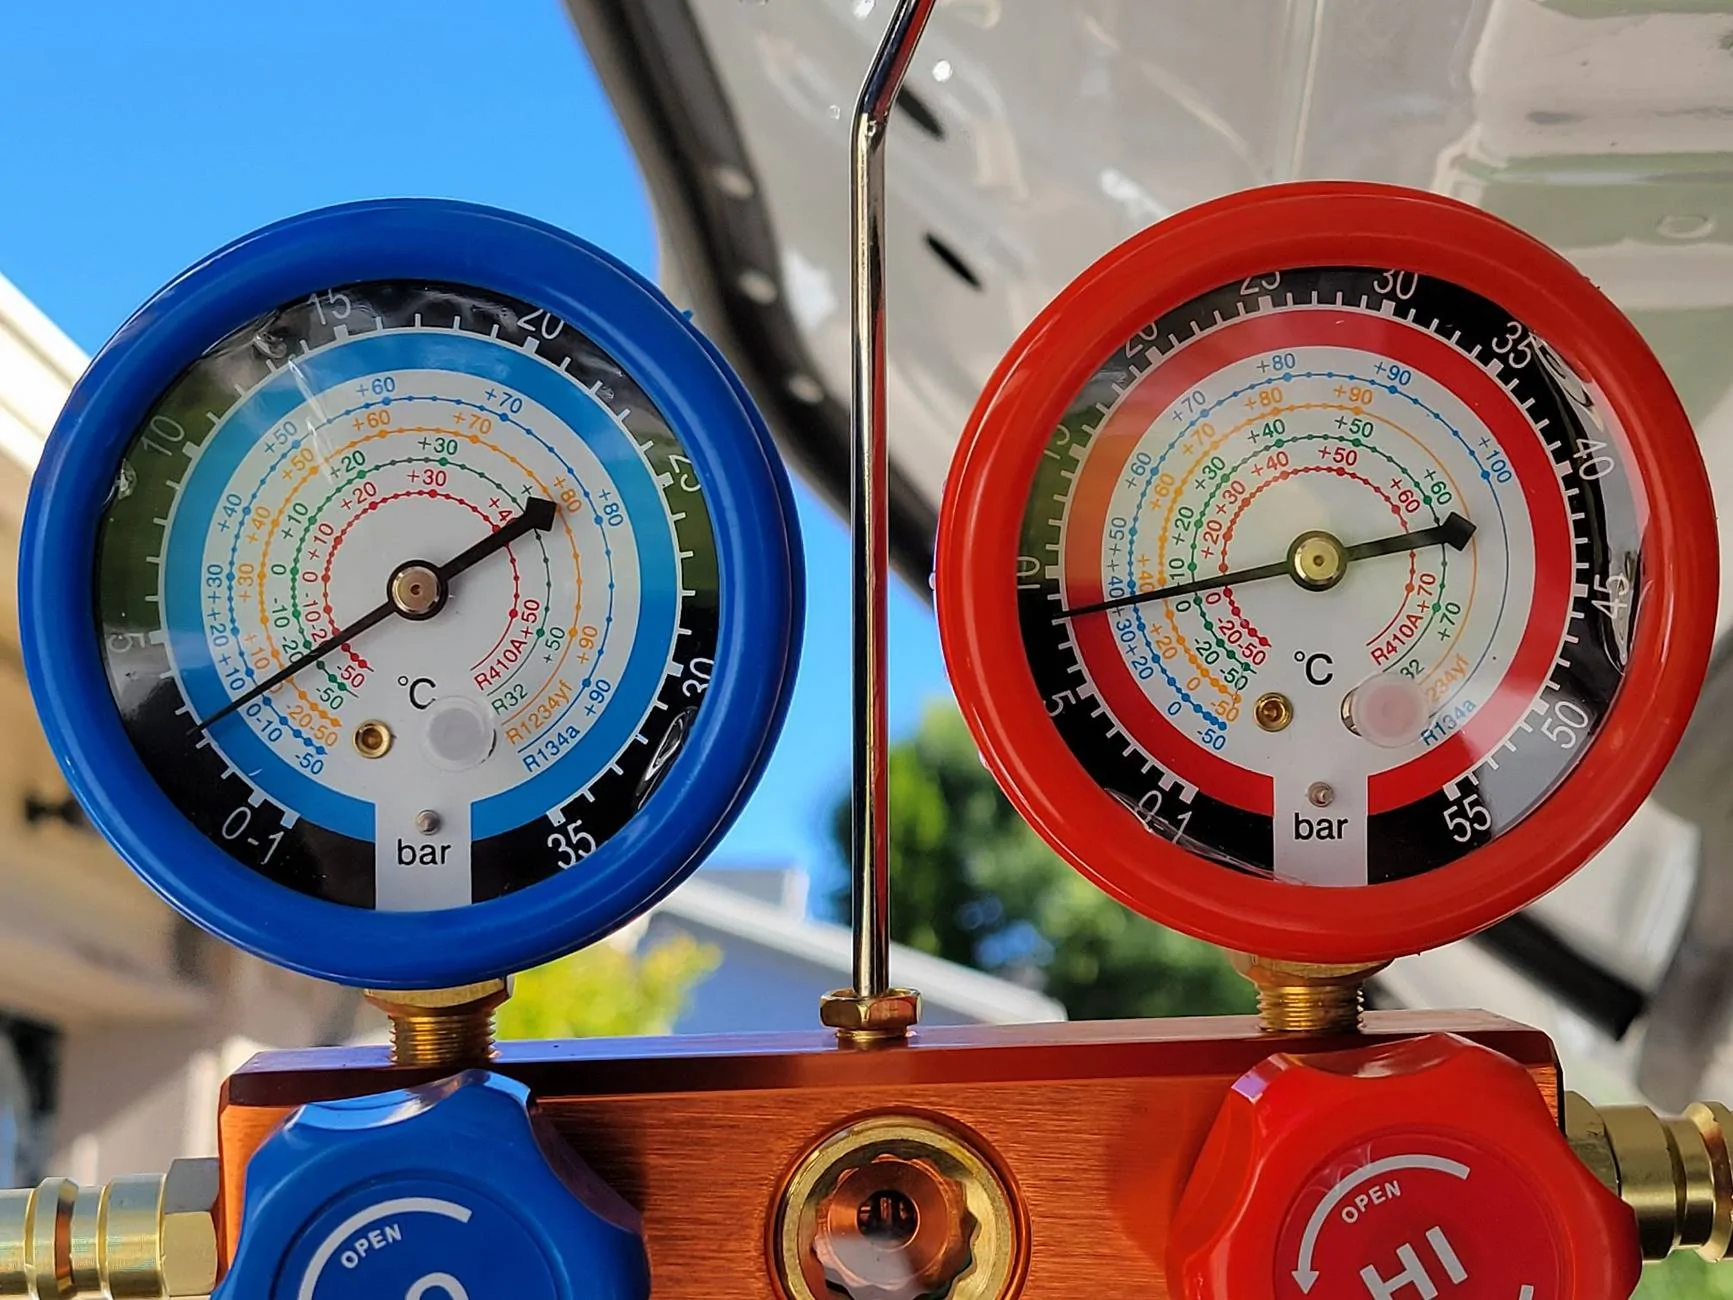
If I recall - It's been some time but if the (High Side - Fluctuating) and (Low Side- Normal)
Indicates Overcharged System
Gauges Bouncing
At 70 Deg and Humidity (Based) in calculation - High Side Press should be close to 177 PSI &
At 80 Deg close to 200 PSI average
OP
OP
XionUAV
Well-Known Member
- Thread starter
- #186
Figures. Seems like when I was investigating capacities months ago when ordering the YF and vacuum pump, I recall thinking that 3 cans would do it - 24 oz. But today when looking at info there was one source that showed the "2.3L Eco Boost" capacity was 35 oz. So it's definitely overcharged.
I'll certainly trust your specs and check the pressures. Just when you think you know what you're doing but should have double checked with the manual...
I'll certainly trust your specs and check the pressures. Just when you think you know what you're doing but should have double checked with the manual...
airline tech
Well-Known Member
- Joined
- Aug 24, 2022
- Threads
- 28
- Messages
- 4,482
- Reaction score
- 8,548
- Location
- Midwest - KS
- Vehicle(s)
- 2022 Ranger Lariat-Super Crew, Cactus Gray
- Occupation
- Aircraft Tech
But with a new cover - you are missing an important related placard

OP
OP
XionUAV
Well-Known Member
- Thread starter
- #188
Yeah, as a matter of fact I started looking a couple of days ago for the stickers to replace the ones that originally came on that cover. The only one on there now is a label maker label I stuck on showing the oil change info.
Still feel pretty stupid. I don't usually make dumb mistakes like that.
Still feel pretty stupid. I don't usually make dumb mistakes like that.
5thranger
Well-Known Member
I wouldn't be too hard on yourself anyone that rebuilds a truck like you have is not a simpleton.Yeah, as a matter of fact I started looking a couple of days ago for the stickers to replace the ones that originally came on that cover. The only one on there now is a label maker label I stuck on showing the oil change info.
Still feel pretty stupid. I don't usually make dumb mistakes like that.
OP
OP
XionUAV
Well-Known Member
- Thread starter
- #191
Well, the pressures are definitely not too high. Ambient temperature was around 70°. Engine idling. Low side was about 35 psi, high side about 120 psi. Those are slightly below standards for R-1234YF at that temperature.
Just have to wait and see what happens long term.
Just have to wait and see what happens long term.
TJC
Well-Known Member
- First Name
- Tony
- Joined
- Aug 28, 2020
- Threads
- 45
- Messages
- 3,955
- Reaction score
- 9,935
- Location
- North Carolina
- Vehicle(s)
- 93 Miata, 05 Ranger 4x4, 20 Ranger 4x4, 23 CX-5
Just got back from a second 1300 miles round trip in week. I am exhausted! Hard rain from 45 miles north of Syracuse, NY to Frederic, Maryland, then a continuous traffic jam From Frederic thru Wash DC south to the I-95 I-85 exchange south of Petersburg, VA. Things finally lightened up near the Va / NC line on I-85.Next, Tom Wood's one-piece drive shaft.
I hit speeds of 90mph when passing on two occasions fleeing massive high speed traffic on I-495 around Wash DC. Going slower was more dangerous than getting away from the crazy masses.
The Tom Wood's drive shaft was smooth, not a single shake or shudder. I usually travel no more than 5 over the limit or a max of 75mph, but it was difficult this time around. Trip is normally 10.5 hours. This time it took 12 hours.
Last edited:
OP
OP
XionUAV
Well-Known Member
- Thread starter
- #195
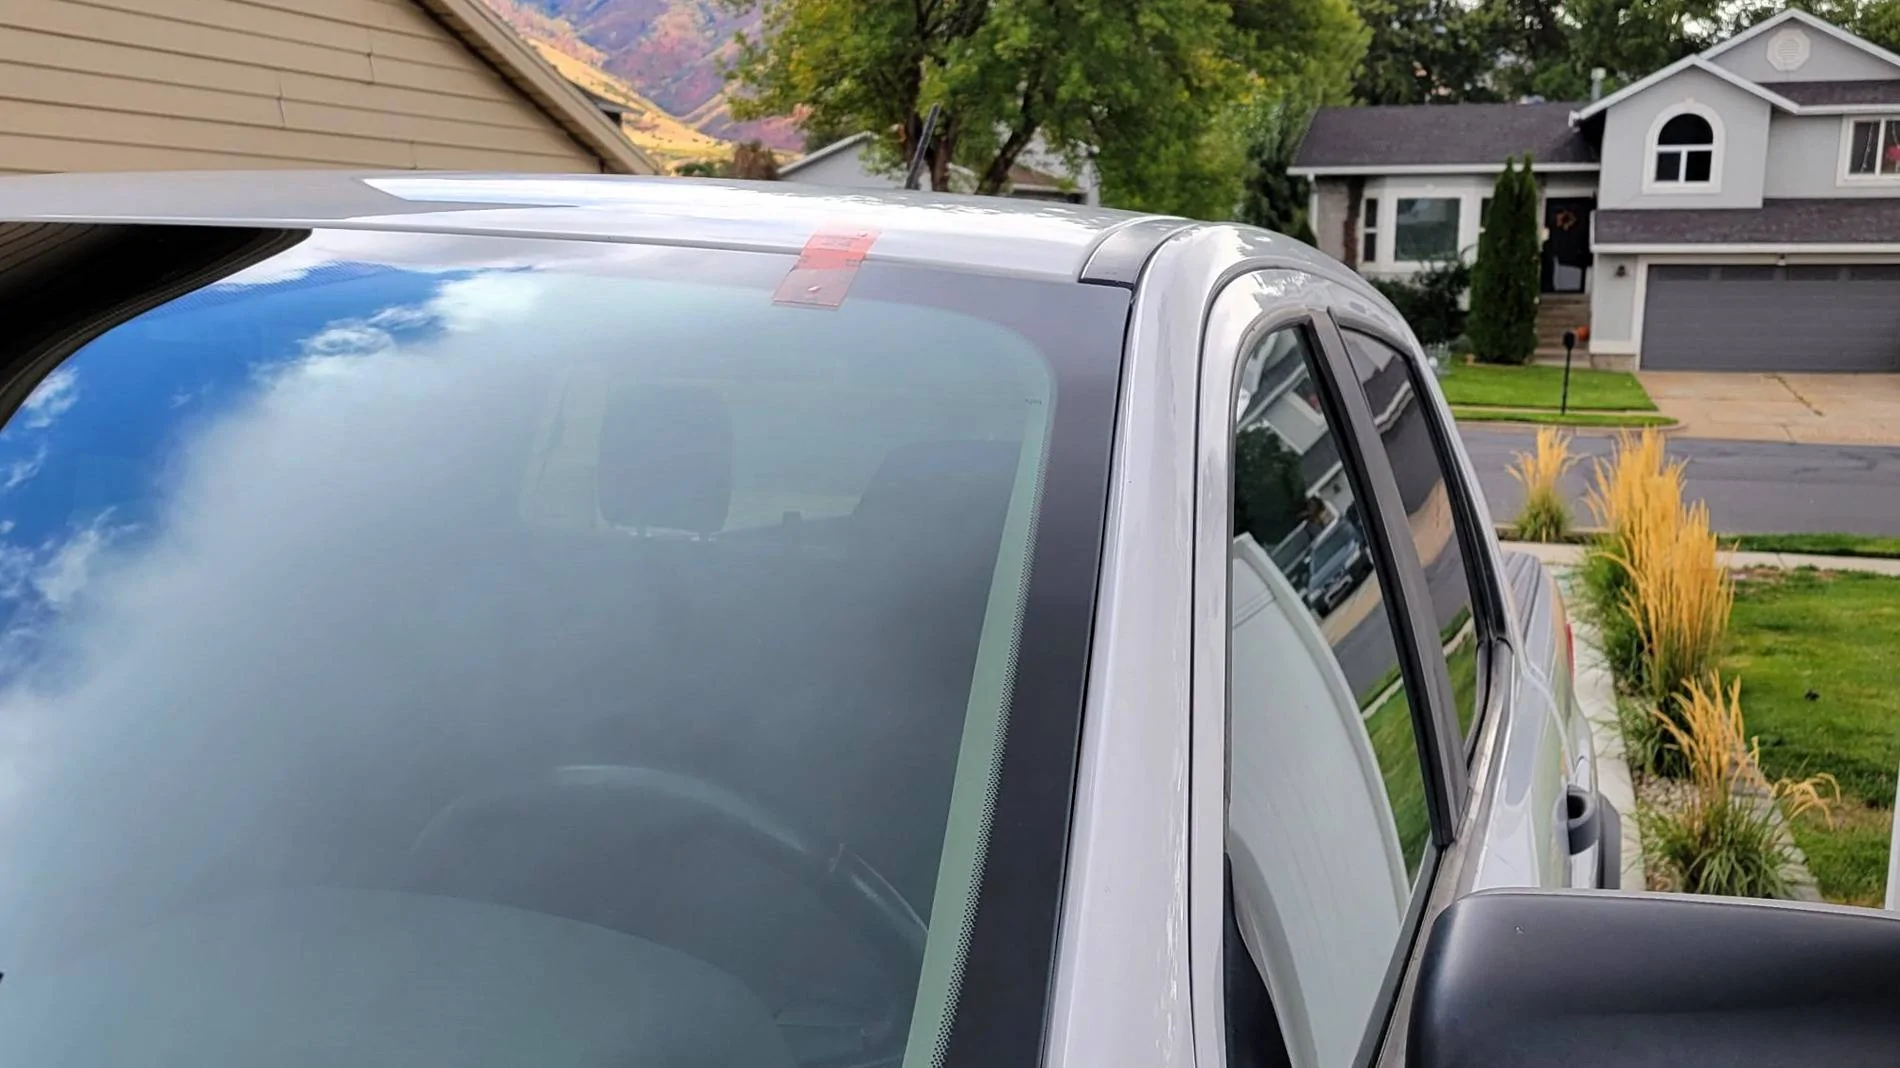
The glass shop got the windshield placement corrected. The top driver side is now even with the roof line.
The guy was honest and said they had missed the spacer somehow the first time and the windshield had been pushed too far into the frame, which is funny because that's exactly what I told them had likely happened the first time, although they wouldn't admit it.
The guy I talked with today was not the same tech who installed it the first time. They apparently had ordered a new windshield just in case the existing one was warped somehow. It appears the problem was just an installation oversight.
Truthfully it was one of those things an experienced installer, or one more detail oriented, would have noticed and corrected the first time. But as we all know, skilled, experienced labor is getting harder to come by. Just glad it's correct now. That said, the only way to cleanup that polyurethane without making a total mess is to wait until it's cured, unless you're super careful. So maybe that was part of the unspoken plan to start with. Who knows?
One thing he pointed out was the back fender attachment near the windshield is closer to the glass than on the passenger side. Looks like something I missed when reinstalling the fender. Shouldn't be too difficult to move it down slightly. Then the hinge covers can go on.
It's like being 50 feet from the finish line of a 20 mile journey. Not sure if I'm happy or just thankful this rebuild is genuinely almost over.
Sponsored