JDowns
Well-Known Member
- First Name
- Jeff
- Joined
- Dec 3, 2021
- Threads
- 18
- Messages
- 448
- Reaction score
- 1,658
- Location
- Coeur D'Alene
- Vehicle(s)
- 2021 Ranger XLT Tremor
- Thread starter
- #1
Since Ford discontinued this option in later models and the topic comes up frequently, I figured I would take a look at what it would take to add lighting and if it was a relatively easy task.
I would wait to do this mod until a better LED strip solution is available. I'm going to order some varying LED strips from Oznium that I think will be a much better fit. The strip I had handy that just happens to fit perfectly, also happens to have poorly spaced LED's where a few ultra thin options from Oznium shouldn't produce hot spots as you will see below.
You will need the following tools.
Small flathead screwdriver.
Panel removal tool (angled is best).
7mm socket.
Start by lowering the glove box by compressing in the sides.
Remove the lower panel between the glove box and instrument panel. Start near the instrument panel in the top corner and work your way down the inside edge. Then the same from the outside edge and pull forward. These tabs are soft so take your time to avoid breaking and bending them. If the white retainer clips come off replace them back on the panel as needed.

Lower the drivers side panel under the steering wheel. This is hinged at the bottom. If the white retainer clips come off replace them back on the panel as needed.
Remove the lower panel between the the panel you just lowered and the instrument panel. Follow the same method as the other side.
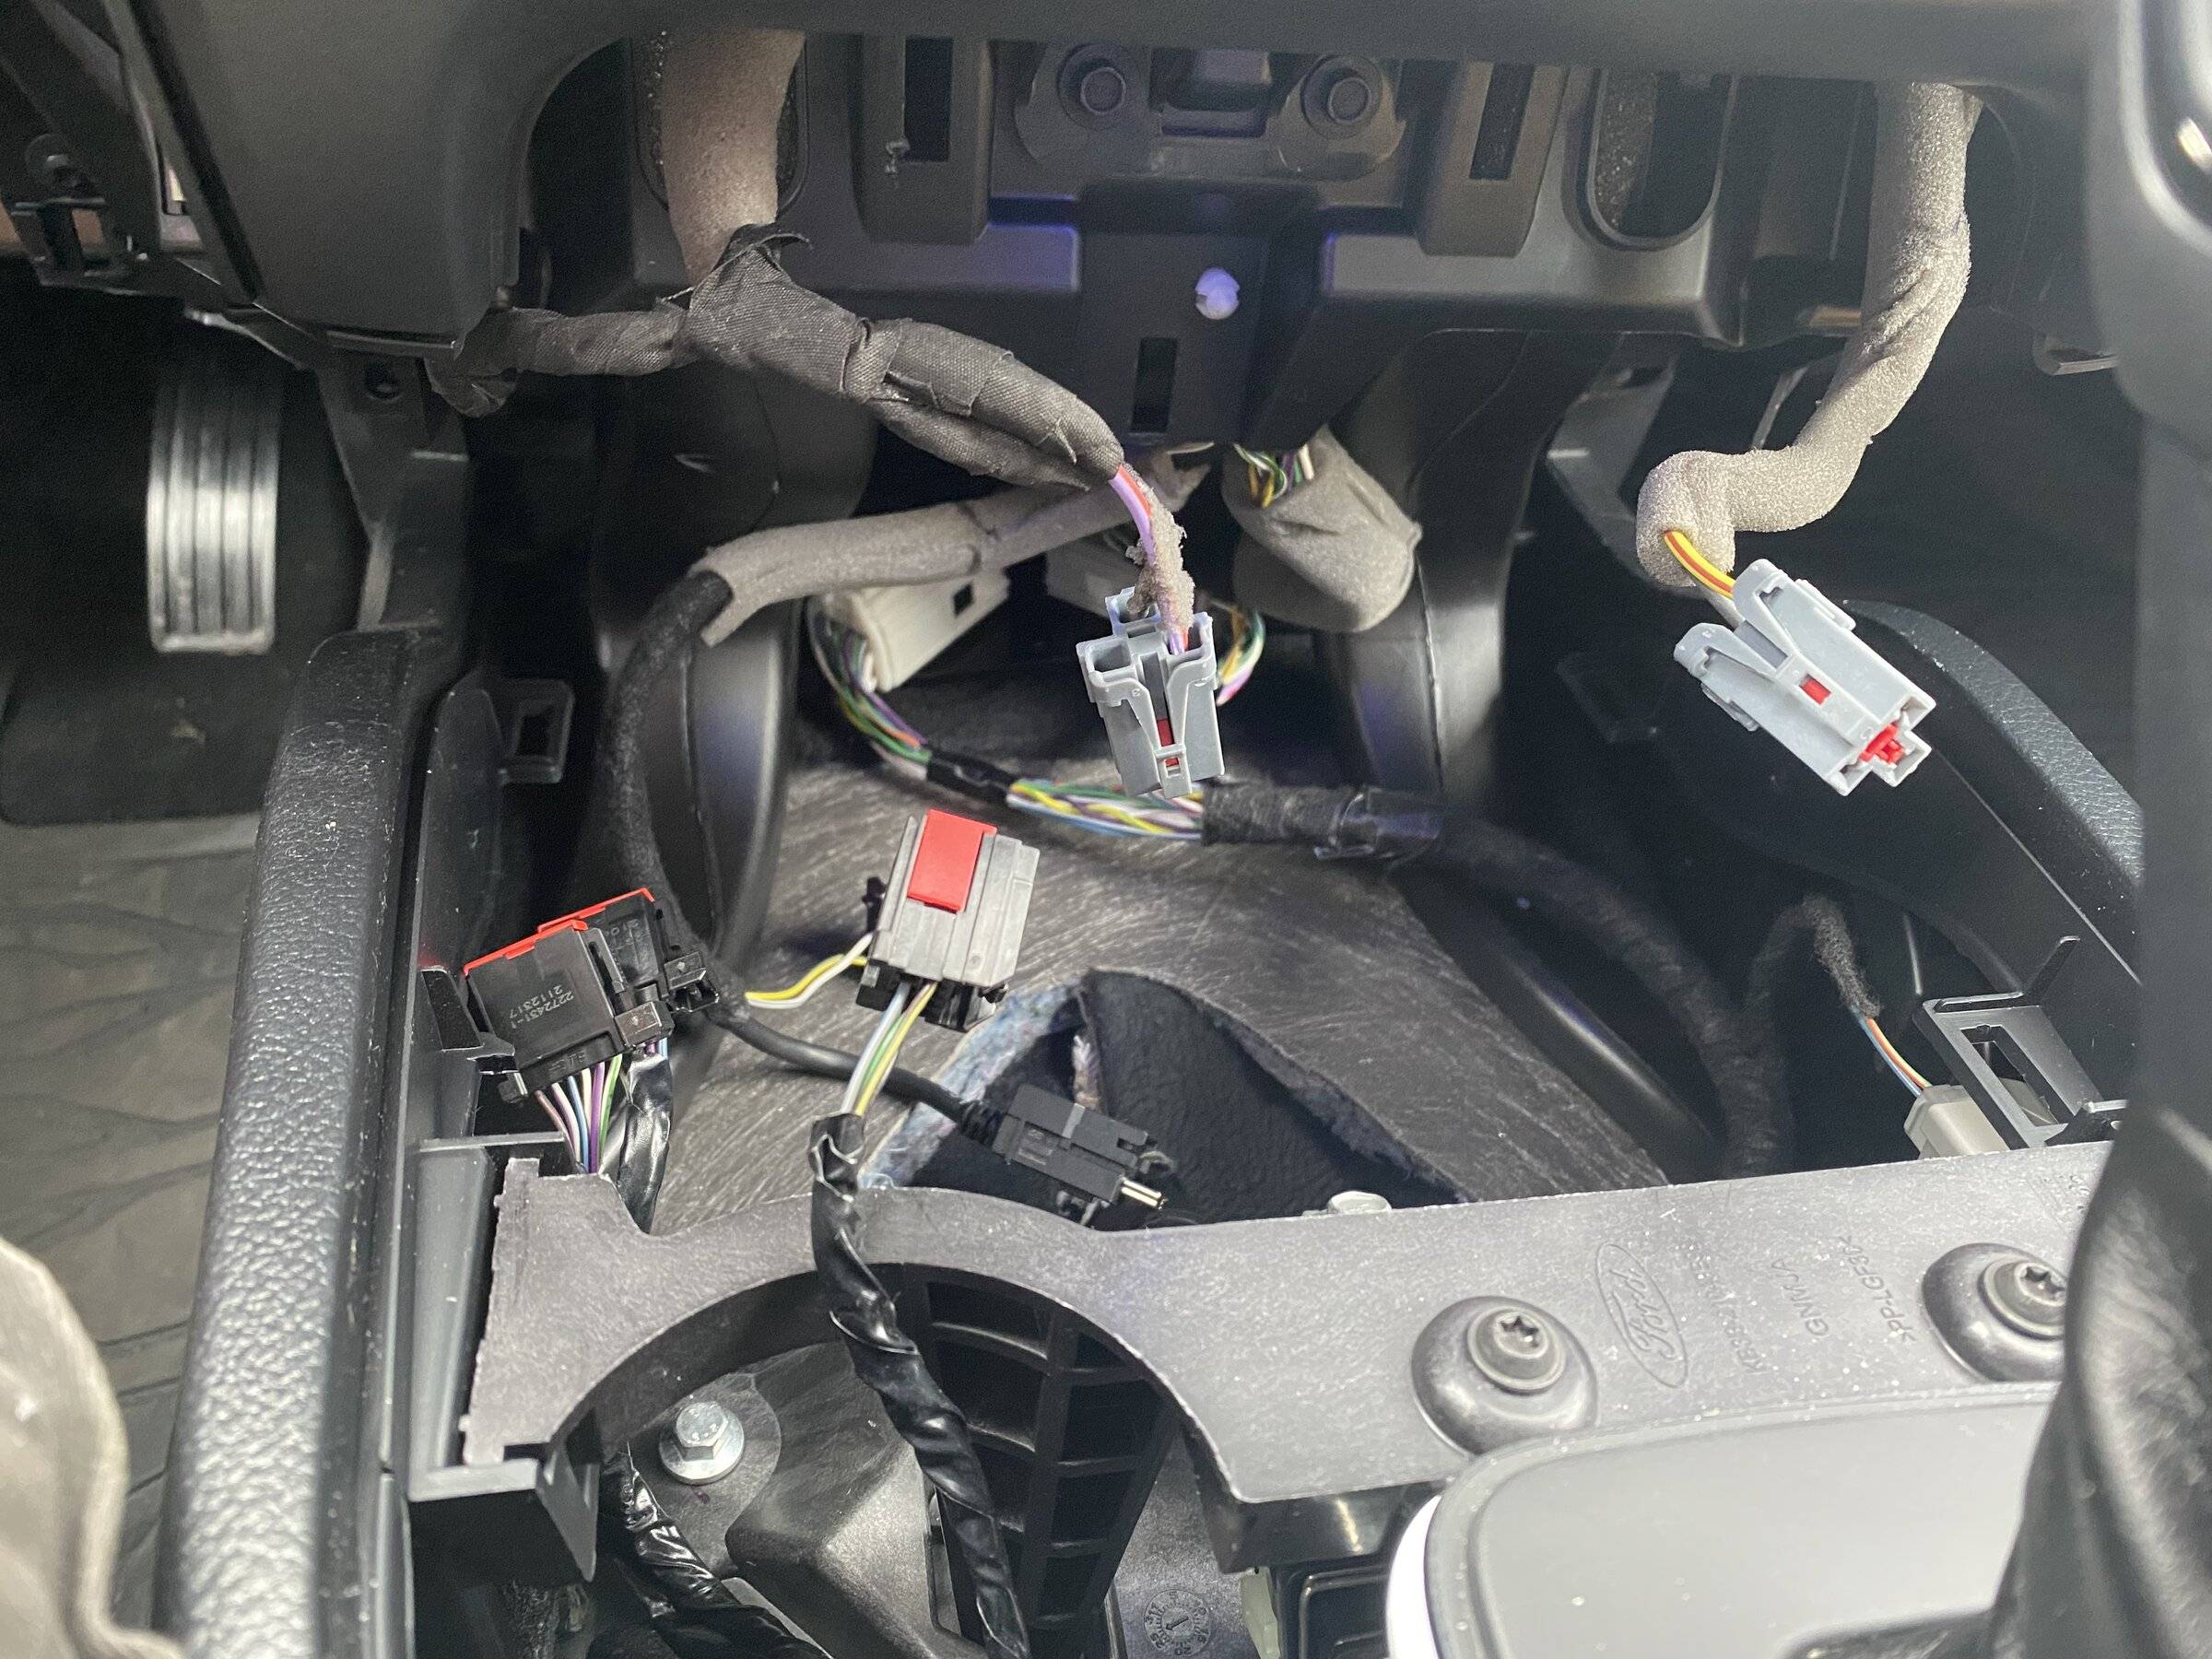
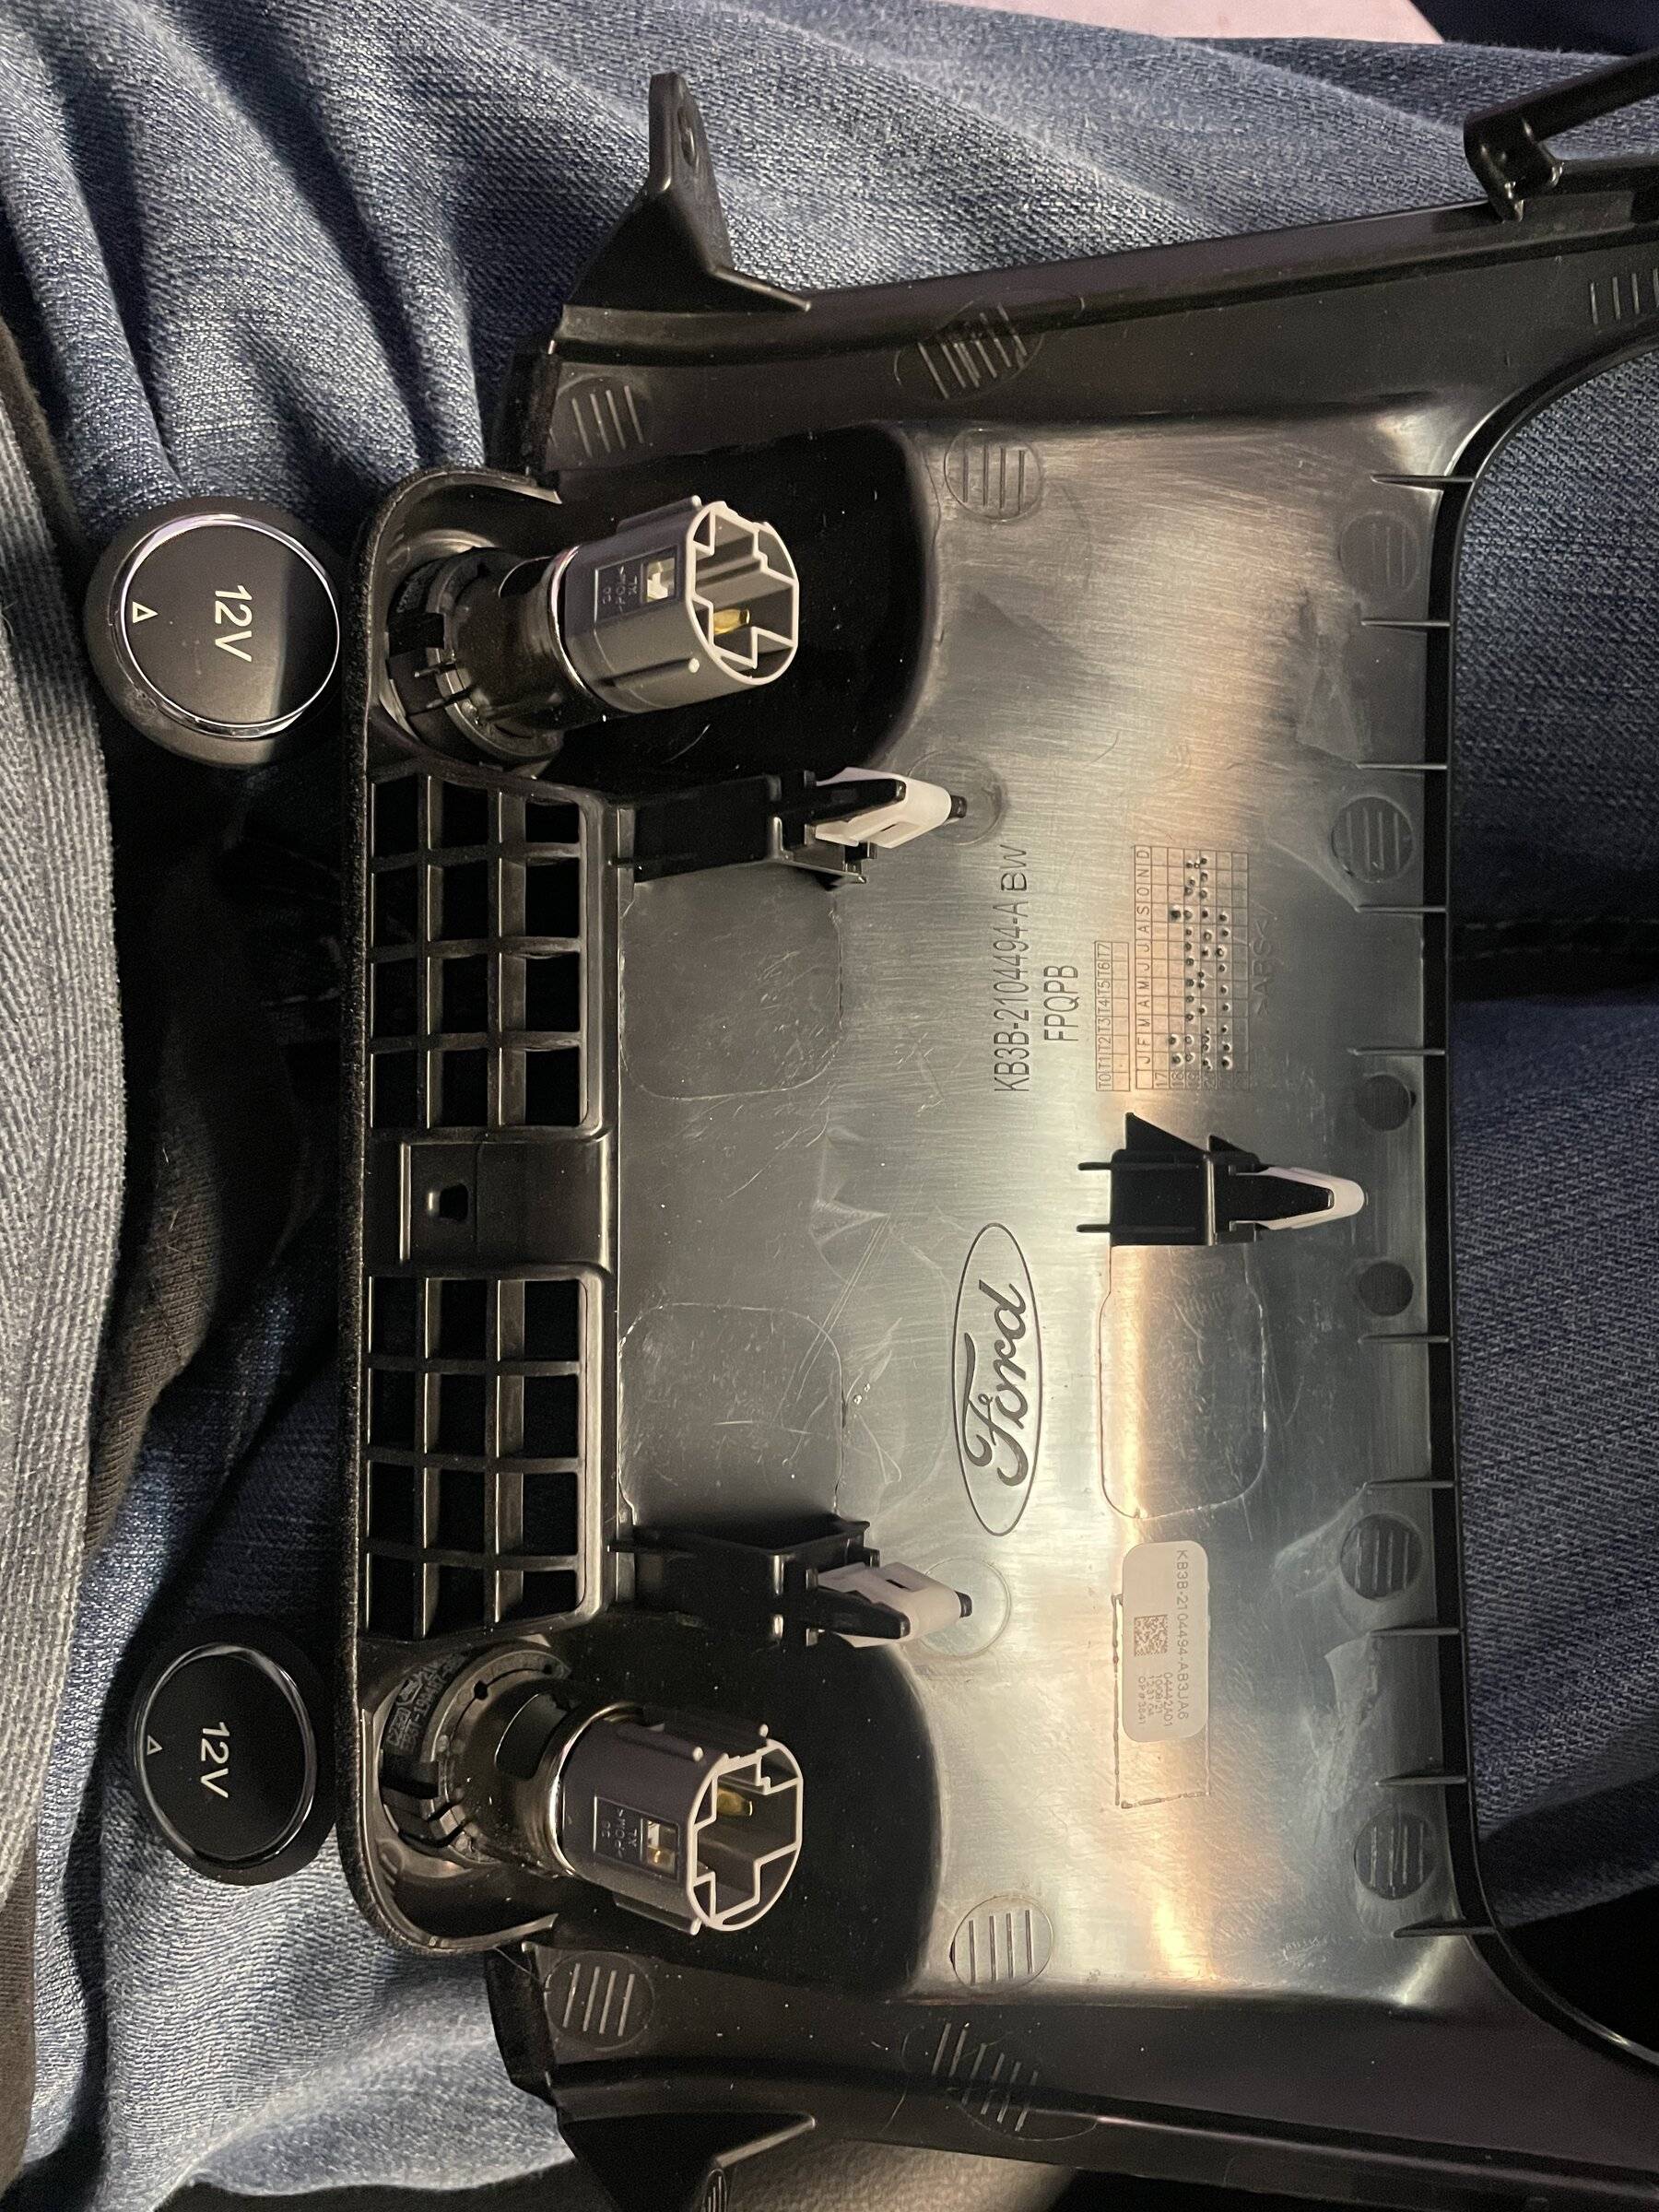
Remove the two (7mm) screws holding the 12vdc lower panel to the dash. Using your panel removal tool start from the top edge and release each side. There is a center retaining clip that will release as you gently pull outwards. Remove the wiring from the two sockets and set the panel aside.

Using the panel removal tool gently pry up on the cover for the front center console. Start between the cup holder and panel. Work your way towards the front of the vehicle on each side. You do not need to remove this entirely. From the back gently push out the USB port assembly. You can tap into the ambient lighting for the USB port.
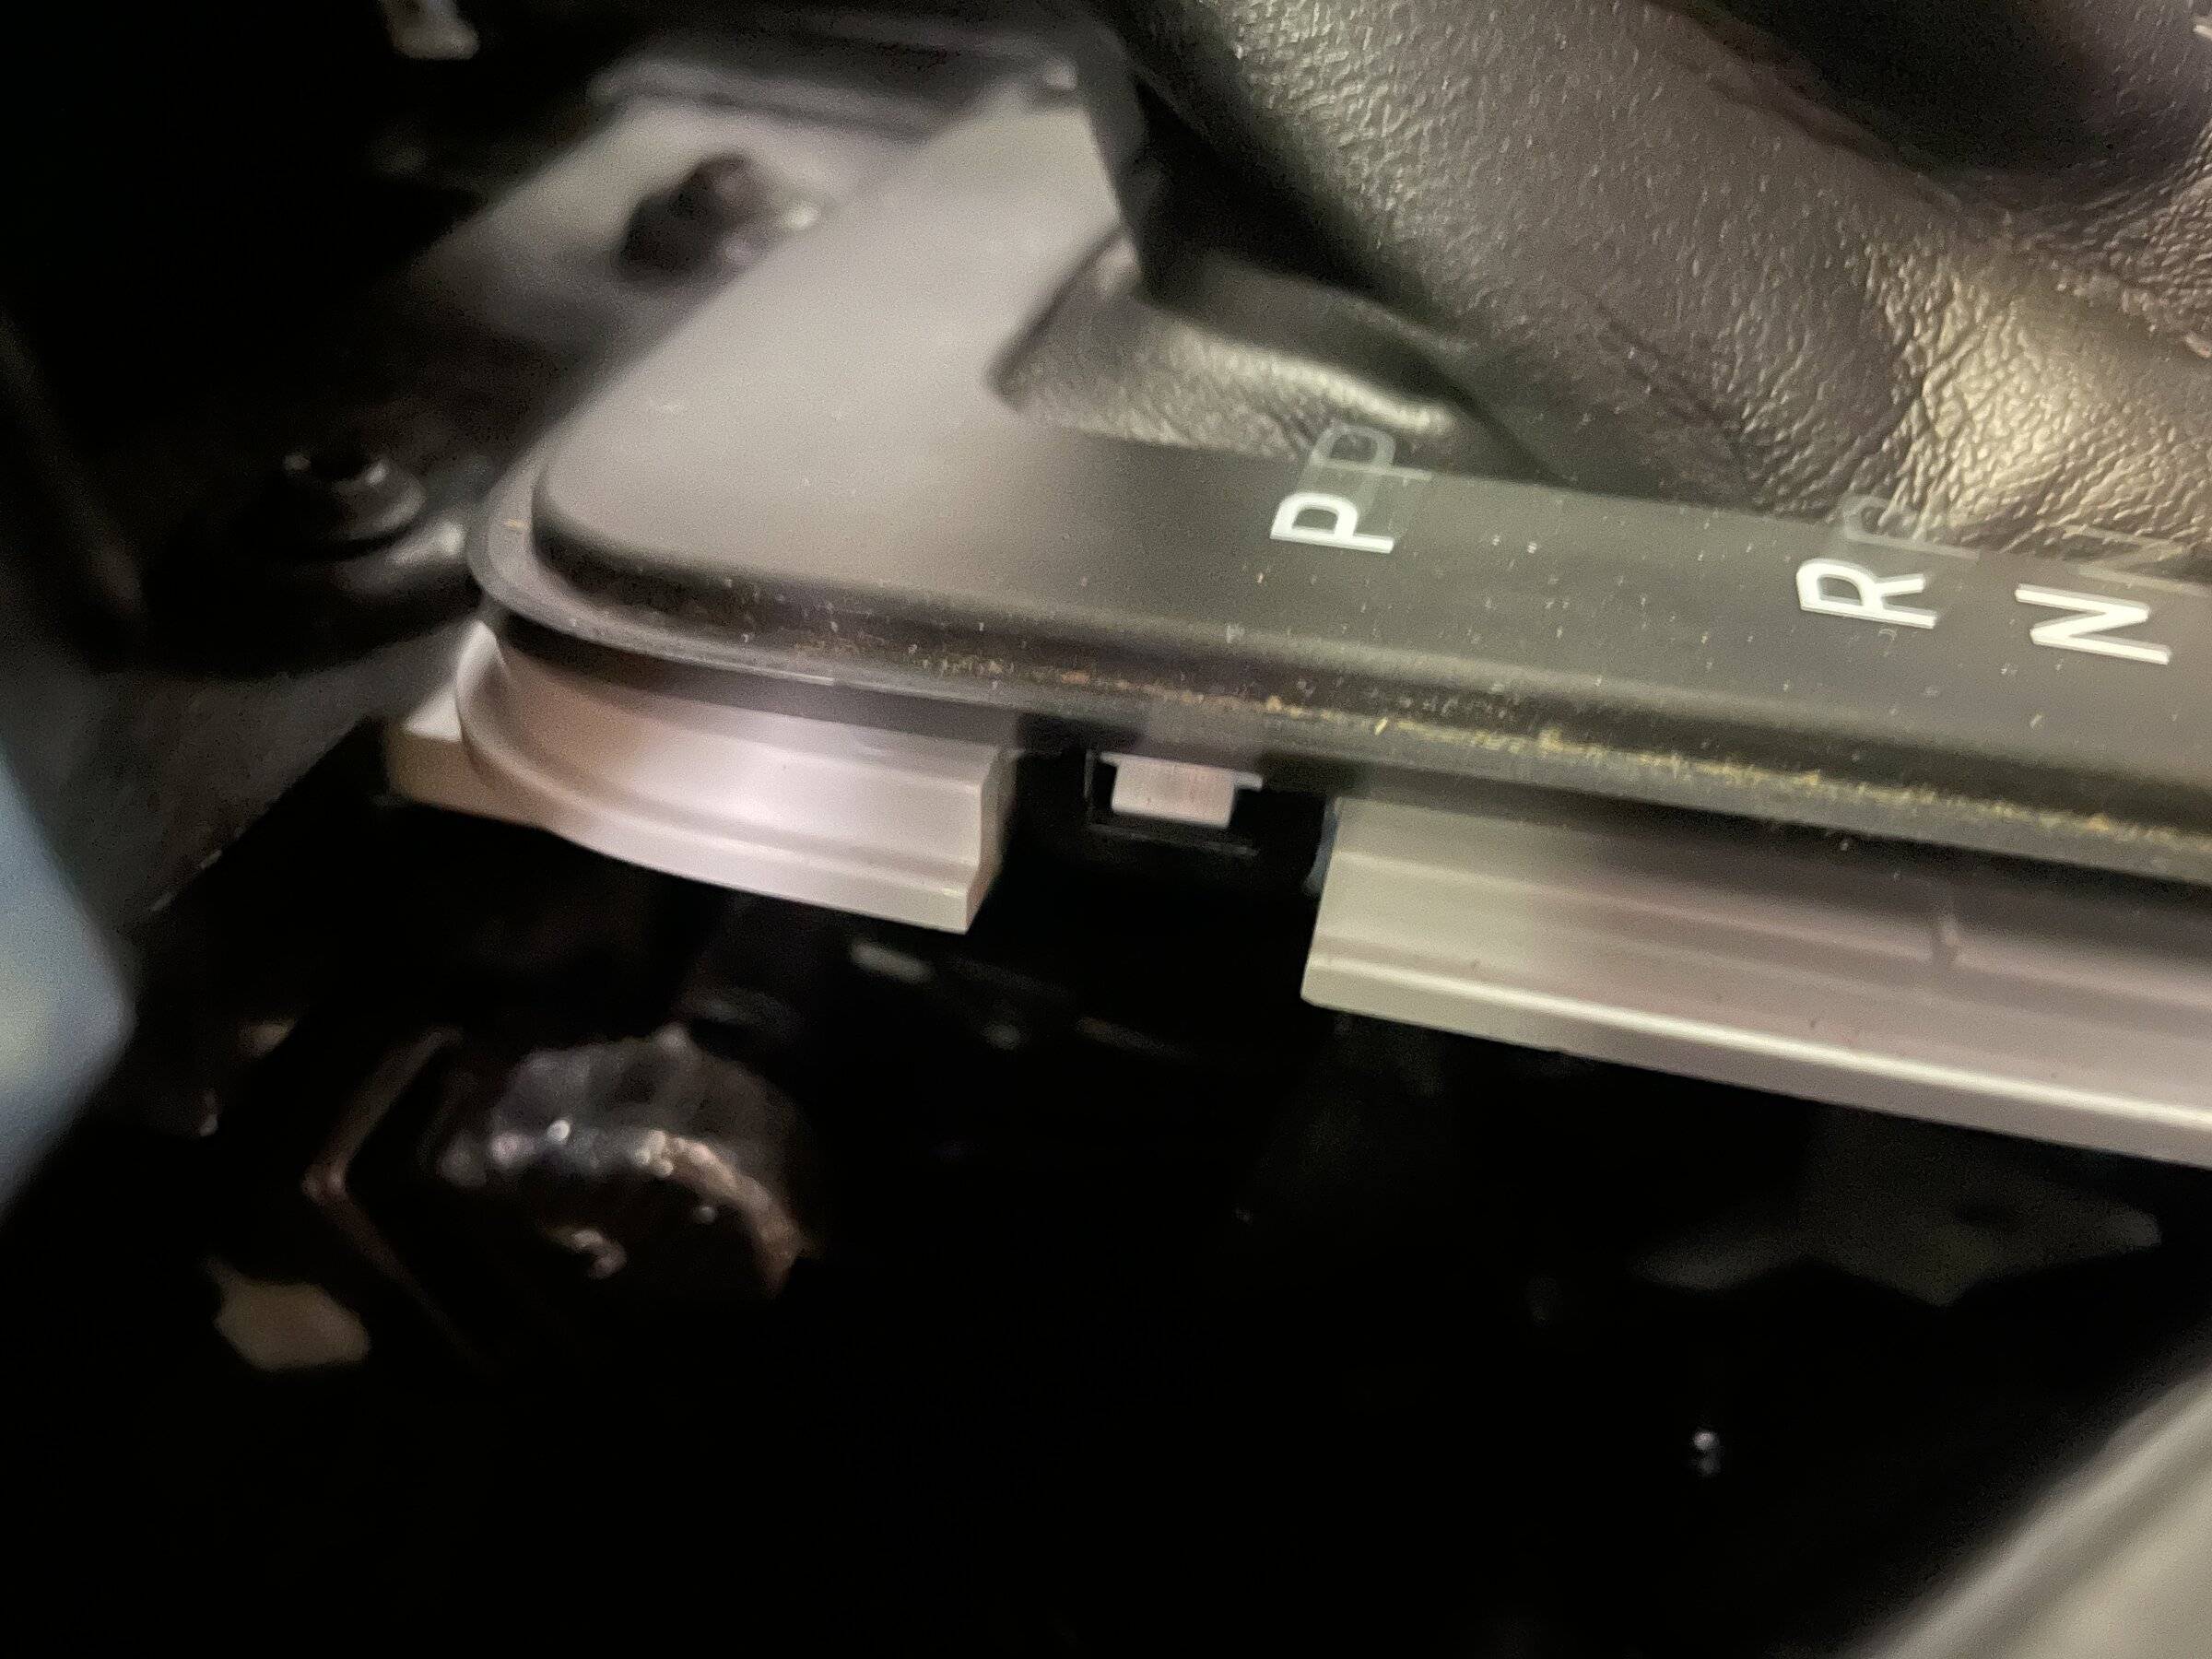
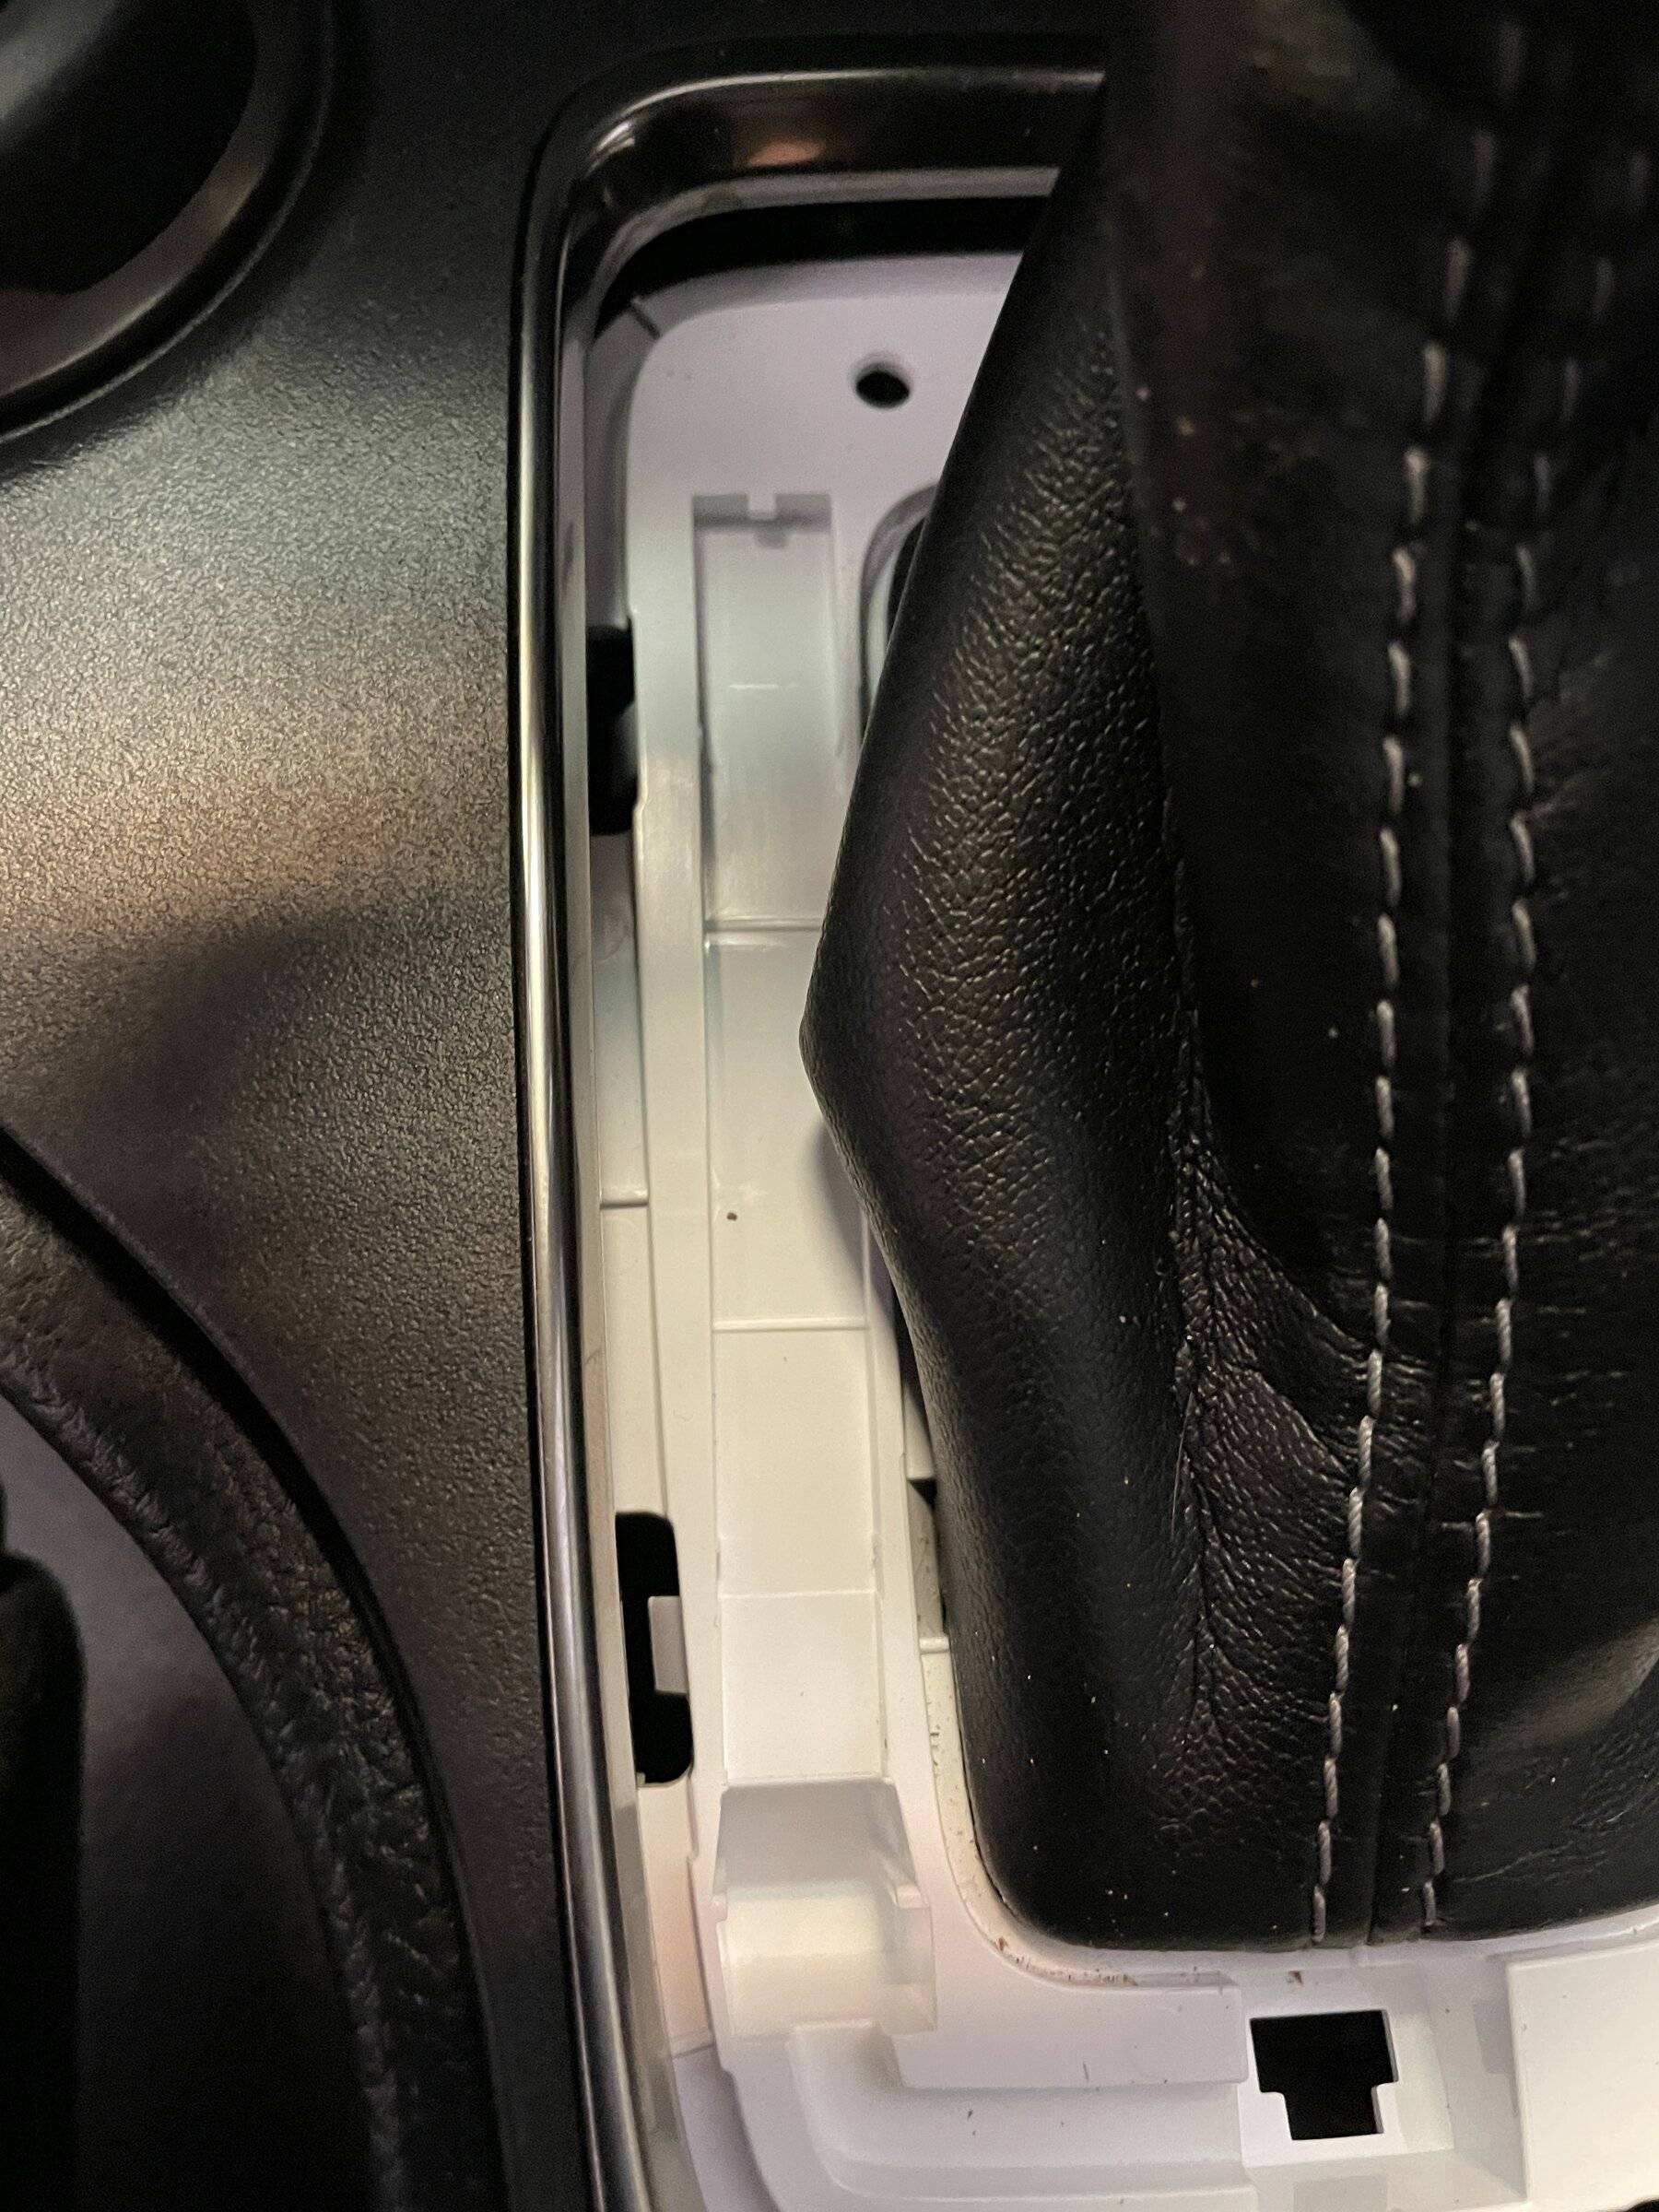
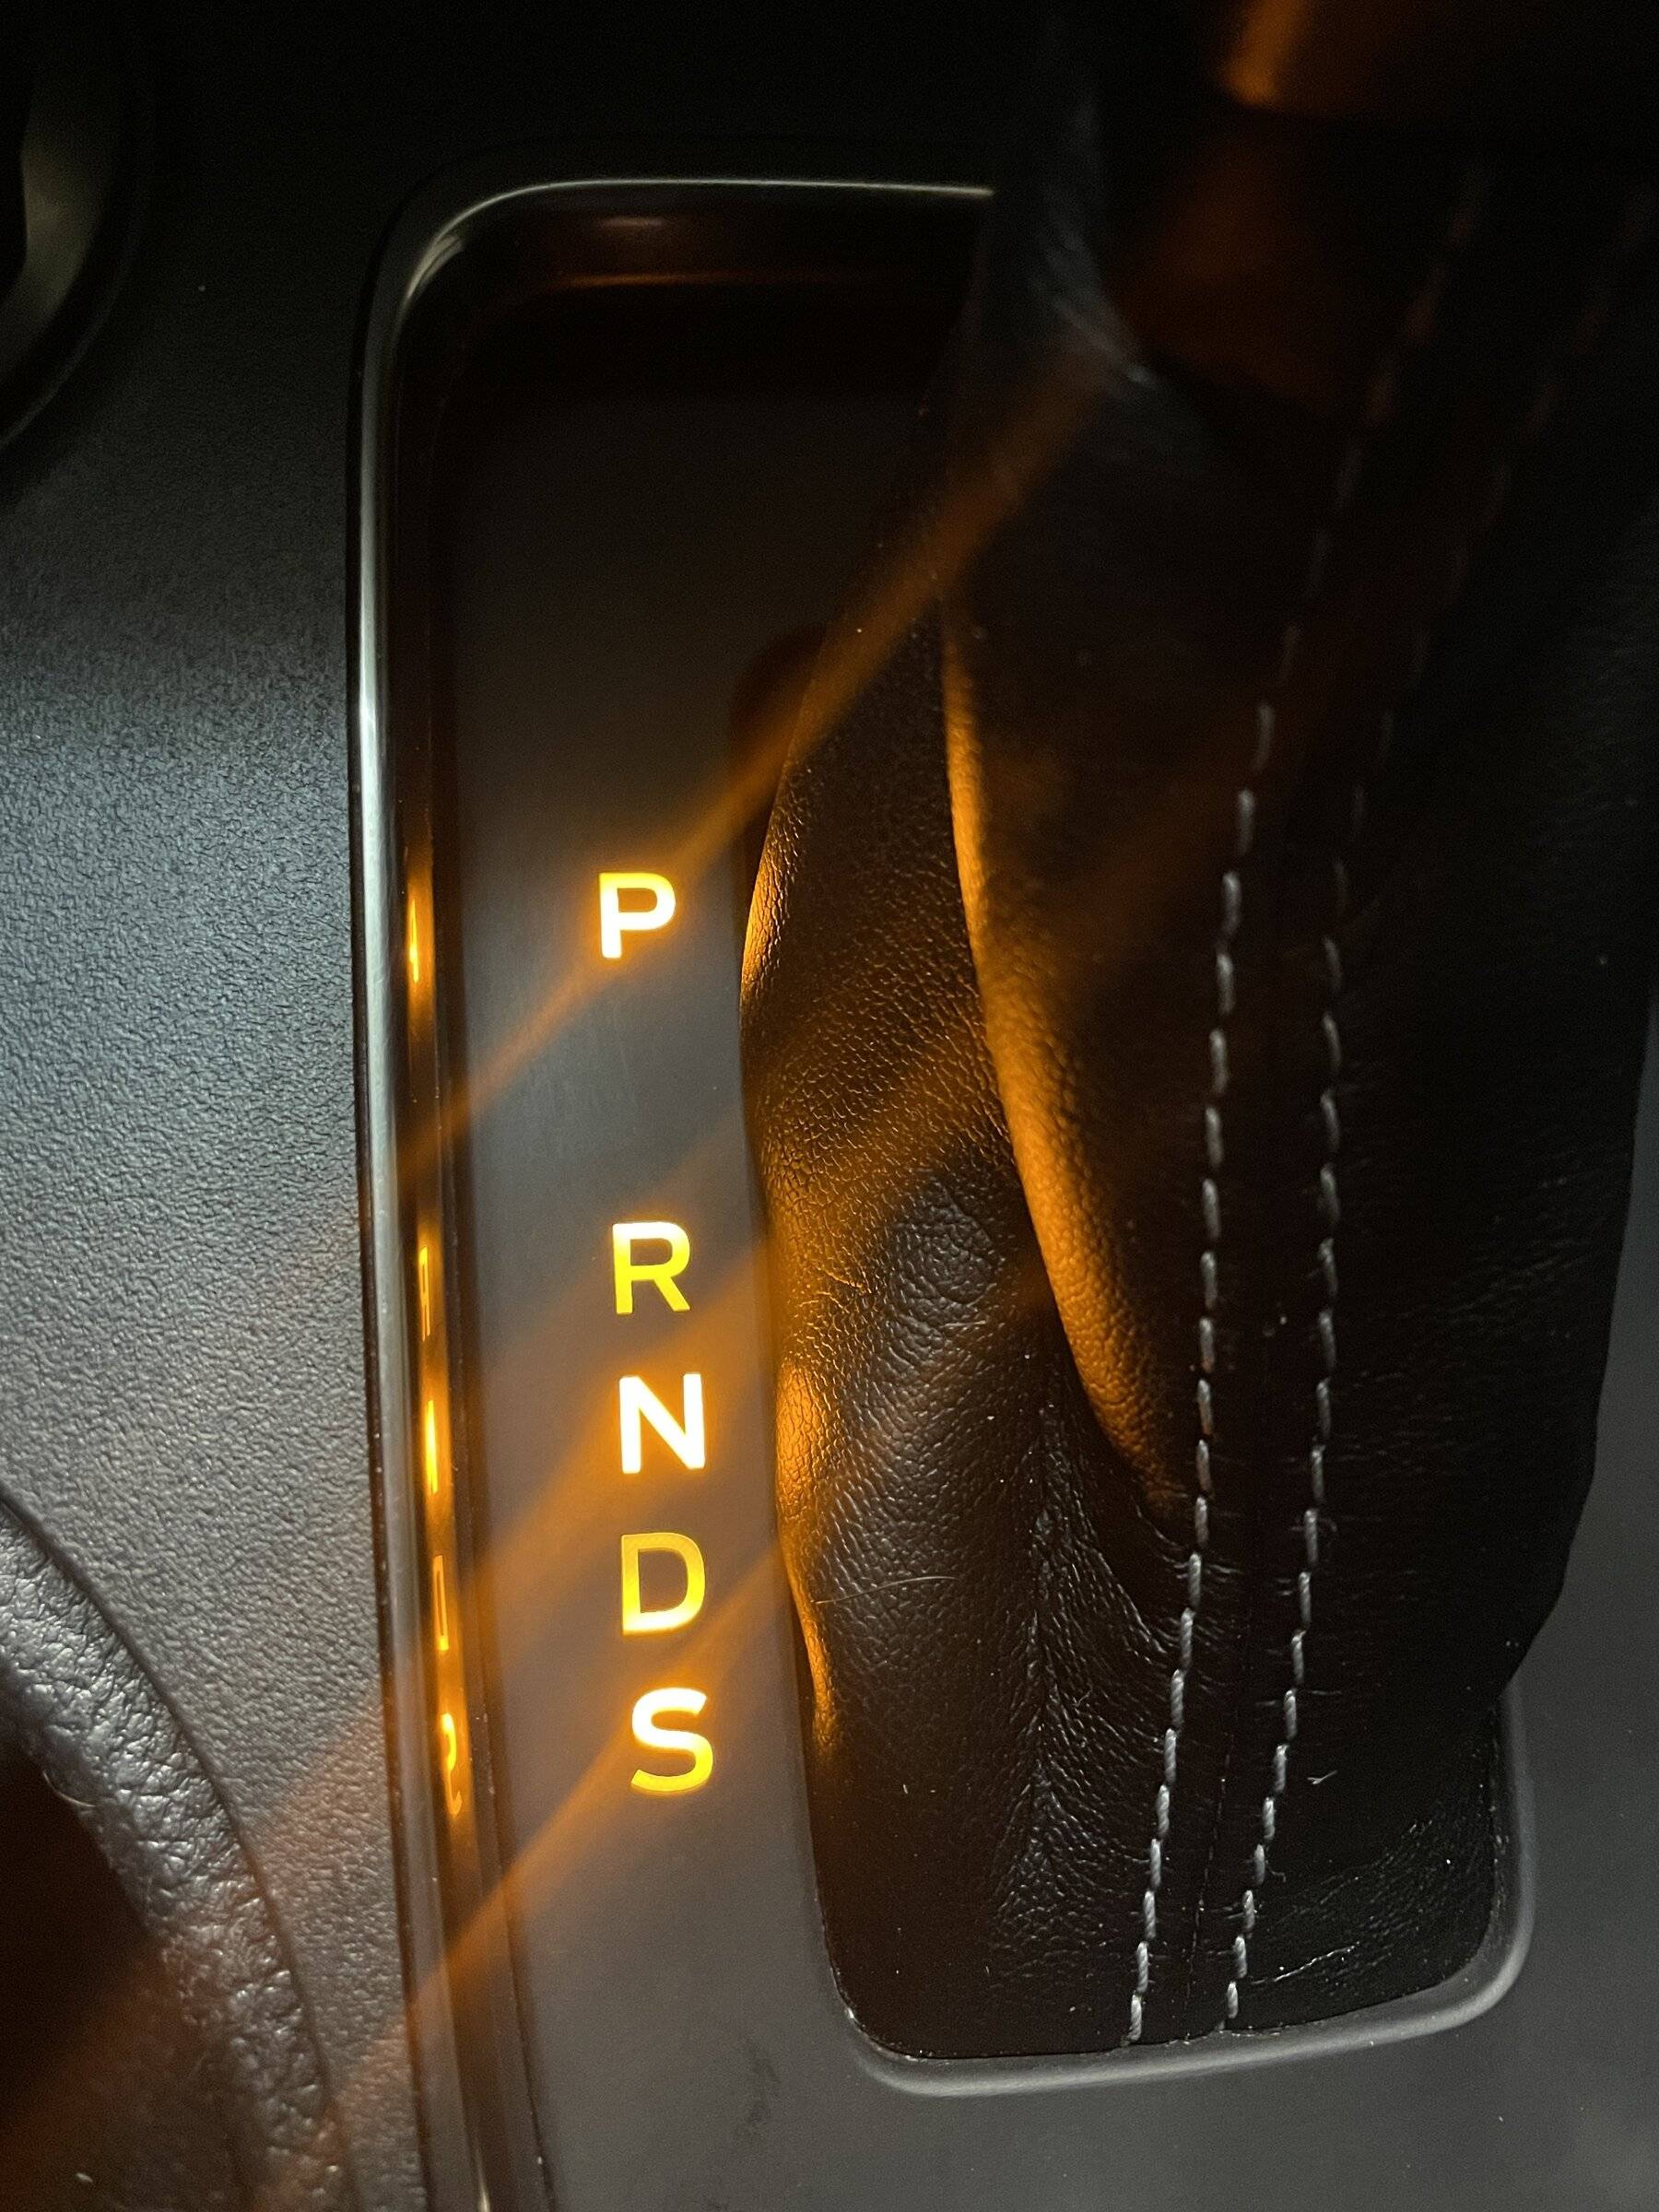
The cover for the gear selector (black) is held to the housing by (6) clips. Starting on the drivers side under the "P" gently separate the two by gently pressing in the white tab while lifting on the black cover. I used a small flathead. You have to be gentle here since these white tabs can snap off easily. Work your way around counter clockwise to release all (6) tabs. You will not have to do the last two in front. You will just be able to lift up and wiggle the top off.
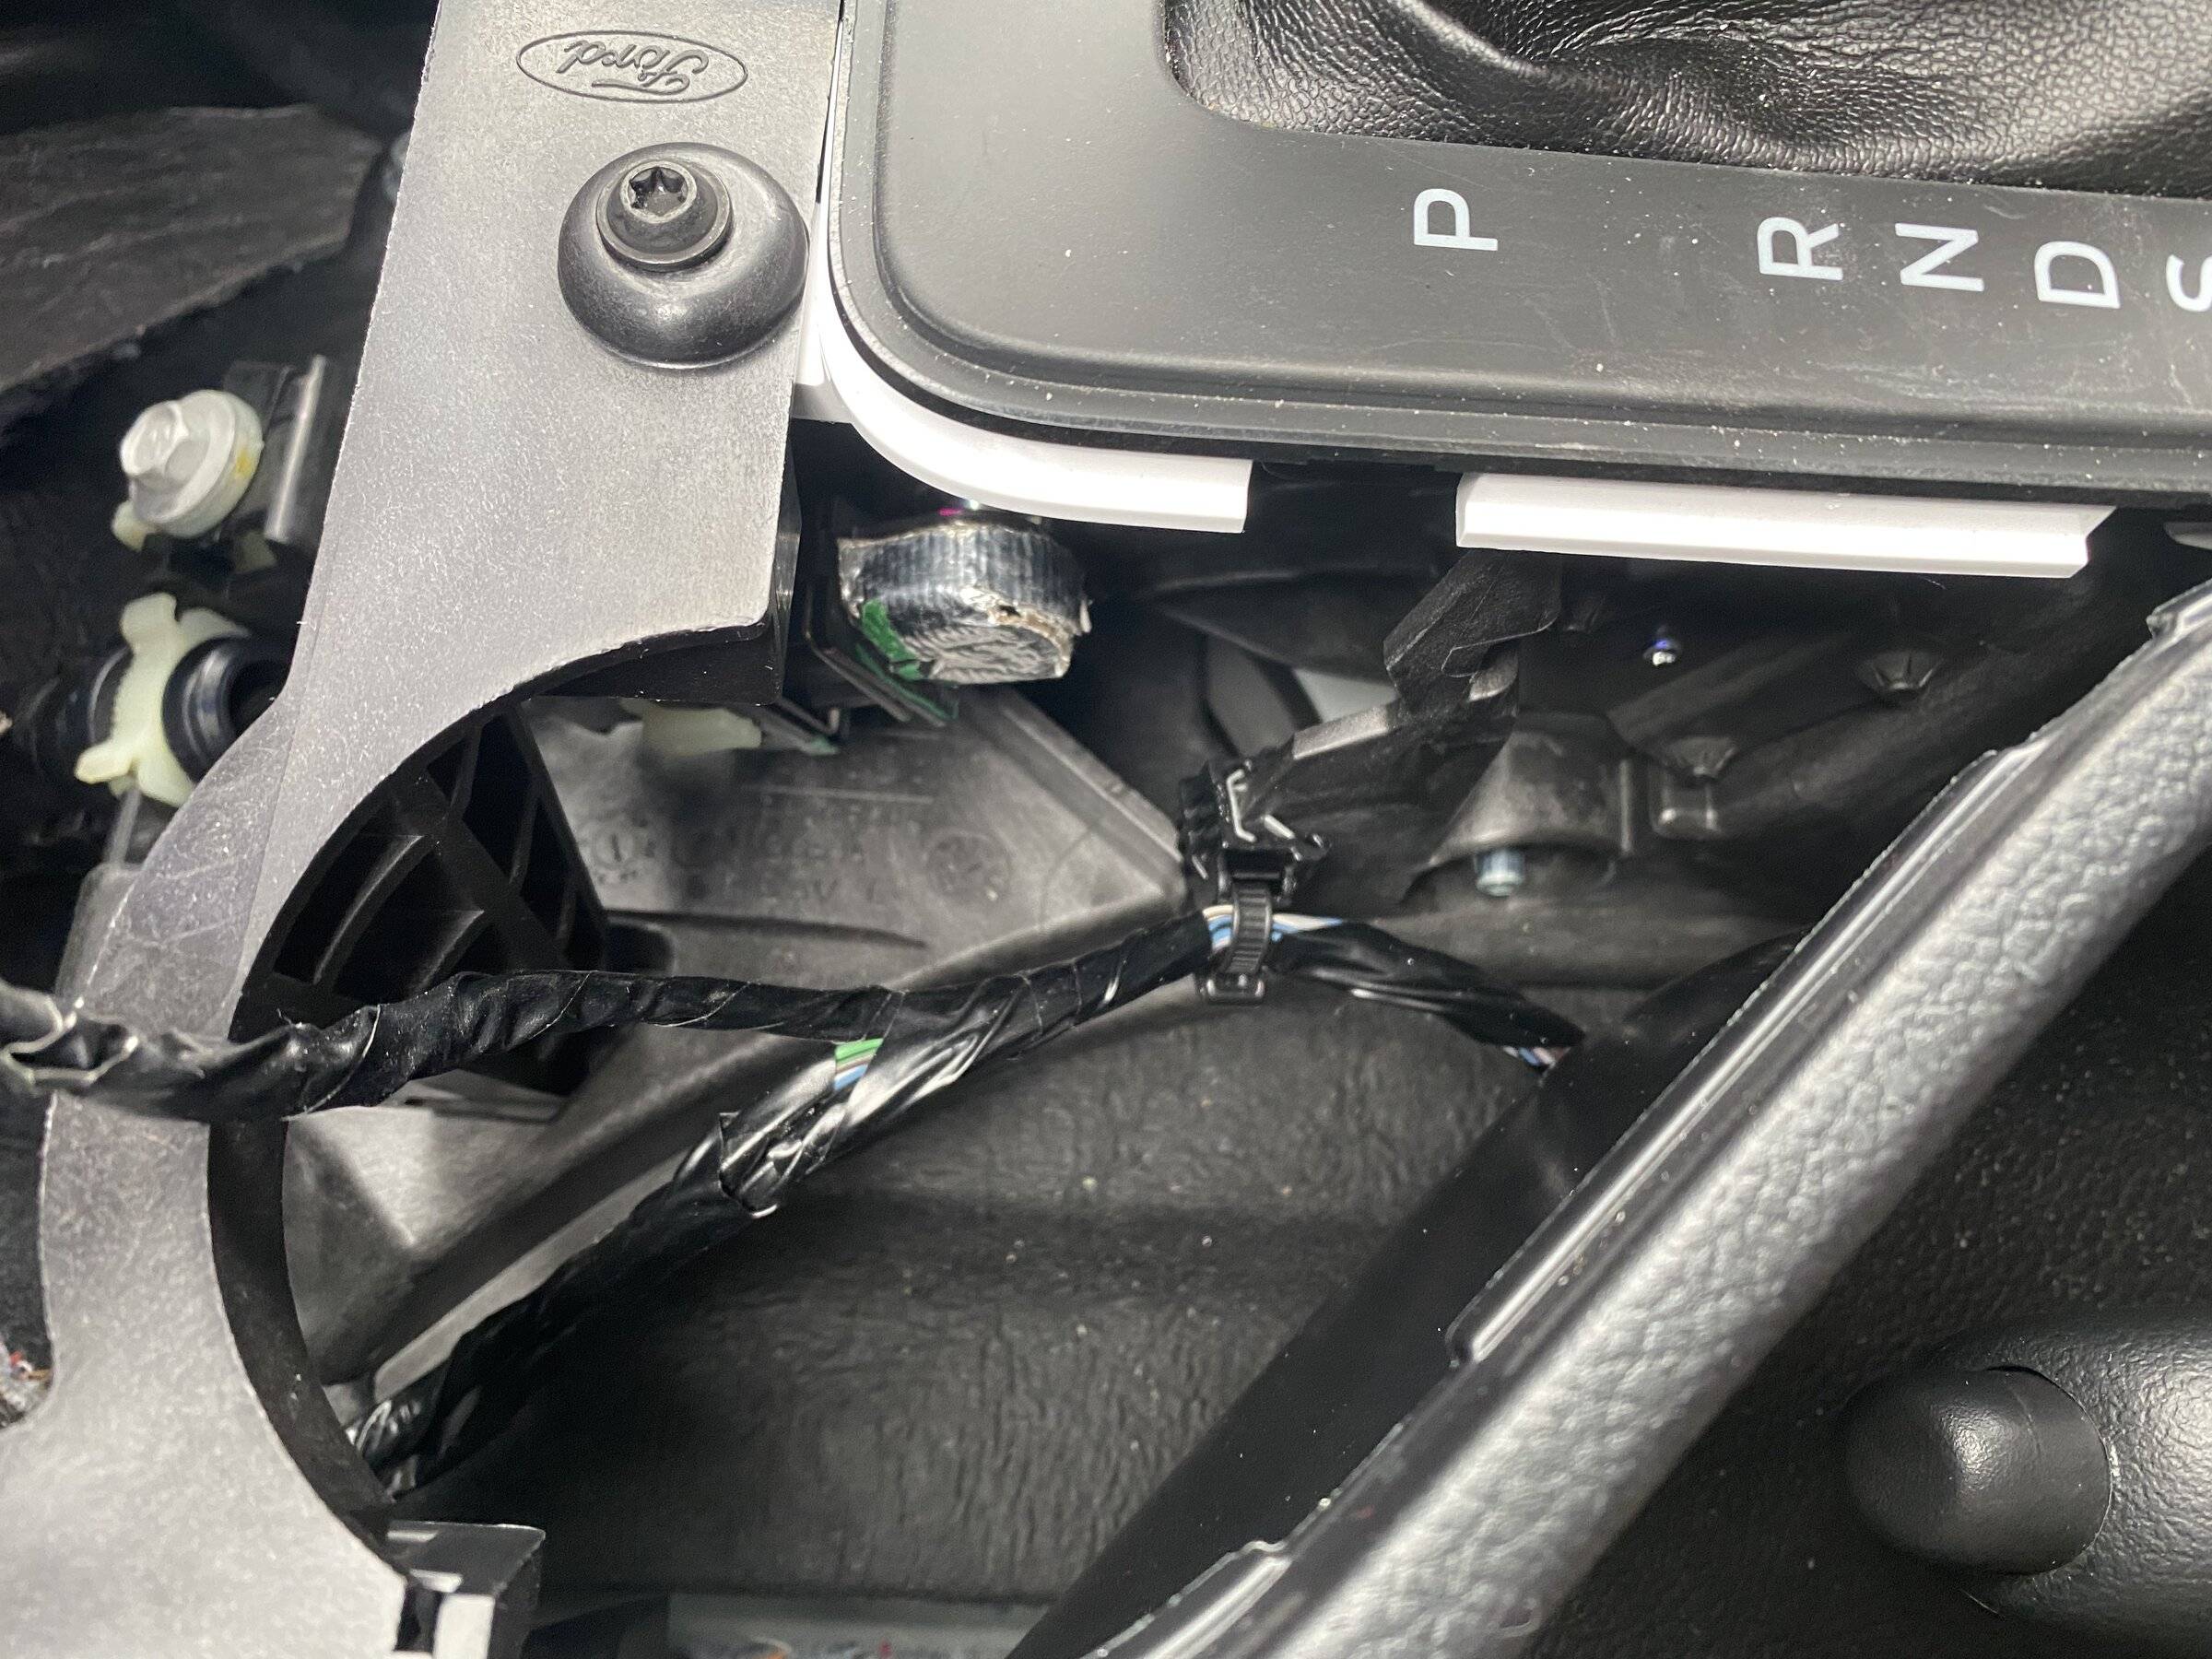
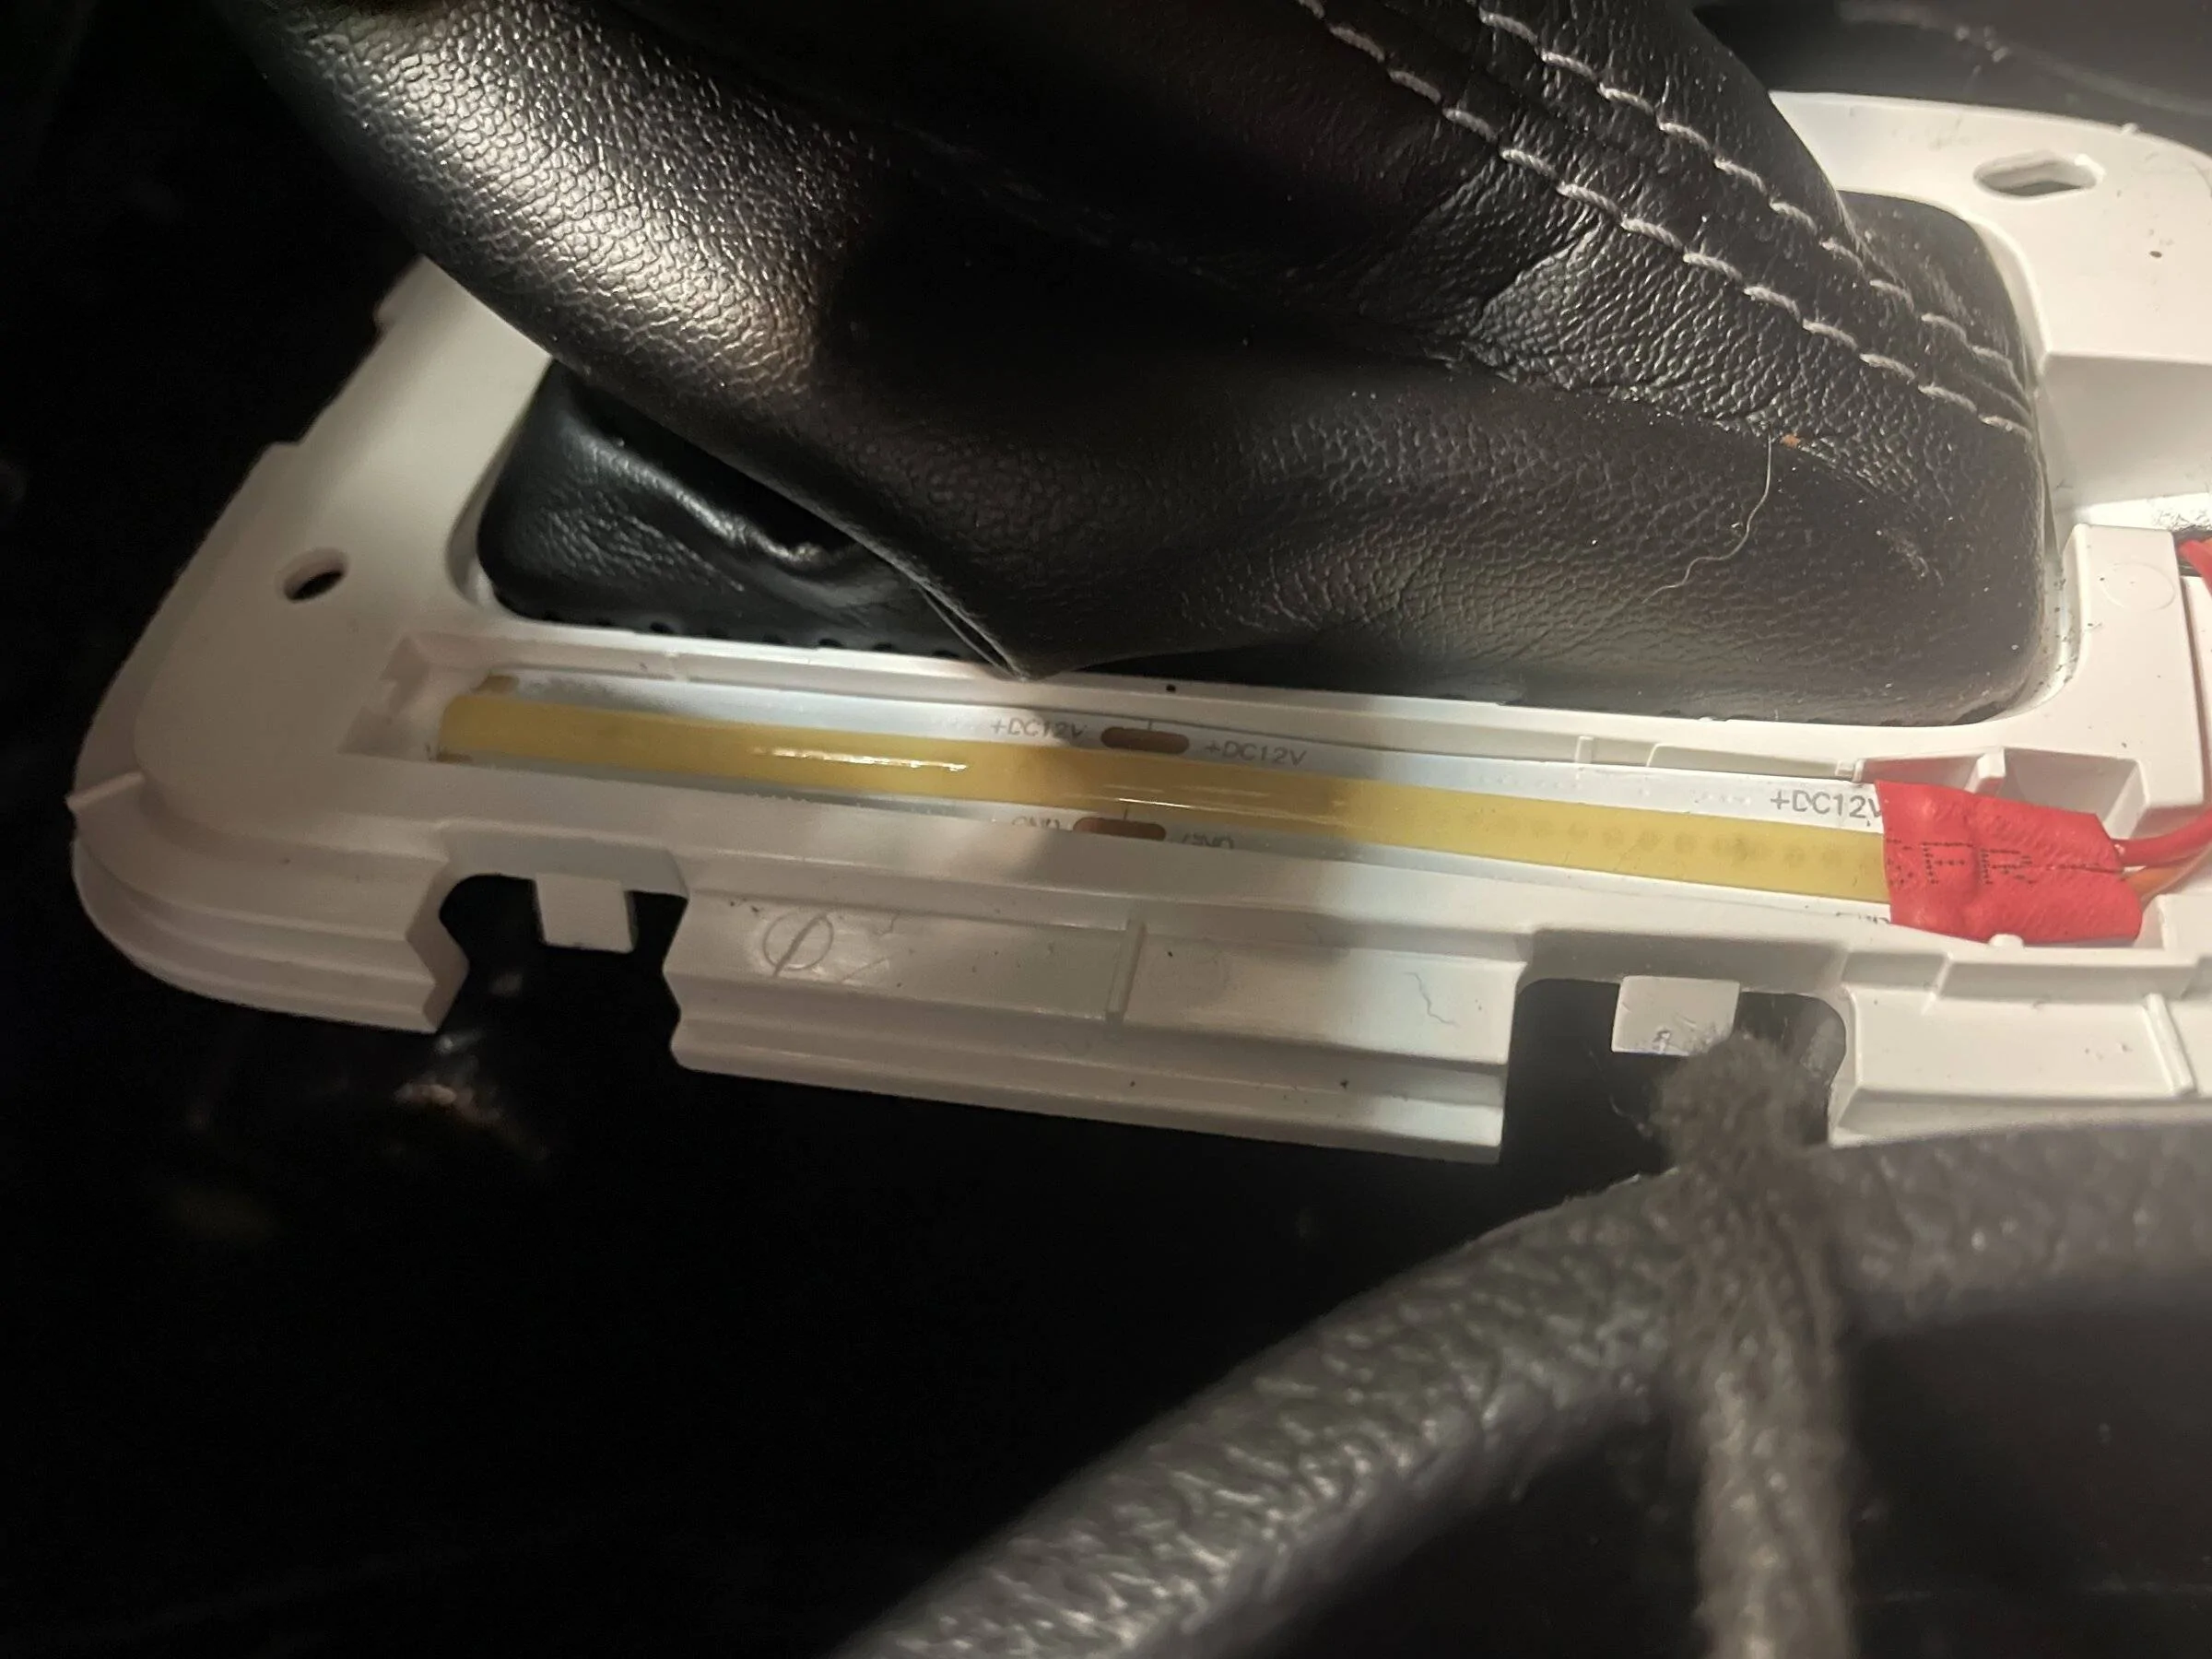
There is a recessed rectangular channel under the lettering where an LED strip can be placed. I'm assuming due to the layout this was originally a light pipe and the lower center cutout was for a wiring connector. You can use this center cutout to run your wiring. I did look throughout the parts at Ford and could not find a part in any schematic. If this could be located and available, obviously the OEM light would be best.
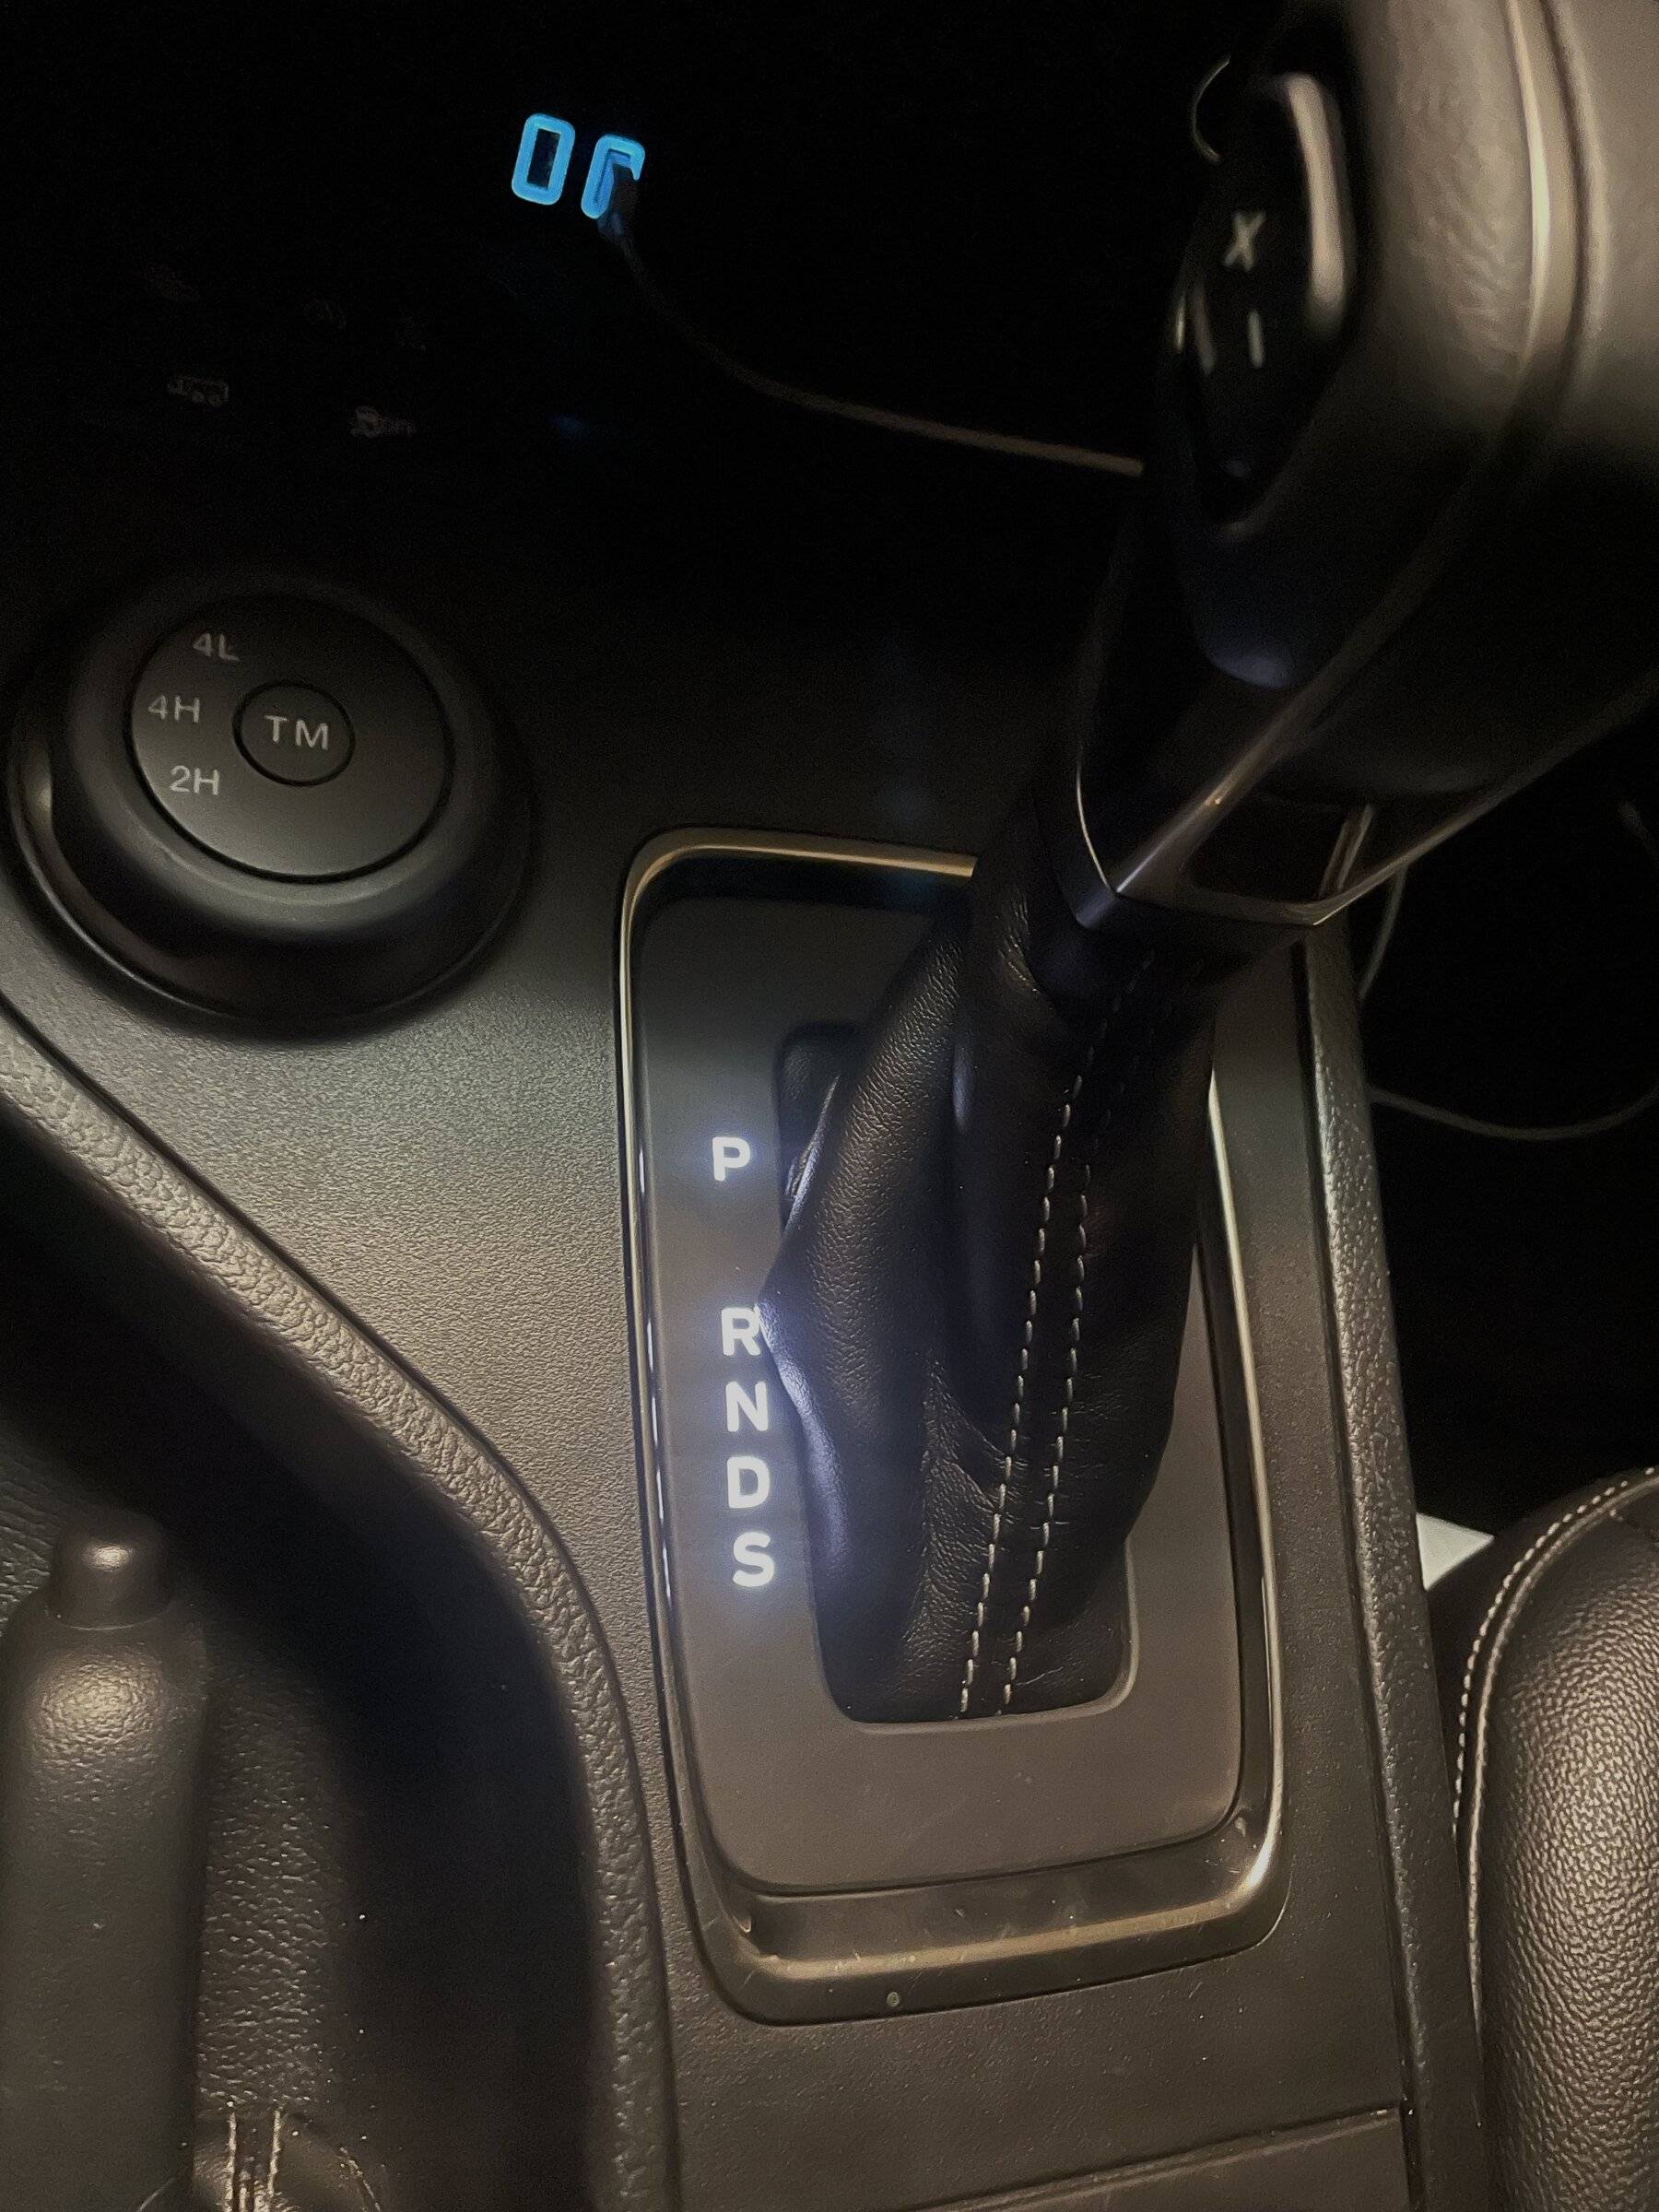
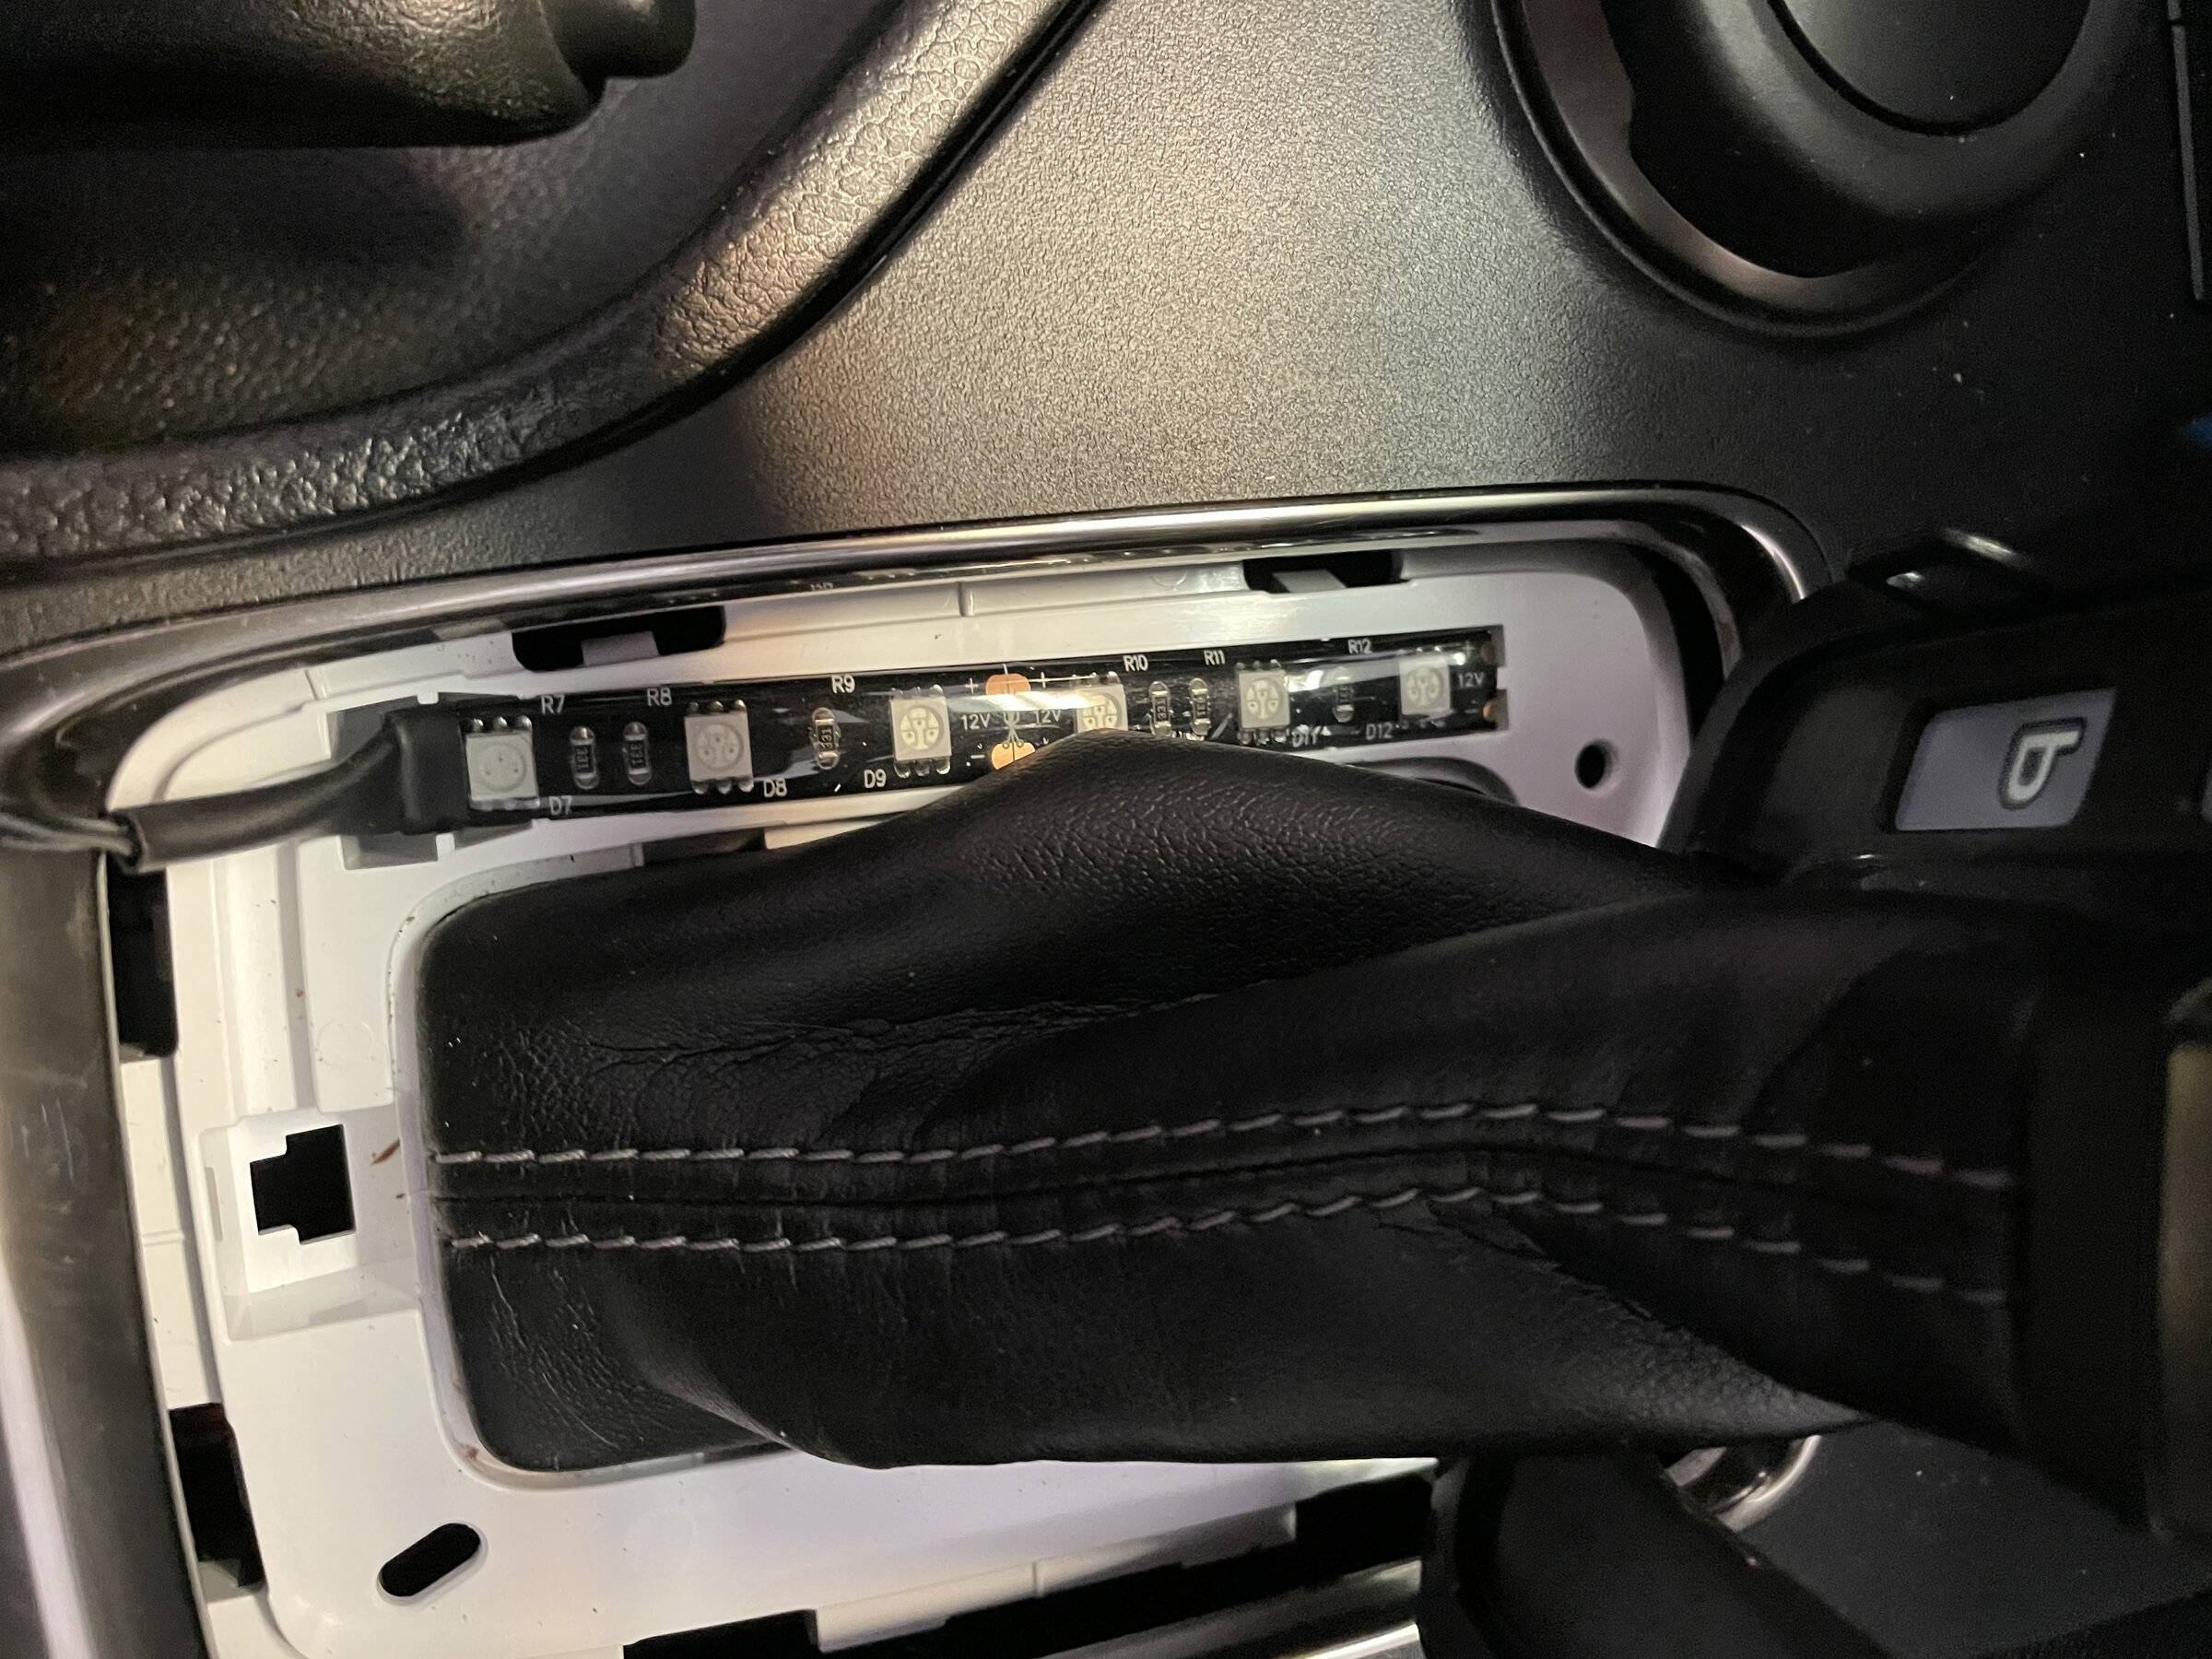
For testing I used a 101.6 x 14.70 x 7.95 LED strip. Standard 4" LED strip from Amazon. The spacing of the LED's is a poor solution that results in hot spots. Smaller LED's with tighter spacing would be much better. I'll order some next week and test them.
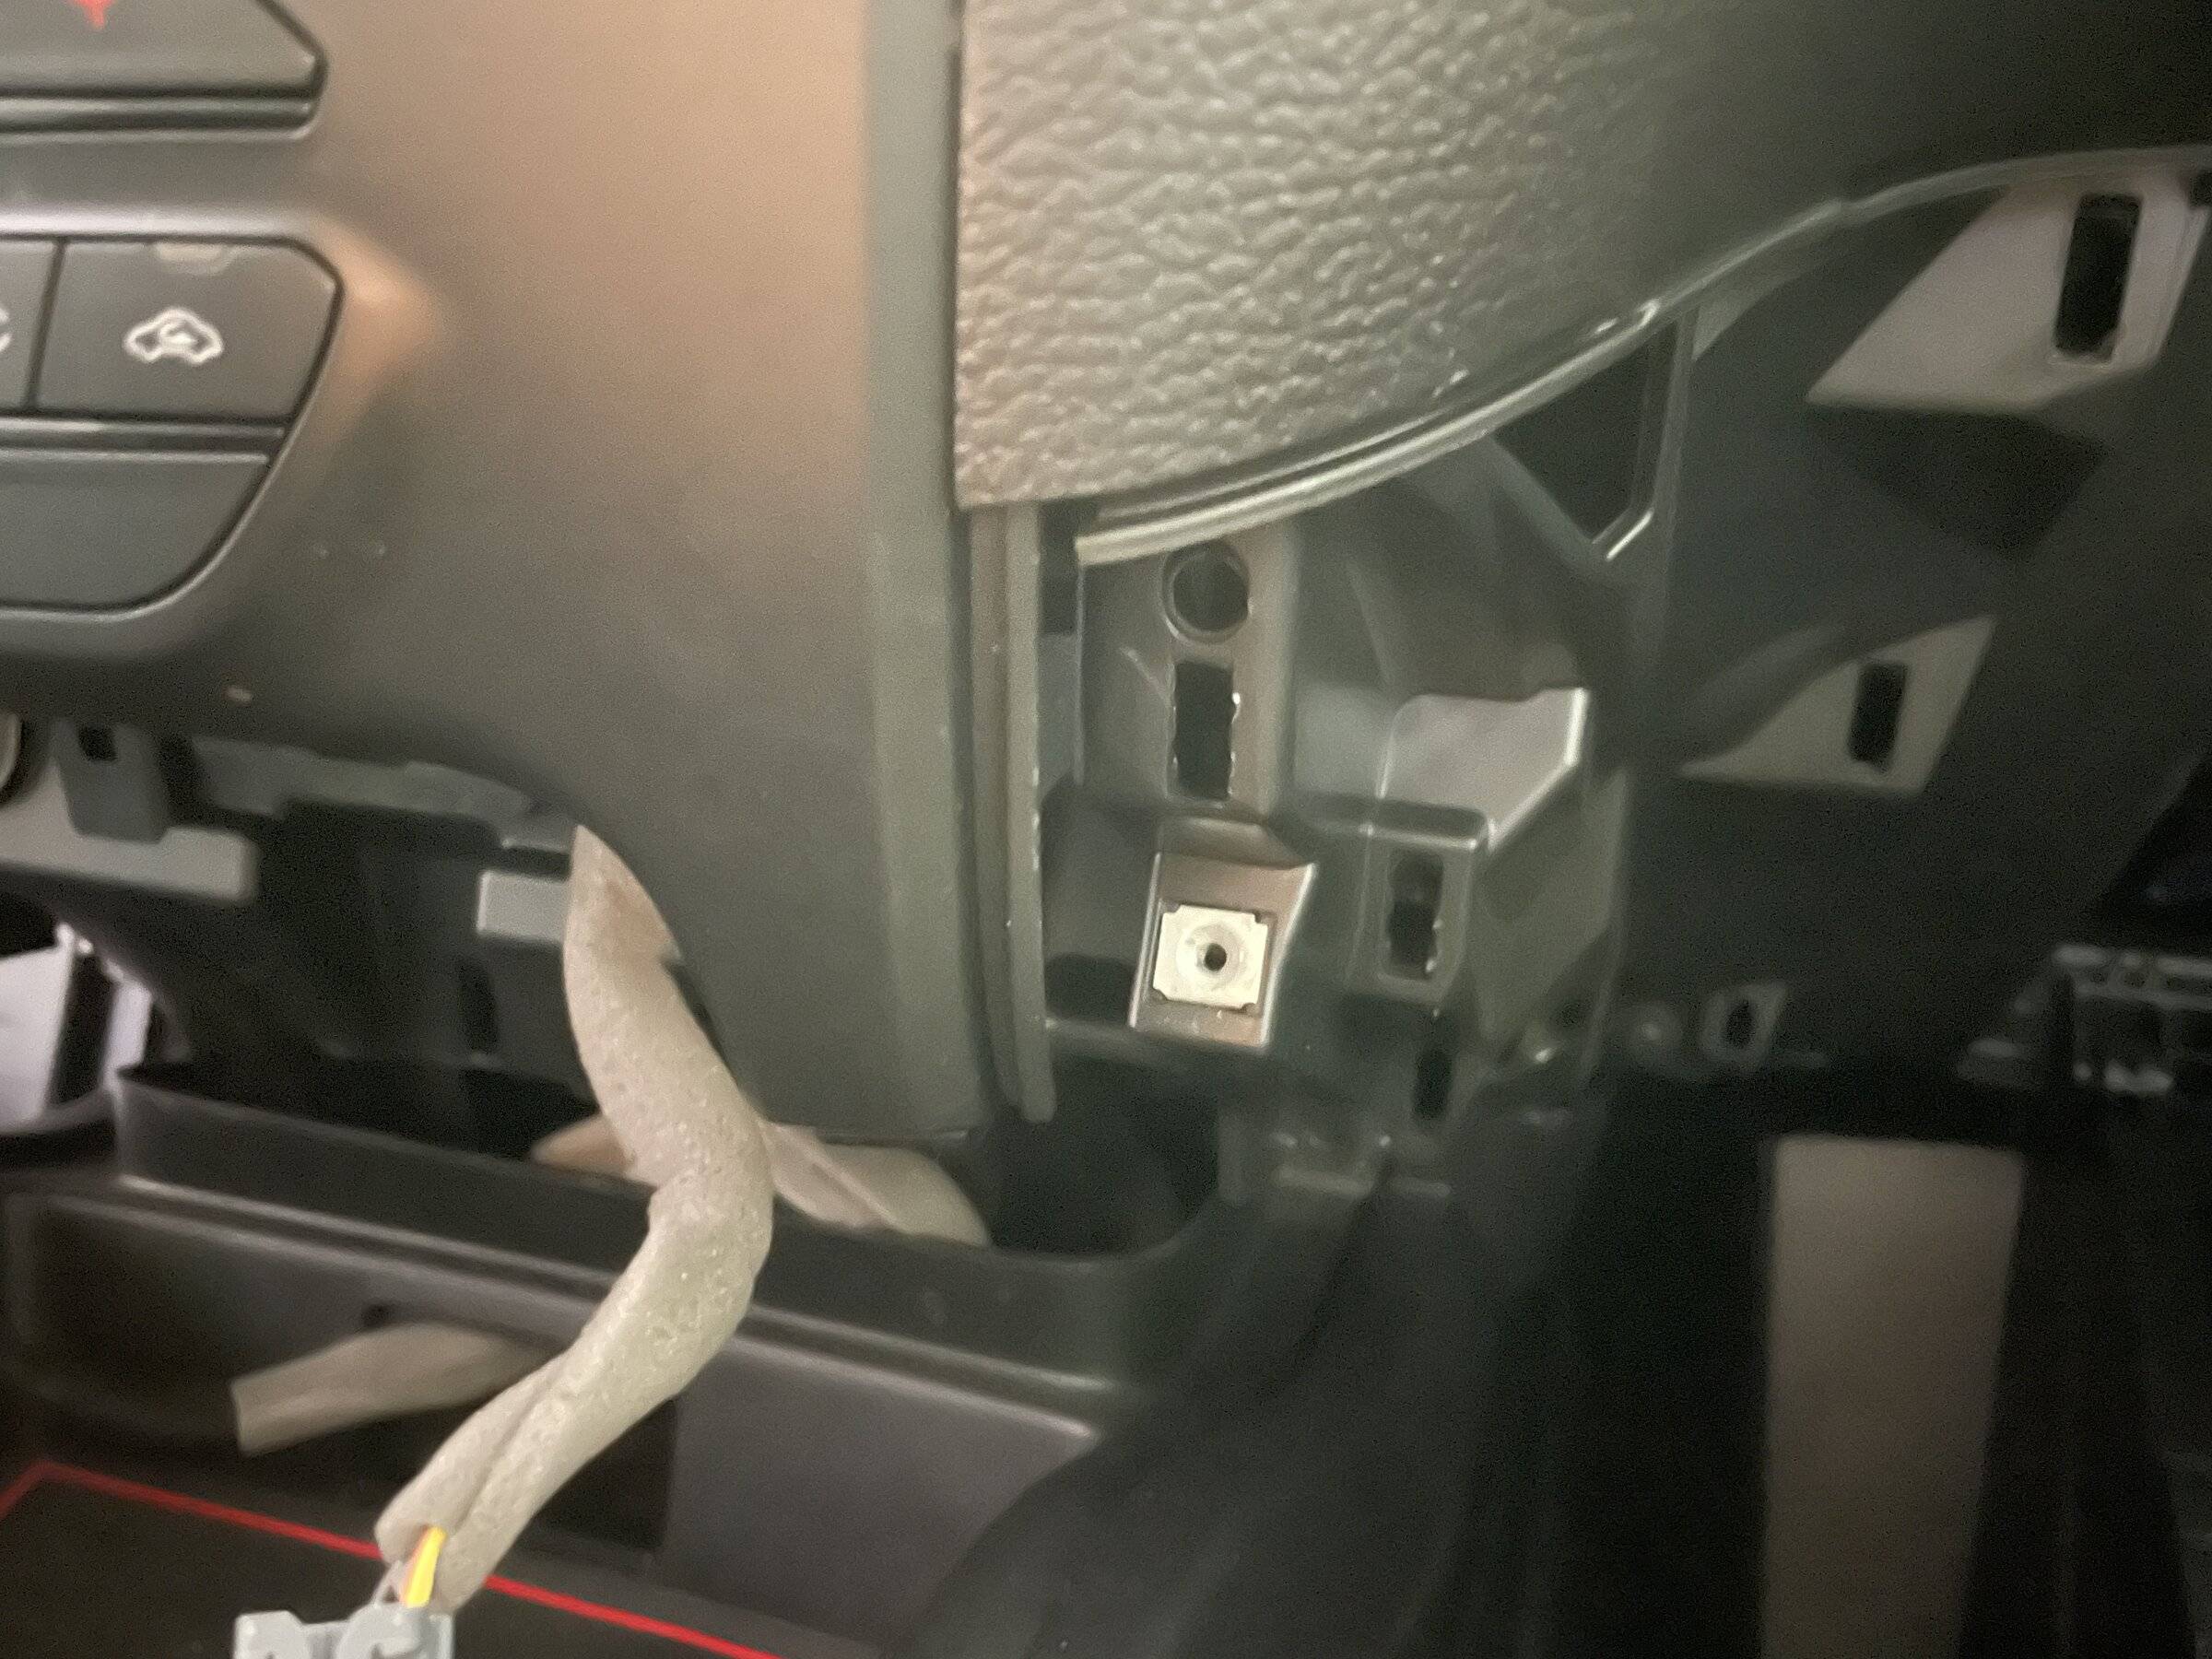
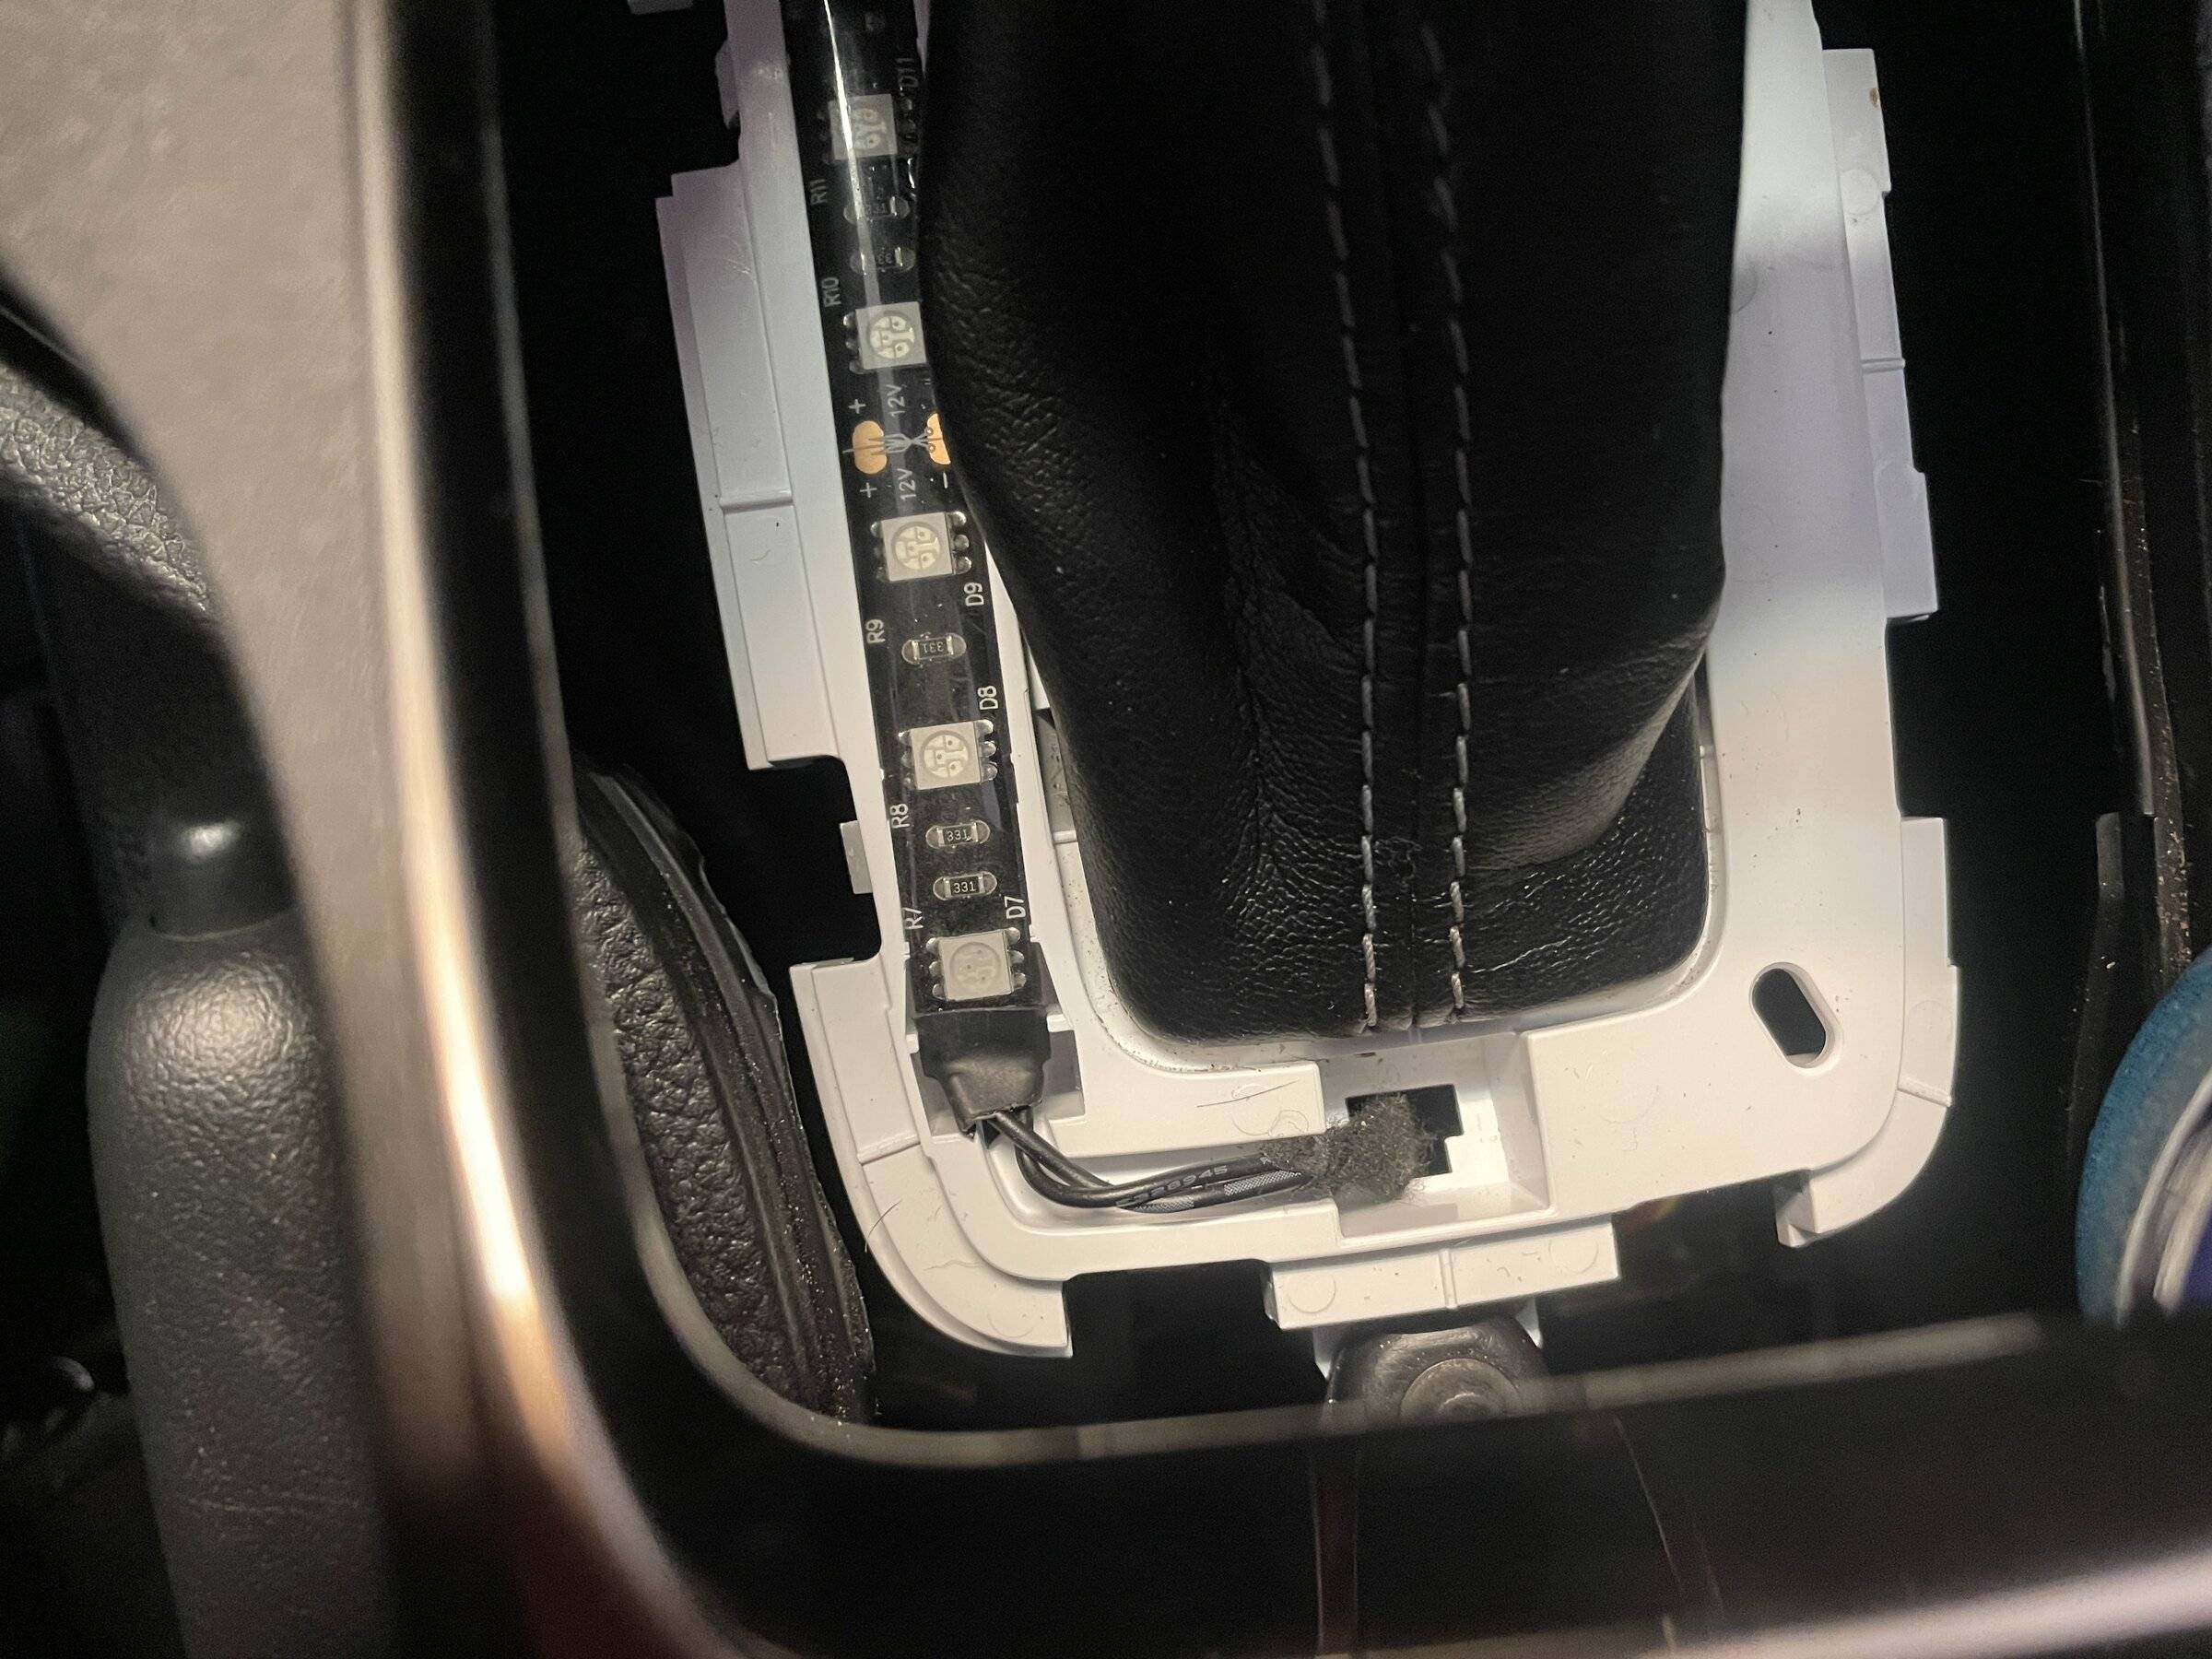
Run your wiring through the center slot and forward towards the USB ports. This was the hardest part. Getting the wiring from here to cutout for the USB ports.
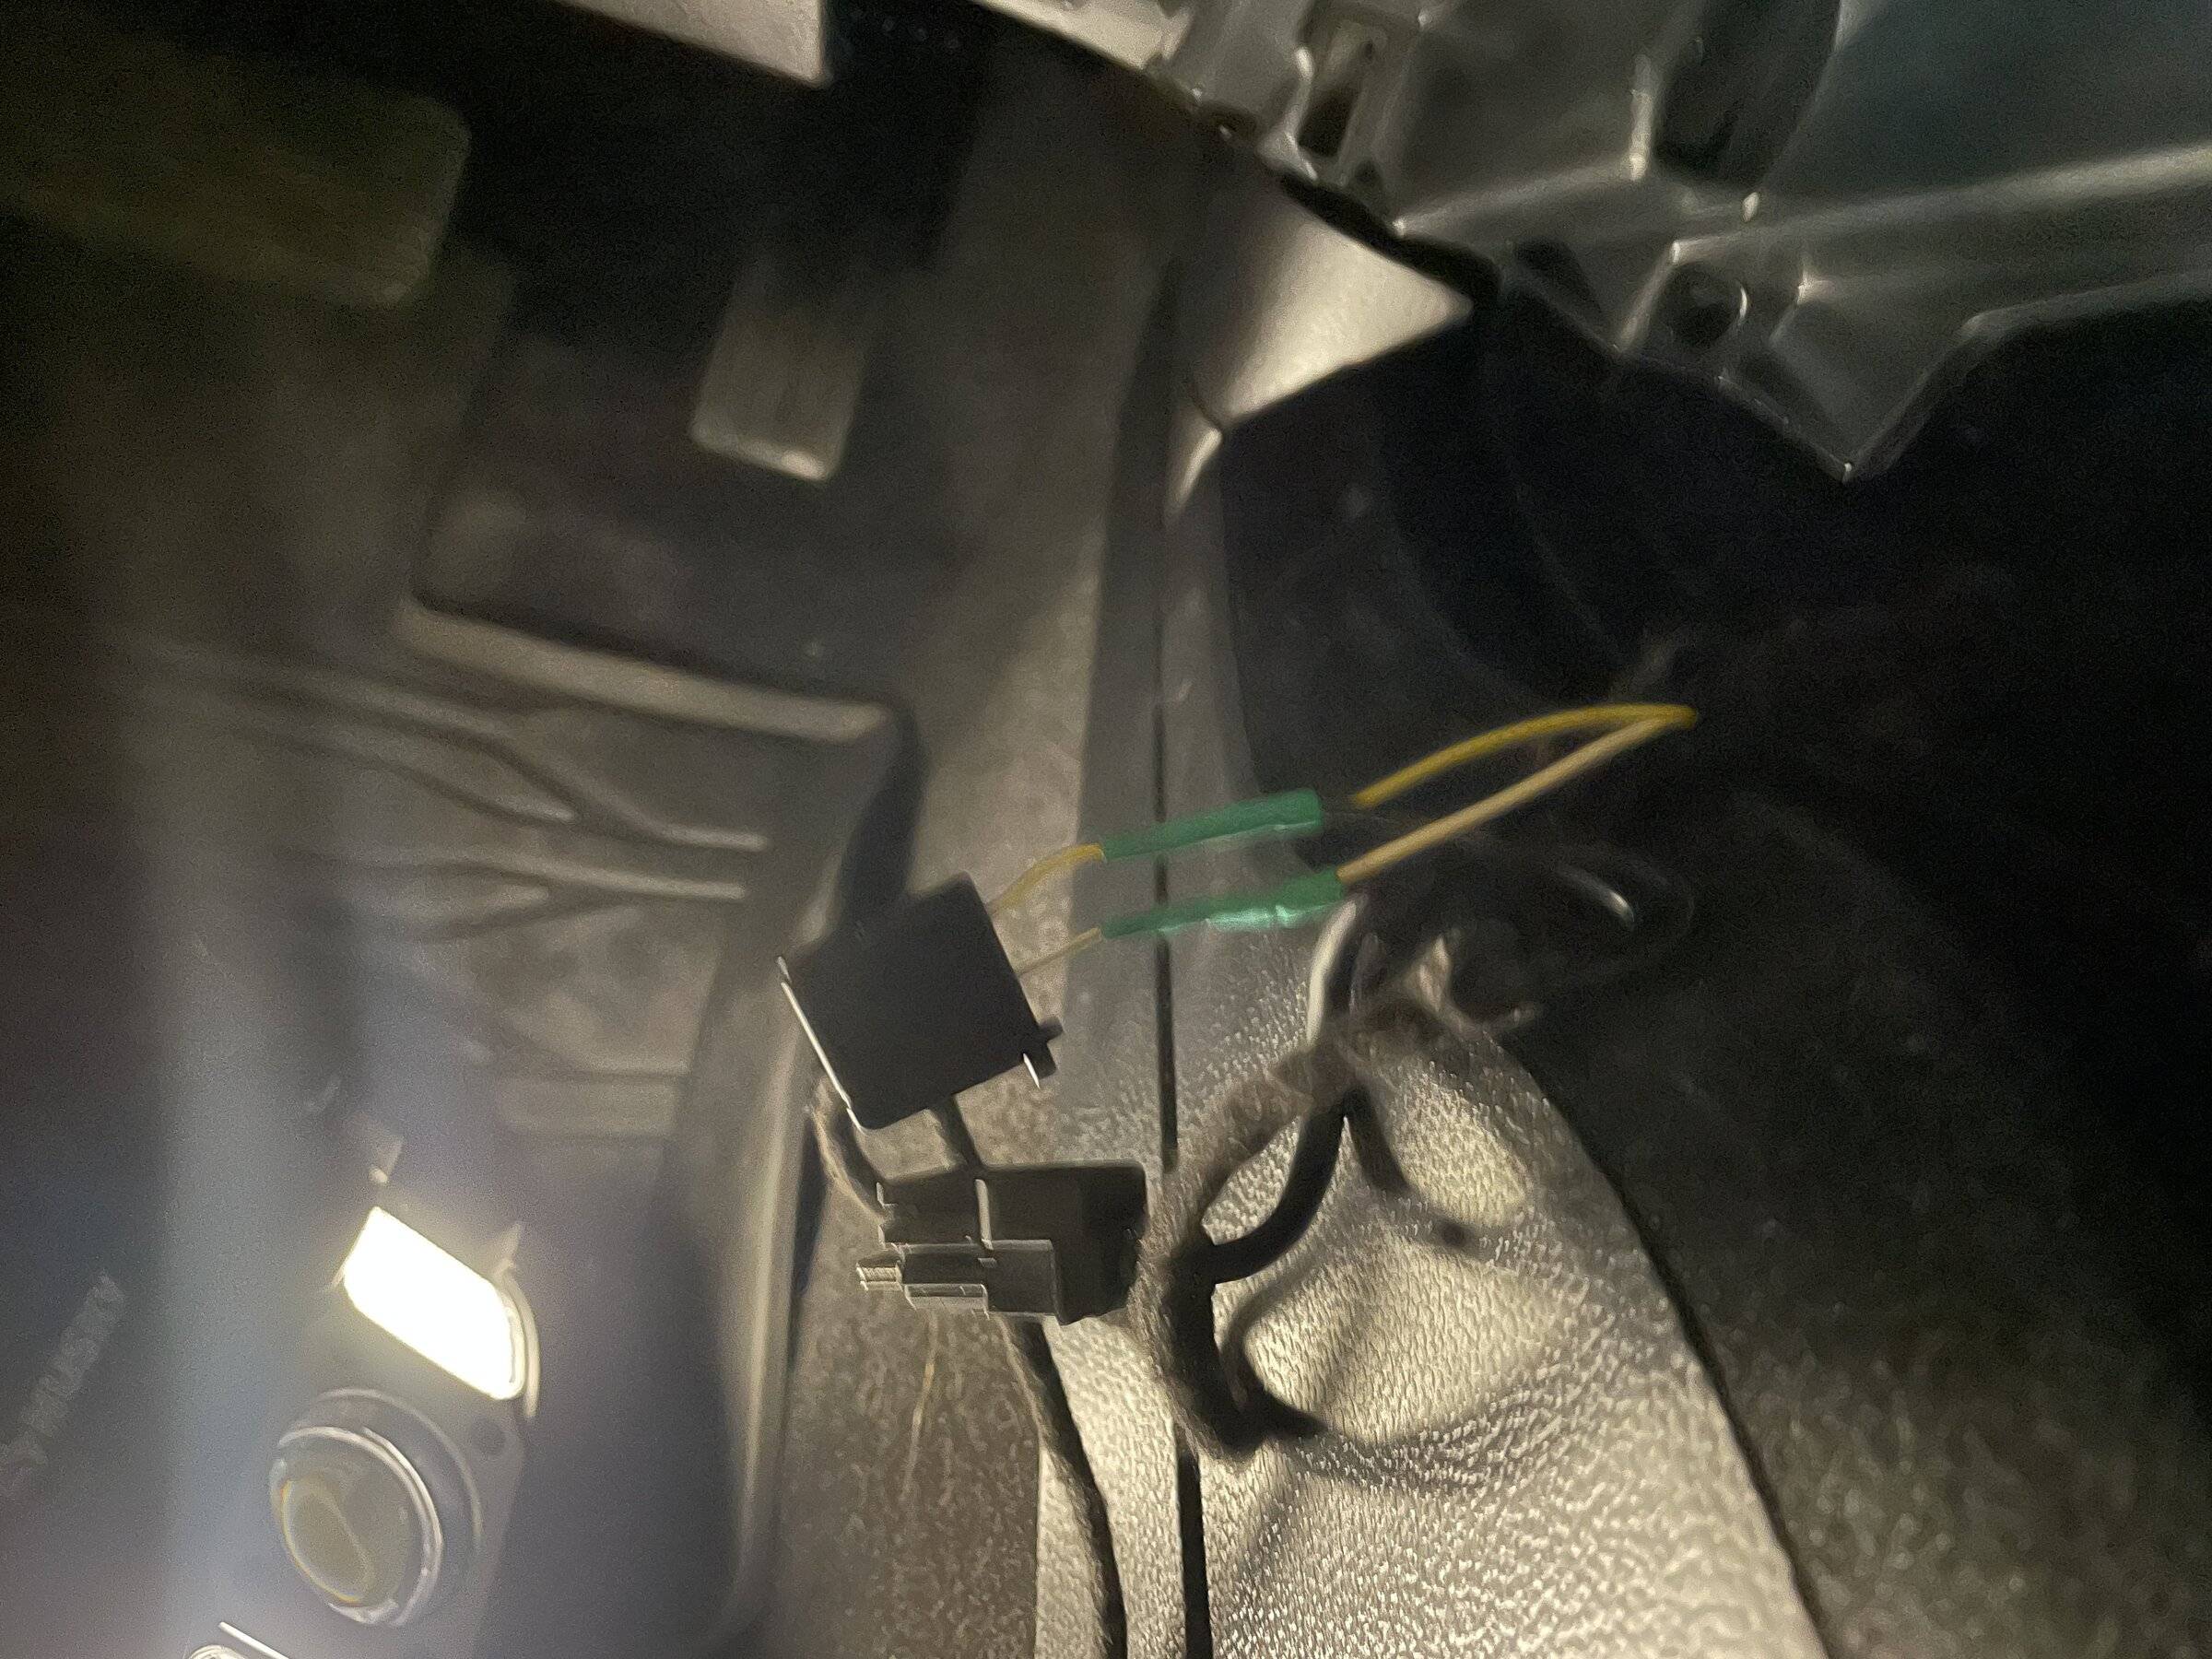
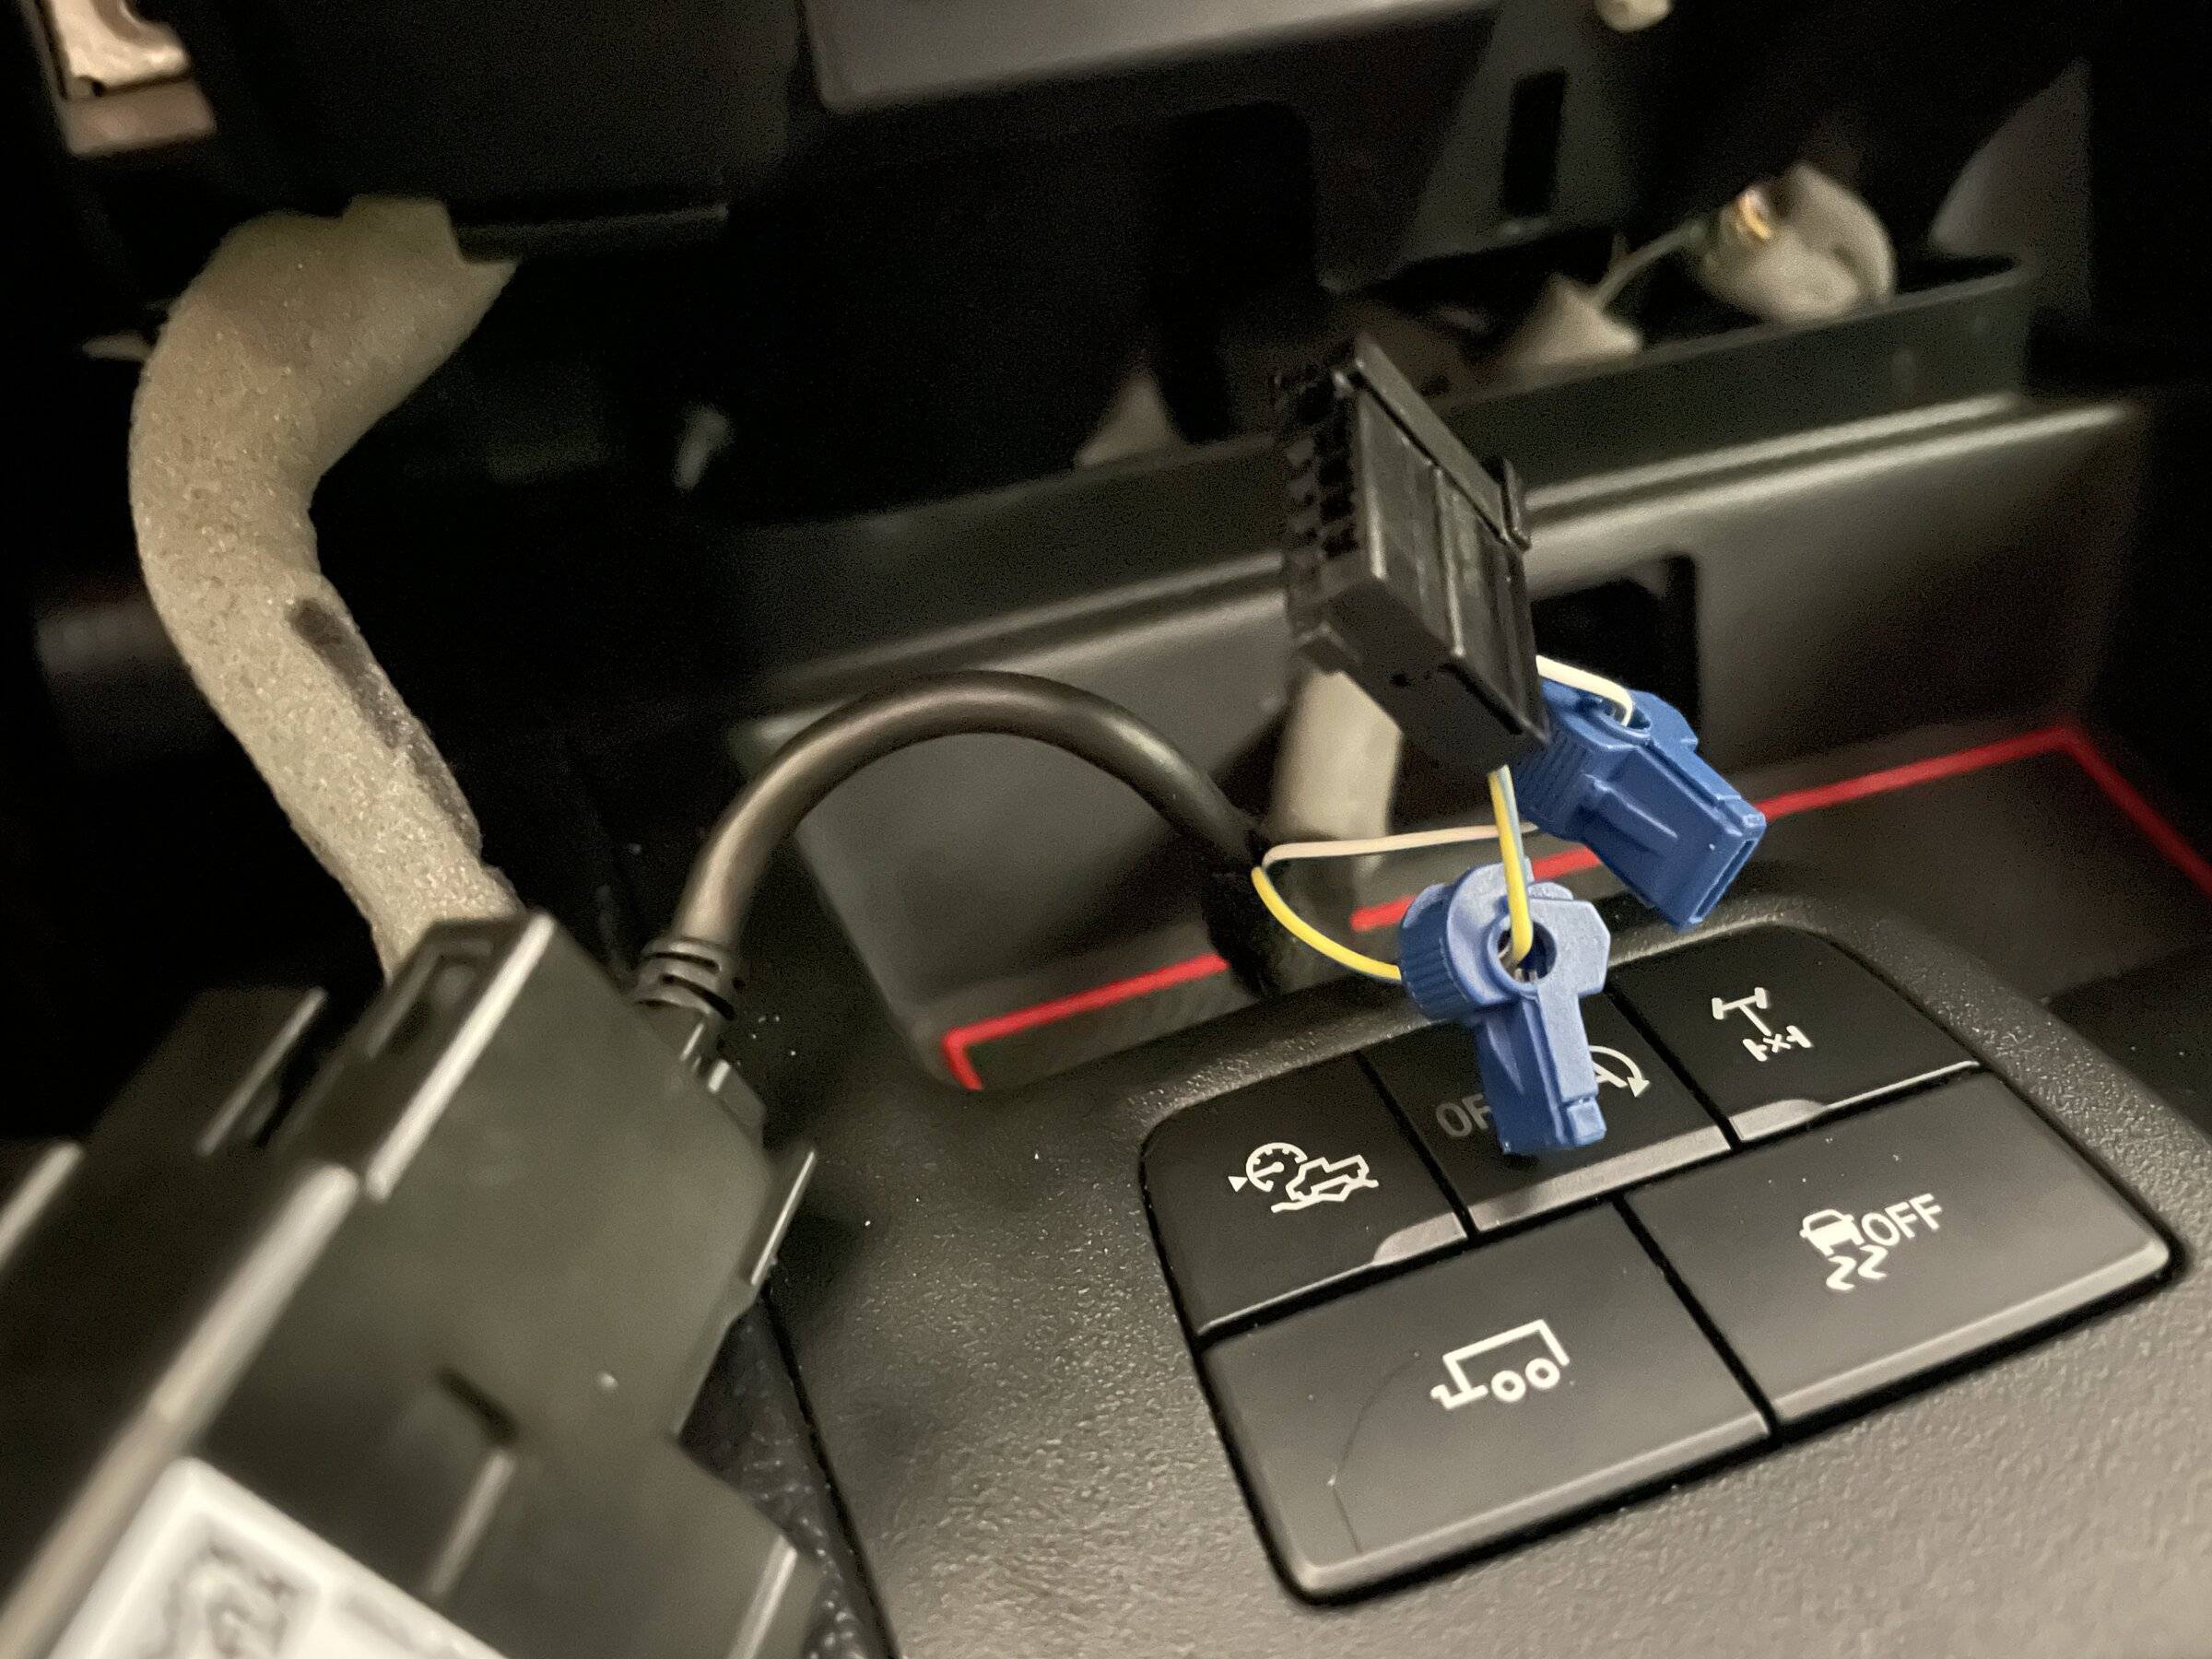
I cannot stress how much I really hate these "T" connectors. I will eventually put down some protection and solder in a pigtail here, but I showed these connectors since this is what most folks would go ahead and use anyways. You may want to test but for my connection the Y/W wire was the positive (wire furthest from the retaining clip).
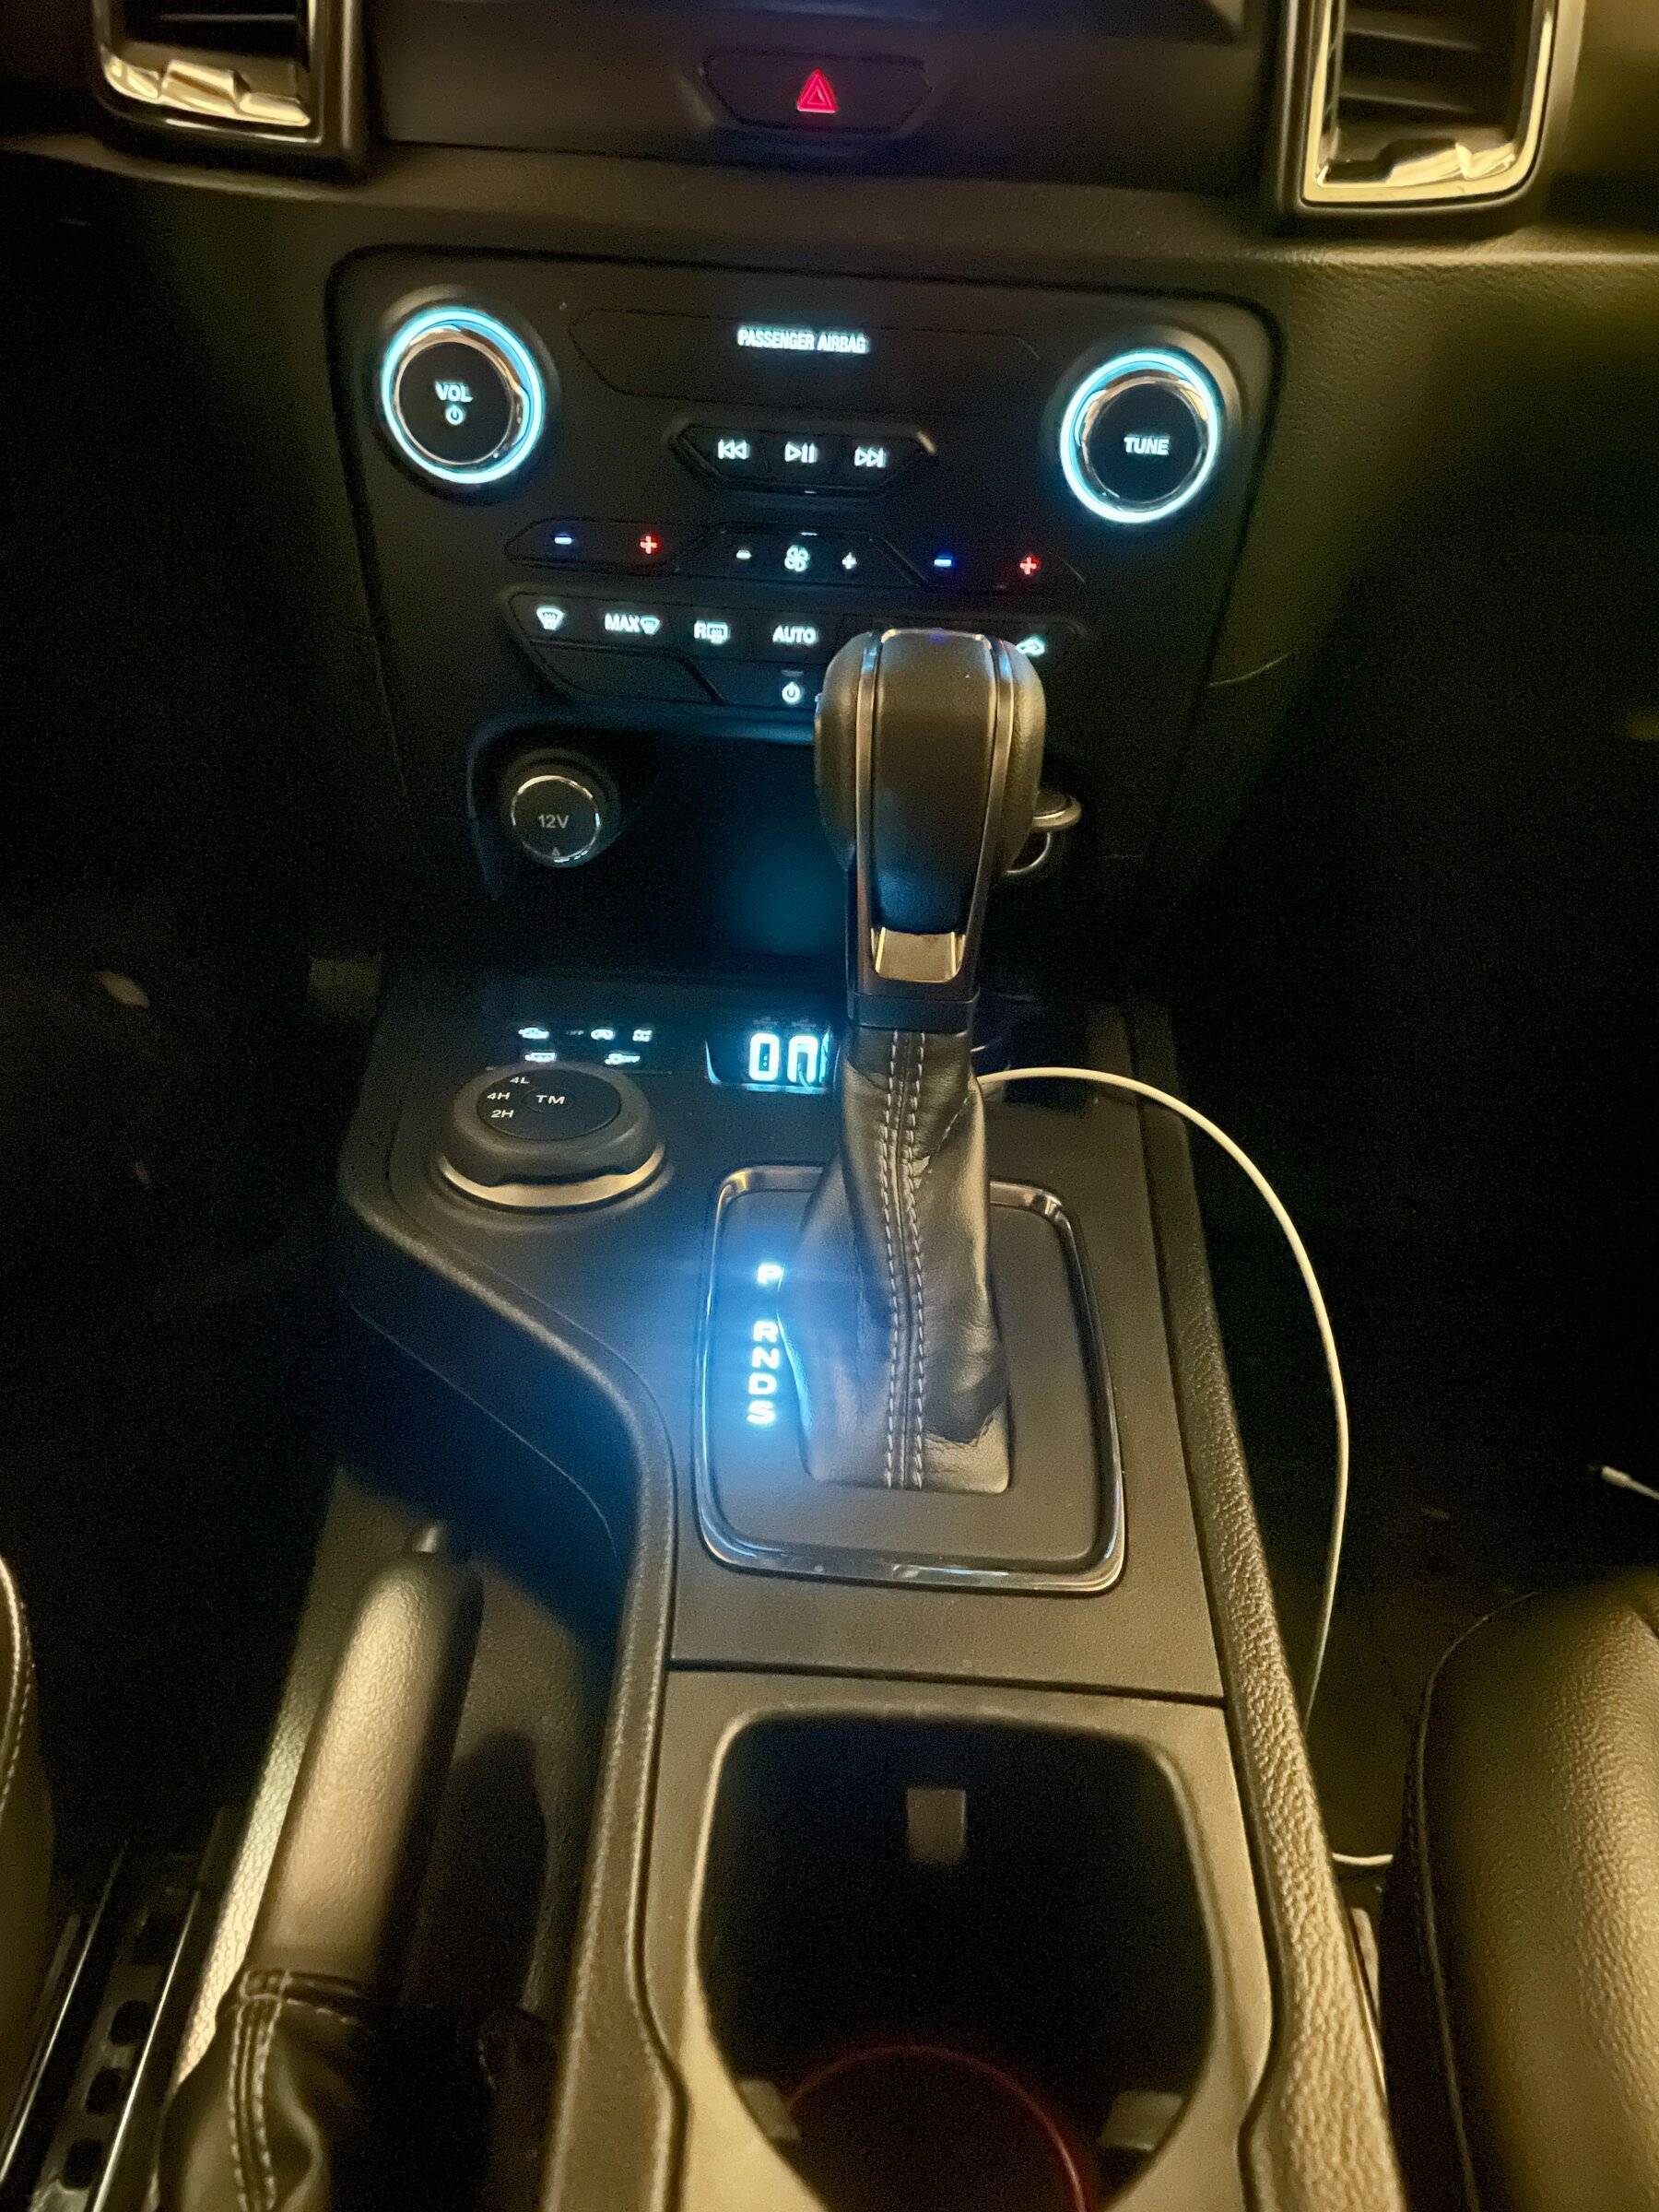
You can notice the hotspots. These strips are clearly not the best solution. Strips like these would be a much better solution due to the tighter spacing of LED's.
I didn't get a good photo. But when you run your wiring, run them along the drivers side. You can zip tie you're wiring to the existing wiring to keep away from any moving parts or from rattling.
If you ever want to run cup holder lighting or the console lighting it would be a good idea to leave an accessible pigtail under here where you don't have to remove all the paneling again.
Regards,
I would wait to do this mod until a better LED strip solution is available. I'm going to order some varying LED strips from Oznium that I think will be a much better fit. The strip I had handy that just happens to fit perfectly, also happens to have poorly spaced LED's where a few ultra thin options from Oznium shouldn't produce hot spots as you will see below.
You will need the following tools.
Small flathead screwdriver.
Panel removal tool (angled is best).
7mm socket.
Start by lowering the glove box by compressing in the sides.
Remove the lower panel between the glove box and instrument panel. Start near the instrument panel in the top corner and work your way down the inside edge. Then the same from the outside edge and pull forward. These tabs are soft so take your time to avoid breaking and bending them. If the white retainer clips come off replace them back on the panel as needed.
Lower the drivers side panel under the steering wheel. This is hinged at the bottom. If the white retainer clips come off replace them back on the panel as needed.
Remove the lower panel between the the panel you just lowered and the instrument panel. Follow the same method as the other side.

Remove the two (7mm) screws holding the 12vdc lower panel to the dash. Using your panel removal tool start from the top edge and release each side. There is a center retaining clip that will release as you gently pull outwards. Remove the wiring from the two sockets and set the panel aside.
Using the panel removal tool gently pry up on the cover for the front center console. Start between the cup holder and panel. Work your way towards the front of the vehicle on each side. You do not need to remove this entirely. From the back gently push out the USB port assembly. You can tap into the ambient lighting for the USB port.
The cover for the gear selector (black) is held to the housing by (6) clips. Starting on the drivers side under the "P" gently separate the two by gently pressing in the white tab while lifting on the black cover. I used a small flathead. You have to be gentle here since these white tabs can snap off easily. Work your way around counter clockwise to release all (6) tabs. You will not have to do the last two in front. You will just be able to lift up and wiggle the top off.
There is a recessed rectangular channel under the lettering where an LED strip can be placed. I'm assuming due to the layout this was originally a light pipe and the lower center cutout was for a wiring connector. You can use this center cutout to run your wiring. I did look throughout the parts at Ford and could not find a part in any schematic. If this could be located and available, obviously the OEM light would be best.
For testing I used a 101.6 x 14.70 x 7.95 LED strip. Standard 4" LED strip from Amazon. The spacing of the LED's is a poor solution that results in hot spots. Smaller LED's with tighter spacing would be much better. I'll order some next week and test them.
Run your wiring through the center slot and forward towards the USB ports. This was the hardest part. Getting the wiring from here to cutout for the USB ports.
I cannot stress how much I really hate these "T" connectors. I will eventually put down some protection and solder in a pigtail here, but I showed these connectors since this is what most folks would go ahead and use anyways. You may want to test but for my connection the Y/W wire was the positive (wire furthest from the retaining clip).
You can notice the hotspots. These strips are clearly not the best solution. Strips like these would be a much better solution due to the tighter spacing of LED's.
I didn't get a good photo. But when you run your wiring, run them along the drivers side. You can zip tie you're wiring to the existing wiring to keep away from any moving parts or from rattling.
If you ever want to run cup holder lighting or the console lighting it would be a good idea to leave an accessible pigtail under here where you don't have to remove all the paneling again.
Regards,
Sponsored