Edsel
Well-Known Member
- Joined
- Feb 6, 2020
- Threads
- 3
- Messages
- 121
- Reaction score
- 232
- Location
- North Carolina (Wilmington)
- Vehicle(s)
- 2024 Jeep Wrangler Willys 4Xe
- Occupation
- Engineering Professor
- Vehicle Showcase
- 1
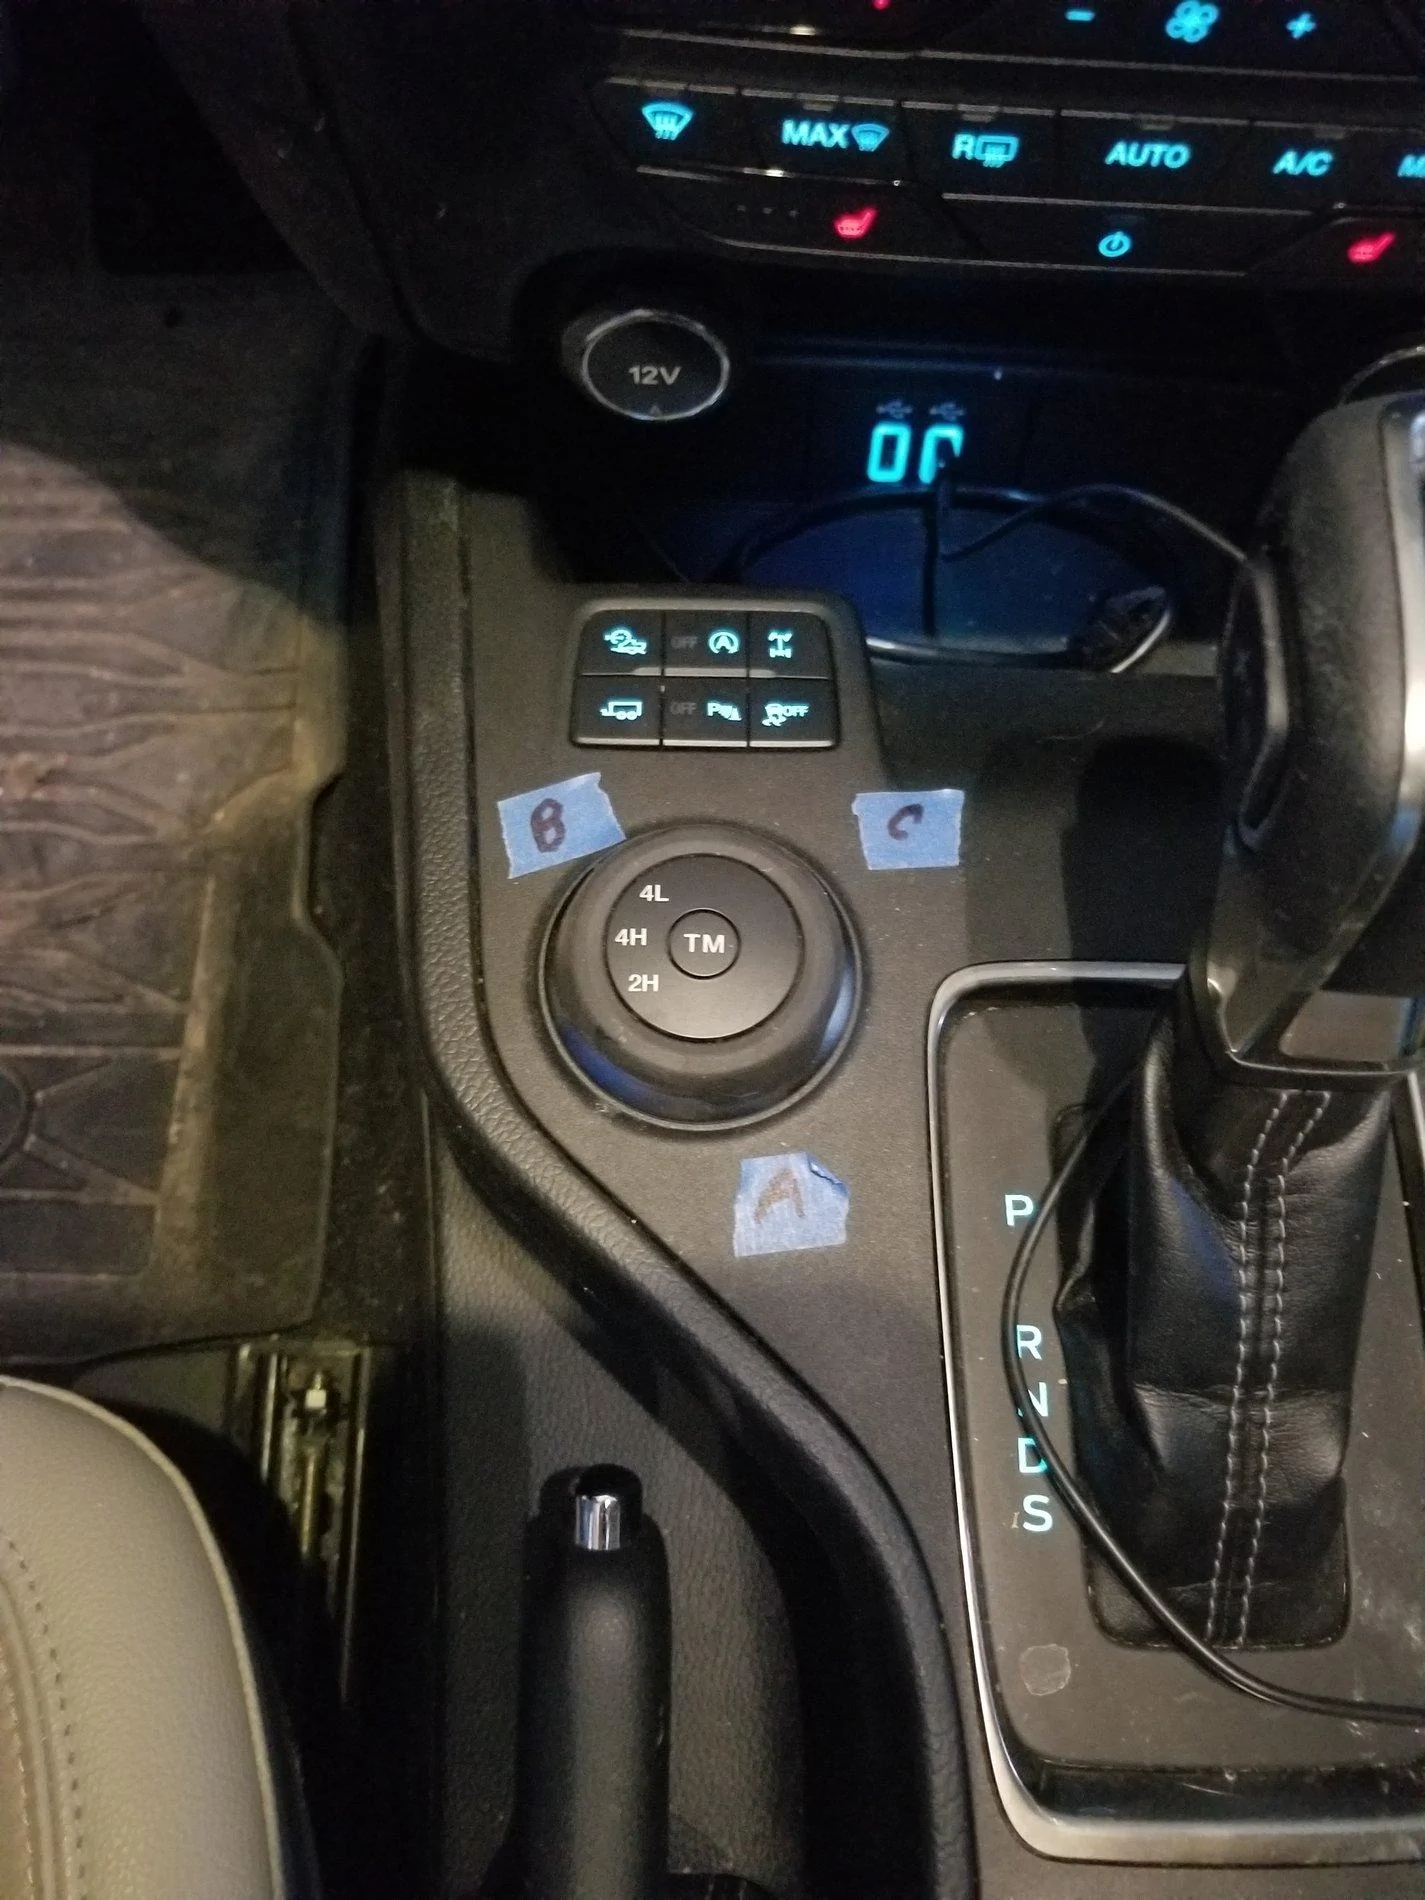
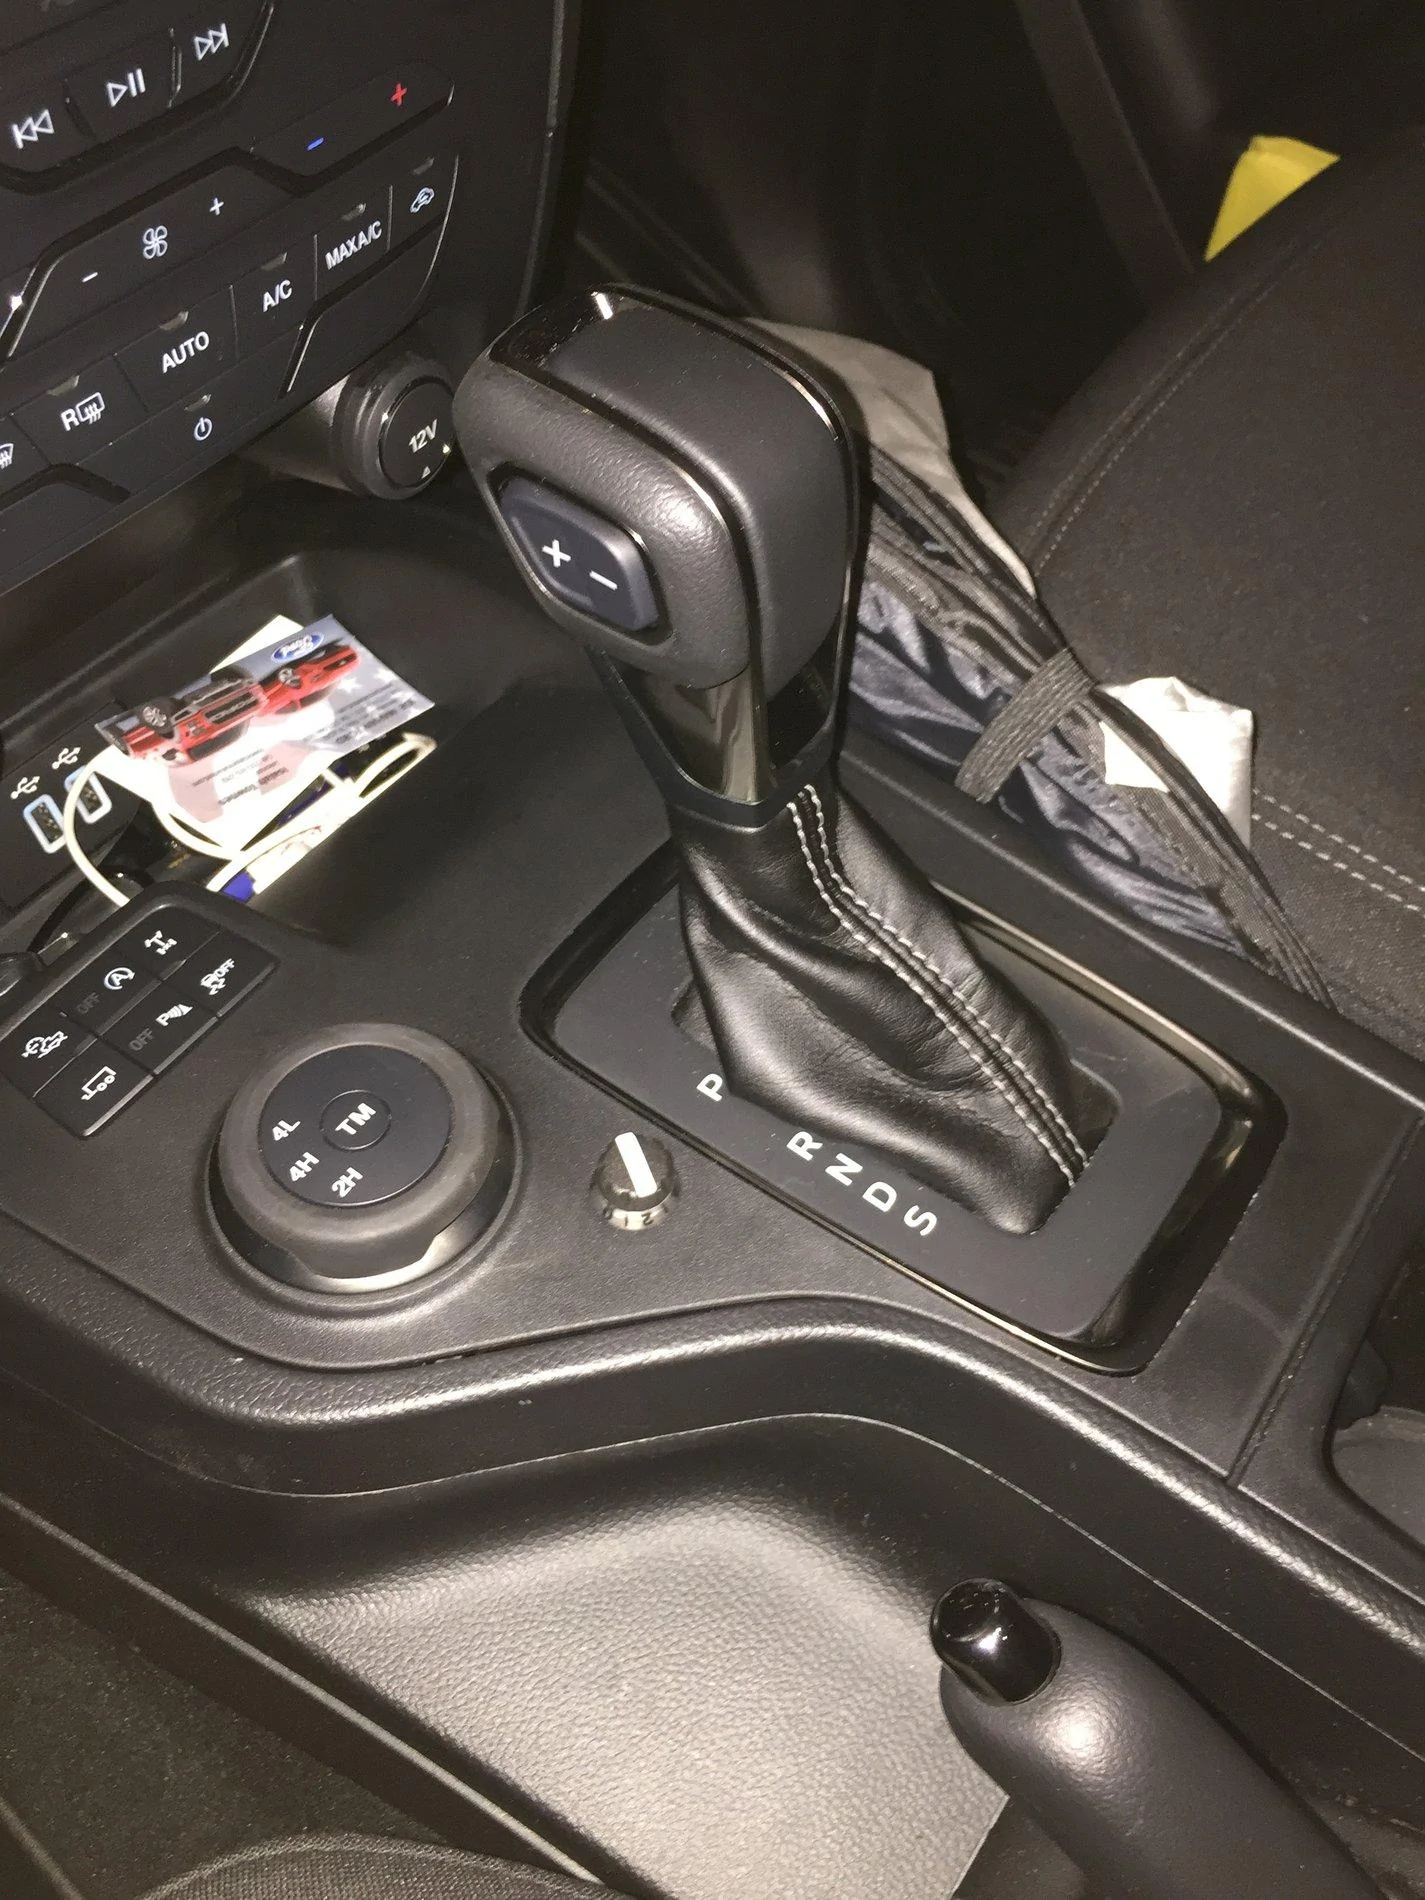
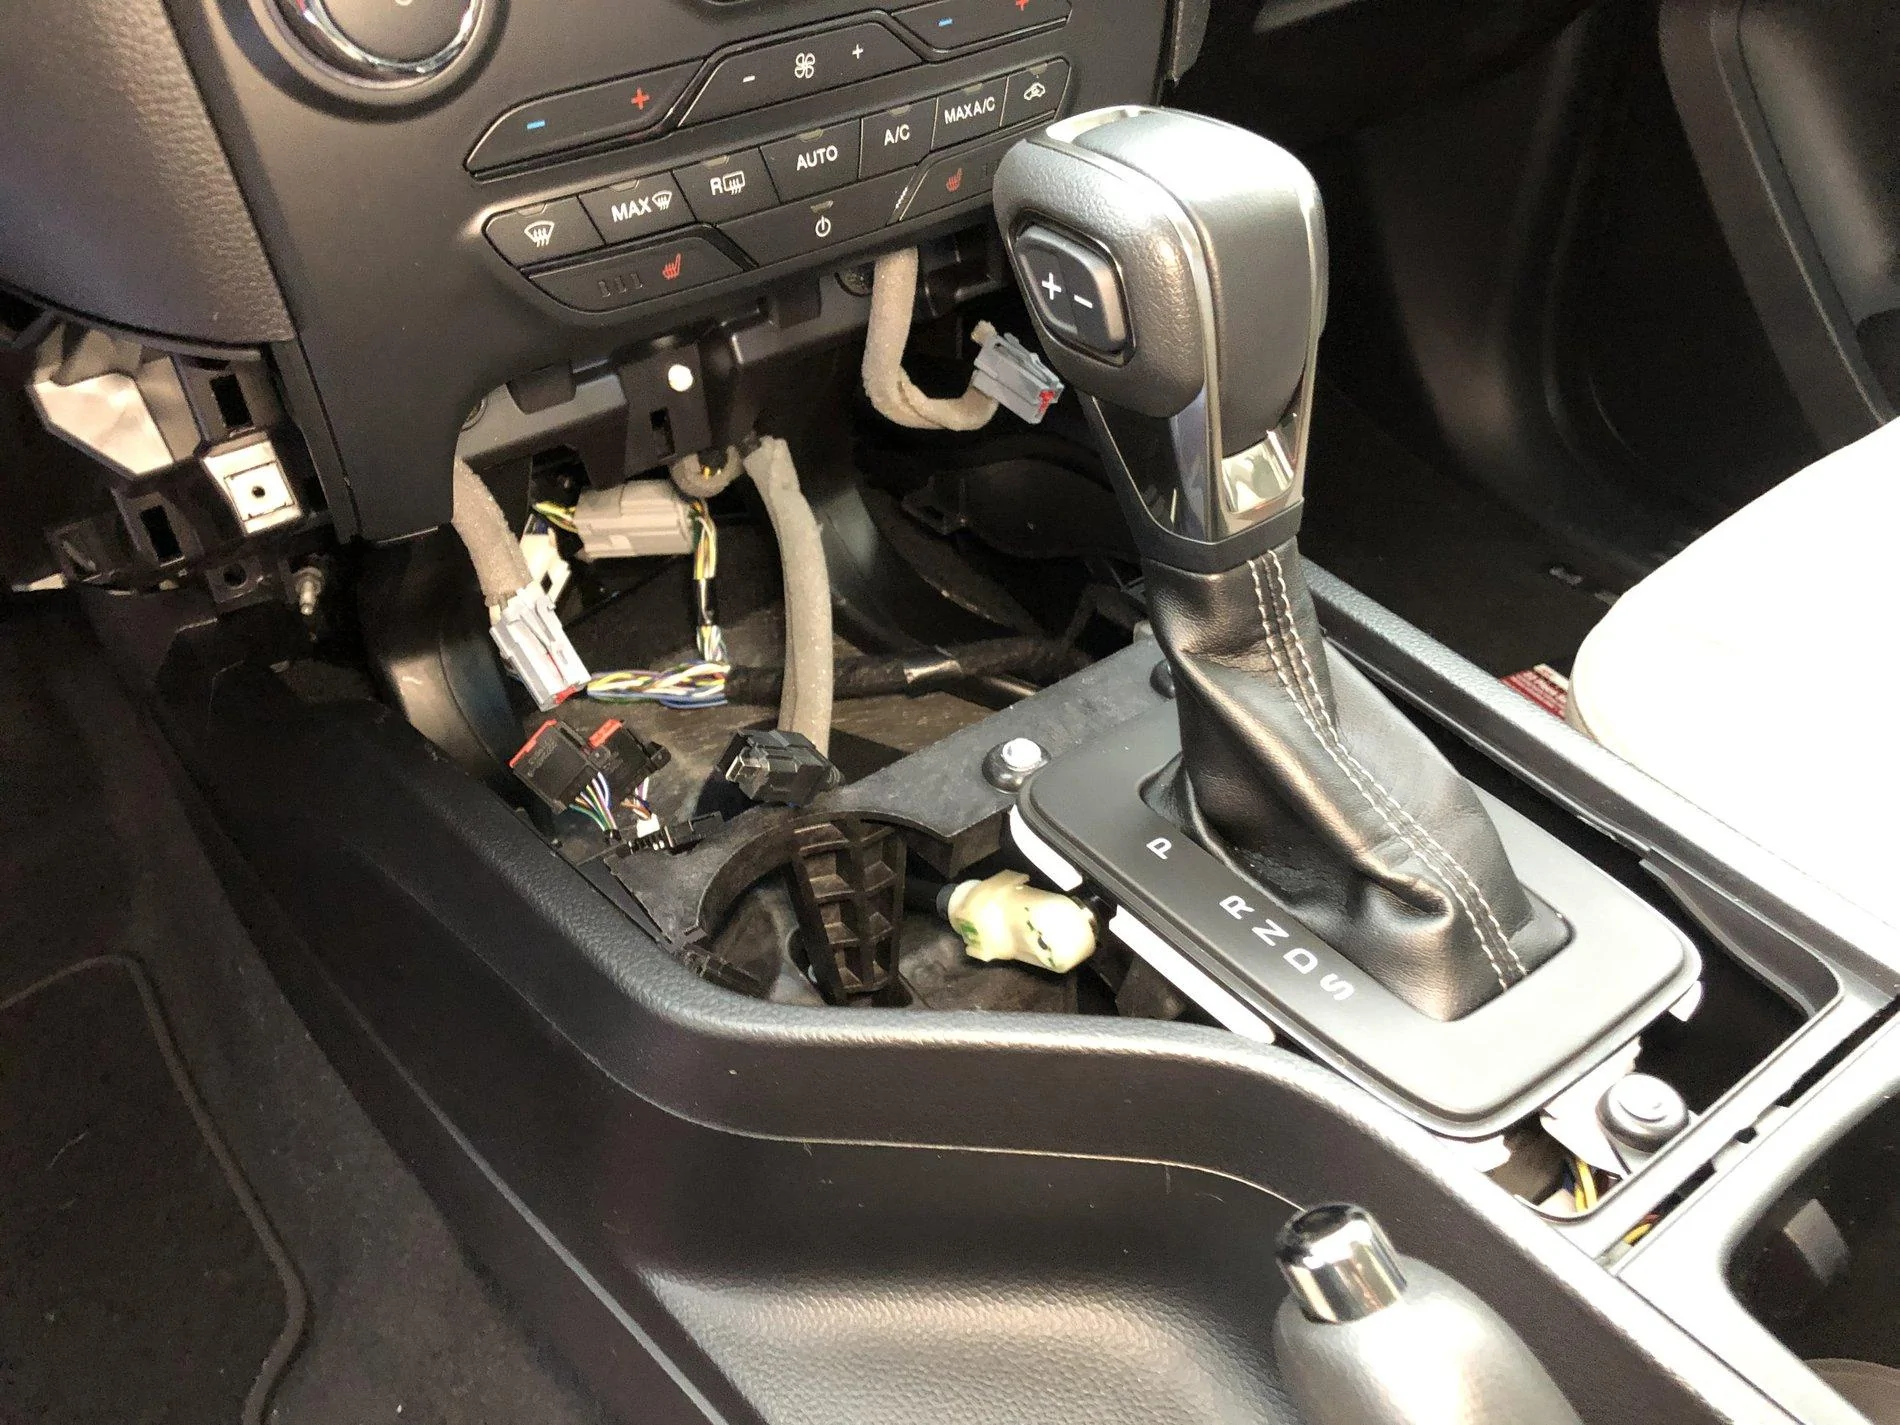
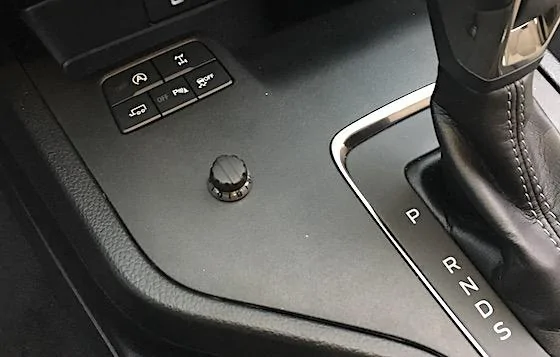
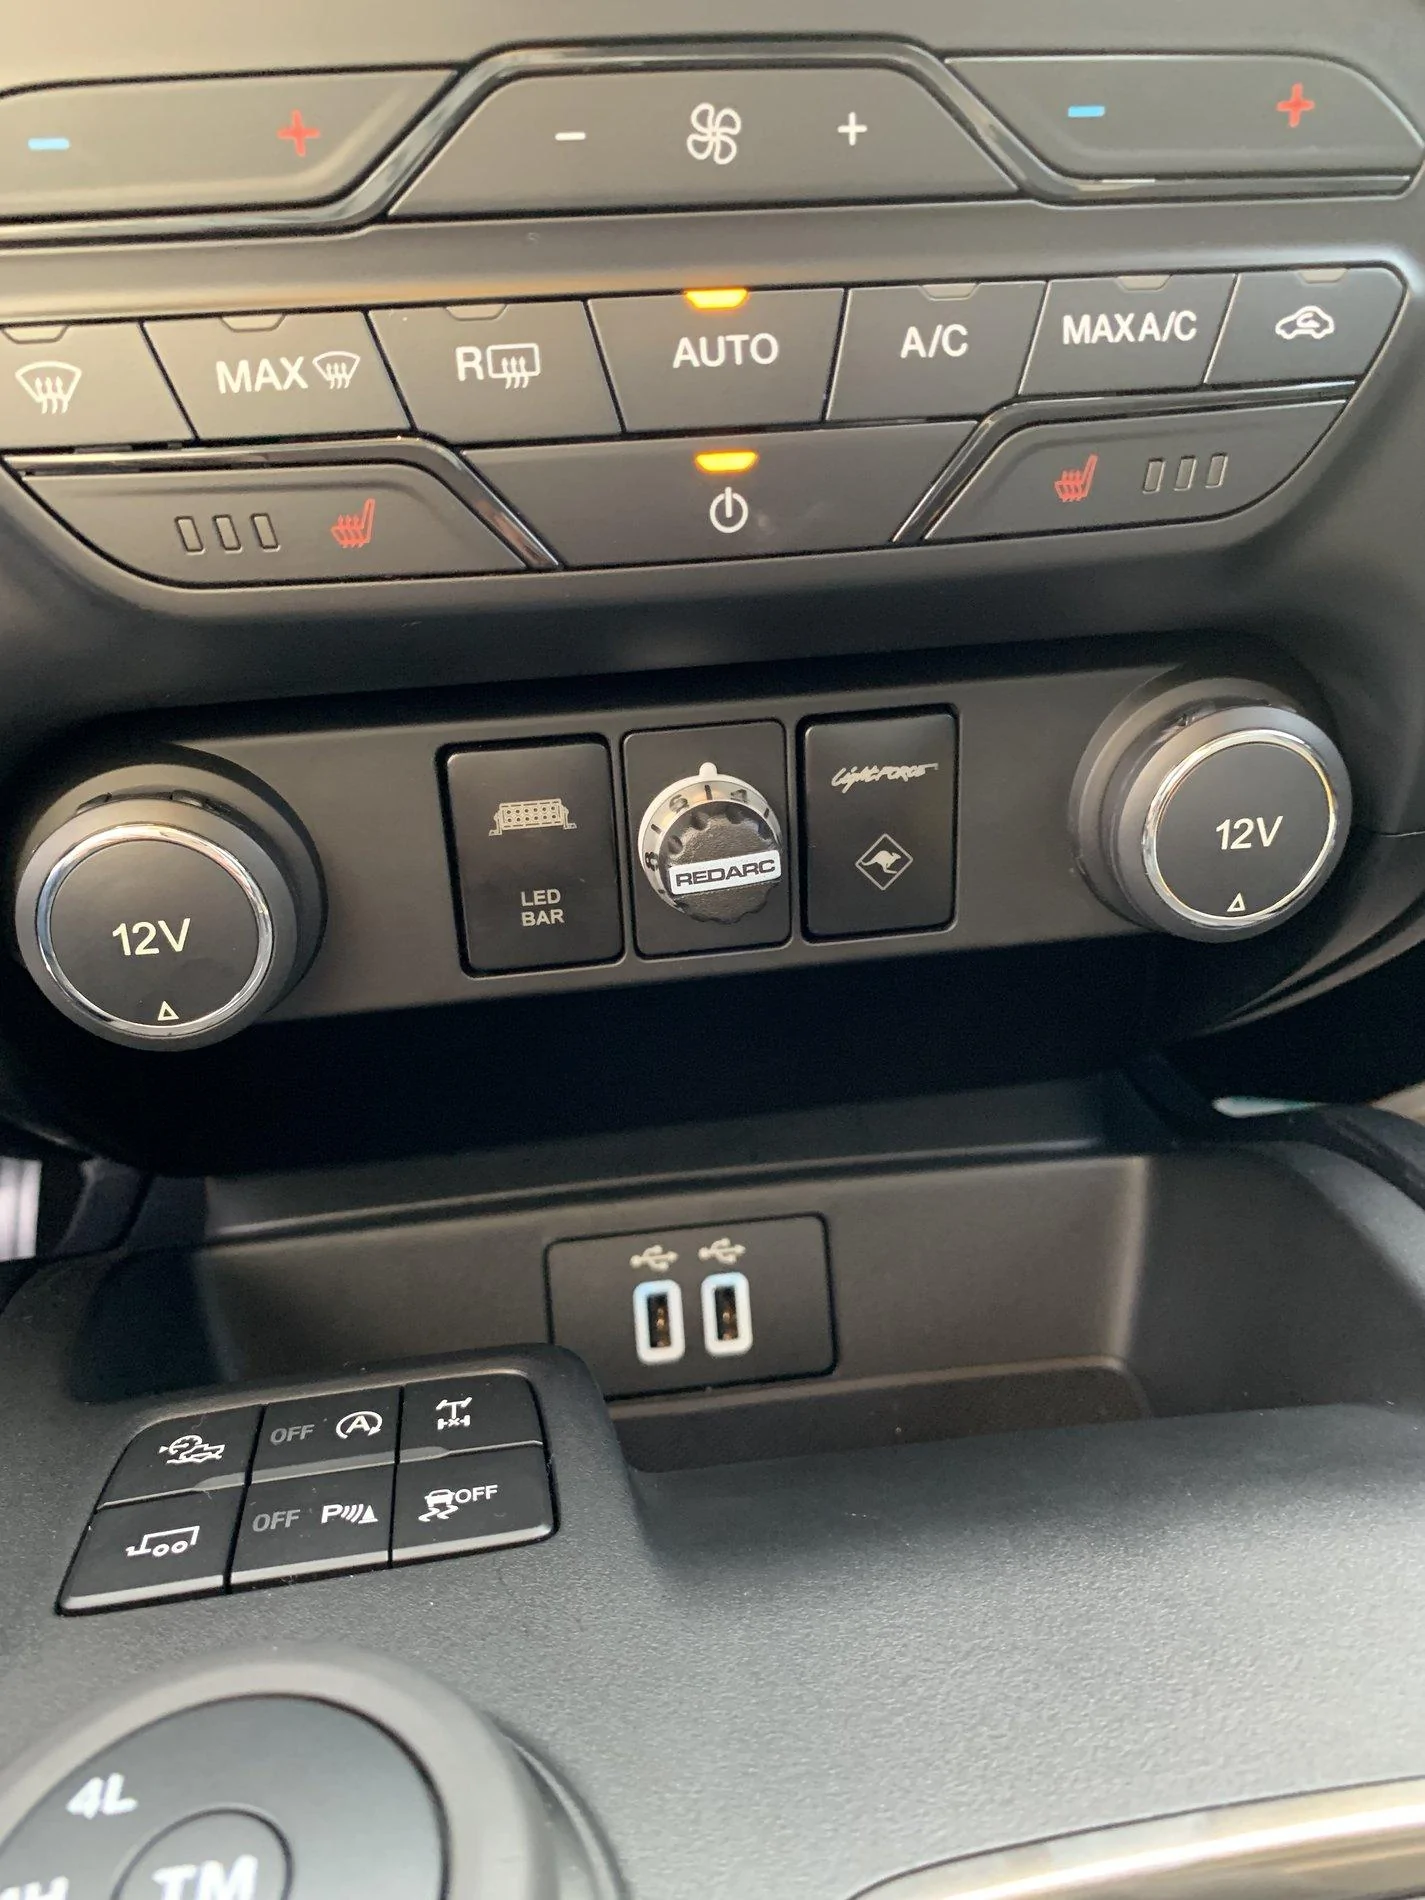
Think about resale. Go with the OEM (VKB3Z-2C006-A) and mount the control switch in the shift console. If you do this yourself, be prepared for a wild ride. My wife went ballistic--"You are tearing apart your brand new truck! Are you insane?".Reading the other thread about the new version 3 model that Ford is selling now (that has the extra Lumen module for the AEB), would anyone agree this new version is the way to go OR is the "older" Redarc version good enough when you can just turn off the emergency braking feature?
Sponsored

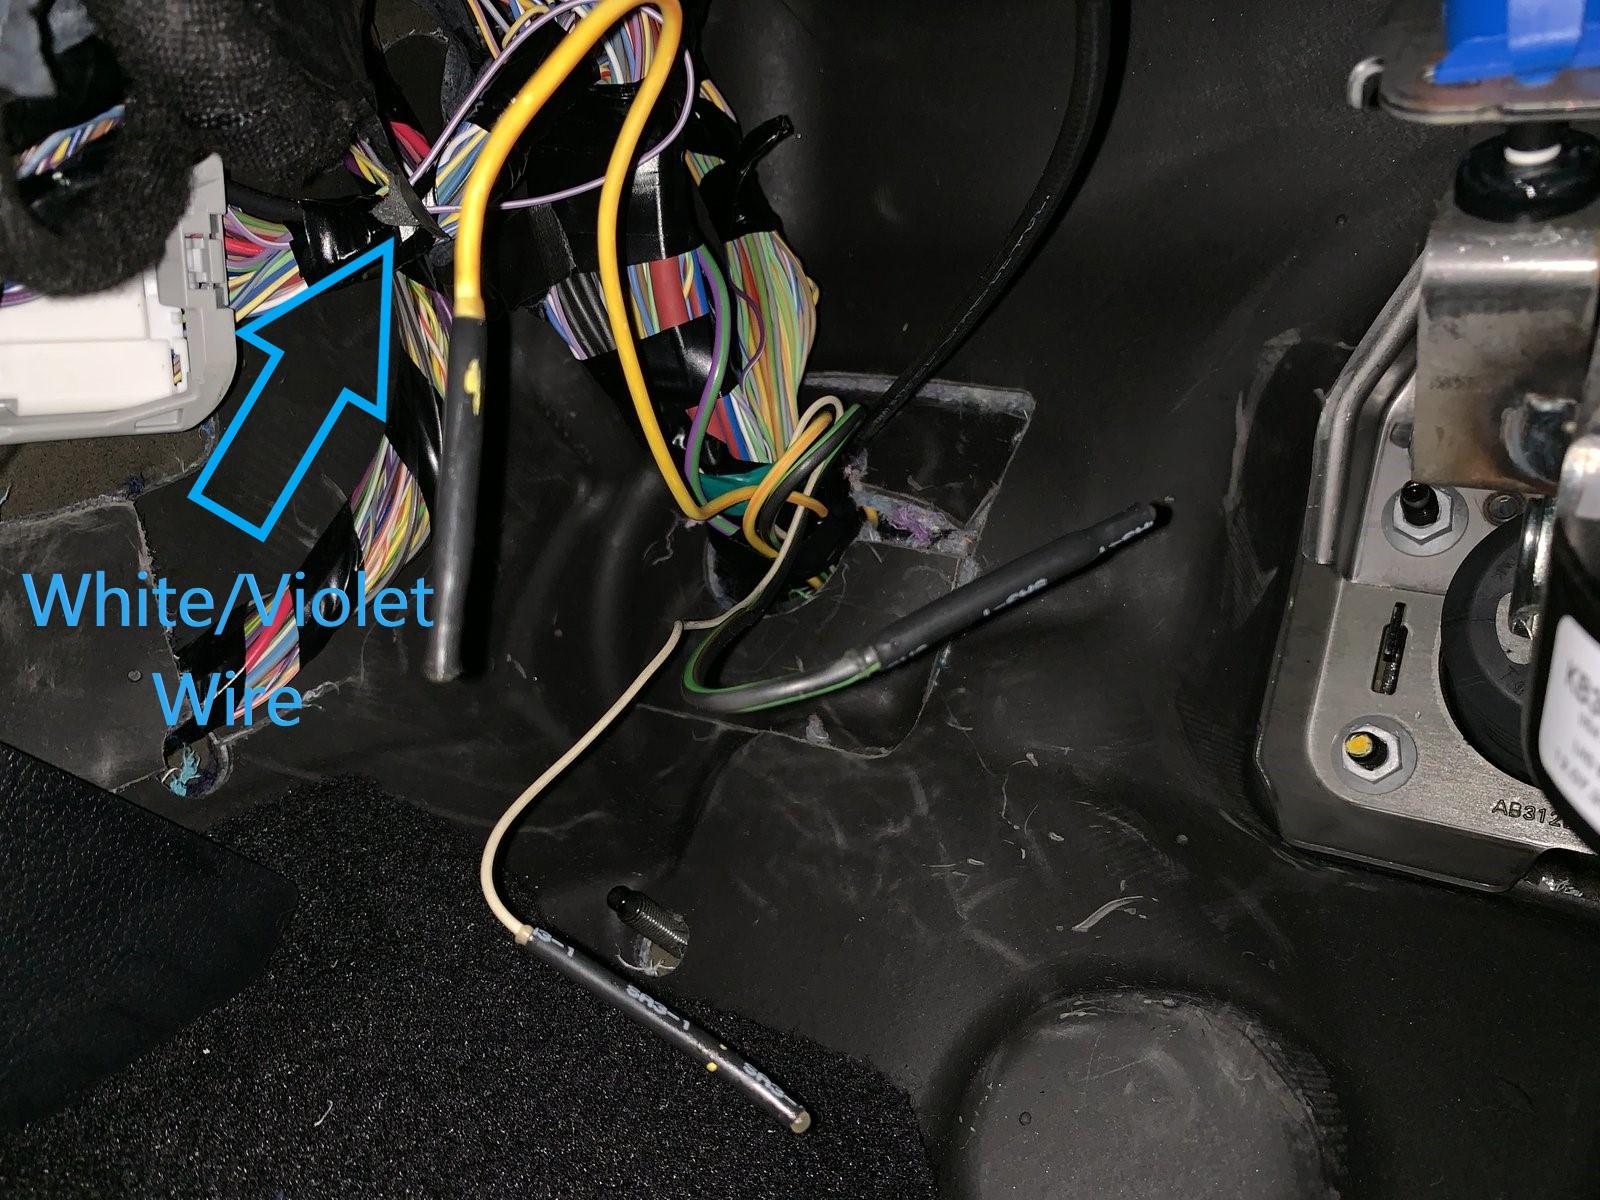
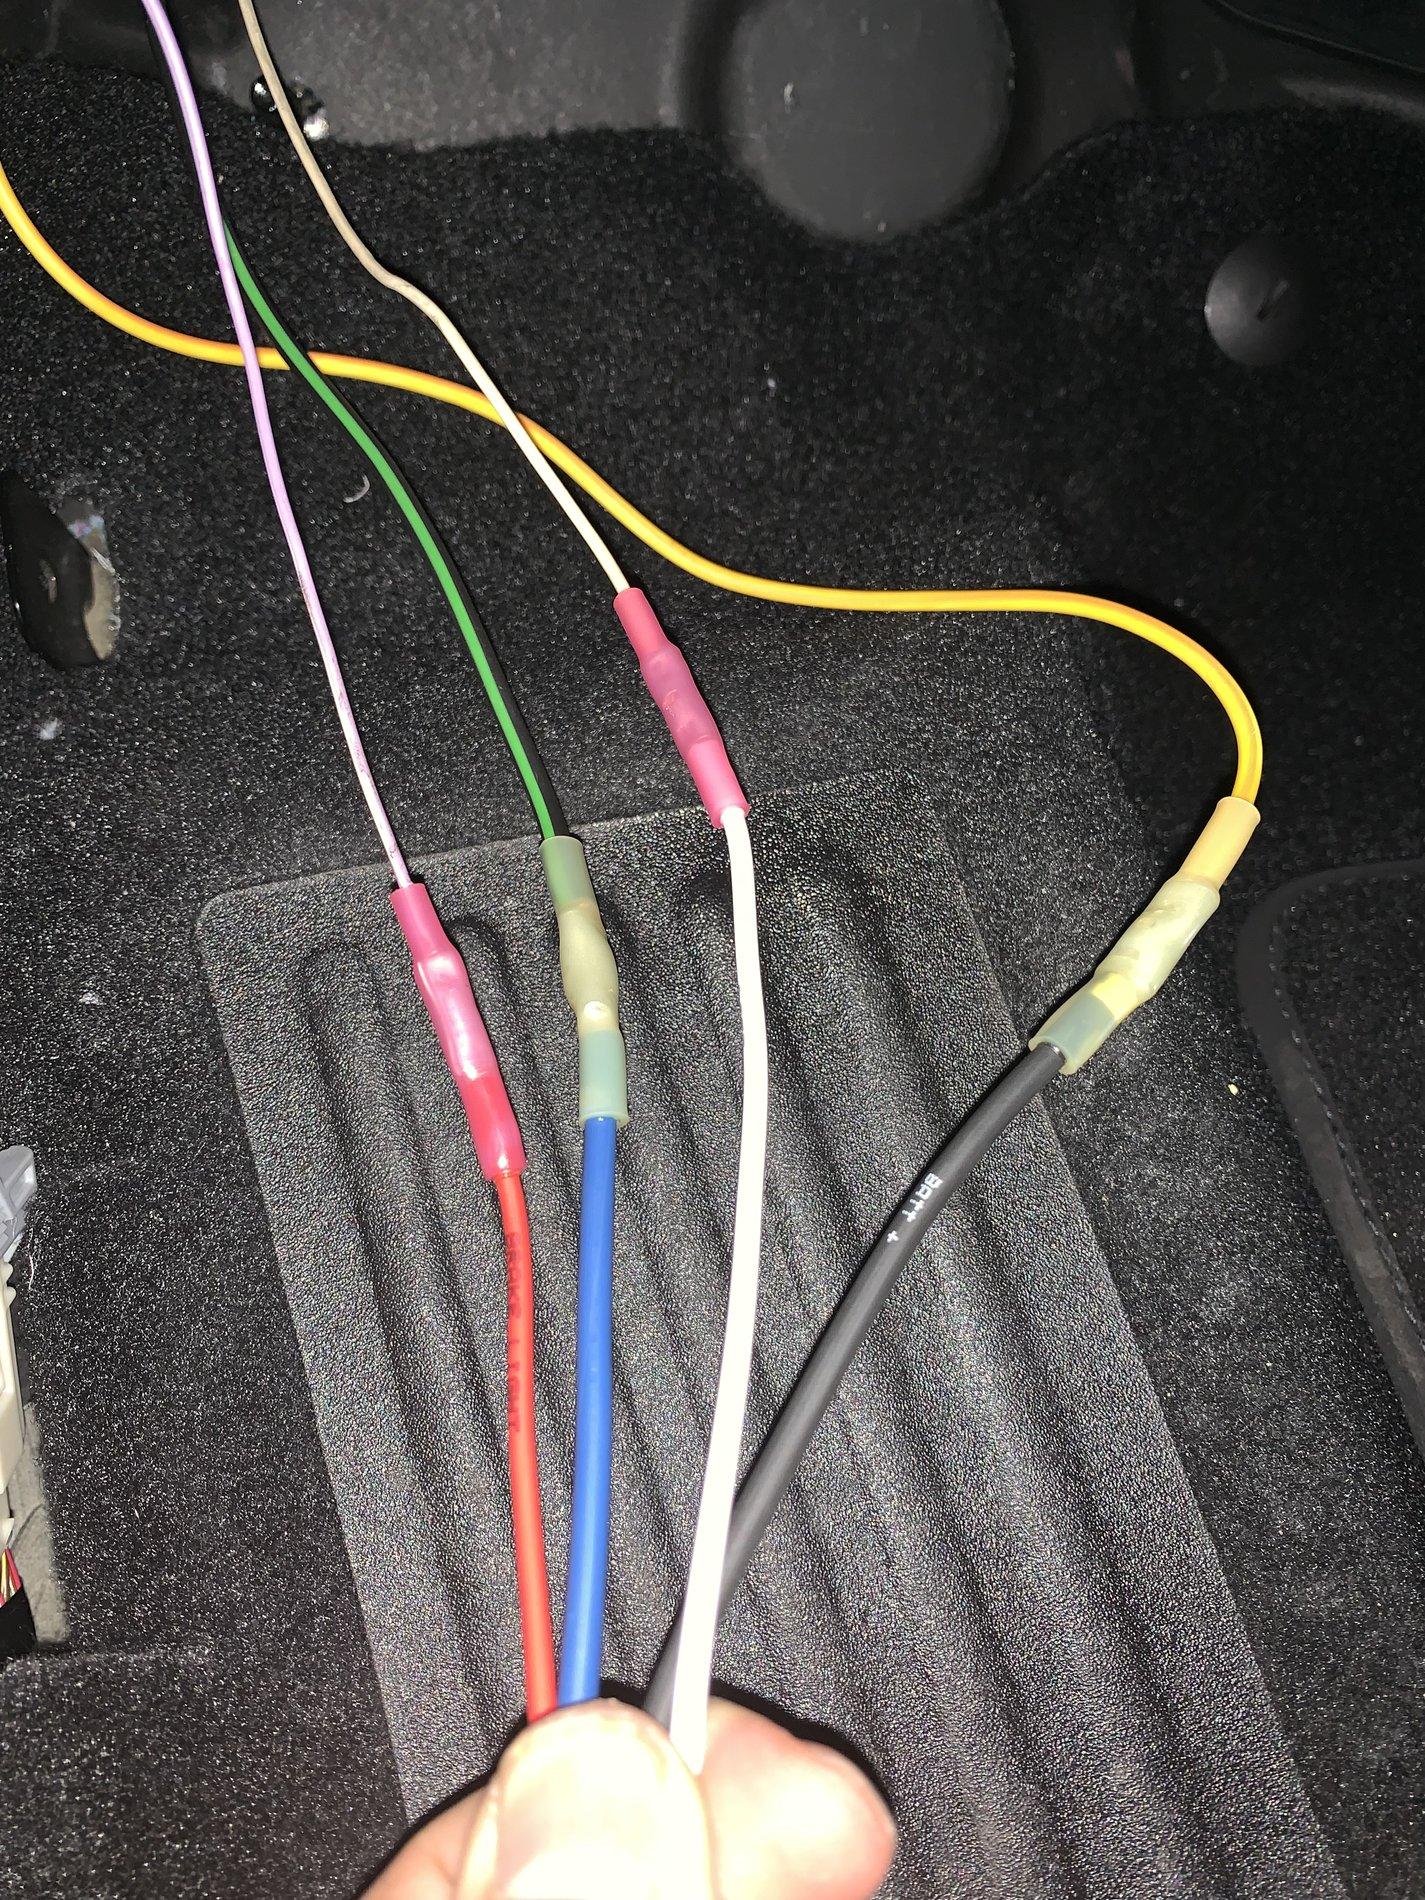
![Vehicle Wires [found].jpg](https://cdn.ranger5g.com/attachments/35/35781-aeacbc92dbc96874269e729e8356de5c.jpg)