George R. Helfrick
New Member
- First Name
- George
- Joined
- Mar 25, 2019
- Threads
- 0
- Messages
- 4
- Reaction score
- 2
- Location
- Gettybsurg
- Vehicle(s)
- 2019 Ranger Lariat
Yes, I do. Message me for details.
Sponsored
Last edited:
Yes, I do. Message me for details.
Hi Gang,
When the 2019 Ranger was announced, I was appalled that Ford was not going to equip it a wireless phone charger. Since I brought my Ranger home, I have been on a quest to add this must-have feature (IMHO).
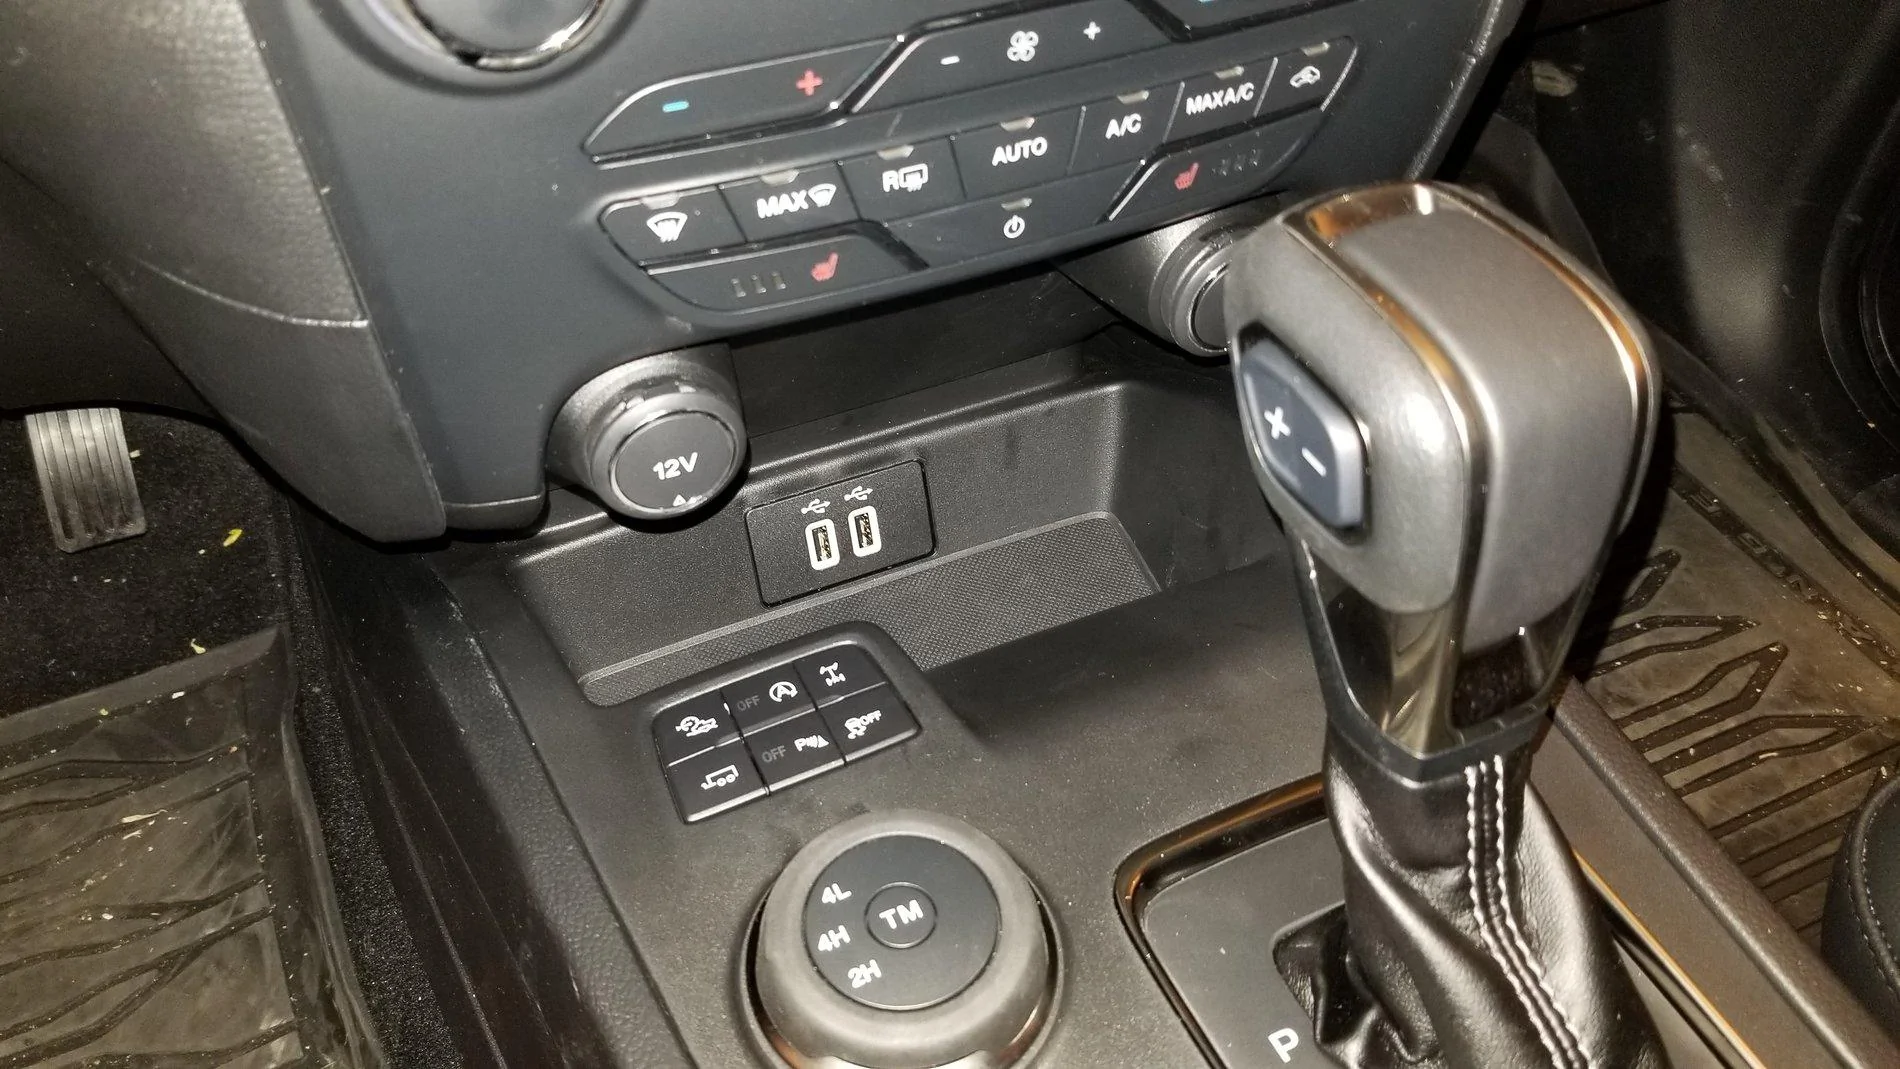
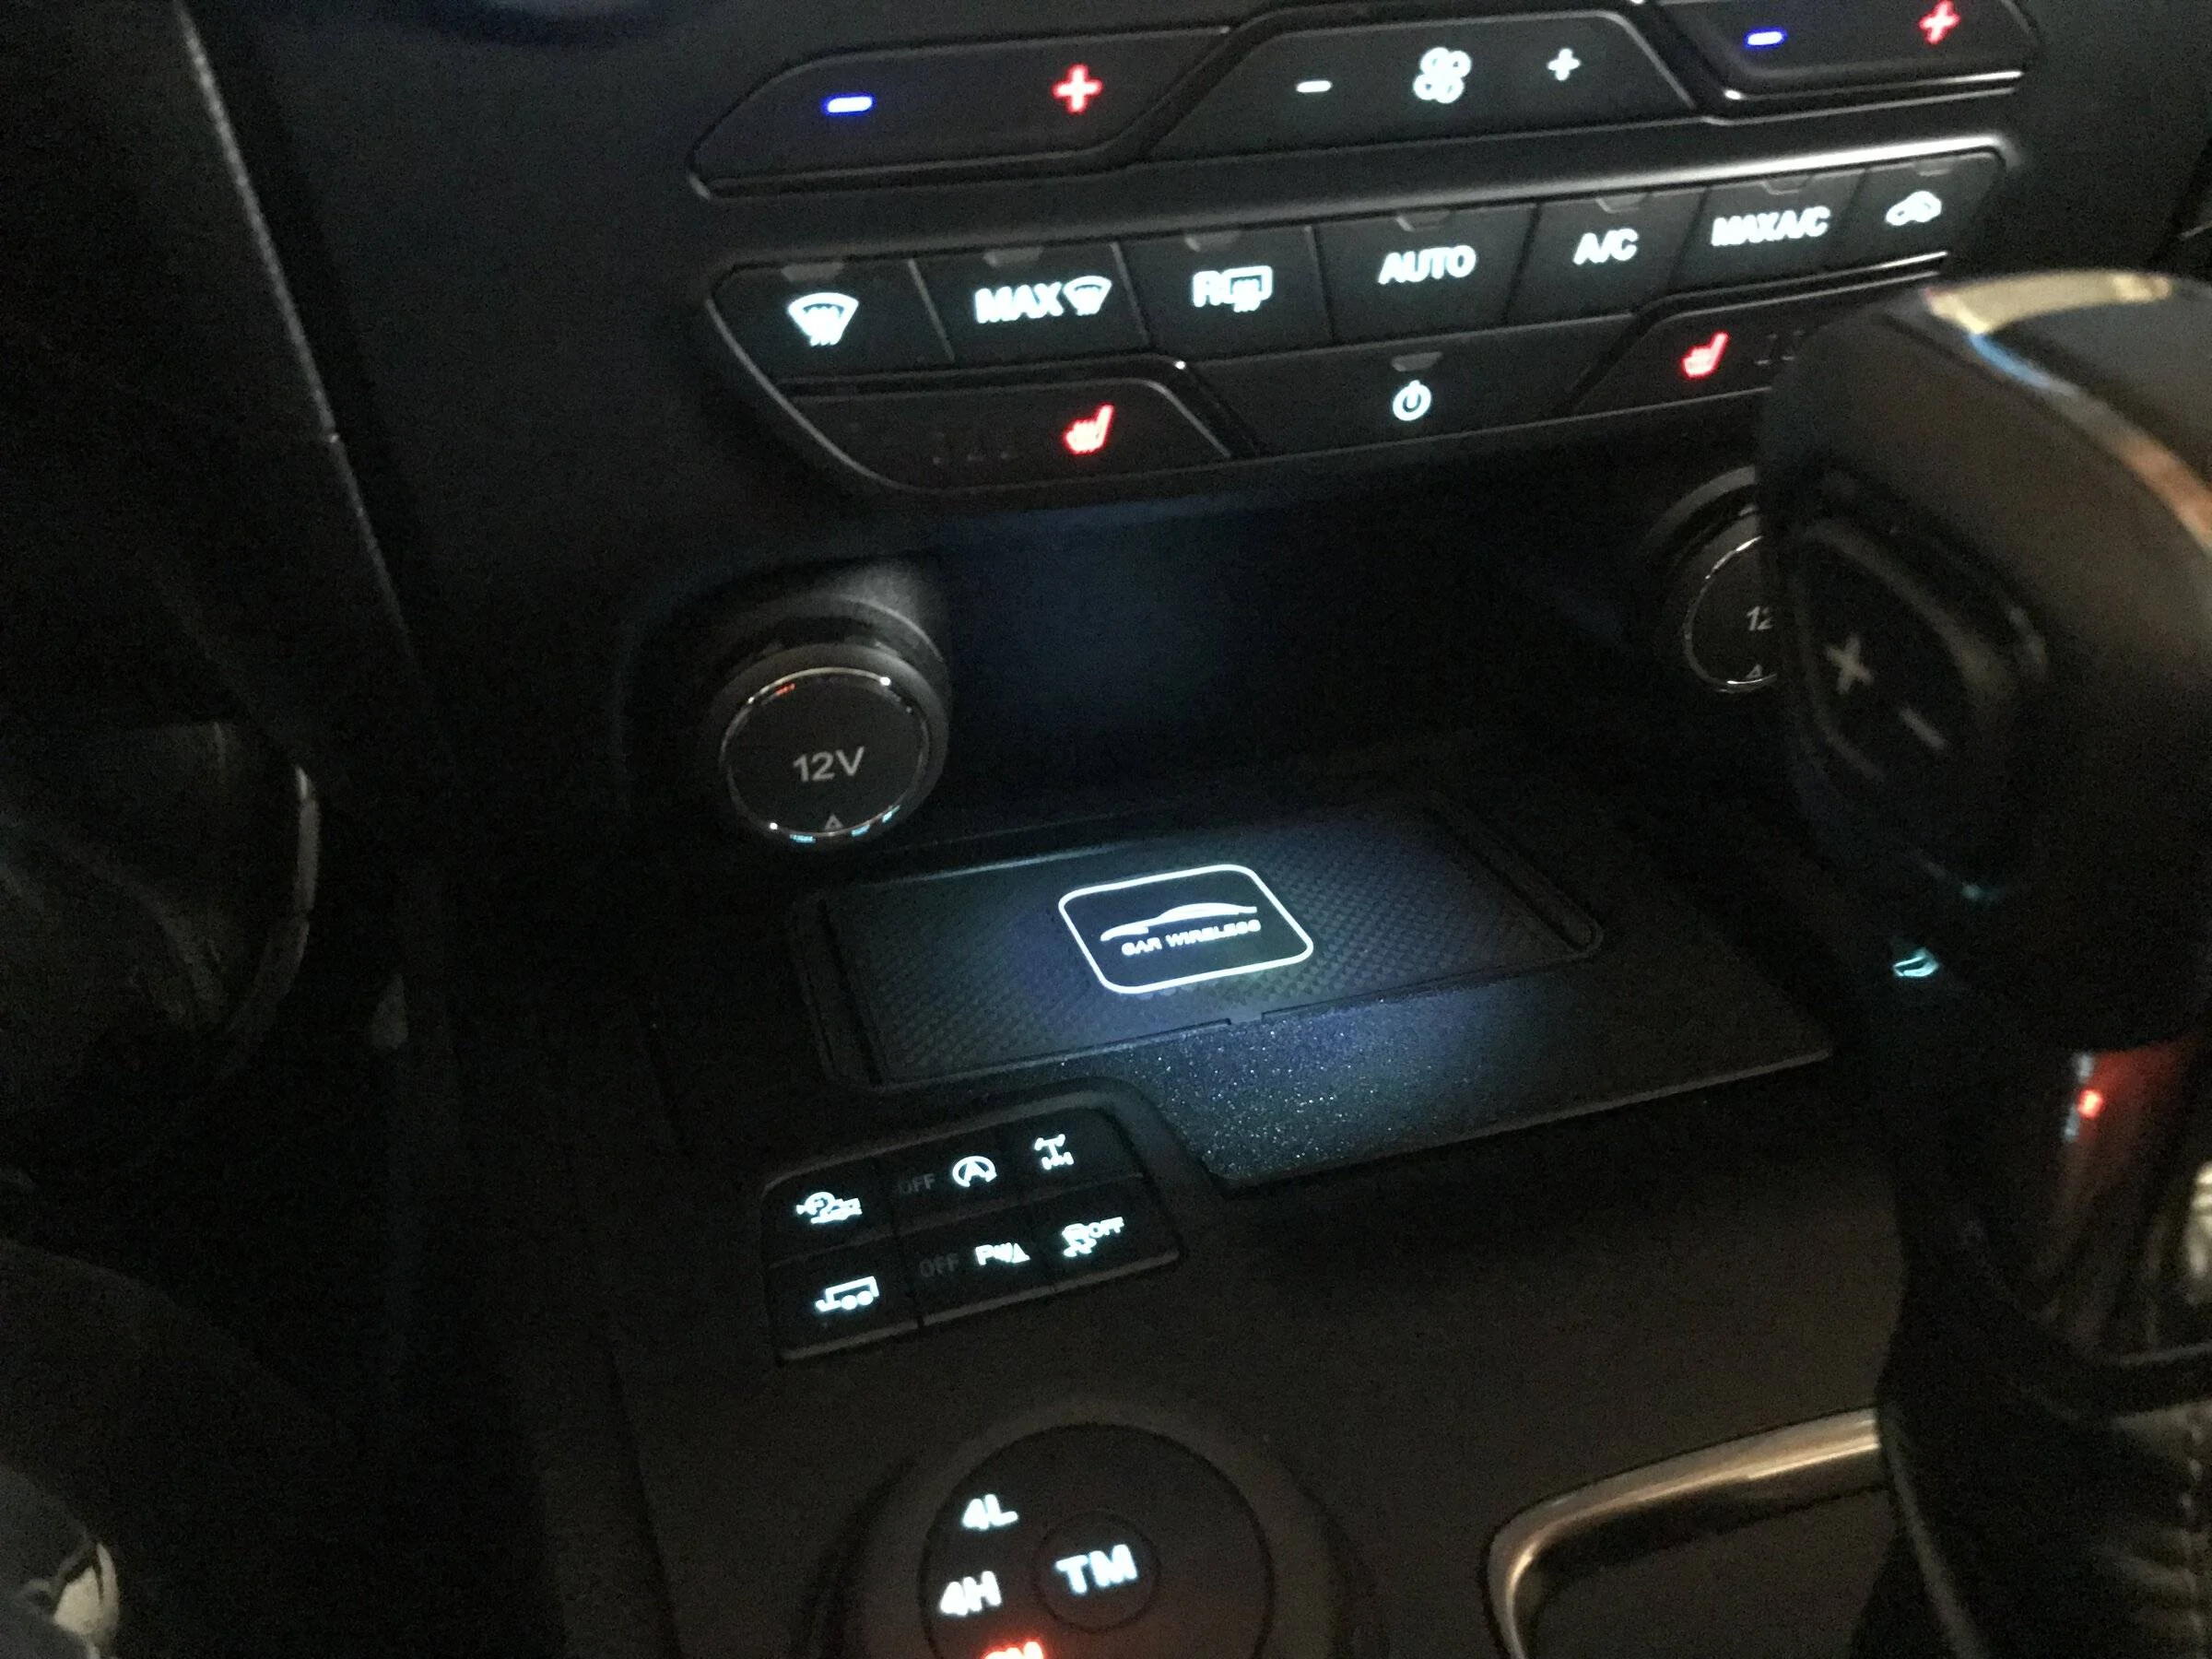
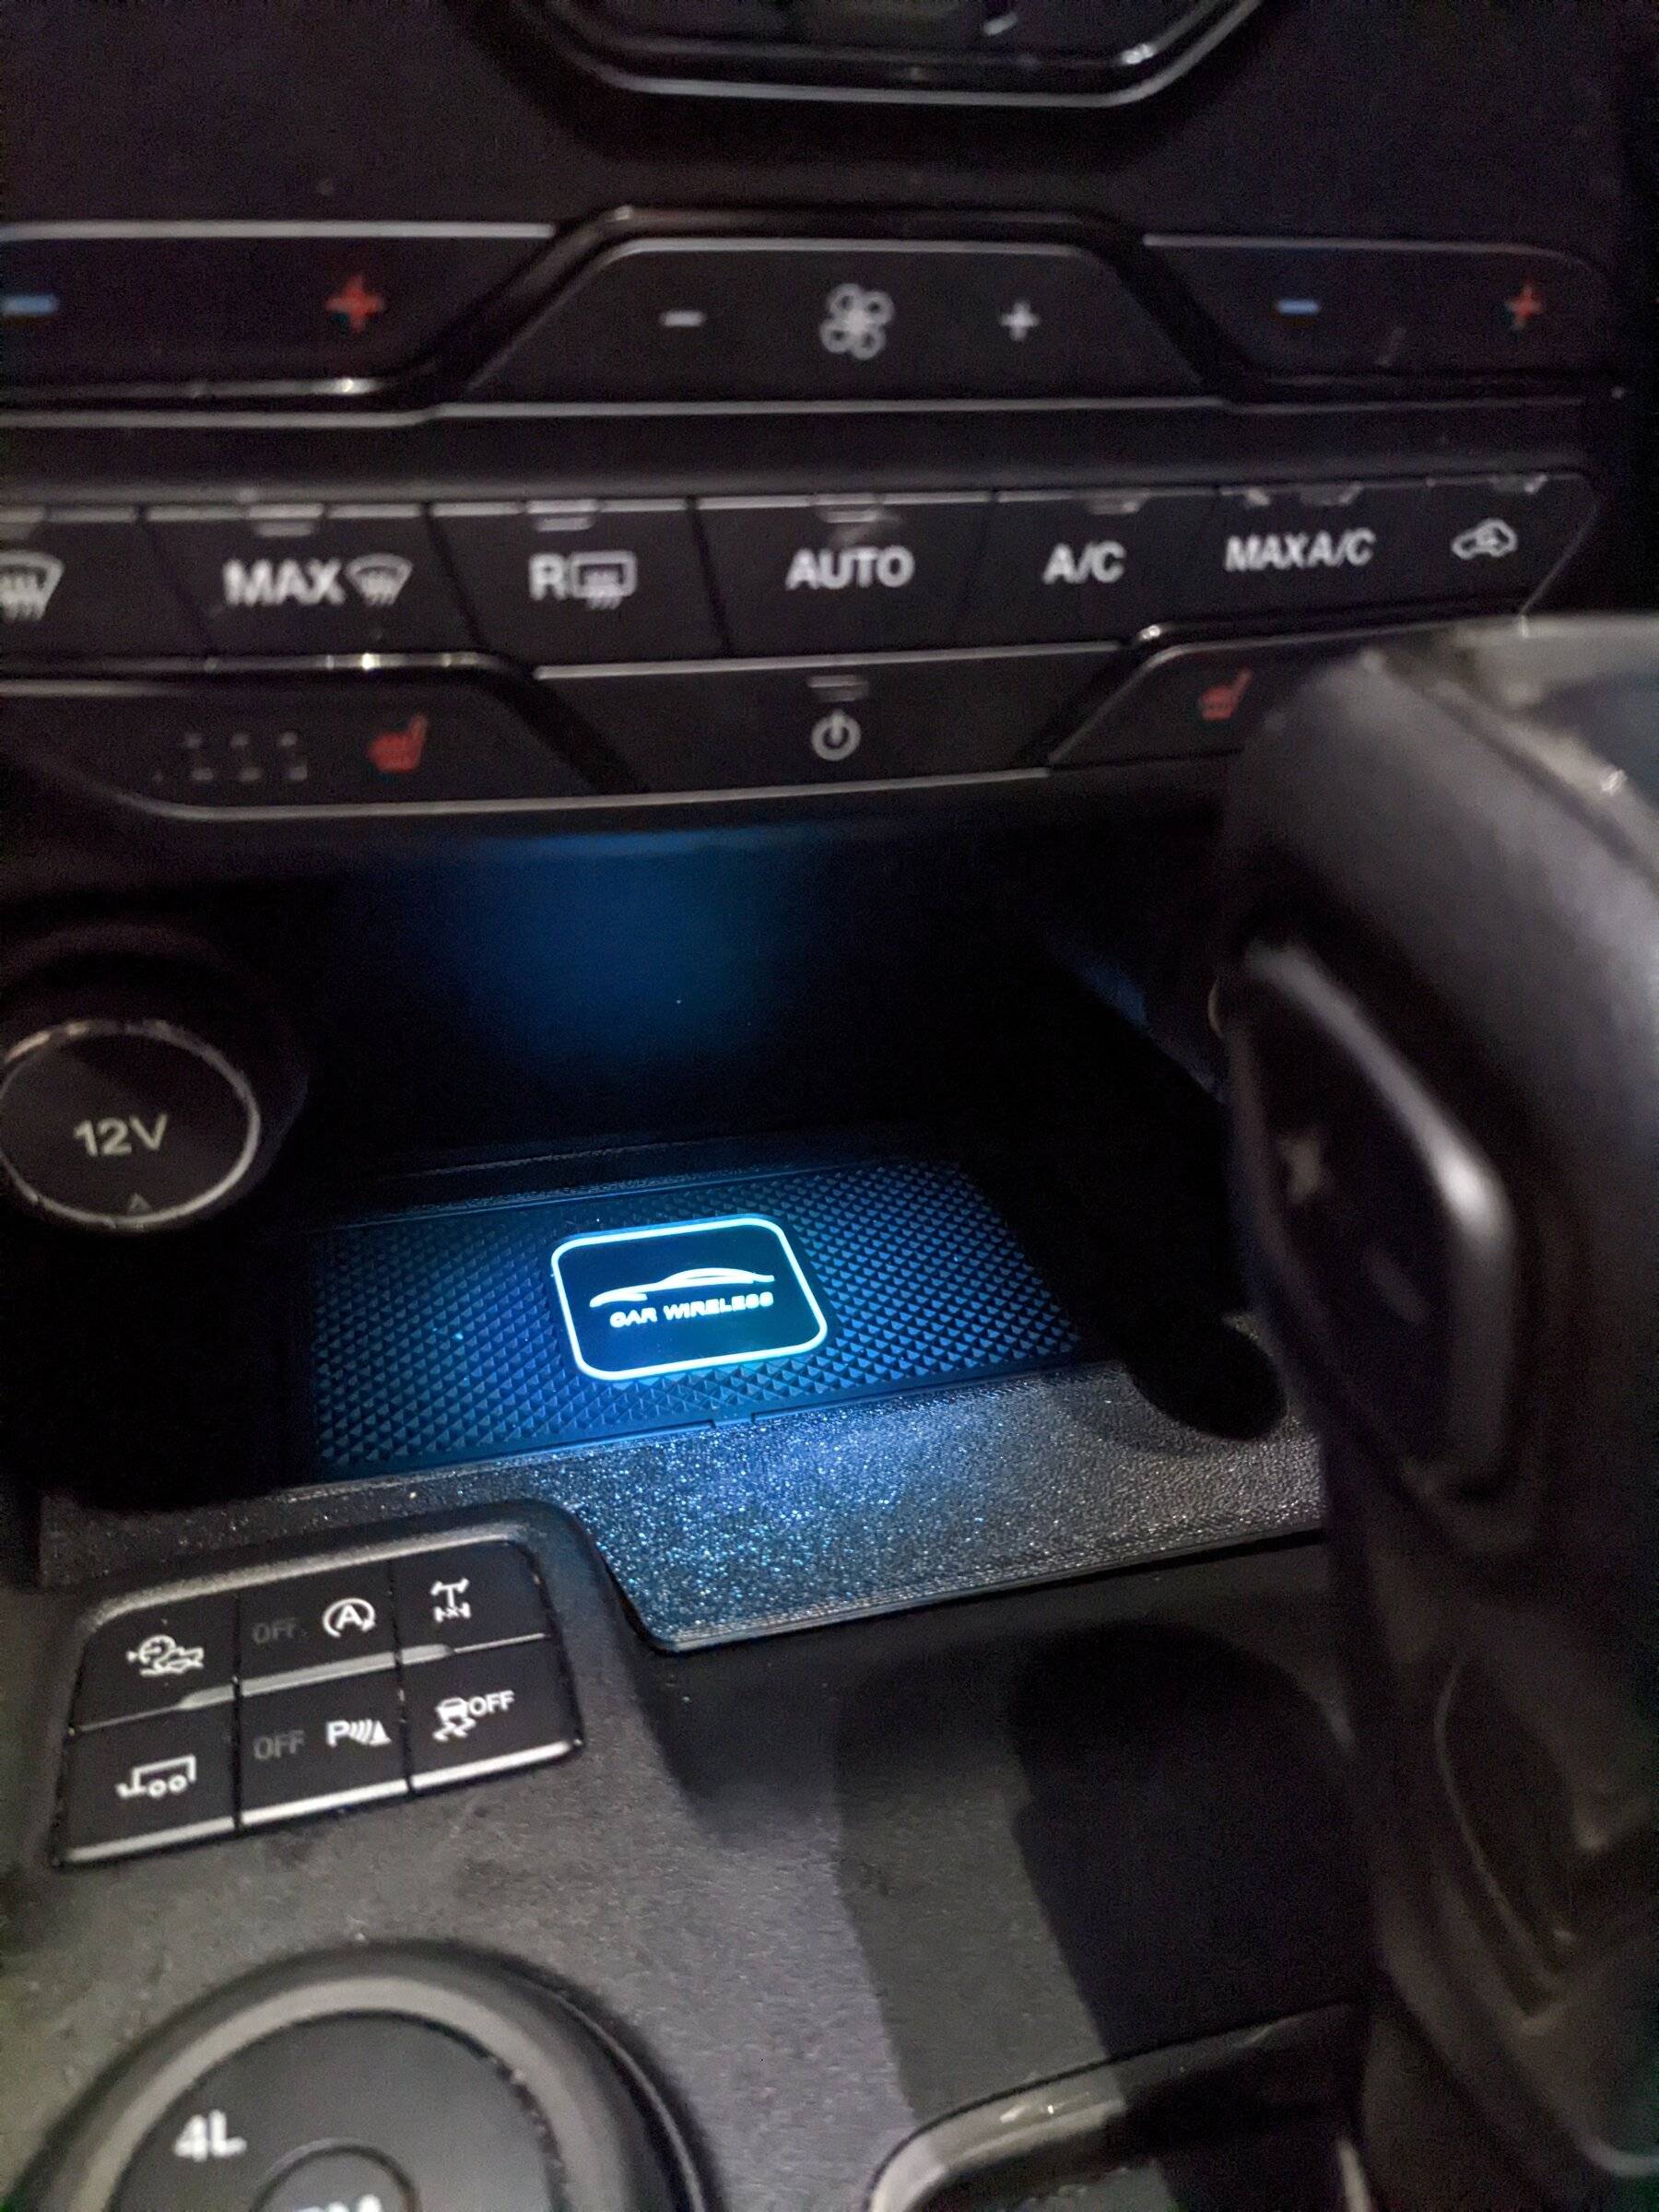
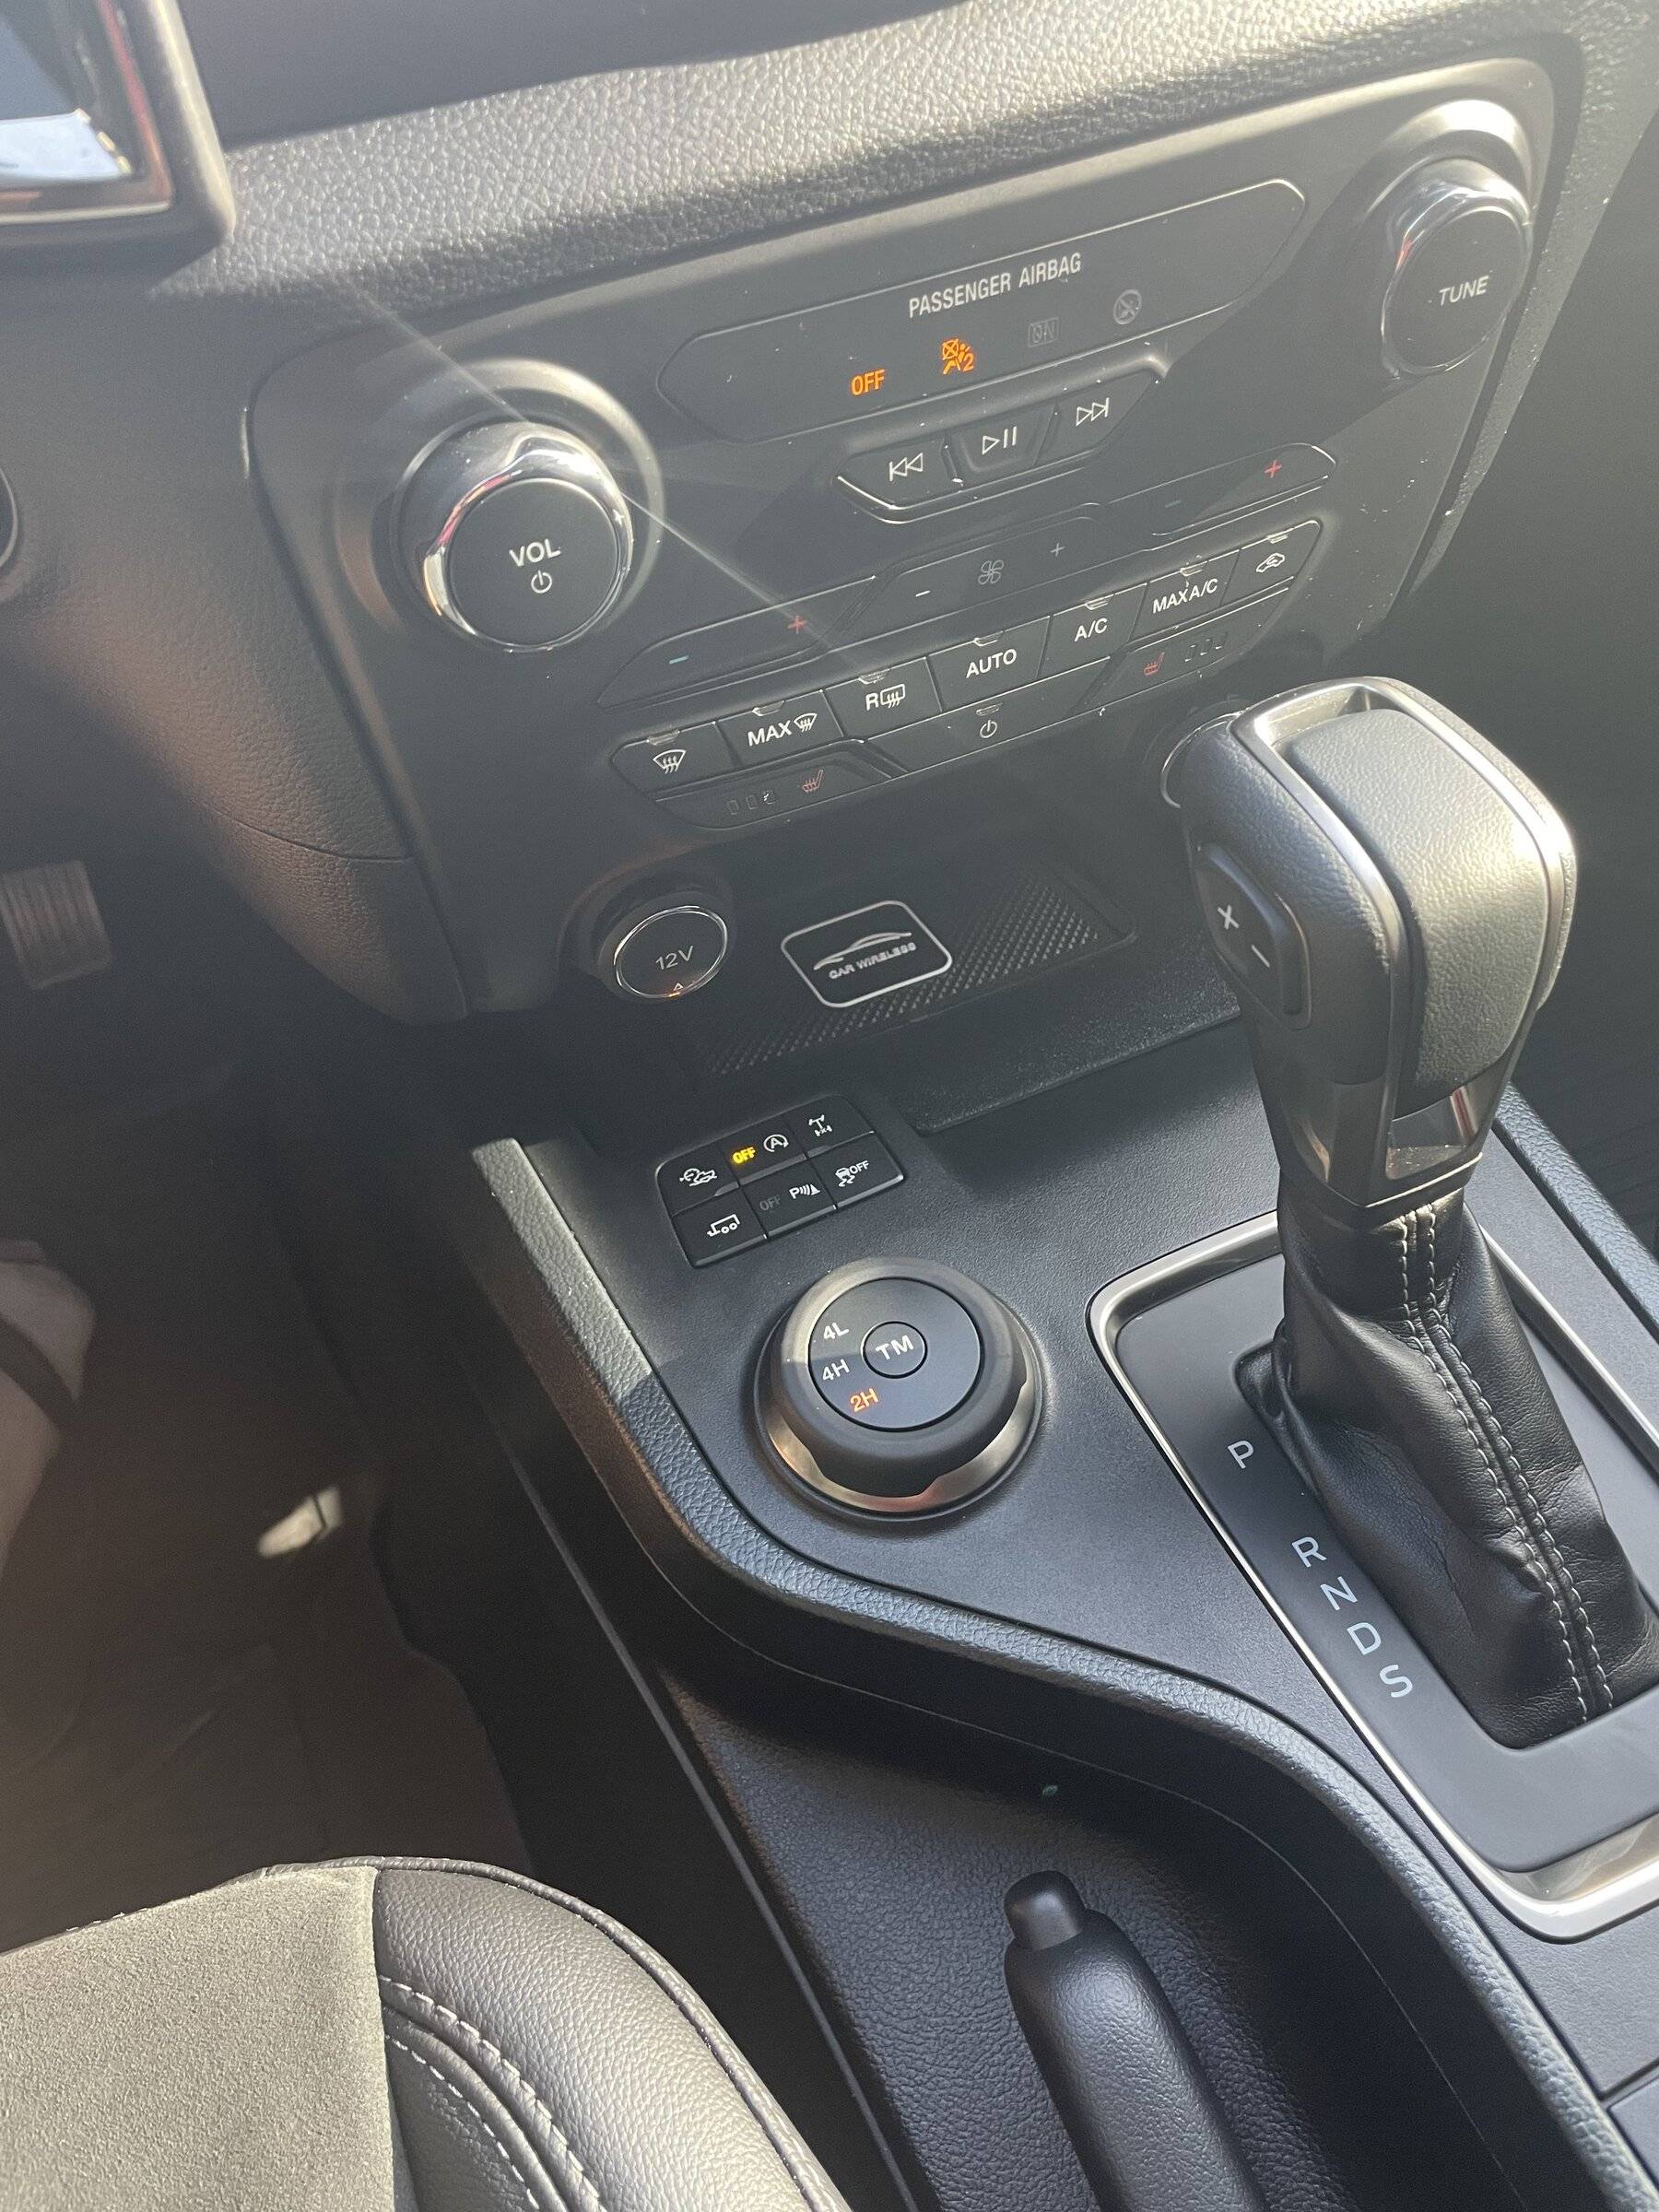
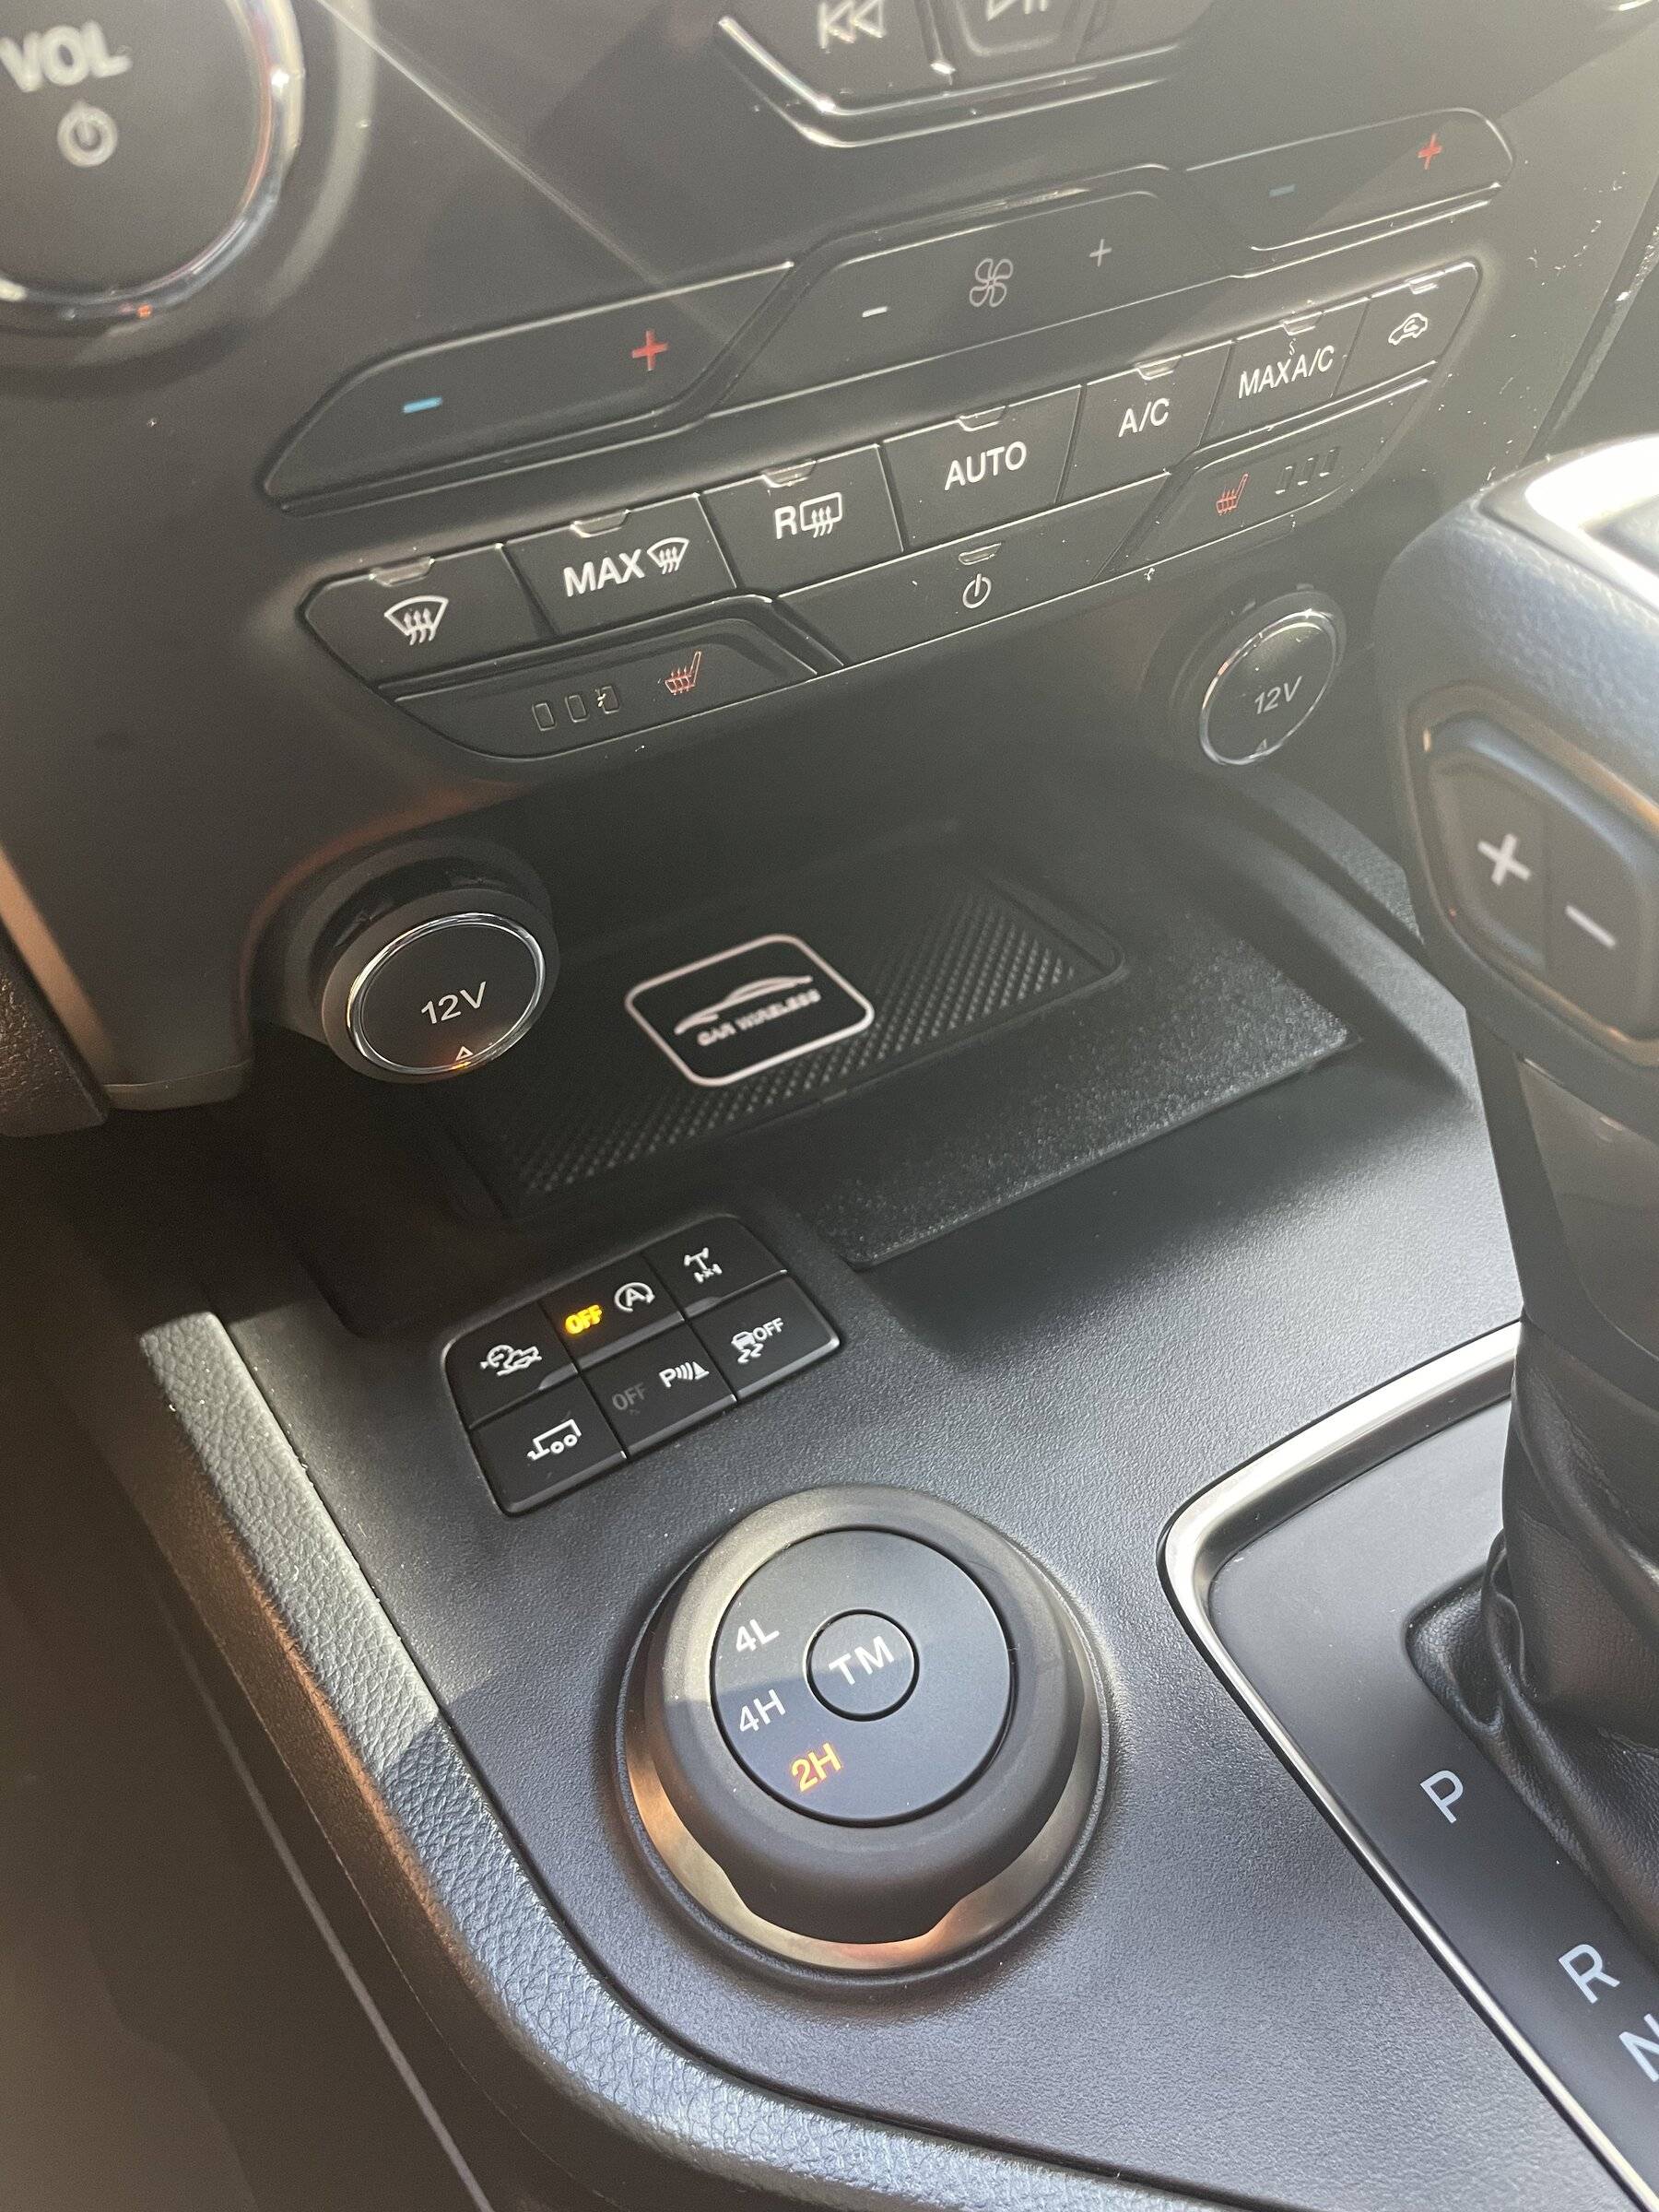
I chose the small tray directly below the climate control system (photo attached). My phone fits in there perfectly and I was already going to have that area disassembled to install my auto-stop eliminator. For those with larger phones, the tray in the dash above the radio could also be used.
I purchased a wireless charging pad and fast charge compatible USB power supply on Amazon (links are below). I don't have photos of the install procedure but here are step by step instructions:
(1) Disassemble the center console using the instructions provided in the installation doc for the auto-stop eliminator (link is below). You can detach the remaining wires and put the shifter in "S" to release the tray so you can get it out and have clear access to the bottom of it.
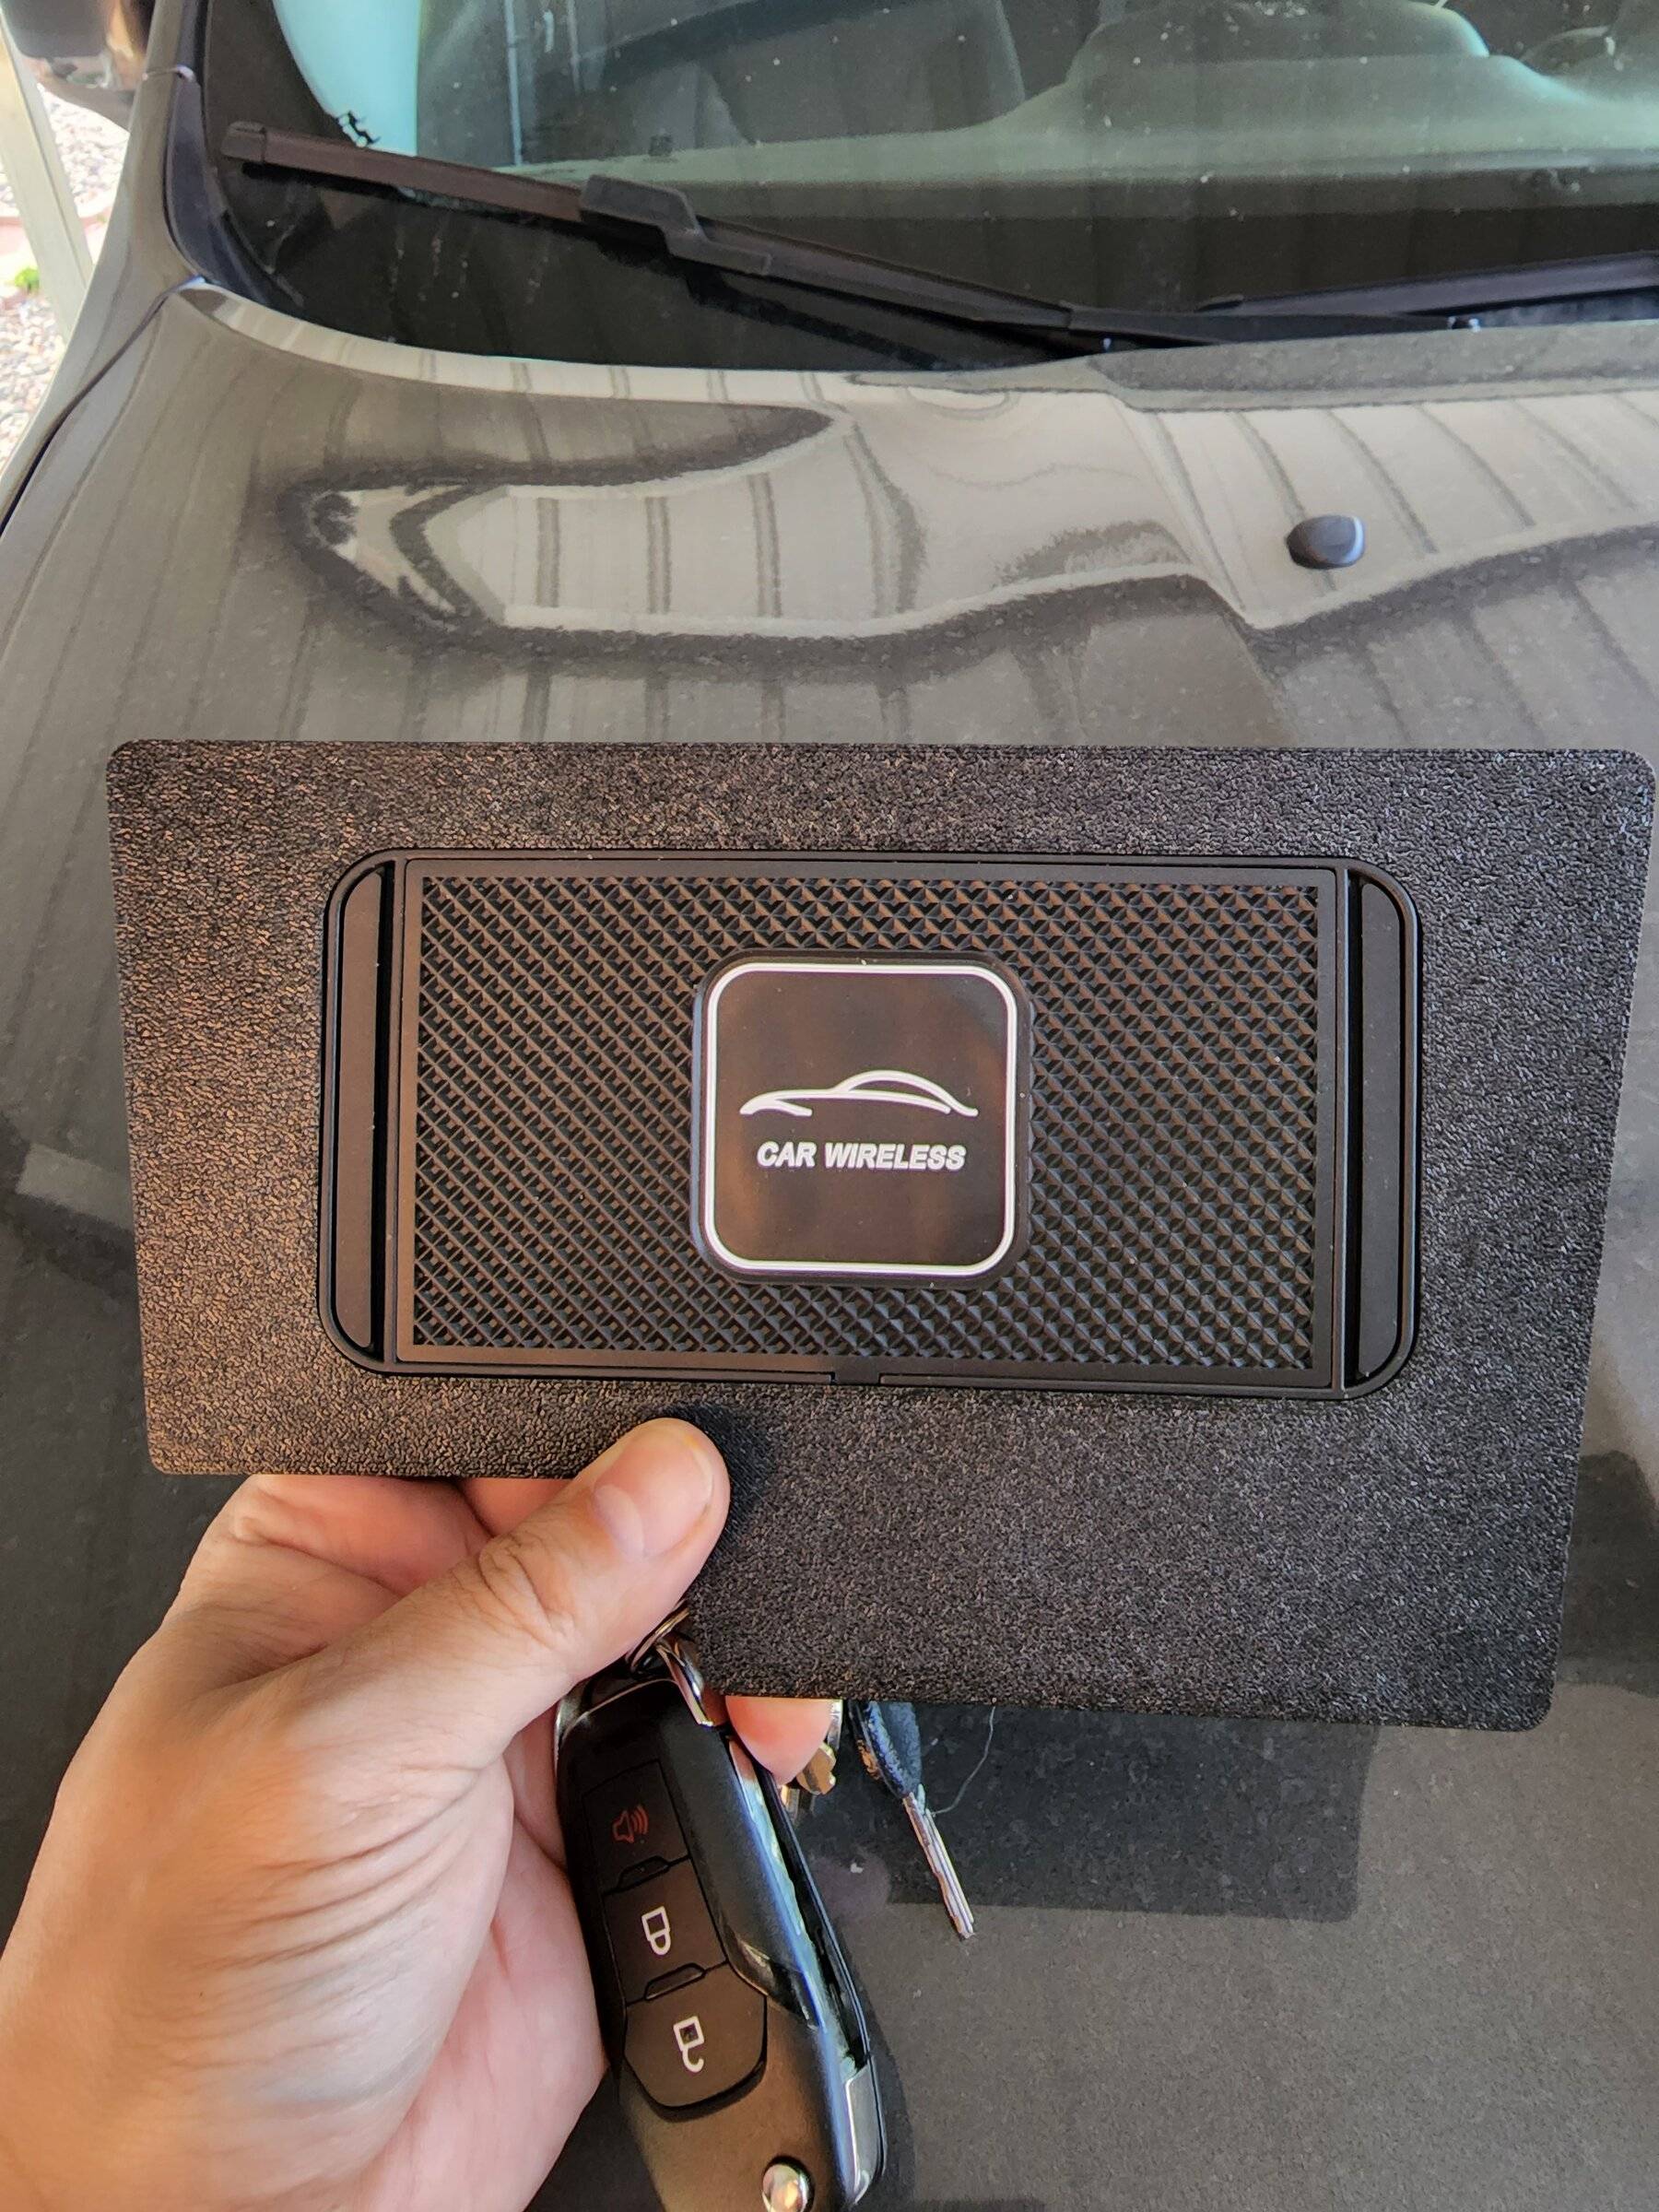
(2) Remove the 4 screws from the wireless charging pad (hidden under the tiny rubber feet) and remove the top plastic plate. This will expose the three charging coils. I did this to reduce the thickness of plastic the charger has to charge through. You can dispose of this piece, the screws, and the rubber feet.
(3) Plug the USB cable that came with the power supply into the micro USB port on the wireless charger.
(4) Plug one of the 12V ports (that you previously removed) back in off to the side so you can temporarily plug the power supply in to it. Plug the USB cable in so you now have temporary power to to the charging pad.
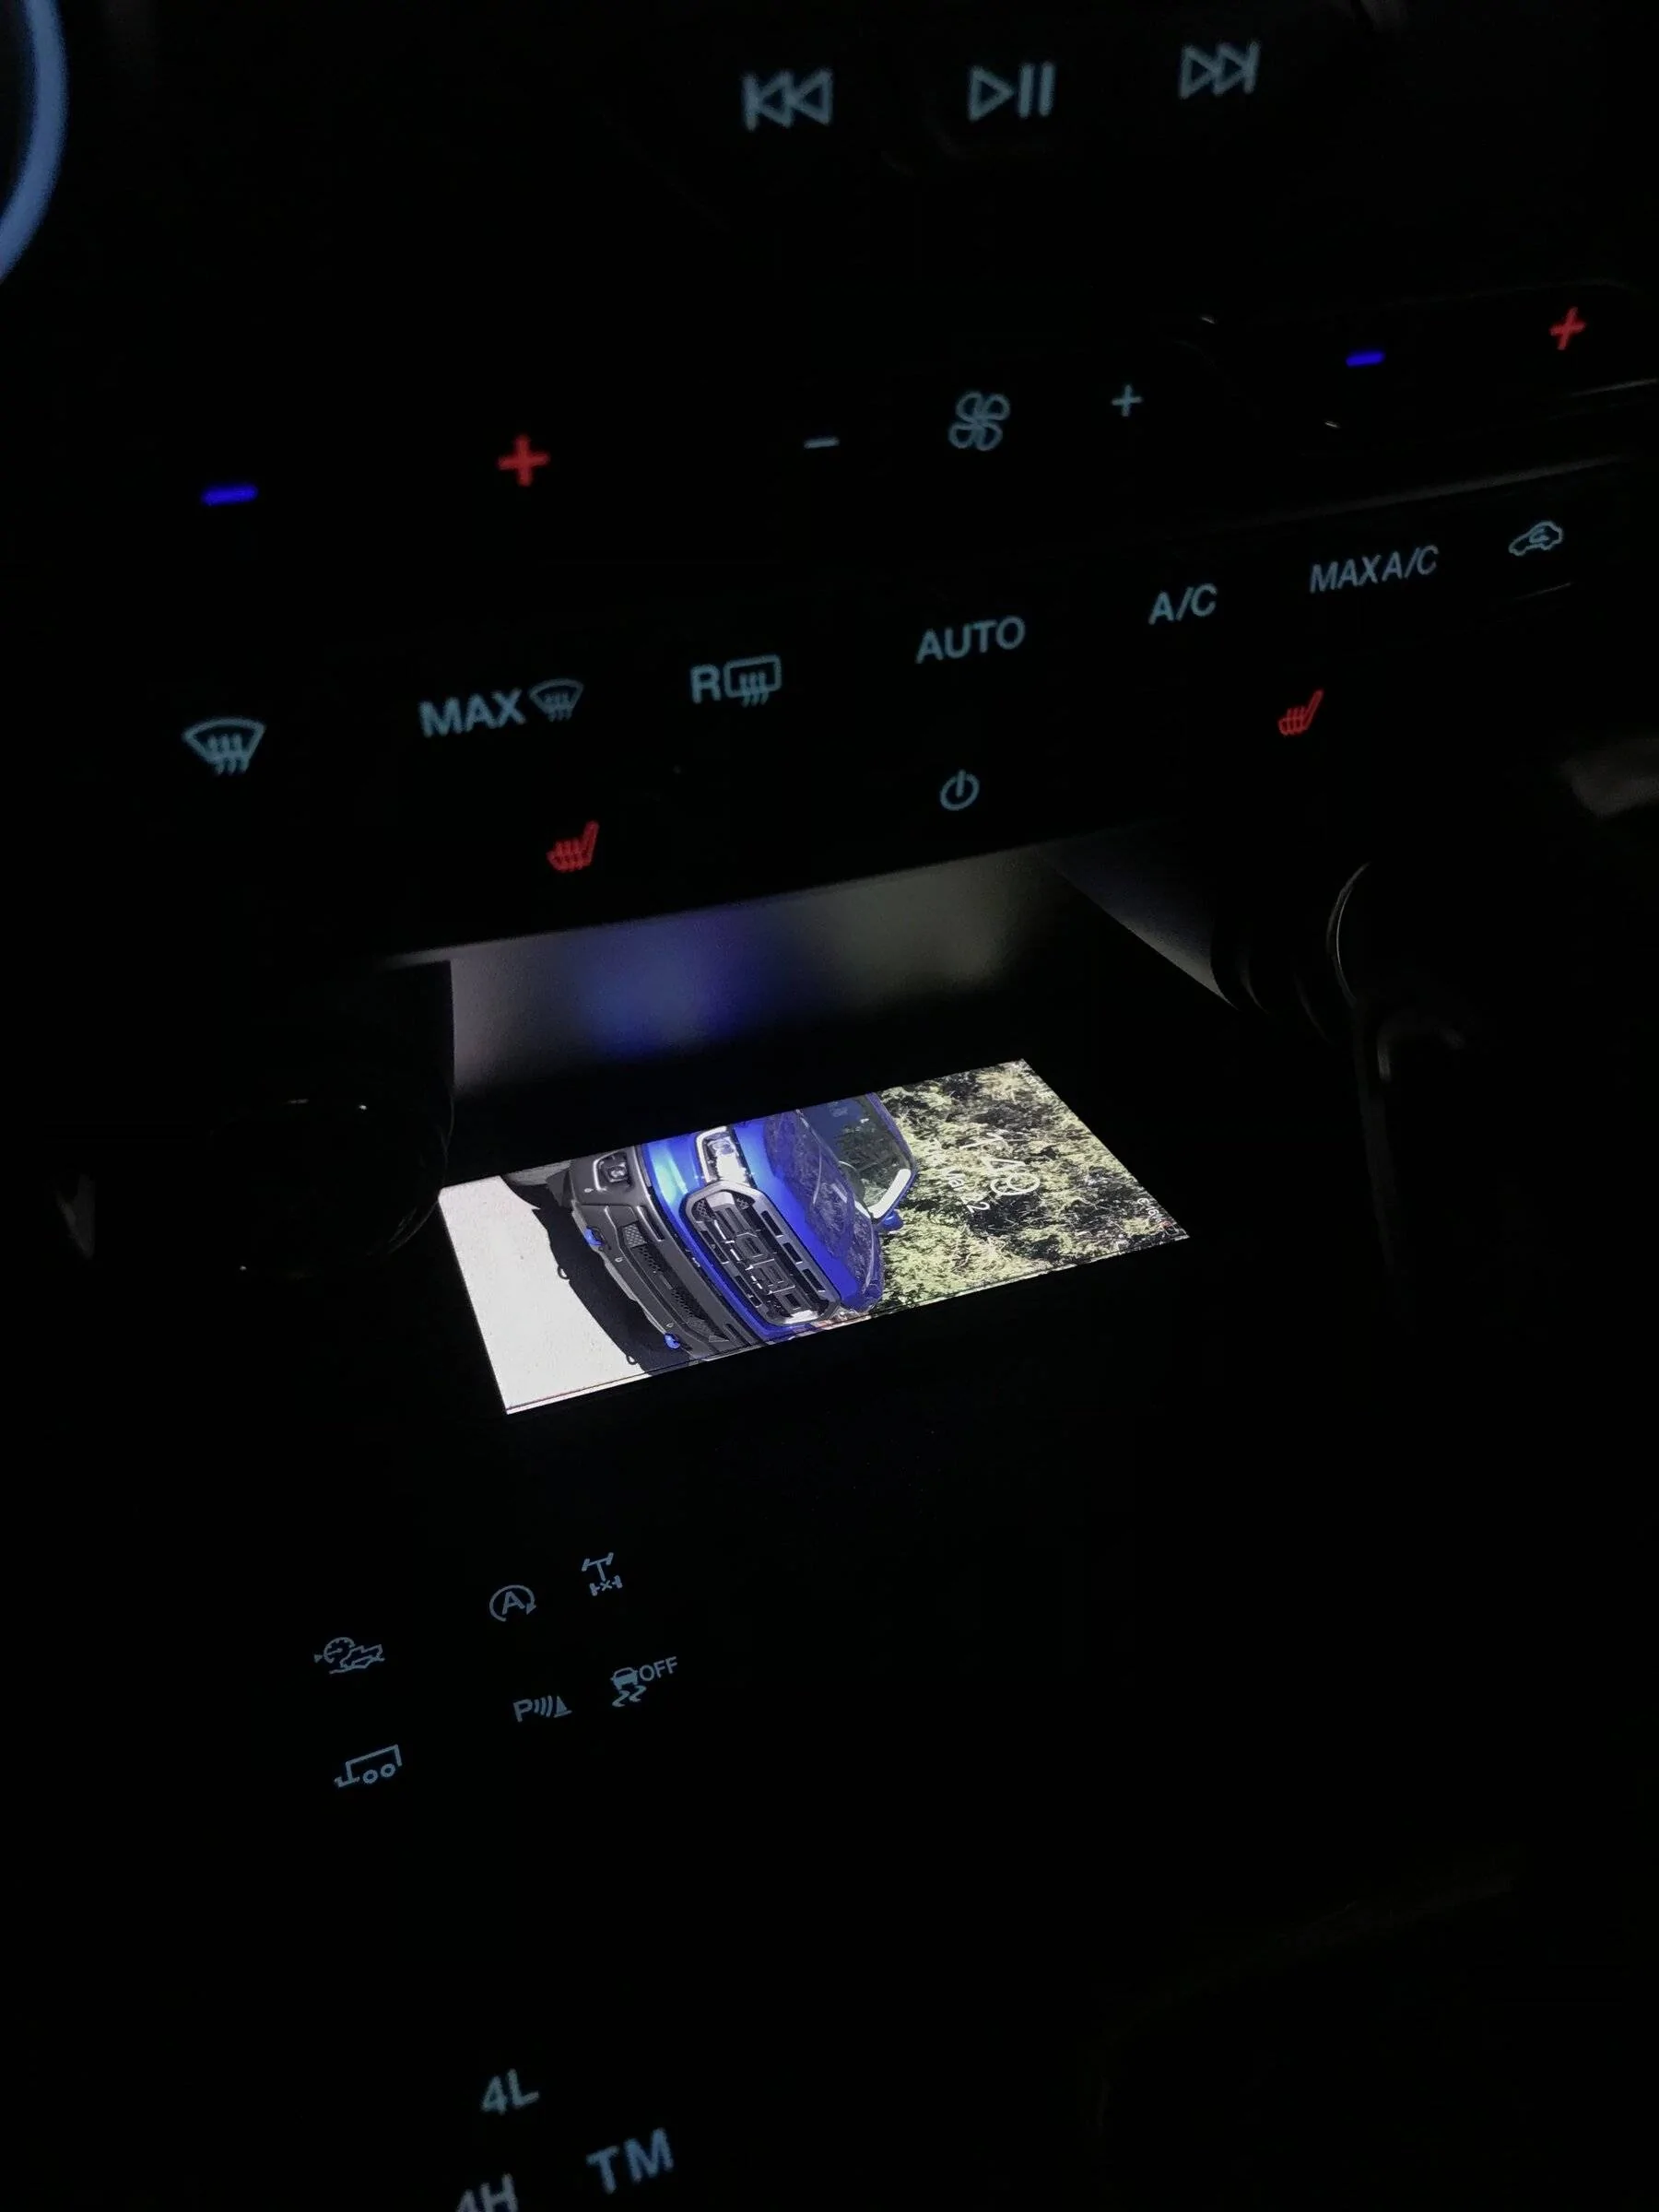
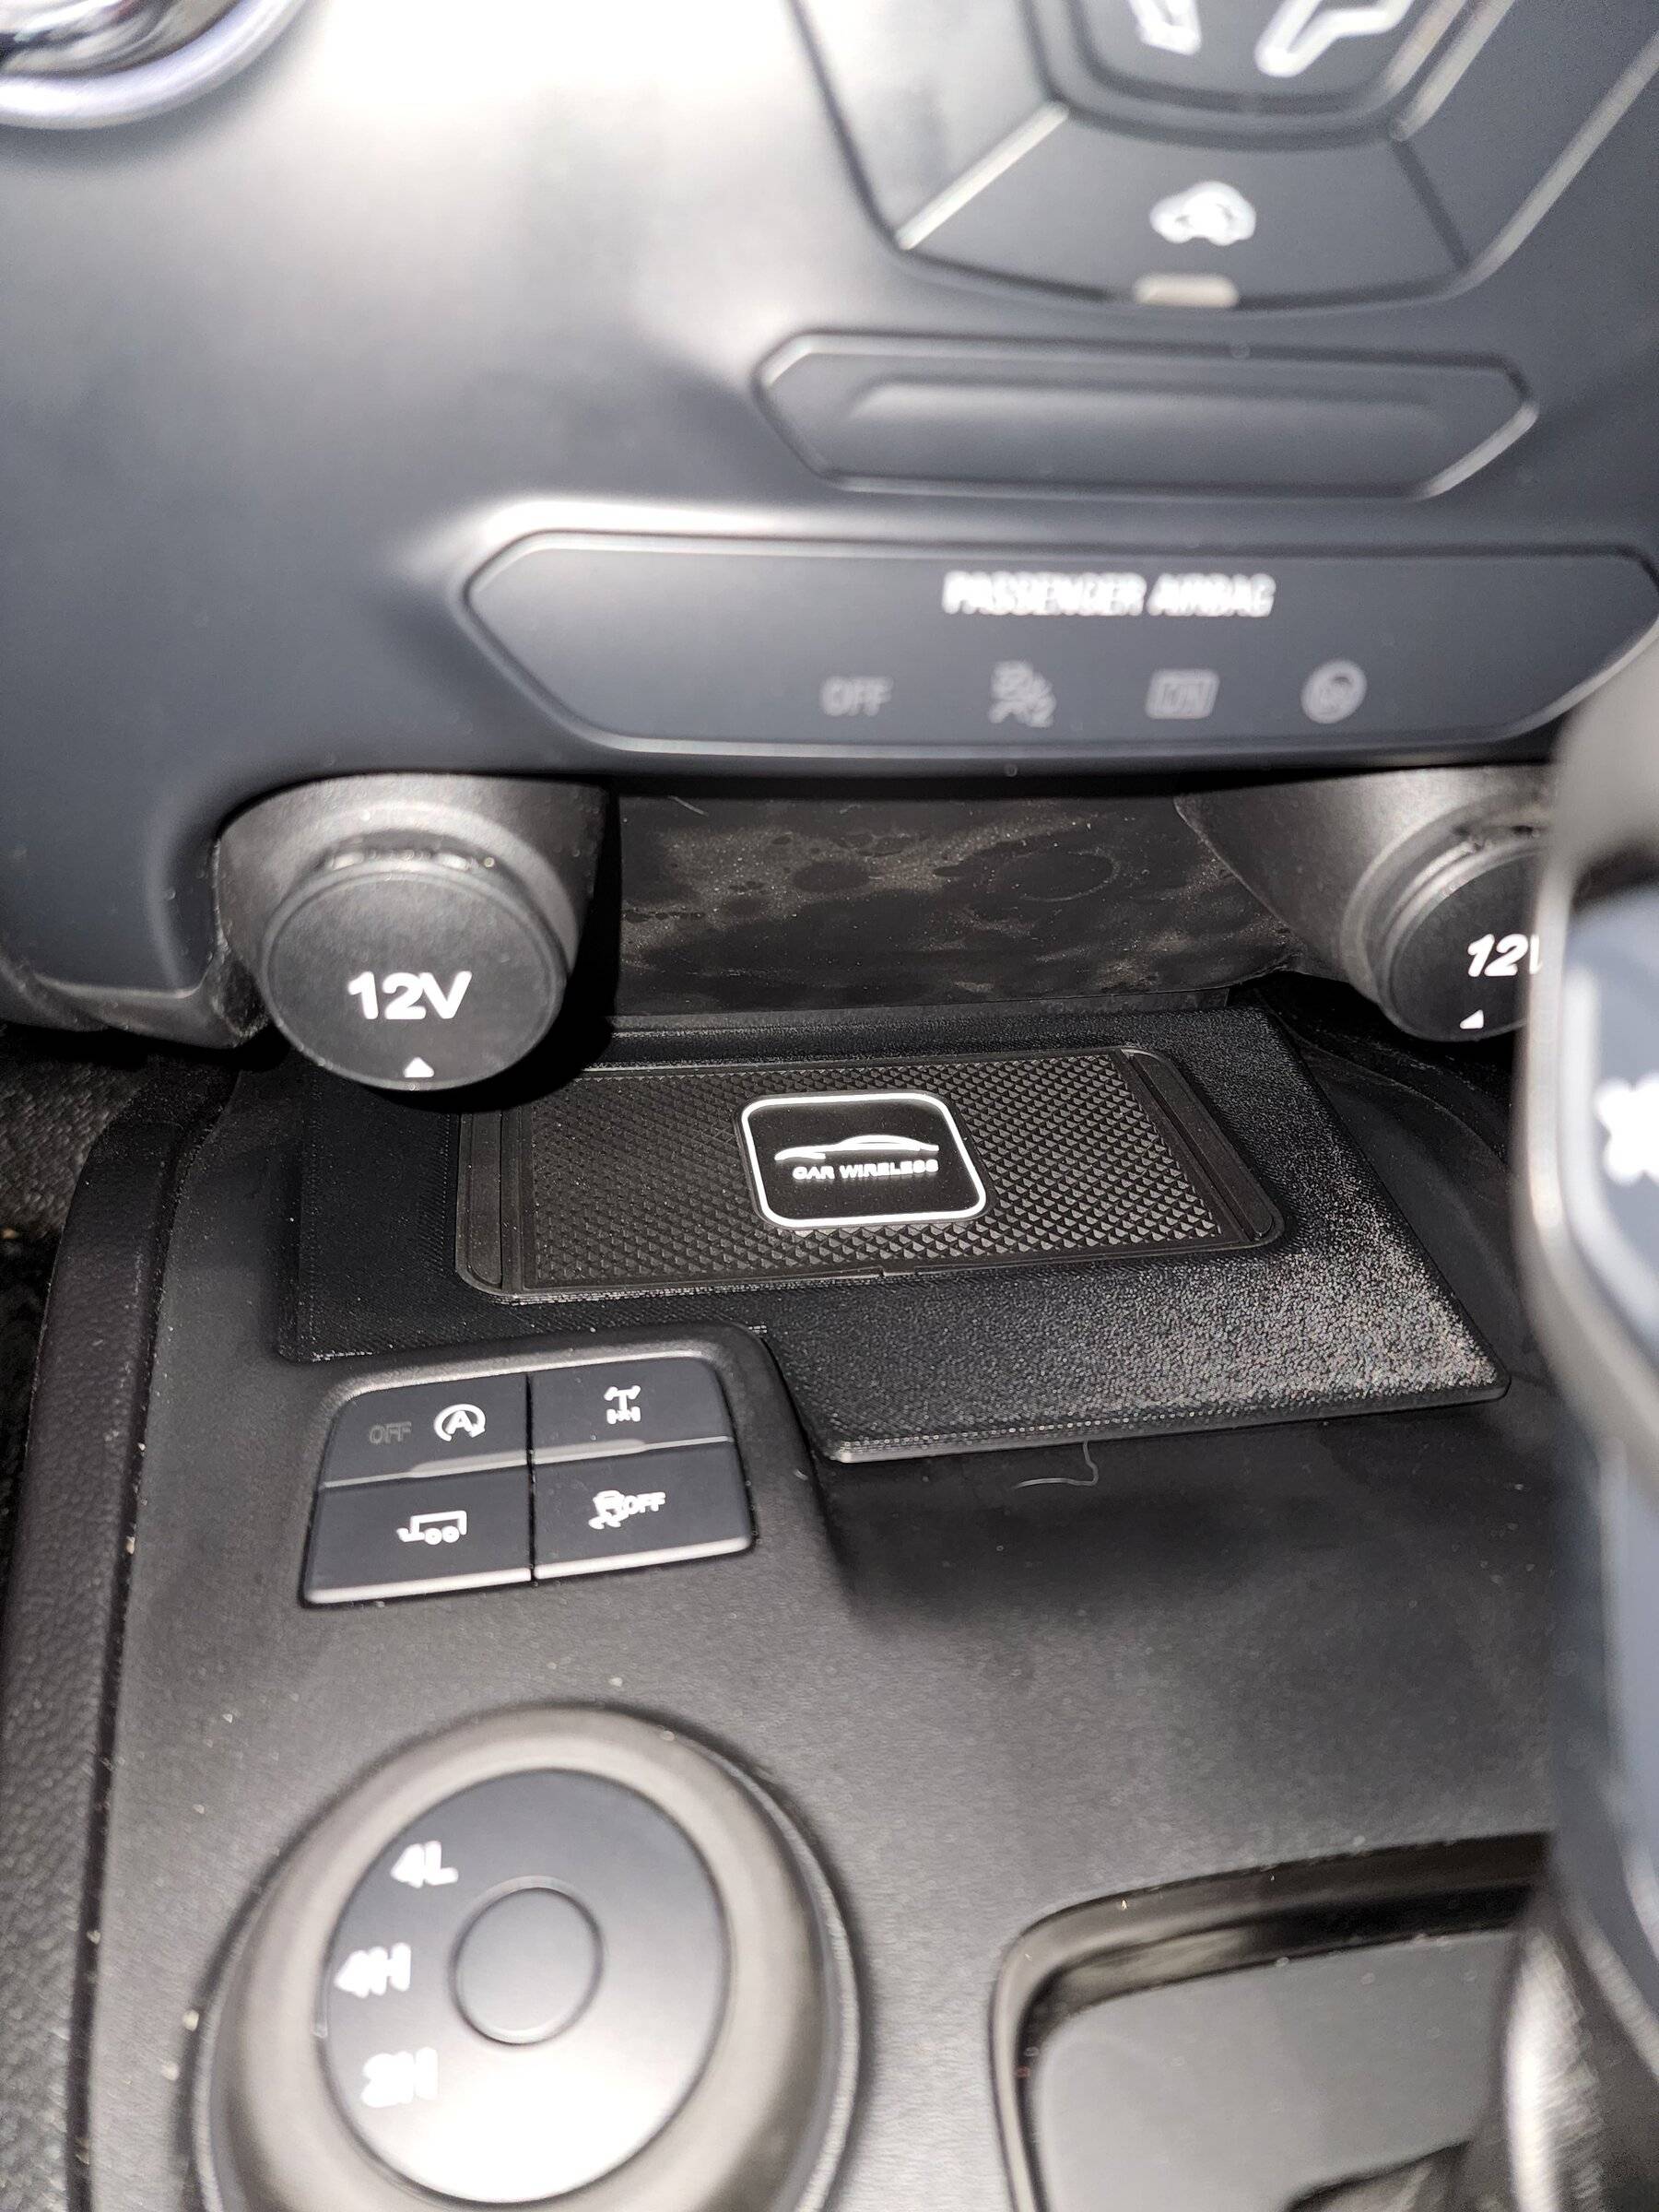
(5) With your phone in the tray where you plan to lay it (slid to one end or the other...I chose left), place the wireless charging pad under the tray and slide it around to find the sweet spot where it charges your phone. This pad is efficient enough to charge though the plastic in the bottom of the tray, the tray's rubber liner, and my phone's TPU case.
(6) Once you find the right spot, attached the charging pad in that spot. You can use any any method you are comfortable with. I used Gorilla tape because, well, I love Gorilla tape, and once you put it back together, it really can't move much anyway.
(7) Now for the power. I chose this power supply because it is fast charge compatible. I tried a wire-in step down regulator but I could not get it to work properly so I switched to this one and it did the trick. Rather that tearing it apart, I just soldered power connections onto the positive (end) and negative (side) connections on the power supply. I taped it up nice and zip-tied it behind the framework next to the fuse box.
I used a fuse tap (you can get one at your auto parts store, link below) to tap into fuse unused slot 35 with a 5A fuse on the top and 10A fuse on the bottom. Slot 35 is keyed to the ignition so it shuts off with the truck. The power supply has it's own fuse so, if you want, you could skip the fused tap and go directly to the load side if the fuse slot. It's your call.
Insert the tap into the fuse slot with the outgoing wire pointing to the right because the right side of the fuse is the load side. I attached the negative lead from power supply to a screw connector and attached it behind the screw that goes into clean metal in the framework right below the the steering wheel. You just have to ground it to metal somewhere. Plug the USB cable into one of the USB ports on the power supply.
(8) Zip tie it all to make it pretty and close it up.
I have done quite a bit of testing and, while the charger does generate some heat (as you would expect), it does not seem to be extreme or unsafe . I'll do more testing over the next few days.
Feel free to drop questions here if you have any and I'll try to answer them.

Wireless Charging Pad:
https://www.amazon.com/gp/product/B07D2CWBS1/ref=ppx_yo_dt_b_asin_title_o03_s00?ie=UTF8&psc=1
Fast Charge Compatible Power Supply:
https://www.amazon.com/gp/product/B075KJ57Q1/ref=ppx_yo_dt_b_asin_title_o00_s00?ie=UTF8&psc=1
Fuse Tap:
https://www.autozone.com/electrical...ories/bussmann-fuse-and-accessories/32414_0_0
Auto-Stop Eliminator Install Instructions:
https://www.autostopeliminator.com/...019_ford_ranger_installation_instructions.pdf
Hi Gang,
When the 2019 Ranger was announced, I was appalled that Ford was not going to equip it a wireless phone charger. Since I brought my Ranger home, I have been on a quest to add this must-have feature (IMHO).
I chose the small tray directly below the climate control system (photo attached). My phone fits in there perfectly and I was already going to have that area disassembled to install my auto-stop eliminator. For those with larger phones, the tray in the dash above the radio could also be used.
I purchased a wireless charging pad and fast charge compatible USB power supply on Amazon (links are below). I don't have photos of the install procedure but here are step by step instructions:
(1) Disassemble the center console using the instructions provided in the installation doc for the auto-stop eliminator (link is below). You can detach the remaining wires and put the shifter in "S" to release the tray so you can get it out and have clear access to the bottom of it.
(2) Remove the 4 screws from the wireless charging pad (hidden under the tiny rubber feet) and remove the top plastic plate. This will expose the three charging coils. I did this to reduce the thickness of plastic the charger has to charge through. You can dispose of this piece, the screws, and the rubber feet.
(3) Plug the USB cable that came with the power supply into the micro USB port on the wireless charger.
(4) Plug one of the 12V ports (that you previously removed) back in off to the side so you can temporarily plug the power supply in to it. Plug the USB cable in so you now have temporary power to to the charging pad.
(5) With your phone in the tray where you plan to lay it (slid to one end or the other...I chose left), place the wireless charging pad under the tray and slide it around to find the sweet spot where it charges your phone. This pad is efficient enough to charge though the plastic in the bottom of the tray, the tray's rubber liner, and my phone's TPU case.
(6) Once you find the right spot, attached the charging pad in that spot. You can use any any method you are comfortable with. I used Gorilla tape because, well, I love Gorilla tape, and once you put it back together, it really can't move much anyway.
(7) Now for the power. I chose this power supply because it is fast charge compatible. I tried a wire-in step down regulator but I could not get it to work properly so I switched to this one and it did the trick. Rather that tearing it apart, I just soldered power connections onto the positive (end) and negative (side) connections on the power supply. I taped it up nice and zip-tied it behind the framework next to the fuse box.
I used a fuse tap (you can get one at your auto parts store, link below) to tap into fuse unused slot 35 with a 5A fuse on the top and 10A fuse on the bottom. Slot 35 is keyed to the ignition so it shuts off with the truck. The power supply has it's own fuse so, if you want, you could skip the fused tap and go directly to the load side if the fuse slot. It's your call.
Insert the tap into the fuse slot with the outgoing wire pointing to the right because the right side of the fuse is the load side. I attached the negative lead from power supply to a screw connector and attached it behind the screw that goes into clean metal in the framework right below the the steering wheel. You just have to ground it to metal somewhere. Plug the USB cable into one of the USB ports on the power supply.
(8) Zip tie it all to make it pretty and close it up.
I have done quite a bit of testing and, while the charger does generate some heat (as you would expect), it does not seem to be extreme or unsafe . I'll do more testing over the next few days.
Feel free to drop questions here if you have any and I'll try to answer them.
Wireless Charging Pad:
https://www.amazon.com/gp/product/B07D2CWBS1/ref=ppx_yo_dt_b_asin_title_o03_s00?ie=UTF8&psc=1
Fast Charge Compatible Power Supply:
https://www.amazon.com/gp/product/B075KJ57Q1/ref=ppx_yo_dt_b_asin_title_o00_s00?ie=UTF8&psc=1
Fuse Tap:
https://www.autozone.com/electrical...ories/bussmann-fuse-and-accessories/32414_0_0
Auto-Stop Eliminator Install Instructions:
https://www.autostopeliminator.com/...019_ford_ranger_installation_instructions.pdf
I need one of your charger mounts. Dan email me [email protected]Yes, I do. Message me for details.
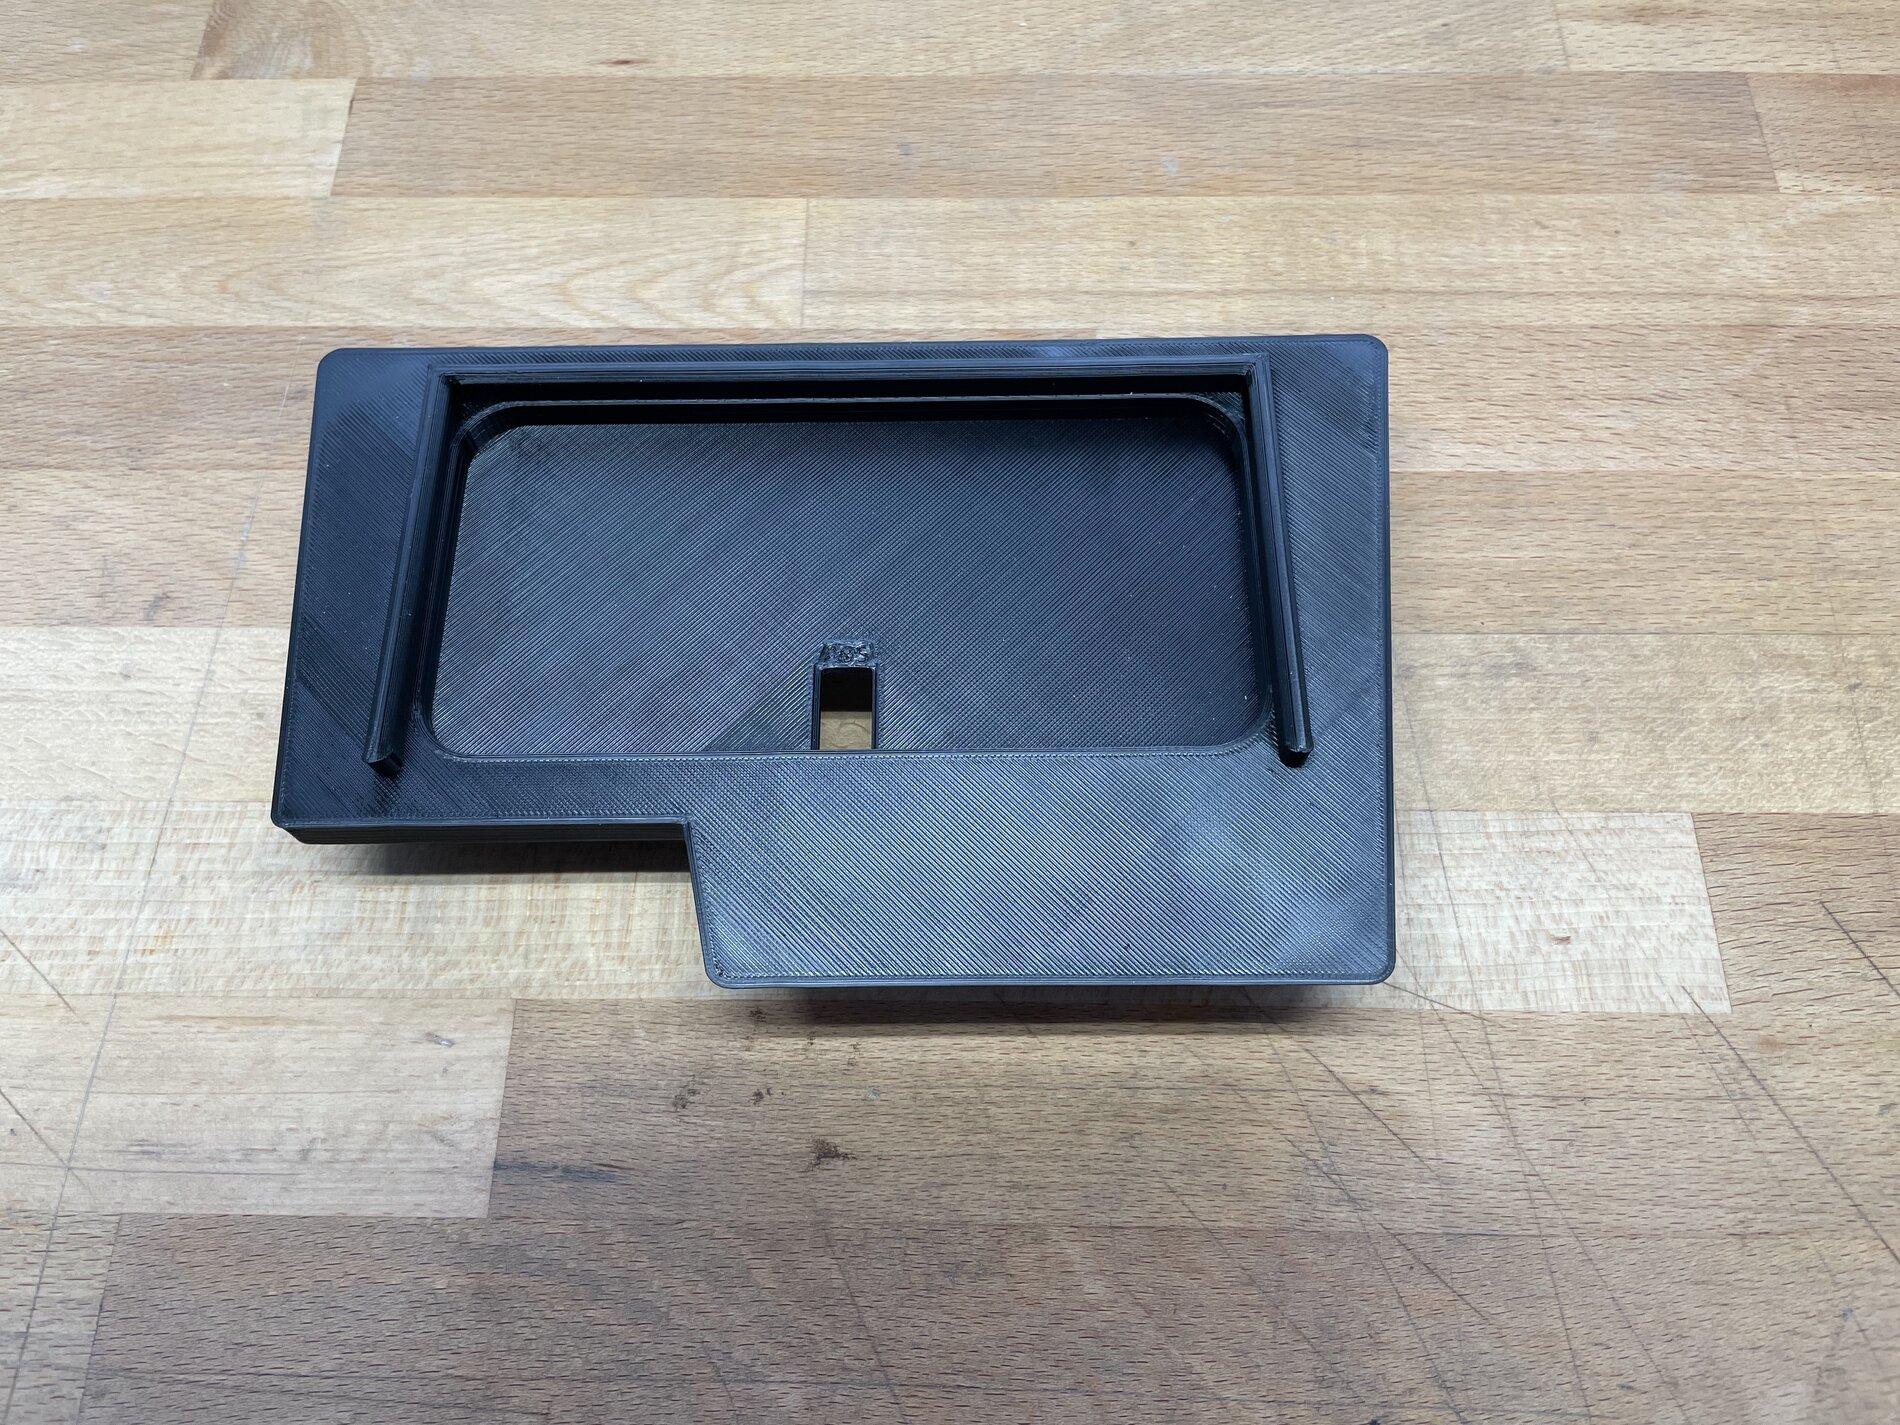
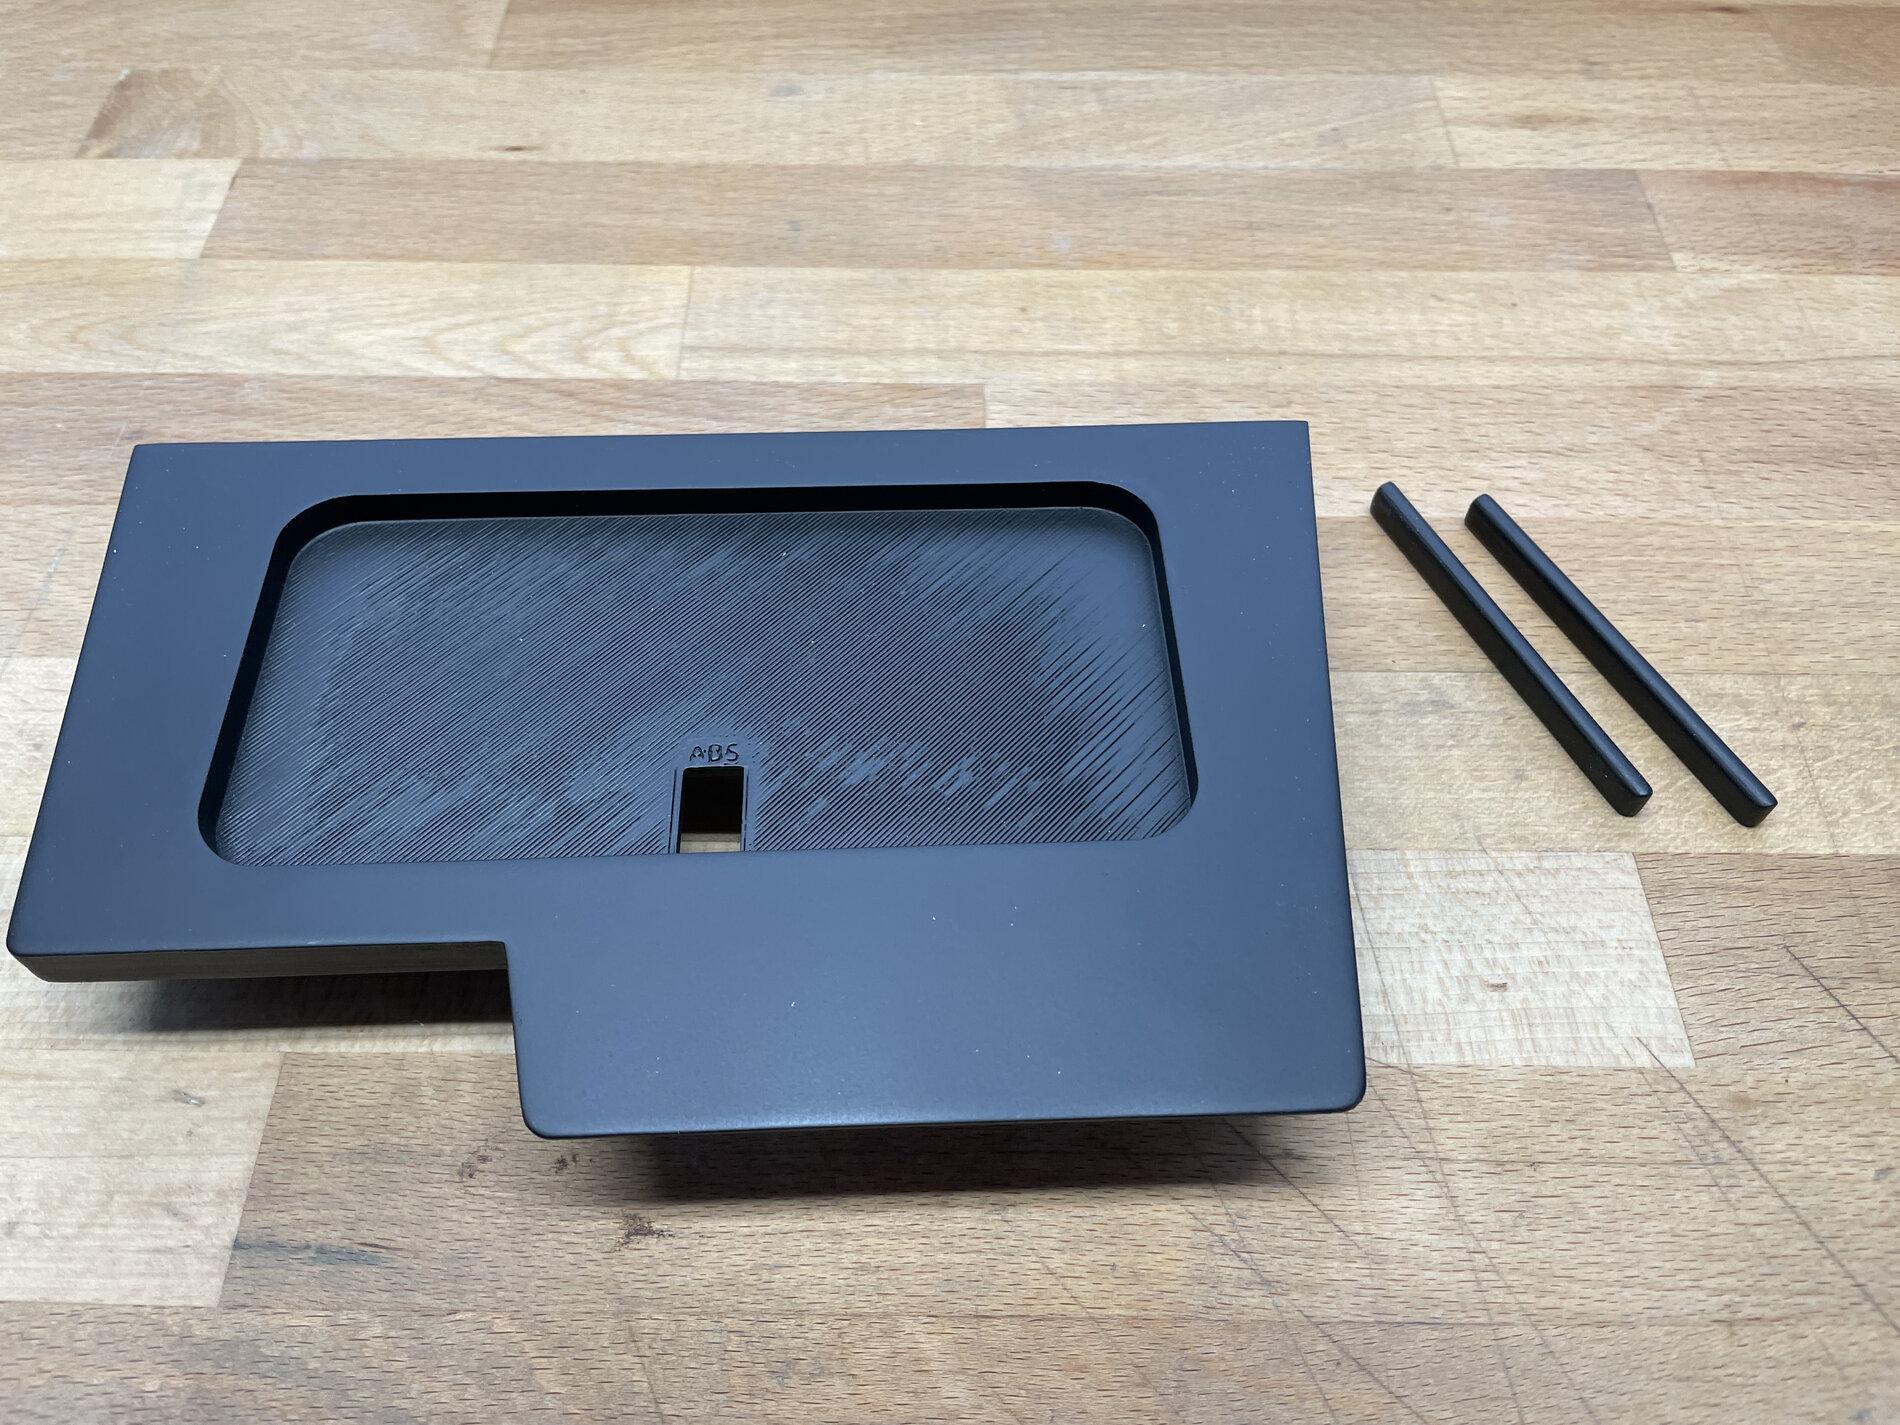
It took a few weeks to warm up but now I can finally print ABS. Had to make a few adjustments to make it not warp during the print but the bracket is pretty much the same as before.
The first picture shows the bracket right after being printed and it has the typical 3D printing "texture".

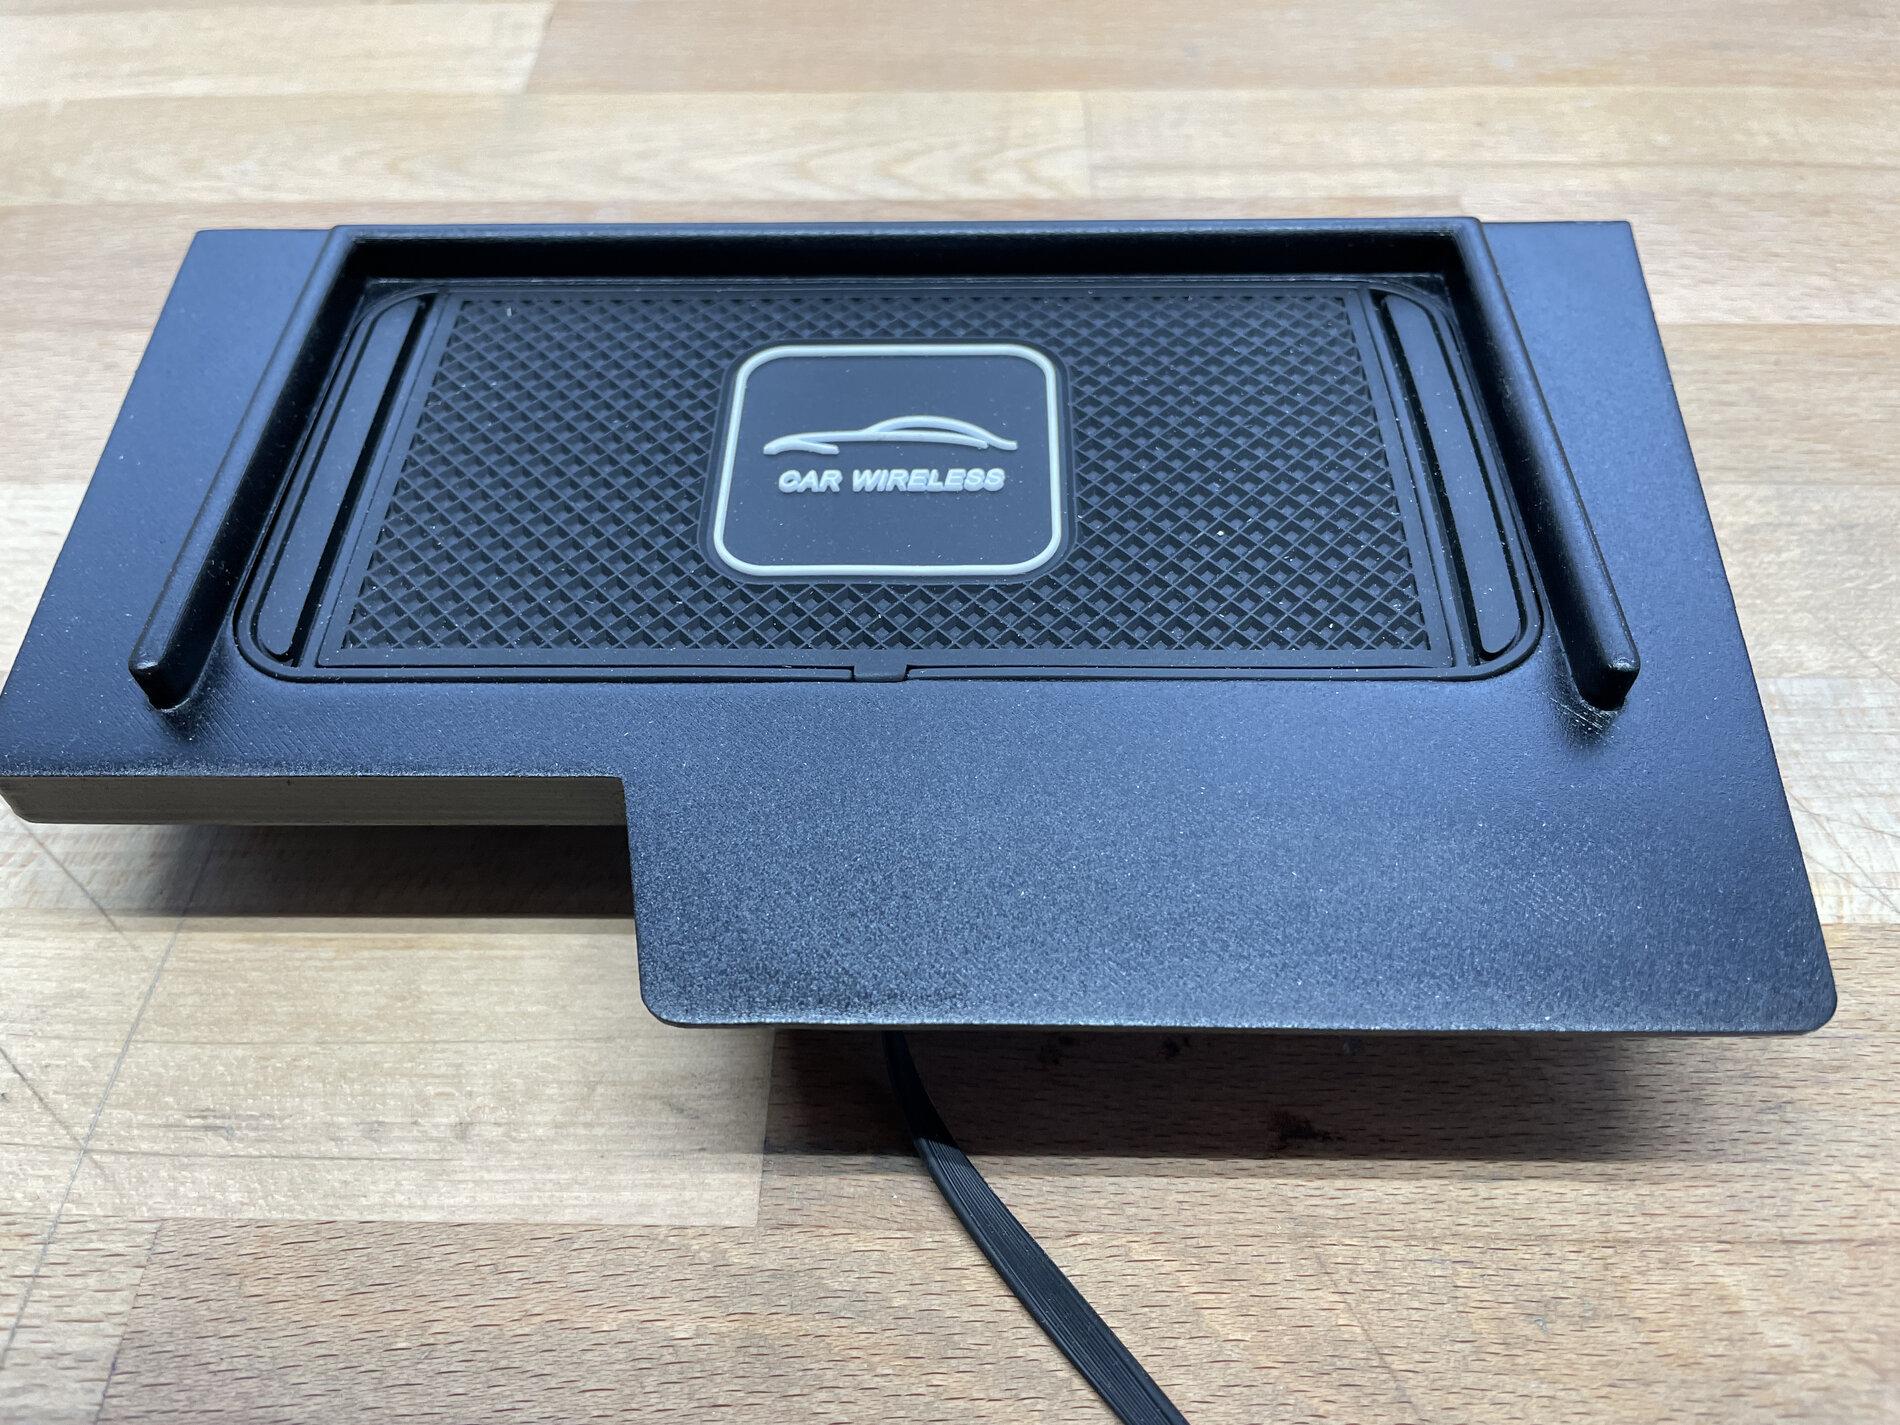
The next picture is a bracket without rails, after some sanding, priming and painting with flat black spray paint. There are two spare rails that can be attached using superglue or acetone before painting to fit the phone if needed.
The last picture was taking after sanding, priming and using "textured" spray paint. I didn't sand and prime enough and if you look carefully you can still see the 3D print marks.
I won't be making PLA brackets anymore until get gets too cold again and I won't sell those brackets sanded/primed/painted but if you are interested in a 3D printed ABS bracket as is, please message me.
And those who got the PLA brackets, the offer still stands and if you post a picture of your badly warped PLA bracket, I will send you an ABS one for free (you just pay for shipping).
If you would like a lower tech option you could use this:I did something similar using a product like this: https://www.amazon.com/gp/aw/d/B091...d2lkZ2V0TmFtZT1zcF9waG9uZV9kZXRhaWwp13NParams
That's what you'll need if you don't want issues with the sync3 usb ports being underpowered. There are slight gaps in the panel trims there that you can run the wire through completely concealed and in under Dirk's tray.
Message sentYes, I do. Message me for details.
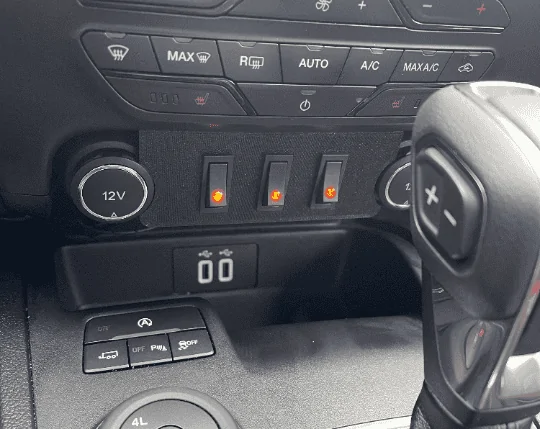
Cut a piece of cardboard and slide it in so that it sits on the ledge above the USB ports. If you can still get your phone in and out it should work.That's awesome, i just picked this cheap toggle plate with switches up off ETSY, i wonder if it would interfere with that, i would like to pick one of those charger pads up.
Are you just running this from the USB port then, and then from this into the charging pad?If you would like a lower tech option you could use this:
https://www.amazon.com/dp/B095S81XK4/ref=cm_sw_r_apan_i_GEK815X97PK4JWQNA2VN?_encoding=UTF8&psc=1
It is a just a battery pack that will fit underneath Dirk's bracket. It has a lower current draw than the charging pad so it won't freak out. I've only had mine for a couple days but it's working great so far. If you don't like this particular battery just make sure it has pass-through technology. It has to be able to charge and provide power at the same time. Quite a few don't. Calculating the current draw from the pad minus the lower draw from the battery, it would take months before you would see the "backup battery" deplete. Depending on your usage, you may never have to. Just another idea to throw out there if you don't want to wire in another power source to your fuse box.