WhiteLightning19
Well-Known Member
- Thread starter
- #1
Hello 5gRanger community,
I have been on this forum since I purchased my '19 Lariat in April of 2019. After lots of research and notes from various posts on these forums I have successfully installed a 10" Kicker CompVT subwoofer paired with a Kicker Key 500.1 Mono block amplifier.
Parts Required:
Plug 'n Play Ford Harness (FOR-11CK-) Amazon
9 Conductor Speed Wire Amazon
8ga Amplifier Install Kit Amazon
1/4" and 1/2" Nylon Braided Cable Sleeving Amazon
Ferrule Crimping Tool Kit Amazon
3:1 Heat Shrink Tubing Amazon
Tessa Tape Amazon
Kicker Key 500.1 Amplifier Amazon
Kicker CompVT 10" 2ohm Subwoofer Amazon
Ford Ranger PX PX2 Under Seat Sub Box eBay
Tools Required:
Wire Strippers
Wire Cutters
Soldering Iron
Heat gun/Hairdryer/lighter
Trim removal tools
metal coat hanger/fish tape
drill with assorted bits
10mm socket
7mm socket
Socket wrench
Needle nose pliers
Total Time: 8 Hours
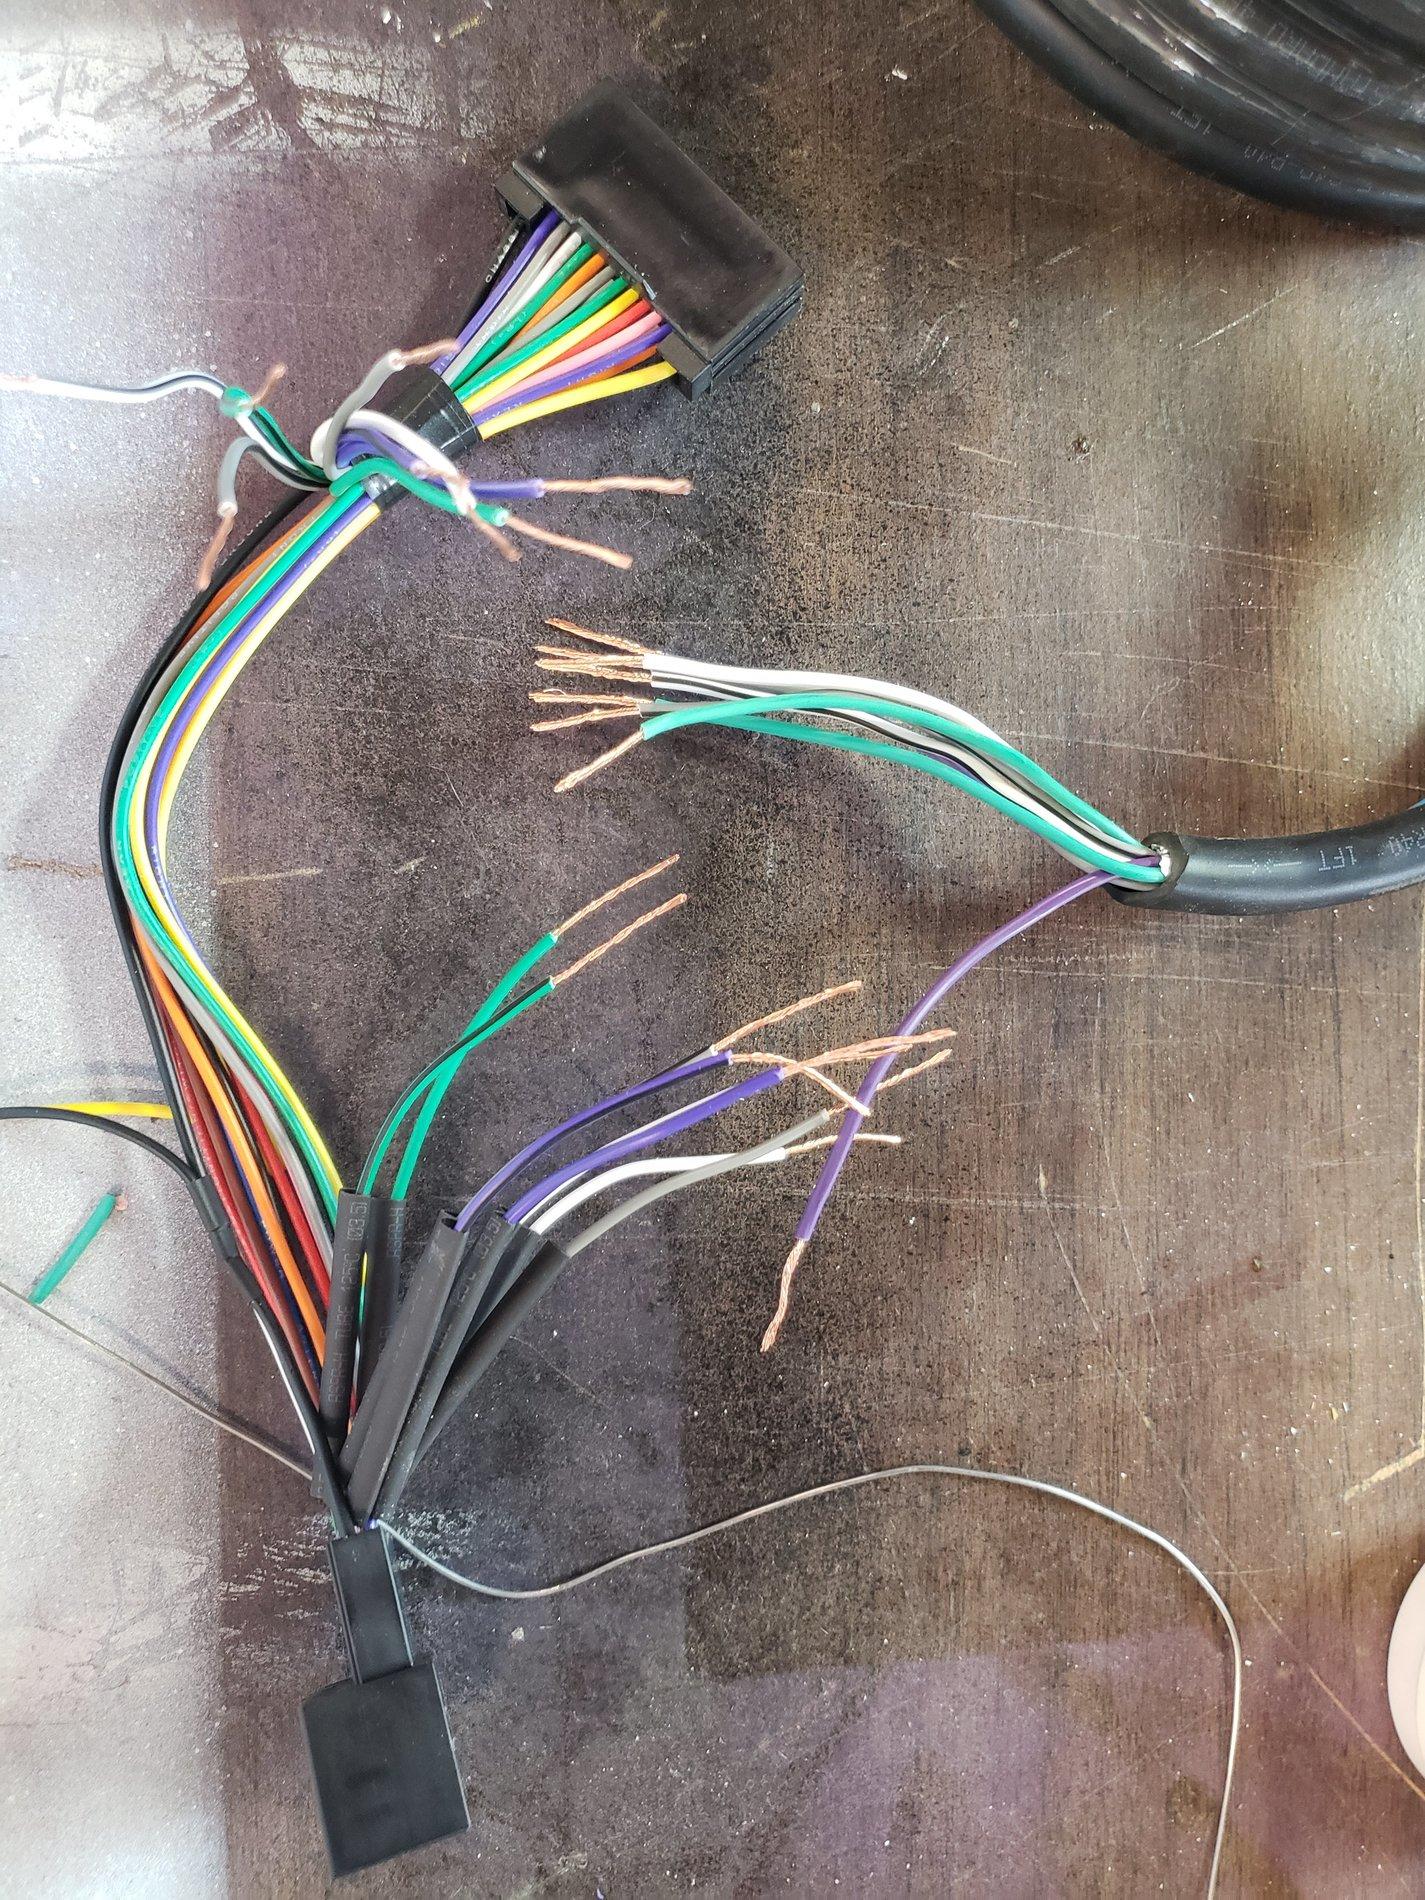
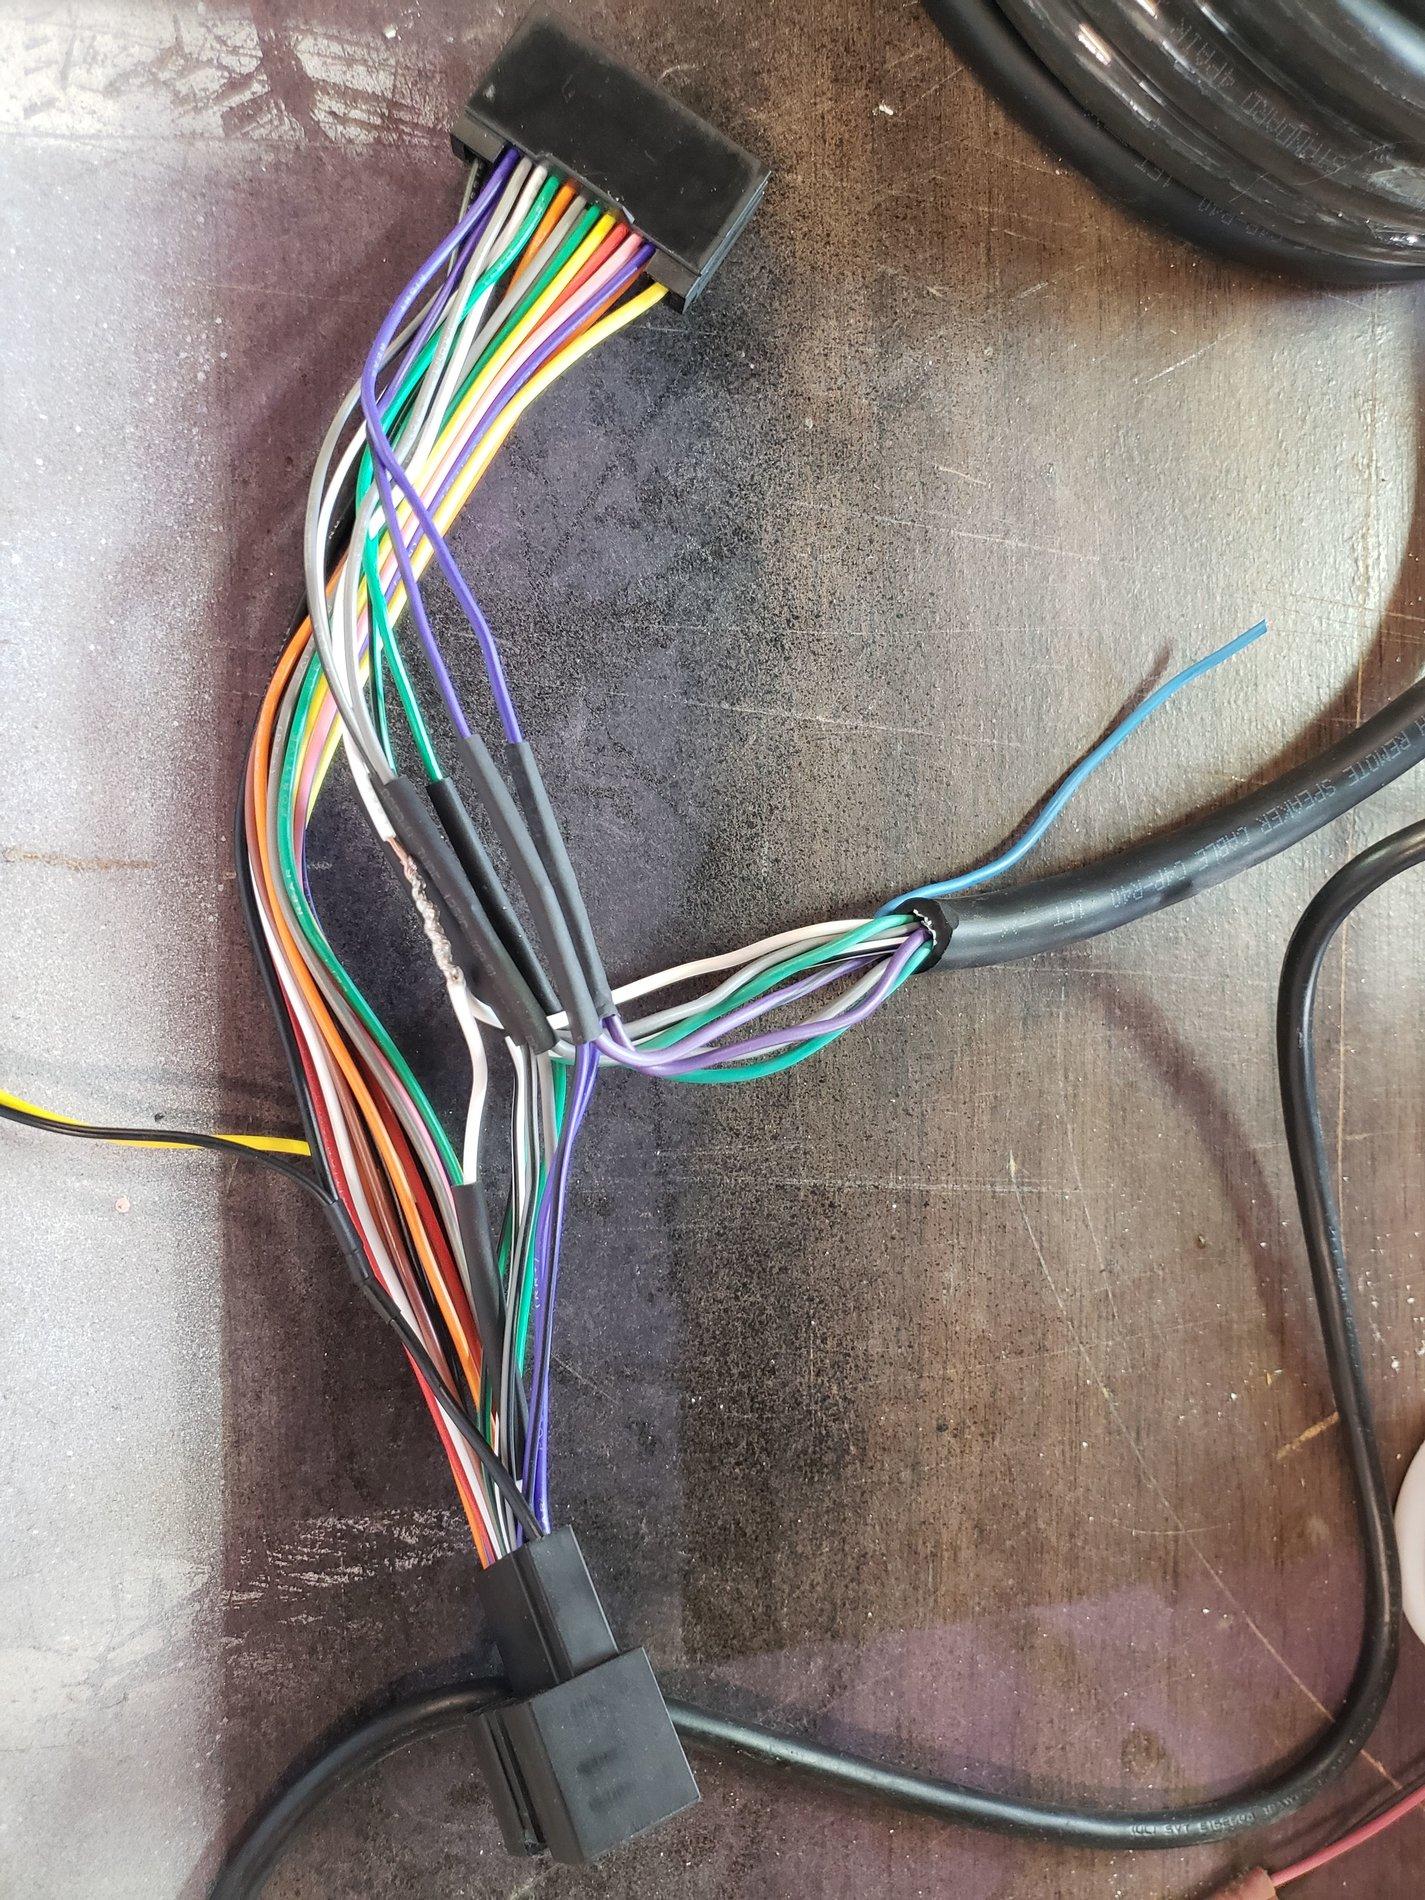
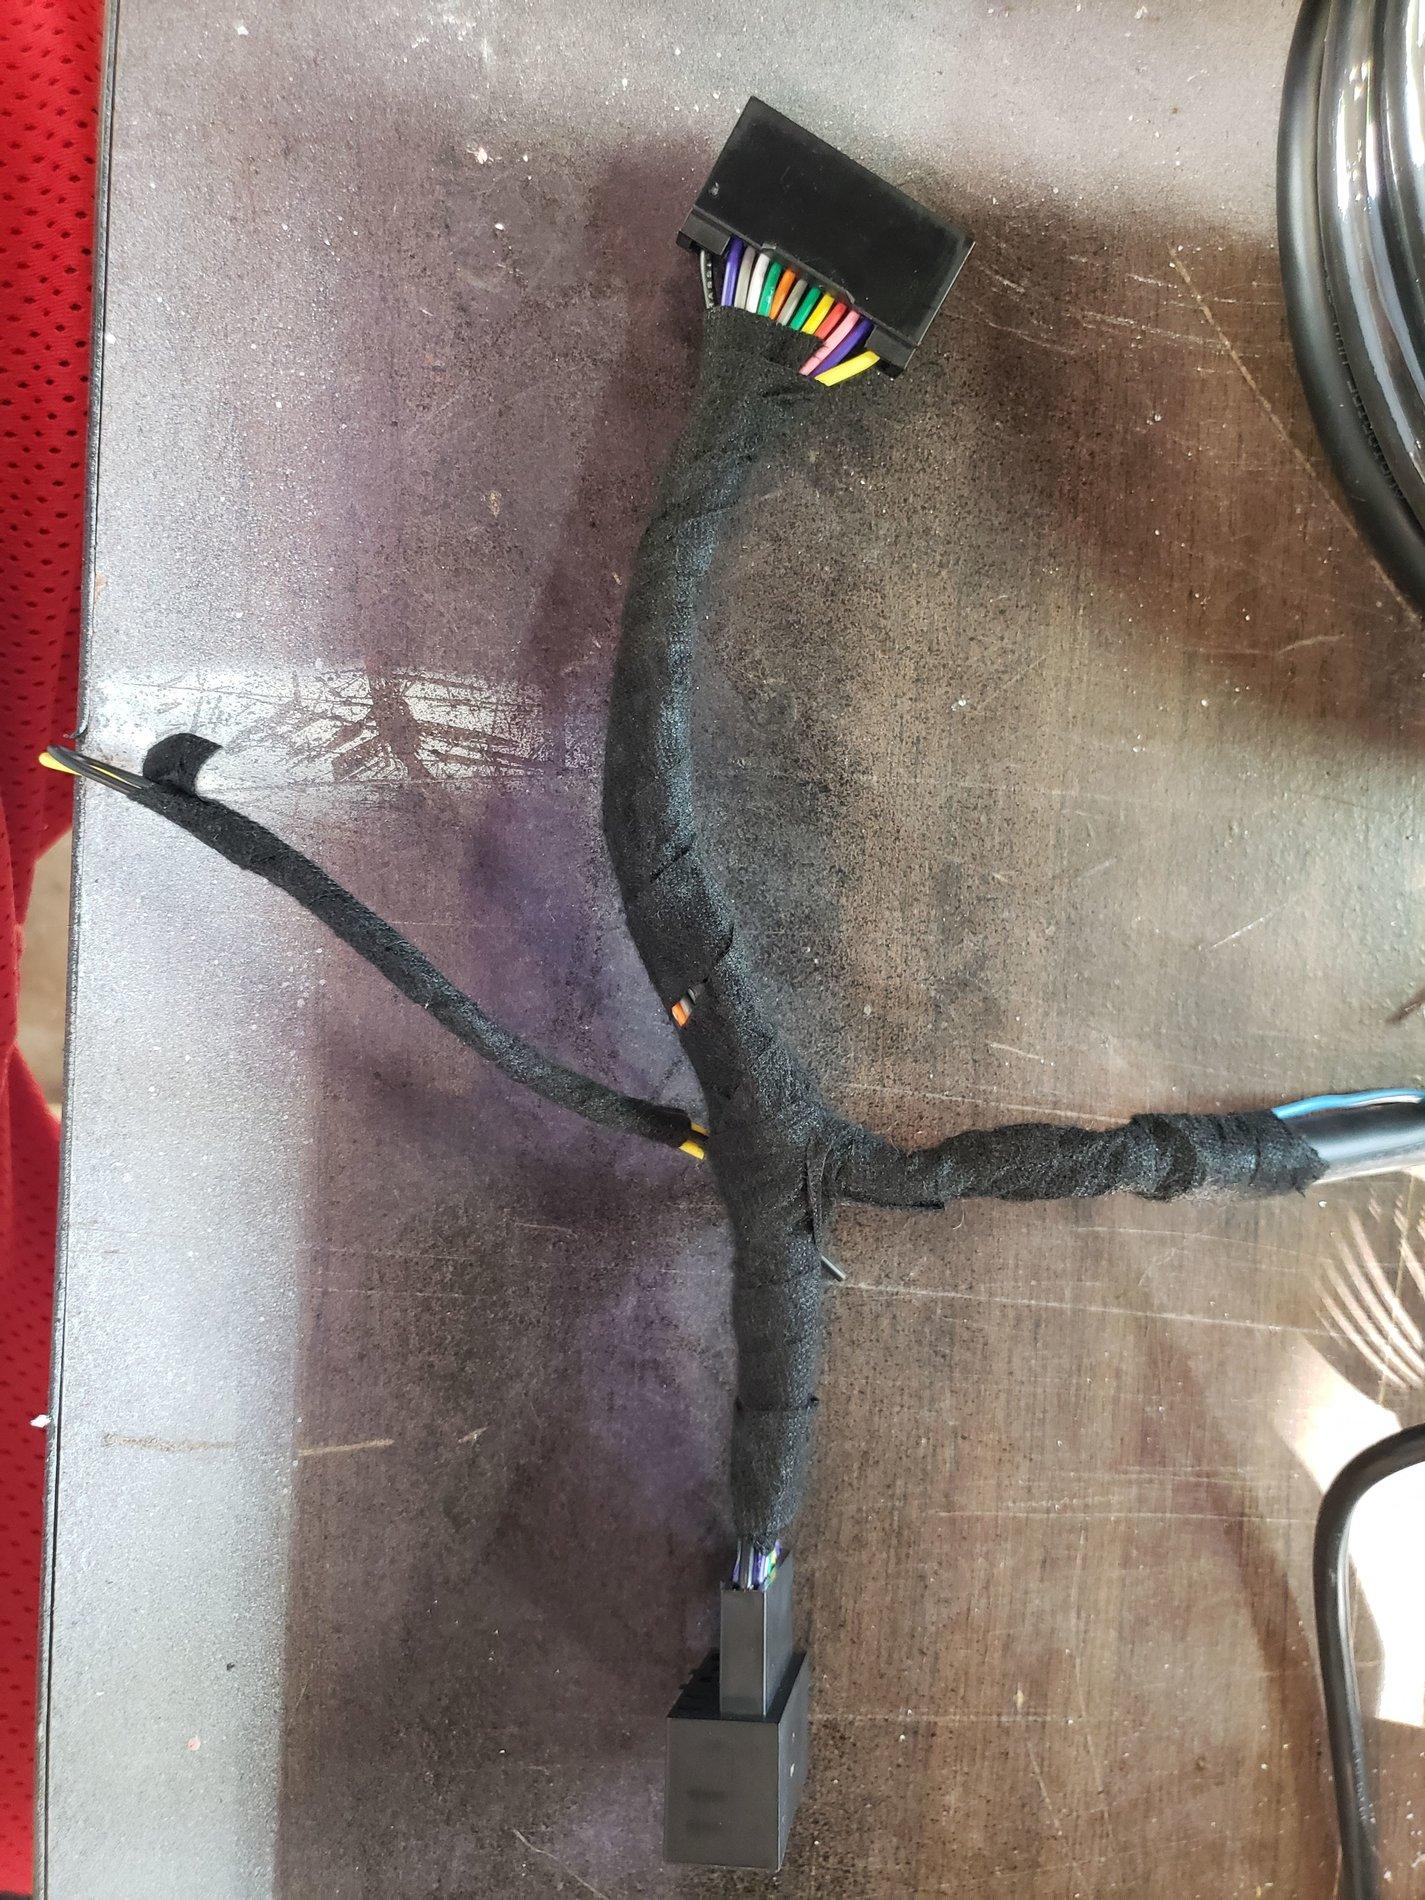
Step 1: Solder speed wire to Plug 'n Play harness
I basically used the harness to acquire speaker level inputs at the back of the stereo. I soldered in all 8 wires (FL, FR, RL, RR) so that I would have all 4 signals back at the amplifier in case I had issues with ANC/Fake Engine Noise. Once Soldering was complete I completely wrapped the harness up in Tessa Tape for a factory appearance leaving the black and yellow wire separate in-case I ever need a ground and switched source of power.

Step 2: Disassemble the dash and trim panels
I started with gaining access to the factory radio. This involved removing approximately 7 panels. @OC4095 has a very detailed post on this Here. Then I proceeded with removing both from kick panels and floor boards both front and rear to allow running the wiring.
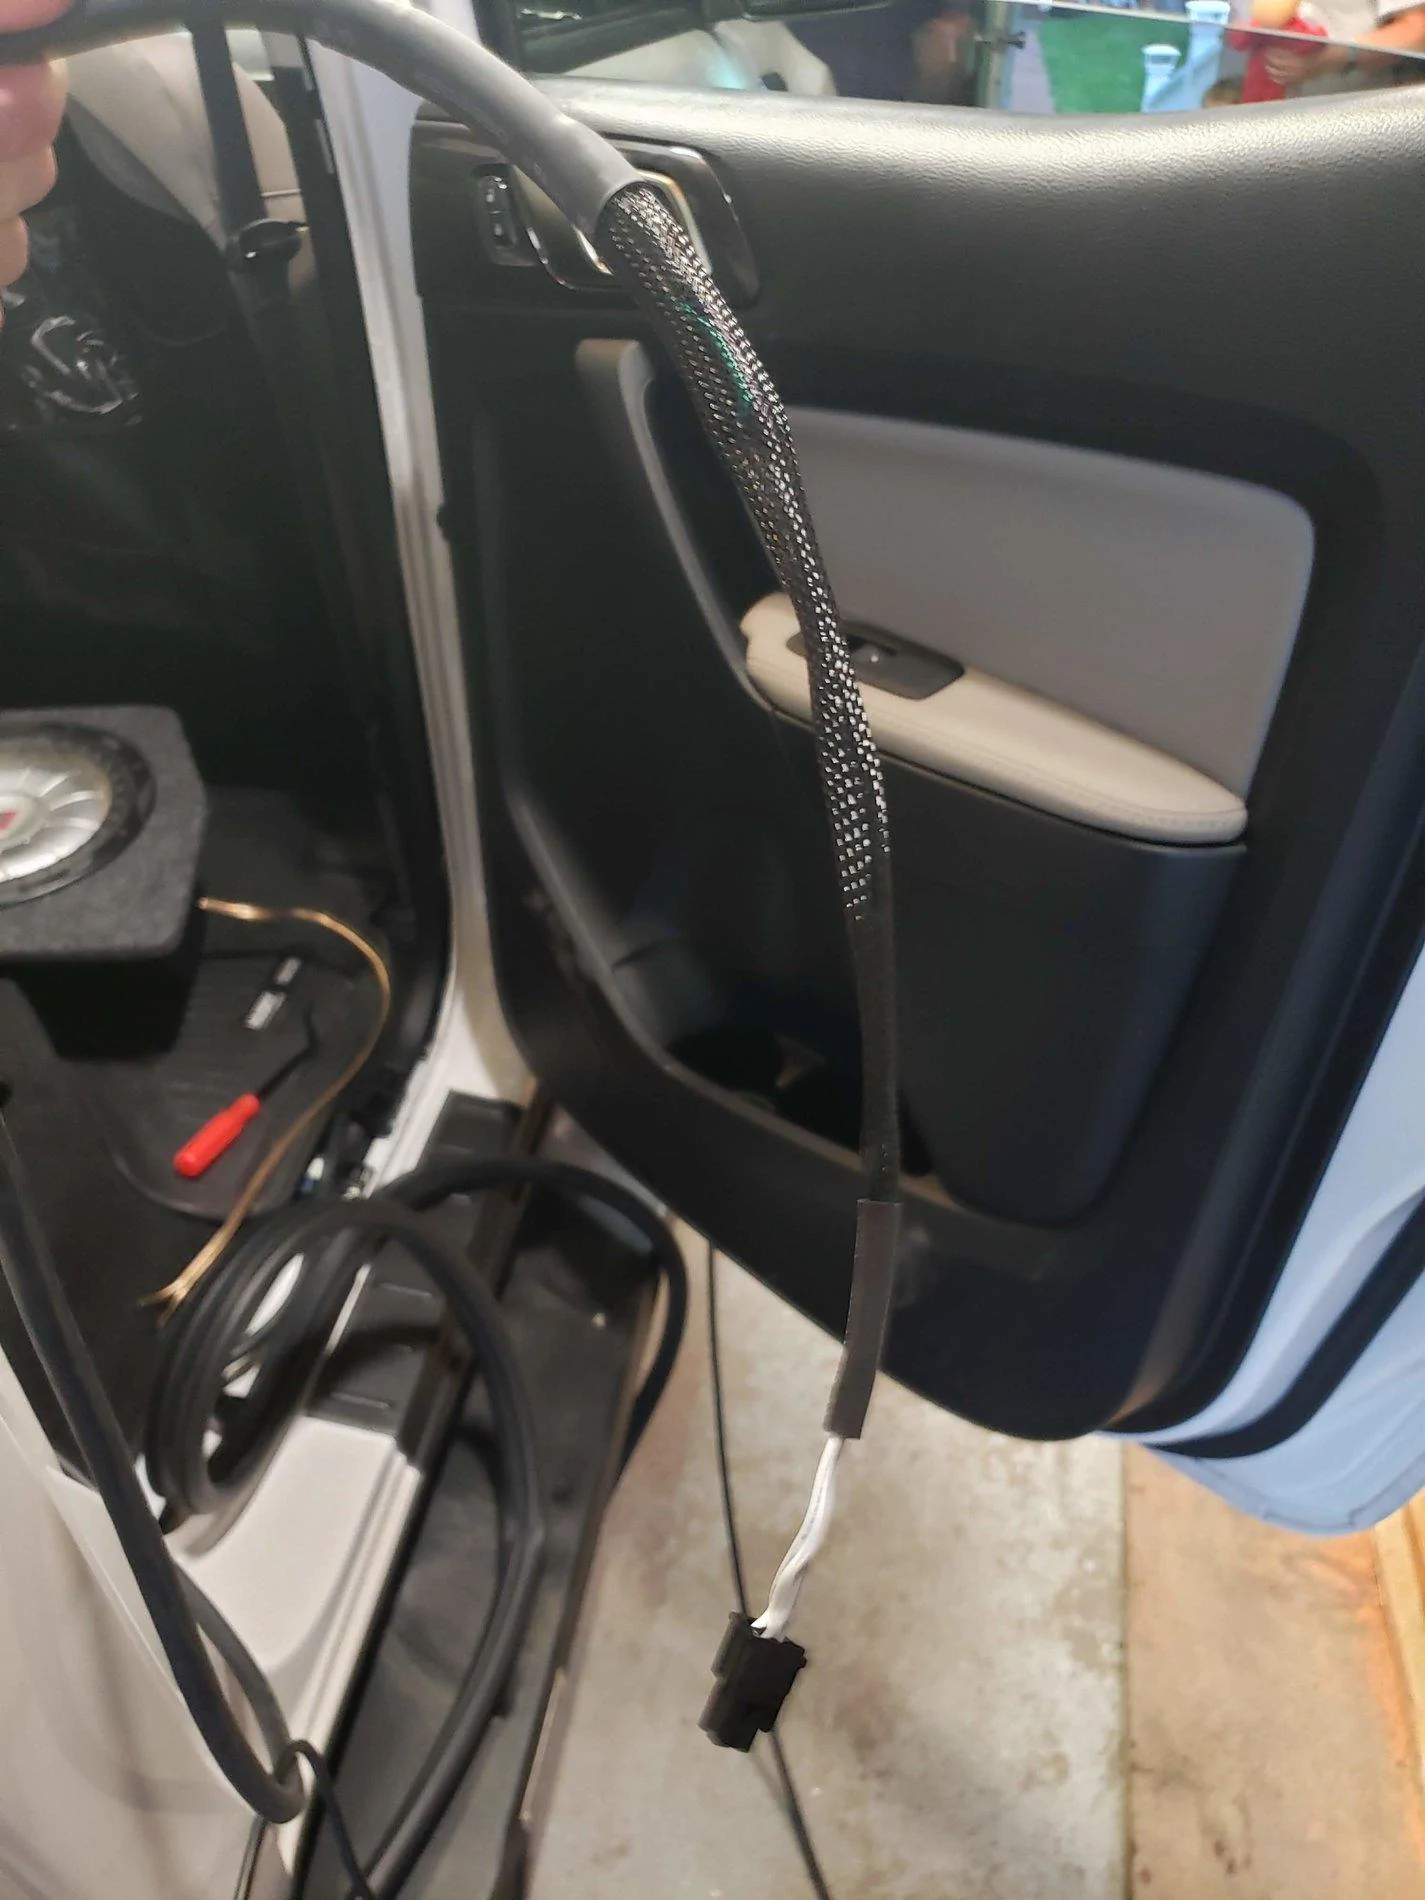
Step 3: Pull amp power wire from battery to amp location
As some know the ranger is extremely difficult to pull accessory wiring through the factory grommet on the driver side above the brake pedal. I was successful in doing this by using a straightened metal coat hanger and 8" piece of the braided nylon sleeving. Insert the nylon sleeving over the red 8ga power wire approximately half way. Then with a pair of pliers bend a small hook on the end of the coat hanger and attach the sleeve to the the hook and then wrap in electrical tape ensuring the entire hook is covered to avoid it getting snagged. You will then want to punch the coat hanger through the grommet near the hood release cable and then have an extra set of hand to assist with grabbing the hanger in the engine compartment. Prior to complete installation I wrapped the entire power cable in 1/4" Nylon sleeving to protect the wire and to give it a nice factory look. Fuse holder is attached to the battery bracket with a self tapping screw (picture missing).

Picture of make shift Chinese Finger Wire Ferrule installed before fuse holder Battery terminal crimped and heat shrunk Wire path through grommet
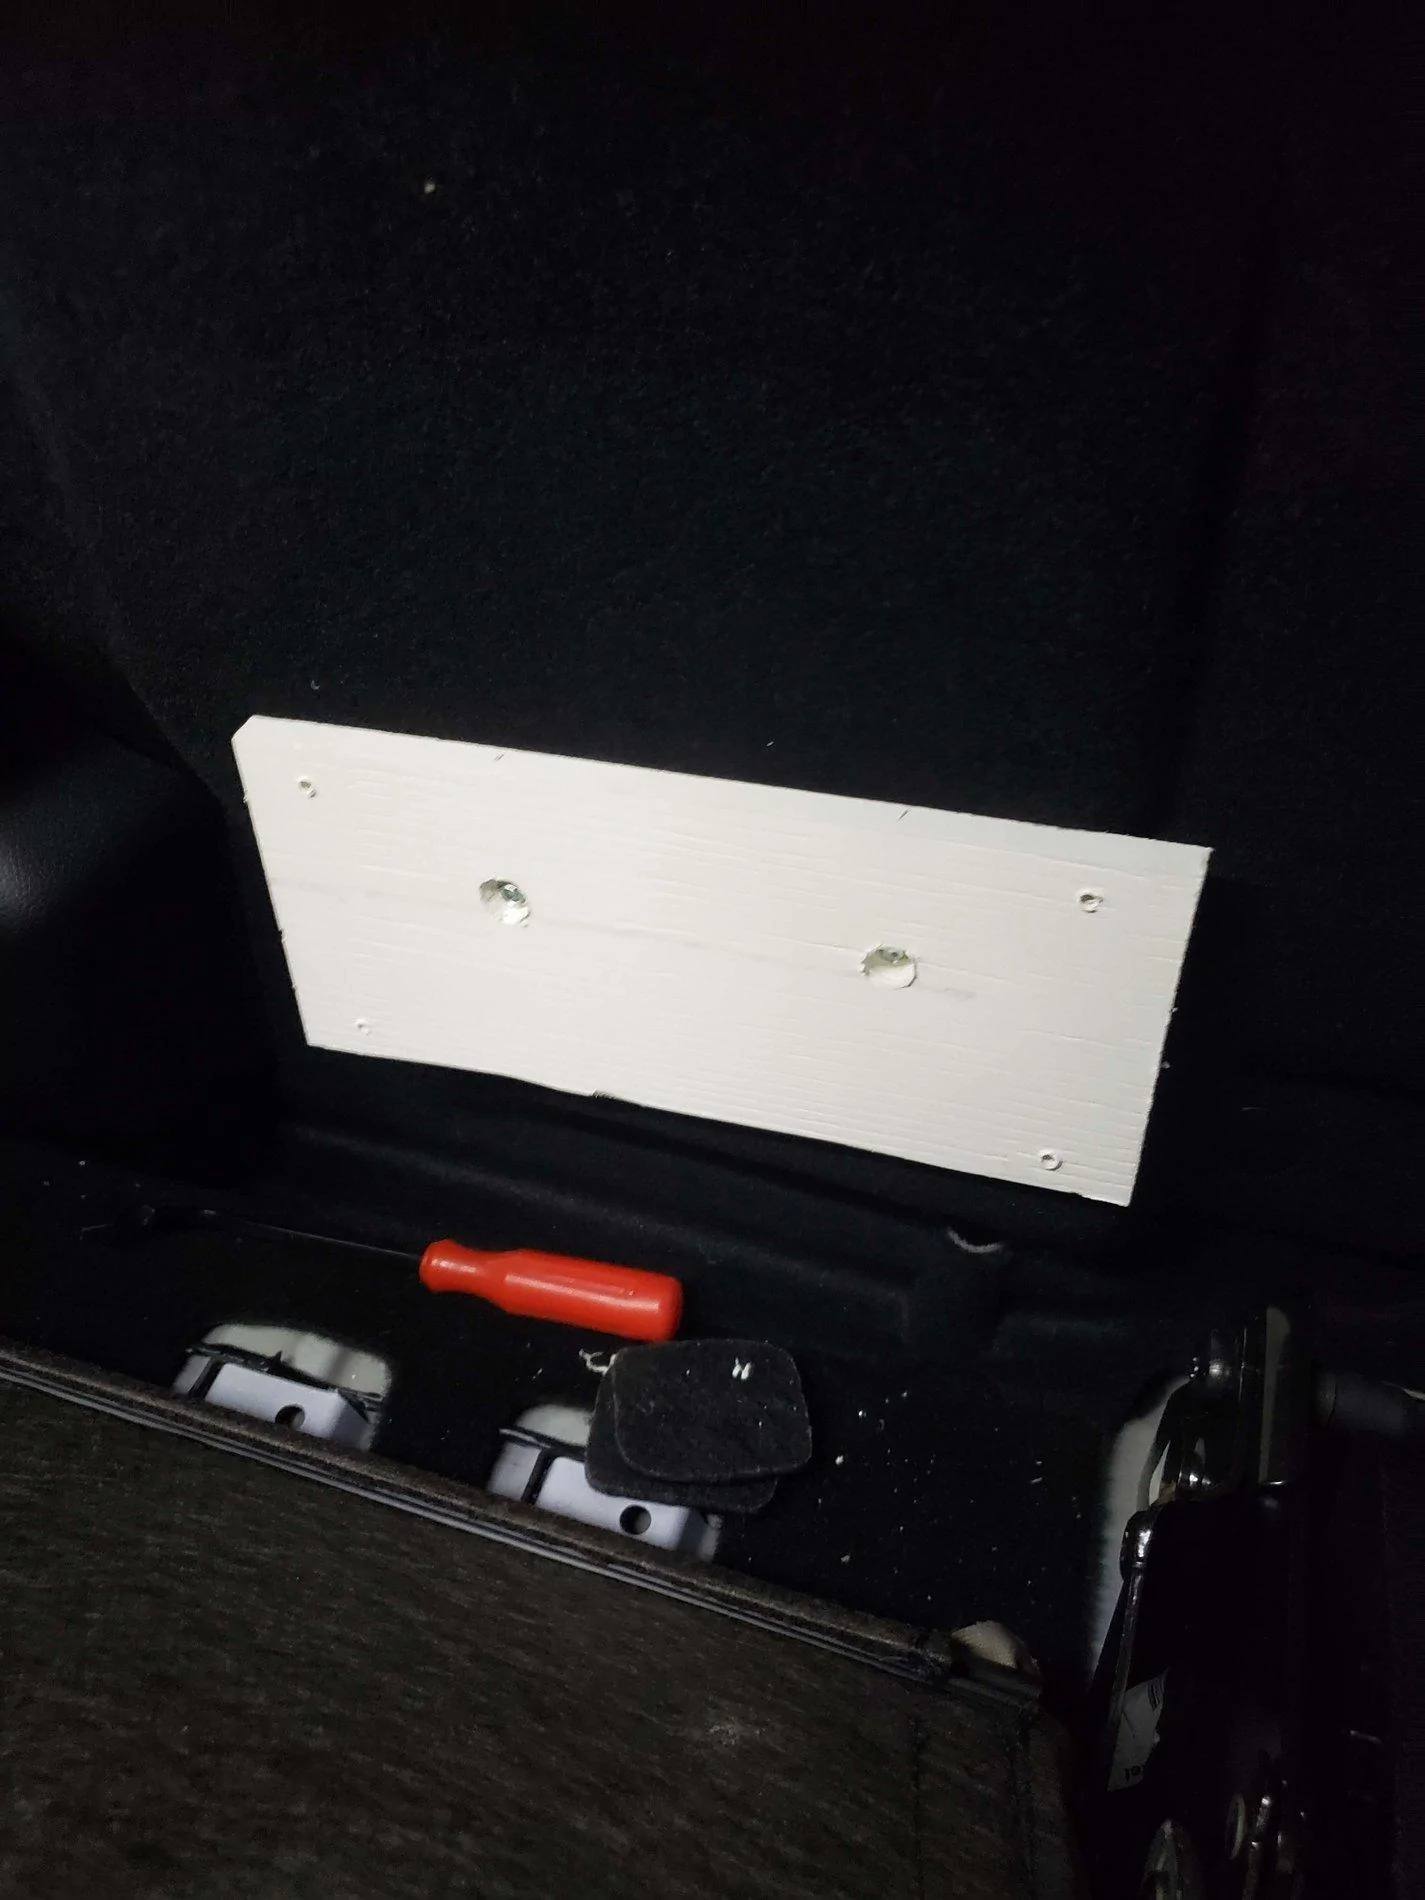
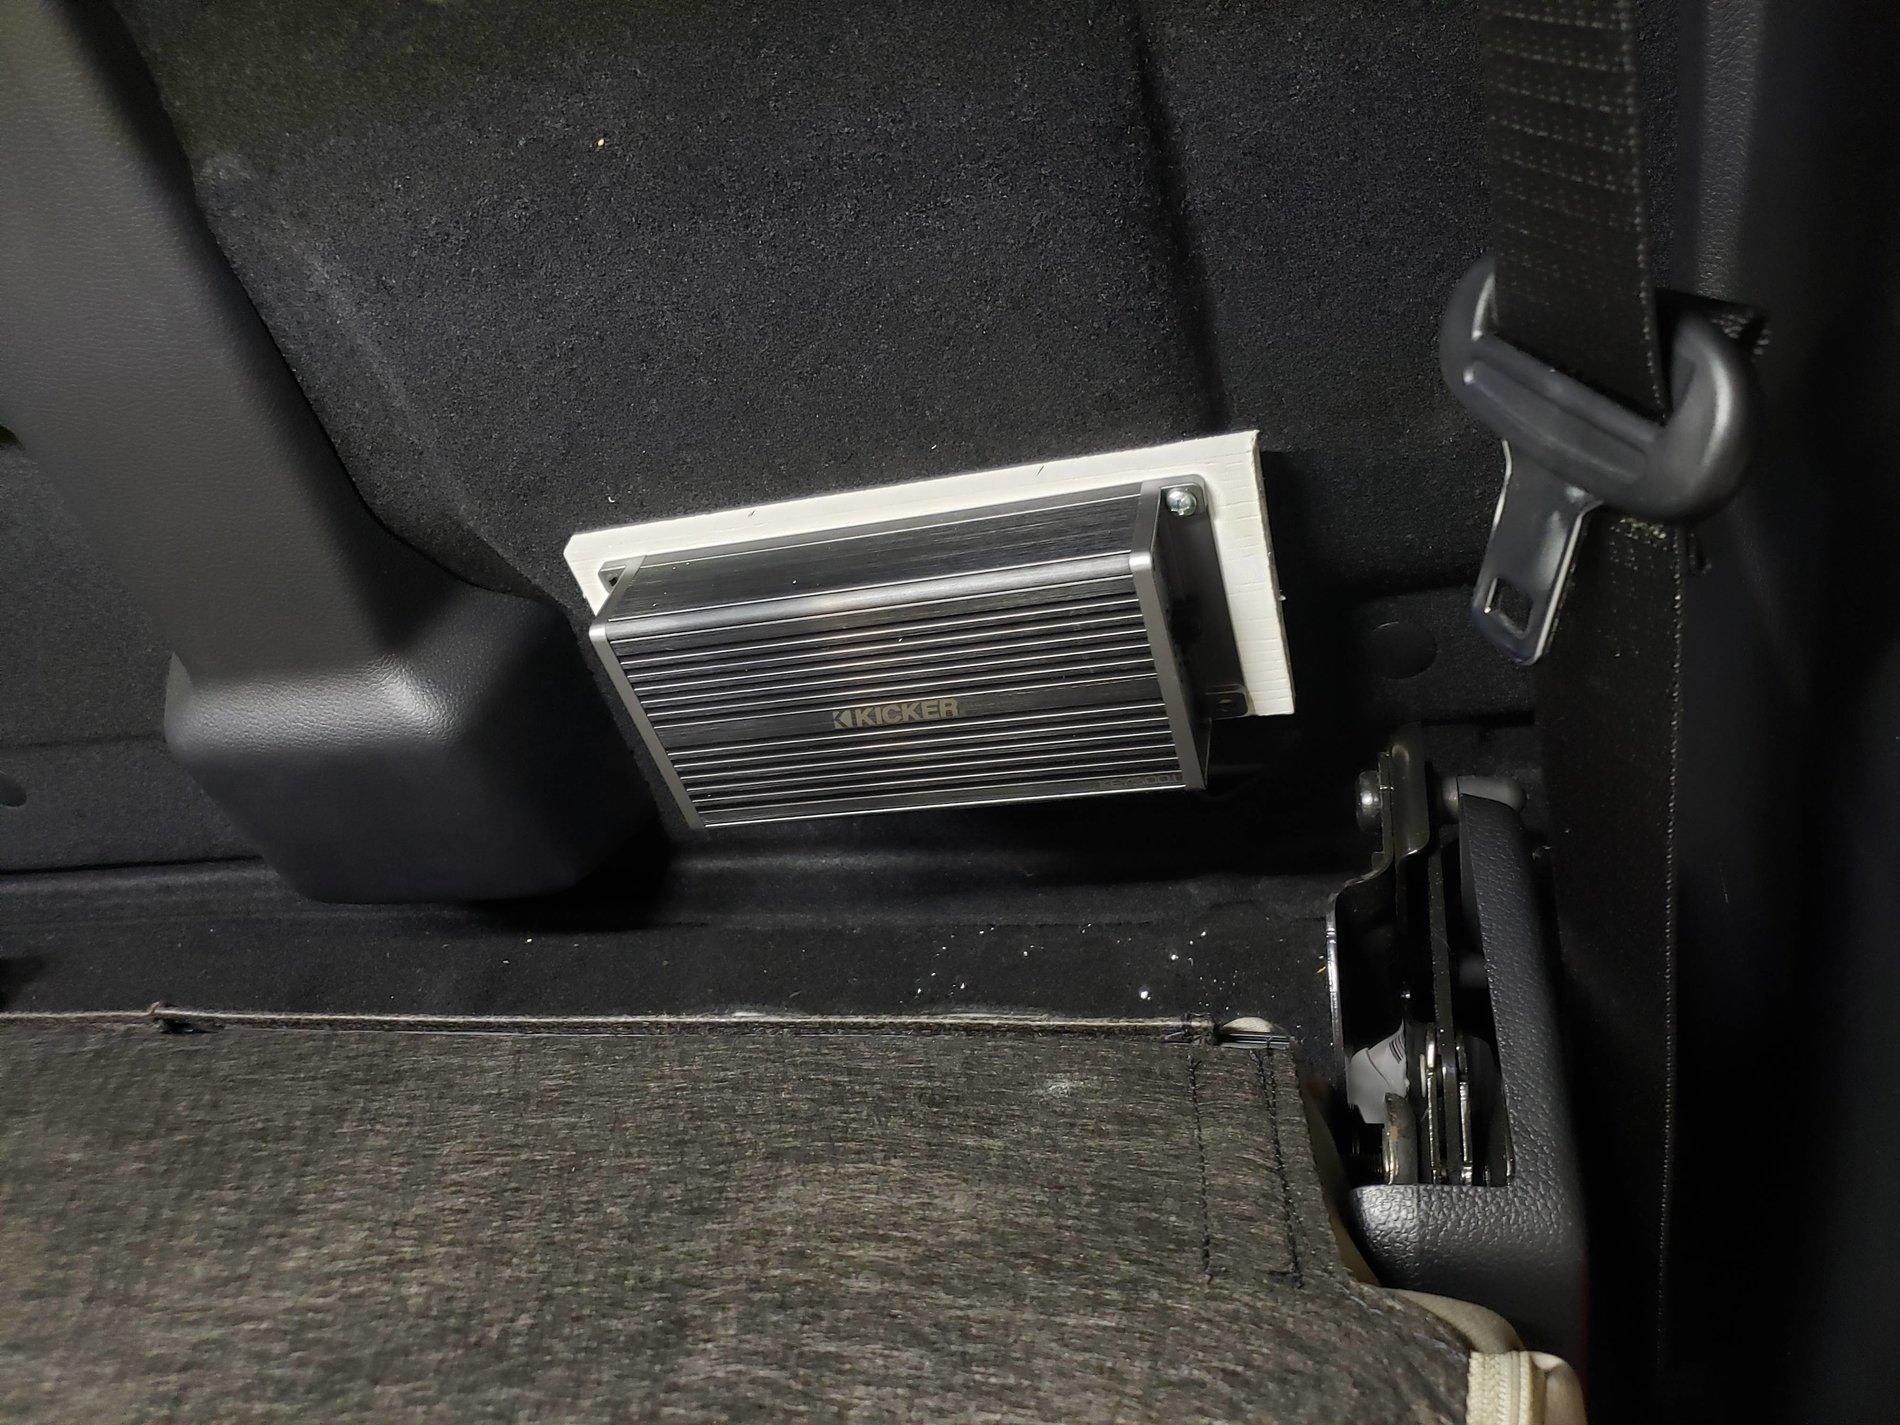
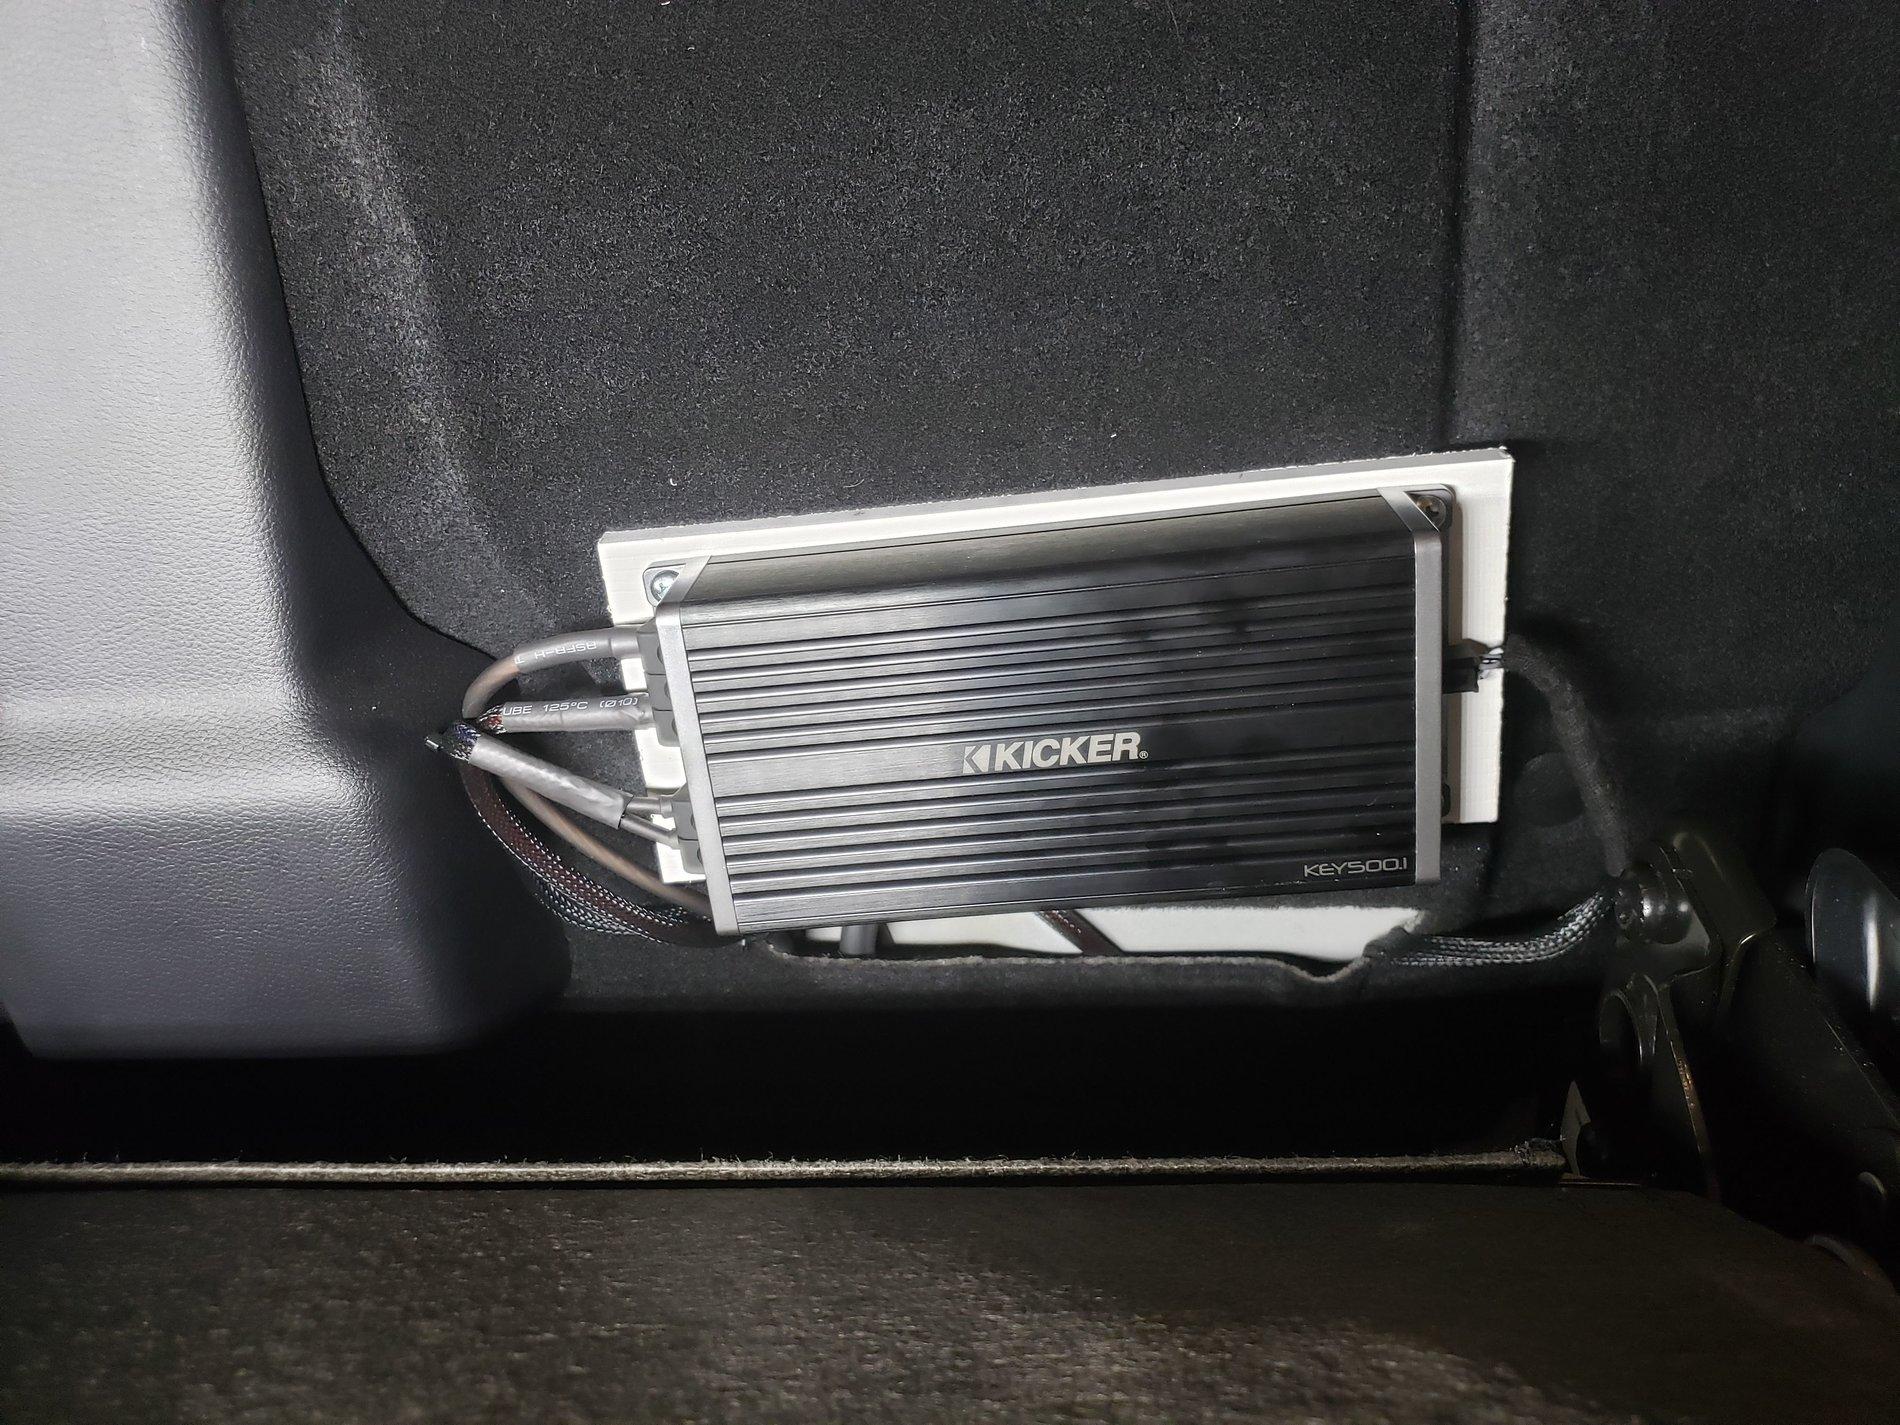
Step 4: Amp location
For the amp location I chose to mount it to the back wall behind the seat where the factory amp location would be. I used a 3/4 ABS board I had laying around and self tapping screws to attached to the brackets. Note: If I were to install this again I would recommend going with 1/8" or 1/4" ABS to give a bit more clearance between the amp and the back of the seat.

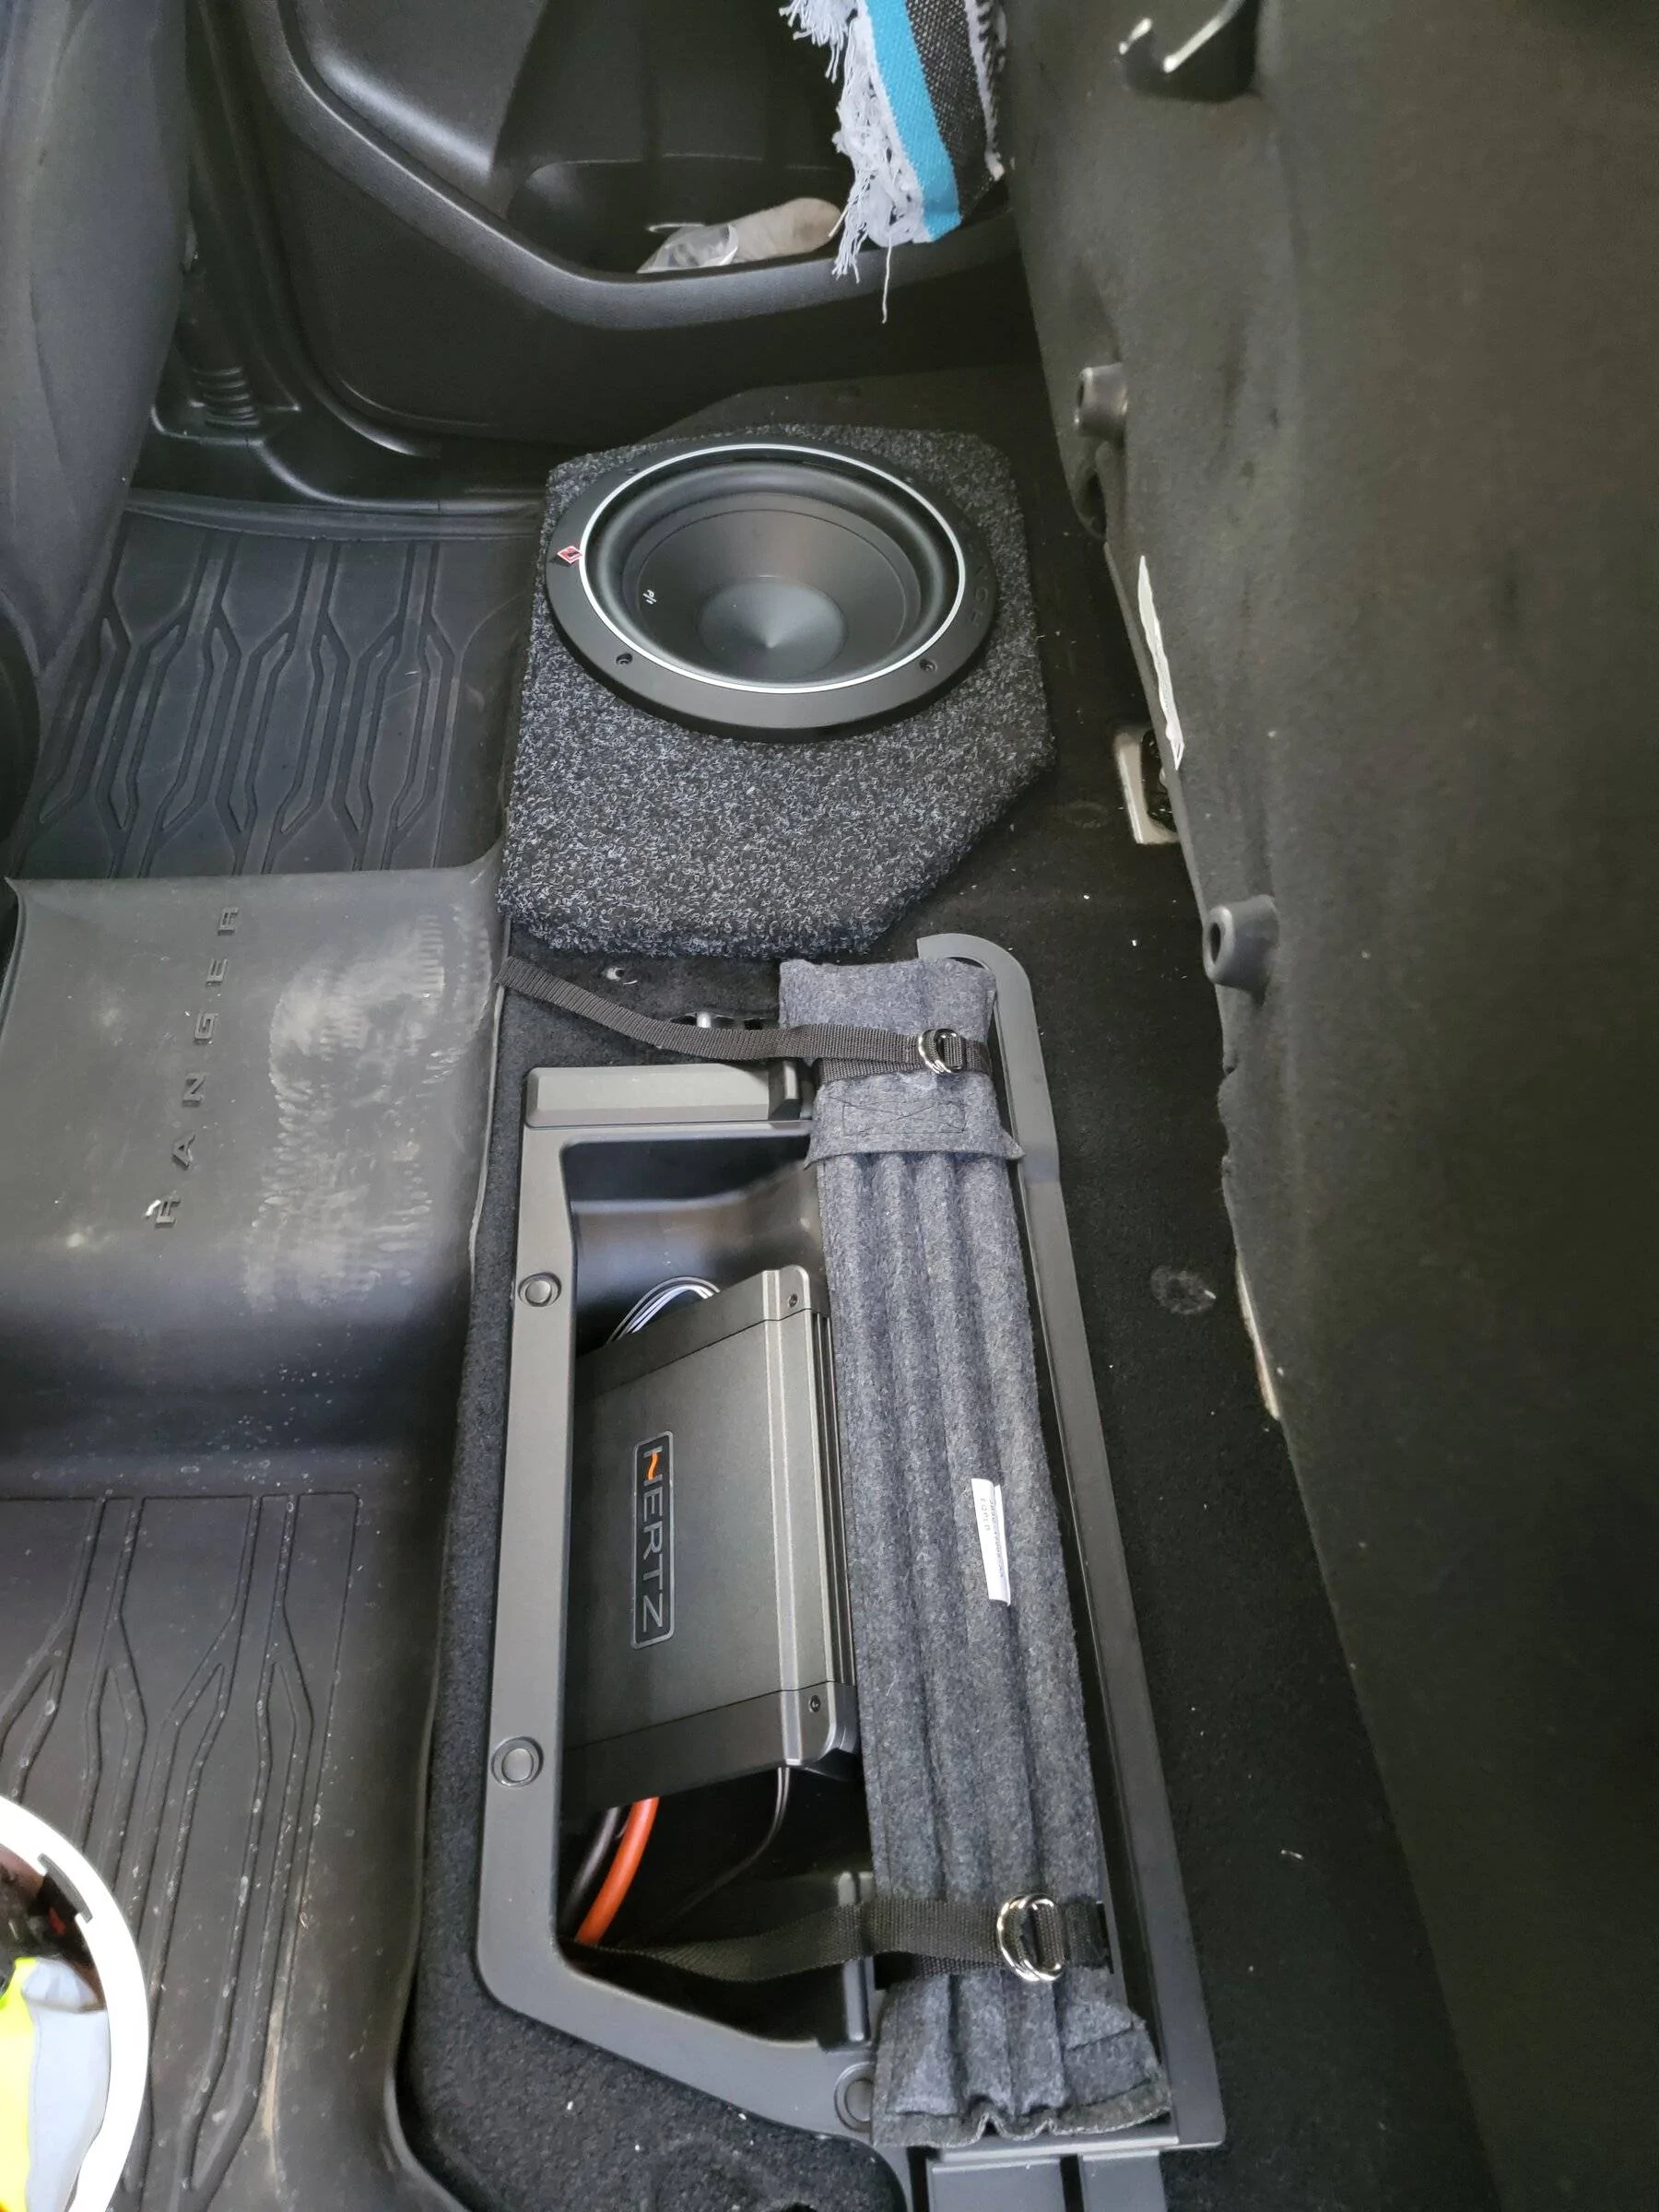
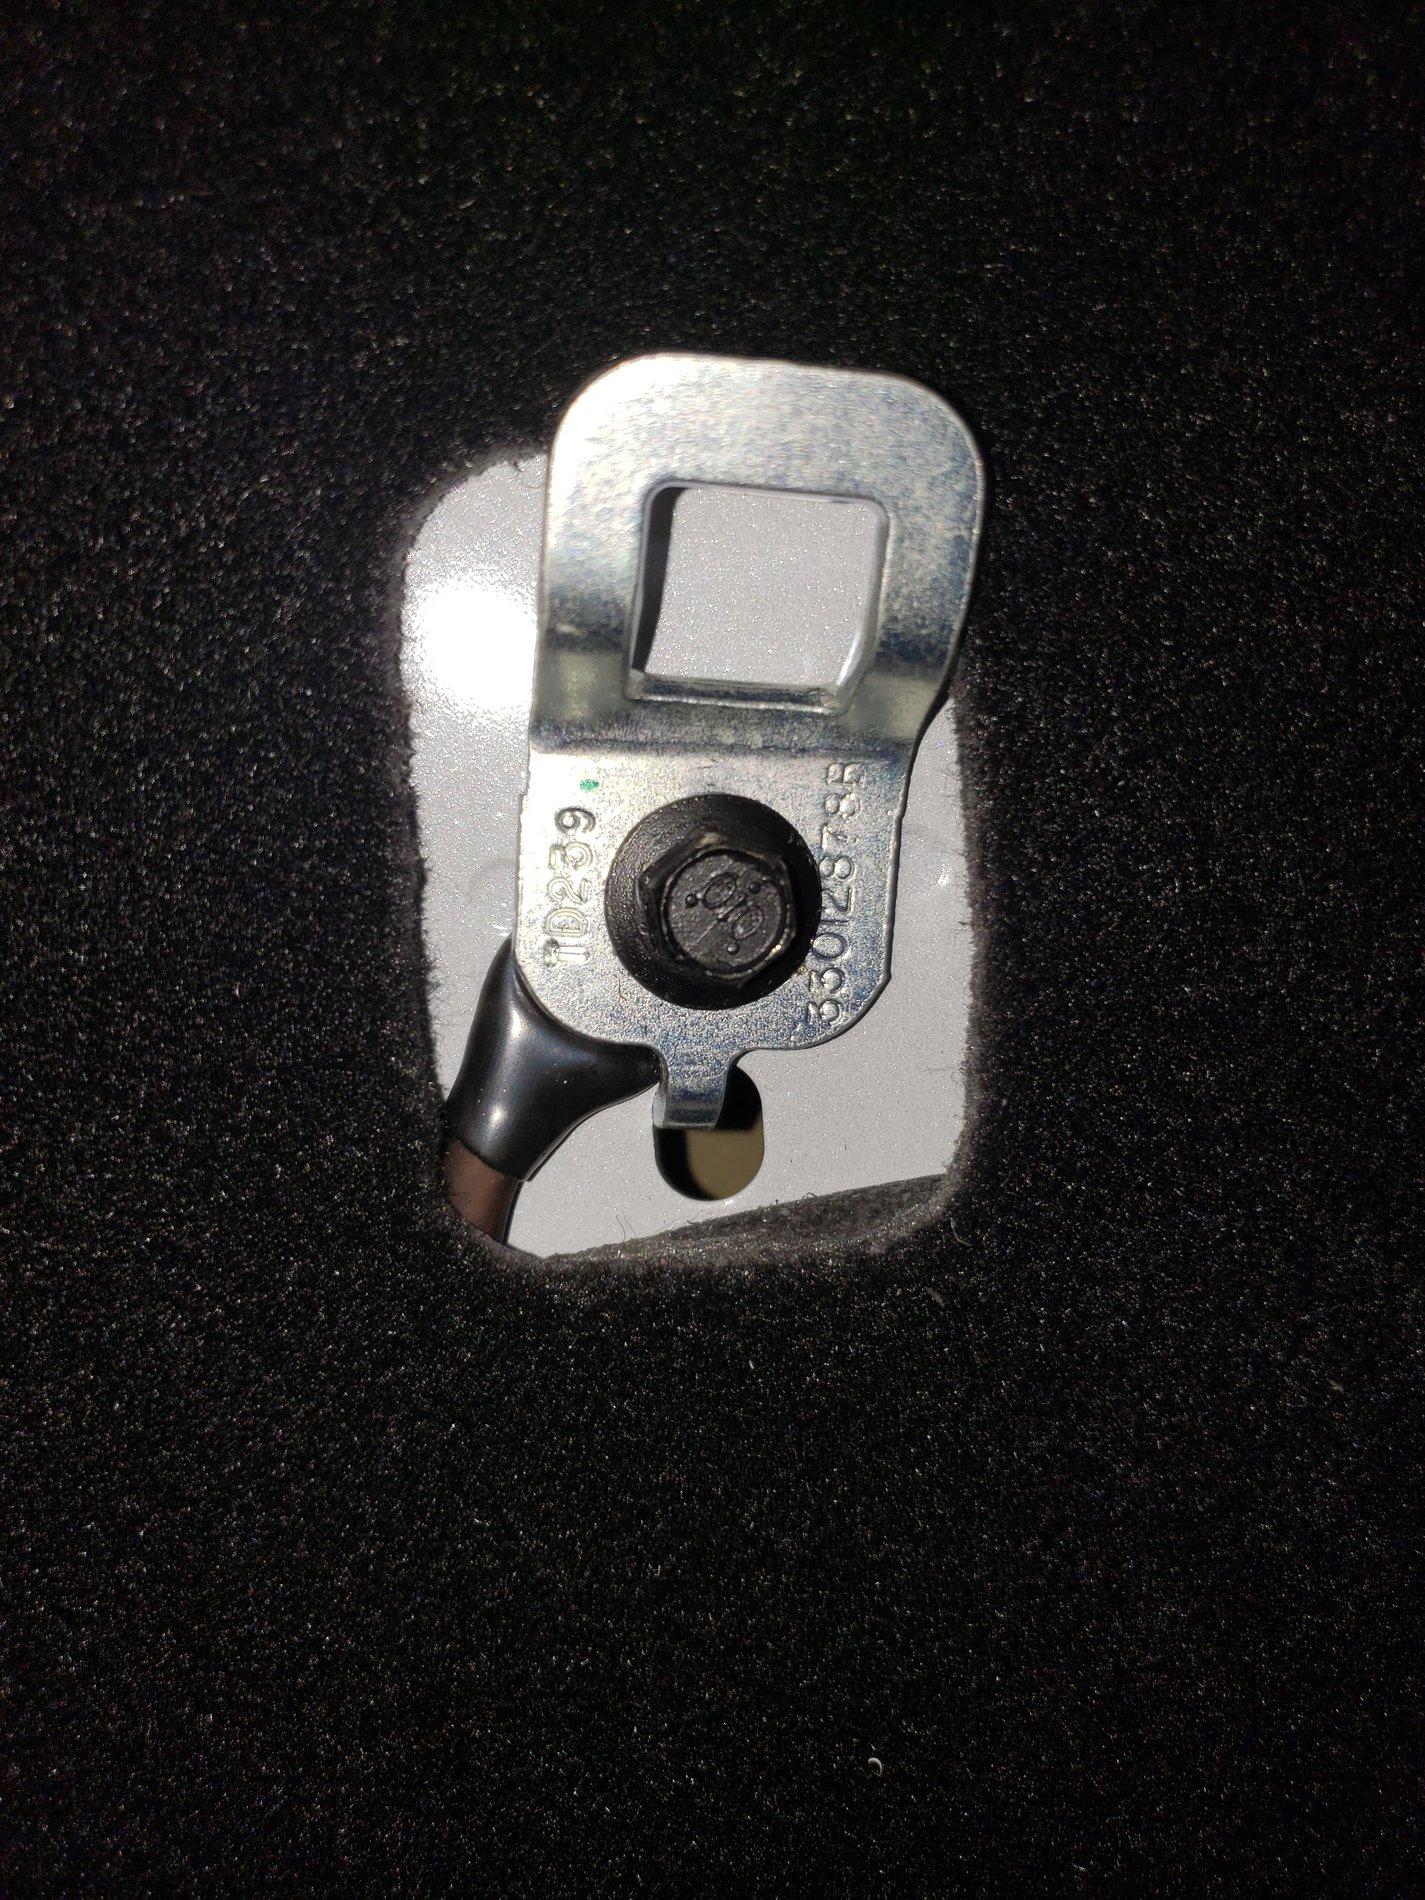
Step 5: Run Wiring
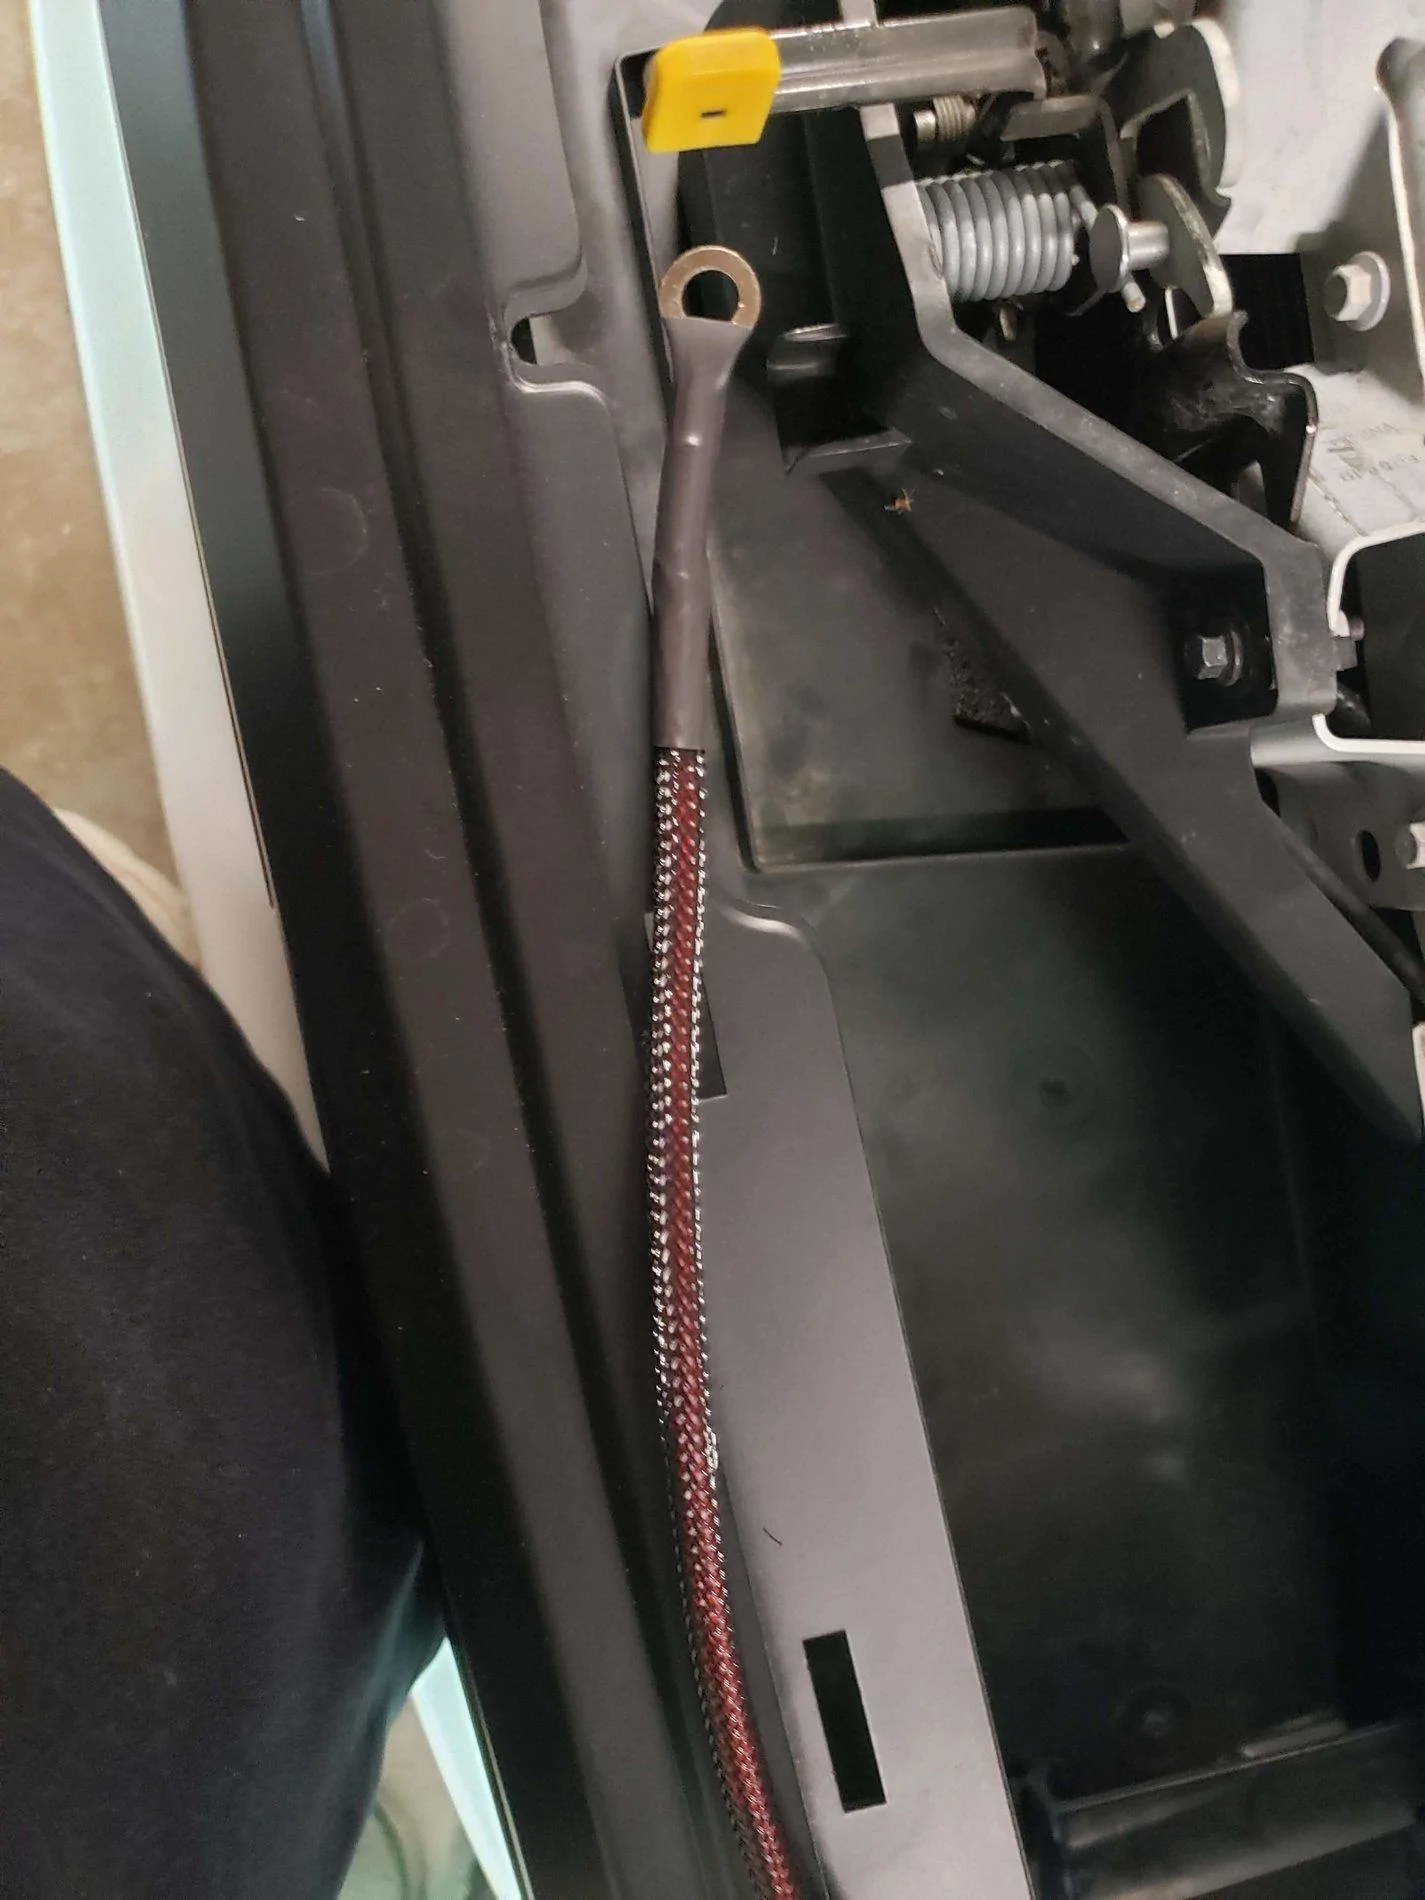
For the actual running of the wiring I ran the power wire down along the driver side floor board and back behind the rear seat to the amp location. I grabbed a ground location at the driver side LATCH anchor and ran the wiring behind the carpet. The speed wire runs down through the center of the dash under the HVAC panel and exits on the passenger side, across the floor board up near the blower motor and then down along the floor board on the passenger side. Once at the subwoofer box location is was a bit tricky to get the wire tucked in and not be in the way but it was doable. Speed wire then runs under the carpet at the back wall of the cab over to the amplifier. I used the rear speaker wires as the high level inputs on the amplifier. All wiring comes up through a slot in the carpet that I assume is there for the factory amp.
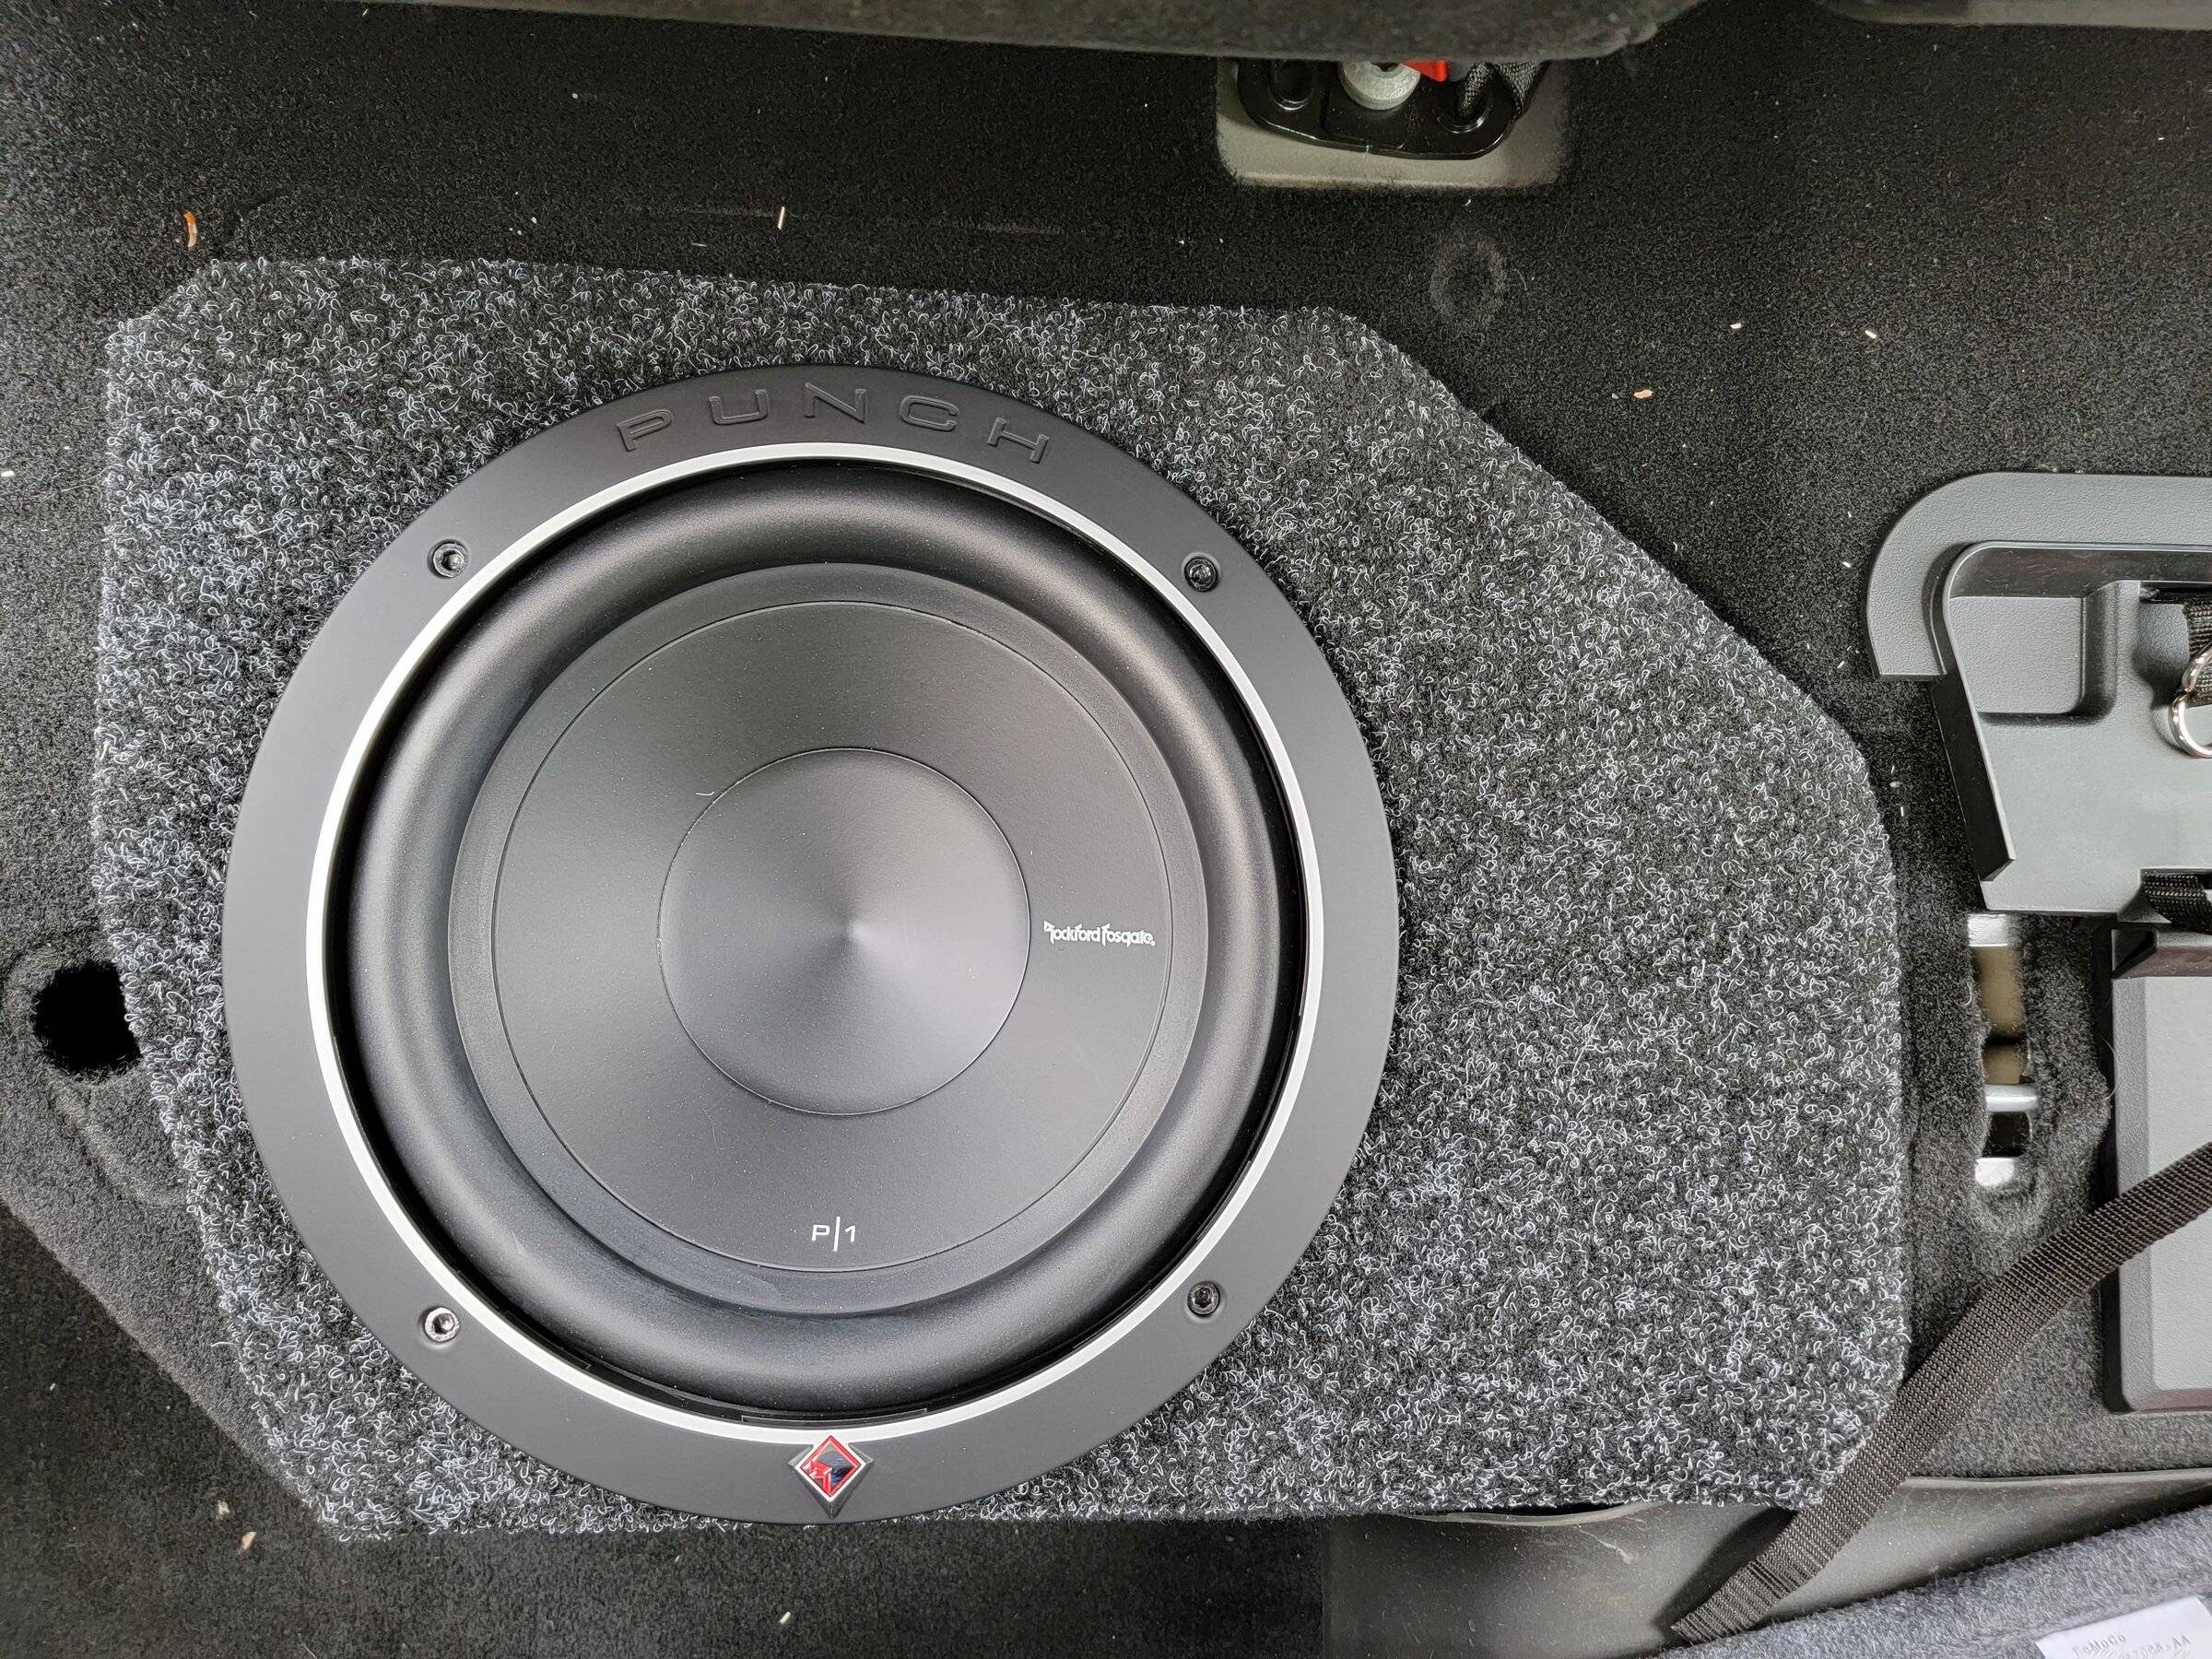
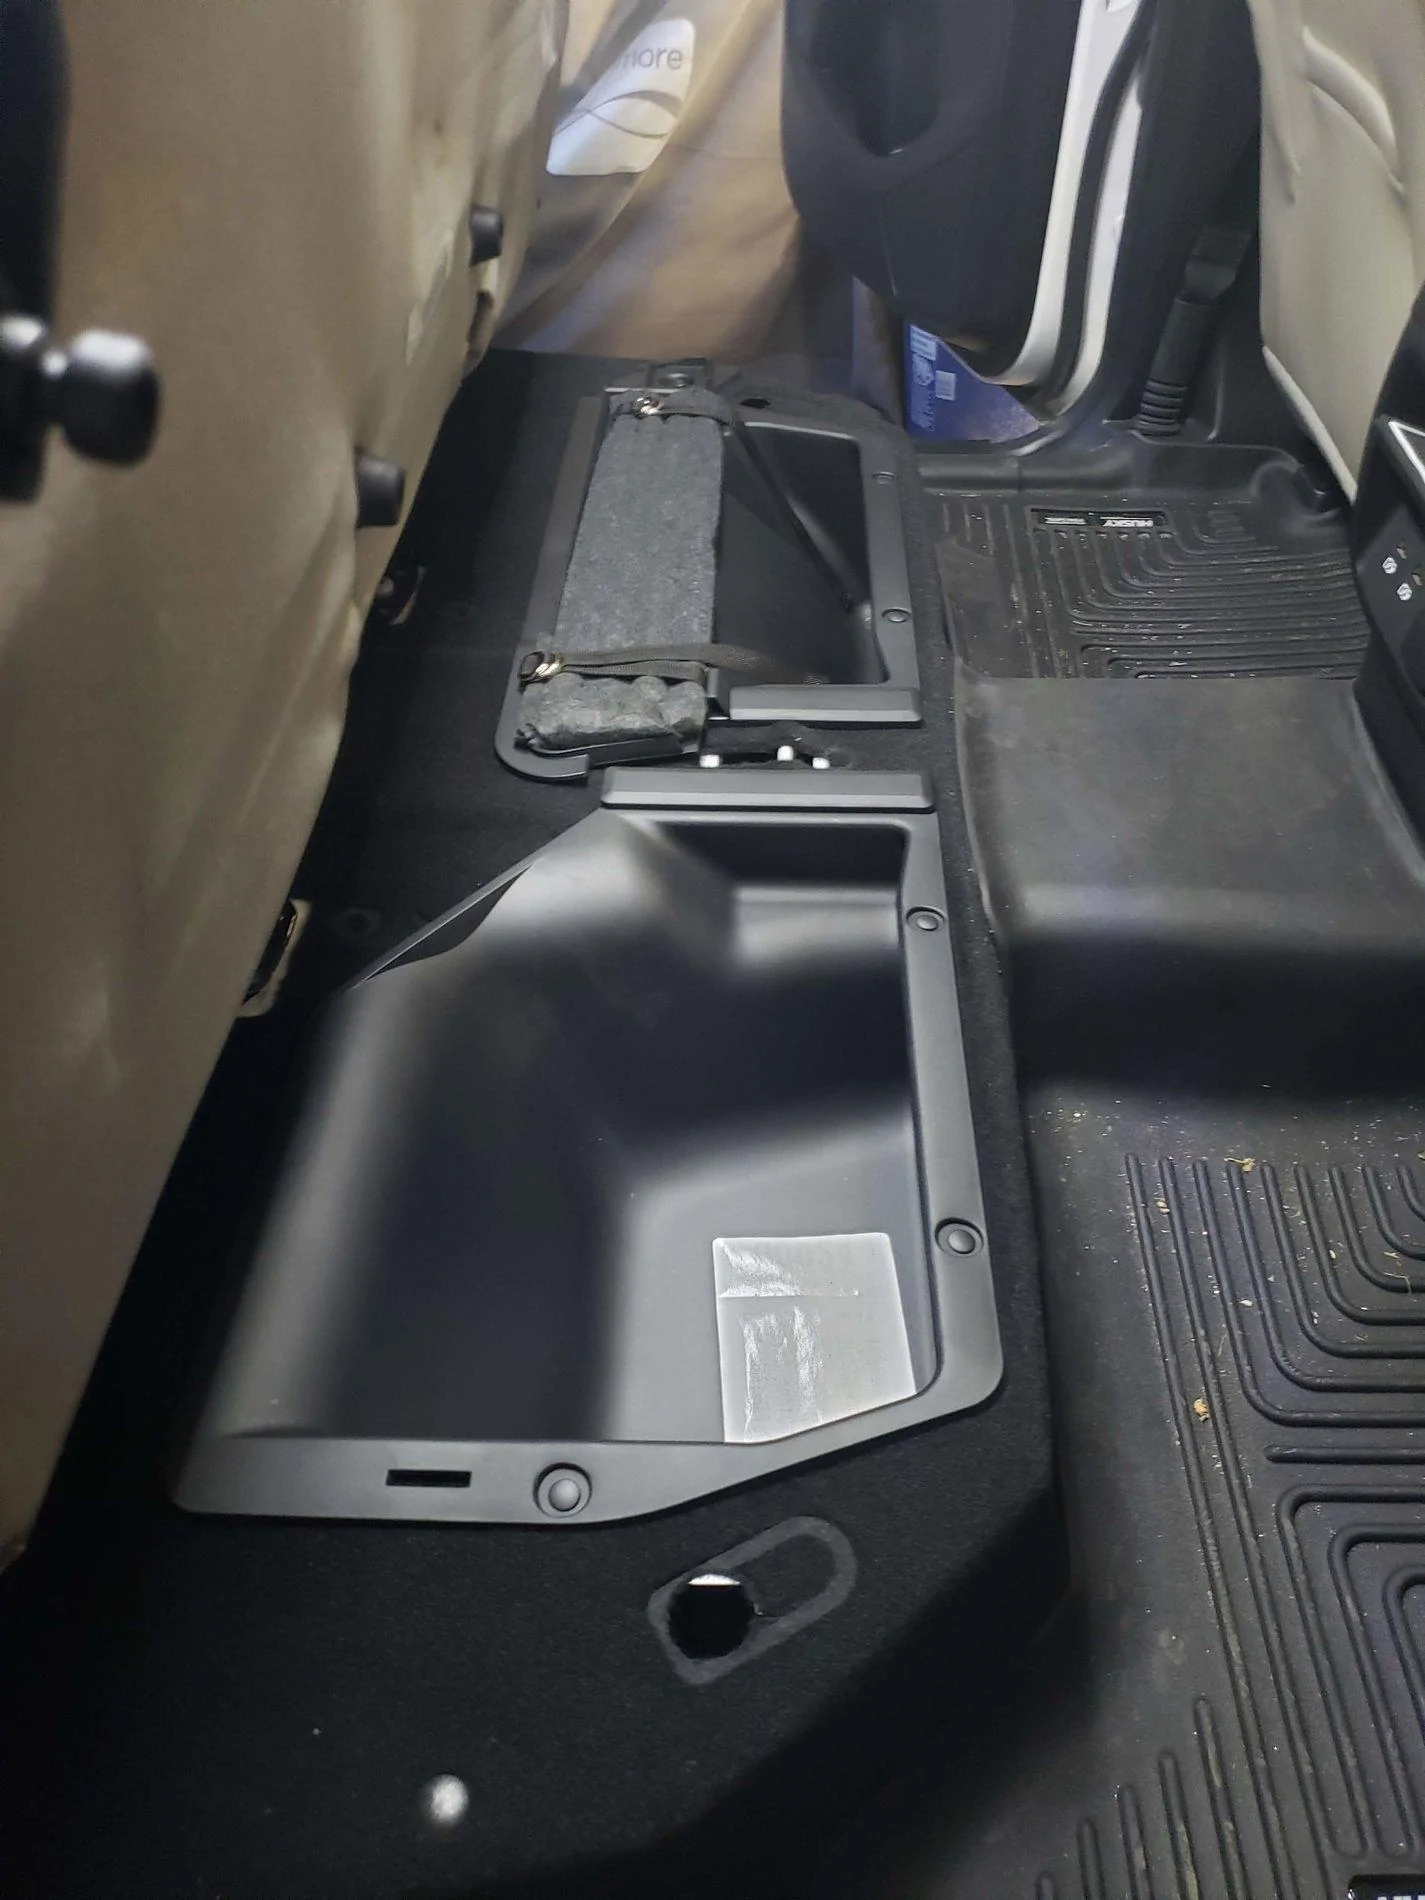
Step 6: Install subwoofer and enclosure
Start by removing the existing storage cubby with a trim removal tool (3 clips). Then pull unit straight up to remove. Then installed the Kicker CompVT subwoofer in the enclosure and wired directly to amplifier. Note: This sub requires a minimum of .8cu ft and the subwoofer enclosure is approximately .6cu ft. I had to remove the subwoofer and add Polyfil to trick the sub into thinking it was in a bigger box to get the correct bass response from the sub.
Step 7: Tuning System
I used the provided tracks from Kicker to tune the gain and DSP for the factory stereo. Turning the DSP on/off you can definitely tell that the stock system is cutting bass response in the higher volumes. At this time I have not modified the low level output setting in Forscan that others have had to do. @Ed Venture posted the Forscan value that needs modified in this post
Step 8: Enjoy your new stereo sound with some actual bass response!
Edit: Just to clarify with my install. I do not get any ANC/Fake Engine Noise coming through the subwoofer using the rear speaker wires. I have a '19 Lariat 500A w/o B&O Sound system. So not sure if only the B&O sound system has the ANC as I thought I seen others with XLT's reported having issues.
I have been on this forum since I purchased my '19 Lariat in April of 2019. After lots of research and notes from various posts on these forums I have successfully installed a 10" Kicker CompVT subwoofer paired with a Kicker Key 500.1 Mono block amplifier.
Parts Required:
Plug 'n Play Ford Harness (FOR-11CK-) Amazon
9 Conductor Speed Wire Amazon
8ga Amplifier Install Kit Amazon
1/4" and 1/2" Nylon Braided Cable Sleeving Amazon
Ferrule Crimping Tool Kit Amazon
3:1 Heat Shrink Tubing Amazon
Tessa Tape Amazon
Kicker Key 500.1 Amplifier Amazon
Kicker CompVT 10" 2ohm Subwoofer Amazon
Ford Ranger PX PX2 Under Seat Sub Box eBay
Tools Required:
Wire Strippers
Wire Cutters
Soldering Iron
Heat gun/Hairdryer/lighter
Trim removal tools
metal coat hanger/fish tape
drill with assorted bits
10mm socket
7mm socket
Socket wrench
Needle nose pliers
Total Time: 8 Hours
Step 1: Solder speed wire to Plug 'n Play harness
I basically used the harness to acquire speaker level inputs at the back of the stereo. I soldered in all 8 wires (FL, FR, RL, RR) so that I would have all 4 signals back at the amplifier in case I had issues with ANC/Fake Engine Noise. Once Soldering was complete I completely wrapped the harness up in Tessa Tape for a factory appearance leaving the black and yellow wire separate in-case I ever need a ground and switched source of power.
Step 2: Disassemble the dash and trim panels
I started with gaining access to the factory radio. This involved removing approximately 7 panels. @OC4095 has a very detailed post on this Here. Then I proceeded with removing both from kick panels and floor boards both front and rear to allow running the wiring.
Step 3: Pull amp power wire from battery to amp location
As some know the ranger is extremely difficult to pull accessory wiring through the factory grommet on the driver side above the brake pedal. I was successful in doing this by using a straightened metal coat hanger and 8" piece of the braided nylon sleeving. Insert the nylon sleeving over the red 8ga power wire approximately half way. Then with a pair of pliers bend a small hook on the end of the coat hanger and attach the sleeve to the the hook and then wrap in electrical tape ensuring the entire hook is covered to avoid it getting snagged. You will then want to punch the coat hanger through the grommet near the hood release cable and then have an extra set of hand to assist with grabbing the hanger in the engine compartment. Prior to complete installation I wrapped the entire power cable in 1/4" Nylon sleeving to protect the wire and to give it a nice factory look. Fuse holder is attached to the battery bracket with a self tapping screw (picture missing).
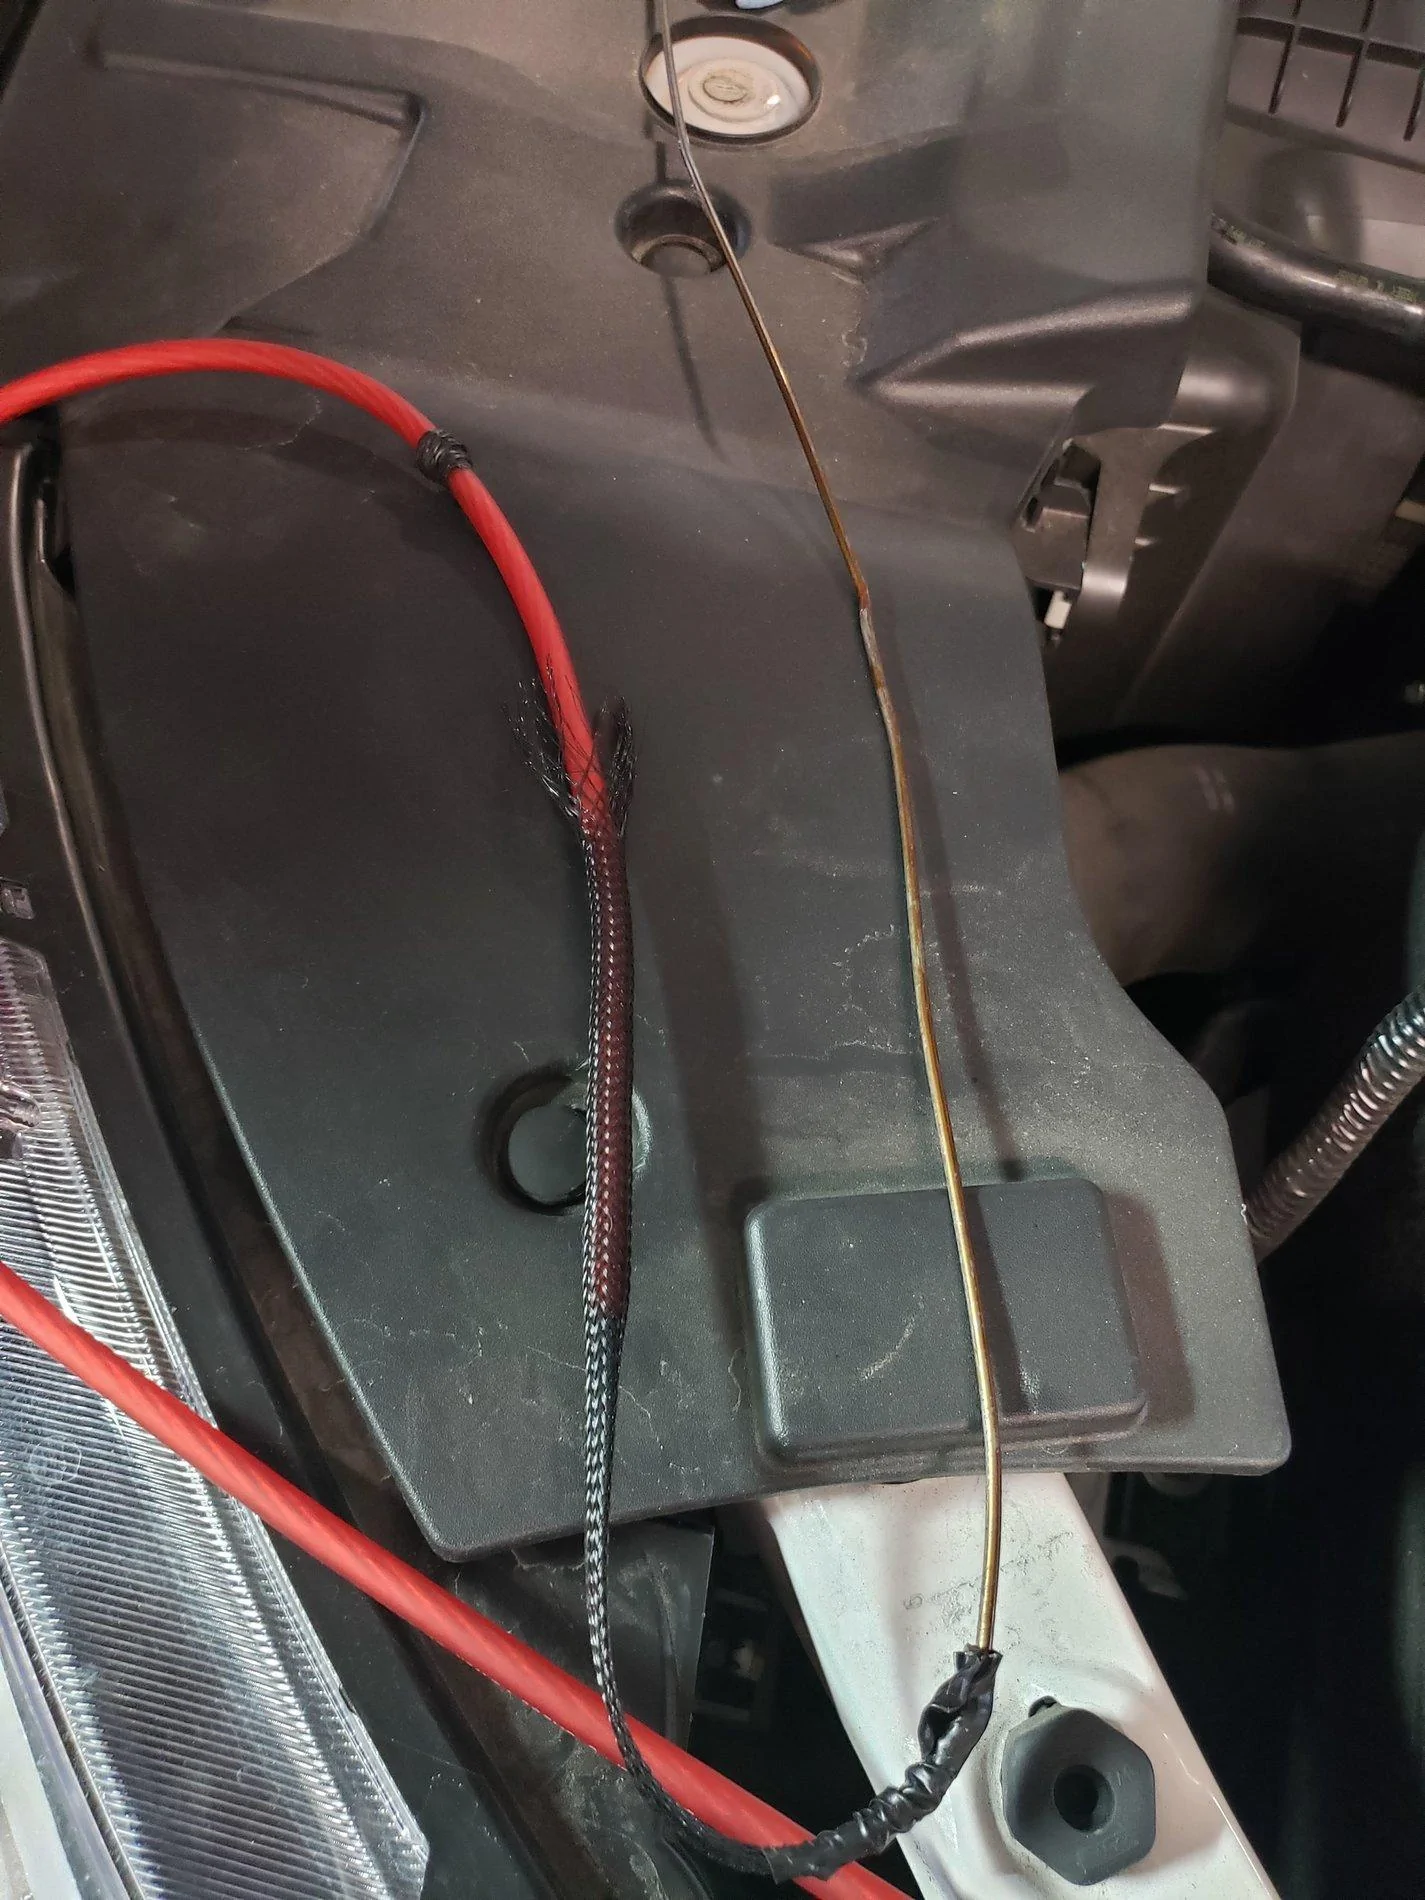
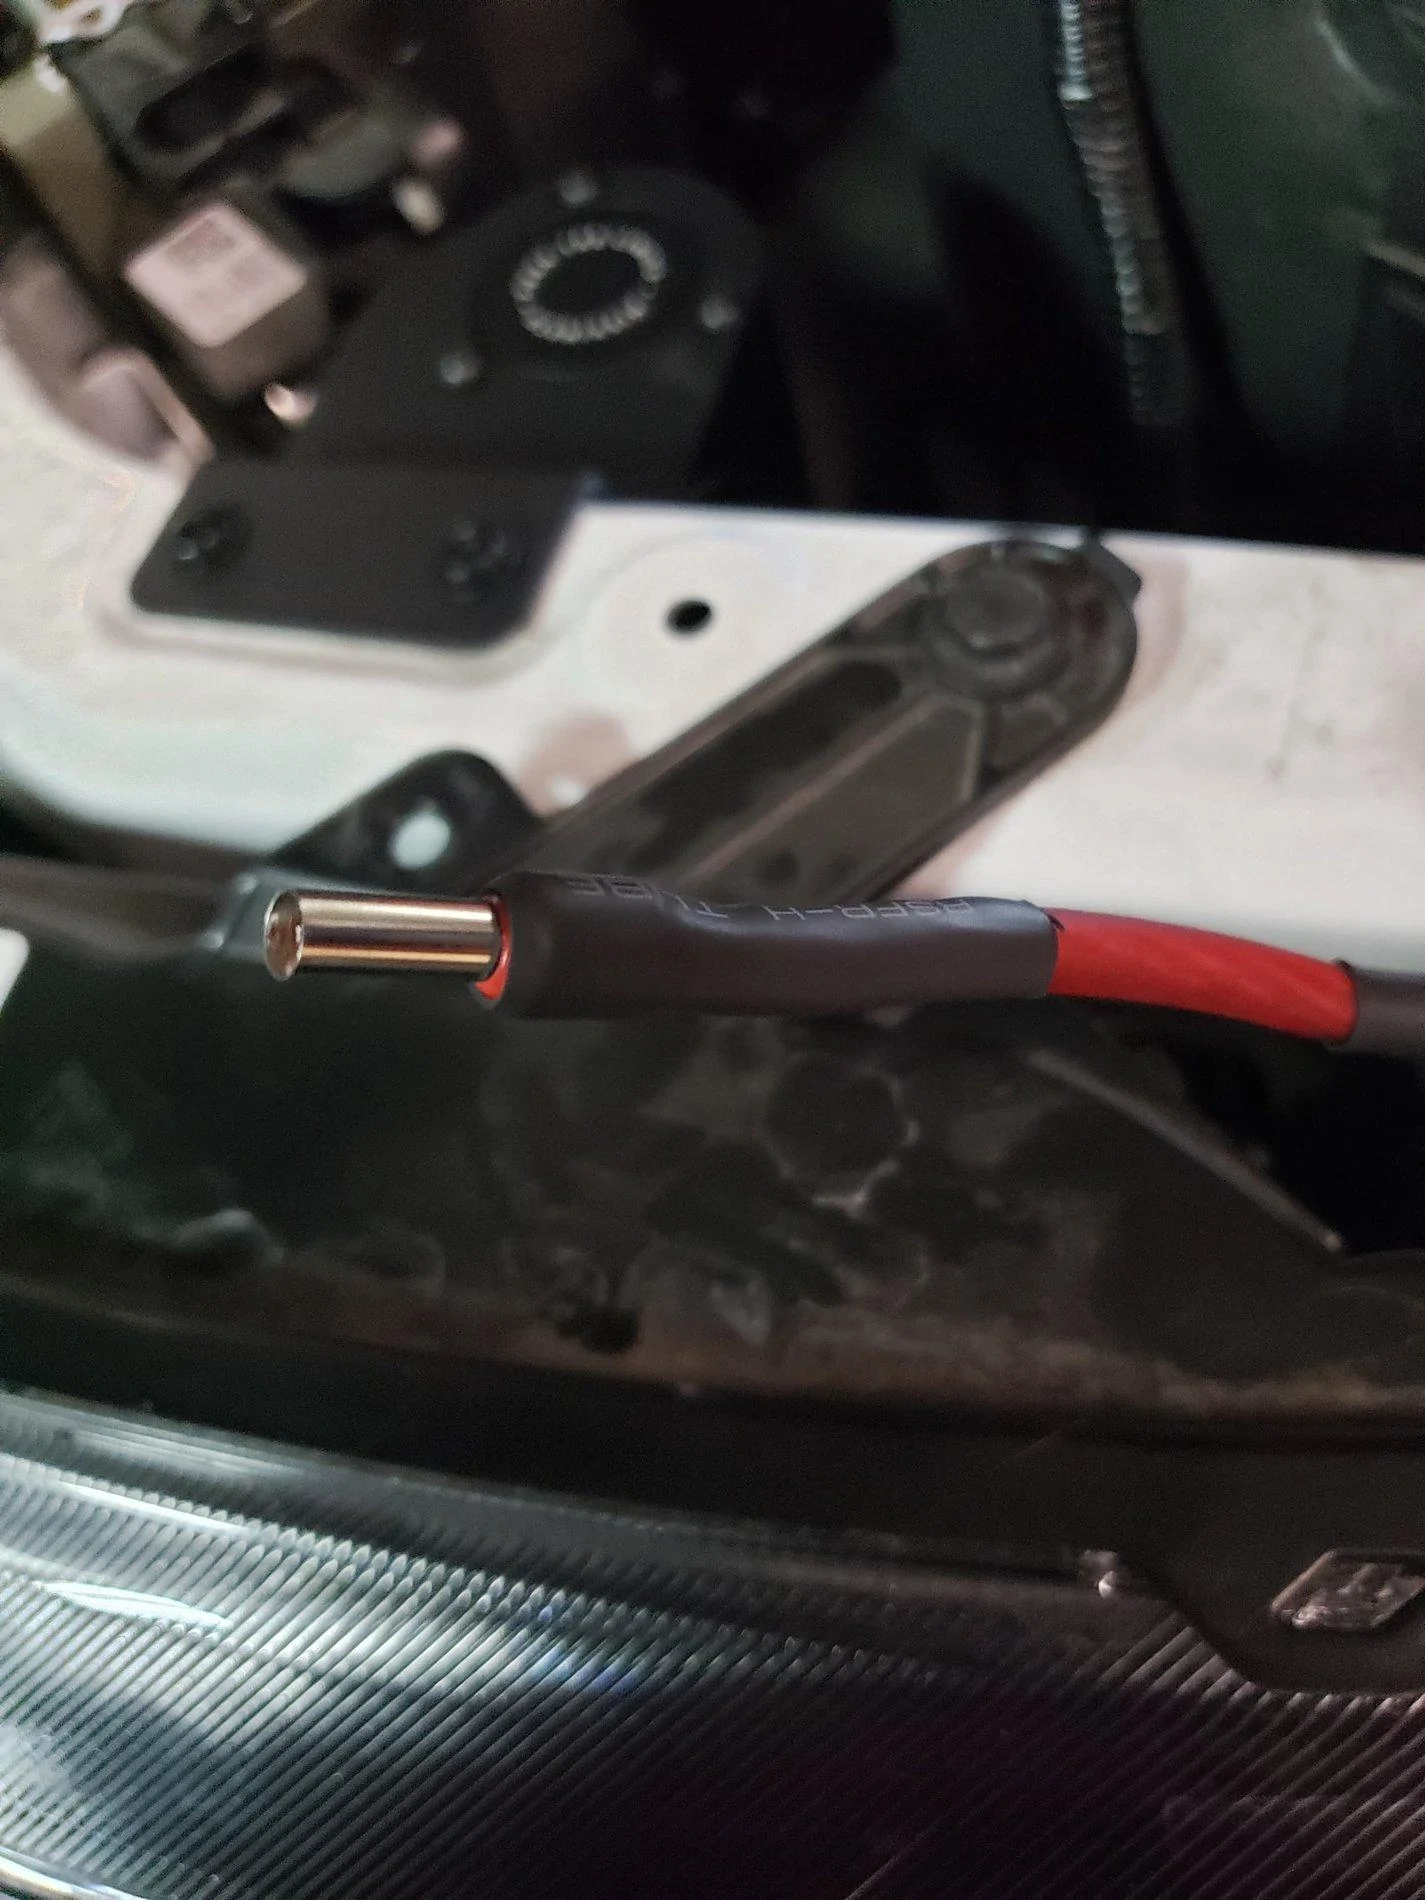

Picture of make shift Chinese Finger Wire Ferrule installed before fuse holder Battery terminal crimped and heat shrunk Wire path through grommet
Step 4: Amp location
For the amp location I chose to mount it to the back wall behind the seat where the factory amp location would be. I used a 3/4 ABS board I had laying around and self tapping screws to attached to the brackets. Note: If I were to install this again I would recommend going with 1/8" or 1/4" ABS to give a bit more clearance between the amp and the back of the seat.
Step 5: Run Wiring
For the actual running of the wiring I ran the power wire down along the driver side floor board and back behind the rear seat to the amp location. I grabbed a ground location at the driver side LATCH anchor and ran the wiring behind the carpet. The speed wire runs down through the center of the dash under the HVAC panel and exits on the passenger side, across the floor board up near the blower motor and then down along the floor board on the passenger side. Once at the subwoofer box location is was a bit tricky to get the wire tucked in and not be in the way but it was doable. Speed wire then runs under the carpet at the back wall of the cab over to the amplifier. I used the rear speaker wires as the high level inputs on the amplifier. All wiring comes up through a slot in the carpet that I assume is there for the factory amp.
Step 6: Install subwoofer and enclosure
Start by removing the existing storage cubby with a trim removal tool (3 clips). Then pull unit straight up to remove. Then installed the Kicker CompVT subwoofer in the enclosure and wired directly to amplifier. Note: This sub requires a minimum of .8cu ft and the subwoofer enclosure is approximately .6cu ft. I had to remove the subwoofer and add Polyfil to trick the sub into thinking it was in a bigger box to get the correct bass response from the sub.
Step 7: Tuning System
I used the provided tracks from Kicker to tune the gain and DSP for the factory stereo. Turning the DSP on/off you can definitely tell that the stock system is cutting bass response in the higher volumes. At this time I have not modified the low level output setting in Forscan that others have had to do. @Ed Venture posted the Forscan value that needs modified in this post
Step 8: Enjoy your new stereo sound with some actual bass response!
Edit: Just to clarify with my install. I do not get any ANC/Fake Engine Noise coming through the subwoofer using the rear speaker wires. I have a '19 Lariat 500A w/o B&O Sound system. So not sure if only the B&O sound system has the ANC as I thought I seen others with XLT's reported having issues.
Sponsored
Last edited: