MT19RANGER
Well-Known Member
- First Name
- JERRY
- Joined
- Nov 10, 2018
- Threads
- 2
- Messages
- 778
- Reaction score
- 586
- Location
- SIDNEY, MT
- Vehicle(s)
- 2019 Ranger Lariat
- Occupation
- Oilfield Service Company Area Supervisor
- Vehicle Showcase
- 1
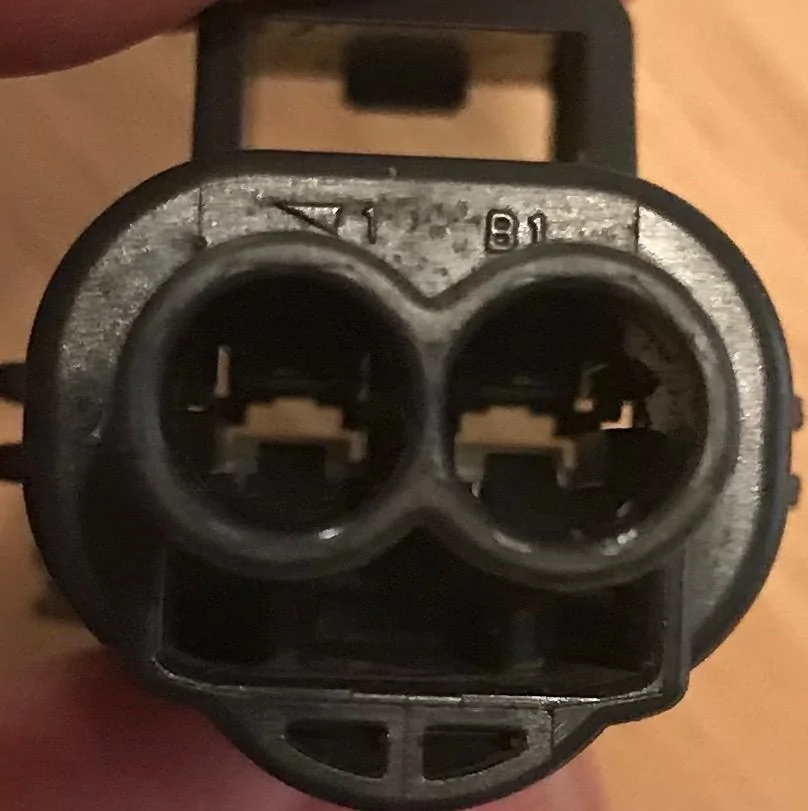
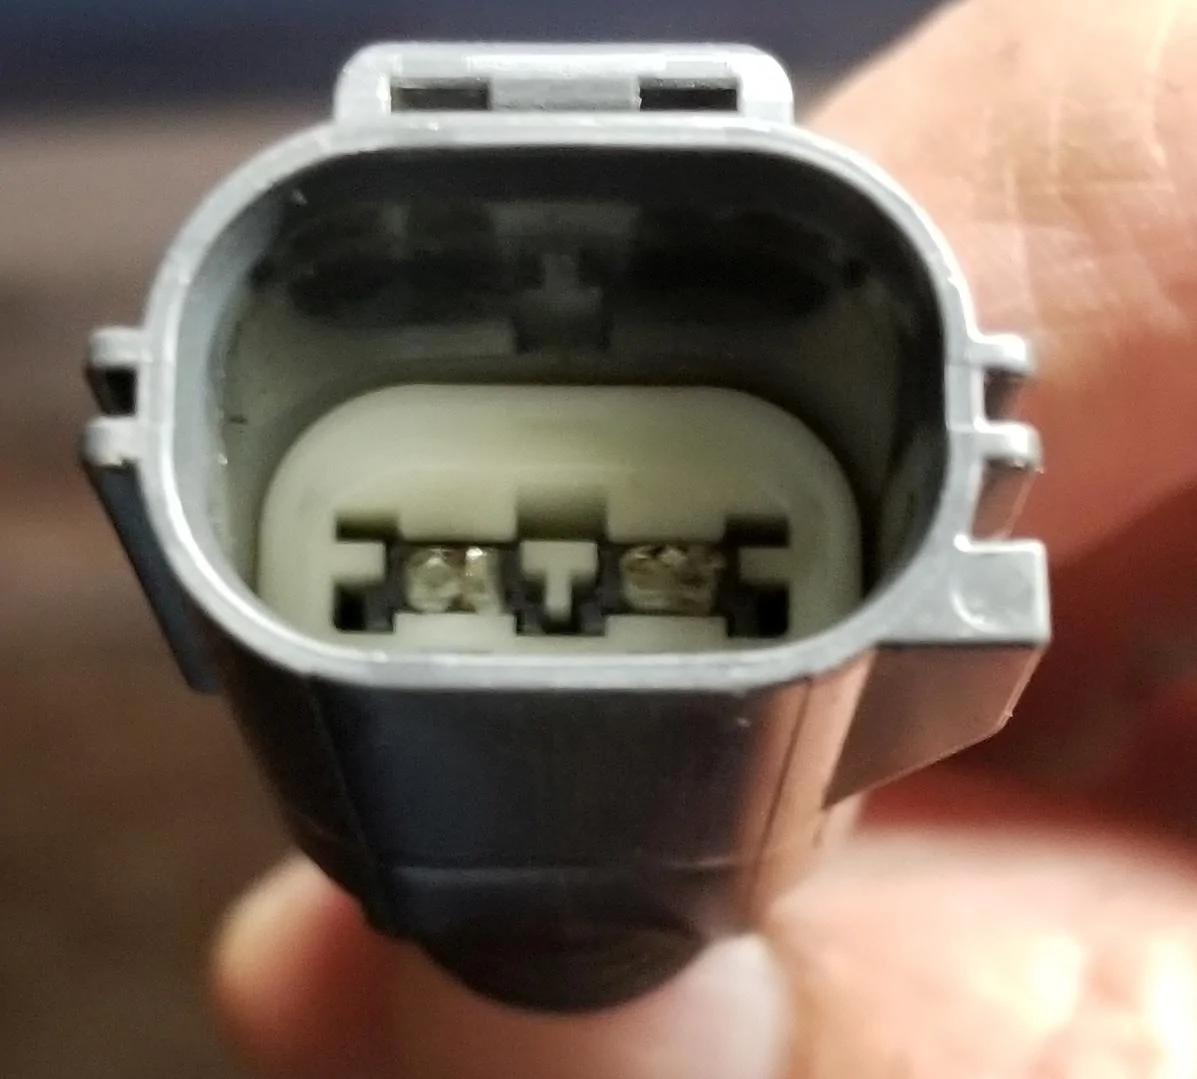
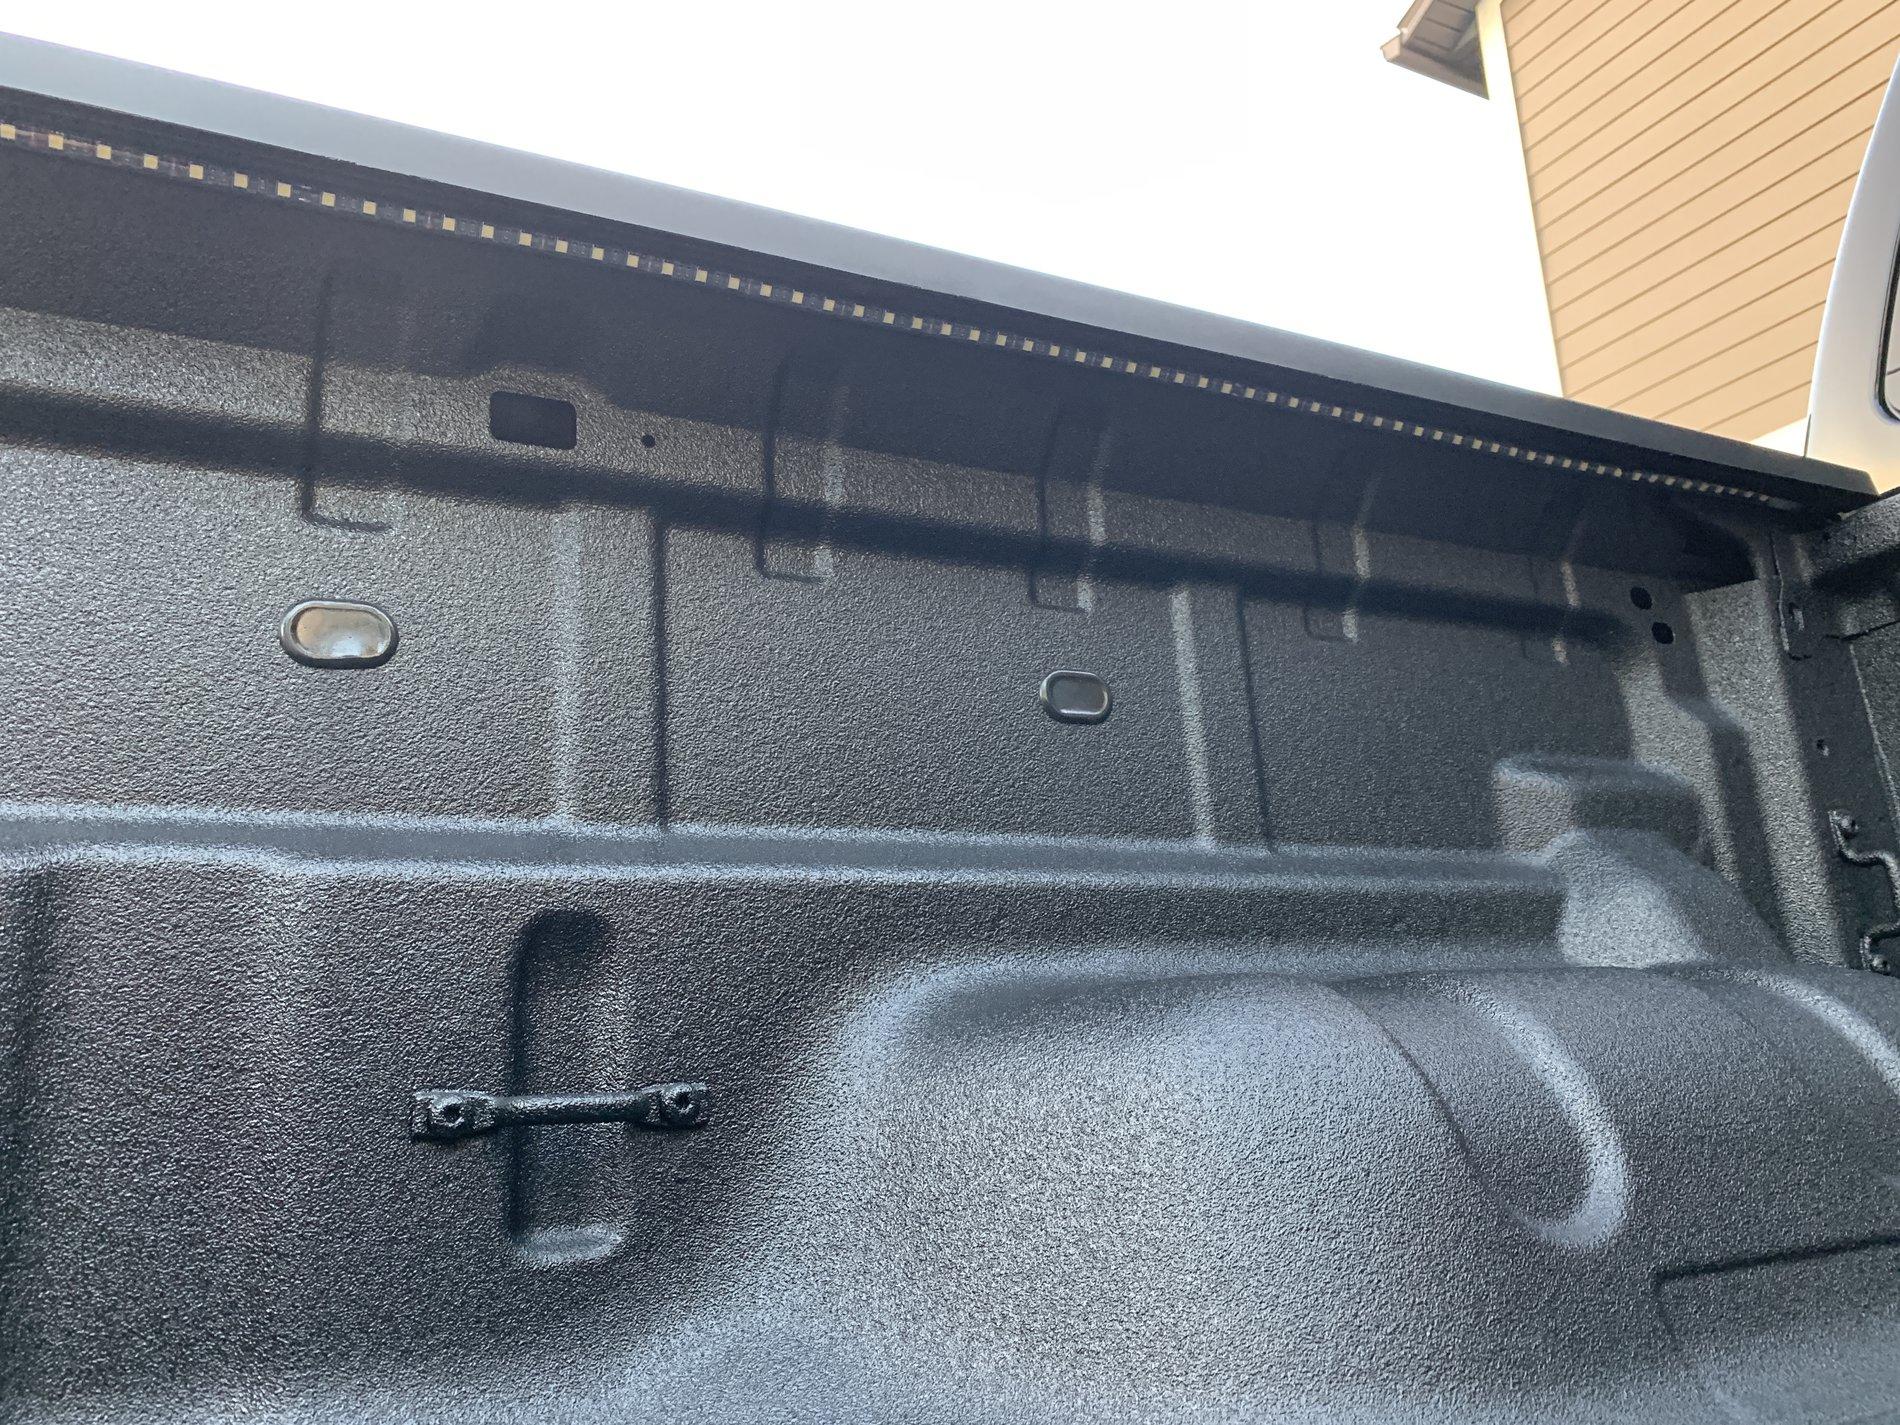
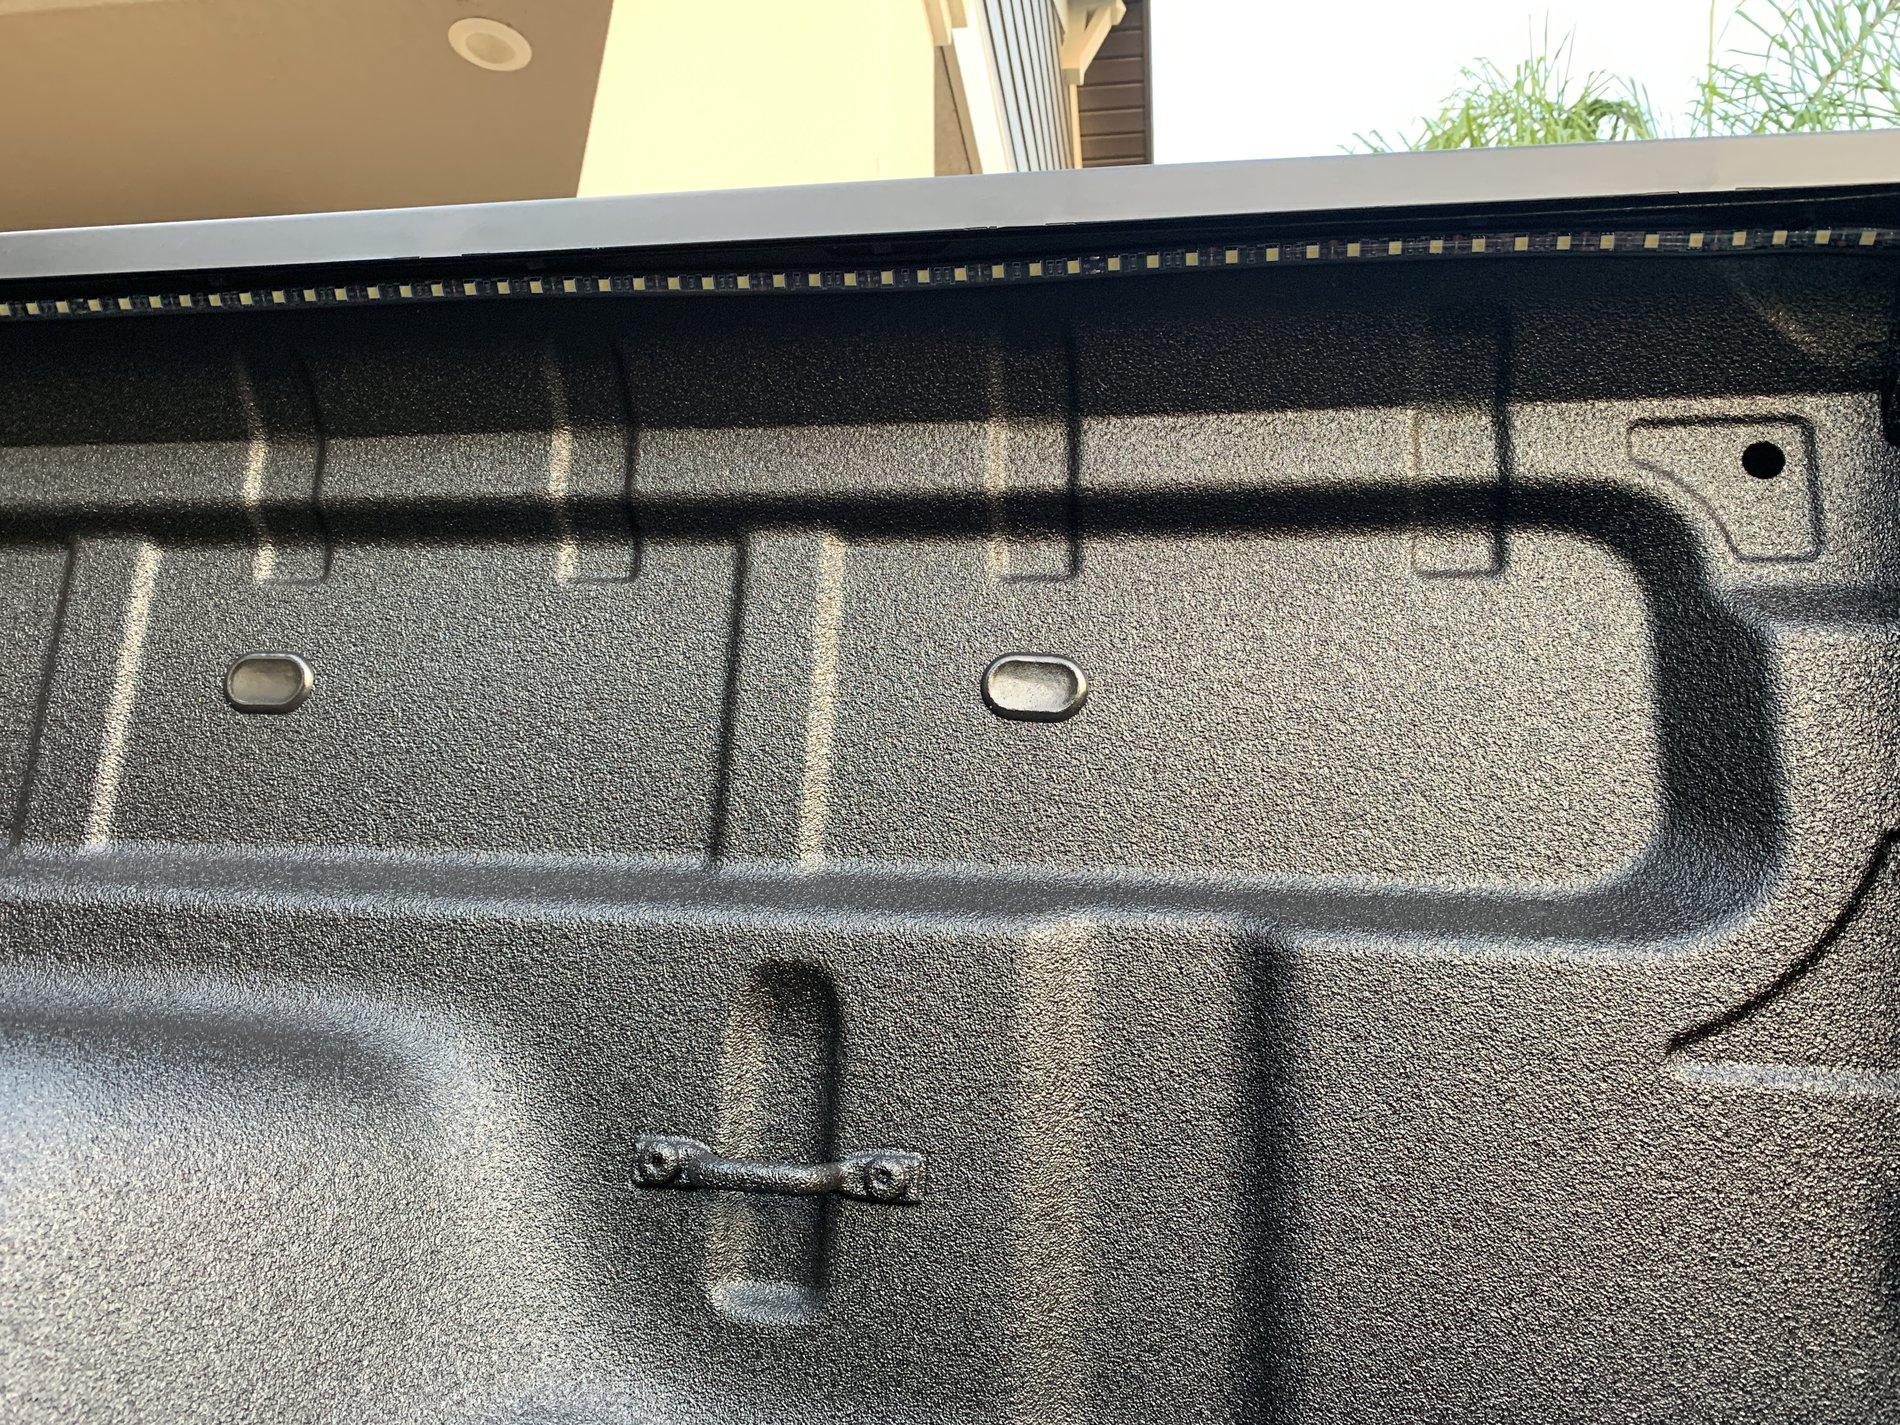
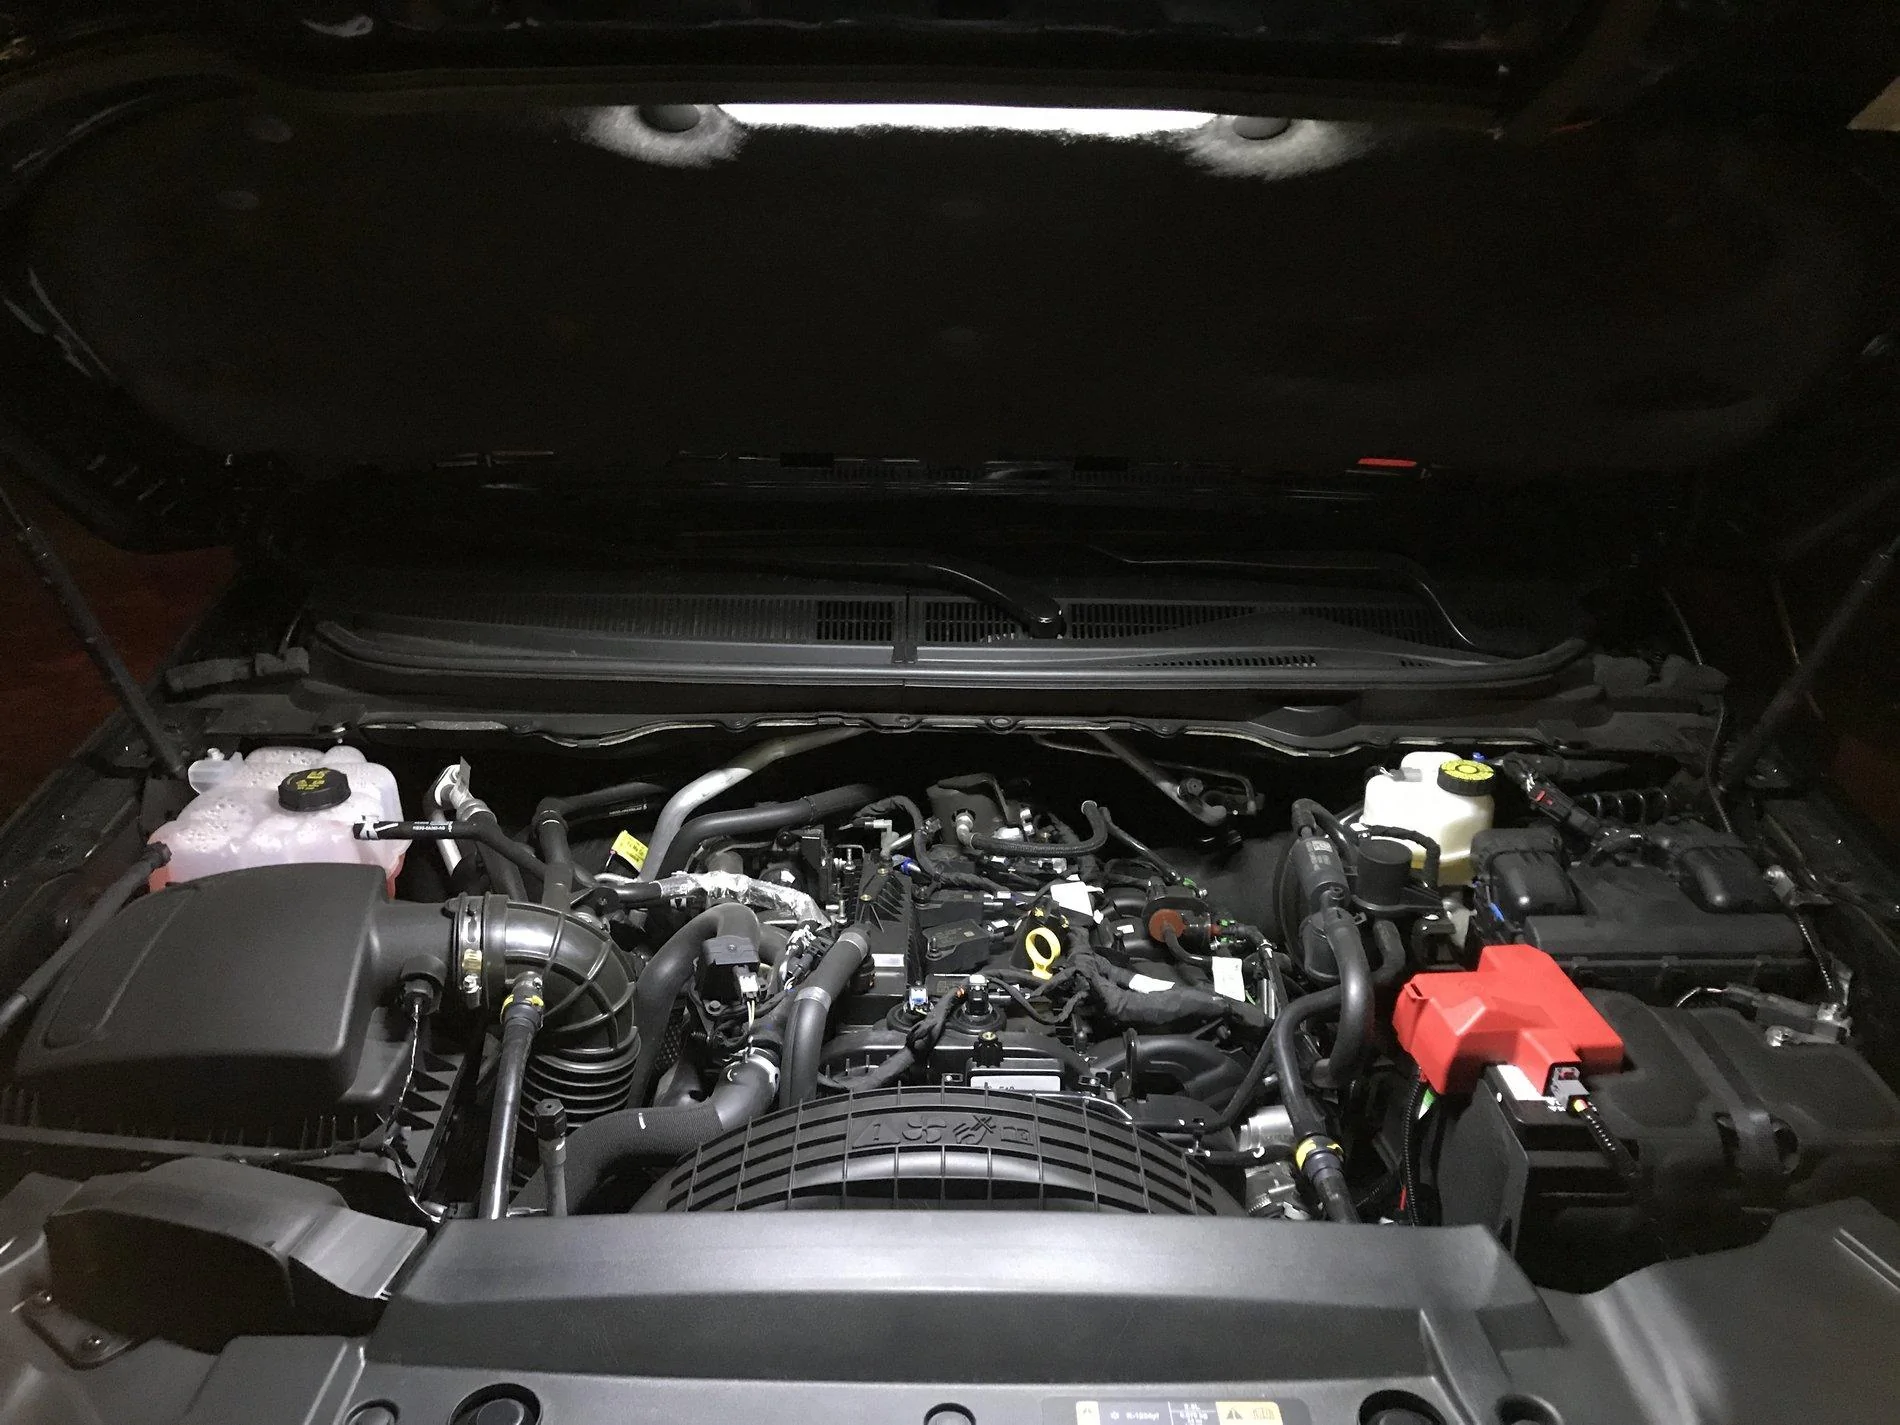
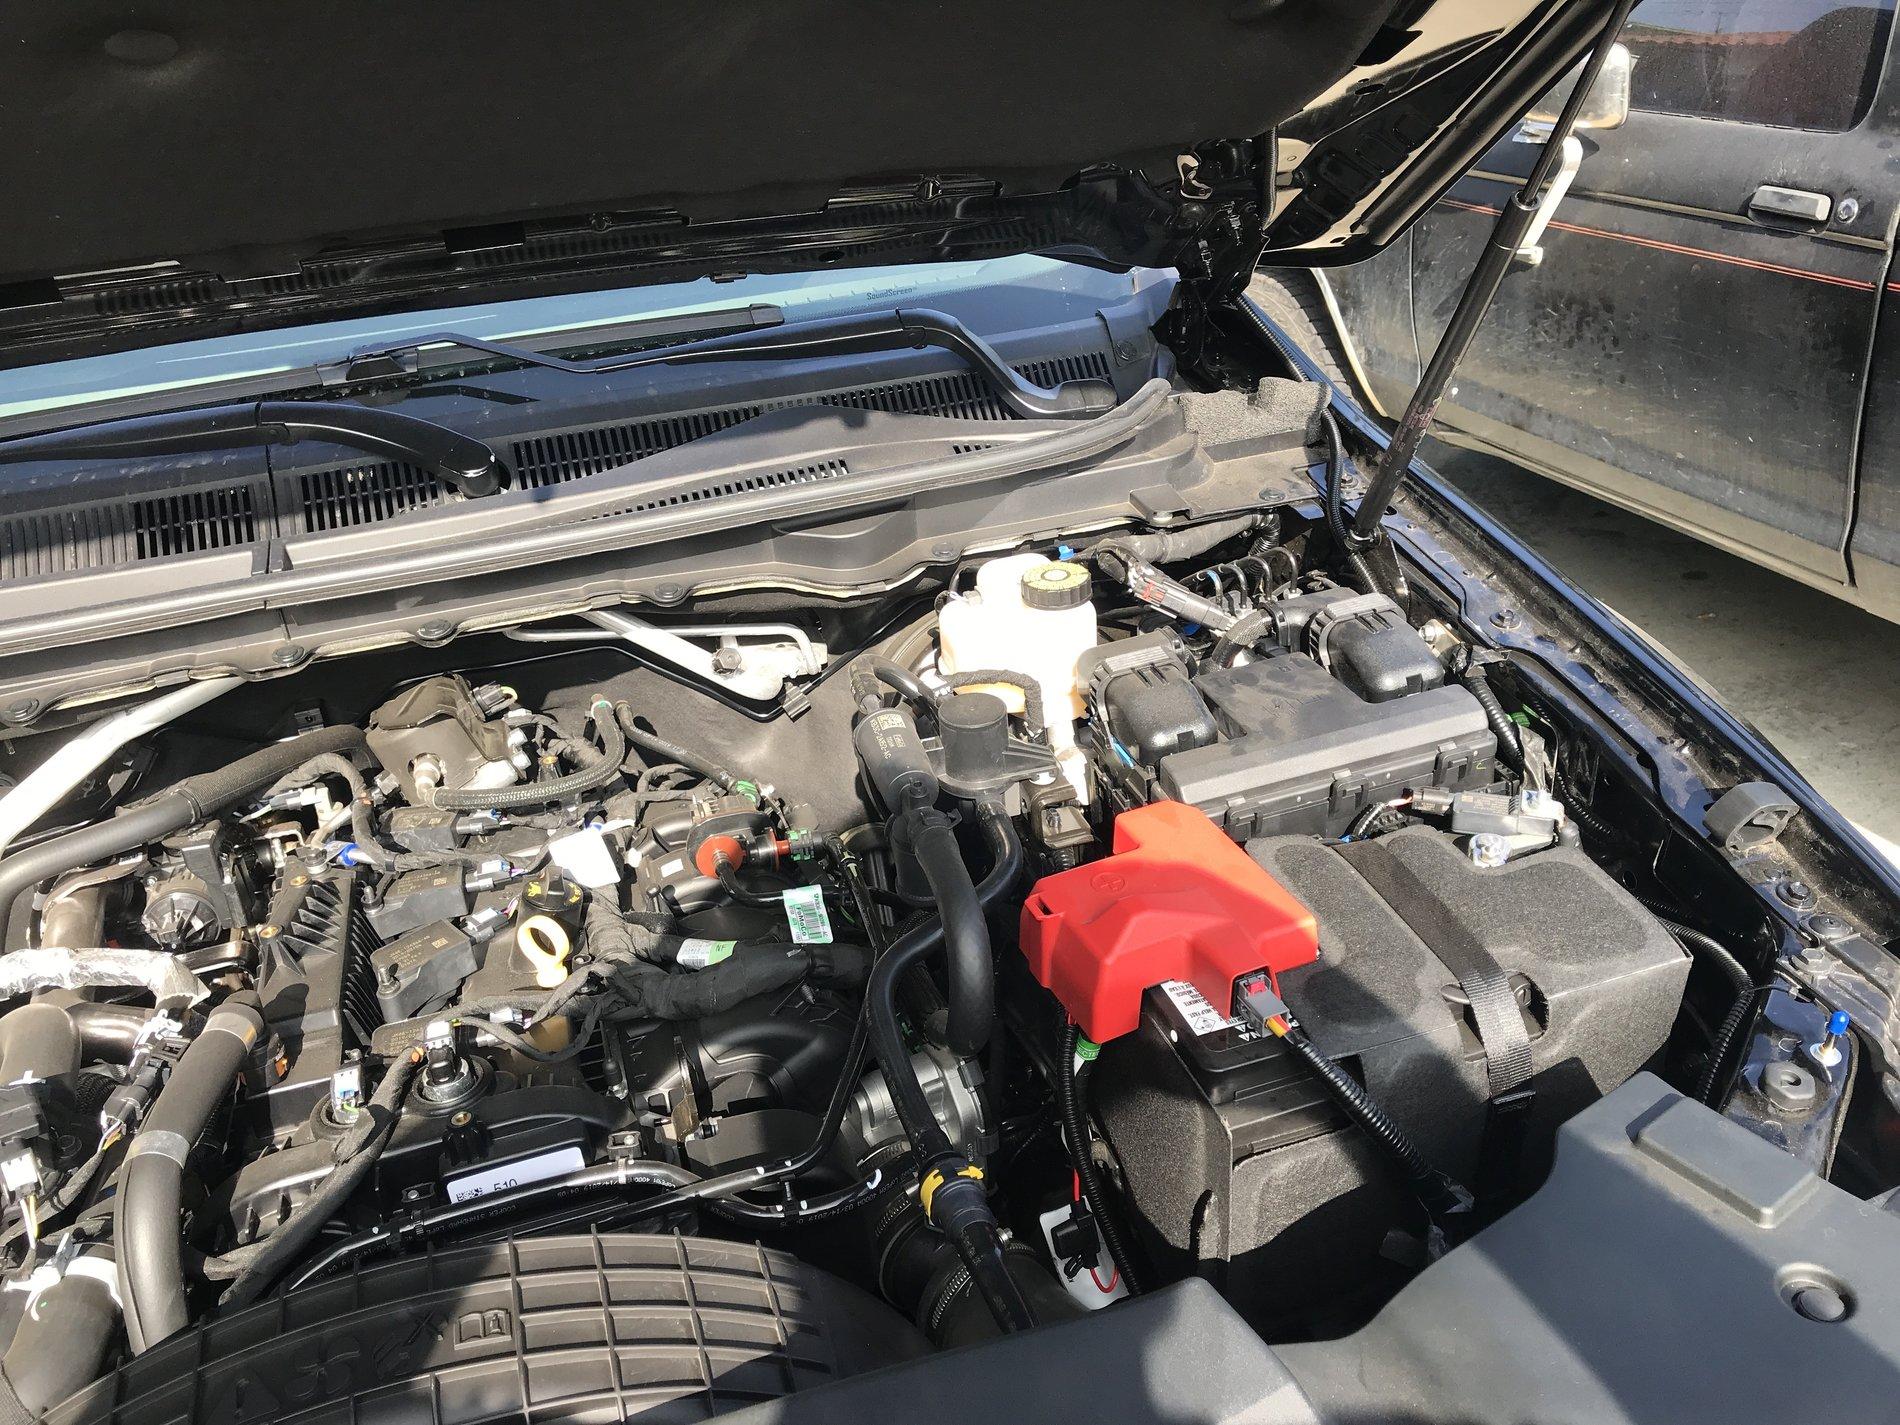
Not that I can see.Are there any numbers on that plug like the other one?
Sponsored