RedDakooter05
Well-Known Member
Hmm, I need long travel suspension just to deal with the paved roads around here...
Sponsored

")
I’d really like to know what all you had to do to get the bronco uppers to bolt to the frame? I know the spindle had to be reamed but what did you do since the bronco frame mounts were wider.I haven't checked out this thread in awhile; it is heartening to see some proper villains at work.
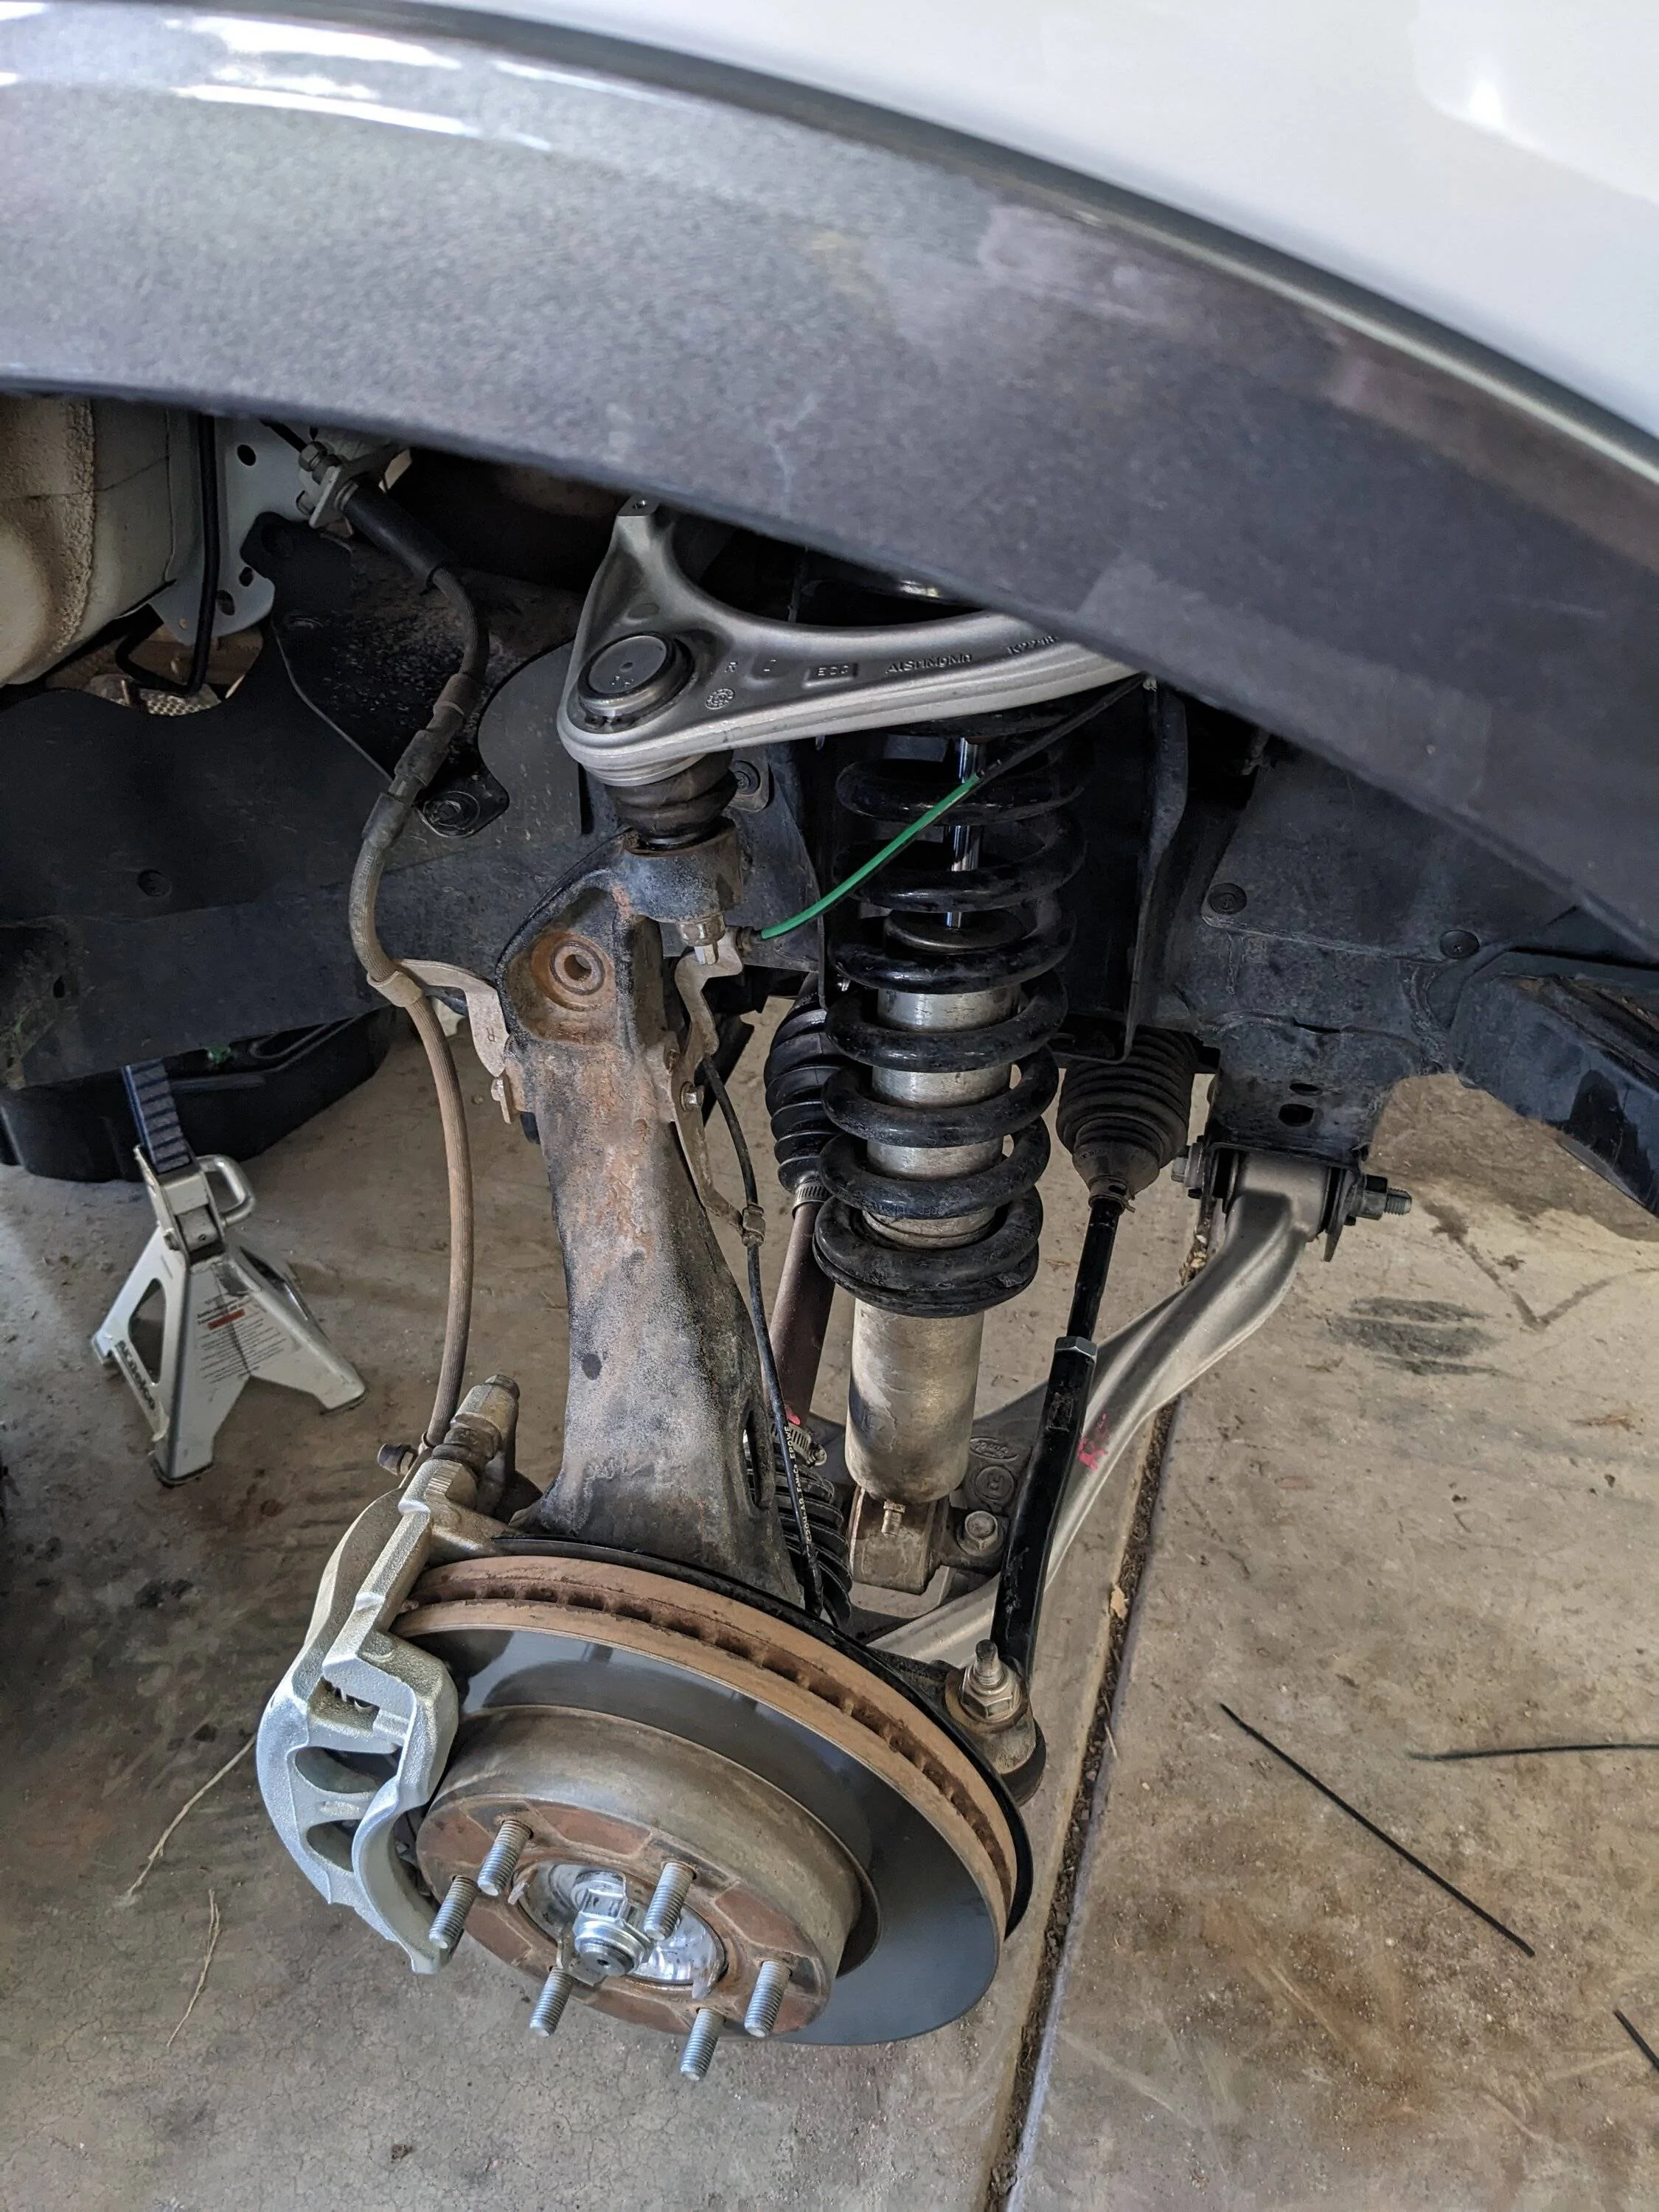
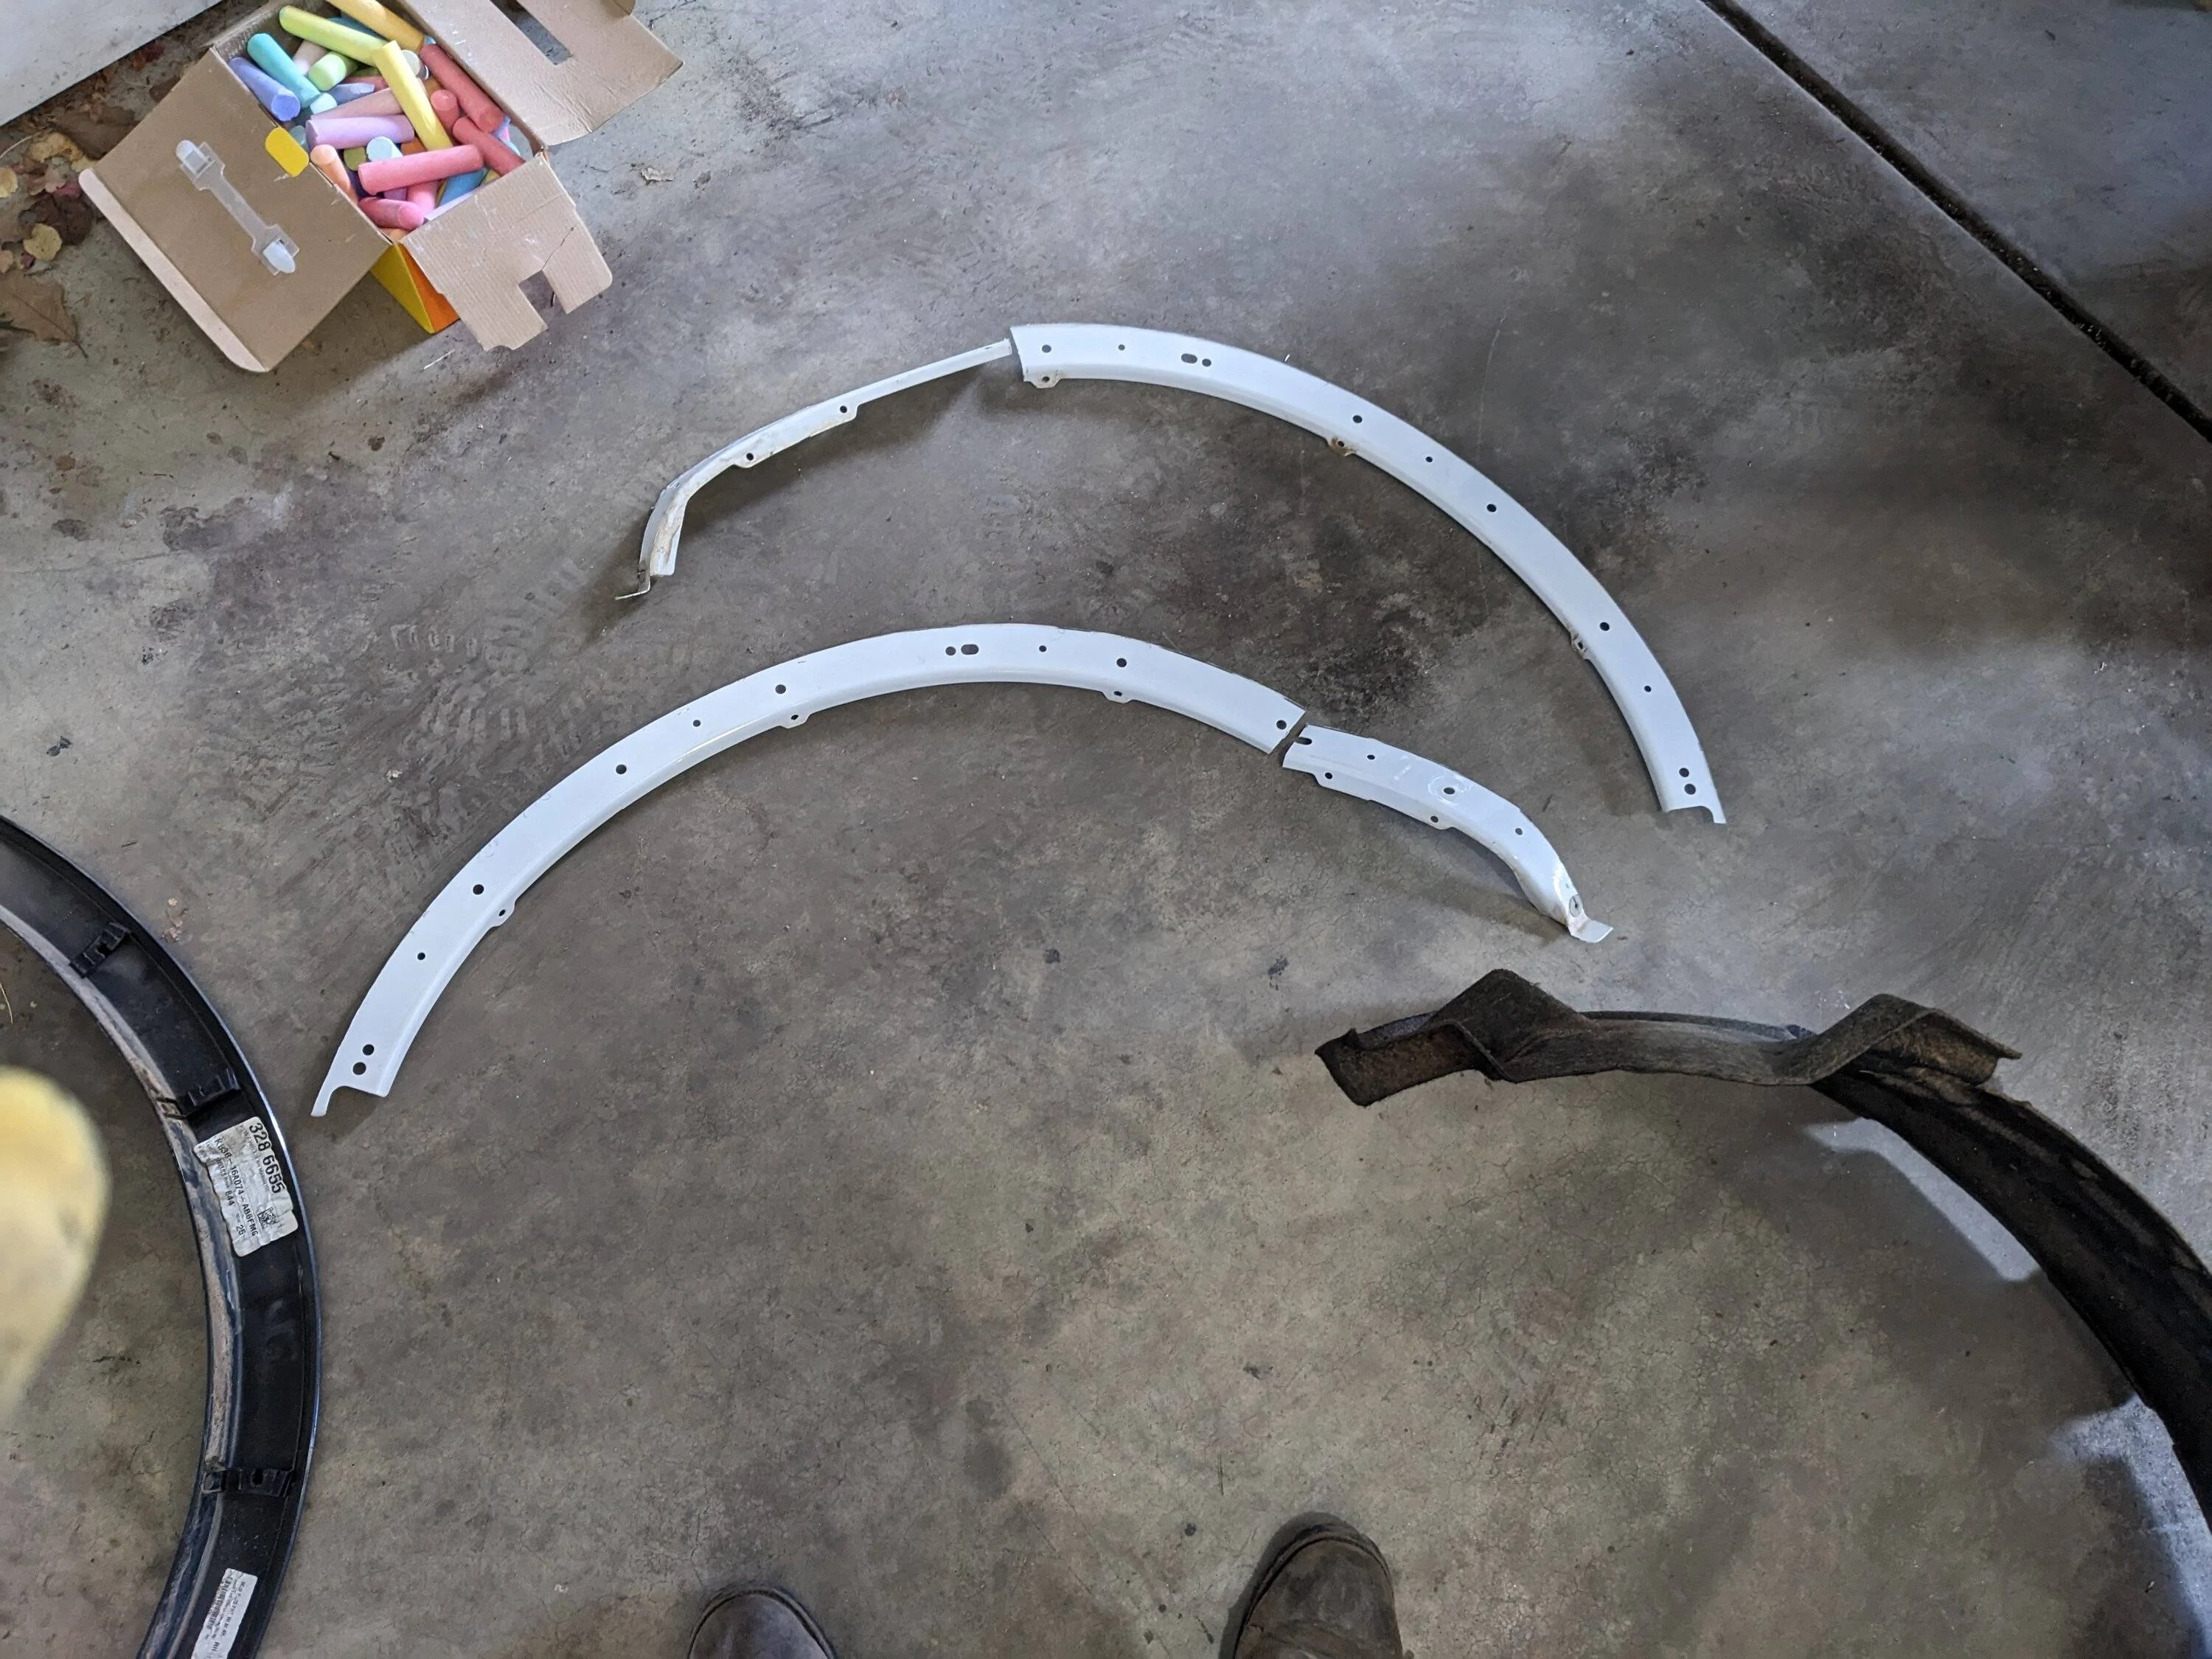
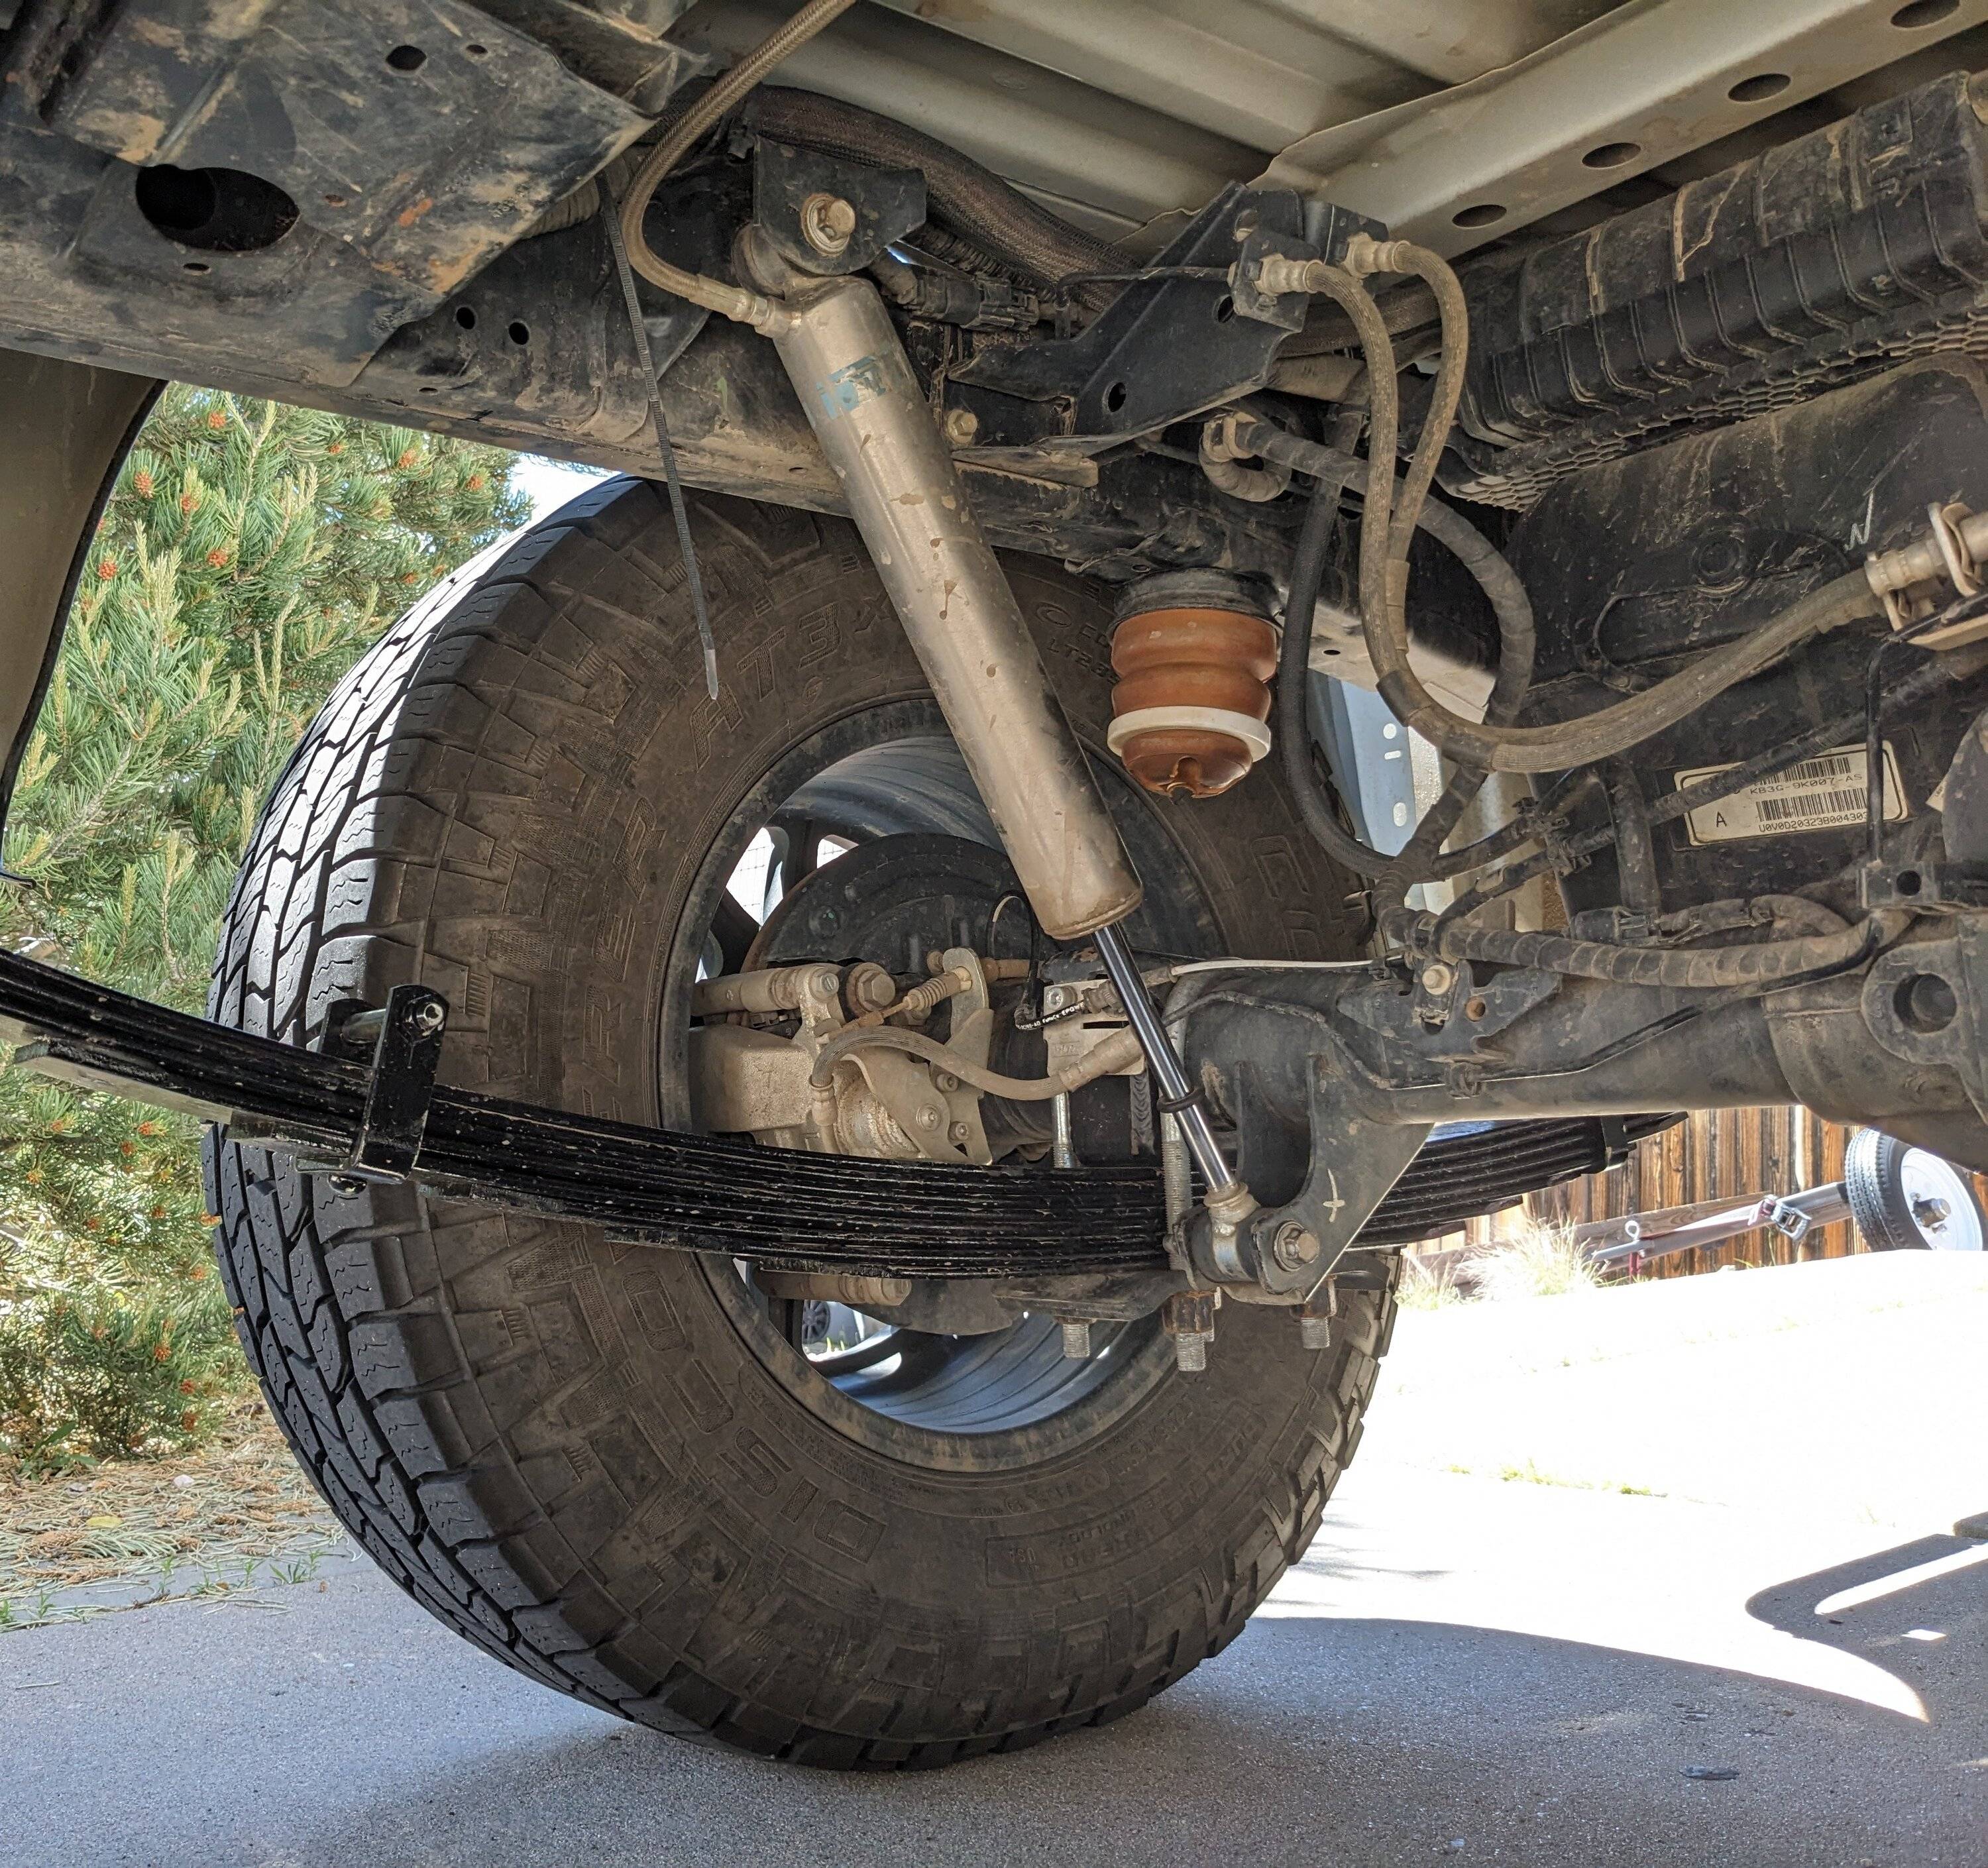
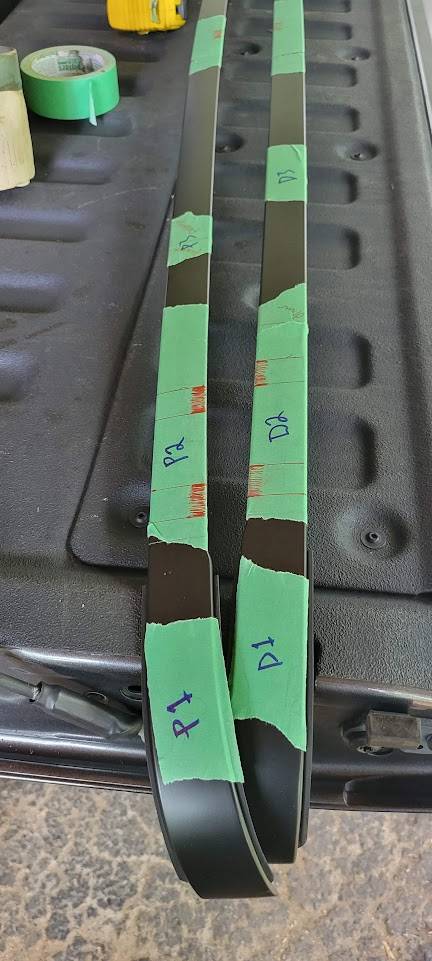
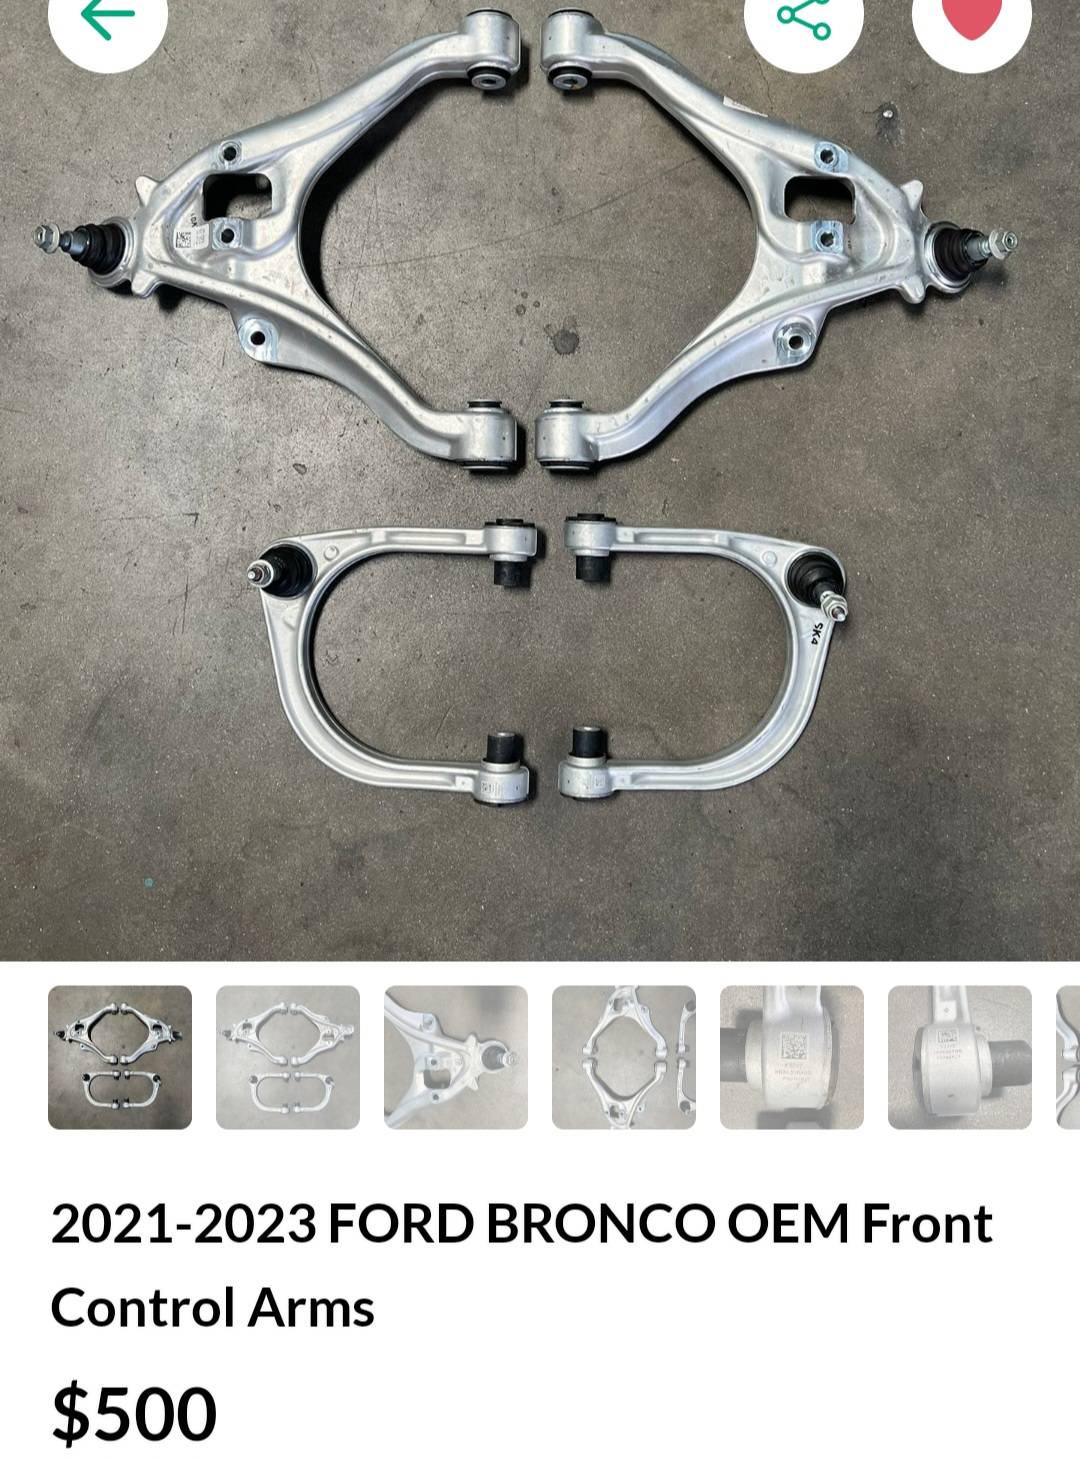
As for me, I threw on some Bronco front control arms, cut fenders and went spring under on the rear:


Lower arm bolts on, upper needs a tapered reamer through the upright/spindle and the frame side is wider than the Ranger. Bronco upper arm ball joint is sweet; lots of hangulation. I think I had to find a 2005 Mercury Mountaineer inner tie rod that was the right length, too. Also pulled all the internal spacers out of the Ranger spec Bilstein 6112's to get shock travel decent for the Bronco control arms. CV axles are Frankensteined from Ranger and Bronco M190 parts. Jonesing for an M210 diff one of these days...
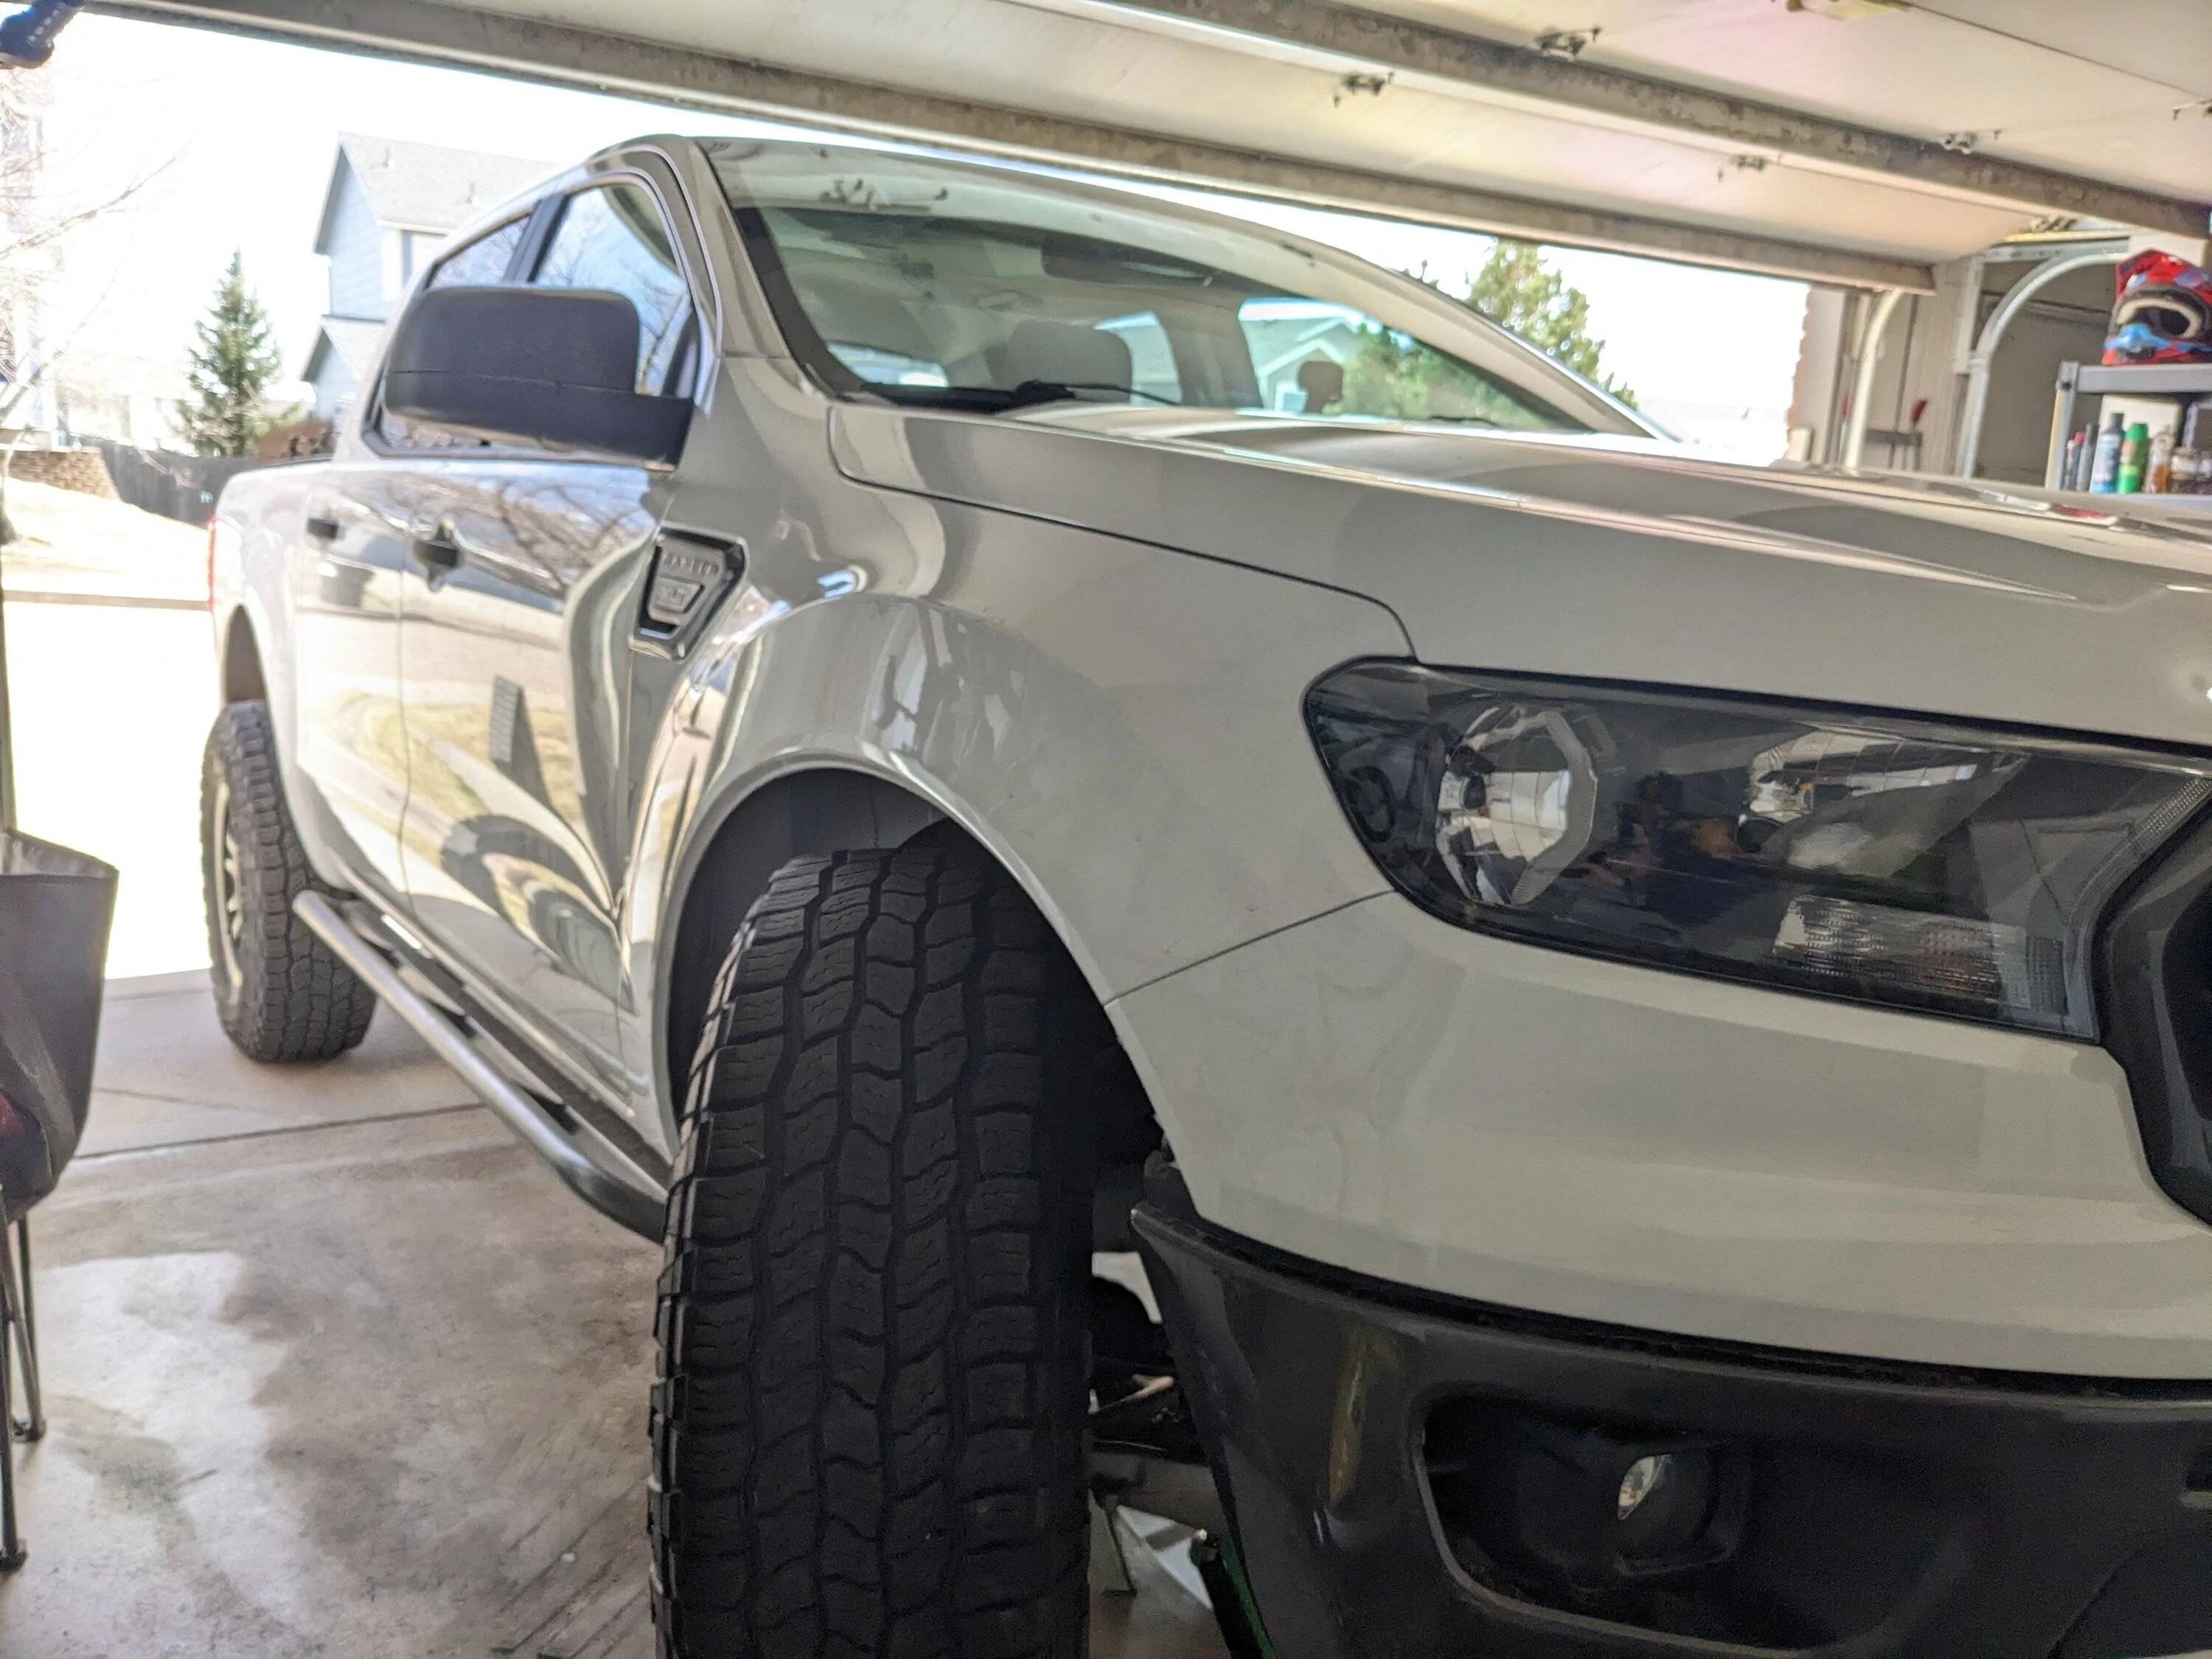
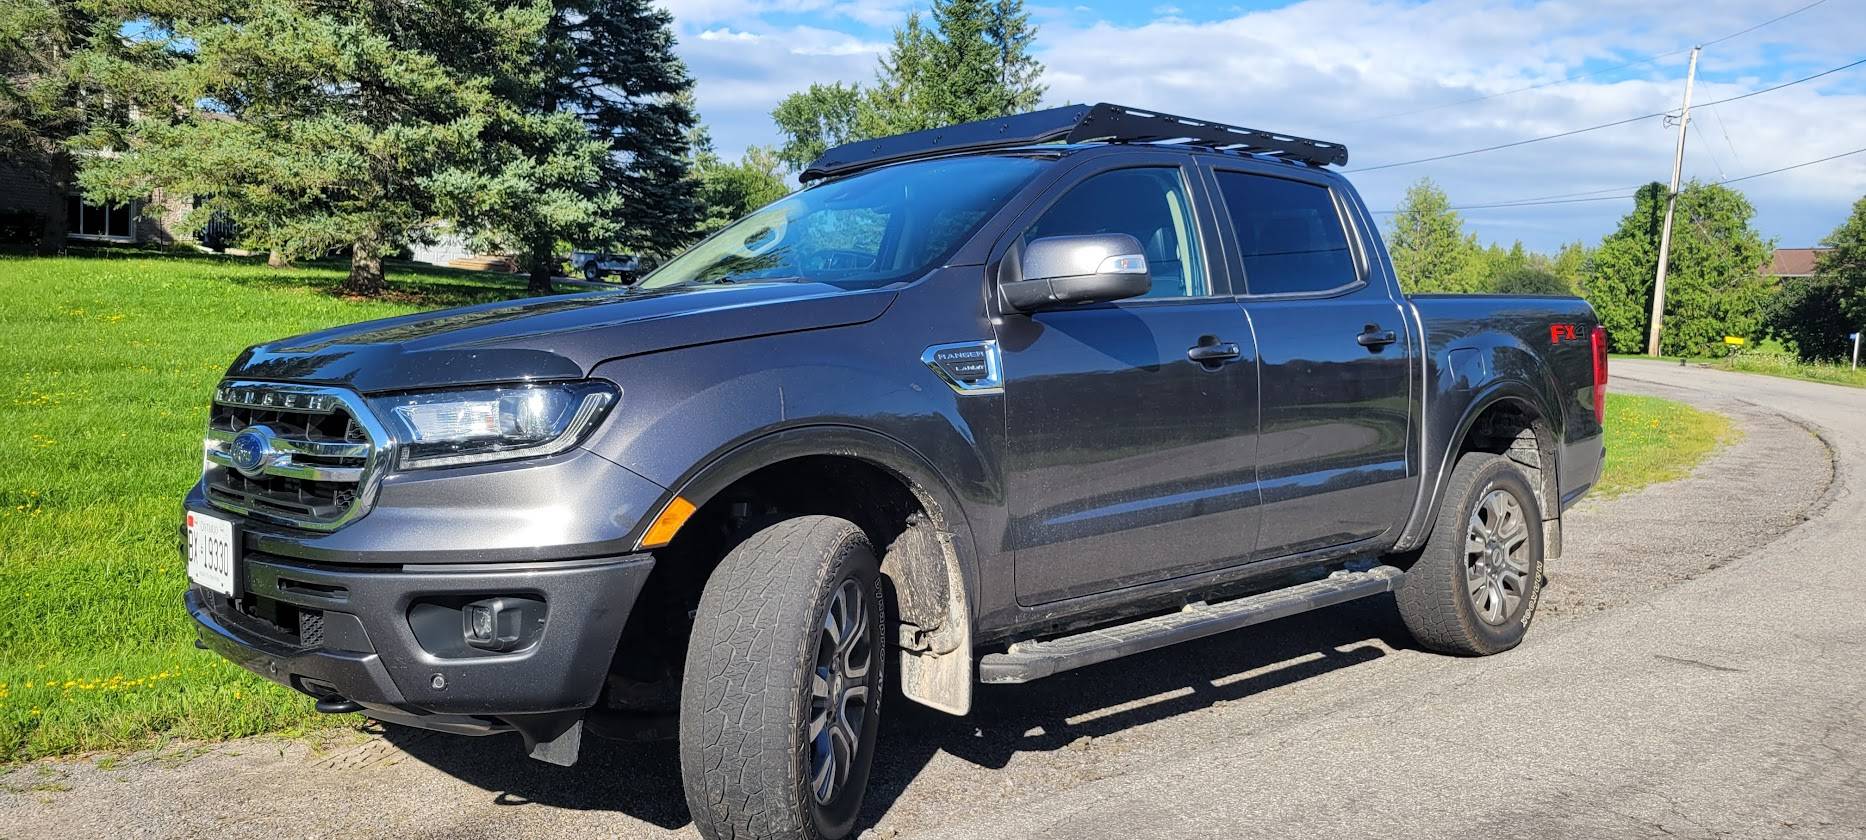
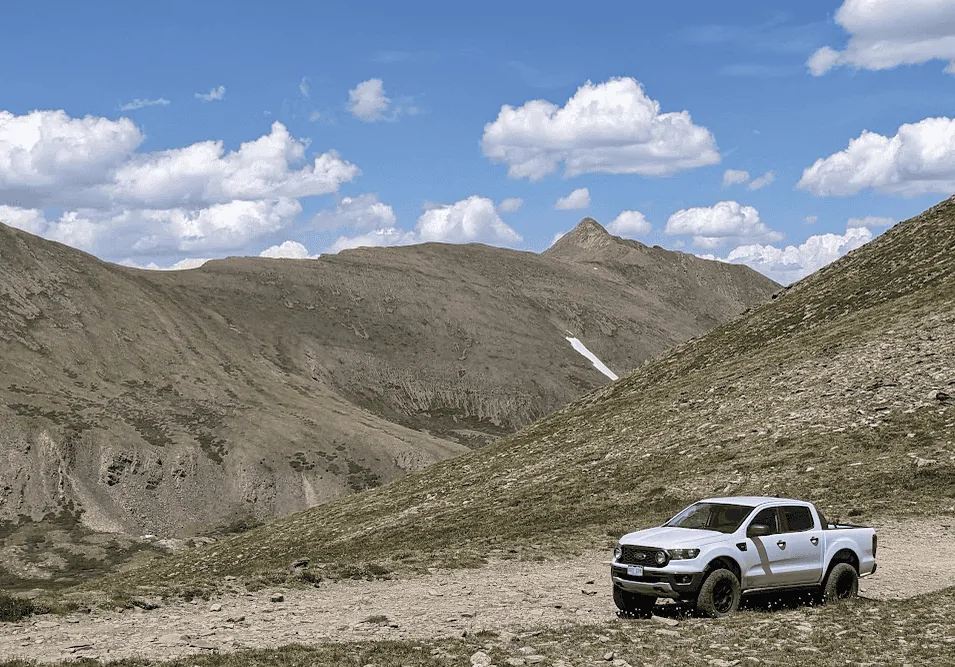
Only on 34's at the moment, but this helps quite a bit when flexing about.


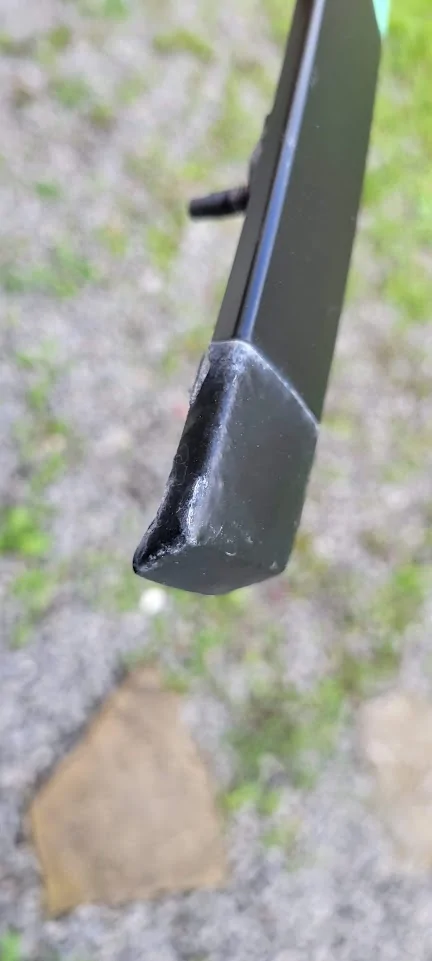
Mostly for grins, but an XJ lift leaf pack and some laser cut shackles do allow more bump travel for a given ride height with the short body Bilstein 7100's.
Now I need to do like @Venom_z89 and get some Bronco mounts up front for some more damper options. Good work on that one.
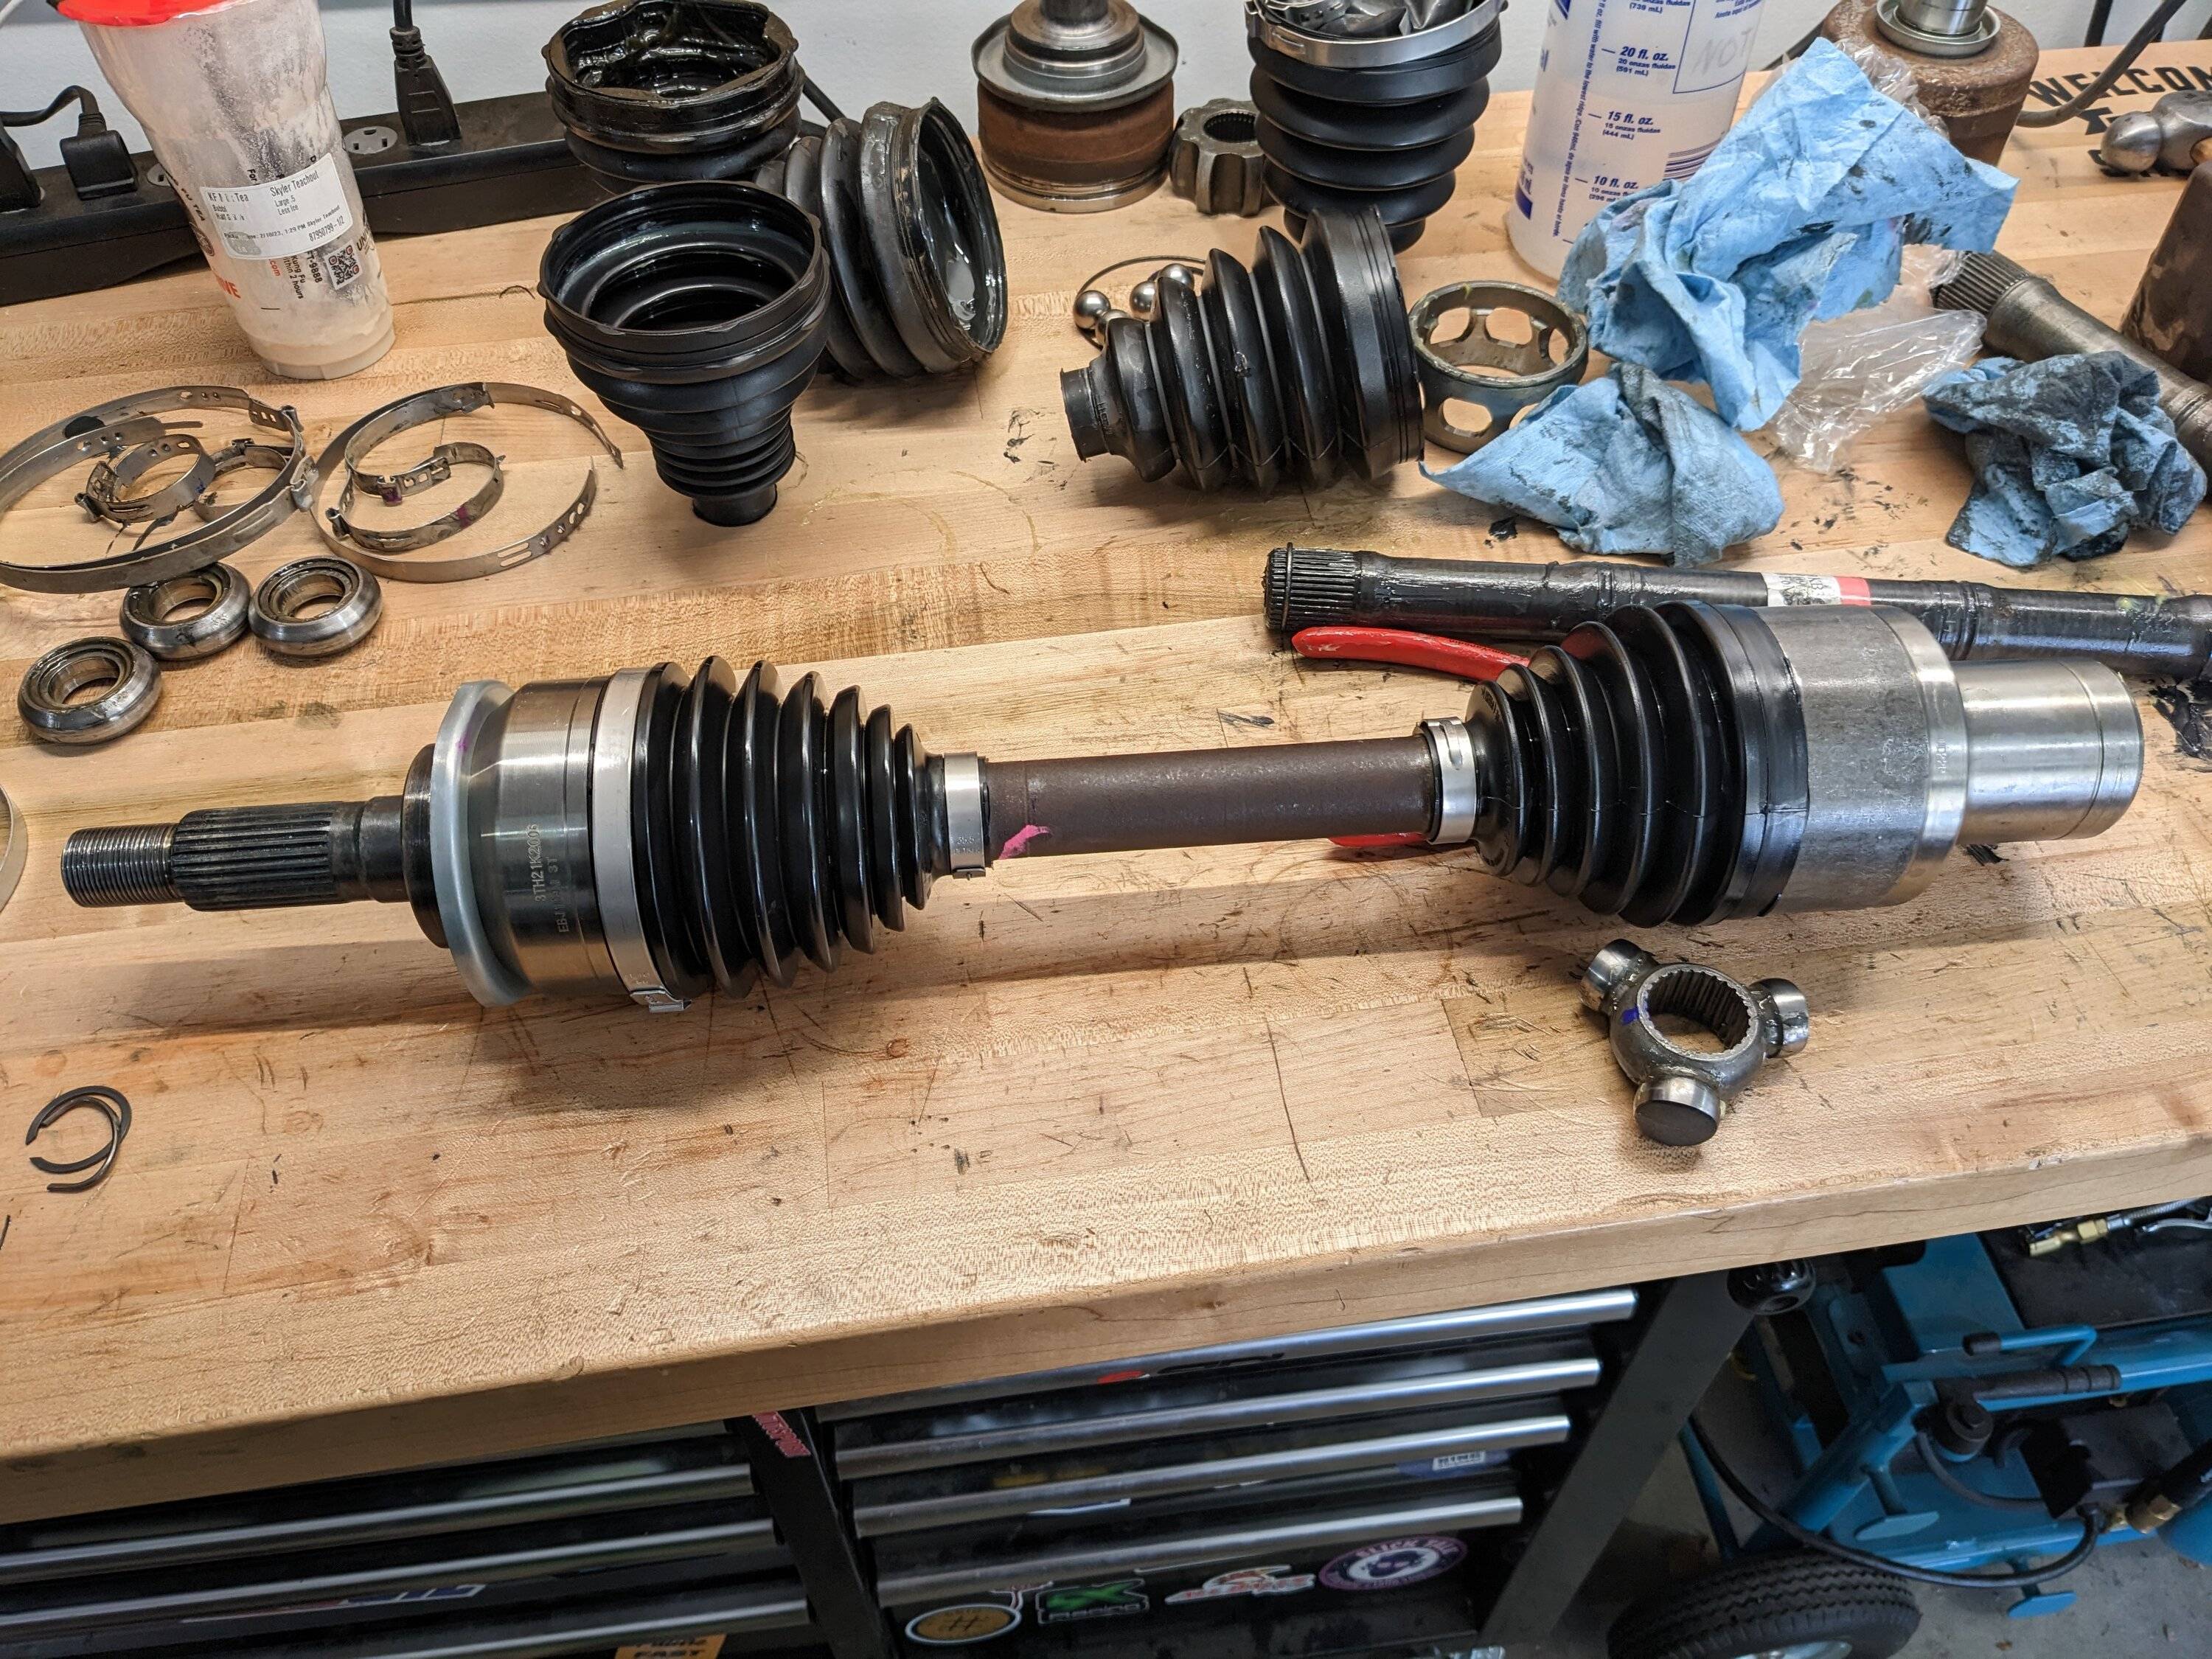
I bought new Motorcraft TX1082 and TX1083 Ranger axles and some used Bronco M190 axles off eBay. I replaced the Ranger center shafts with the longer Bronco center shafts.@TerraMechE playing devils advocate do you remember what changes you had to do to axle shafts between both m190?
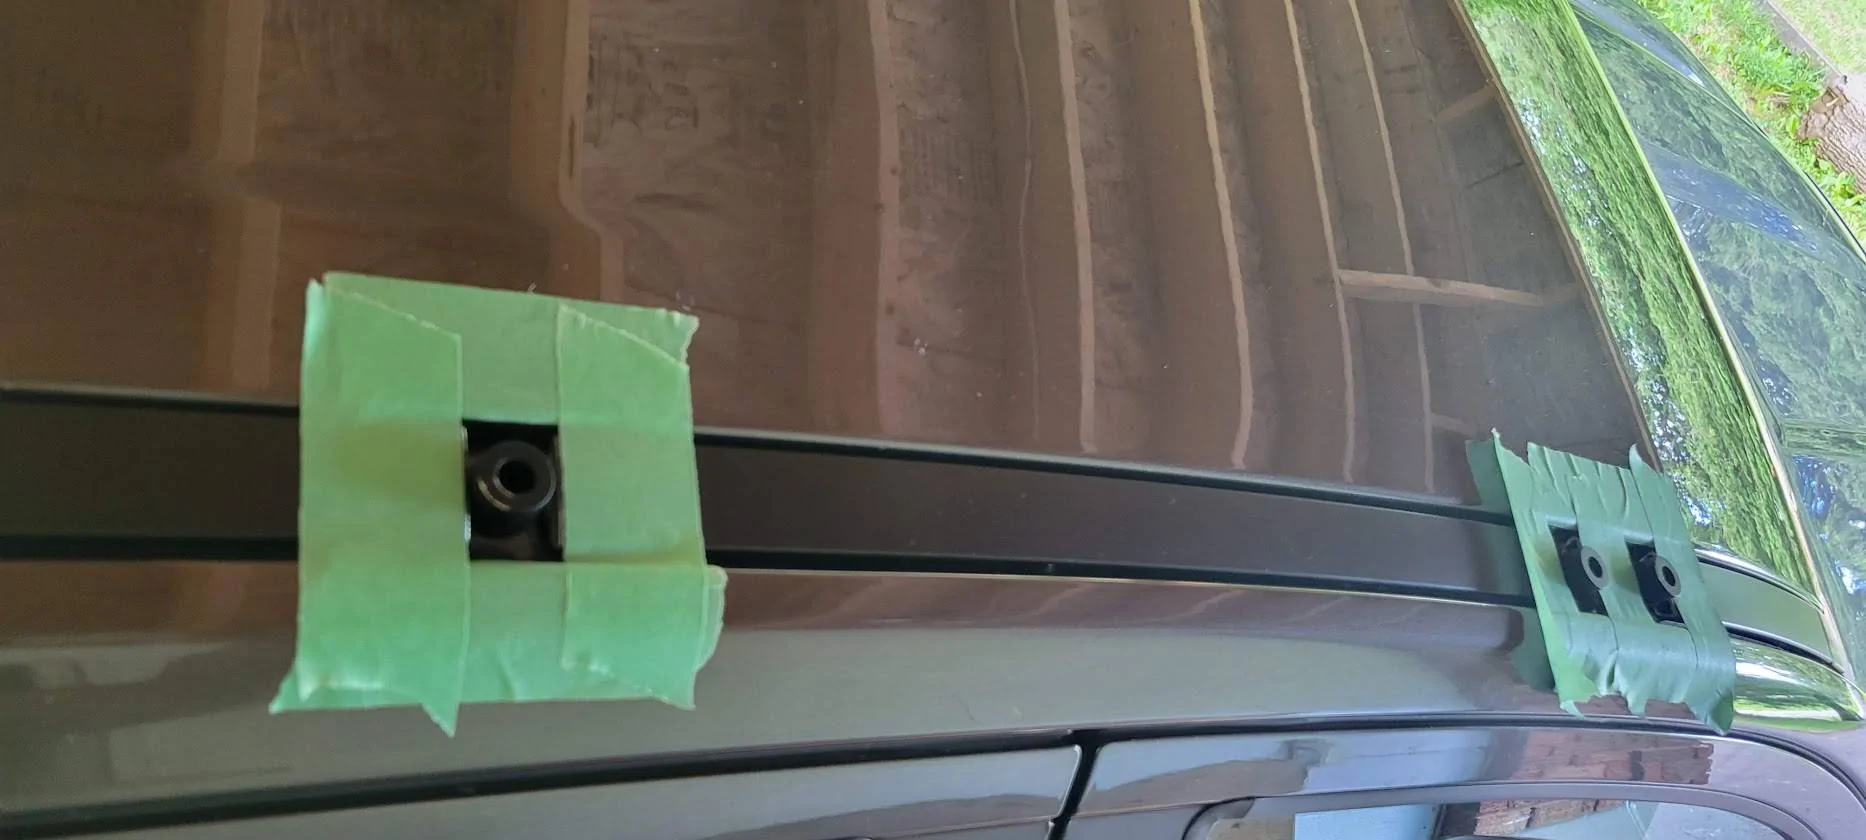
I started with Bronco upper control arm bolts and a bunch of washers... until I got some steel spacers made and welded onto the UCA mount. I did get to play around with some extra caster adjustment with the washers, lol.I’d really like to know what all you had to do to get the bronco uppers to bolt to the frame? I know the spindle had to be reamed but what did you do since the bronco frame mounts were wider.
That’s pretty cool!! I’m trying to find a set of arms right now. Getting nothing but scammer messages lol ?I started with Bronco upper control arm bolts and a bunch of washers... until I got some steel spacers made and welded onto the UCA mount. I did get to play around with some extra caster adjustment with the washers, lol.
Thank you for that bro i found a set of lowers for cheap might do this if price is right until i can build mine. You got a bad ass build.I bought new Motorcraft TX1082 and TX1083 Ranger axles and some used Bronco M190 axles off eBay. I replaced the Ranger center shafts with the longer Bronco center shafts.
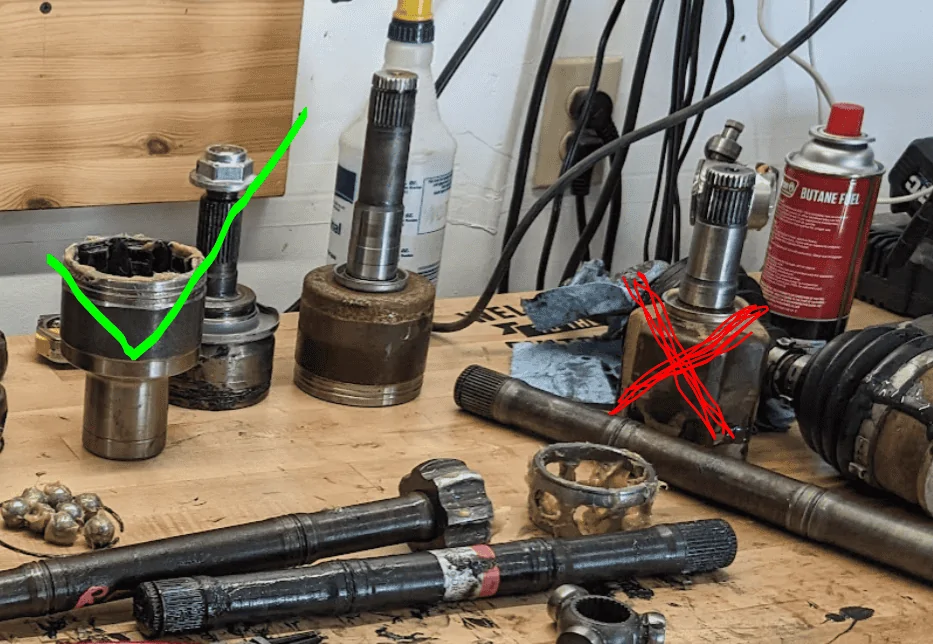
I bought the new Ranger axles since my truck came with a tripod style inner CV and they were not compatible with the Bronco center shafts (tripod center shafts have a smaller inner spline). The TX1082/3 have the same 8-ball / Bronco style inner CV. I do not know why the Ranger has two different inner CV styles available (seems to correlate to tow packages, somehow).

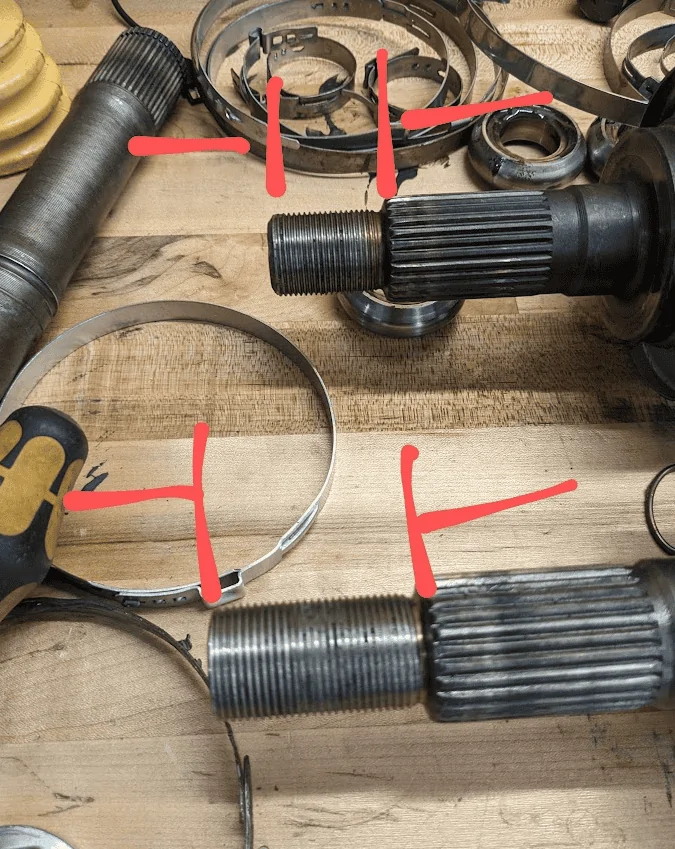
I did find that the Ranger and Bronco outer CV's are more or less interchangeable in the Ranger hub/wheel bearing, save for a longer thread on the Bronco.

The Ranger inner CV's are different from the Bronco where they interface with the differential. The Ranger passenger side is female spline on the CV cup while the Bronco is male. I'm hazy on this detail now, but I think even the driver side shafts that plugged into the diff were different lengths.
If someone was starting with "8ball" Ranger inner CV's on their truck, I suppose all you would really need to buy is Bronco axles and just swap the inner CV's.
To summarize: Ranger 8-ball inner CVs plus Bronco M190 center shafts plus either Ranger or Bronco outer CVs worked for me.
All this for about 2" wider track width and a little bit of extra suspension travel... it is a pretty dumb hobby. I really like the truck this way, though.

Hmmm maybe but yea i have the 3 bearing style.I bought new Motorcraft TX1082 and TX1083 Ranger axles and some used Bronco M190 axles off eBay. I replaced the Ranger center shafts with the longer Bronco center shafts.
I bought the new Ranger axles since my truck came with a tripod style inner CV and they were not compatible with the Bronco center shafts (tripod center shafts have a smaller inner spline). The TX1082/3 have the same 8-ball / Bronco style inner CV. I do not know why the Ranger has two different inner CV styles available (seems to correlate to tow packages, somehow).
I did find that the Ranger and Bronco outer CV's are more or less interchangeable in the Ranger hub/wheel bearing, save for a longer thread on the Bronco.
The Ranger inner CV's are different from the Bronco where they interface with the differential. The Ranger passenger side is female spline on the CV cup while the Bronco is male. I'm hazy on this detail now, but I think even the driver side shafts that plugged into the diff were different lengths.
If someone was starting with "8ball" Ranger inner CV's on their truck, I suppose all you would really need to buy is Bronco axles and just swap the inner CV's.
To summarize: Ranger 8-ball inner CVs plus Bronco M190 center shafts plus either Ranger or Bronco outer CVs worked for me.
All this for about 2" wider track width and a little bit of extra suspension travel... it is a pretty dumb hobby. I really like the truck this way, though.
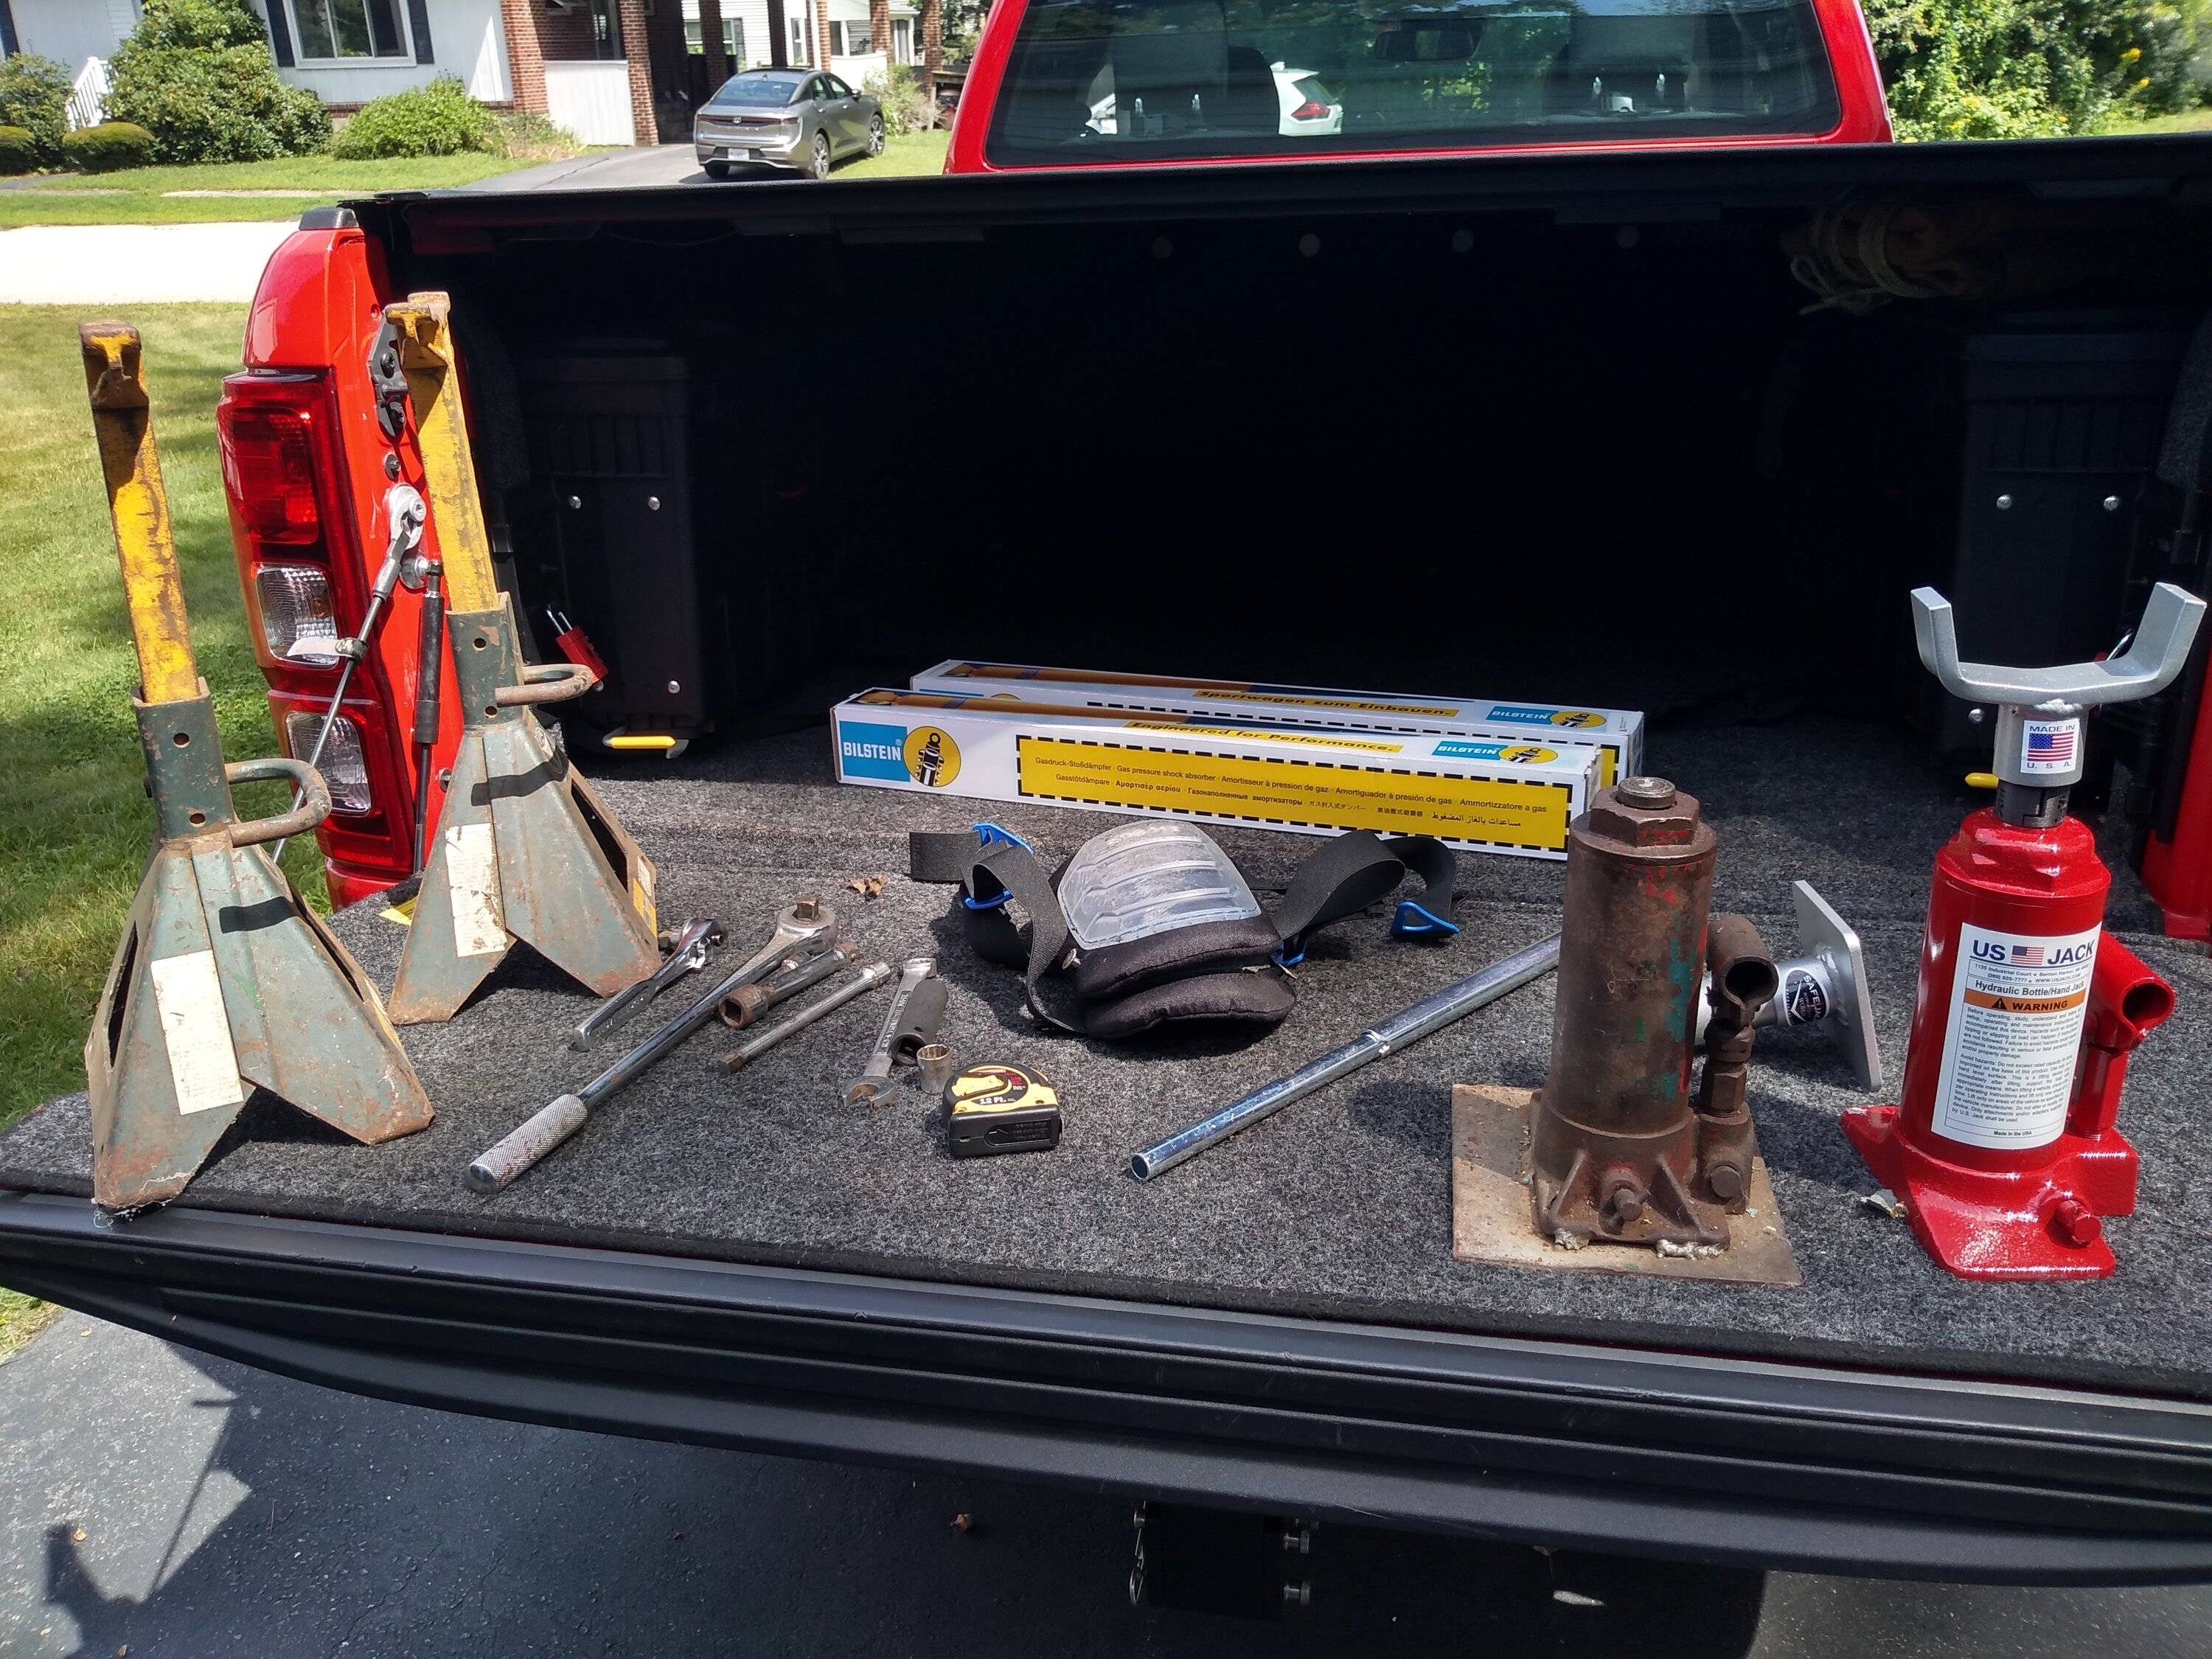
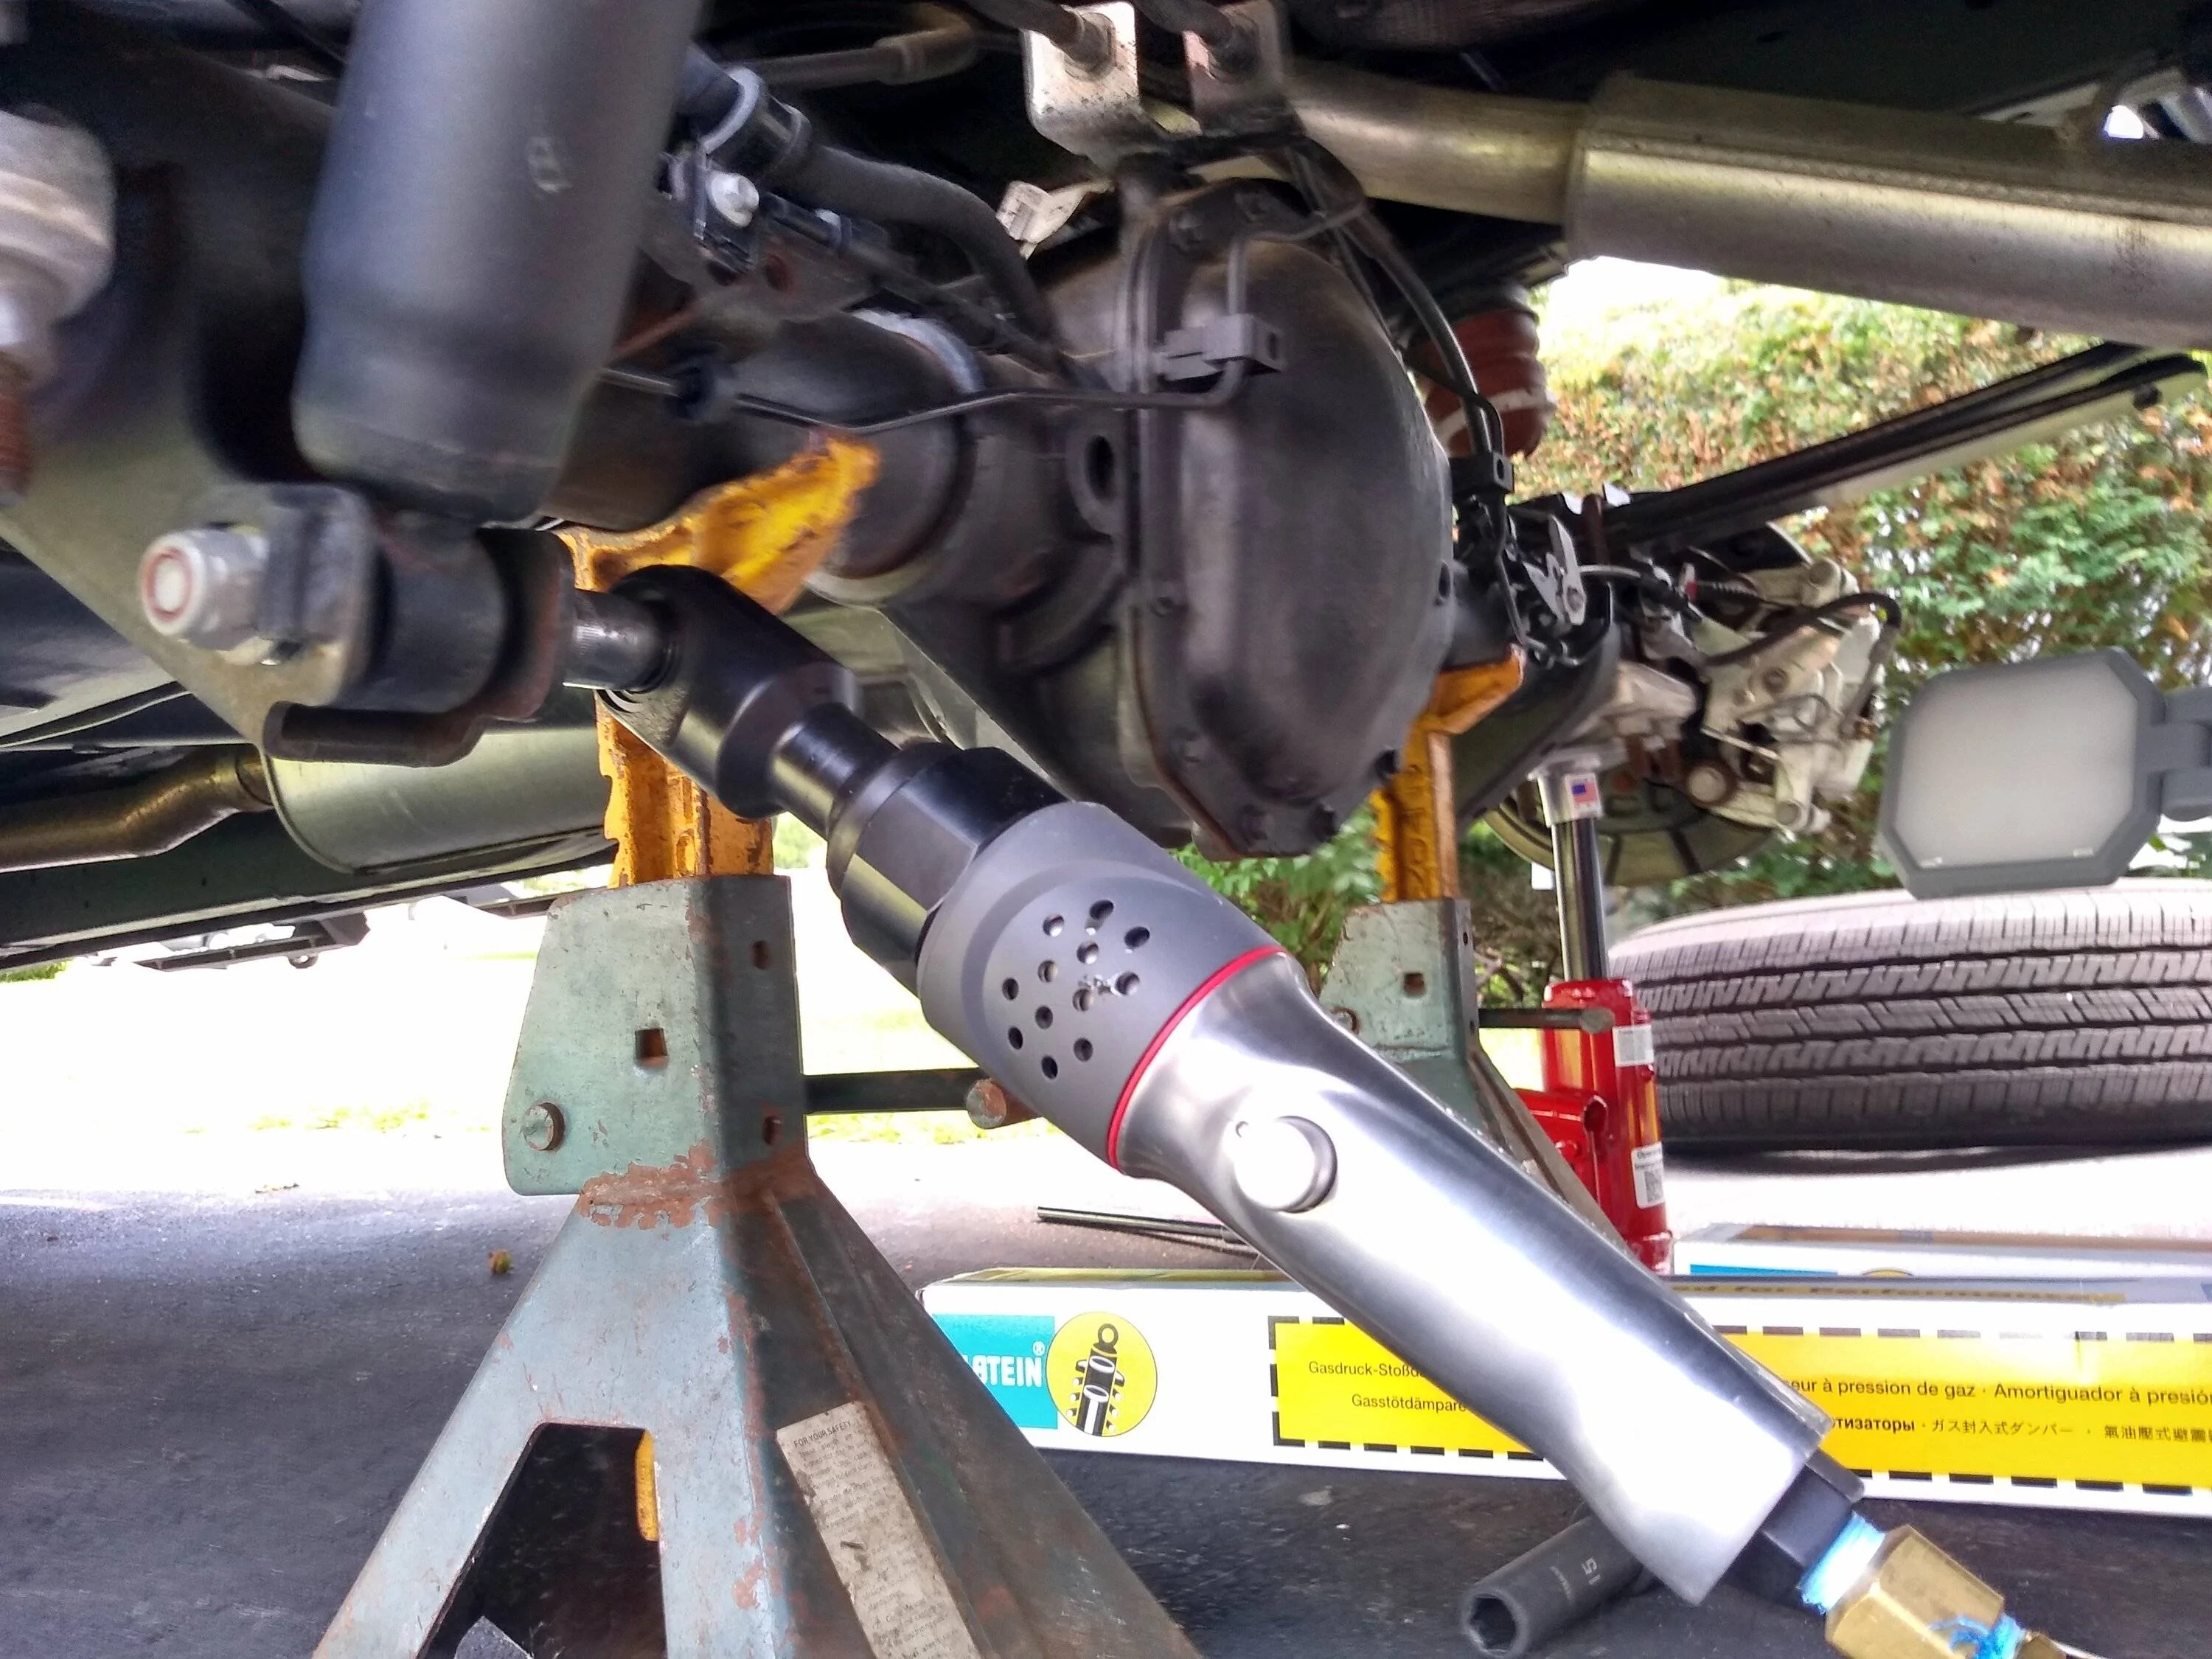
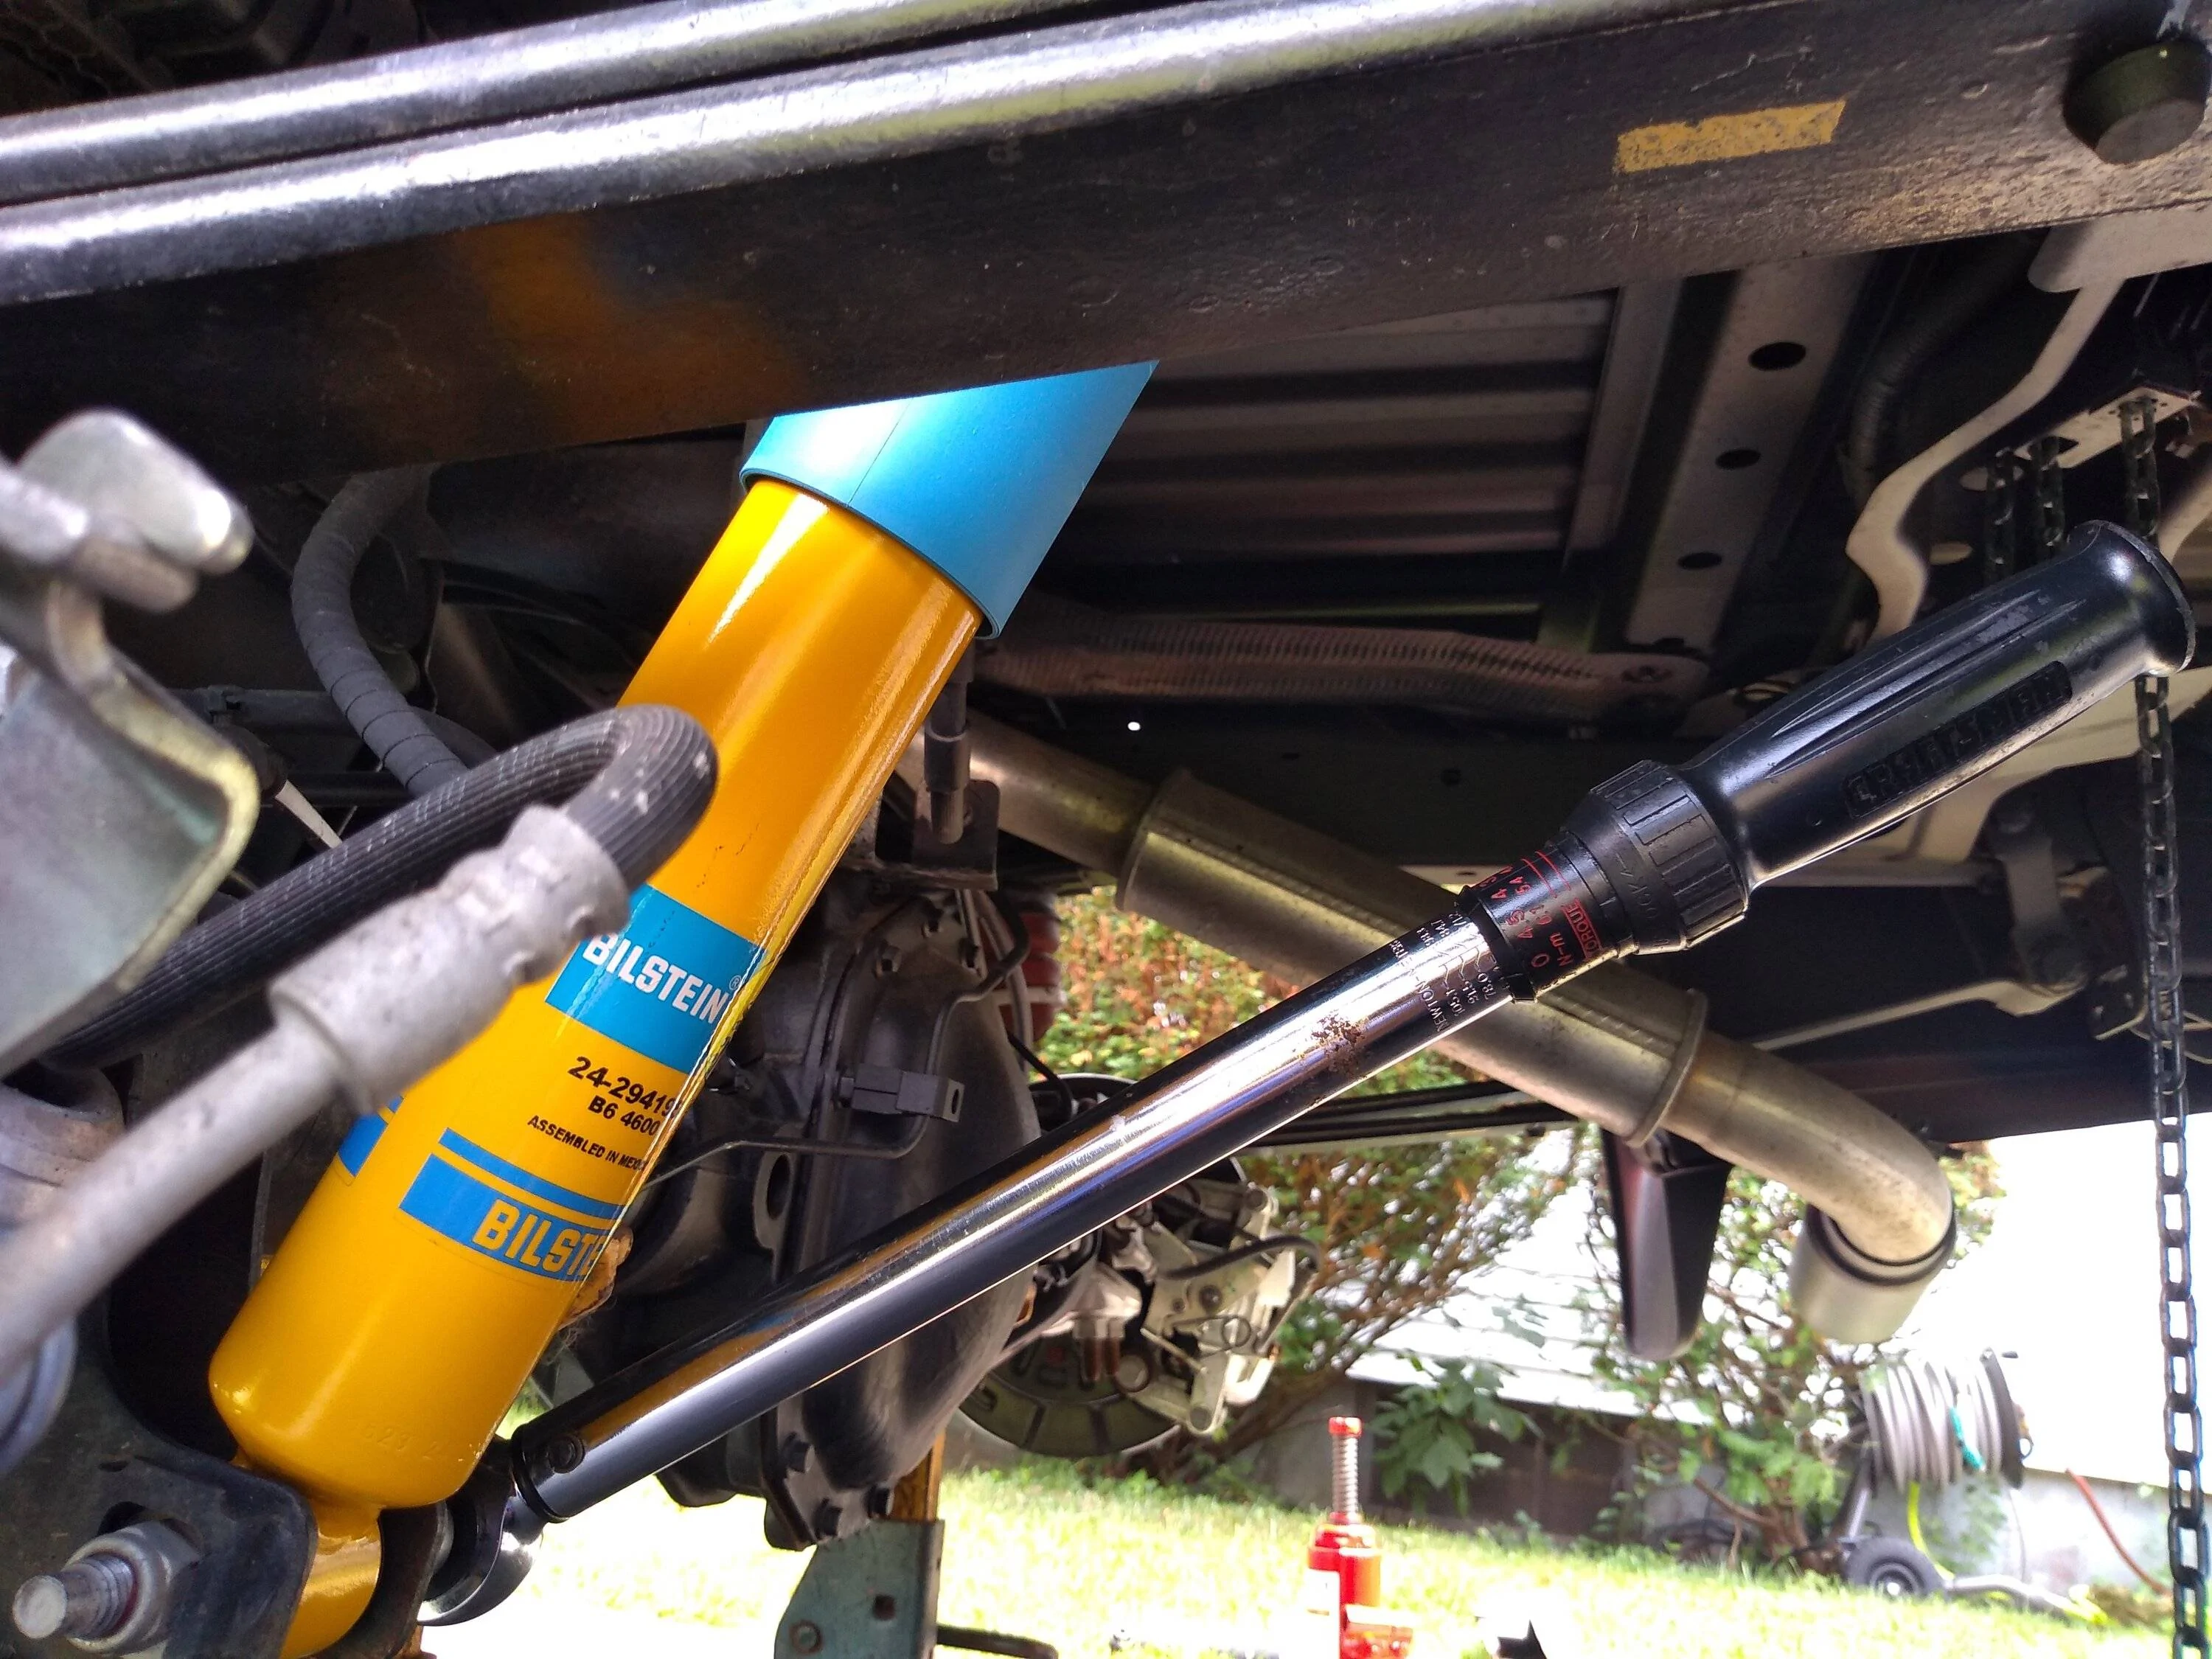
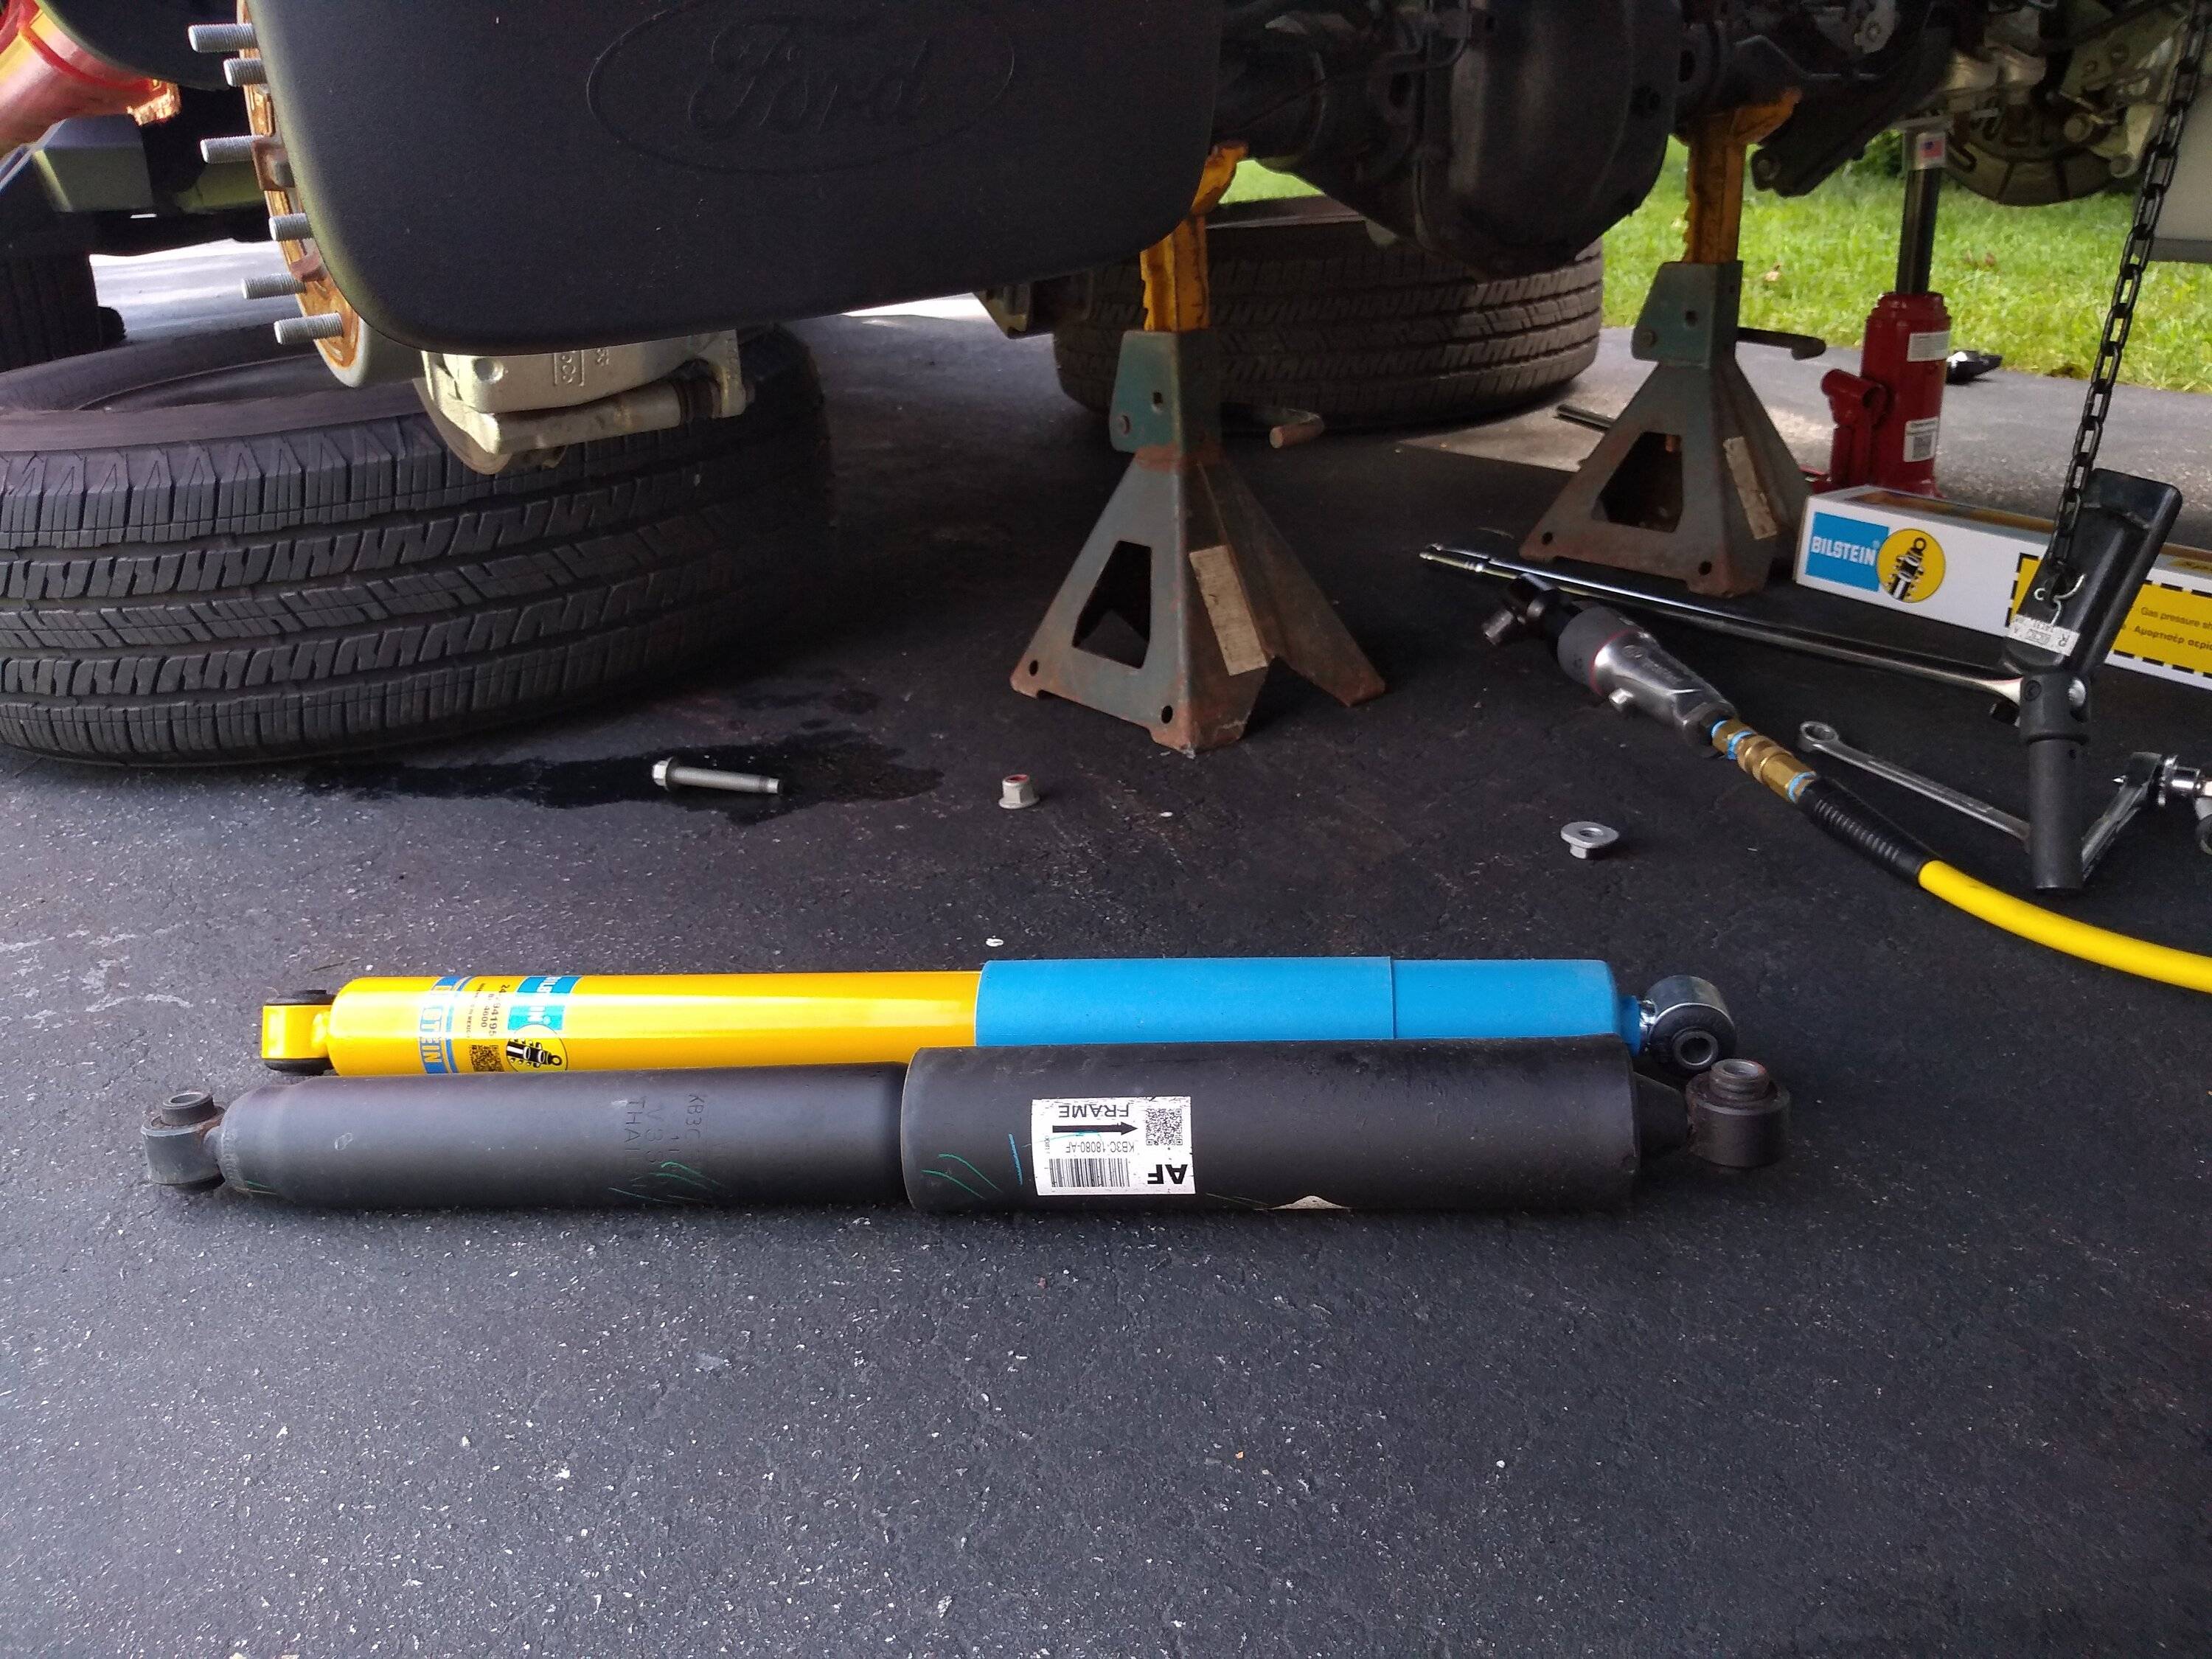
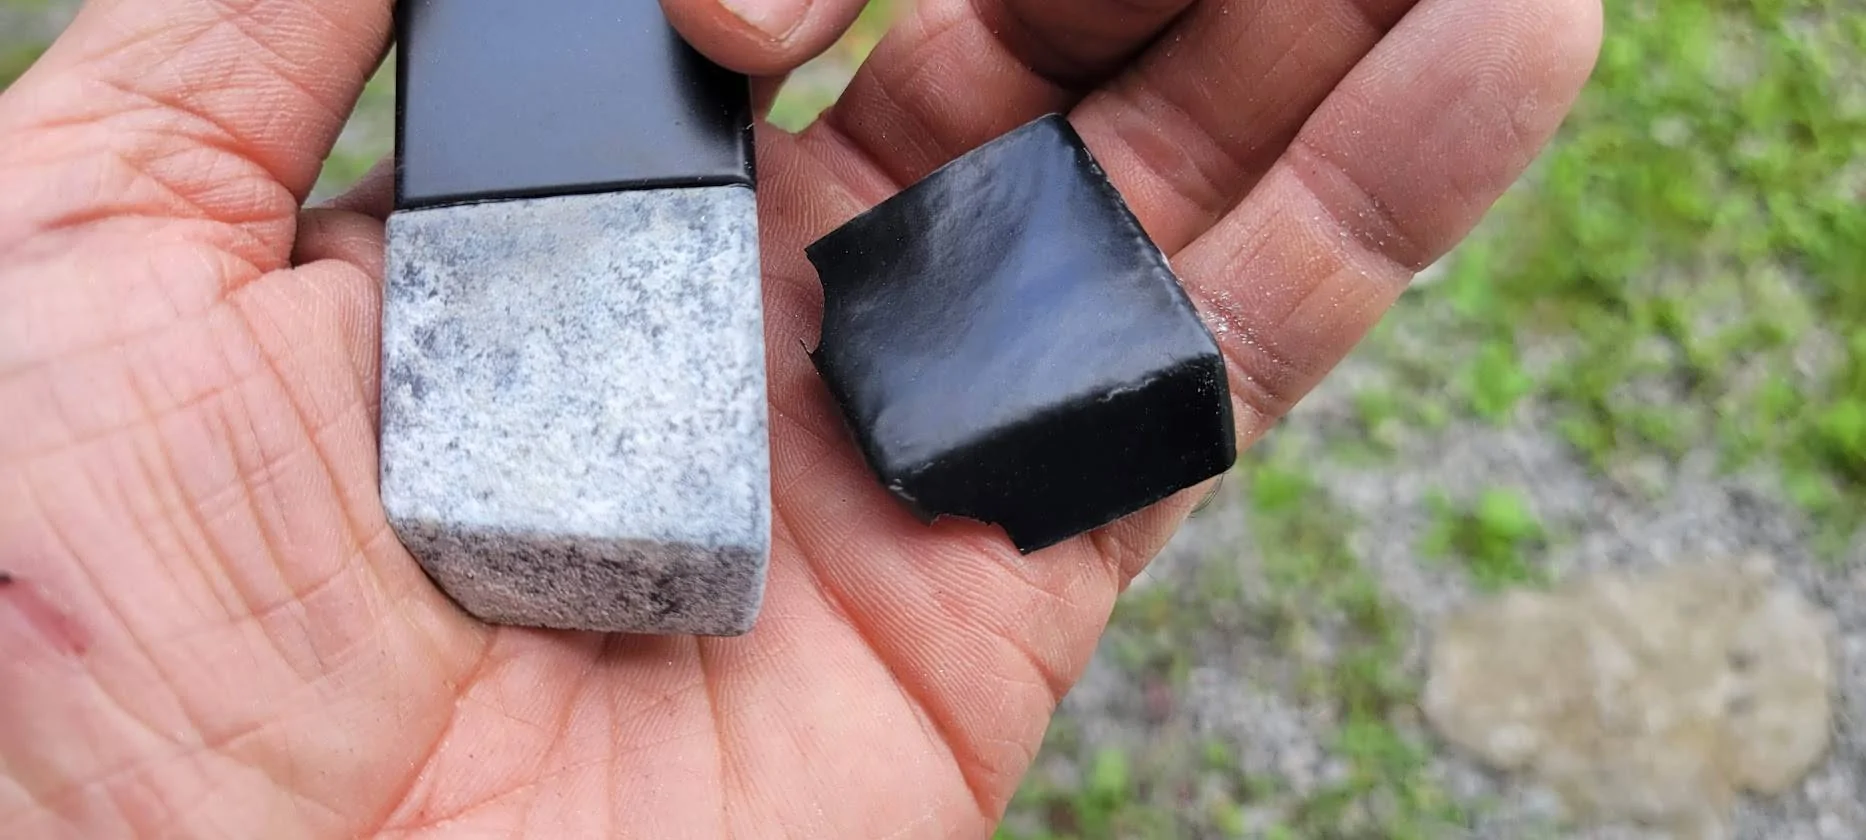
seems like a lot of work in order to replace 2 shocks? I just swapped to Fox 2.0's and I kid you not it took me maybe 10 minutes total. I didn't use and jacks, didn't touch the spare, etc. Broke the bolts loose and used my cordless ratchet to remove the bolts, tossed the shocks on, compressed them by hand from the bottom to get the lower bolts started and tightened everything up.Installed the Bilstein 4600 rear shocks onto 2WD XL Soupie.
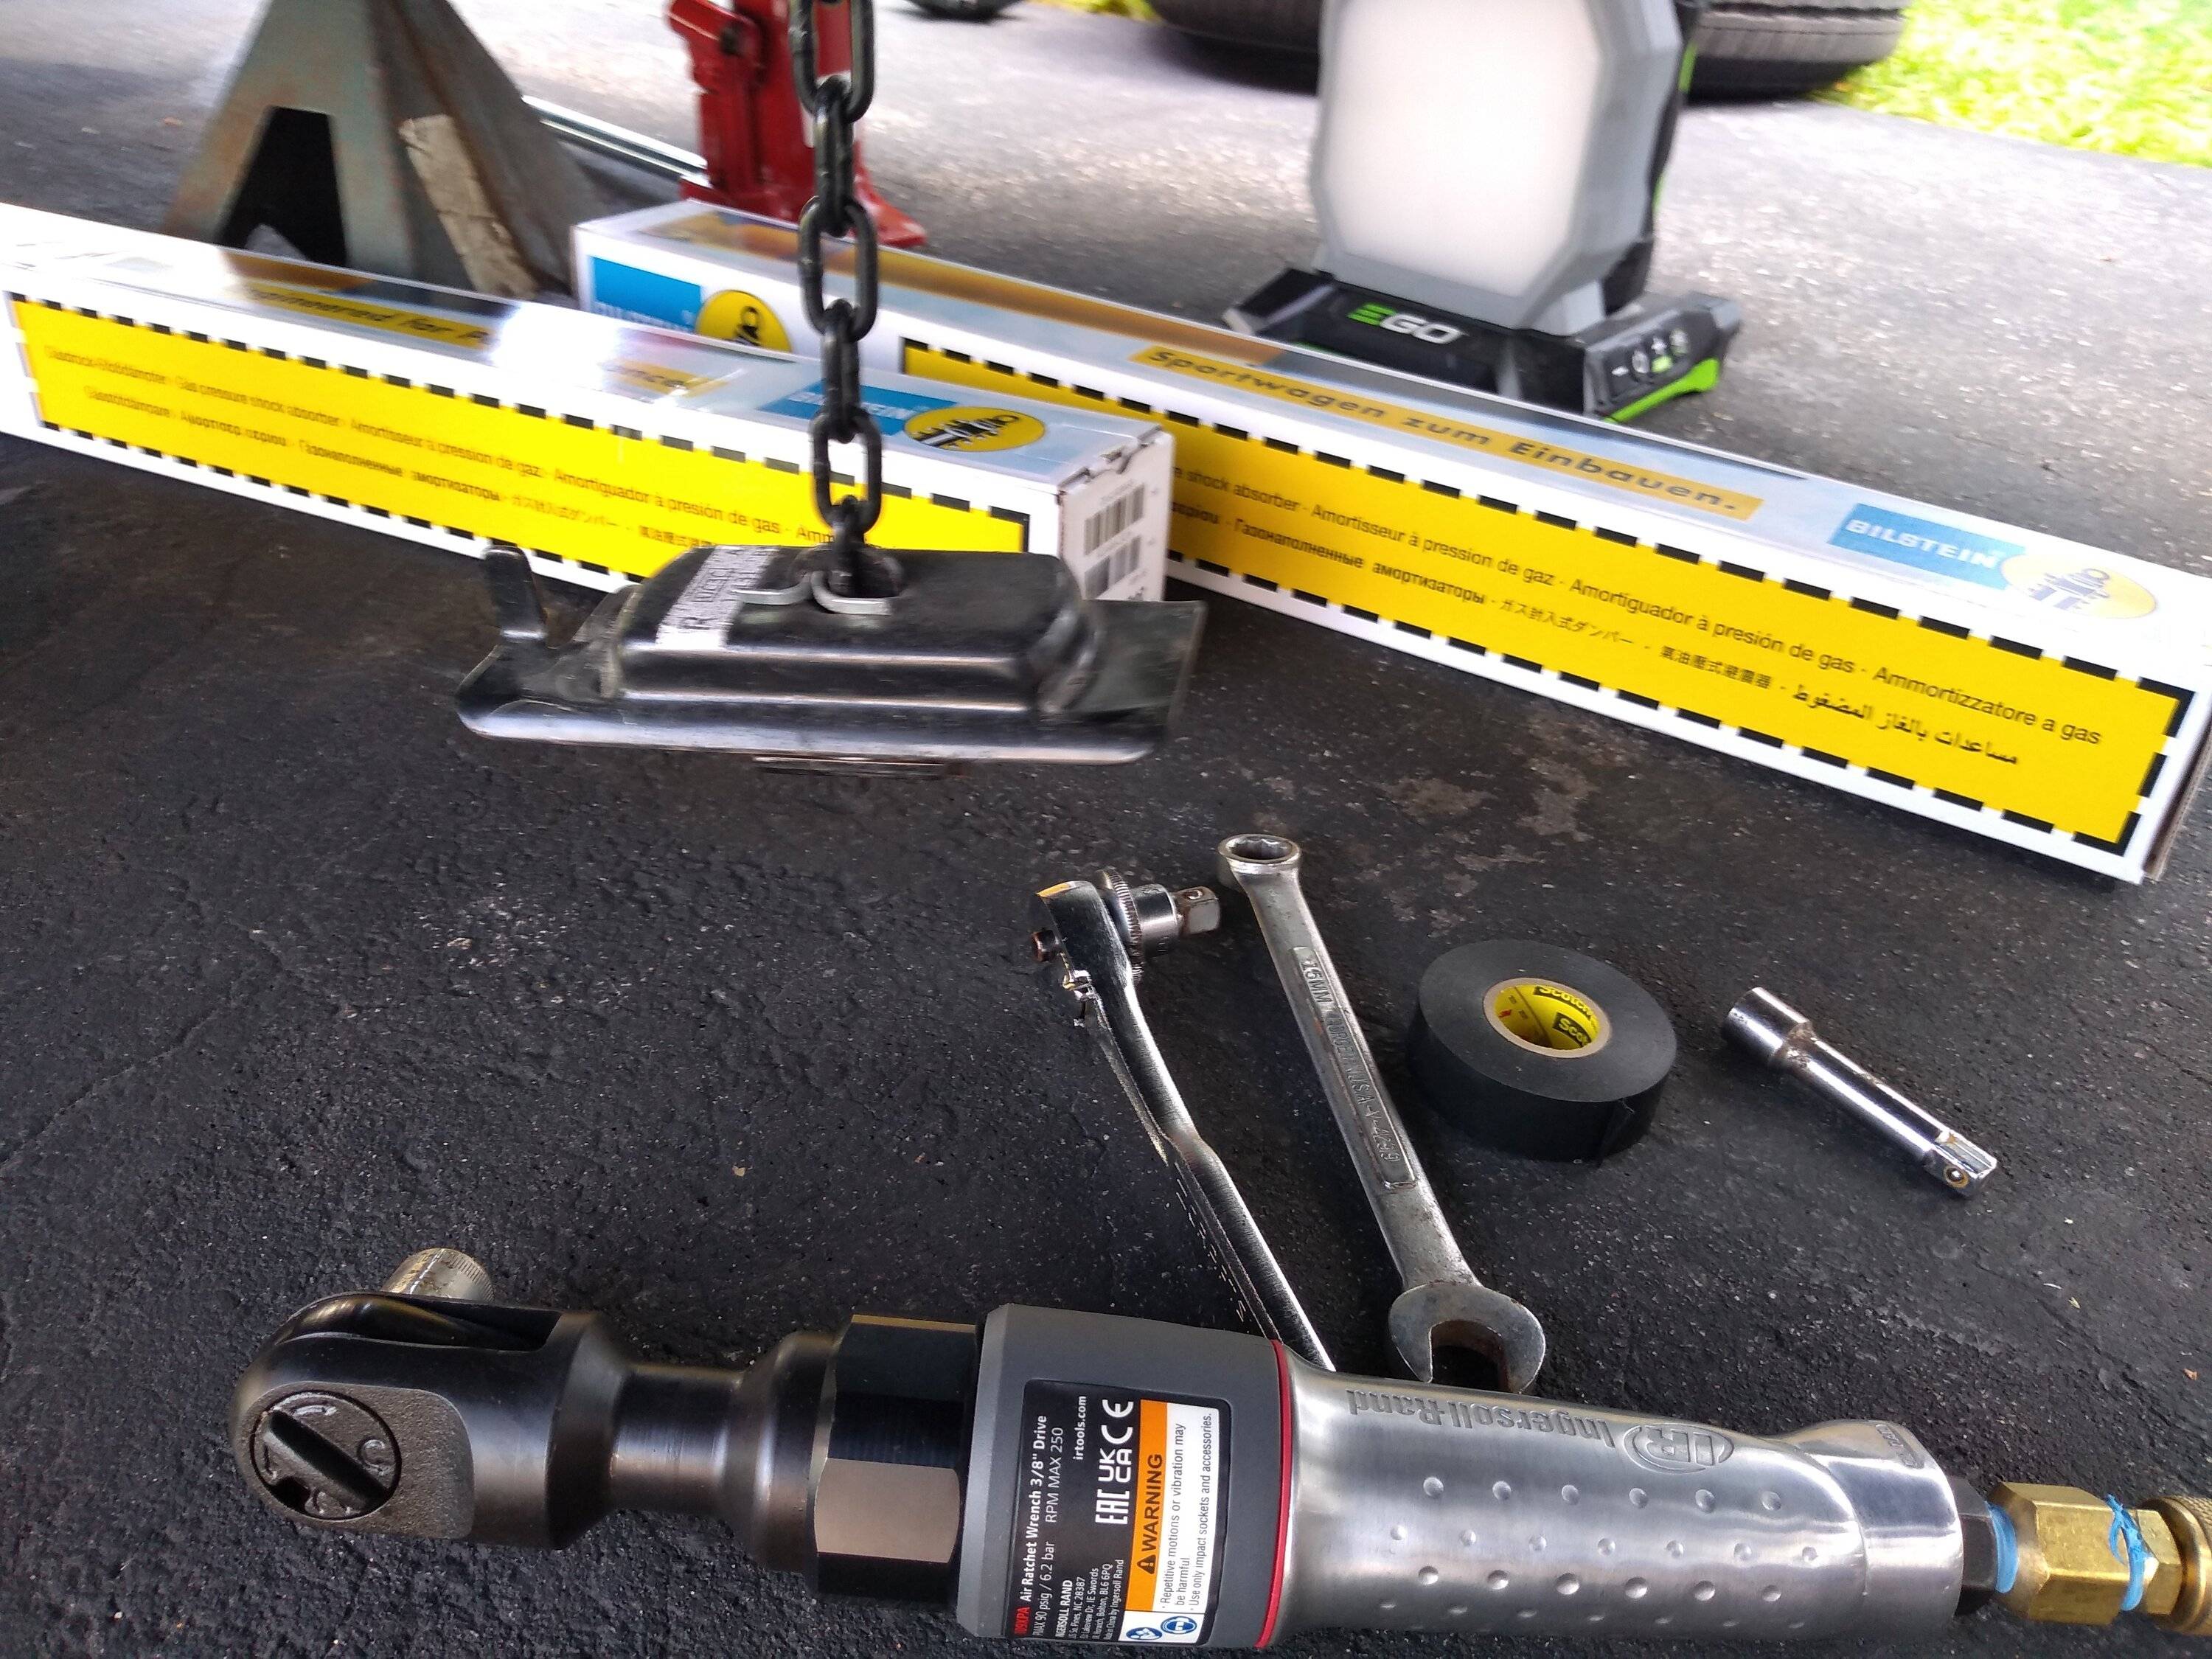
I gathered far more crap than I ended up using, but I should have used the tape measure to get new shocks to the right length and then used a strap to hold them compressed
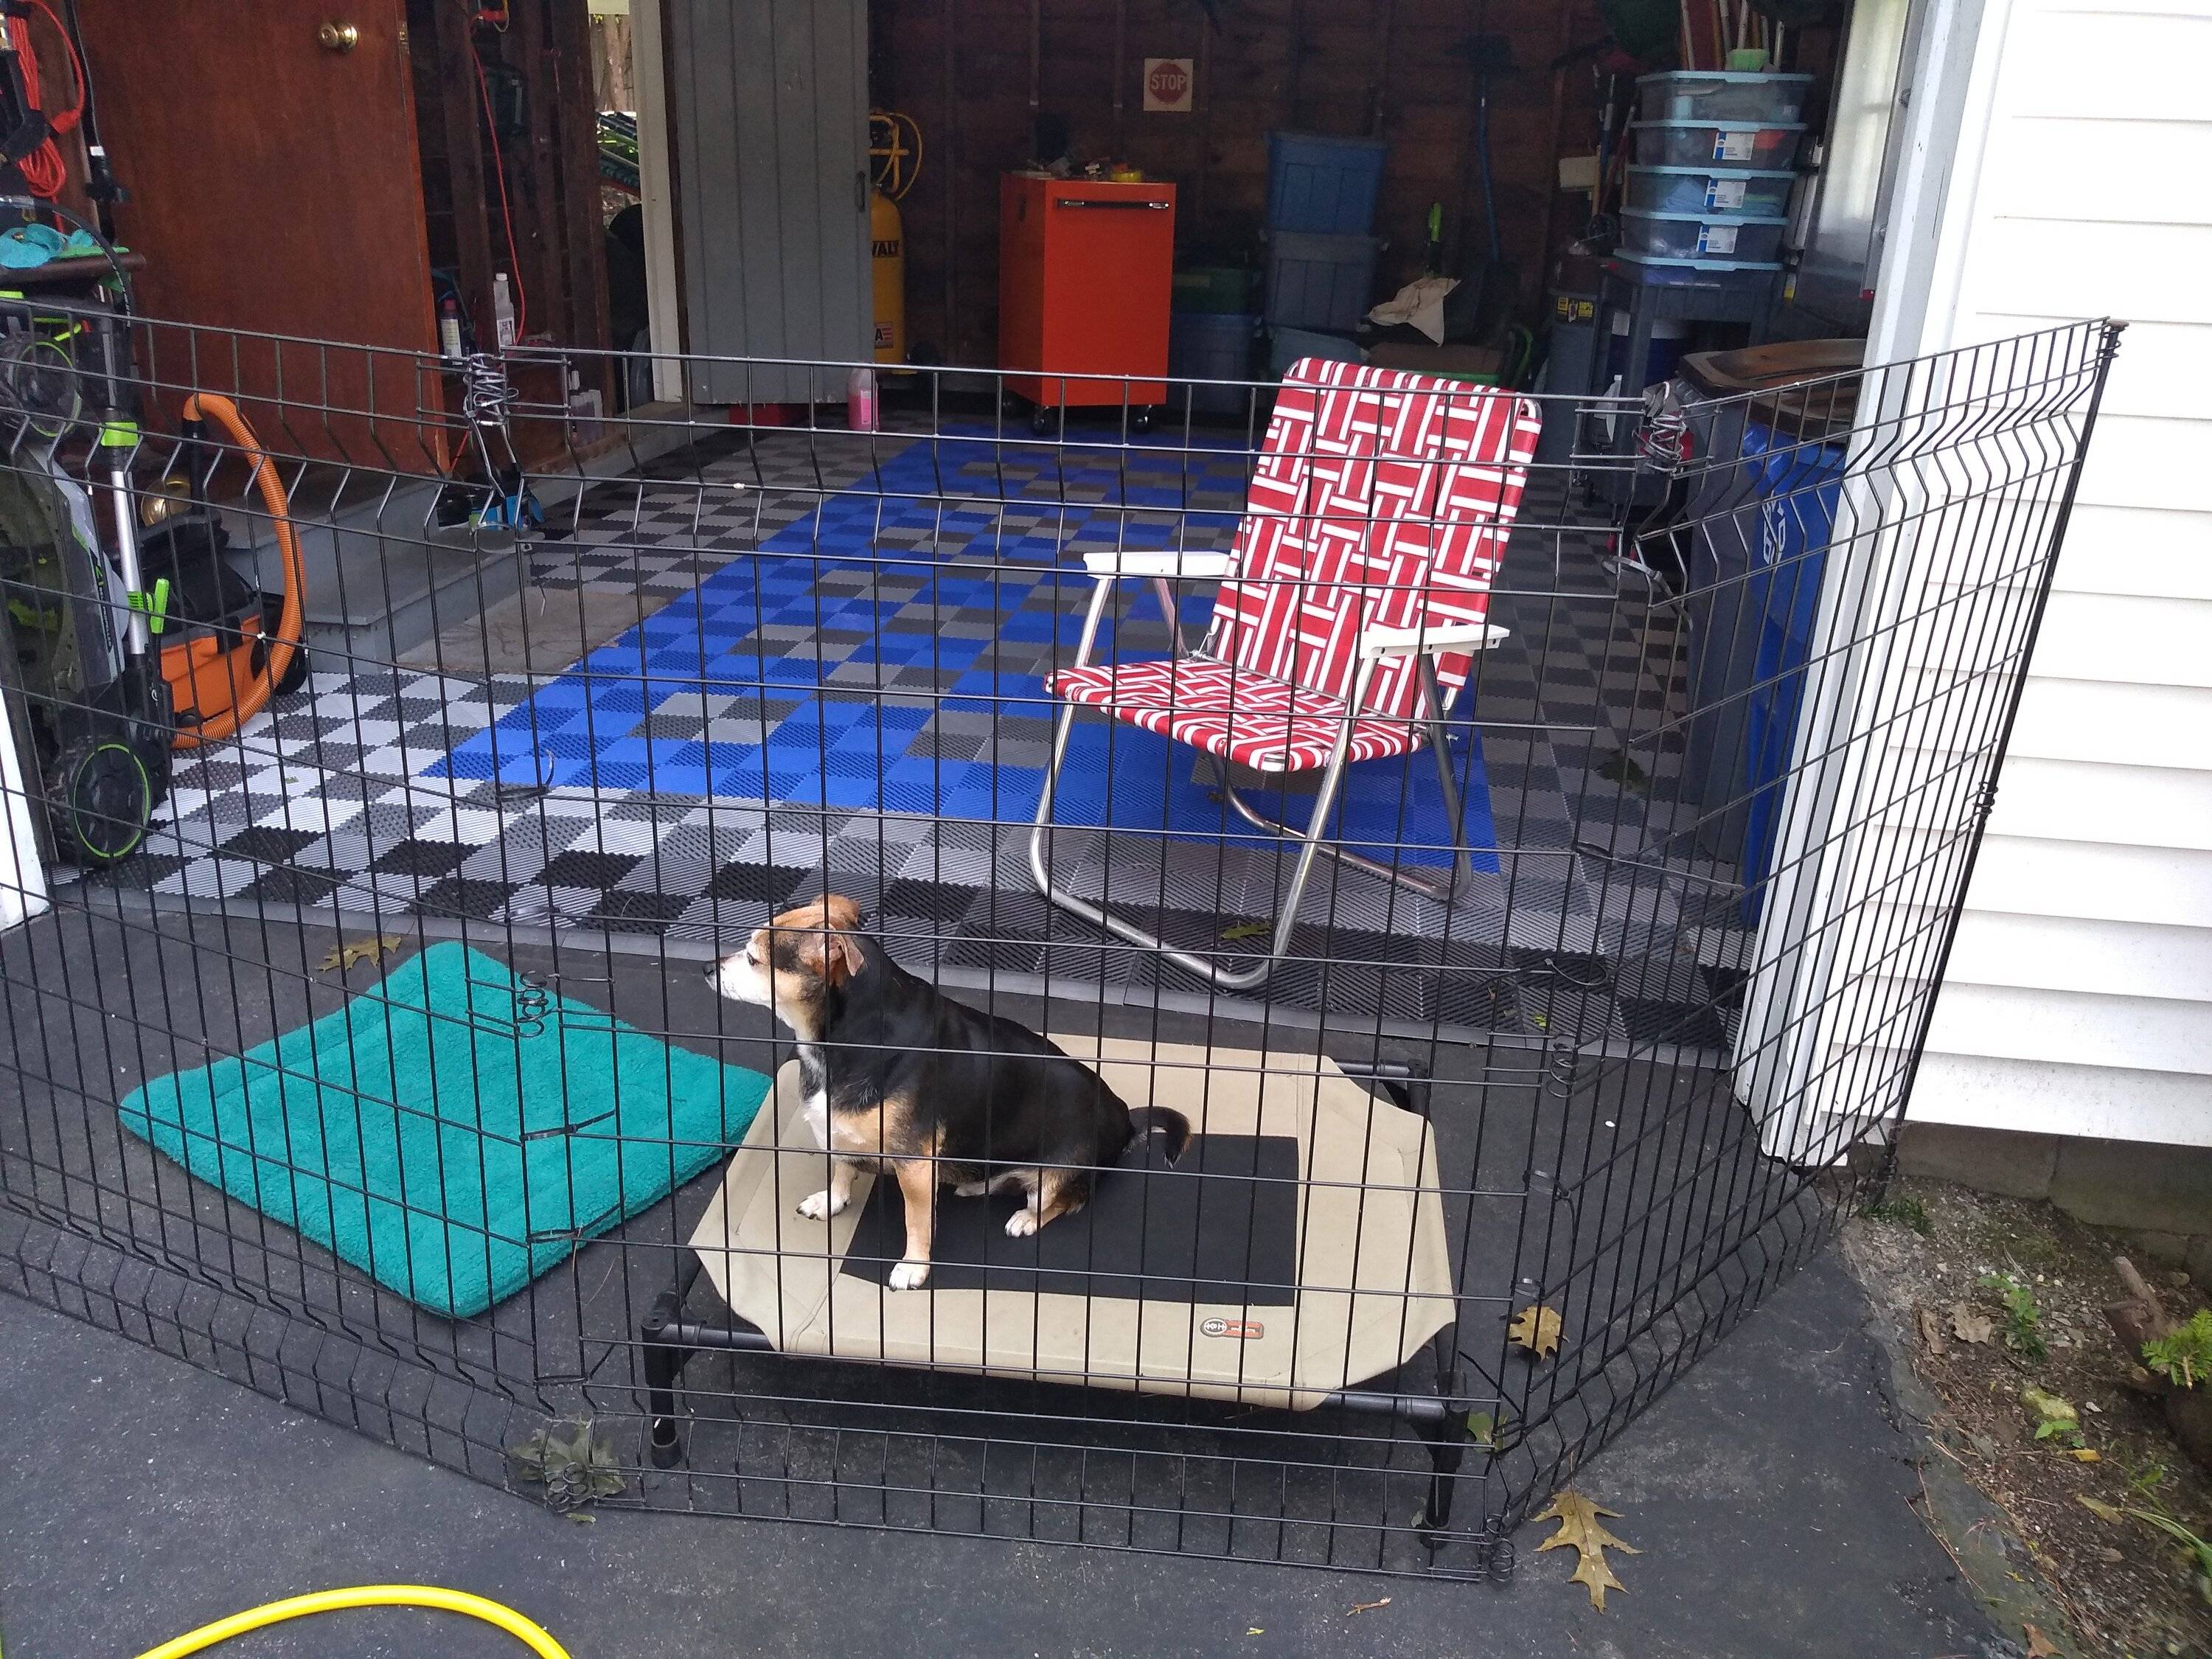
equally important prep, a spot for the foreman and a spot for this old fart - ended up not taking a break, I was on a mission! =p
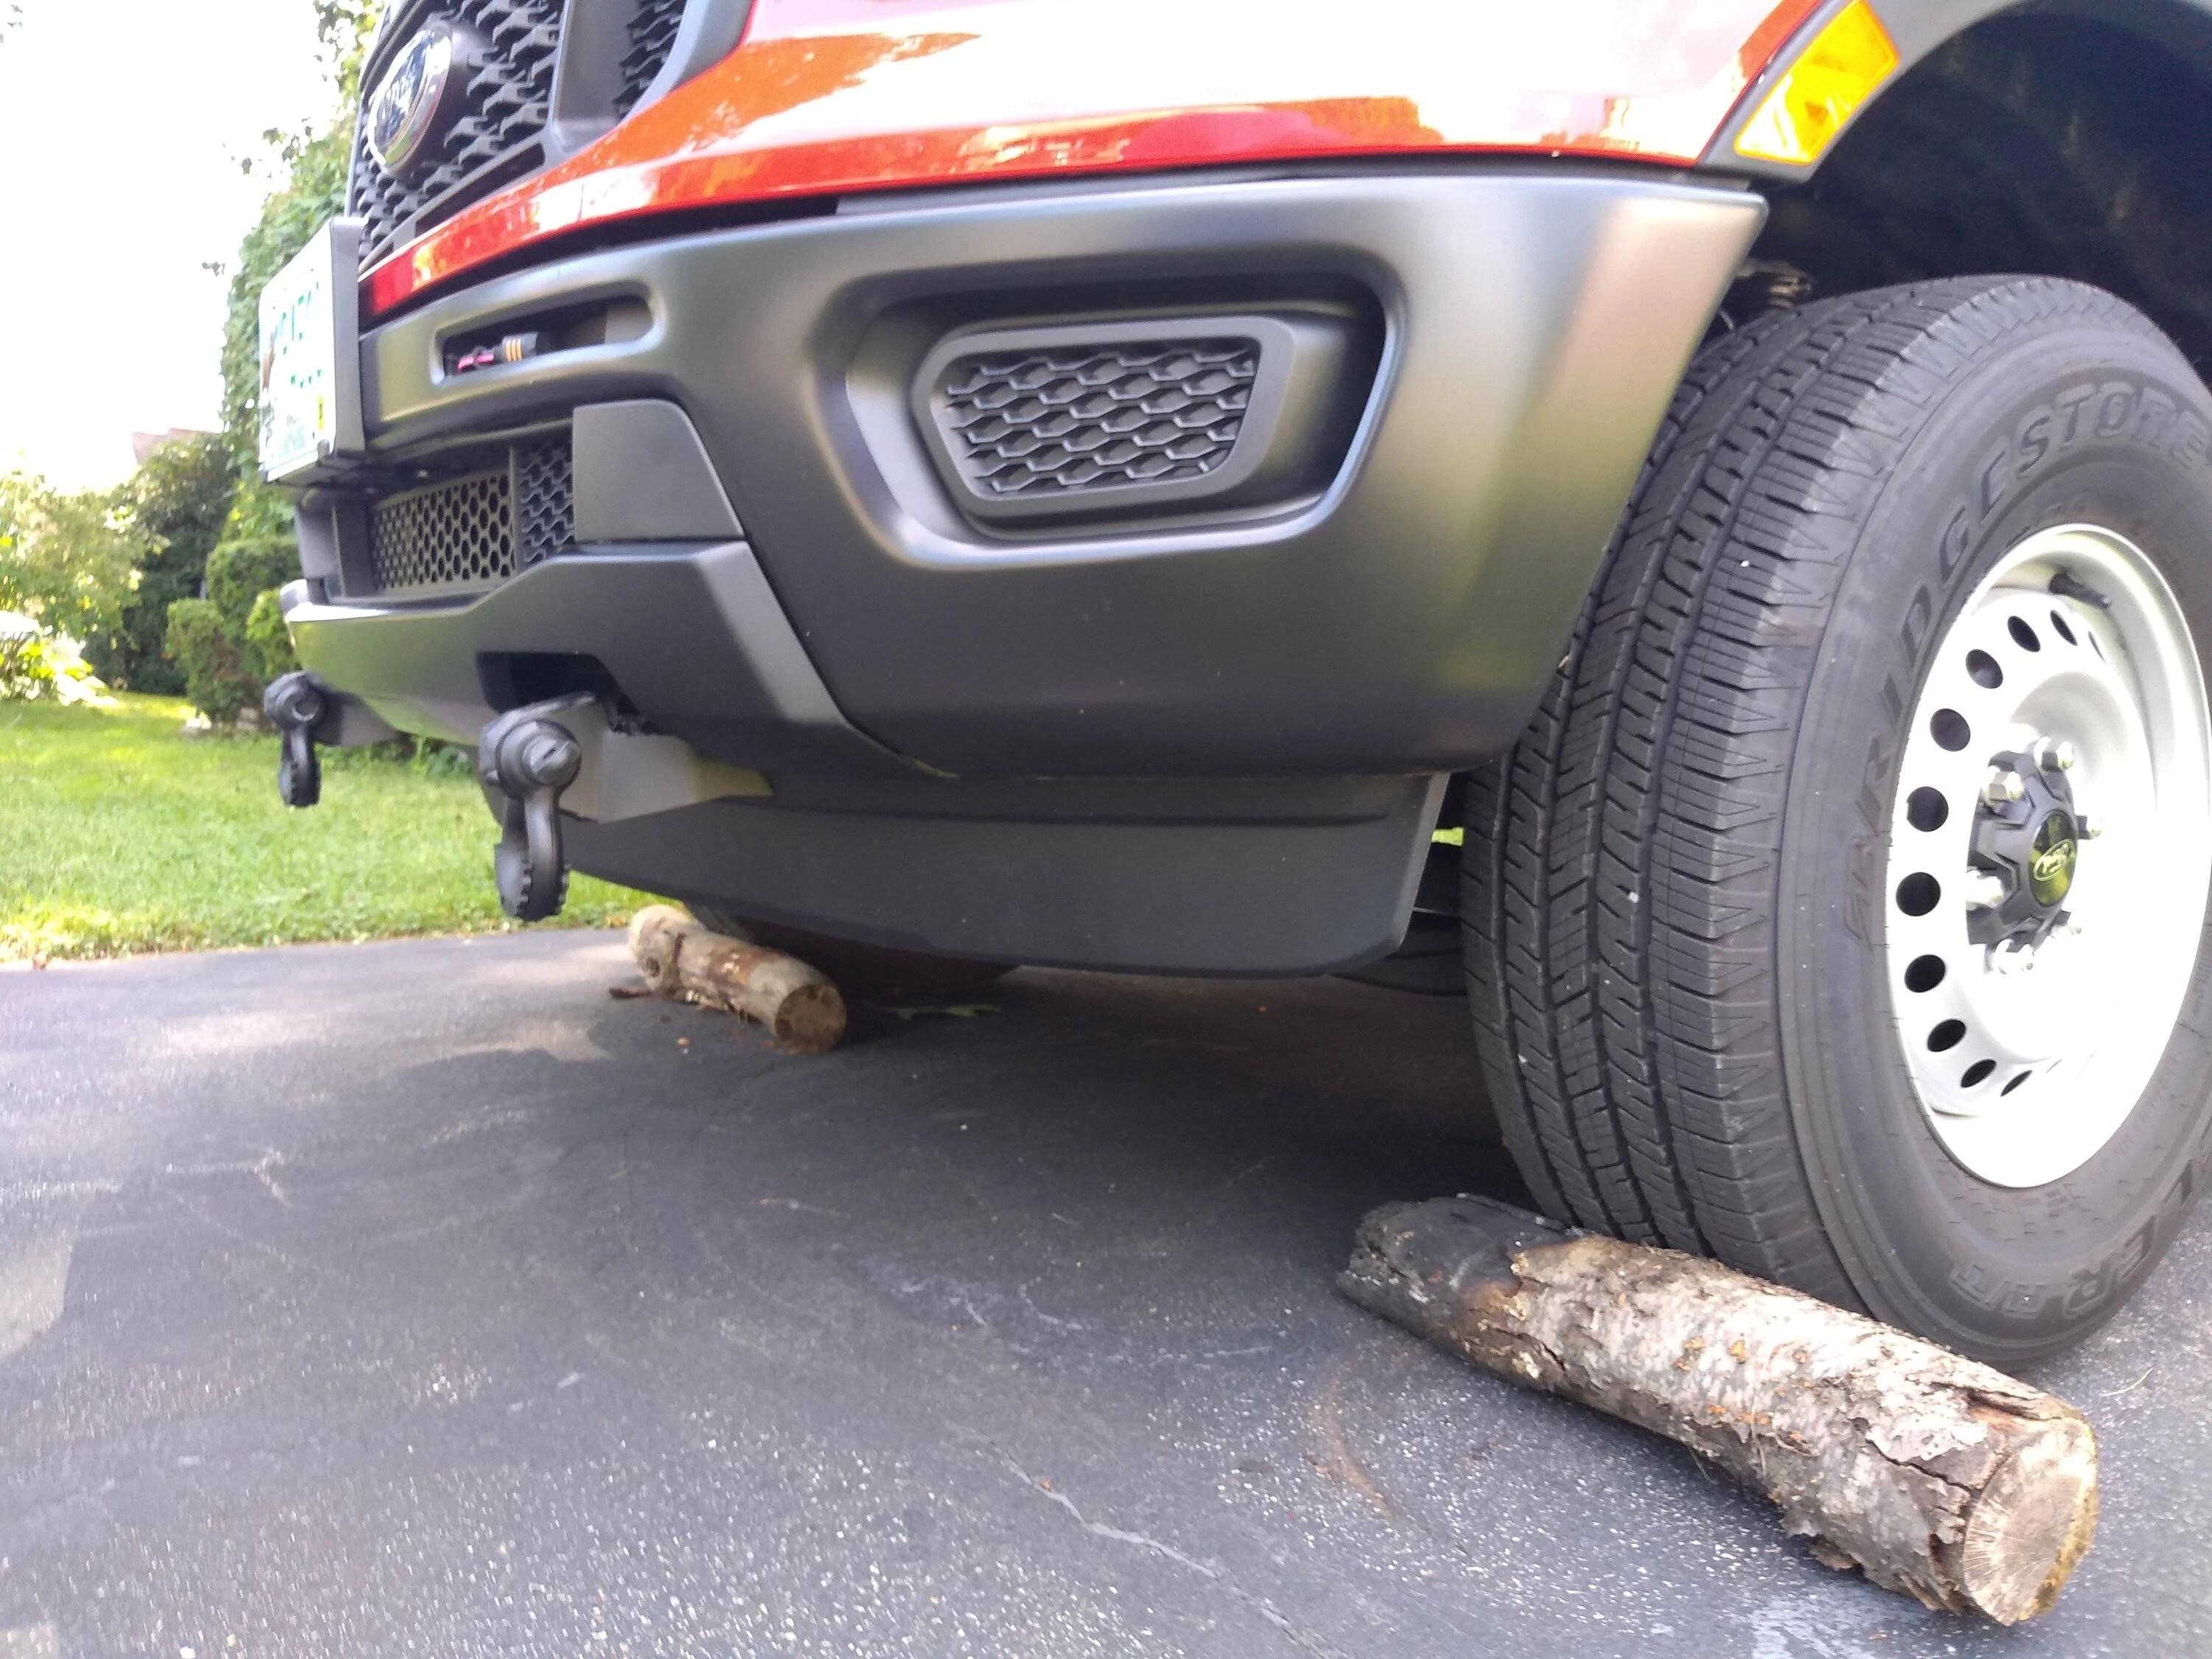
only the best wheel chocks! I did, at least, "preload" them by putting the truck in neutral and letting it roll into them, I didn't want my jack shifting too much later
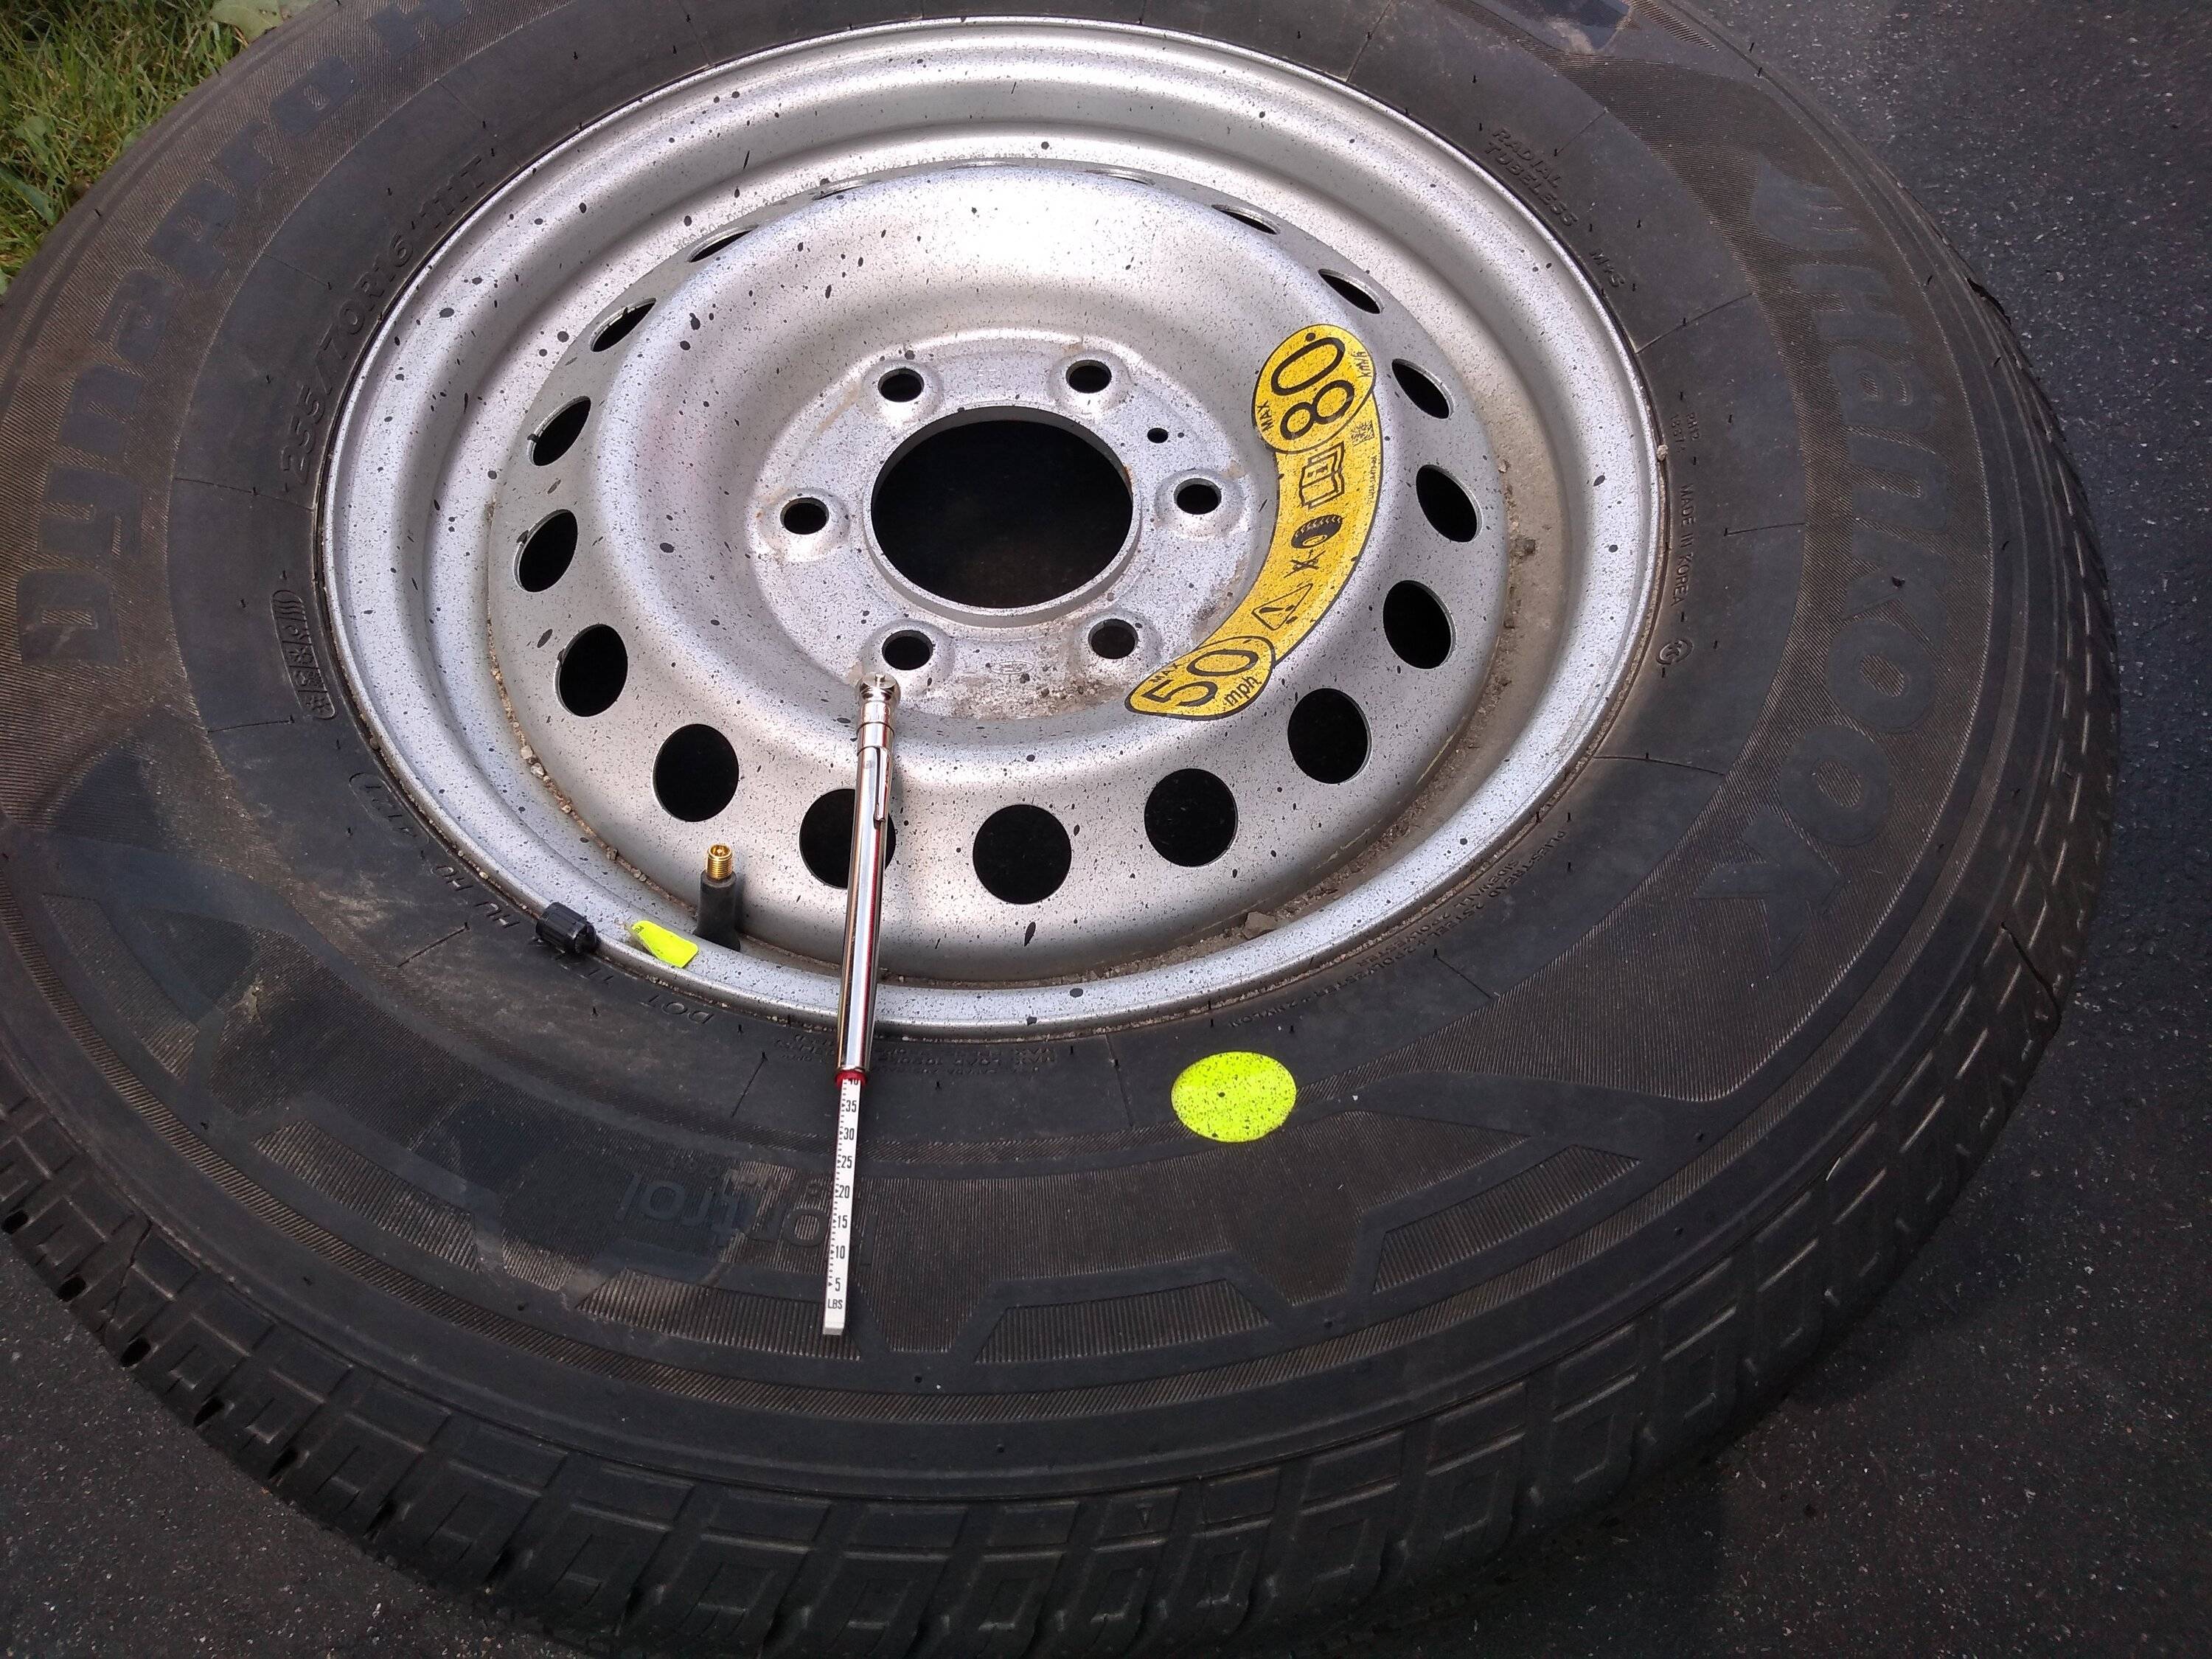
friggin' spare took 10 minutes of screwing around - move Cheech's supercab bed, get out the jack, and then trying to line up the hole? had to get the work light out, and was I frustrated, ugh - but down it came and it's at 40psi. When I put it back up, I flipped it so I can get to the valve stem. It's in the back and if it ever got ripped off, then that'll be one hell of a dump run story! =D
it's a Dynapro! my other tires are Bridgestone Duellers
and the crap starts to accumulate under the truck, and thank God for knee pads! didn't need any extensions or wrenches or the hand ratchet
used my tire iron to break the 4 bolts loose (I keep my 30-inch breaker next to the driver seat, for those fast tire changes ...) =p
as you can see I also took off the rear tires, I have an impact wrench so it was an excuse to use it. I did scratch the plastic cap Ford logos because I put the lug nuts in them like a bowl and then promptly slid them around on the asphalt - derr!
super easy to reach all the bolts and captive nuts make it easy to take them out
patient foreman as I cuss like the Pacific Fleet's in town! =p
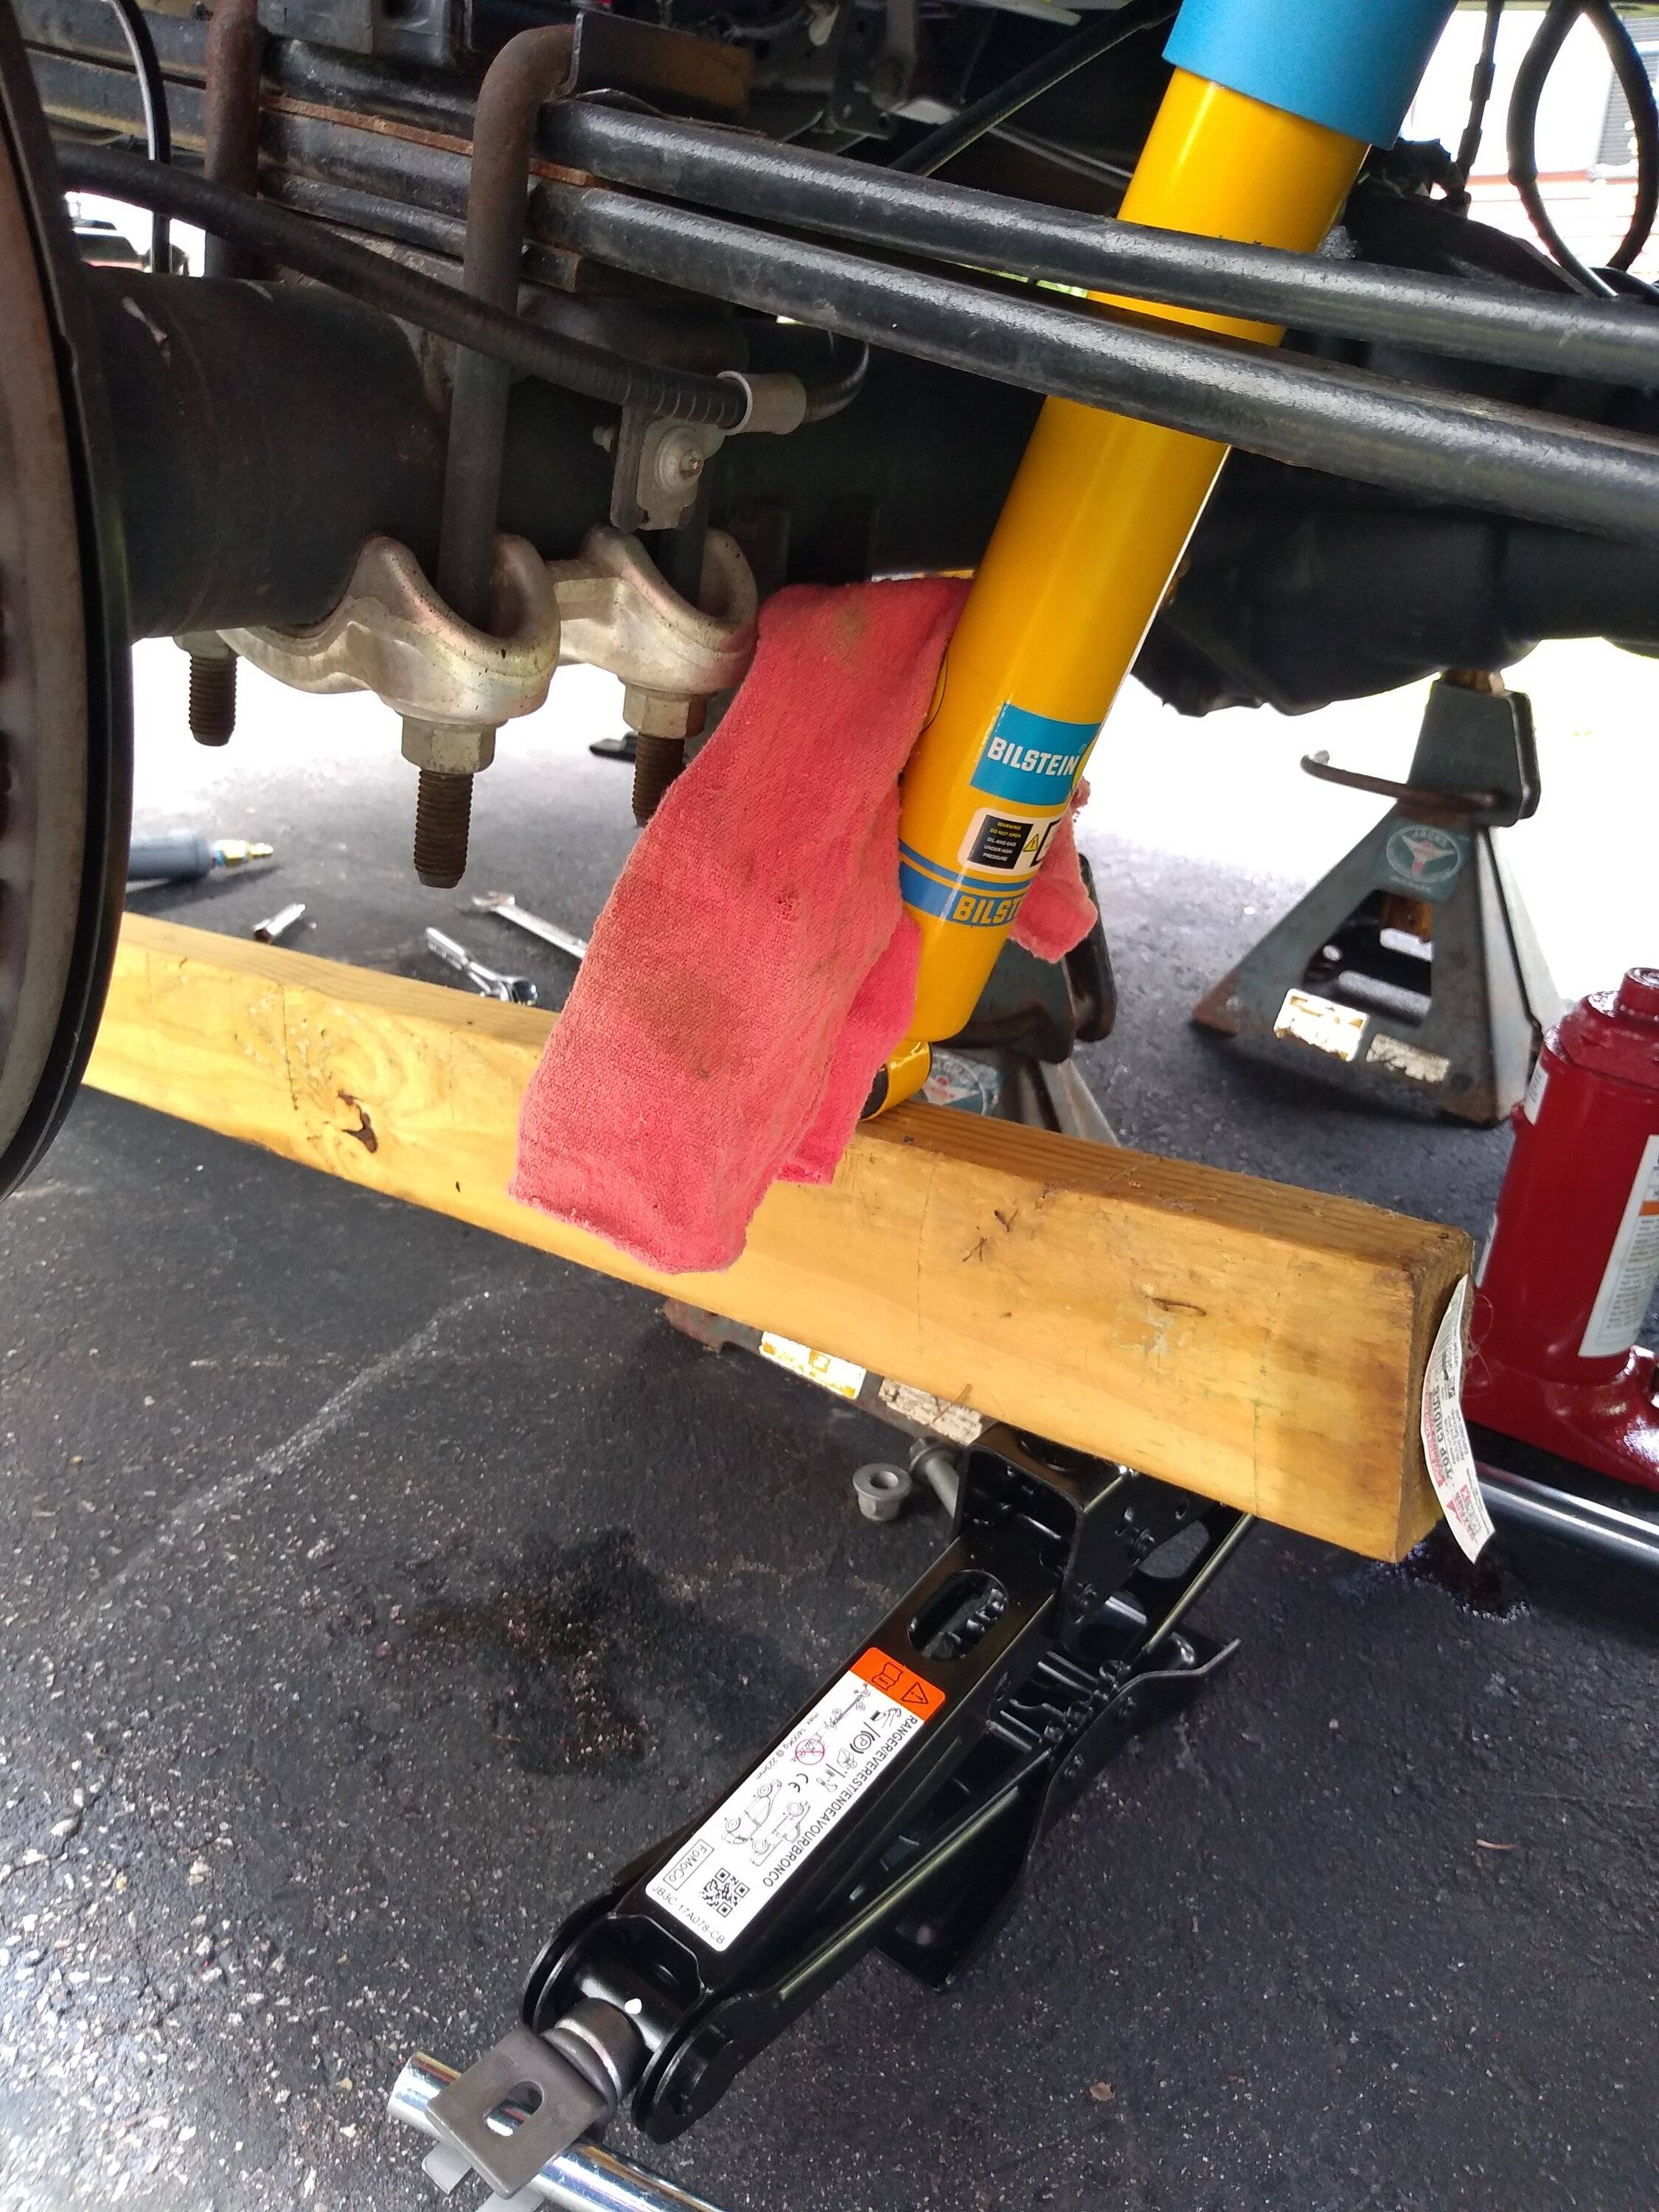
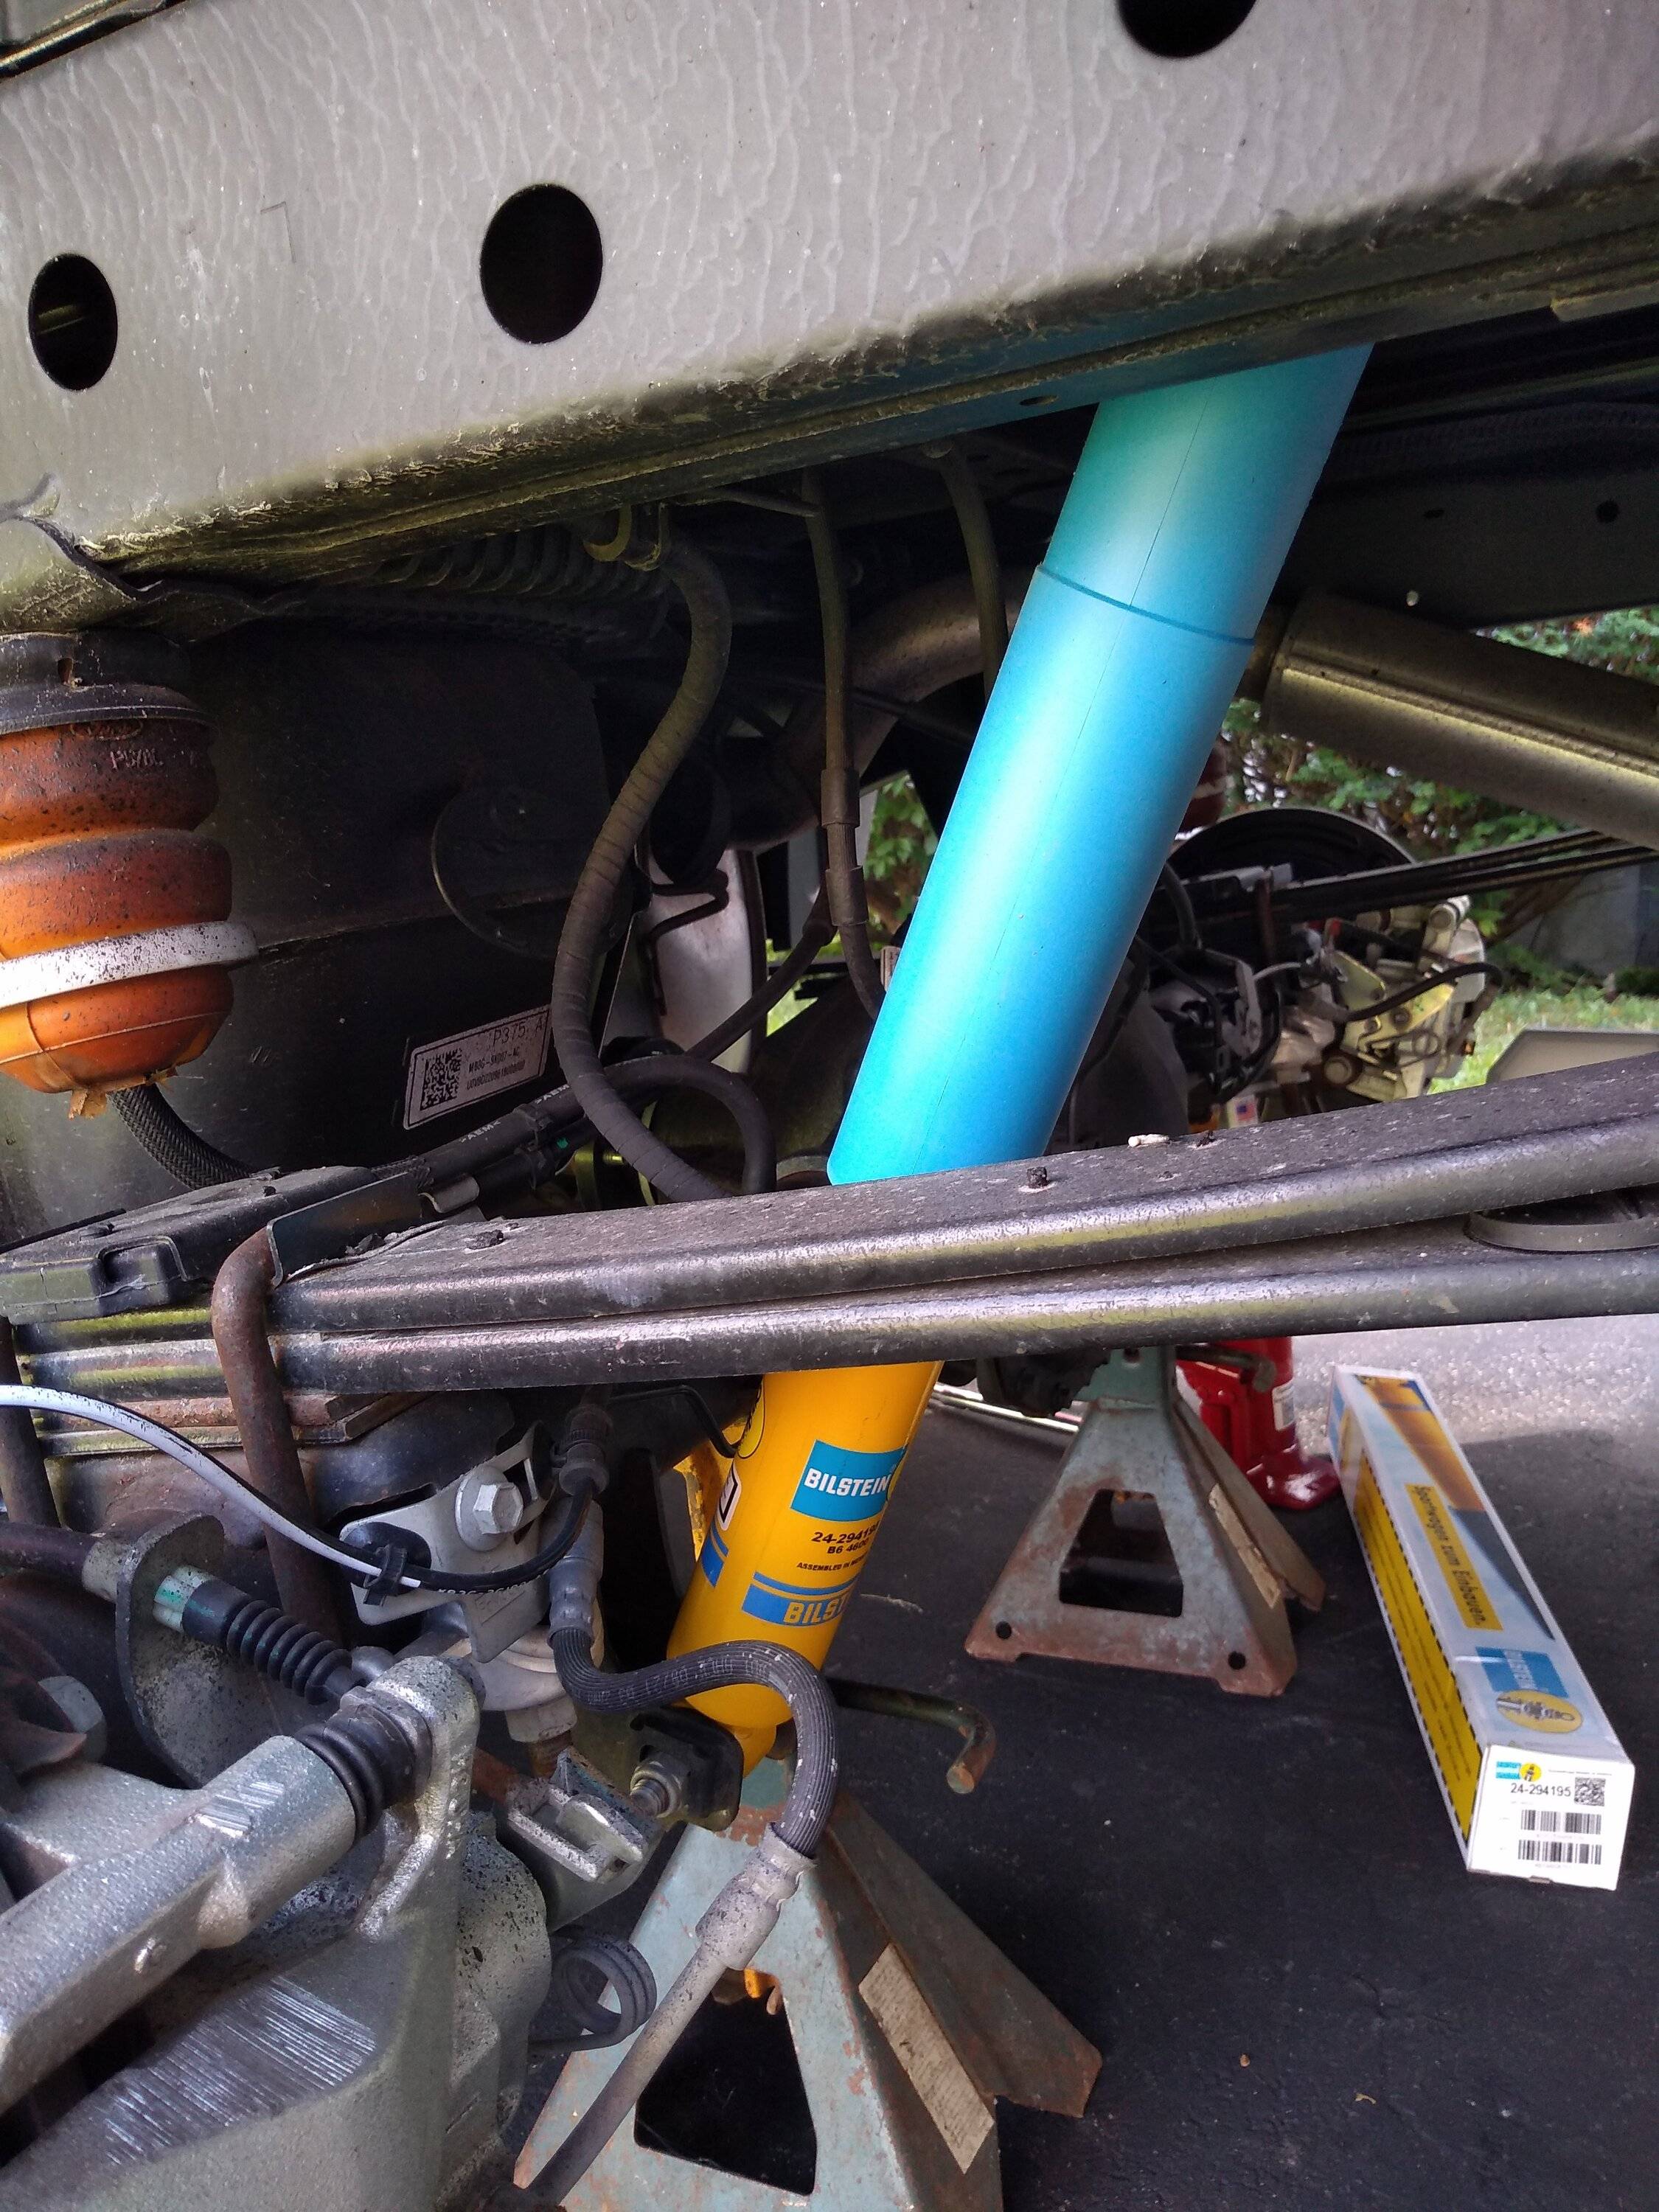
driver side went in super easy, but I had a hard time compressing the passenger side, so I did this "creative" thing
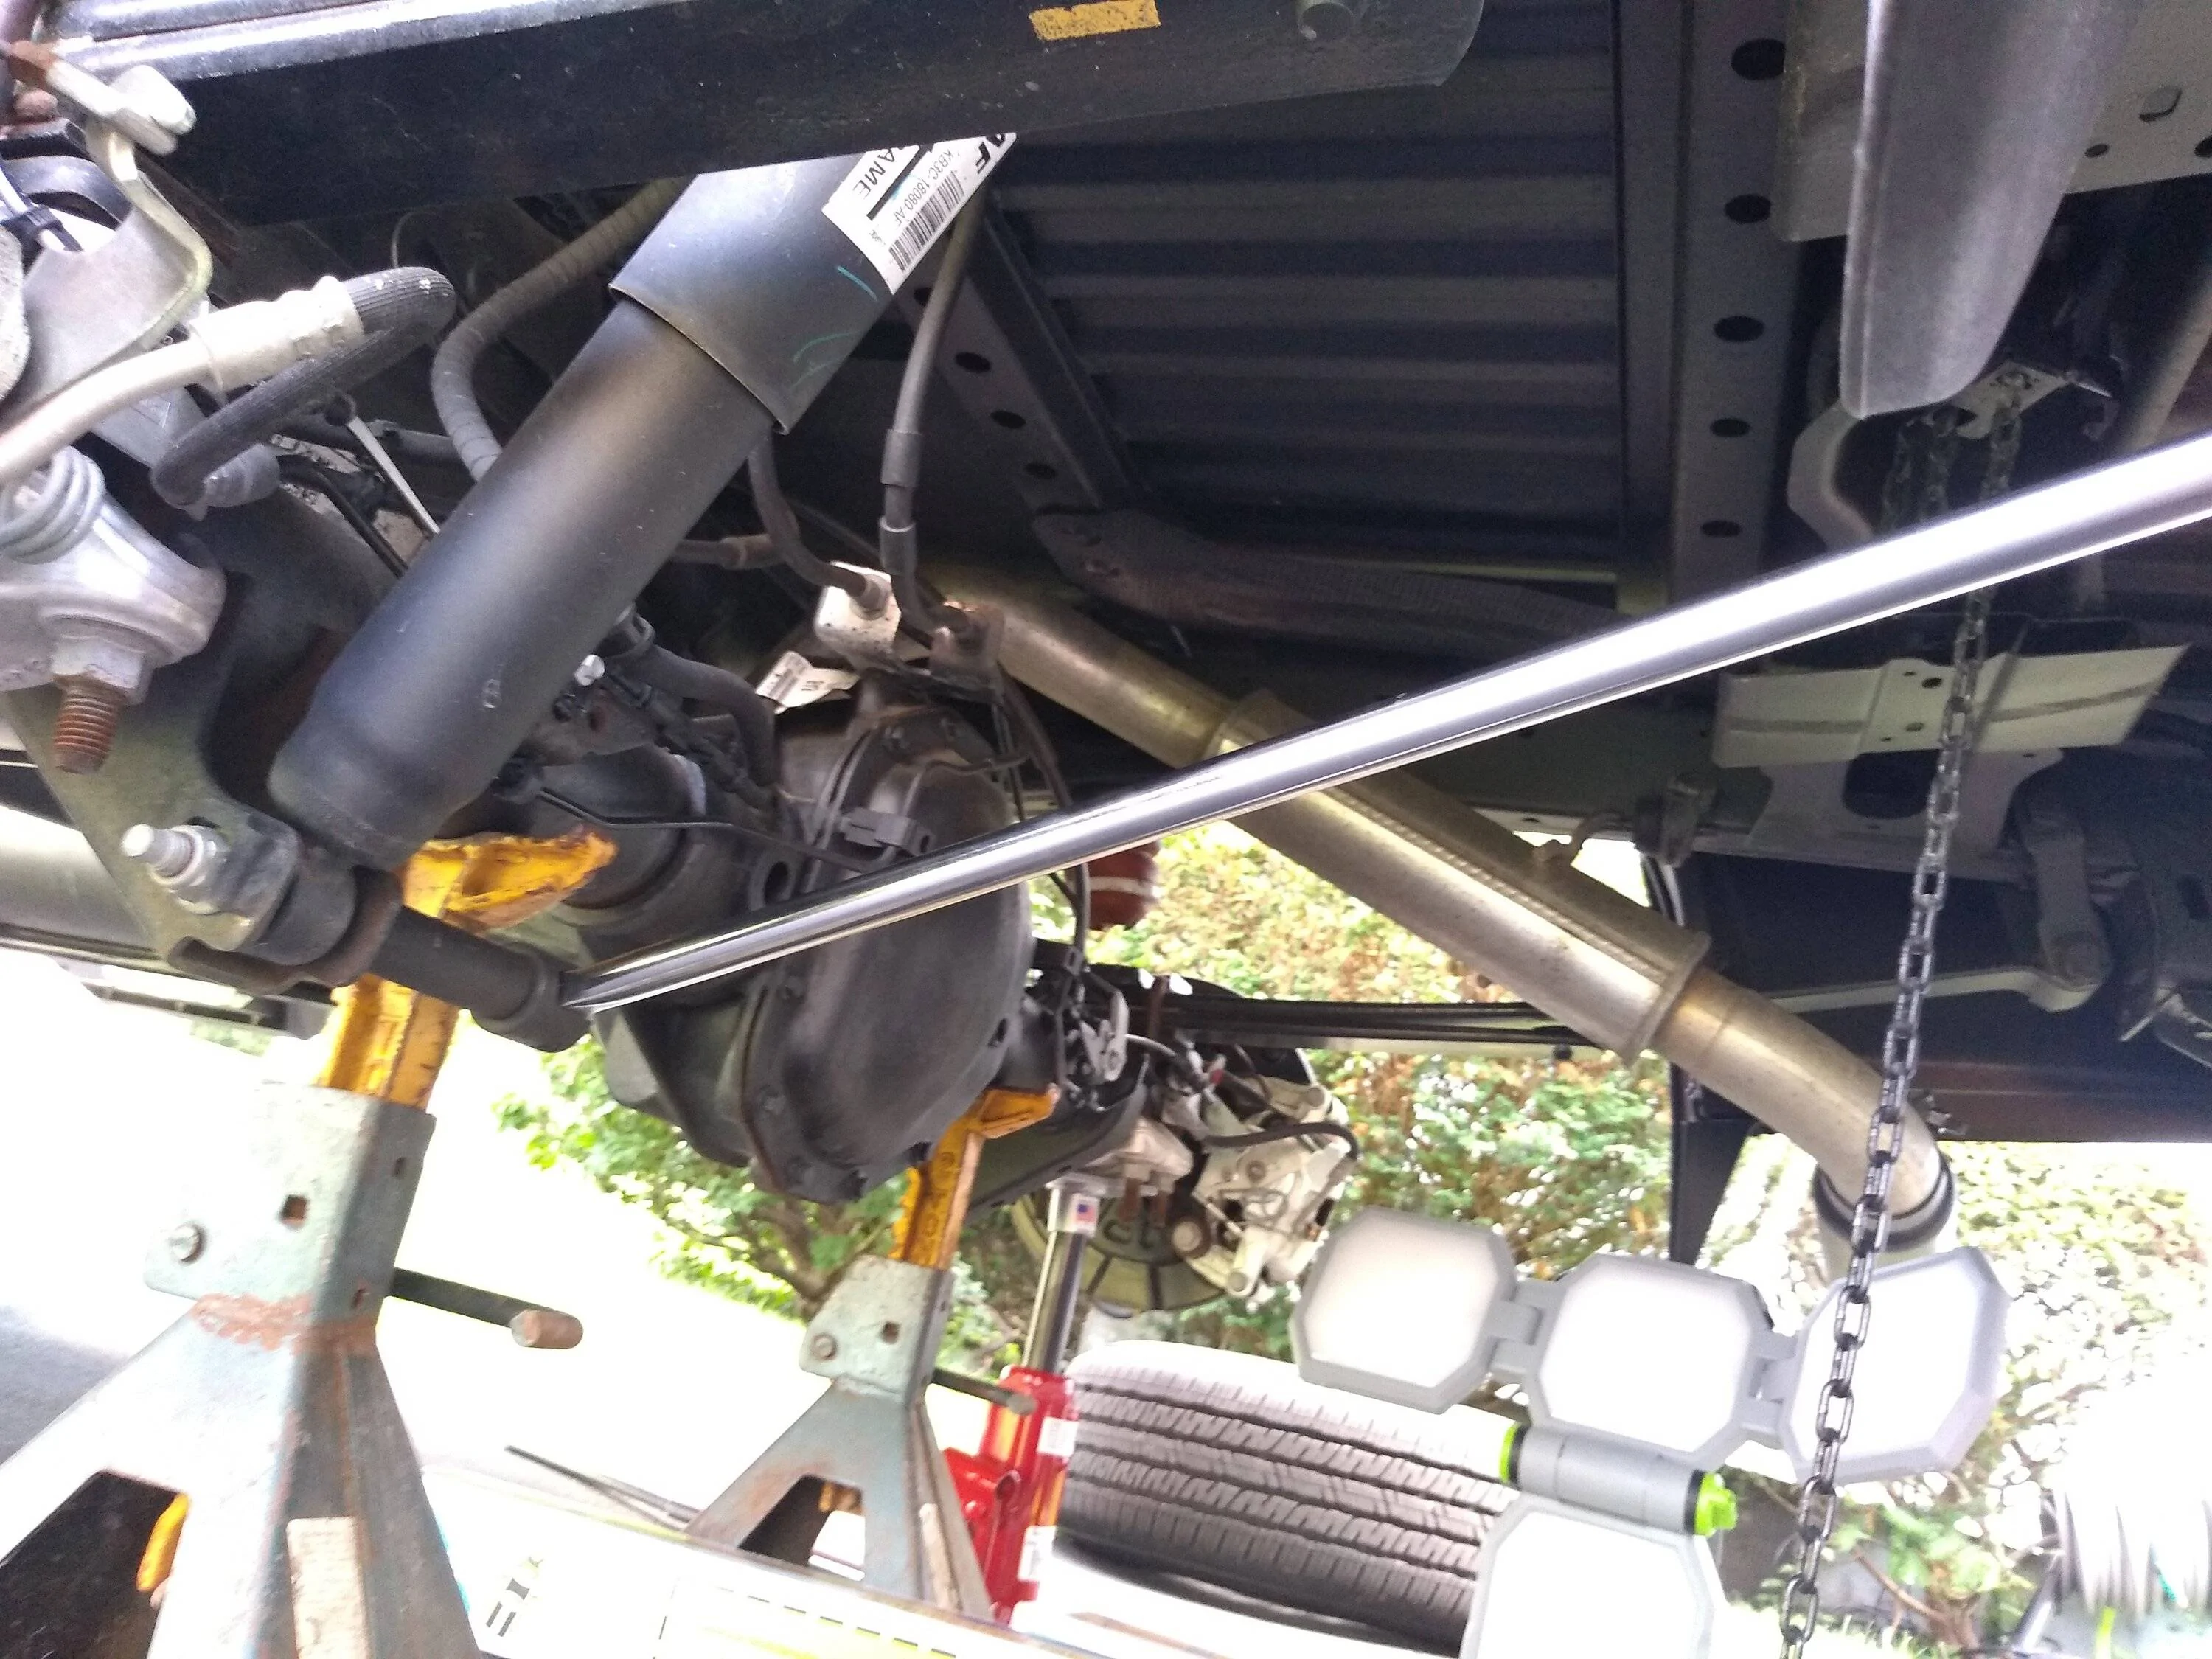
finally, it's in there!
torque all four bolts to 52 lb-ft
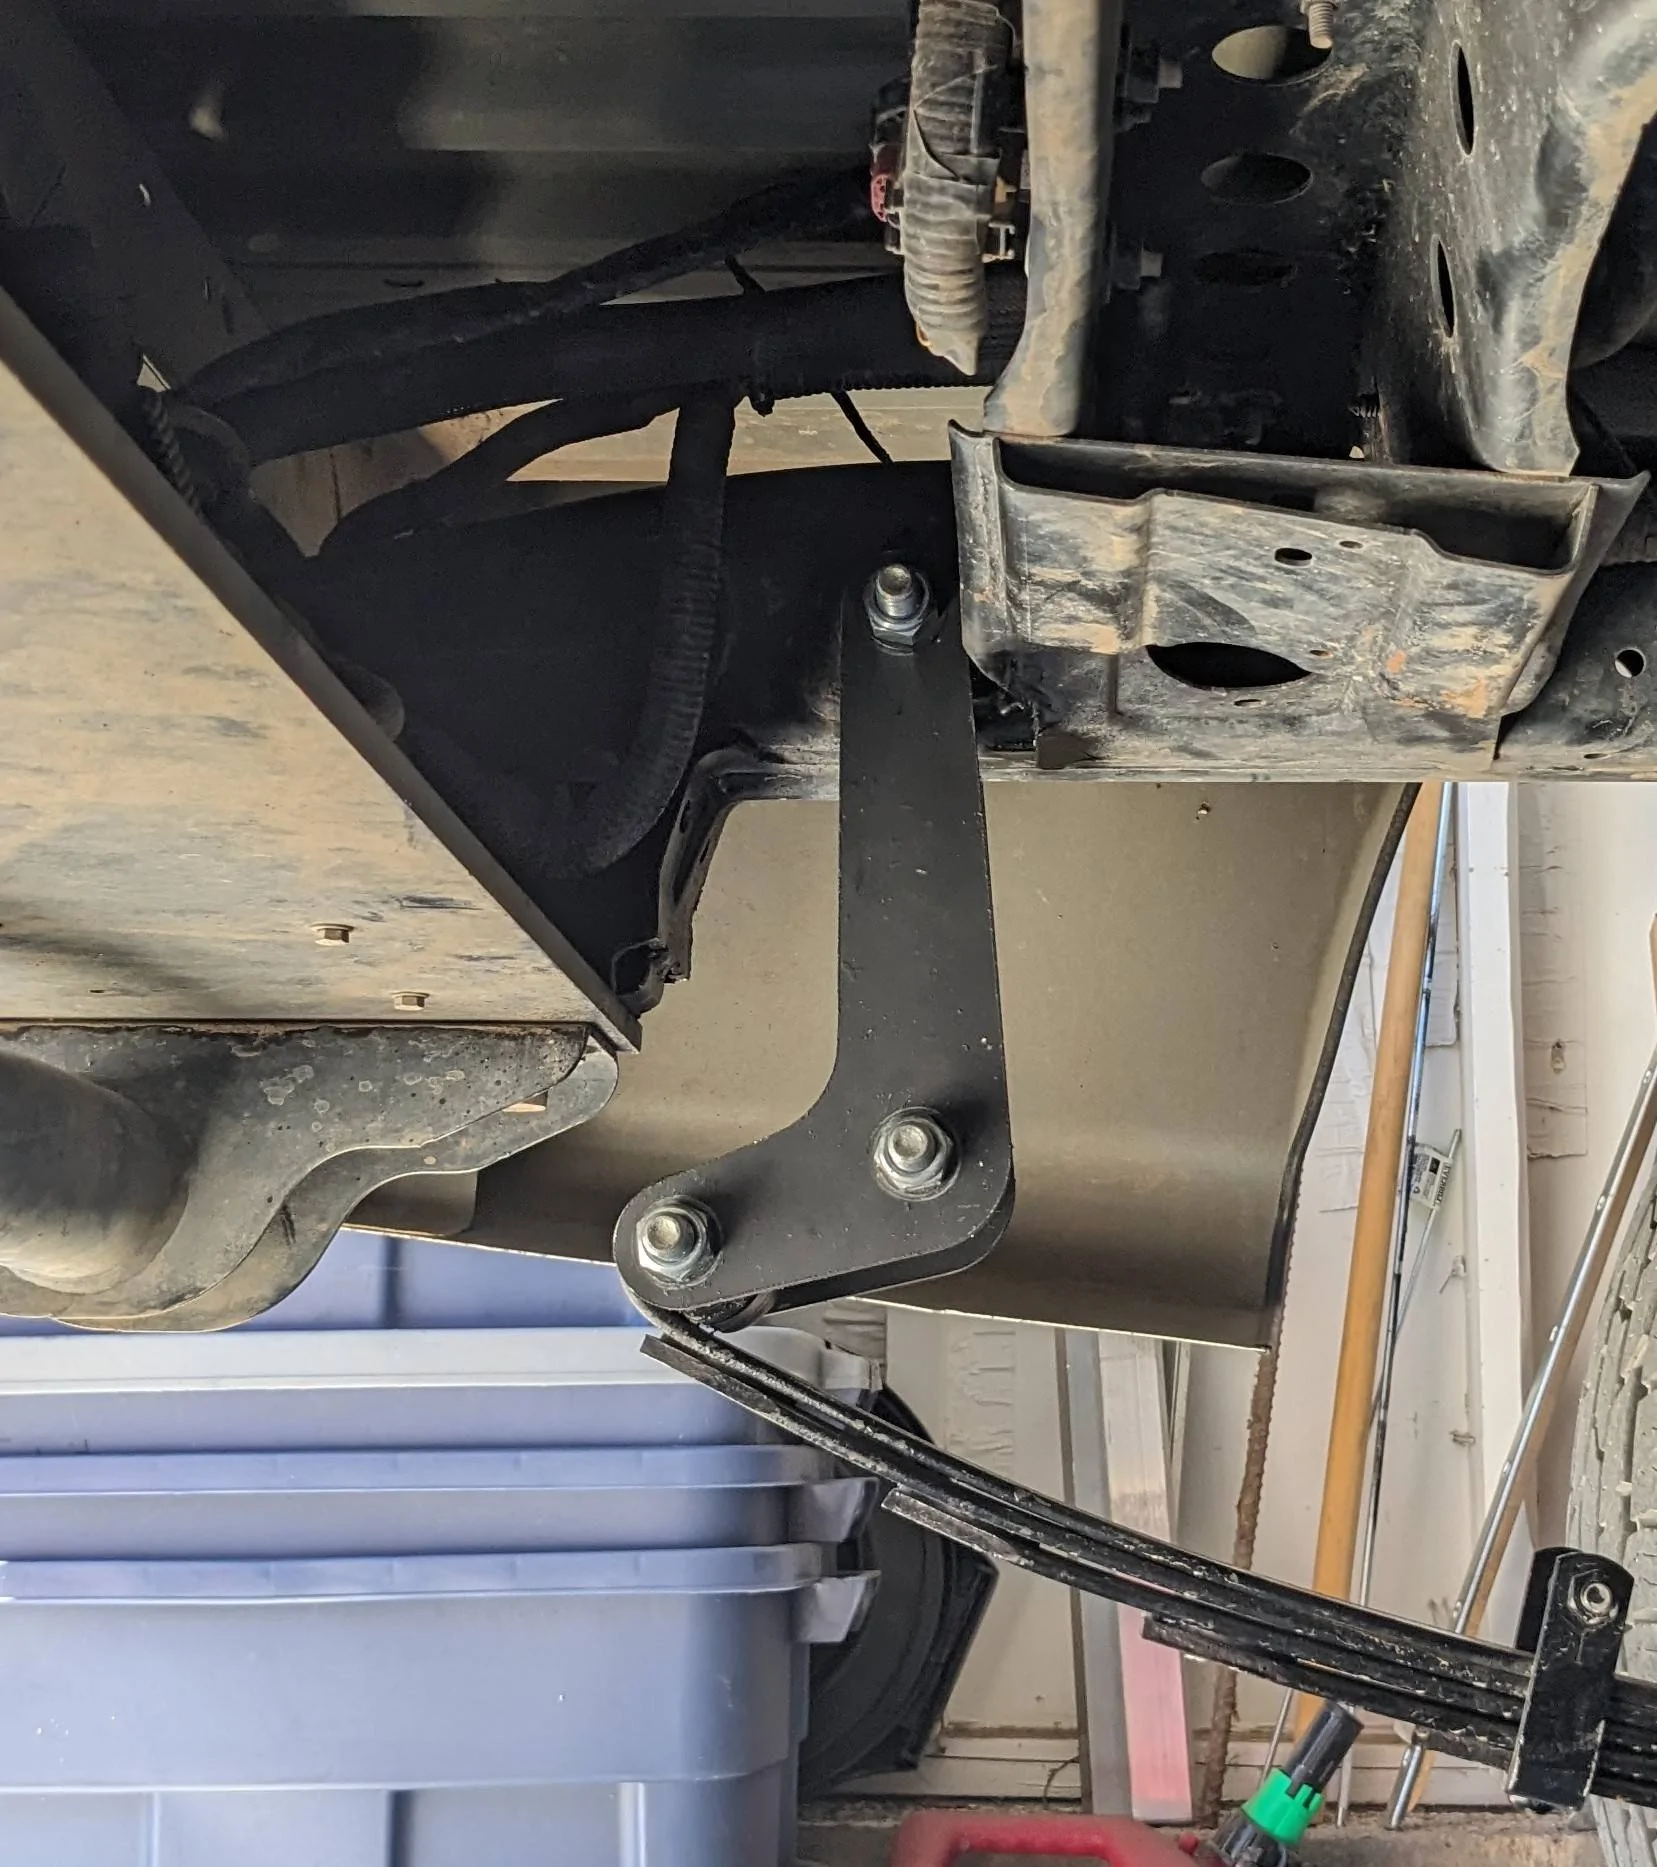
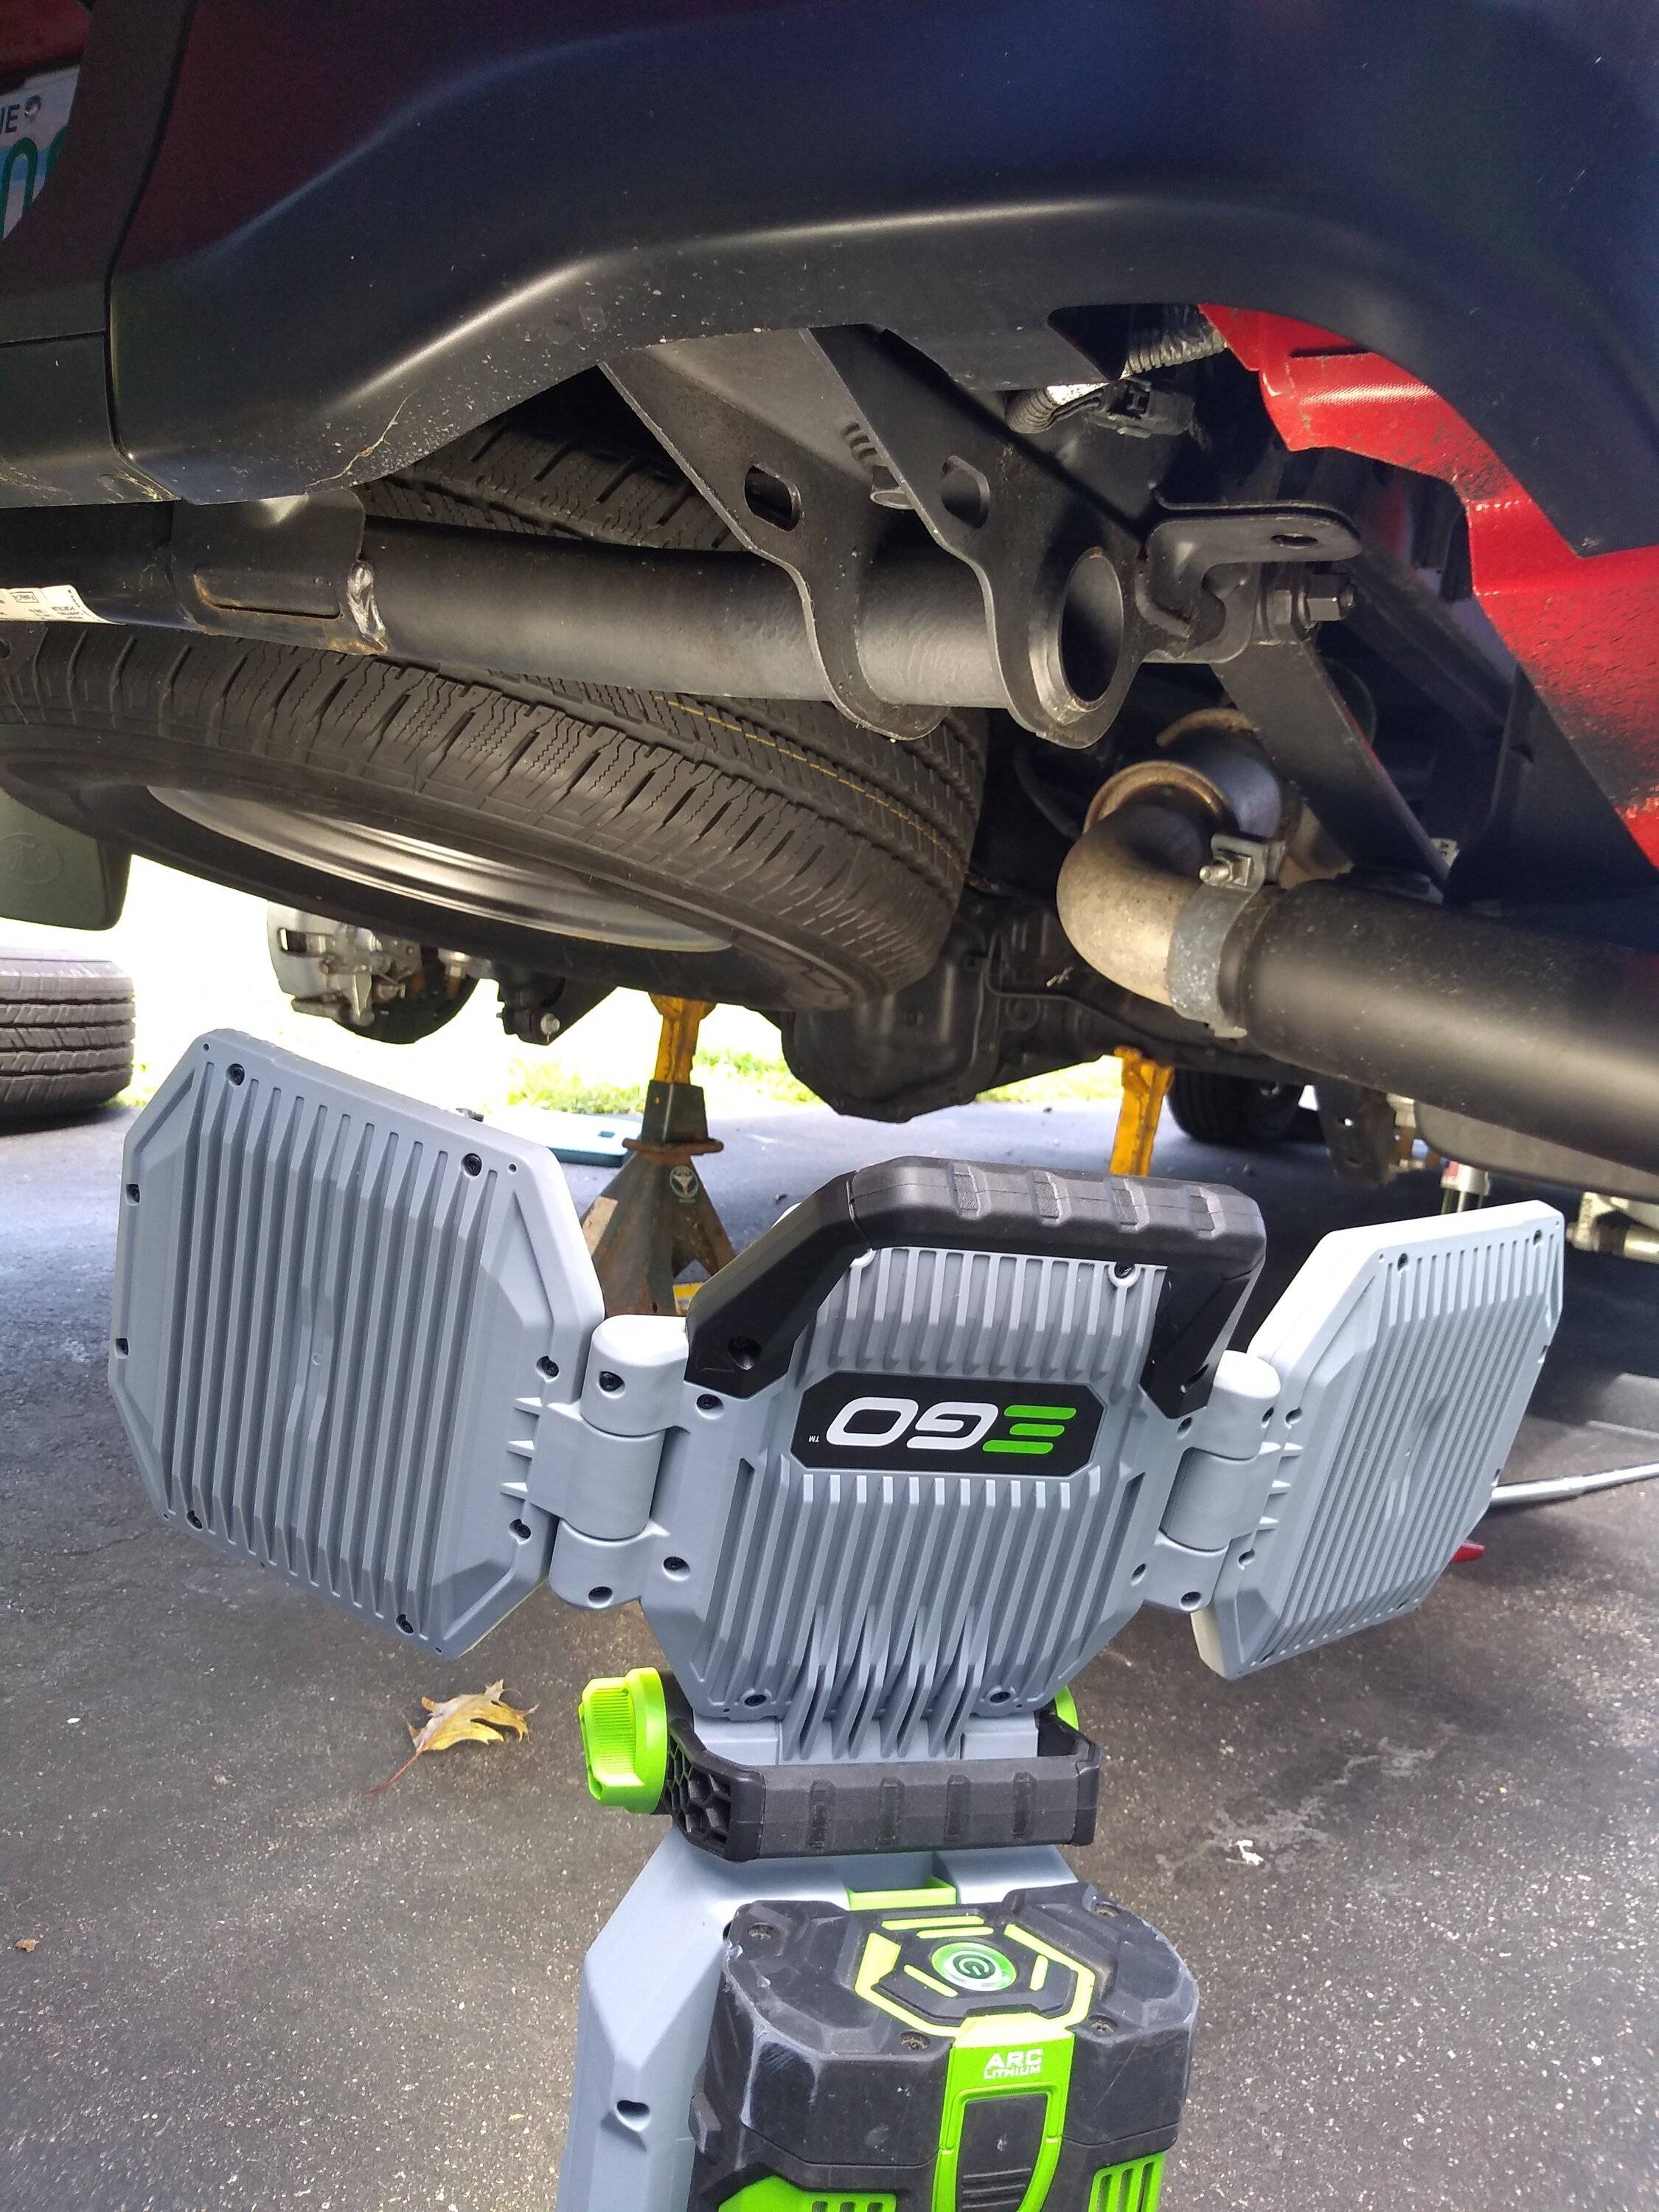
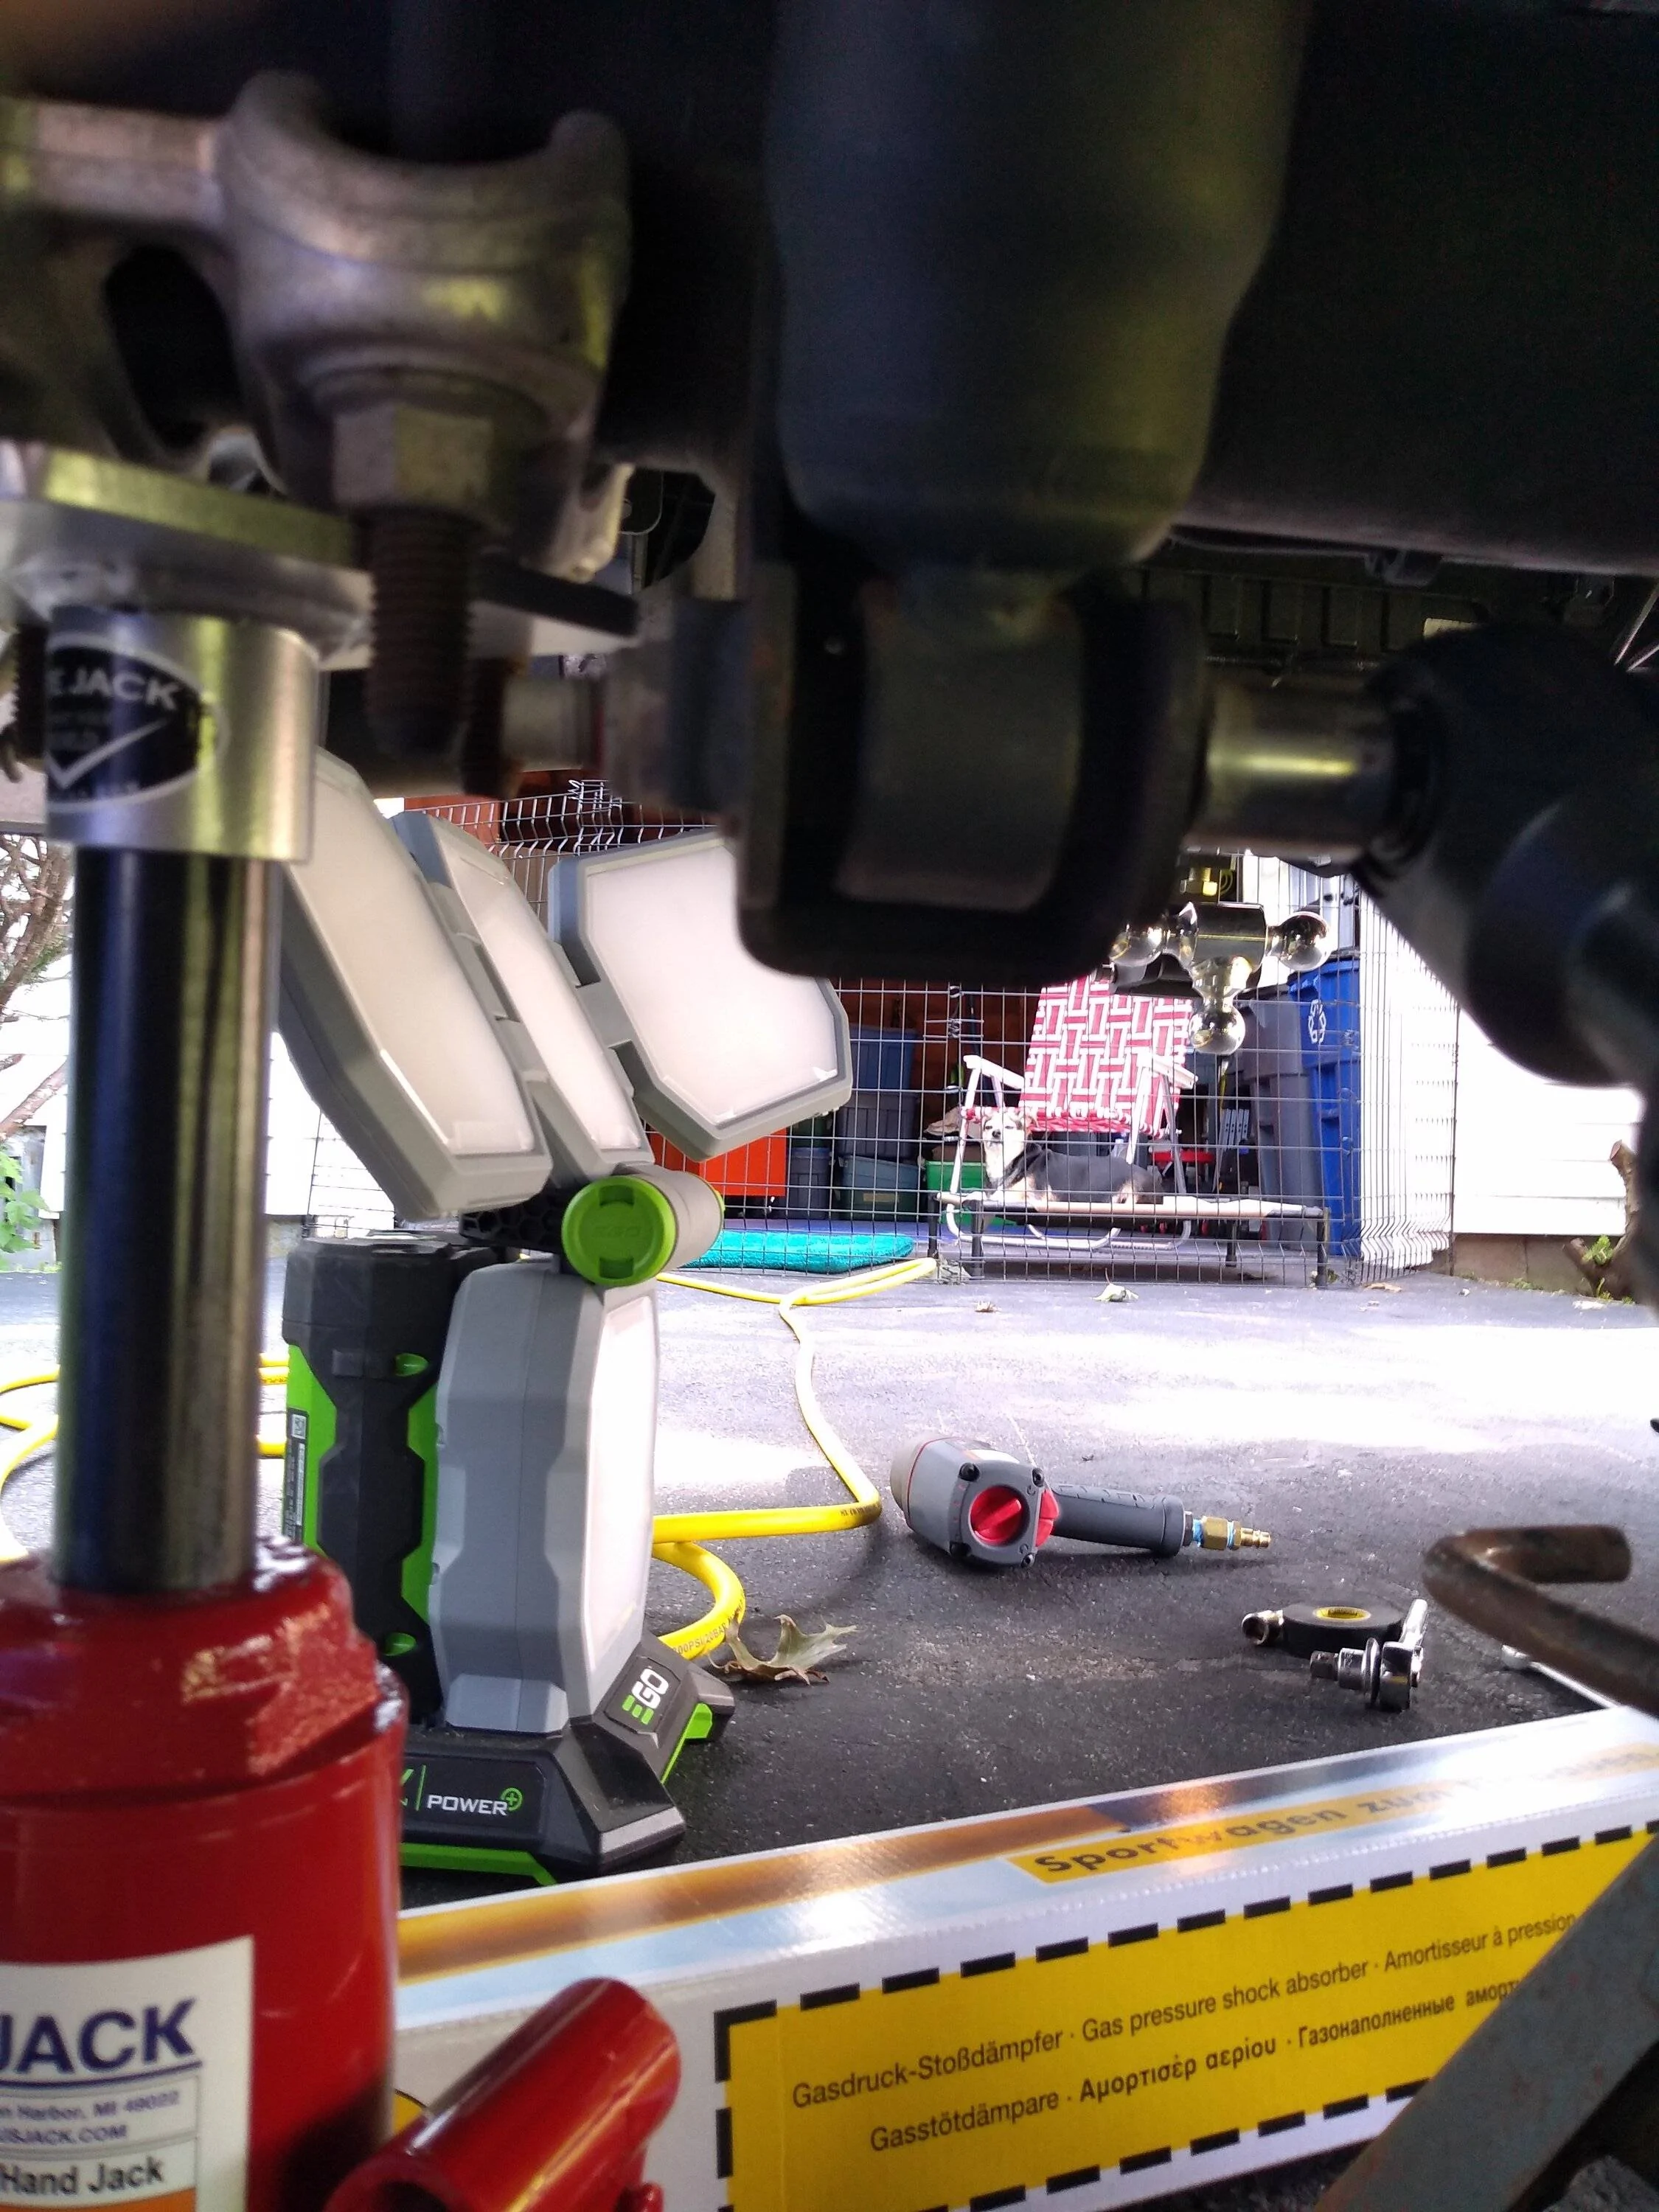
I jacked on the leaf spring hangers using a Safe Jack square plate that diagonally fit inside of the four bolts and placed the jack stands, as the manual says, on the axle. I also pushed the rear tires under the frame. That oil spot where a bolt is? My brand new $315 US Jack! I'm fit to be tied that it leaks and it'll get returned!
you can kind of see how that jack plate fit between the hanger bolts. You can also see the foreman keeping an eye on me =)
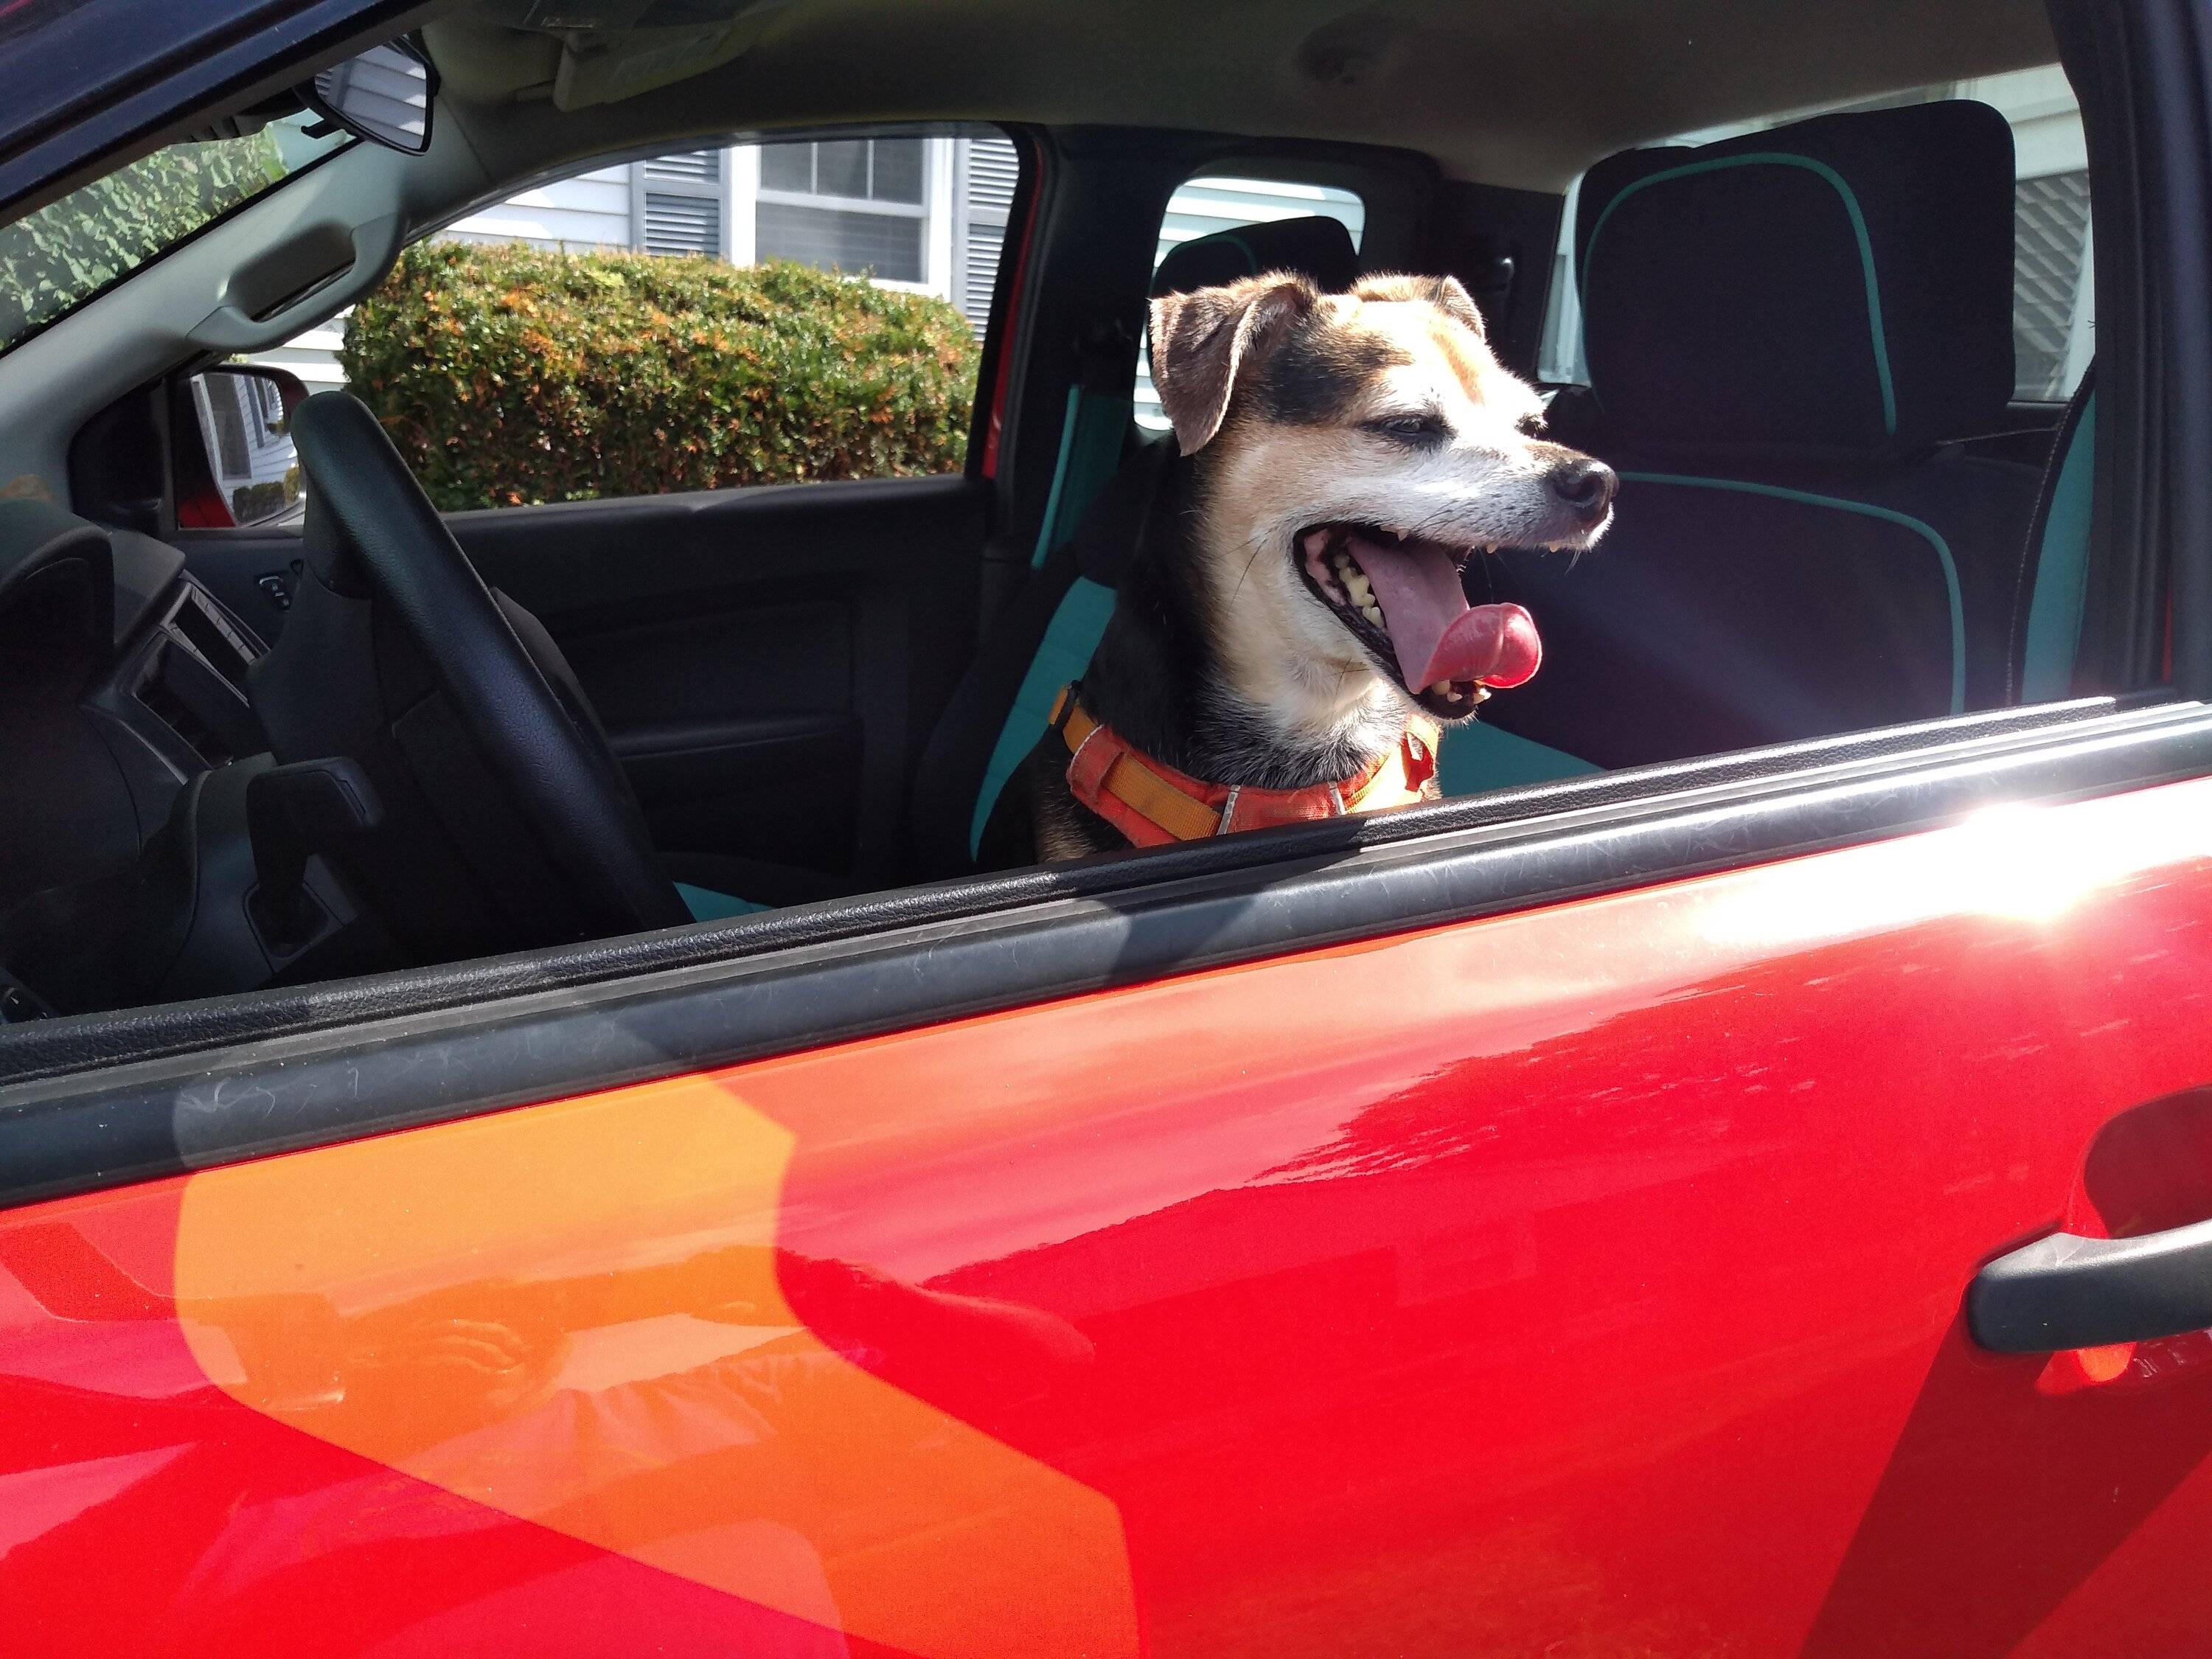
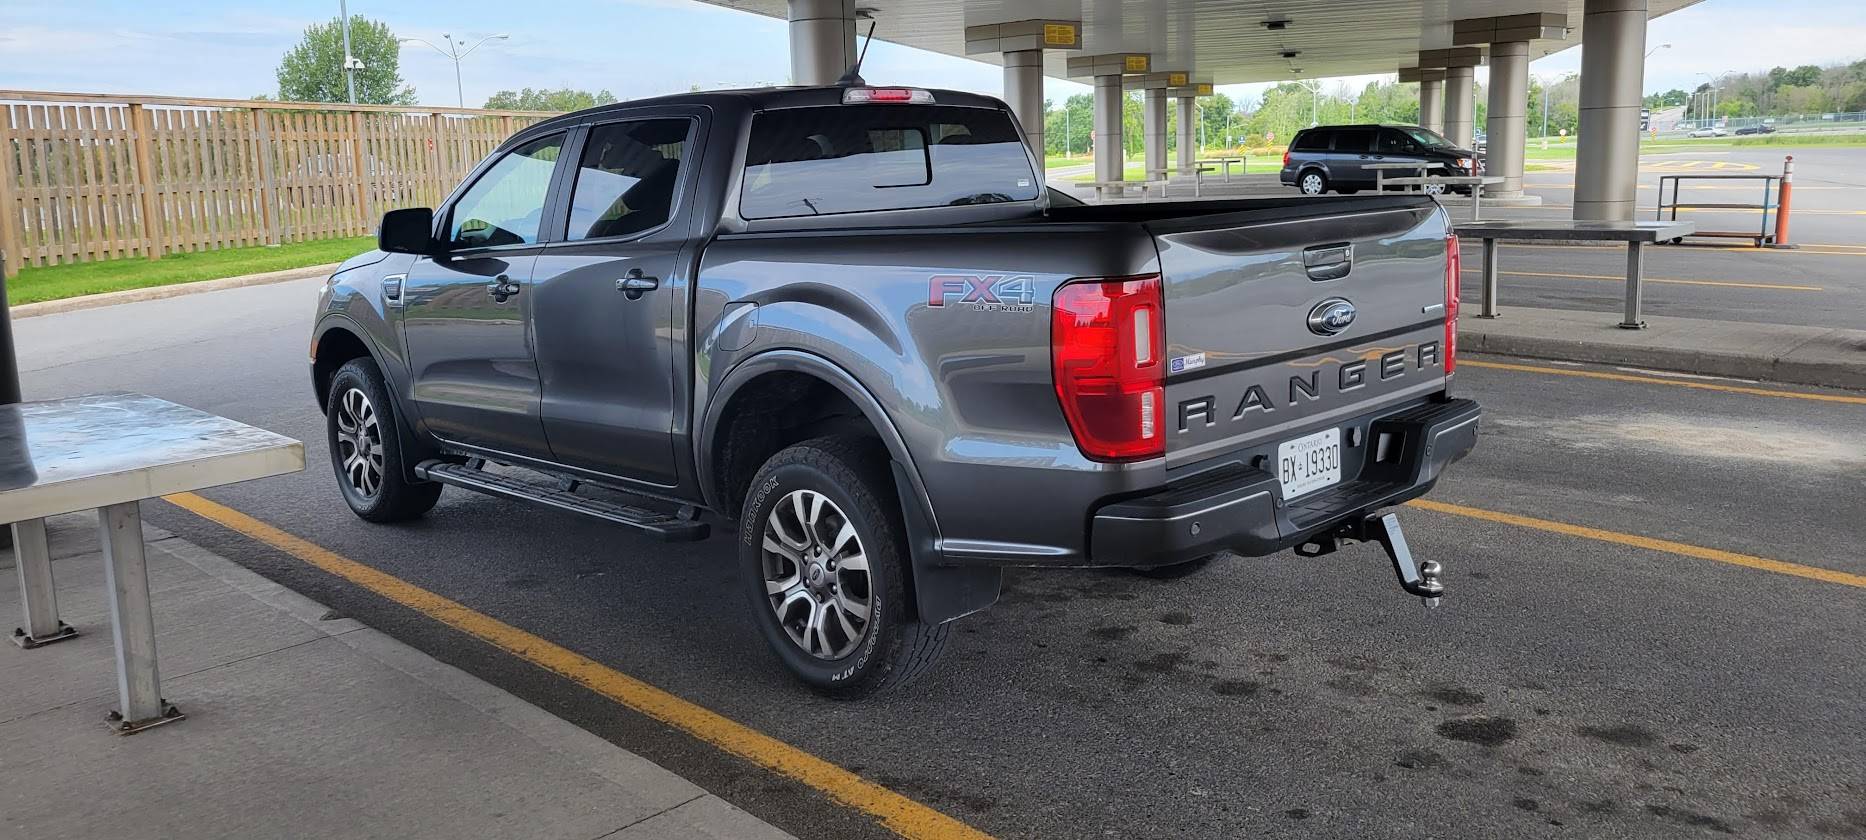
then the foreman insisted on a test run and we went to Wendy's for a double cheeseburger (by the time Cheech was done, it was a single for me!) =p
Odds and Ends
I had brought out tape to hold the upper captive nut on the passenger side, but it stayed in place and there was no way I could have gotten tape on it anyway. I did hold the nut when I placed the bolt back in until I ran it in with the air ratchet.
It probably took me two hours going at a very leisurely pace - it was nice out and I decided to take it very easy. It certainly can be done without removing the tires or even the spare. And hand tools would have simplified setup and take down. I imagine 15-20 minutes would be more than ample going this route.
You only need a breaker bar, a 3/8" ratchet, and a 15mm socket. No wrench needed since the nuts are partially captive. Three of the nuts fell loose into my hand and they are easy to hold in place when reinstalling.
The Verdict
It's really hard for me to quantify it.
It does feel different and the best I can say is the ride feels muffled - like a heavy blanket's been tossed over Soupie.
It's different than having a heavy load or having several hundred pounds of trailer tongue weight. The bounciness is less harsh and slower. For $158 I'd do this all day long - I'm very glad that I did this.
Thanks to all who steered me to the Bilstein 4600s, they're just right for Cheech adventures and dump runs!

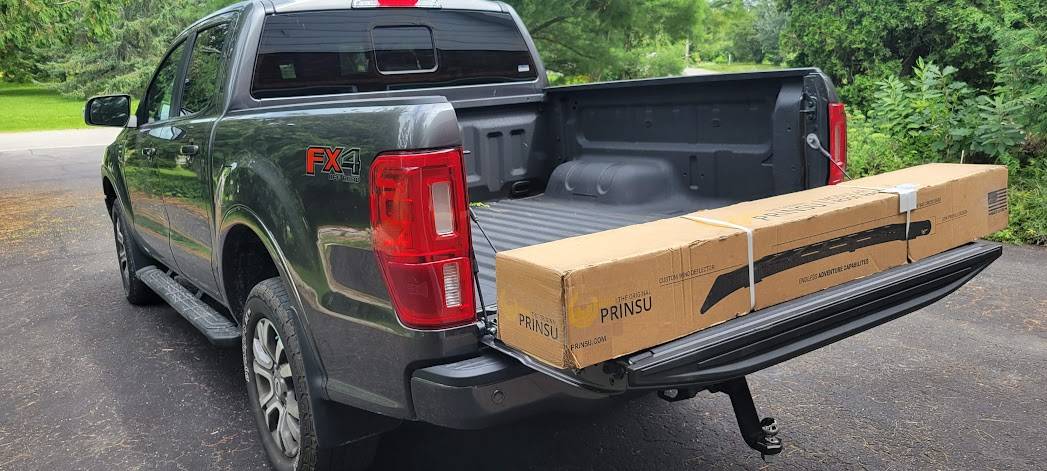
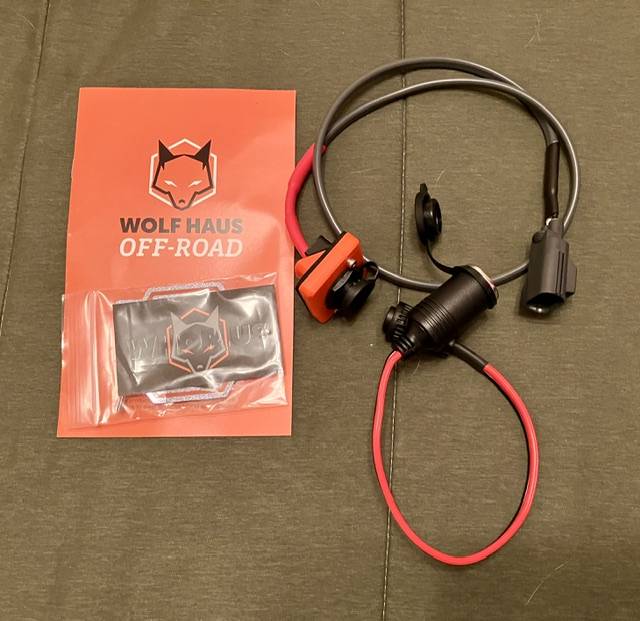
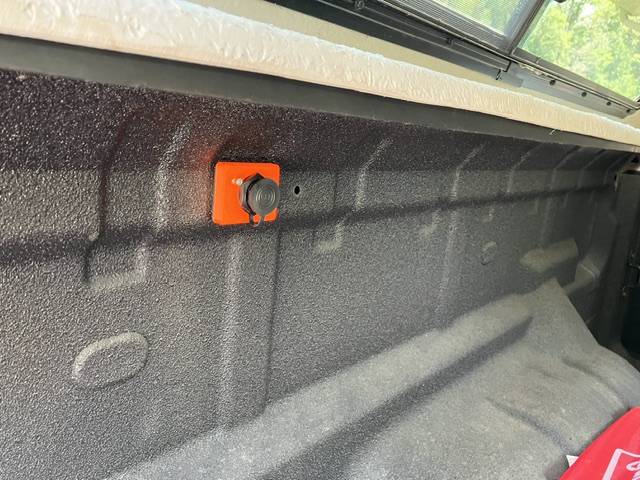
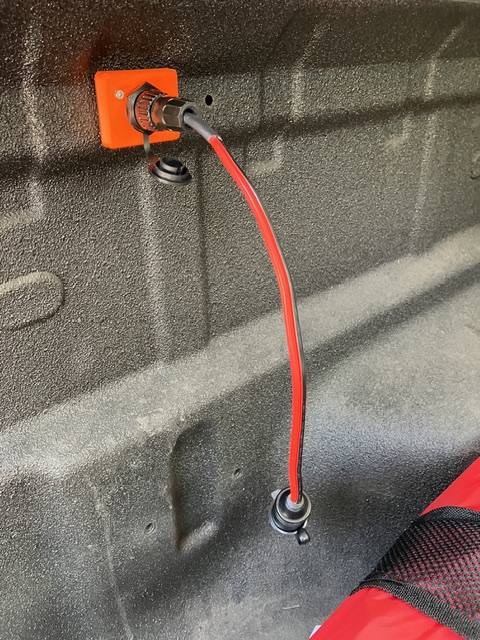
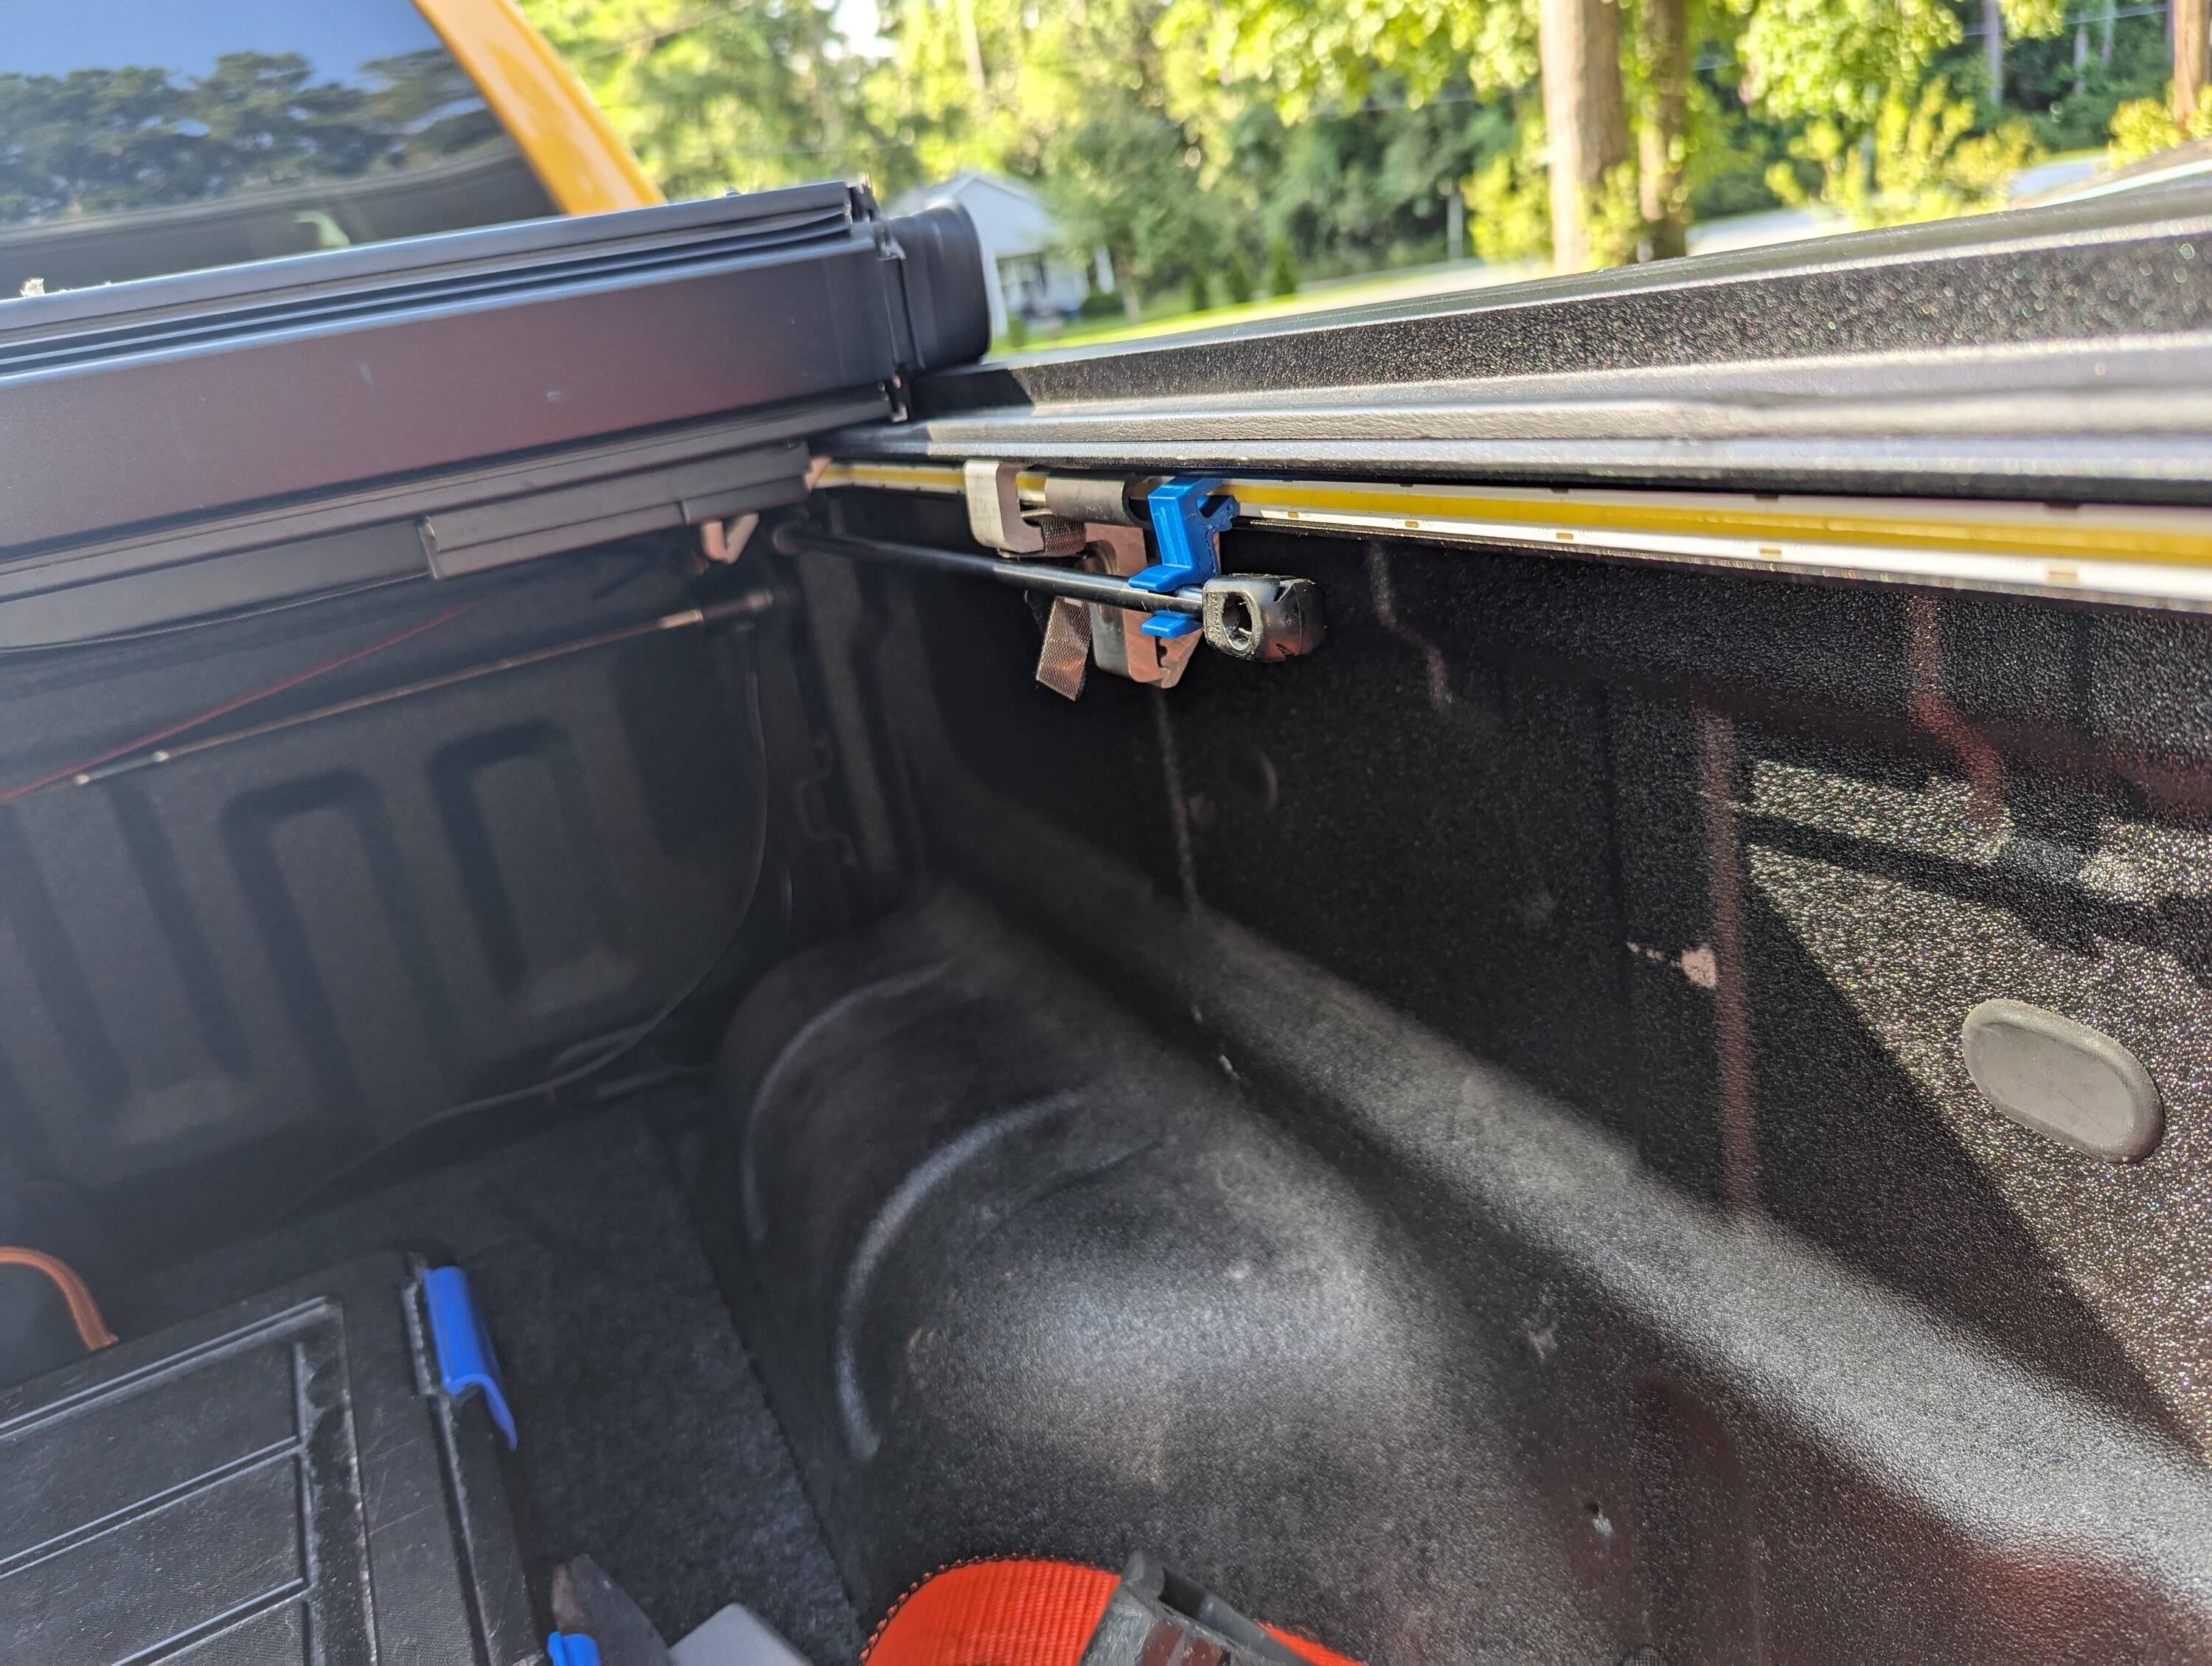
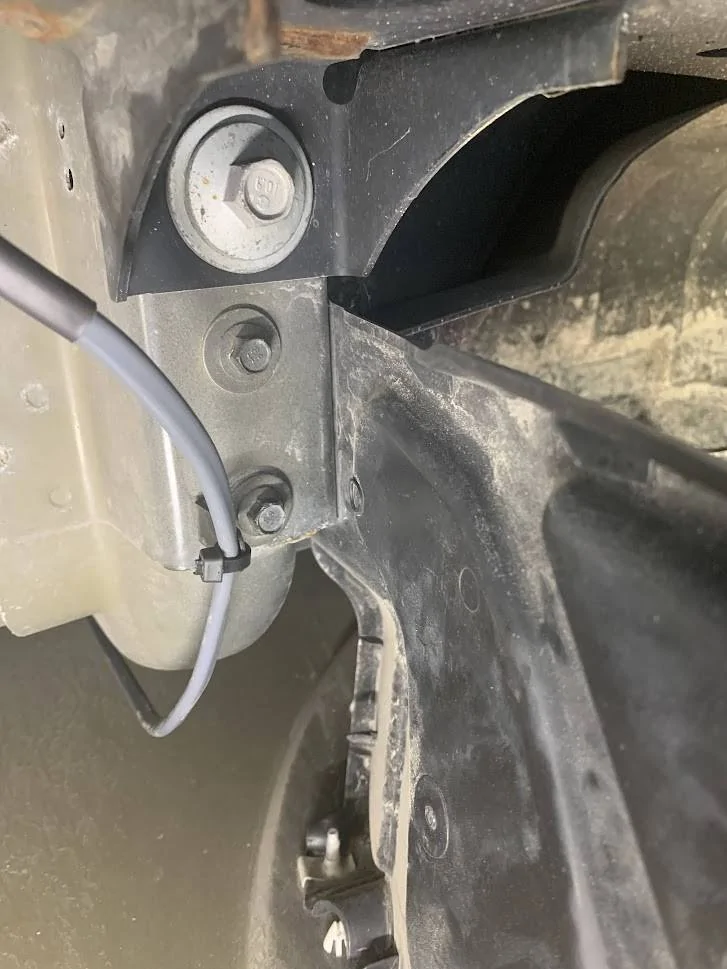
Did you attach the lead dropping down to anything? I didn't like the idea of it just dangling there so made a small L bracket which I bolted on and then used a zip tie to hold the wire. Just gives me a little piece of mind.Made my first mod to start my new topper camping set up. Installed the Wolfhaus 12v power point in the bed. High quality product, and easy to understand instructions (with nice photos for morons like me). Super easy and quick install.
Can‘t function check it until tomorrow, but looks great.


Great idea. I’ll have to take a look at it. I can’t make anything, but I’ll check the hardware isle to see if there is something I can use.Did you attach the lead dropping down to anything? I didn't like the idea of it just dangling there so made a small L bracket which I bolted on and then used a zip tie to hold the wire. Just gives me a little piece of mind.