Gr8Hortoni
Well-Known Member
Haven’t had it on the trail since installed, will update once I get some feedback.How does the drive with this setup? Any off-road articulation yet? Looks good!
Since I tow I initially was thinking about just the 1" front, but lately been thinking about 2" front with 1" spacer in the rear (along with 1" wheel spacers). Just don't want to mess with how good she tows our travel trailer.....so I am on the fence.
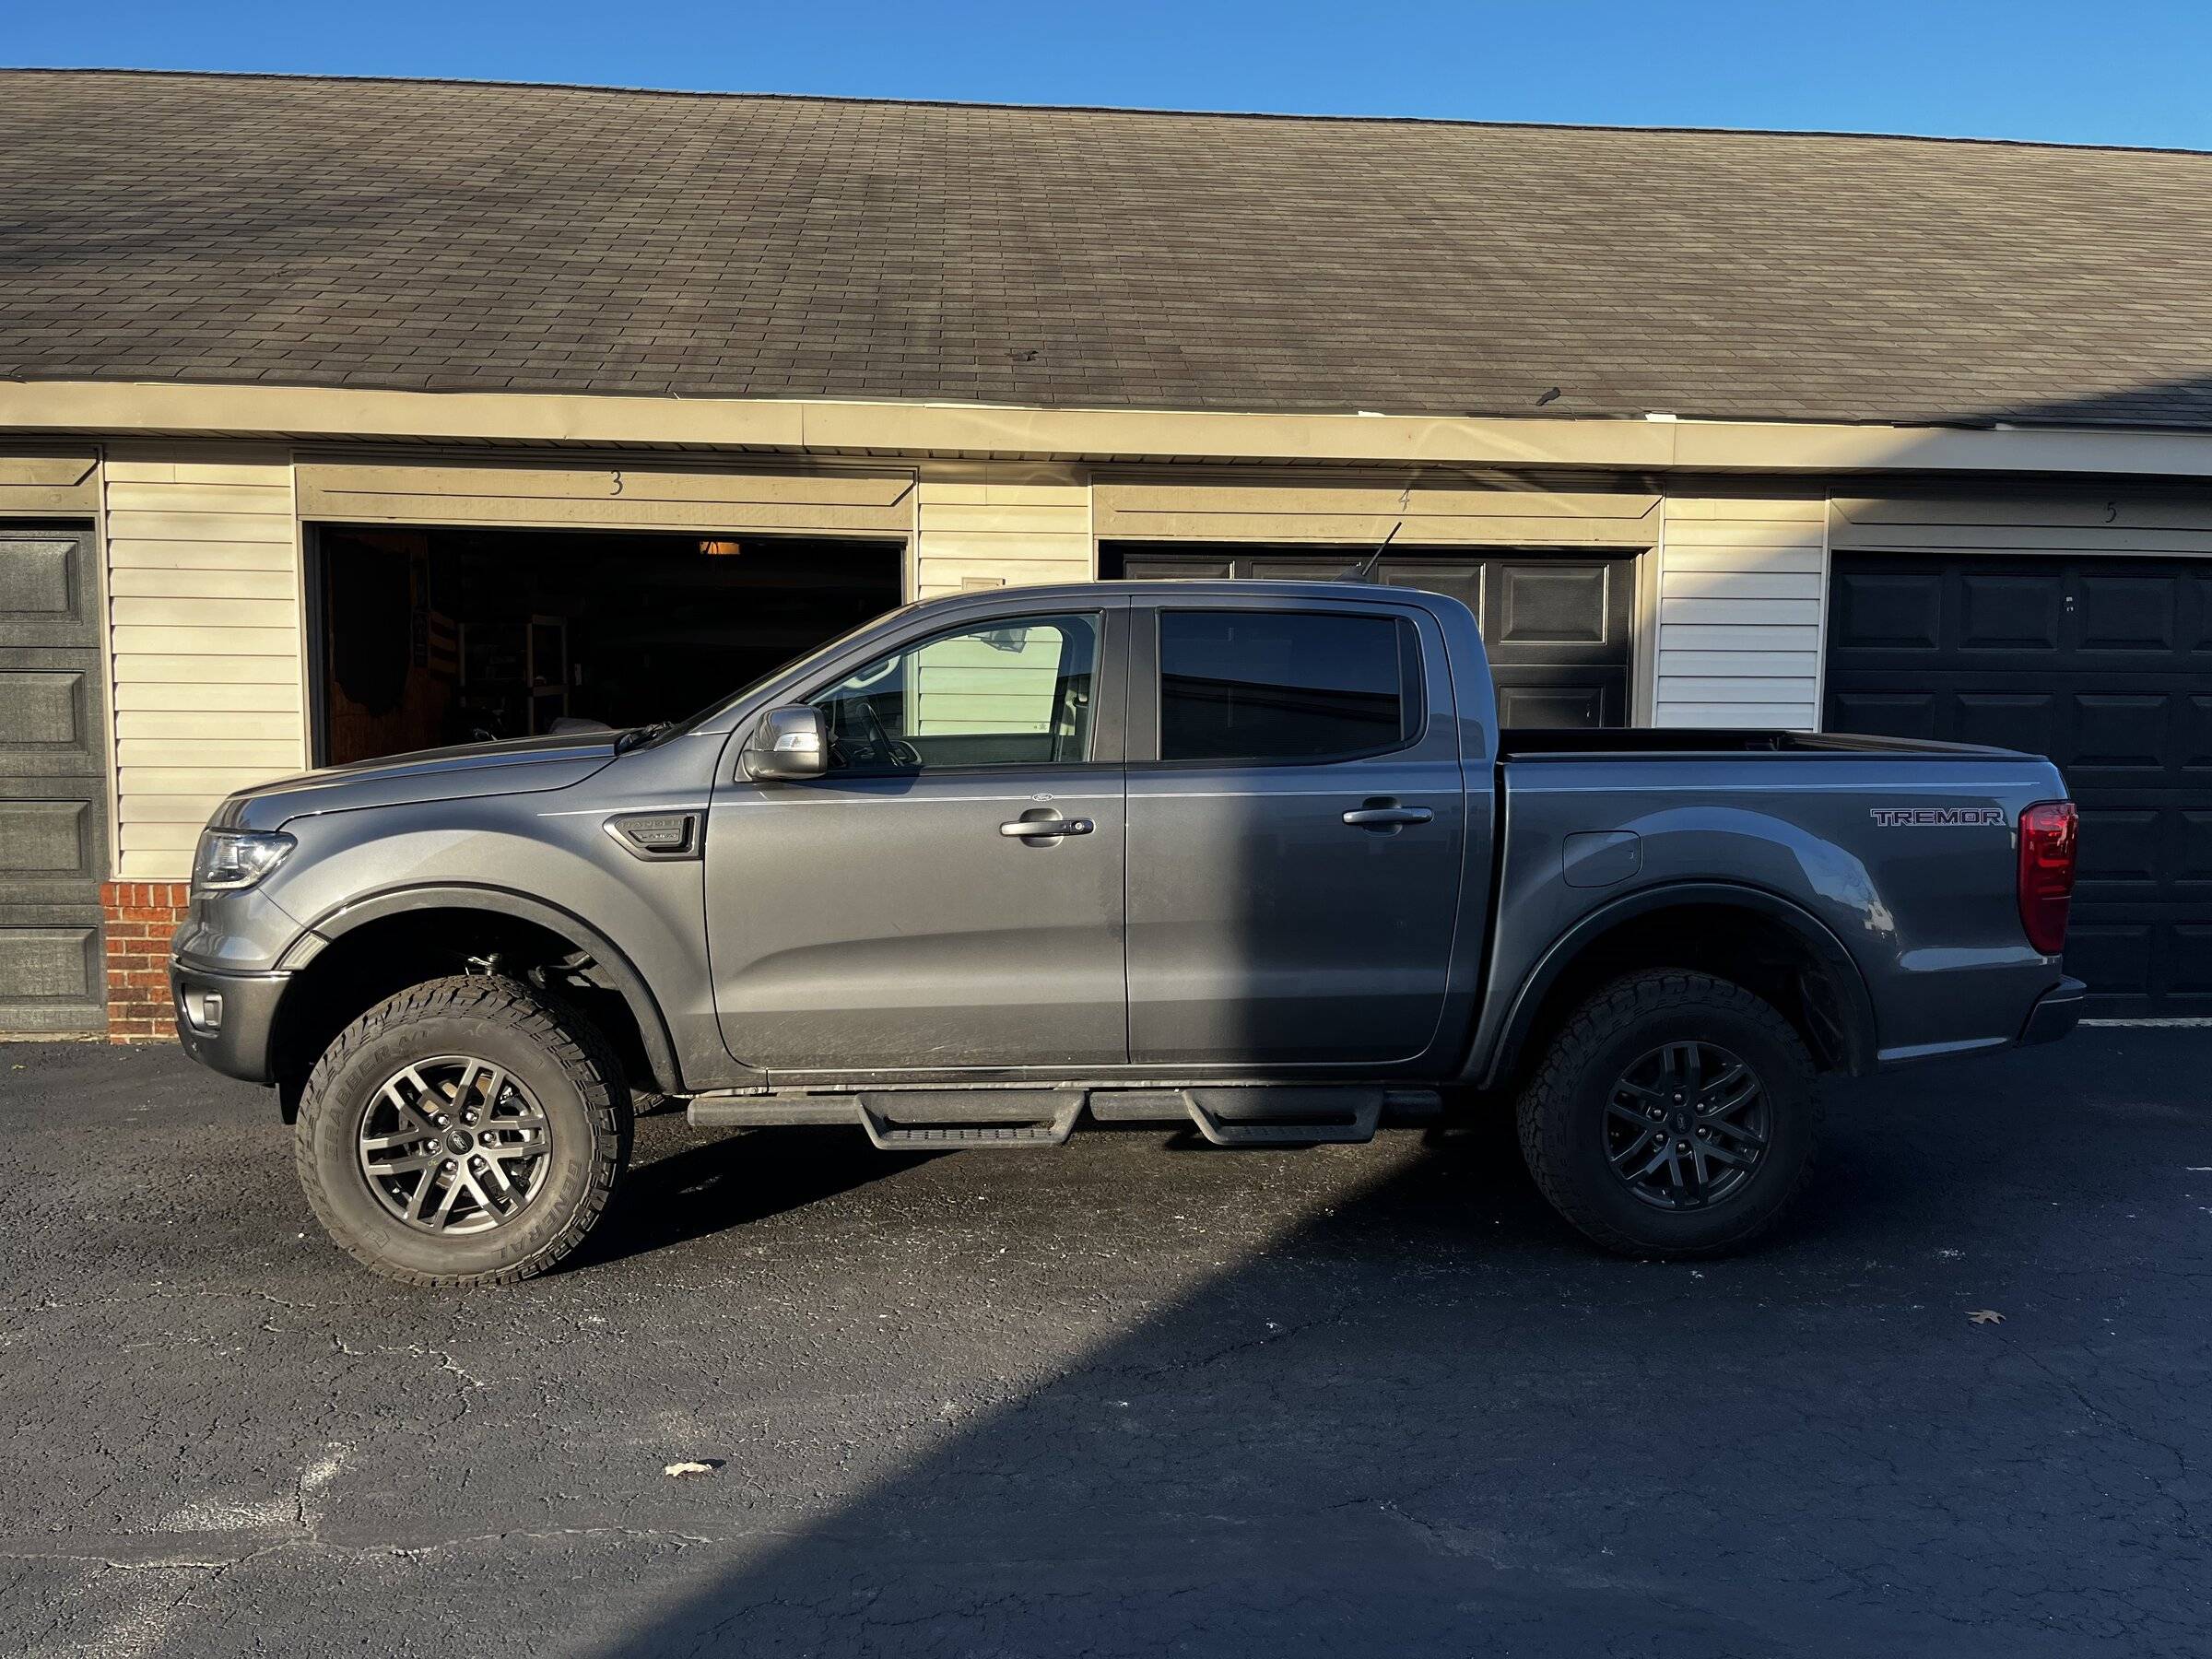
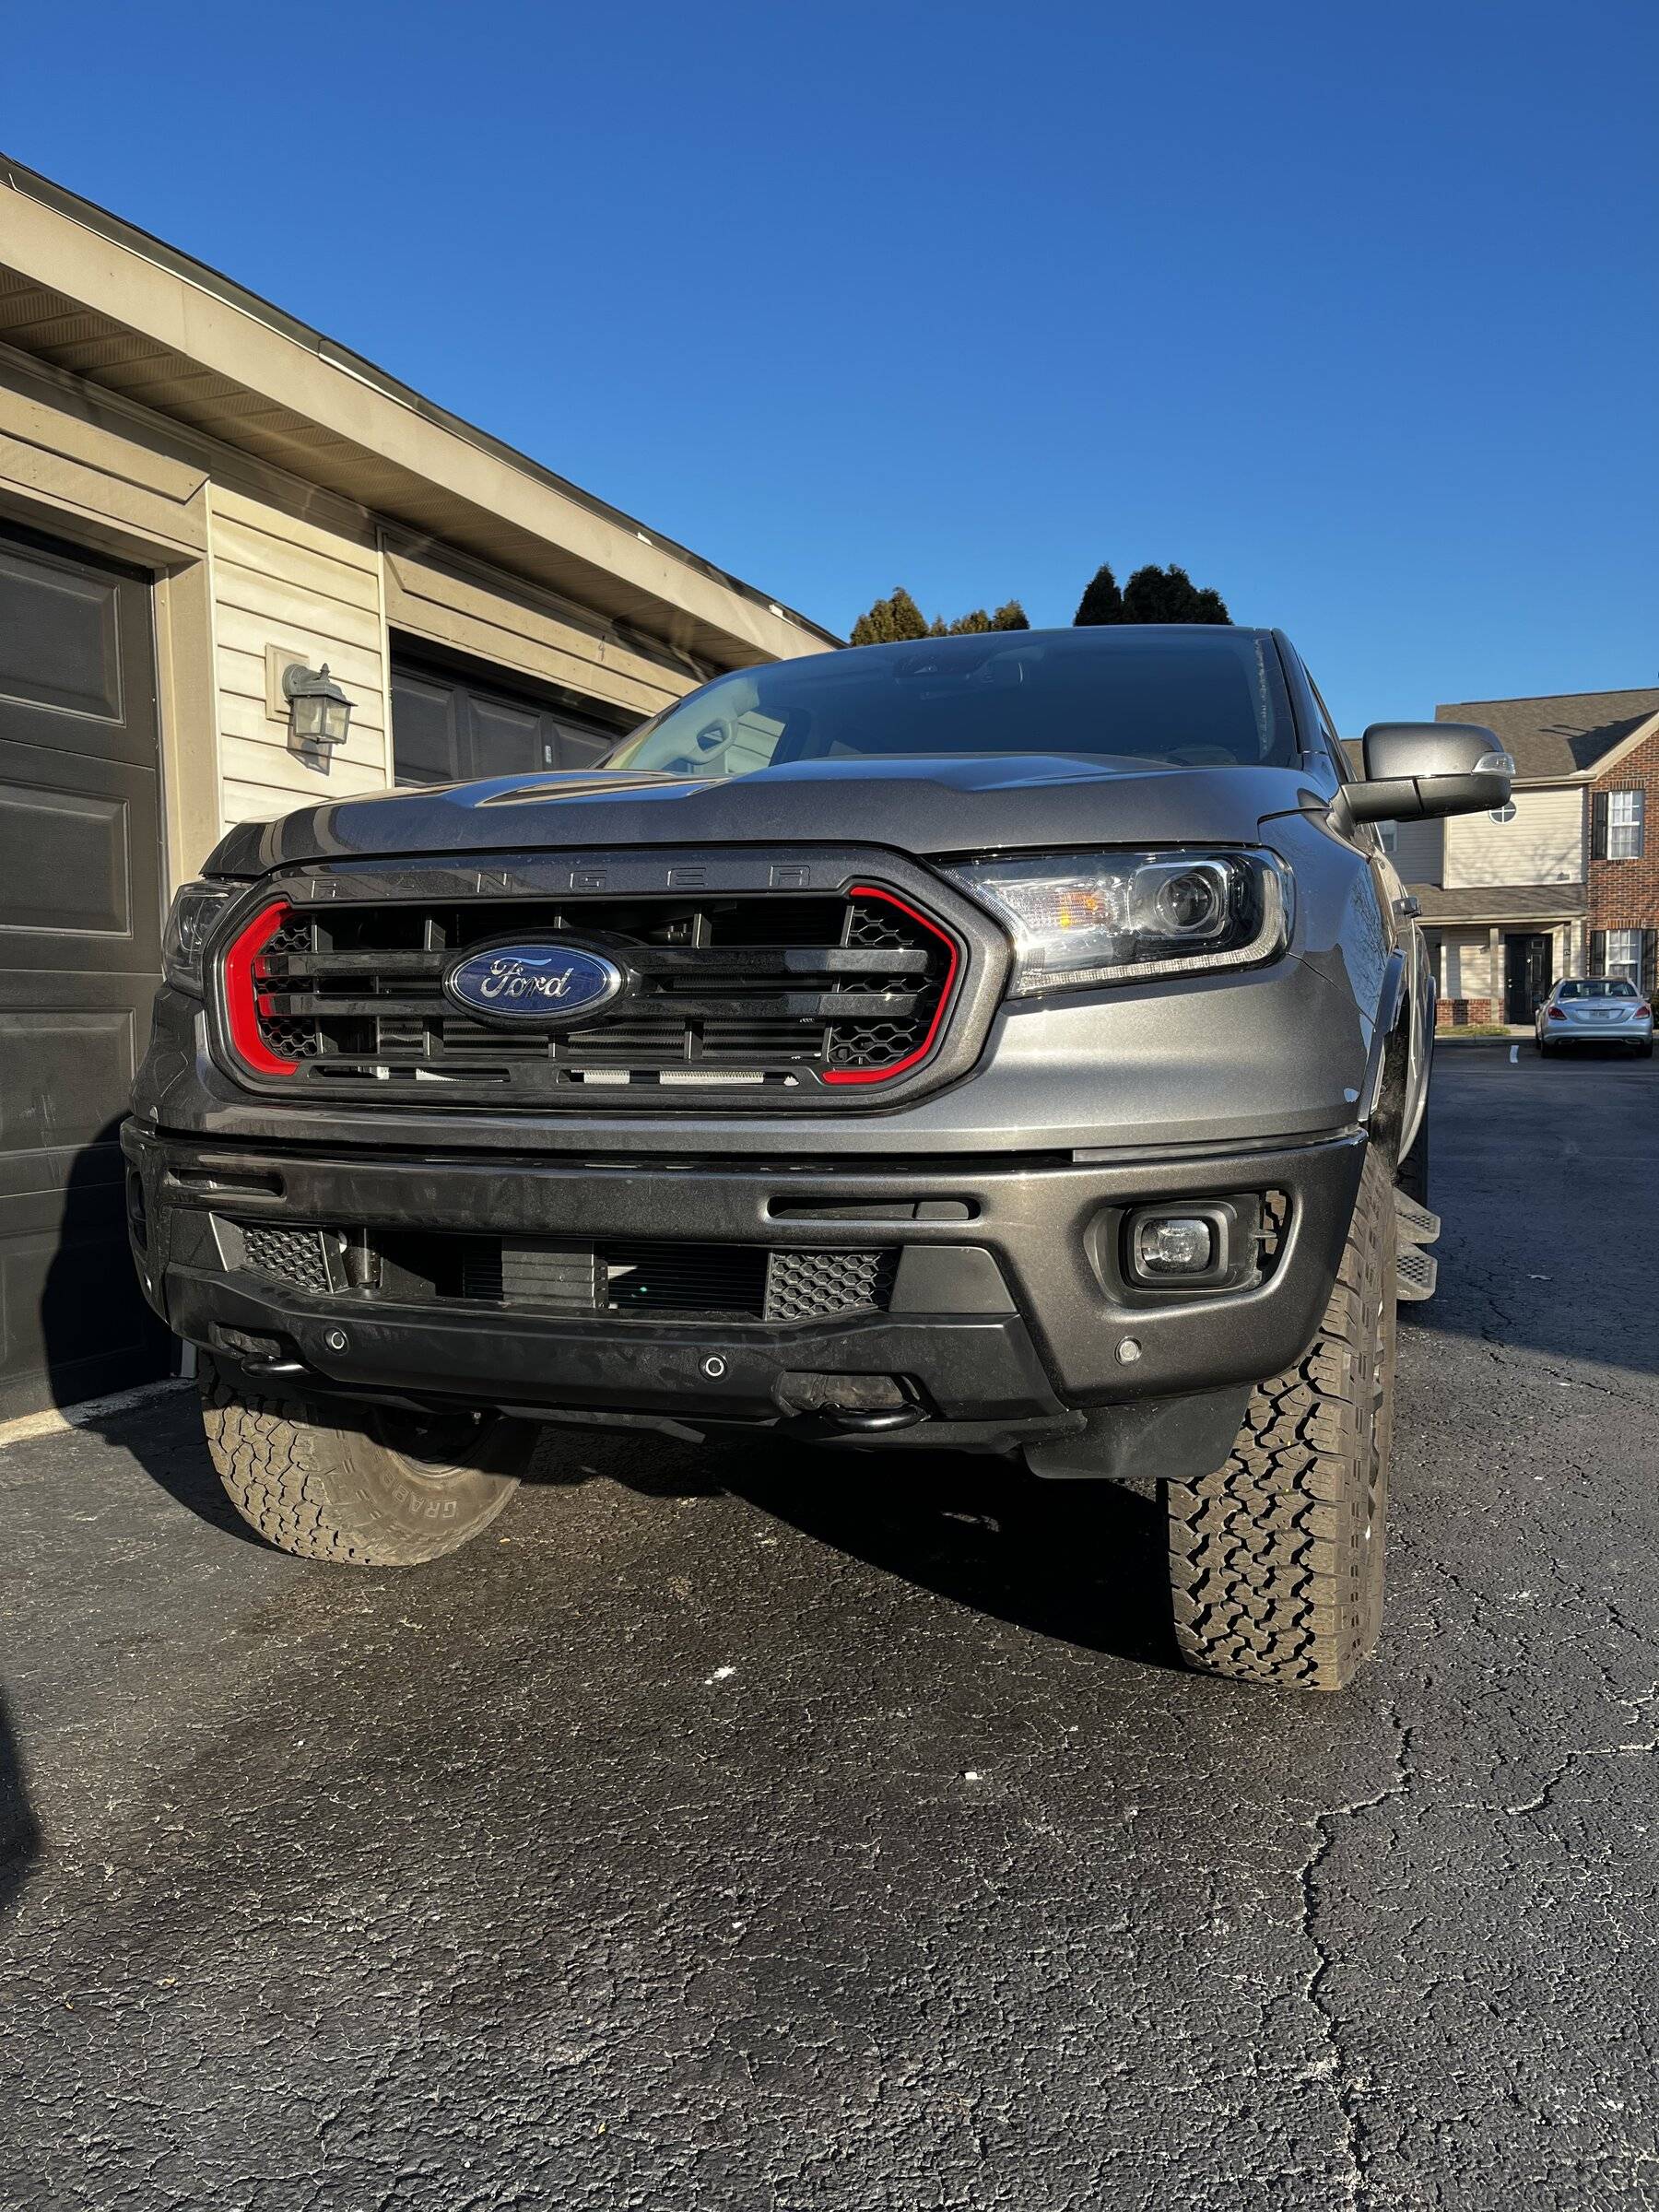
on road wise, perfect. I love the stance and the height, I’m hoping with pulling crash bars I can run a 285/75 (33.8”x11.2”, basically a small 34”), but I’m gonna run out the 265’s for a while yet, just spent a chunk of change on my next add on (589Fab mid rack). Make sure you get an alignment afterwards, but we were fairly close,they just had to adjust the toe a little bit. As long as you get it aligned you shouldn’t notice any difference really.
Sponsored