Sponsored

What did you do to your Ranger today?

TopoRanger

Well-Known Member
First Name
Brad
Joined
Nov 22, 2020
Threads
10
Messages
423
Reaction score
1,390
Location
Missoula, Montana
Vehicle(s)
2020 Ranger XLT FX4
Occupation
Mechanic
What is grille is that? Looks to be DIY/Custom made. I like it a lot.
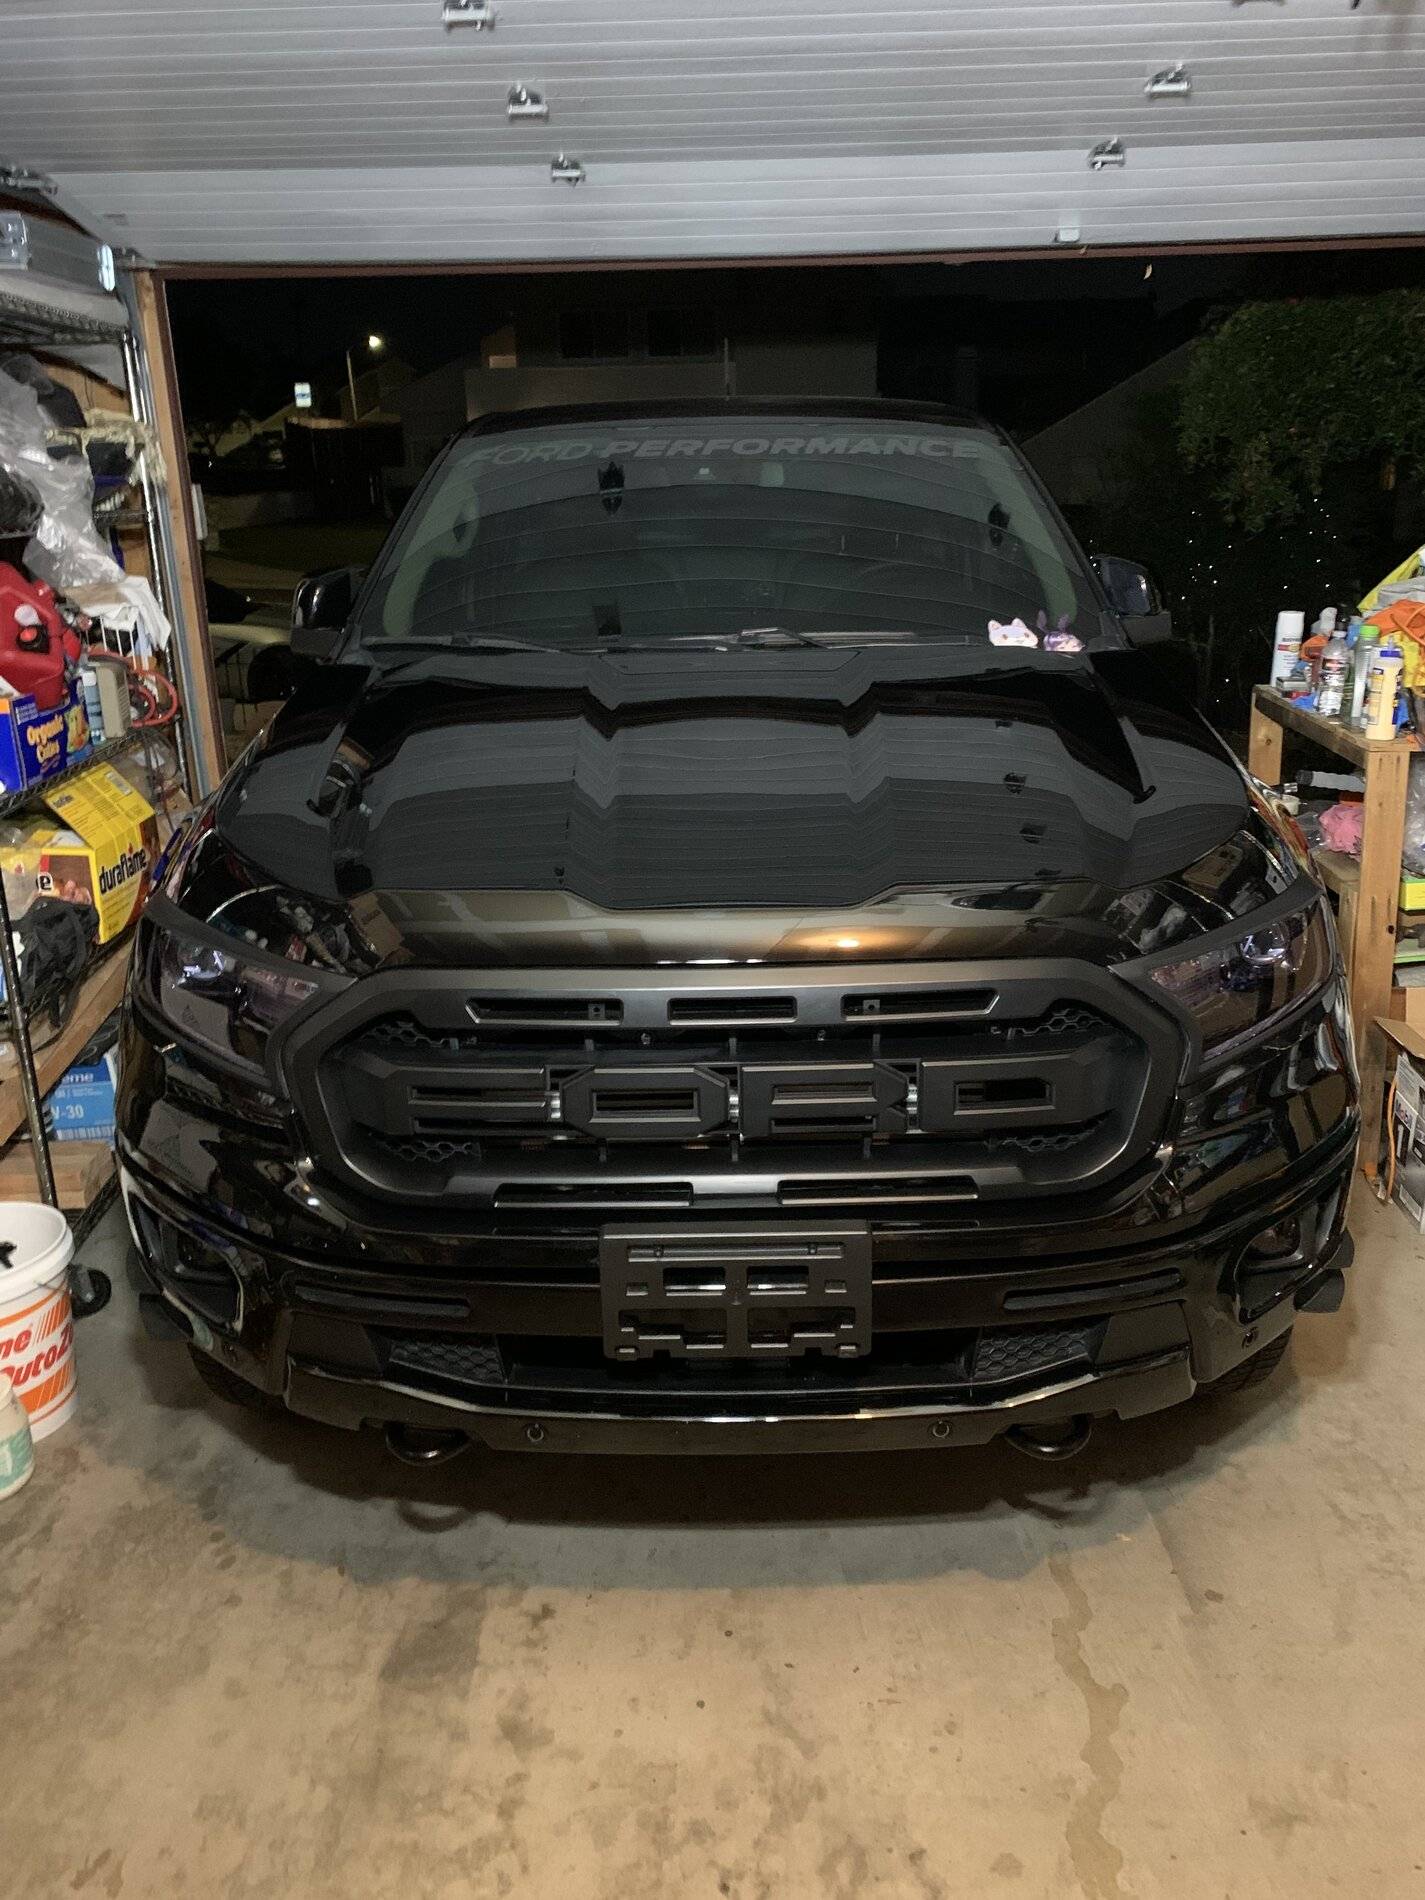
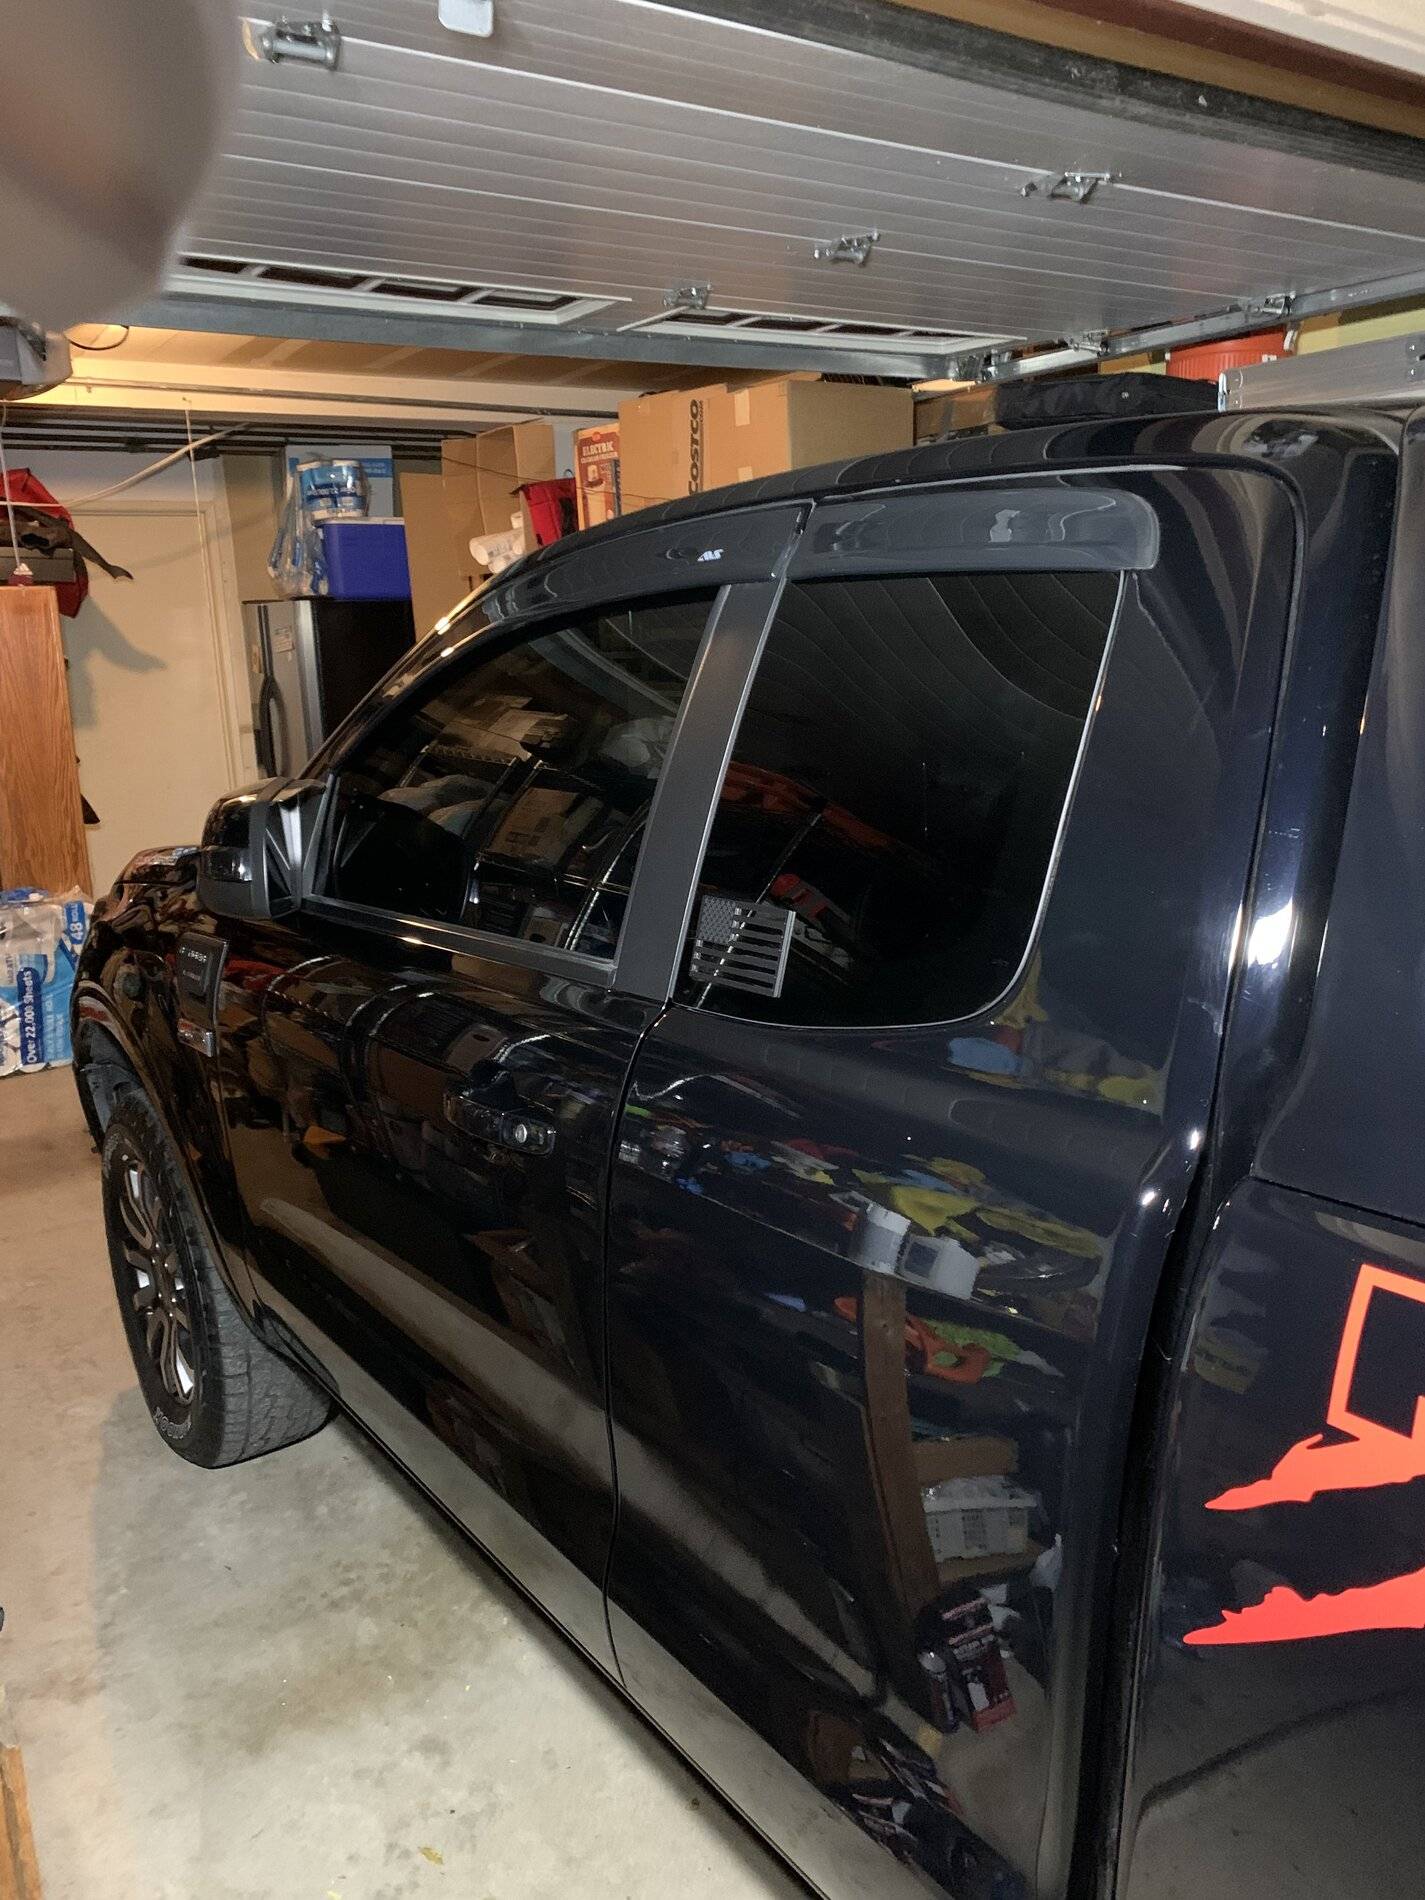
yeah it’s custom made. I am rebuilding it this week. Should be pretty sweet.
Sponsored


onobeka

Well-Known Member
Joined
Jan 20, 2021
Threads
9
Messages
386
Reaction score
1,134
Location
Romania
Vehicle(s)
2018 Ford ranger 2.2 European model
C3B278F3-4750-4BA2-B280-01C491072289.jpeg

Will post more in better detail but I’m working on the Coastal Offroad Bumpers!
That is amazing work! Congratulations. Just out of curiosity, the eyelets for the shackles, are they utilitarian or just design? If they are going to be used for recovery, how did you make sure they are strong enough?
 

dondonbabyraptor

Well-Known Member
First Name
Brandon
Joined
Jan 27, 2021
Threads
41
Messages
2,194
Reaction score
6,249
Location
San Diego
Vehicle(s)
2020 Ford Ranger Lariat
Occupation
I/O Psych MSc student
Too many hours. Swirl correction on front and back. Gave up for the door and bed sides. Threw graphene on it all. Good enough until November trips. I admit defeat by the detail. ?

Looks pretty good though now… ?
45D0CF41-1BB3-4D65-BA49-46A2F1548FC7.jpeg

0A4D0433-8CE9-43F5-A9A4-44D87D52DA21.jpeg
 
Last edited:

onobeka

Well-Known Member
Joined
Jan 20, 2021
Threads
9
Messages
386
Reaction score
1,134
Location
Romania
Vehicle(s)
2018 Ford ranger 2.2 European model
Too many hours. Swirl correction on front and back. Gave up for the door and bed sides. Threw graphene on it all. Good enough until November trips. I admit defeat by the detail. ?

Looks pretty good though now… ?
45D0CF41-1BB3-4D65-BA49-46A2F1548FC7.jpeg

0A4D0433-8CE9-43F5-A9A4-44D87D52DA21.jpeg
That front shot looks amazing! You convinced me to get the headlights masks. I have them for the taillights, already!
 

dondonbabyraptor

Well-Known Member
First Name
Brandon
Joined
Jan 27, 2021
Threads
41
Messages
2,194
Reaction score
6,249
Location
San Diego
Vehicle(s)
2020 Ford Ranger Lariat
Occupation
I/O Psych MSc student
That front shot looks amazing! You convinced me to get the headlights masks. I have them for the taillights, already!
Thank you Onobeka. The headlight plastic trim or tinting? Yes I love the headlight trim, funny enough we were opposites if you have the taillights plastic trim on.
 

onobeka

Well-Known Member
Joined
Jan 20, 2021
Threads
9
Messages
386
Reaction score
1,134
Location
Romania
Vehicle(s)
2018 Ford ranger 2.2 European model
Thank you Onobeka. The headlight plastic trim or tinting? Yes I love the headlight trim, funny enough we were opposites if you have the taillights plastic trim on.
I did not notice the tinting! I guess you mean the tint foil on the headlights, they do look darker, now that you mention. I was referring to the trim, plastic surroundings. How do they fit?
My taillight ones do fit on the sides of the taillights, yet around the face, they bow.
If I would have an USDM ranger I would not stick the trims on the taillights. You guys get the good ones, the EU model gets the dull ones :((.
 

dondonbabyraptor

Well-Known Member
First Name
Brandon
Joined
Jan 27, 2021
Threads
41
Messages
2,194
Reaction score
6,249
Location
San Diego
Vehicle(s)
2020 Ford Ranger Lariat
Occupation
I/O Psych MSc student
I did not notice the tinting! I guess you mean the tint foil on the headlights, they do look darker, now that you mention. I was referring to the trim, plastic surroundings. How do they fit?
My taillight ones do fit on the sides of the taillights, yet around the face, they bow.
If I would have an USDM ranger I would not stick the trims on the taillights. You guys get the good ones, the EU model gets the dull ones :((.
Haha yes. It’s like a purple type tint for the headlights.

They fit alright, just like you mentioned that they bow a little. What I did was slap on new 3m tape all along the edges that touch the headlight and especially a nice thick bit of 3m tape on the corners that touch the headlight. Helps to have the sun out when you do this. After applying the tape, press down on the two middle pressure points and spread your fingers to apply pressure uniformly to middle, sides and edges.

You will find that it bows a certain way with little need to flex it much to stick closer to the headlight. remember that position and press down with all ten fingers especially importance on the corners and middle. If you only press the corners down, it will still bow. Key is to pressure it all down in the least resistance form as possible. Sorry for the stupid instructions. Brain isn’t working and a little lazy.
 

TopoRanger

Well-Known Member
First Name
Brad
Joined
Nov 22, 2020
Threads
10
Messages
423
Reaction score
1,390
Location
Missoula, Montana
Vehicle(s)
2020 Ranger XLT FX4
Occupation
Mechanic
That is amazing work! Congratulations. Just out of curiosity, the eyelets for the shackles, are they utilitarian or just design? If they are going to be used for recovery, how did you make sure they are strong enough?
they are shackle points. Once I finish welding and finishing the bumpers I will be using them for recovering. The main plates that is thefoundation of each bumper has the recovery point on that piece. Then it’s all welded together.
 

onobeka

Well-Known Member
Joined
Jan 20, 2021
Threads
9
Messages
386
Reaction score
1,134
Location
Romania
Vehicle(s)
2018 Ford ranger 2.2 European model
Haha yes. It’s like a purple type tint for the headlights.

They fit alright, just like you mentioned that they bow a little. What I did was slap on new 3m tape all along the edges that touch the headlight and especially a nice thick bit of 3m tape on the corners that touch the headlight. Helps to have the sun out when you do this. After applying the tape, press down on the two middle pressure points and spread your fingers to apply pressure uniformly to middle, sides and edges.

You will find that it bows a certain way with little need to flex it much to stick closer to the headlight. remember that position and press down with all ten fingers especially importance on the corners and middle. If you only press the corners down, it will still bow. Key is to pressure it all down in the least resistance form as possible. Sorry for the stupid instructions. Brain isn’t working and a little lazy.
Your instructions totally make sense. I did the very same thing with the taillight ones, they still bow, but it's ok, they stick well to the surrounding and lateral.
 

onobeka

Well-Known Member
Joined
Jan 20, 2021
Threads
9
Messages
386
Reaction score
1,134
Location
Romania
Vehicle(s)
2018 Ford ranger 2.2 European model
they are shackle points. Once I finish welding and finishing the bumpers I will be using them for recovering. The main plates that is thefoundation of each bumper has the recovery point on that piece. Then it’s all welded together.
Thank you! I guess the bar remains detachable. I would be interested in seeing a detailed build log and some explanations if you would want to share it. I am building my own stuff, currently welding a rear diff skid plate.
 

Fawnbuster

Well-Known Member
First Name
Mike
Joined
Jul 14, 2019
Threads
62
Messages
2,416
Reaction score
8,970
Location
Indiana
Vehicle(s)
2019 Ranger
Occupation
Retired 34 years as LEO
Vehicle Showcase
1
Finished installing my Rigid rock lights, and added a set of Baja designs S1 led lights. I tied the Baja's into the switch with my Rigid radiance backup lights, I needed more light off to the sides especially when we go camping, now I I have 180 degrees of light in the back, 2 spots and 2 floods. Major amount of lumens out of such small lights, tucked up and away but angled such that nothing is blocking the beams.
20210923_201256.jpg


20210923_201240.jpg
Sponsored

 
Last edited:


Top