Bludrok
Well-Known Member
- First Name
- Jason
- Joined
- Feb 4, 2021
- Threads
- 27
- Messages
- 551
- Reaction score
- 1,237
- Location
- Acampo, California
- Website
- www.ranger5g.com
- Vehicle(s)
- 2021 Ford Ranger Lariat Tremor
- Thread starter
- #1
There will be many edits before my build is complete, but I was excited to start sharing.
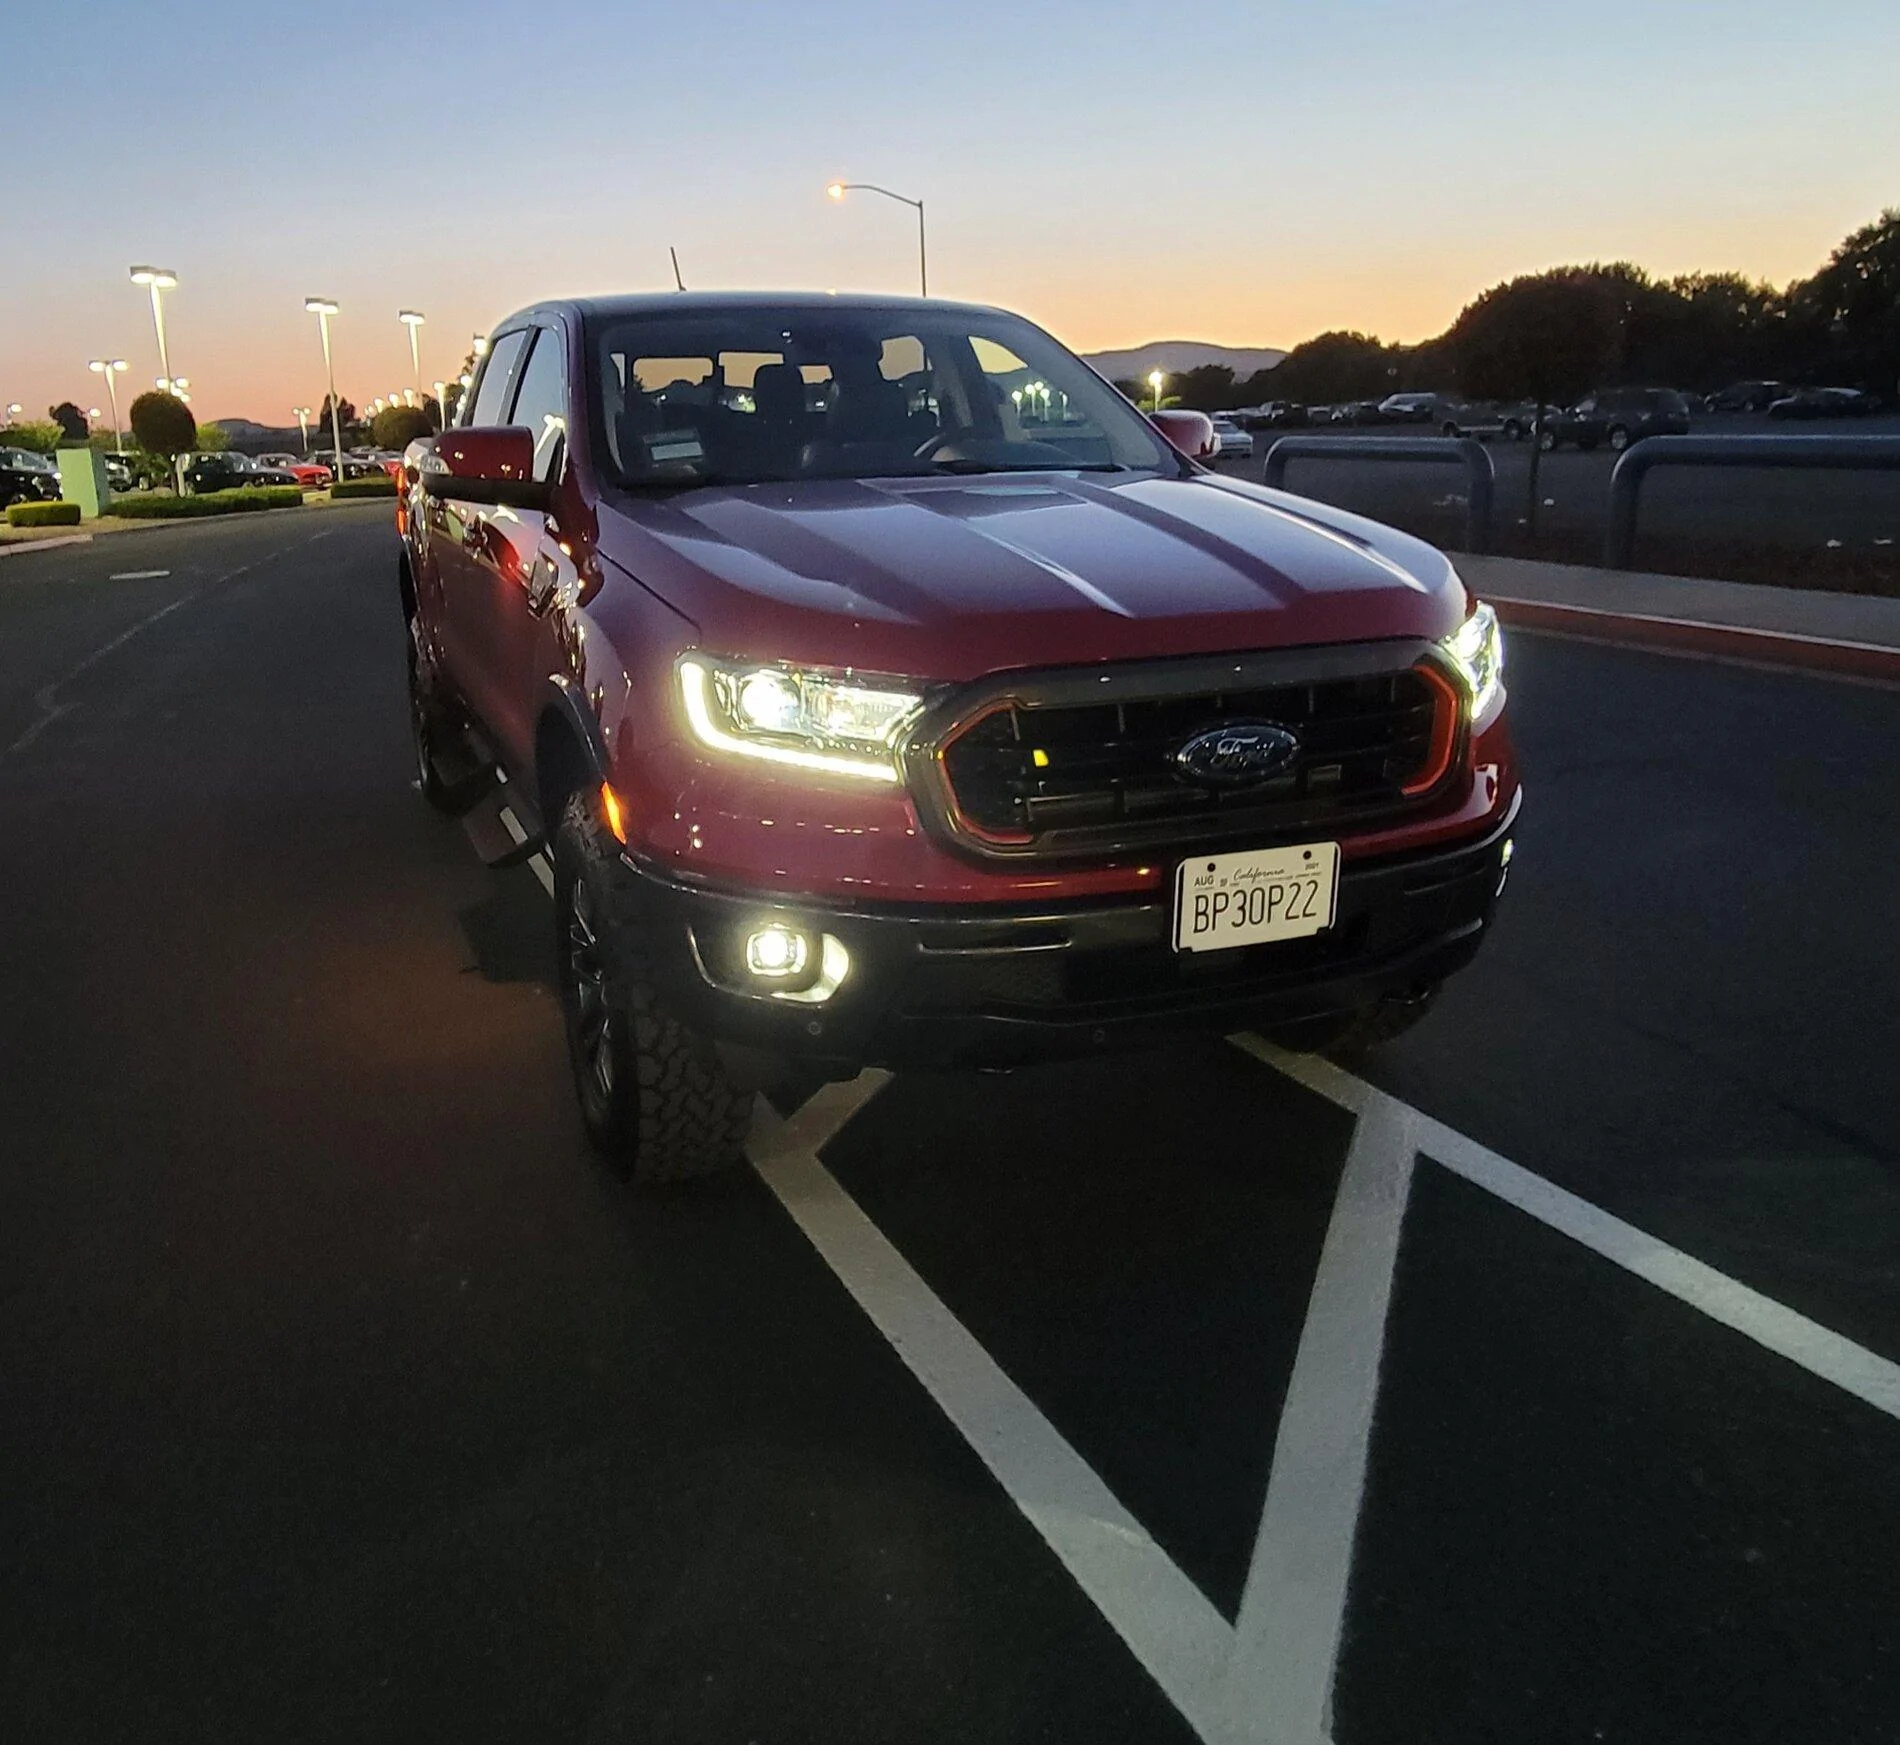
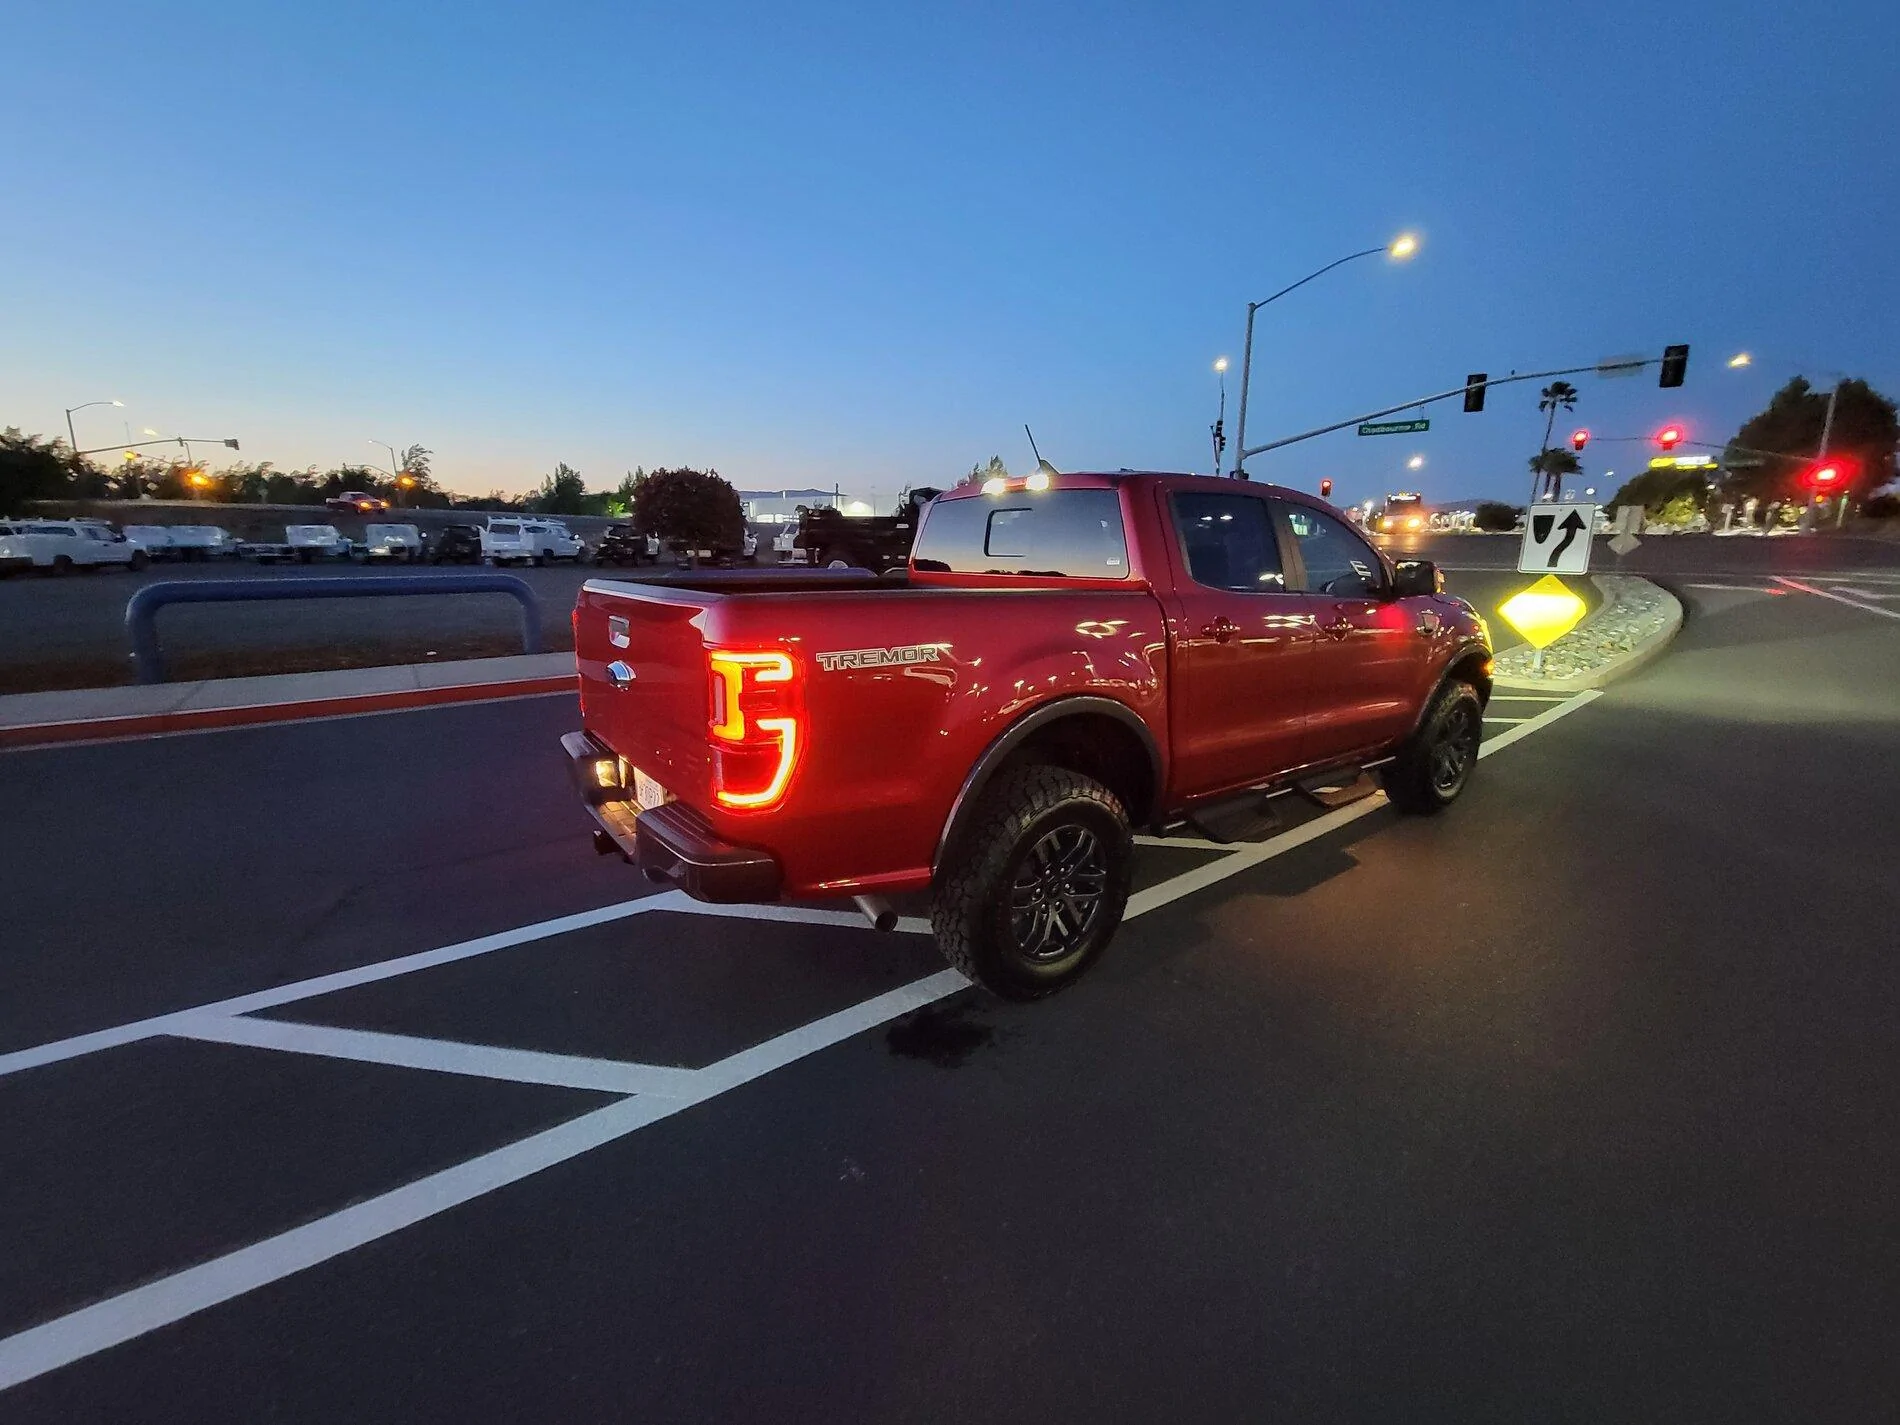
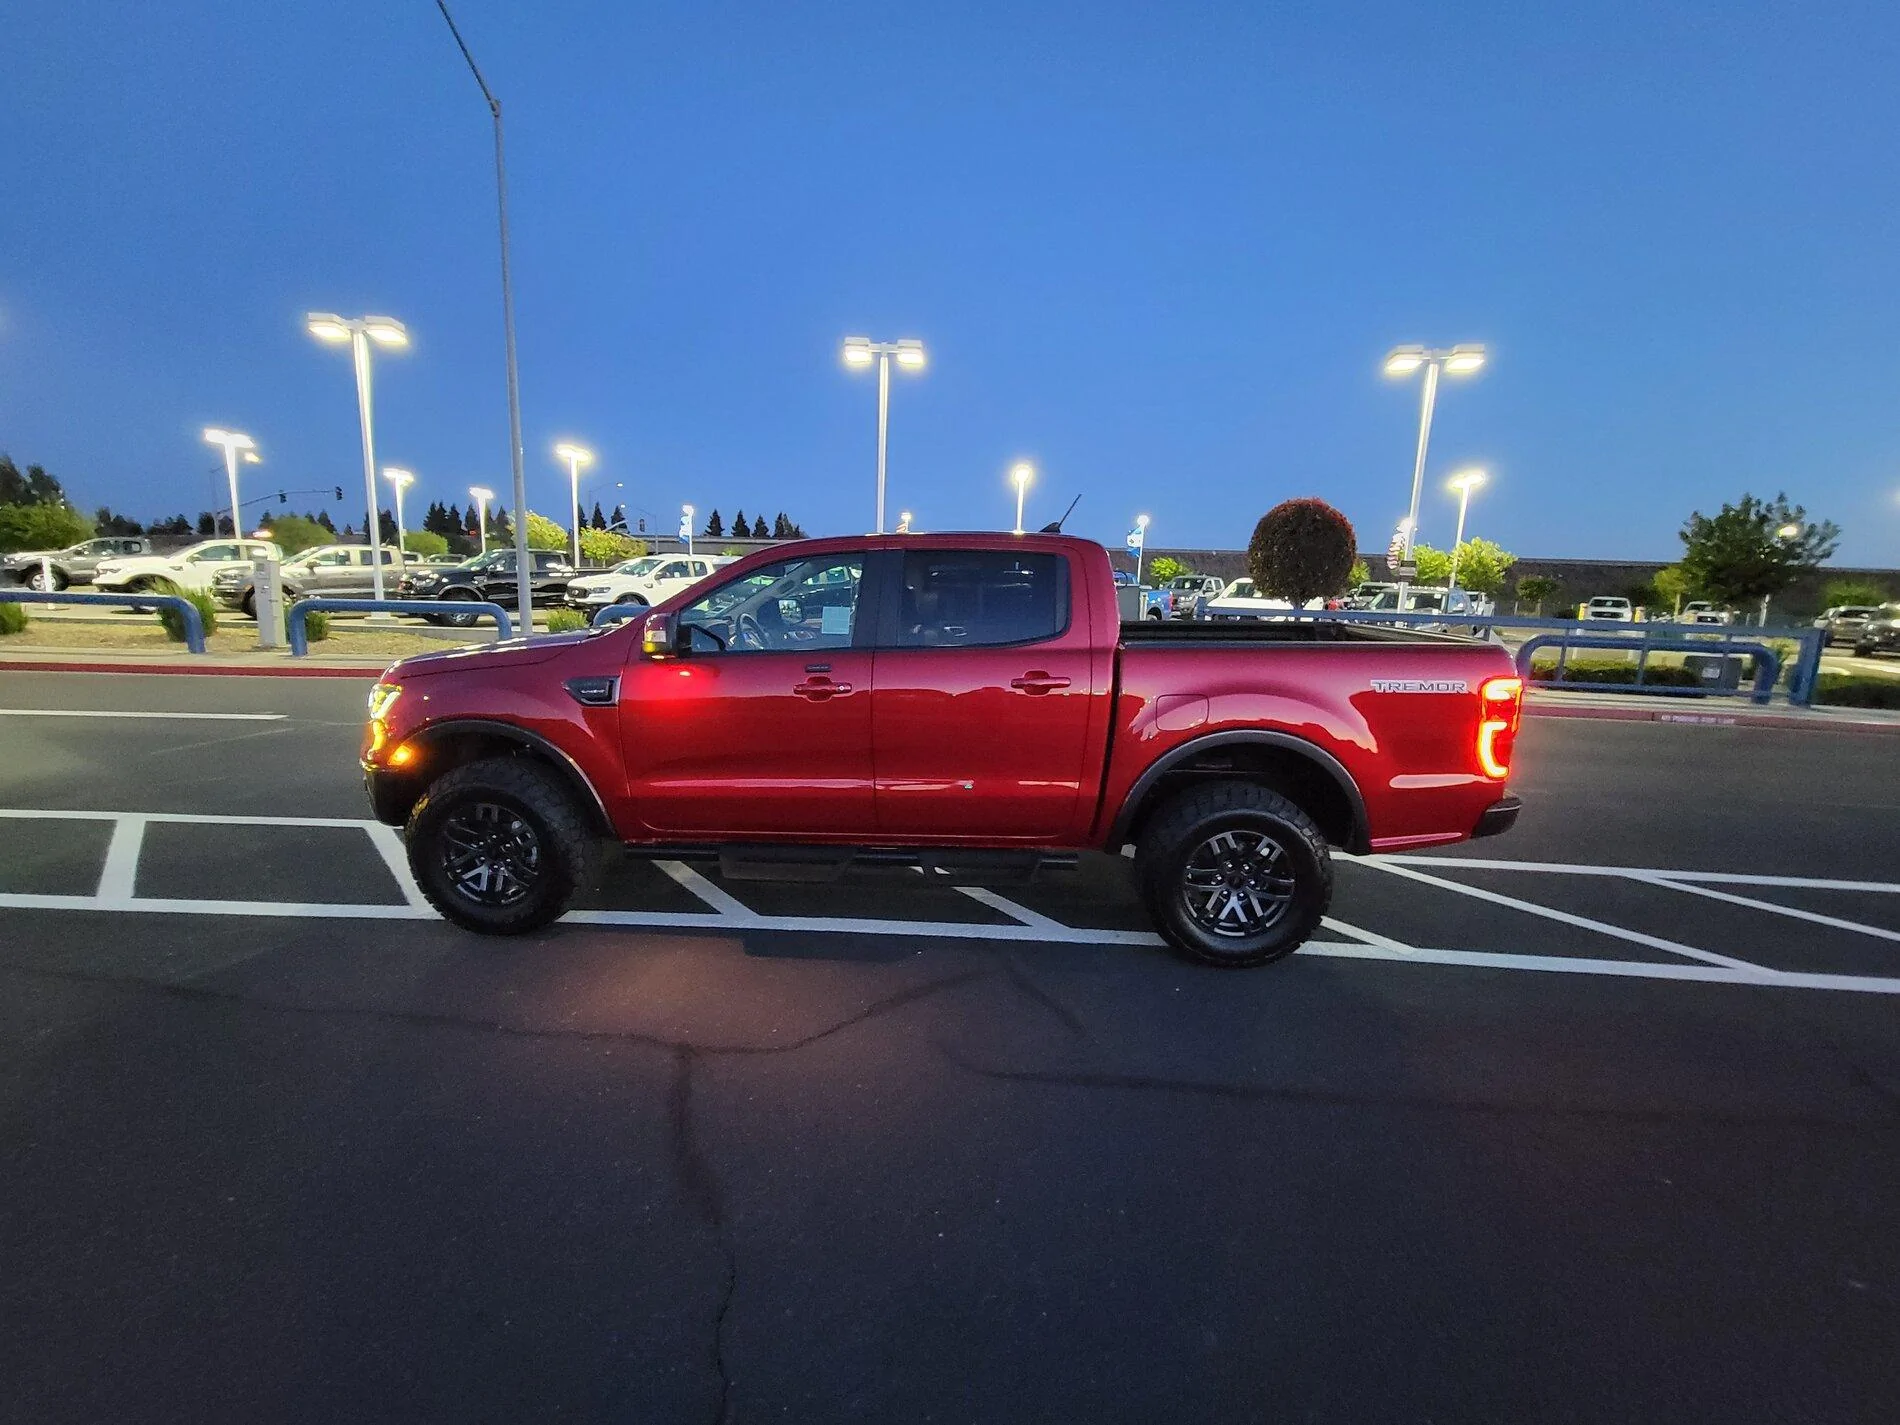
Ordered in February, finally picked it up on Cinco de Mayo 2021 (May 5th)
Here are pictures at the dealership:


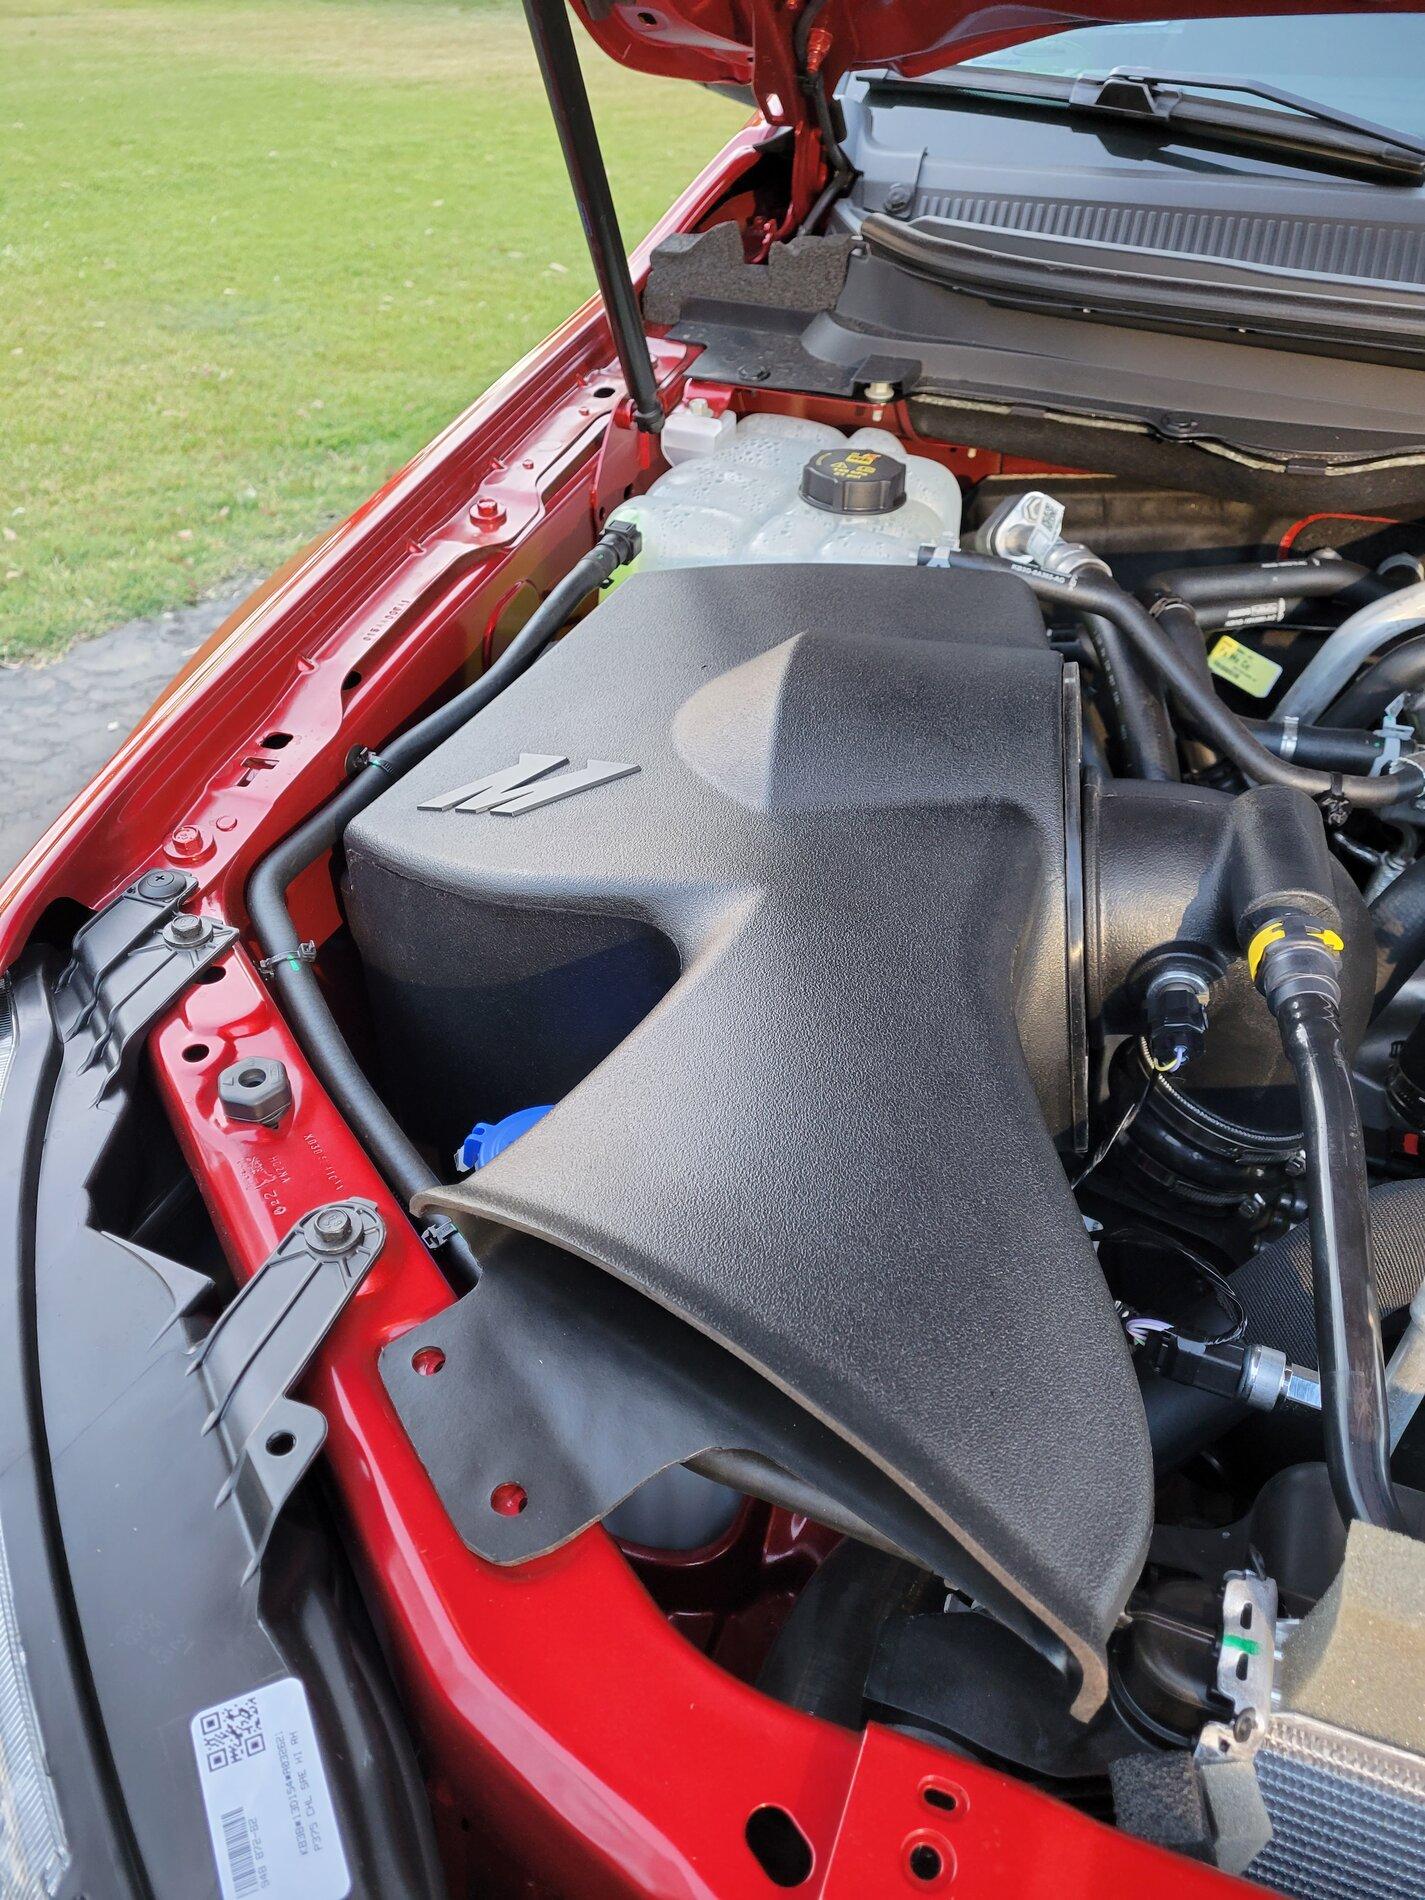
I didn't get home till late, but was excited to start my build, so I woke up early and started before heading to work.
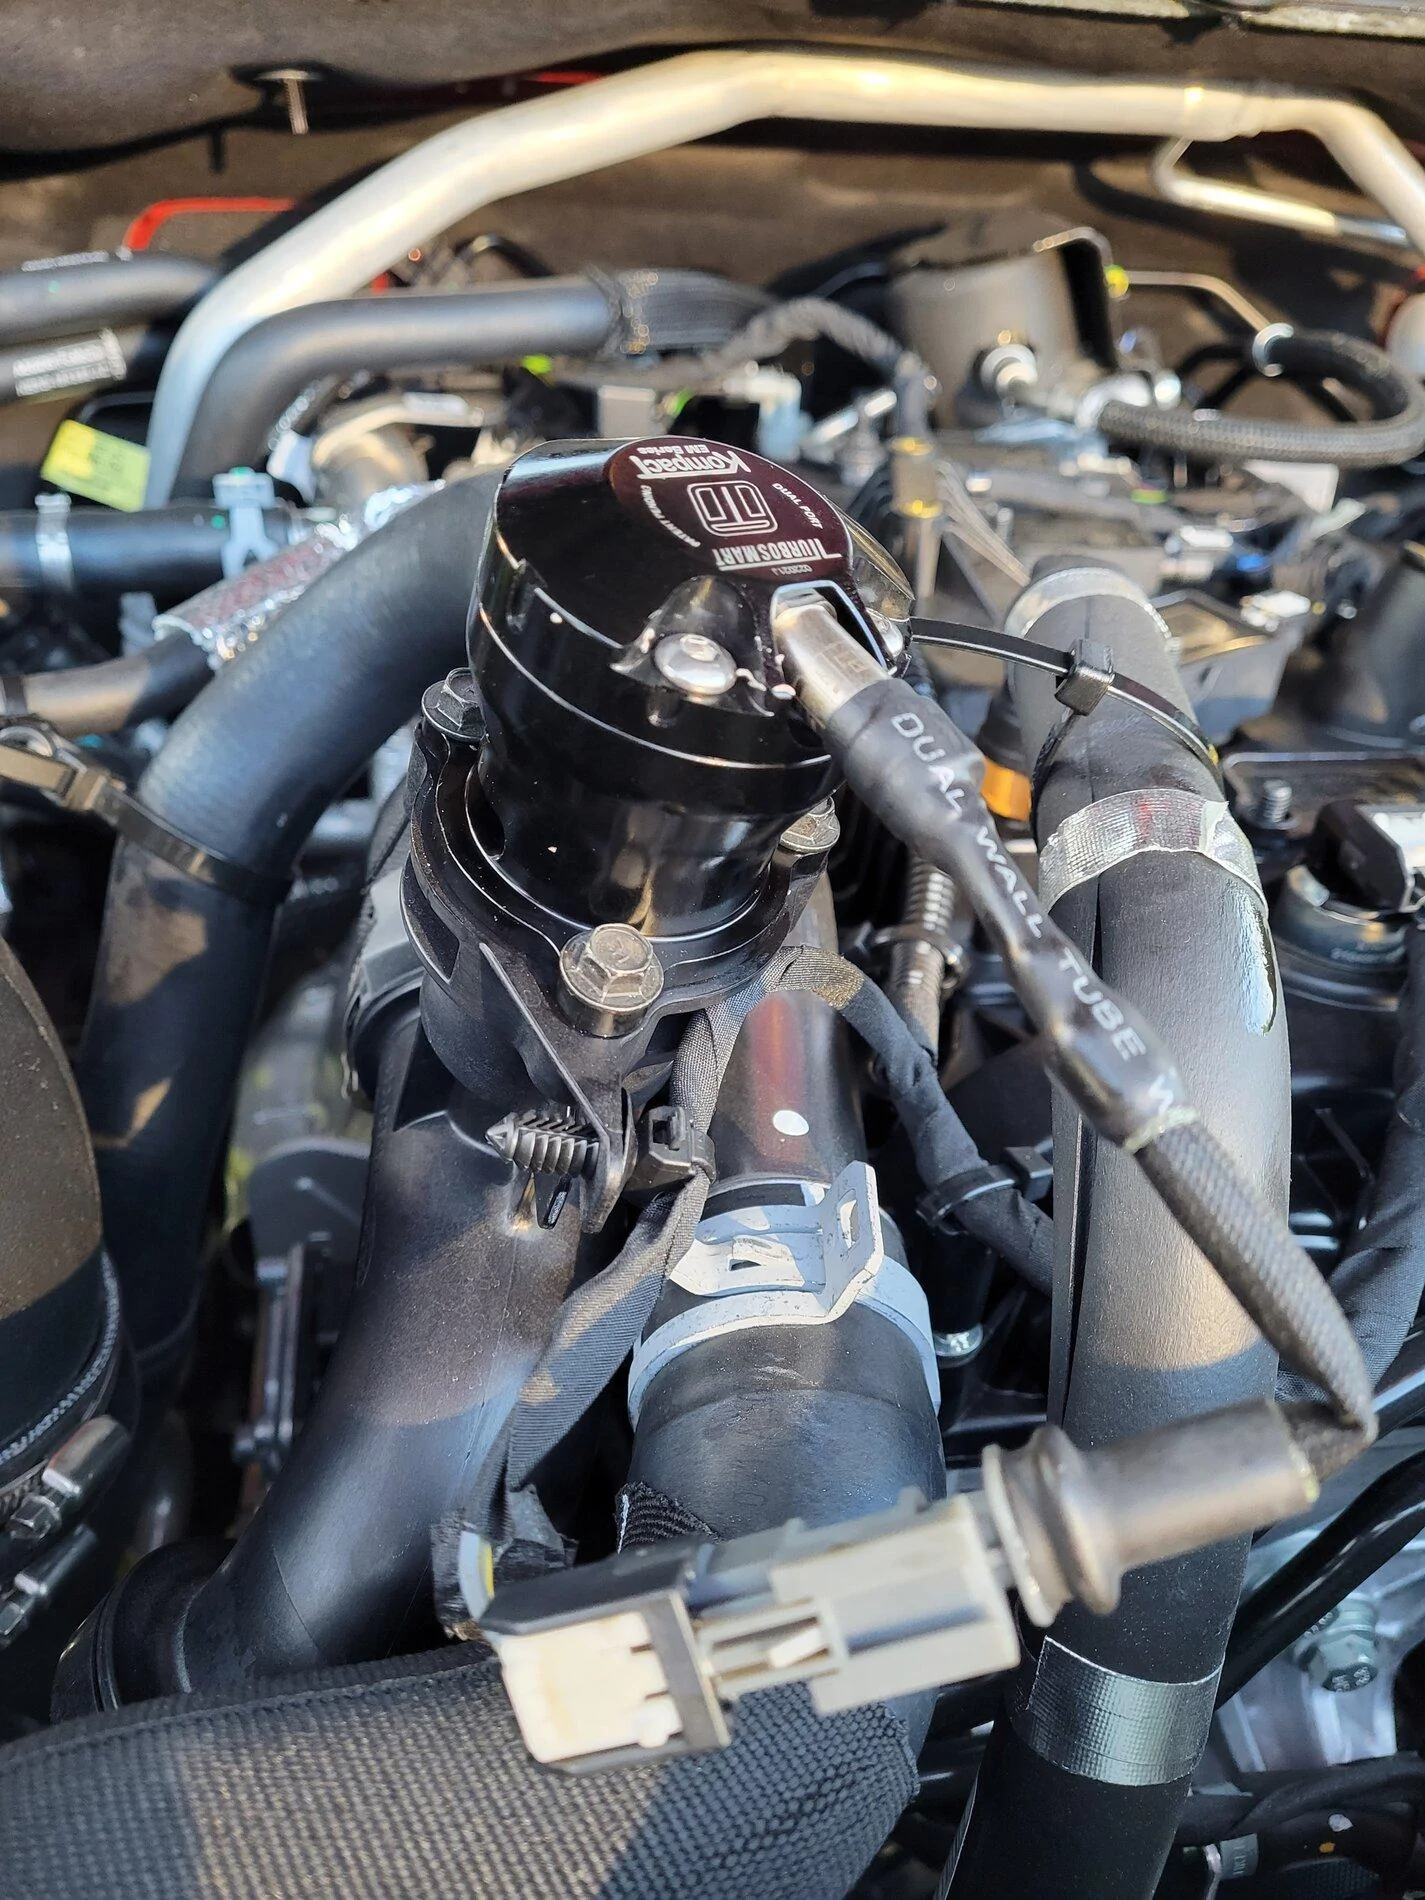
Mishimoto Cold Air Intake:

TurboSmart Dual Port Blow-off Valve:
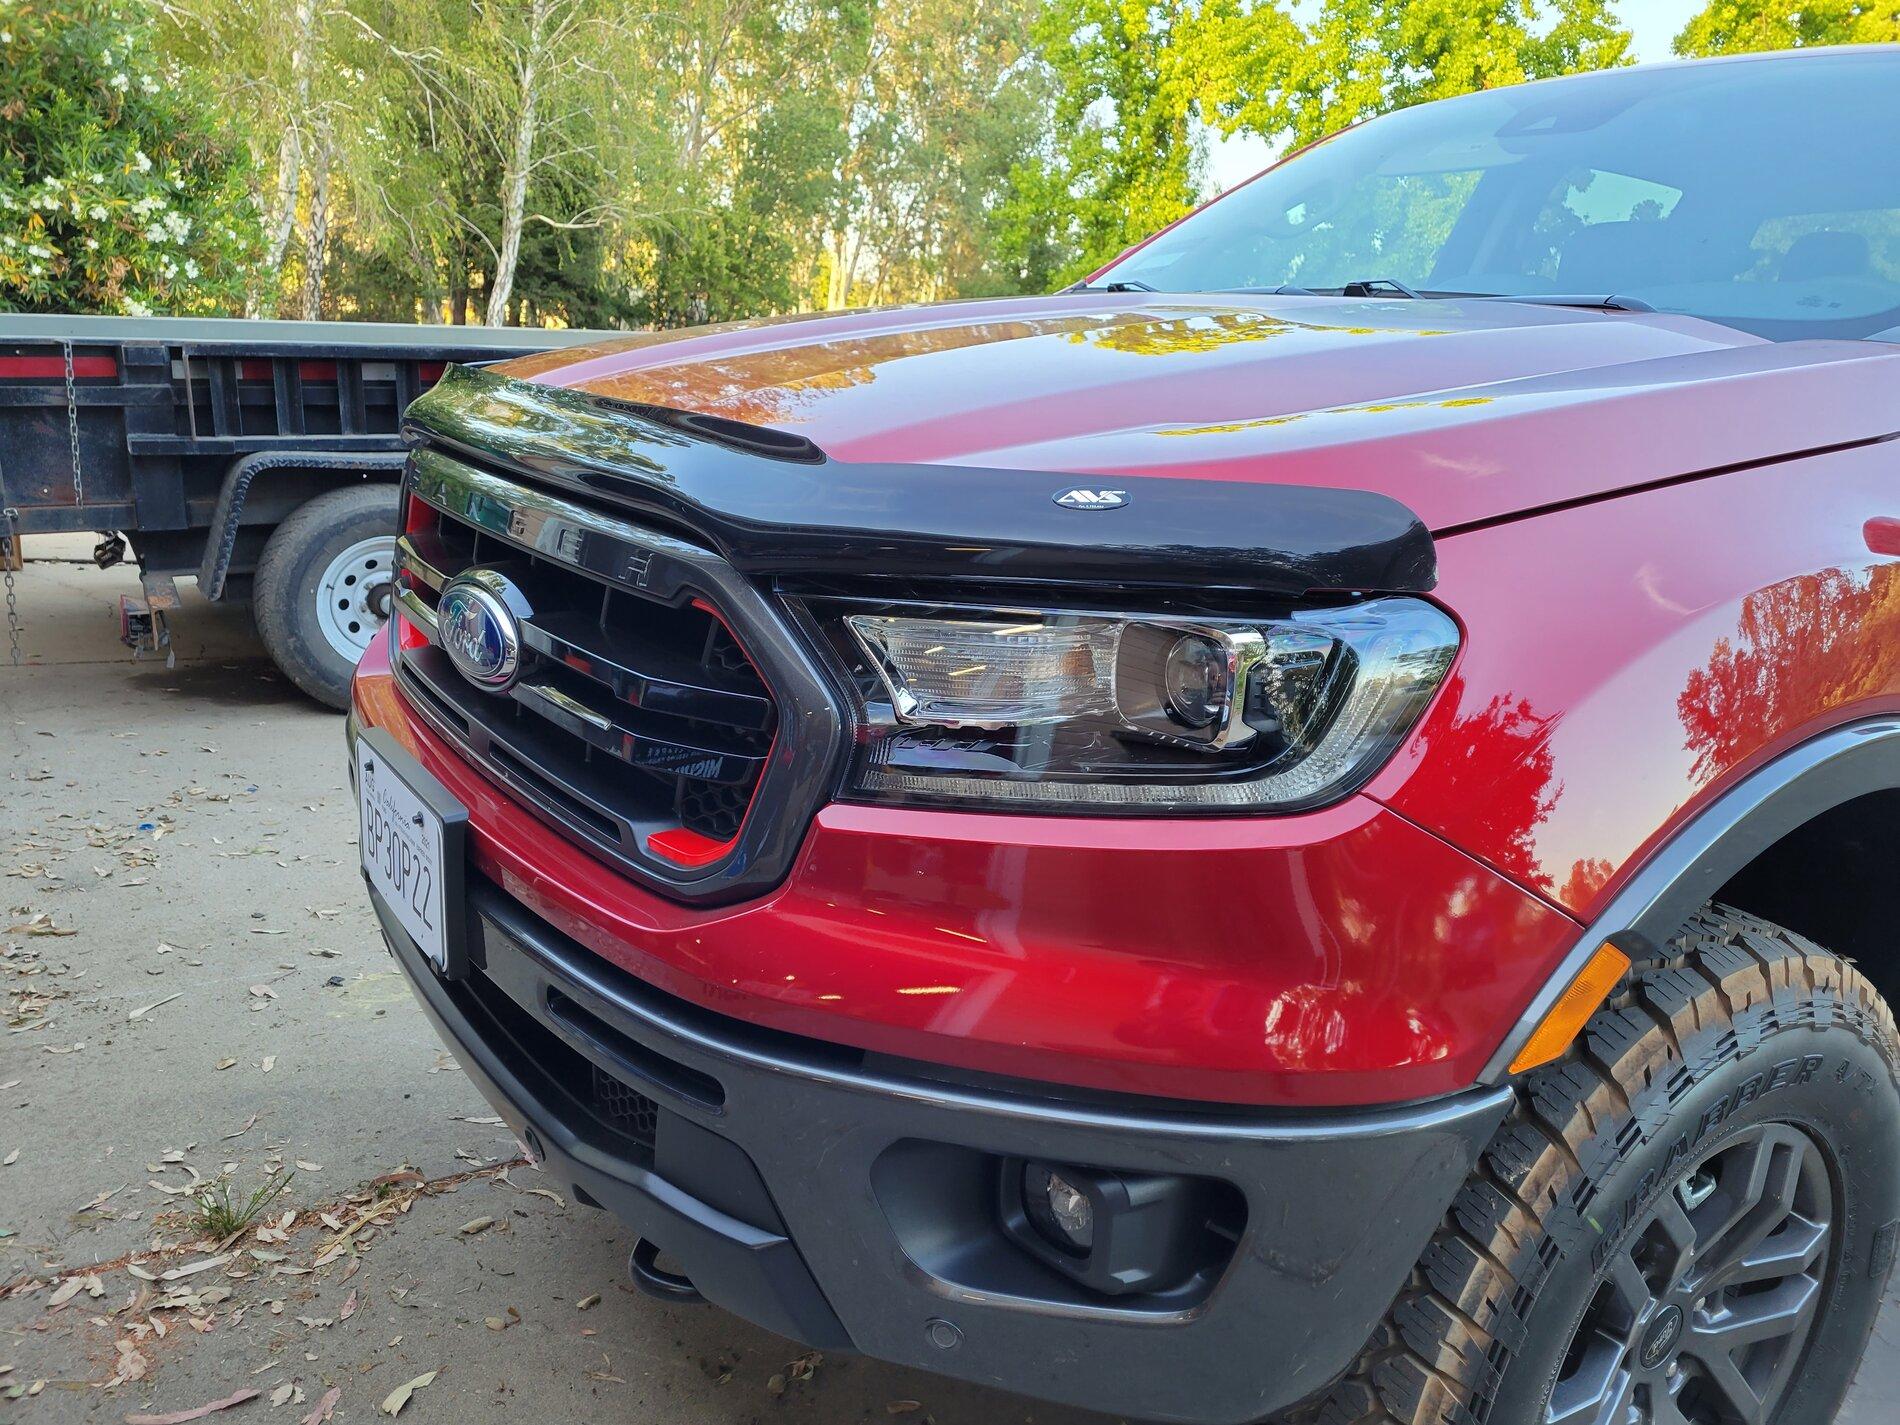
AVS Smoke Bugflector II:
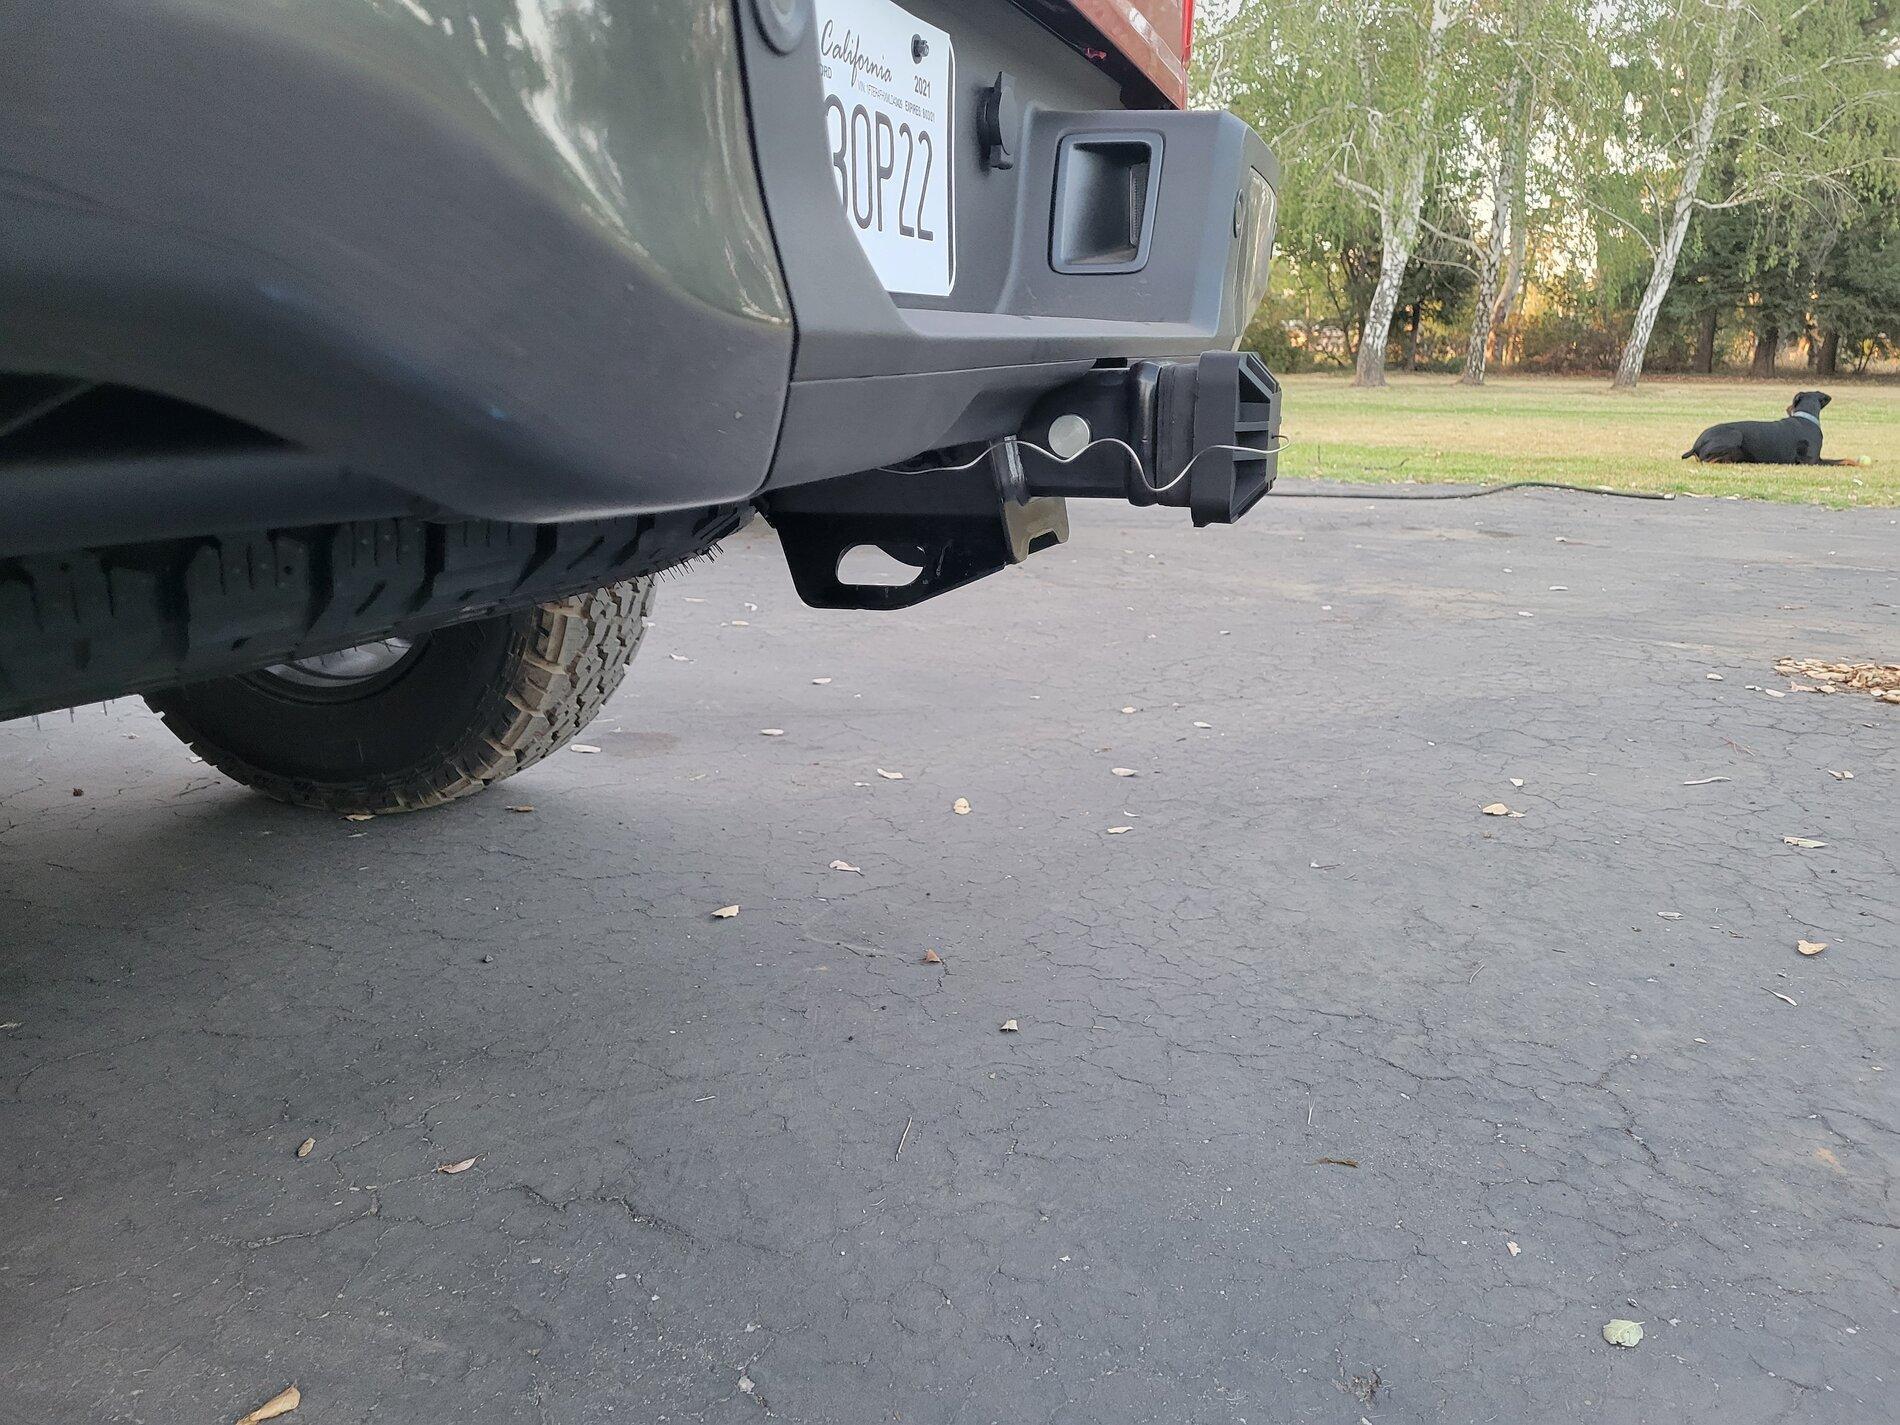
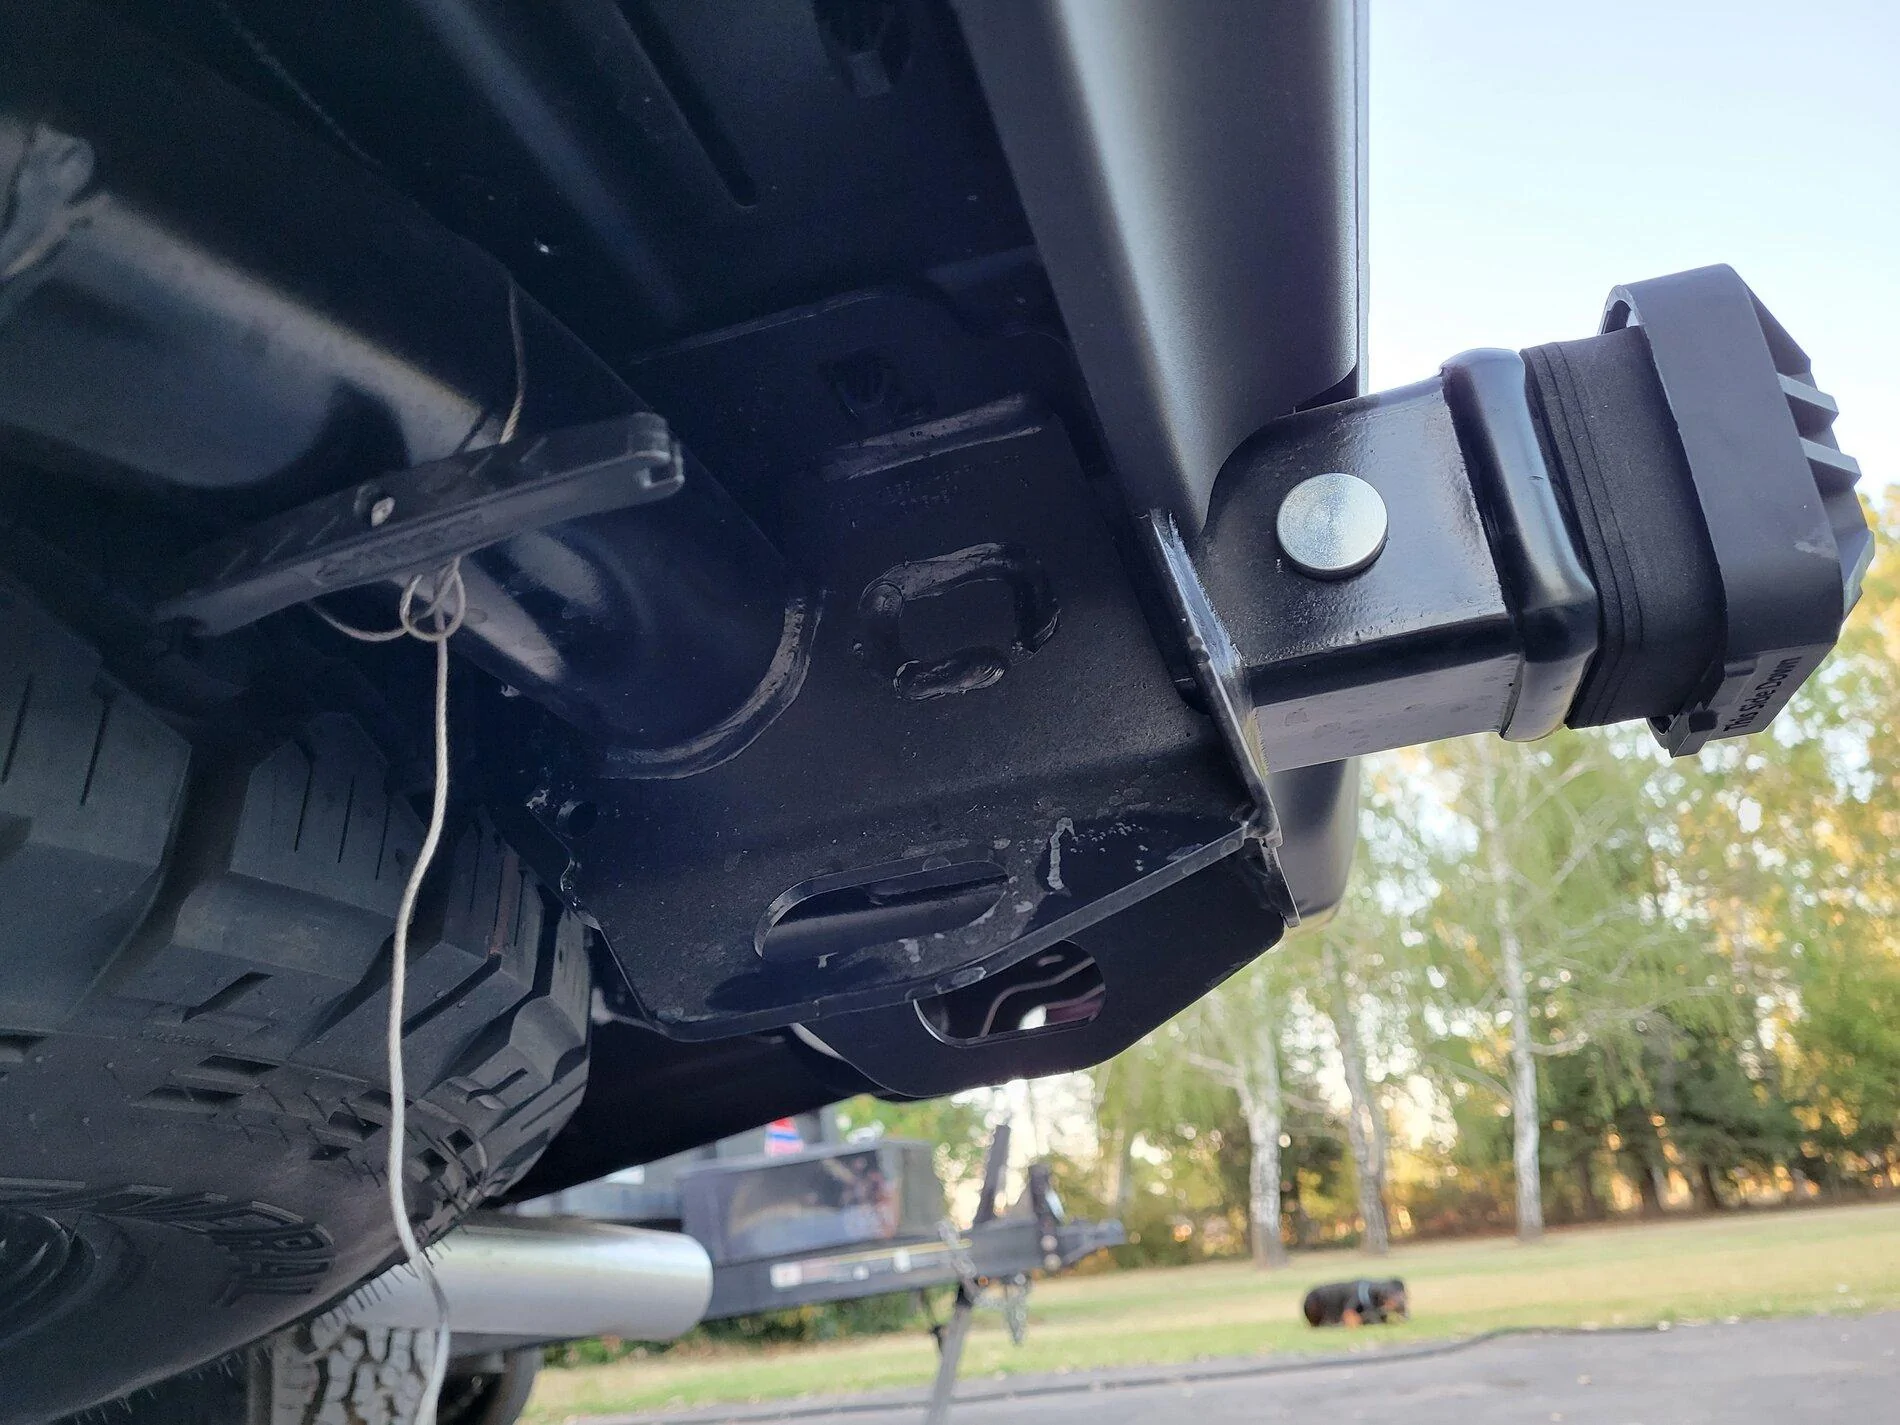
HitchSafe:
I made a cable so the cover will never be lost if it falls off while driving. It is a Husky PVC Cable Saw tied to my tow package and the other end cut off.
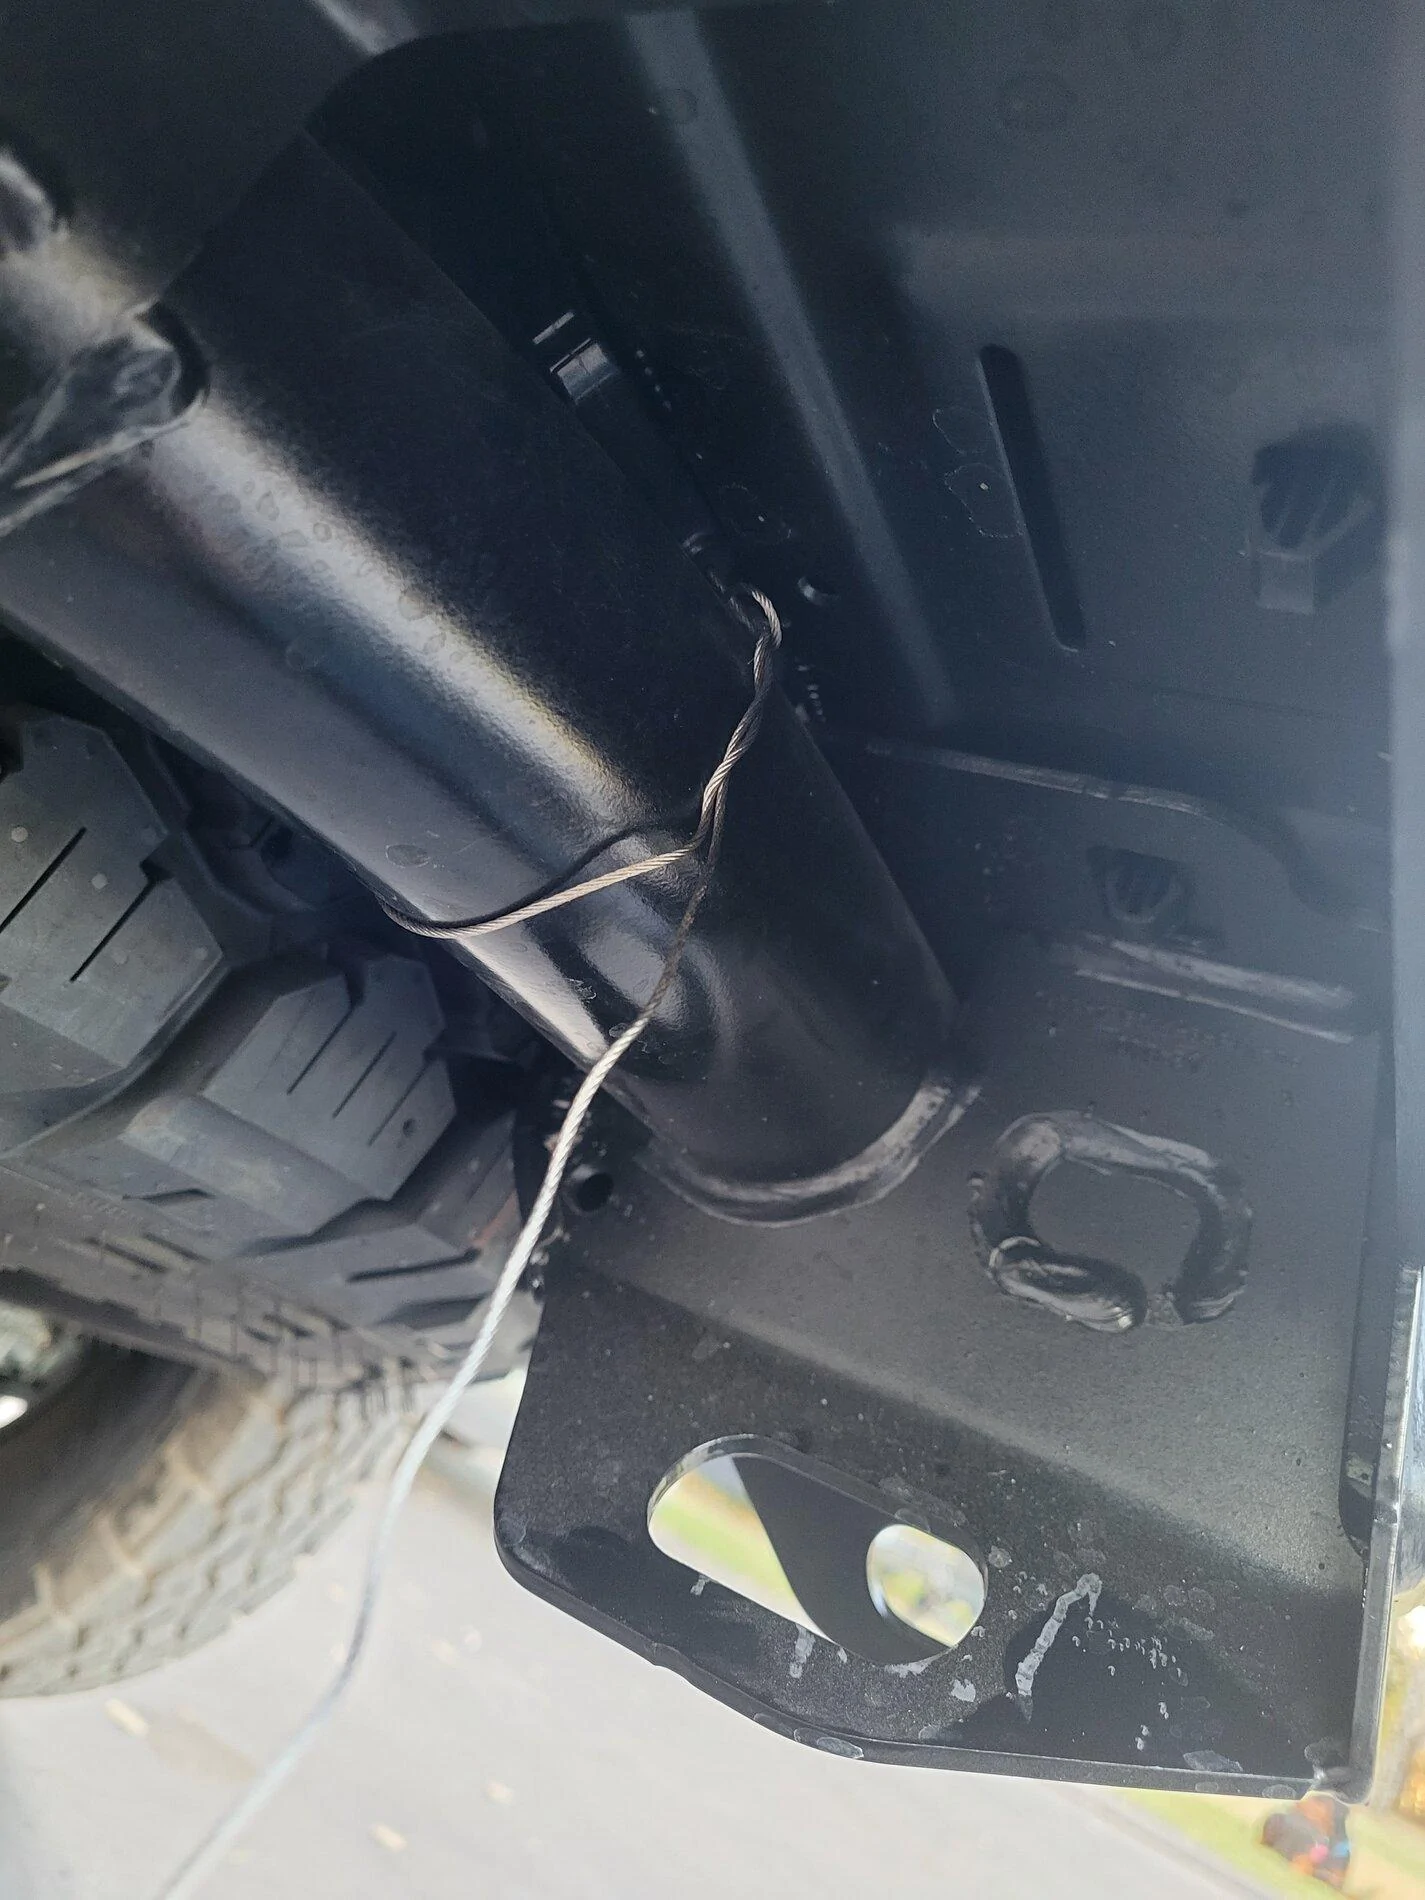
First, I wrapped it and then tied the cable.
When pulled tight, this is how it looks. The handle from the cable saw is too big to fit through that opening, so it won't fall out.
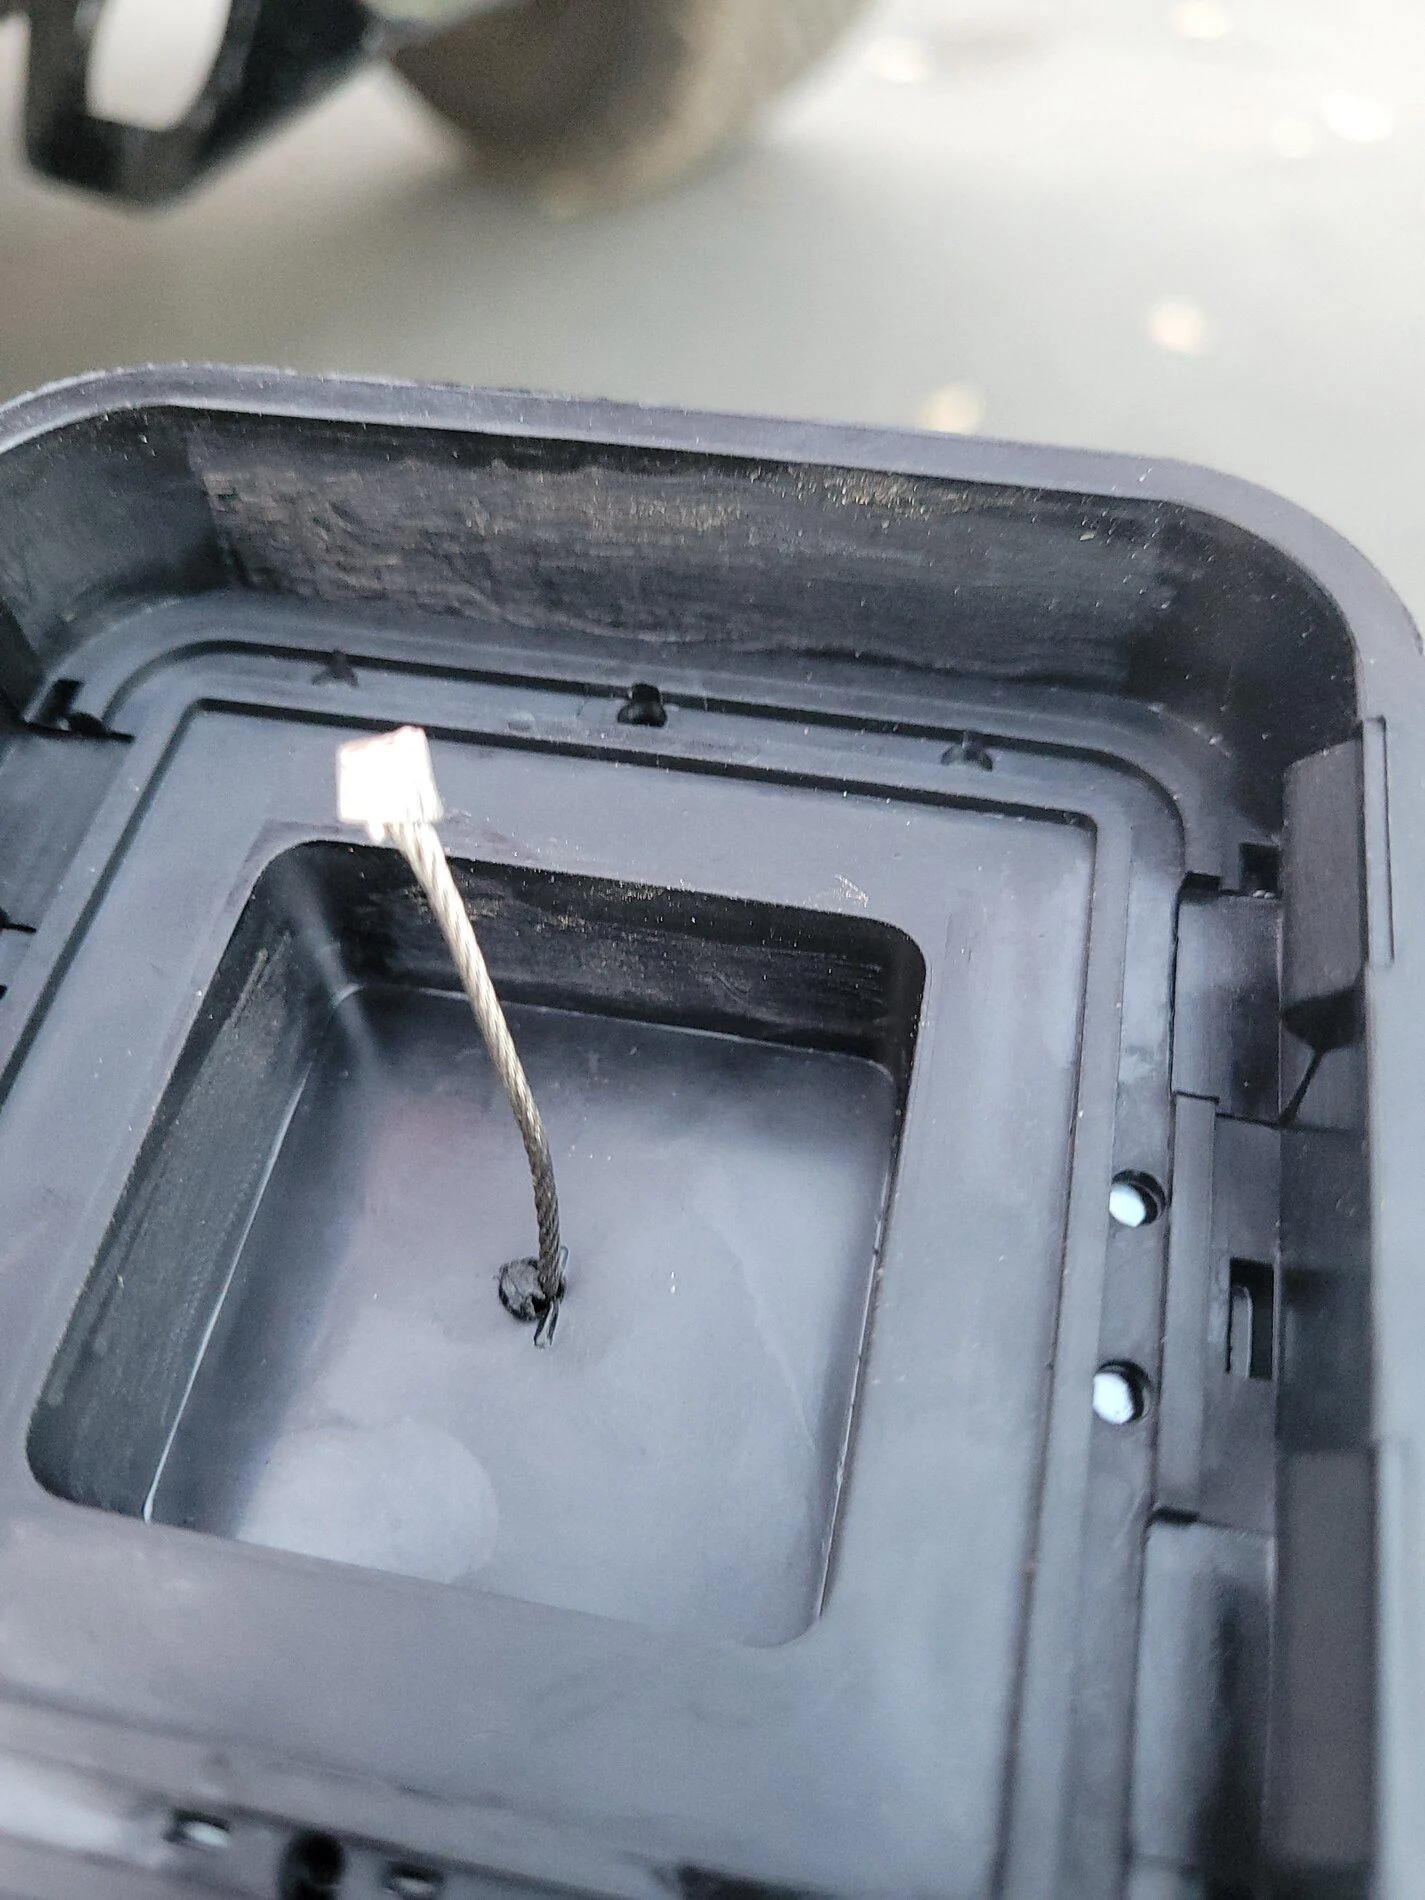
I drilled a small hole into the center of the cover and then crimped a quick connect fitting that I cut off the end for. Gives it a professional look, while ensuring it holds the cover.
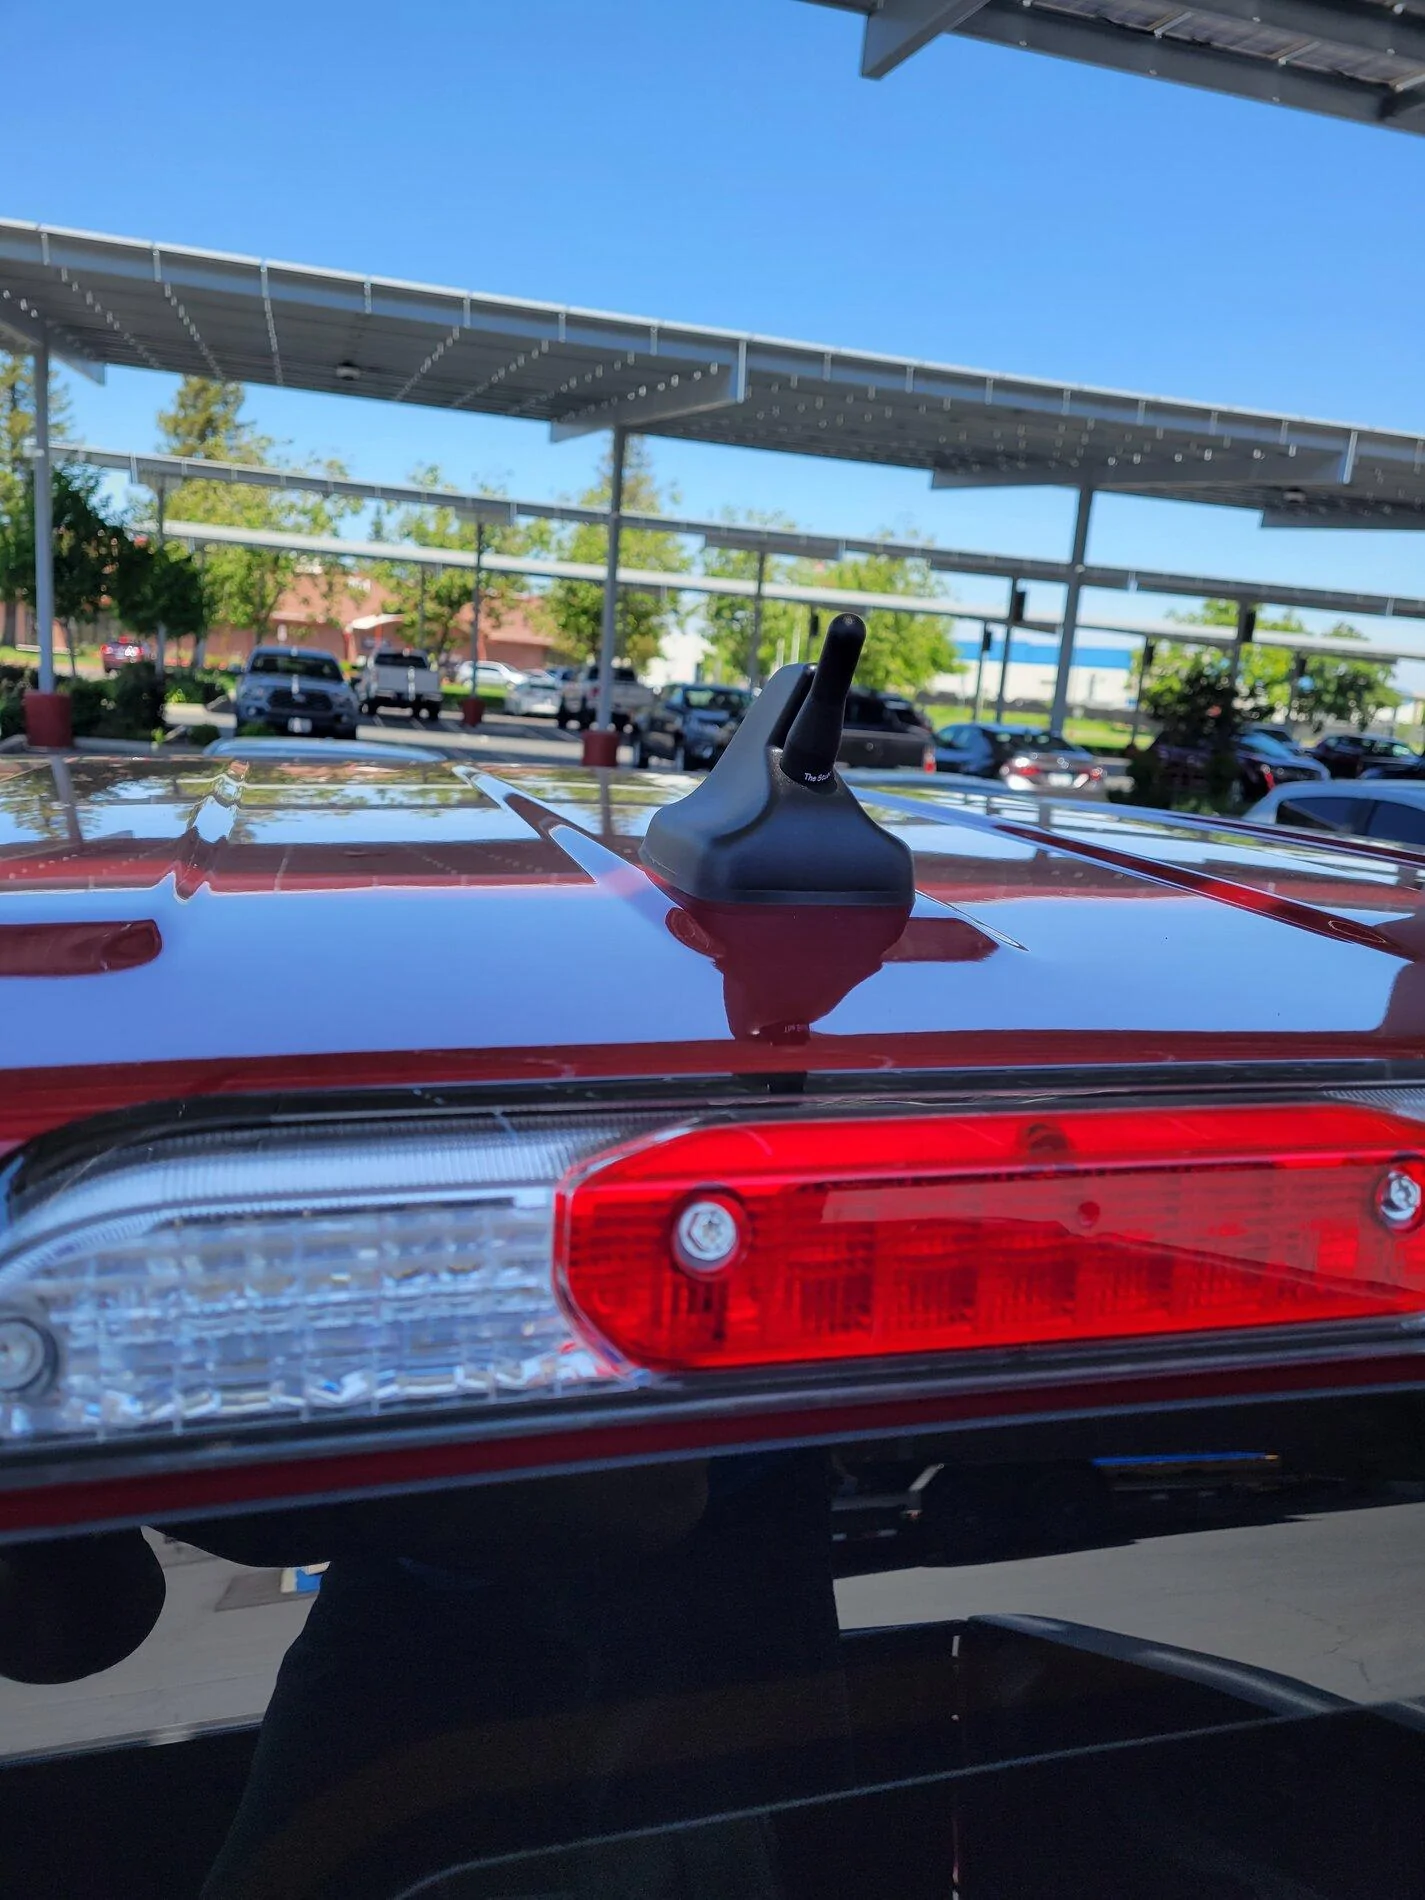
CravenSpeed - The Stubby Antenna:
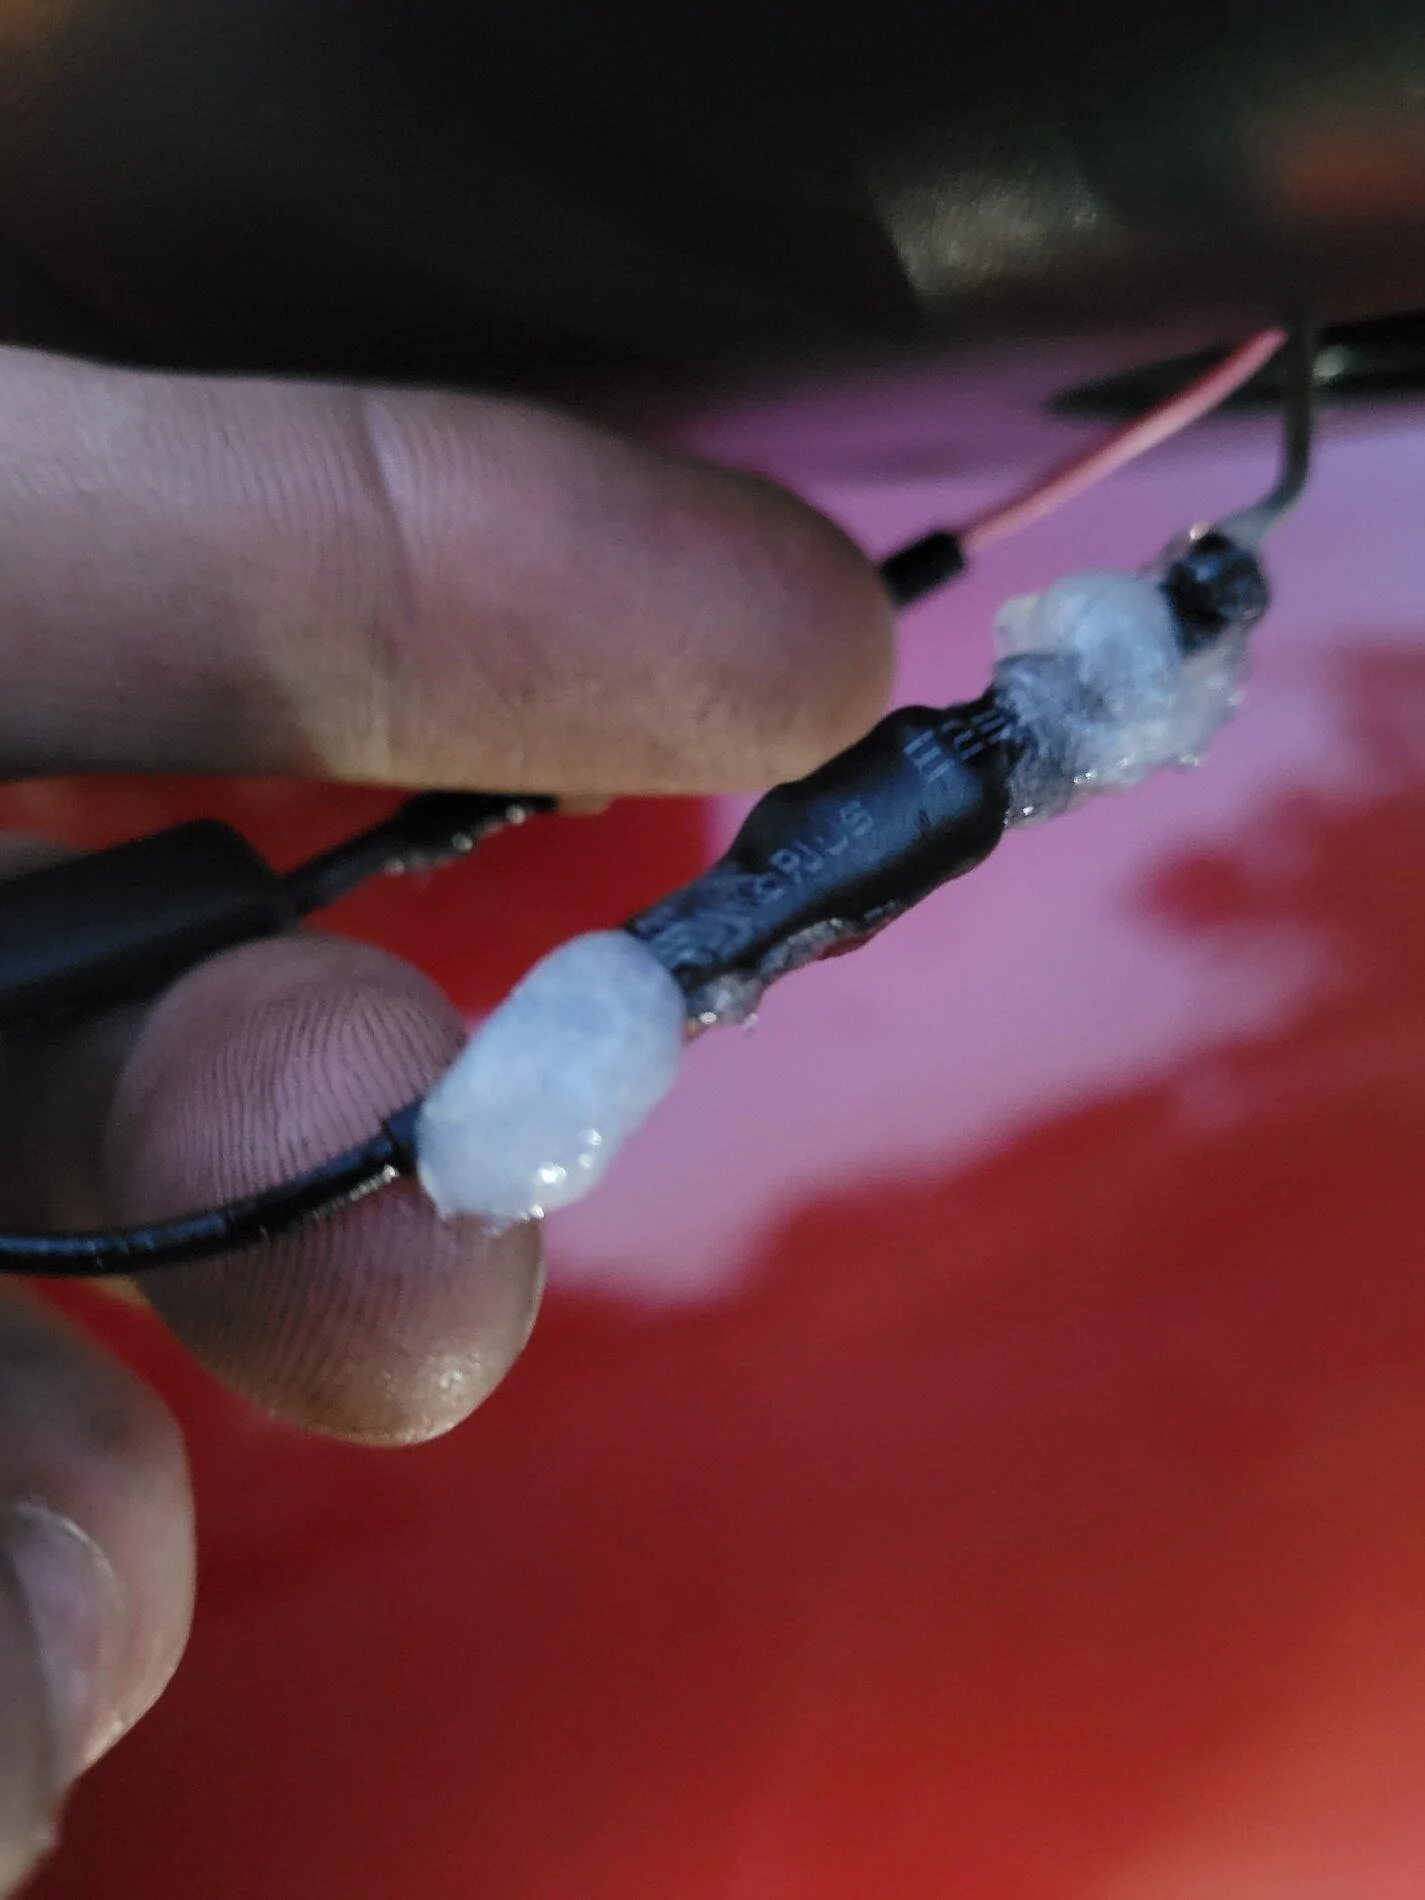
RUXIFEY Side Mirror Puddle Light LED Lamp:
For the connections, I used heat shrink tubing that I filled with Di-electric grease prior to heating up the heat shrink. The excess you see in the picture was wiped away afterwards.
VIP MOTOZ Smoked Marker Lights
CupHolderHero Cup Holder Inserts
MBRP Dual Split Rear Exit Cat-back Exhaust
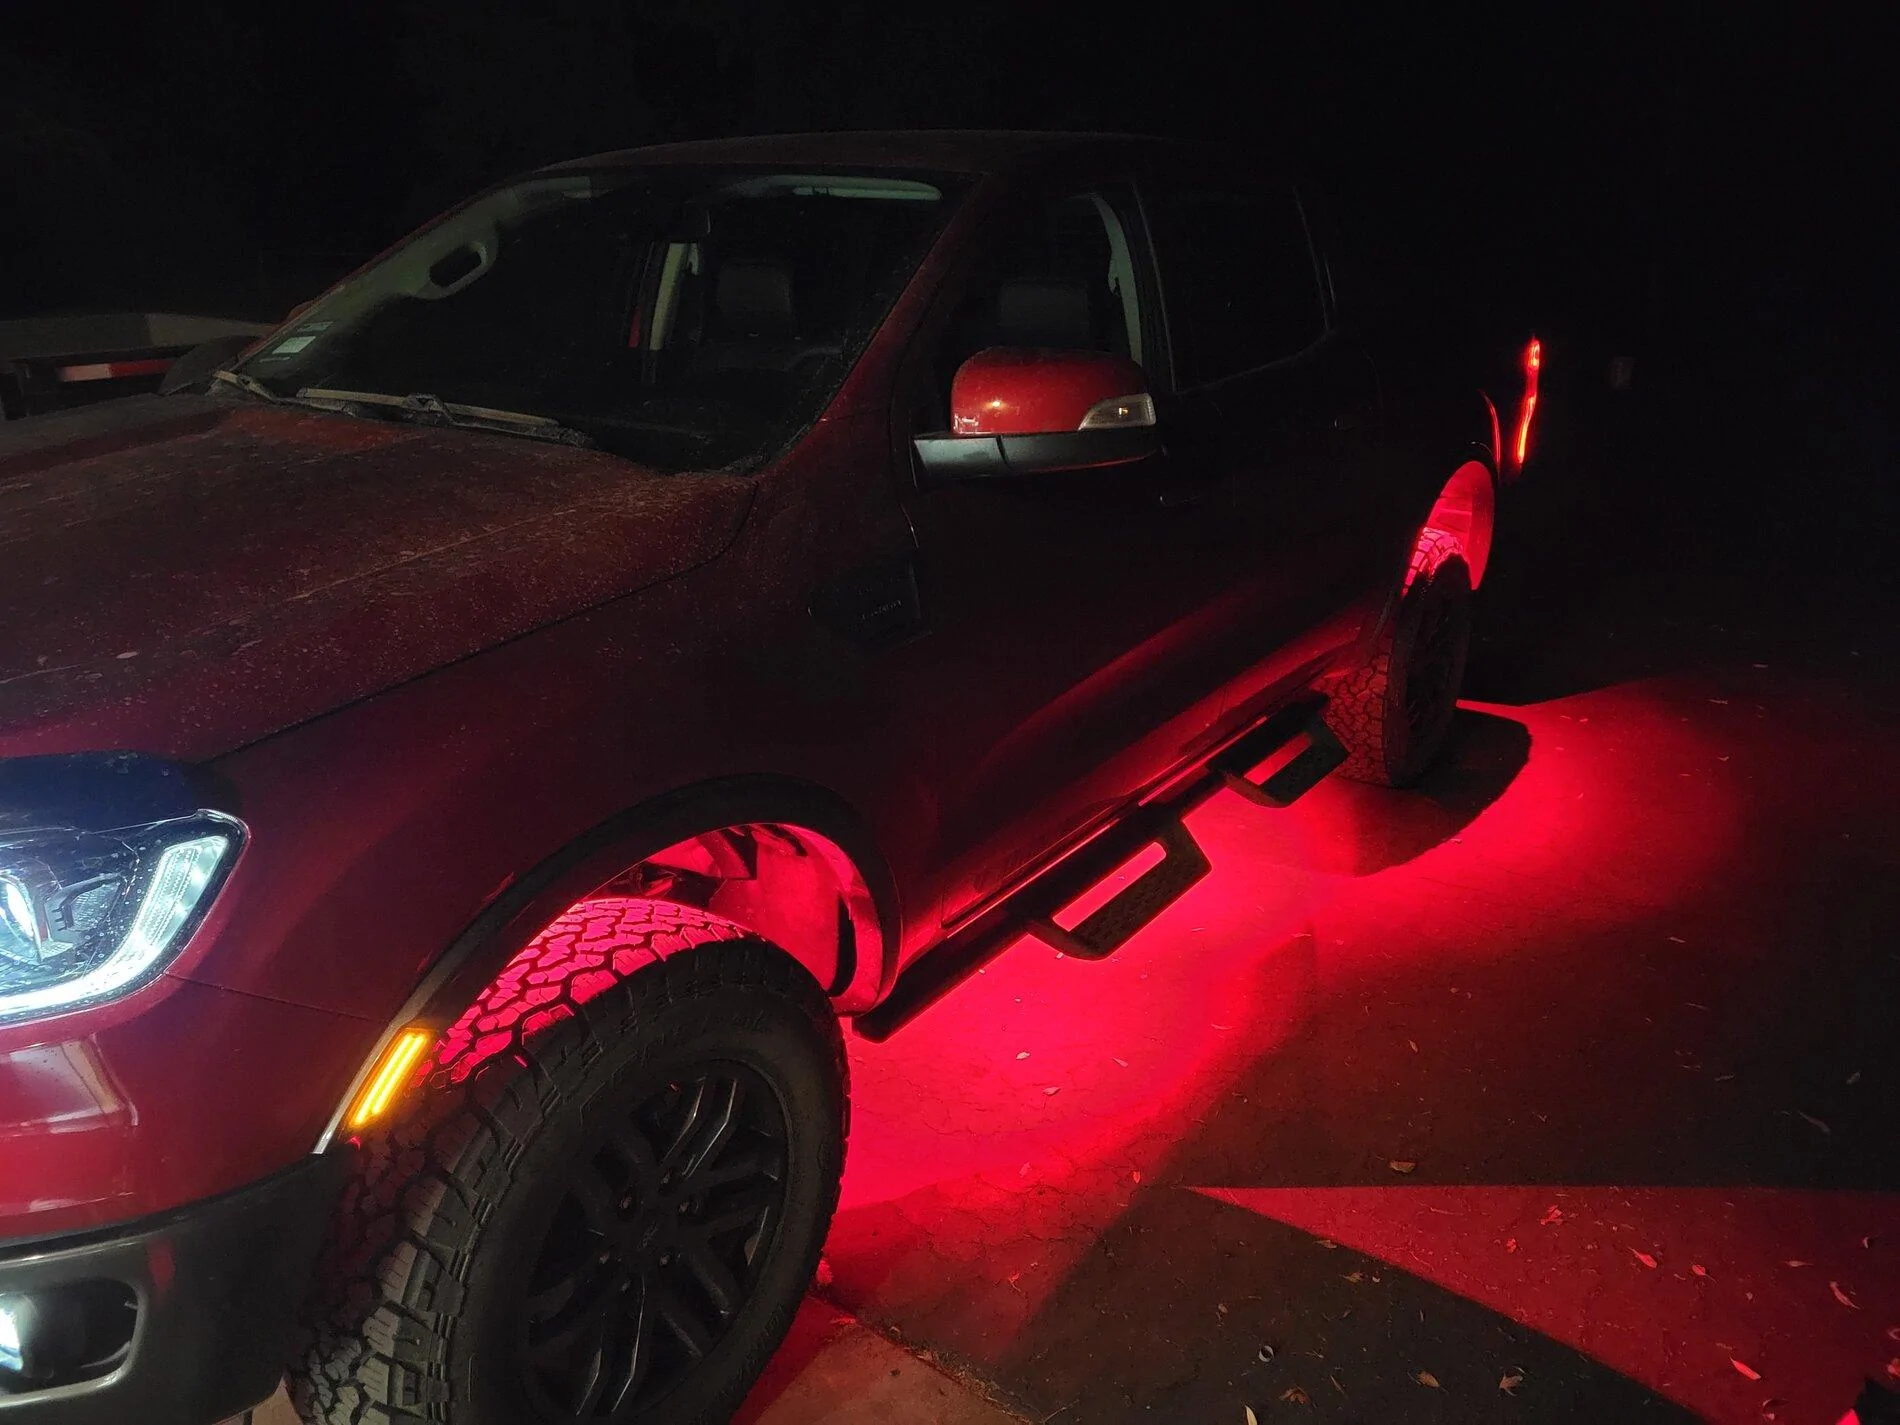
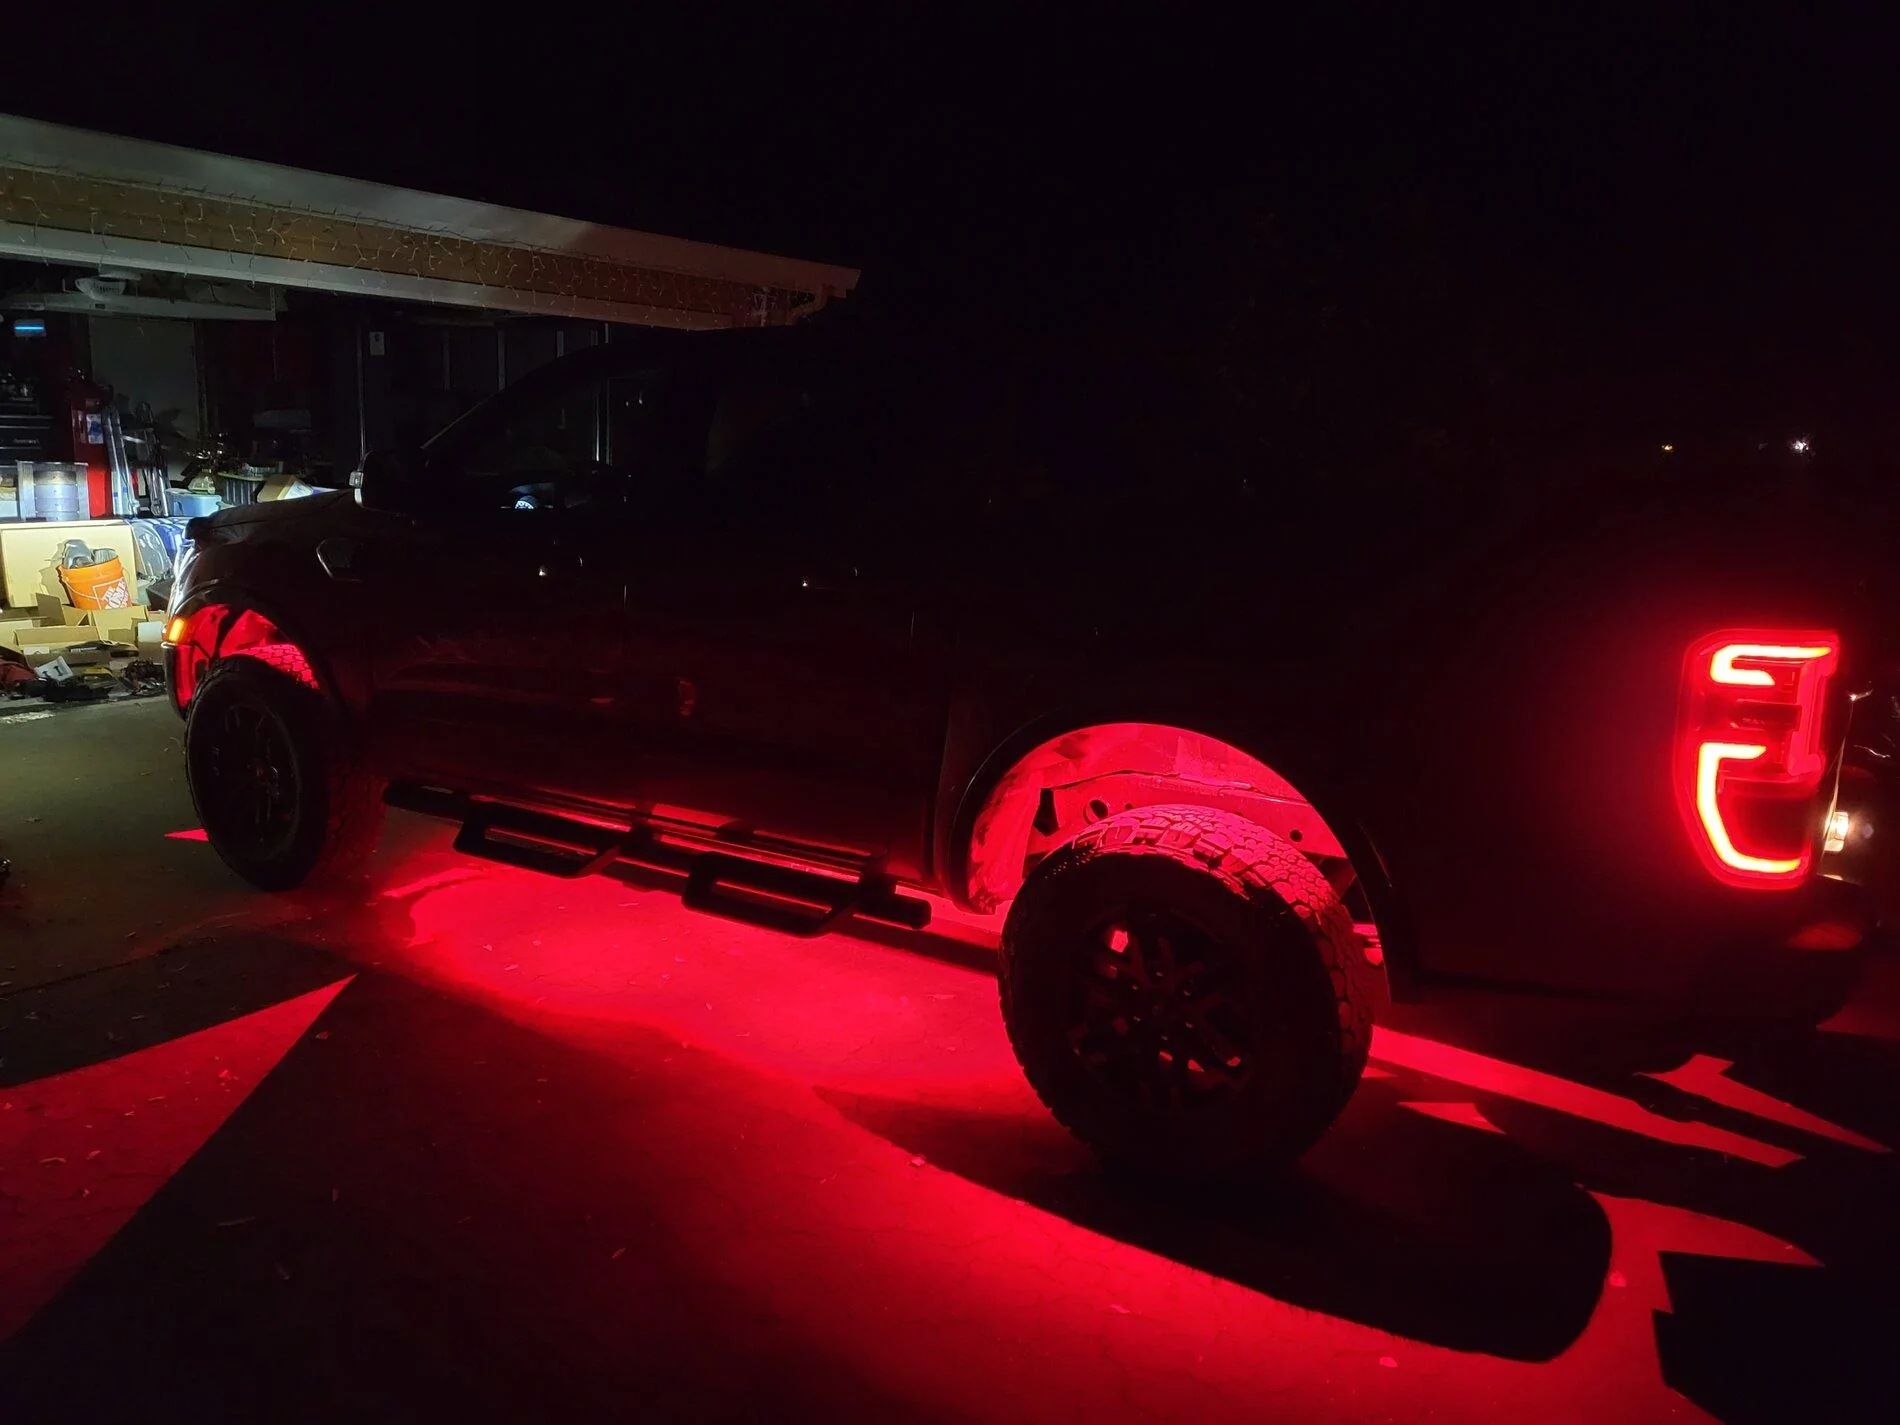
4WDKing Underbody Lights
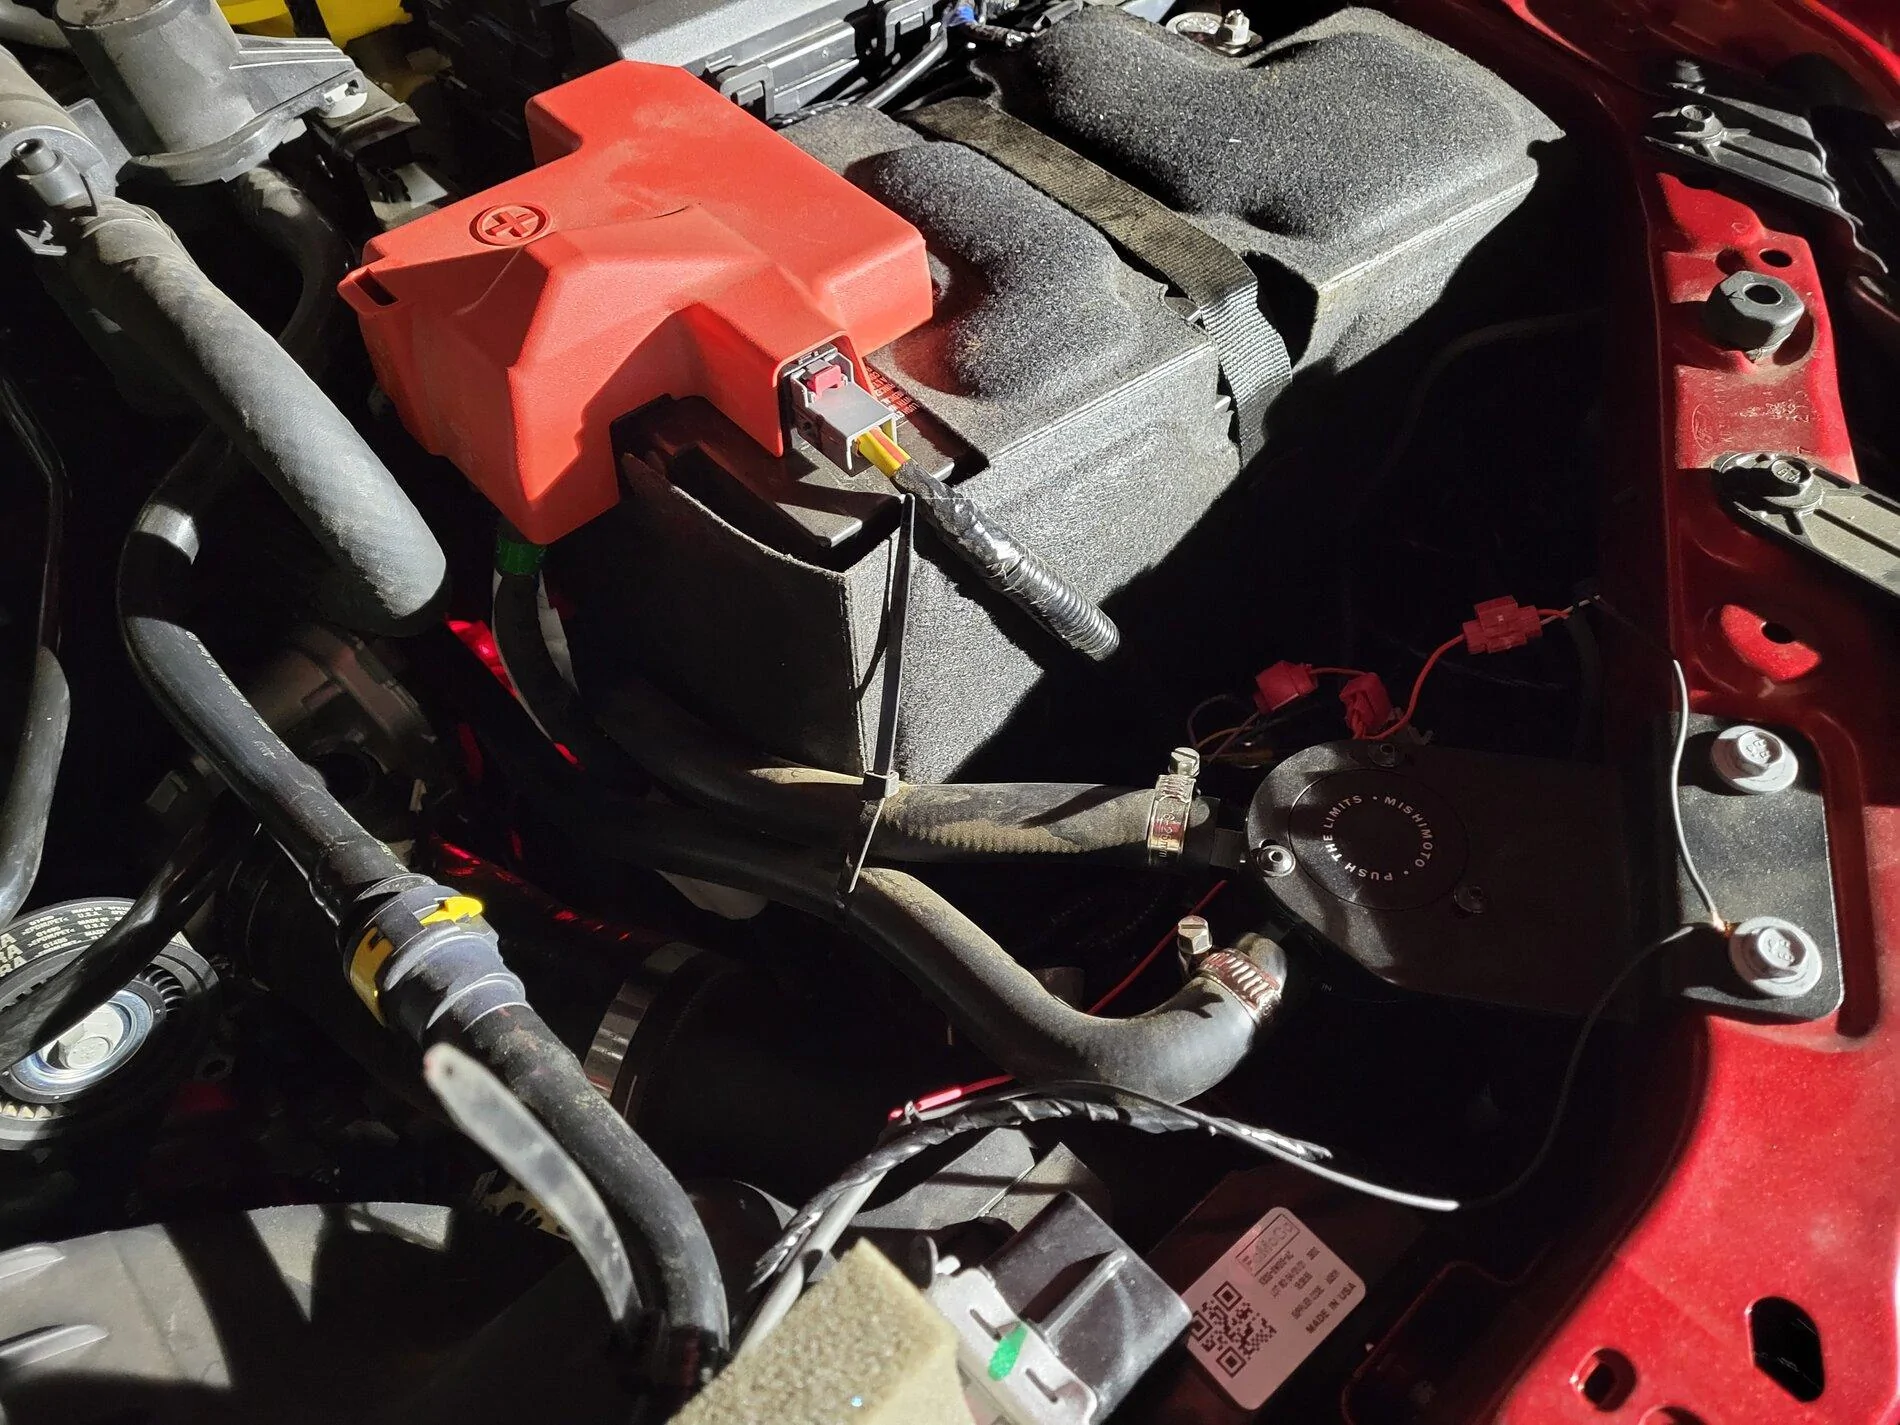
Mishimoto Catch Can
Mishimoto Performance Intercooler and charge pipes
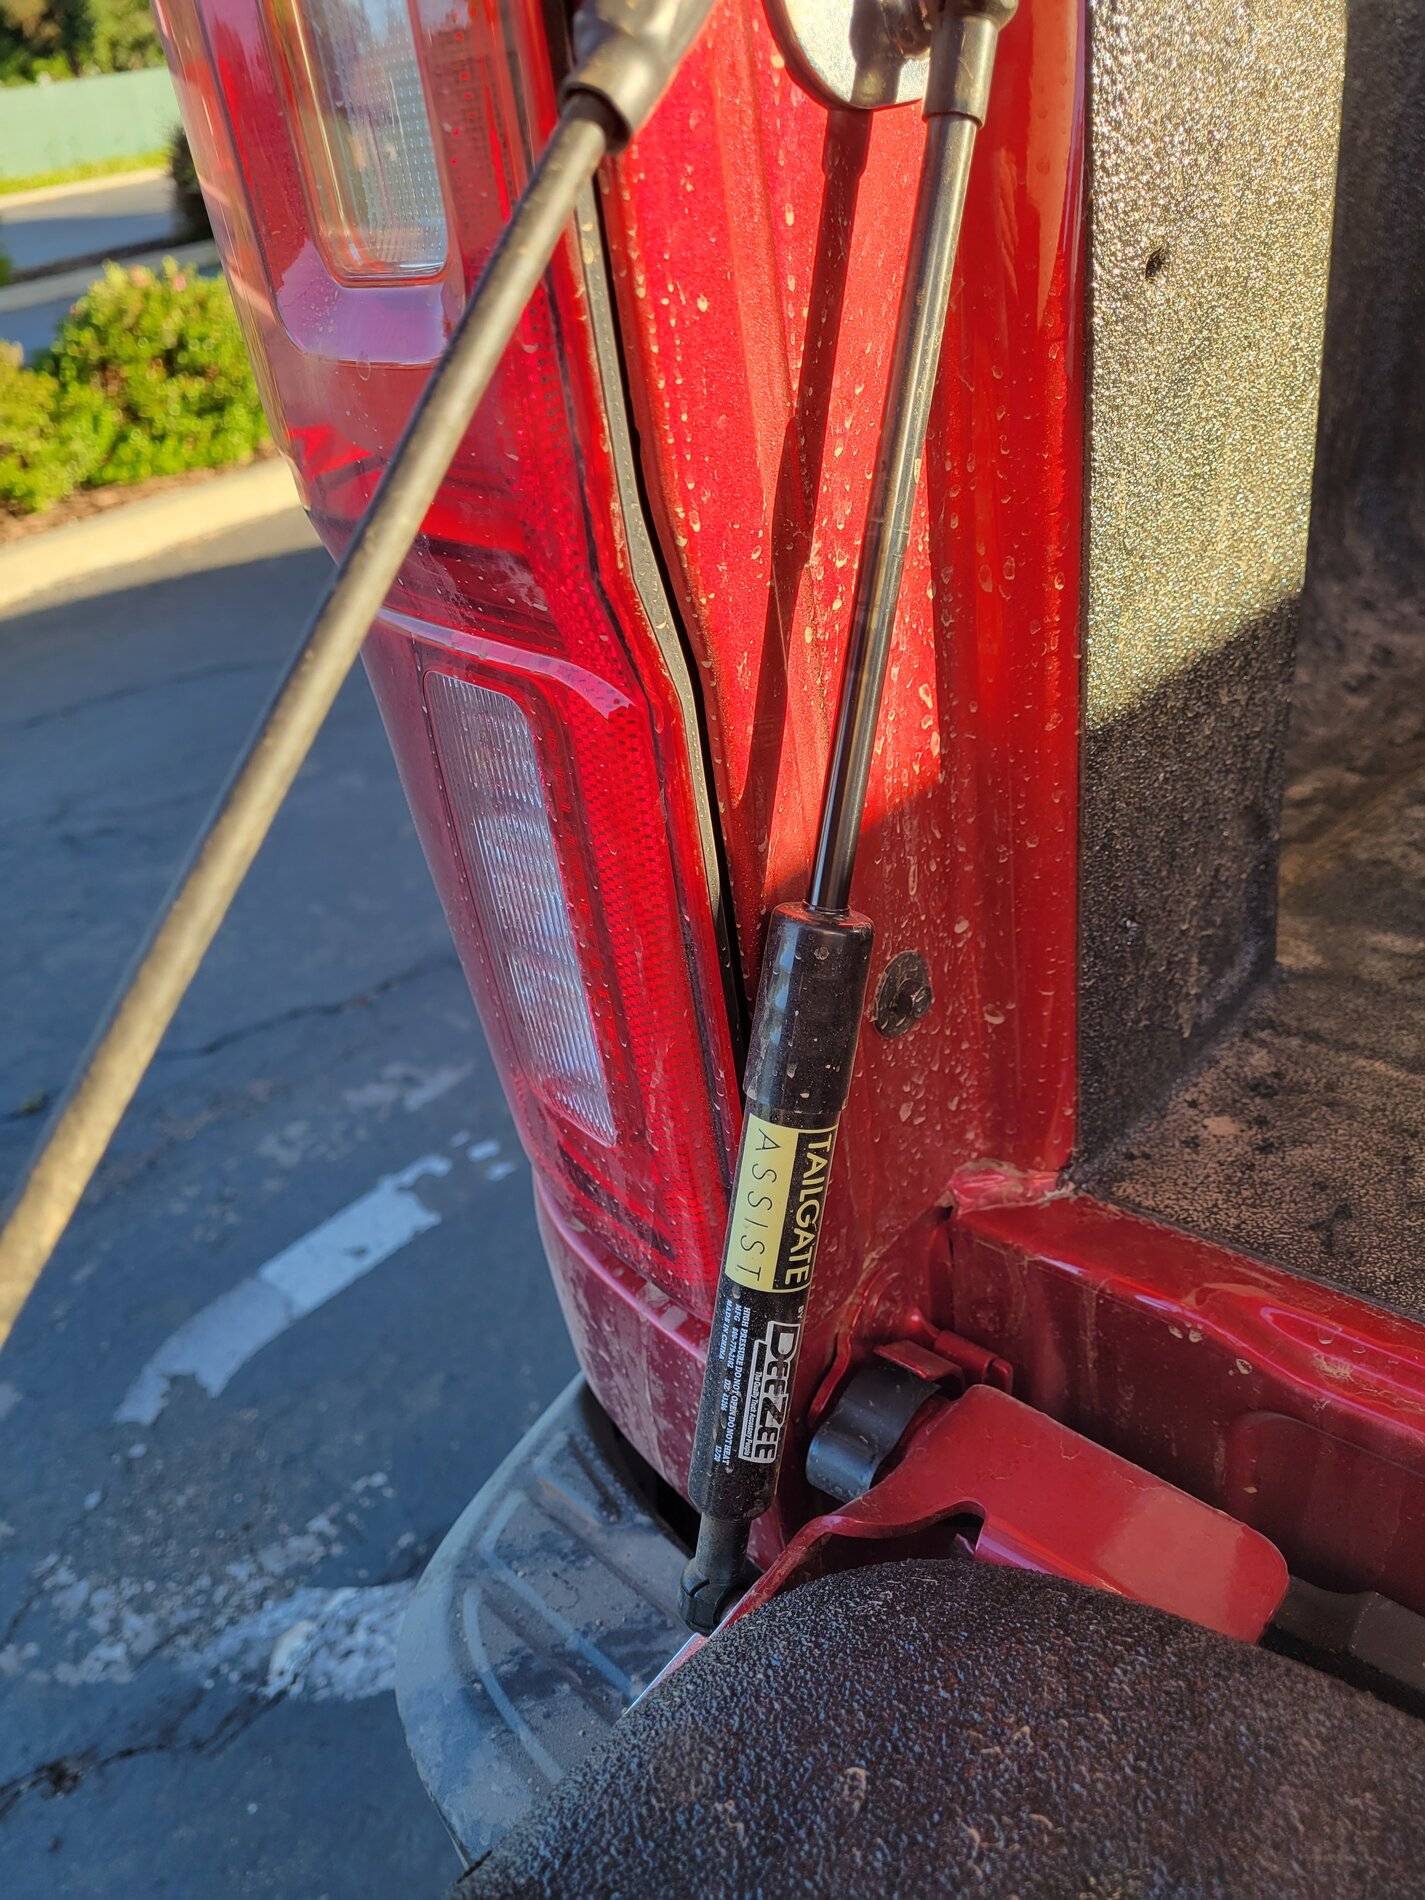
DEE ZEE Tailgate Assist
@AzScorpion I want my T-Shirt! ?
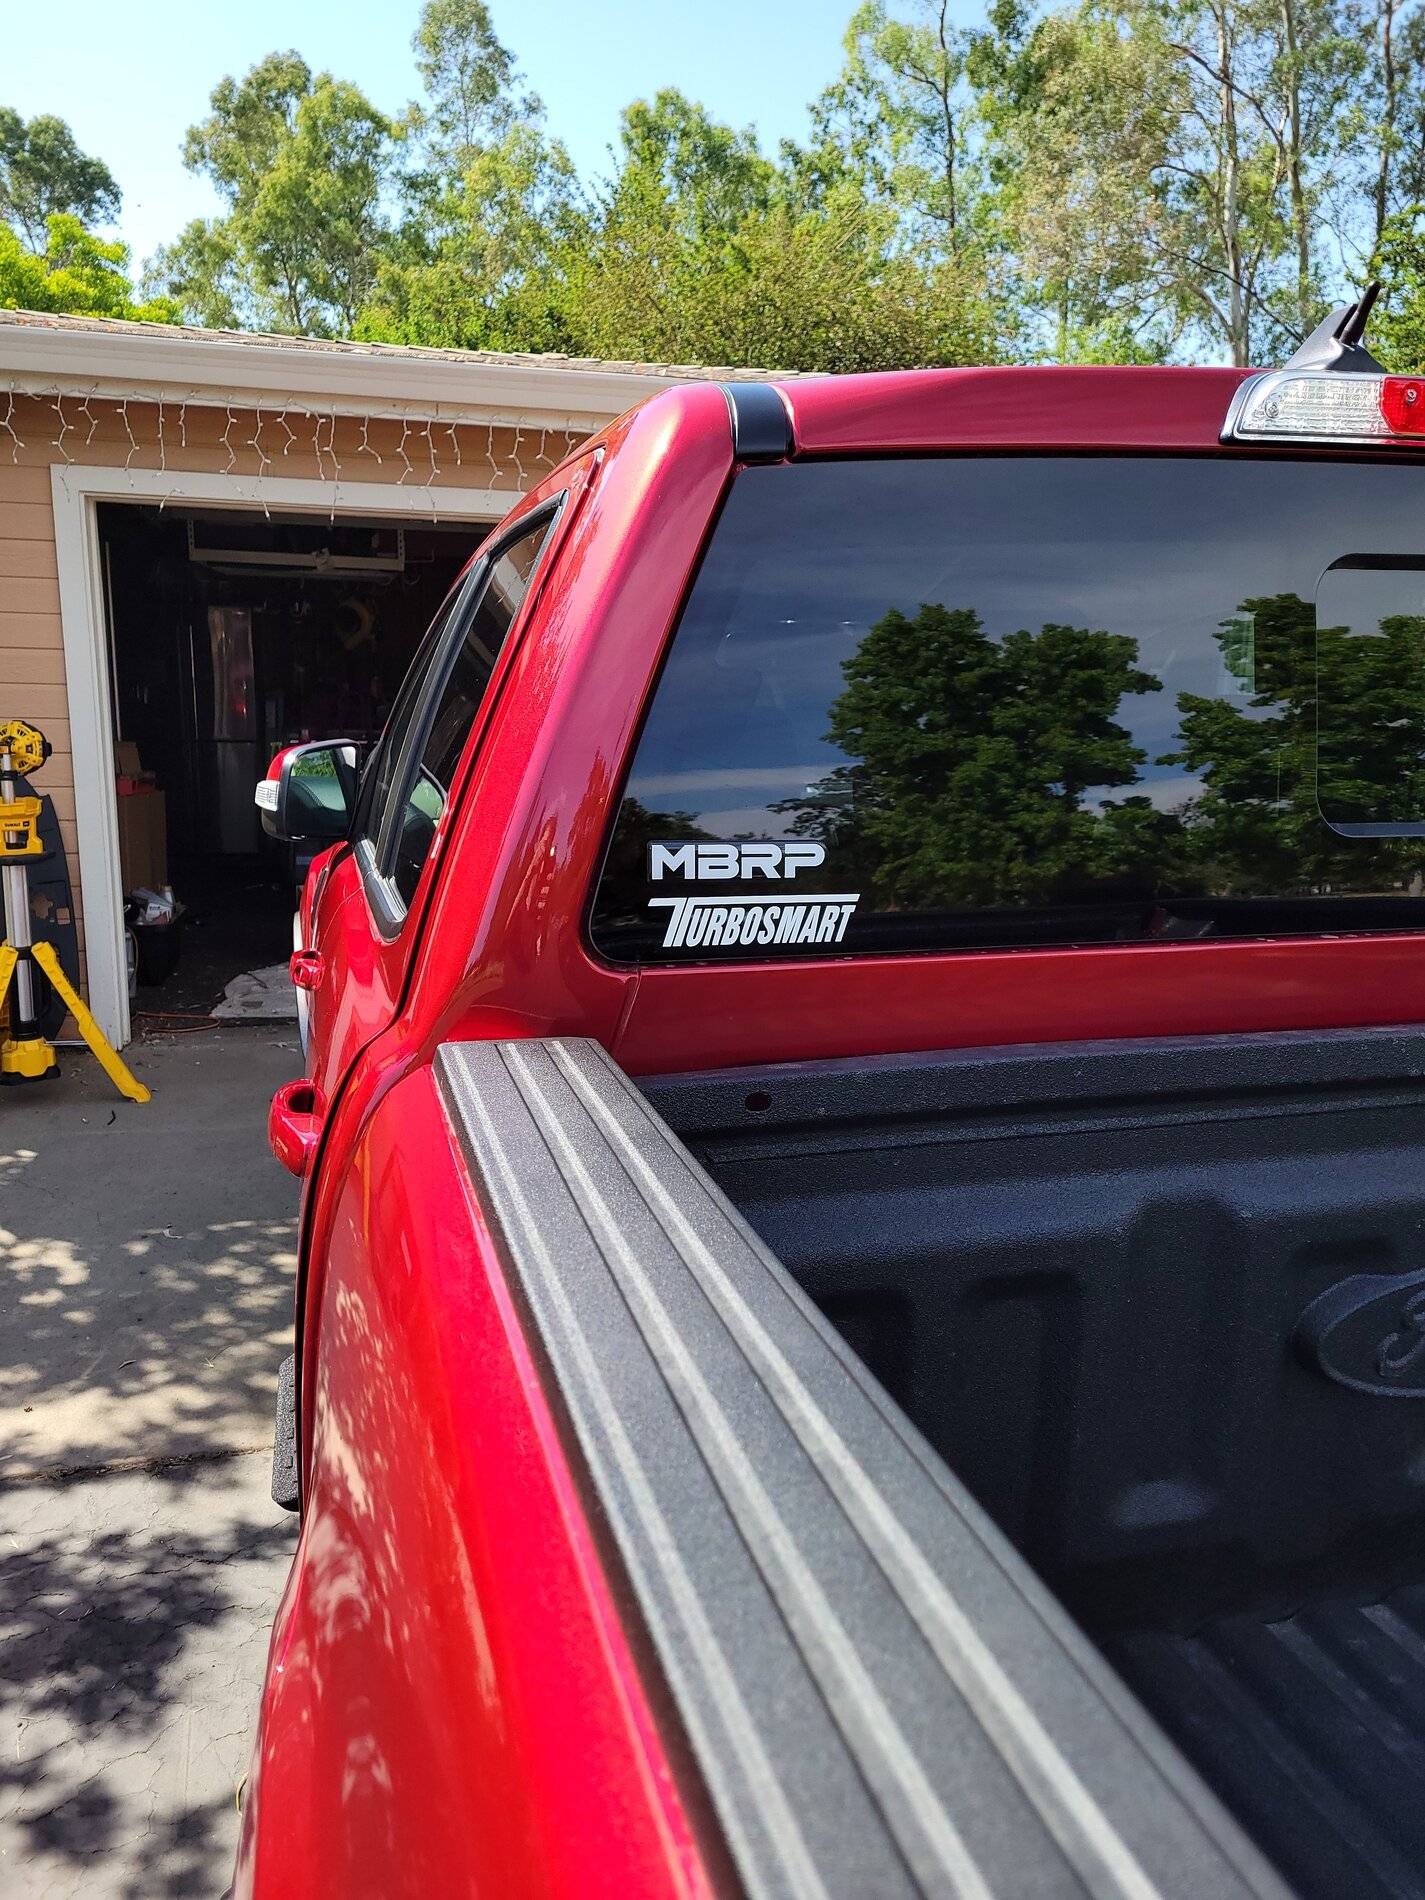
Added some decals (More to follow):
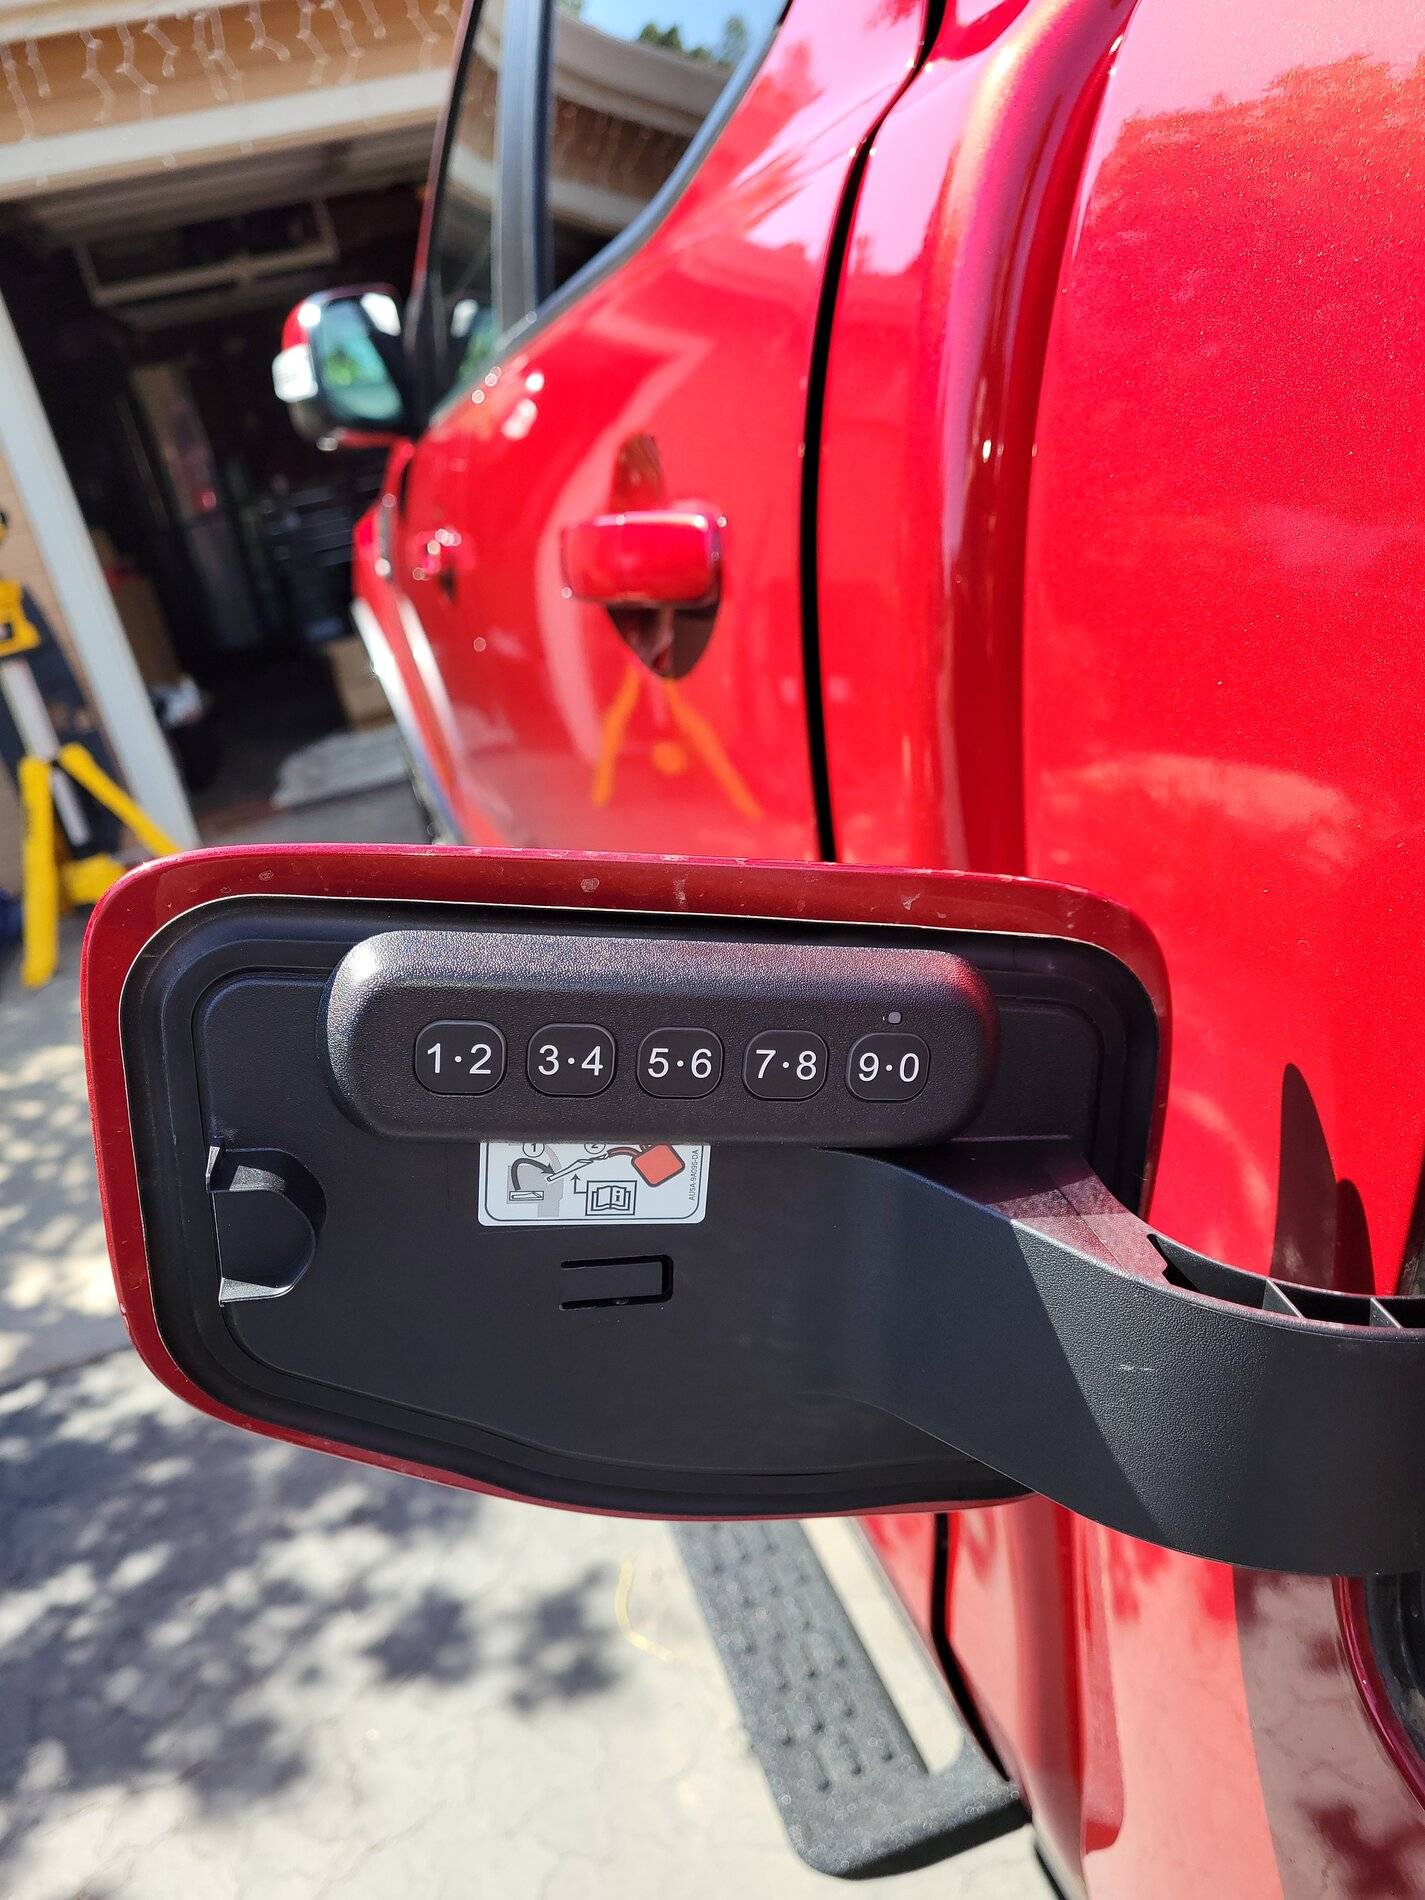
Relocated the Securicode Keypad. It was easy to remove using dental floss, then I cleaned the excess glue using alchohol. Used 3m VHB tape to apply inside the gas door.
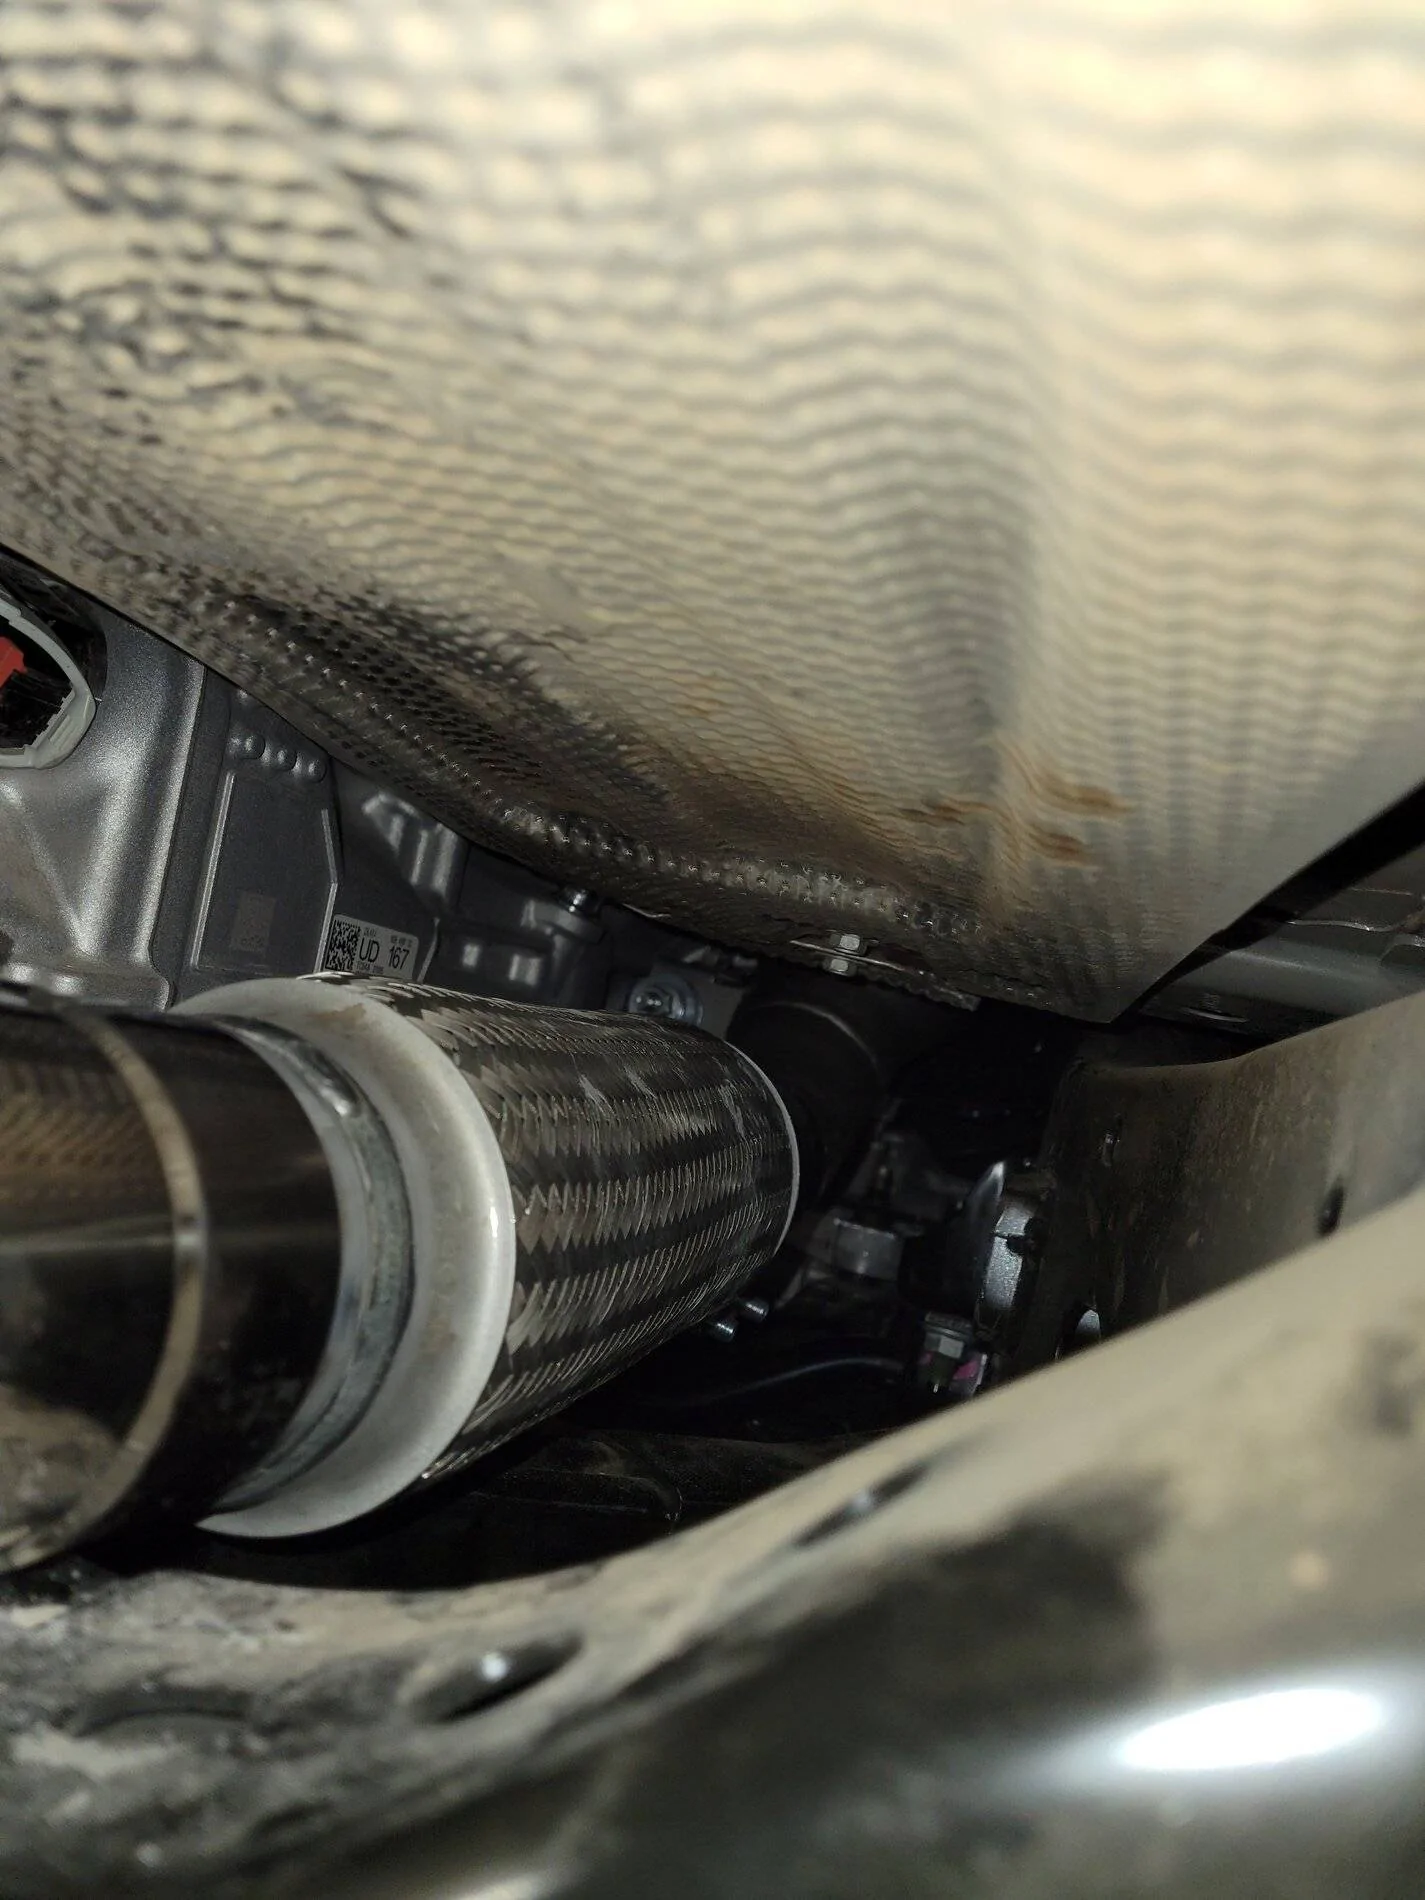
SPD Performance Downpipe
The downpipe said it had a 3" pipe with an adapter to 2.5", but the adapter was actually welded on. I cut off the adapter to have a true 3" exhaust.
Make sure you have an impact wrench, plenty of swivels and extensions if you are going to replace the downpipe. It is a B***h to get out. I used 20" of extensions and i think as many as 3 swivels for the most difficult nut.
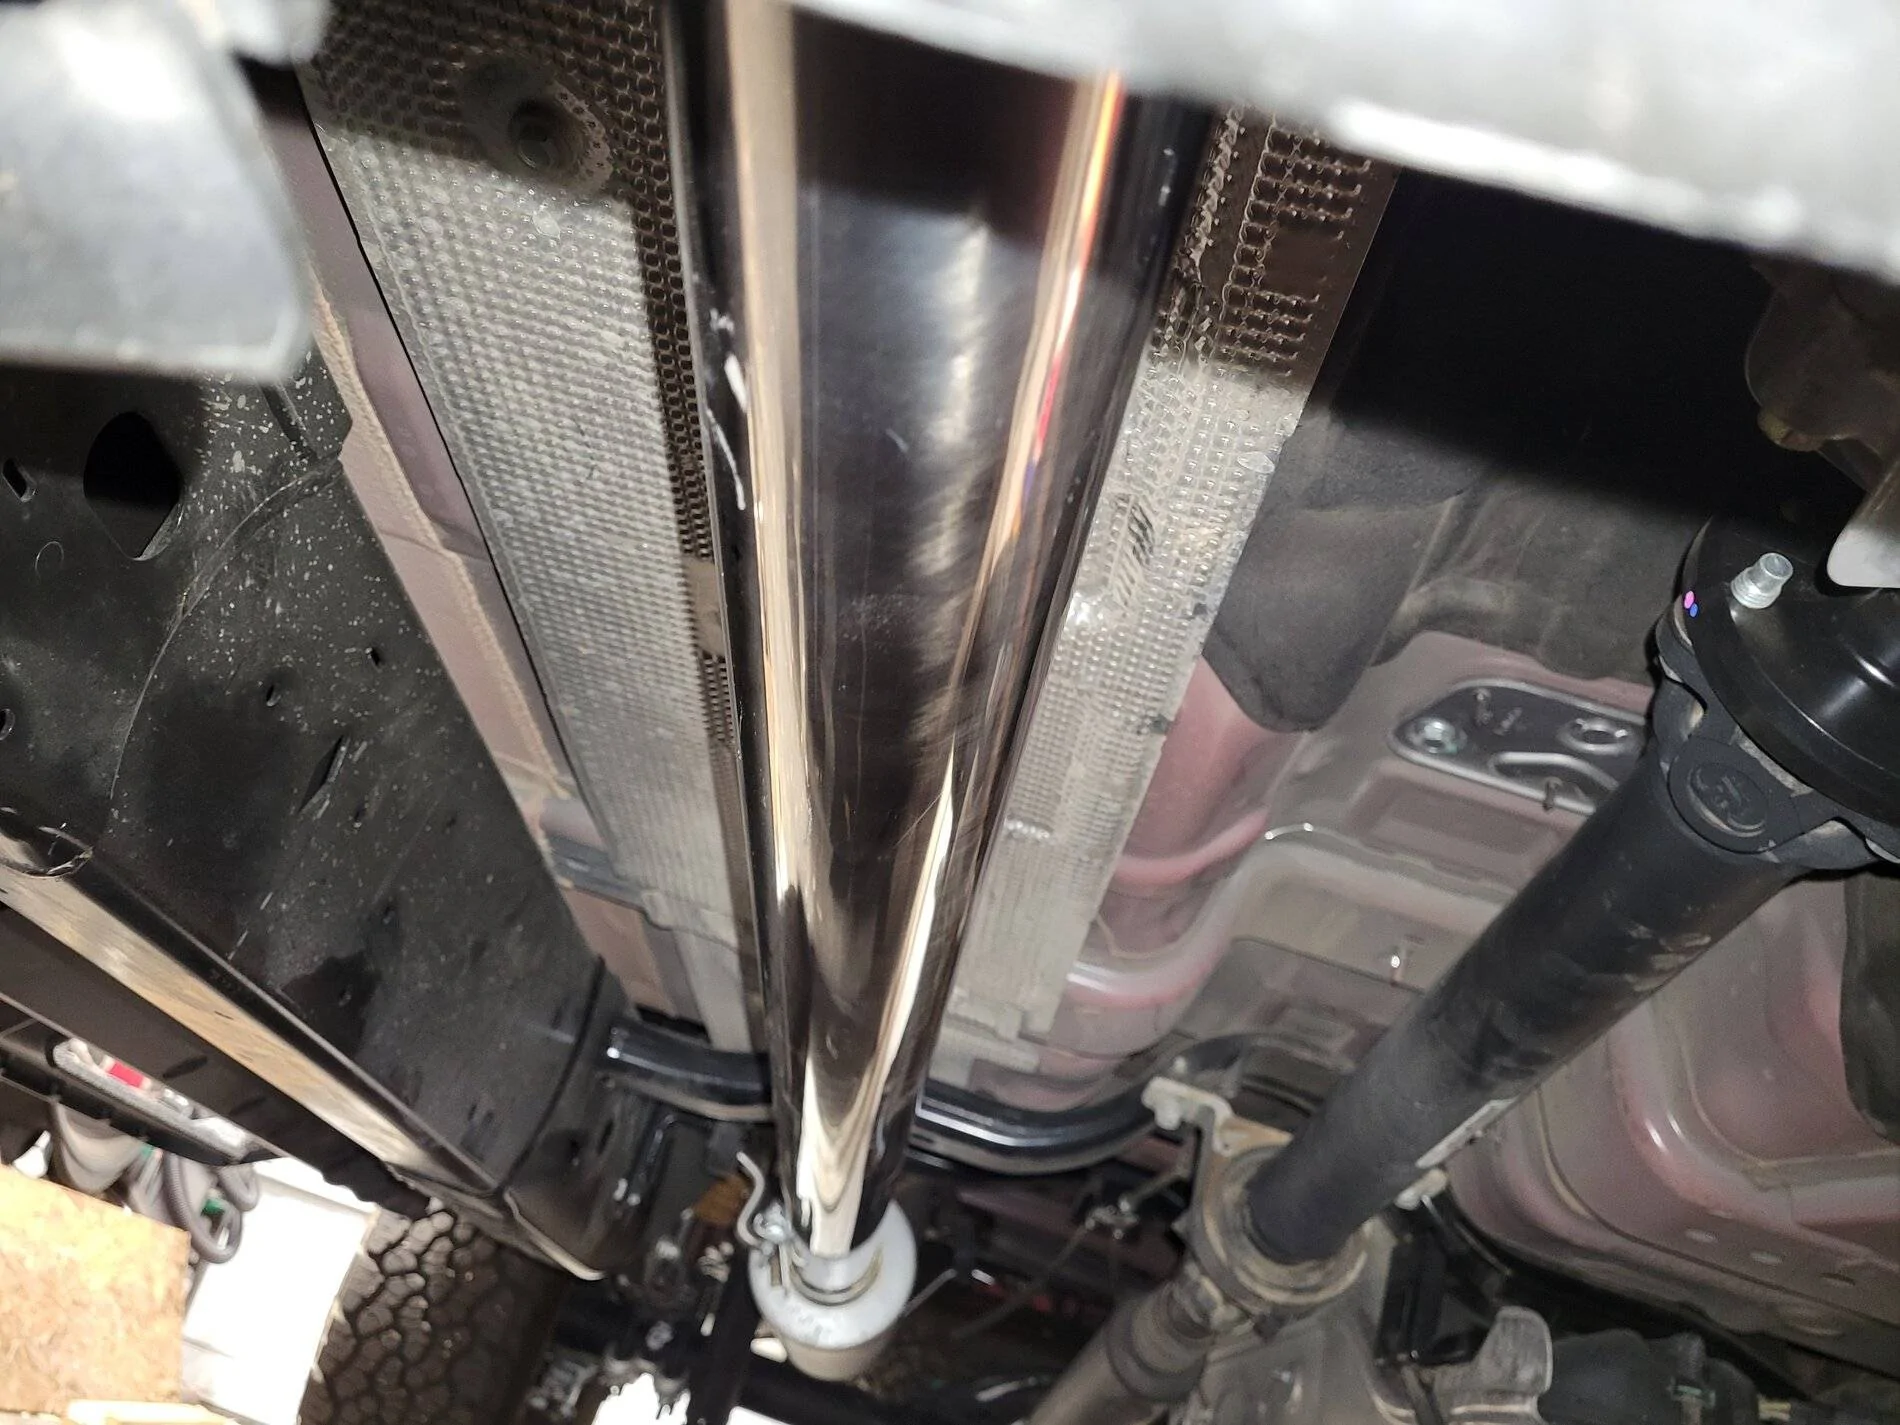
Since the MBRP exhaust did not come with a front pipe, I purchased a new flex adaptor and 5' Stainless straight pipe. I connected the flex pipe to the downpipe and then the straight pipe runs back to the muffler.
Here is the flex pipe:
This is the straight pipe running back to the exhaust.
I connected the pipes together using these lap band clamps.
One note I will make for anyone doing this. In the picture showing the flex pipe, there is a hanger bracket on the other side that is not currently used. That's why the pipe is so close to the frame. I am going to take it to an exhaust shop to have them weld a hanger so I can use the stock bracket to prevent it from banging of the frame when I hit a bump.
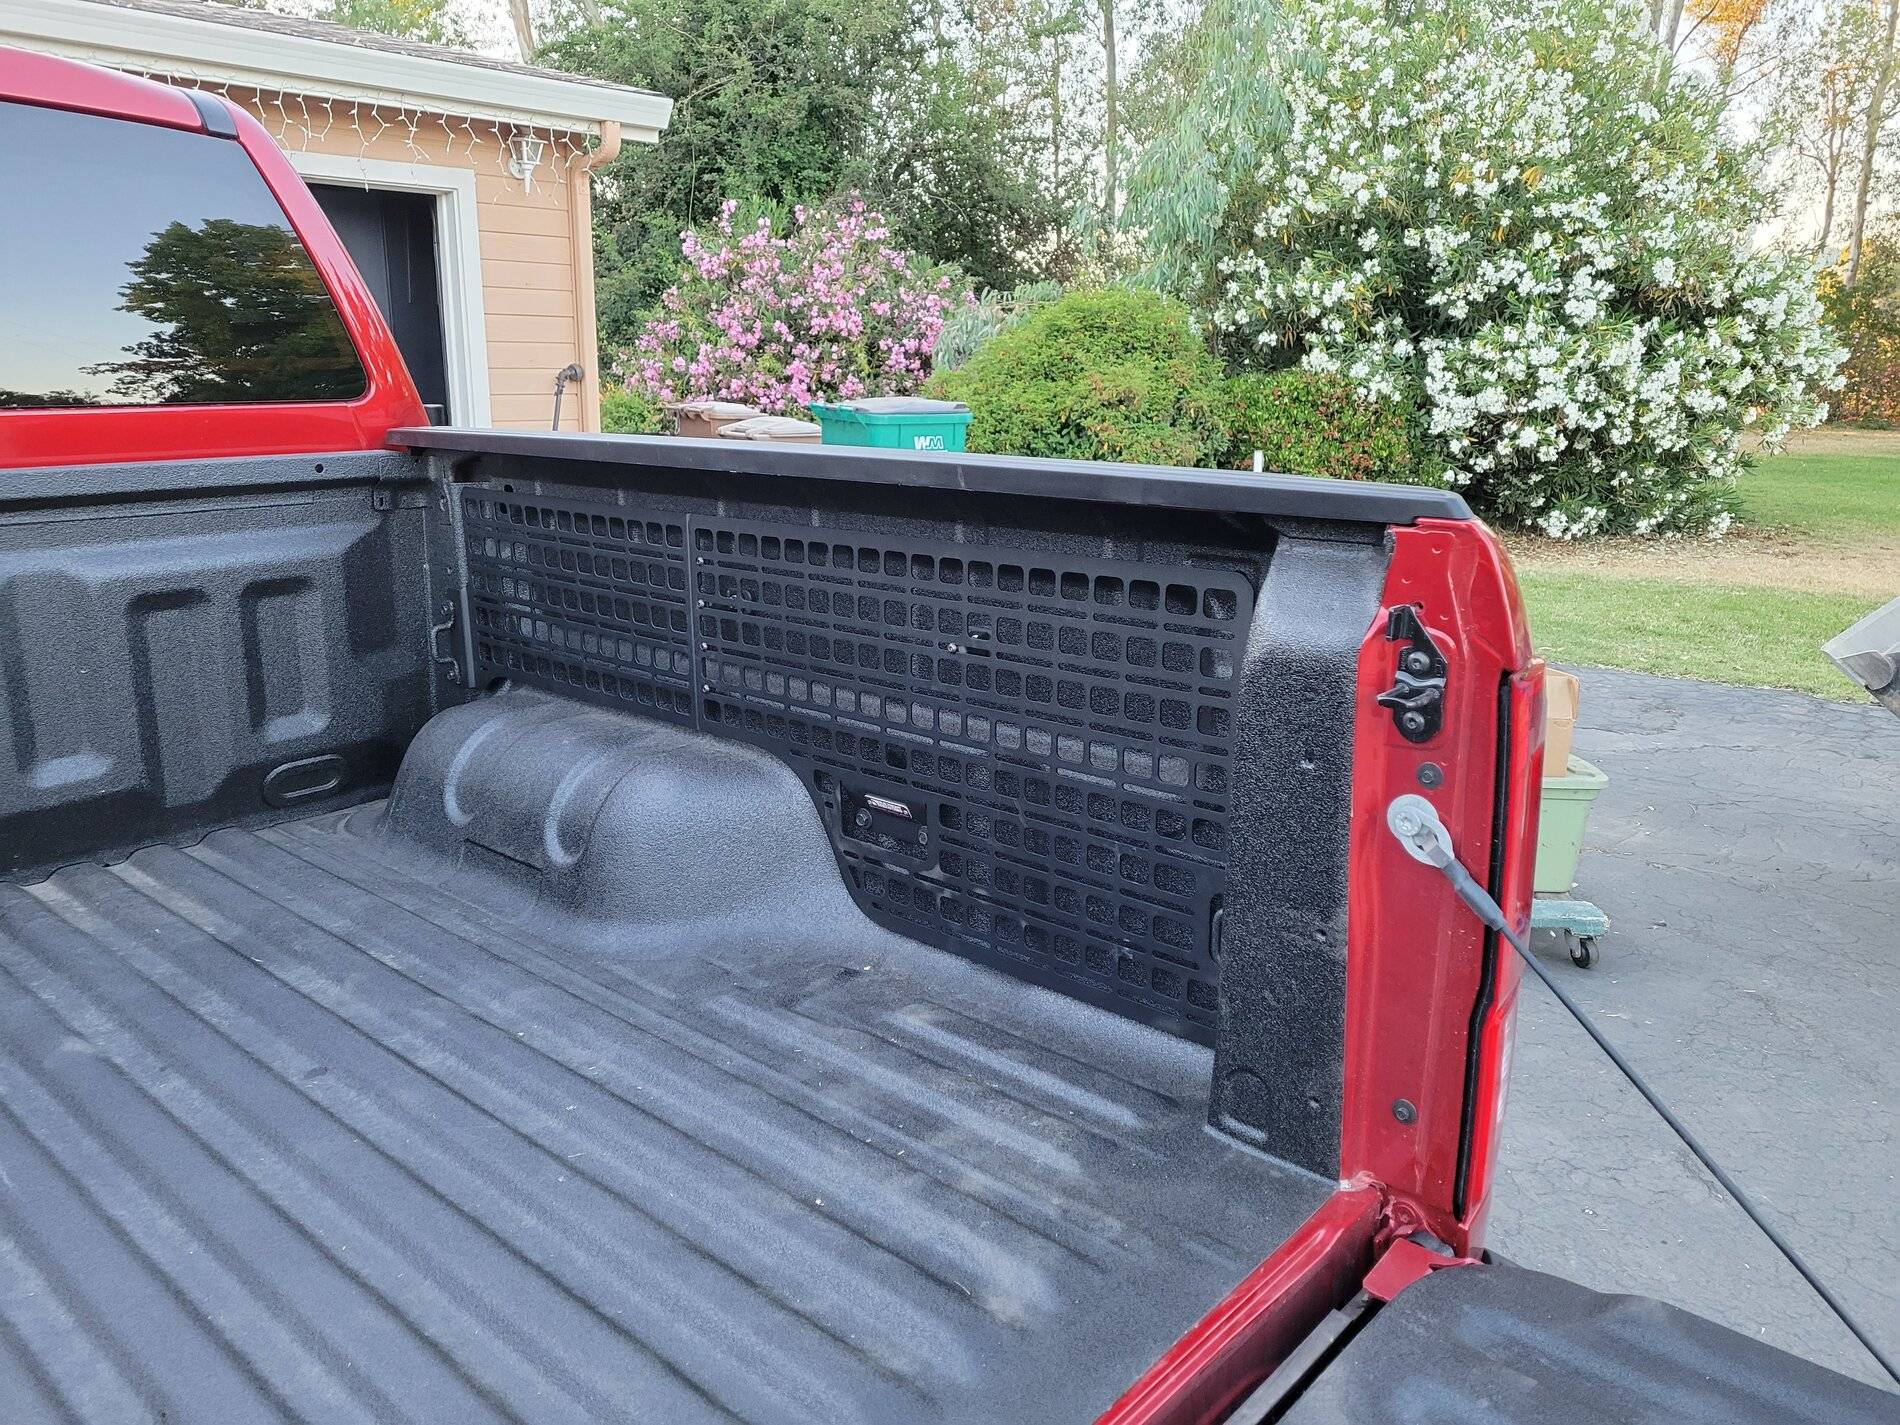
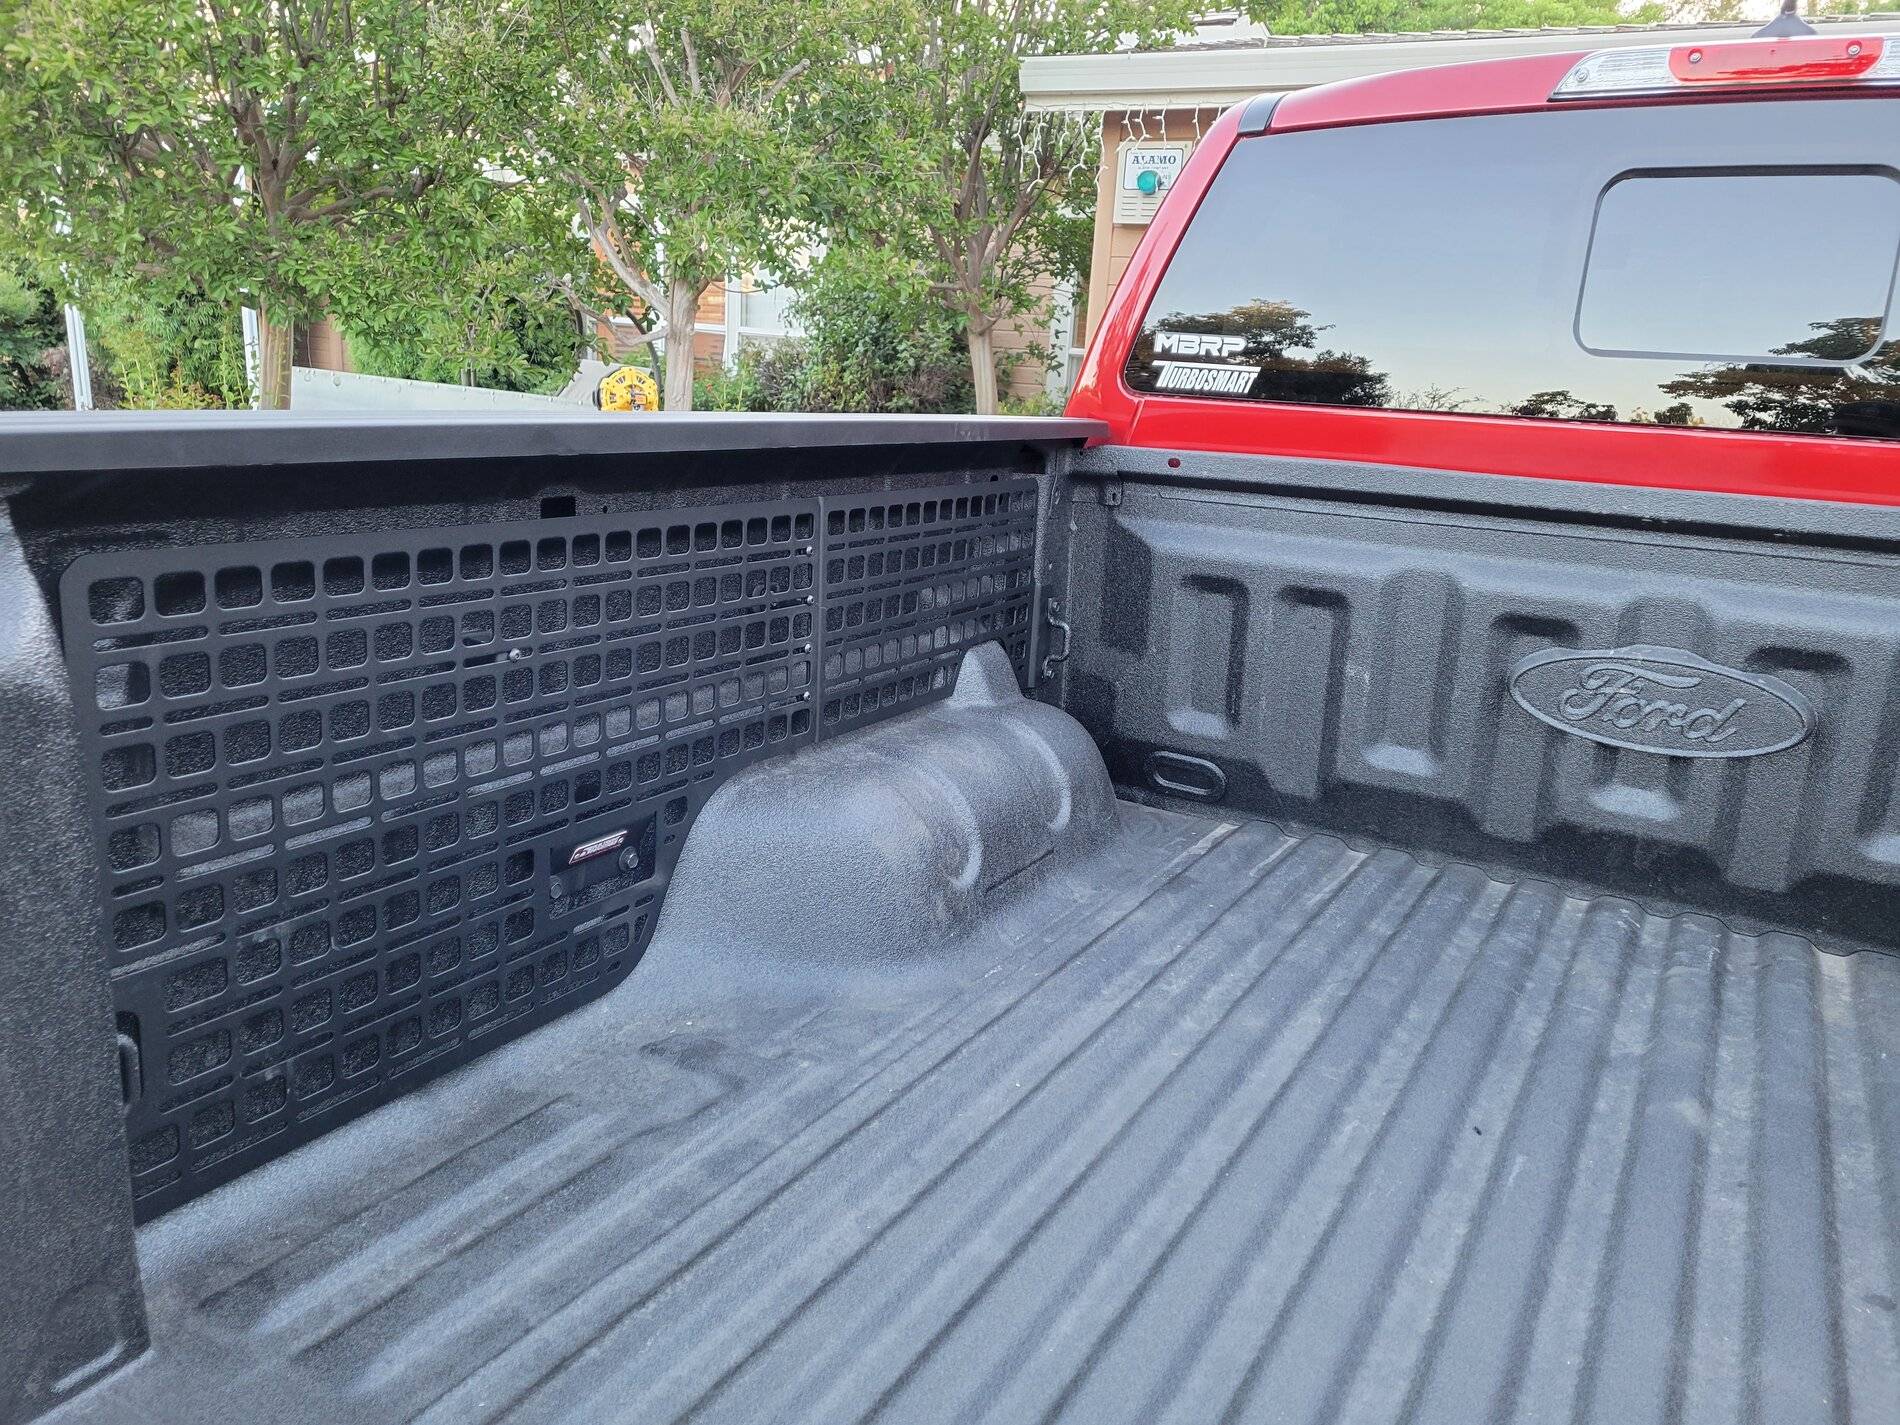
BuiltRight Industries Bedside Racks:
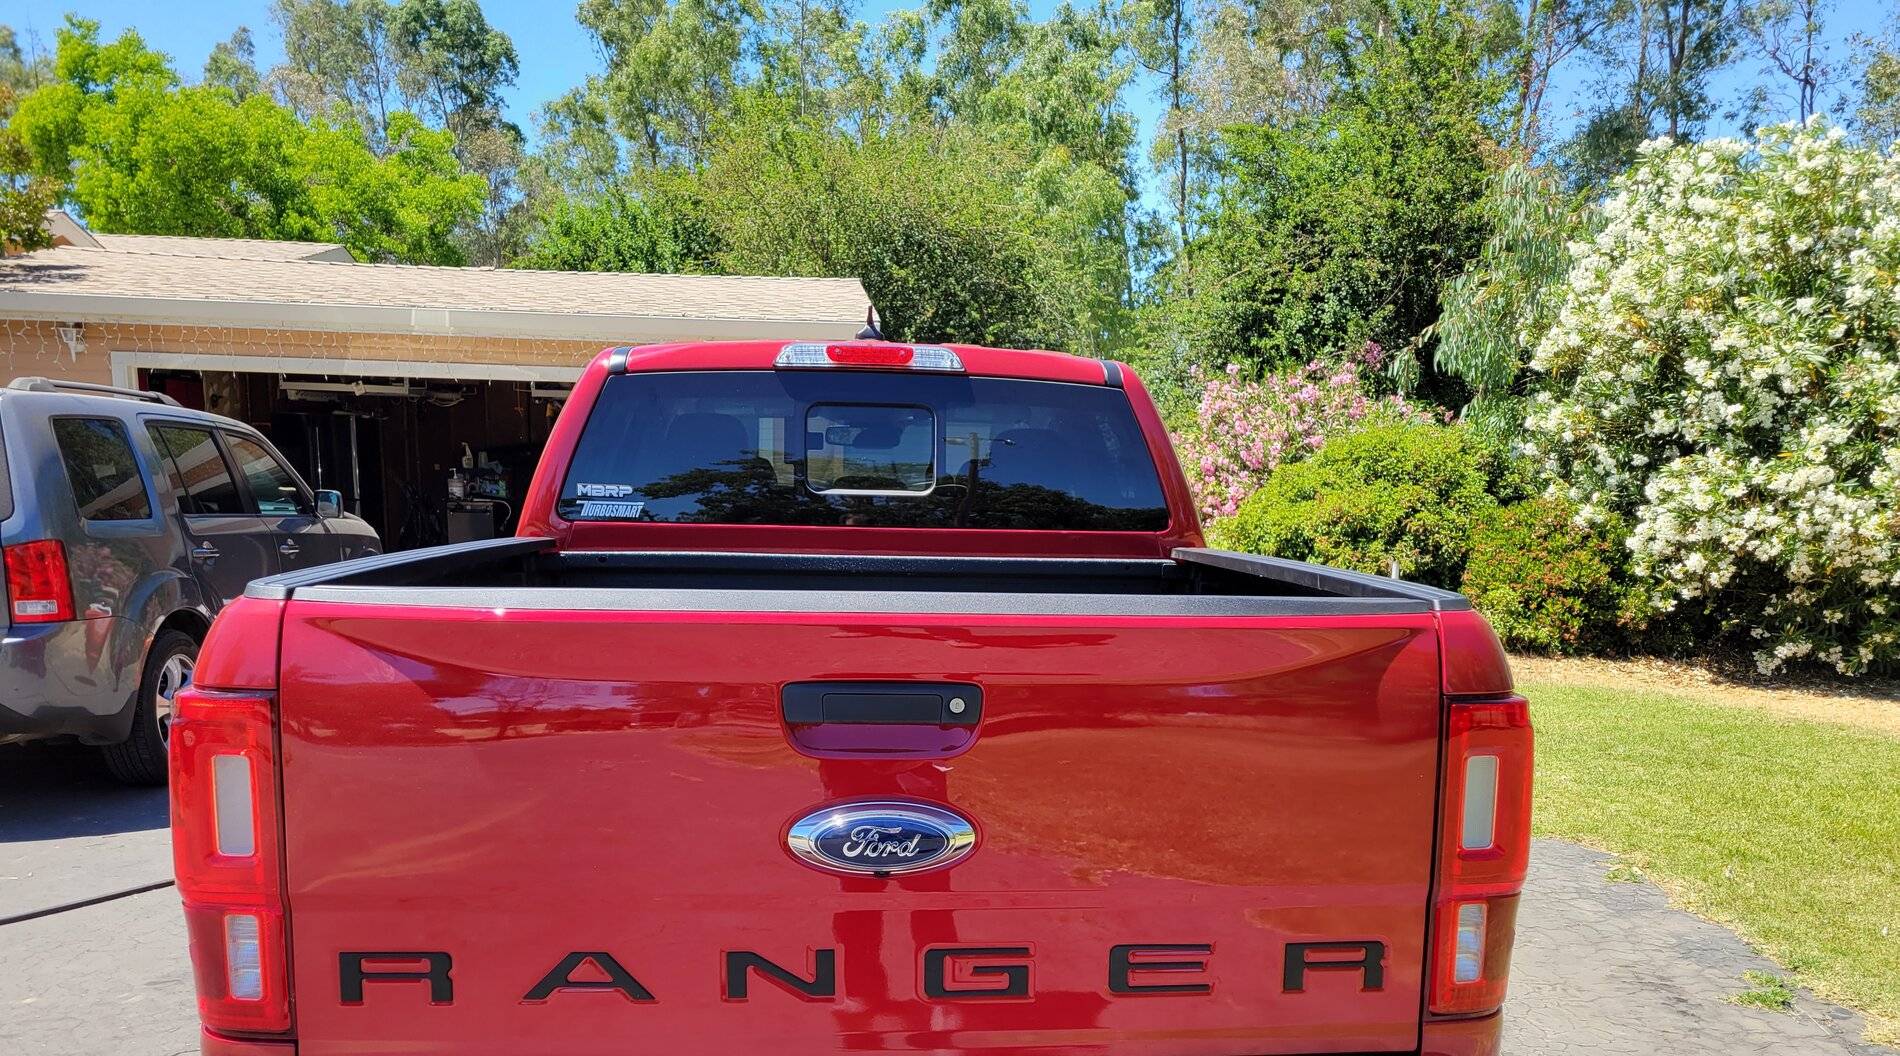
Raised Tailgate Letters

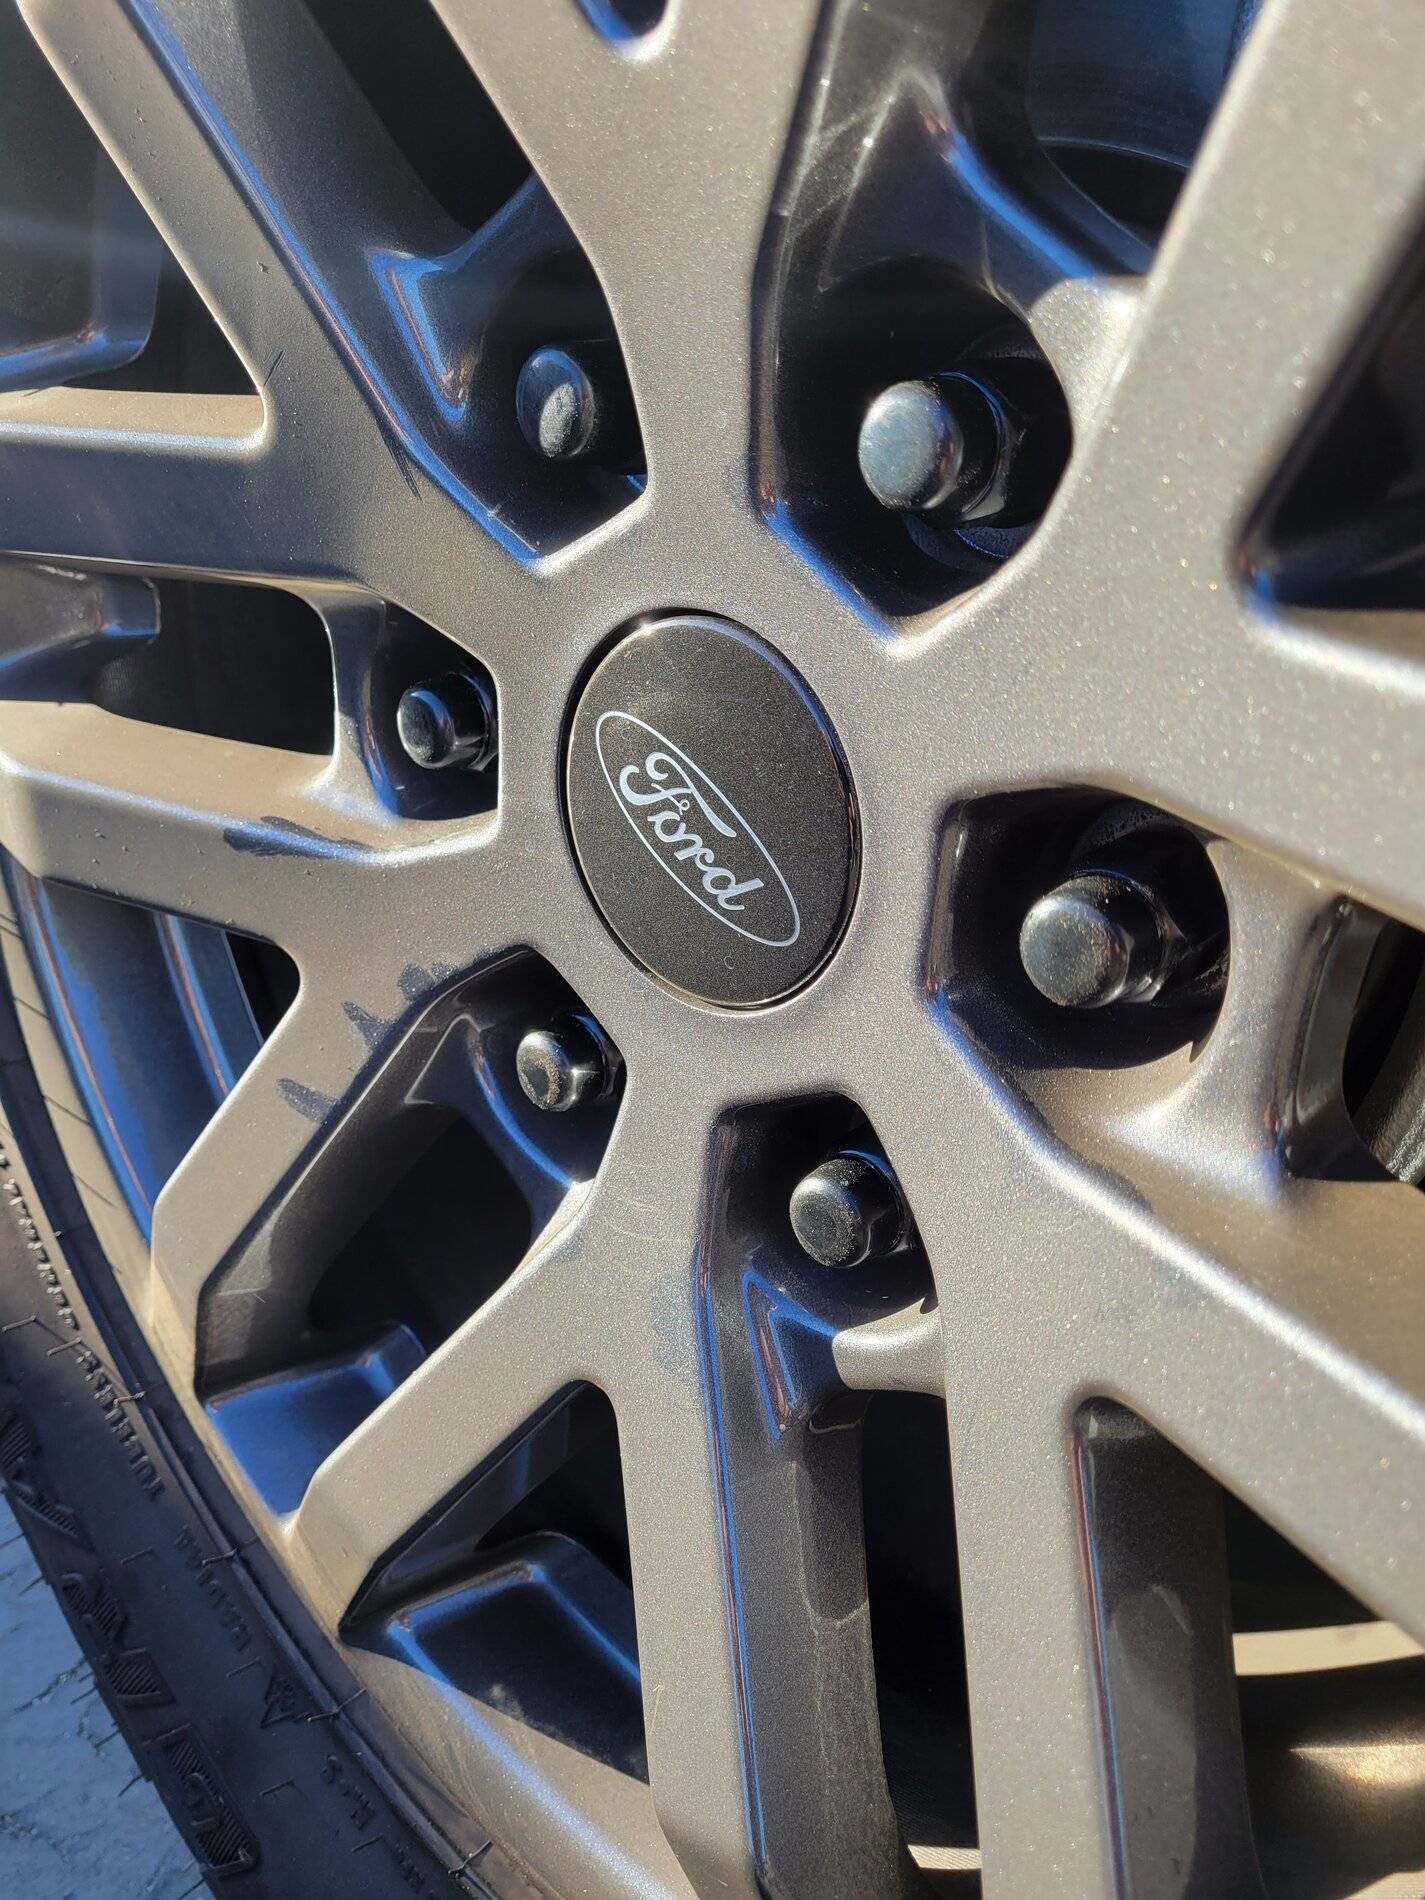
Gorilla Automotive Acorn Lug Nuts in Black Chrome and matching Wheel Locks
Wireless Charging Pad - Credit @DirkM (Wireless Android Auto to come)
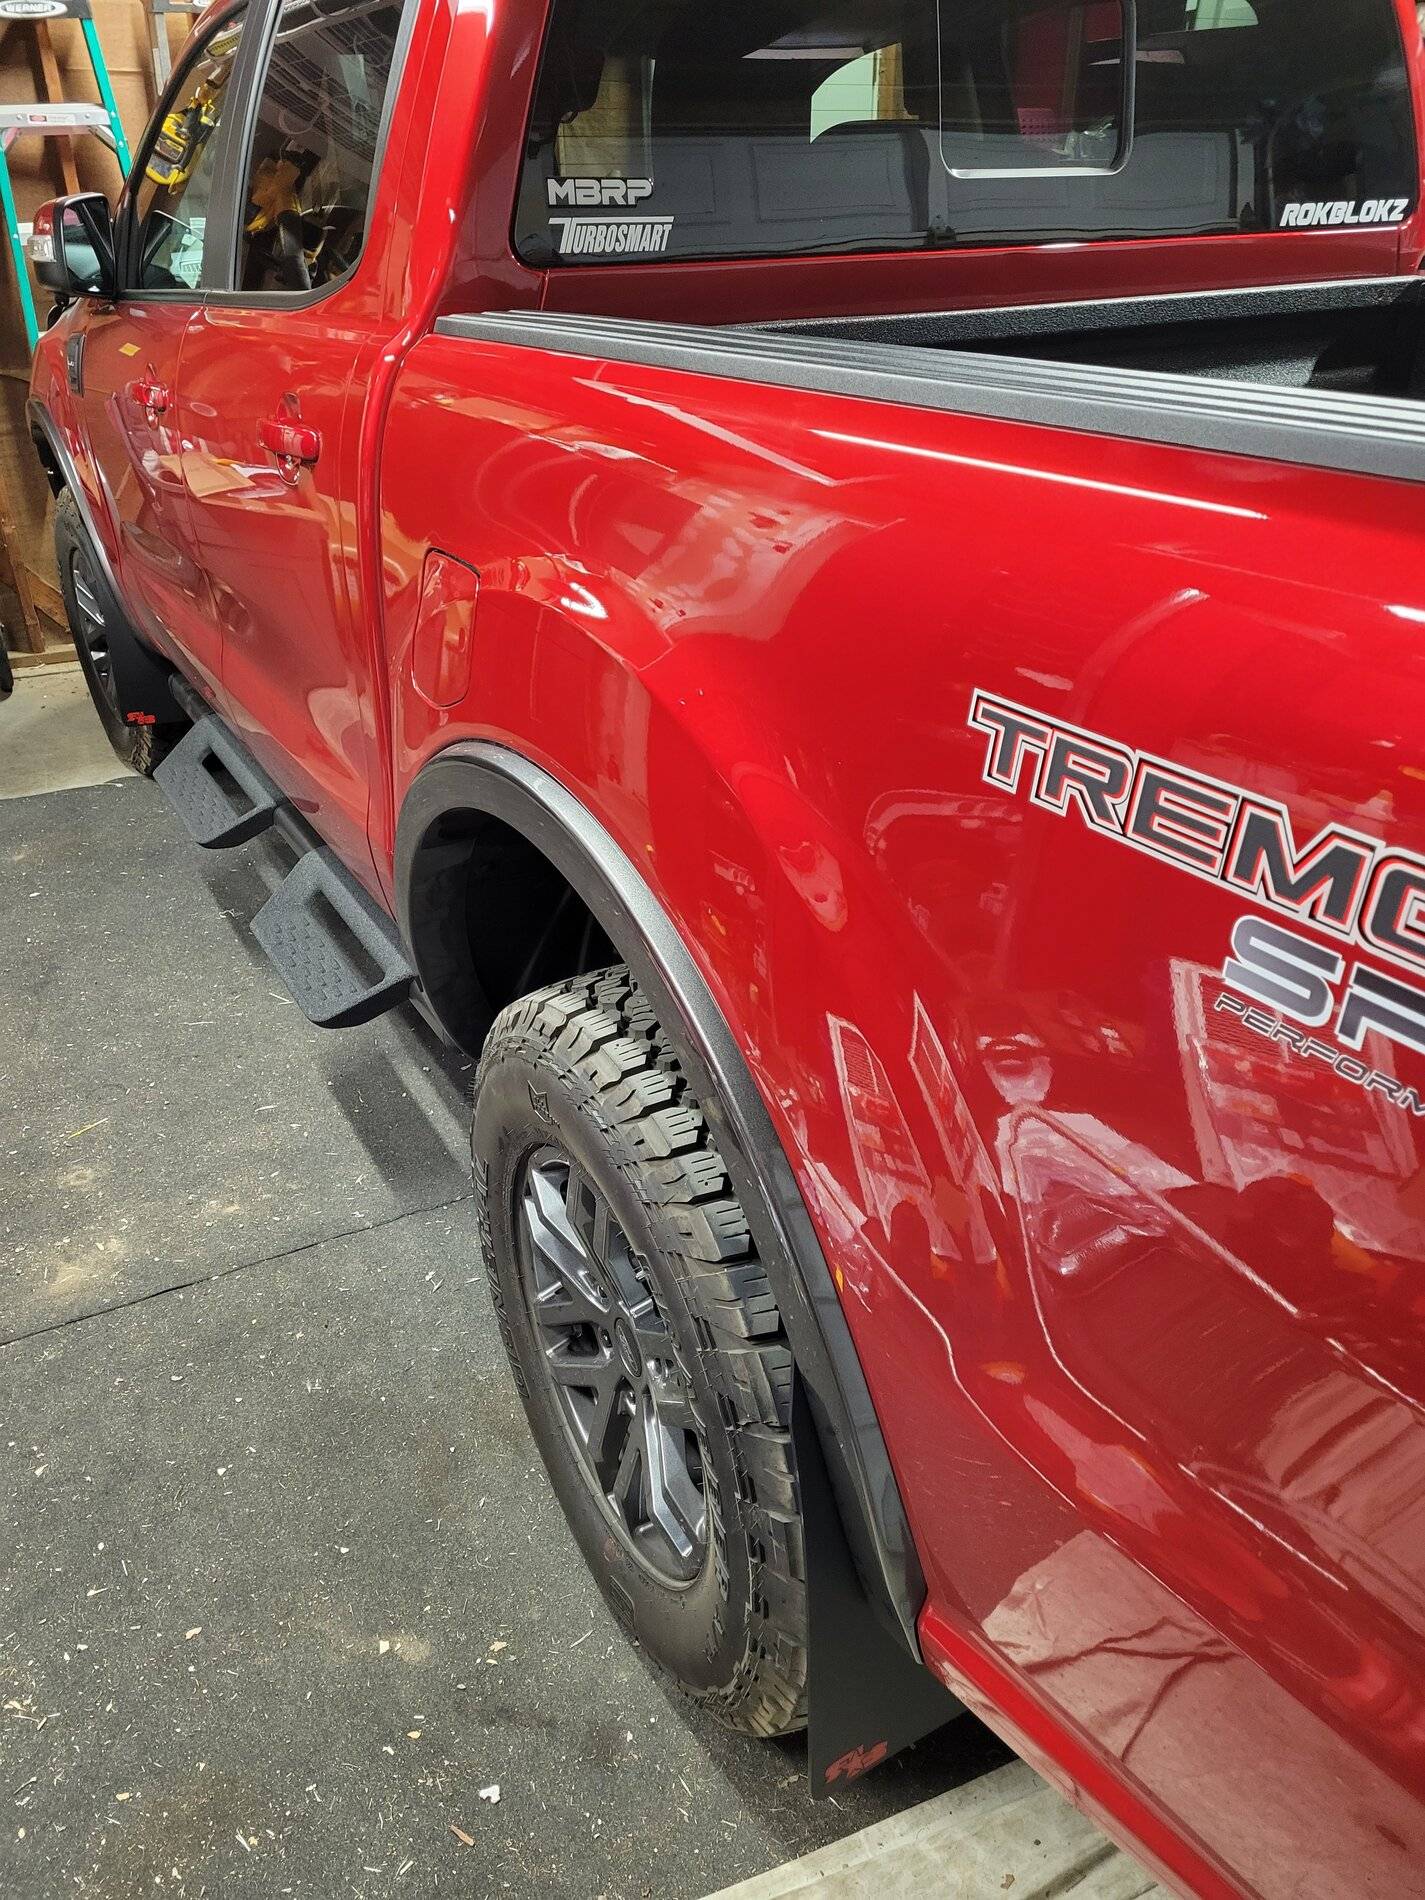
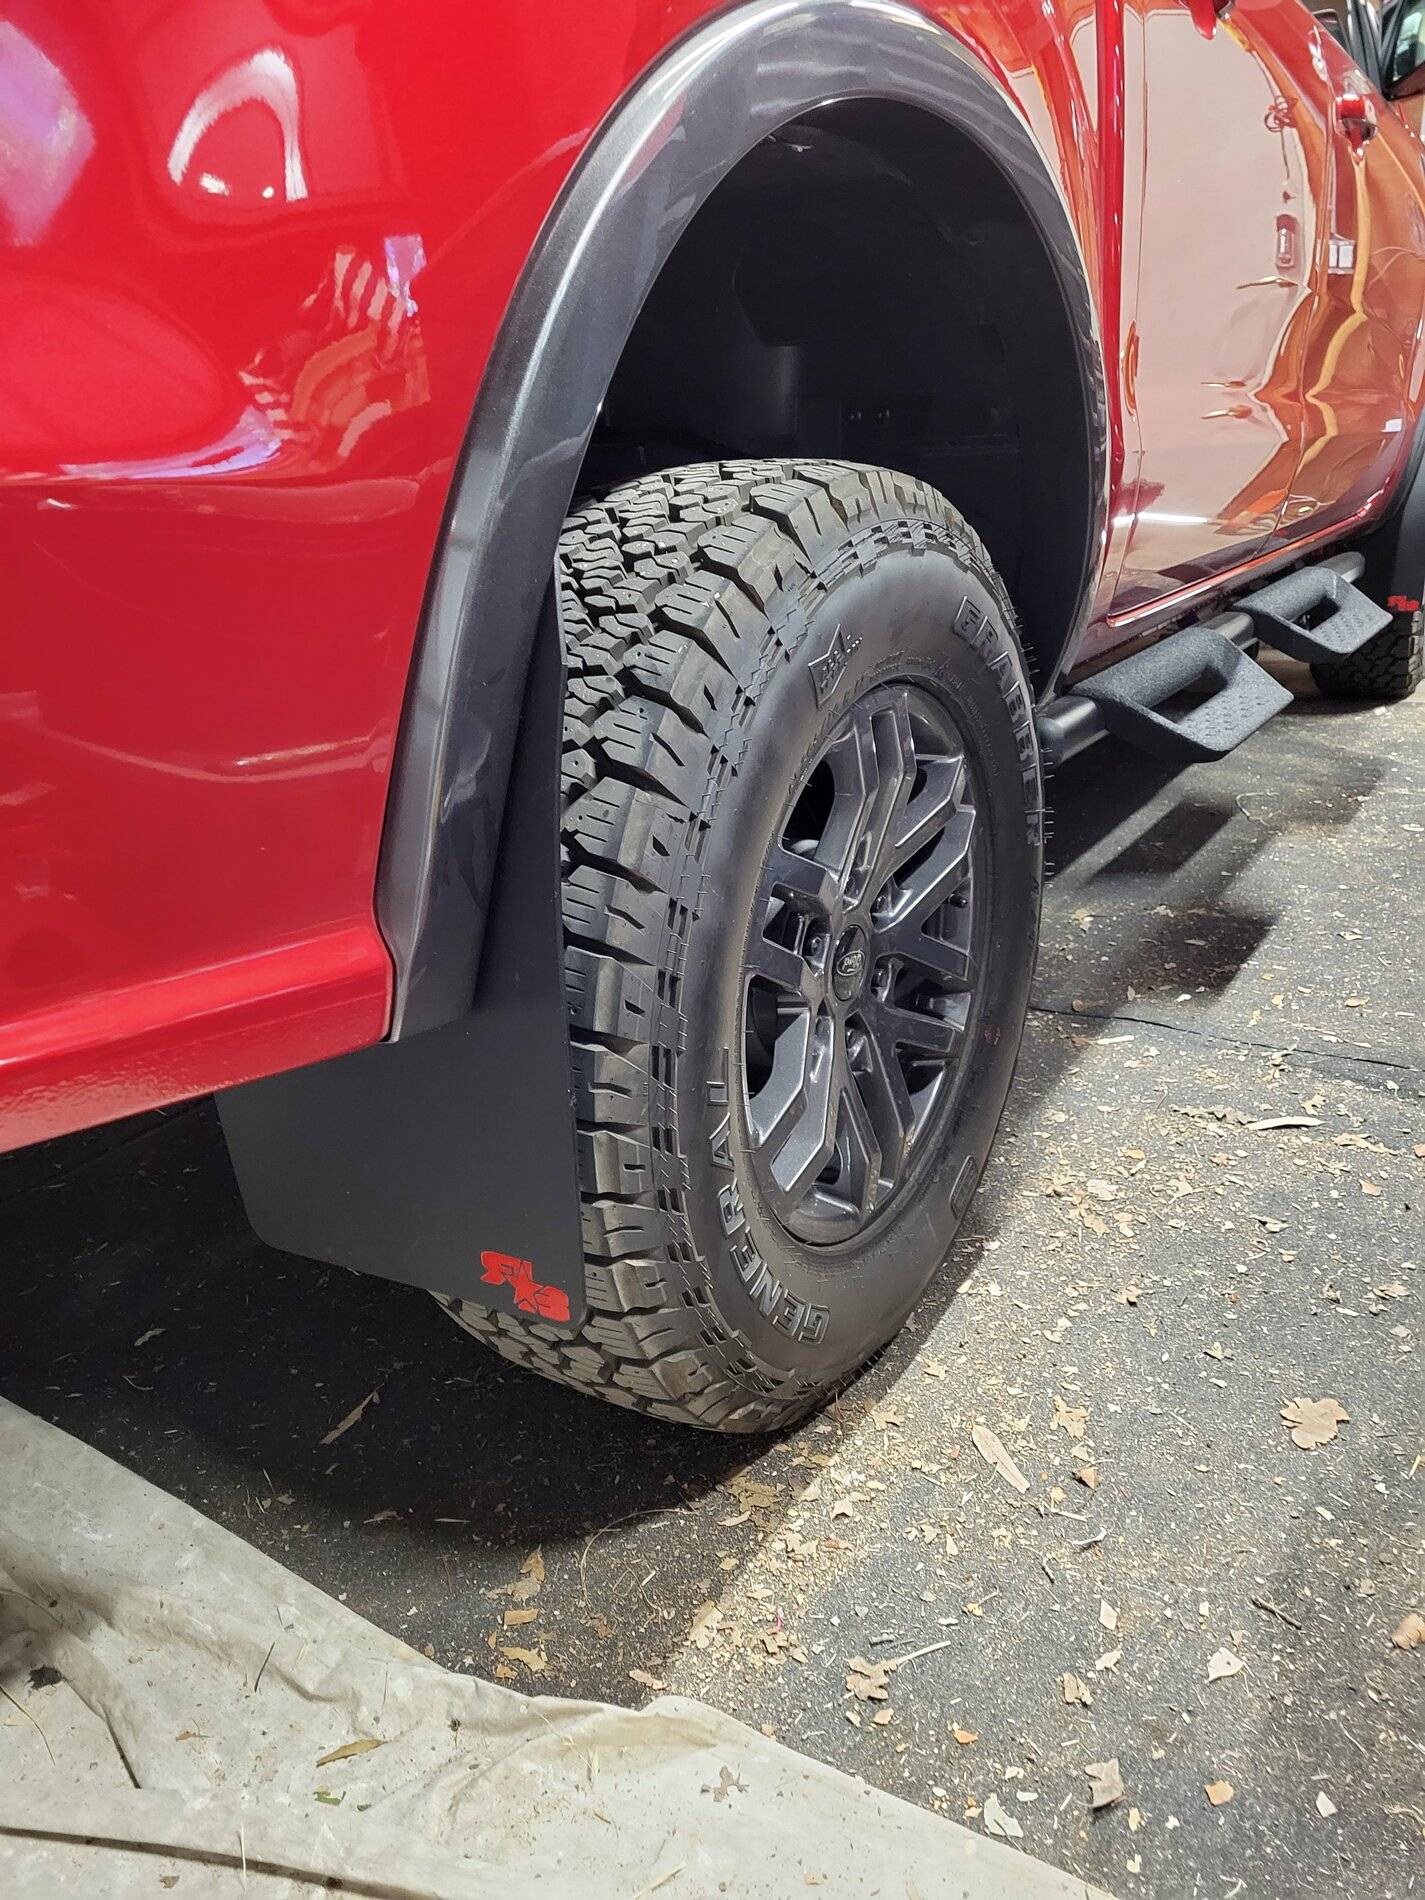
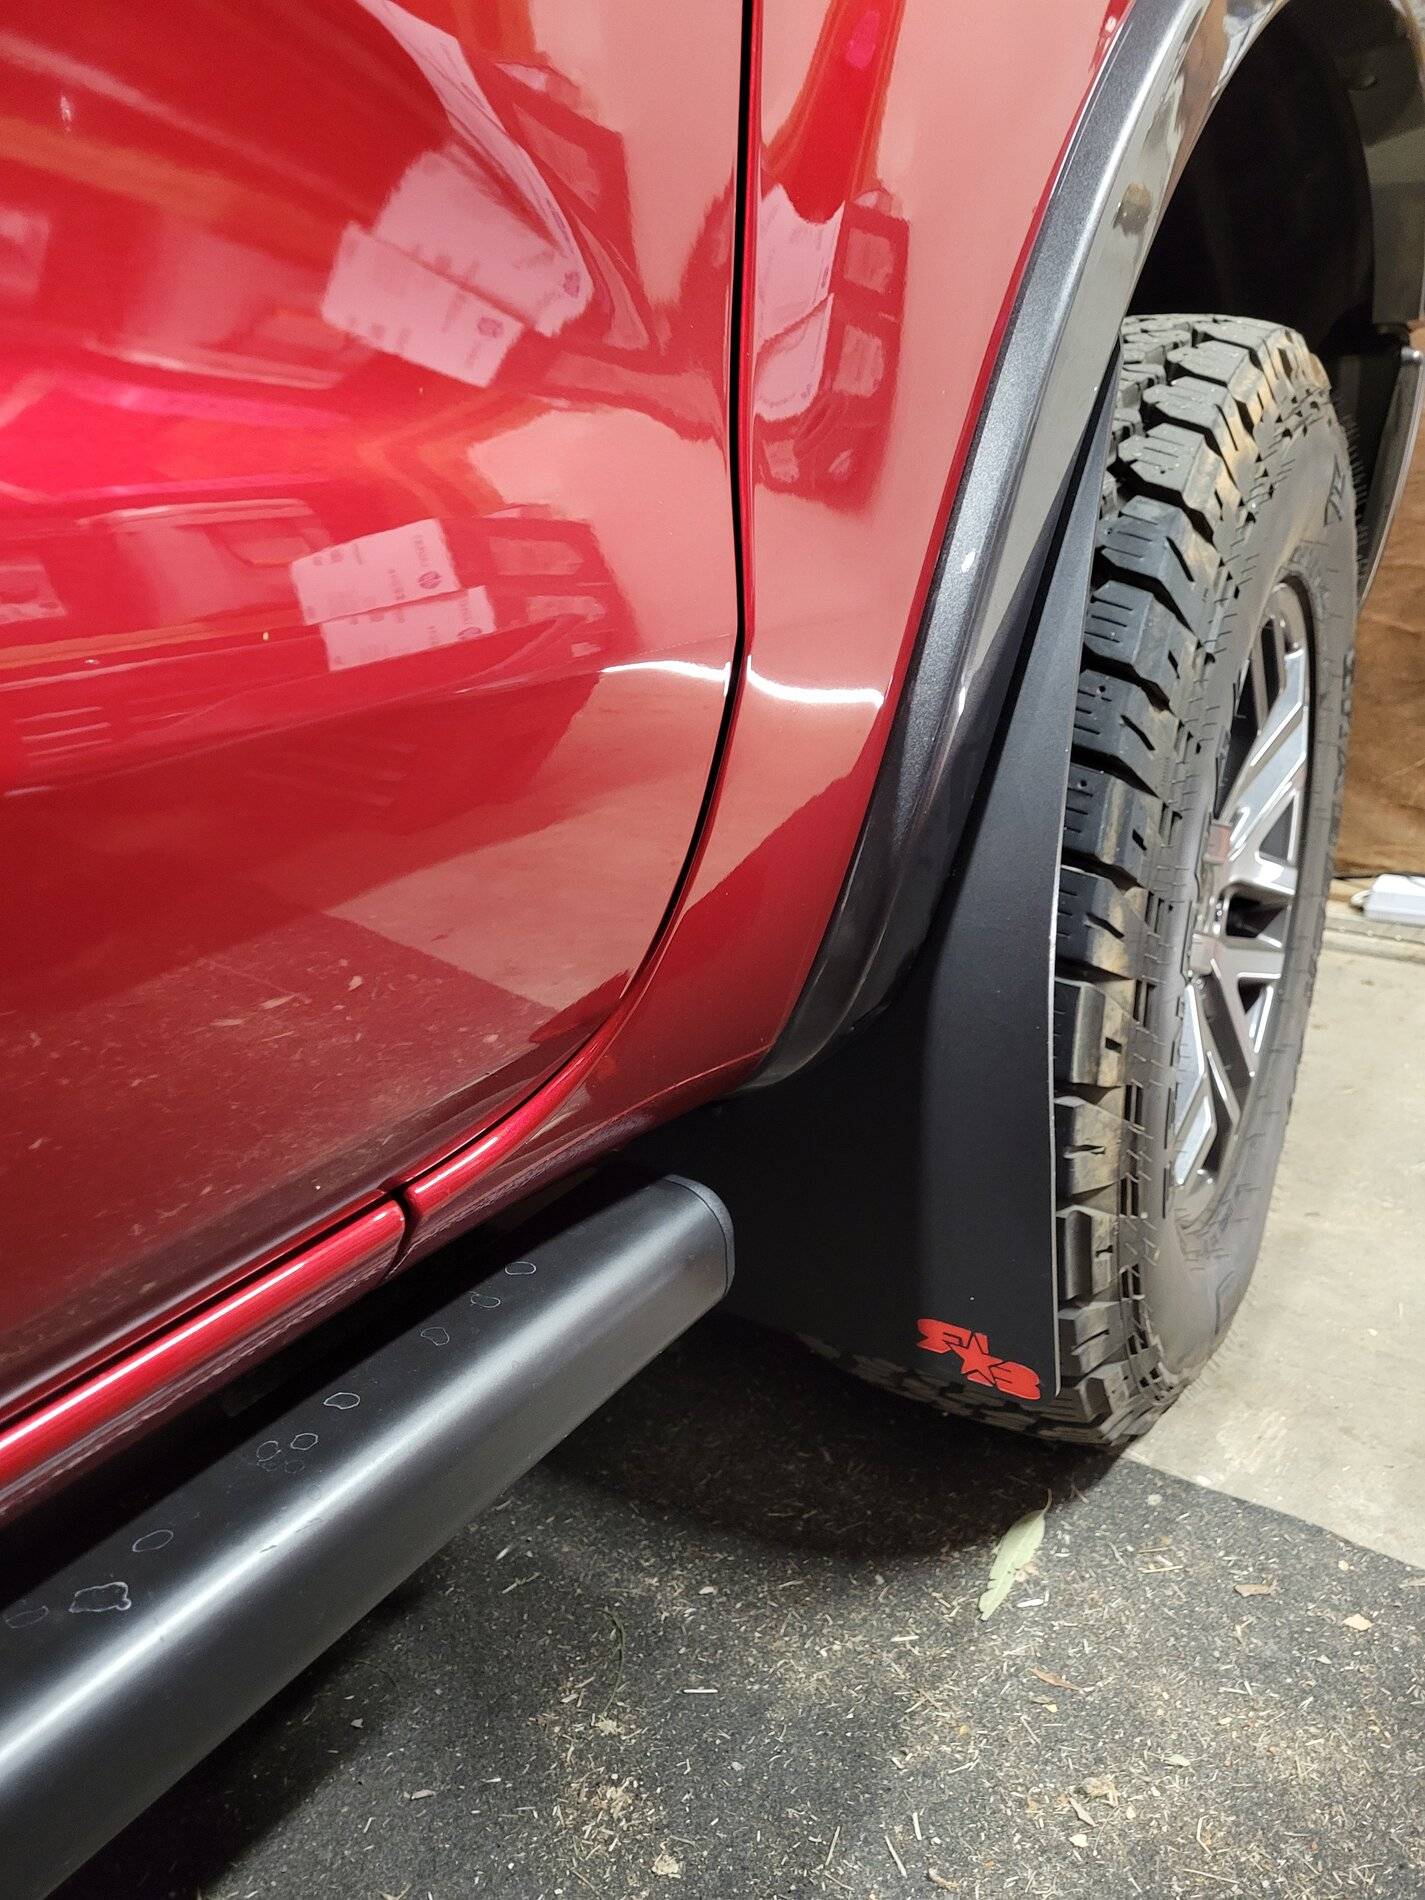
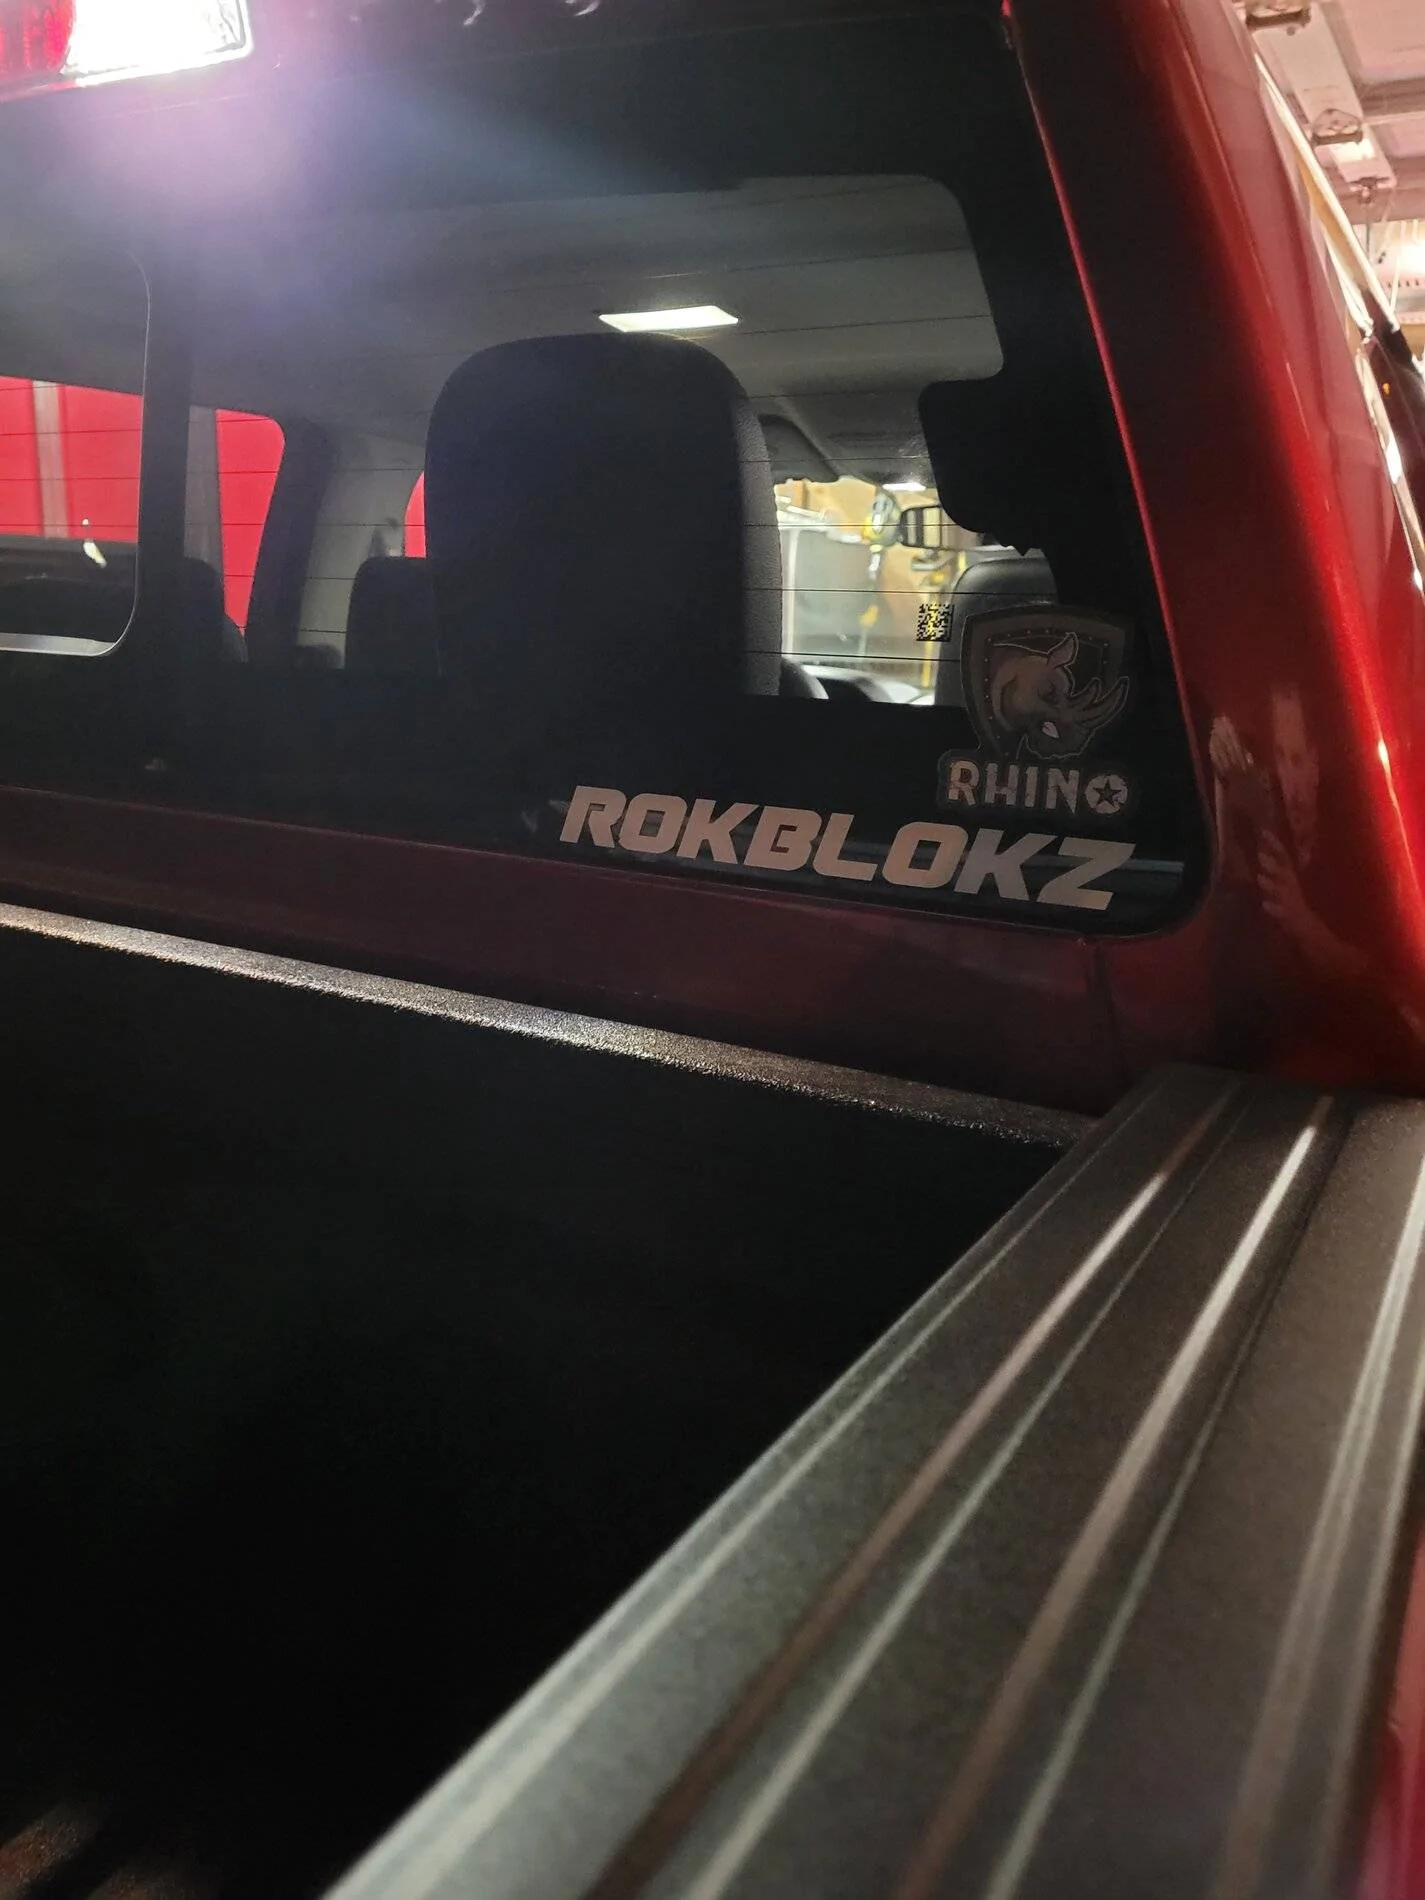
RokBlokz Black XL Mud Flaps with Red Lettering:
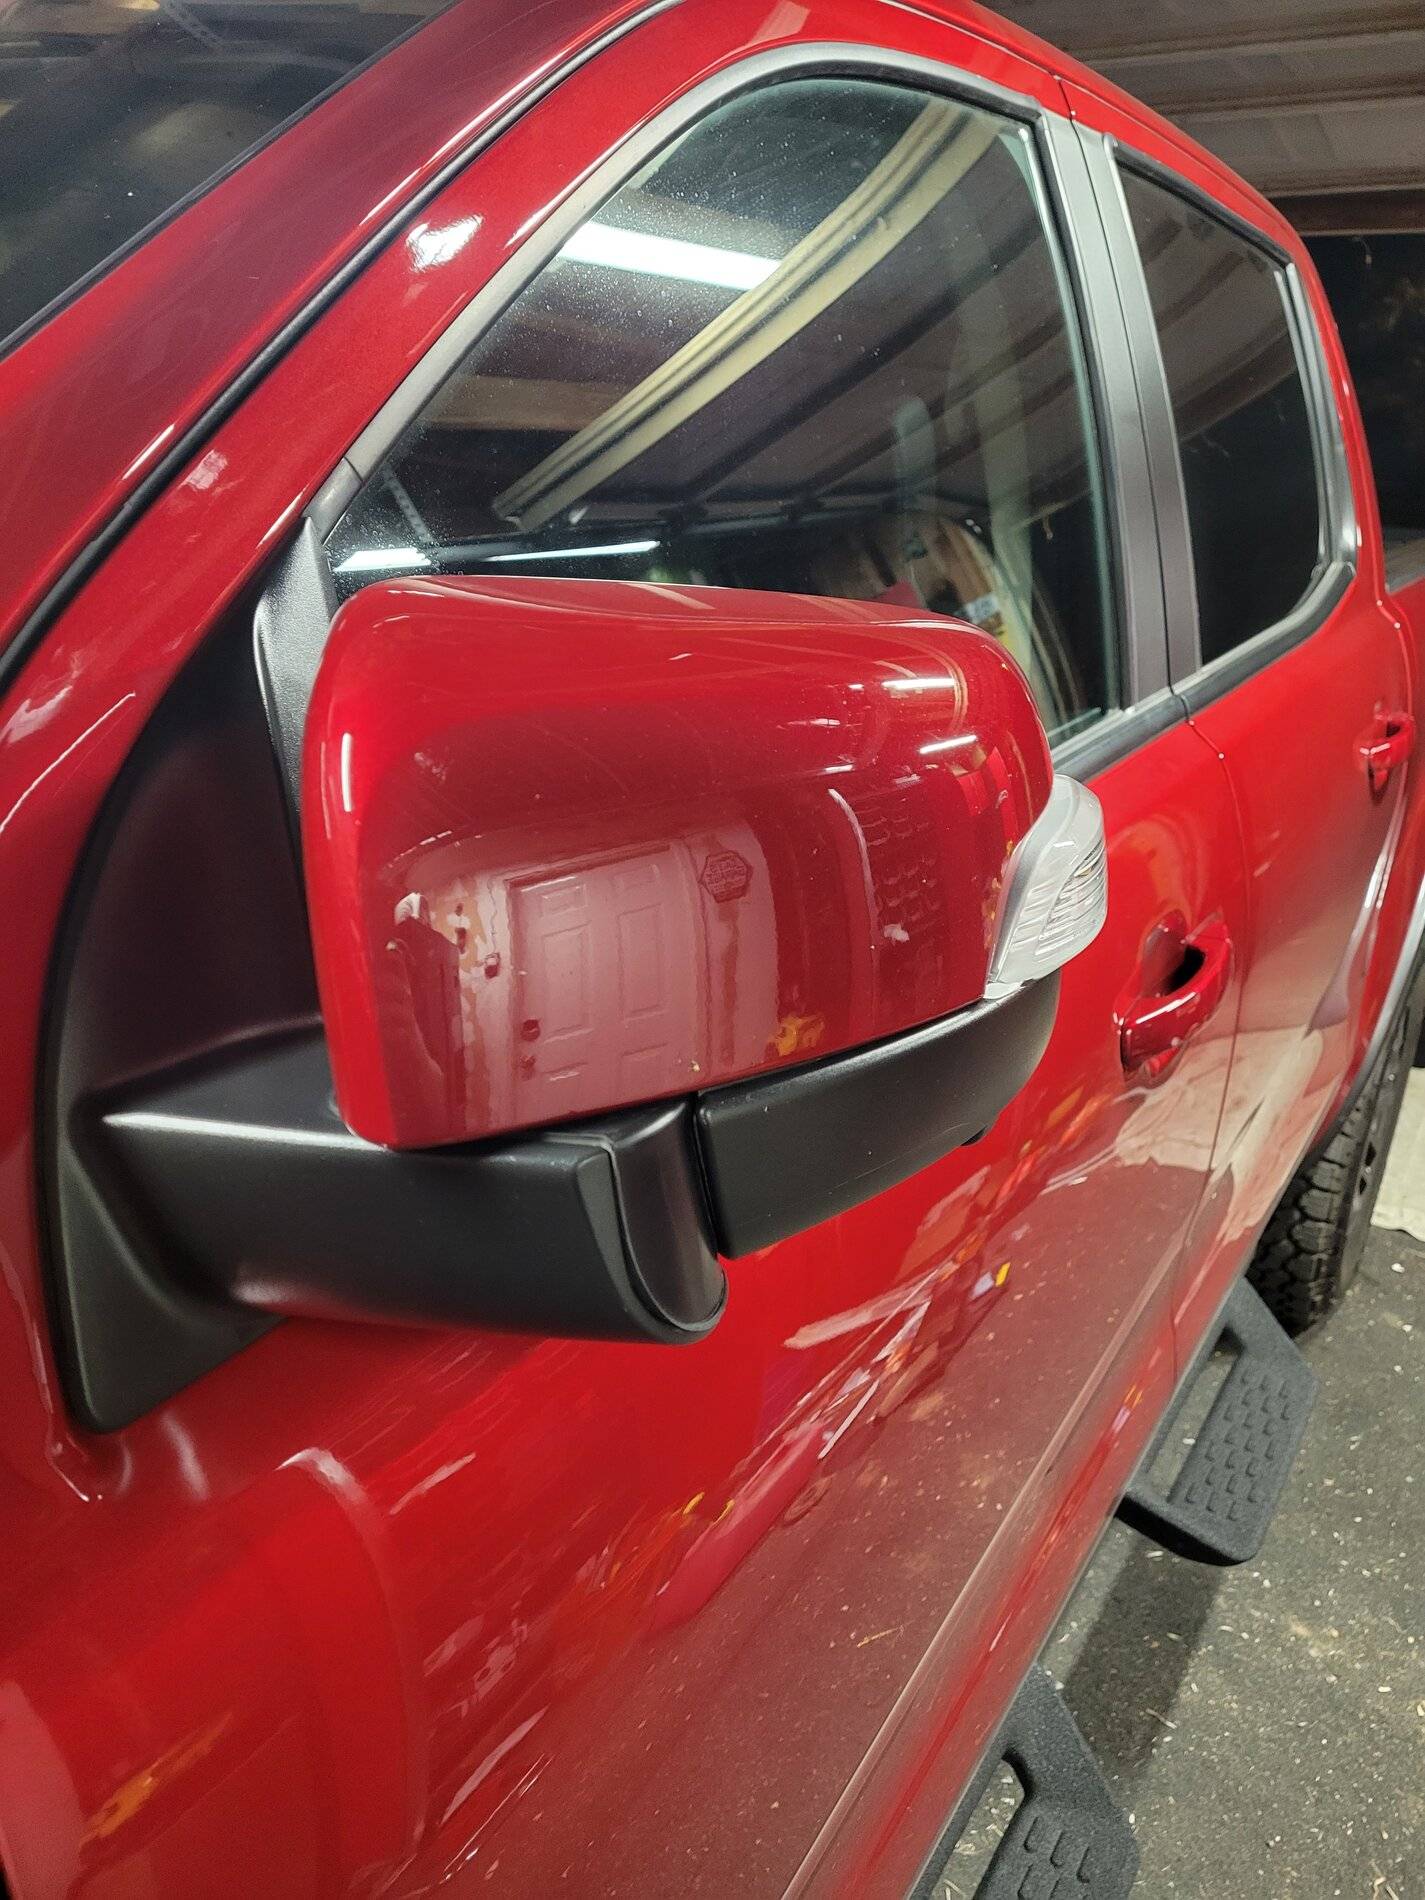
Auto folding Mirrors Module
(I put it all together without any pictures, so this is just showing them folded):
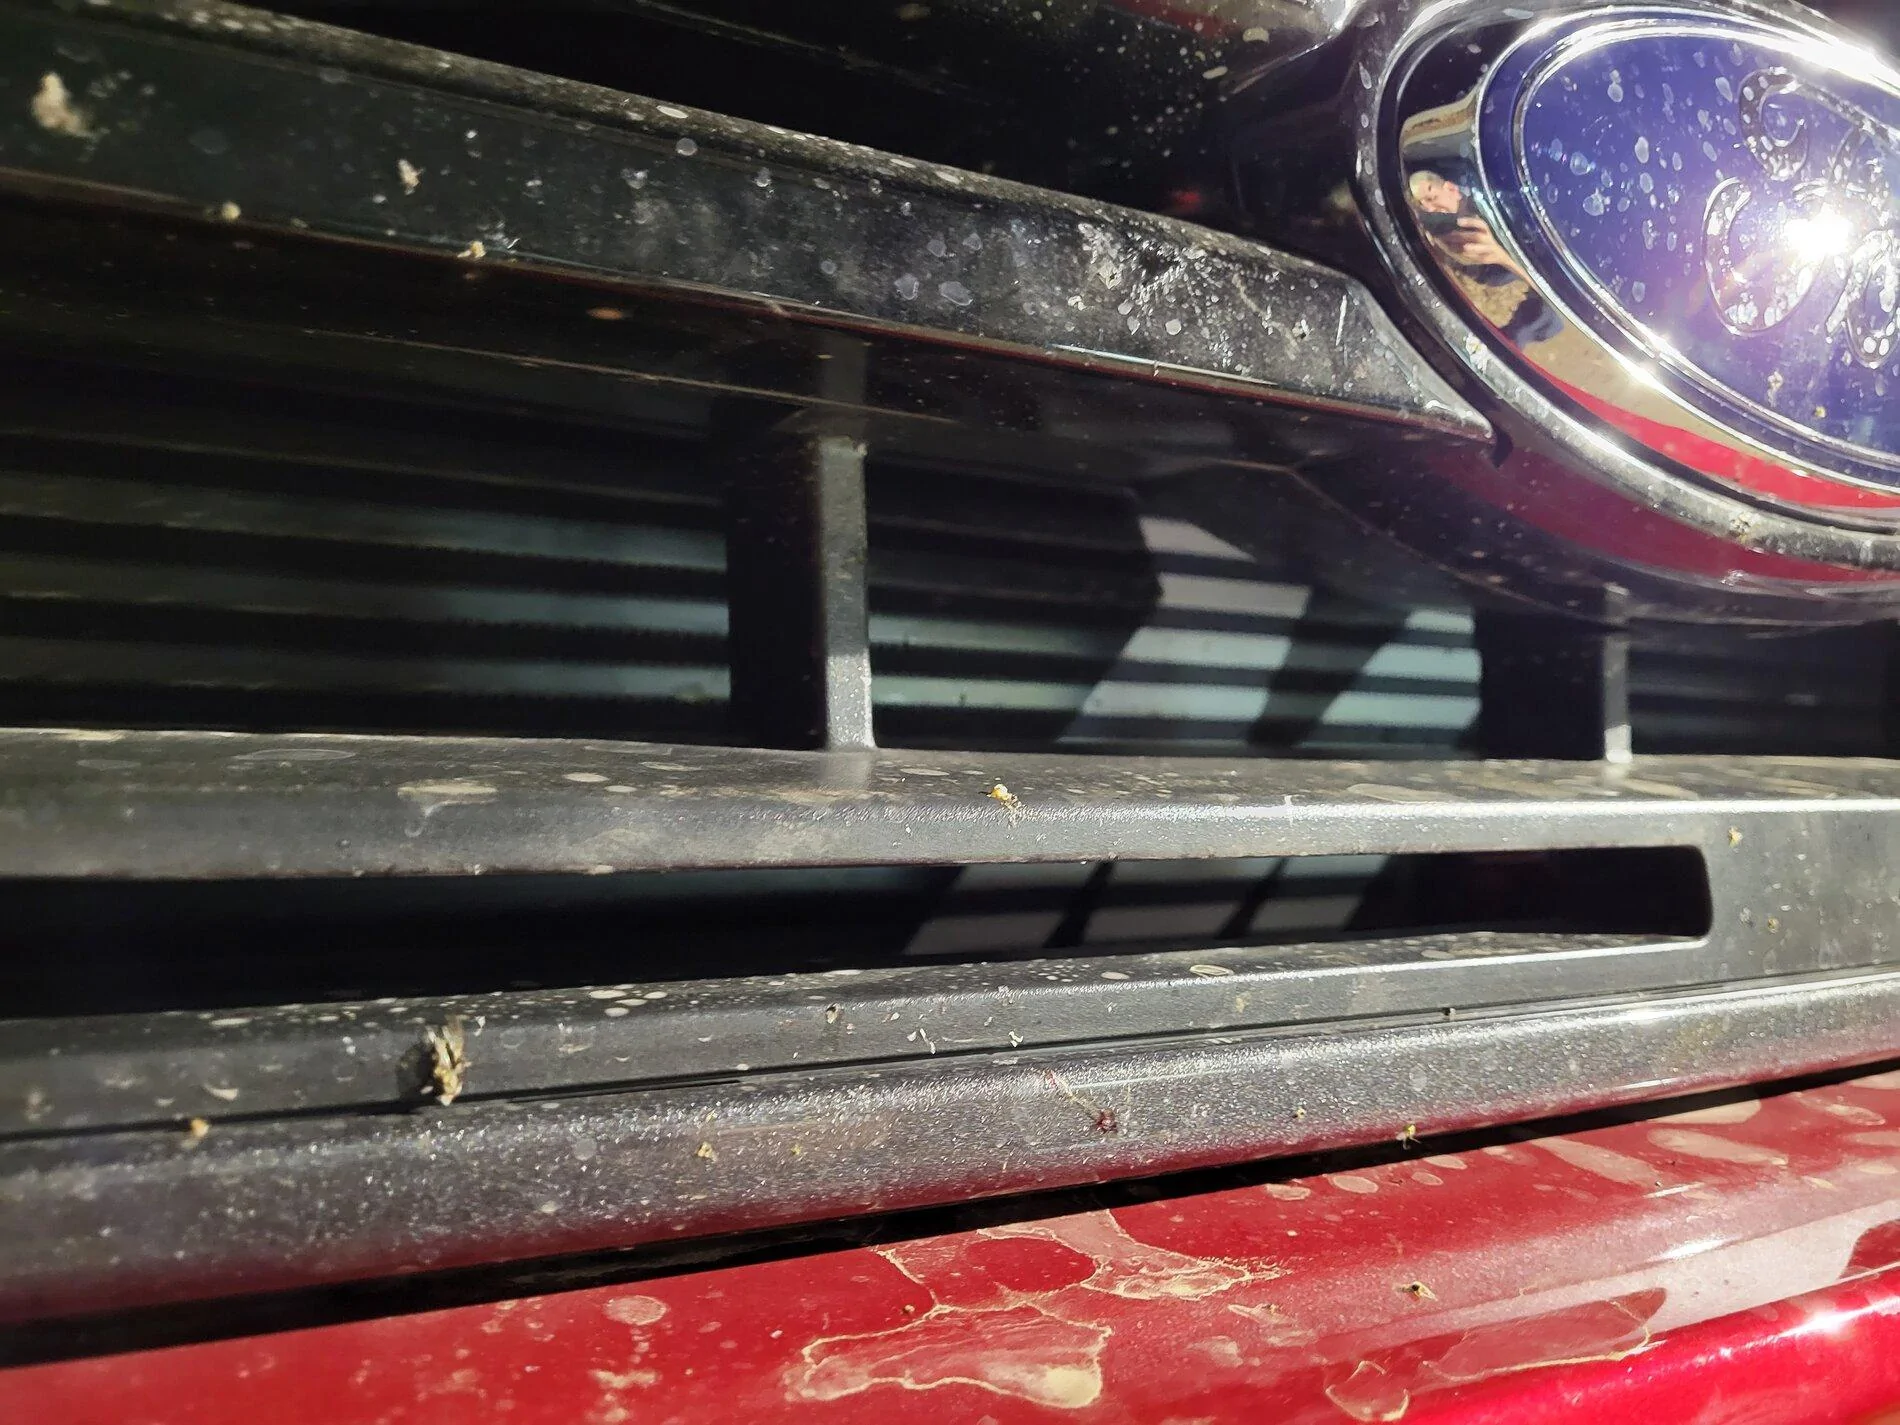
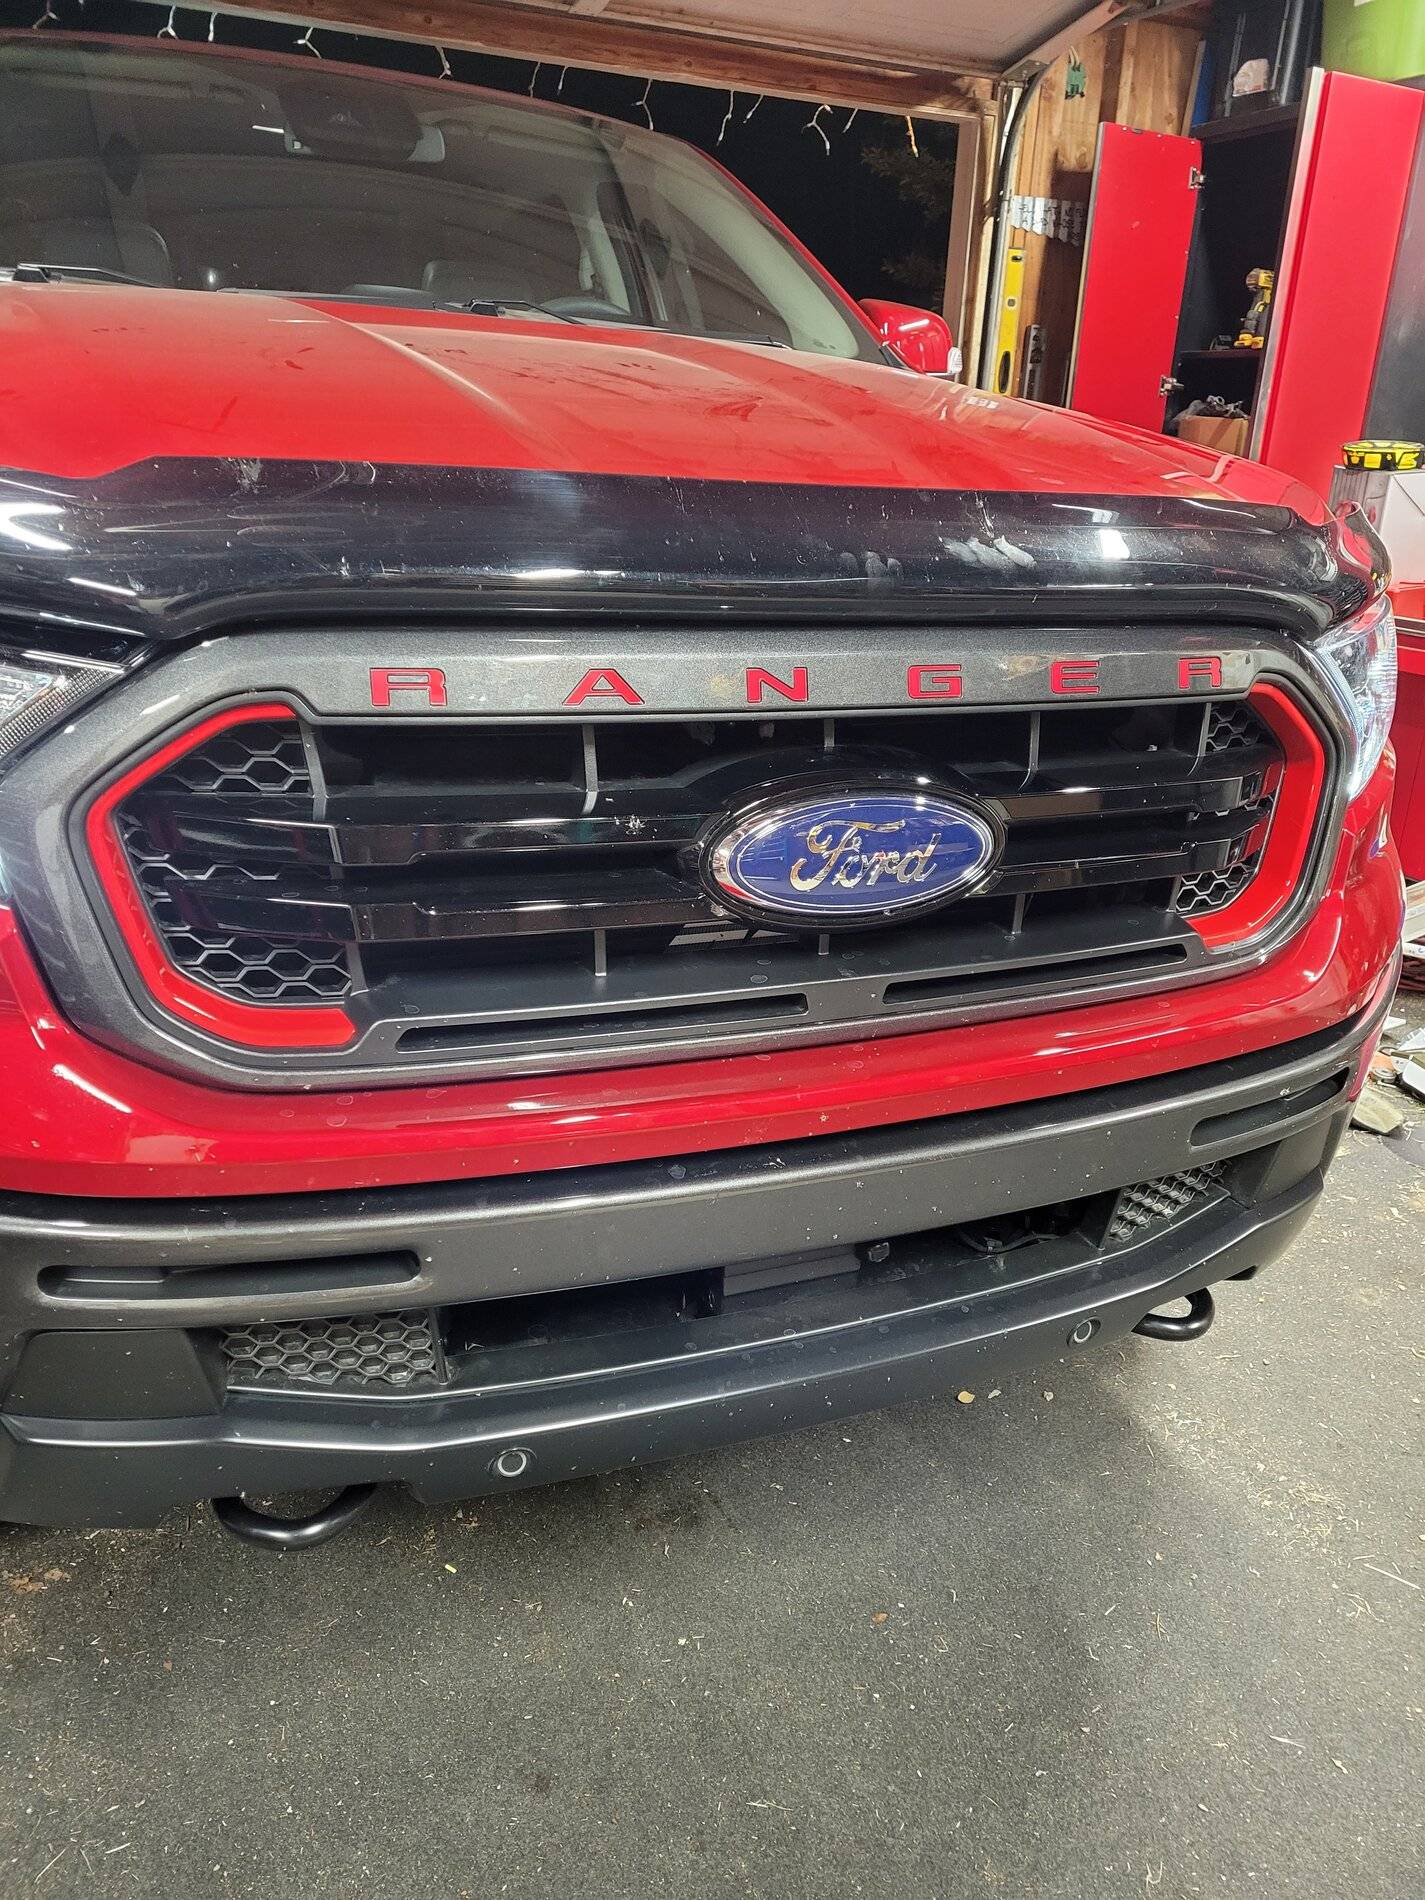
Front Grill Inserts:
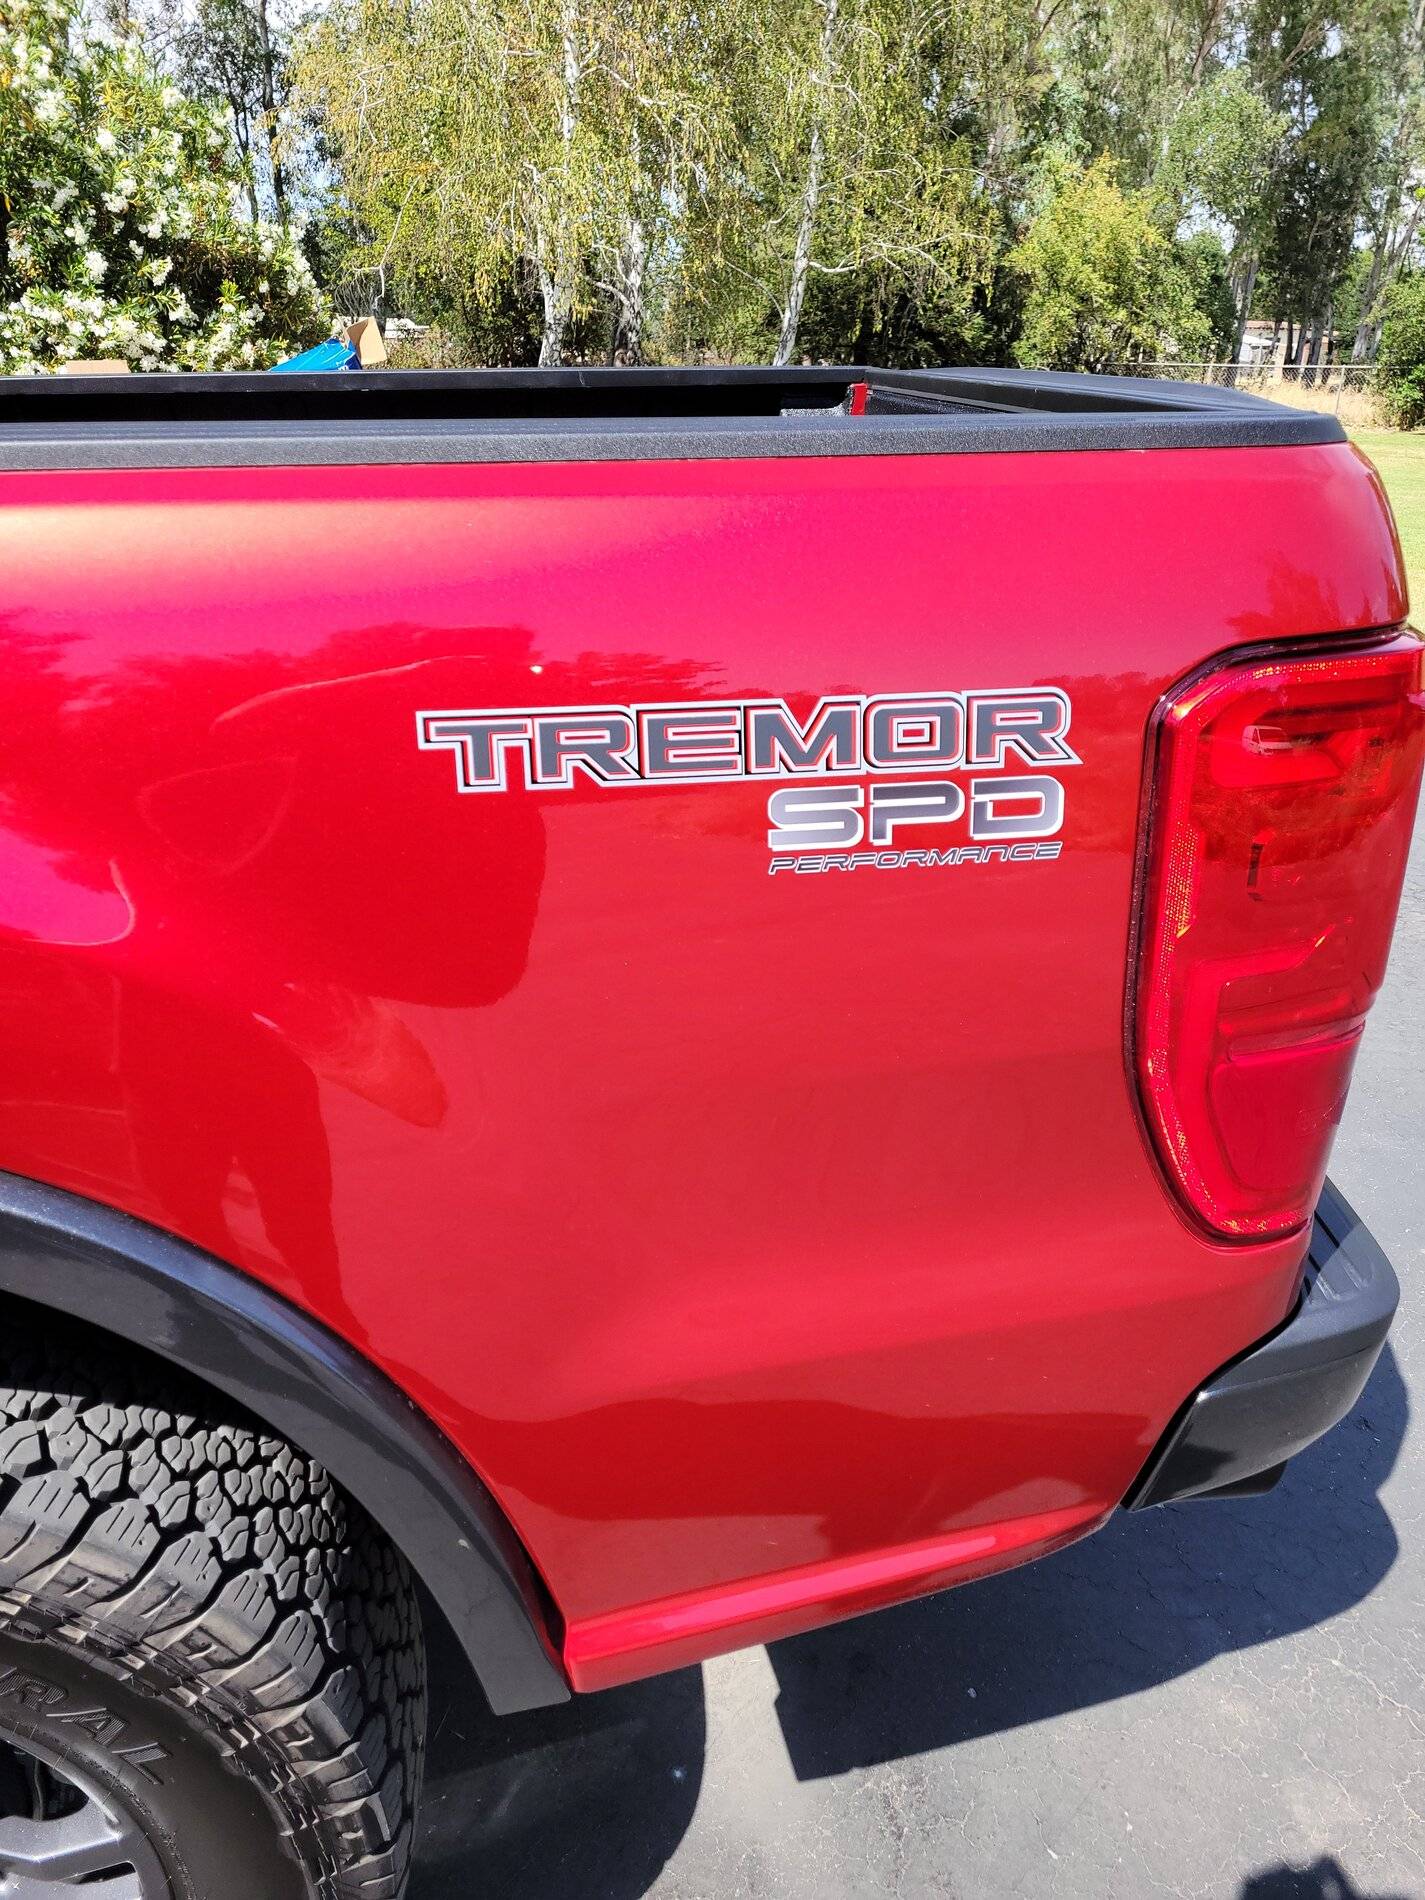
More Decals:
5-Star Tuning BDX Tuner with Tunes: 87 Daily/Tow - 91 Daily/Tow - 91 Performance:

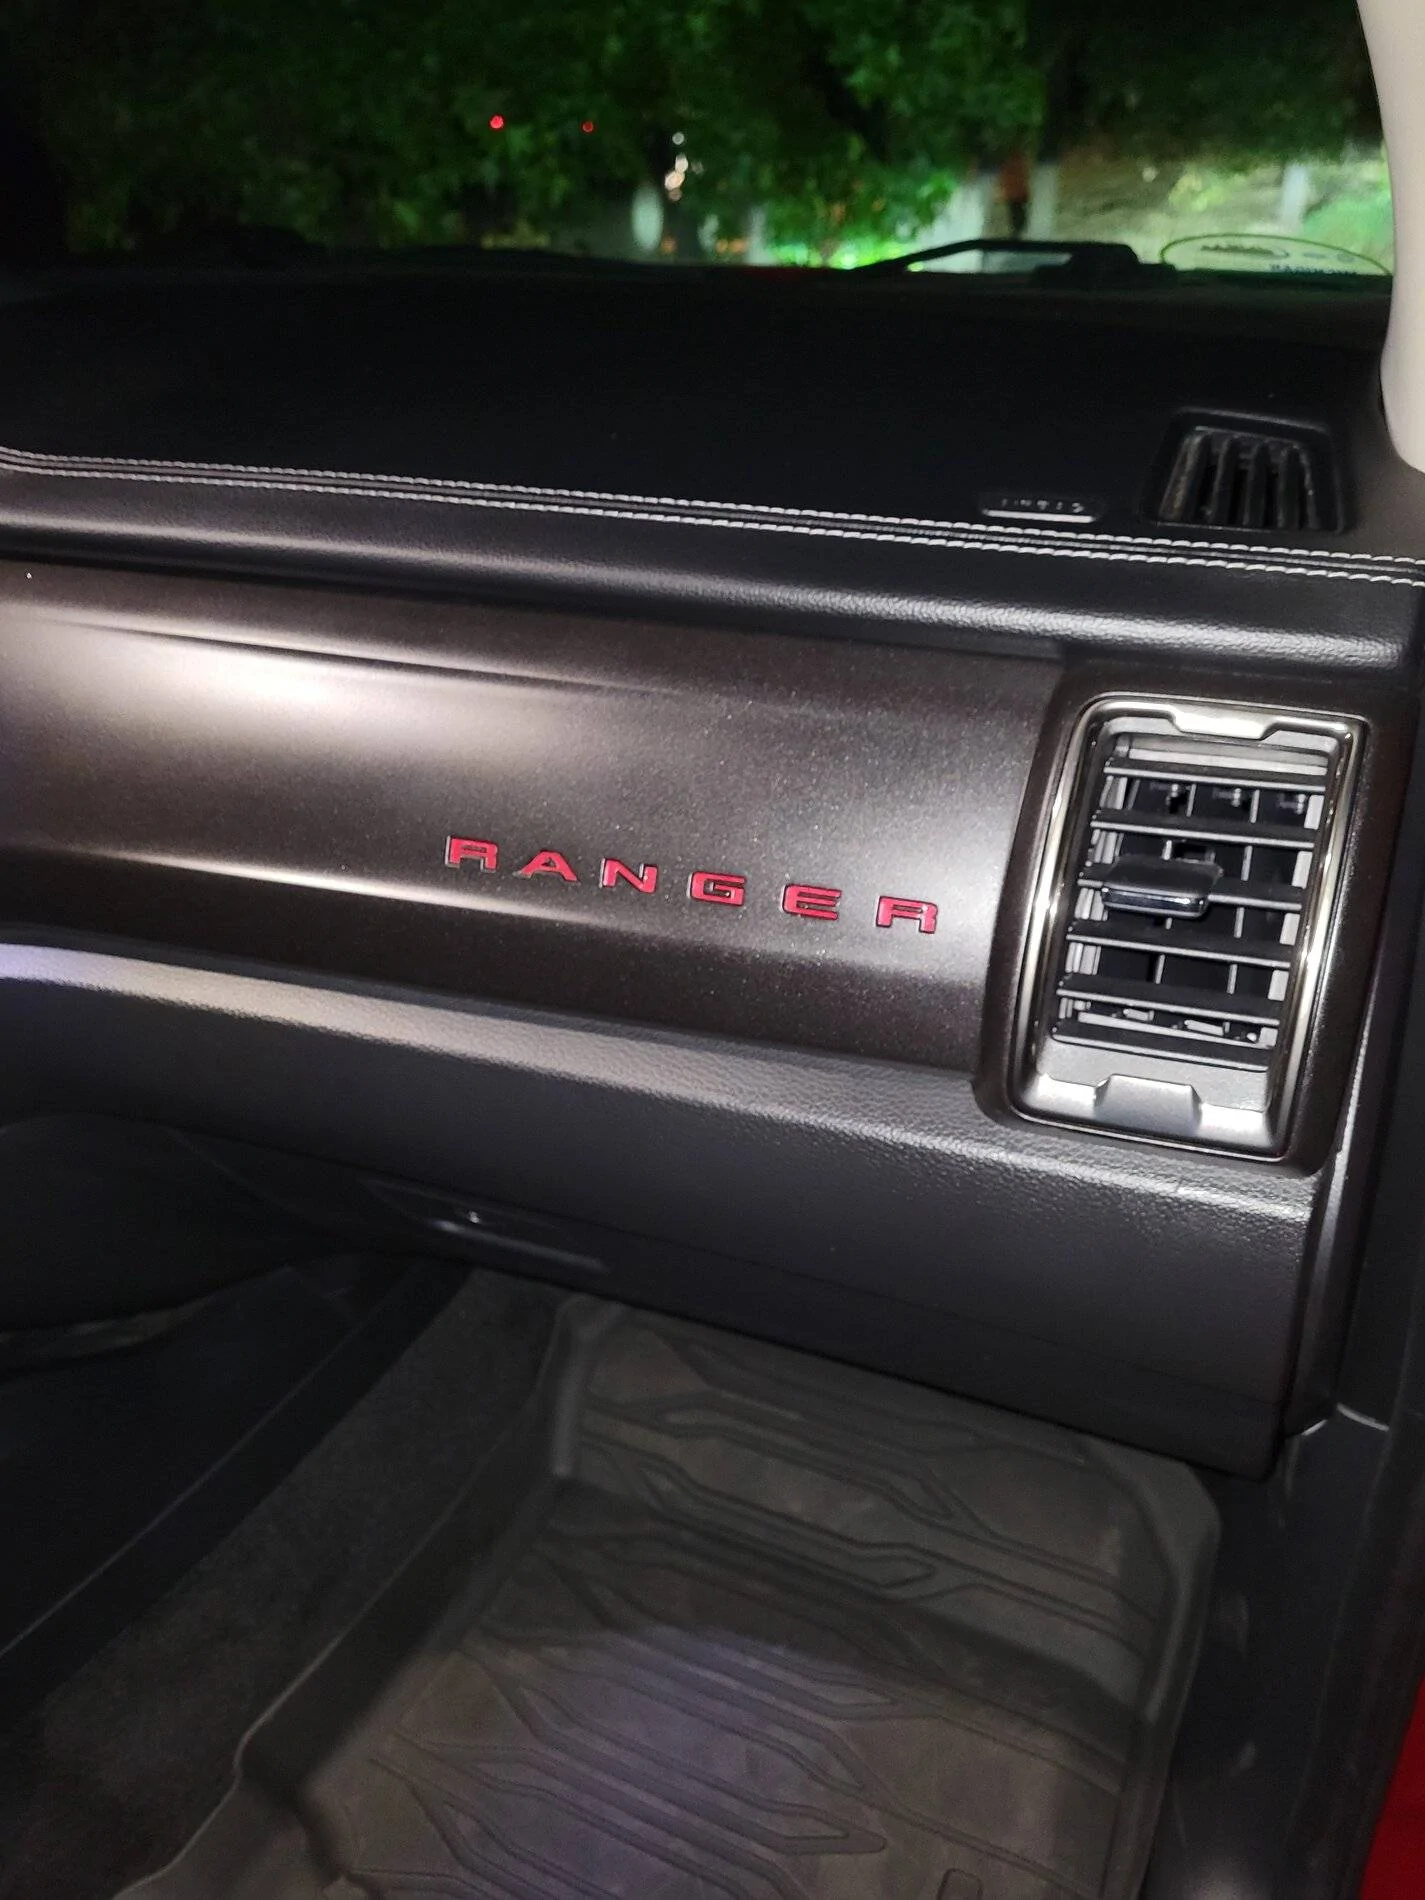
Vinyl Dash Inserts:
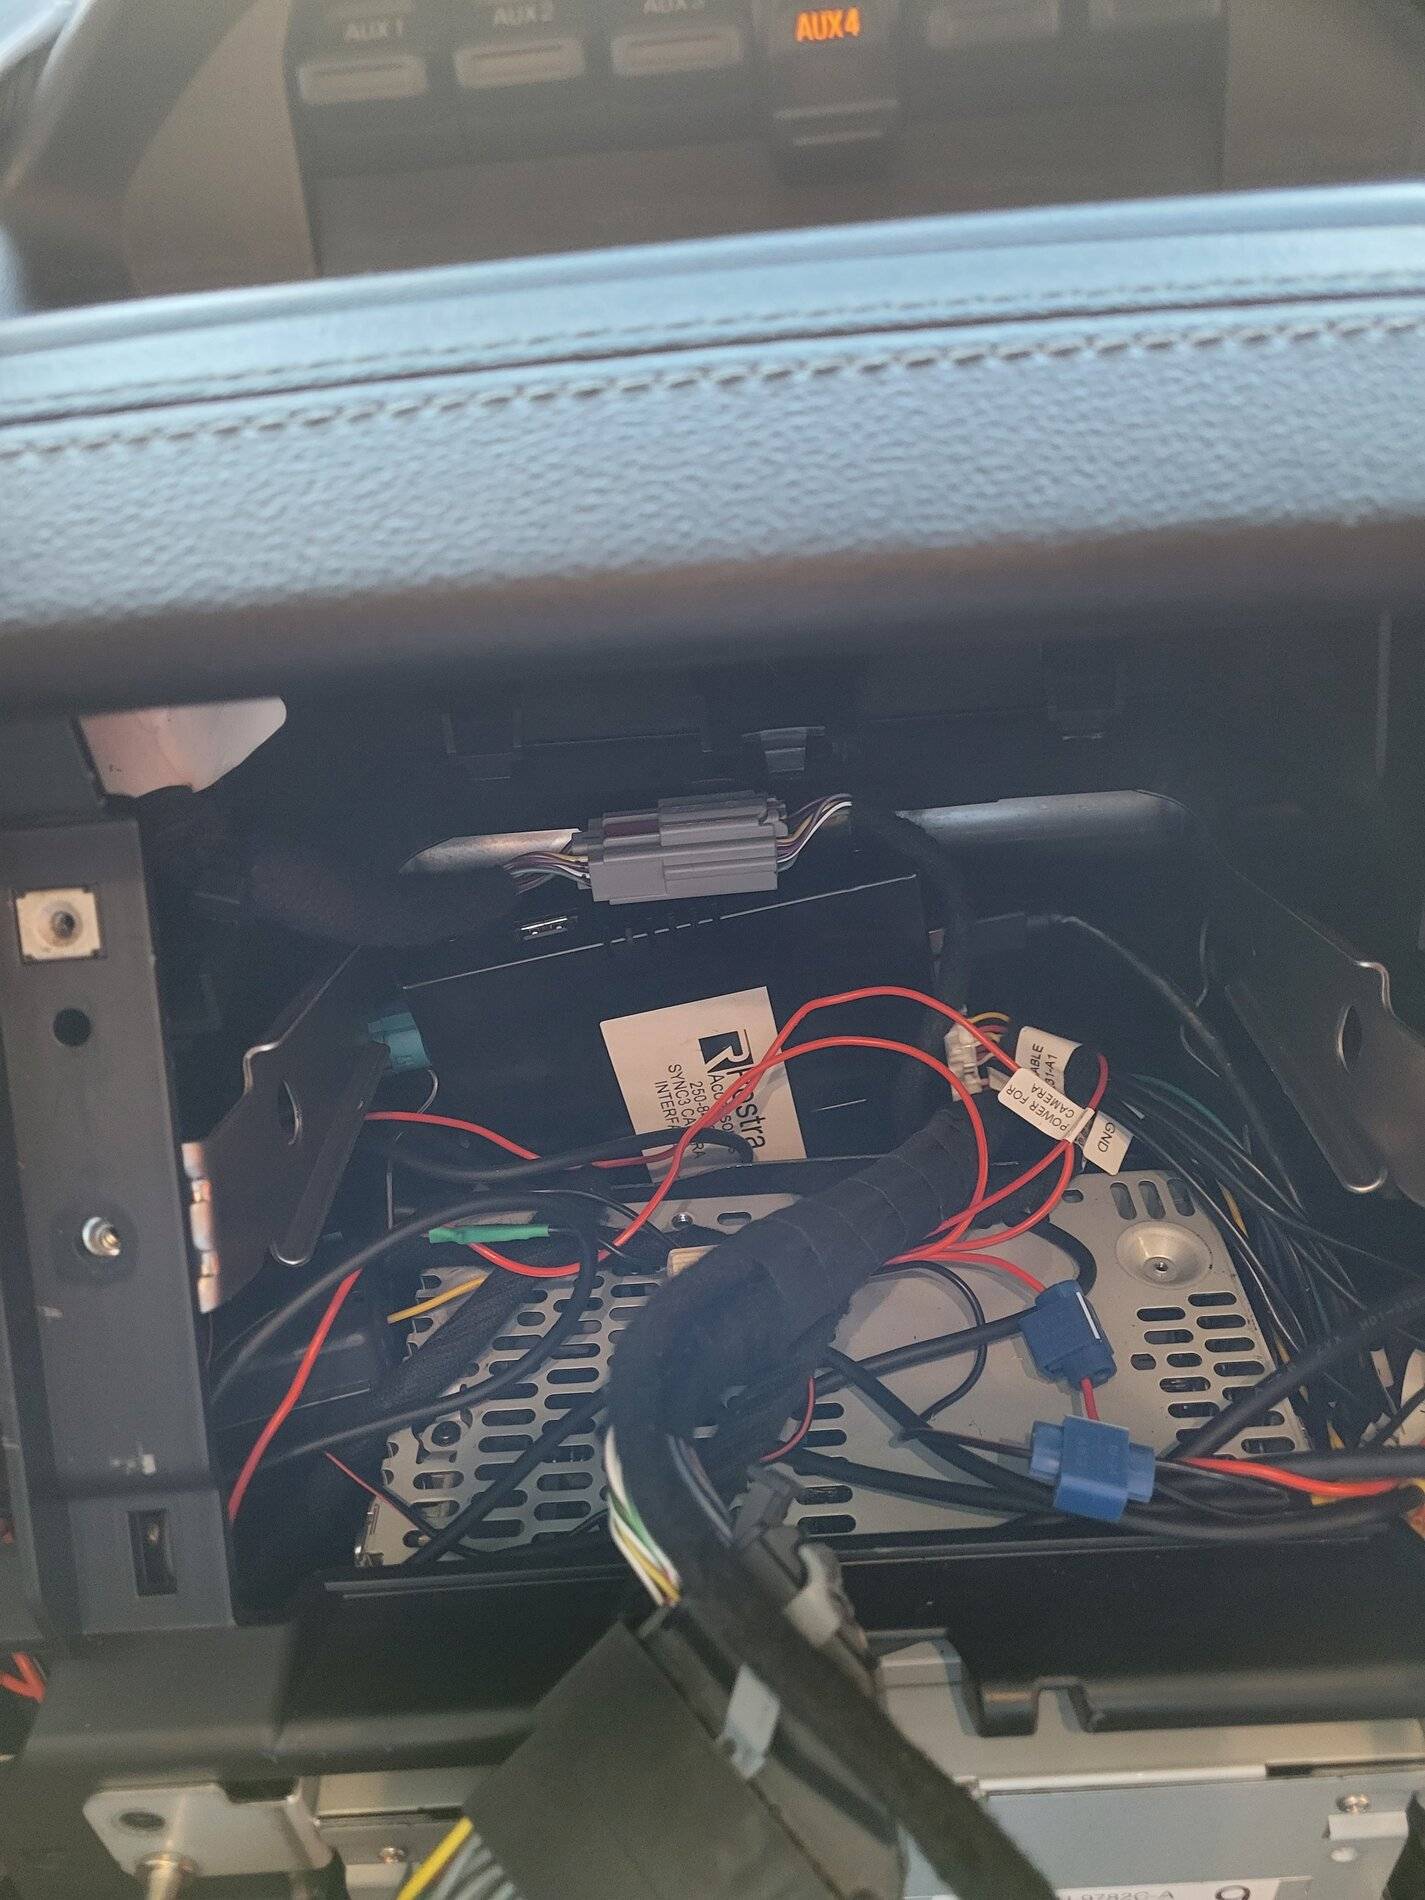
Rostra Ford SYNC® 3 8” LCD Multi-Camera Video Interface:
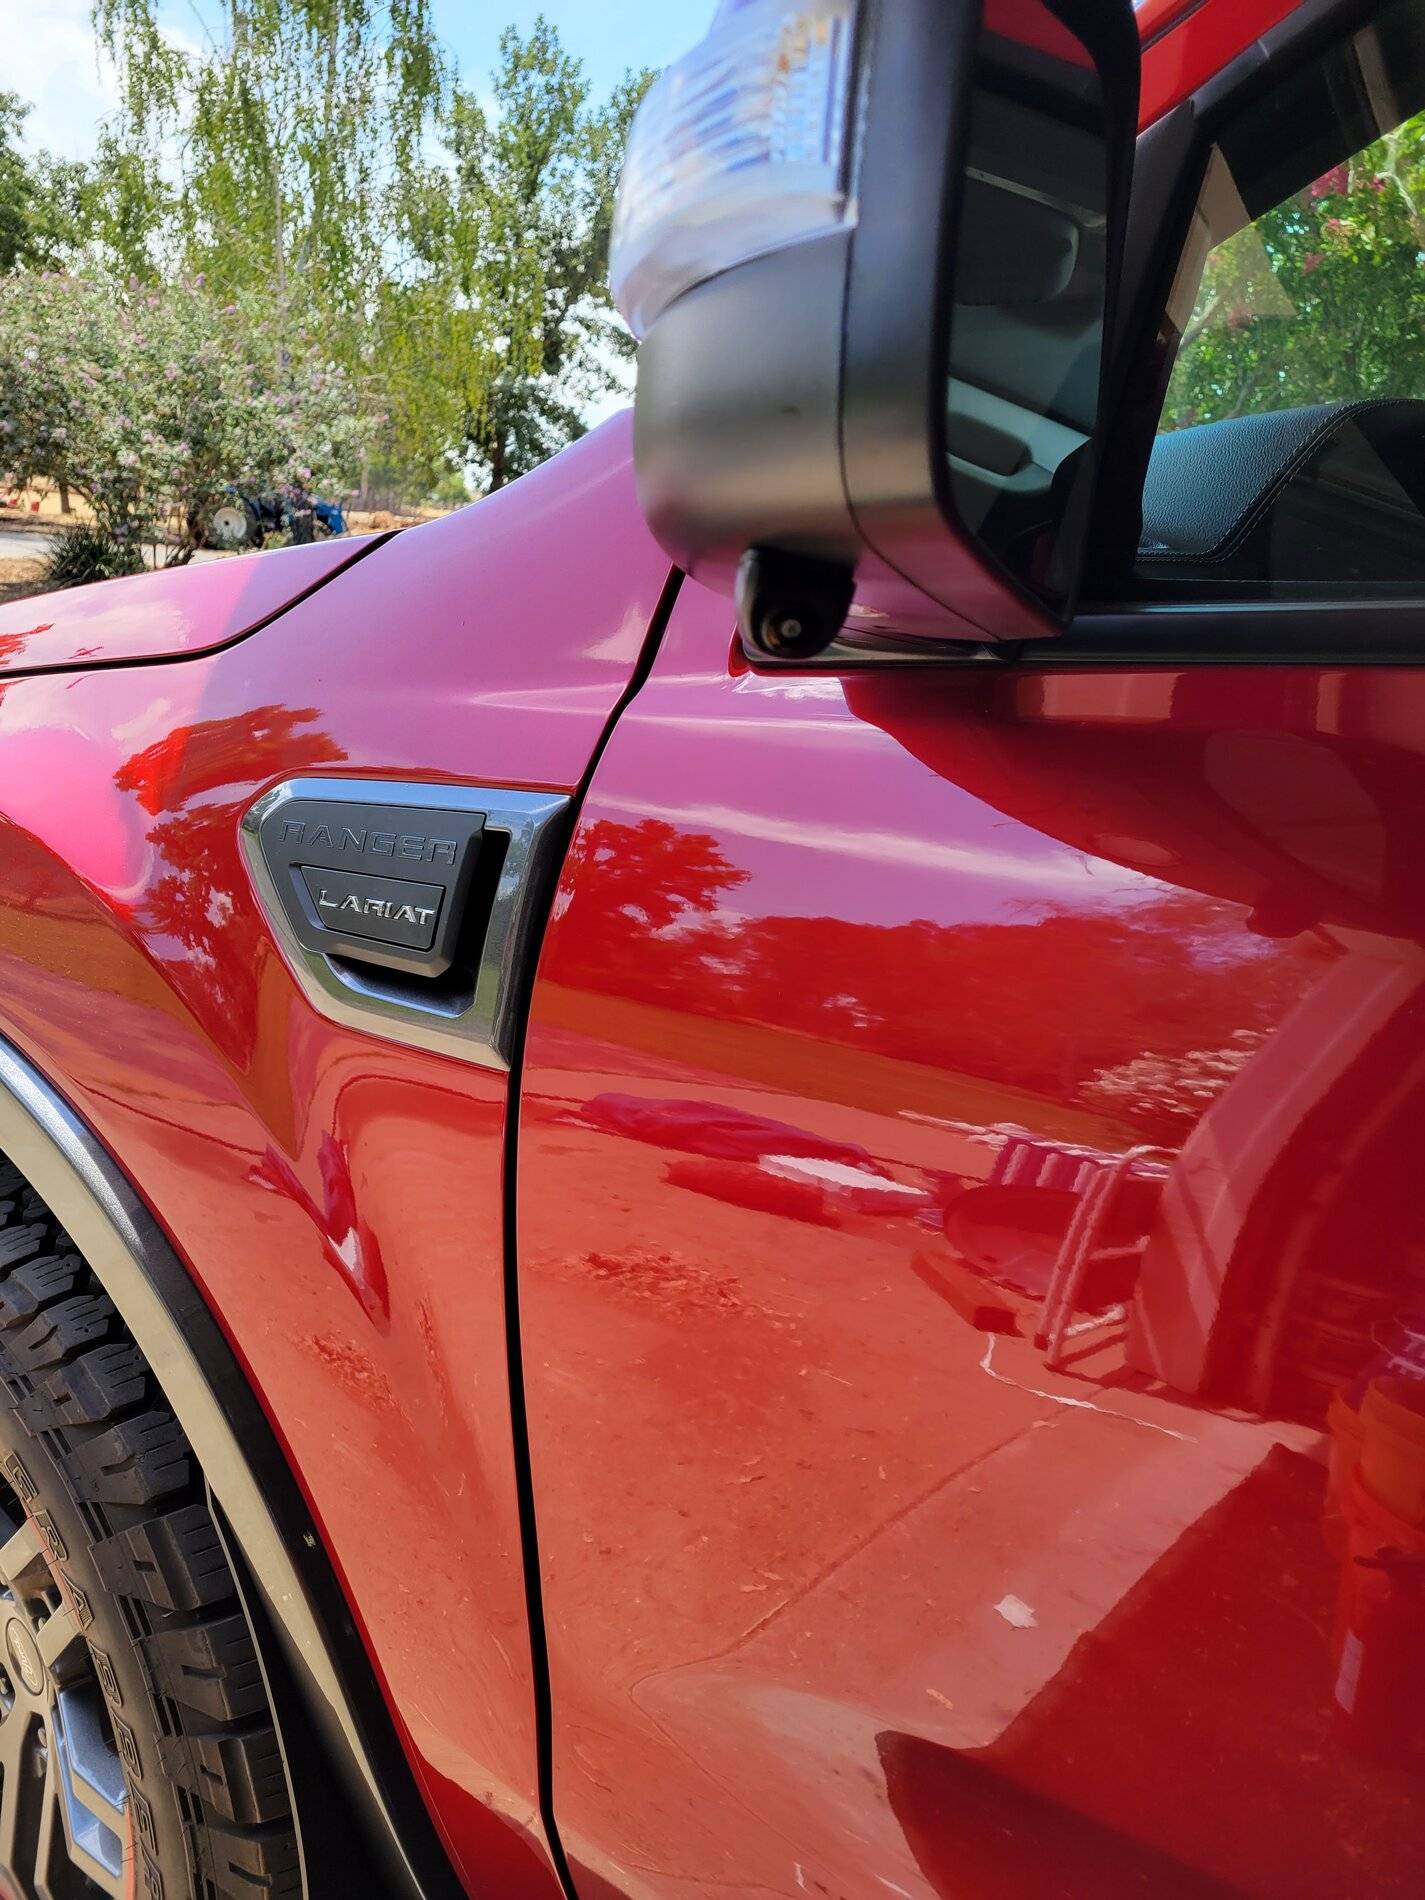
NATIKA Camera for Drivers-side Mirror - Activated by left turn signal
NATIKA Camera for Passenger side mirror - Activated by right turn signal
For a detailed process of the side view mirror install CLICK HERE.
NATIKA Camera for Front of Truck
(Installed, but only with zip ties for now. Will upload pictures once permanently installed on my new bumper)
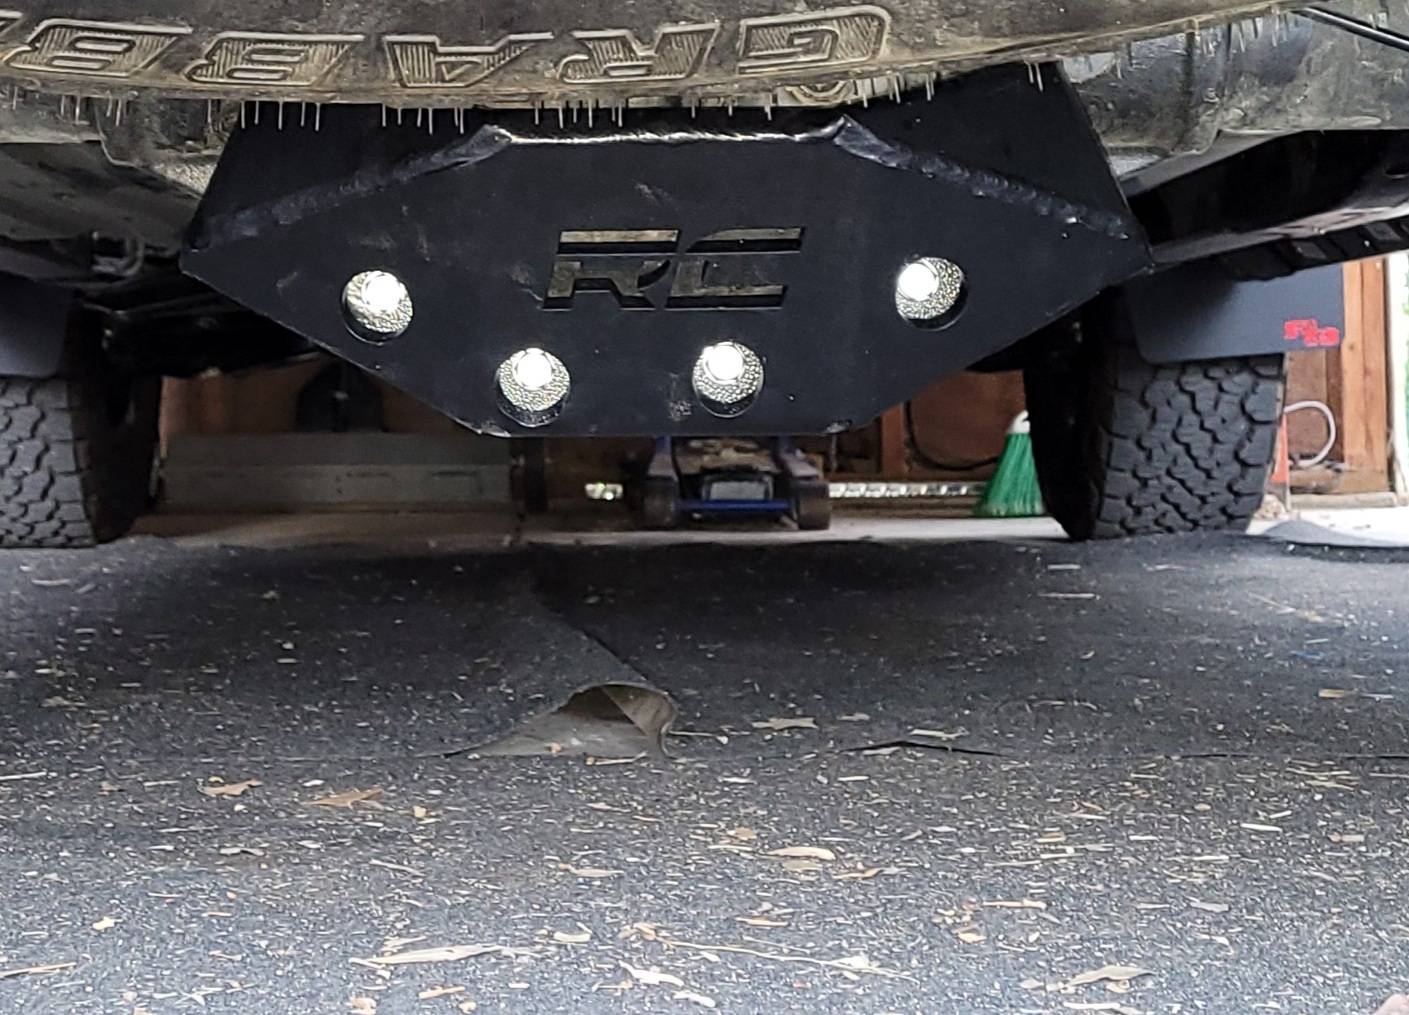
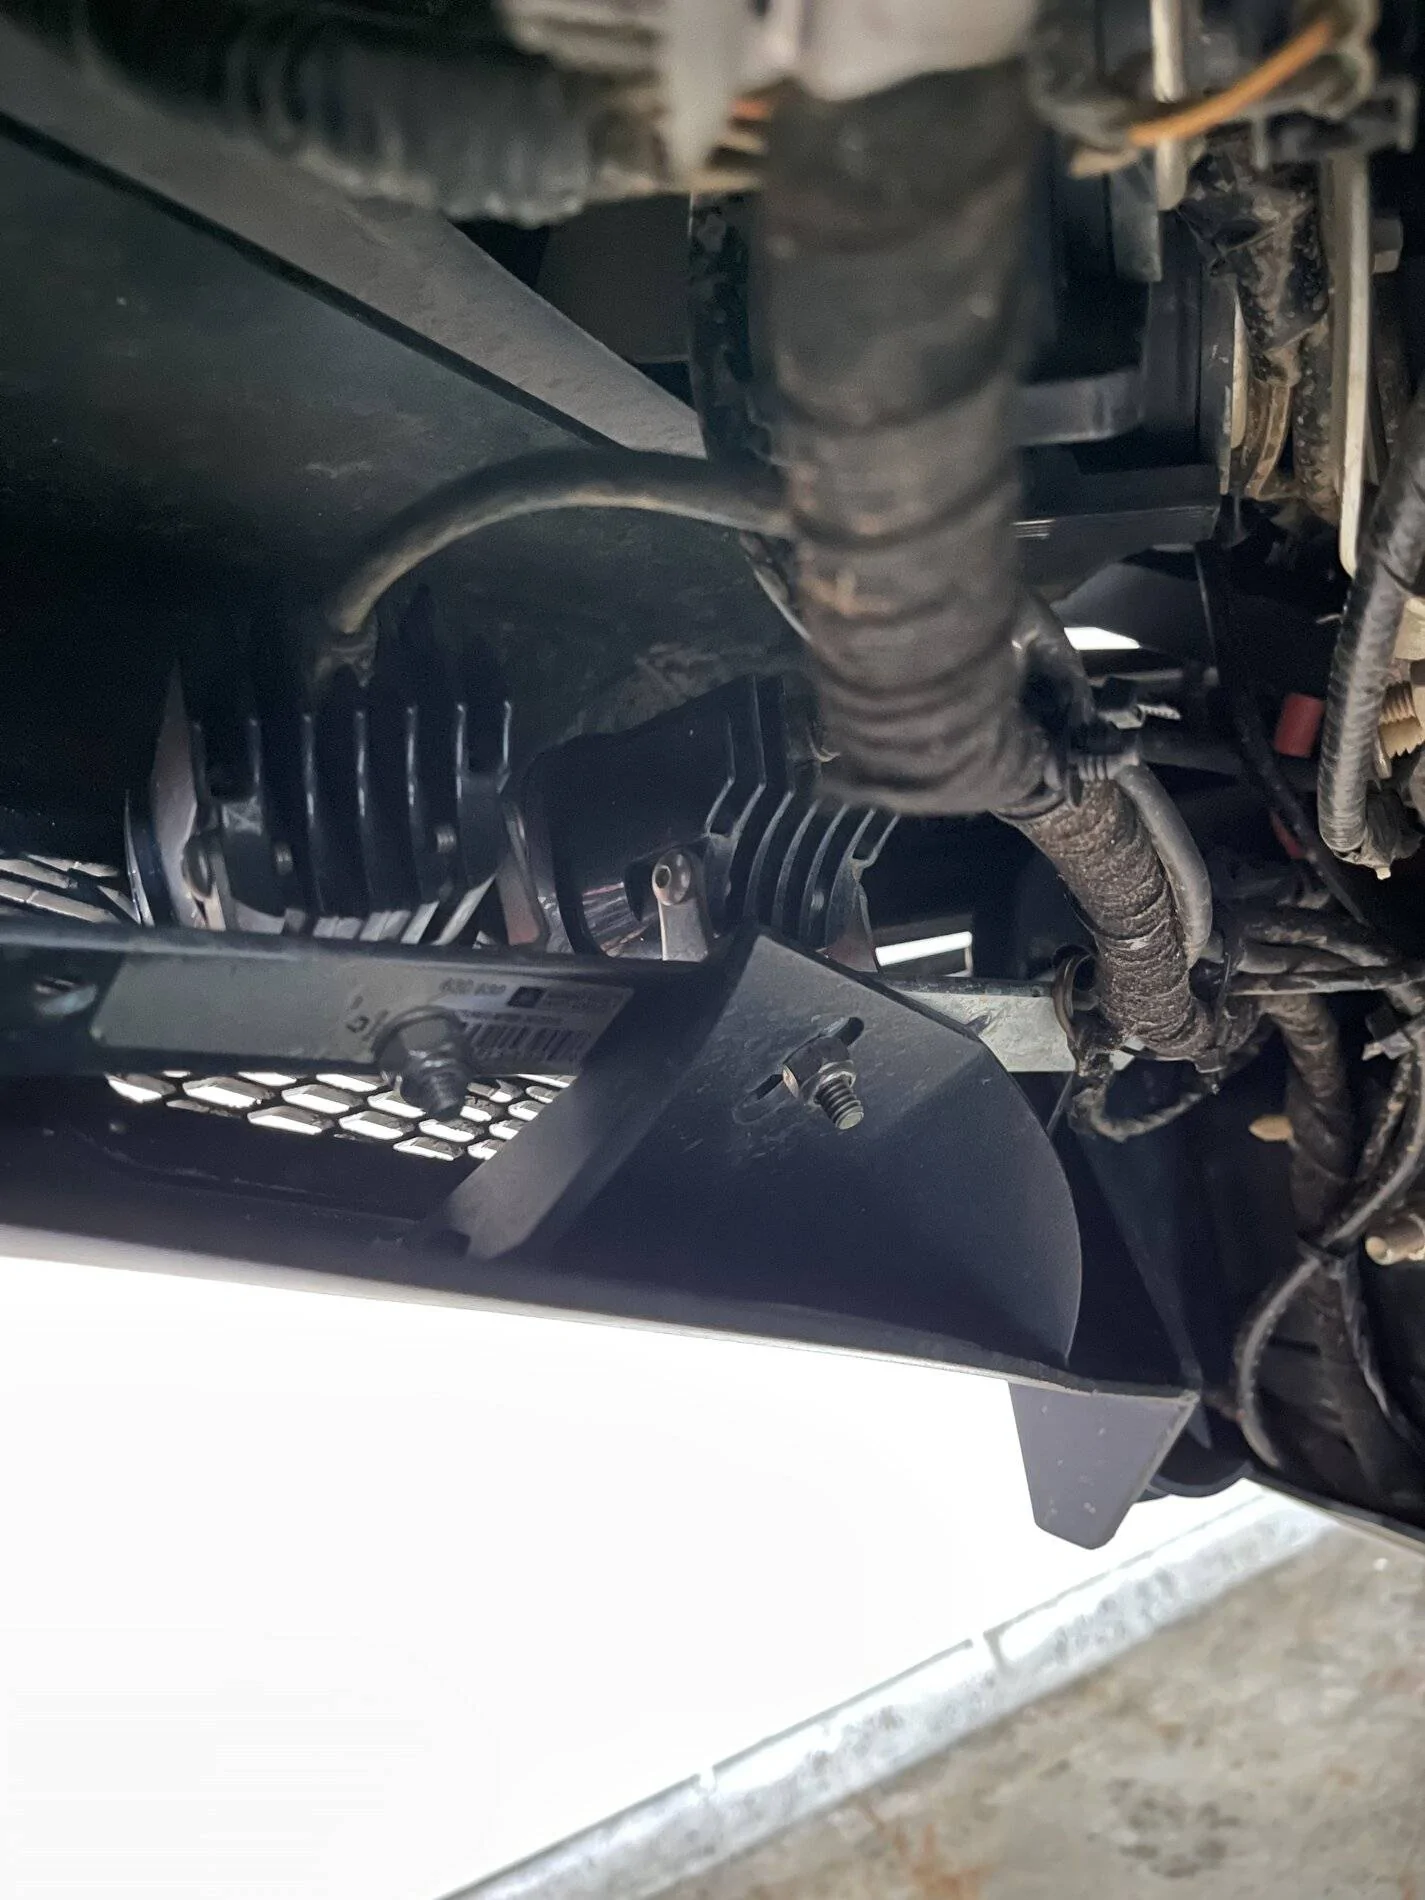
Rough Country Differential Skid Plate:

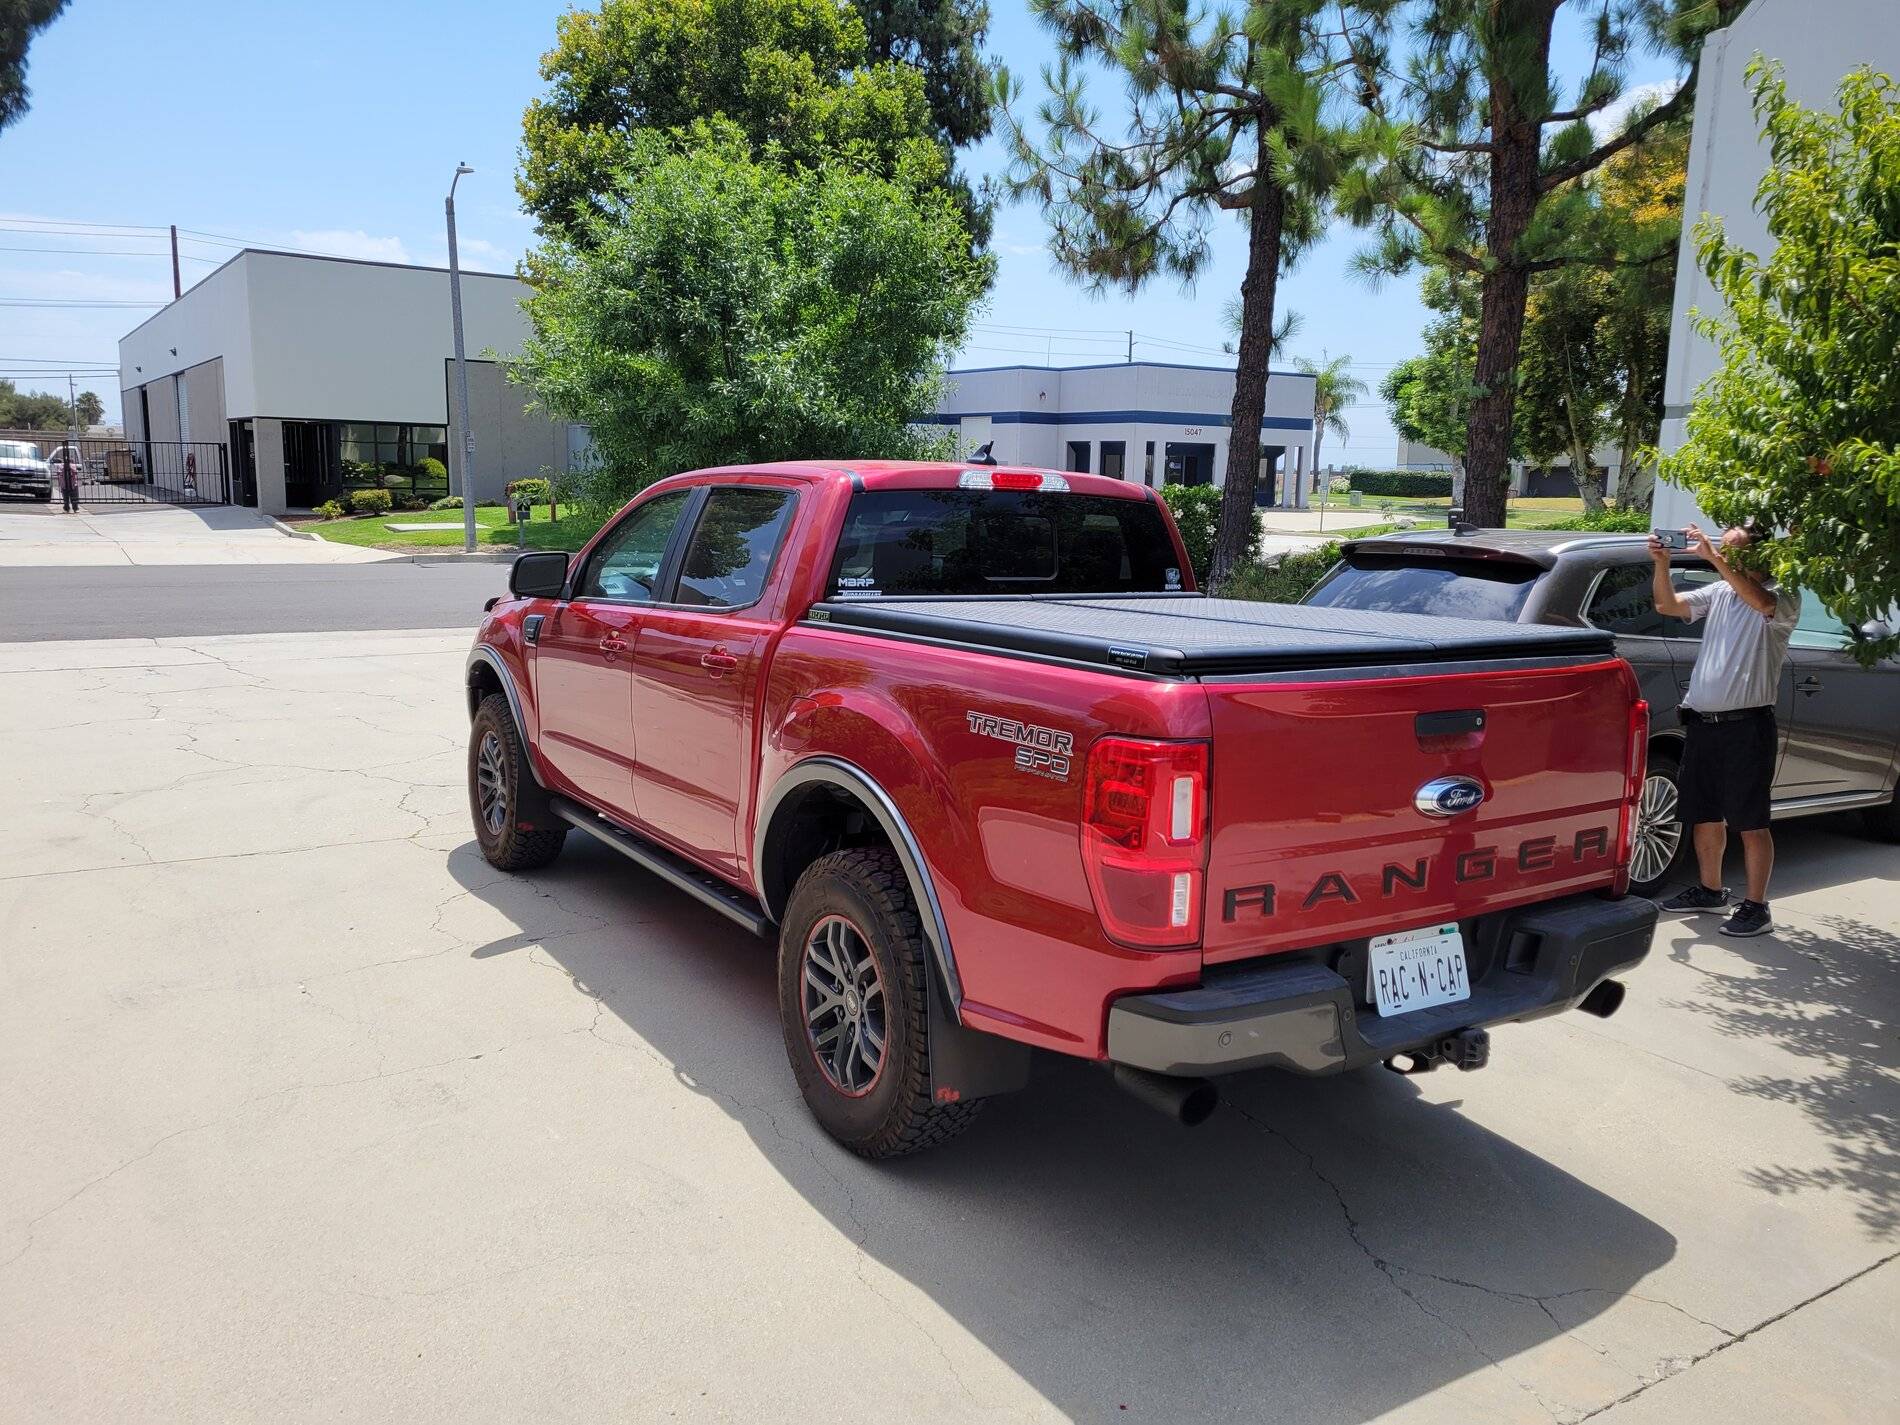
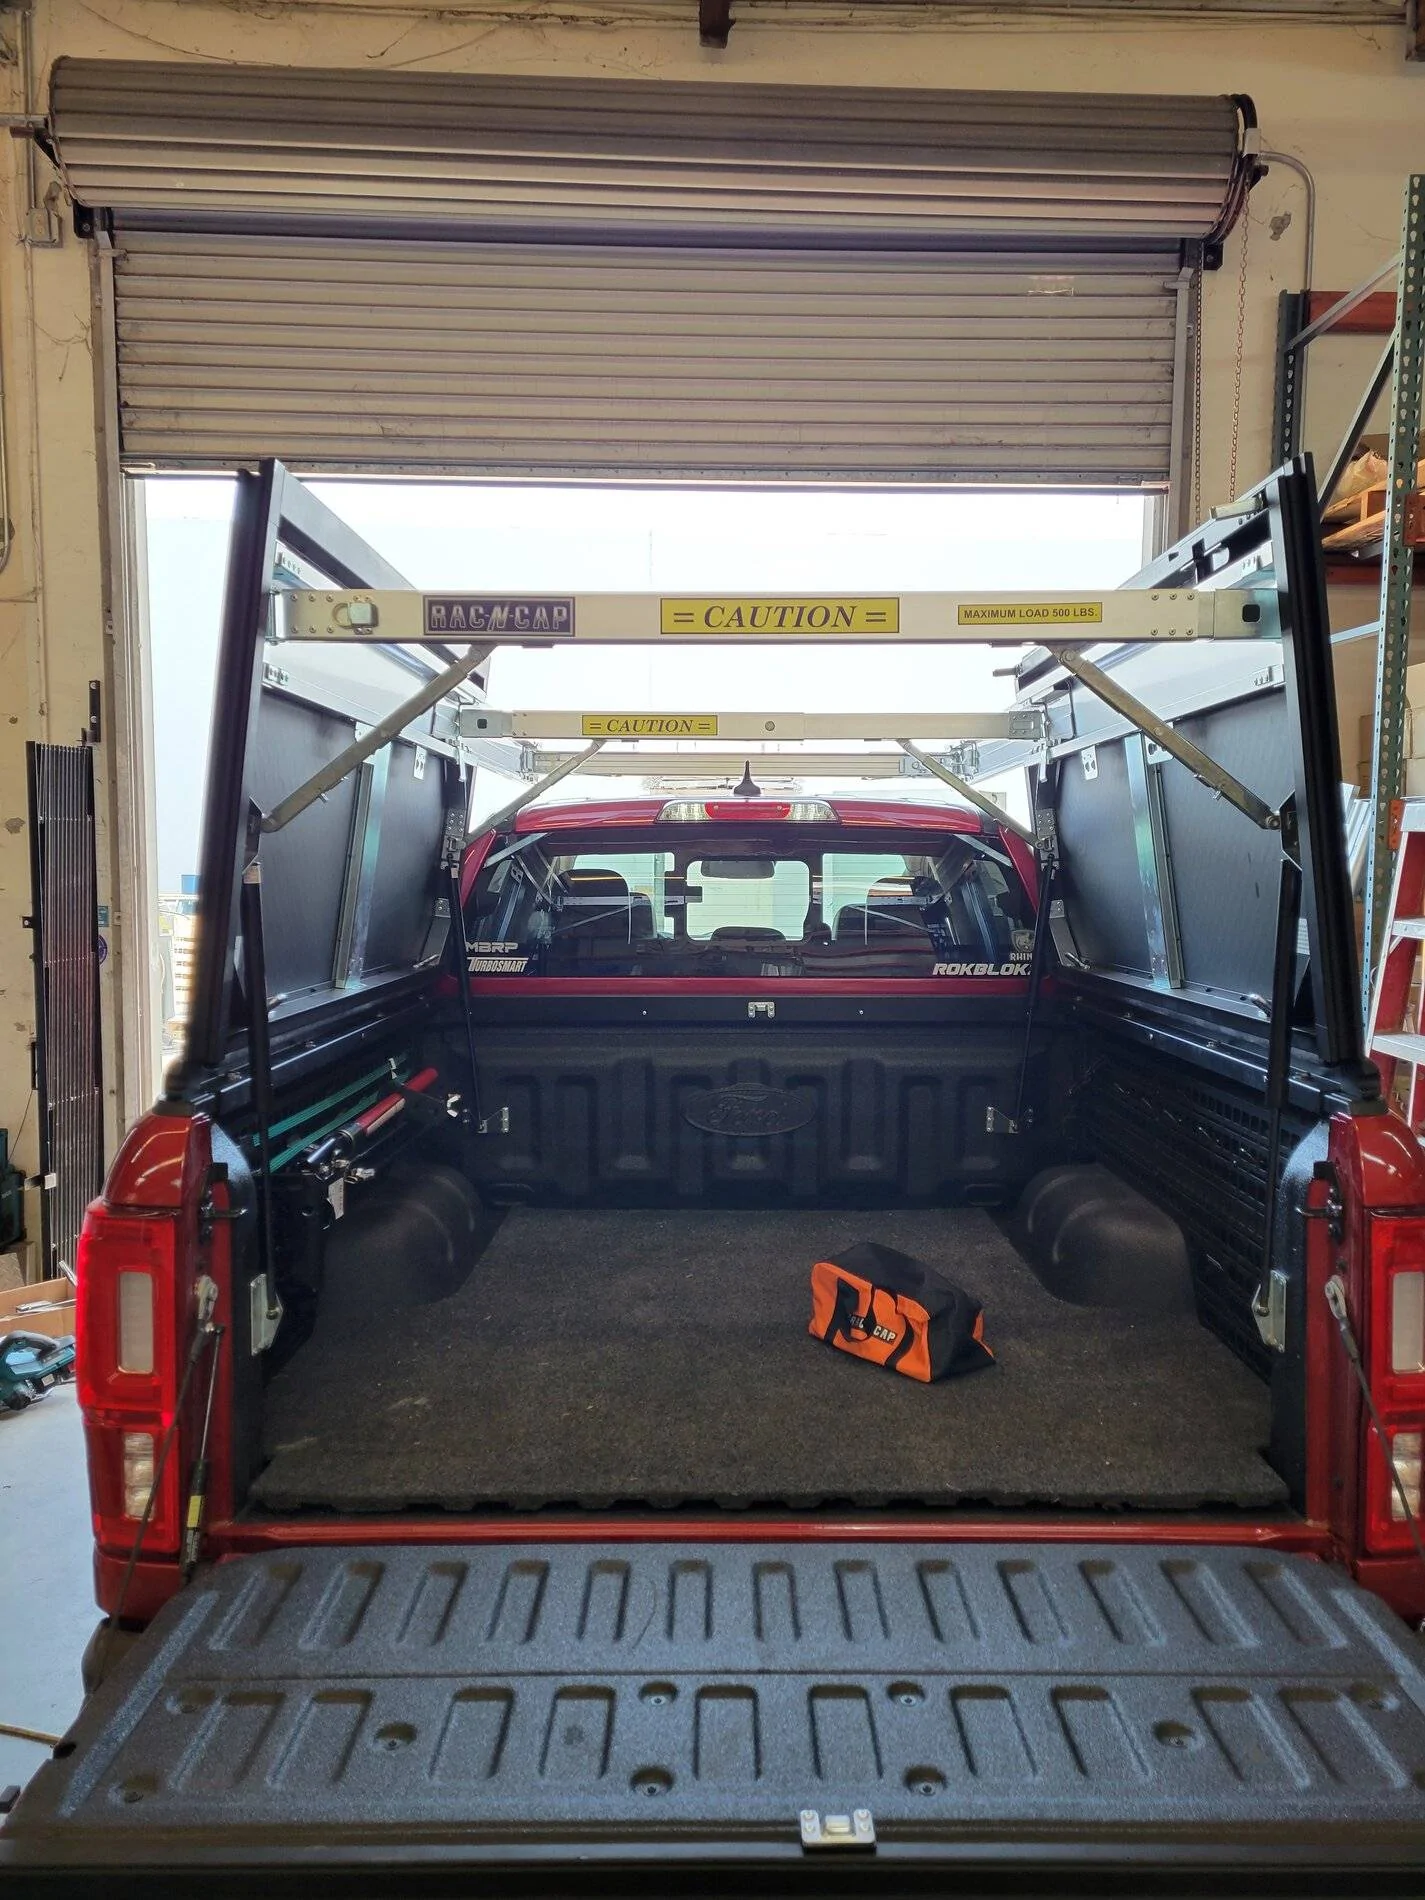
Rac N Cap Ladder Rack/Tonneau cover
Flags to show my patriotism:
Rear window flag decal:
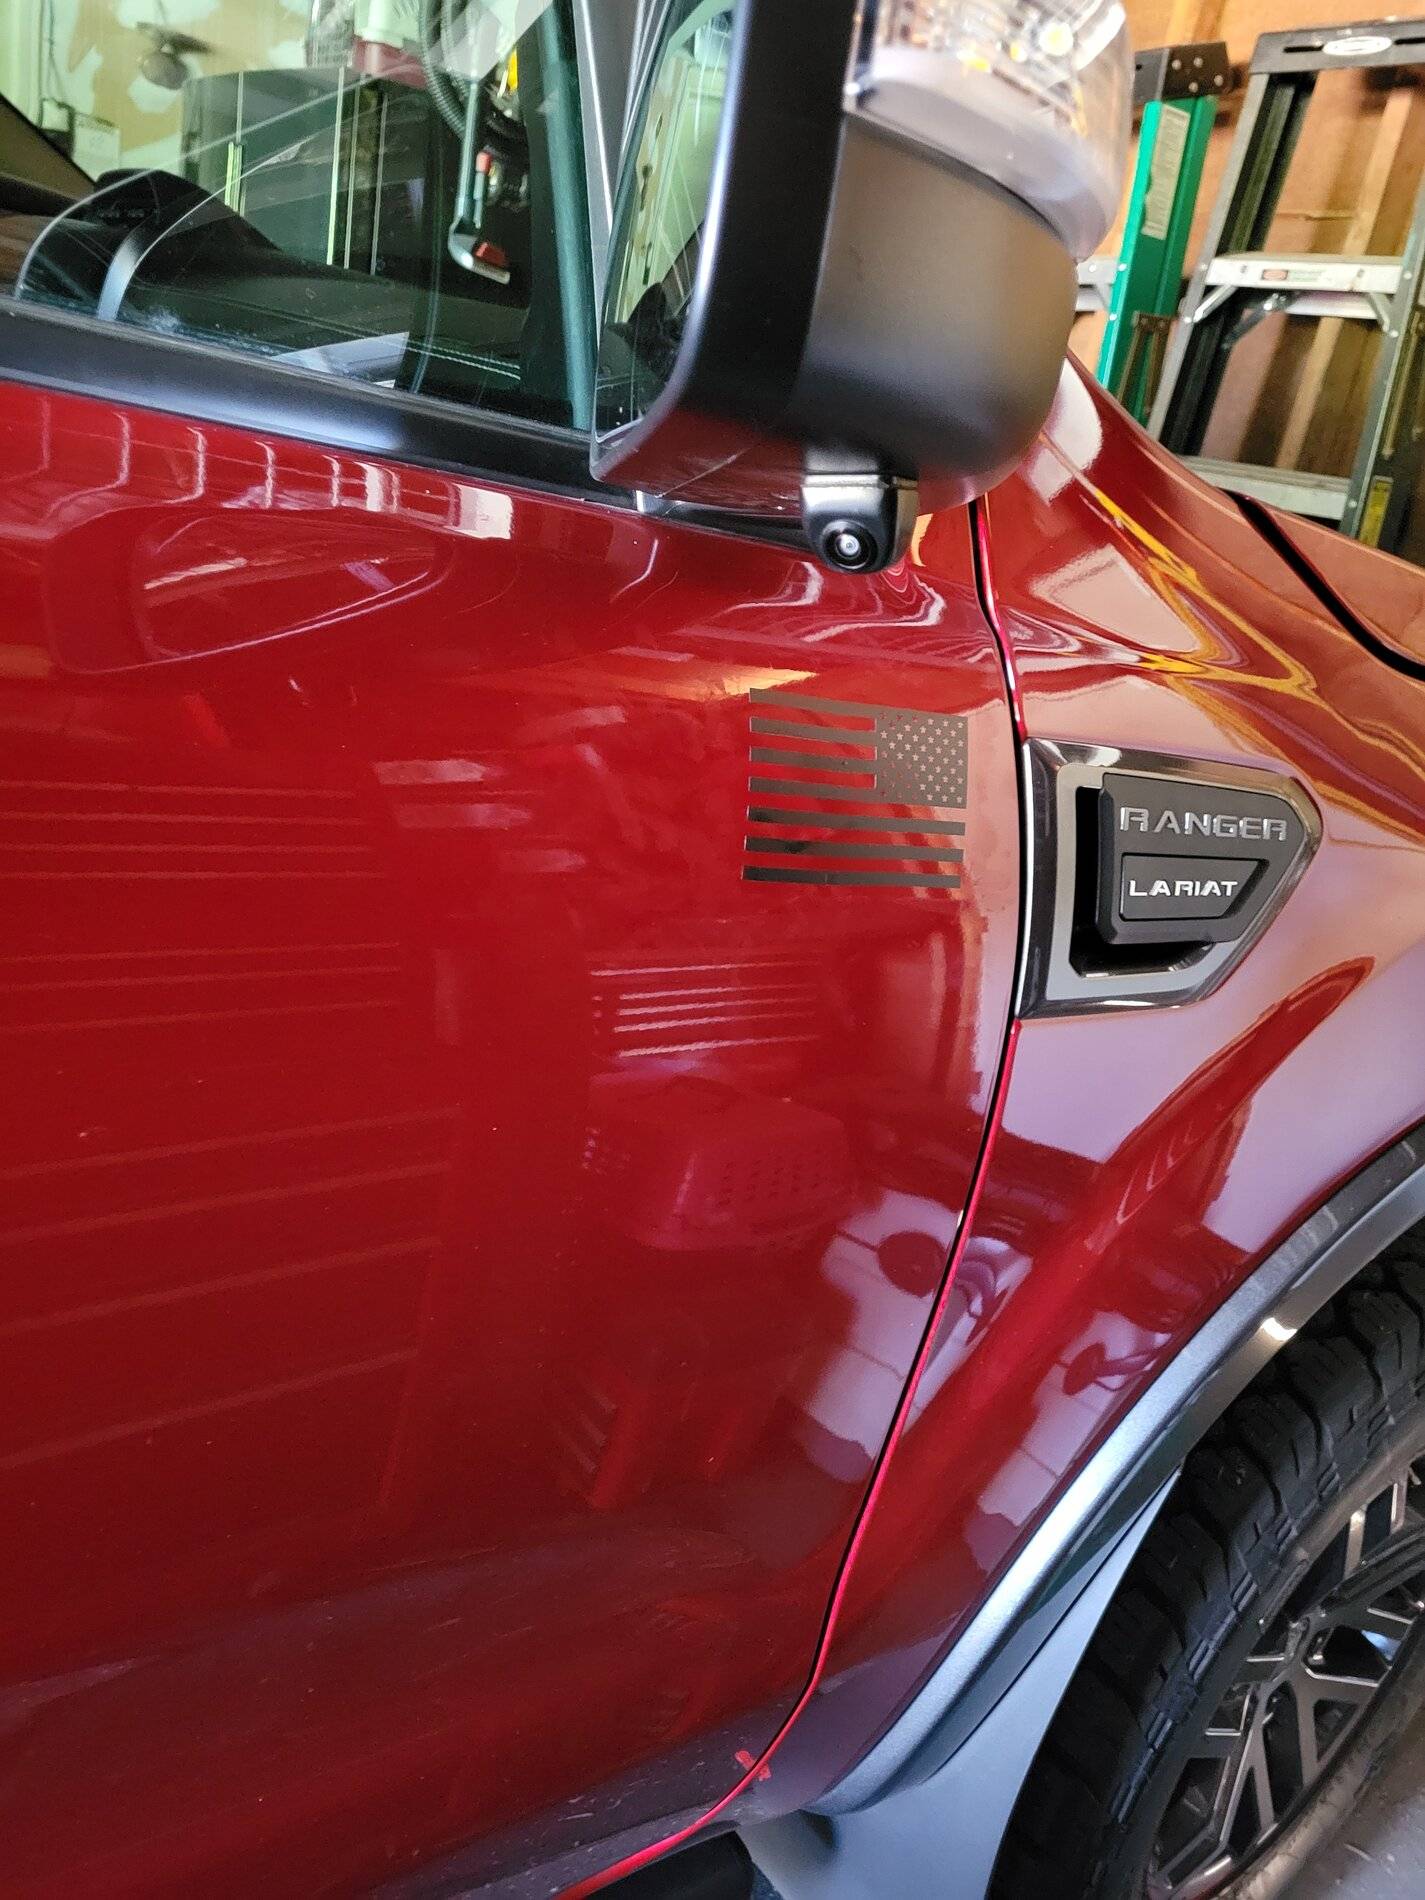
Door Flag Decals:
(My son gave his blessing?)
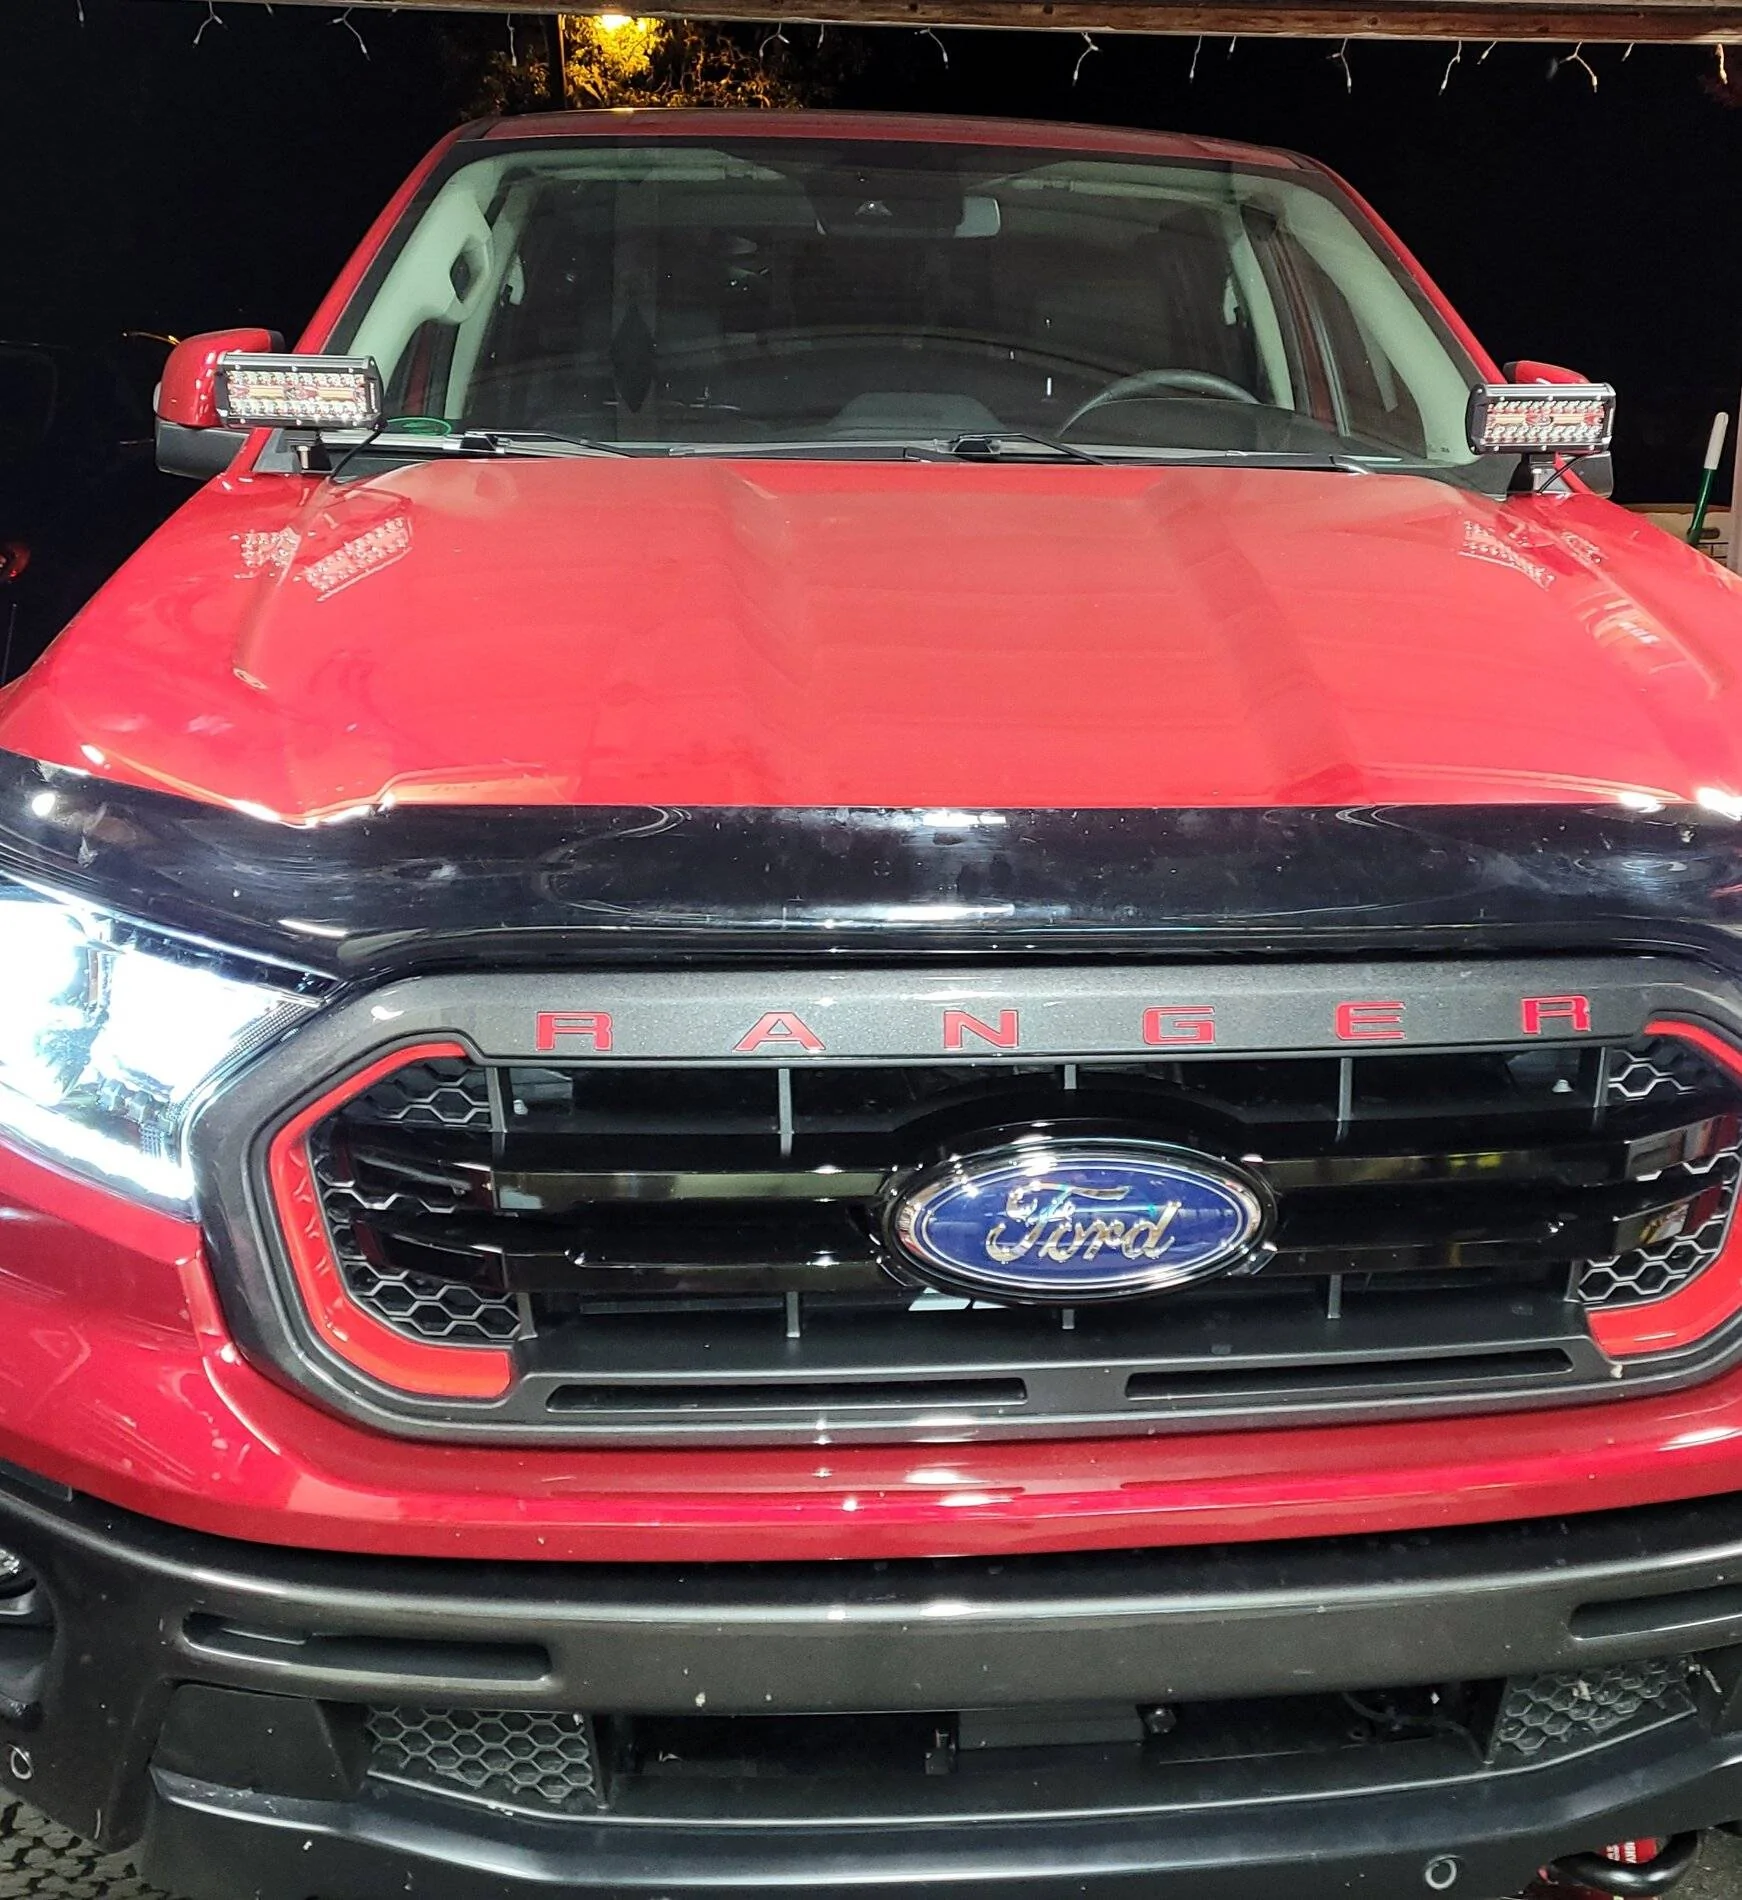
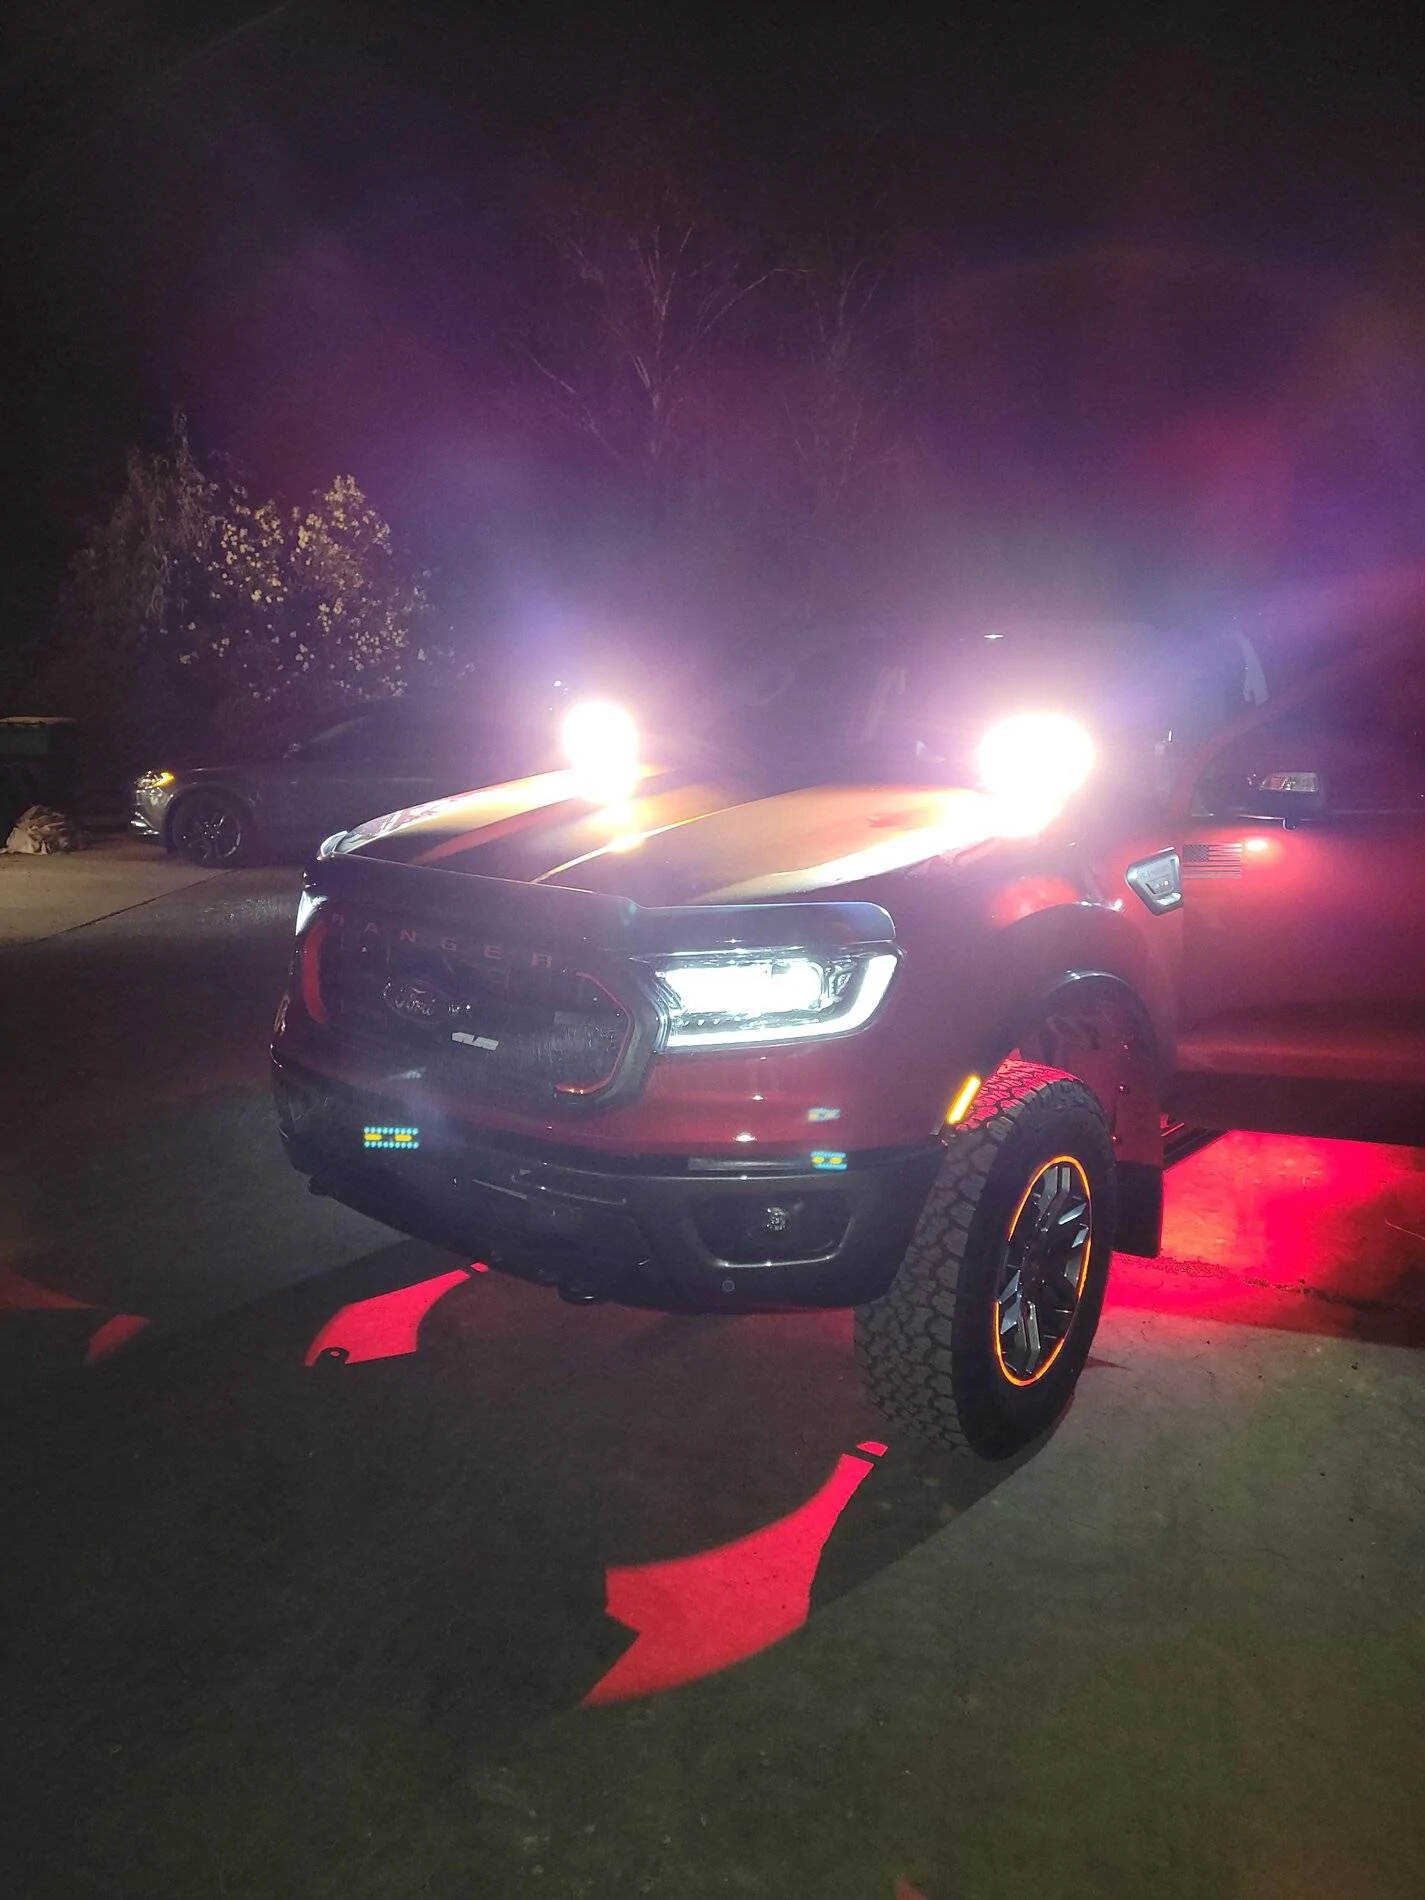
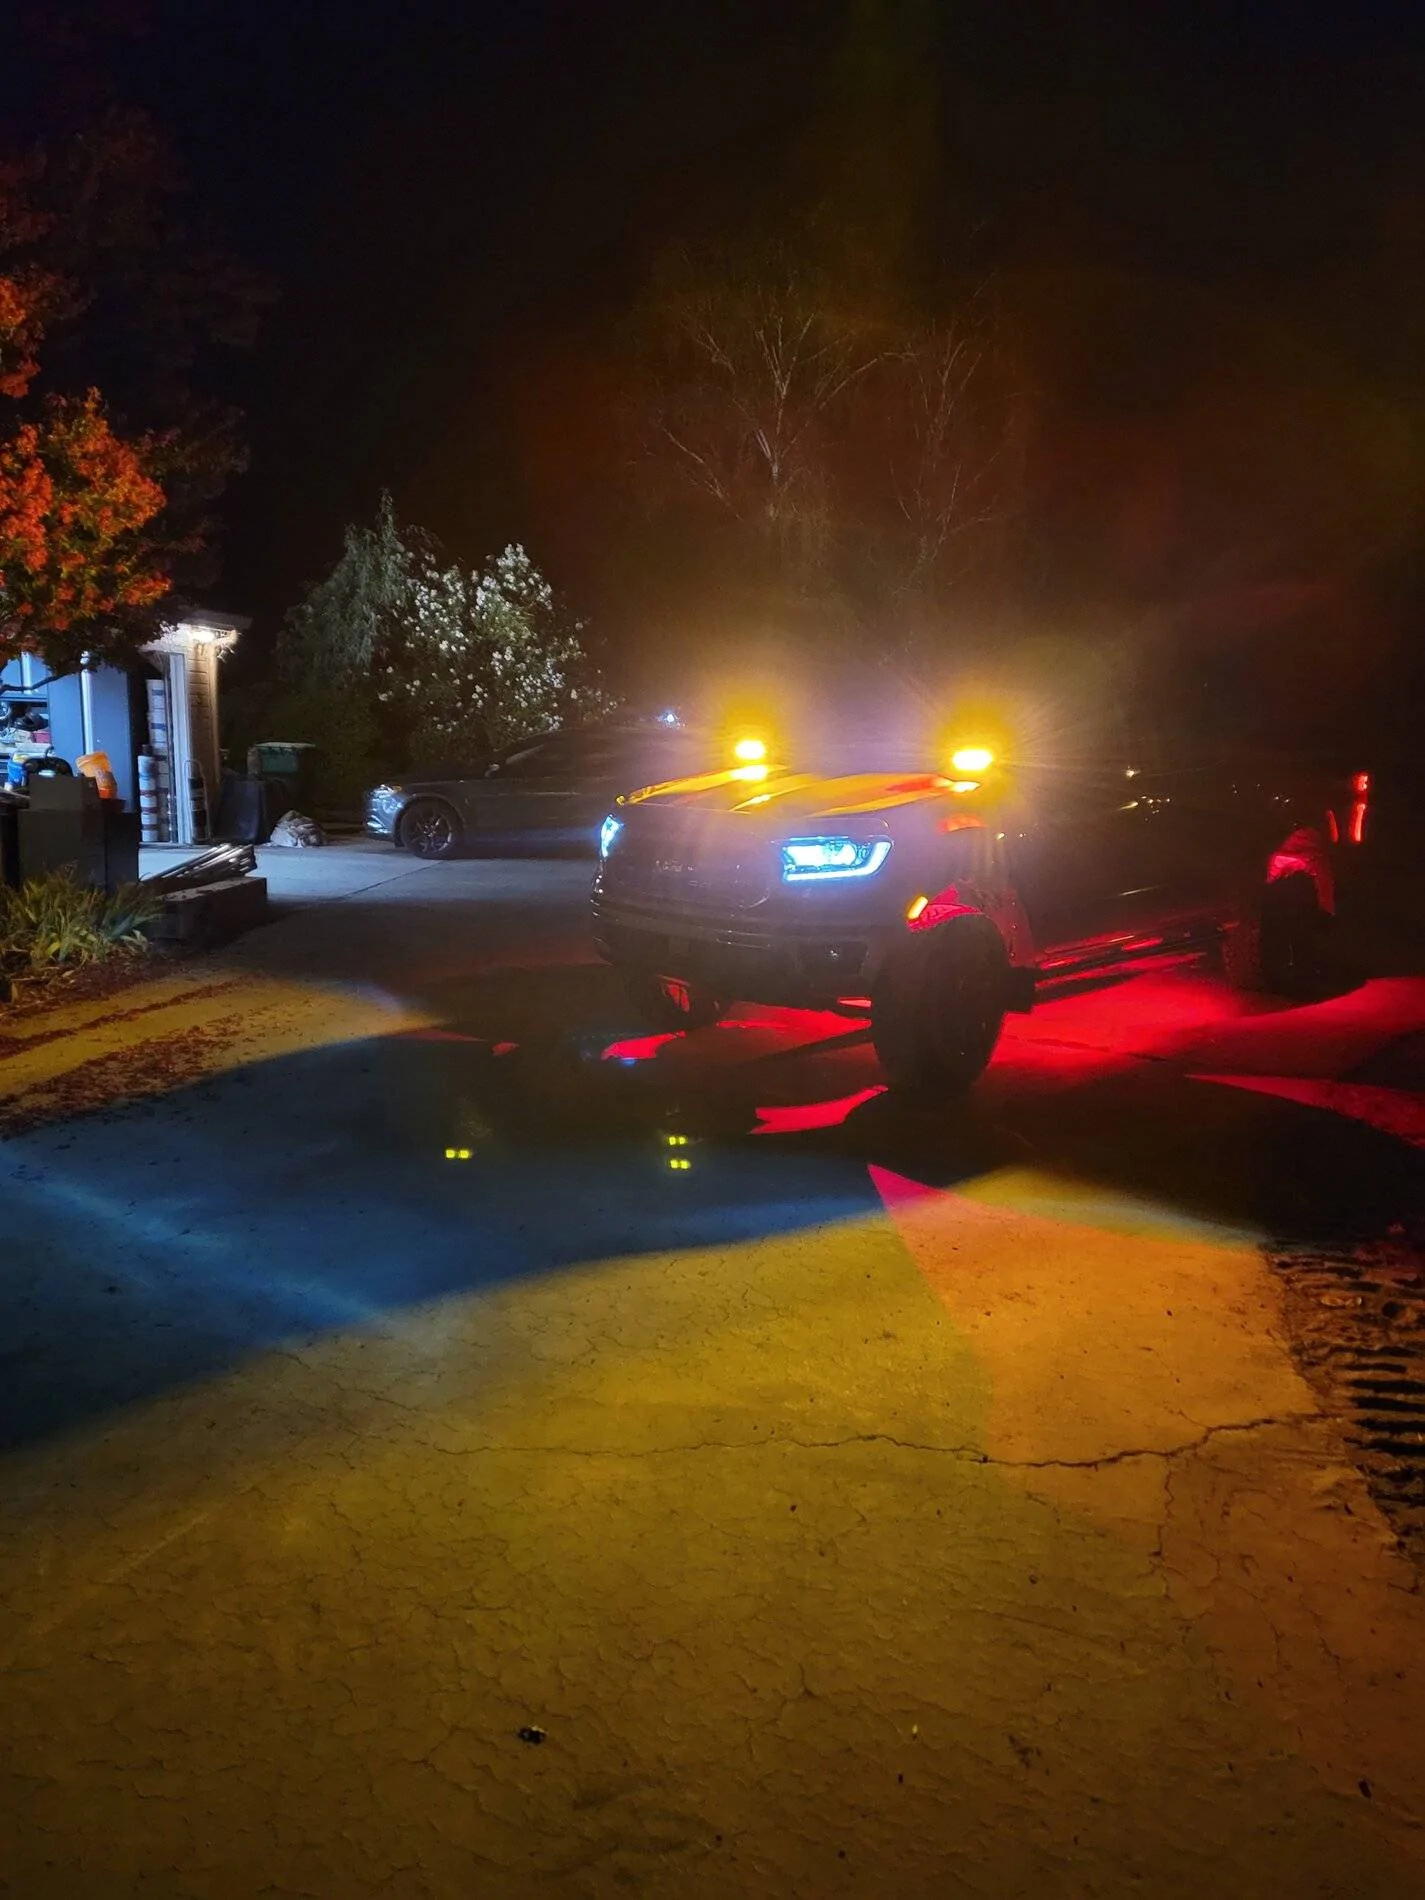
AuxBeam 7" Ditch Lights:

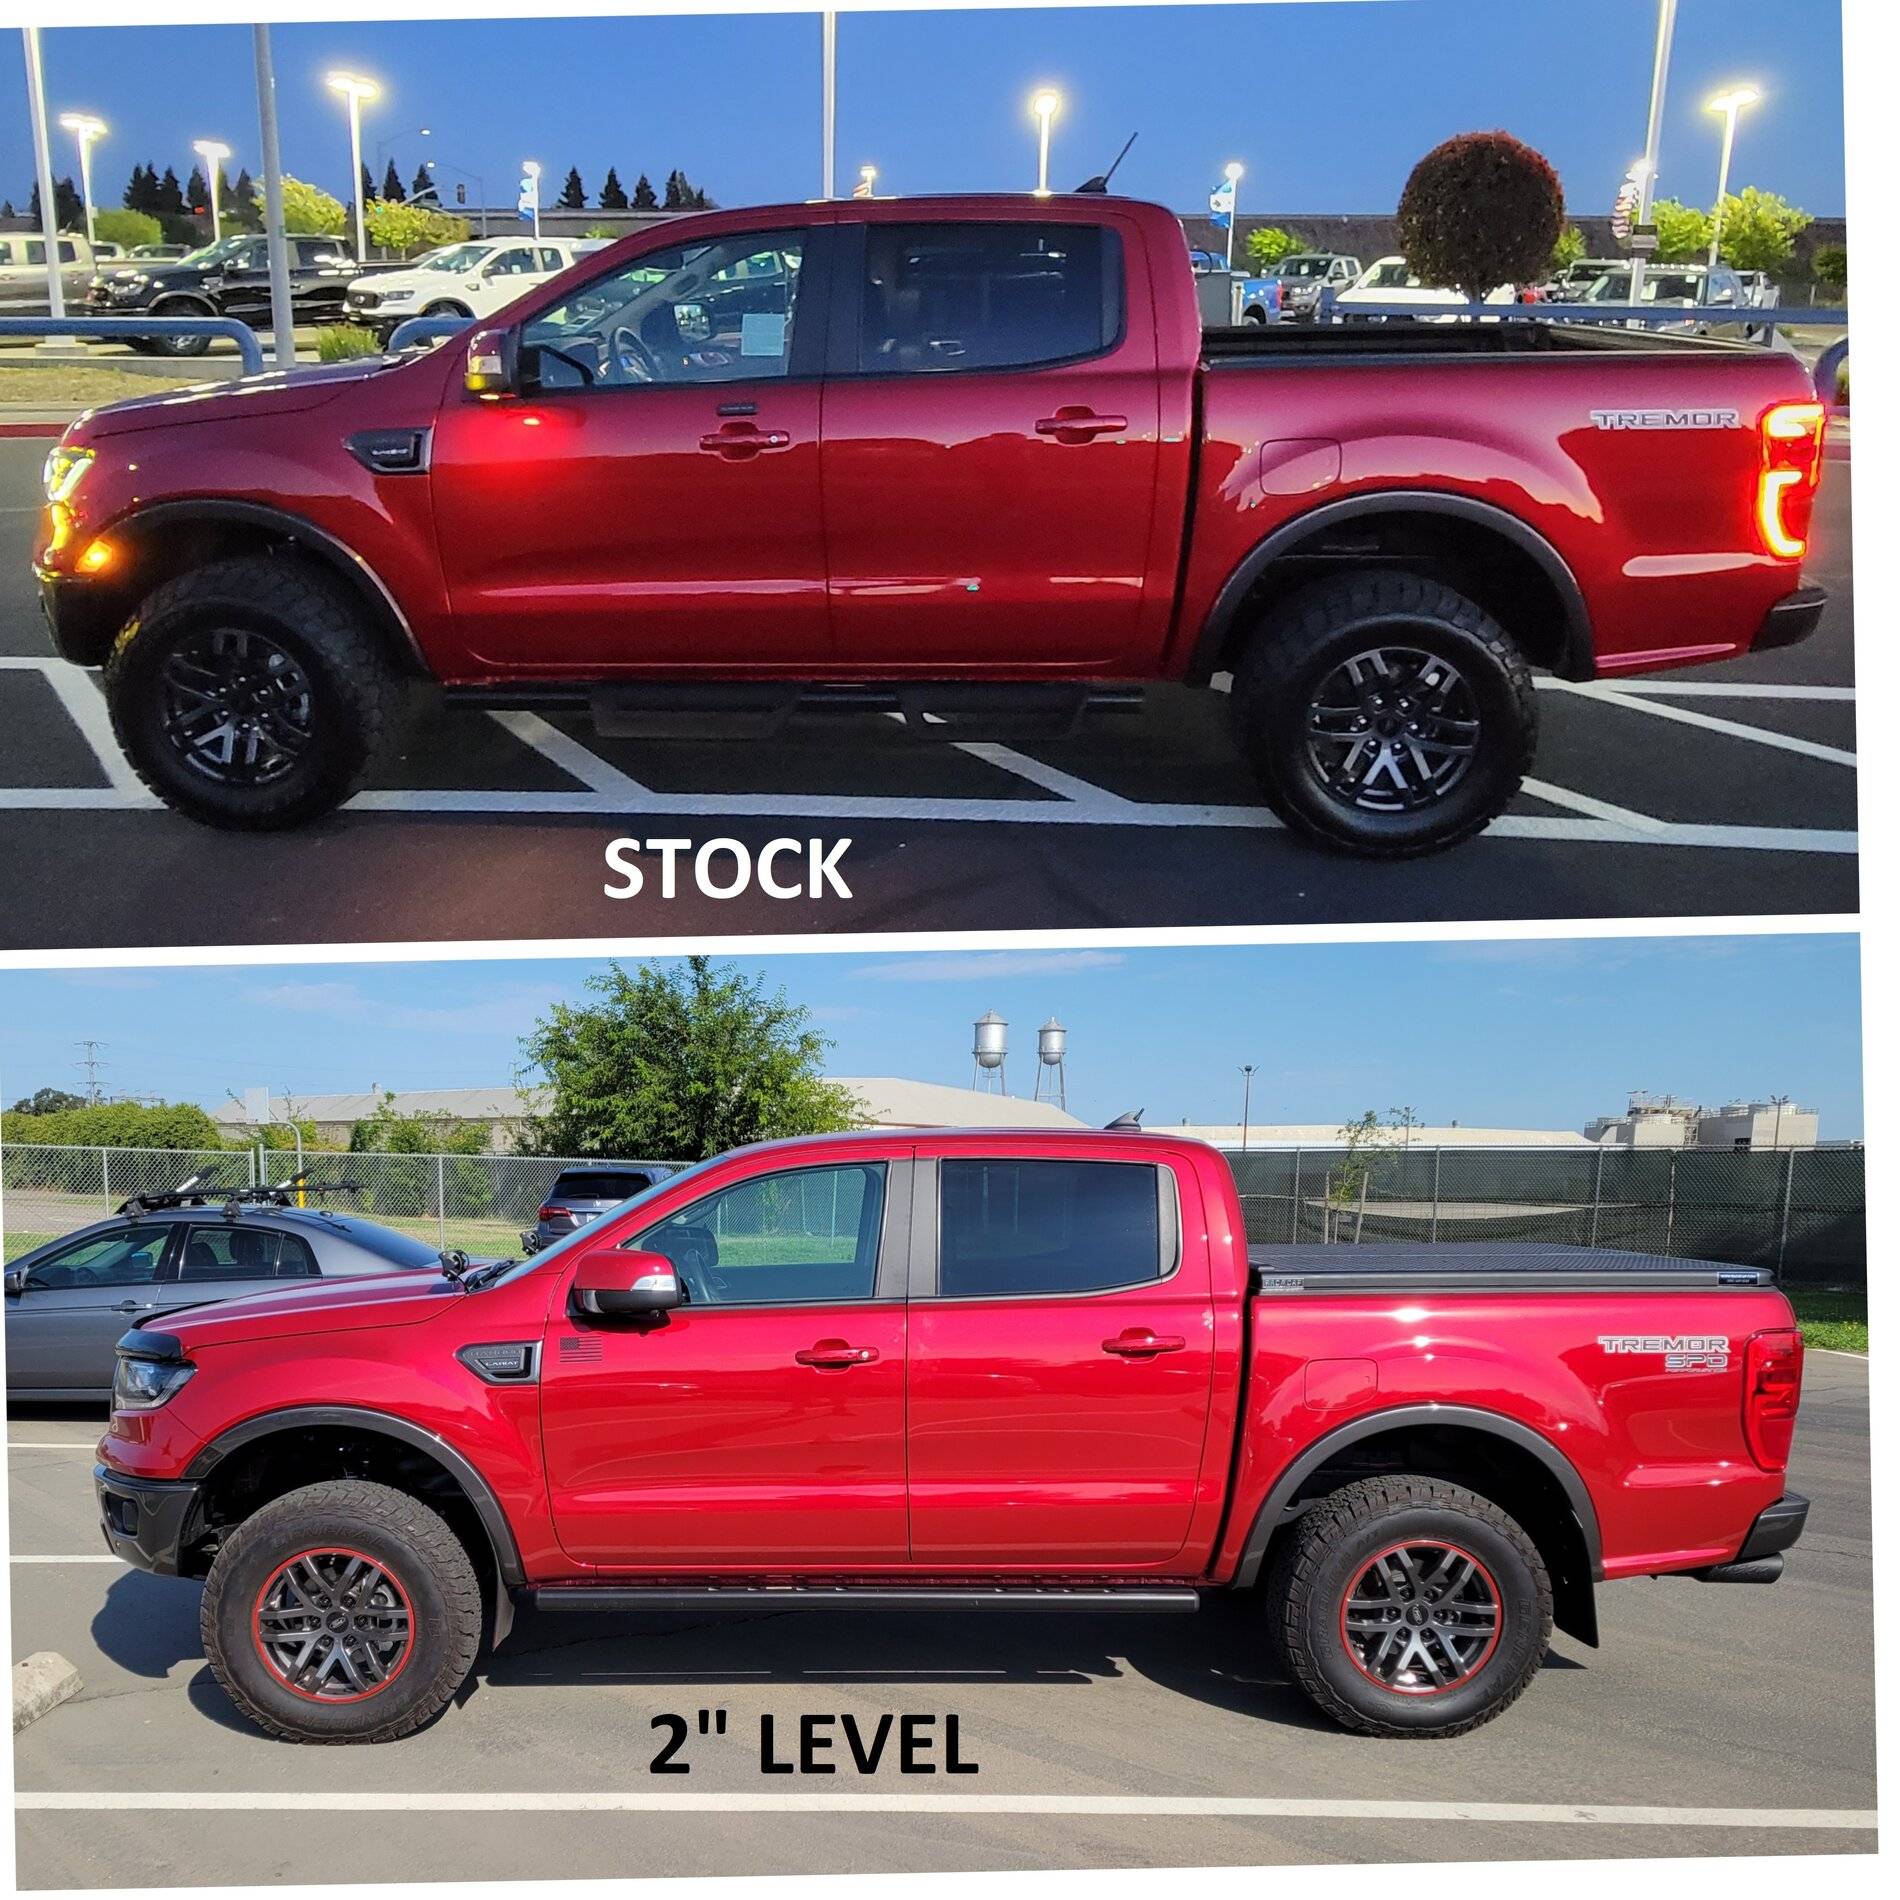
2" Leveling Spacers for Tremor

Warn EVO 10-S Winch
Addictive Desert Designs Stealth Fighter Winch Bumper with Sensor Cut-outs and ACC relocation bracket
RUN-D Amber Cube Led Driving Lights 3 inch CREE Off Road Lights (Amber LED) (See Note below picture)
Arsenal No.1 40 inch Curved 228W Pro Series LED Light Bar
Addictive Desert Designs Winch Fairlead
![20210813_200824[1].jpg](data:image/svg+xml;charset=utf-8,%3Csvg xmlns%3D'http%3A%2F%2Fwww.w3.org%2F2000%2Fsvg' width='1636' height='1368' viewBox%3D'0 0 1636 1368'%2F%3E)
A note for anyone using this bumper, the way the mounting bracket for the fog lights is, makes it suck that spot lights have to be pointed basically to the ground, reducing them to marker light status instead of Fogs. I found another user on this forum with the same bumper who had amazing looking fogs, so I asked him about it. He used 2 lights in that location by putting a flat bar from Lowes/Home Depot. I am going to do the same thing as soon as I have time.
Here is a picture of his setup that I will basically copy (Thanks @StezenW):
Fumoto Original F107N with LC-10 Lever Clip FN-Series Engine Oil Drain Valve
(I attached a hose and crimped using an Oetiker clamp. If oil in the hose after a change is an issue, I'll put a ball valve on the end of the hose.)
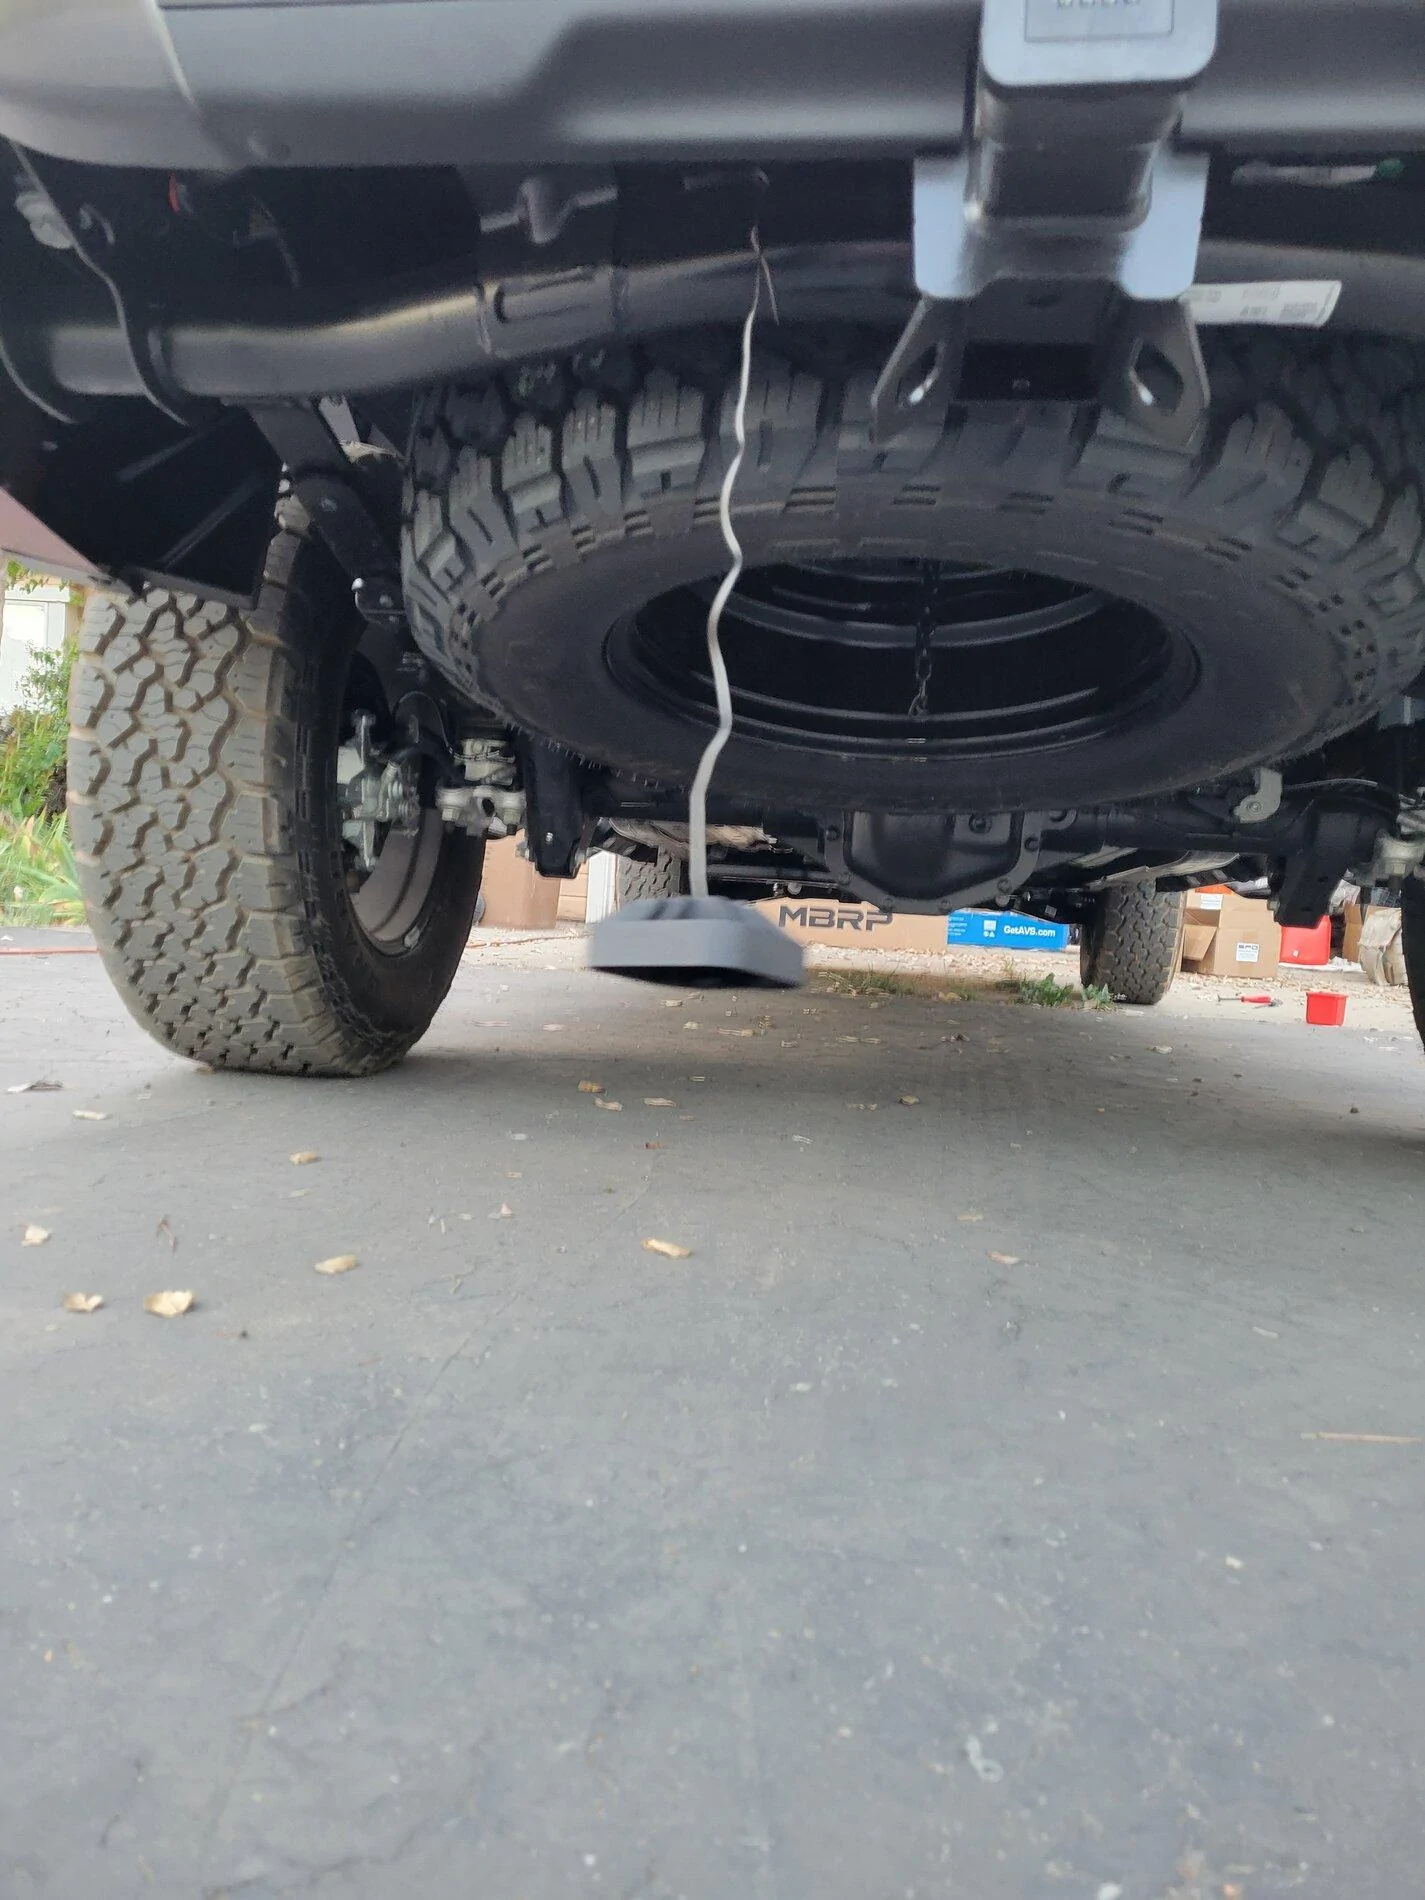
Pro Comp 69 Wheels (16x8 -12 offset, with these 93.1-106mm Hubrings installed)
Nitto Ridge Grappler 315/75R16 Tires (Tremor with 35's!!!)
To make these tires fit, I did have to do quite a bit of cutting, but none is really visible unless you look closely, and even then, you would have to be familiar with the Ranger to see it.
I had to remove both front and rear crash bars, as well as what I am going to call the intrusion block (Thick hard plastic block behind the felt), Cut the front crash bar mount (I cut it between the 2 mounting bolts, so I could replace with only 1 bolt if I wanted), and cut the pinch weld/fender flare, as well as trim the felt liner back. I trimmed much more of the felt liner than I had to, because I wanted to cut it back to the nearest mounting tab so it wouldn't flap around at all. I will update with pictures a bit later.
Still to come:
Rocky Road Outfitters Super Sliders
Ordered in February, finally picked it up on Cinco de Mayo 2021 (May 5th)
Here are pictures at the dealership:
I didn't get home till late, but was excited to start my build, so I woke up early and started before heading to work.
Mishimoto Cold Air Intake:
TurboSmart Dual Port Blow-off Valve:
AVS Smoke Bugflector II:
HitchSafe:
I made a cable so the cover will never be lost if it falls off while driving. It is a Husky PVC Cable Saw tied to my tow package and the other end cut off.
First, I wrapped it and then tied the cable.
When pulled tight, this is how it looks. The handle from the cable saw is too big to fit through that opening, so it won't fall out.
I drilled a small hole into the center of the cover and then crimped a quick connect fitting that I cut off the end for. Gives it a professional look, while ensuring it holds the cover.
CravenSpeed - The Stubby Antenna:
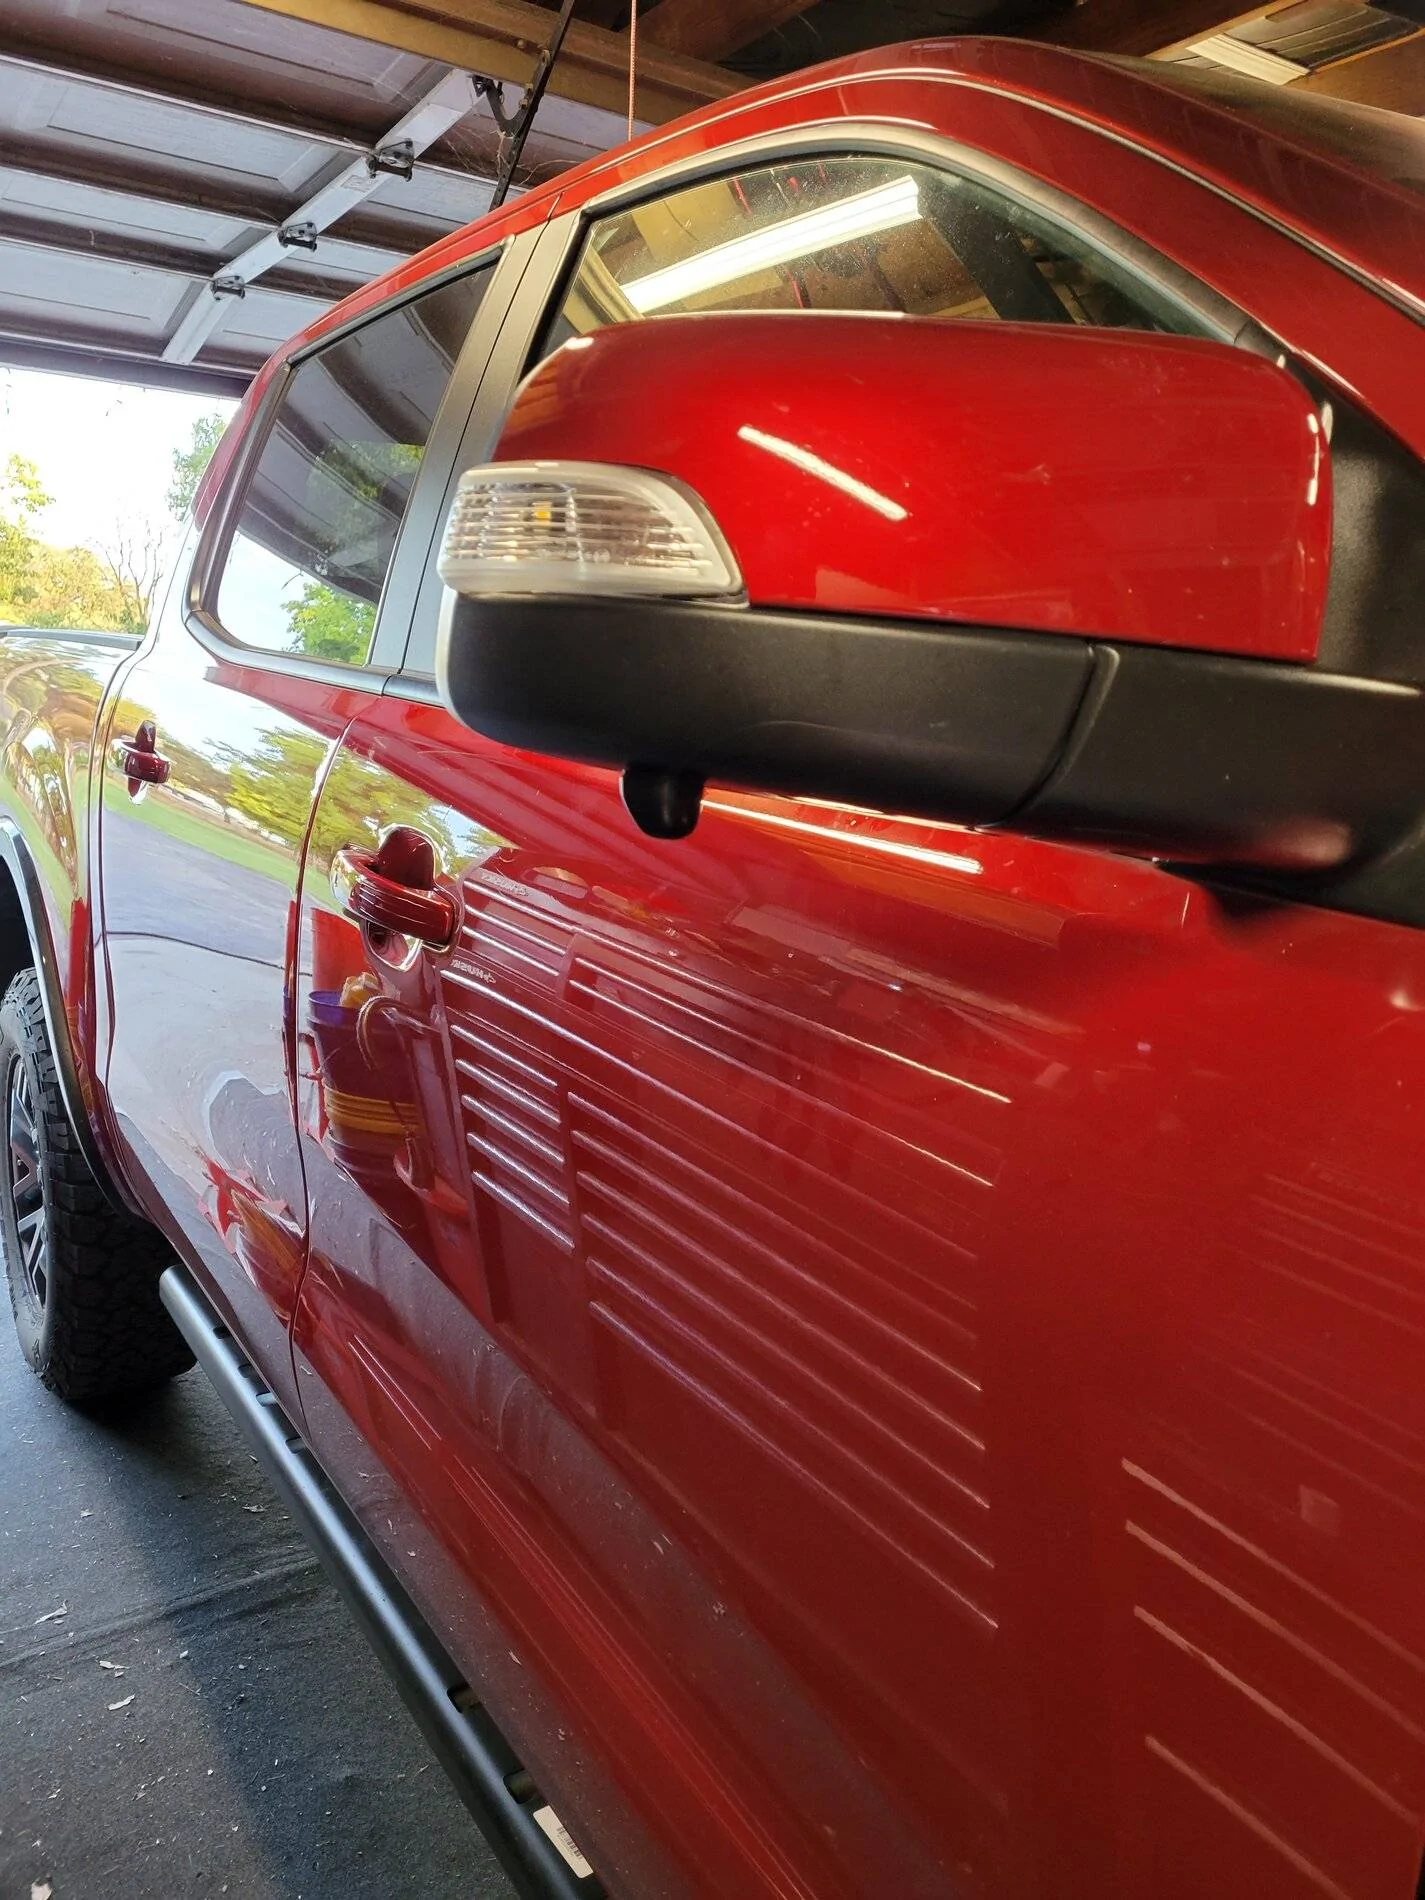
RUXIFEY Side Mirror Puddle Light LED Lamp:
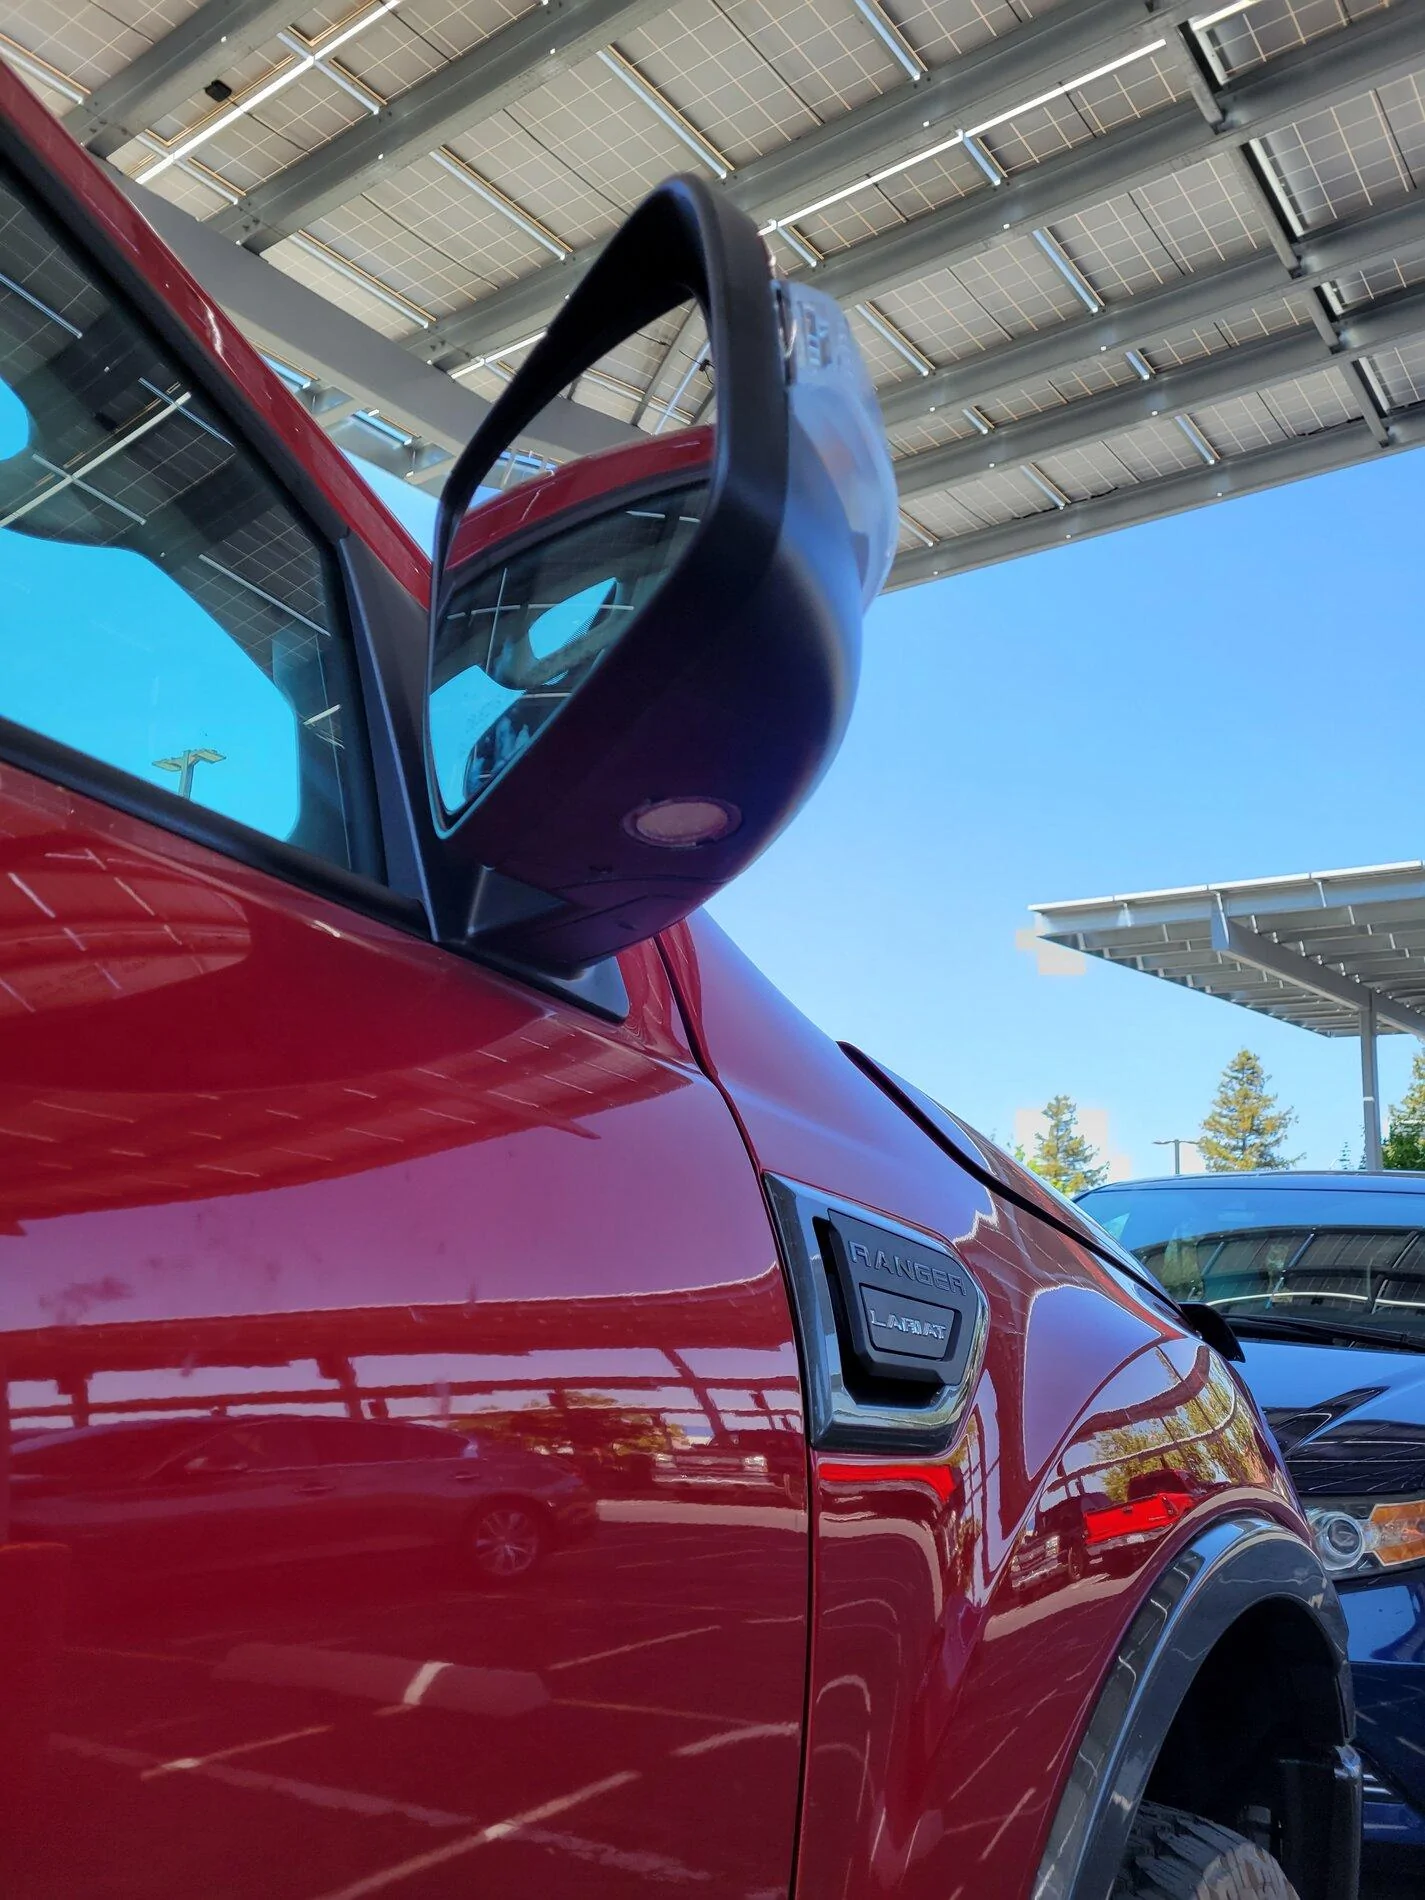
For the connections, I used heat shrink tubing that I filled with Di-electric grease prior to heating up the heat shrink. The excess you see in the picture was wiped away afterwards.
VIP MOTOZ Smoked Marker Lights
CupHolderHero Cup Holder Inserts
MBRP Dual Split Rear Exit Cat-back Exhaust
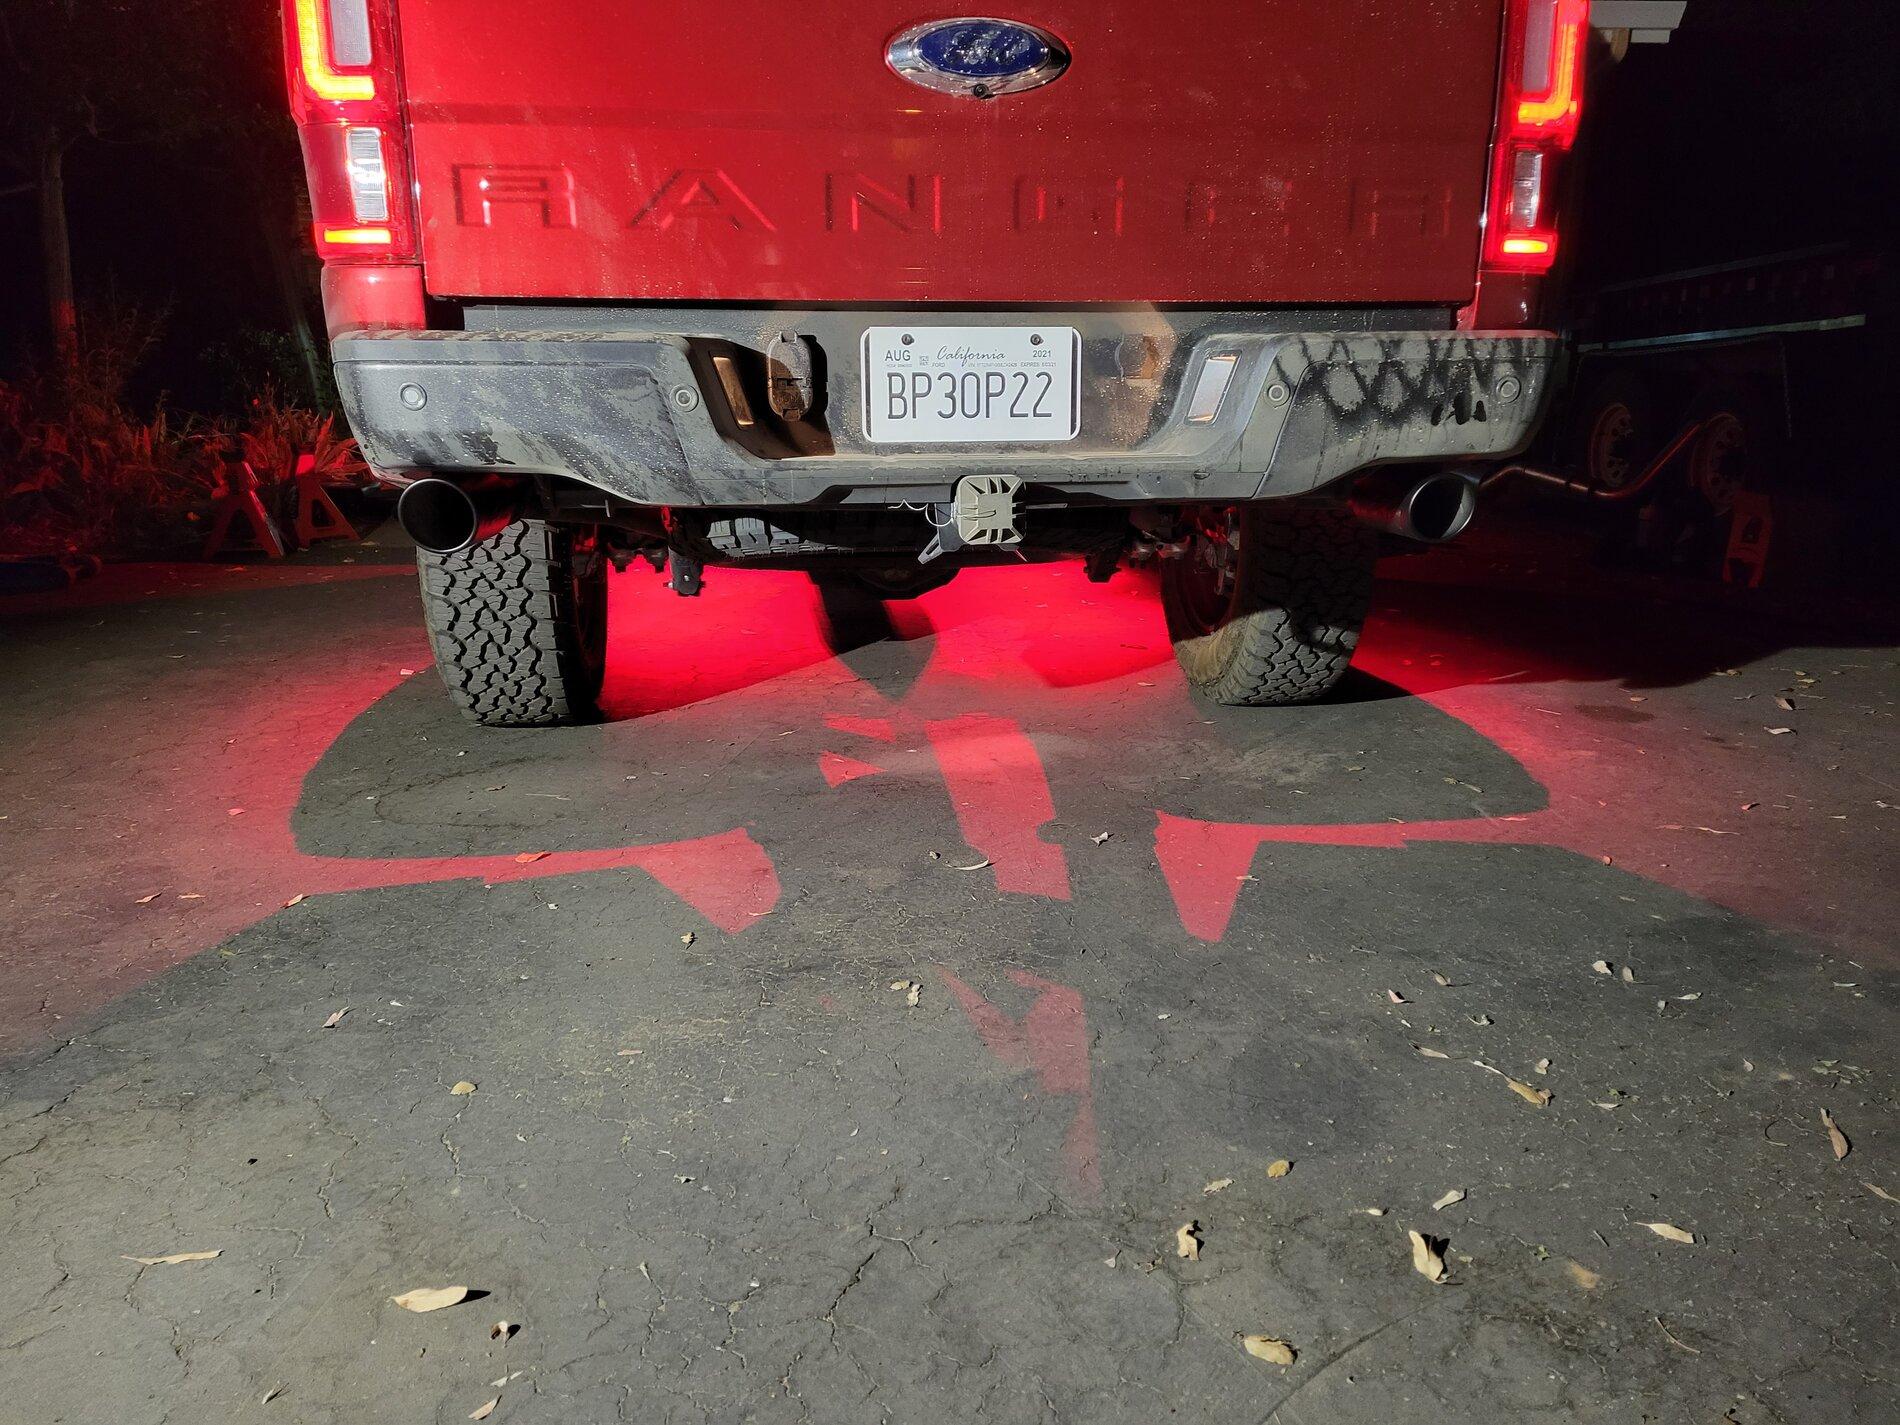
4WDKing Underbody Lights
Mishimoto Catch Can
Mishimoto Performance Intercooler and charge pipes
DEE ZEE Tailgate Assist
@AzScorpion I want my T-Shirt! ?
Added some decals (More to follow):
Relocated the Securicode Keypad. It was easy to remove using dental floss, then I cleaned the excess glue using alchohol. Used 3m VHB tape to apply inside the gas door.
SPD Performance Downpipe

The downpipe said it had a 3" pipe with an adapter to 2.5", but the adapter was actually welded on. I cut off the adapter to have a true 3" exhaust.
Make sure you have an impact wrench, plenty of swivels and extensions if you are going to replace the downpipe. It is a B***h to get out. I used 20" of extensions and i think as many as 3 swivels for the most difficult nut.
Since the MBRP exhaust did not come with a front pipe, I purchased a new flex adaptor and 5' Stainless straight pipe. I connected the flex pipe to the downpipe and then the straight pipe runs back to the muffler.
Here is the flex pipe:
This is the straight pipe running back to the exhaust.
I connected the pipes together using these lap band clamps.
One note I will make for anyone doing this. In the picture showing the flex pipe, there is a hanger bracket on the other side that is not currently used. That's why the pipe is so close to the frame. I am going to take it to an exhaust shop to have them weld a hanger so I can use the stock bracket to prevent it from banging of the frame when I hit a bump.
BuiltRight Industries Bedside Racks:
Raised Tailgate Letters
Gorilla Automotive Acorn Lug Nuts in Black Chrome and matching Wheel Locks
Wireless Charging Pad - Credit @DirkM (Wireless Android Auto to come)

RokBlokz Black XL Mud Flaps with Red Lettering:
Auto folding Mirrors Module
(I put it all together without any pictures, so this is just showing them folded):
Front Grill Inserts:
More Decals:
5-Star Tuning BDX Tuner with Tunes: 87 Daily/Tow - 91 Daily/Tow - 91 Performance:
Vinyl Dash Inserts:
Rostra Ford SYNC® 3 8” LCD Multi-Camera Video Interface:
NATIKA Camera for Drivers-side Mirror - Activated by left turn signal
NATIKA Camera for Passenger side mirror - Activated by right turn signal
For a detailed process of the side view mirror install CLICK HERE.
NATIKA Camera for Front of Truck
(Installed, but only with zip ties for now. Will upload pictures once permanently installed on my new bumper)
Rough Country Differential Skid Plate:
Rac N Cap Ladder Rack/Tonneau cover
Flags to show my patriotism:
Rear window flag decal:

Door Flag Decals:

(My son gave his blessing?)
AuxBeam 7" Ditch Lights:
2" Leveling Spacers for Tremor
Warn EVO 10-S Winch
![20210803_080312[1].jpg](https://cdn.ranger5g.com/attachments/99/99818-afa5dbc51999360413ea84975b43d4e9.jpg)
Addictive Desert Designs Stealth Fighter Winch Bumper with Sensor Cut-outs and ACC relocation bracket
RUN-D Amber Cube Led Driving Lights 3 inch CREE Off Road Lights (Amber LED) (See Note below picture)
Arsenal No.1 40 inch Curved 228W Pro Series LED Light Bar
Addictive Desert Designs Winch Fairlead
![20210813_200907[1].jpg](https://cdn.ranger5g.com/attachments/99/99815-62fda728794c33a177fc846c91b8994a.jpg)
![20210813_200824[1].jpg](https://cdn.ranger5g.com/attachments/99/99816-c5cb3ecc965e87119cd6829151a400e8.webp)
A note for anyone using this bumper, the way the mounting bracket for the fog lights is, makes it suck that spot lights have to be pointed basically to the ground, reducing them to marker light status instead of Fogs. I found another user on this forum with the same bumper who had amazing looking fogs, so I asked him about it. He used 2 lights in that location by putting a flat bar from Lowes/Home Depot. I am going to do the same thing as soon as I have time.
Here is a picture of his setup that I will basically copy (Thanks @StezenW):
Fumoto Original F107N with LC-10 Lever Clip FN-Series Engine Oil Drain Valve
(I attached a hose and crimped using an Oetiker clamp. If oil in the hose after a change is an issue, I'll put a ball valve on the end of the hose.)
![20210810_154238[1].jpg](https://cdn.ranger5g.com/attachments/99/99814-c2232c438c11f47f42fb3c9b9ecdbaef.webp)
Pro Comp 69 Wheels (16x8 -12 offset, with these 93.1-106mm Hubrings installed)
Nitto Ridge Grappler 315/75R16 Tires (Tremor with 35's!!!)
![20210816_183729[1].jpg](https://cdn.ranger5g.com/attachments/99/99817-f0f69f9b6de8ea2967063b7792deb2e2.jpg)
![20210816_183738[1].jpg](https://cdn.ranger5g.com/attachments/99/99819-b6389fbadd732d51993076f10ab0d8fb.jpg)
![20210816_183745[1].jpg](https://cdn.ranger5g.com/attachments/99/99820-9a8d35416ddd4024f2a40fab59bc860f.jpg)
To make these tires fit, I did have to do quite a bit of cutting, but none is really visible unless you look closely, and even then, you would have to be familiar with the Ranger to see it.
I had to remove both front and rear crash bars, as well as what I am going to call the intrusion block (Thick hard plastic block behind the felt), Cut the front crash bar mount (I cut it between the 2 mounting bolts, so I could replace with only 1 bolt if I wanted), and cut the pinch weld/fender flare, as well as trim the felt liner back. I trimmed much more of the felt liner than I had to, because I wanted to cut it back to the nearest mounting tab so it wouldn't flap around at all. I will update with pictures a bit later.
Still to come:
Rocky Road Outfitters Super Sliders
Sponsored
Last edited: