RV Tony
Member
- First Name
- Tony
- Joined
- Feb 16, 2021
- Threads
- 2
- Messages
- 18
- Reaction score
- 17
- Location
- Lake City FL
- Vehicle(s)
- 2020 Ranger Lariat
- Occupation
- Retired
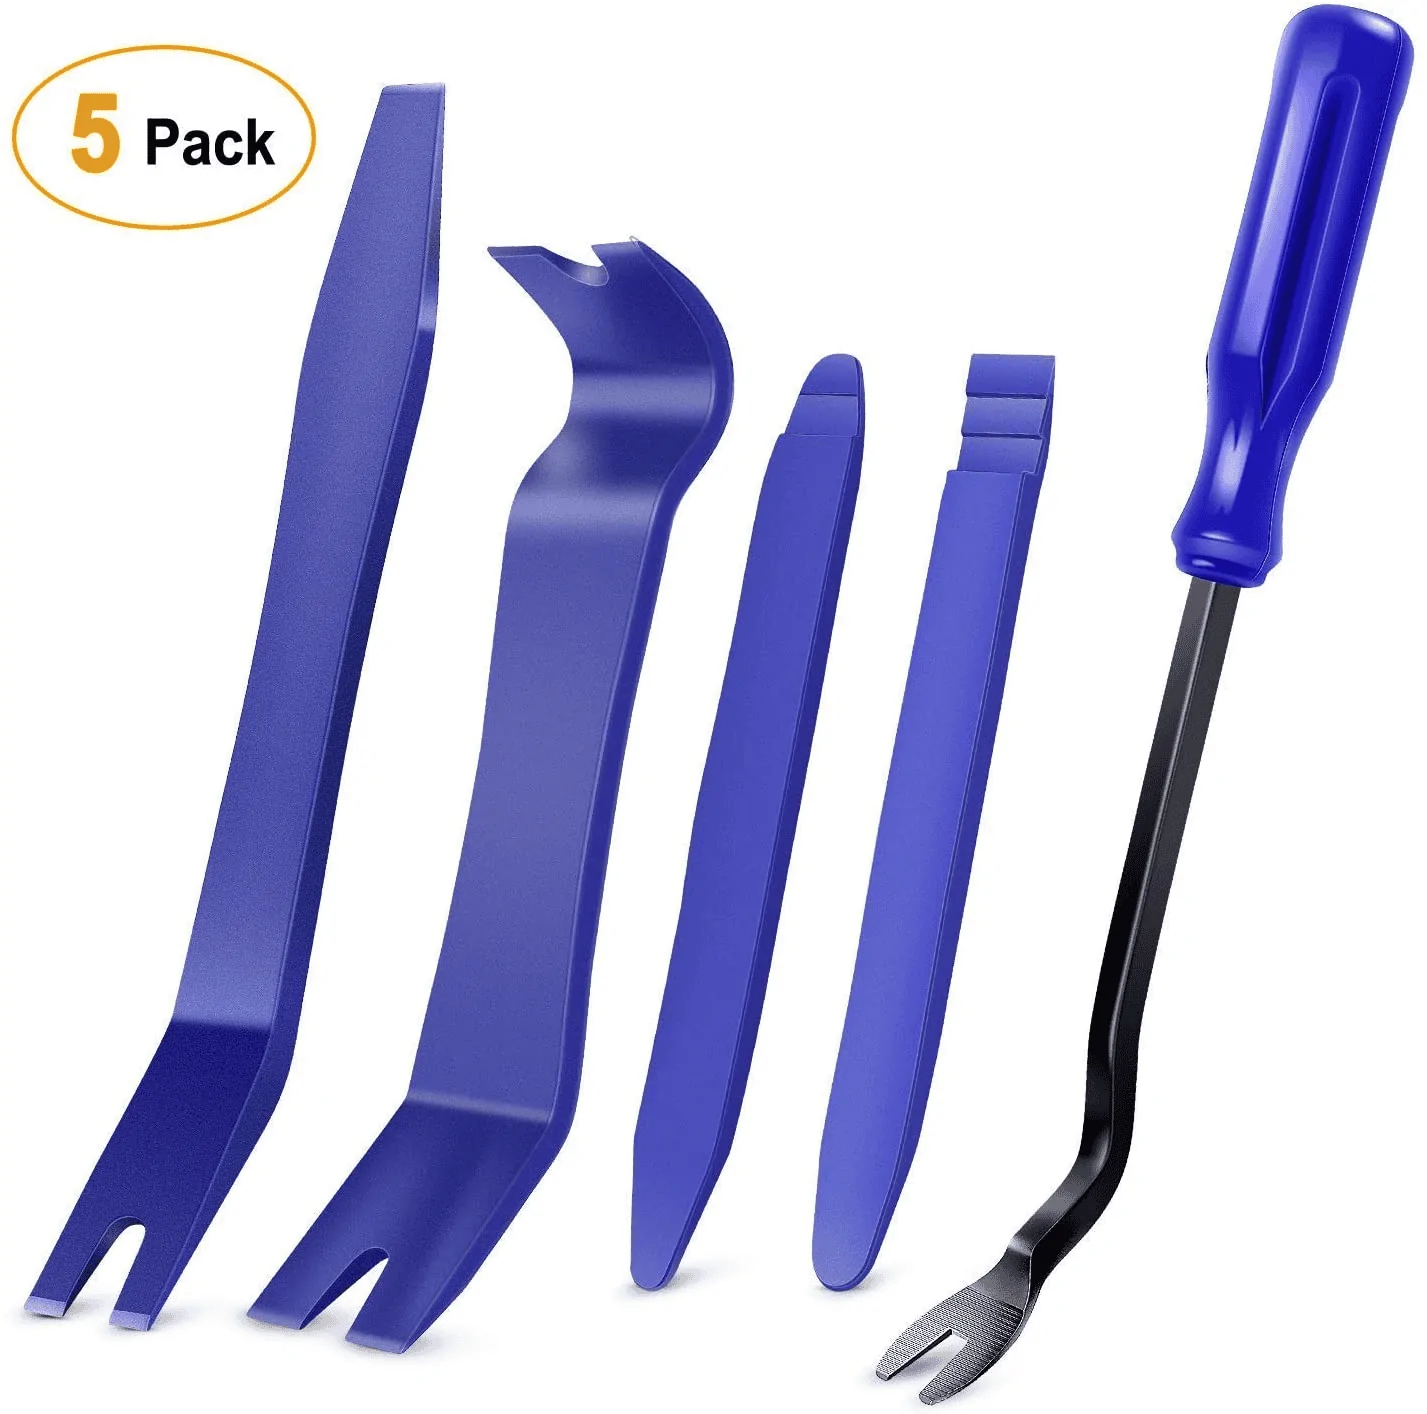
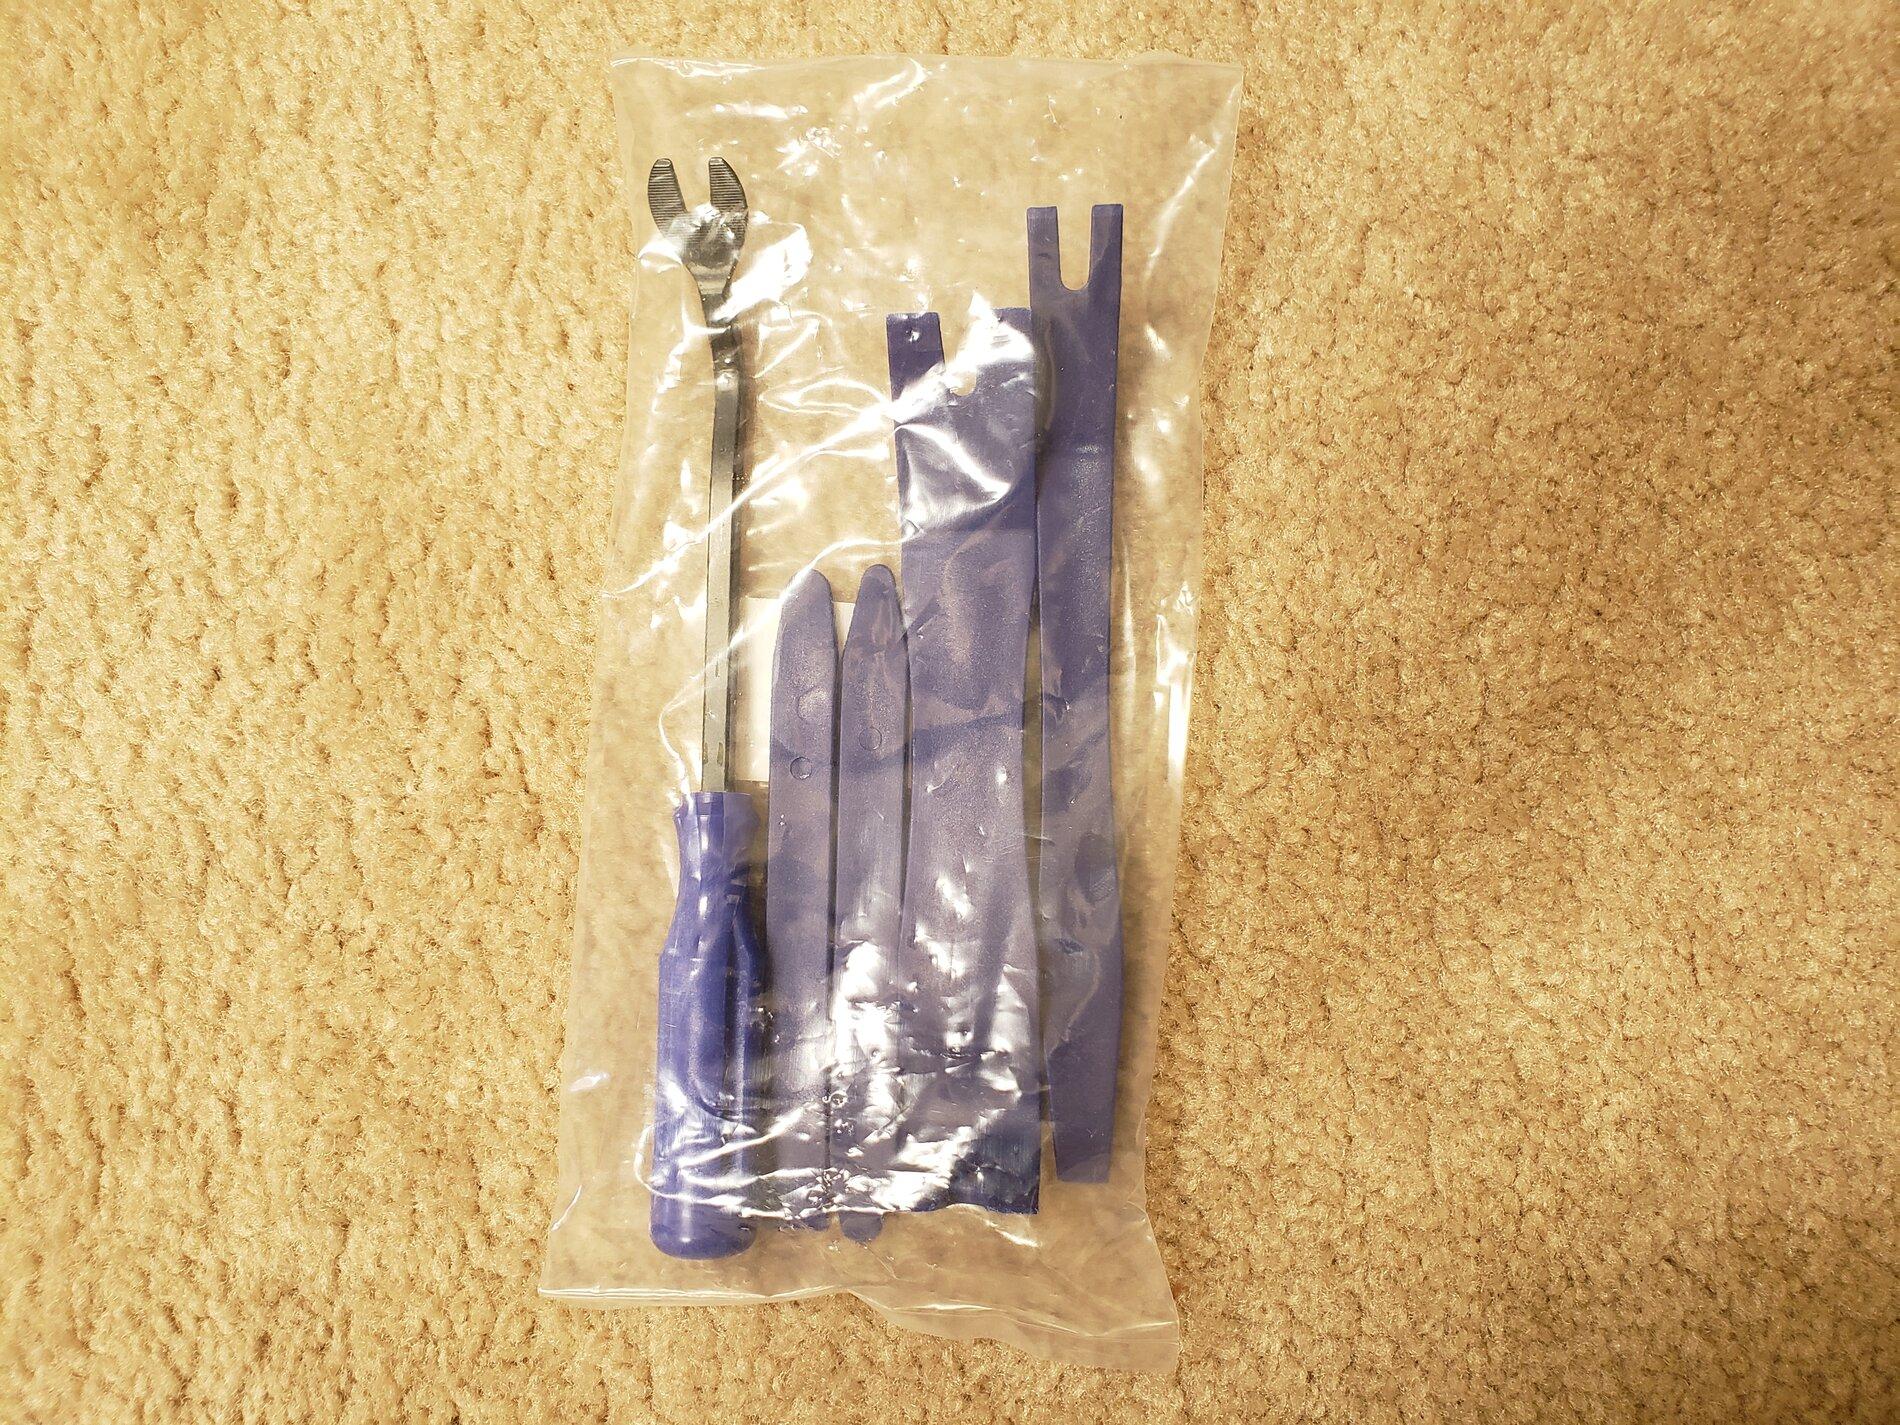
1. A tool kit from Amazon for removing trim panels and plastic fasteners.
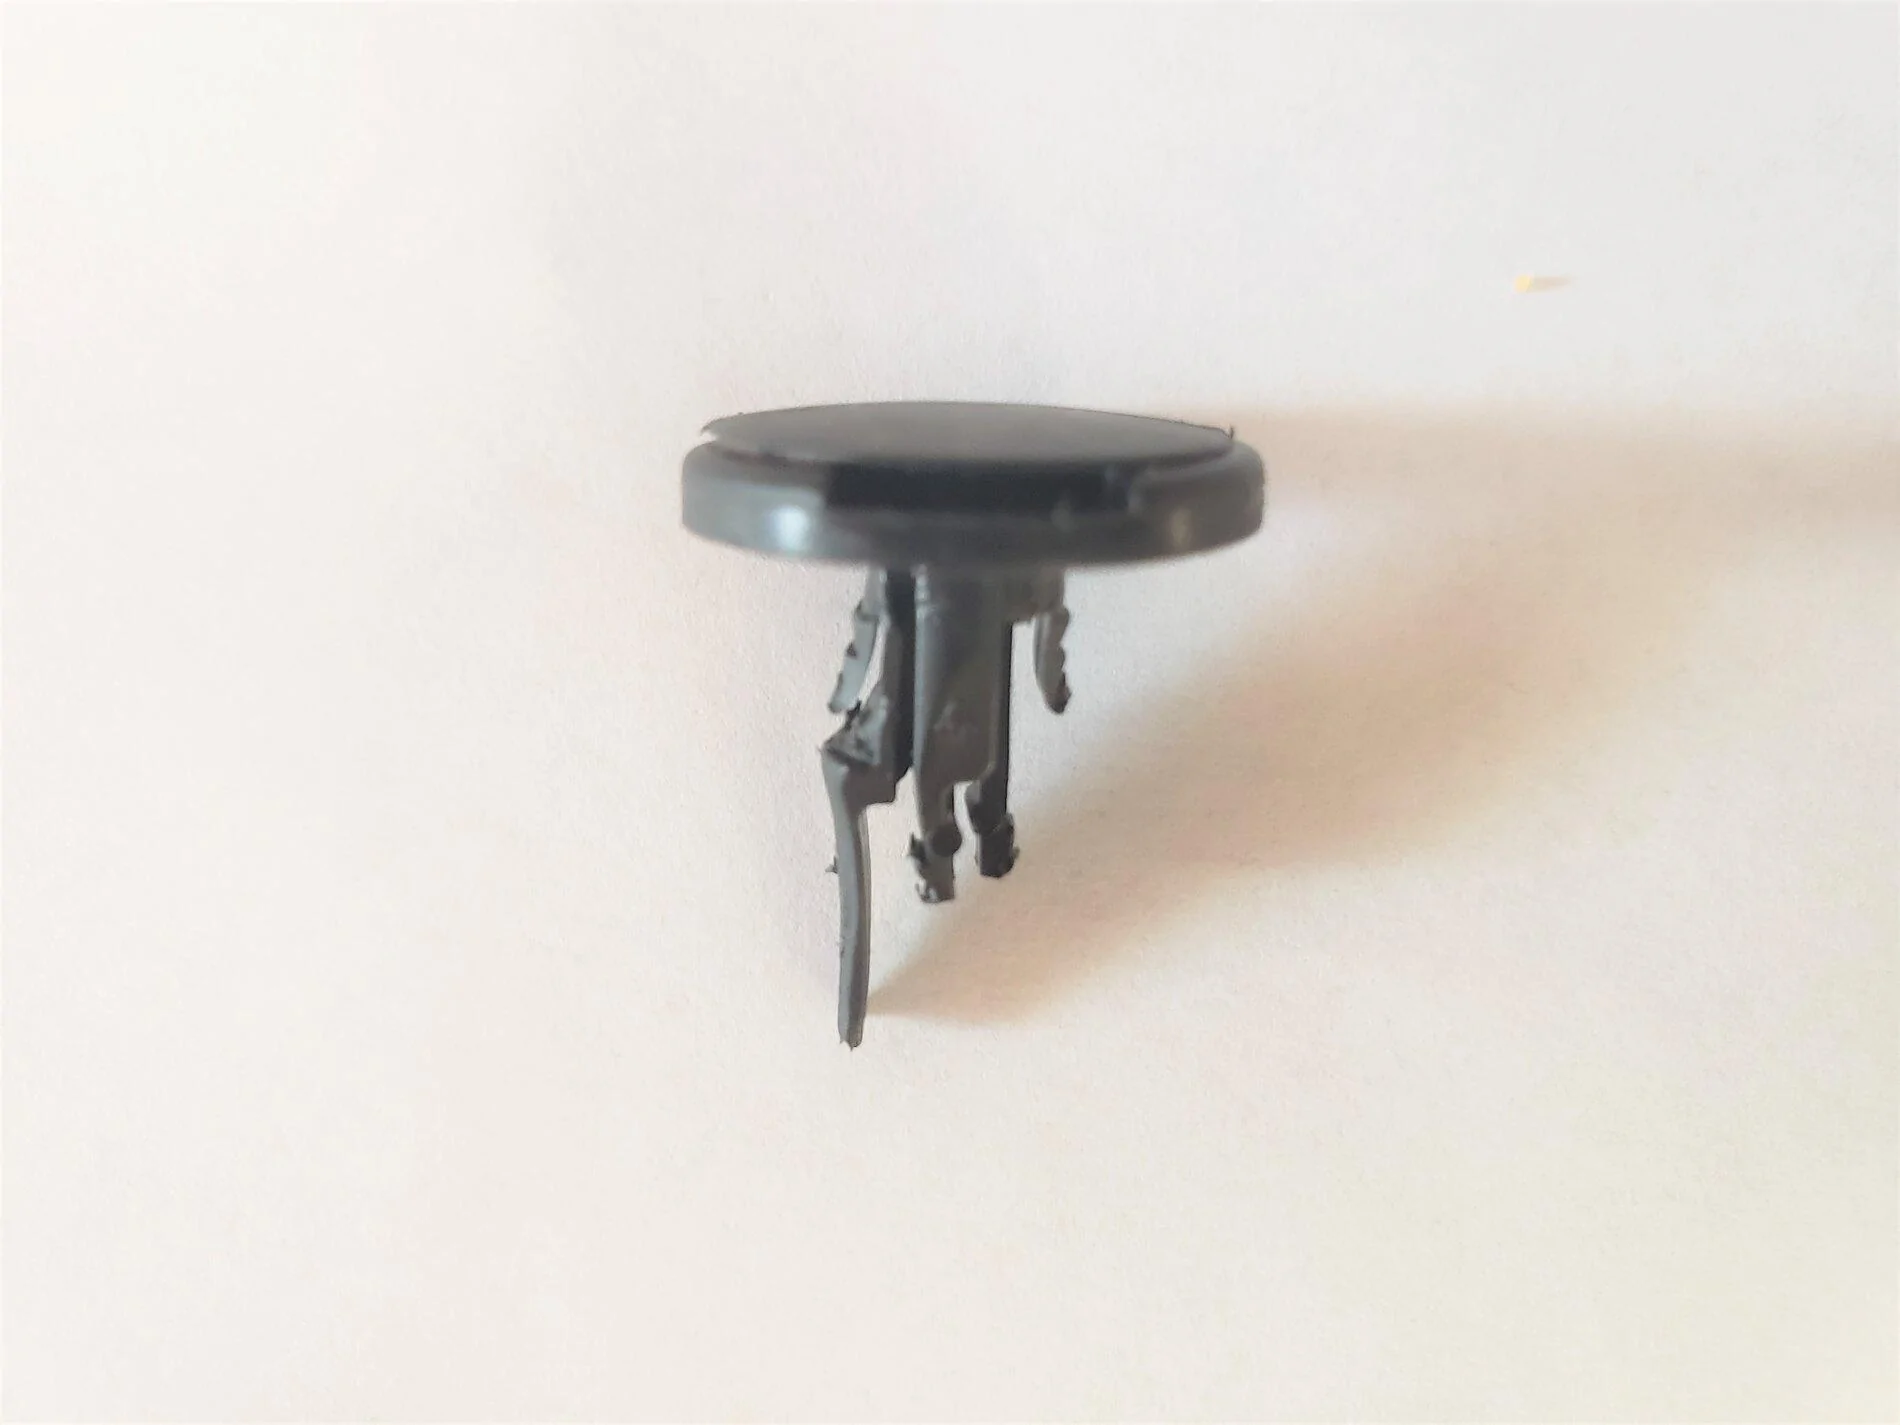
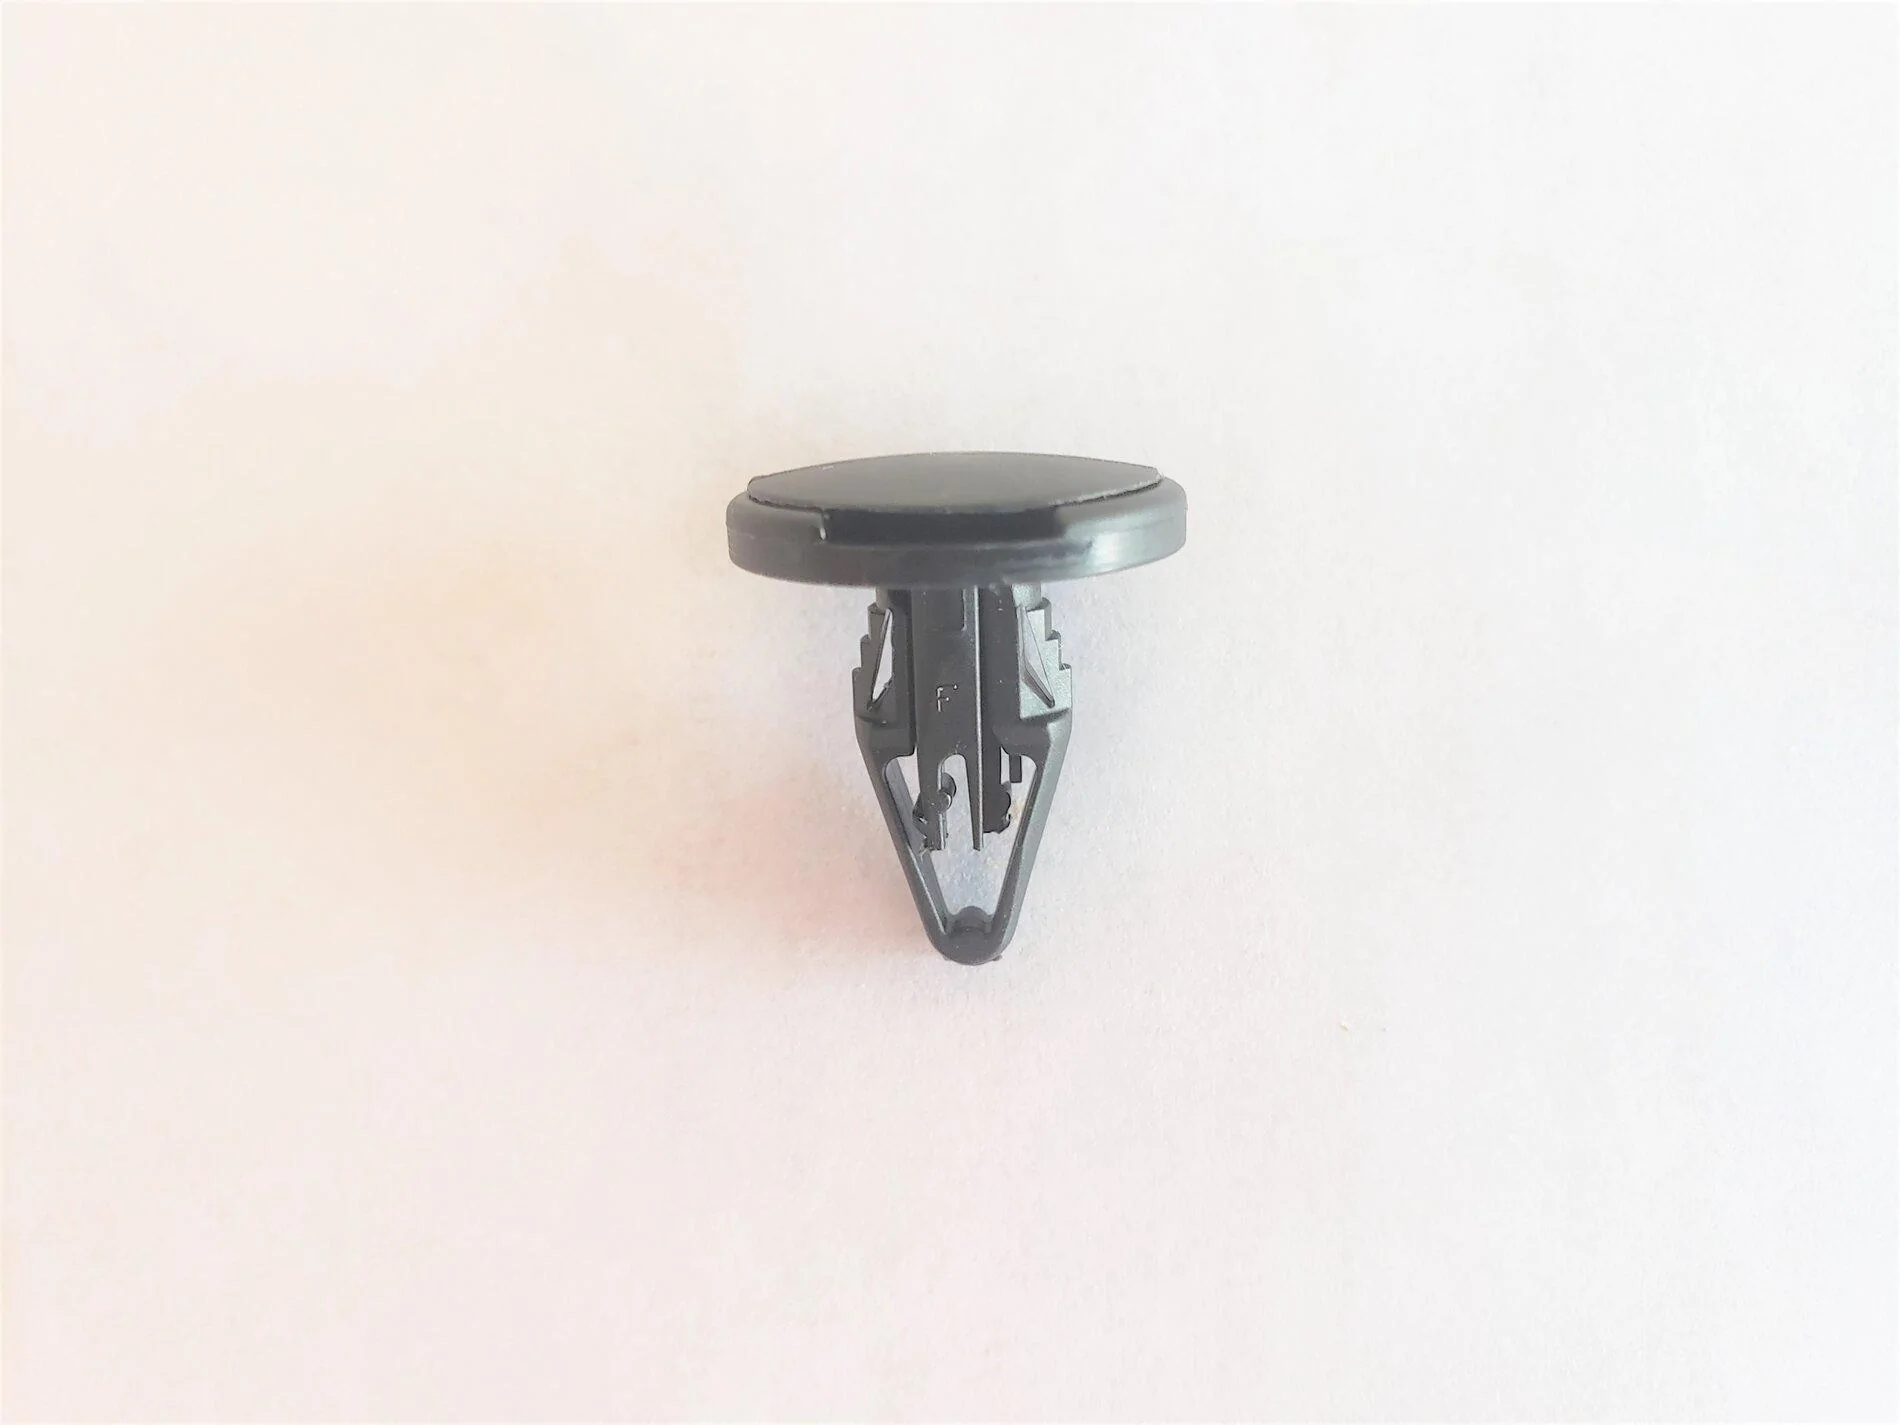
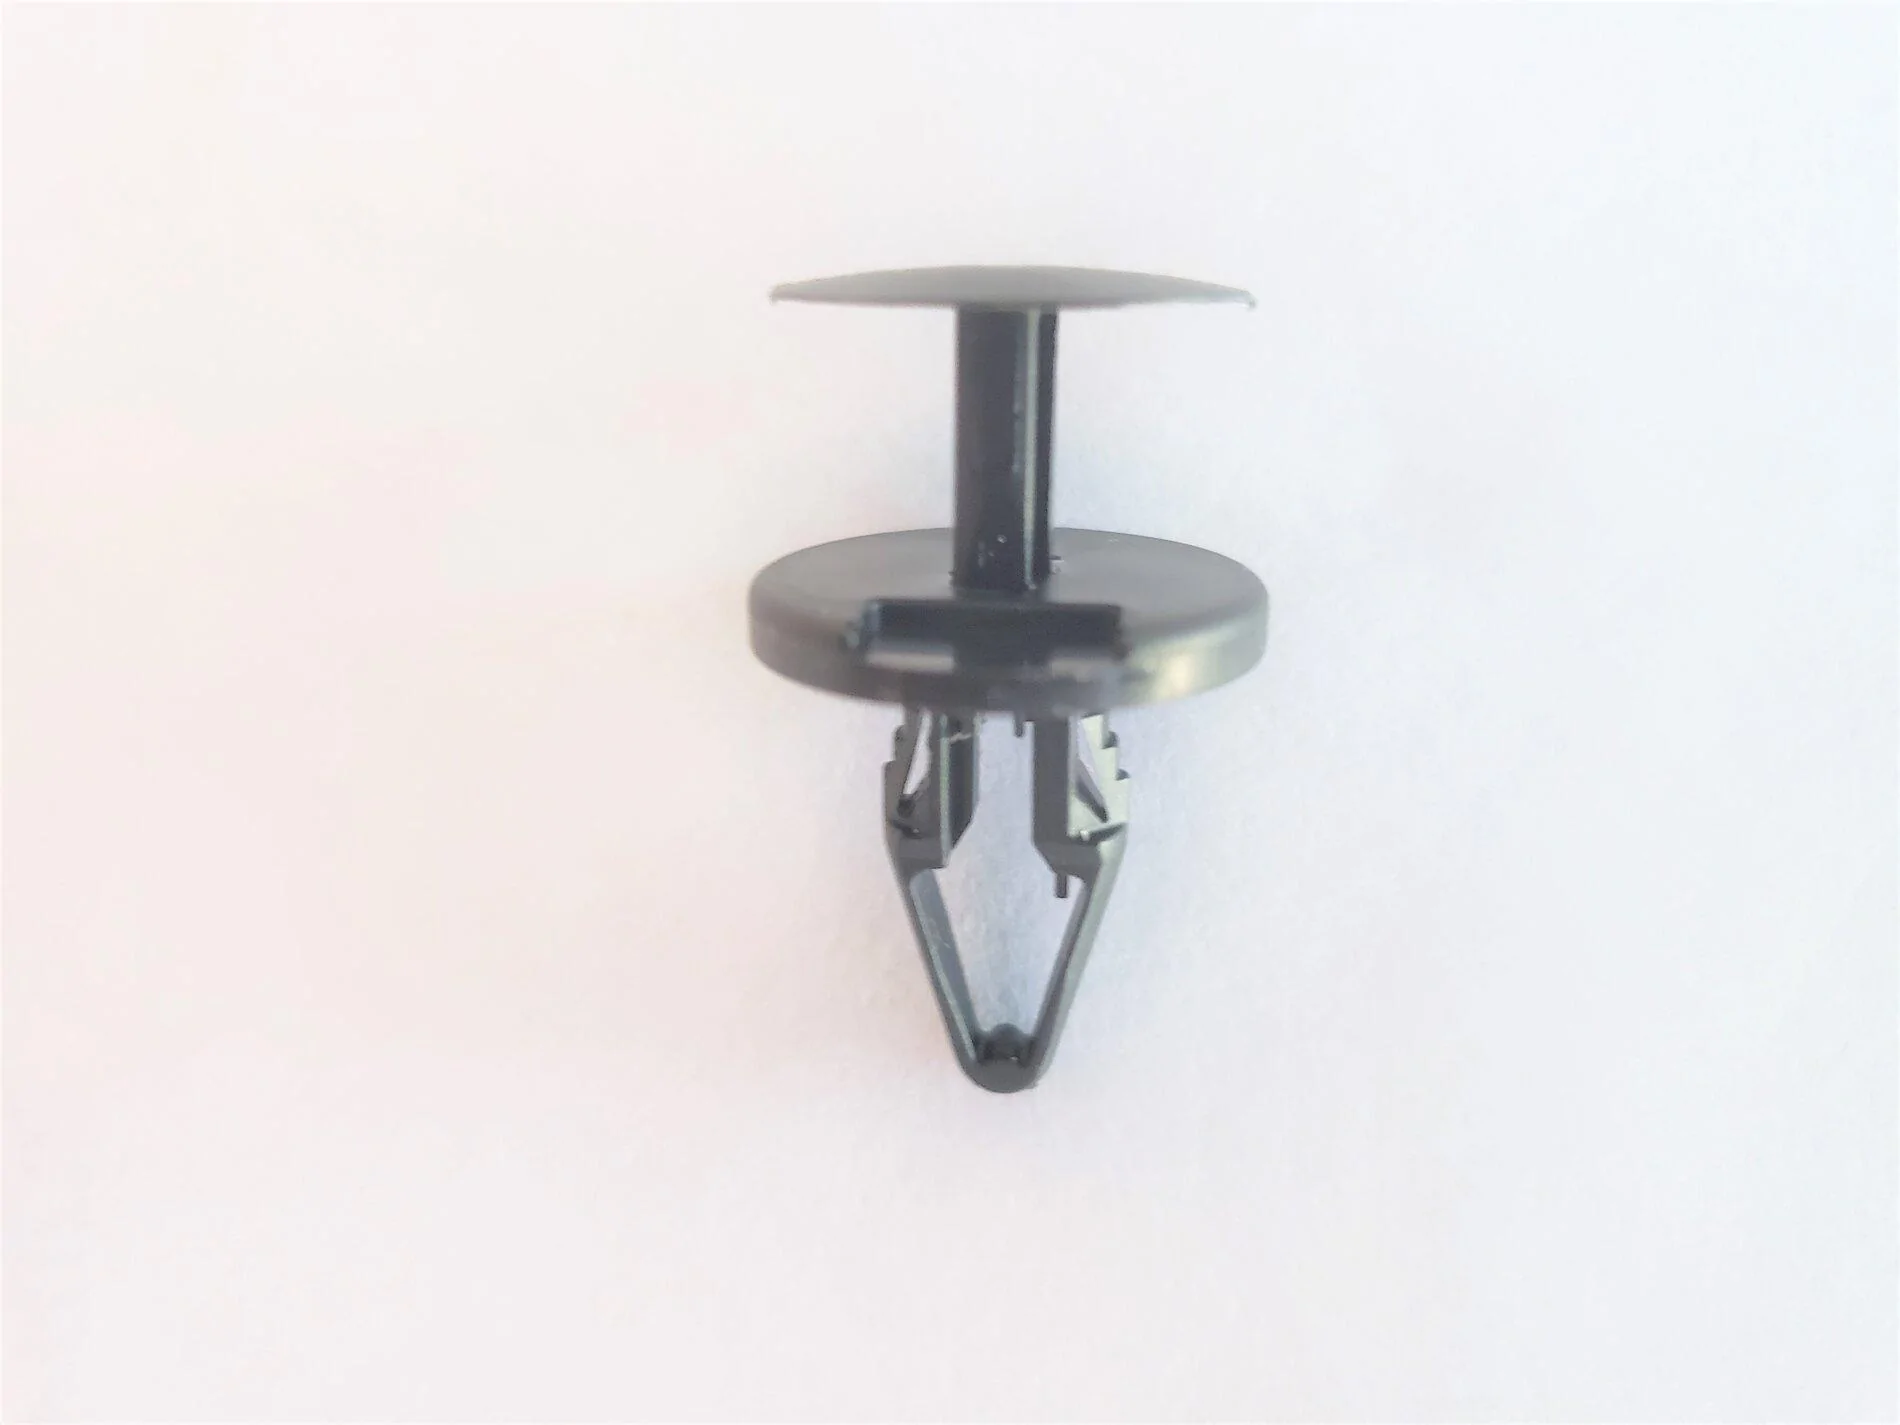
2. A replacement plastic fastener.
NOTE: IF YOU INSTALL AN AVS “BUGFLECTOR II”, THE HOOD LATCH WILL PROBABLY NEED TO BE ADJUSTED AFTERWARDS. IF IT NEEDS AN ADJUSTMENT, THE SHROUD THAT IS INSTALLED OVER IT WILL NEED TO BE REMOVED. DON’T MAKE THIS MISTAKE BEFORE REMOVING THE SHROUD!
After I installed the AVS Bugflector II, discovered that the hood took too much pressure to close and latch because of the added thickness of the Bugflector which attaches underneath the hood. The hood latch needed to be adjusted, so I followed this excellent video which showed in the process how to correctly remove the plastic fasteners from the shroud that is installed over the hood latch. How To Adjust Hood Latch Height: 2019-2020 Ford Ranger 5th Generation - YouTube
I made the mistake of not paying close enough attention to the video and broke a plastic fastener by trying to remove it the wrong way. I tried to pry up the fastener from the base with a screwdriver without 1st getting the top portion up and busted the fastener. Couldn’t find these exact fasteners in several local auto supply stores so had to order an individual one from ebay. These are outrageously expensive even at Ford and you can only get them in a package of 4. Ford part #: W713610-S300.
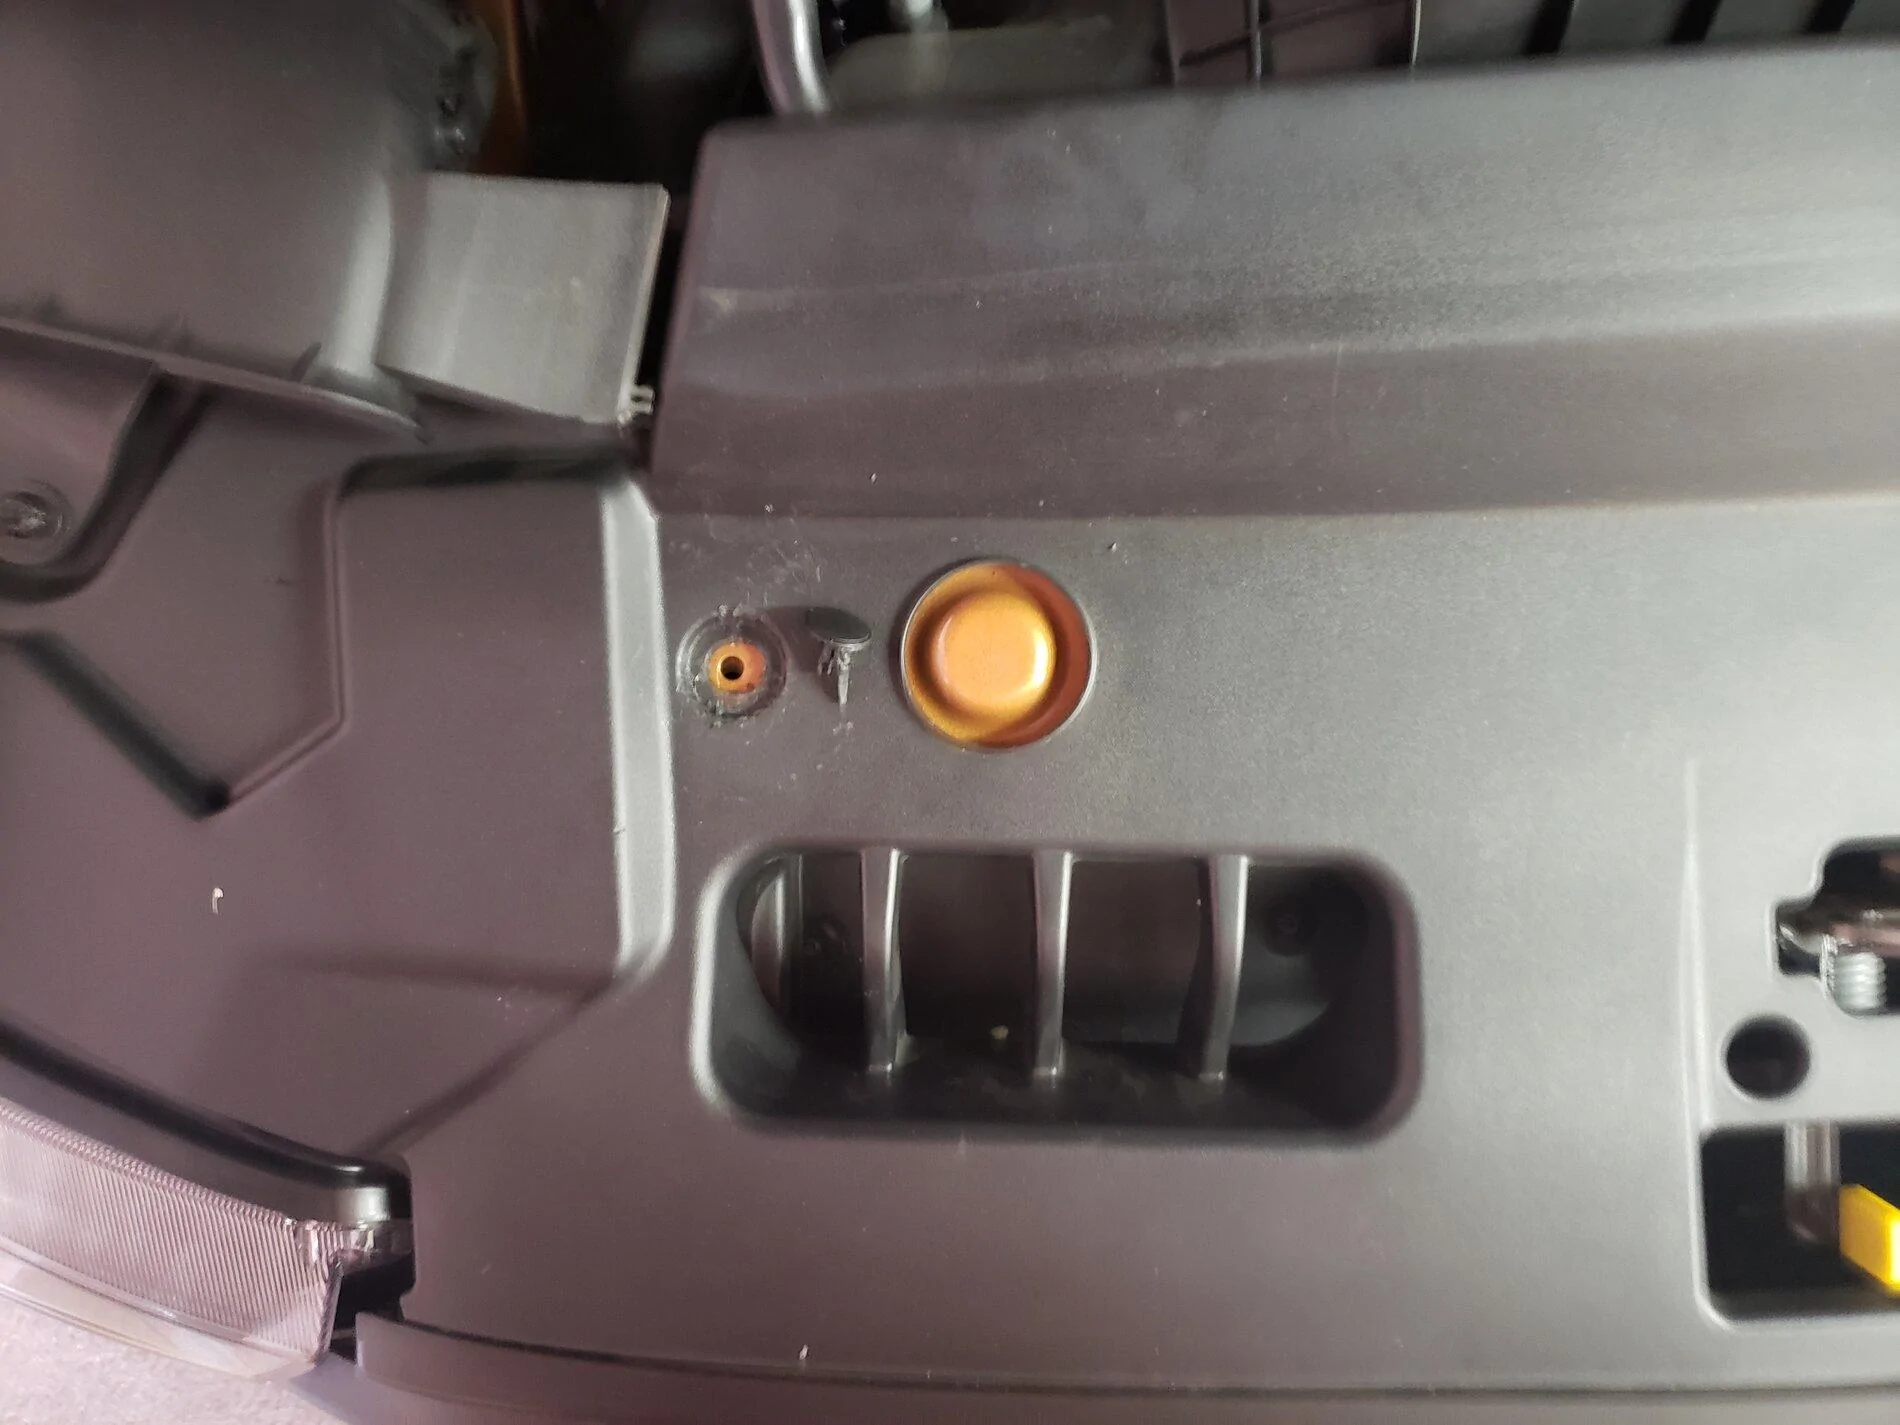
These push pin plastic fasteners are properly removed by 1st inserting a narrow flathead screwdriver into the slot (see photo) between the top portion and the bottom portion of the fastener then gently prying this top portion up about 3/8" (don't force it). Then carefully use a catspaw (see in tool kit) to pry up the base of the fastener which butts up against the shroud.
It is important to mark the outline of the existing position of the hood latch mount before you loosen the screws to establish a reference point to work from. I moved the latch mount straight up all the way from its original existing position as far as it would go and this made my hood close and latch exactly right. Had a lot of fun doing this project and feel good about the outcome along with a lesson learned and the right tools for the next time


Paul1. A tool kit from Amazon for removing trim panels and plastic fasteners.
2. A replacement plastic fastener.
NOTE: IF YOU INSTALL AN AVS “BUGFLECTOR II”, THE HOOD LATCH WILL PROBABLY NEED TO BE ADJUSTED AFTERWARDS. IF IT NEEDS AN ADJUSTMENT, THE SHROUD THAT IS INSTALLED OVER IT WILL NEED TO BE REMOVED. DON’T MAKE THIS MISTAKE BEFORE REMOVING THE SHROUD!
After I installed the AVS Bugflector II, discovered that the hood took too much pressure to close and latch because of the added thickness of the Bugflector which attaches underneath the hood. The hood latch needed to be adjusted, so I followed this excellent video which showed in the process how to correctly remove the plastic fasteners from the shroud that is installed over the hood latch. How To Adjust Hood Latch Height: 2019-2020 Ford Ranger 5th Generation - YouTube
I made the mistake of not paying close enough attention to the video and broke a plastic fastener by trying to remove it the wrong way. I tried to pry up the fastener from the base with a screwdriver without 1st getting the top portion up and busted the fastener. Couldn’t find these exact fasteners in several local auto supply stores so had to order an individual one from ebay. These are outrageously expensive even at Ford and you can only get them in a package of 4. Ford part #: W713610-S300.
These push pin plastic fasteners are properly removed by 1st inserting a narrow flathead screwdriver into the slot (see photo) between the top portion and the bottom portion of the fastener then gently prying this top portion up about 3/8" (don't force it). Then carefully use a catspaw (see in tool kit) to pry up the base of the fastener which butts up against the shroud.
It is important to mark the outline of the existing position of the hood latch mount before you loosen the screws to establish a reference point to work from. I moved the latch mount straight up all the way from its original existing position as far as it would go and this made my hood close and latch exactly right. Had a lot of fun doing this project and feel good about the outcome along with a lesson learned and the right tools for the next time
I have a 2020 Lariat I didn't have to remove my shroud to make the hood adjustment. I used a 5/16in open end box wrench on 1 side a 5/16in long socket on a 1/4 ratchet on the other side, with a zip tie around the whole latch to move it up ,it worked for me.


Sponsored