FoD
Well-Known Member

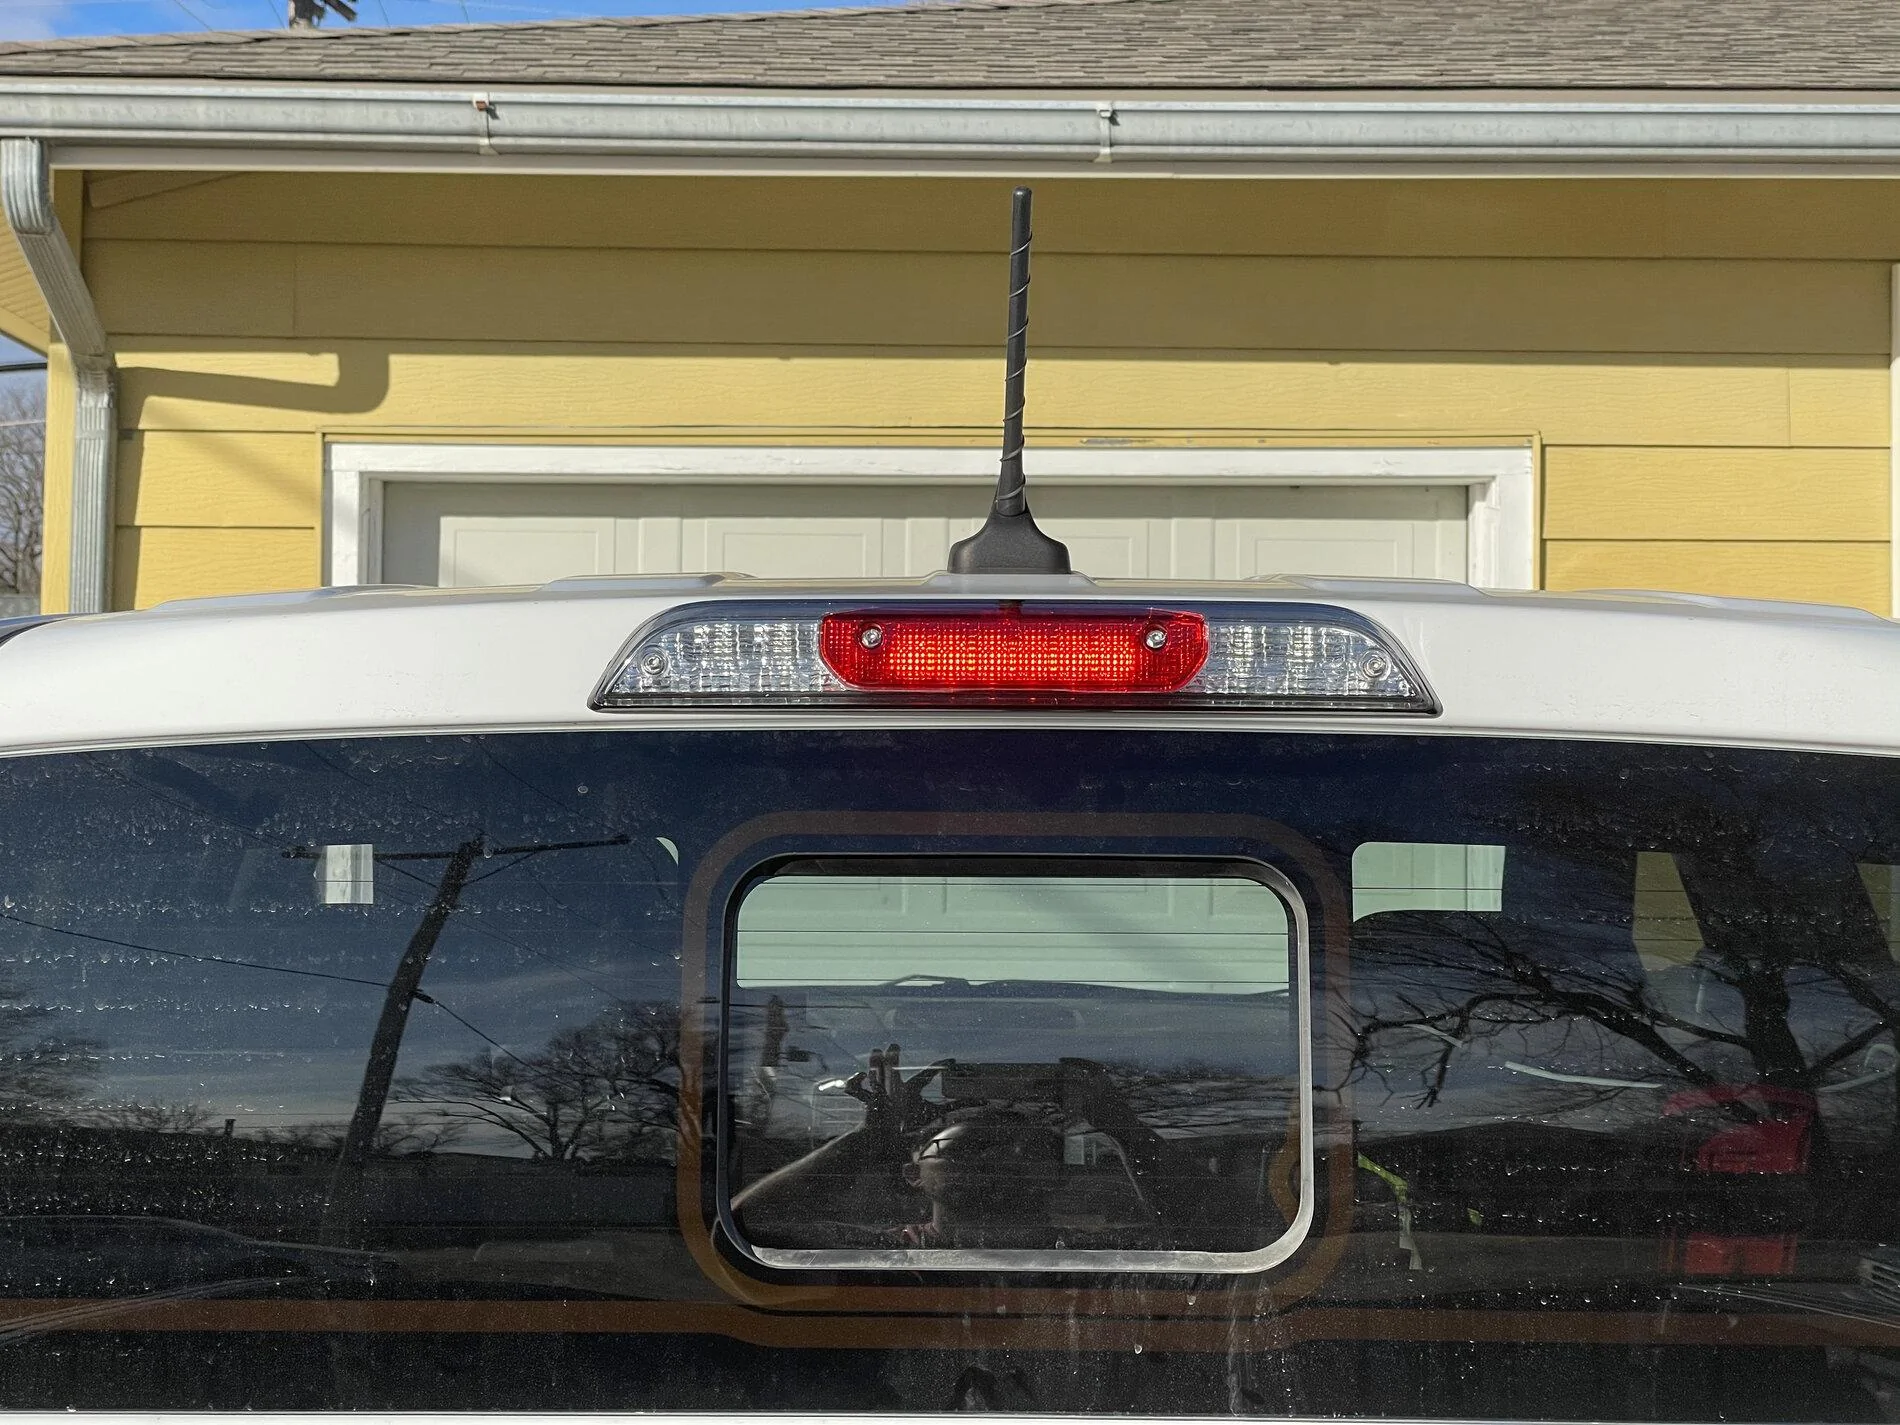
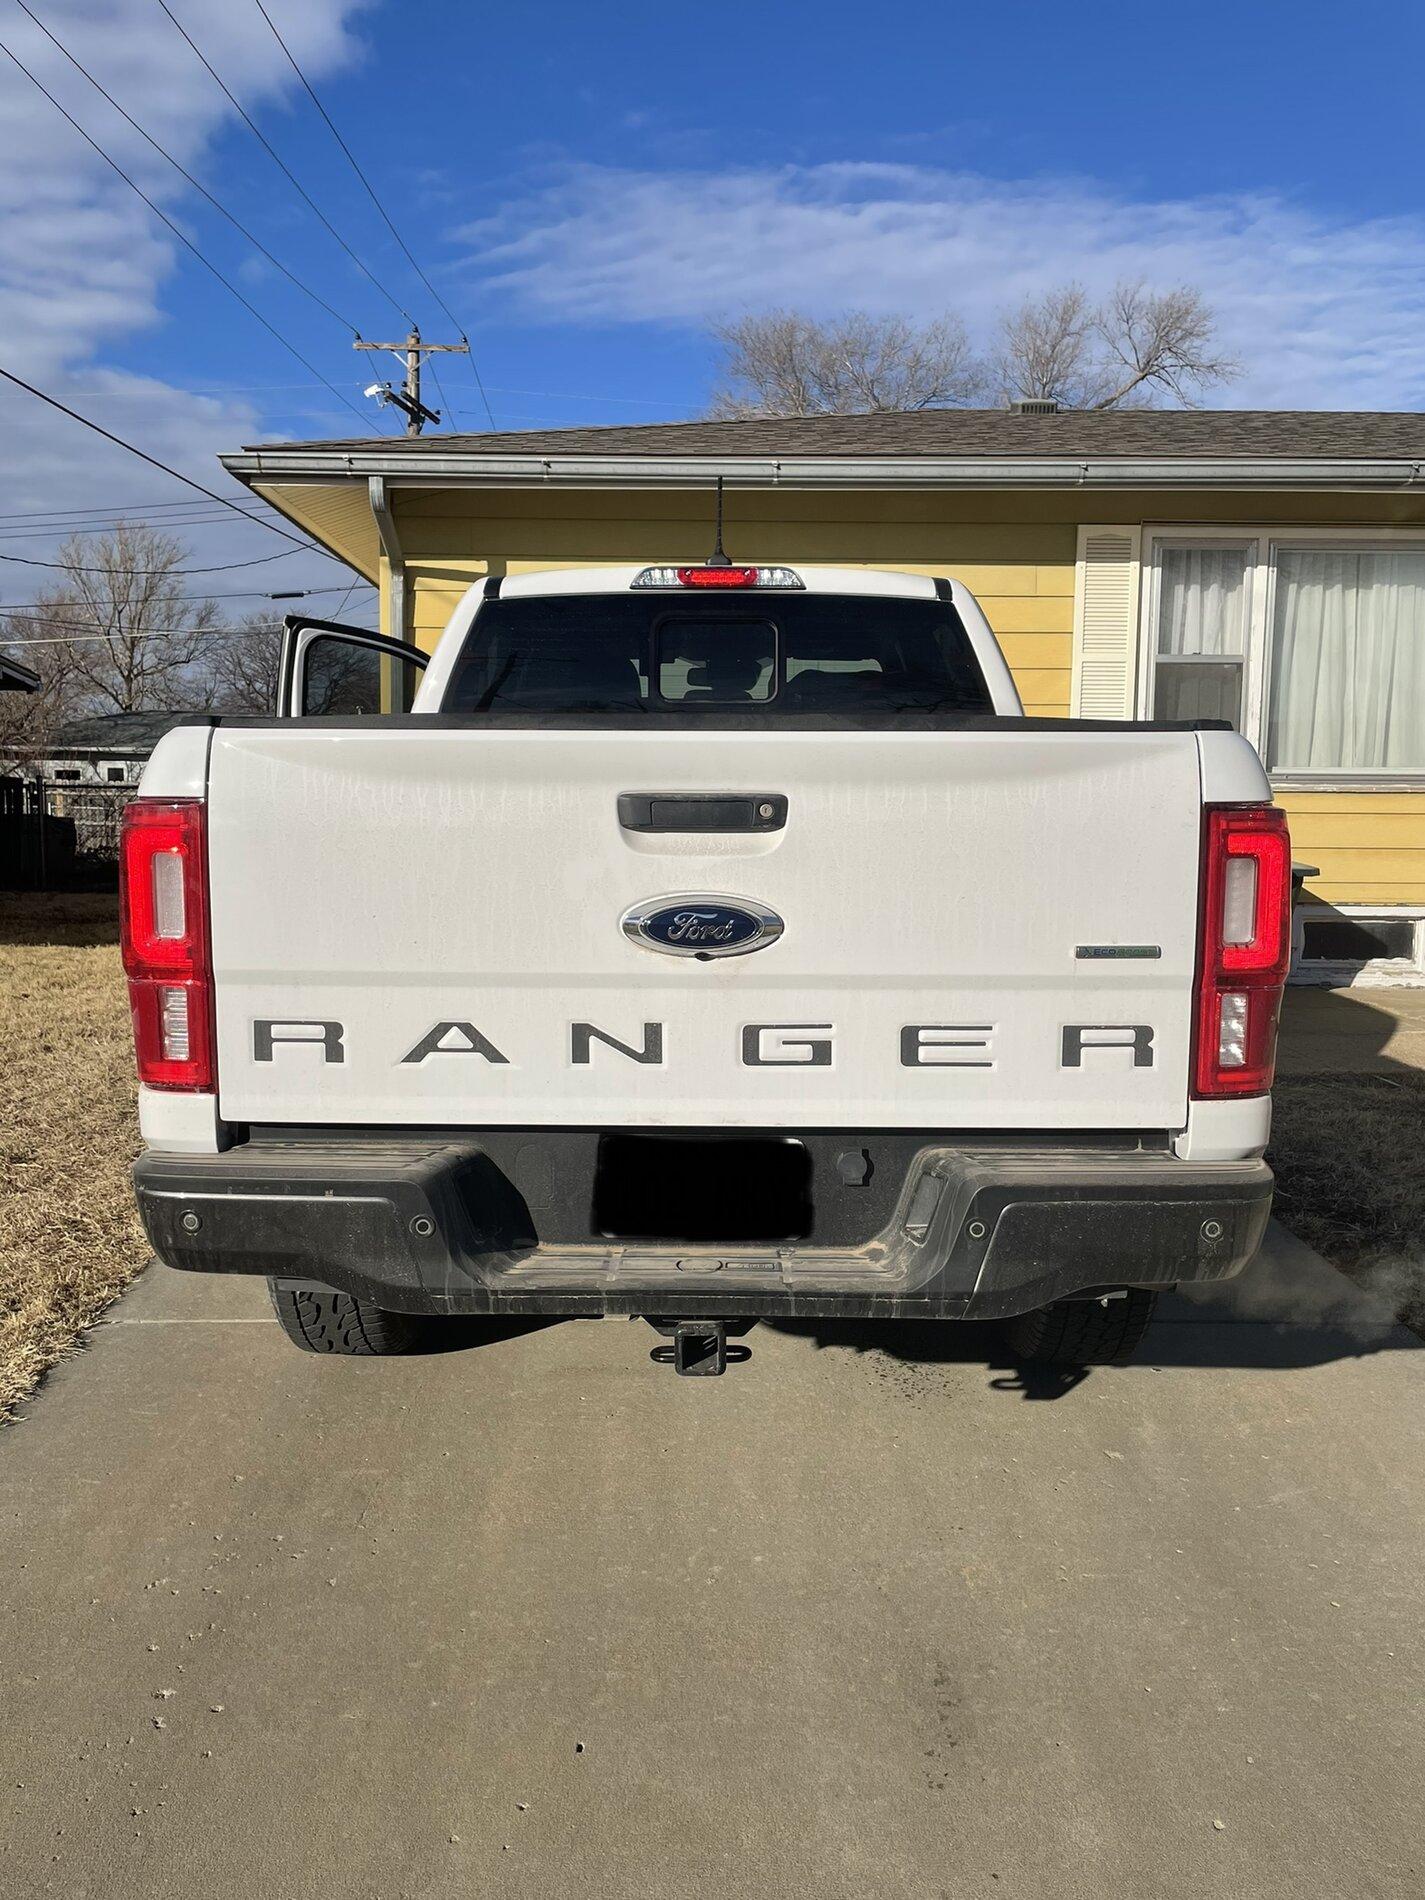
Ran Cat5 cable from front of center console where fascia plate is to back seat cab wall on driver side in prep for radio with remote head install.
There wasn't a lot of info on how to work the center console open enough to run wire/cable front to back. There was a link in a short thread to an Aussie site where they replaced the radio and that gave me the start. The end result is you can do this without having to tear the console apart...much.
The long/short, it is about a 15 minute job, but took4 hours since I hadn't done it before and I didn't want to break everything since it's plastic")
Here's my final take:
1. Leave shifter in PARK = no need to go to N as you're not removing console plate
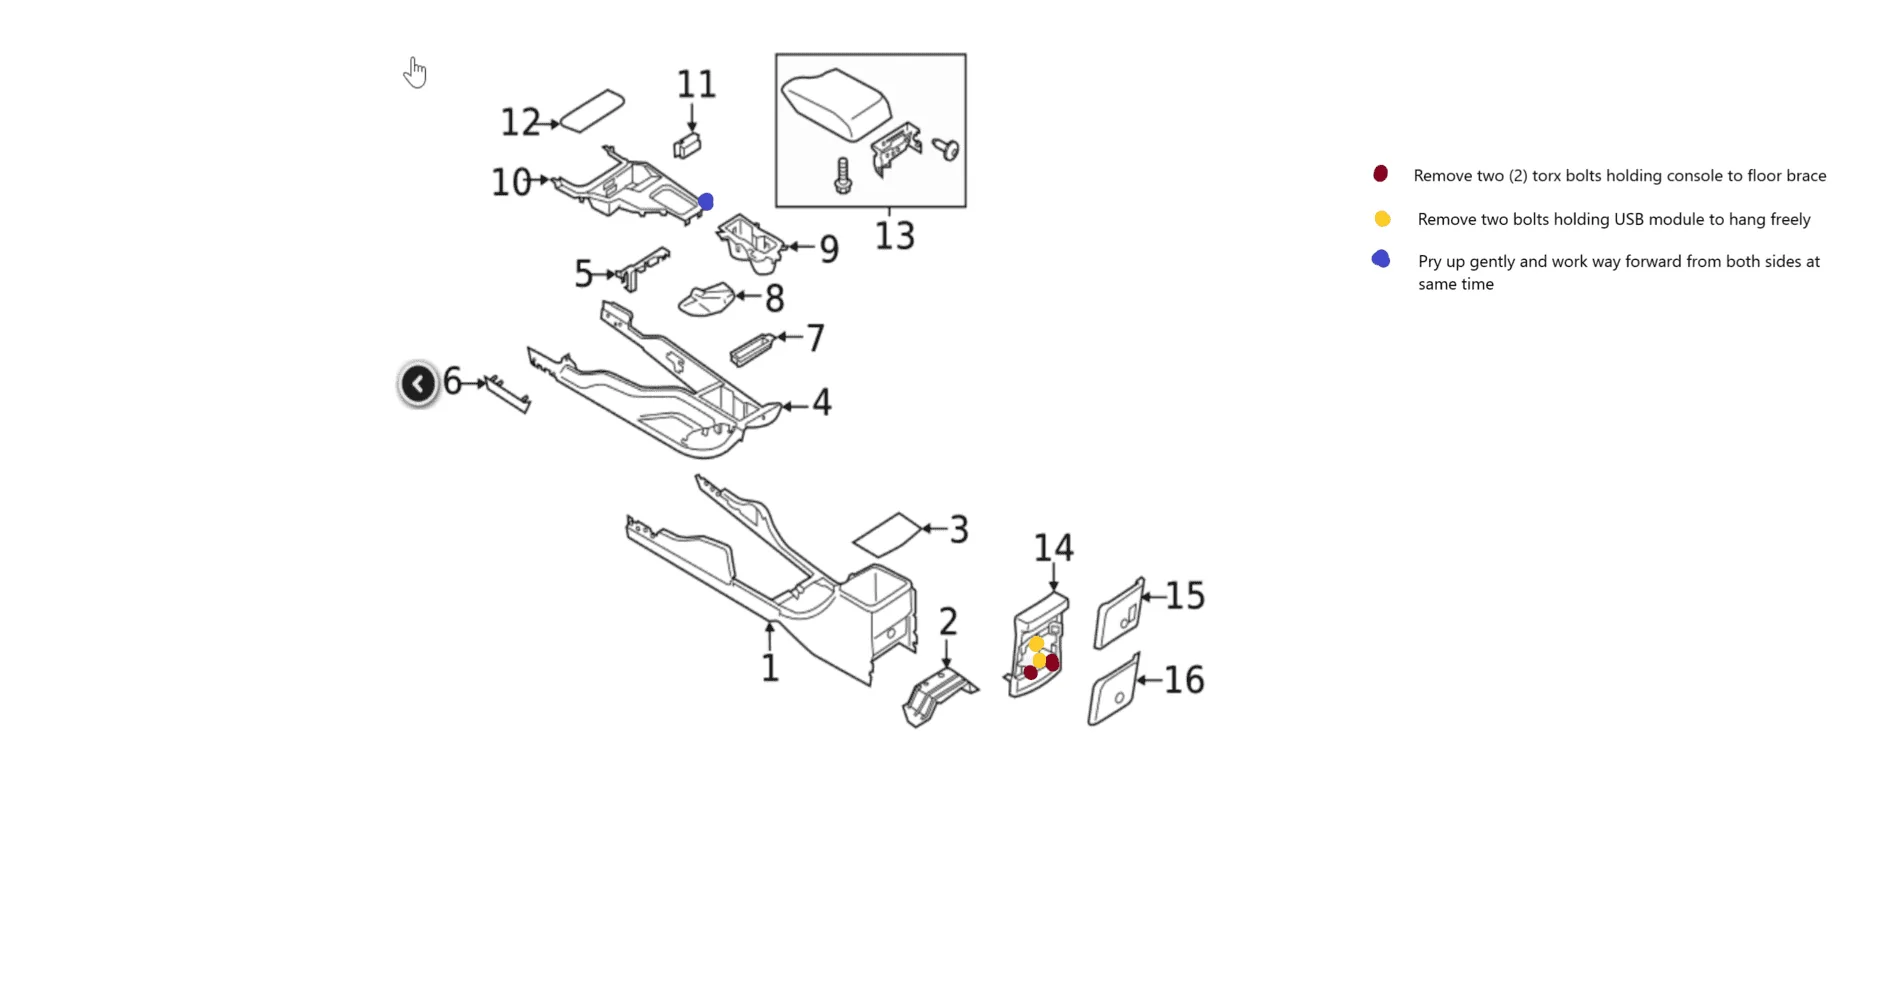
2. (See diagrams - blue dot) Start at bottom right corner and pry gently (with panel tools) to pop first clip, move to opposite side (left rear) and pop clip.
3. Using your fingers, work your way up the plate towards the dash, popping right/left/right etc.
4. You do not need to pull plate away from dash, easily lift from back no more than 6" to see in,
5. Pop rear console cover (one with USB and Power socket) from console. There are about six clips, work around the piece, be careful or you'll knock a clip off and lose it inside the console area.
6. (See diagrams - red dots) remove two torx bolts (chromium) to free up rear of console from floor bracket.
7. (See diagrams - yellow dots) remove two bolts to free usb module to hang freely. Gives you a bit more room at end of console.
8. Console should move freely enough to allow about 1" of play - enough to slide cable underneath.
9. Remove storage tray under driver side rear seat - 1 bolt and 5 press snaps (2 under molded cover, they will pop off when tray is lifted). There is an opening on right front side of cavity, this is where cable will come through.
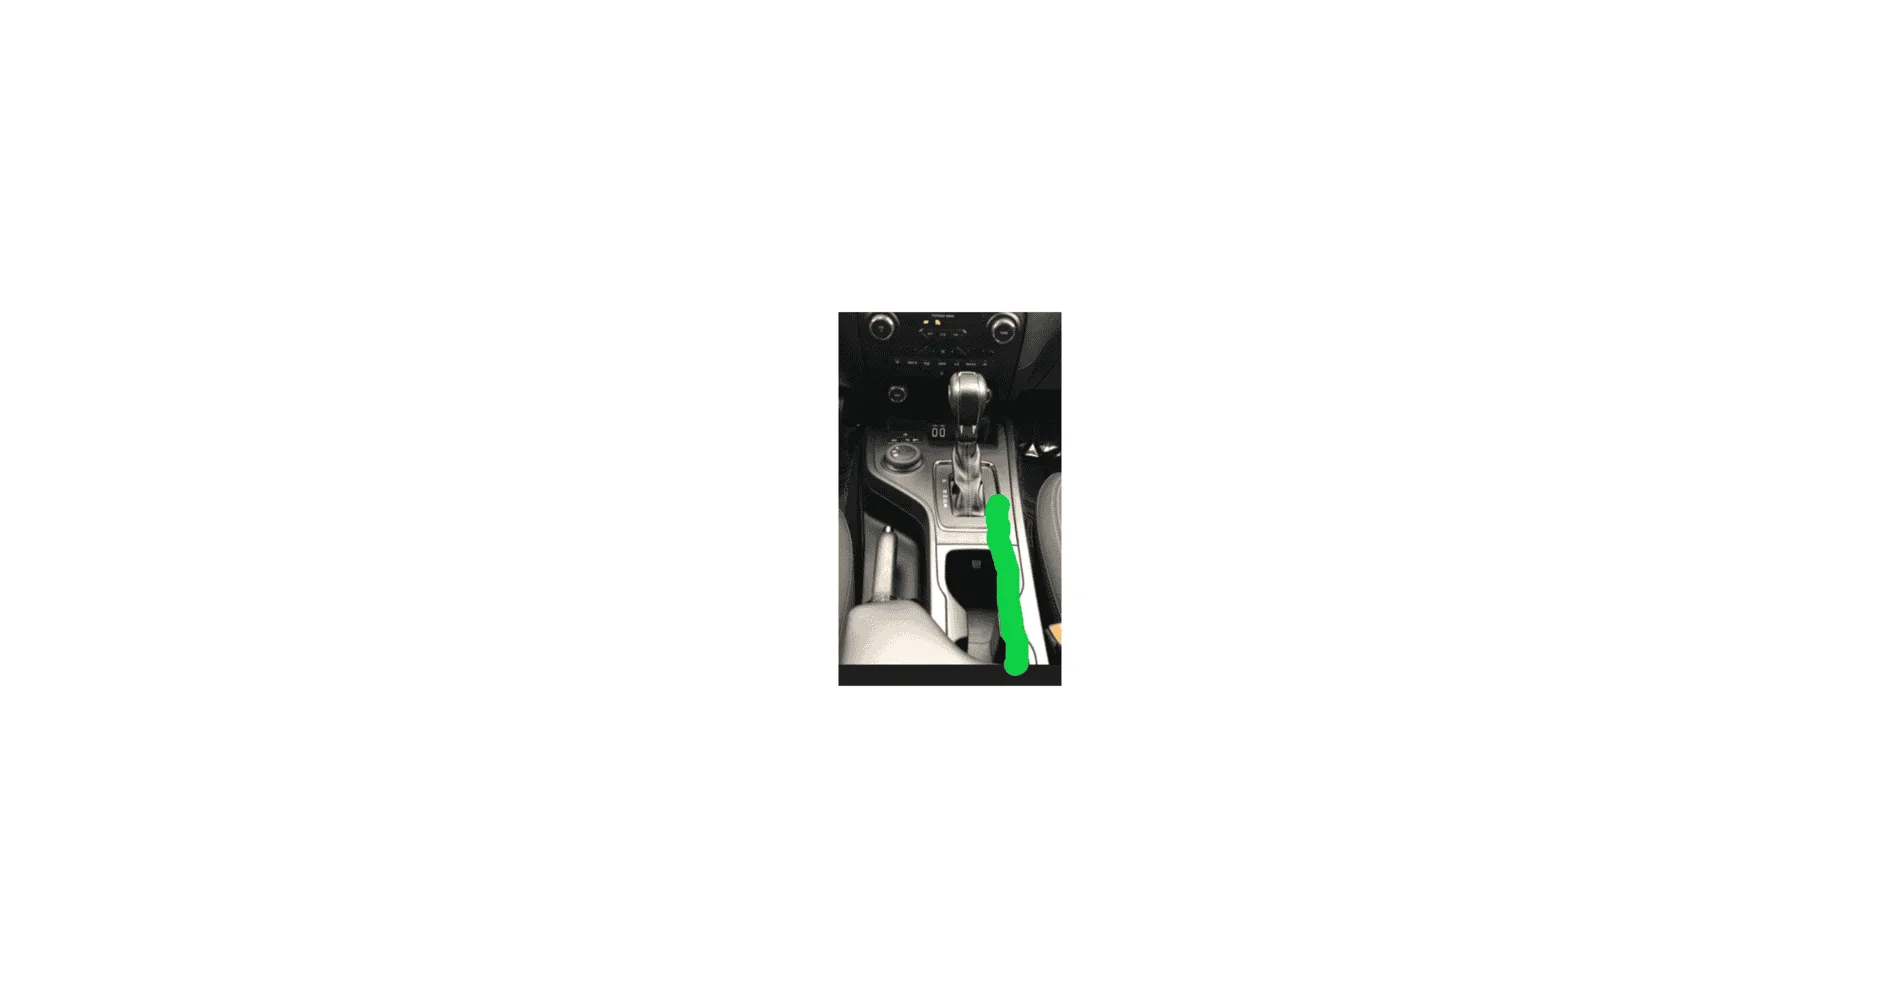
10. Start fish wire at "blue dot" side of console (right bottom of shifter, you'll see it) and run fish wire straight back to rear console - I hit no obstacles on right side, left side had screws/bolts/snags, observed same with scope after I goy hung up).
11. Use a panel tool )crow bar one works) to allow about 1/2" lift to rear of console.
12. Push fish wire on through. You want to try and get the wire to move under carpet, padding, etc., to the opening at the right front of the cavity (of course, you can do whatever at this point, but all that material protects the wiring and running along the tunnel side seemed more advantageous then on top of floor/tunnel).
13. Once wire is trough front hole and into cavity, feed cable from rear mount position, under carpet to cavity (the is a channel depression that works well for this.
14. Tape to fish wire and begin to pull slowly back towards front.
15. I used a 10', premade CAT5 cable and have about 1.5-2 ft. extra in rear and maybe 9" behind facia (which can be left in console area. Run wire to conform to storage cavity so try will fit snugly - CAUTION: TAPE CABLE IF IT RUBS WHERE IT RUNS THROUGHT THE HOLE IN FRONT OF CAVITY - SHARP!!
Close up is reverse of opening.
Seems like a lot, but its really easy.

Hope this helps somebody wanting to do stuff lol!!
There wasn't a lot of info on how to work the center console open enough to run wire/cable front to back. There was a link in a short thread to an Aussie site where they replaced the radio and that gave me the start. The end result is you can do this without having to tear the console apart...much.
The long/short, it is about a 15 minute job, but took4 hours since I hadn't done it before and I didn't want to break everything since it's plastic
Here's my final take:
1. Leave shifter in PARK = no need to go to N as you're not removing console plate
2. (See diagrams - blue dot) Start at bottom right corner and pry gently (with panel tools) to pop first clip, move to opposite side (left rear) and pop clip.
3. Using your fingers, work your way up the plate towards the dash, popping right/left/right etc.
4. You do not need to pull plate away from dash, easily lift from back no more than 6" to see in,
5. Pop rear console cover (one with USB and Power socket) from console. There are about six clips, work around the piece, be careful or you'll knock a clip off and lose it inside the console area.
6. (See diagrams - red dots) remove two torx bolts (chromium) to free up rear of console from floor bracket.
7. (See diagrams - yellow dots) remove two bolts to free usb module to hang freely. Gives you a bit more room at end of console.
8. Console should move freely enough to allow about 1" of play - enough to slide cable underneath.
9. Remove storage tray under driver side rear seat - 1 bolt and 5 press snaps (2 under molded cover, they will pop off when tray is lifted). There is an opening on right front side of cavity, this is where cable will come through.
10. Start fish wire at "blue dot" side of console (right bottom of shifter, you'll see it) and run fish wire straight back to rear console - I hit no obstacles on right side, left side had screws/bolts/snags, observed same with scope after I goy hung up).
11. Use a panel tool )crow bar one works) to allow about 1/2" lift to rear of console.
12. Push fish wire on through. You want to try and get the wire to move under carpet, padding, etc., to the opening at the right front of the cavity (of course, you can do whatever at this point, but all that material protects the wiring and running along the tunnel side seemed more advantageous then on top of floor/tunnel).
13. Once wire is trough front hole and into cavity, feed cable from rear mount position, under carpet to cavity (the is a channel depression that works well for this.
14. Tape to fish wire and begin to pull slowly back towards front.
15. I used a 10', premade CAT5 cable and have about 1.5-2 ft. extra in rear and maybe 9" behind facia (which can be left in console area. Run wire to conform to storage cavity so try will fit snugly - CAUTION: TAPE CABLE IF IT RUBS WHERE IT RUNS THROUGHT THE HOLE IN FRONT OF CAVITY - SHARP!!
Close up is reverse of opening.
Seems like a lot, but its really easy.
Hope this helps somebody wanting to do stuff lol!!
Sponsored
 ).
).