burglifey
New Member
- First Name
- Trevor
- Joined
- Sep 28, 2022
- Threads
- 1
- Messages
- 3
- Reaction score
- 7
- Location
- Austin, Texas
- Vehicle(s)
- 2022 Ranger XL
- Thread starter
- #1
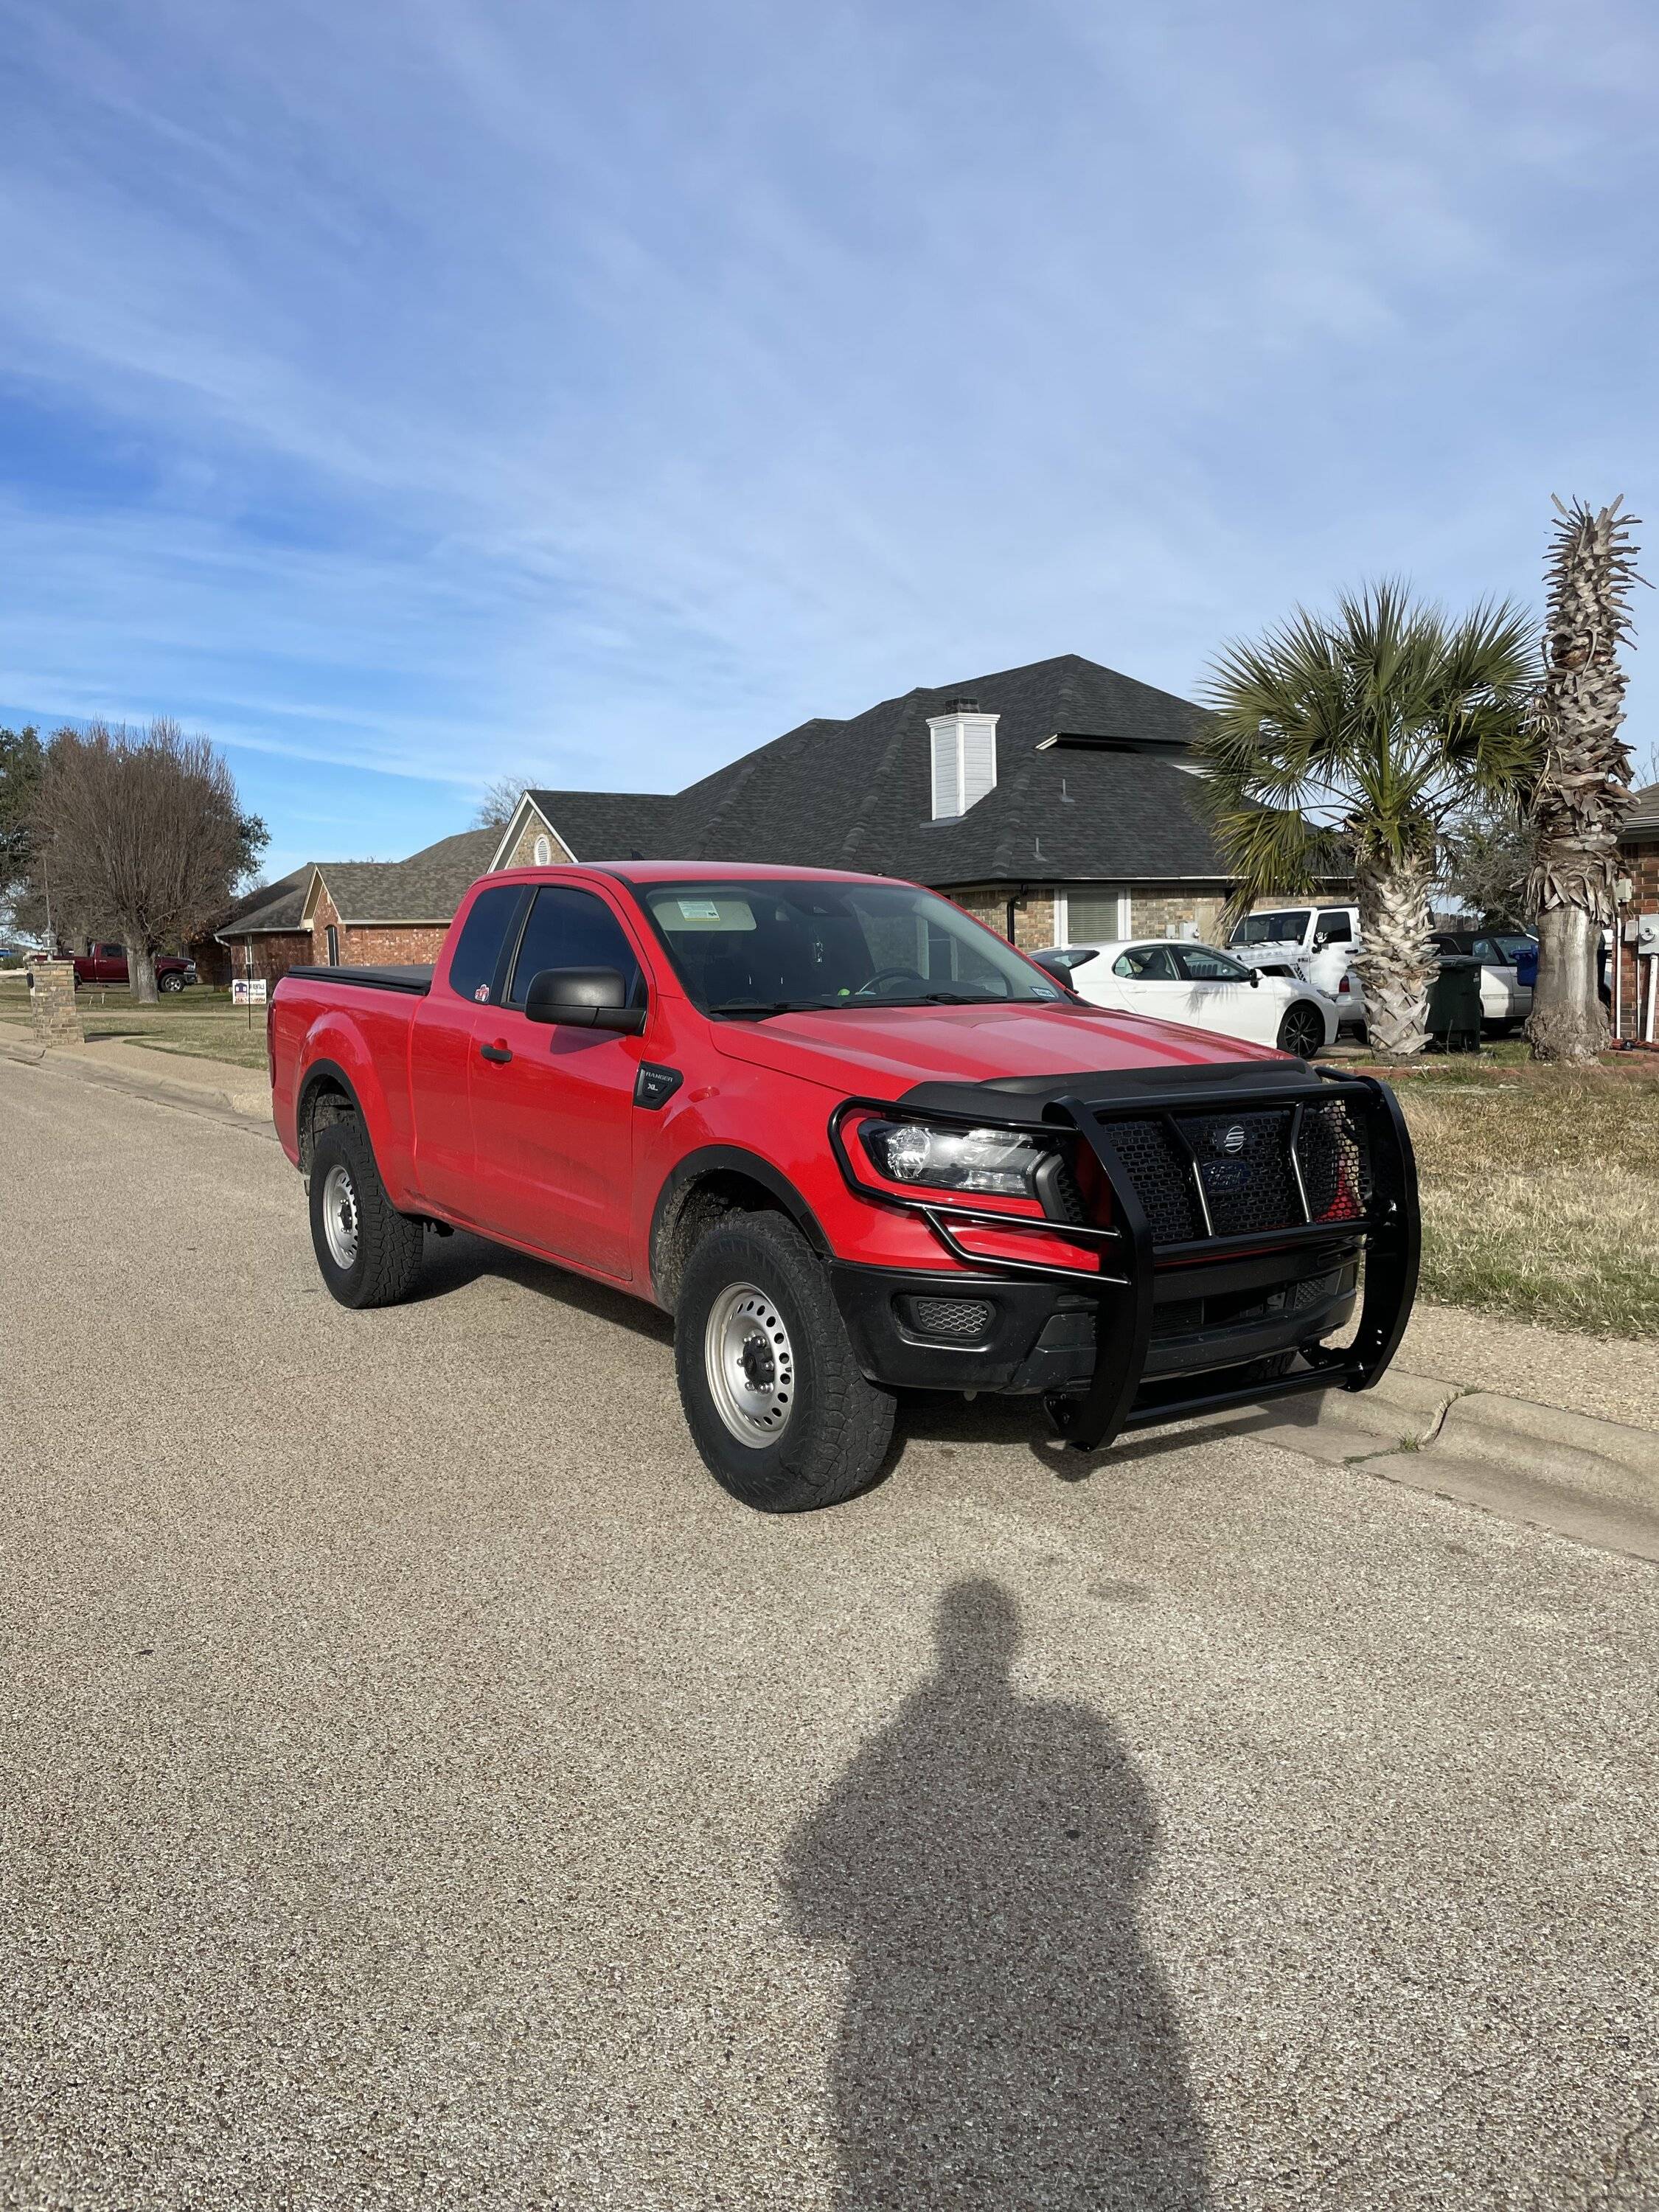
I haven’t seen a lot on this forum about this grill guard in particular. so i wanted to put in my two cents.
build quality:
honestly it’s great. feels really sturdy. has good welds. the bottom brackets are sturdy. paint seems of good quality and doesn’t seem it’d degrade with time. it’s HEAVY.
installation: here’s the part that would interest most people.
duration: 3-6 hours depending on skill set. i did this in an afternoon with basic ratchets.
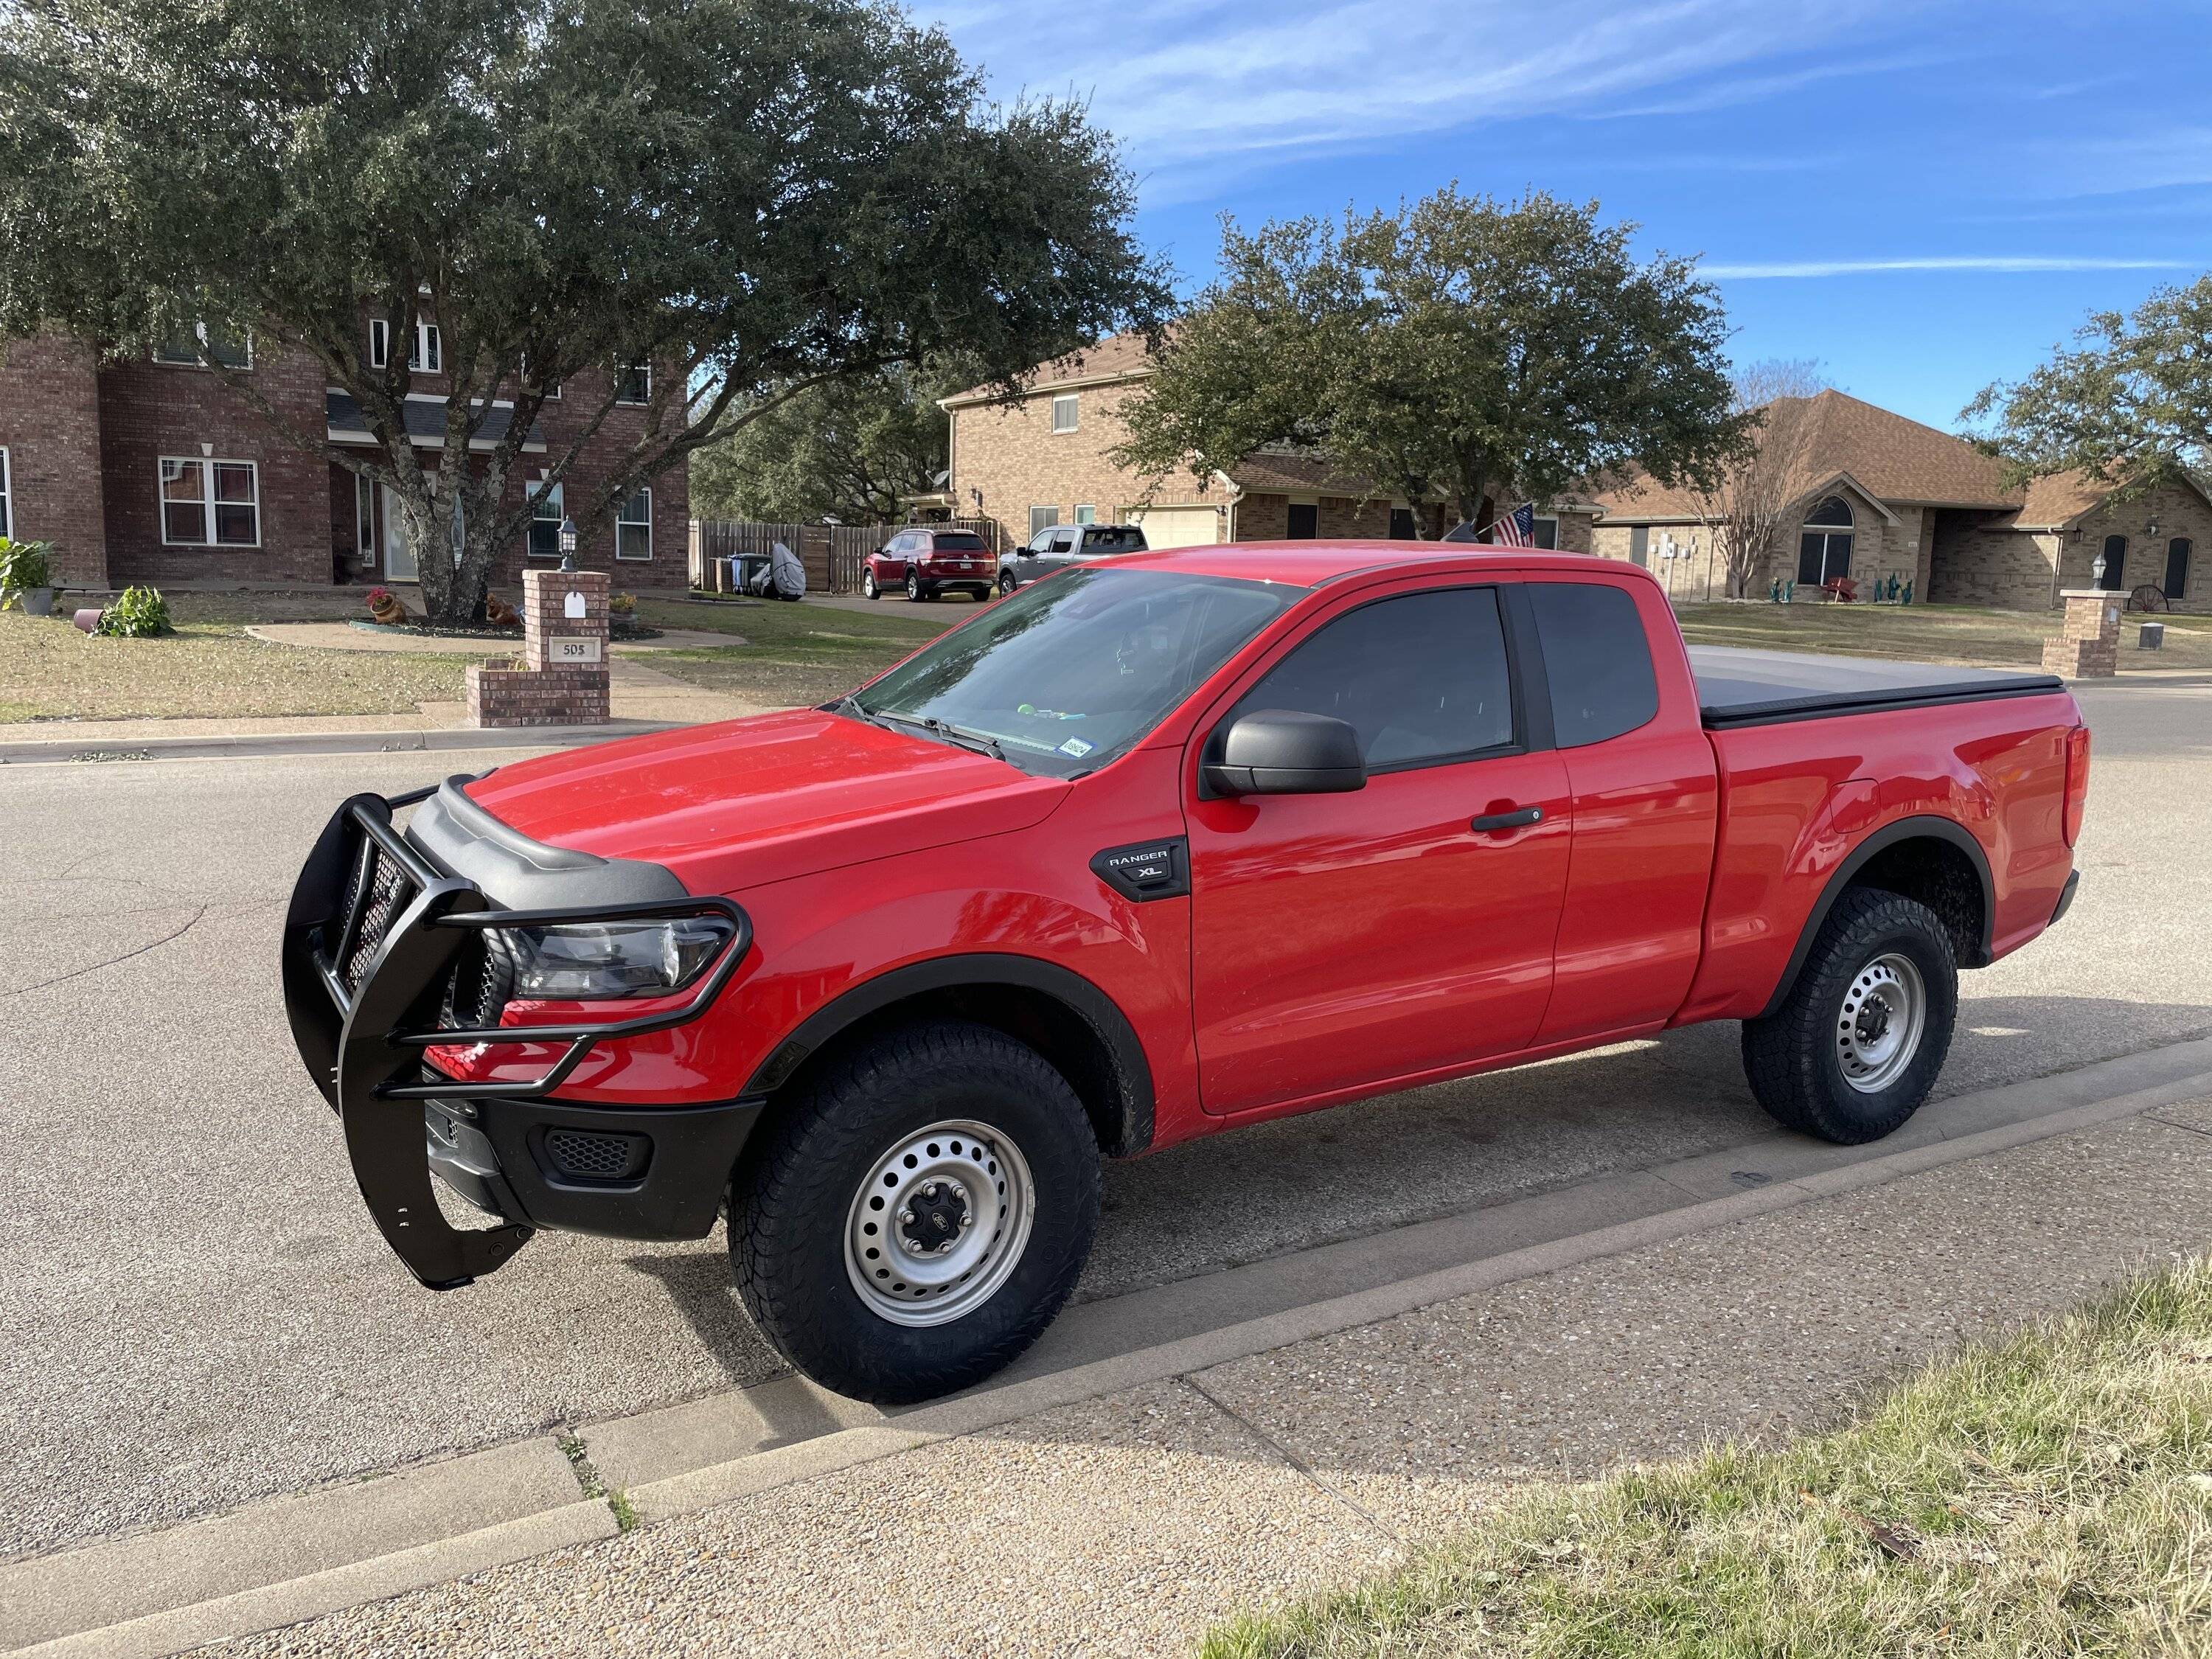
now it needs to be said that I have an XL model. because of this, i found that for the lower brackets i had to cut NOTHING. i did this by removing the lower valence completely. if i kept it on, i would have had to cut, but i wanted to remove for aesthetics and for ground clearance (even though i lost that ground clearance cus of the guard now lol). the lower fascia will have to be unbolted in order to remove the valence AS WELL AS to tighten one of the bolts on the lower brackets. (not removed, just loosened so you can pry it back a bit to get a socket in there. and tighten the brackets). once those brackets were installed, i simply rebolted in the fascia as well as several bolts that were holding the valence to the frame as not to loose them and to retighten the fascia. and that’s the bottom brackets! fairly easy! no cutting! save your valence for later!
now the upper brackets…. this is where the fun begins. i’ve seen in other threads that it’s suggested to remove the whole bumper, and honestly, if you’re trying to do it right i believe this is the way to go. however, steelcraft a instructions state that they can be slid in between the bumper and the surround on the grill. i’m not sure how this is possible. the ONLY way i got them to fit was to bend the end slightly and tap it in with a mallet. this sucks because i’m the process, i could have compromised the rigidity in the mounts. it was also an ABSOLUTE B**** to remove the bumper bolts as well as reinstalling them. you will NEED socket joints as an extension as it’s really difficult to get a socket on the bolt as well as enough force to turn it. now keep in mind, these ends were also bent. so it was a difficult to get these bolts to line up. however, once i did get them bolted on, all that was left was honest the easiest step.
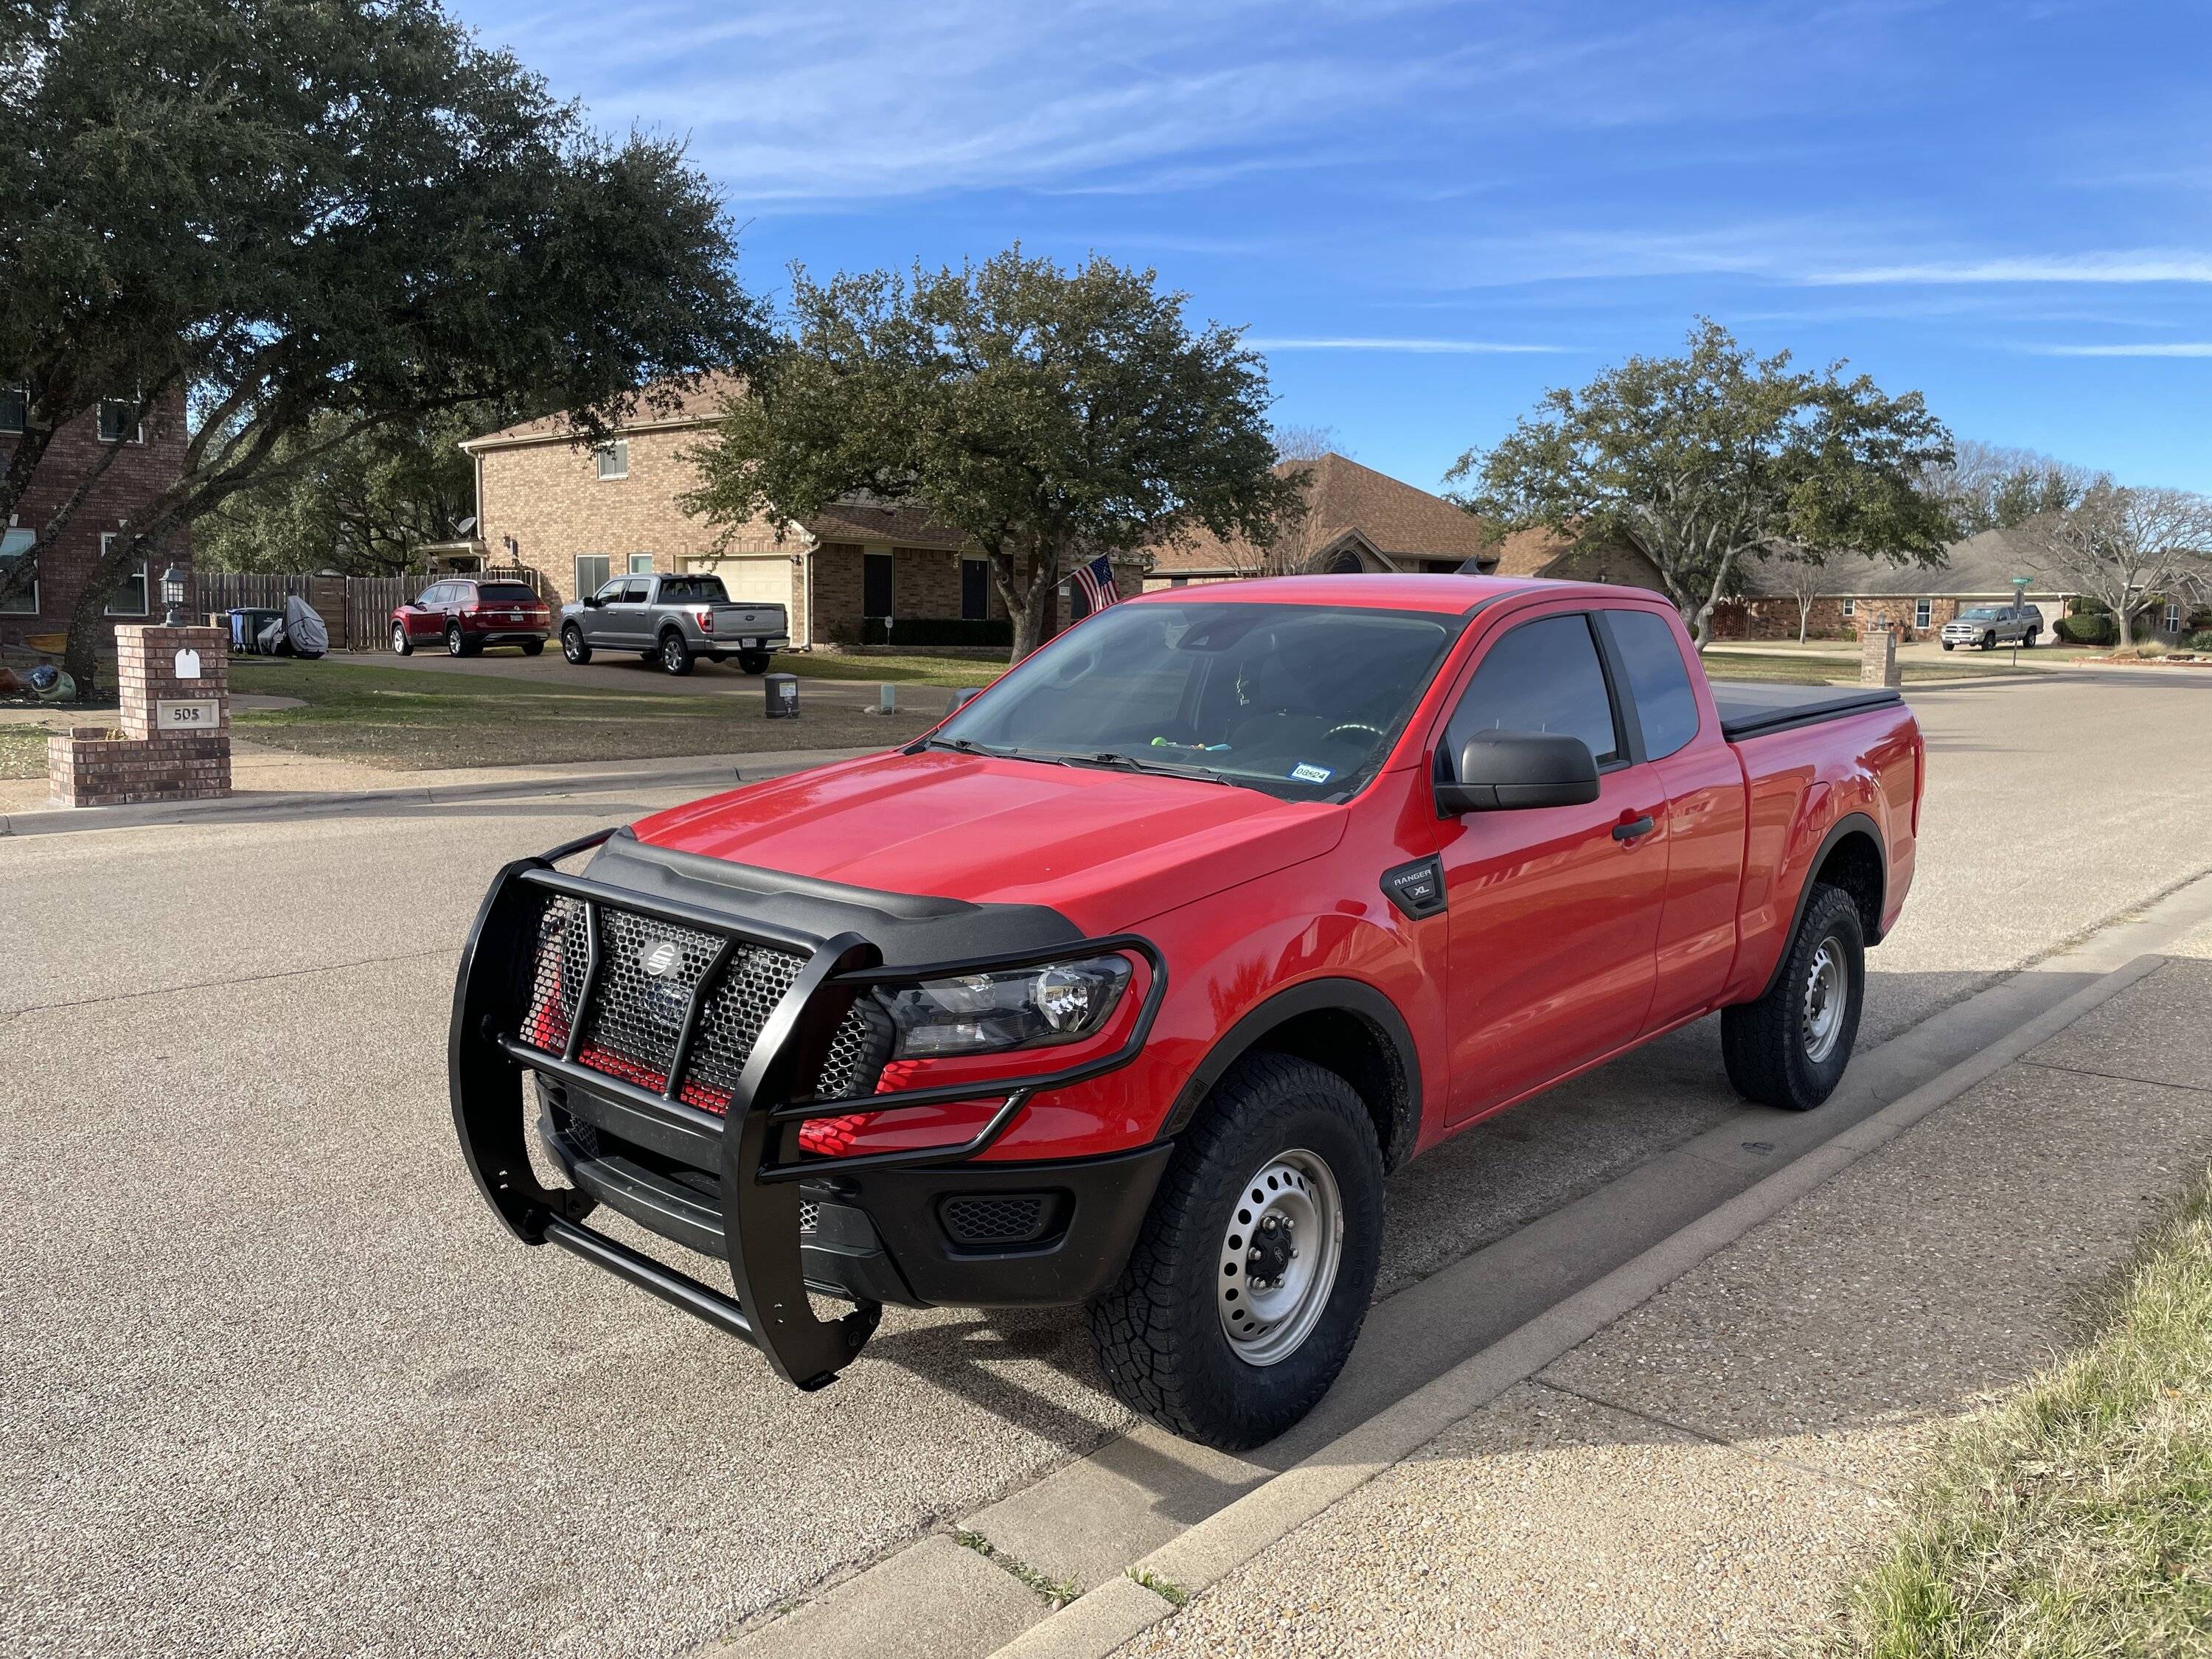
installing the guard to the brackets: obviously, this step will be much easier if you have a helping hand to hold it in place. this step was easy. simply use the directions and make sure you have the right bolts (pretty easy considering they’re all different sizes. if you had to bend your brackets (cus you’re an idiot like me), all you’ll have to do is bend them to line up with the hole in the upper part of the guard.
now before you FULLY tighten all bolts, make sure the guard is far enough away that you can still open your hood! i’ve found that a design flaw of this guard is that it sits up just a LITTLE too high to where it’s fairly difficult to open. so just ensure that it’s not sitting so flush with the hood that it’s impossible to open. i see this as a definite design flaw. however, as i said, it’s not impossible, just definitely harder than with it off.
for now, that’s all i got. if anyone has any more questions or wants more pics i’ll be happy to put them in the thread!
thanks!


build quality:
honestly it’s great. feels really sturdy. has good welds. the bottom brackets are sturdy. paint seems of good quality and doesn’t seem it’d degrade with time. it’s HEAVY.
installation: here’s the part that would interest most people.
duration: 3-6 hours depending on skill set. i did this in an afternoon with basic ratchets.
now it needs to be said that I have an XL model. because of this, i found that for the lower brackets i had to cut NOTHING. i did this by removing the lower valence completely. if i kept it on, i would have had to cut, but i wanted to remove for aesthetics and for ground clearance (even though i lost that ground clearance cus of the guard now lol). the lower fascia will have to be unbolted in order to remove the valence AS WELL AS to tighten one of the bolts on the lower brackets. (not removed, just loosened so you can pry it back a bit to get a socket in there. and tighten the brackets). once those brackets were installed, i simply rebolted in the fascia as well as several bolts that were holding the valence to the frame as not to loose them and to retighten the fascia. and that’s the bottom brackets! fairly easy! no cutting! save your valence for later!
now the upper brackets…. this is where the fun begins. i’ve seen in other threads that it’s suggested to remove the whole bumper, and honestly, if you’re trying to do it right i believe this is the way to go. however, steelcraft a instructions state that they can be slid in between the bumper and the surround on the grill. i’m not sure how this is possible. the ONLY way i got them to fit was to bend the end slightly and tap it in with a mallet. this sucks because i’m the process, i could have compromised the rigidity in the mounts. it was also an ABSOLUTE B**** to remove the bumper bolts as well as reinstalling them. you will NEED socket joints as an extension as it’s really difficult to get a socket on the bolt as well as enough force to turn it. now keep in mind, these ends were also bent. so it was a difficult to get these bolts to line up. however, once i did get them bolted on, all that was left was honest the easiest step.
installing the guard to the brackets: obviously, this step will be much easier if you have a helping hand to hold it in place. this step was easy. simply use the directions and make sure you have the right bolts (pretty easy considering they’re all different sizes. if you had to bend your brackets (cus you’re an idiot like me), all you’ll have to do is bend them to line up with the hole in the upper part of the guard.
now before you FULLY tighten all bolts, make sure the guard is far enough away that you can still open your hood! i’ve found that a design flaw of this guard is that it sits up just a LITTLE too high to where it’s fairly difficult to open. so just ensure that it’s not sitting so flush with the hood that it’s impossible to open. i see this as a definite design flaw. however, as i said, it’s not impossible, just definitely harder than with it off.
for now, that’s all i got. if anyone has any more questions or wants more pics i’ll be happy to put them in the thread!
thanks!
Sponsored