Glocker
Well-Known Member
- First Name
- John
- Joined
- Feb 11, 2020
- Threads
- 97
- Messages
- 2,700
- Reaction score
- 8,427
- Location
- Boca Raton
- Vehicle(s)
- 2019 Ford Ranger XLT FX4, 2014 Mustang GT
- Vehicle Showcase
- 1
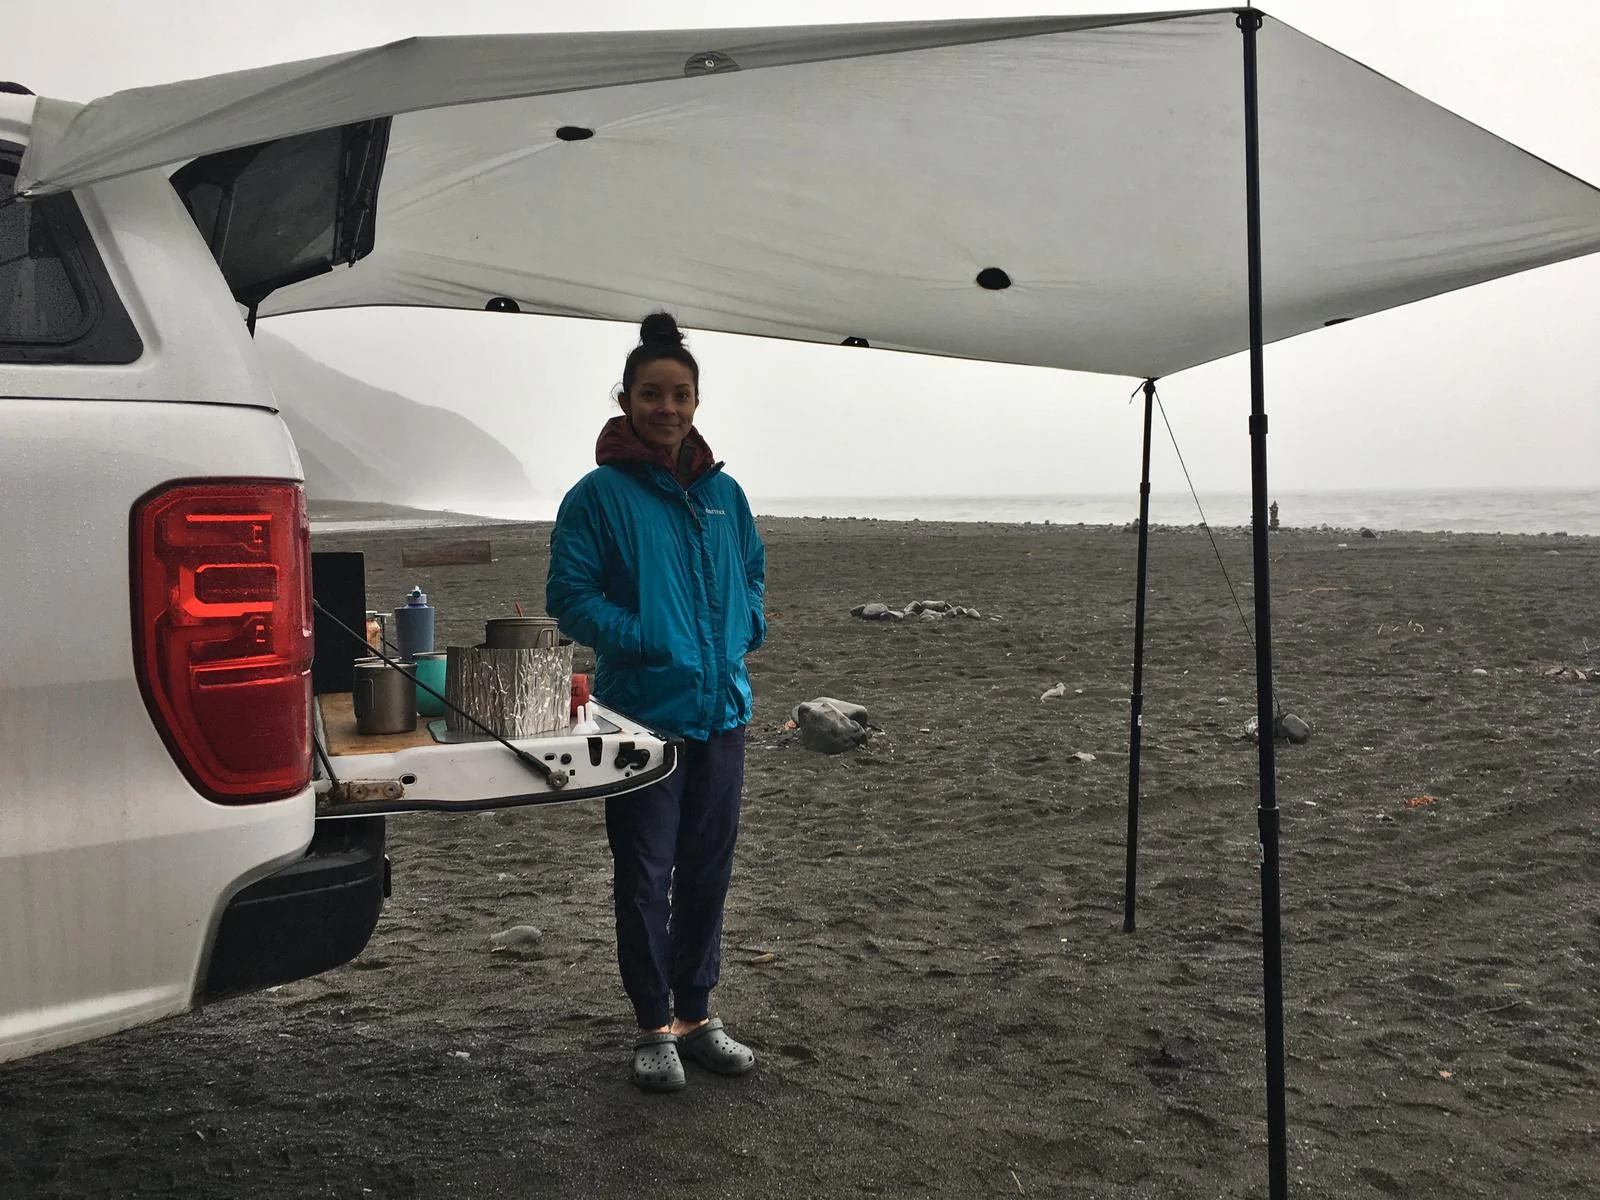
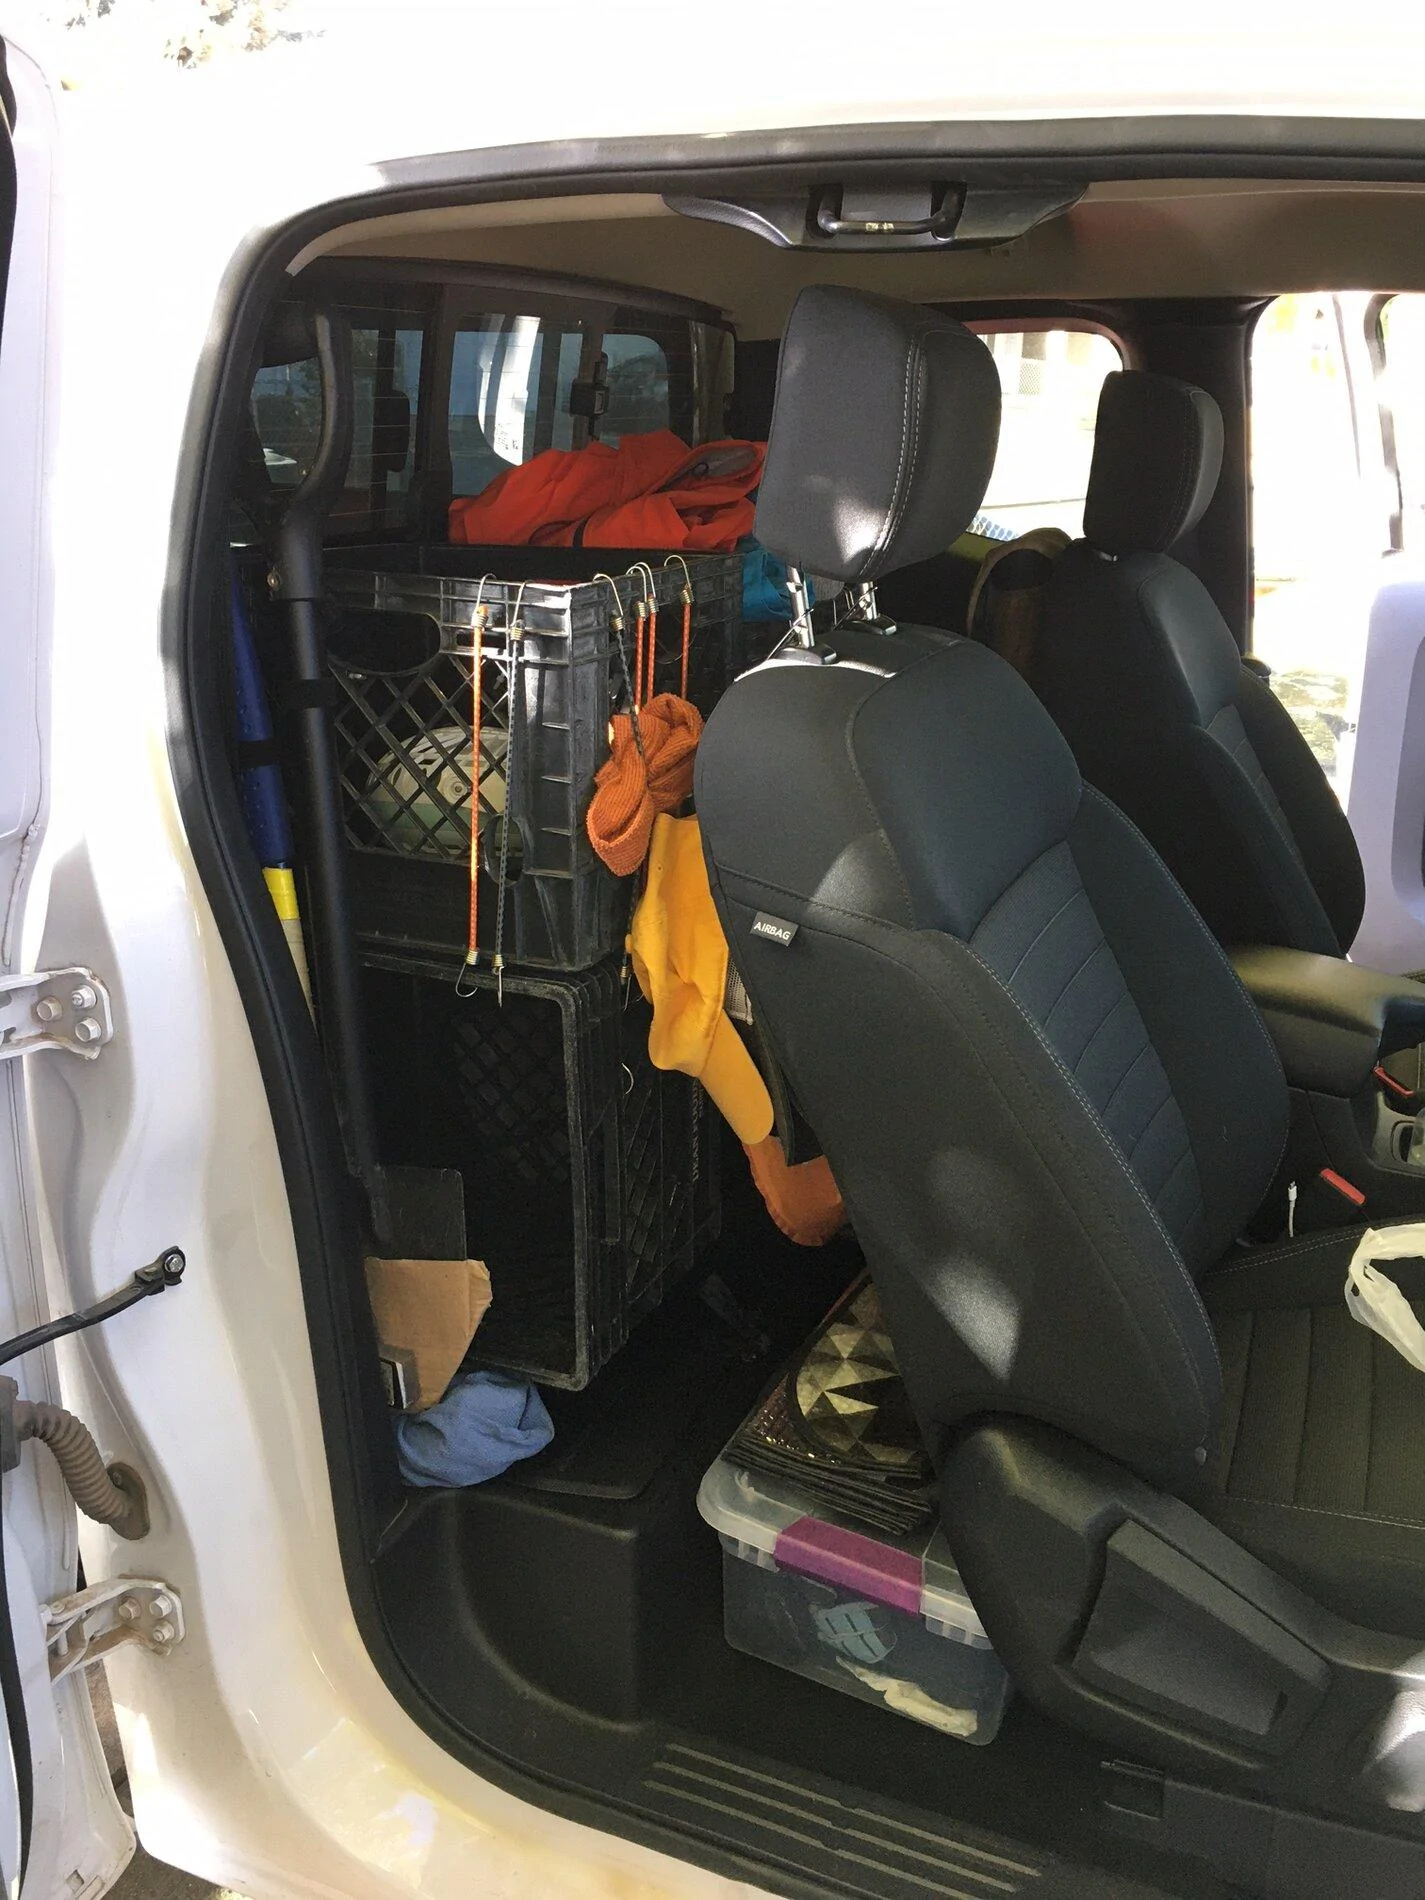
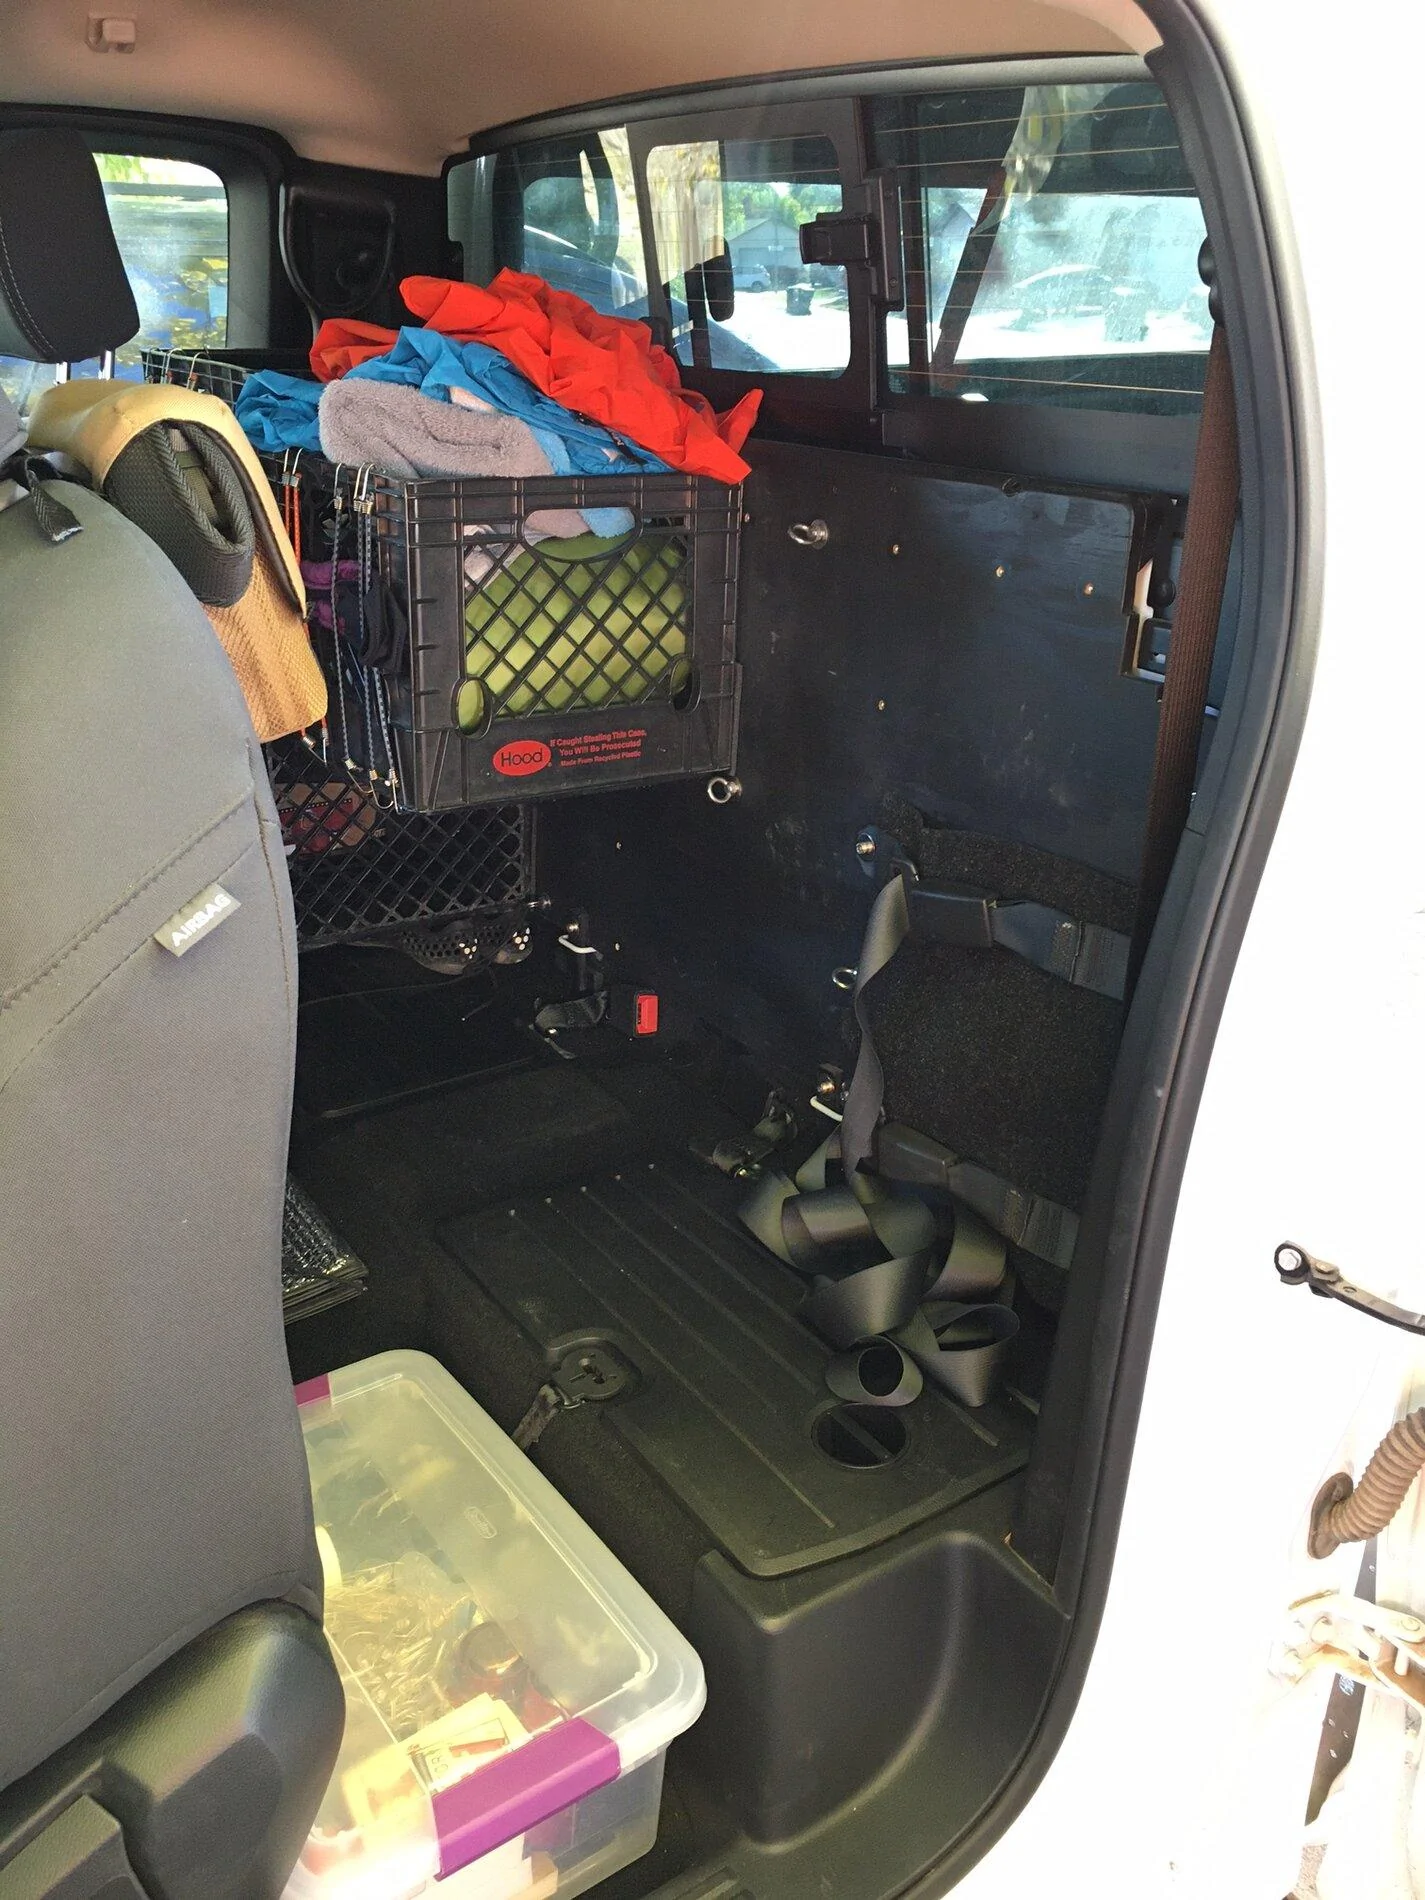
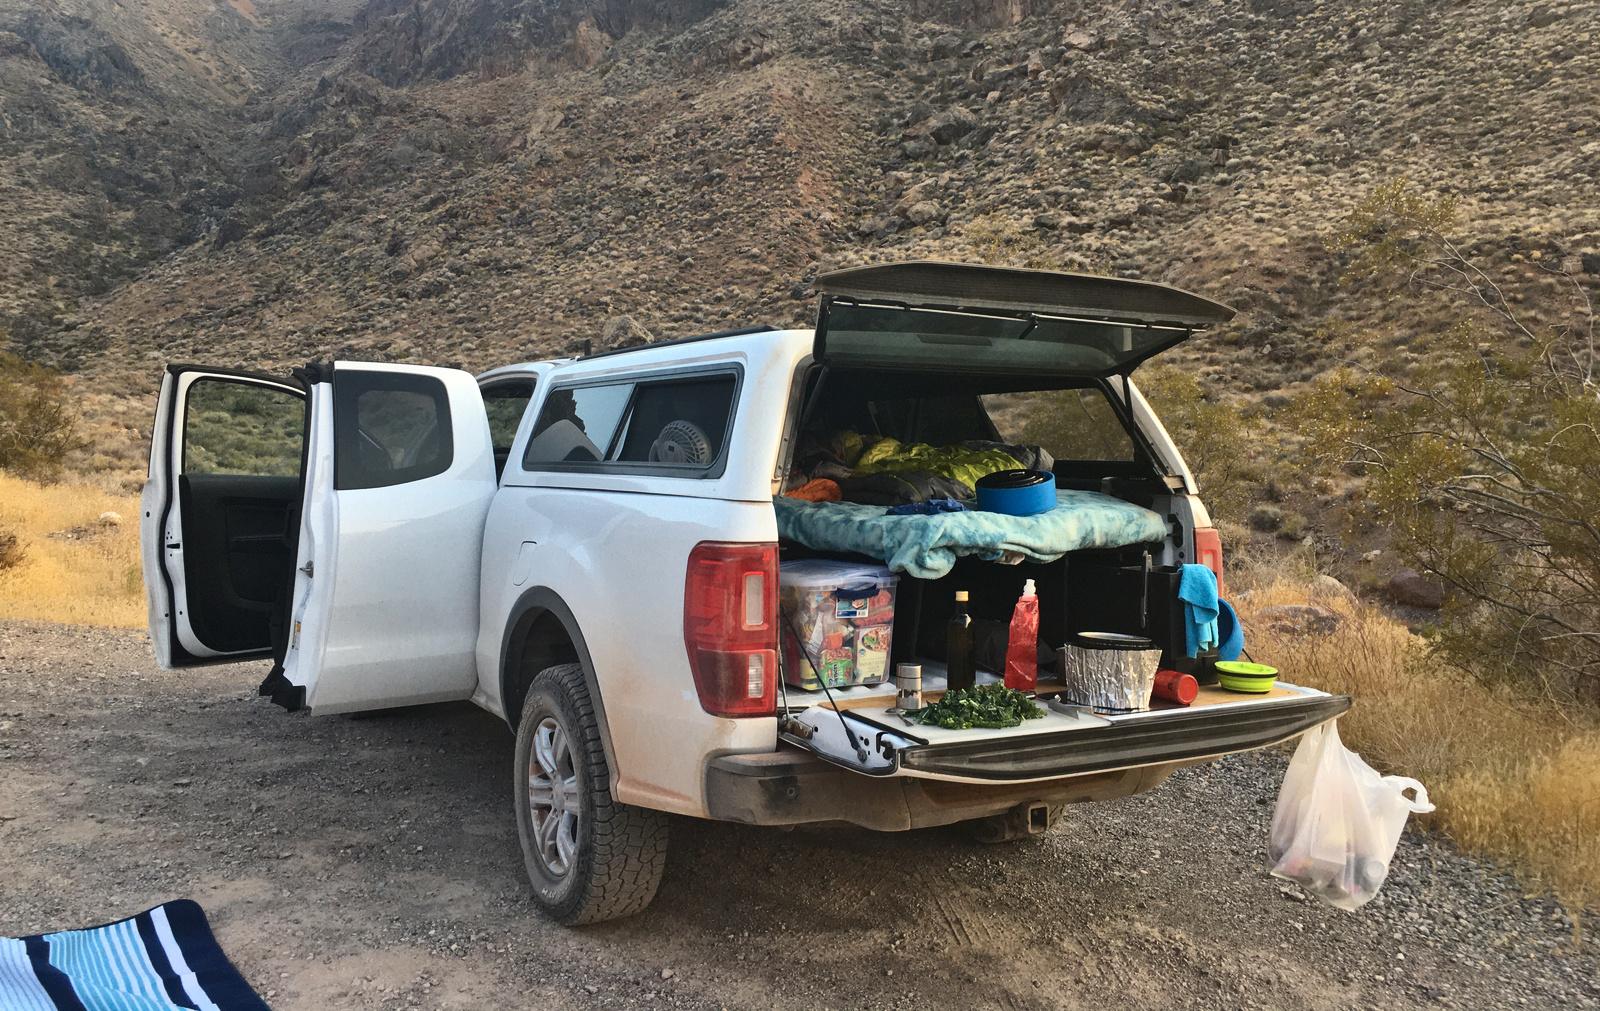
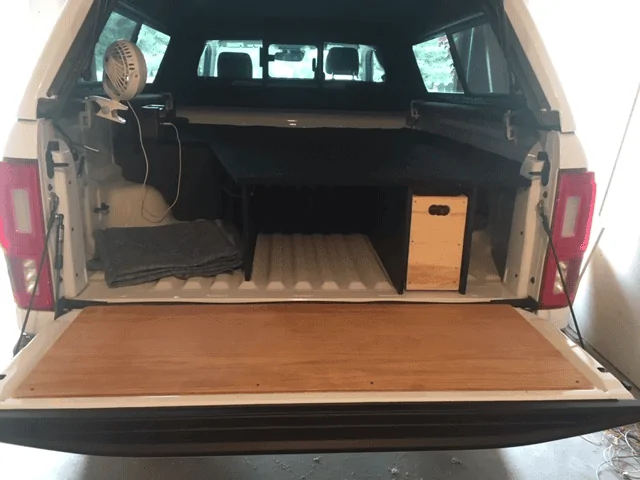
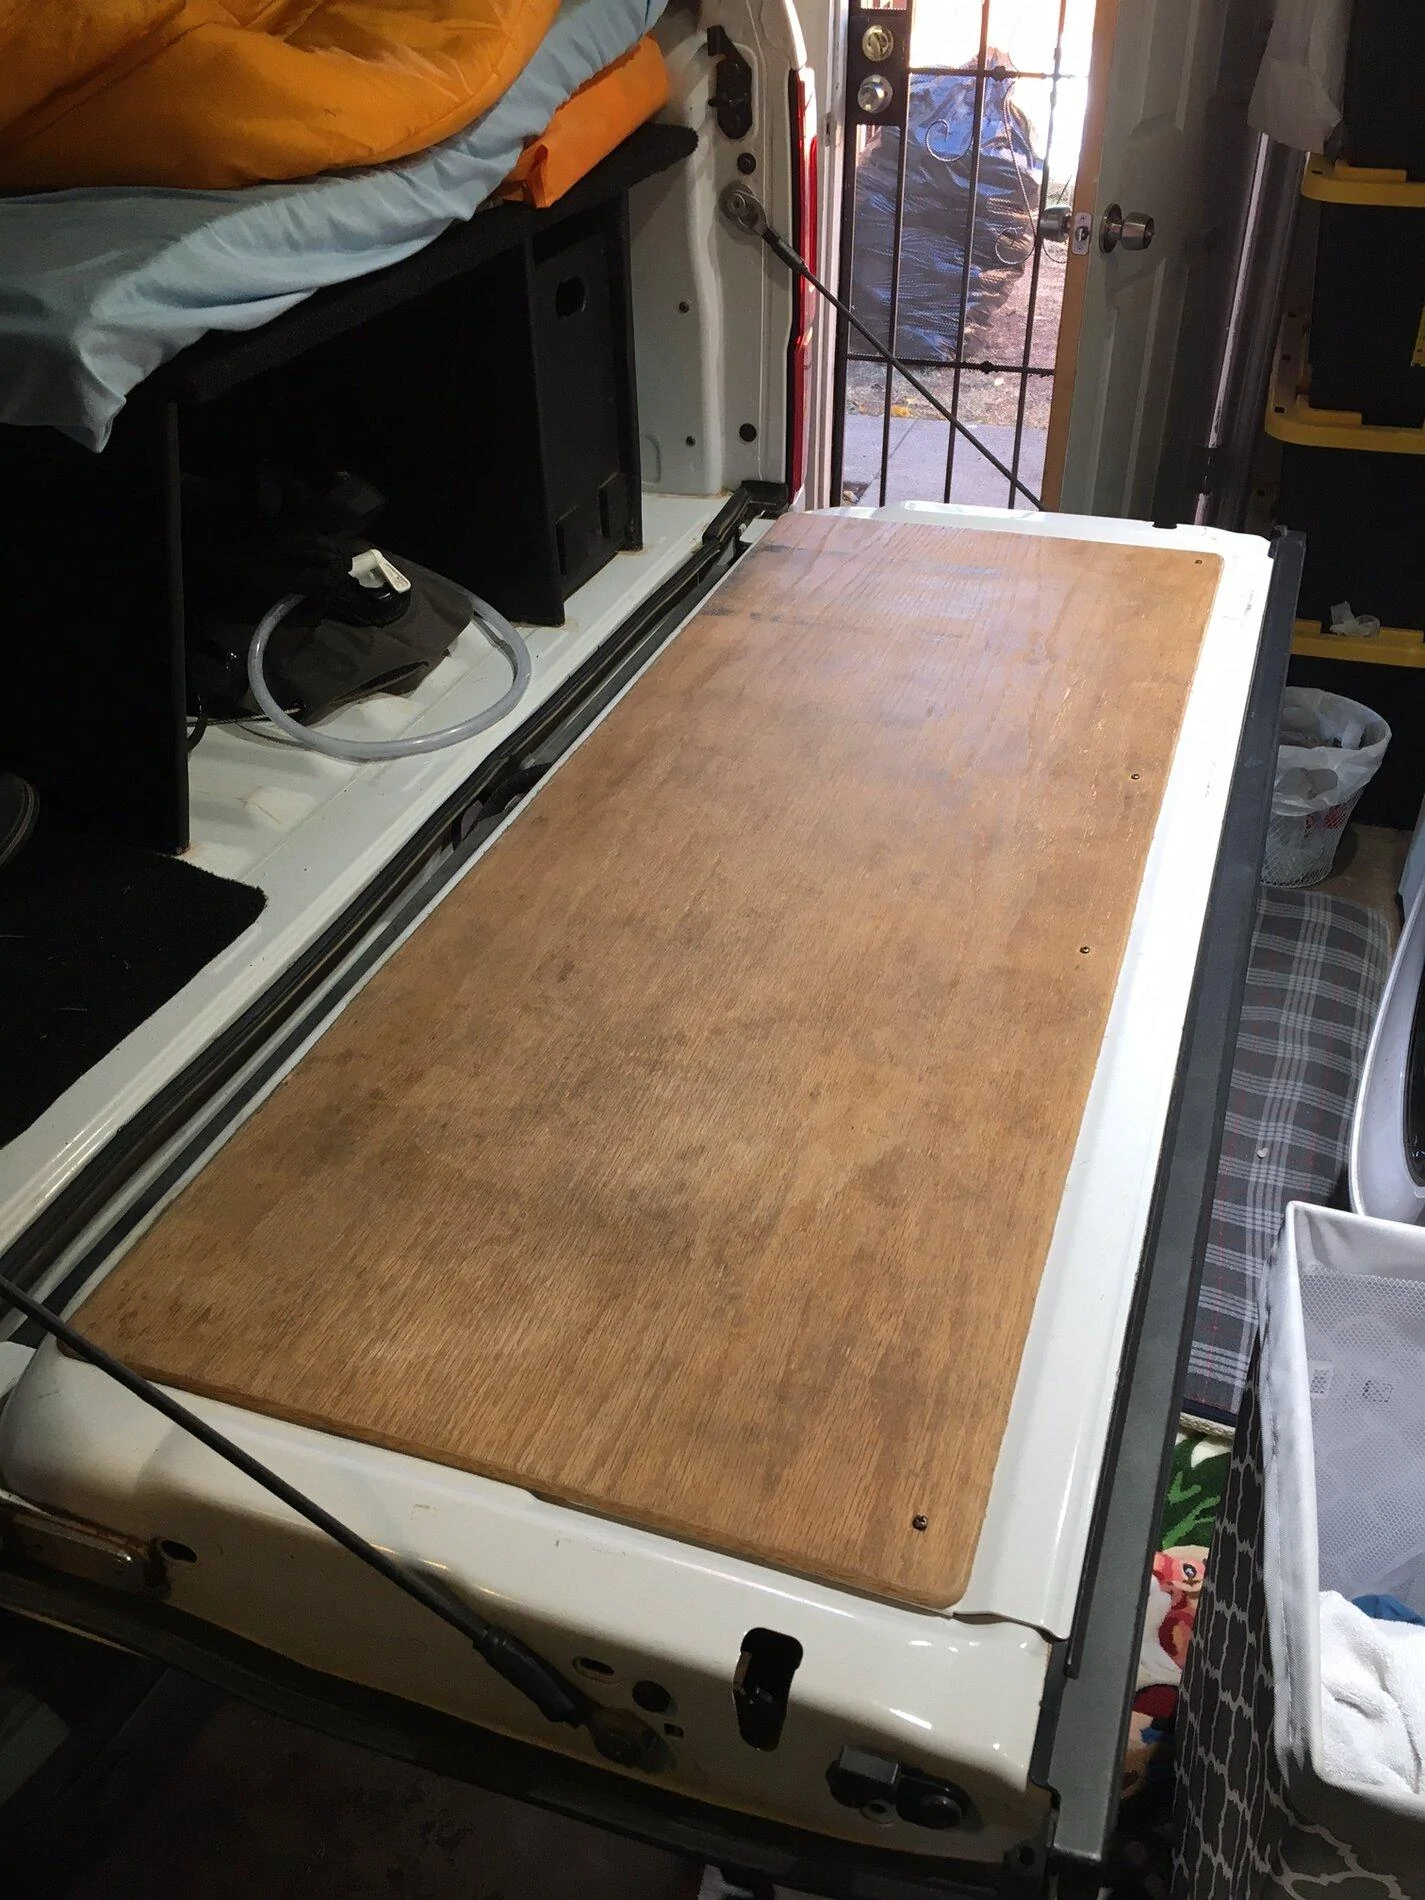
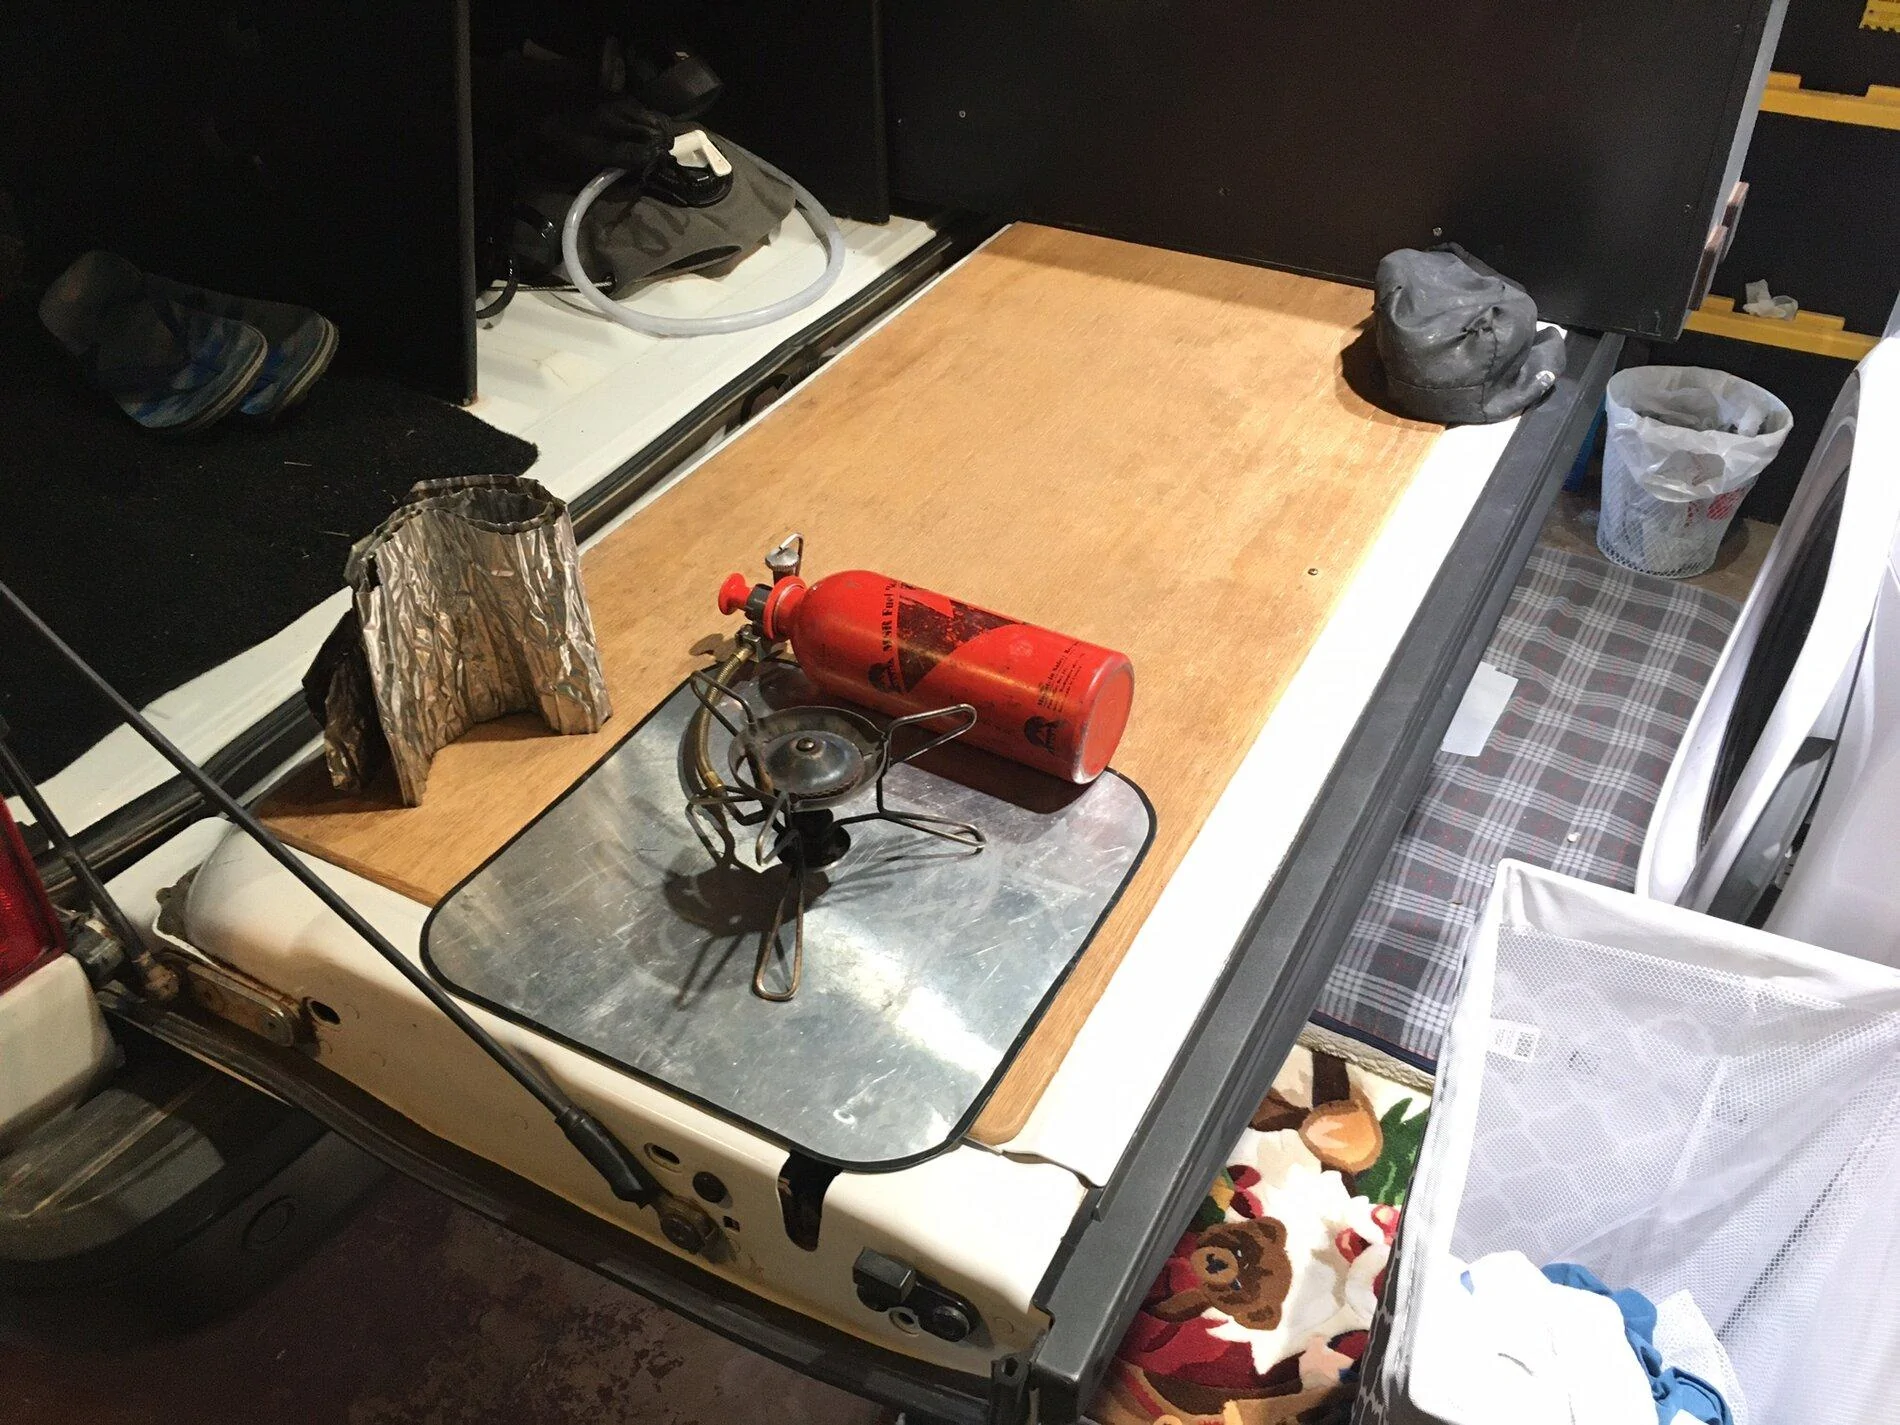
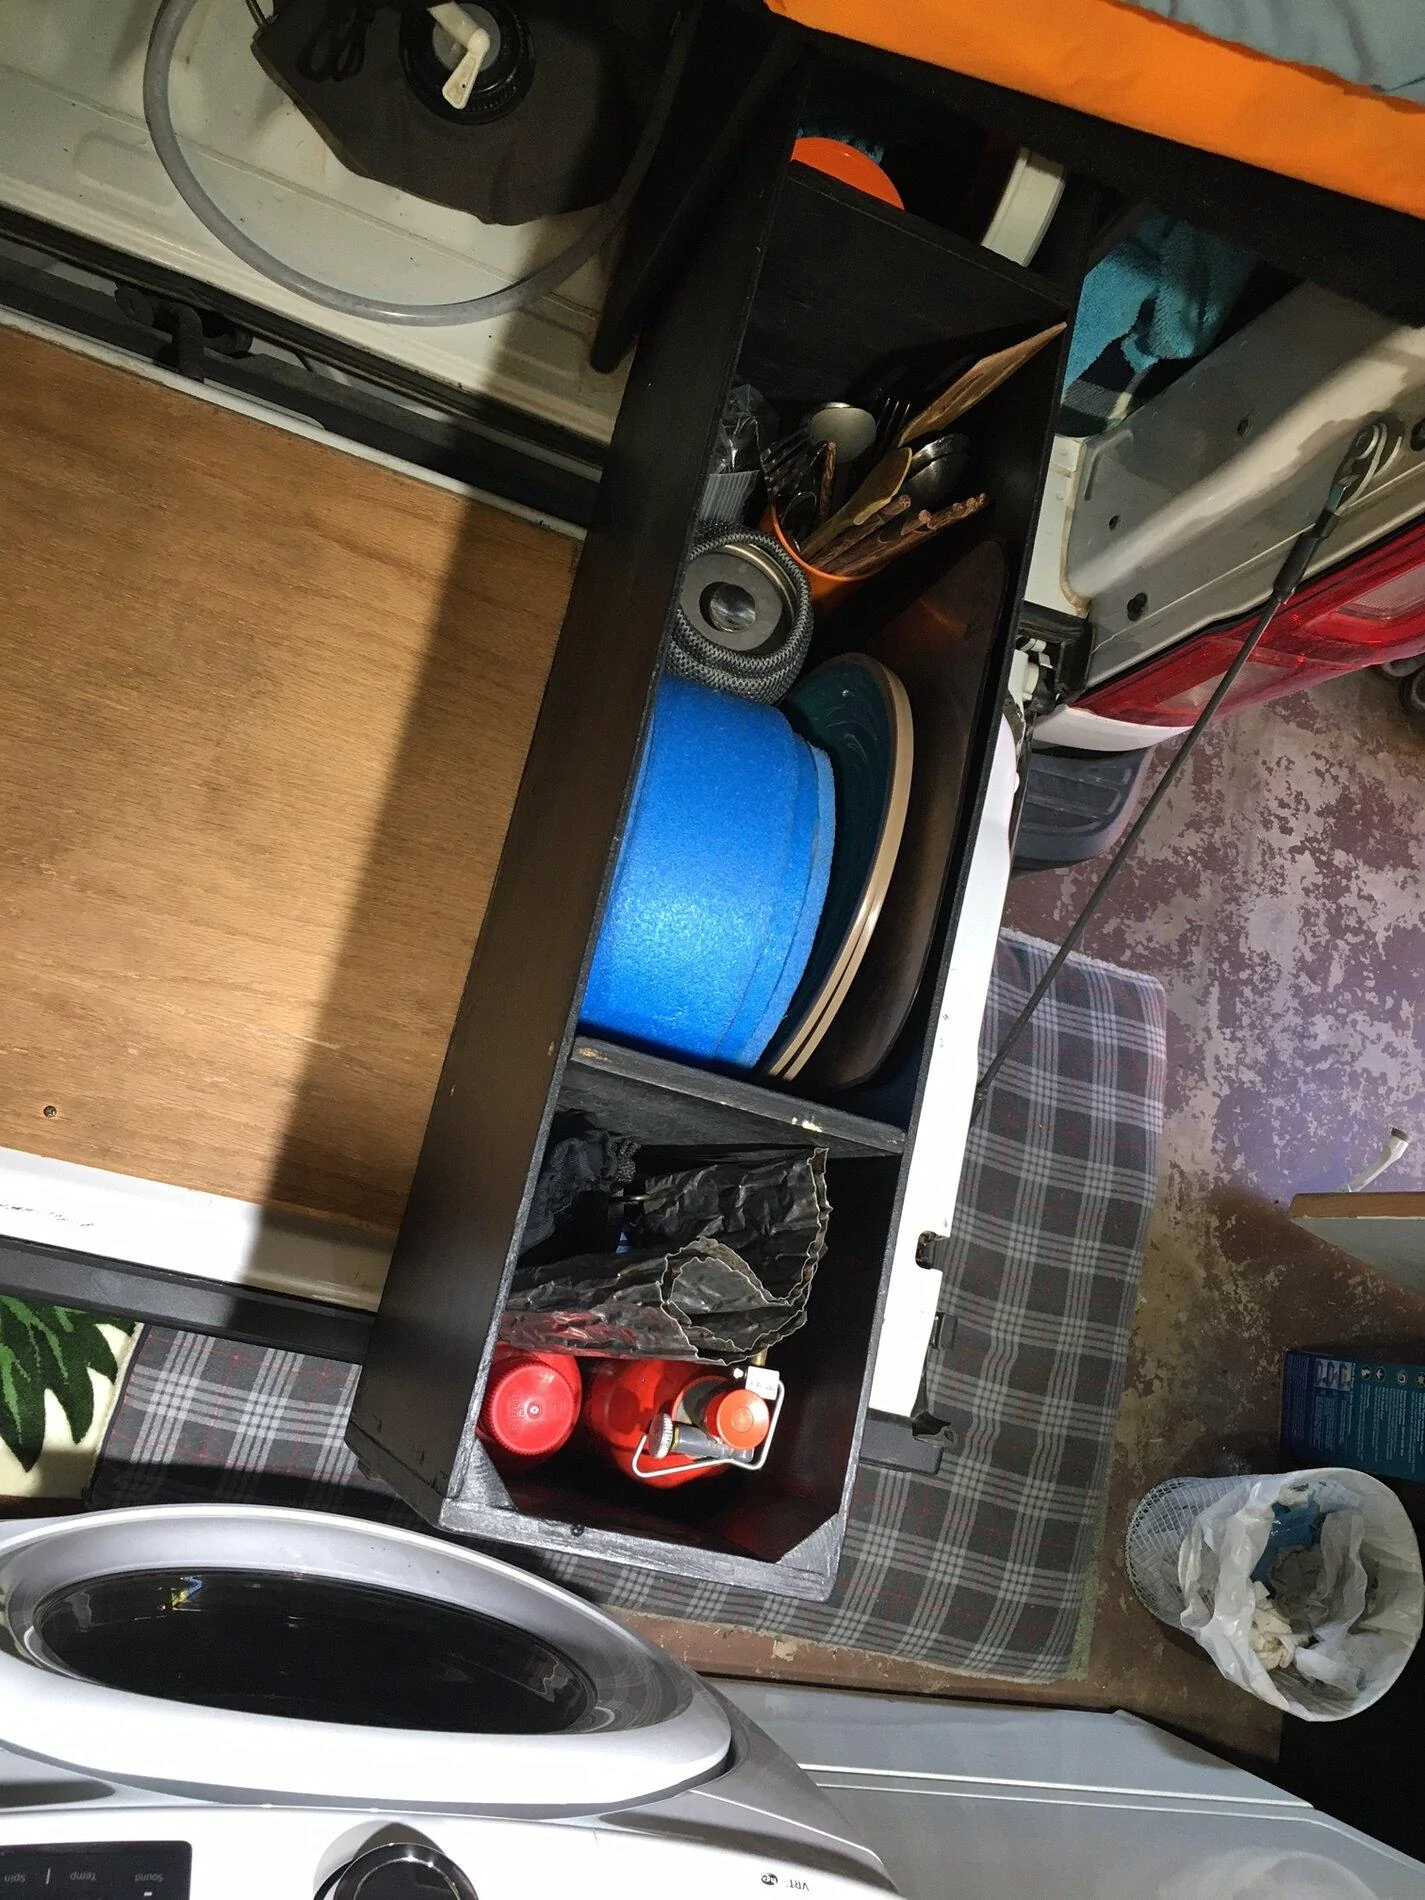
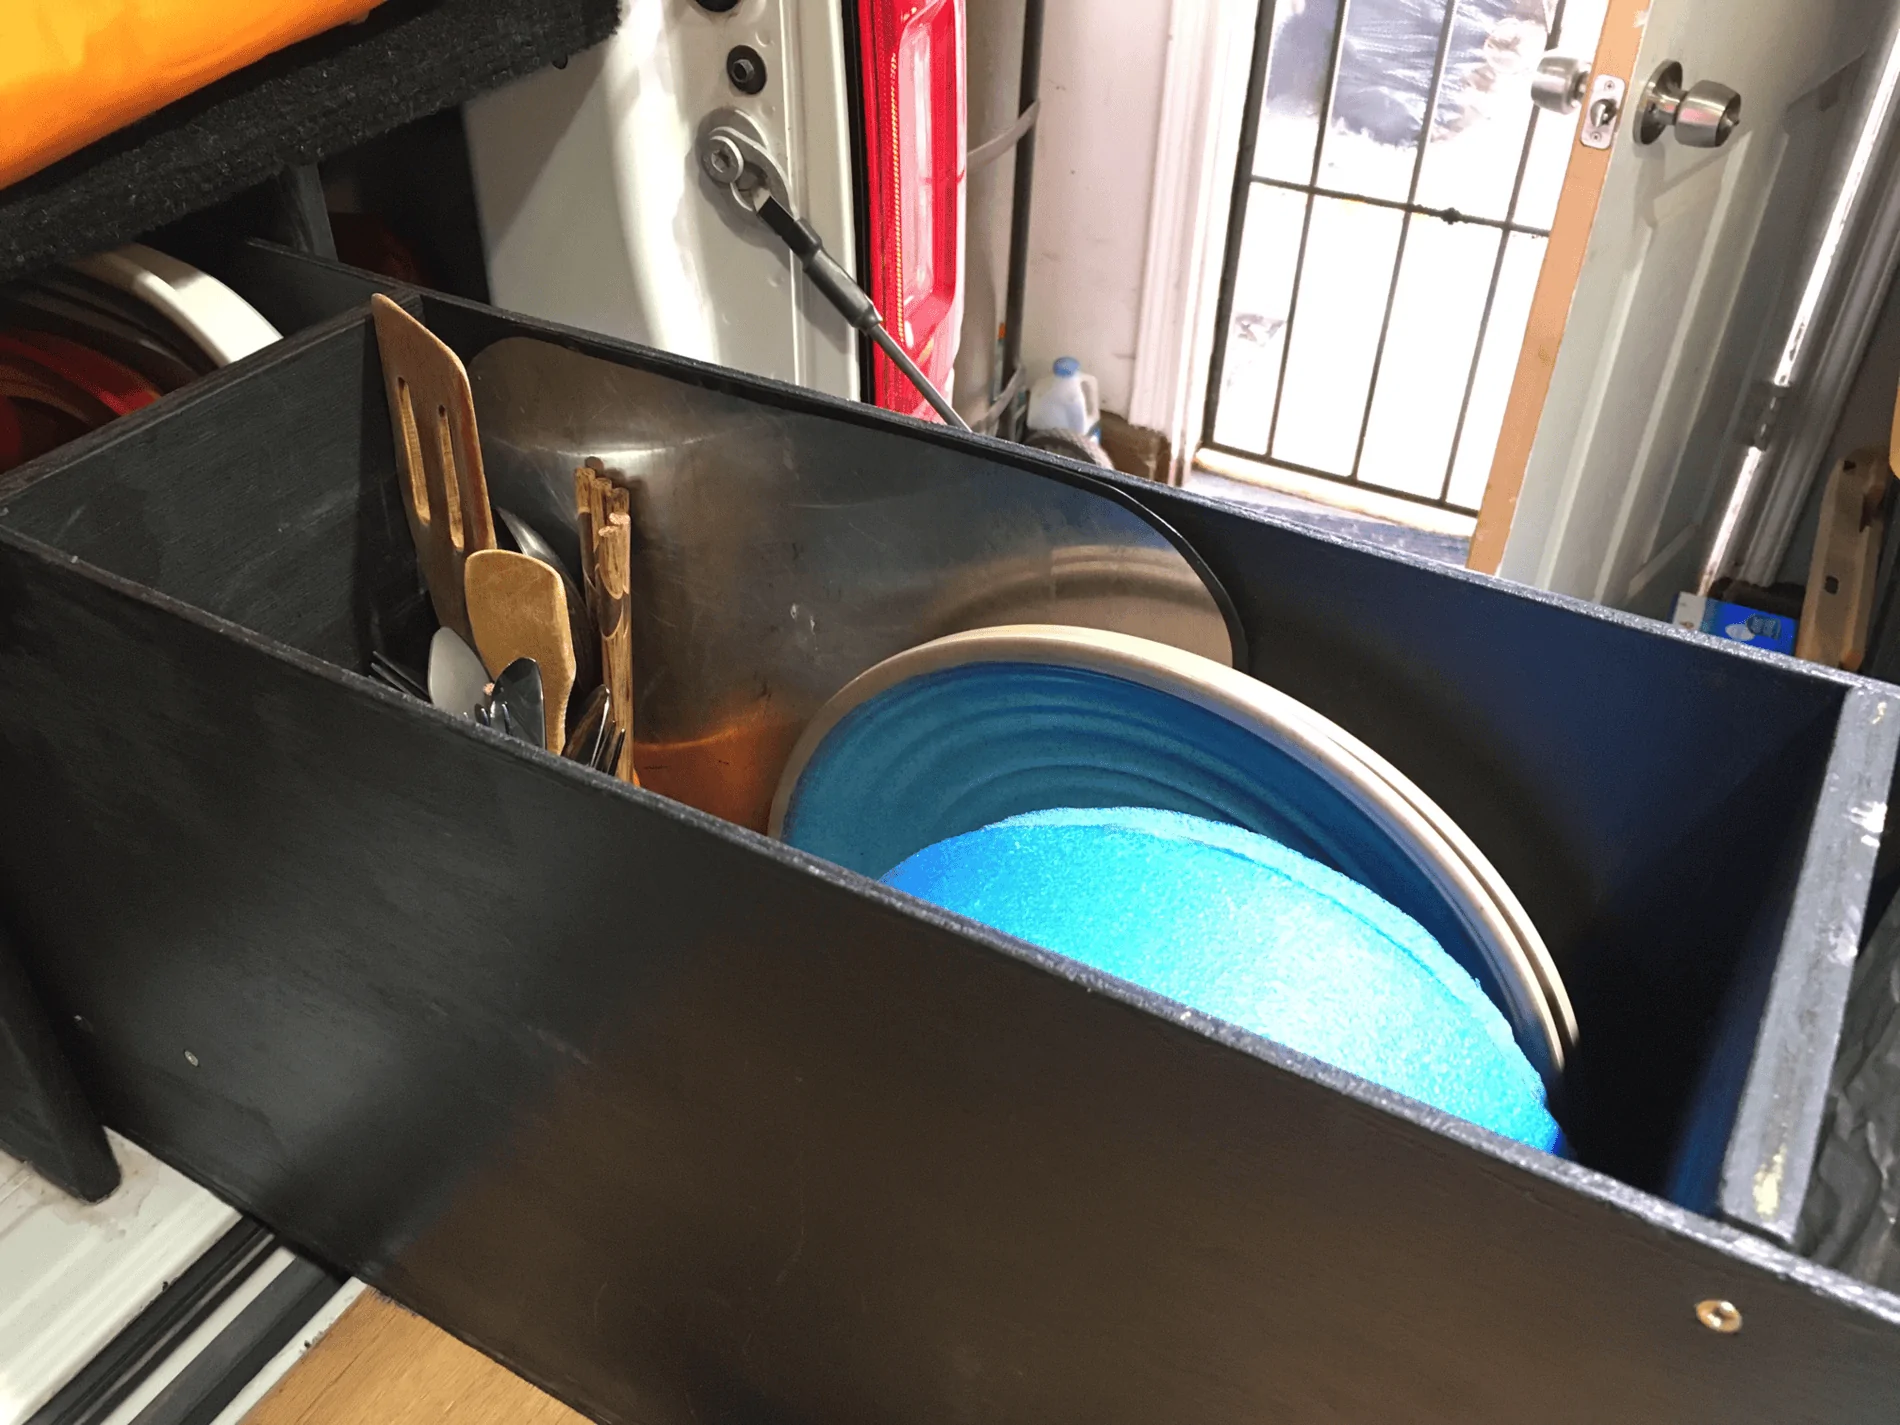
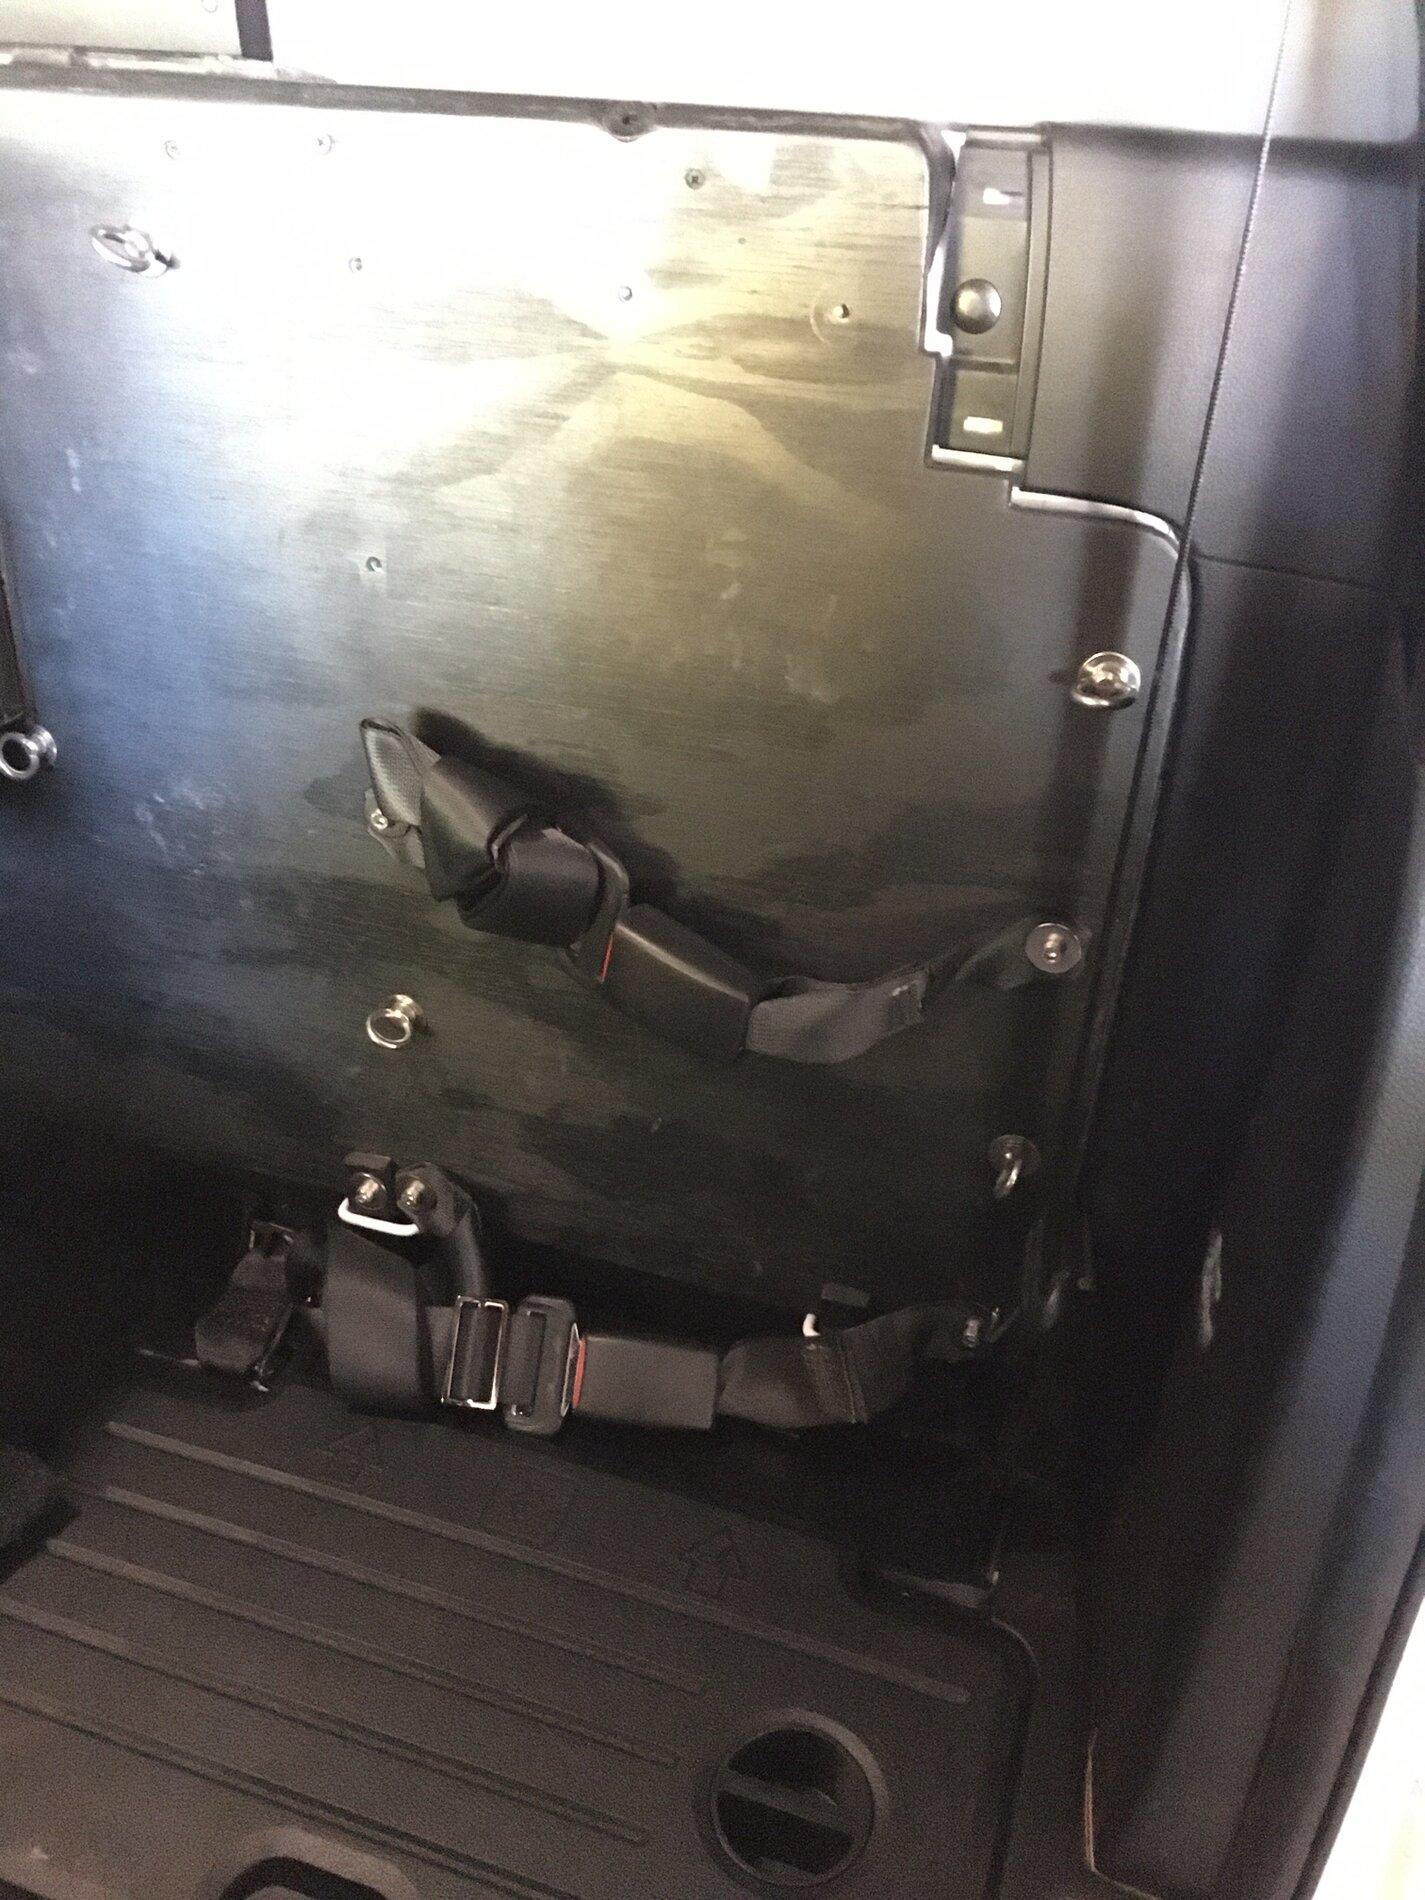
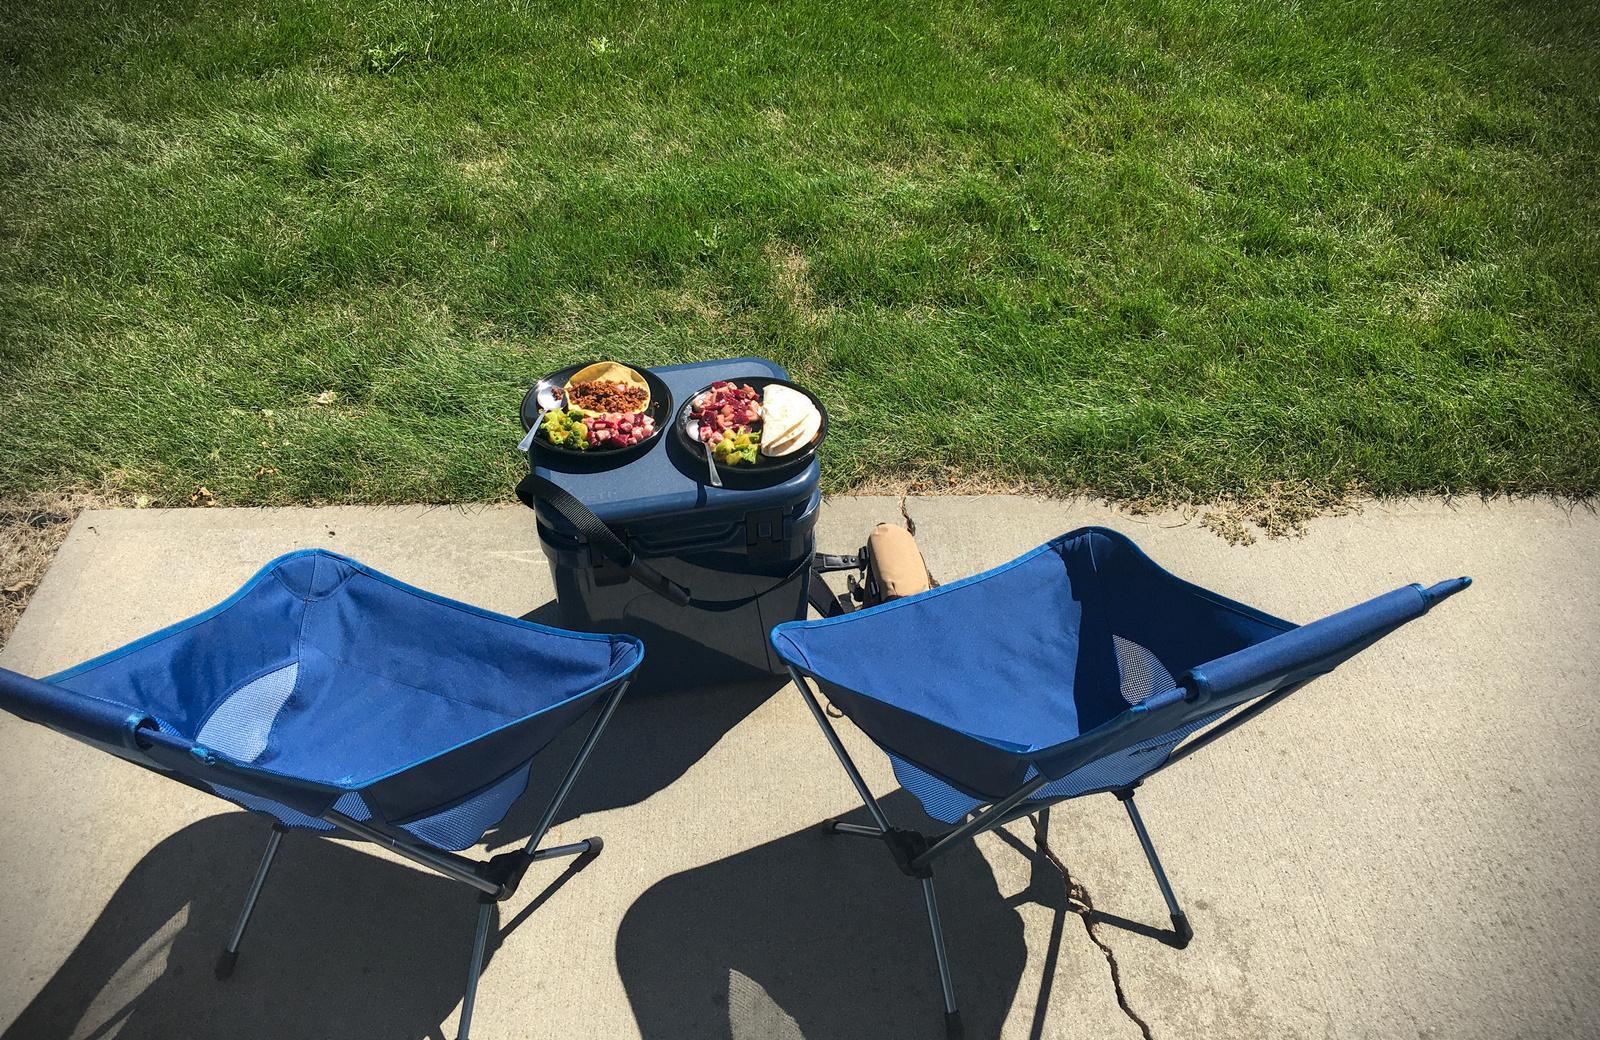
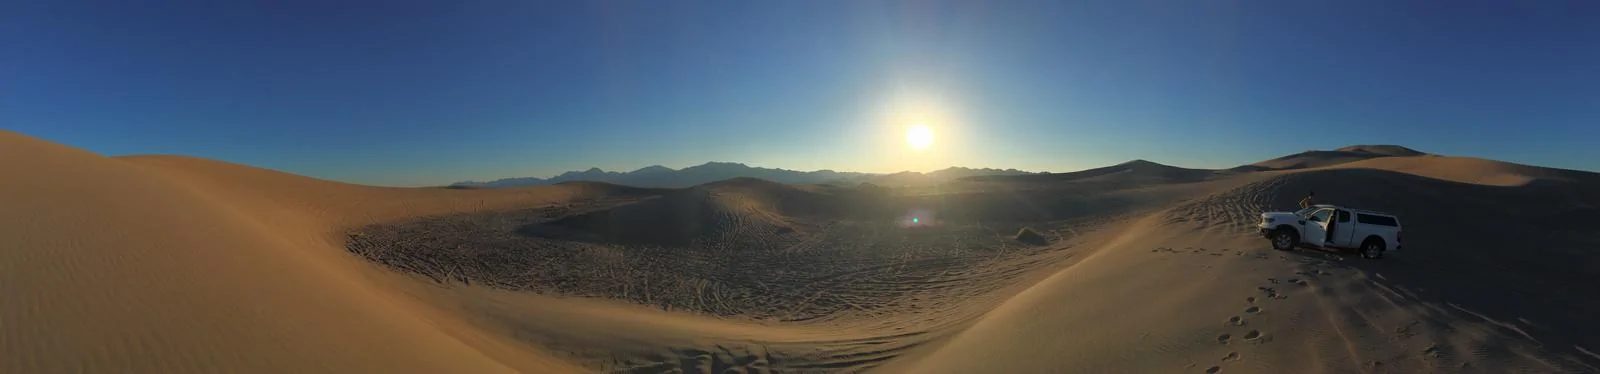
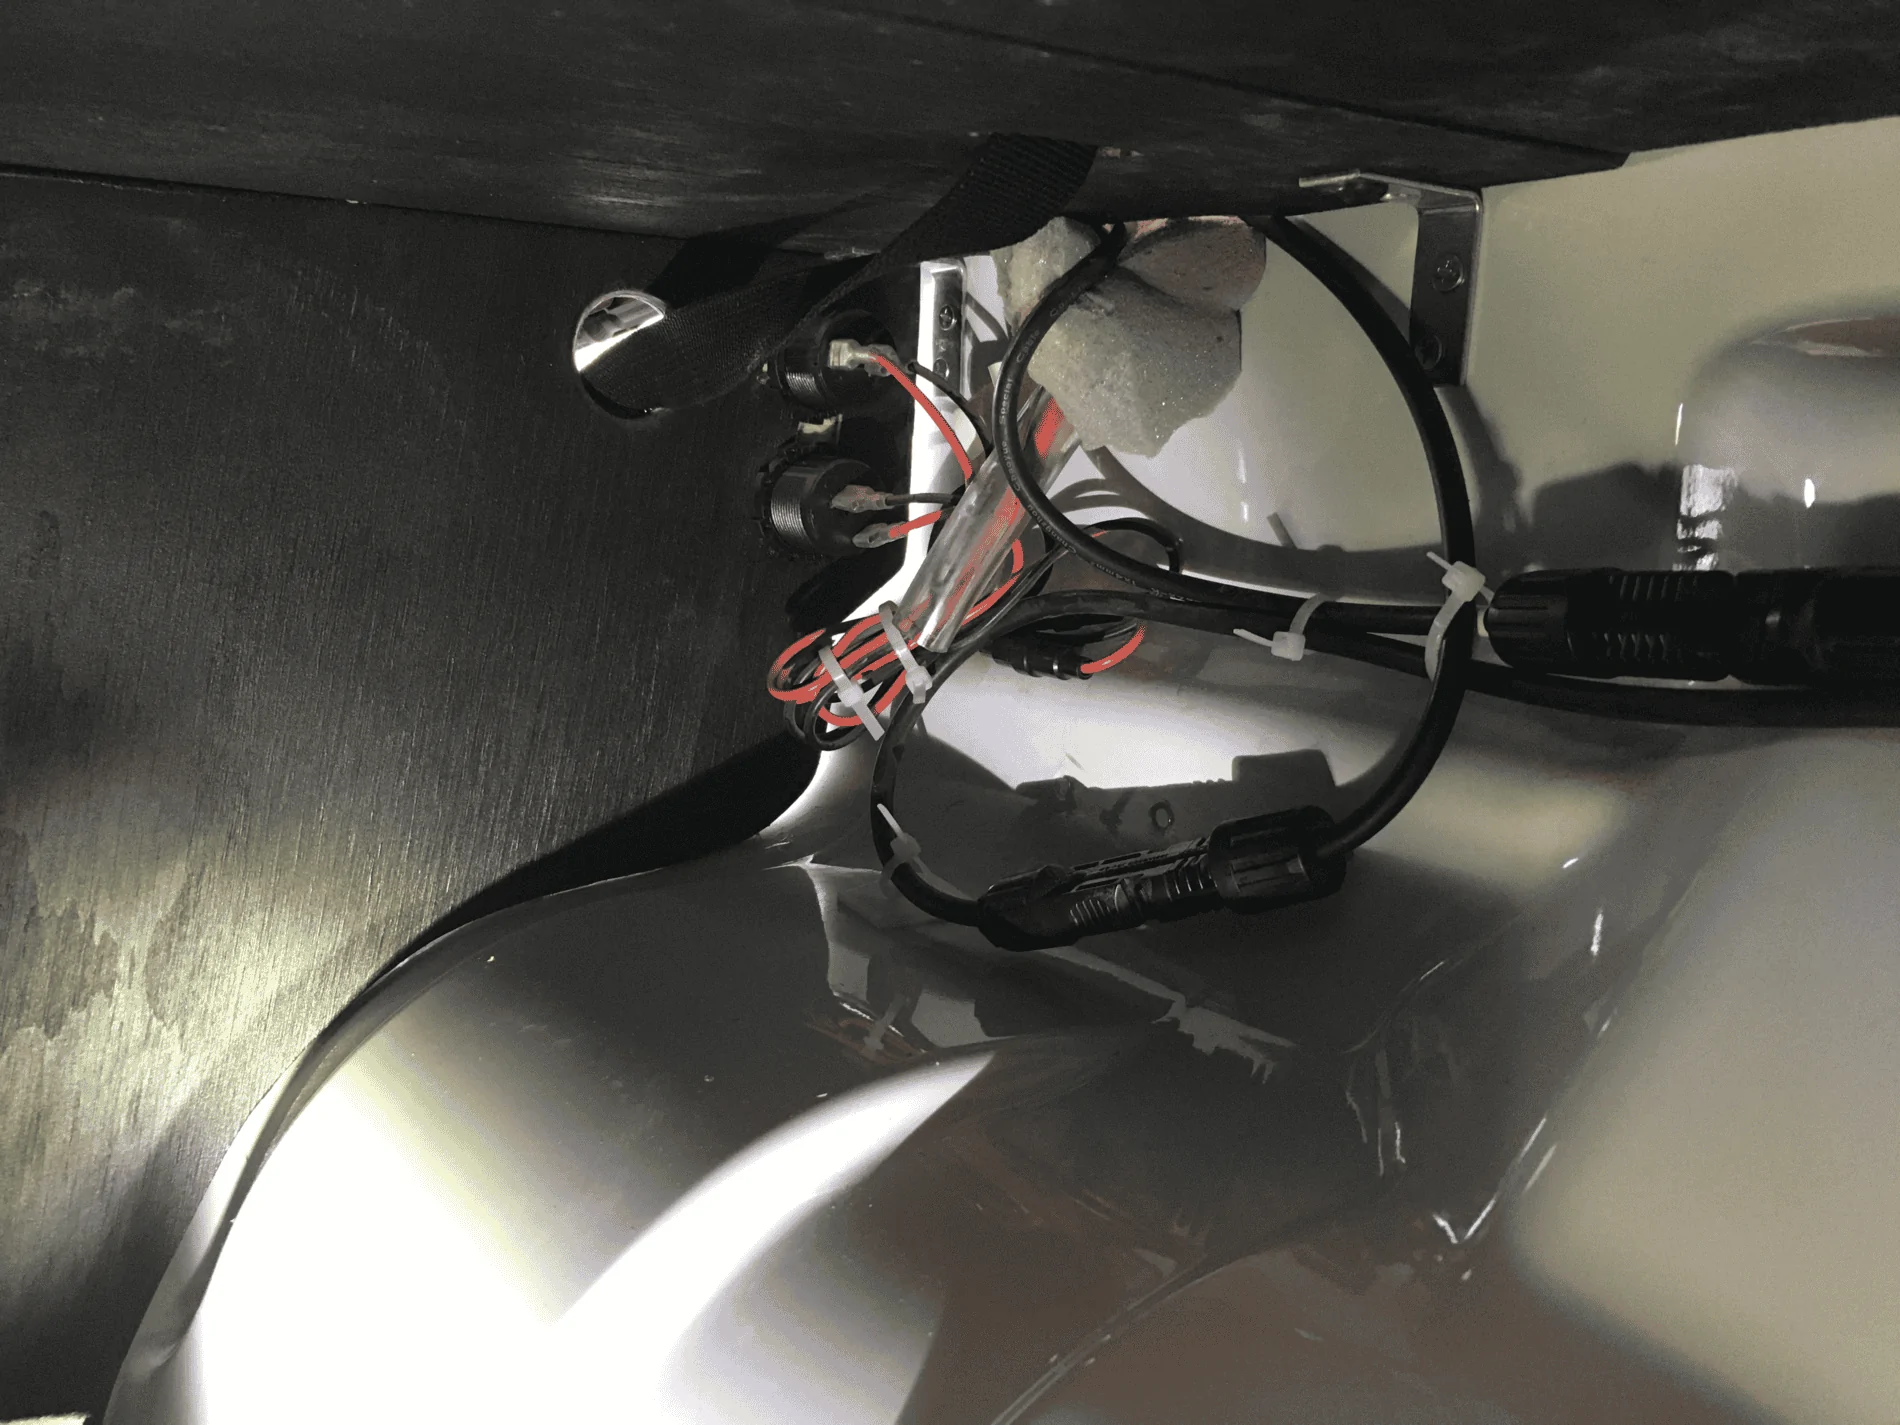
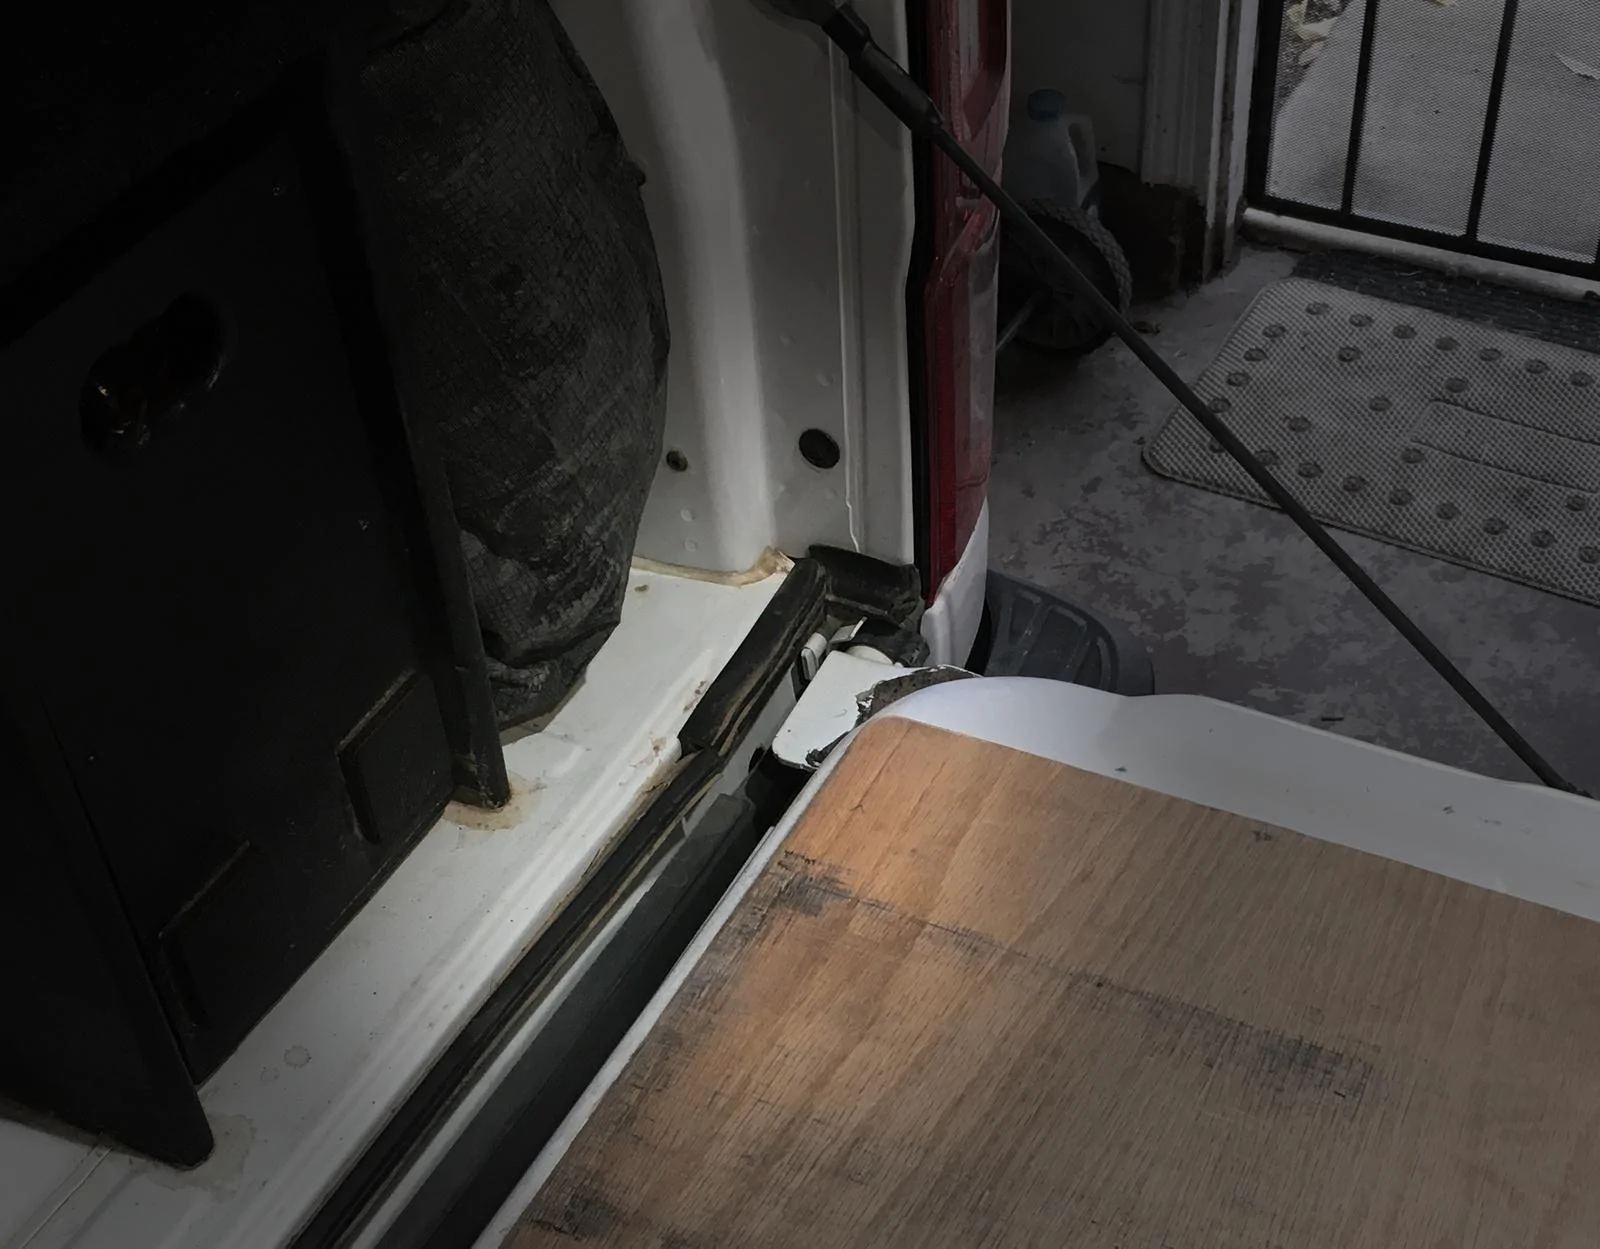
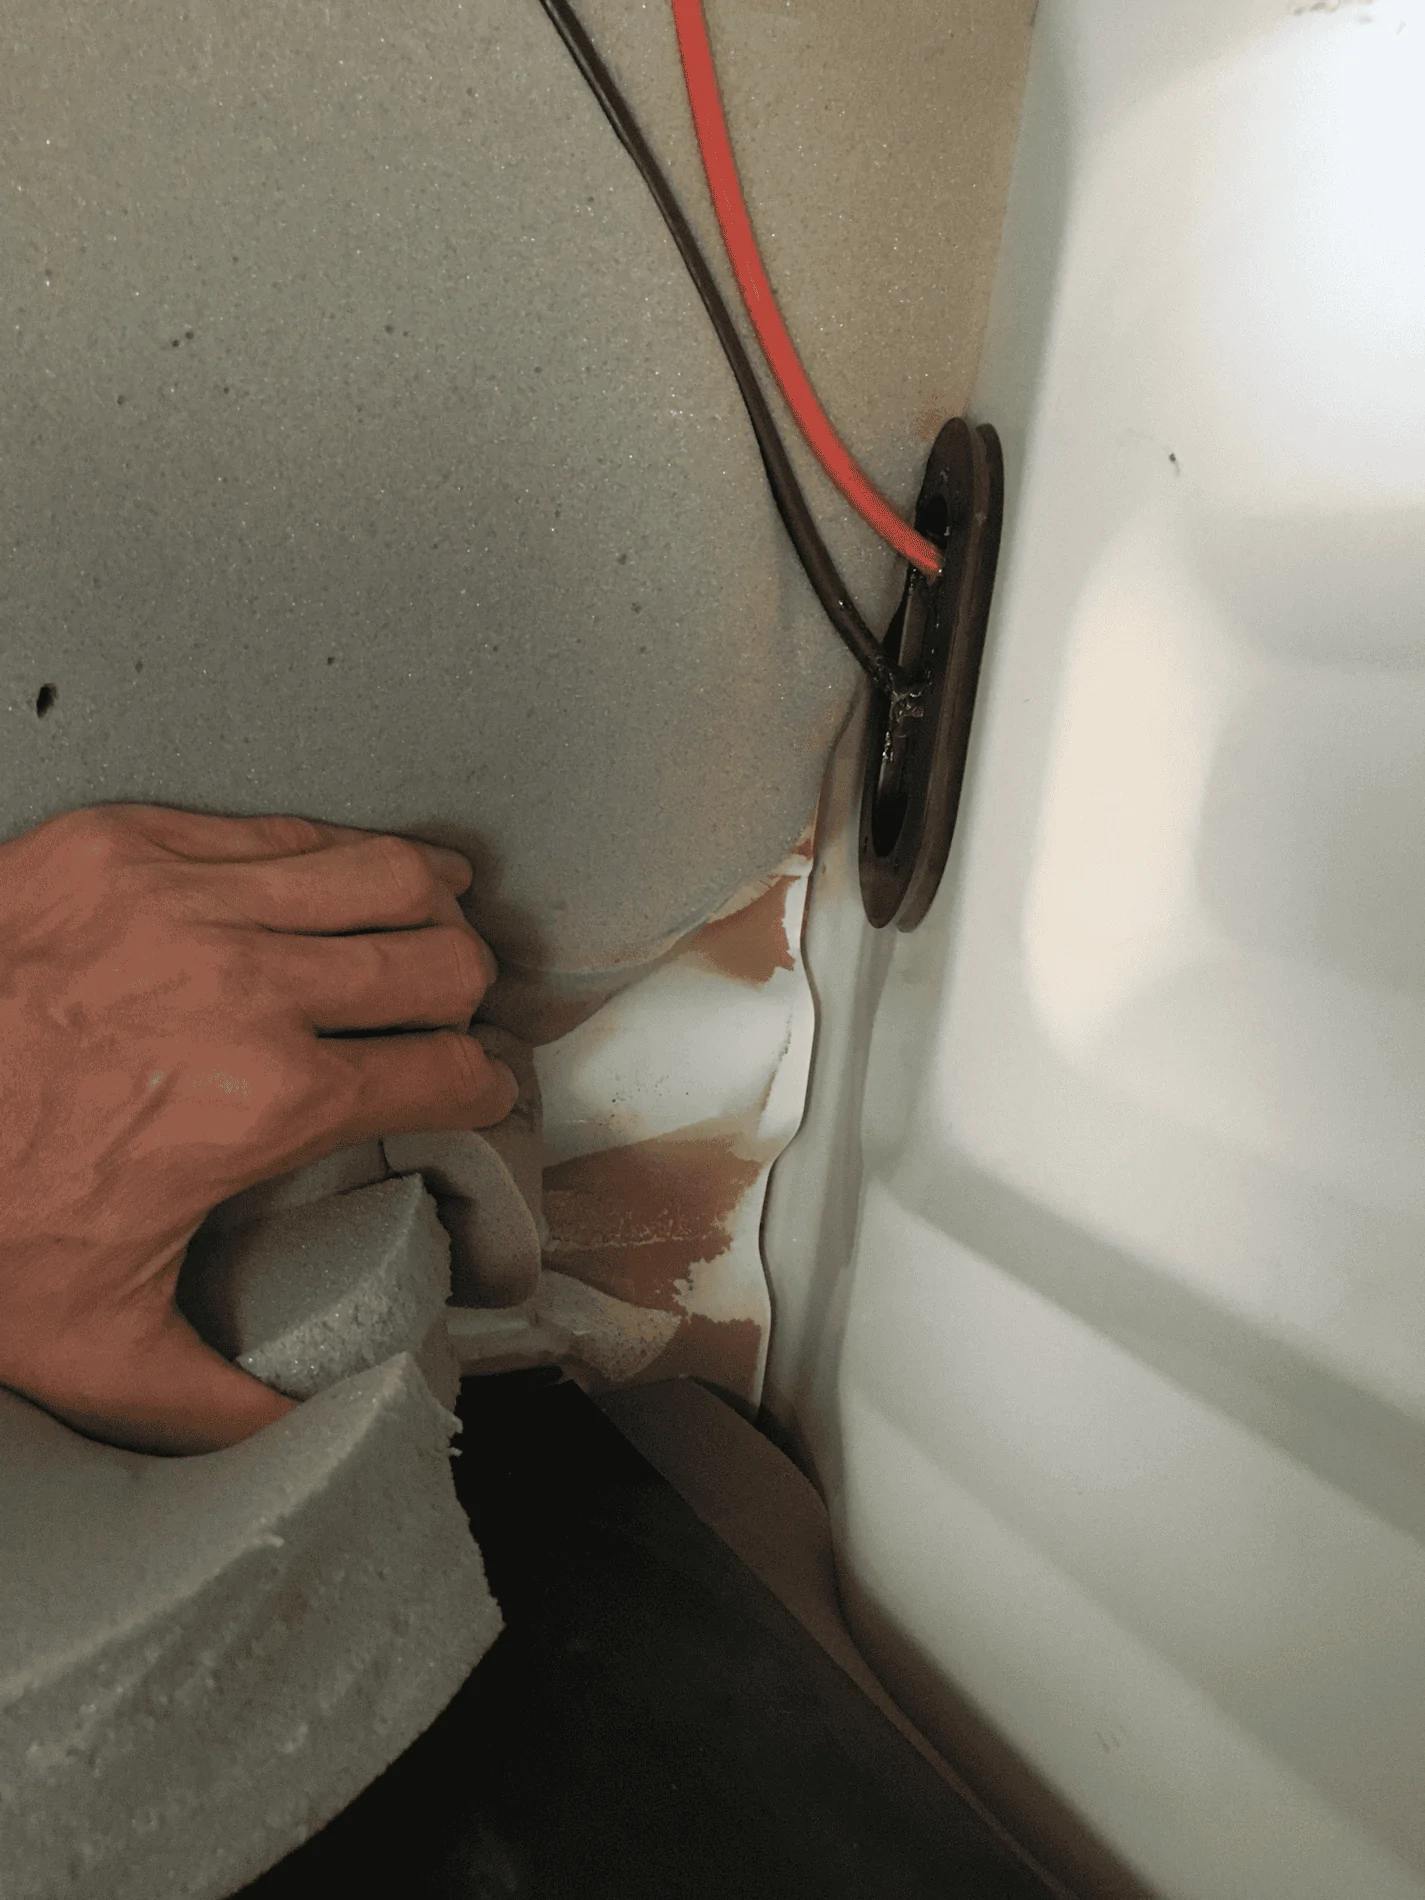
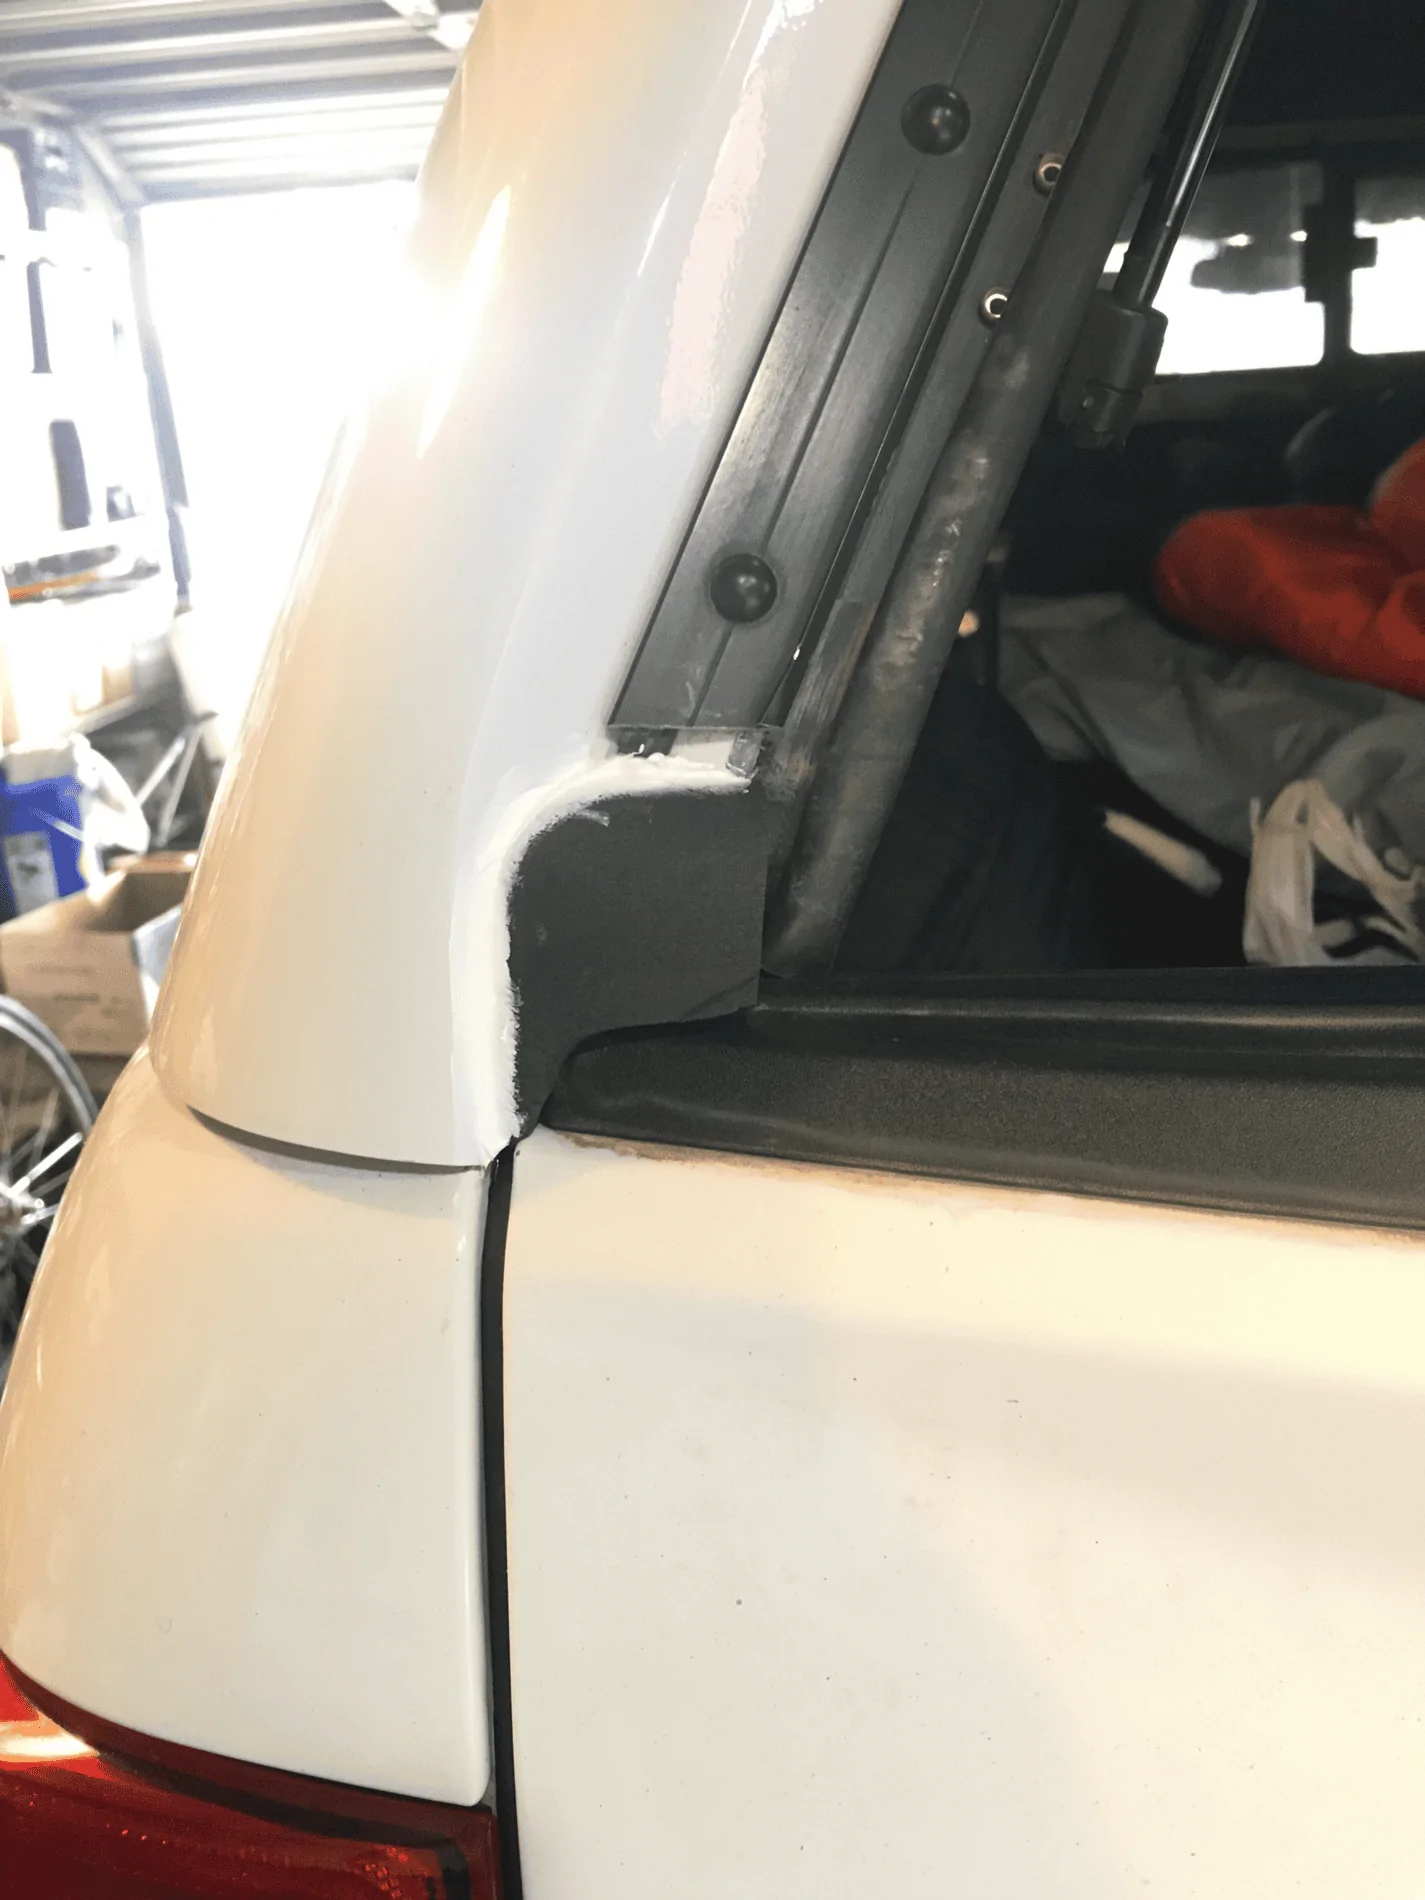
Pretty nice and thorough write up! I've always been intrigued with articles and videos on stealth camping, though I wont have a reason to engage in that myself. I'm going the RTT route in order to be able to store more gear for weekend trips. But I'm in a situation where I will be loading in for a weekend and then loading out. In between my truck will return to daily driver configuration (except I don't actually daily drive it) for errands and such and I want some bed storage capacity. I like the idea that, with your setup, you could pull over to a truck stop, or Walmart, or anywhere really and sleep for a night and no one would be the wiser!
Sponsored
")