Sponsored

Expedition One front bumper install

D60

Member
Joined
Feb 10, 2024
Threads
1
Messages
17
Reaction score
14
Location
CO
Vehicle(s)
JL
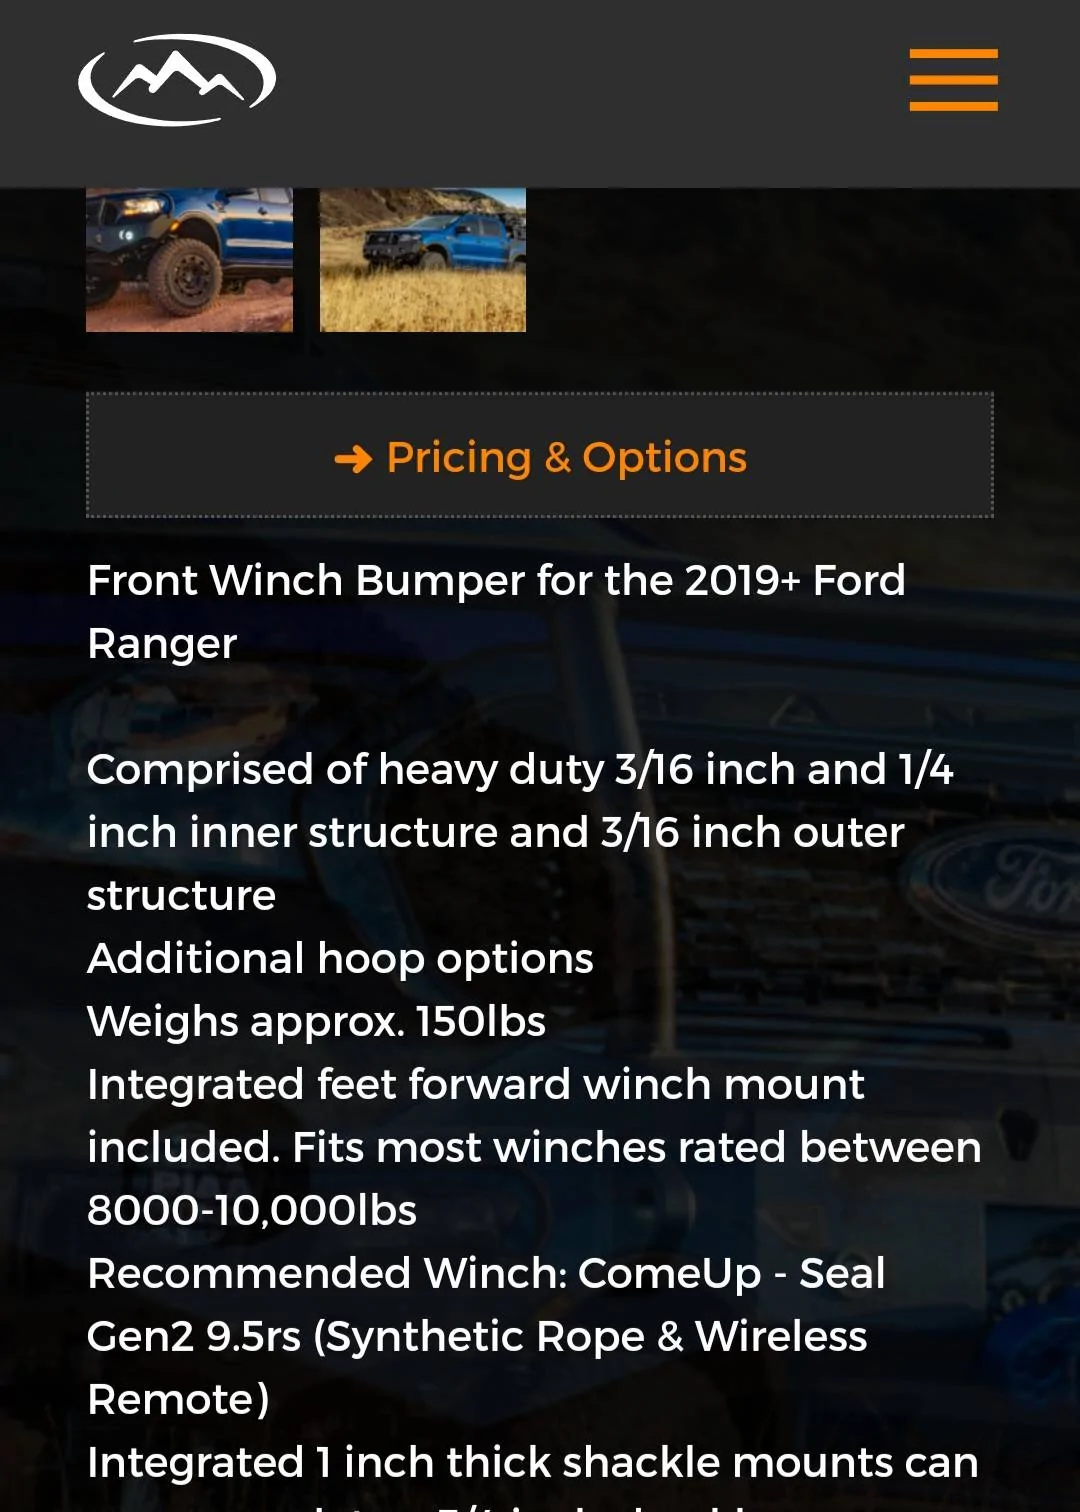
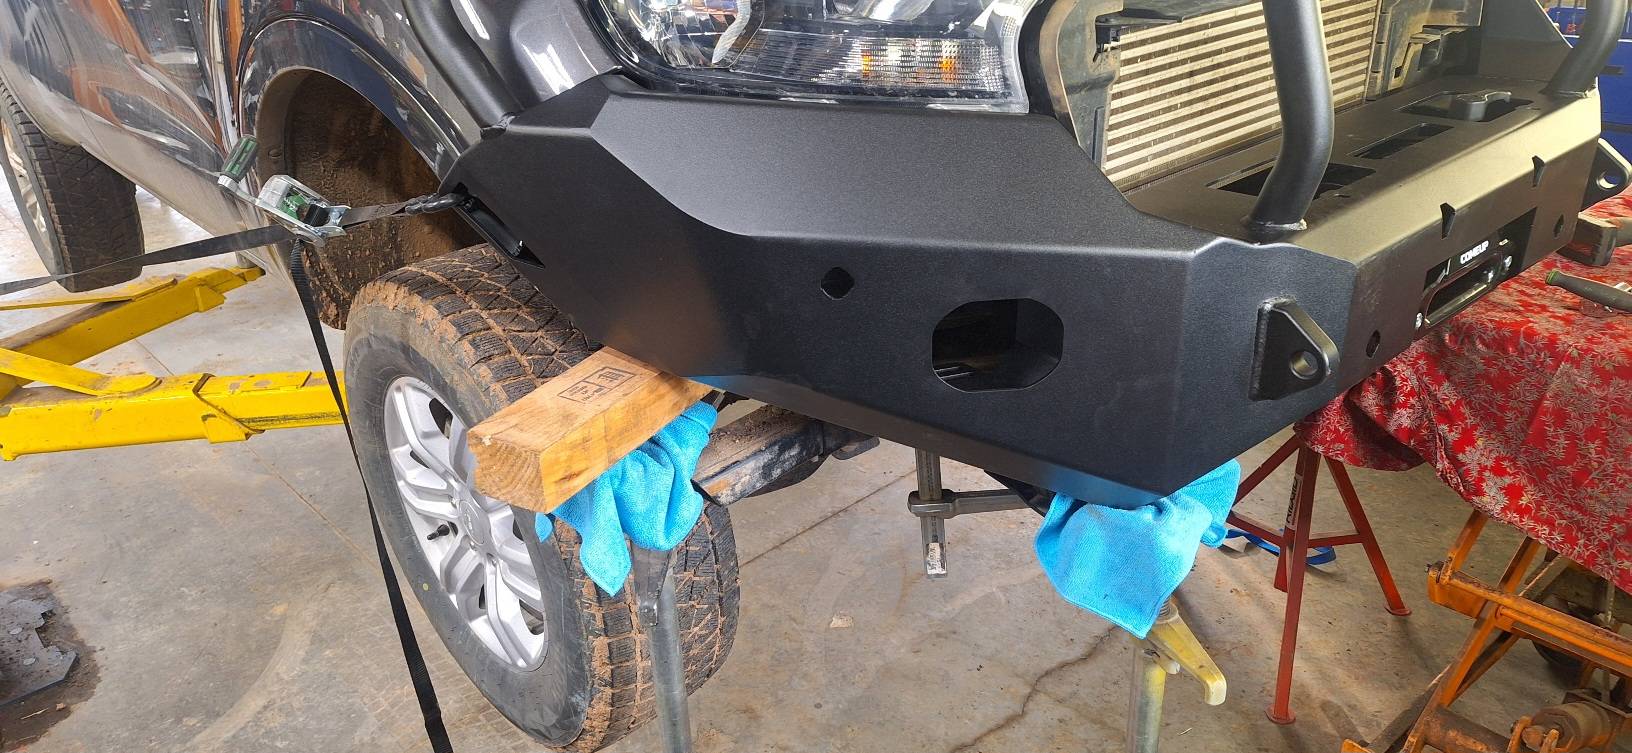
I just installed their front bumper on a '19 and would like to share some thoughts.

First, while this will contain many (relatively small) criticisms, I'd like to say I believe the overall product and concept is awesome. I think the biggest thing E1 has going for them is bringing the bumper all the way up to the headlights and eliminating the front fascia. This is difficult to do from a fabrication standpoint.

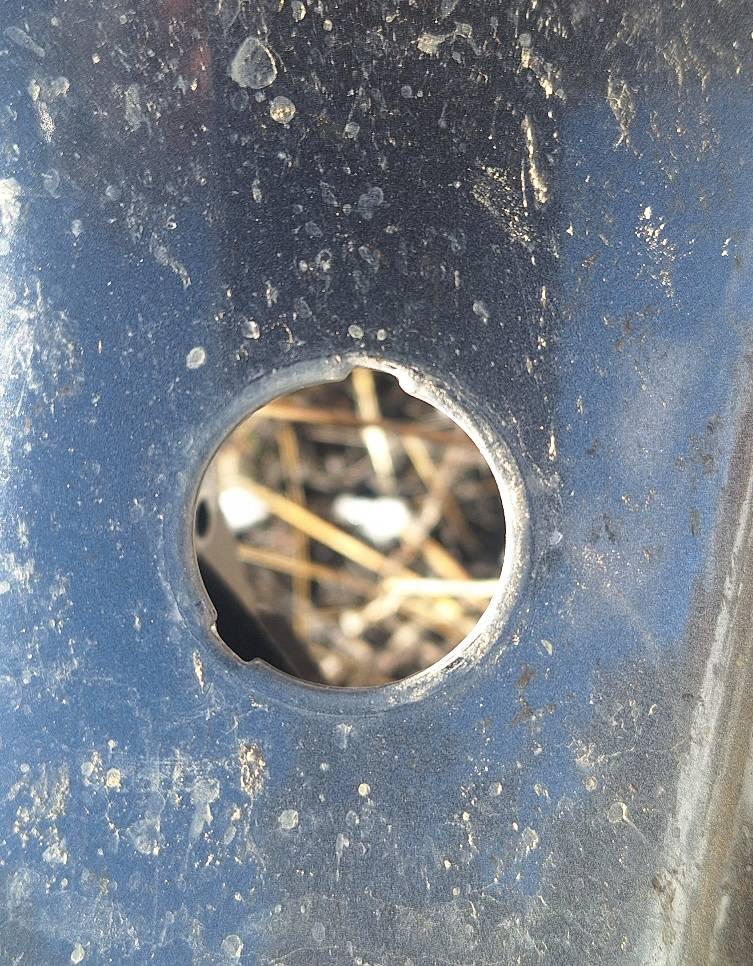
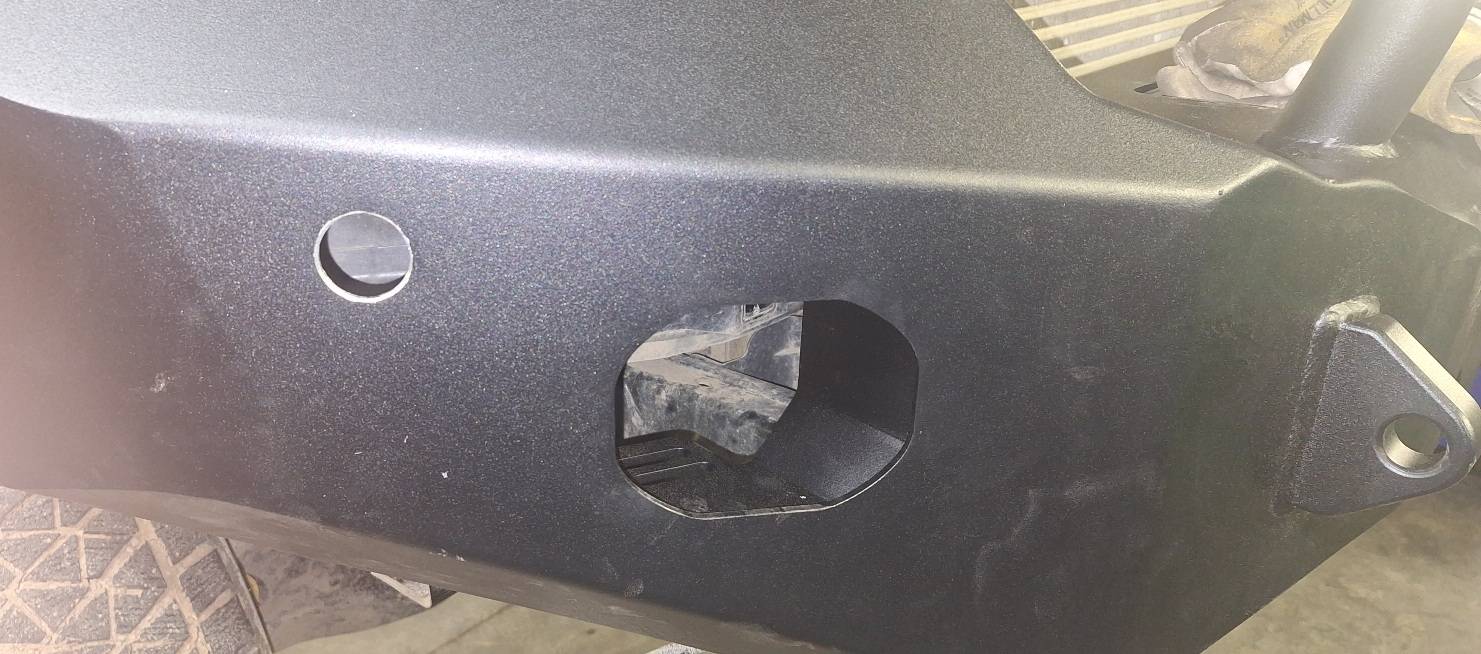
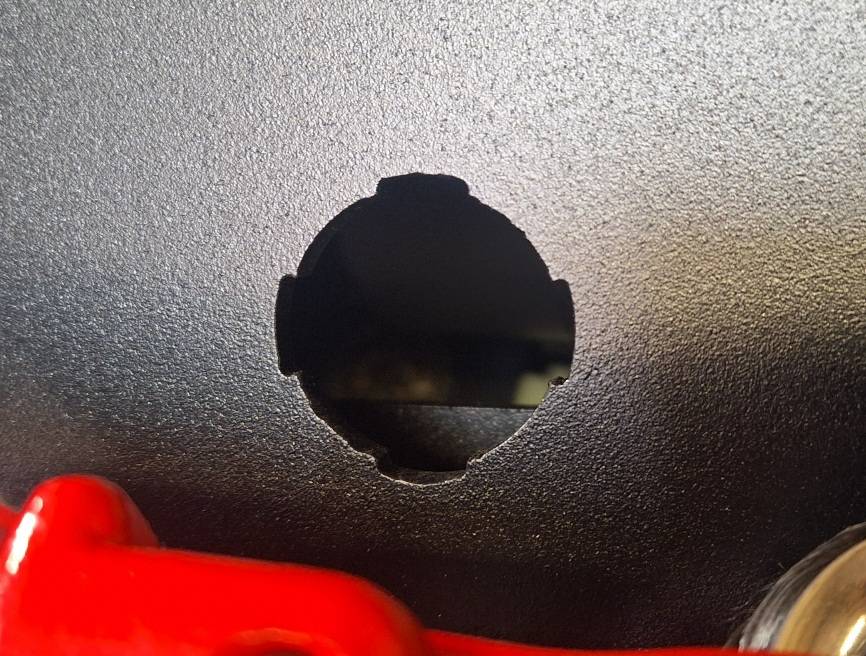
Also, the integrated side marker cutouts are really slick (but more on that later).

For what you get here the price -- if I'm correct in believing it's ~$1900 -- is a good deal. This is not my vehicle and I didn't select the bumper or winch so I'm not sure of exact pricing.

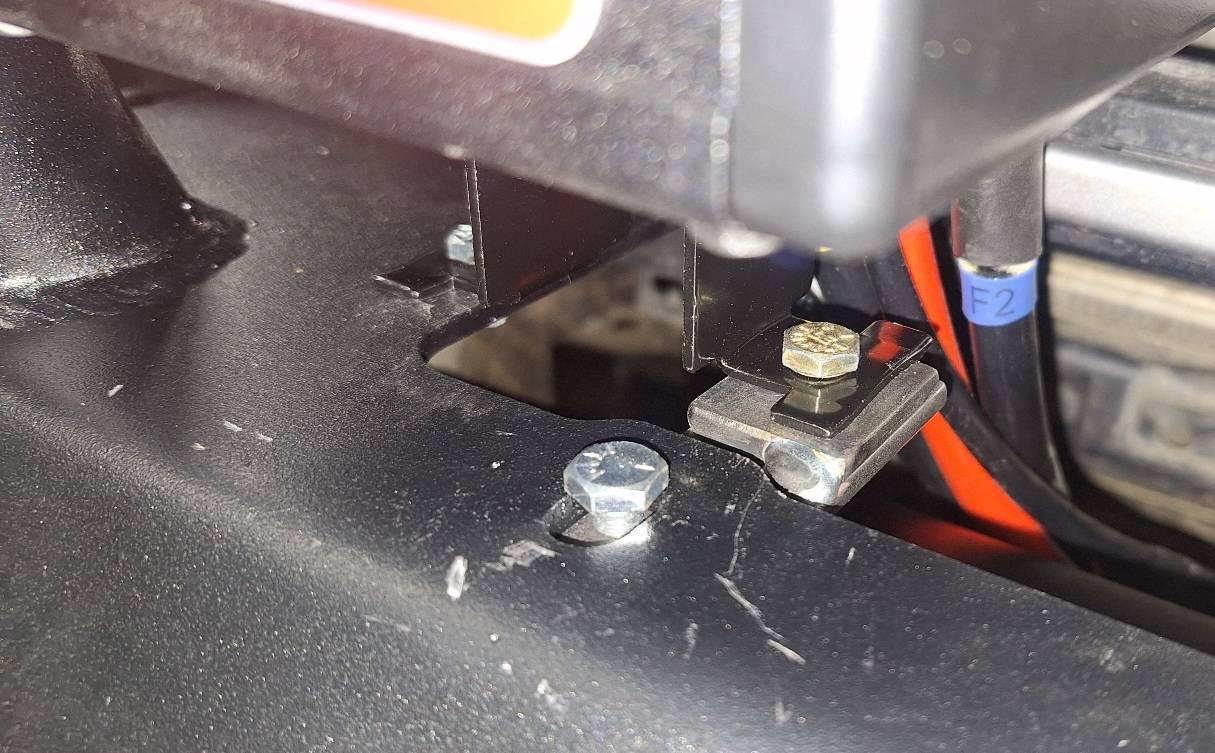
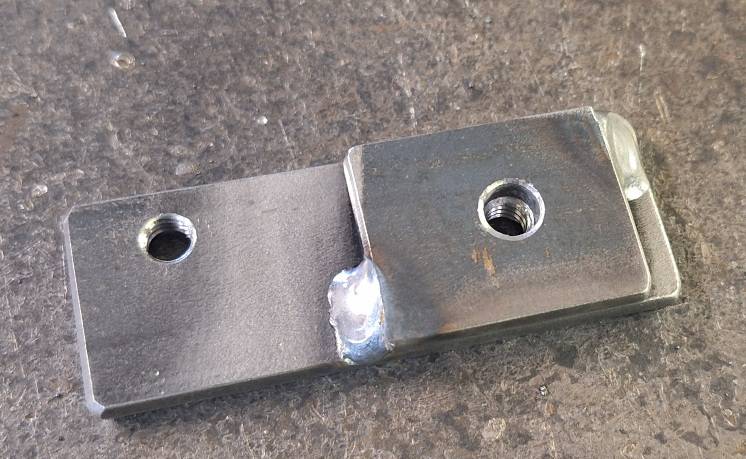
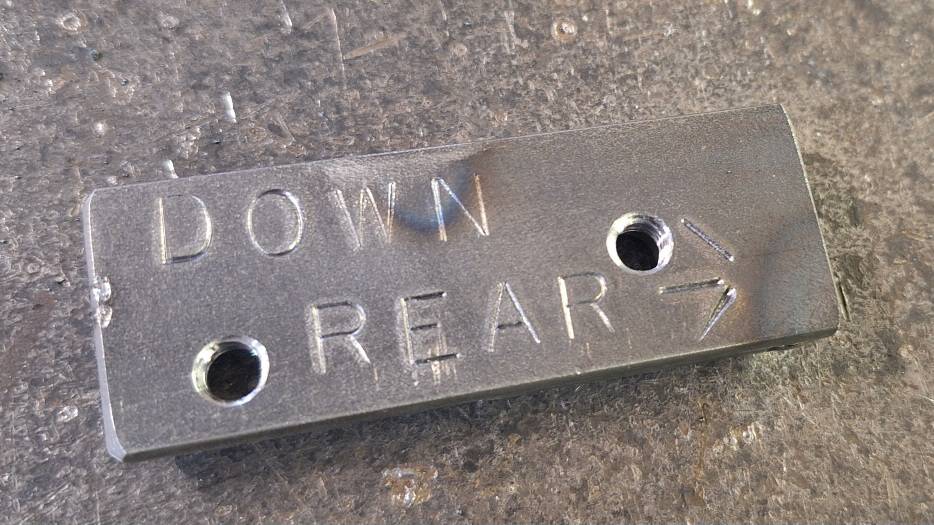
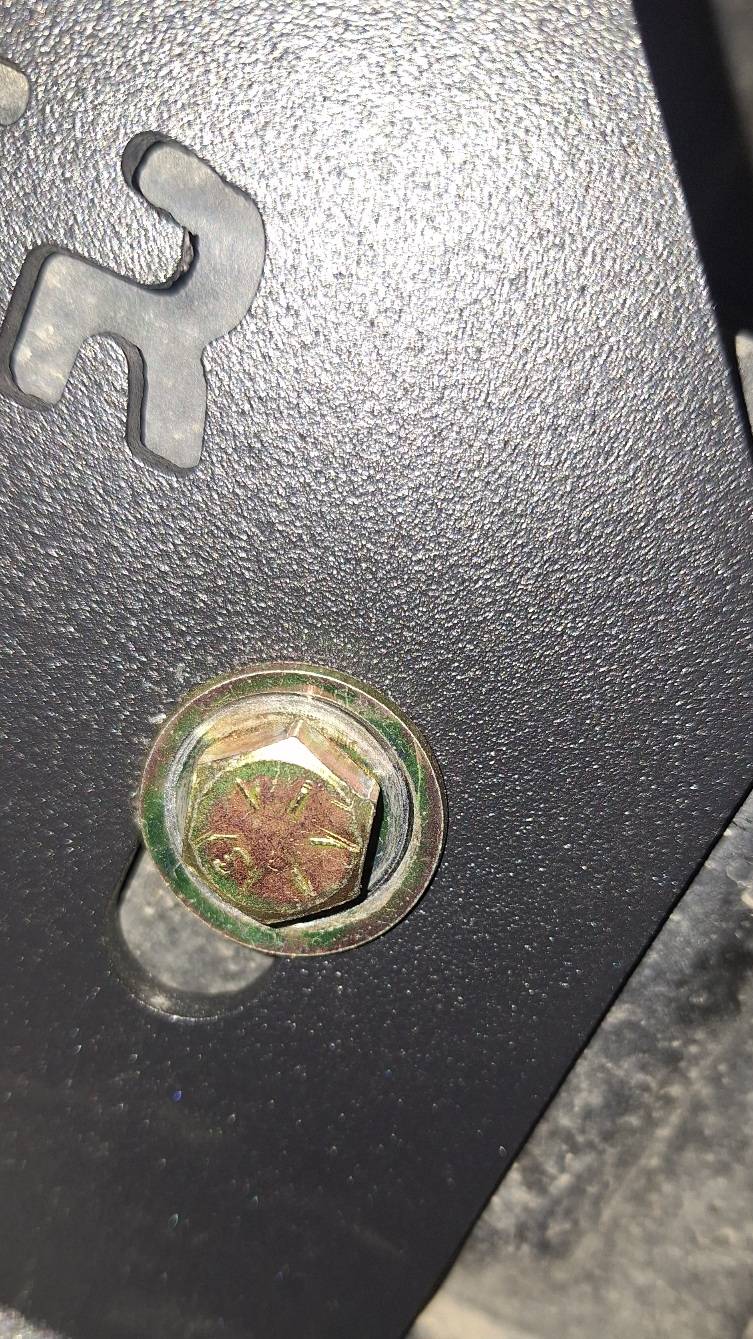
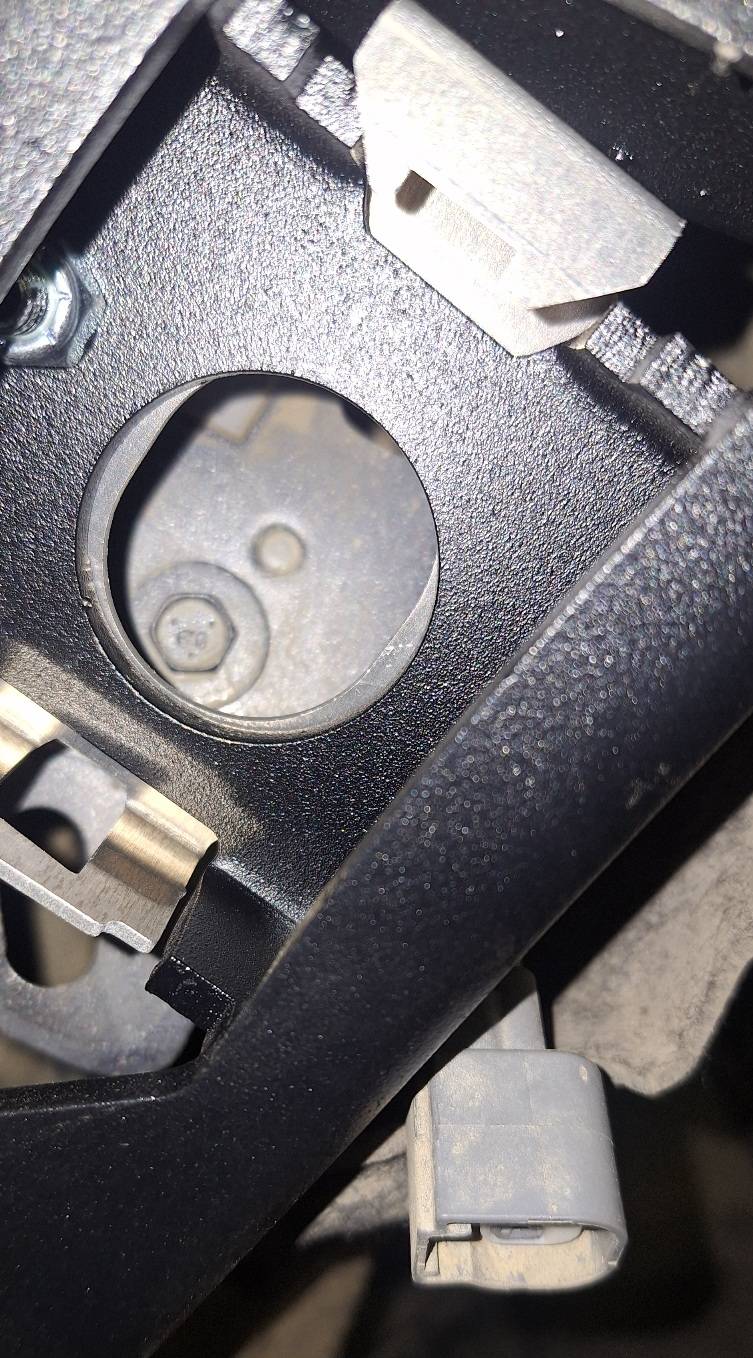
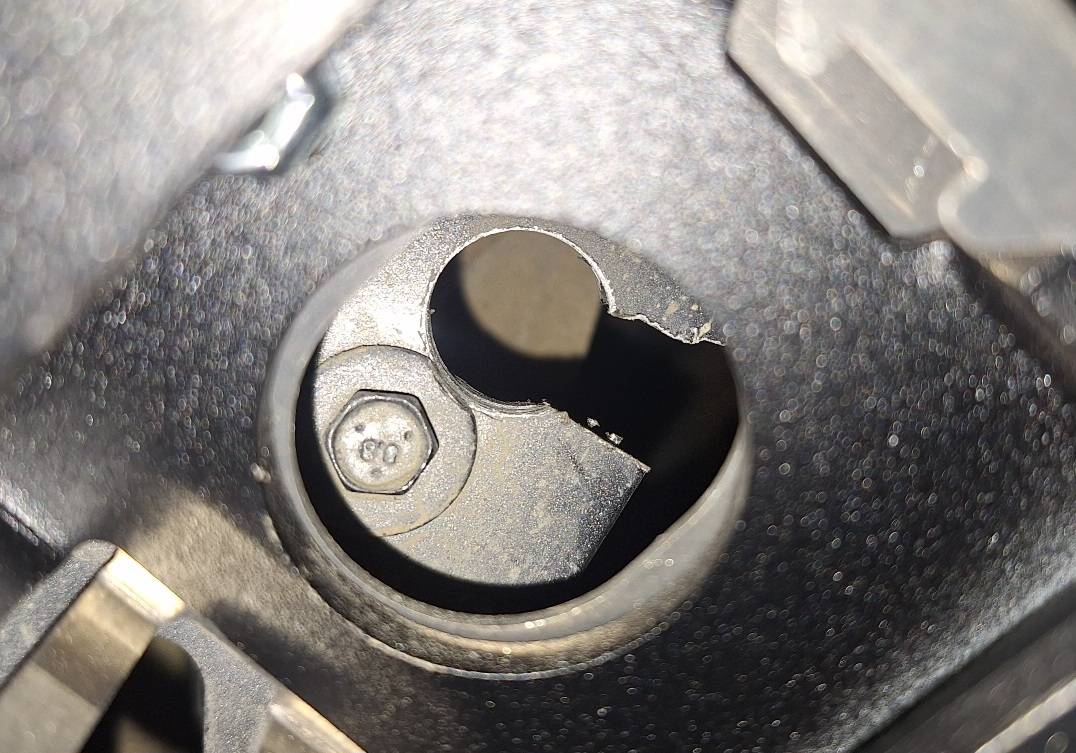
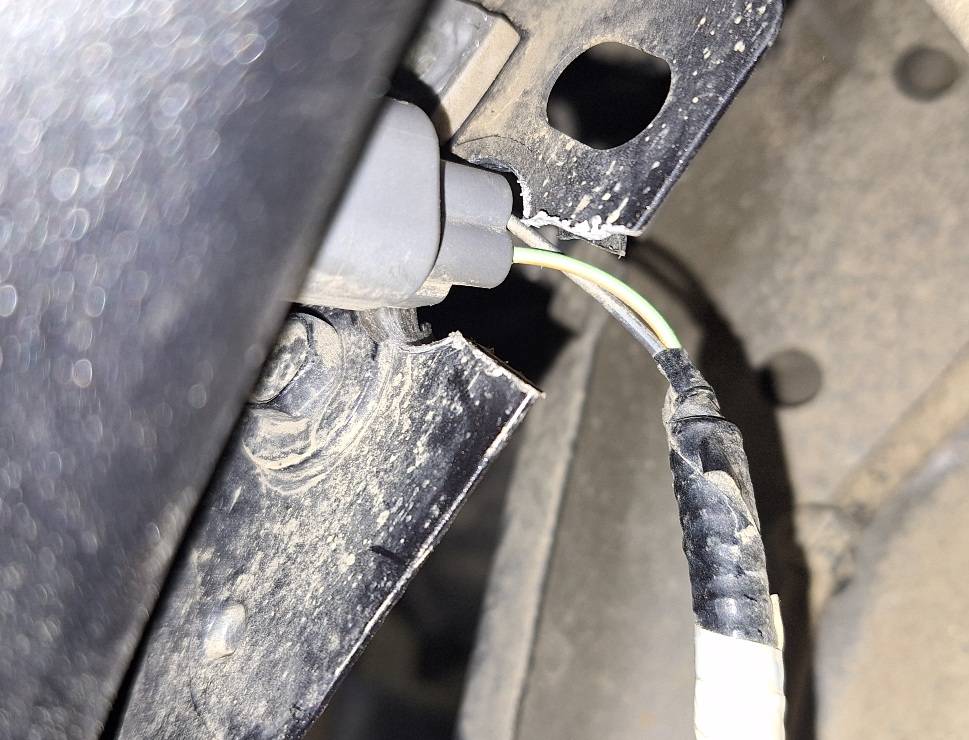
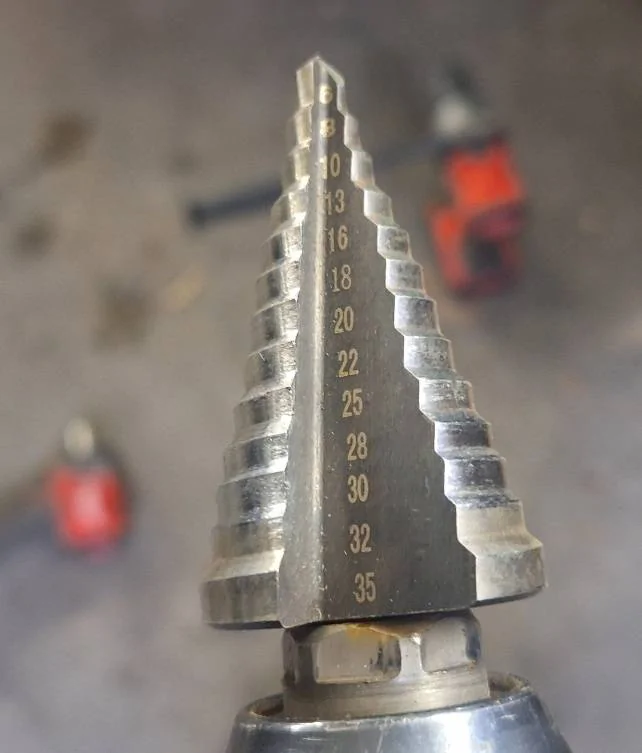
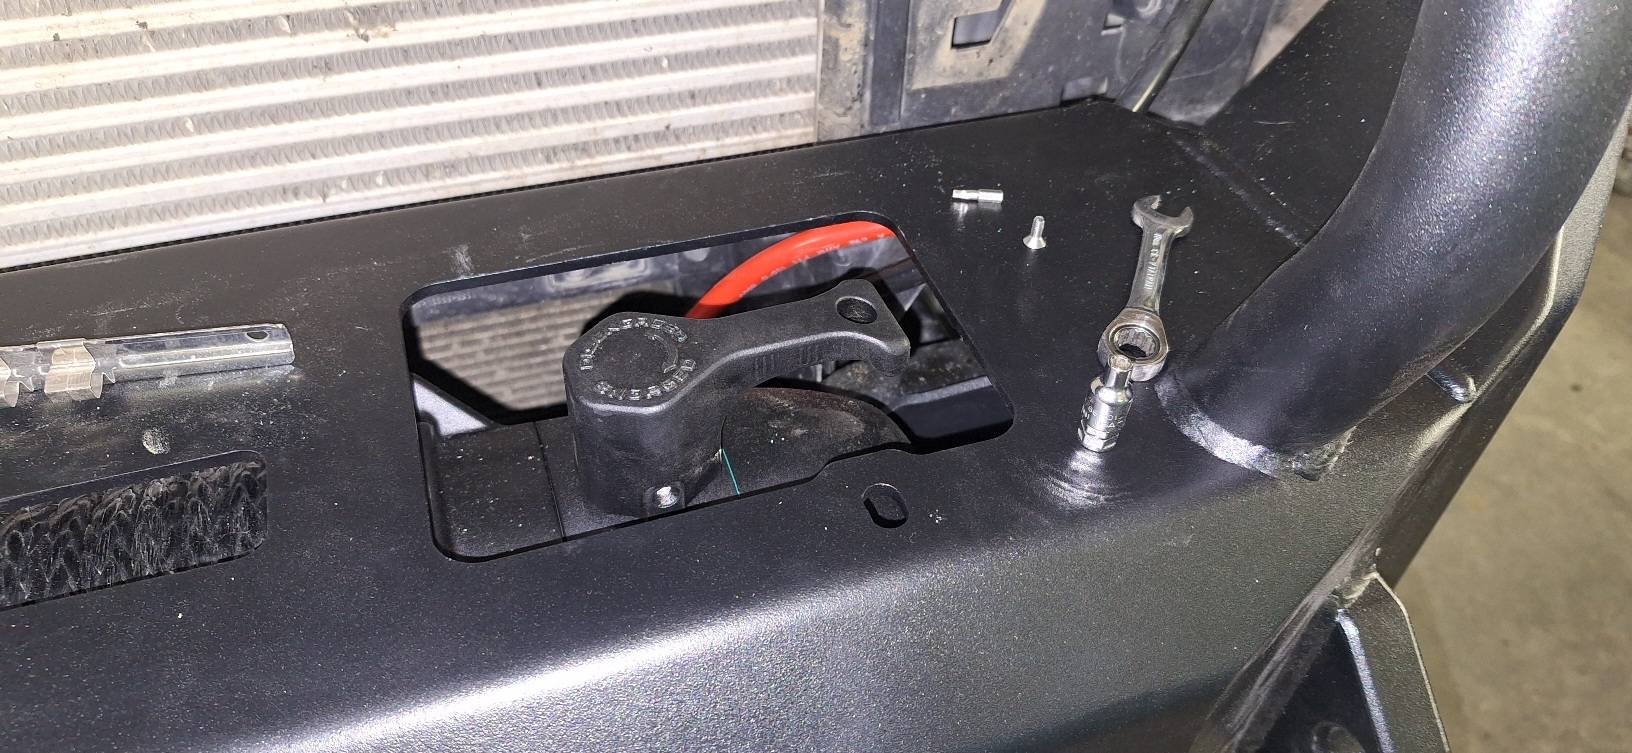
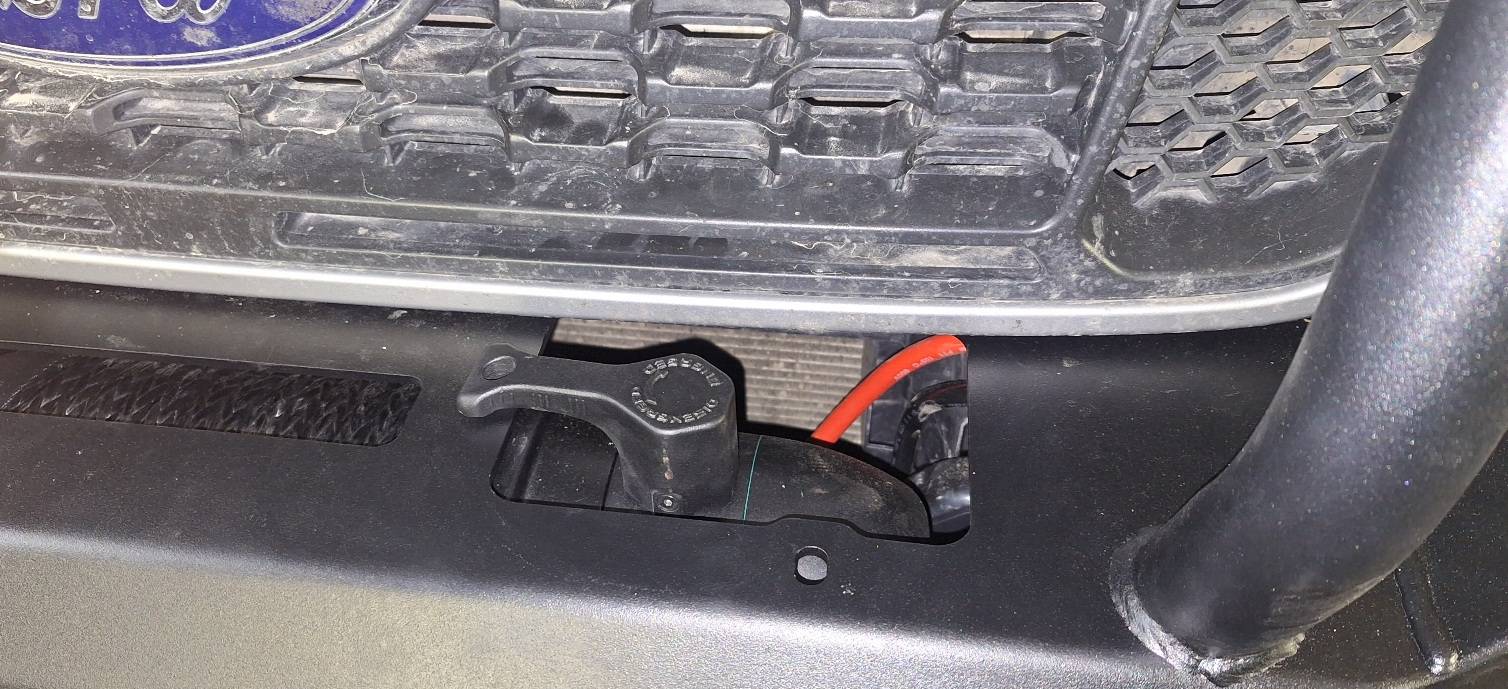
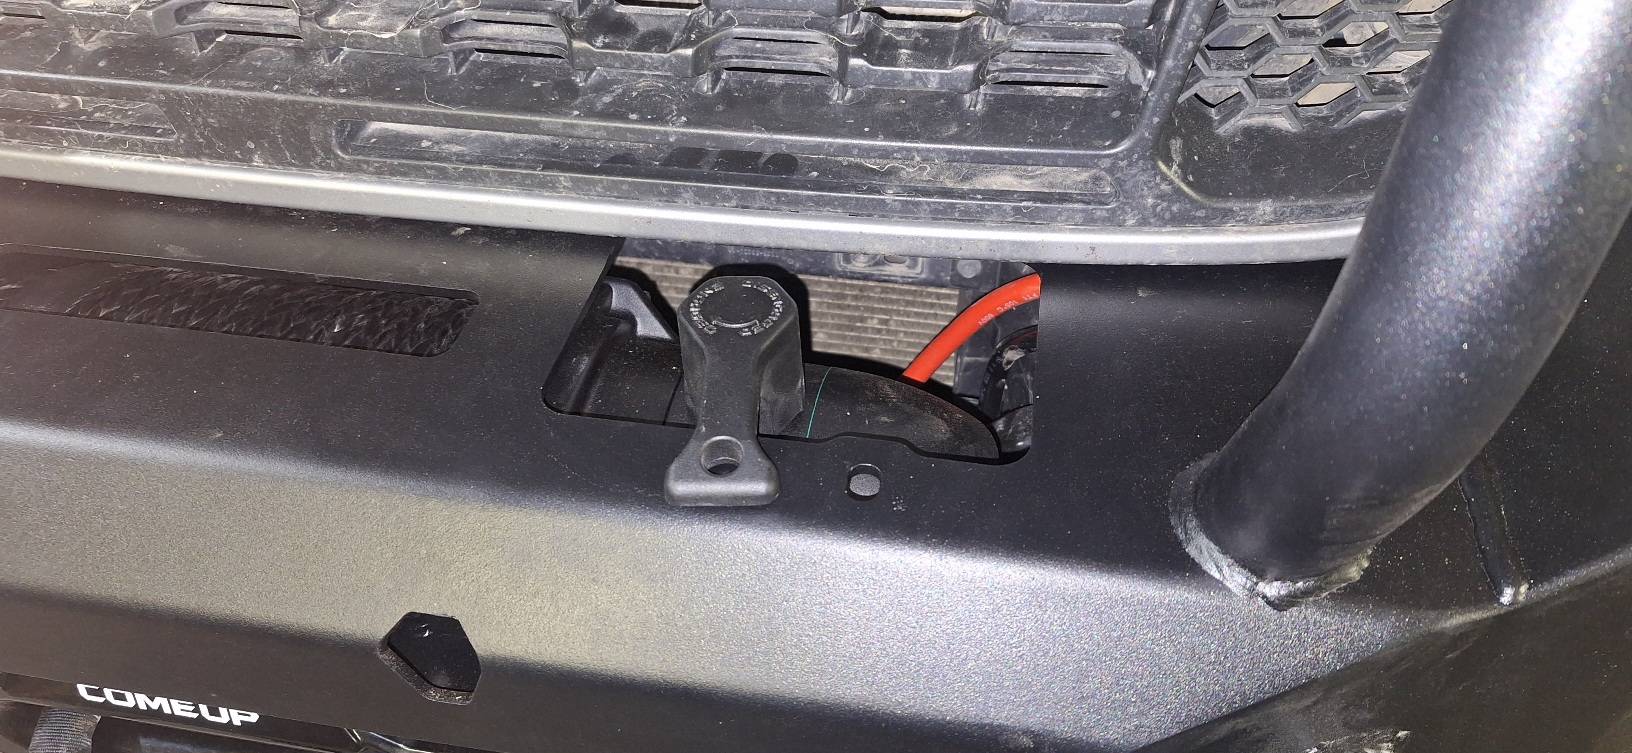
Unless you're very mechanically inclined and have a decent assortment of tools -- including metalworking tools -- I wouldn't recommend installing yourself. This will become a driveway nightmare. And warn your shop/installer it'll take longer than they think -- esp if they just read the instructions.

I think I'll break this into various posts to maybe make it more manageable.
Sponsored

 
OP
OP

D60

Member
Joined
Feb 10, 2024
Threads
1
Messages
17
Reaction score
14
Location
CO
Vehicle(s)
JL
First, a small complaint: the instructions very explicitly say to use 1" long bolts at the bumper/bracket interface. The hardware is included but you never catch the nyloc with the 1" bolt.
20240209_142522.jpg


They provide 1.25" long bolts for use elsewhere but ALL the 1/2-13 bolts should have been 1.25"

There are also a couple of 3/8-16 bolts which run thru the framehorn. However the slots on the E1 product are so wide you're relying solely on a washer not collapsing. This is a pet-peeve of mine with fasteners -- washers are not meant to see this kind of load.

That said, these two 3/8" bolts aren't THAT important. Life goes on.
20240209_142514.jpg
 
OP
OP

D60

Member
Joined
Feb 10, 2024
Threads
1
Messages
17
Reaction score
14
Location
CO
Vehicle(s)
JL
Now, the marker lamps. This is a big one. The instructions tell you early on to install them in the new bumper.

DON'T. Do install their silver bracket (which is really slick) but don't clip the light into place. It'll just get broken off during fitting.

Now, after you've spent hours trying to get the bumper in place and all the reveals and gaps even (and failed because it's not possible), THEN install the lights.

BUT WAIT, you can't because the electrical connectors will hit a hidden part of the fender, near where a fender anchoring bolt is located.

By the time I figured this out, the bumper was NOT coming off, so I was left to do some extremely crude bodywork with the bumper in place.

Through some trial and error (read: I learned from the first side) I found it's probably best to take a 3/4" unibit to the spot weld (dimple) seen here.
20240209_154152.jpg

Then slot toward the rear of the vehicle.
20240209_154606.jpg

Now you can fit your electrical connector.
20240209_154803.jpg

It would be best to do this before installing the bumper. My work here is ugly as I was space-constrained.

Not sure how @Expedition One could neglect a single mention of this in the instructions? If you try to neglect this it'll fatigue the wires and/or repeatedly pop your light out. It really doesn't fit any other way.
 
OP
OP

D60

Member
Joined
Feb 10, 2024
Threads
1
Messages
17
Reaction score
14
Location
CO
Vehicle(s)
JL
Third, I don't know why the sensor holes are sized and shaped as they are? @Expedition One , any thoughts?

This vehicle doesn't have ACC but it does have the side sensors for...well...what are they called? I'd call it BSM (blind spot monitoring), but maybe it's just collision avoidance??

Anyway, the existing holes in the E1 bumper are about 1.020" IIRC, but they need to be at least 30mm or 1-3/16" (I'm a machinist so fractions, mm and inches pretty much interchange in my brain). The factory bumper holes are closer to 1-7/32" or roughly 1.218" but this risks a sloppy fit and you can't (easily) retain the indexing tabs on the sensor bezels.

The E1 holes get four indexing cutouts 90 degrees apart, but nothing about the factory setup is indexed at 90*. @Expedition One , why?

Hole opened up here:
20240209_171627.jpg

Used a large metric step bit (don't try a twist bit, it'll just catch the four existing cutouts.
20240209_171646.webp
 
OP
OP

D60

Member
Joined
Feb 10, 2024
Threads
1
Messages
17
Reaction score
14
Location
CO
Vehicle(s)
JL
Also, still regarding the sensors, E1 places their side holes quite a bit further out.

This ultimately makes the harness too short. However the factory chooses to have the plug come from the outside, so the wires come from a central harness, loop under each sensor and plug in from the outboard sides.

If you swap the sensor bezels left to right you can then have the electrical plugs facing toward the center of the vehicle. This means a central harness runs straight into each sensor from the center and requires less wire length, allowing it to fit.

At first the bezels appear identical, but they are not. Note here both bezels are pointing up (there is a top and bottom), and there is a relief for a feature on the sensor. You can see the bezels are mirrored as indicated by the picks resting in the reliefs.
20240210_125804.jpg
20240210_125812.jpg

Finally, the bezel has two indexing tabs (more like 60* apart) and the interior lock ring which lives on the back of the bumper has three.

Since you'll be cramming this into a round hole and the wall thickness of the E1 bumper is greater than OEM, you pretty much need to lop off all these tabs. It'll make sense in-hand.
 
Last edited:


DukeCanBuildit

Well-Known Member
First Name
Duke
Joined
Jul 27, 2020
Threads
66
Messages
9,607
Reaction score
45,995
Location
Kitchener, Ontario
Vehicle(s)
2019 XLT SuperCab - FTW!
Occupation
Retired (P/T) Caregiver (F/T)
Vehicle Showcase
1
Expedition One has a Showcase page here on the forum for those who might be curious about what the bumper looks like on a Ranger.

They also make a rear bumper with an integrated swing out tire carrier.
 

Friday yet?

Well-Known Member
Joined
Oct 14, 2022
Threads
46
Messages
2,516
Reaction score
11,315
Location
Tennessee
Vehicle(s)
‘23 Lariat Tremor, Focus ST
Occupation
Corporate drone. Dilbert's world is alive & well.
Dayum OP. You got skilz. Nice write up. Only request I have is how about a pic of the finished product? Jeez.... serious skilz. And fractions!

Did I mention I do my own oil changes? :sunglasses:
 
OP
OP

D60

Member
Joined
Feb 10, 2024
Threads
1
Messages
17
Reaction score
14
Location
CO
Vehicle(s)
JL
The following is not bashing E1 but merely info for those who are considering this bumper with a winch.

On their website E1 appears to reco the ComeUp "Seal Gen 2."
Screenshot_20240211_083638_Chrome.webp


My customer purchased the "Seal Slim Gen 2." I'm not sure why, but from a cursory web search it appears the Slim is ~$500 cheaper, so maybe price was a factor.

I will say -- the Slim has very little clearance from the drum to the crossbars which bridge the drum, which means rat's nests could be a more significant problem. Wind your cable with care.

Anyway the cluch lever for drum engagement on the Slim is large. It actually feels good in-hand, but it comes pointing left (left and right are always as sitting in the vehicle) and swings 90* BACK. However once installed, this is where the grille lives. Thus, I needed to re-clock the handle. Not for nothing, you'll need a 2.5mm allen key to undo the set screws.

Comes as such and would only swing back (grille not installed here)
20240210_174523.jpg

Re-indexed and engaged:
20240210_180903.jpg

Swing forward to disengage:
20240210_180853.jpg

The handle also skimmed the deck of the bumper. It was workable, but in time would scuff an arc in the bumper.

I sanded the offending part of the handle (it's Al so rust is a non-issue)
20240210_175337.jpg

And it now clears with room to spare:
20240210_180314.jpg
 
OP
OP

D60

Member
Joined
Feb 10, 2024
Threads
1
Messages
17
Reaction score
14
Location
CO
Vehicle(s)
JL
Dayum OP. You got skilz. Nice write up. Only request I have is how about a pic of the finished product? Jeez.... serious skilz. And fractions!

Did I mention I do my own oil changes? :sunglasses:
Yeah I'll do that later because I want to show fitment. The gaps at the headlights are not good. The bumper needs to still come UP and ideally go BACK a touch, but the adjustment simply wasn't there.

I'm confident I did all I could as I was jacking the bumper up in FOUR places and pulling it back with two ratchet straps, but once I snugged all the bolts, it's gonna live where it's gonna live.

Here's just part of the backwoods frame machine:
20240209_135125.jpg
 

Msfitoy

Well-Known Member
First Name
Sid
Joined
Mar 5, 2019
Threads
67
Messages
9,191
Reaction score
28,344
Location
North Carolina
Vehicle(s)
2019 Ranger, 2003 MINI Cooper S, 2021 Honda CT125
Occupation
NWO Robot Polisher
Vehicle Showcase
1
Expedition One has a Showcase page here on the forum for those who might be curious about what the bumper looks like on a Ranger.

They also make a rear bumper with an integrated swing out tire carrier.
Thanks Duke...I too was wondering what we're looking at...
 
OP
OP

D60

Member
Joined
Feb 10, 2024
Threads
1
Messages
17
Reaction score
14
Location
CO
Vehicle(s)
JL
This rigid plastic here is what I'd call the fascia support. E1 kinda alludes to the fact that it needs to go, but they only tell you to remove about four of the seven (or eight?) fasteners that actually retain it.

Anyway, just know that it has to go and the two small outer pieces that reside roughly behind the marker lights (left and right)
20240211_151158.jpg


As AvE points out, the people who write instruction manuals are called technical writers. Surely there are people in this profession in the SLC area (although a third grader could write better instructions than Expedition One)
 
OP
OP

D60

Member
Joined
Feb 10, 2024
Threads
1
Messages
17
Reaction score
14
Location
CO
Vehicle(s)
JL
Regarding the sensor holes, this is what E1 provides with a minor diameter (ie not including any reliefs) of ~1.100" -- I think I misspoke earlier saying 1.020"
20240211_145134.jpg

This is the actual OEM bumper with a diameter of ~1.218". Note the clocking of the reliefs. If you have a small child in the house, show them the pics and ask if they look the same ;)
20240211_145215.jpg
 
OP
OP

D60

Member
Joined
Feb 10, 2024
Threads
1
Messages
17
Reaction score
14
Location
CO
Vehicle(s)
JL
Back to the winch -- which, again, is the Seal Slim and not the model reco'd by E1 -- the mounting of the solenoid pack is problematic as the back of the pack interferes with the grille if you try to anchor it to the winch motor with the provided giant hose clamps. I have no idea if the "non Slim" model would have the same problem or use the same solenoid pack.

I decided to essentially surface mount the solenoid pack utilizing one existing hole and drilling and tapping another hole in the bumper. Then I had to make a crude bracket, which worked well.

Bracket in place. The flash sure exposes all scratches in the paint from repeated handling and fitting of the solenoid pack! Washers and paint added later, this was just proof of concept.
20240210_111457.jpg


Bracket top. All holes are tapped so there's no fumbling with nuts on the underside.
20240210_110844.jpg

Bracket bottom. I like to identify orientation in case anyone else has to take this apart
20240210_110850.jpg

Final install:
20240210_180839.jpg
 

RedRocker

Well-Known Member
First Name
Mike
Joined
Nov 2, 2021
Threads
2
Messages
79
Reaction score
255
Location
N. Texas
Vehicle(s)
2021 Tremor, 2006 LJ Rubicon, 2013 Ram 3500 dually
Occupation
Retired Machinist/Fabricator
Nice writeup D60, I'm also a retired machinist & don't know how anybody without those skills gets by with the way things are made these days. It seems like everything you buy needs to be modified or repaired in some way for it to function as expected.
 
OP
OP

D60

Member
Joined
Feb 10, 2024
Threads
1
Messages
17
Reaction score
14
Location
CO
Vehicle(s)
JL
Nice writeup D60, I'm also a retired machinist & don't know how anybody without those skills gets by with the way things are made these days. It seems like everything you buy needs to be modified or repaired in some way for it to function as expected.
IME 98% of aftermarket stuff is this way. The instructions are "broad strokes" and they leave it to you to figure out the details -- which can suck up HOURS or more.

The thing is with digital cameras and websites today there's no excuse for not producing a quality, comprehensive manual accessible on your site. Hosting it costs virtually nothing if you're already maintaining an e-commerce website.

To be clear, E1 does have a link to their manual online, and I much preferred it for the color pics rather than the included b&w version, but the pics are still small with low resolution and it skips all the same details as the print version which is identical but for color
Sponsored


Top