Sponsored

Expedition One front bumper install

OP
OP

D60

Member
Joined
Feb 10, 2024
Threads
1
Messages
17
Reaction score
14
Location
CO
Vehicle(s)
JL
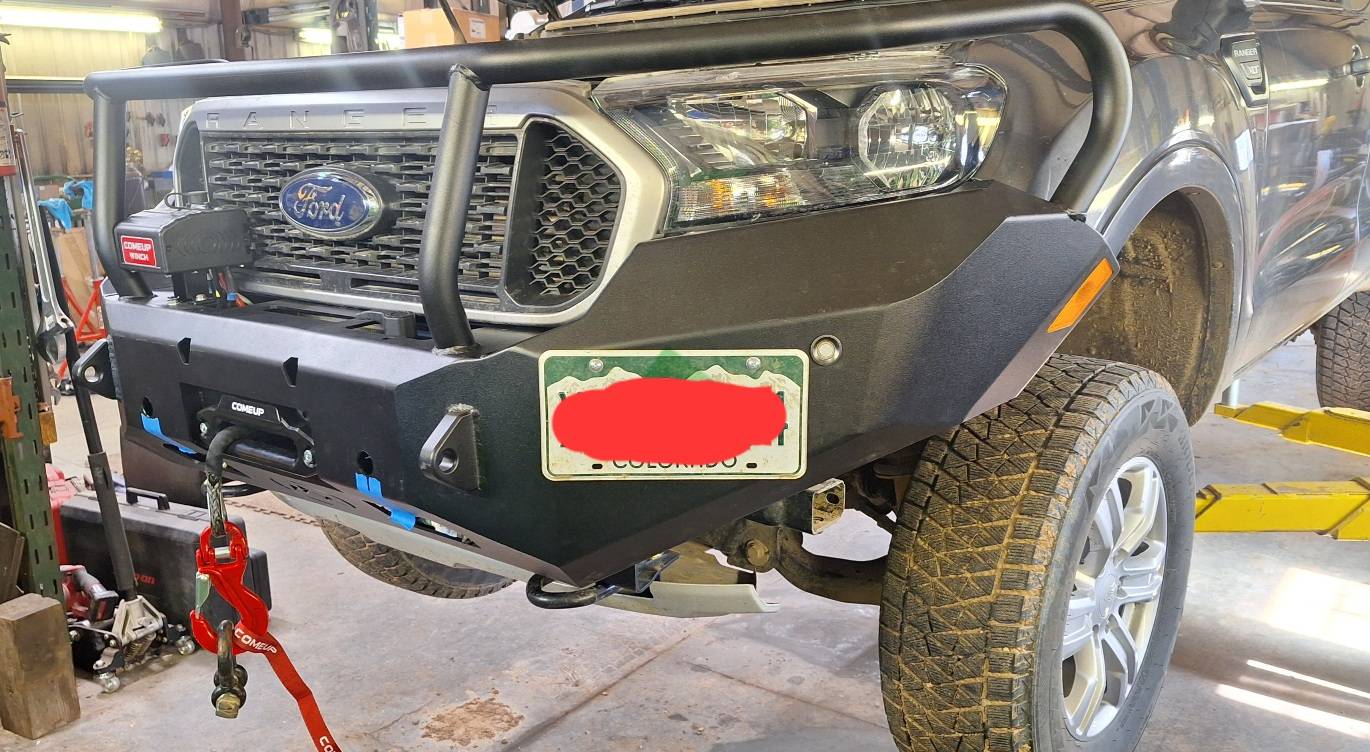
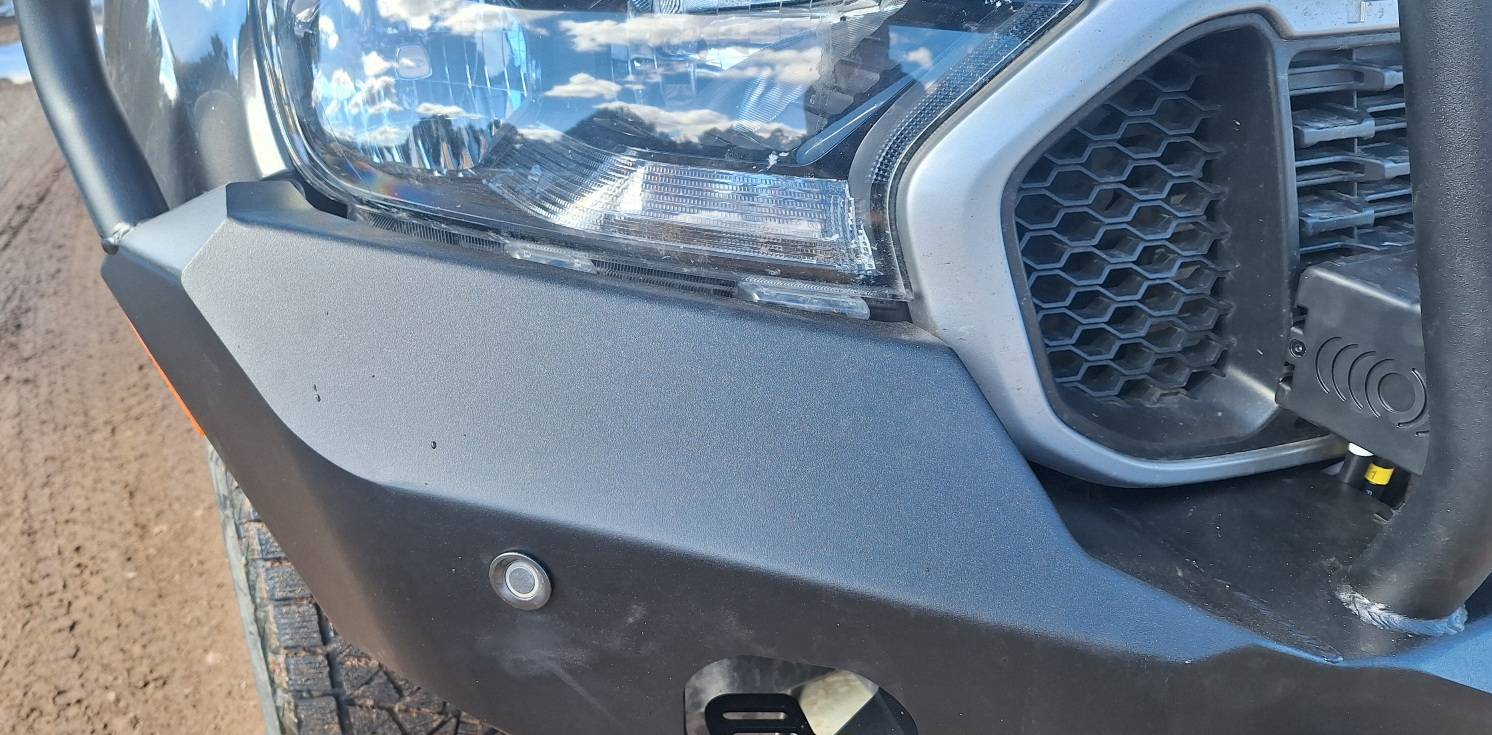
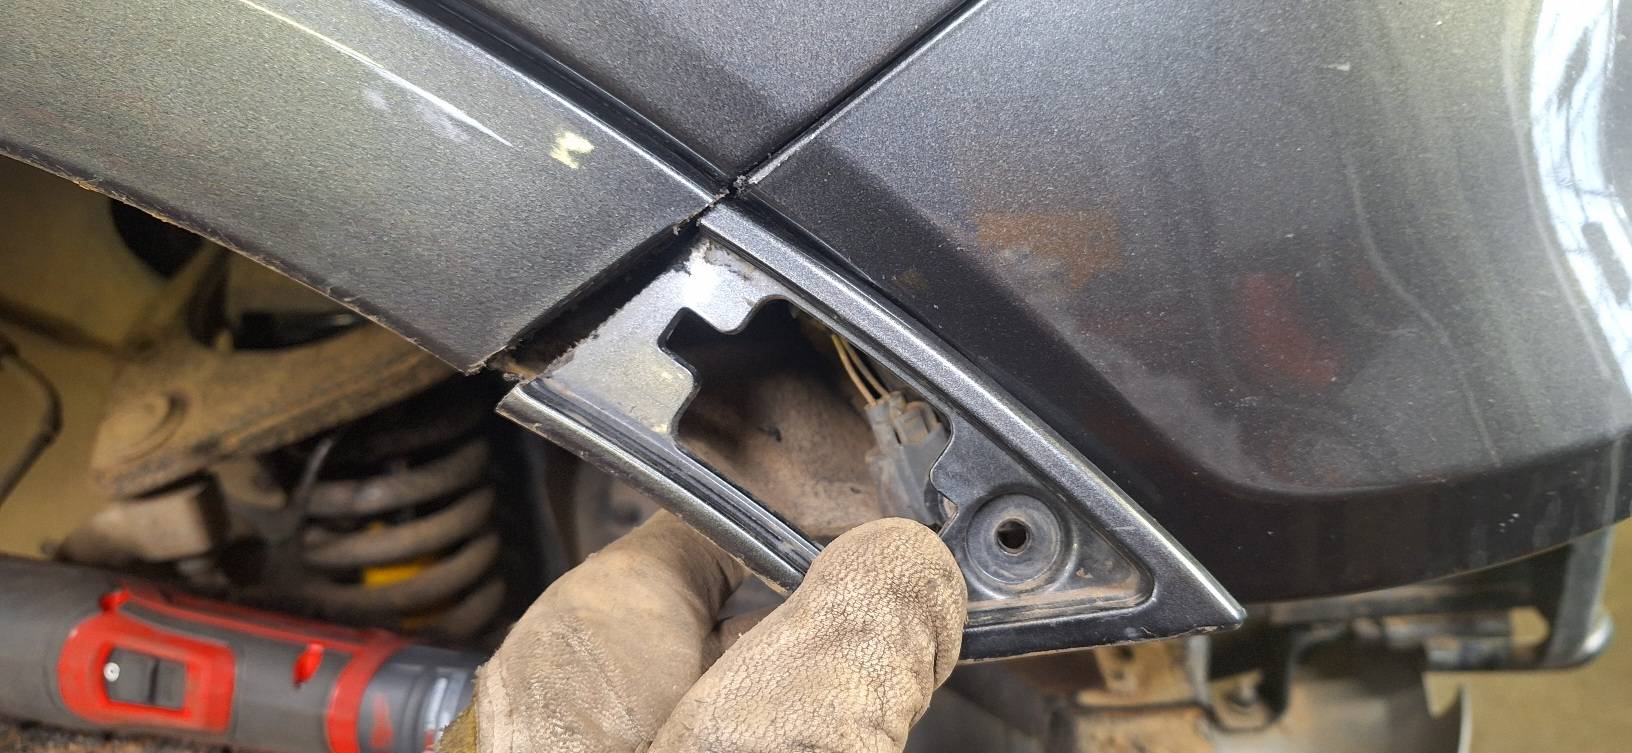
Also note that in order to install this bumper you must cut the OEM fender "flare." This is not a criticism as it is no secret and clearly laid out in the instructions.

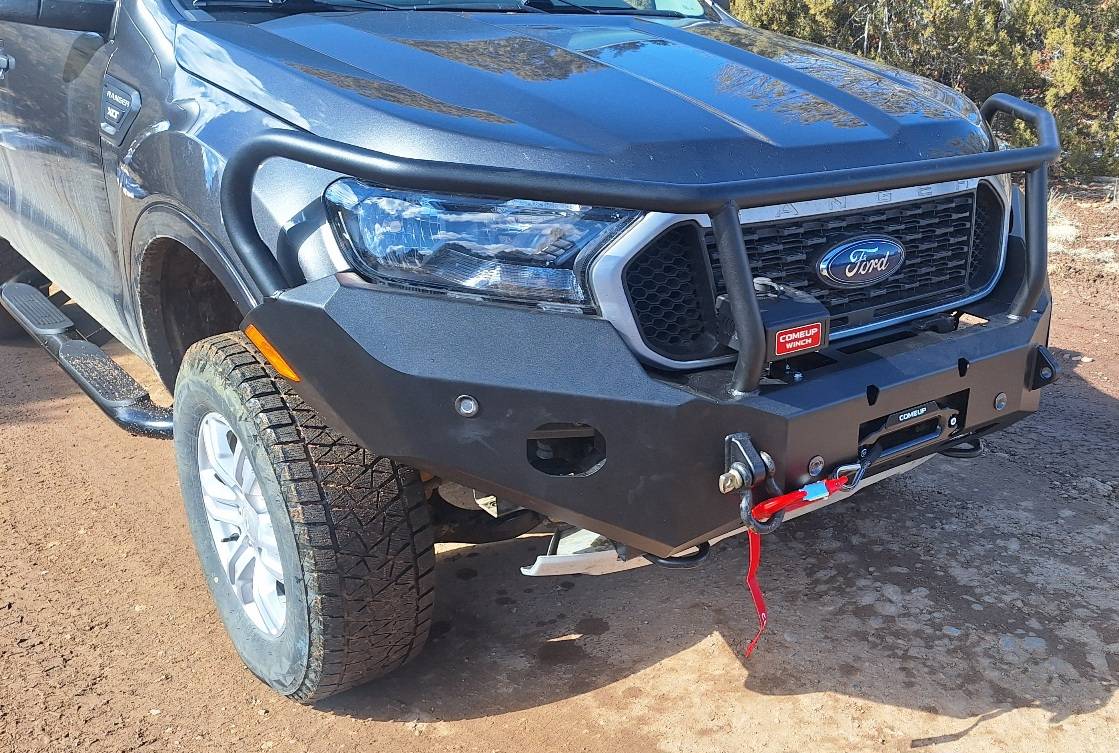
In fact, I think it's a brilliant use of Ford's body lines. The cut is placed such that the remaining piece looks finished because you leave the inner wall of the marker light "box". This leaves it looking capped with virtually no sign that anything was modified.

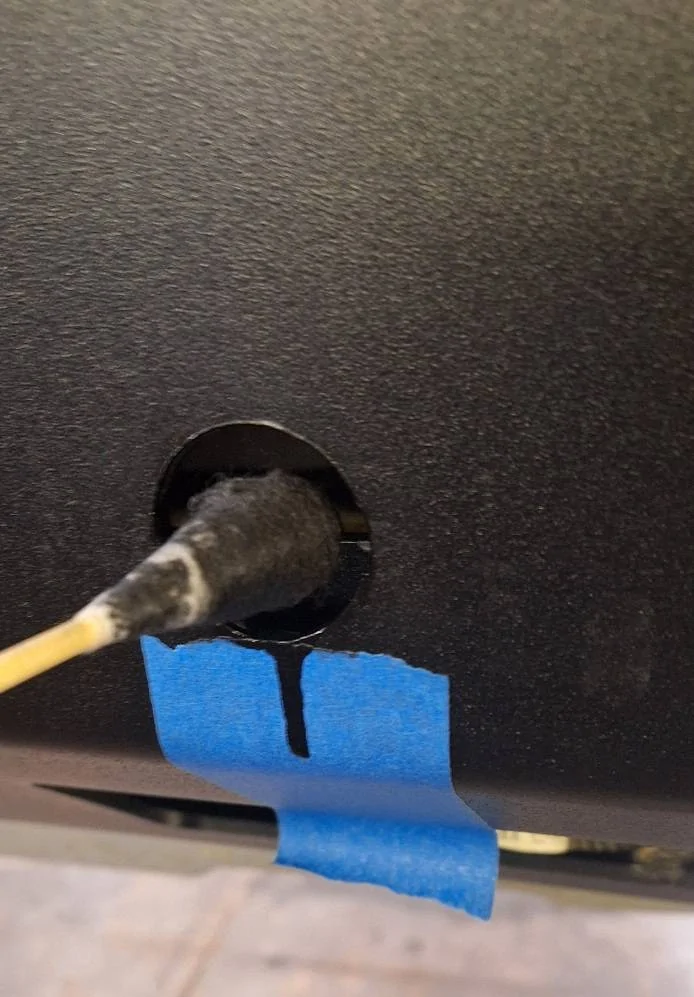
I prefer to use an OMT to cut plastics myself. Abrasive wheels generate considerable heat and gum up.

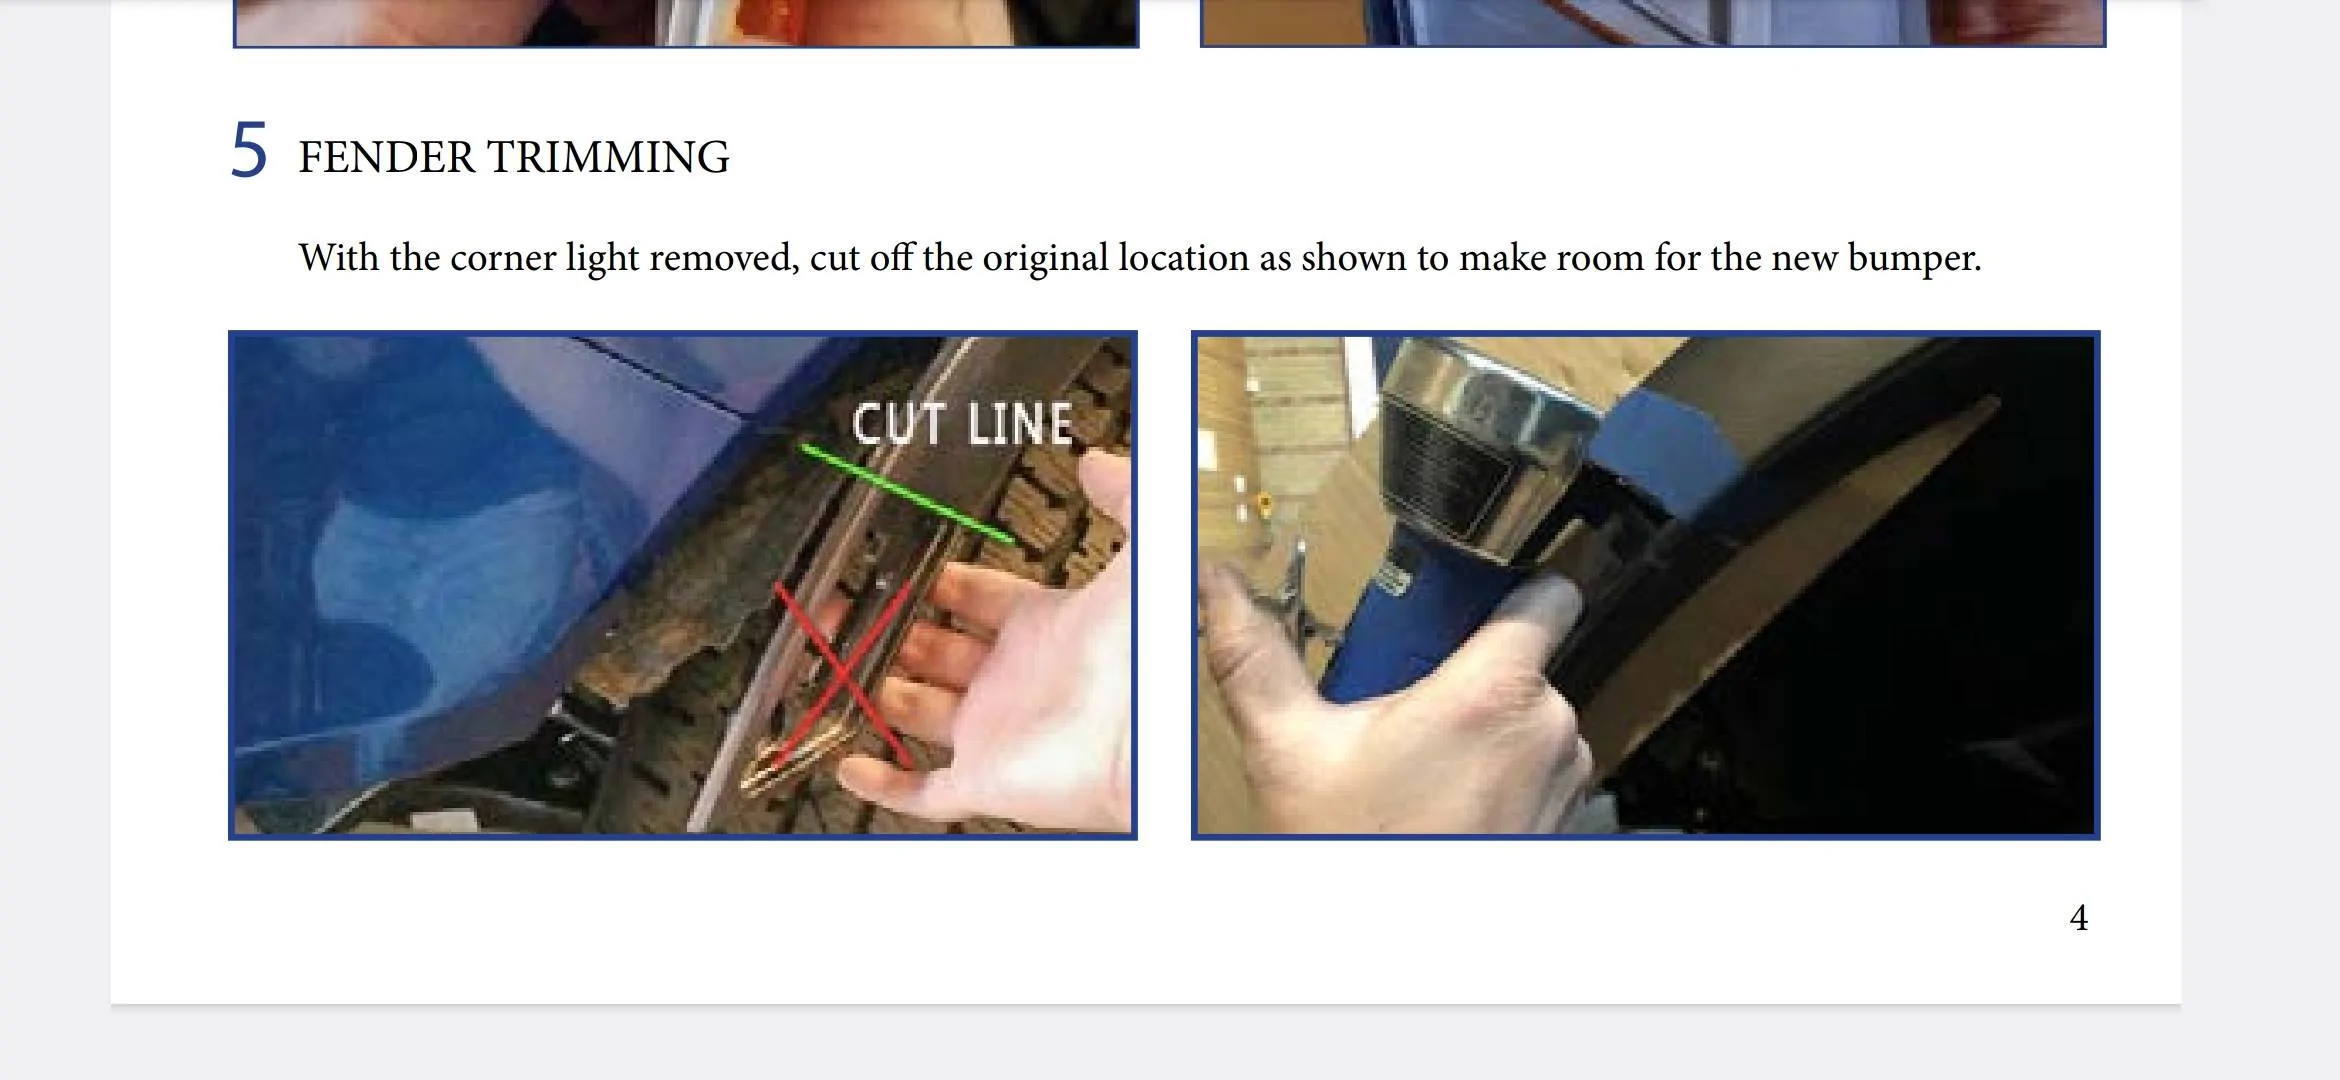
Here's a screenshot of E1's instructions. Not terrible for once, although the pics are small, low resolution and can't easily be expanded or blown up. Larger pics online or clickable thumbnails would be nice and cost the manufacturer so little (if anything):
Screenshot_20240208_104520_Drive.webp

Note the included black and white page of above is nearly useless. I wasn't about to start cutting into someone else's nice truck based on small gray scale pics, so at least I could find color online.

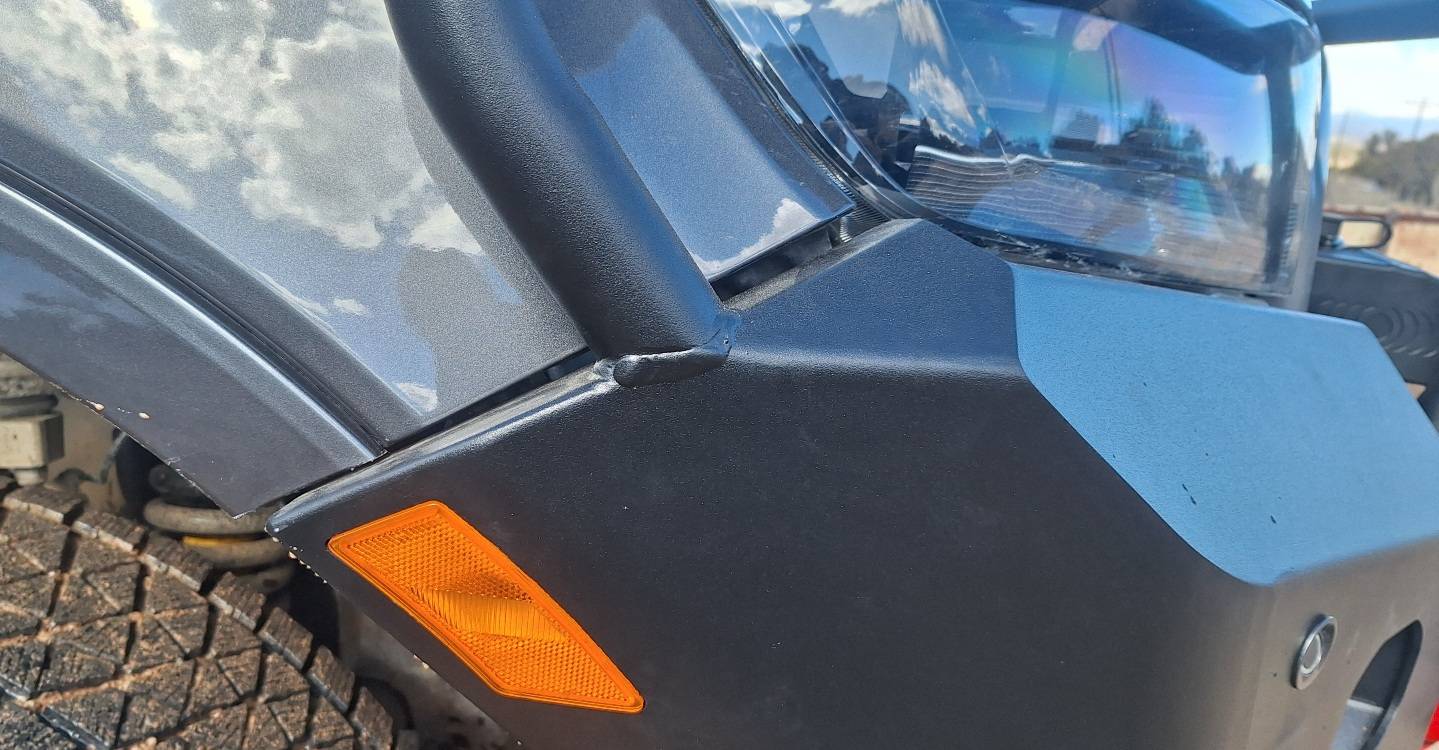
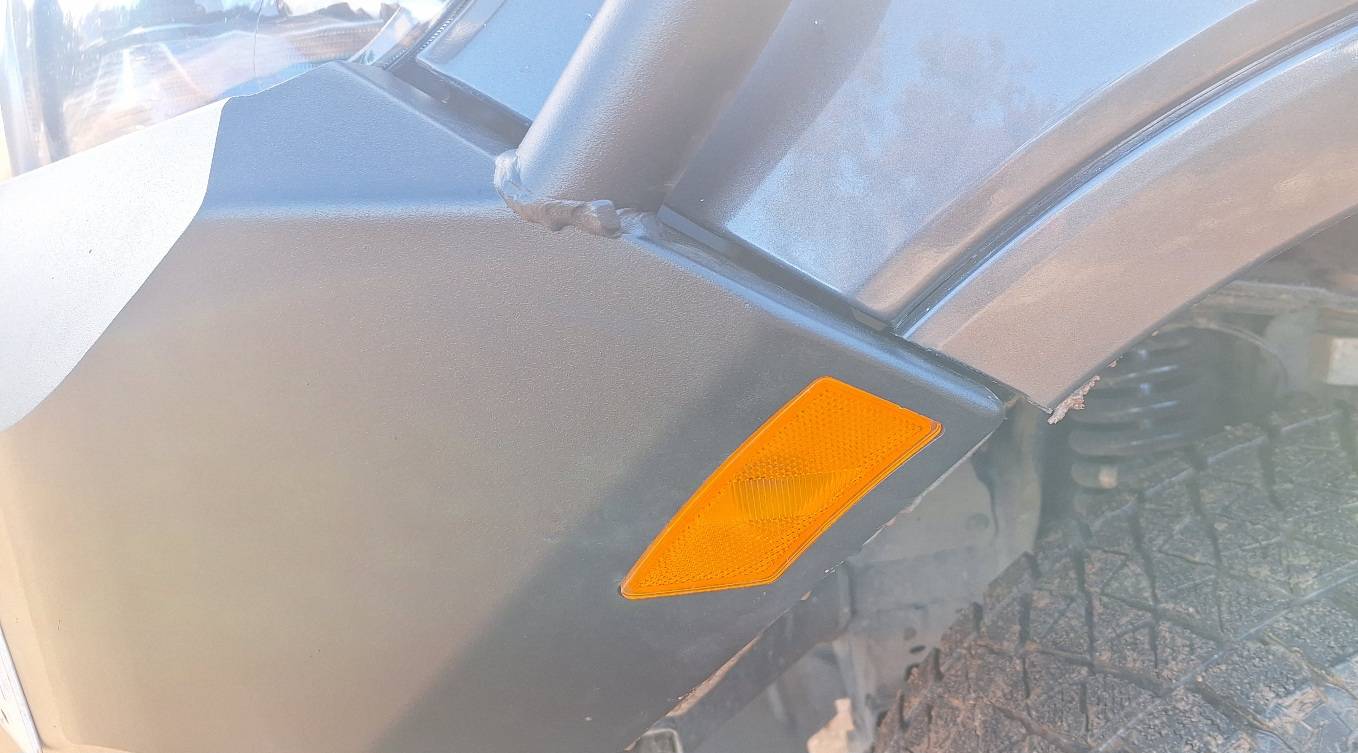
Here's the right side I did. Of course you can dress the cut with a file, utility knife, etc
20240208_110432.jpg

If you cut it right, I think this is one of the coolest features of the Expedition One bumper. Bravo!
Sponsored

 
OP
OP

D60

Member
Joined
Feb 10, 2024
Threads
1
Messages
17
Reaction score
14
Location
CO
Vehicle(s)
JL
Here's a vid of guys installing the same. I can't say I found it overly helpful, but I didn't mind it. These guys are goofy but I appreciate their keep-it-positive attitude.


Note when they get to the point of attempting to set body lines, they seem to struggle. They also have multiple jacks under the bumper and attempt to hammer it back with rubber dead blows.

I asked in the comments if they had issues with the marker lights, but they just said everything fit "but barely." They also said "everything about the bumper was a pain," but that's relatively vague. It also appears they had no sensors installed in the bumper at the end.

I understand most people aren't going to watch the vid. I'm merely trying to compile more data points for those seriously considering it
.
 

YaBoiNewton

Well-Known Member
Joined
Jul 23, 2020
Threads
2
Messages
457
Reaction score
1,001
Location
Florida
Vehicle(s)
2019 XLT supercrew Sport FX4, 2008 Bullitt w Saleen Supercharger
Occupation
Automotive Engineer
Vehicle Showcase
1
which can suck up HOURS or more.
It is crazy to think of the amount of times one of my vehicles has been left sitting on jack stands because the "simple" job I signed up for had vague instructions or needed some OEM tool. I always realize this once I'm past the point of no return.

You live and you learn. ?‍♂
 
  • Like
Reactions: D60
OP
OP

D60

Member
Joined
Feb 10, 2024
Threads
1
Messages
17
Reaction score
14
Location
CO
Vehicle(s)
JL
A little more tech (term used loosely) for those who may install this themselves. The two central sensors need their harness to basically run behind the fairlead. This isn't really the fault of @Expedition One and their spacing on these two holes is only about 1/2" wider than OEM:
20240213_100900.jpg


Anyway, I hate to remove factory harness tape but it's necessary here. I un-taped the harness and was able to break out the right side sensor wires, making for WAY more length:
20240213_101502.jpg

Cleaned up with some plastic loom and Tesa tape, finger indicates the wires I broke out:
20240213_103404.jpg


Also note in the upper pics the raw steel exposed in the ID of the holes from drilling to ~30mm. I don't worry too much about rust in CO (and it seems they're no longer using mag around here for ice mitigation, which is AWESOME), but I didn't want my customer to see rust creeping around the sensor holes in several years.

Everyone has "their" paint methods, but here's a suggestion if'n you's a simpleton like me: I have these huge Q-tips which are awesome for sooooo many shop things.
20240213_104225.jpg

I soak one in rattle can Rustoleum by just spraying to saturation and swirl it in the ID of the hole. I learned the hard way Rustoleum runs stand out on the E1 paint (later cleaned up with a bit of non-chlor brake cleaner on a rag), so protect below the hole with painters tape:
20240213_104707.webp
 
OP
OP

D60

Member
Joined
Feb 10, 2024
Threads
1
Messages
17
Reaction score
14
Location
CO
Vehicle(s)
JL
There's not a provision for a plate, which I'd say is fine as winch bumpers should be about strength, additional protection and mounting a winch.

I don't think it's inappropriate to leave plate mounting to the customer.

The owner here said he's extremely unlikely to add additional lighting any time soon, so he gave the green light to bury the fog lamp hole. I just drilled and tapped a couple 1/4-20 holes:
20240213_114050.jpg
 
OP
OP

D60

Member
Joined
Feb 10, 2024
Threads
1
Messages
17
Reaction score
14
Location
CO
Vehicle(s)
JL
Ok well pretty much closing this out. The project is finished and here's some overall shots.

Overall front view. Perhaps if you zoom you can see the reveal at bottom of right headlamp is not great. Left is better but not perfect. I'm personally confident I did all I could in this regard.
20240214_124729.jpg

Another shot biased to right side
20240214_124812.jpg

Right headlamp gap.....meh (or bleh)
20240214_124740.jpg


Right side body line is not great at all. It is not touching the body despite appearances.
20240214_124748.jpg


Left side not much better. I had these rolled back with ratchet straps seen elsewhere in the thread, but once tightened down this is where it sits.
20240214_124759.jpg


I still think it's a very cool bumper overall!!
Sponsored


Top