dinosplace
Well-Known Member
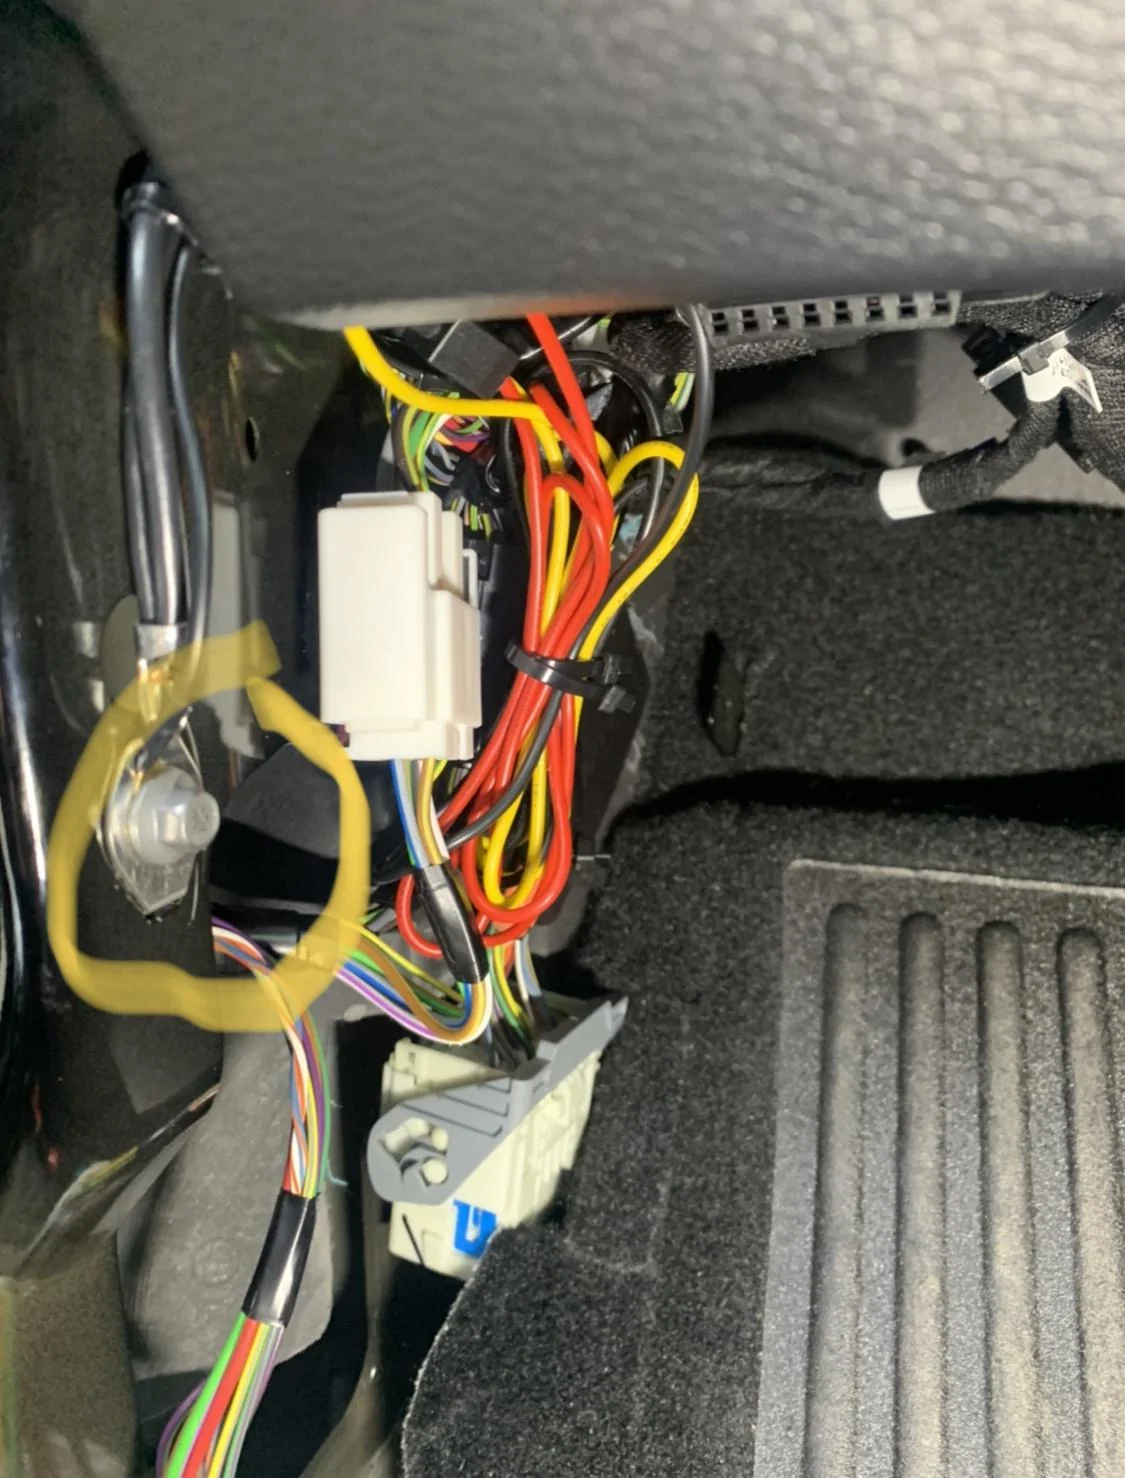
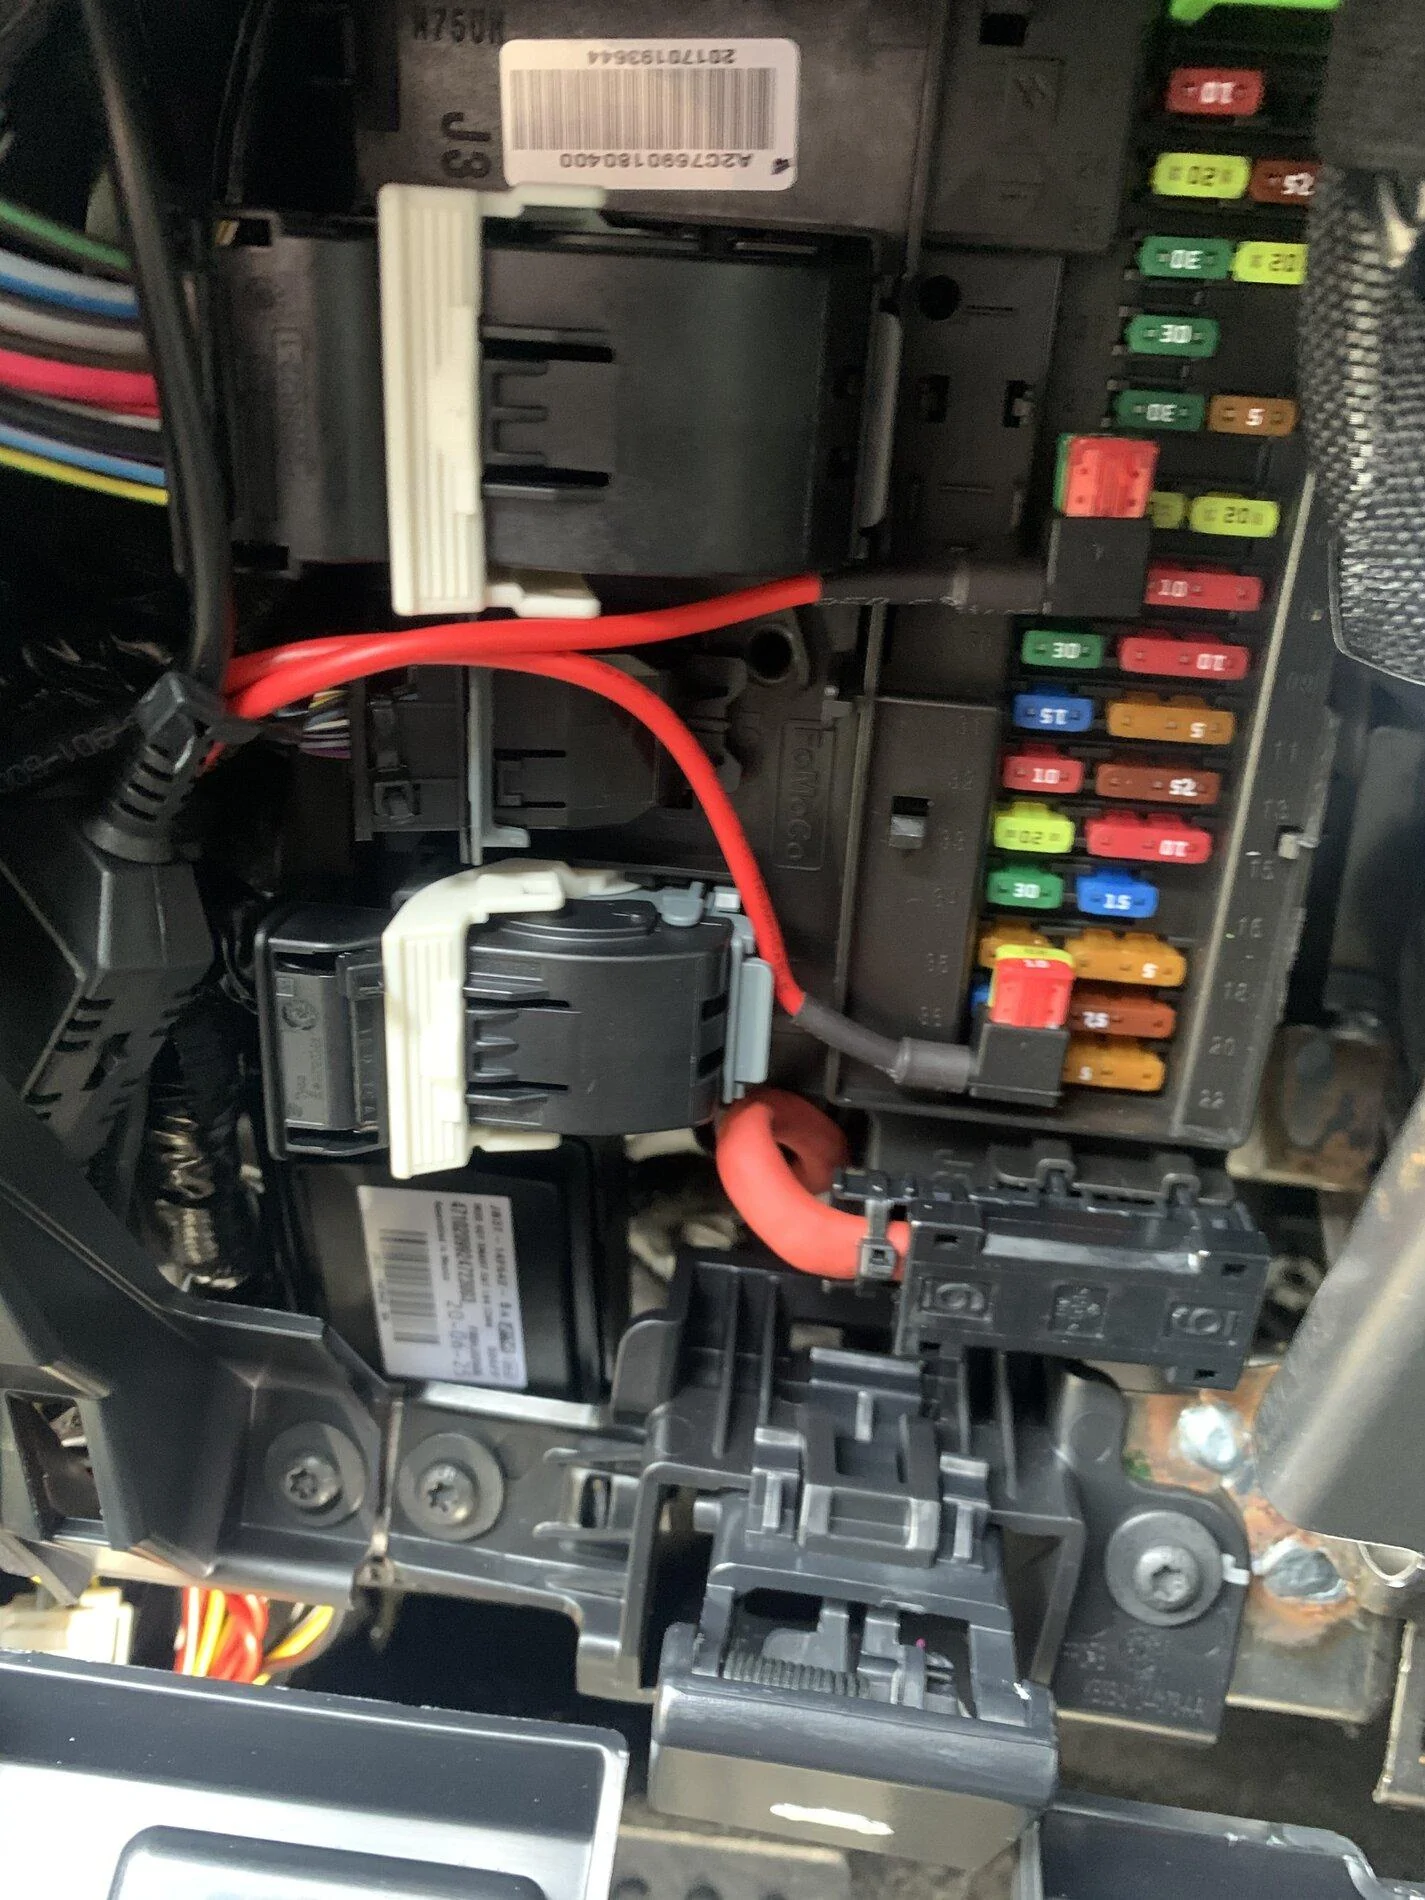
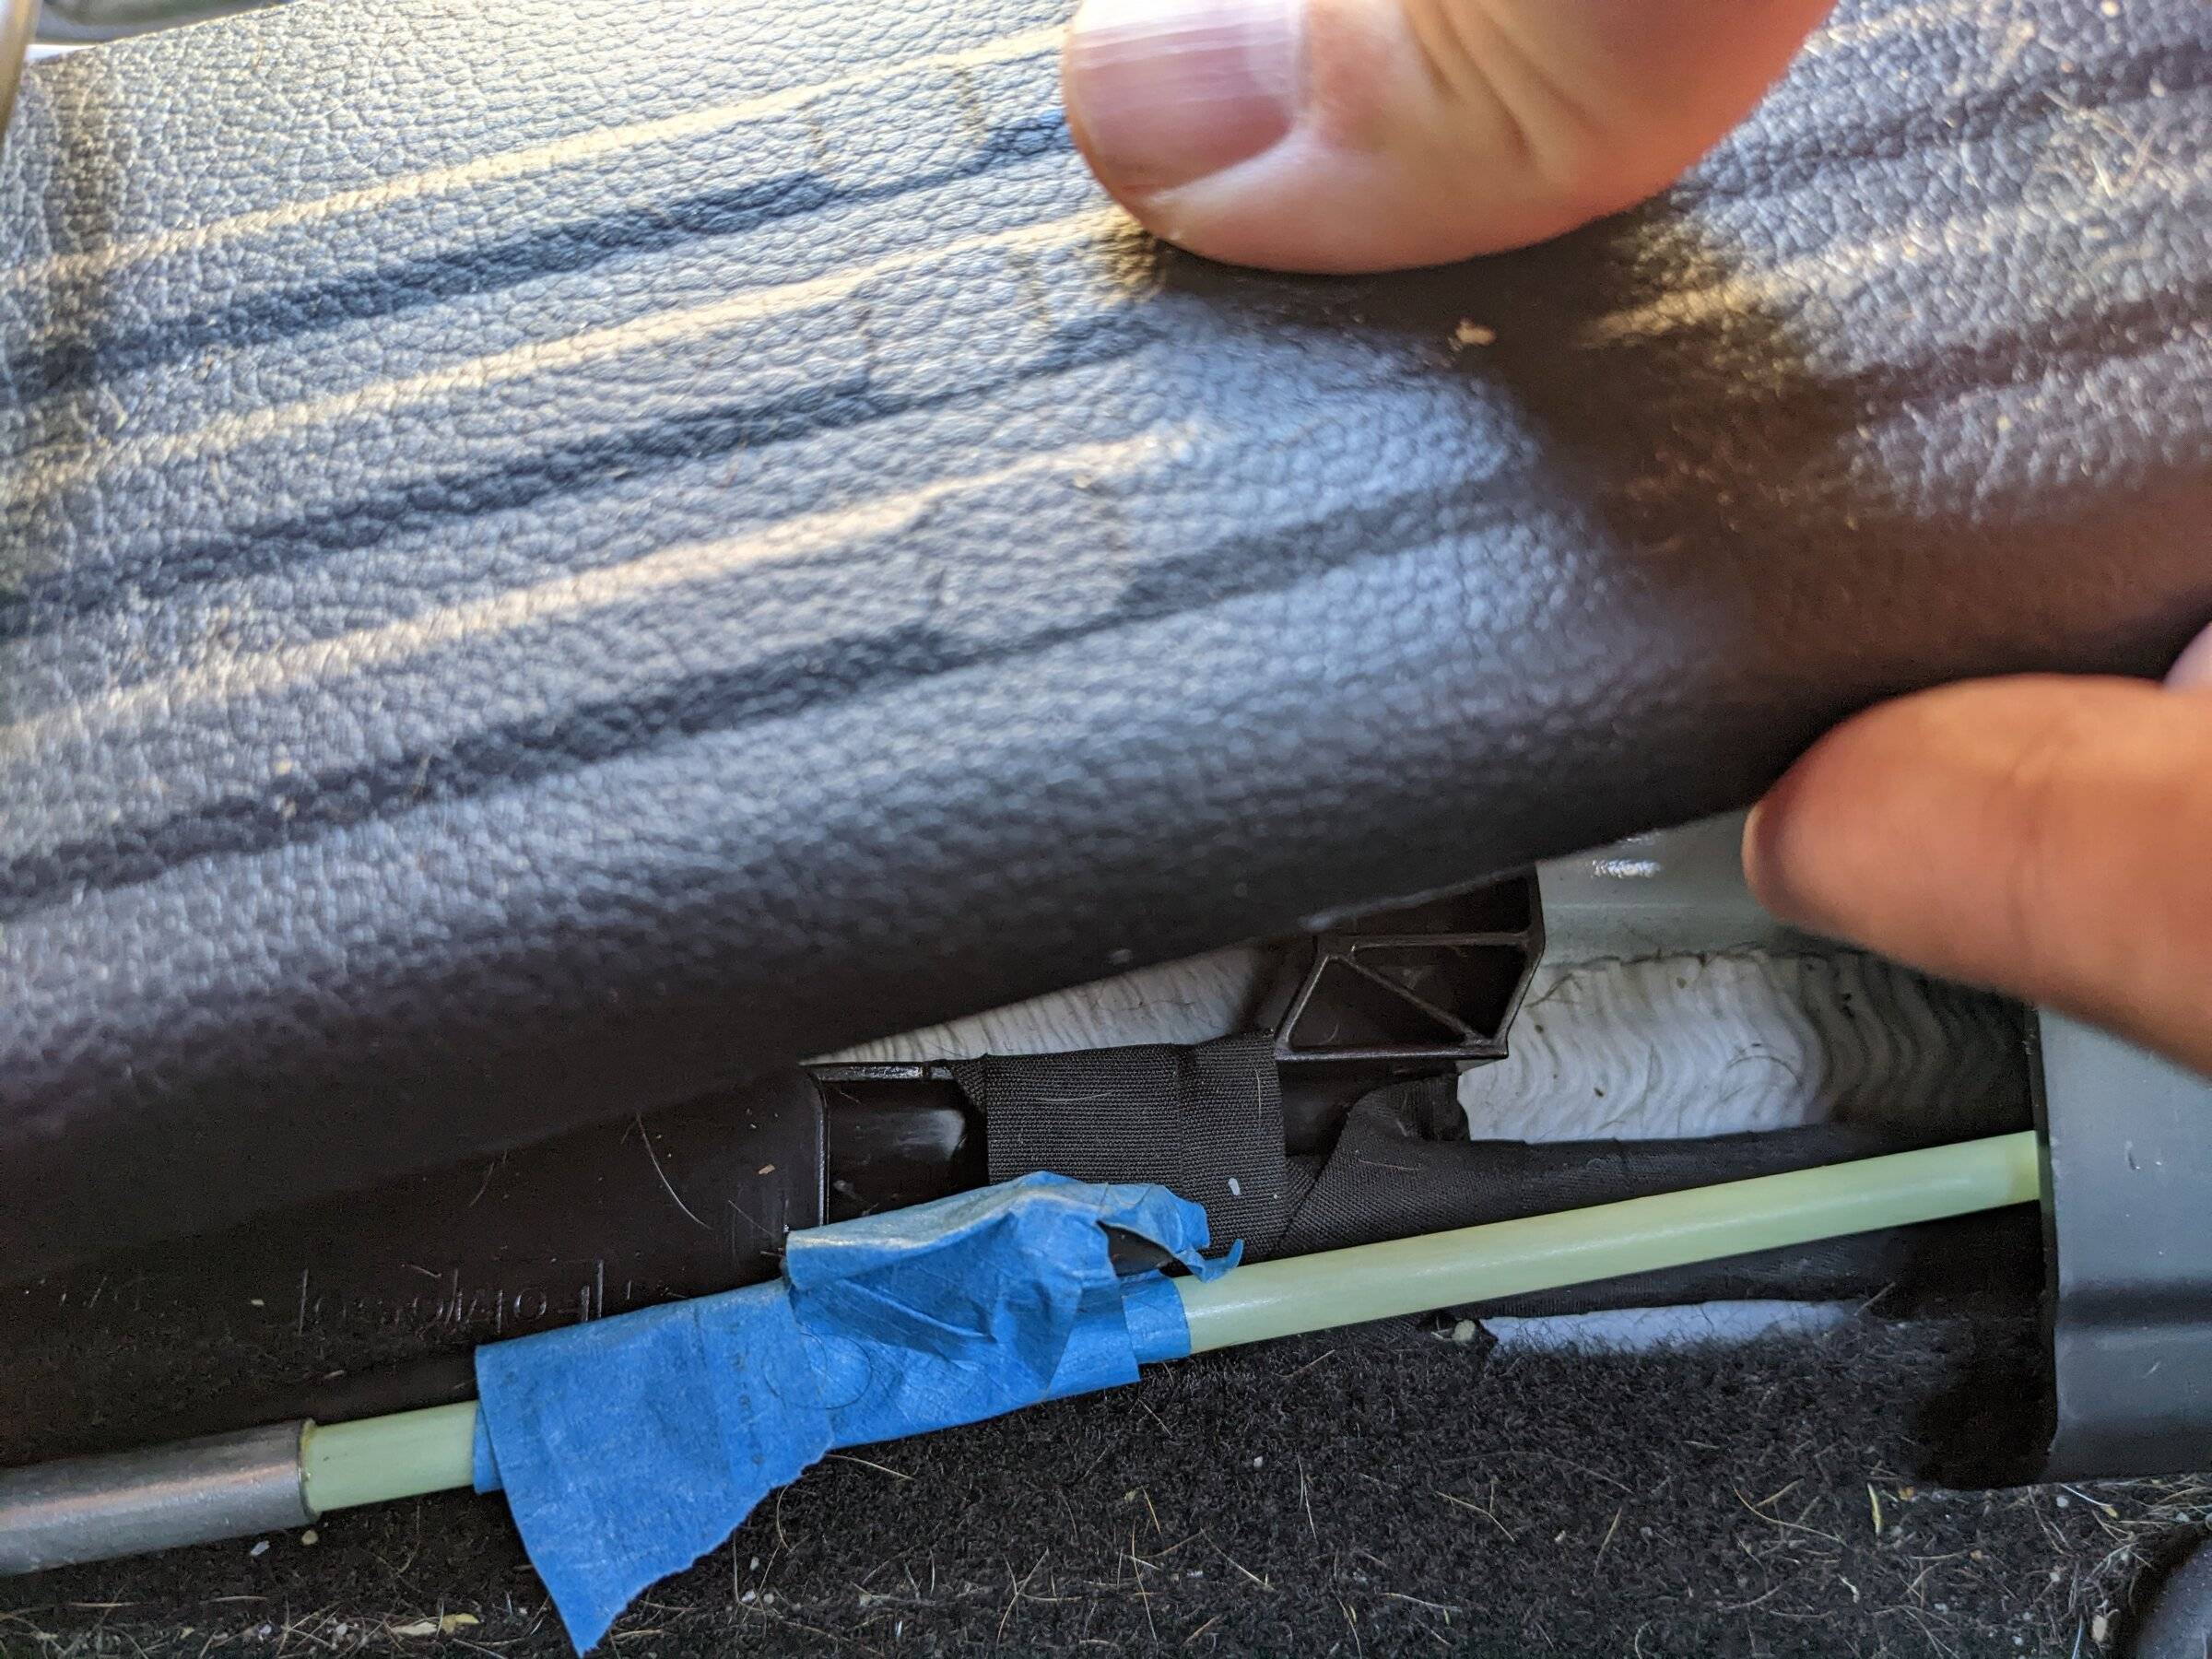
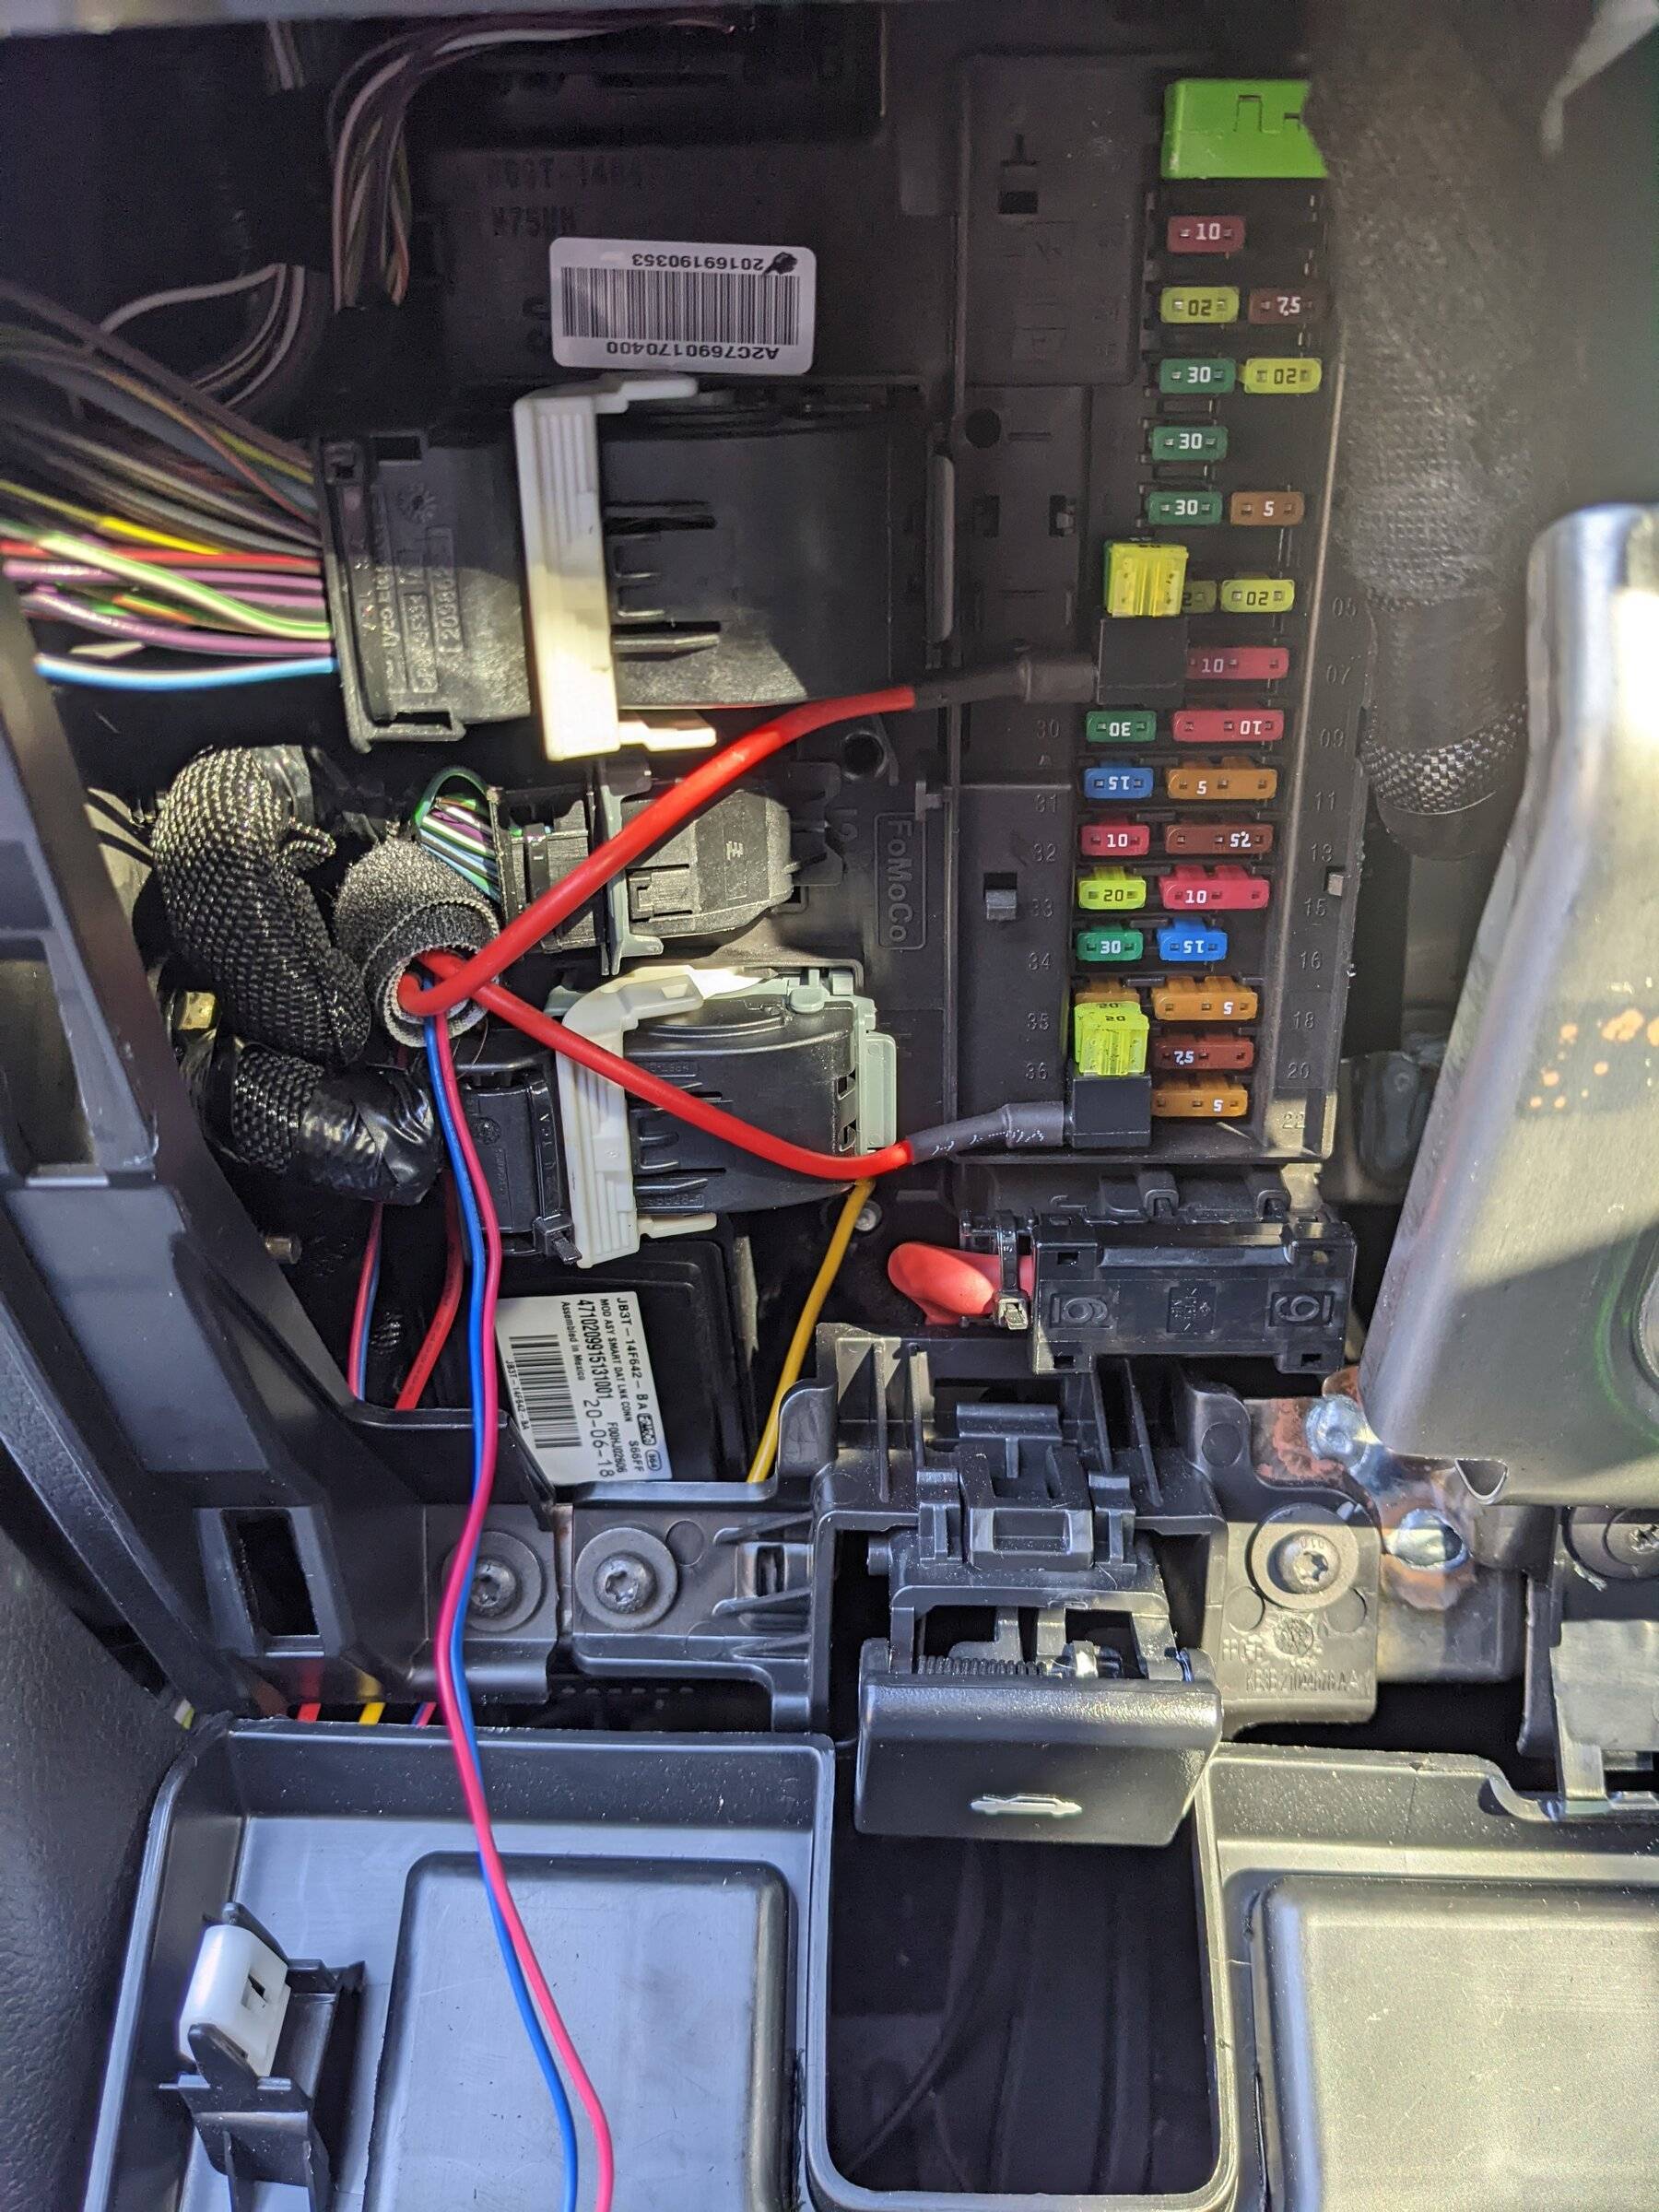
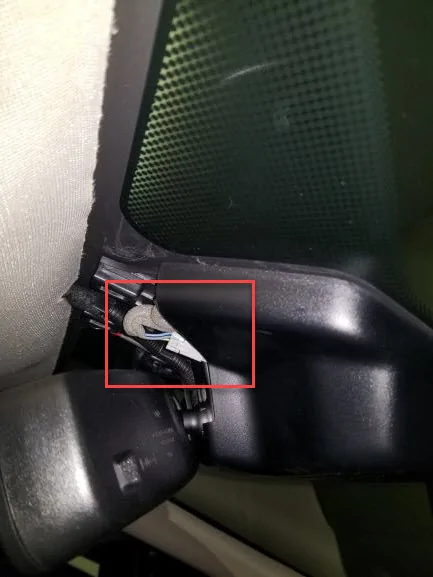
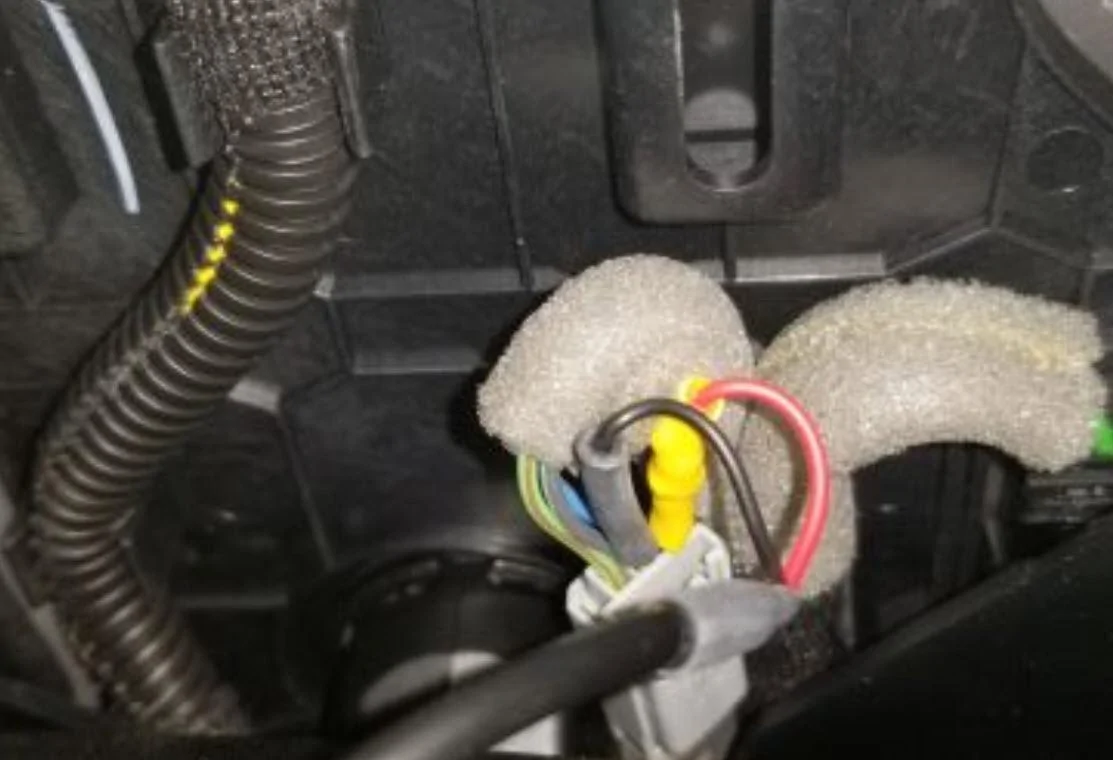
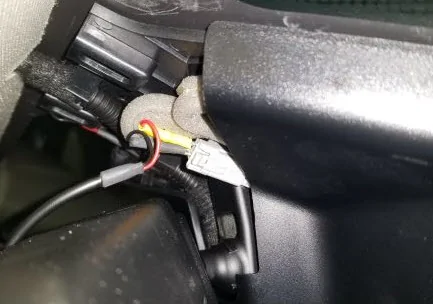
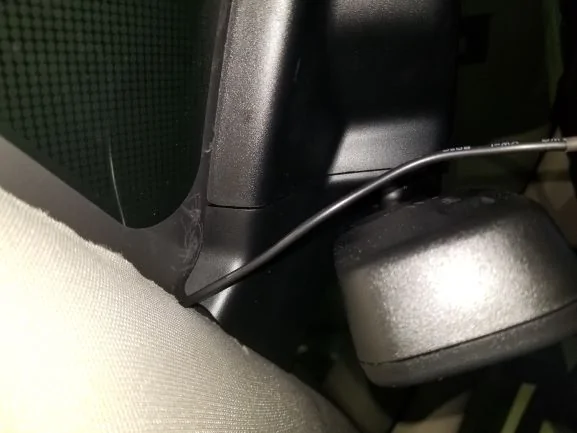
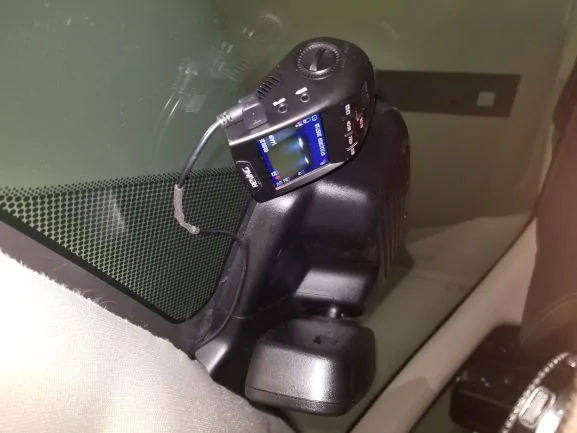
Thanks for confirming.That’s correct, it is a spare slot from the factory under the panel to left of steering wheel. The tap I had was too bulky to fit in the other commonly used slots, but I’ve had no problems using #35 since installing months ago
I will test it out.
Sponsored