davidtg7123
Well-Known Member
- First Name
- David
- Joined
- Mar 5, 2025
- Threads
- 9
- Messages
- 95
- Reaction score
- 464
- Location
- Pittsburgh, PA
- Vehicle(s)
- 2019 Ford Ranger XLT
- Thread starter
- #1
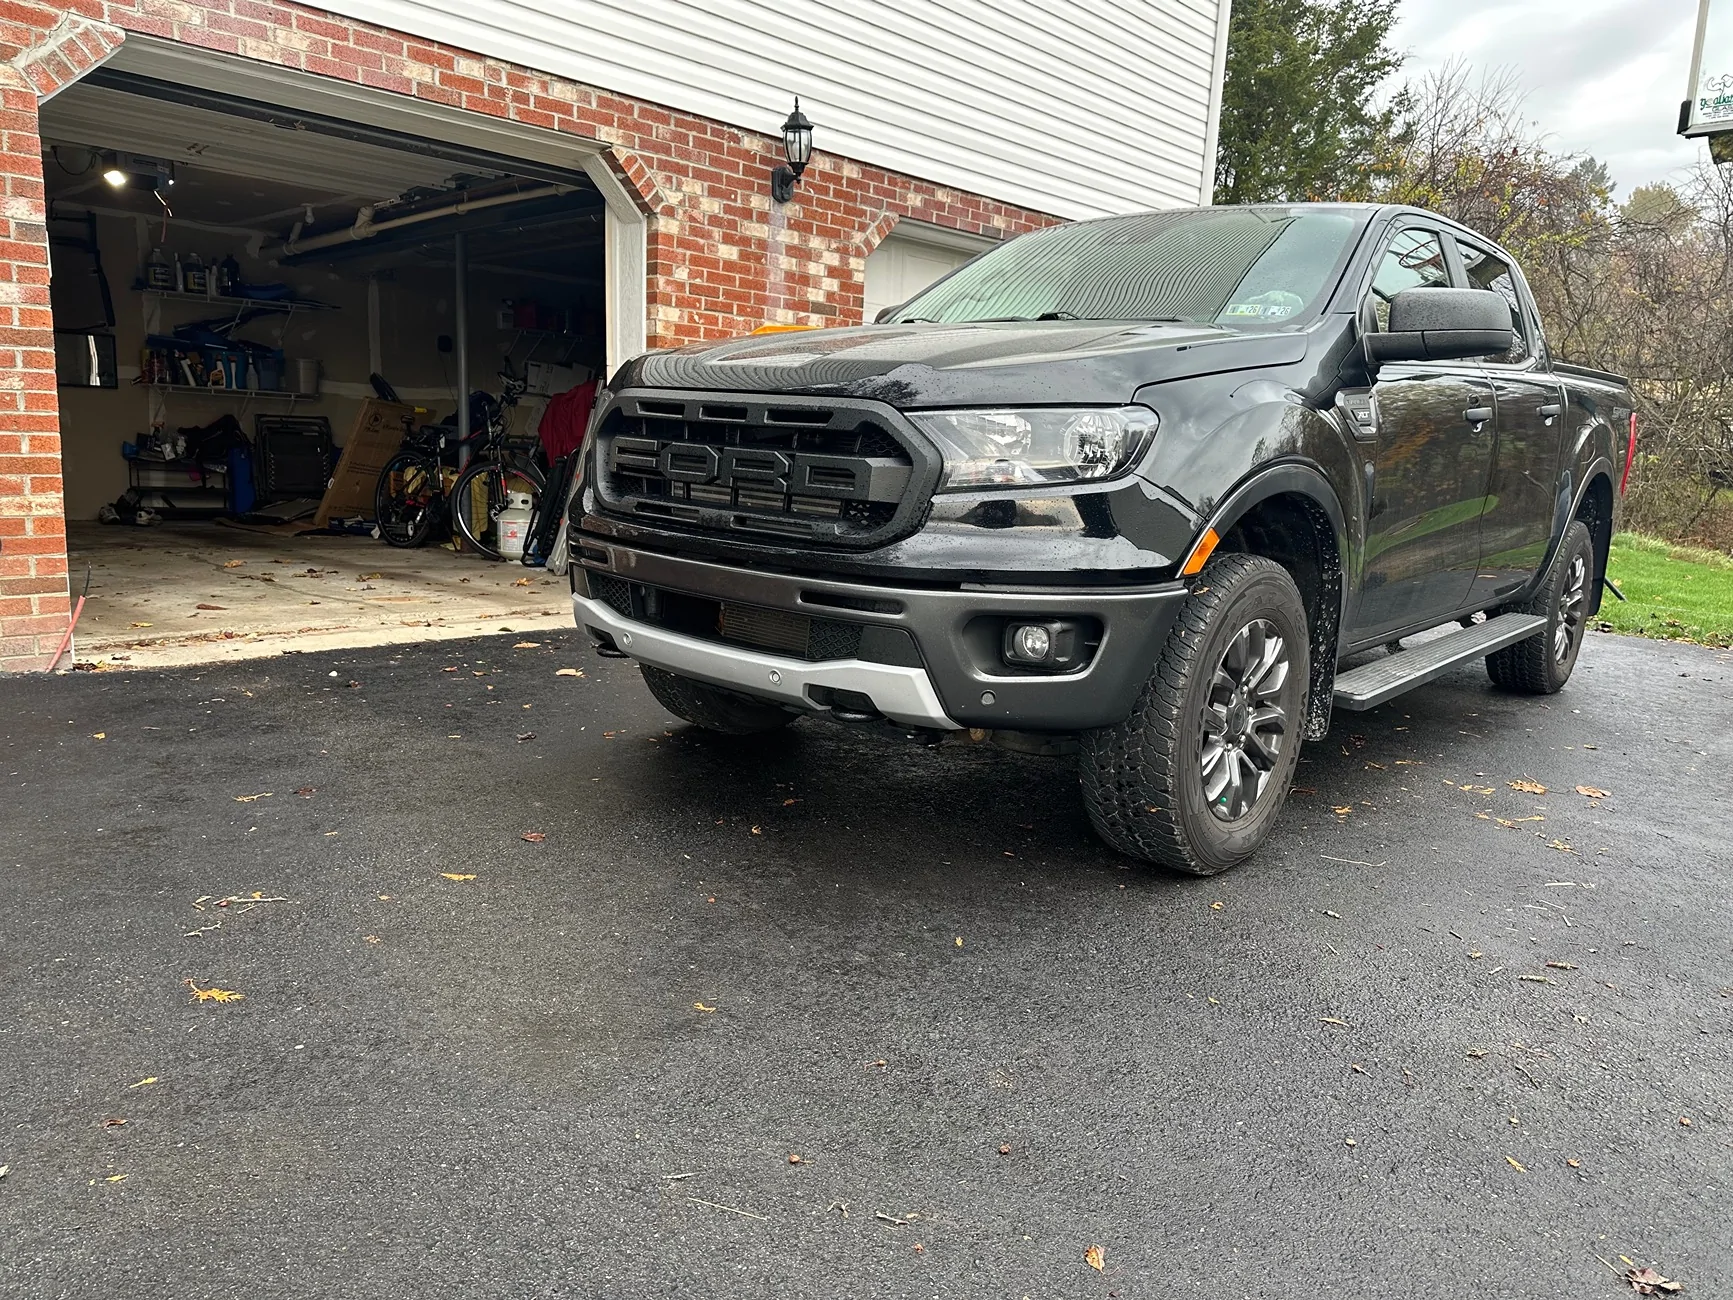
I followed the advice of some others on another thread and decided to write a write-up since I was just guessing. This project took me roughly 40 minutes, but someone could probably do it in half that especially with directions. I love the front of my Ranger now and the way it looks, it is significantly sportier, and I think I’ll install an FX4 skid plate to cover the gap (although the gap really isn’t as noticeable as others might say).
The only potential risks are really arising from being careful with the valance as not to crack it. This may reduce fuel economy especially if you leave the gap with the stock skid plate but it shouldn’t be too bad.
The tools you will need:
10mm socket
Extension
Socket wrench
Locktite Blue
The air dam is secured by a total of nine screws. Three on the driver side, three on the passenger side, and three in the center under the valance. The instructions are mirrored for both the driver and passenger side:
Follow your hand on the air dam and see where the bolts are holding it. Two of them are on the inside of the wheel well and one of them is on the outside, somewhat behind the crash bars. Be careful taking out the two on the inside as there is a third bolt that looks identical in the center of the other two bolts, but it is not connected to the air dam. Remove all three of these bolts on each side and pull the air dam clear. The outermost bolts can be tricky because of the piece in front of the bolt, but I found I was able to get my socket to contact the bolt. The washer may cause it to be tricker as it cannot clear the piece outright but you can kinda pull it around when the bolt is loose enough. The outermost bolts must be re-installed with a liberal amount of blue locktite as they hold some of the pieces outside of the wheel well together.
At this point you should have removed a total of 6 bolts and re-installed the two outermost (with the air dam pulled free). It is then time to remove the five black bolts from the bottom of the valance. Make sure to keep these bolts are they’ll be re-installed. They’re 10mm as well.
With the lower valance bolts removed, you can CAREFULLY pry it outward a bit to give yourself room to jam the socket in to connect with the bolts. There are three silver bolts under the bottom of the valance holding the air dam in, these can be carefully worked out with your socket. Be very careful not to bend the valance too far out or be rough with it. There IS enough room to get your socket in while holding it out. Remove these bolts one at a time and the air dam can be pulled free. The only remaining step is to re-install the valence bolts underneath with a liberal amount of blue locktite. Don’t crank these bolts, just get them snug.
Enjoy your skirt-free truck!
Sponsored
