VoodooRanger
Well-Known Member
- First Name
- Joel
- Joined
- May 6, 2020
- Threads
- 10
- Messages
- 493
- Reaction score
- 2,337
- Location
- Miami, Florida
- Vehicle(s)
- 2019 Ranger XLT FX4
- Thread starter
- #1
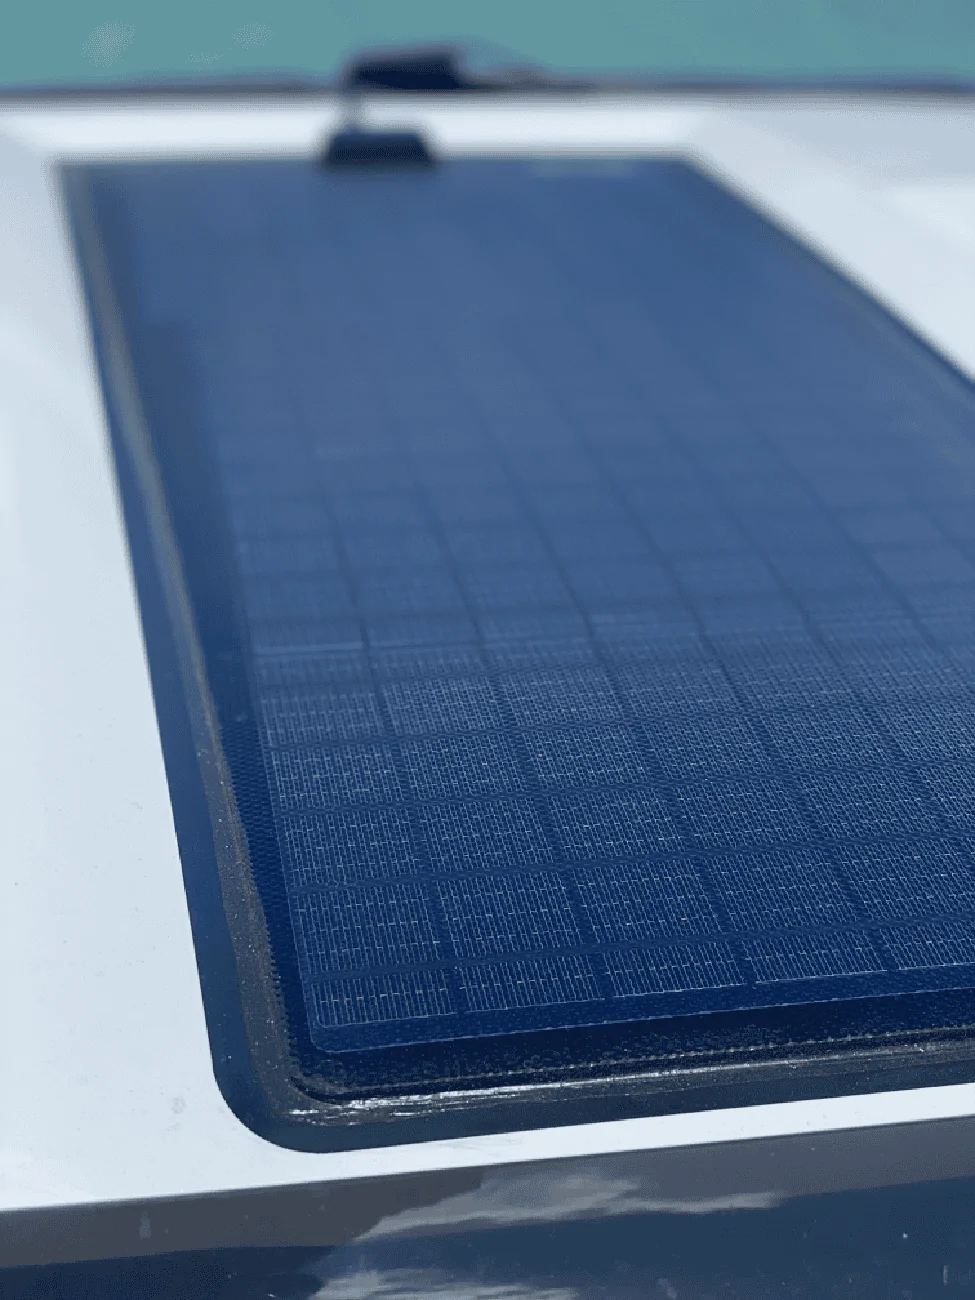
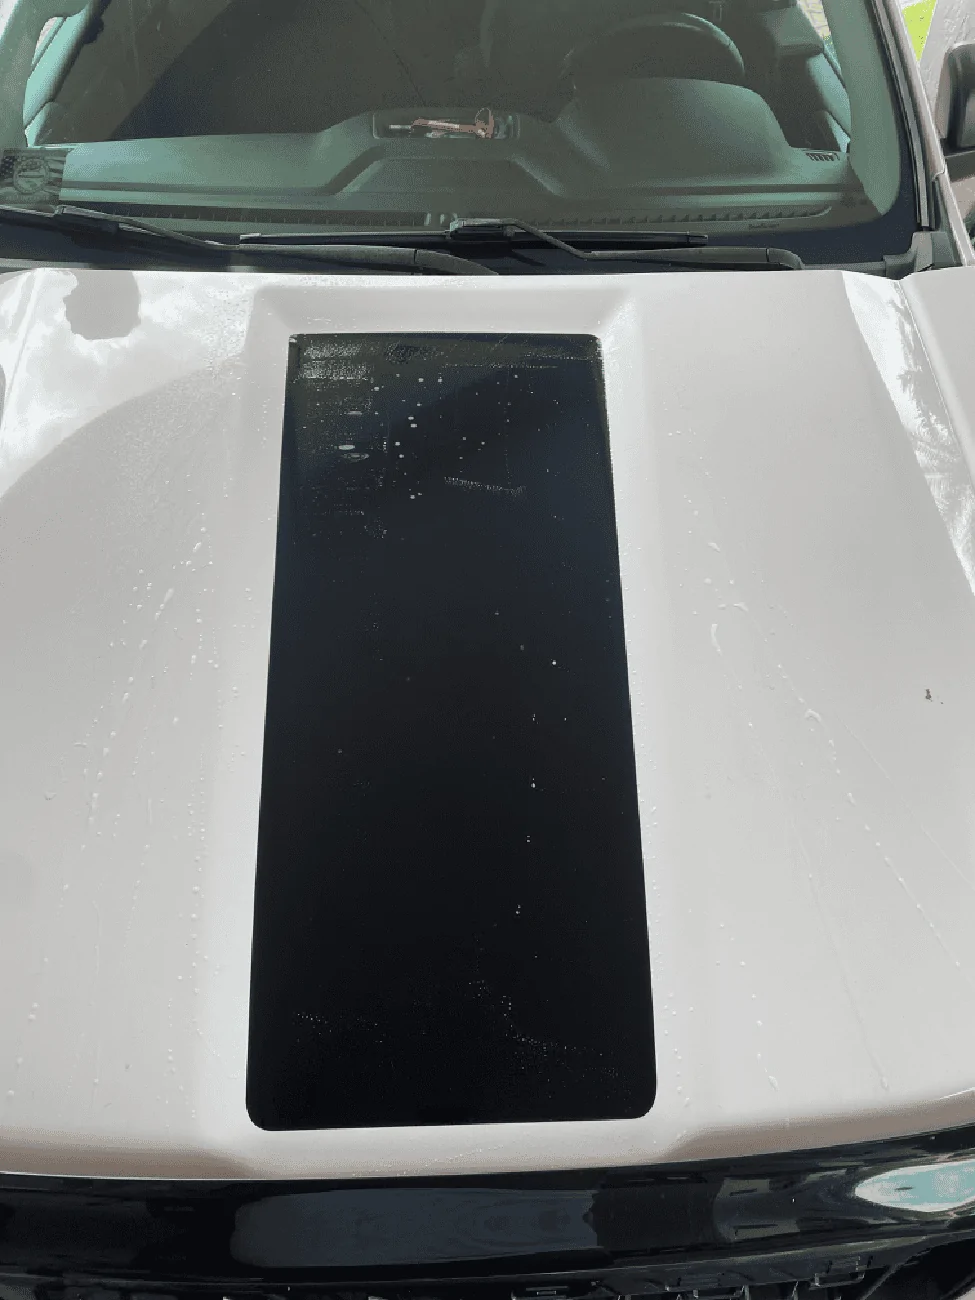
Last week I installed the Lensun Hood Solar Panel Kit that included a single 45w solar panel, hood vinyl, and solar charge controller. They also sell a three panel kit that comes with the same 45w panel and two 30w panels. Price difference between the two kits is about $200.
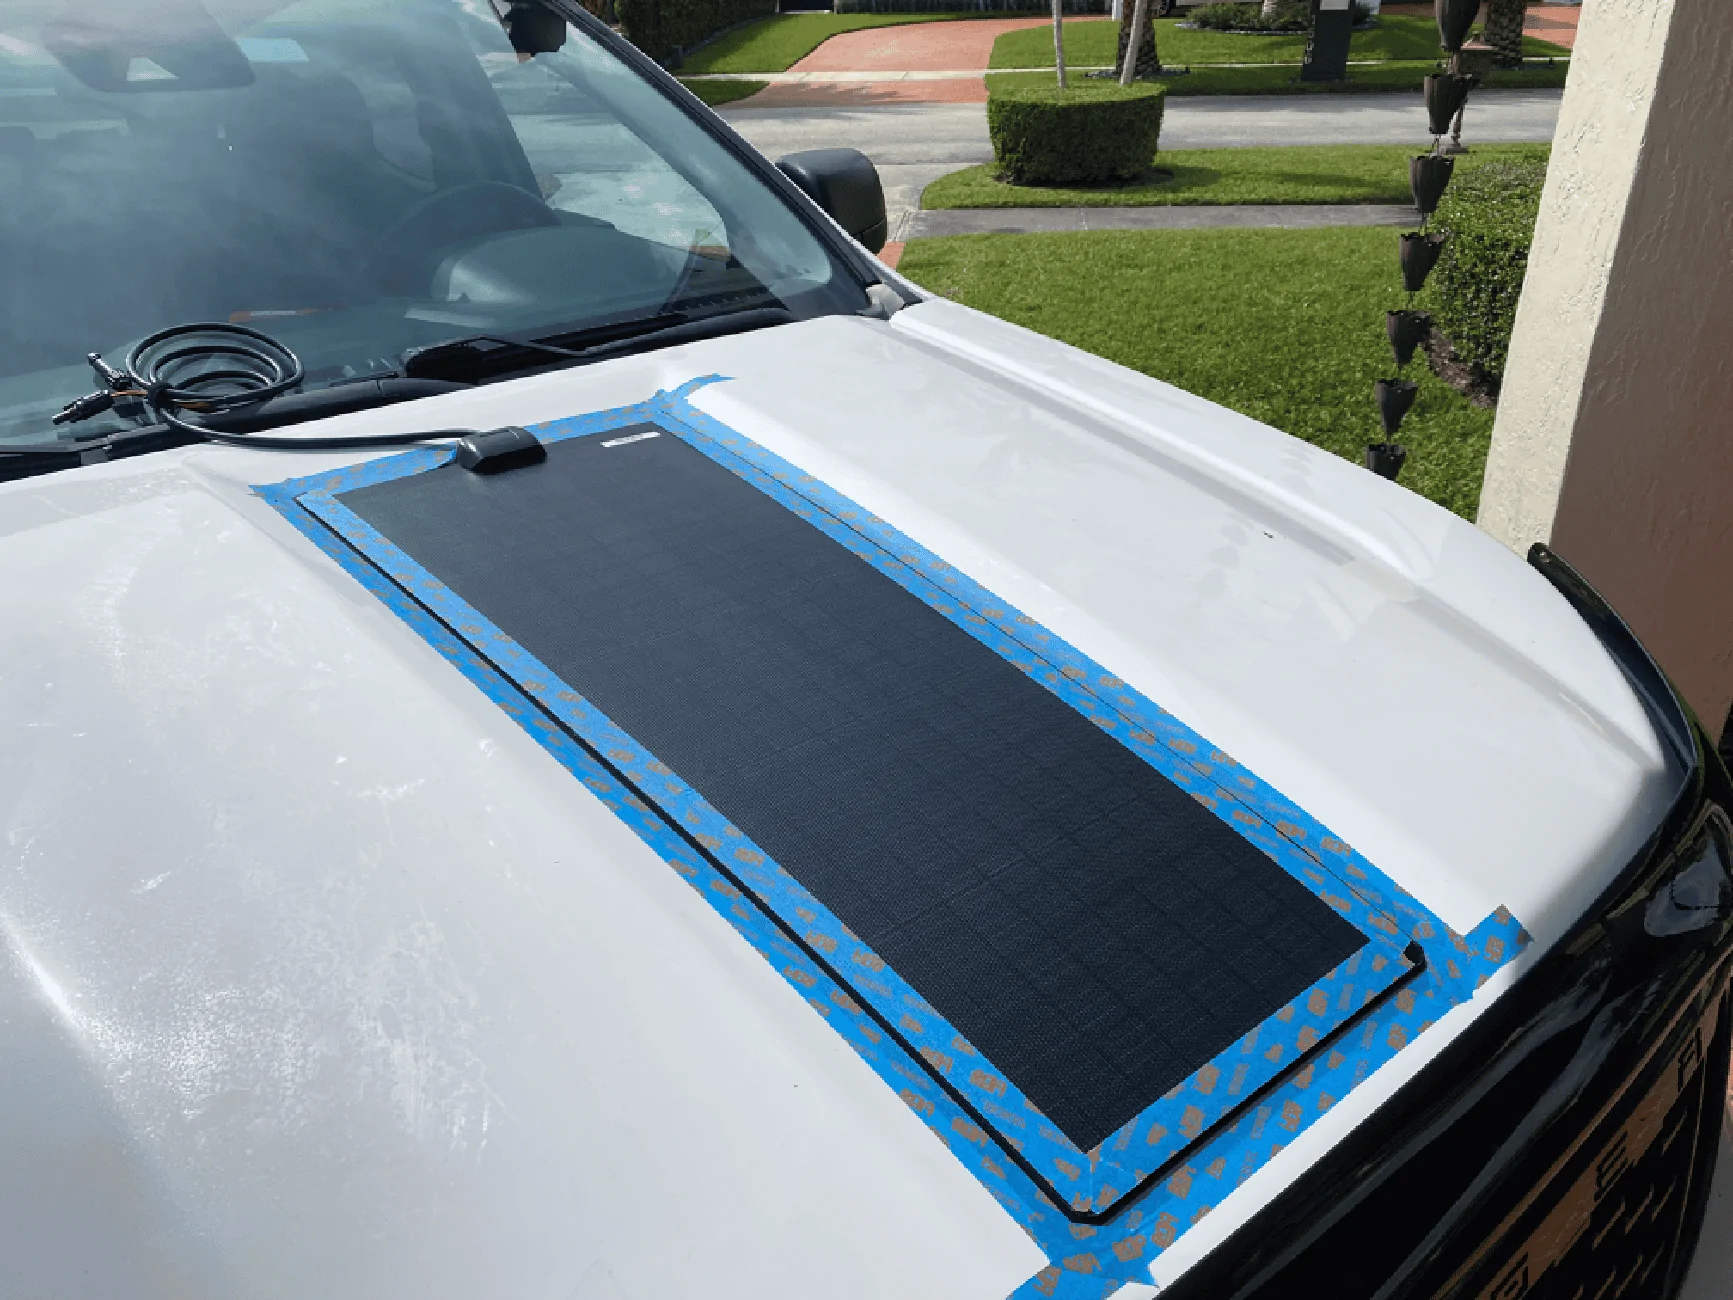
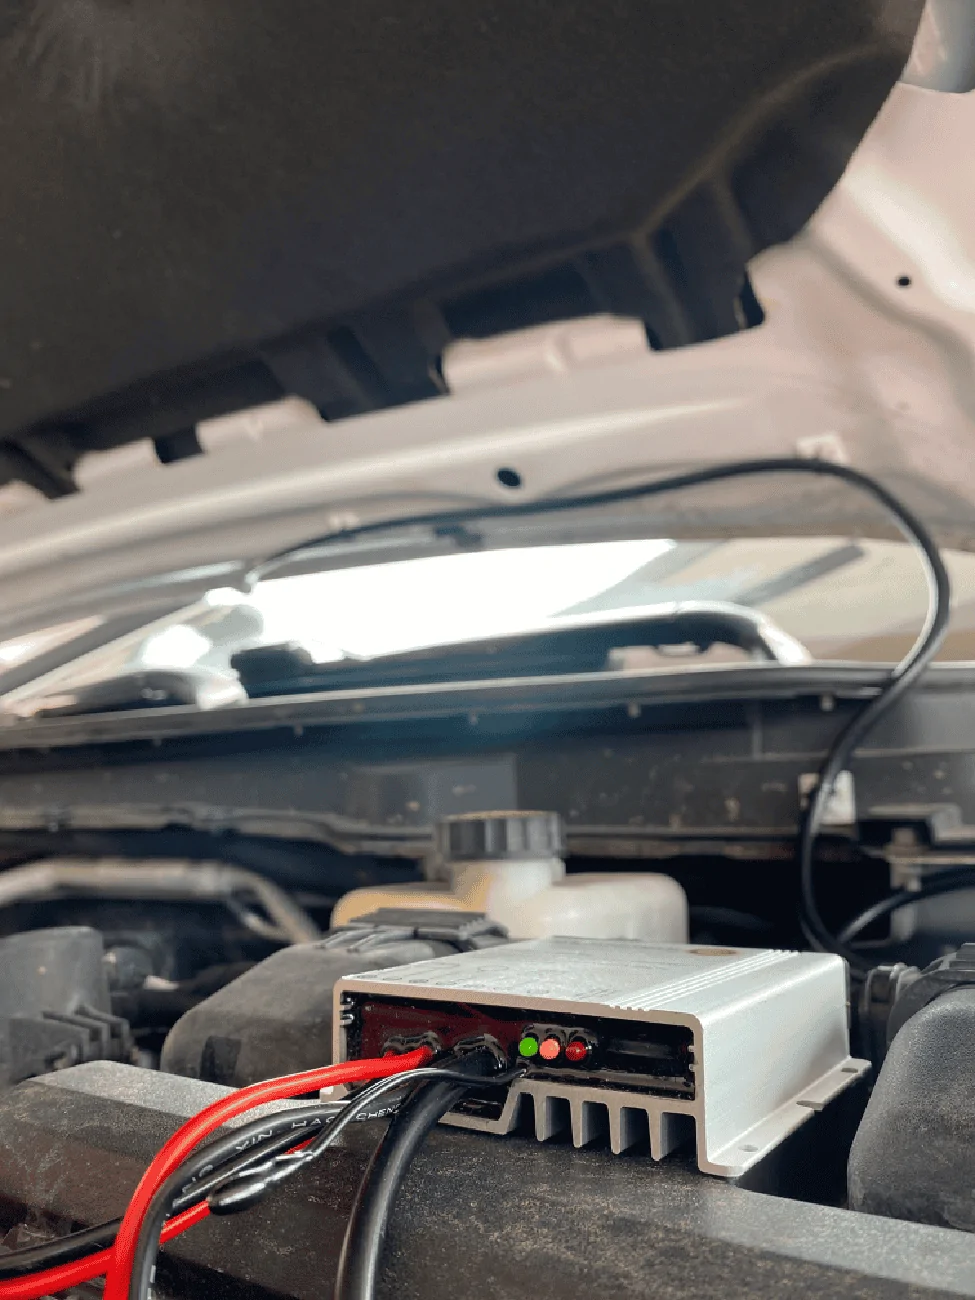
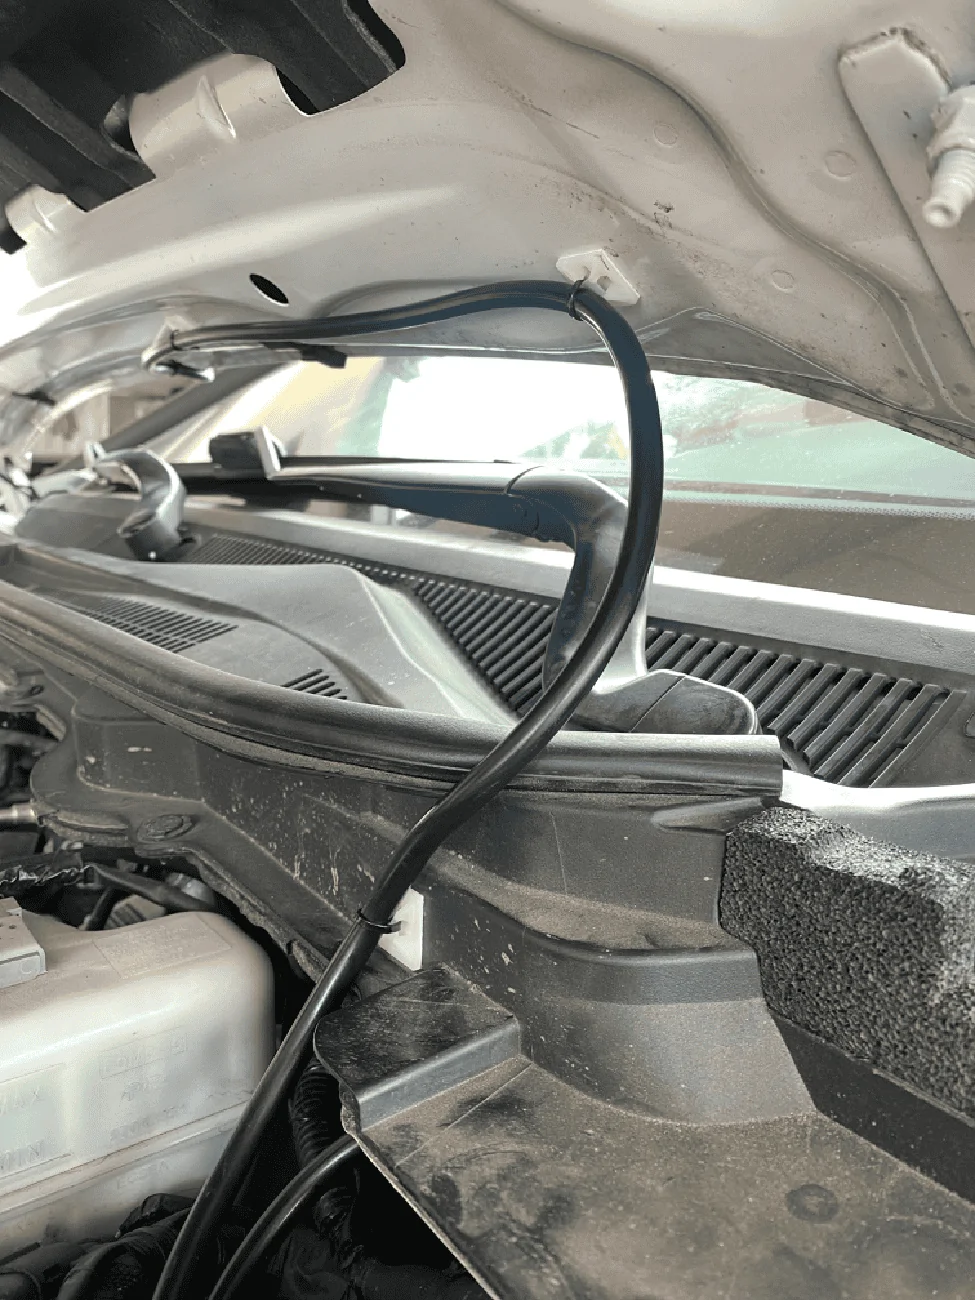
Install. Unlike the kits for Tacomas, Land Rovers, etc. that have one large panel, this was relatively easy to install alone. I taped the vinyl backing to my front door, and sprayed it with a water/car wash soap mixture as I slowly peeled the vinyl off. I sprayed the center area of the hood liberally with the mixture which allowed the vinyl to glide on. I eyeballed the placement, and used the supplied squeegee to remove the water. Instructions recommend letting the vinyl set for 24-48 hours. A few days prior to the install I applied 3M VHB Tape from Amazon to the panel so it could set in place. I may have applied more VHB than I needed, but I also didn’t want to put too little, and see the panel taking flight on the highway. Again I eyeballed the placement of the solar panel into place once the vinyl had dried(installed all the same day). Being a single small panel, I started at the front, and slowly laid it back towards the windshield. I taped the area around the panel, as well as above so I could apply a bead of Black Permatex Silicone Sealant(initially purchased for Prinsu Rack install) as recommended in the instructions. With the panel installed I went into the engine bay and mounted the solar charge controller to the fuse box over. I used a few small strips of the leftover VHB. I ran the MC4 cables from the panel under the hood and down towards the drivers side fender using the supplied cable mounts. Connecting the controller to the battery is self explanatory and the controller will perform a self test once power is hooked up to it. I taped off the Pos/Neg wires designated for a load and manually shut off the load feature in the app.
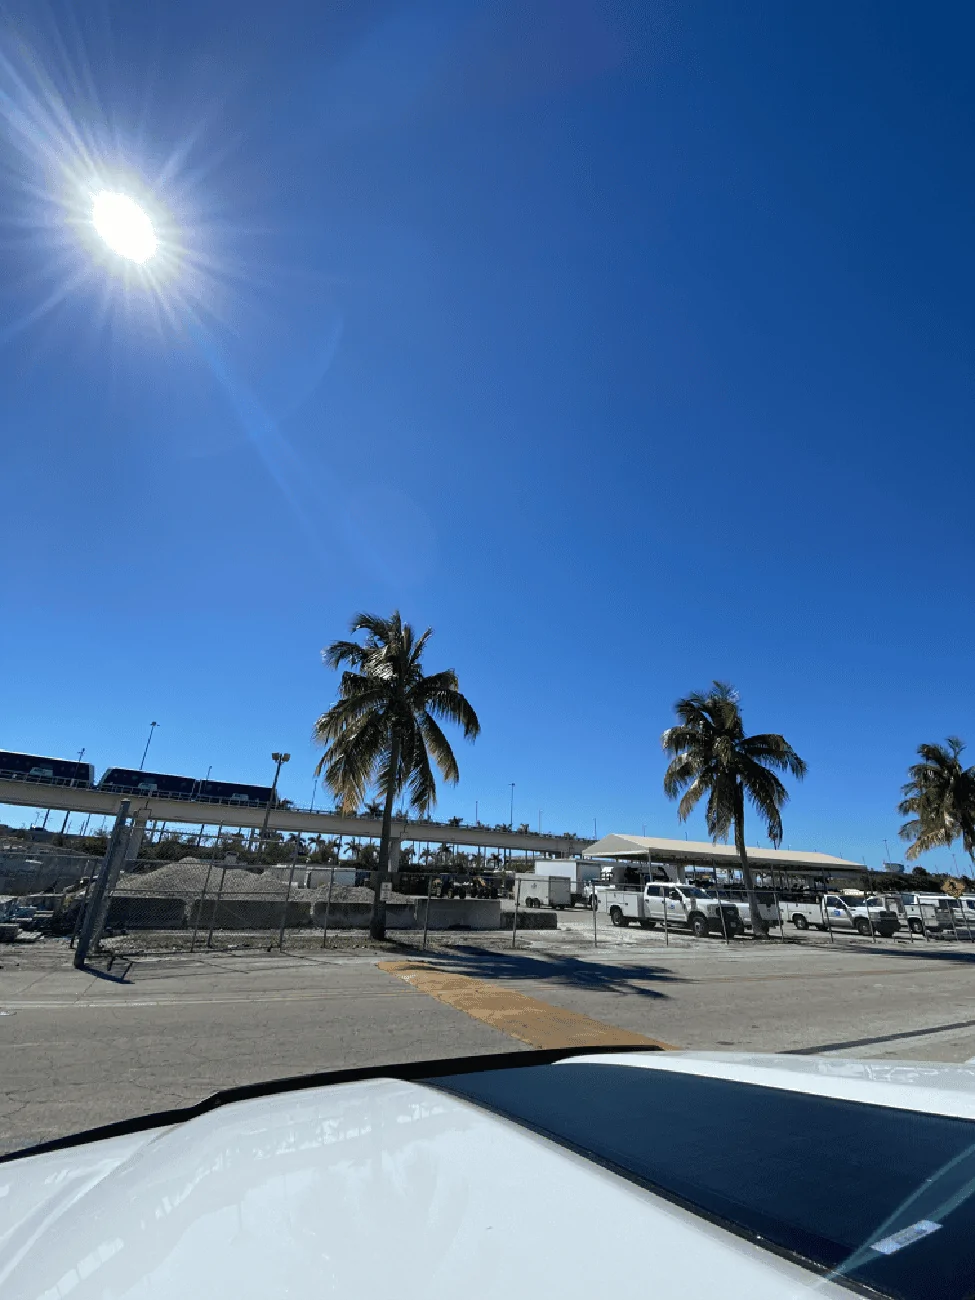
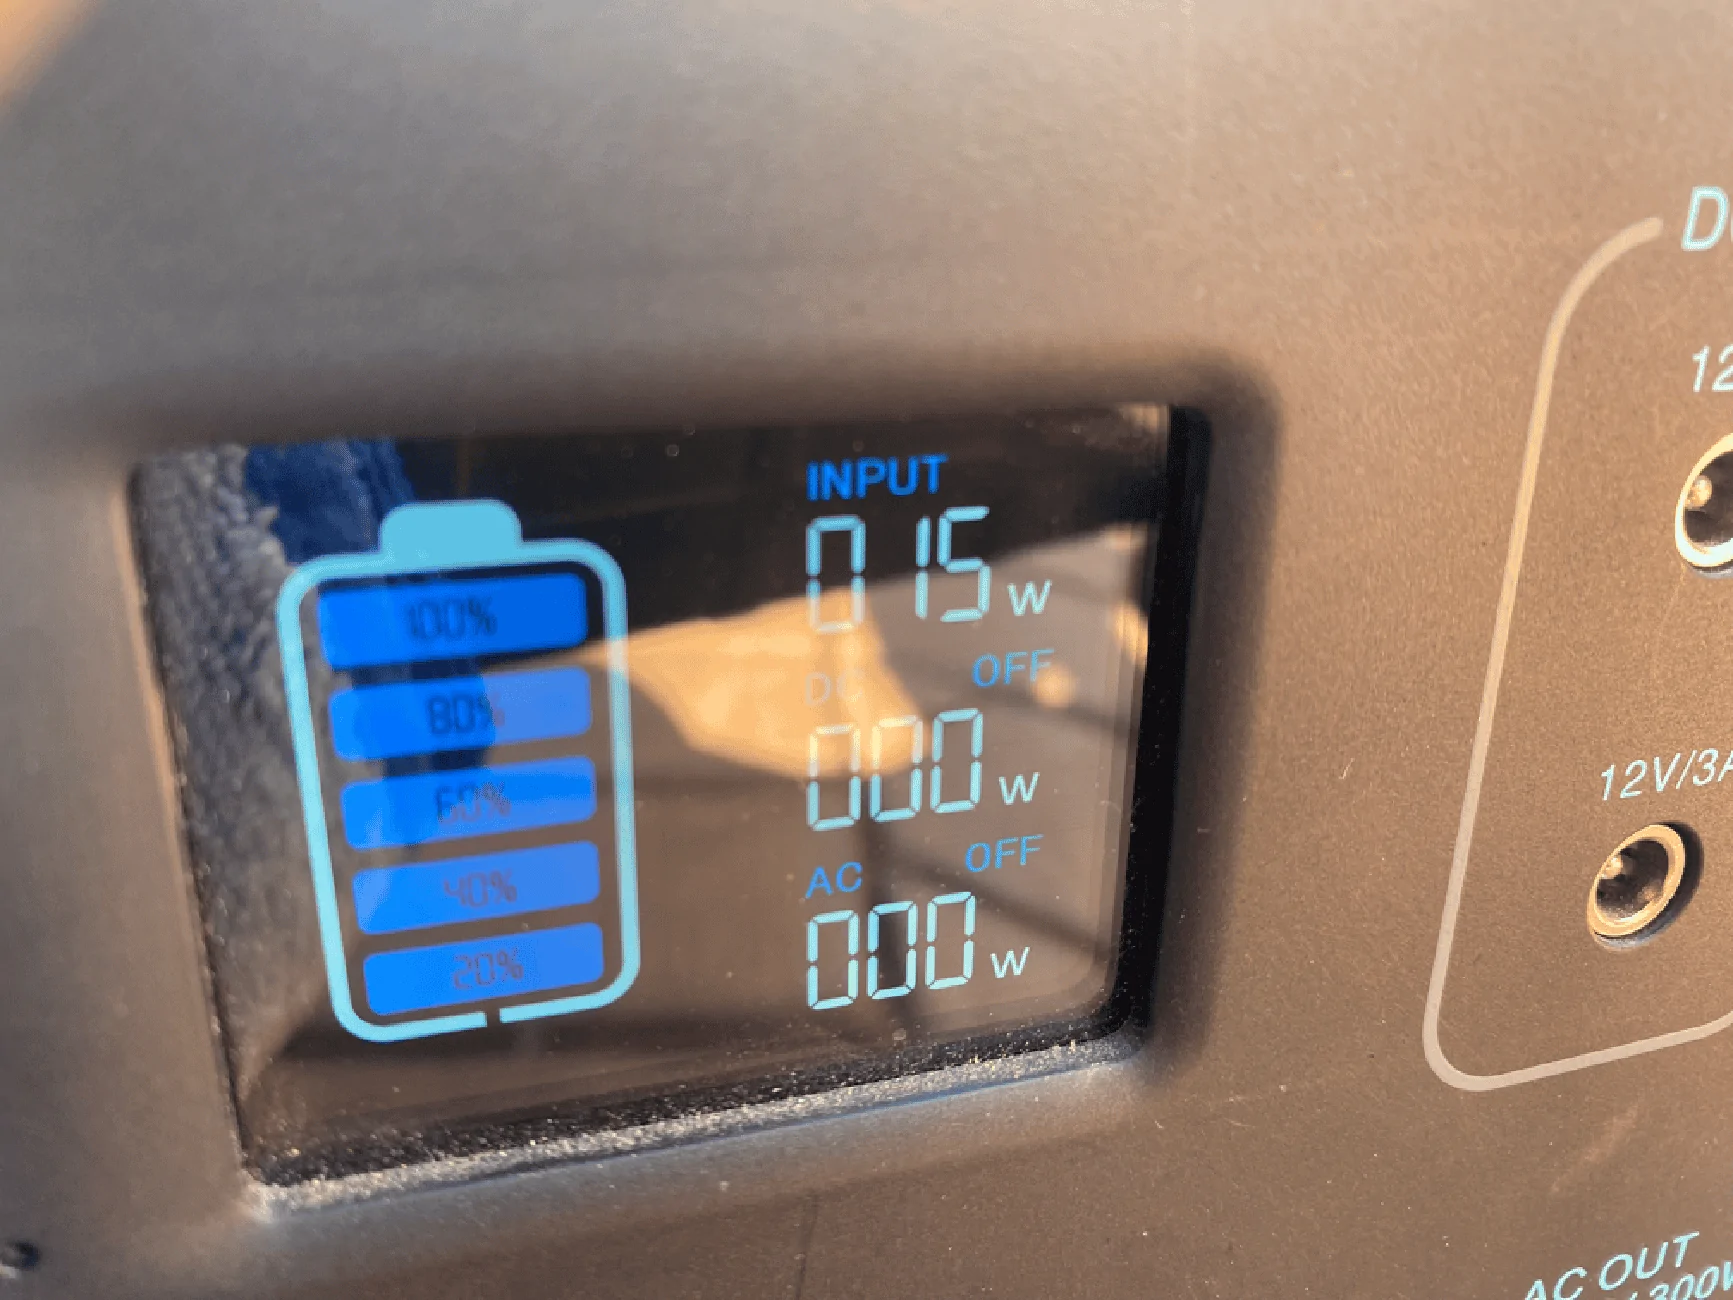
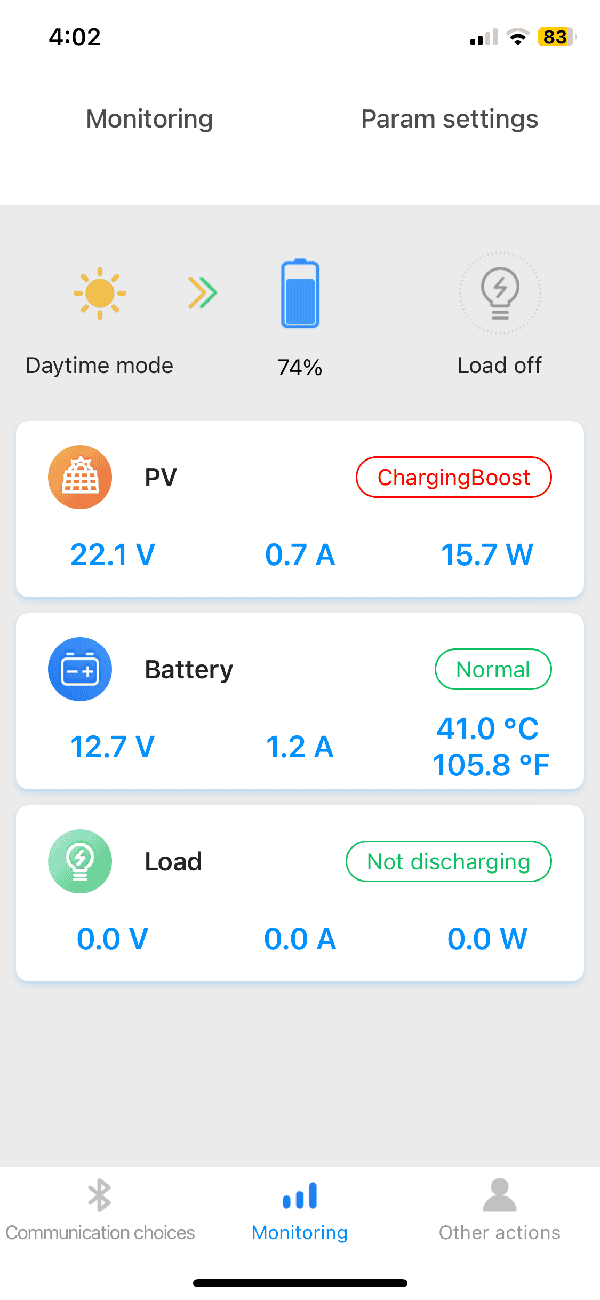
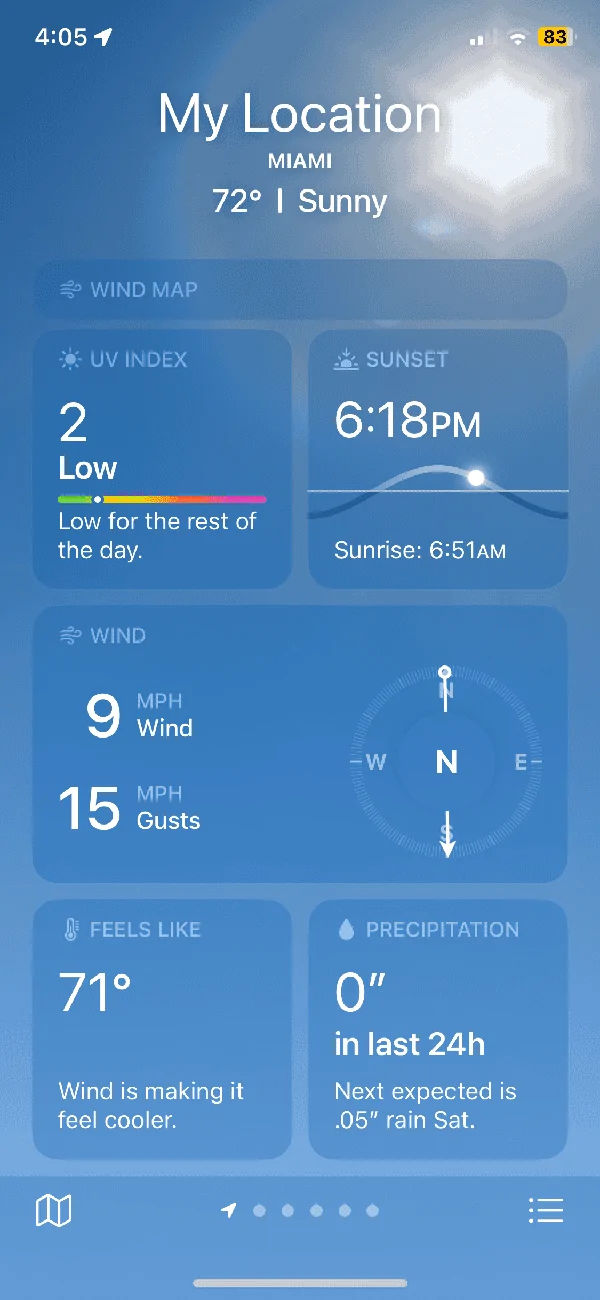
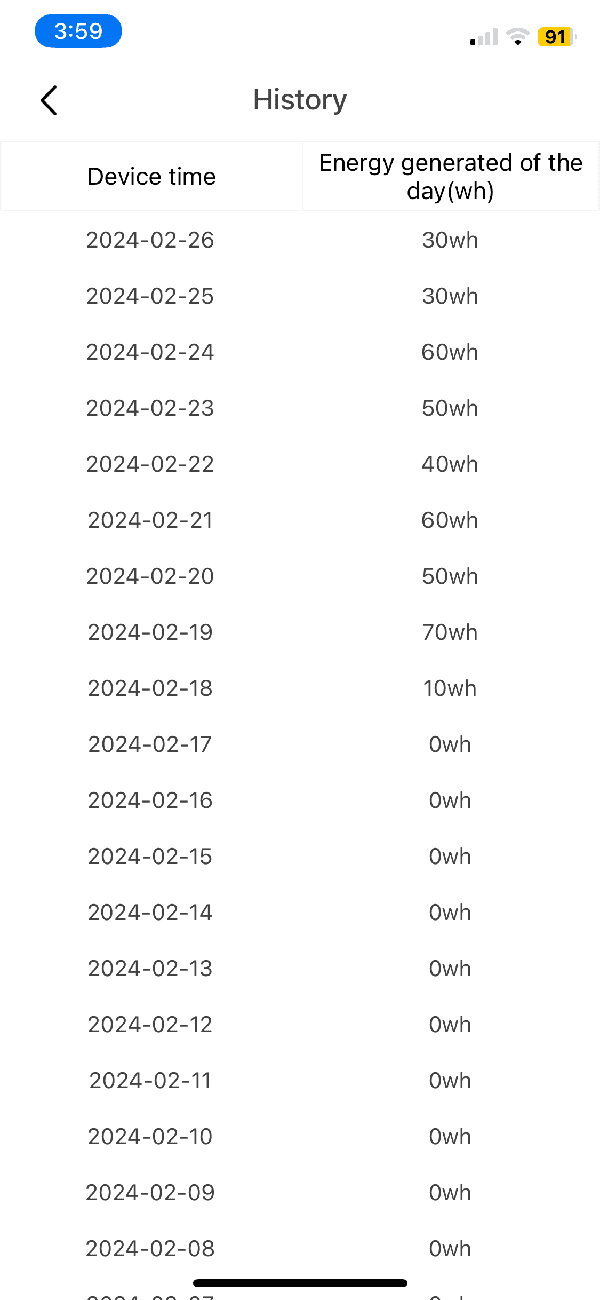
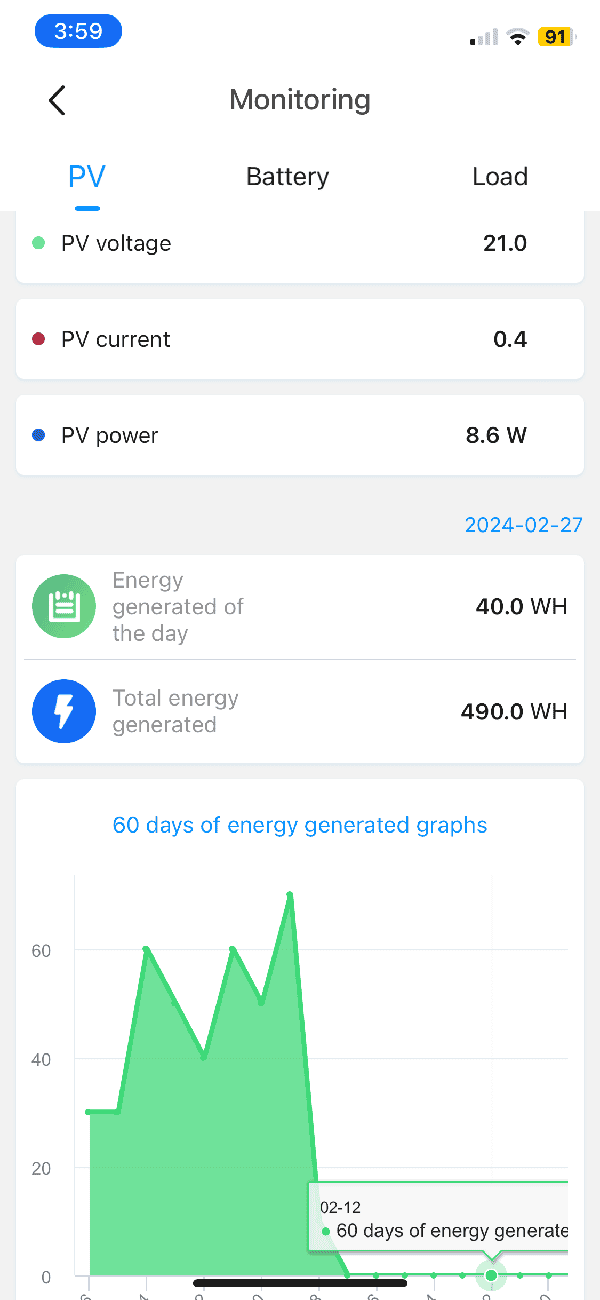
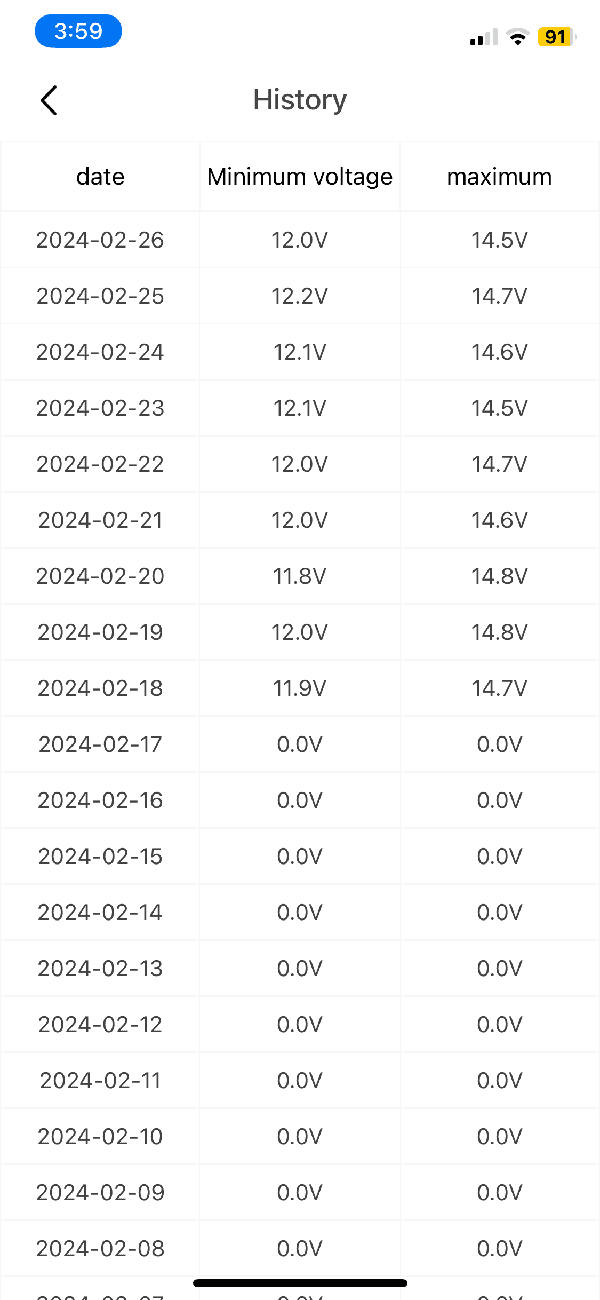
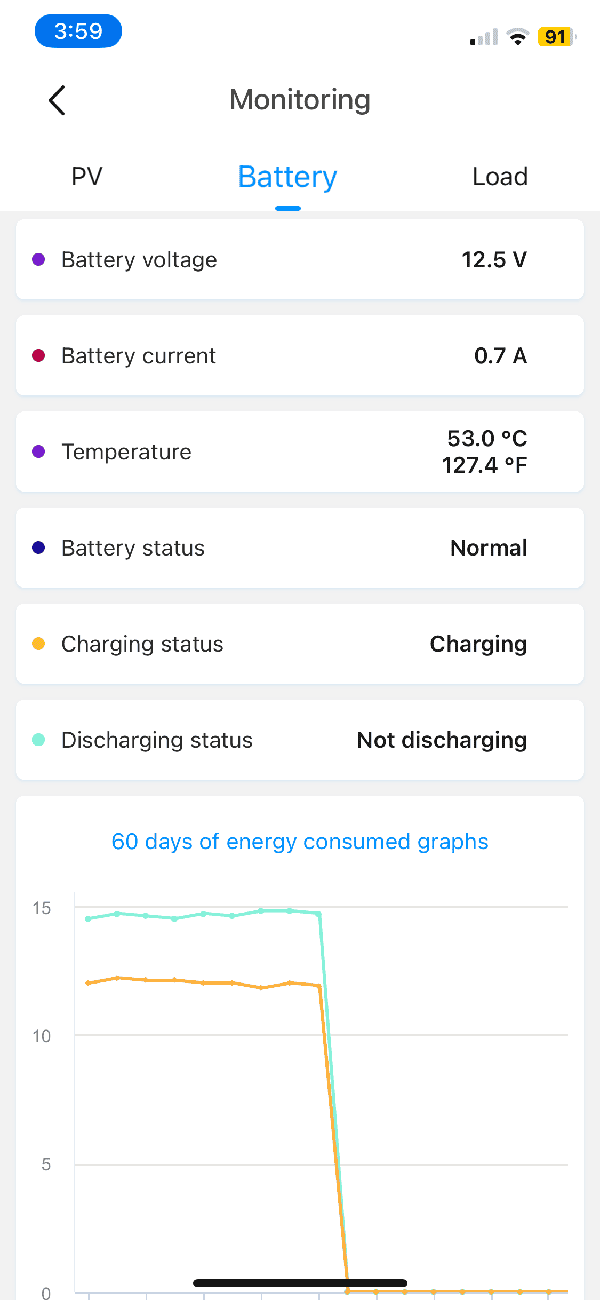
Function. The information you find in the screenshots is from the last nine days. The app works off Bluetooth, but I have to be literally at the drivers side front fender to recognize the controller. The panel as stated is 45w, and prior to the install I held it towards the setting sun, and connected to my Bluetti power bank I was generating 30w. Post install I used the app to register it pulling in 15.7w. I quickly unplugged it from the controller and hooked it up to my Bluetti where it was listing 15w. I know, not exact science, but the best I can do with the tools I had. The last nine days have had a mix of everything. Clear skies. Partly cloudy. Cloudy. Raining. I’m still waiting for the locusts. I would say the panel is working okay. It’s also important to note that the panel does not sit flat. As it reaches the front of the truck it does have a slight bend to follow the shape of the hood. At work I park backed in facing south with no trees or obstructions around the vehicle. I say this because I know how finicky solar panels can be if they are not facing the sun perfectly. Yet it has still generated enough to keep my battery topped off which is something I was looking into.
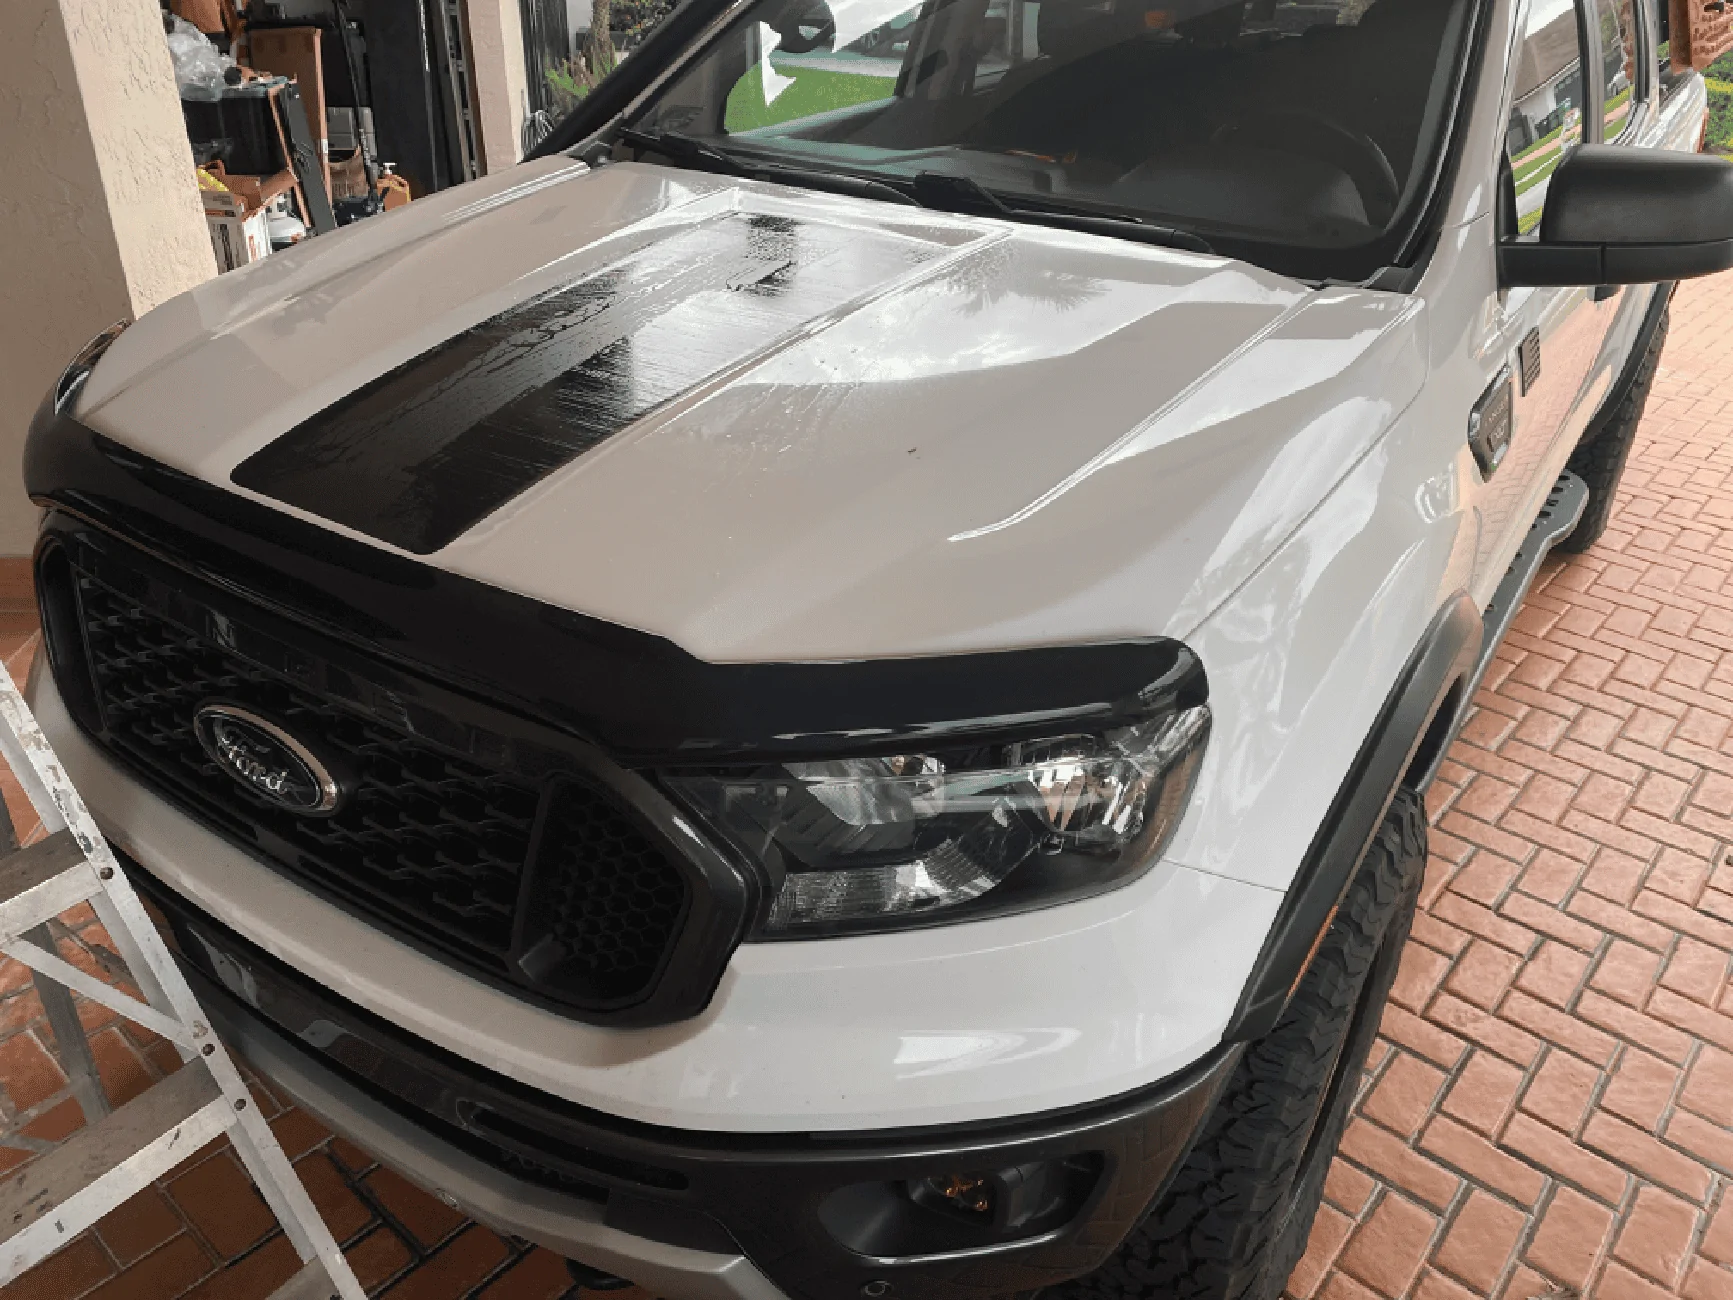
Is this for you? Depends. I never had any intent to run a load off it, but I do generally take a 12v Iceco in the bed when I take trips. The Iceco does have a low voltage shut off, but I would prefer not relying on that. With this simple panel I can make sure my starter battery stays getting some juice when I’m stopped somewhere for a couple hours. For my use the three panel kit was overkill. Had I really needed to generate that kind of power I would’ve just mounted a larger 200w panel on the prinsu rack. I will say that the panel does look good on the white hood. It really helps the design of the hood stand out more. Though the same effect could’ve been pulled off with just the vinyl.
If you guys have any questions I’ll try to answer them the best I can. I’m not a Solar guru so I would take my opinion with a grain of salt. The numbers I have posted were based off the readings from the app and my power bank.
Mods of this belongs in another section please move it. I was not sure where it was best to post it.


Install. Unlike the kits for Tacomas, Land Rovers, etc. that have one large panel, this was relatively easy to install alone. I taped the vinyl backing to my front door, and sprayed it with a water/car wash soap mixture as I slowly peeled the vinyl off. I sprayed the center area of the hood liberally with the mixture which allowed the vinyl to glide on. I eyeballed the placement, and used the supplied squeegee to remove the water. Instructions recommend letting the vinyl set for 24-48 hours. A few days prior to the install I applied 3M VHB Tape from Amazon to the panel so it could set in place. I may have applied more VHB than I needed, but I also didn’t want to put too little, and see the panel taking flight on the highway. Again I eyeballed the placement of the solar panel into place once the vinyl had dried(installed all the same day). Being a single small panel, I started at the front, and slowly laid it back towards the windshield. I taped the area around the panel, as well as above so I could apply a bead of Black Permatex Silicone Sealant(initially purchased for Prinsu Rack install) as recommended in the instructions. With the panel installed I went into the engine bay and mounted the solar charge controller to the fuse box over. I used a few small strips of the leftover VHB. I ran the MC4 cables from the panel under the hood and down towards the drivers side fender using the supplied cable mounts. Connecting the controller to the battery is self explanatory and the controller will perform a self test once power is hooked up to it. I taped off the Pos/Neg wires designated for a load and manually shut off the load feature in the app.
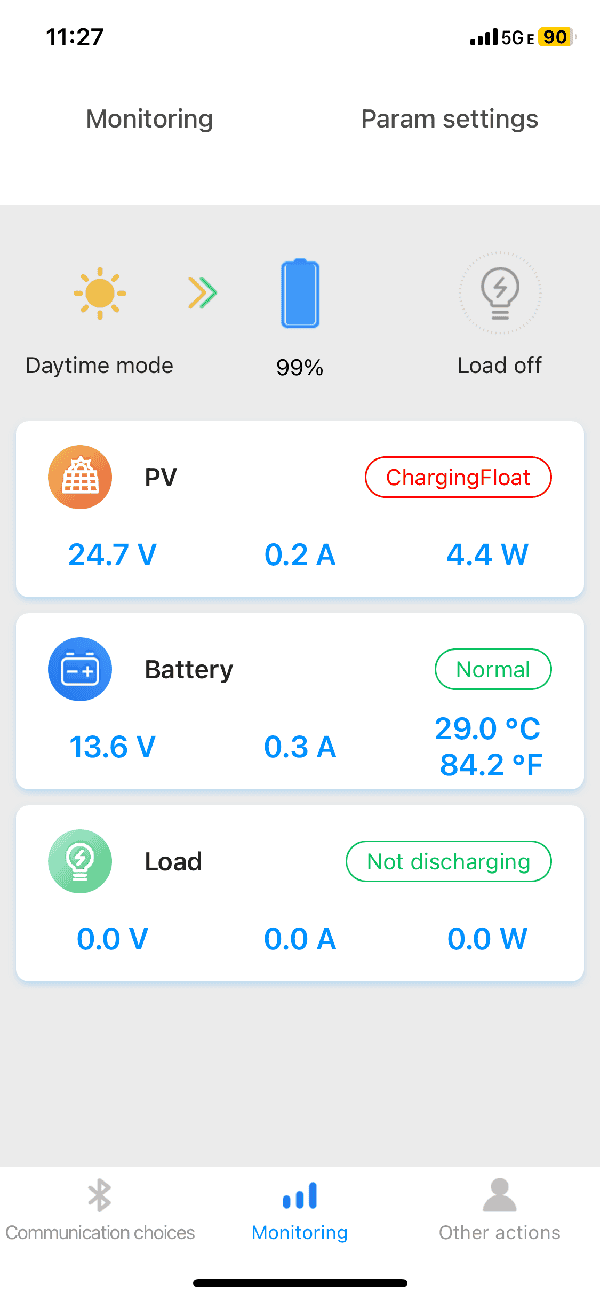
Function. The information you find in the screenshots is from the last nine days. The app works off Bluetooth, but I have to be literally at the drivers side front fender to recognize the controller. The panel as stated is 45w, and prior to the install I held it towards the setting sun, and connected to my Bluetti power bank I was generating 30w. Post install I used the app to register it pulling in 15.7w. I quickly unplugged it from the controller and hooked it up to my Bluetti where it was listing 15w. I know, not exact science, but the best I can do with the tools I had. The last nine days have had a mix of everything. Clear skies. Partly cloudy. Cloudy. Raining. I’m still waiting for the locusts. I would say the panel is working okay. It’s also important to note that the panel does not sit flat. As it reaches the front of the truck it does have a slight bend to follow the shape of the hood. At work I park backed in facing south with no trees or obstructions around the vehicle. I say this because I know how finicky solar panels can be if they are not facing the sun perfectly. Yet it has still generated enough to keep my battery topped off which is something I was looking into.
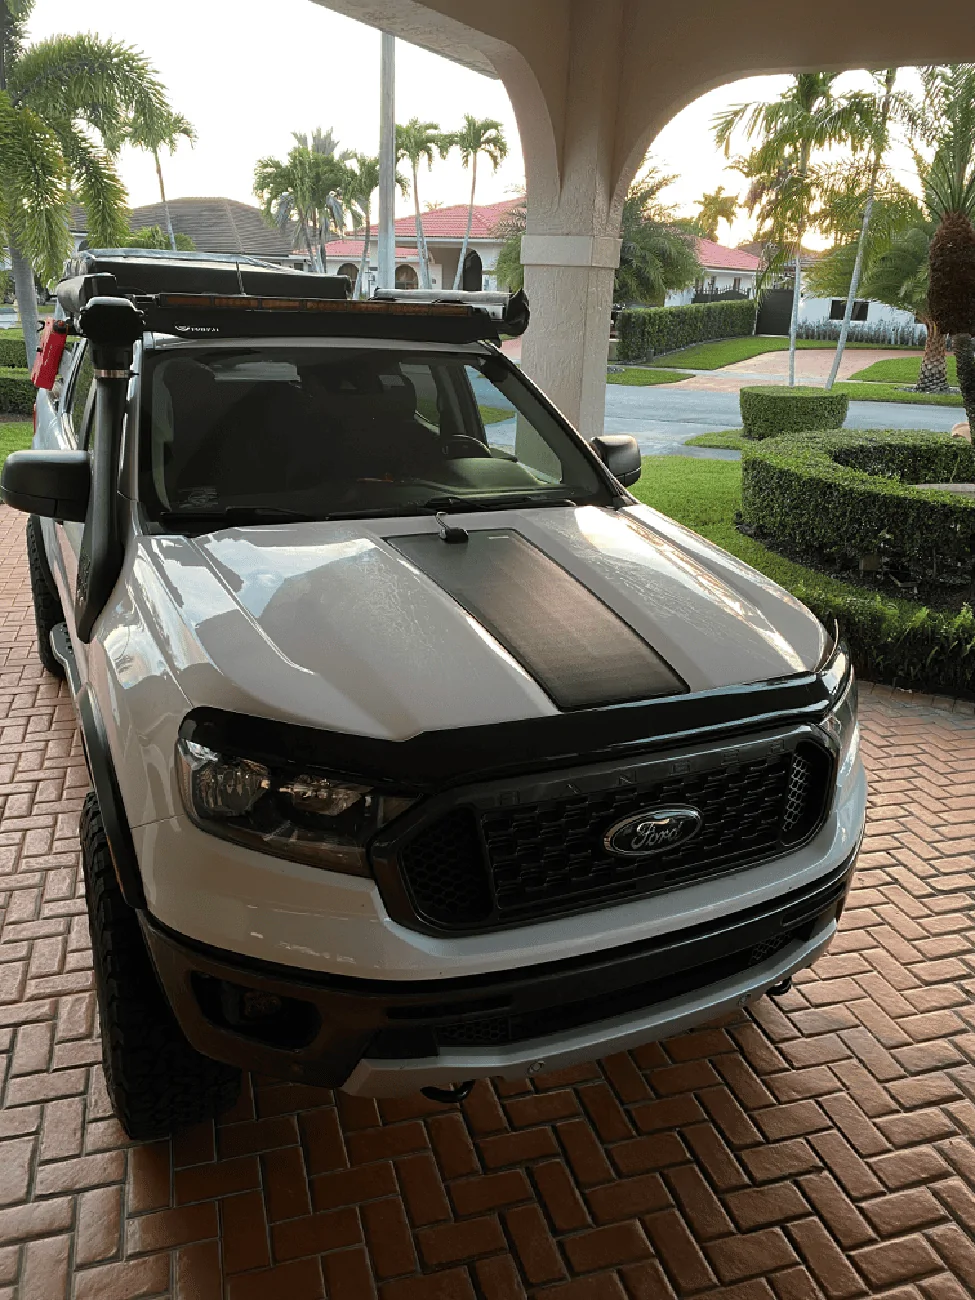
Is this for you? Depends. I never had any intent to run a load off it, but I do generally take a 12v Iceco in the bed when I take trips. The Iceco does have a low voltage shut off, but I would prefer not relying on that. With this simple panel I can make sure my starter battery stays getting some juice when I’m stopped somewhere for a couple hours. For my use the three panel kit was overkill. Had I really needed to generate that kind of power I would’ve just mounted a larger 200w panel on the prinsu rack. I will say that the panel does look good on the white hood. It really helps the design of the hood stand out more. Though the same effect could’ve been pulled off with just the vinyl.
If you guys have any questions I’ll try to answer them the best I can. I’m not a Solar guru so I would take my opinion with a grain of salt. The numbers I have posted were based off the readings from the app and my power bank.
Mods of this belongs in another section please move it. I was not sure where it was best to post it.
Sponsored