Fitzmotor
Gold Sponsor
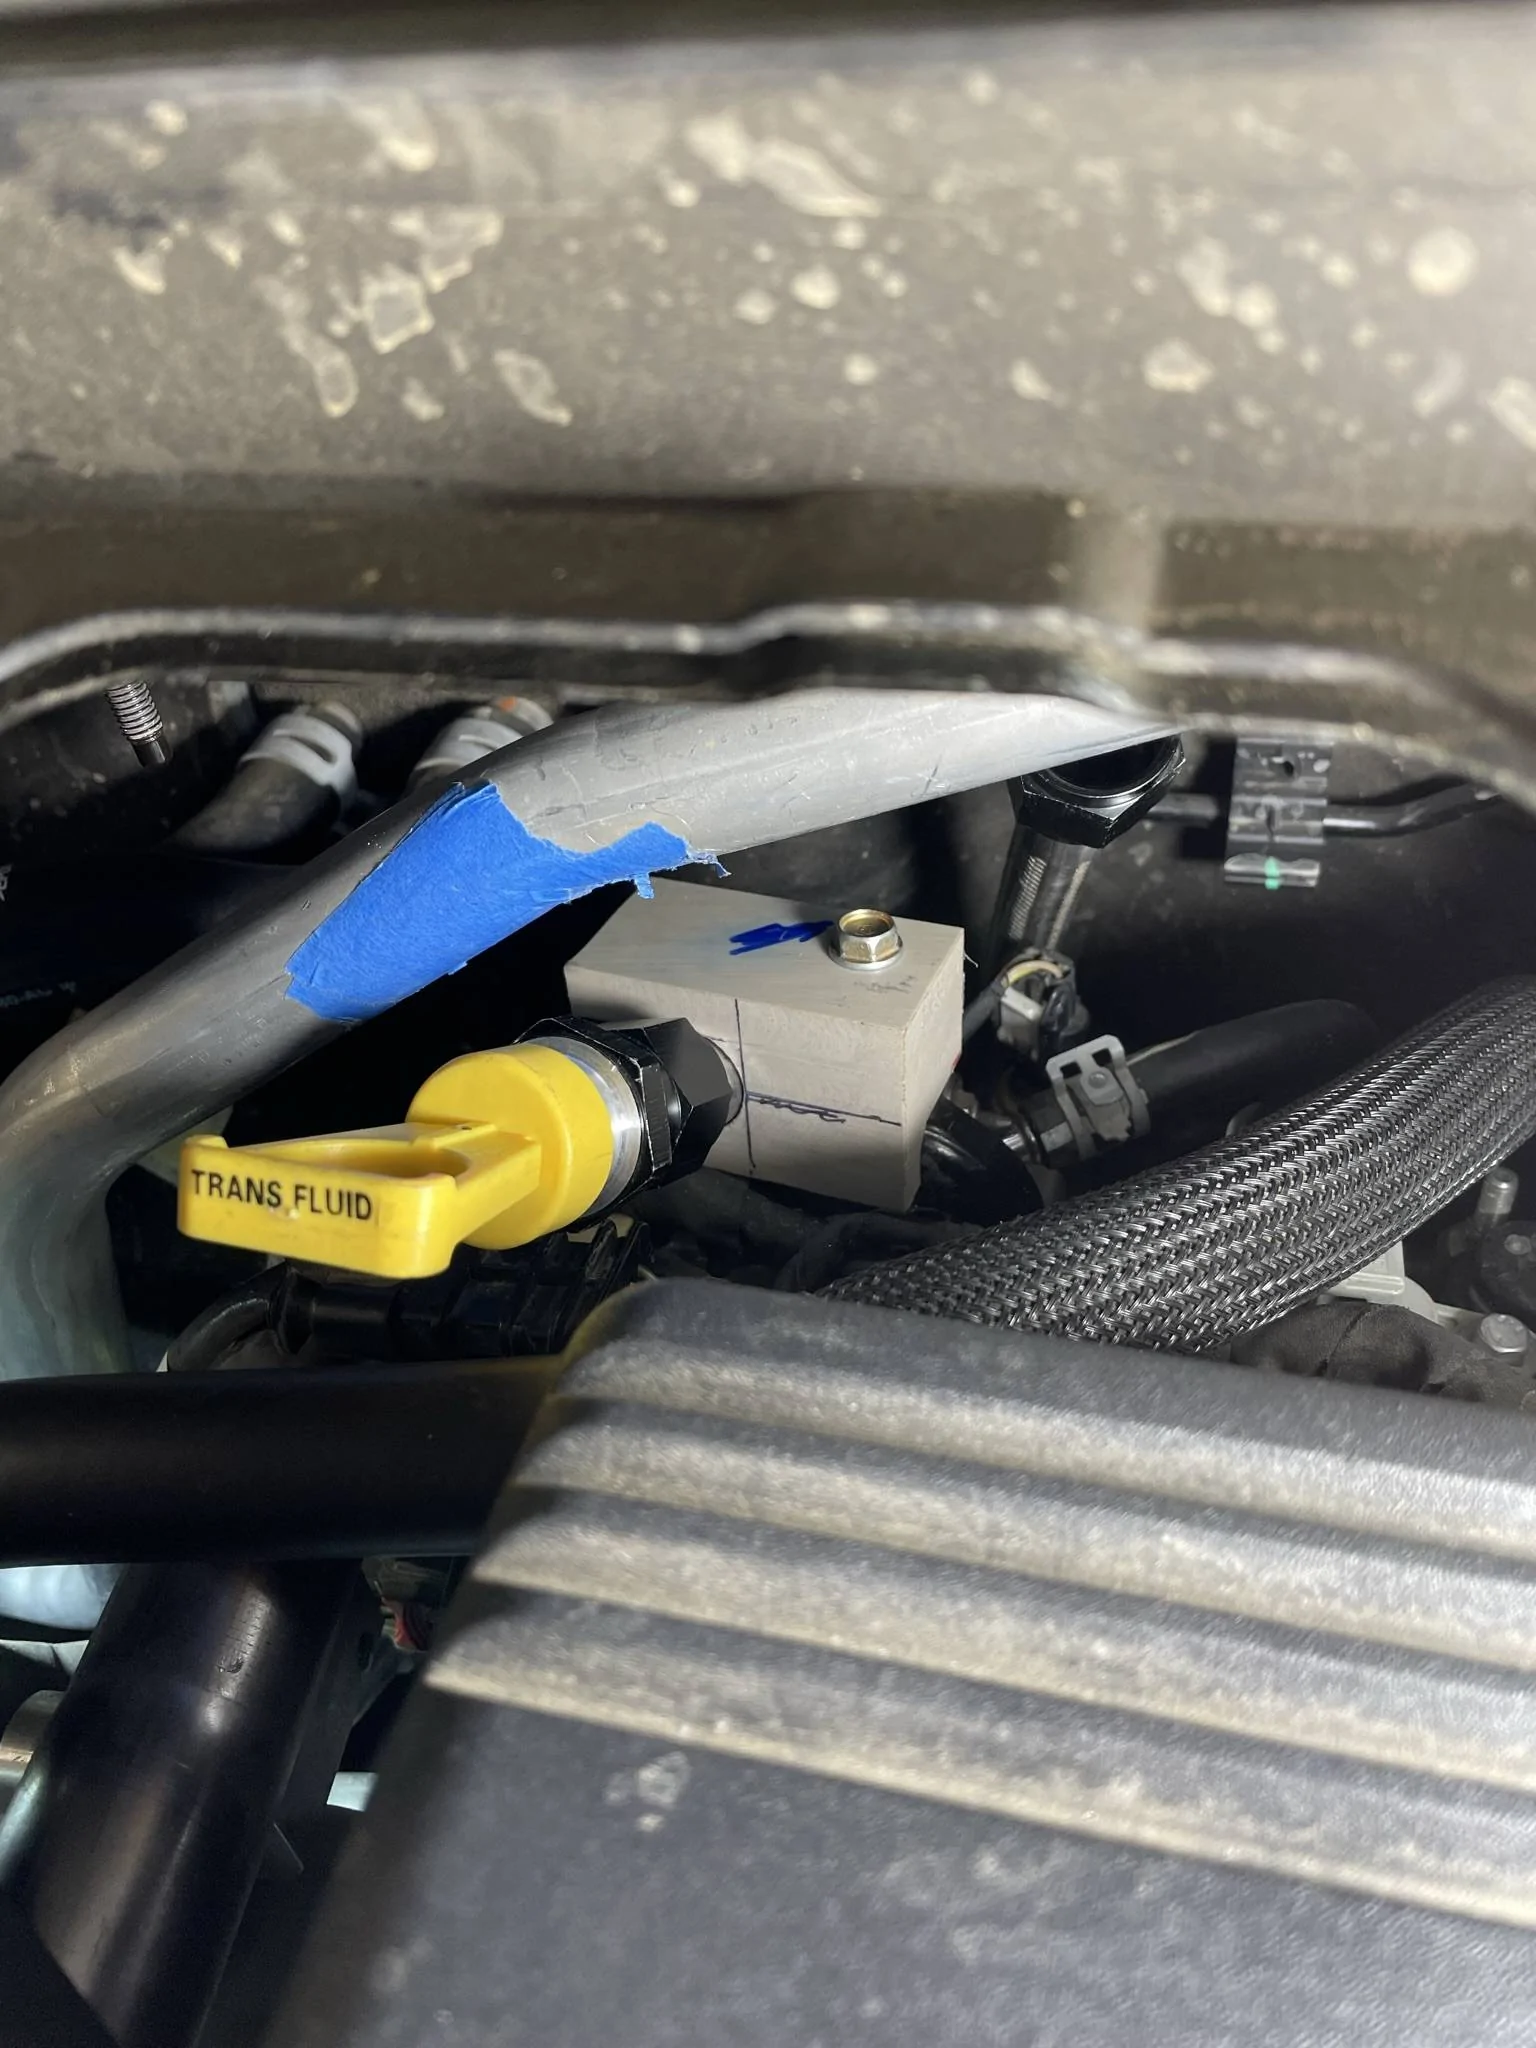
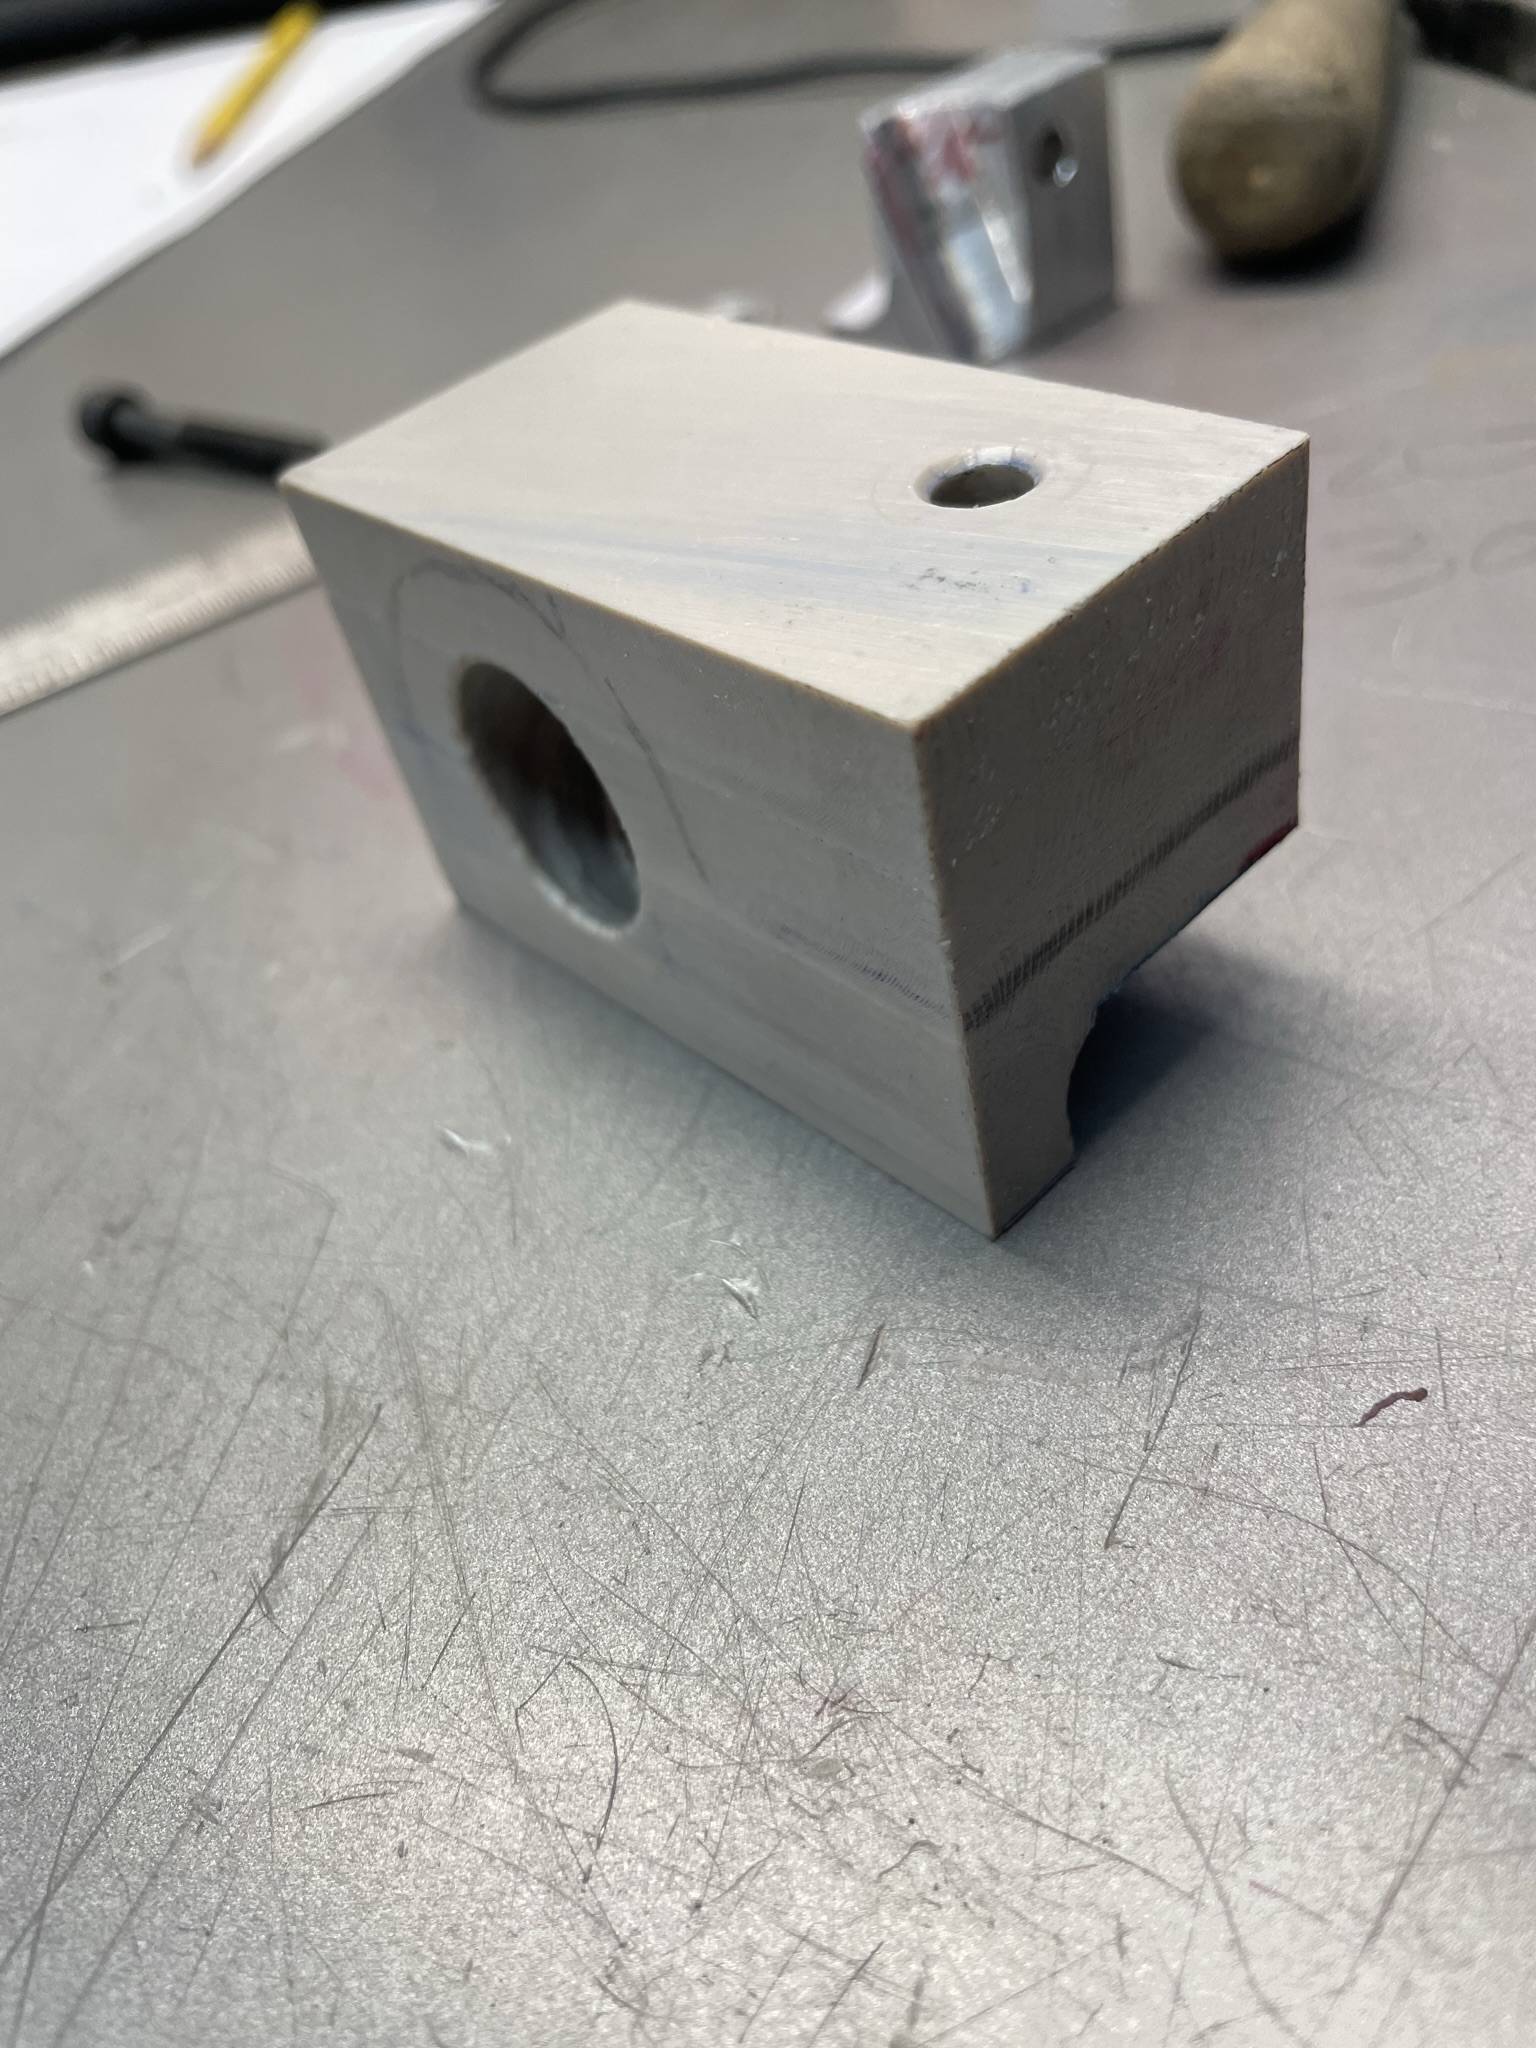
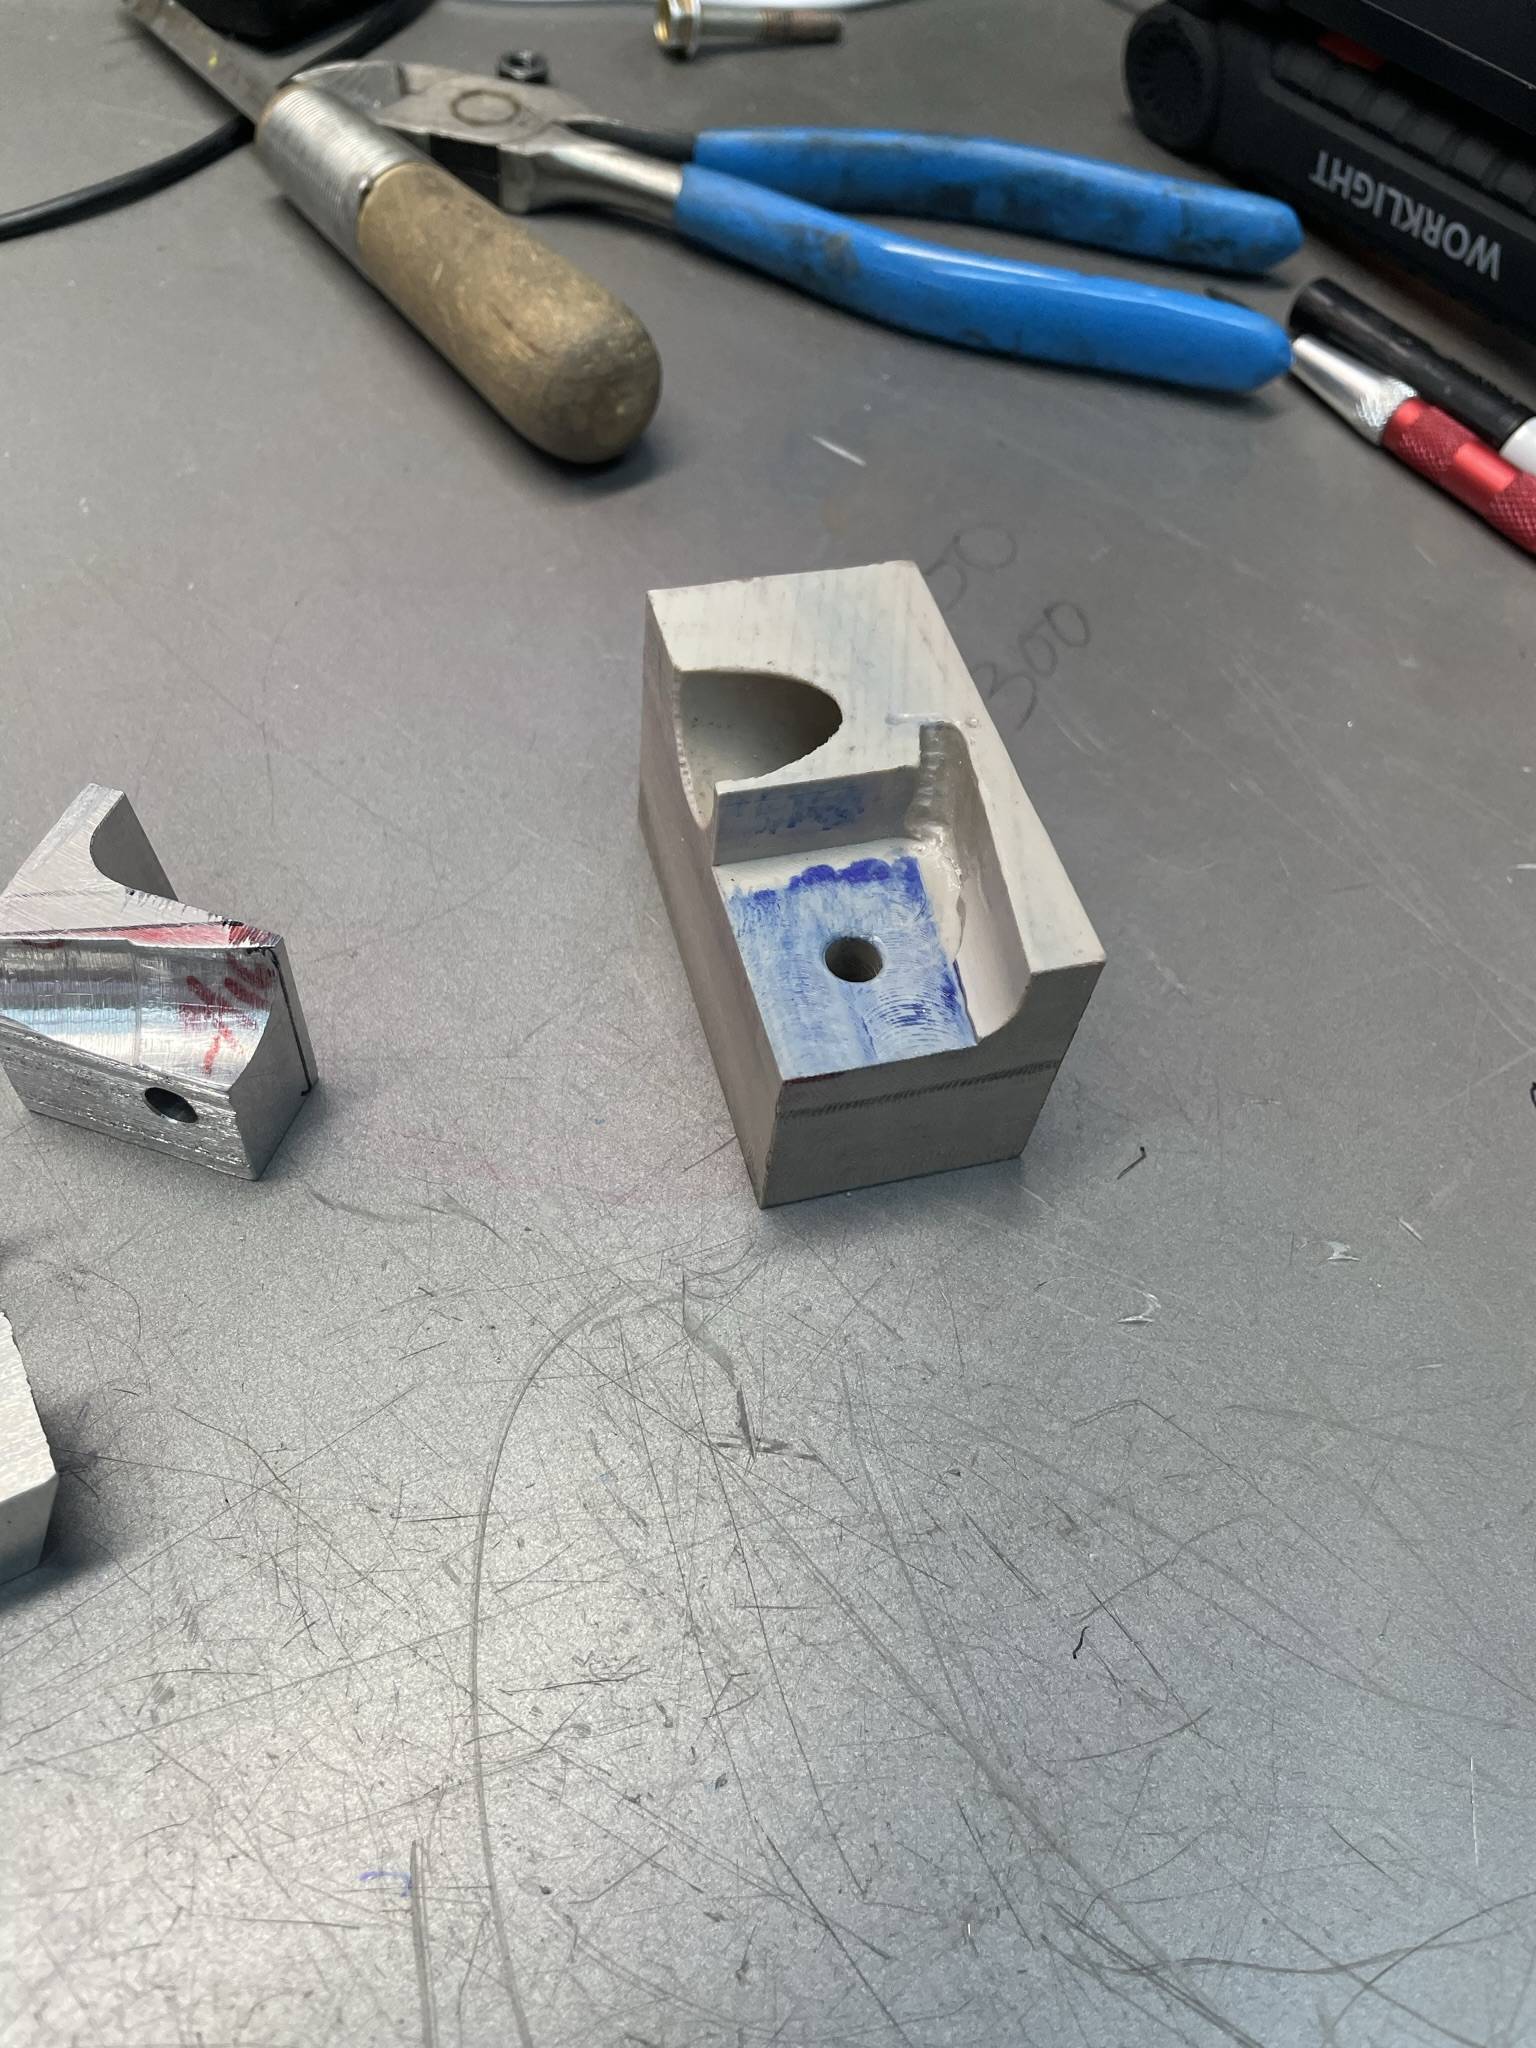
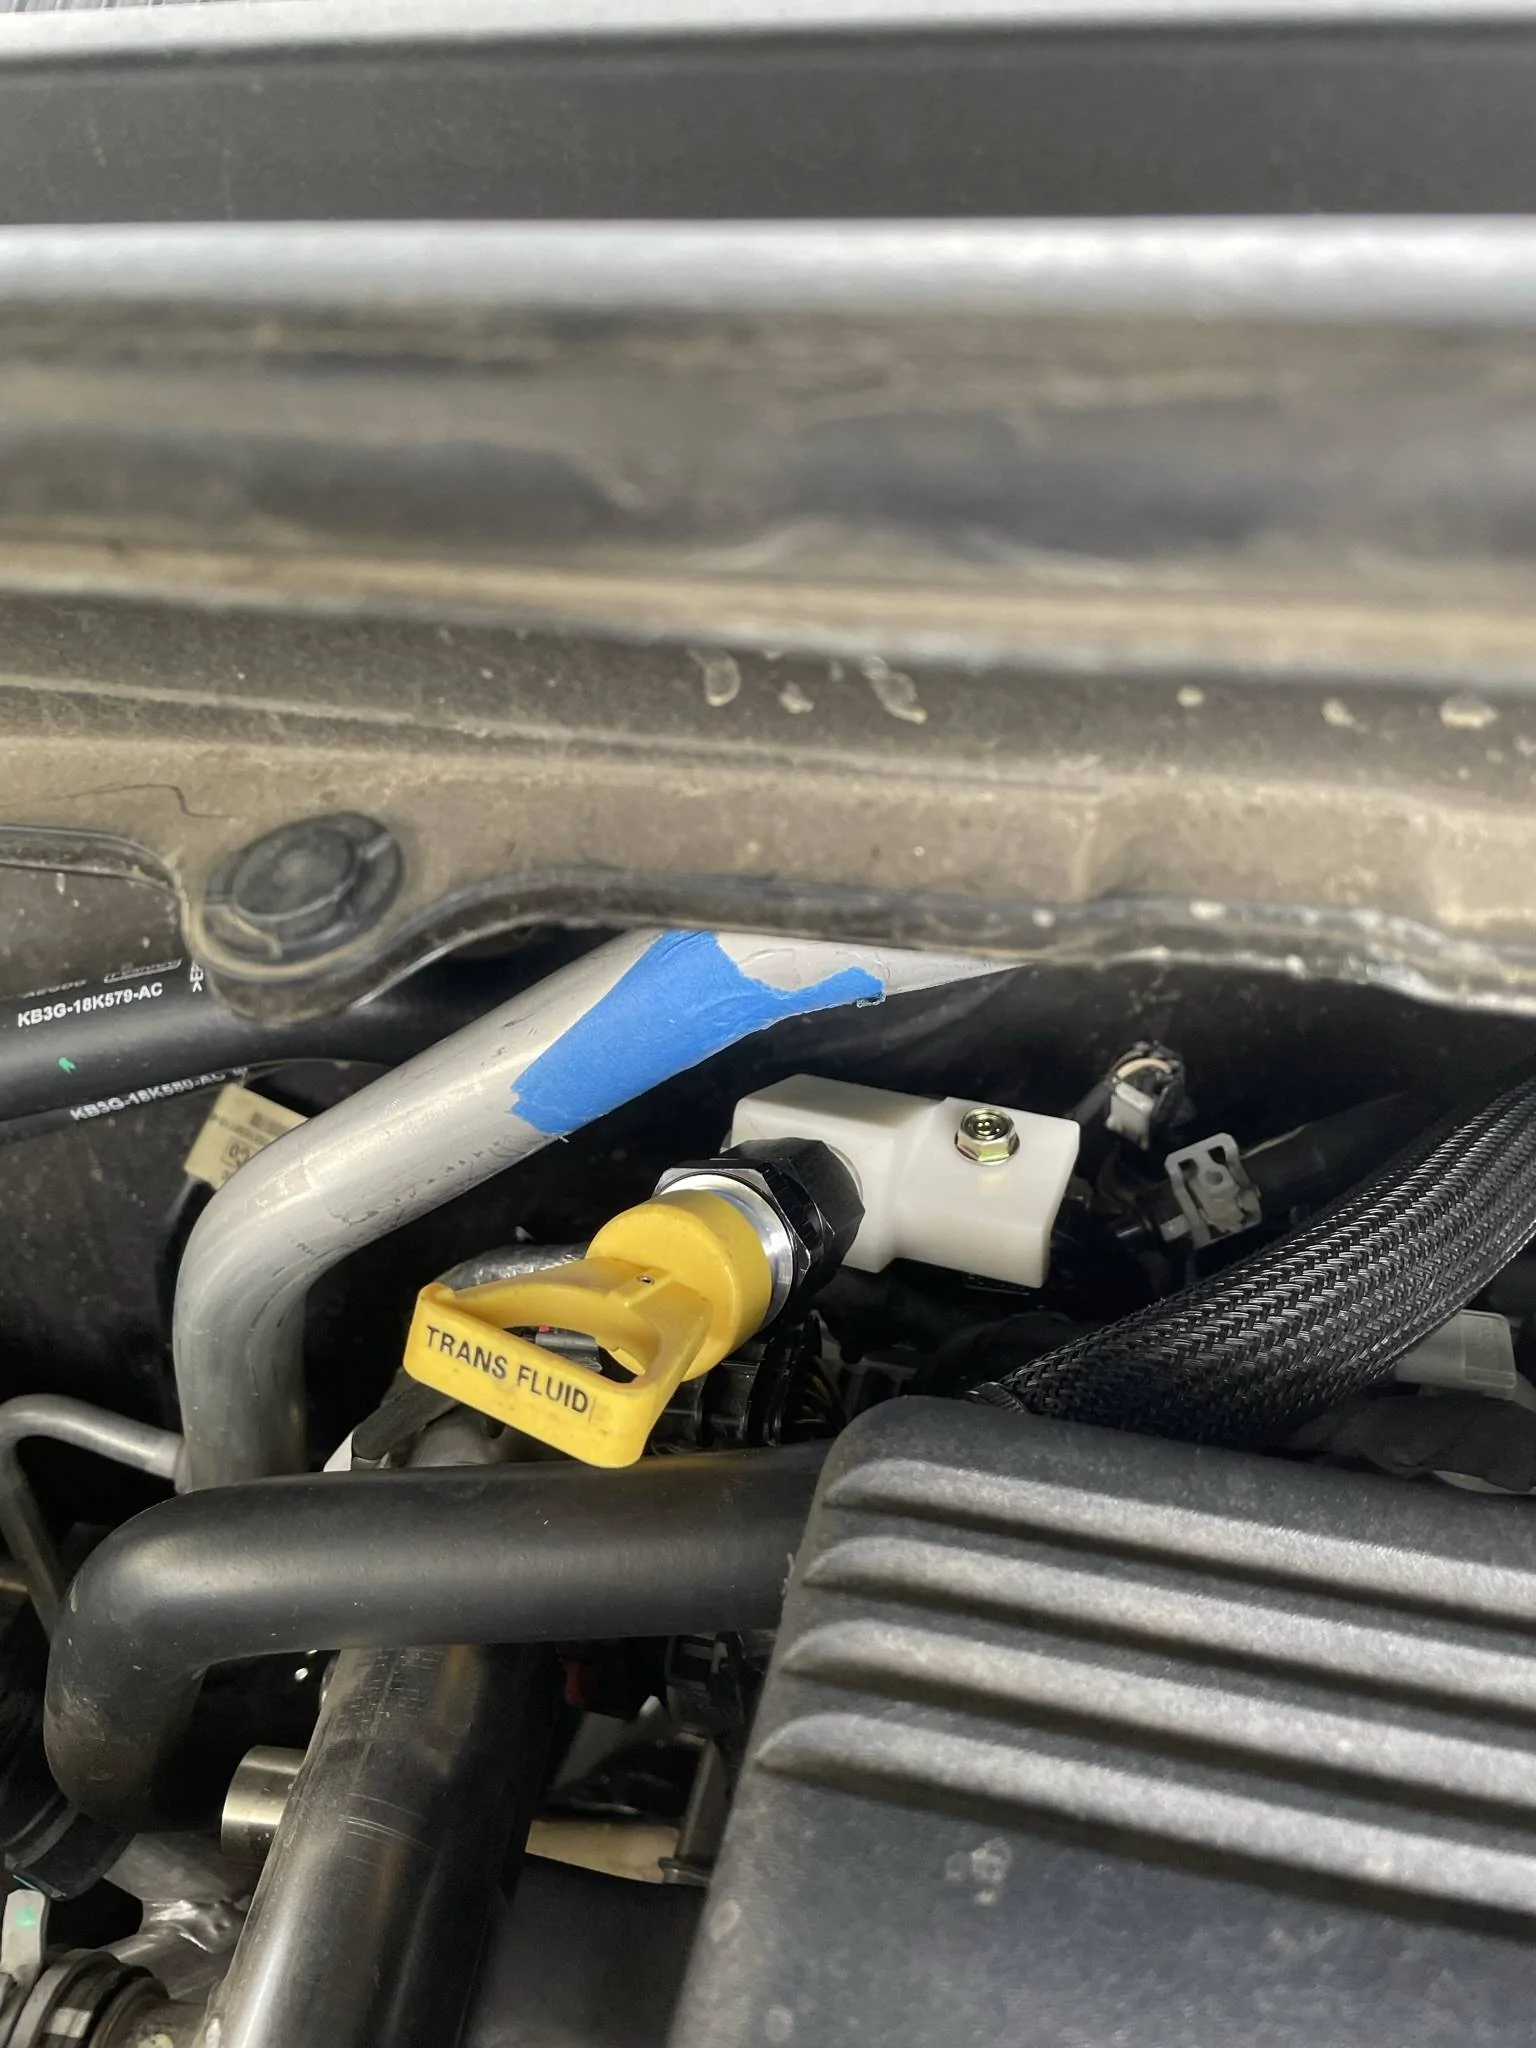
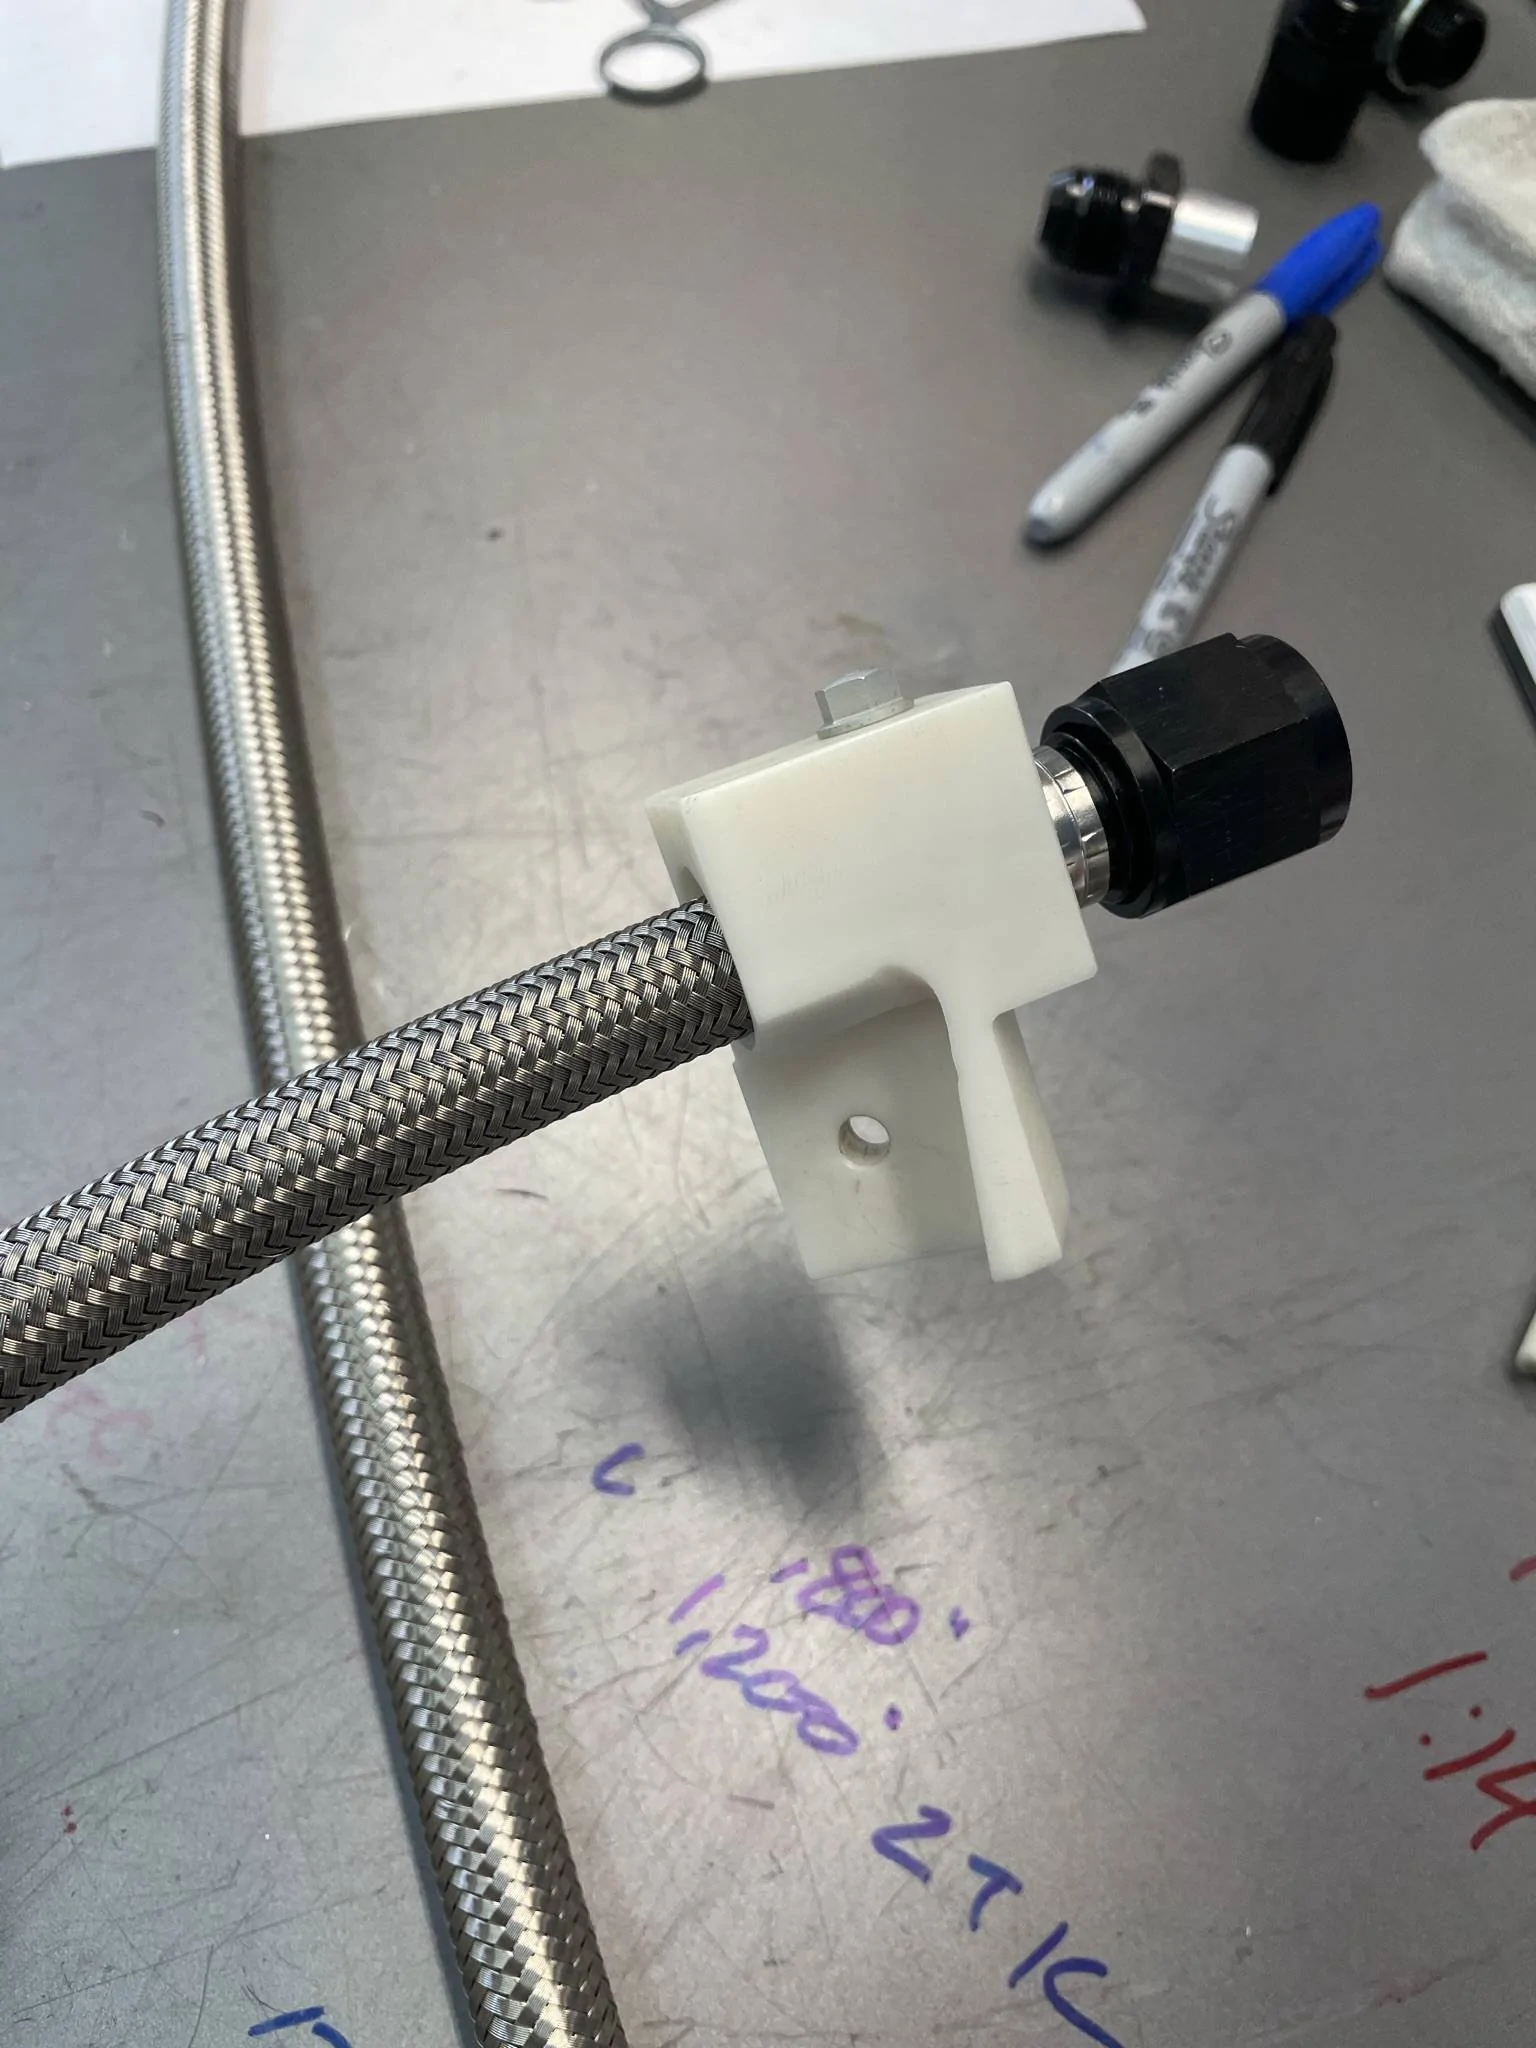
Still working on the bracket, taking a bit longer than I hoped, my ribs are so sore from laying on the core support and my hands are nice and scratched up from the cowl clips, I'm on the 3rd version, I realized in order to clear everything it has to be just below the engine bracket level, and angled outward, I think I have it sorted now, the shavings pile around the mill is pretty funny, I made the 1st two, they were close, but they got band sawed in half and became templates for the next version.
I sure wish someone had a model of this engine/trans/firewall so it could just be whipped up on a computer screen, despite previous posts CAD is only a option when you have the correct models, otherwise you have to manually make the first one, then scan it in to use CAD, then the tool paths have to be written for the CNC machine.
I should have gone with the P clamp, it fit pretty darn well, but I cant stand the thought of a nice aftermarket dipstick with a 25 cent clamp.
Sponsored