Sponsored

What did you do to your Ranger today?

Mirage775

Well-Known Member
First Name
Jason
Joined
Apr 24, 2021
Threads
51
Messages
974
Reaction score
2,185
Location
Huntsville, Alabama
Vehicle(s)
23 Bronco 2dr Badlands SAS, 24 Bronco 2dr Heritage Limited, 95 F-150 XLT SWB 4x4
Occupation
Water Meter Tech I
Vehicle Showcase
1
I don’t want to pay that much! Been holding off…
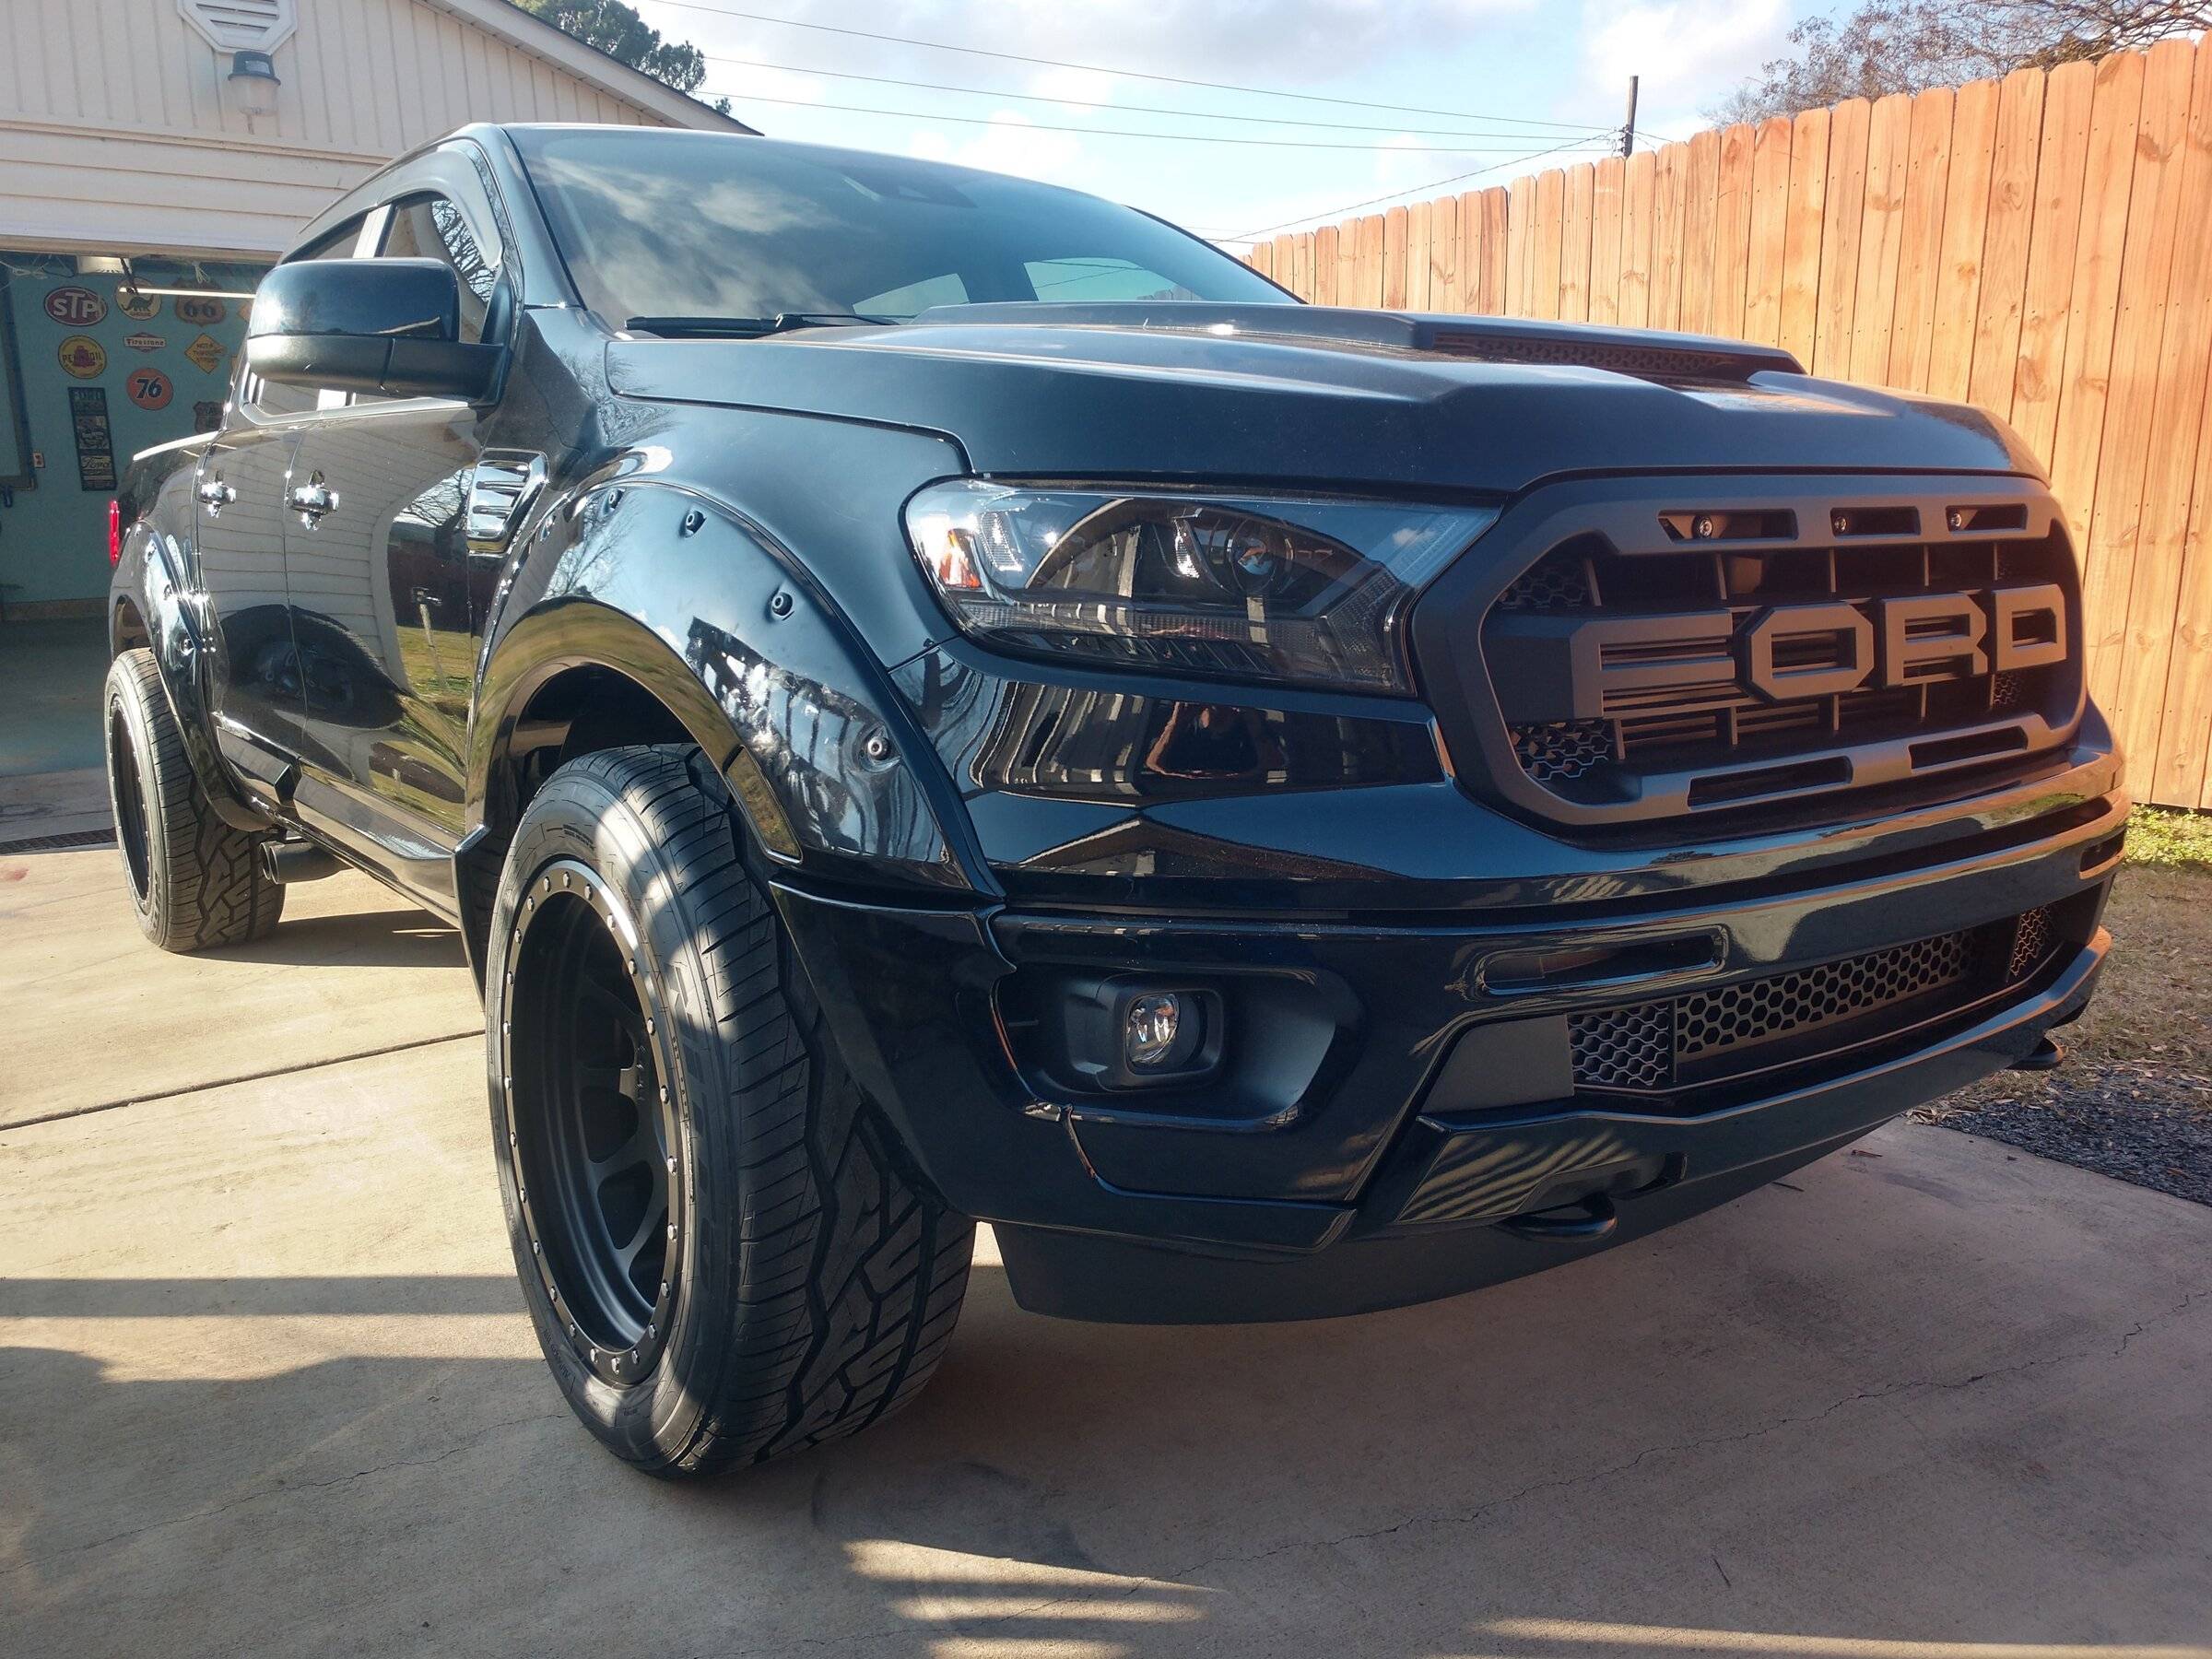
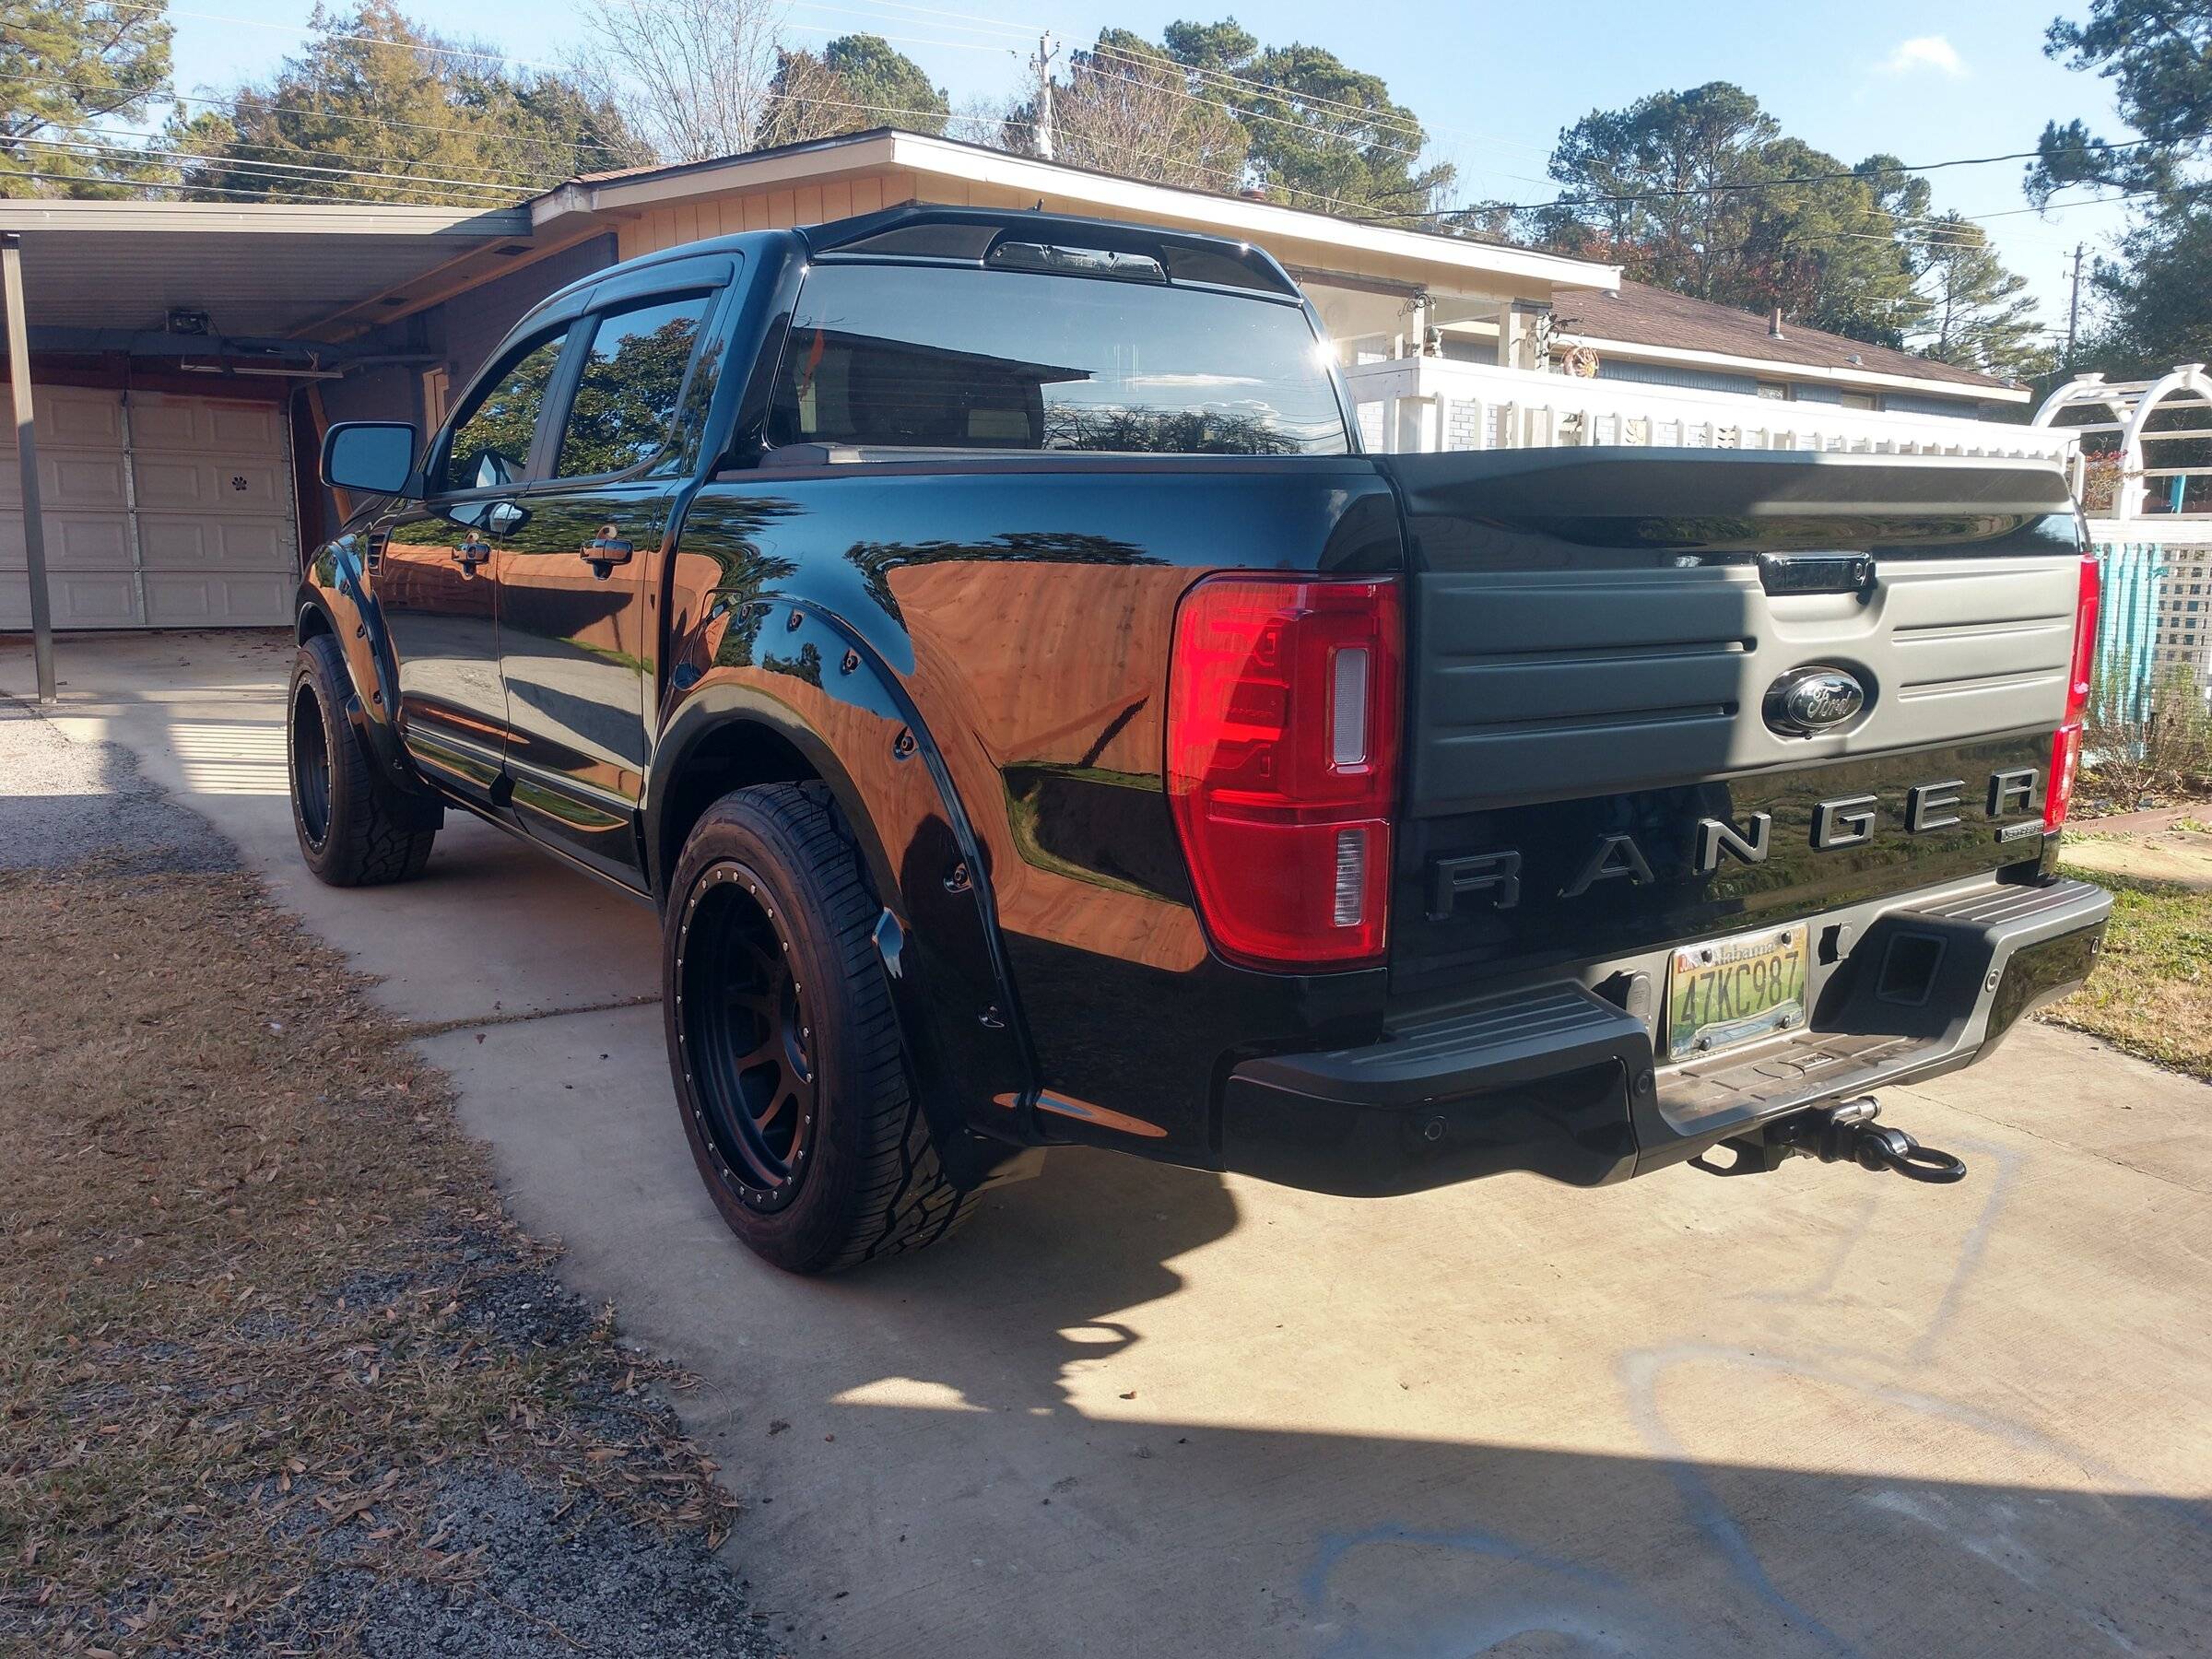
I bought their whole body kit, it was almost $2200 shipped :eek:
Sponsored


Mirage775

Well-Known Member
First Name
Jason
Joined
Apr 24, 2021
Threads
51
Messages
974
Reaction score
2,185
Location
Huntsville, Alabama
Vehicle(s)
23 Bronco 2dr Badlands SAS, 24 Bronco 2dr Heritage Limited, 95 F-150 XLT SWB 4x4
Occupation
Water Meter Tech I
Vehicle Showcase
1
Well, I lied earlier, I actually did end up doing something to my truck today/tonight. I installed my Control Freak Adjustable UCA's and a Mishimoto Oil Catch Can, that was a complete PITA to install!

IMG_20220106_141816367.jpg

IMG_20220106_145148102.webp

IMG_20220106_173239414.jpg


Tracy Bowman

Well-Known Member
First Name
Tracy
Joined
Apr 11, 2019
Threads
25
Messages
5,524
Reaction score
28,717
Location
Alabama
Vehicle(s)
2013 Hyundai Accent, 2001 Ford F-150, 2019 Ford Ranger FX4 Saber Lariat
Today, I haven't done anything to it, but I've owned it for about 3 months and it's gone from this:
IMG_20211016_181449972.jpg

IMG_20211016_171010325_HDR.jpg


To this:
IMG_20211226_144439106_HDR.jpg

IMG_20211226_144410613_HDR.jpg


There was a time, when I was installing something new every couple of days, LOL! It's almost finished finally!
Fabulous! Looks great!:clap:
 

Mirage775

Well-Known Member
First Name
Jason
Joined
Apr 24, 2021
Threads
51
Messages
974
Reaction score
2,185
Location
Huntsville, Alabama
Vehicle(s)
23 Bronco 2dr Badlands SAS, 24 Bronco 2dr Heritage Limited, 95 F-150 XLT SWB 4x4
Occupation
Water Meter Tech I
Vehicle Showcase
1

Mirage775

Well-Known Member
First Name
Jason
Joined
Apr 24, 2021
Threads
51
Messages
974
Reaction score
2,185
Location
Huntsville, Alabama
Vehicle(s)
23 Bronco 2dr Badlands SAS, 24 Bronco 2dr Heritage Limited, 95 F-150 XLT SWB 4x4
Occupation
Water Meter Tech I
Vehicle Showcase
1

mcrider5

Member
First Name
Bruce
Joined
Jan 3, 2022
Threads
0
Messages
23
Reaction score
117
Location
Las Vegas
Vehicle(s)
2008 Mustang, 2021 Ranger Lariat 2WD
Occupation
Retired Casino Maintenance Engineer
Those look very nice, much better coverage/fitment than the OEM rubber mats IMO.
Thank you I returned a leased F150 and had just put a set in it. I cried about it enough that my salesman offered to get me a set for the new Ranger. I like the a lot they are softer than their original but get dusty easier.
 

Venom_z89

Well-Known Member
First Name
Edson
Joined
Apr 16, 2021
Threads
3
Messages
512
Reaction score
1,830
Location
So Cal
Vehicle(s)
2019 Ford Ranger fx4
Occupation
Forklift technician
I mounted with Velcro to the rail on the X4S cover. I bought a roll of 15' x 3/4" velcro cut to about 4' strips. One side is attached to the rail the other side is left bare. The COB's do have a sticky back. I just attached glue side of the velcro to the glue side of the COB's. Be careful, once it's stuck on there it's not coming off easily. I wanted to be able to remove the strip if it failed without having to peal off the COB strip. Just attaching a new velcro side would be much simpler.

IMG_3655.JPG


There is a "Y" connector on the drivers side that connects to the passenger side and then out to the cargo light. I attached along the bottom of the cover with cable holders and used part of a roll of 18awg shielded cabling (DC Power Adapter Extension Cabling).

IMG_3656.JPG


At the front of the bed on each side is a pop out cover. You can use either side. I drilled a 3/8 hole for a 1/4 grommet. This is not necessary since the cabling shouldn't rub through on the plastic insert. Just to the left there is another grommet (one on each side of the vehicle) that leads to the cab. I left a bit of slack here so any flex between the body and bed doesn't pull on the cable.

IMG_3658.JPG


In the corner, from within the cab, peal back the carpet and pull out the grommet.

IMG_3659.JPG


IMG_3660.JPG


From the top of the "C Pillar" I dropped a line to fish the cabling up. I attached a line to a small nut and used a magnet to feed all the way to the bottom. Attach your cable to the line and pull up. Much easier than removing all the paneling to get the line up.

IMG_3661.JPG


There is a piece of tape that covers the hole to the cargo light. Once you have the cargo light off you'll see it. From the outside push a corner of the tape out and feed your line through to make your wiring attachments. Ground is black, white is power to the cargo lights, and orange is the brake light. To keep the wire from moving around up in the headliner I used Tessa tape to stick to the back side of the headliner. About every 6" wrapped the tape around the cable then twisted the tape to expose the sticky side. Then reach through to stick to the headliner. Not the best solution to secure the wire, but I wasn't going to remove the entire headliner. Wire hasn't moved yet though. I also zip tied the cable to the cargo light cable and pulled that cable tight. So I don't think its going anywhere.
Awesome thanks this helps a ton. I think I'll be pulling trigger on doing same thing
 

Polaris130

Well-Known Member
First Name
Mike
Joined
Mar 13, 2021
Threads
4
Messages
118
Reaction score
359
Location
Sacramento
Vehicle(s)
2020 ford ranger xlt


Top