WxNerd2015's Hot Pepper Red FX4

OP
OP
WxNerd2015

WxNerd2015

Well-Known Member
First Name
Trevor
Joined
Oct 17, 2018
Threads
9
Messages
296
Reaction score
1,032
Location
Gregory, Michigan
Vehicle(s)
2019 Ranger, 2011 Wrangler, 2017 Escape
Occupation
Applications Engineer
Vehicle Showcase
1
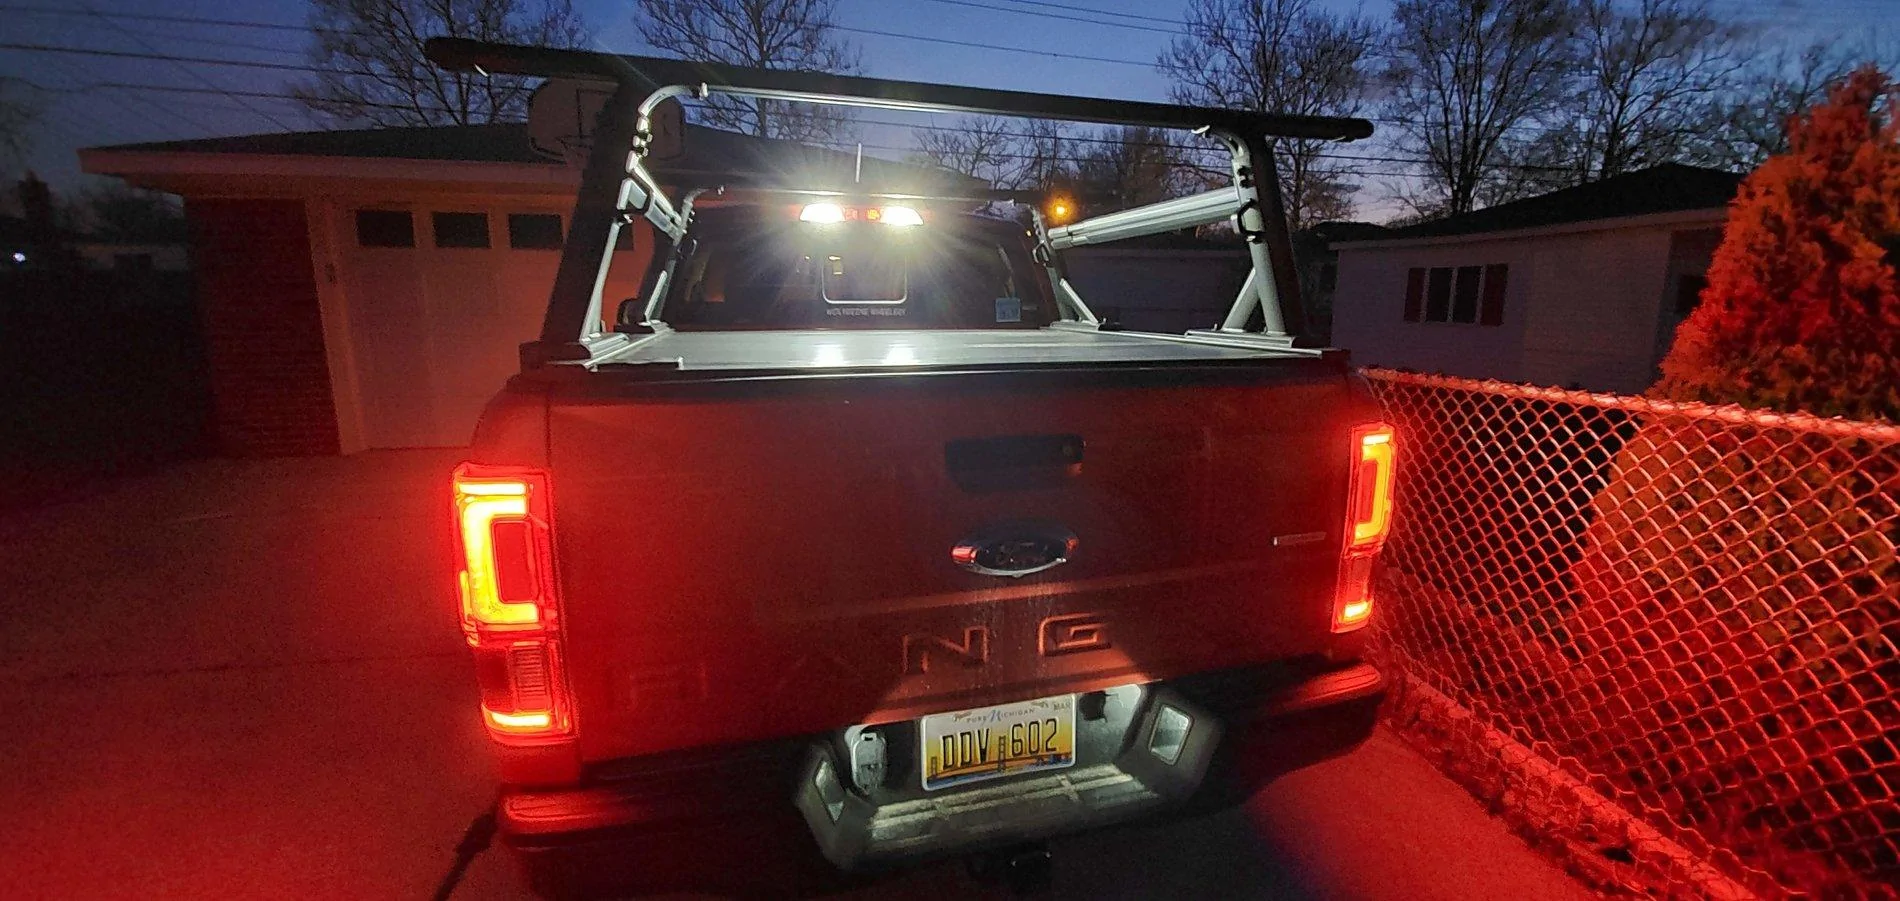
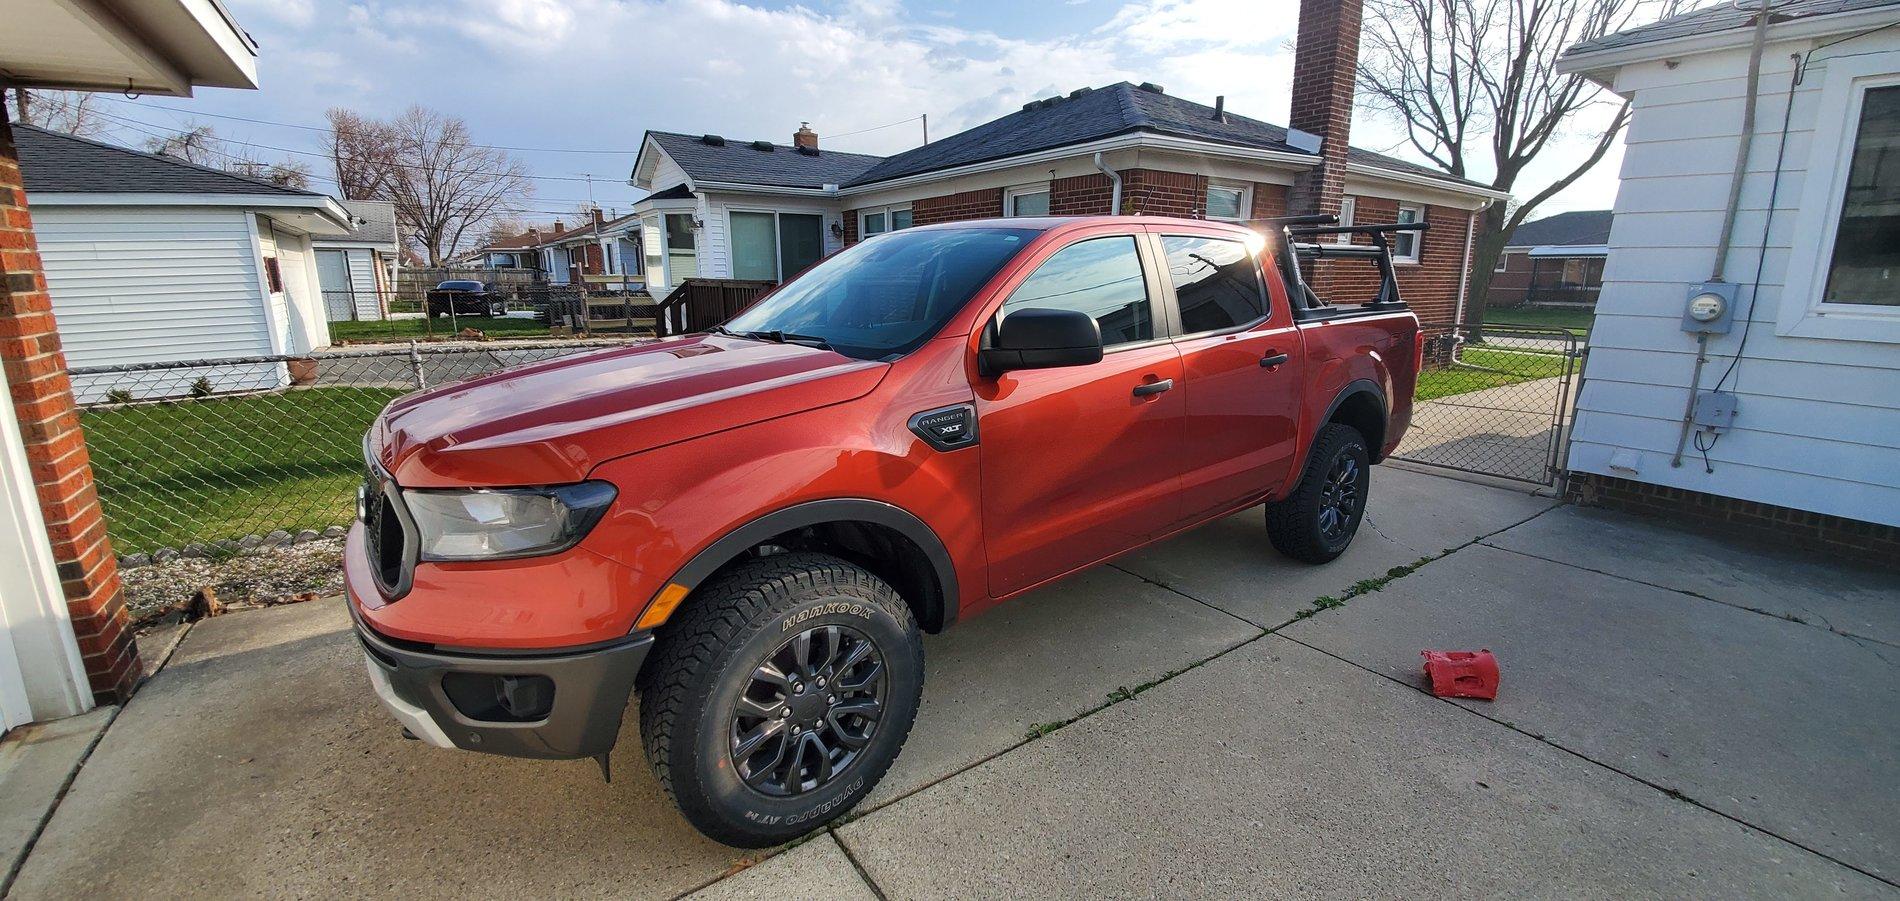
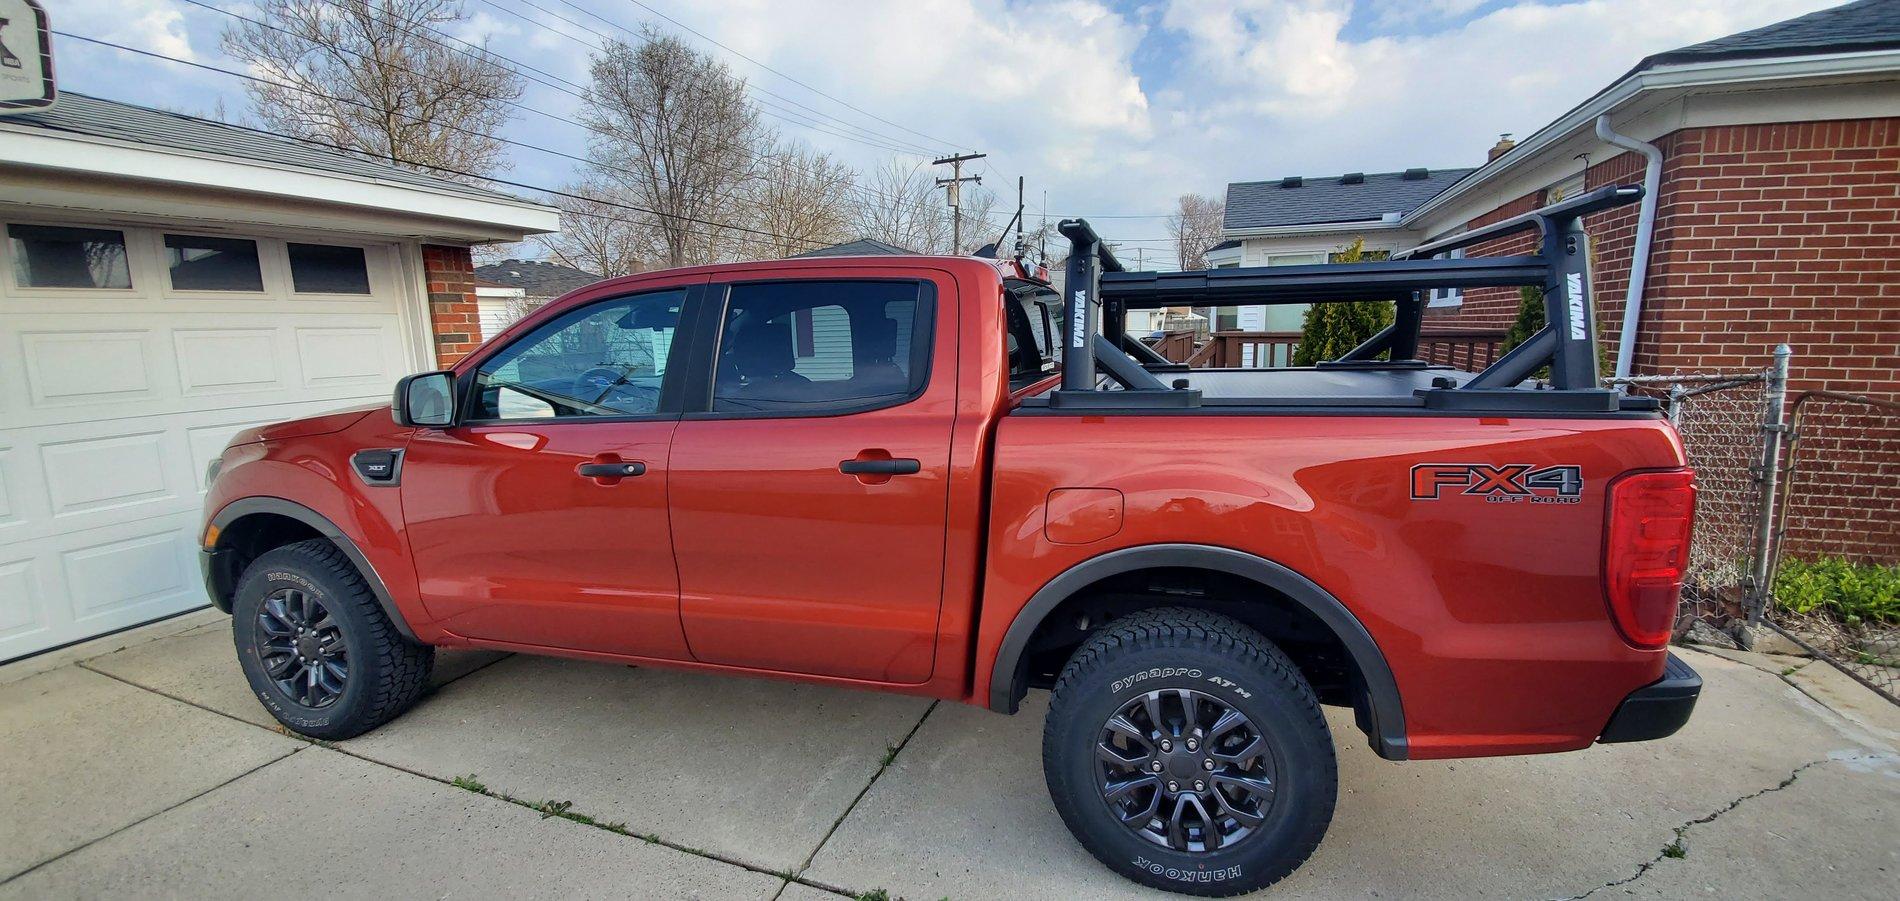
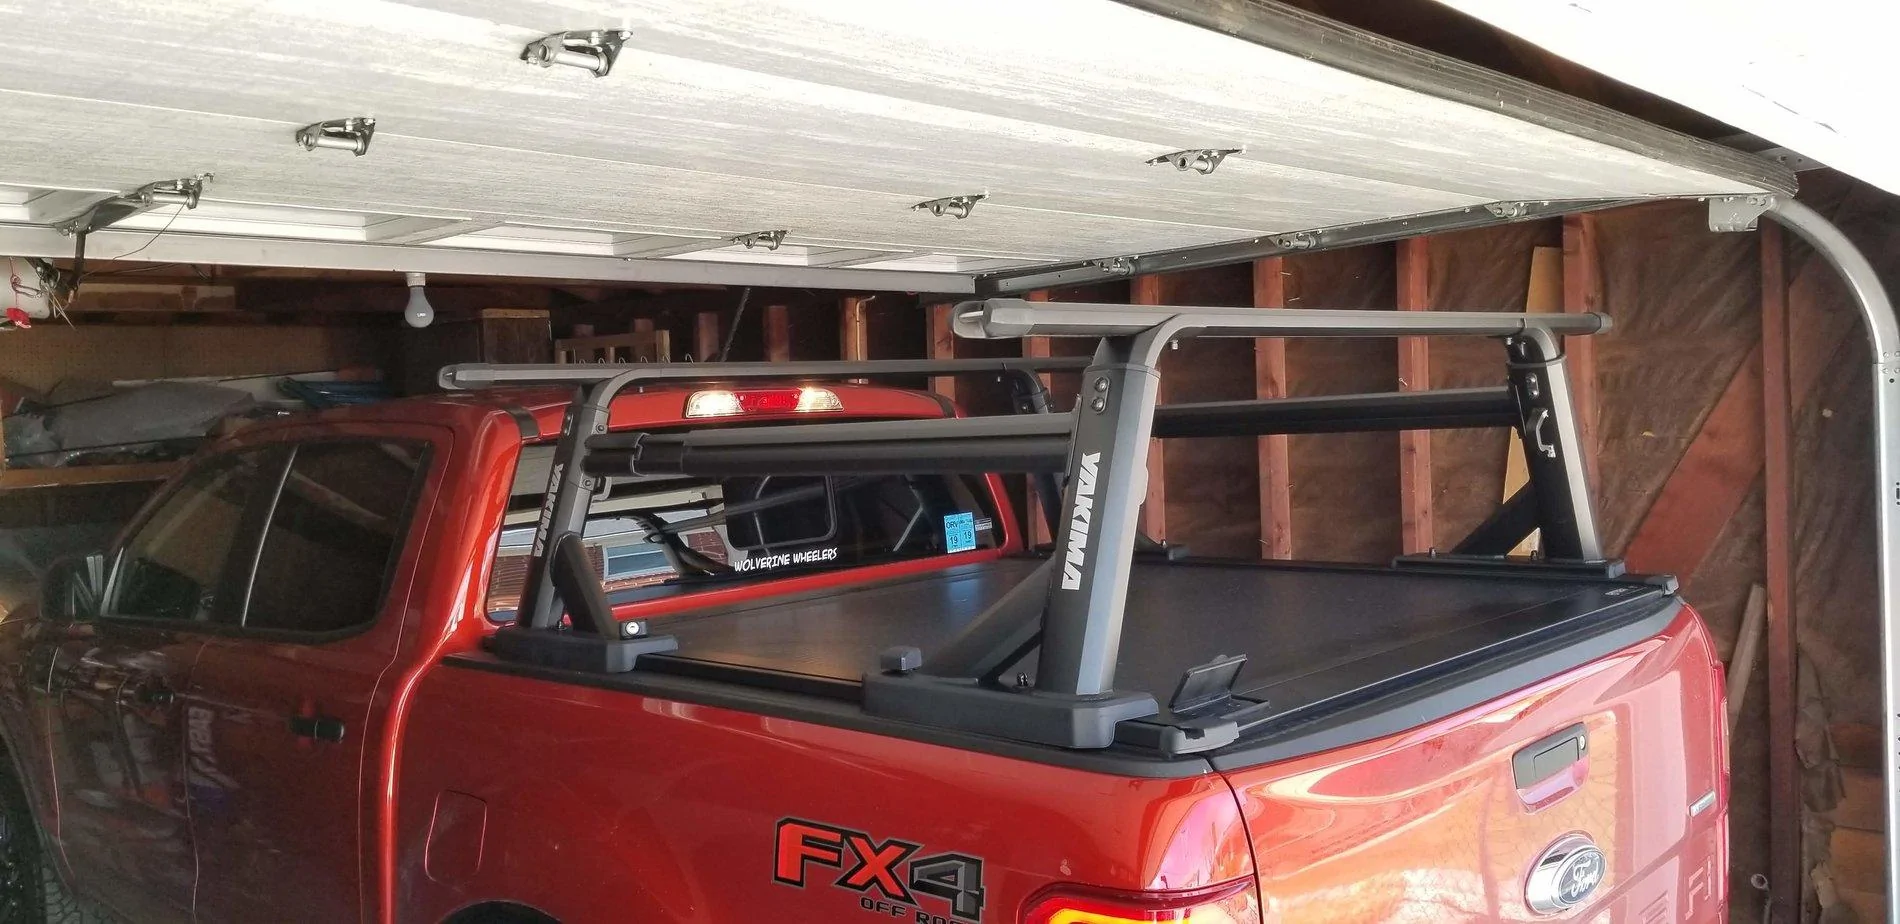
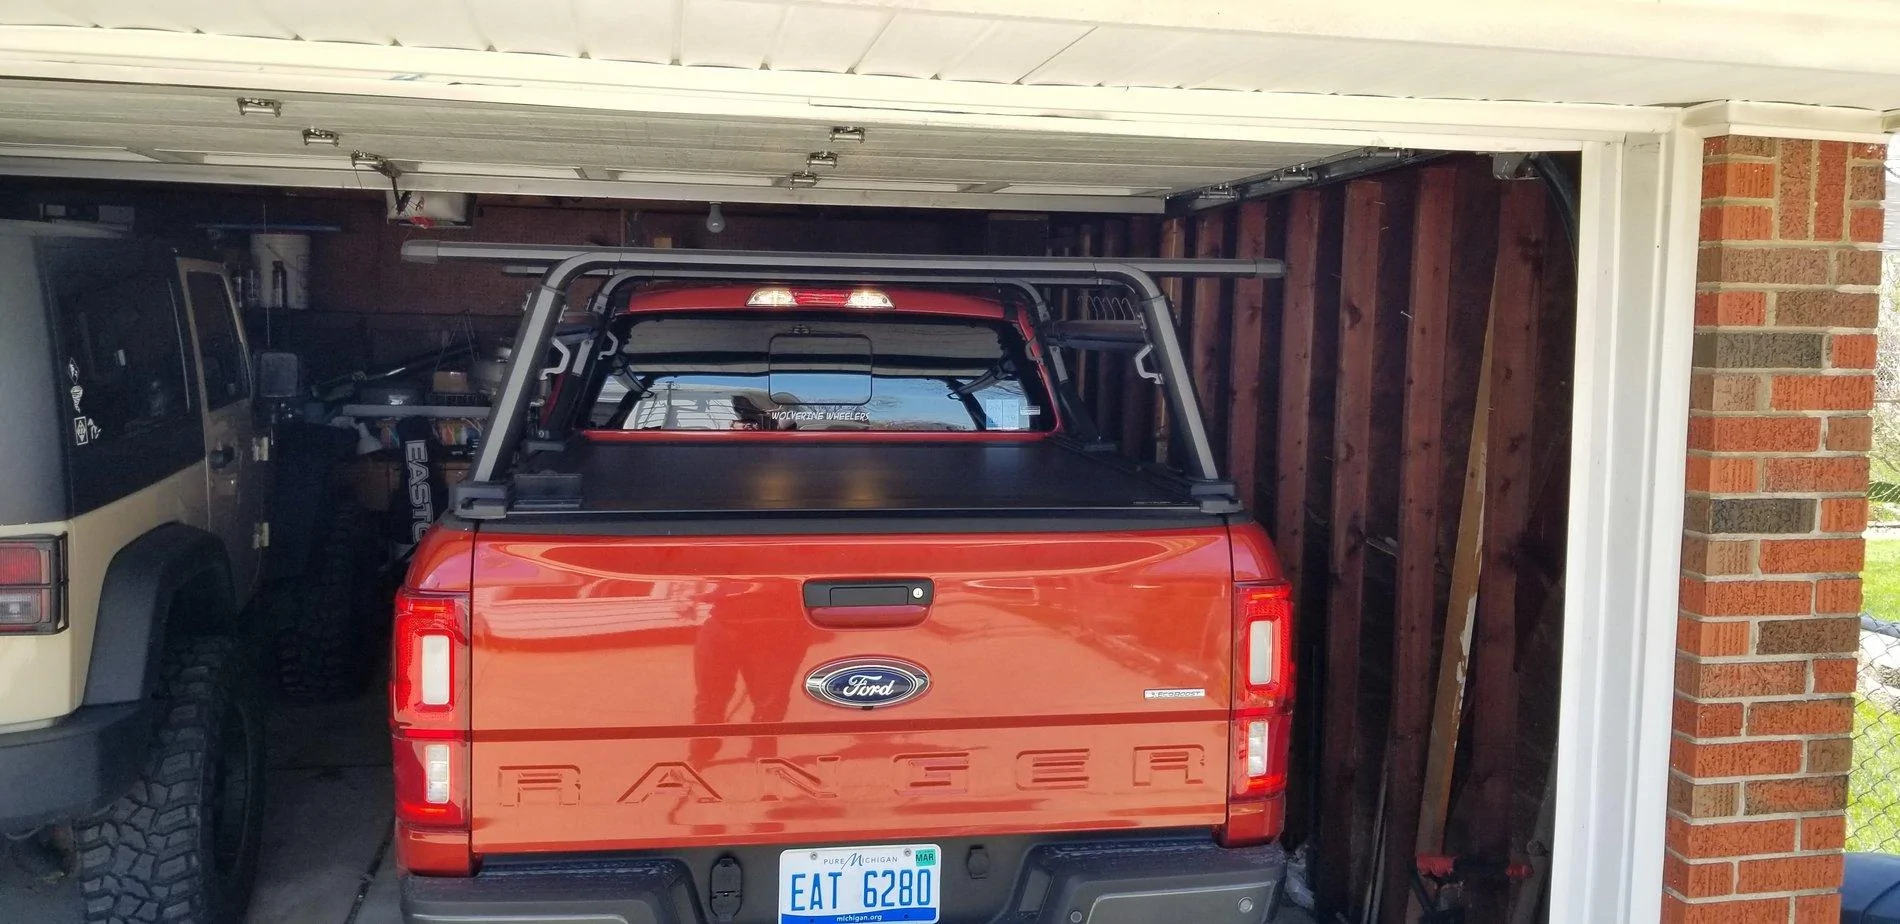
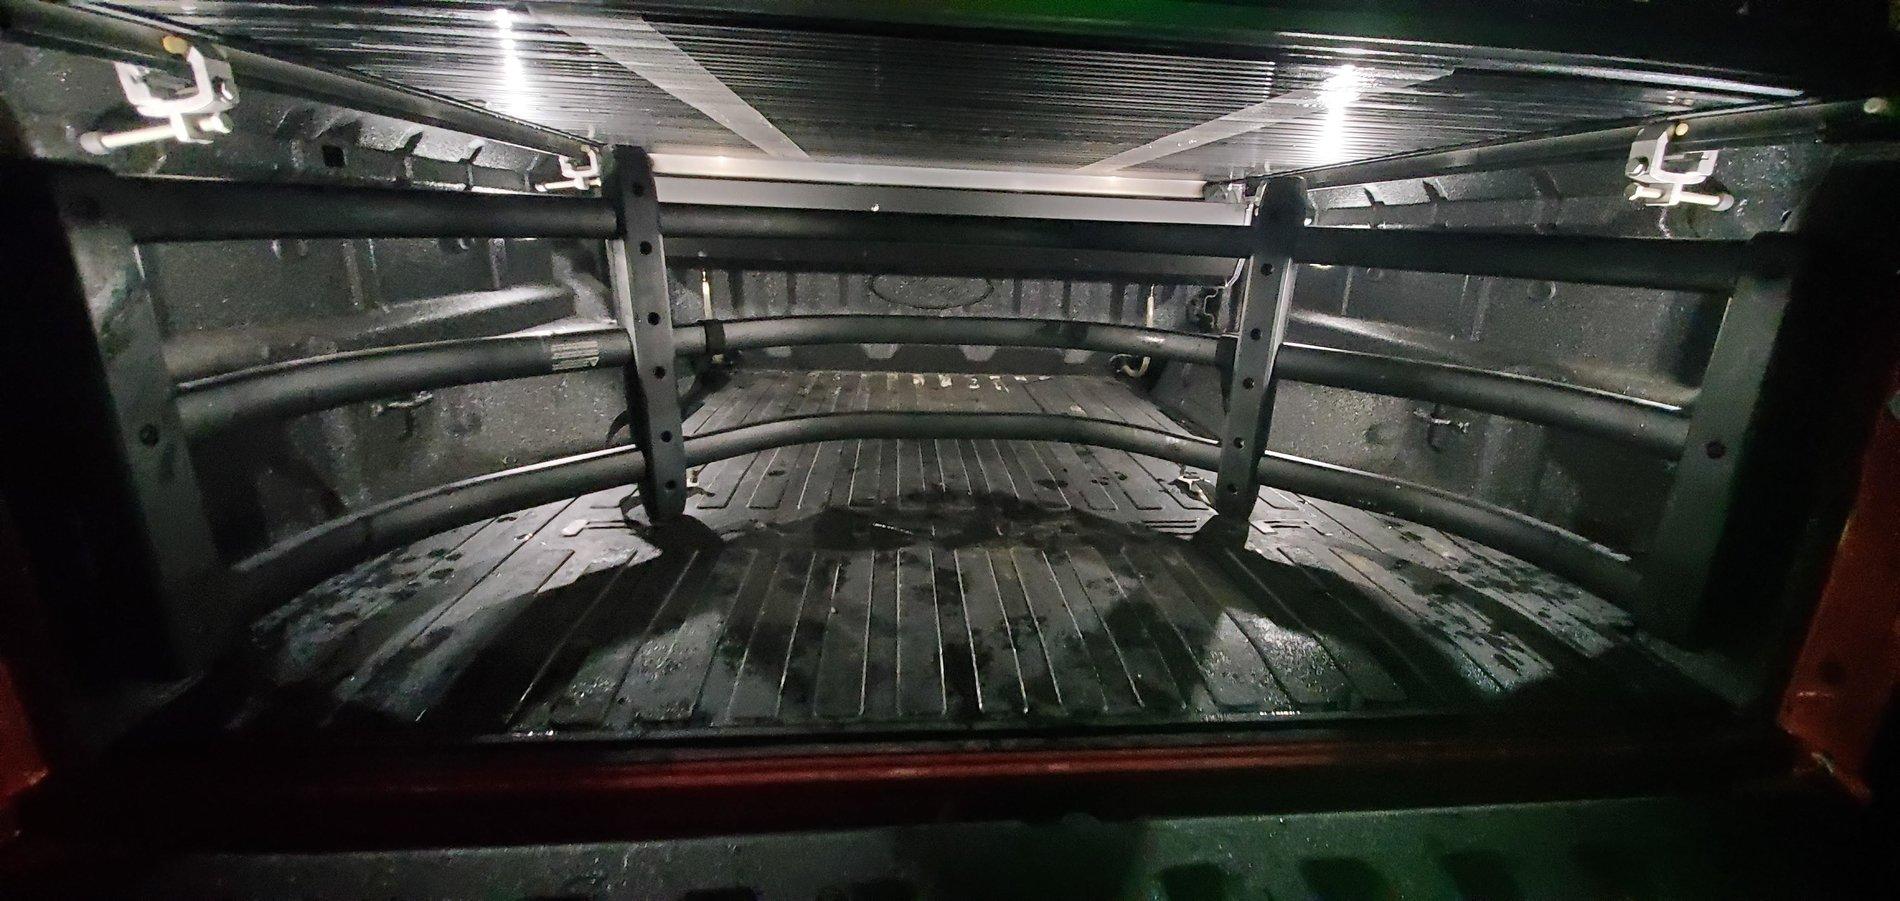
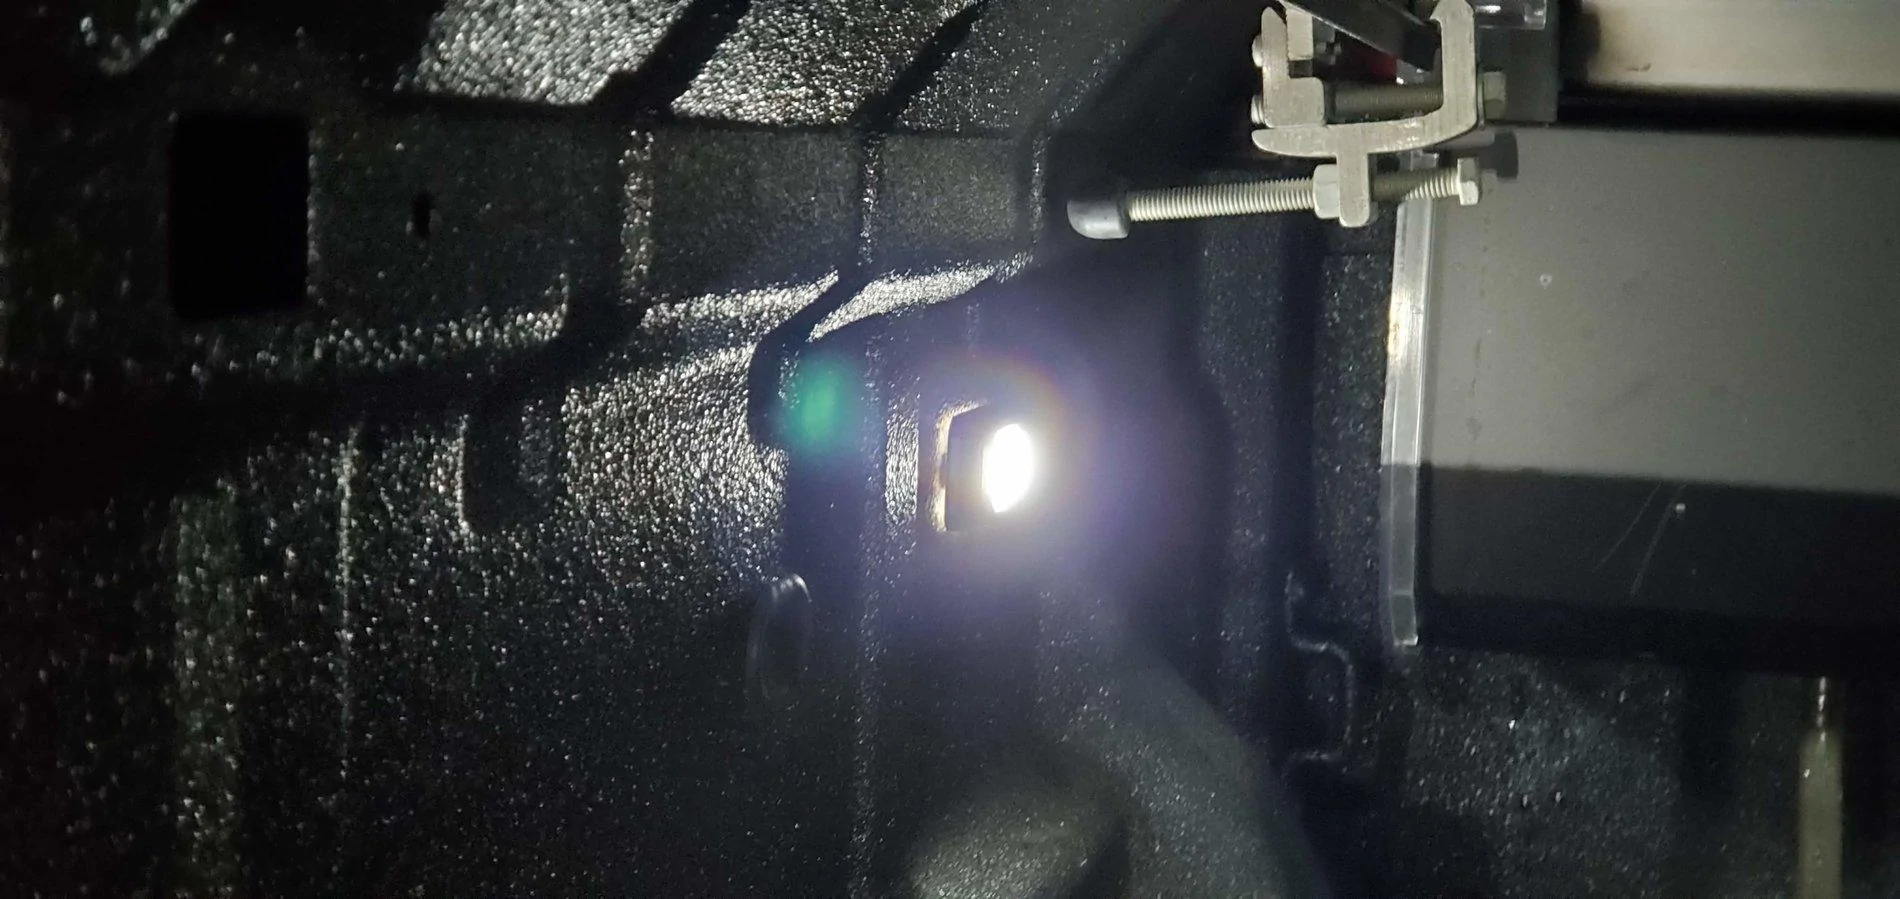
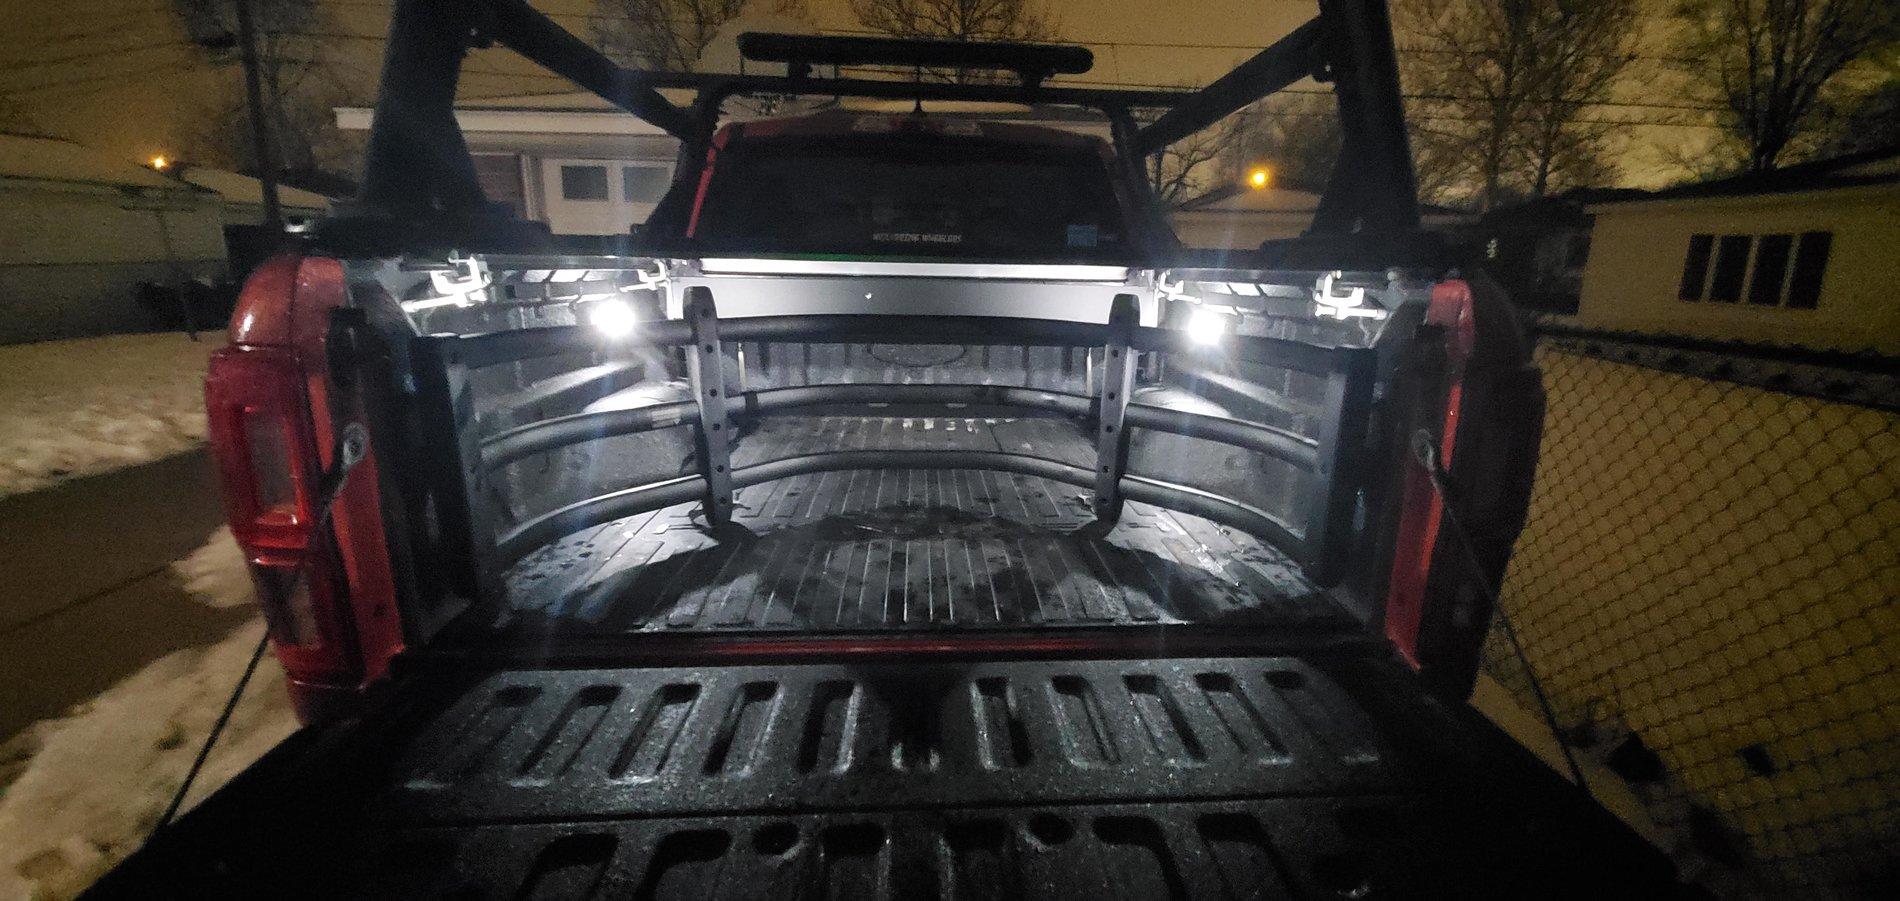
Just wanted to post a quick update on the truck! Back at the end of January, I got the taillight recall checked off the list, and mine did not display the issue, so no change needed! Also, I got the Ford Touchlink Bed Light kit and while the truck was in for the recall, I had the dealer install the kit as well! I am very happy with it and it is working great!

20200124_210612.jpg

20200124_210623.jpg

20200124_210658.jpg

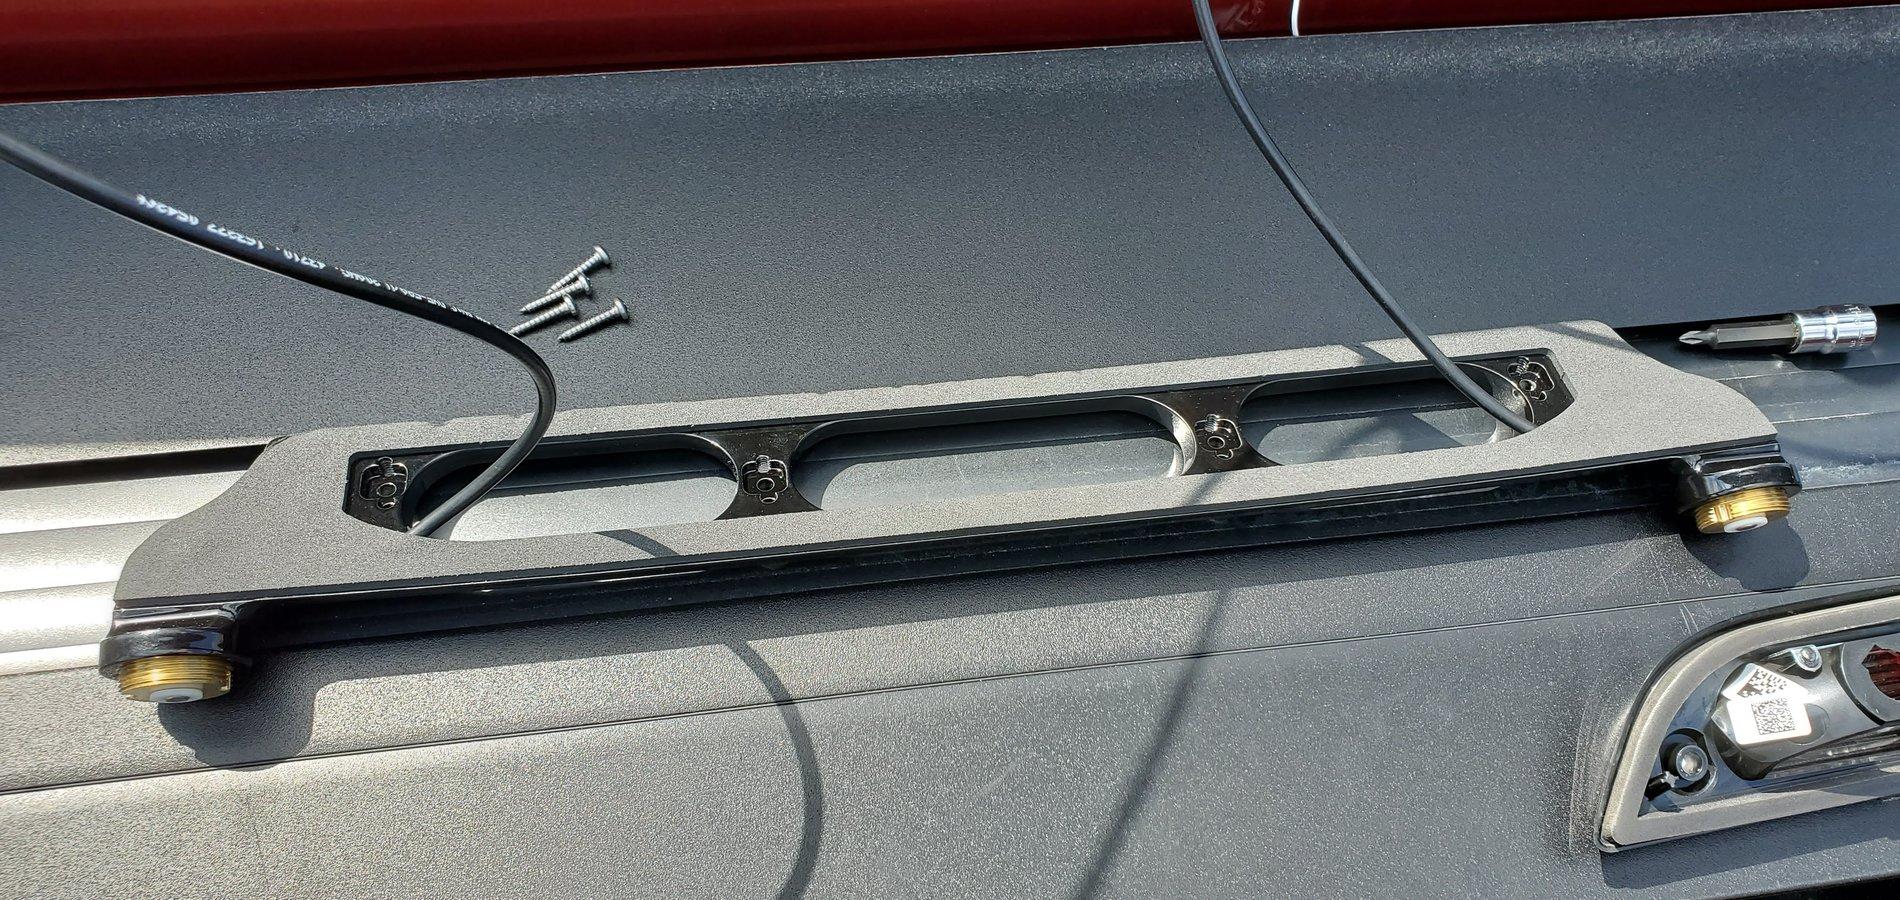
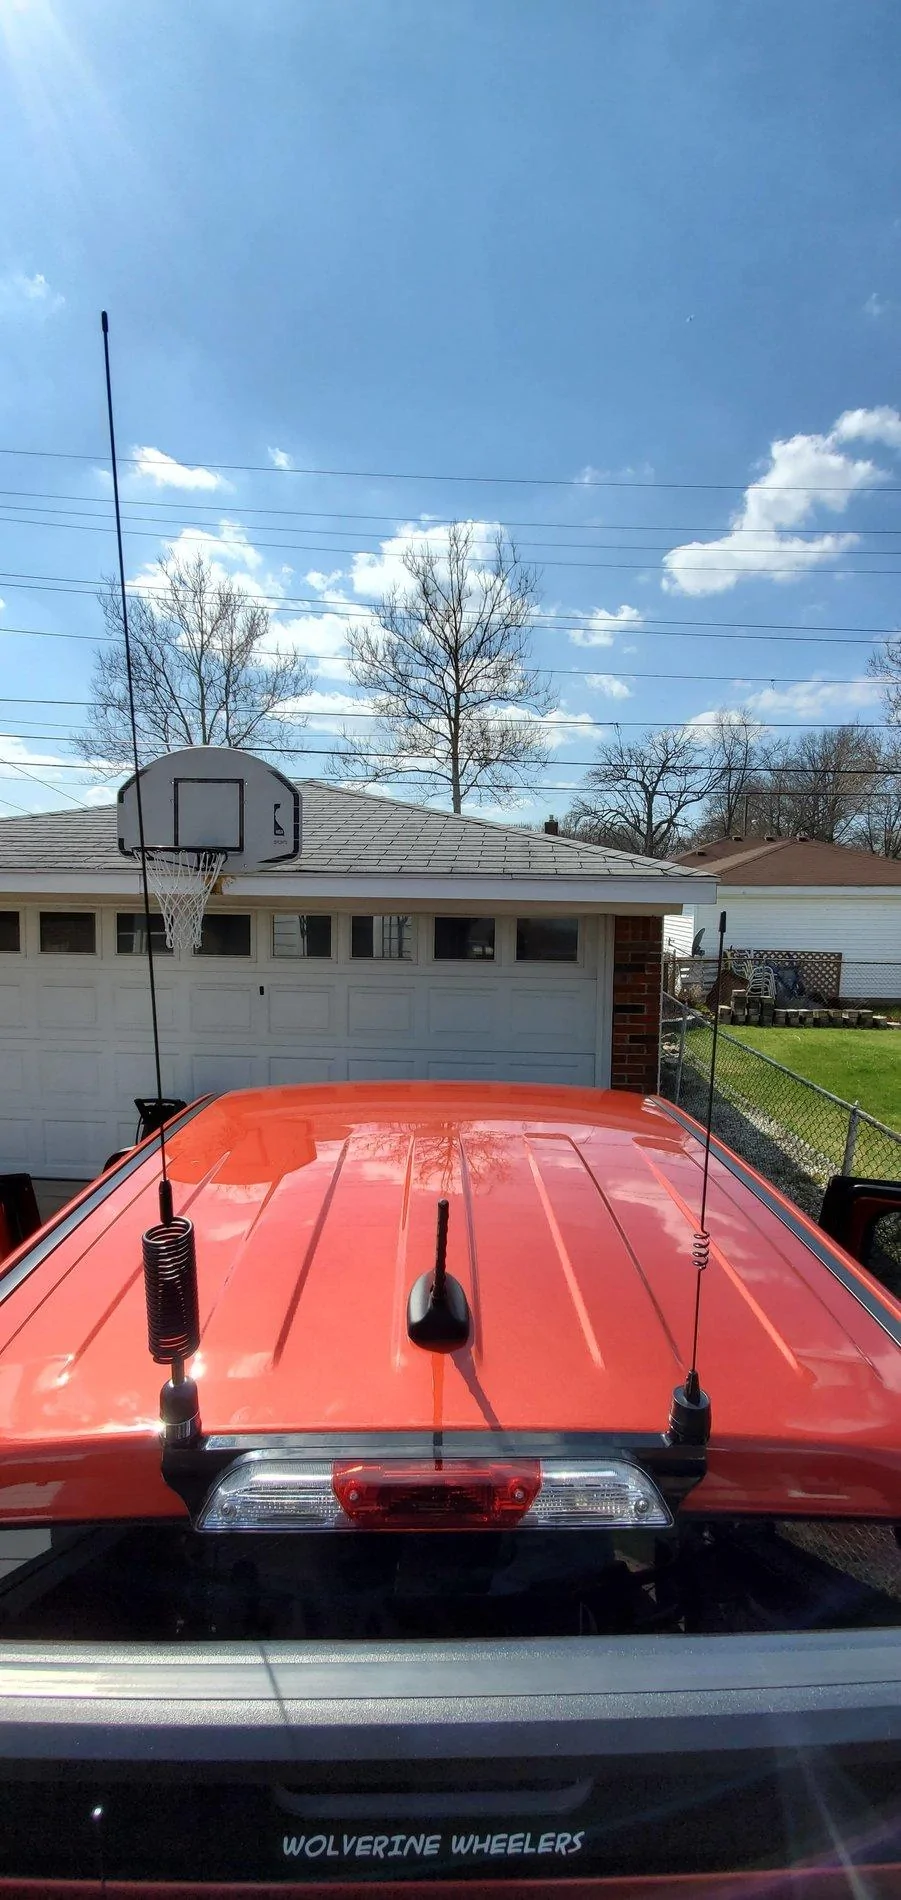
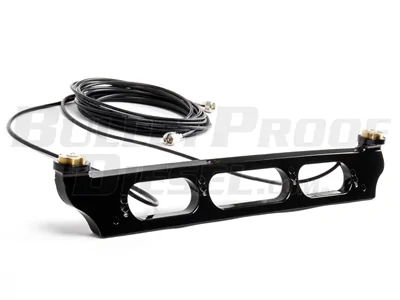
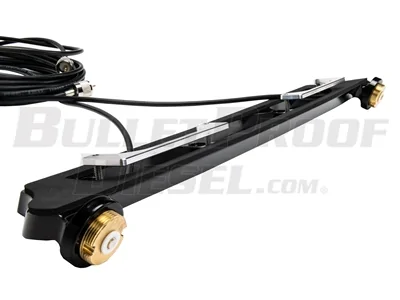
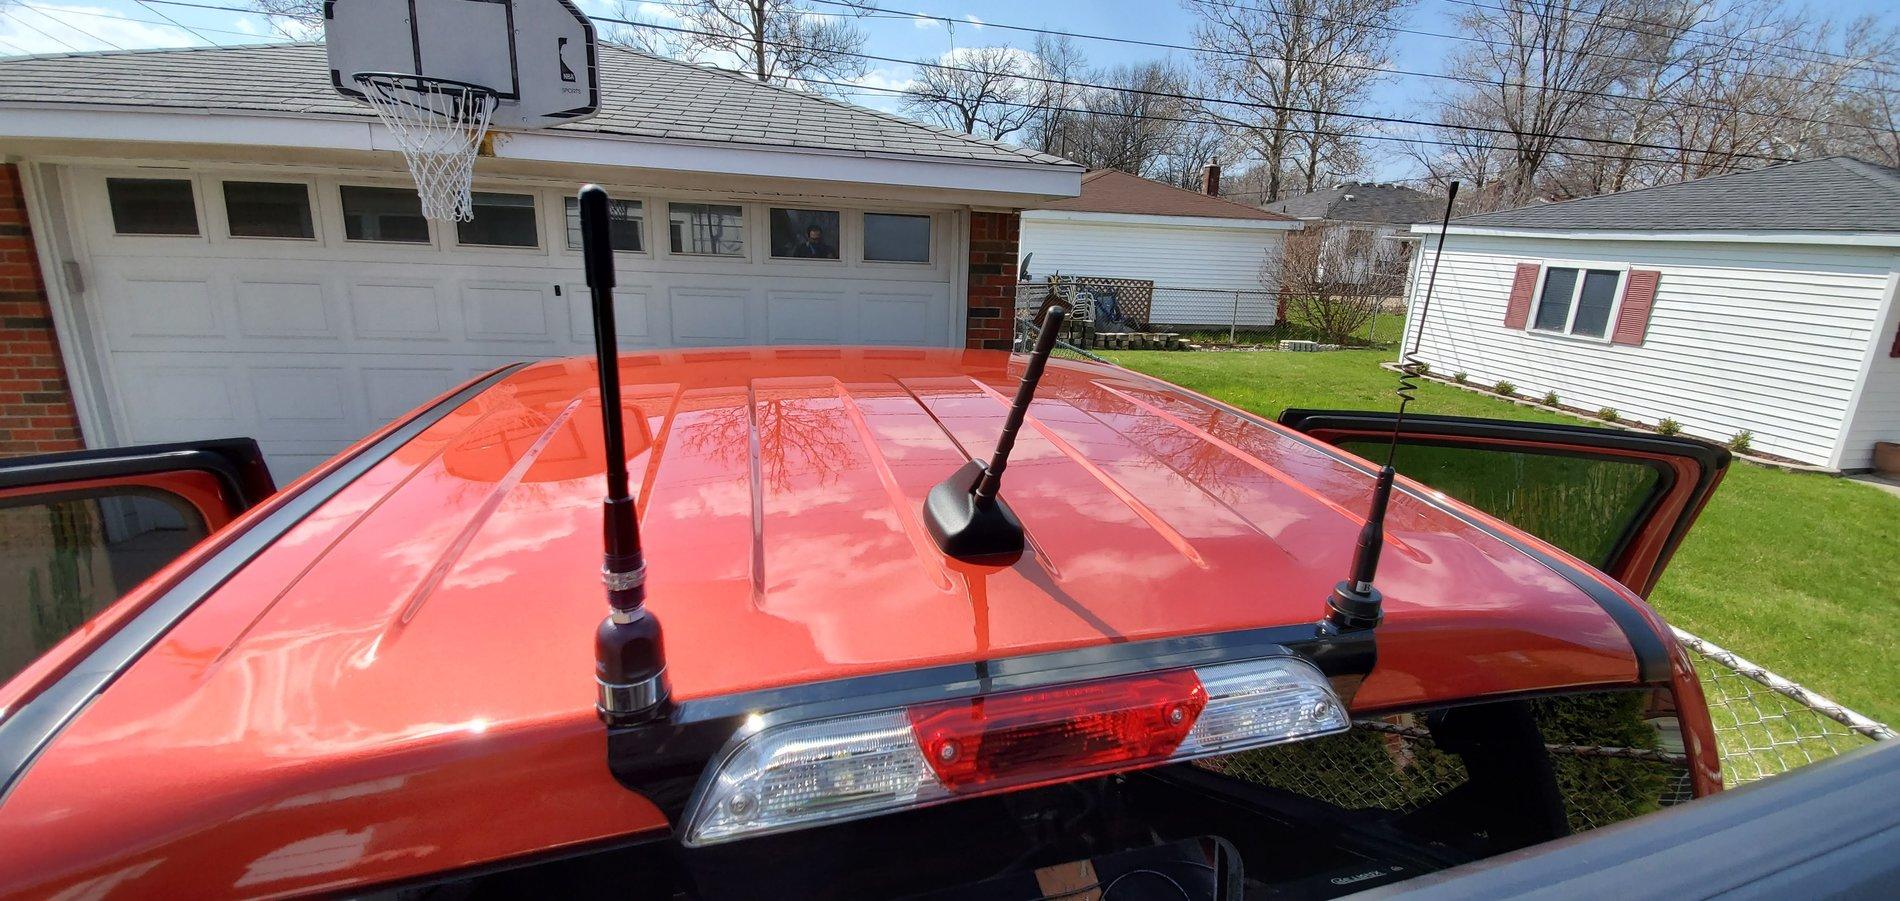
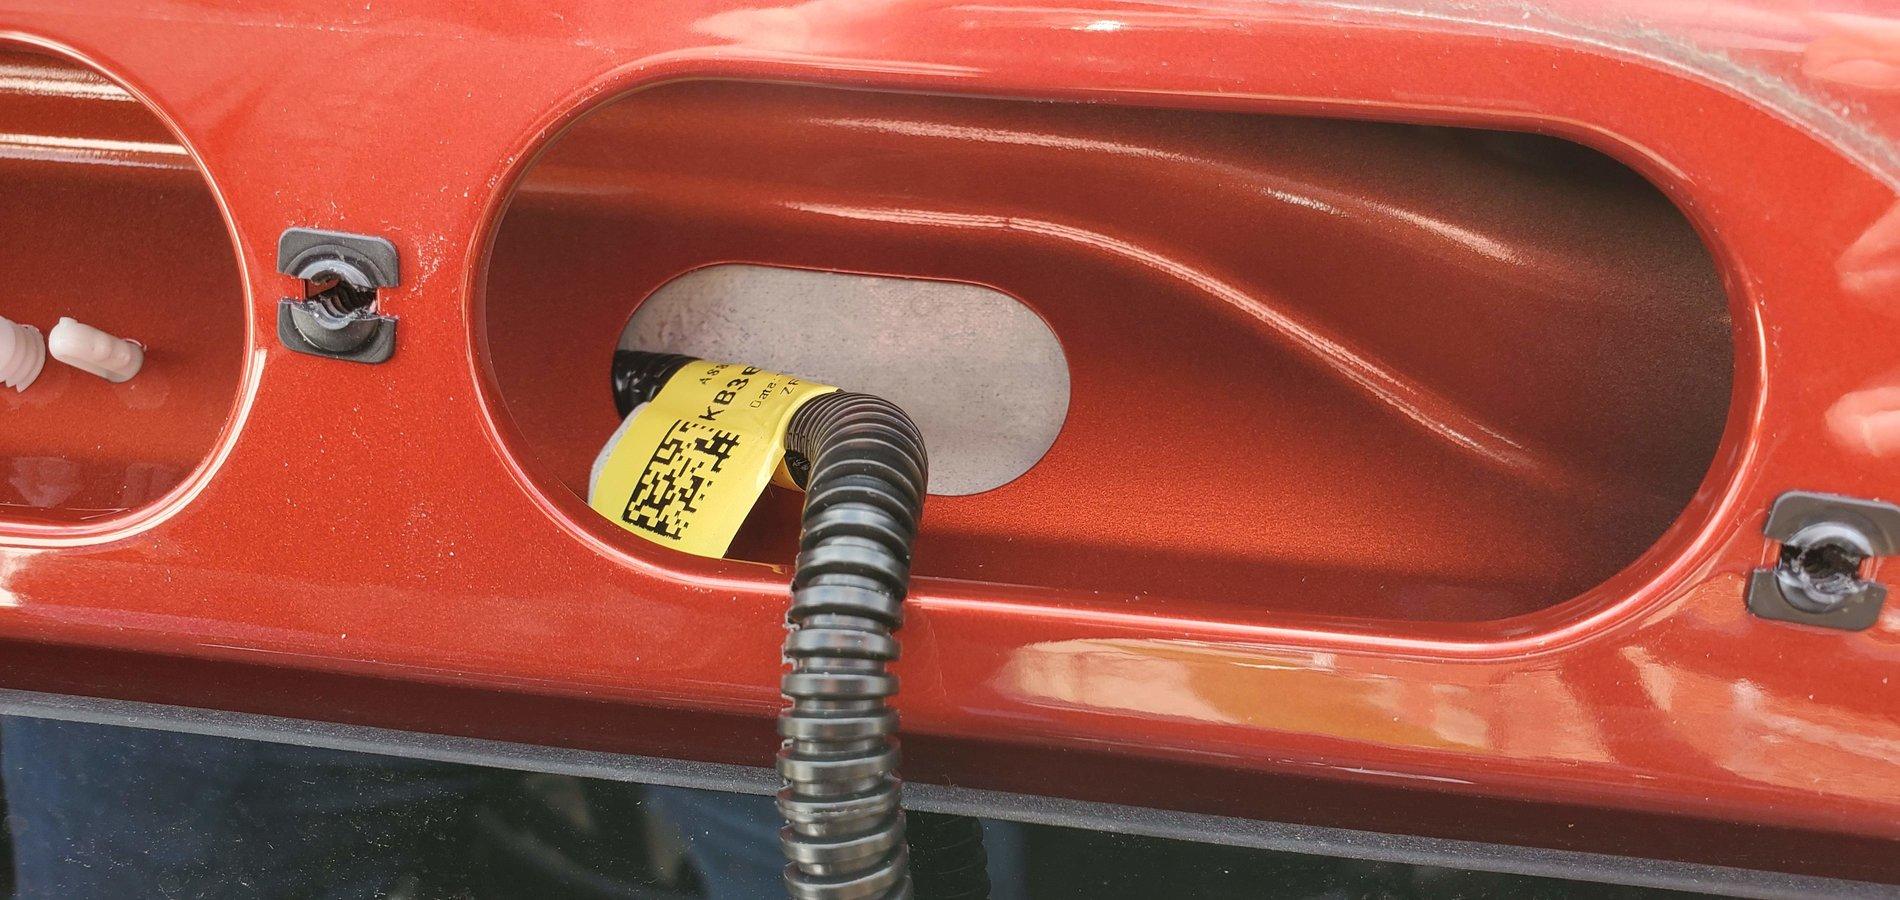
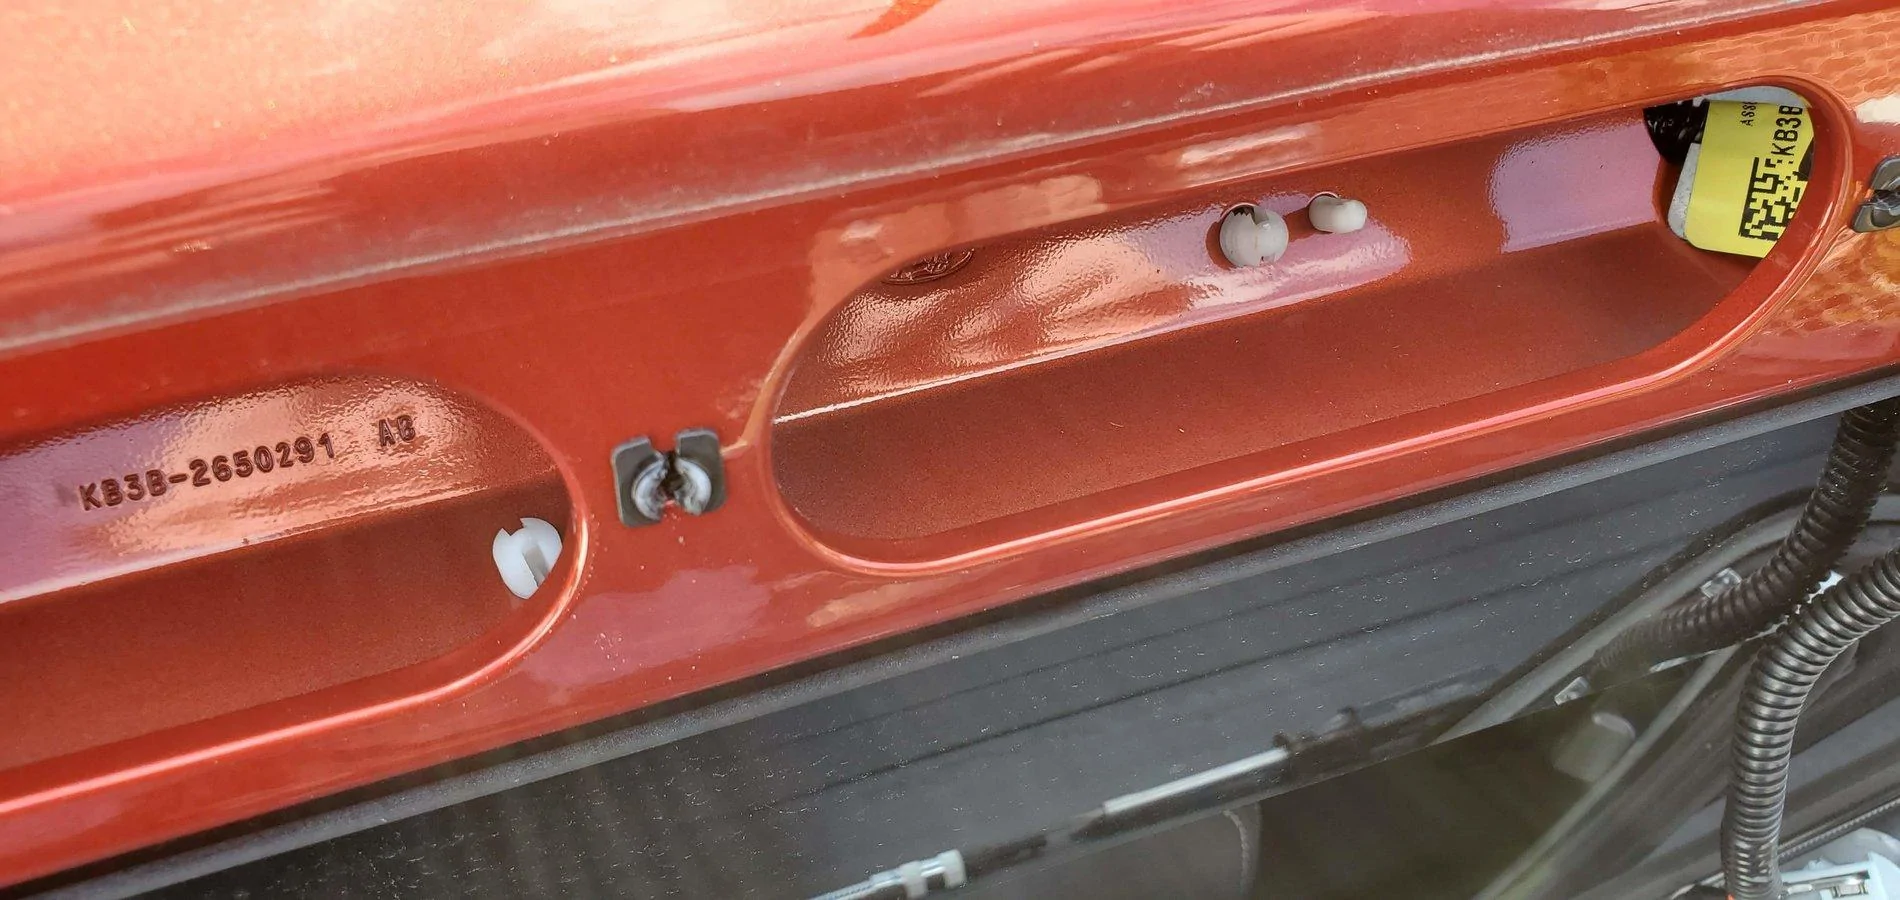
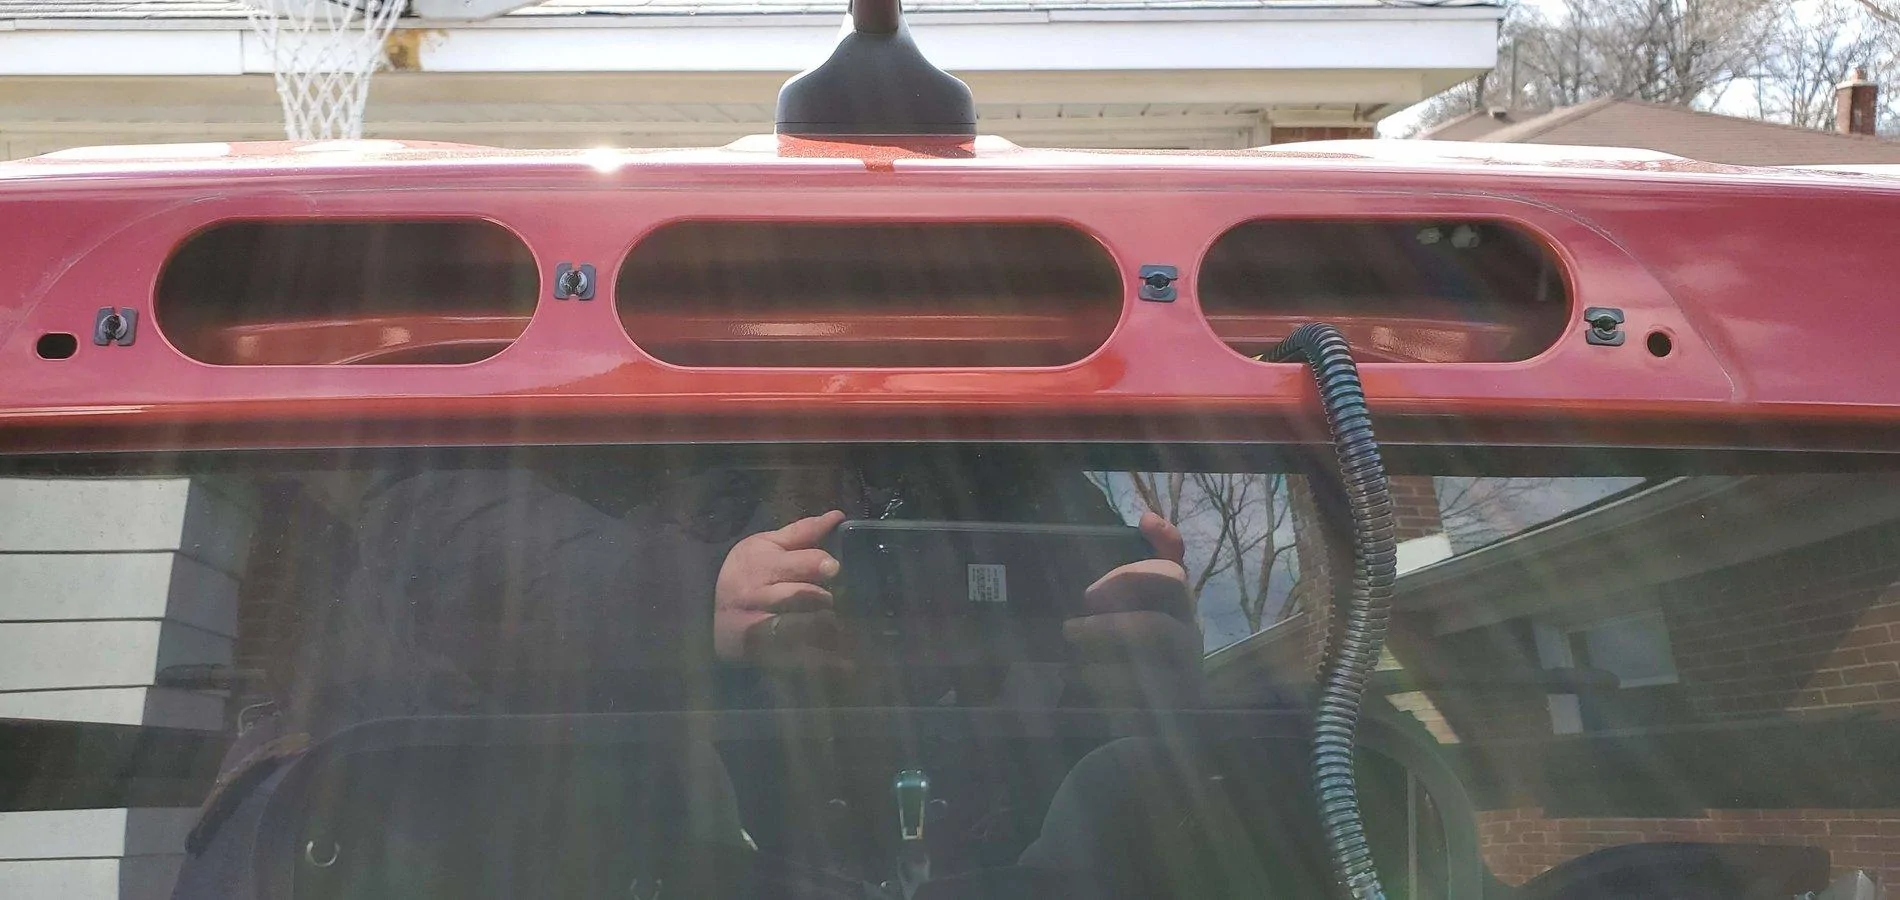
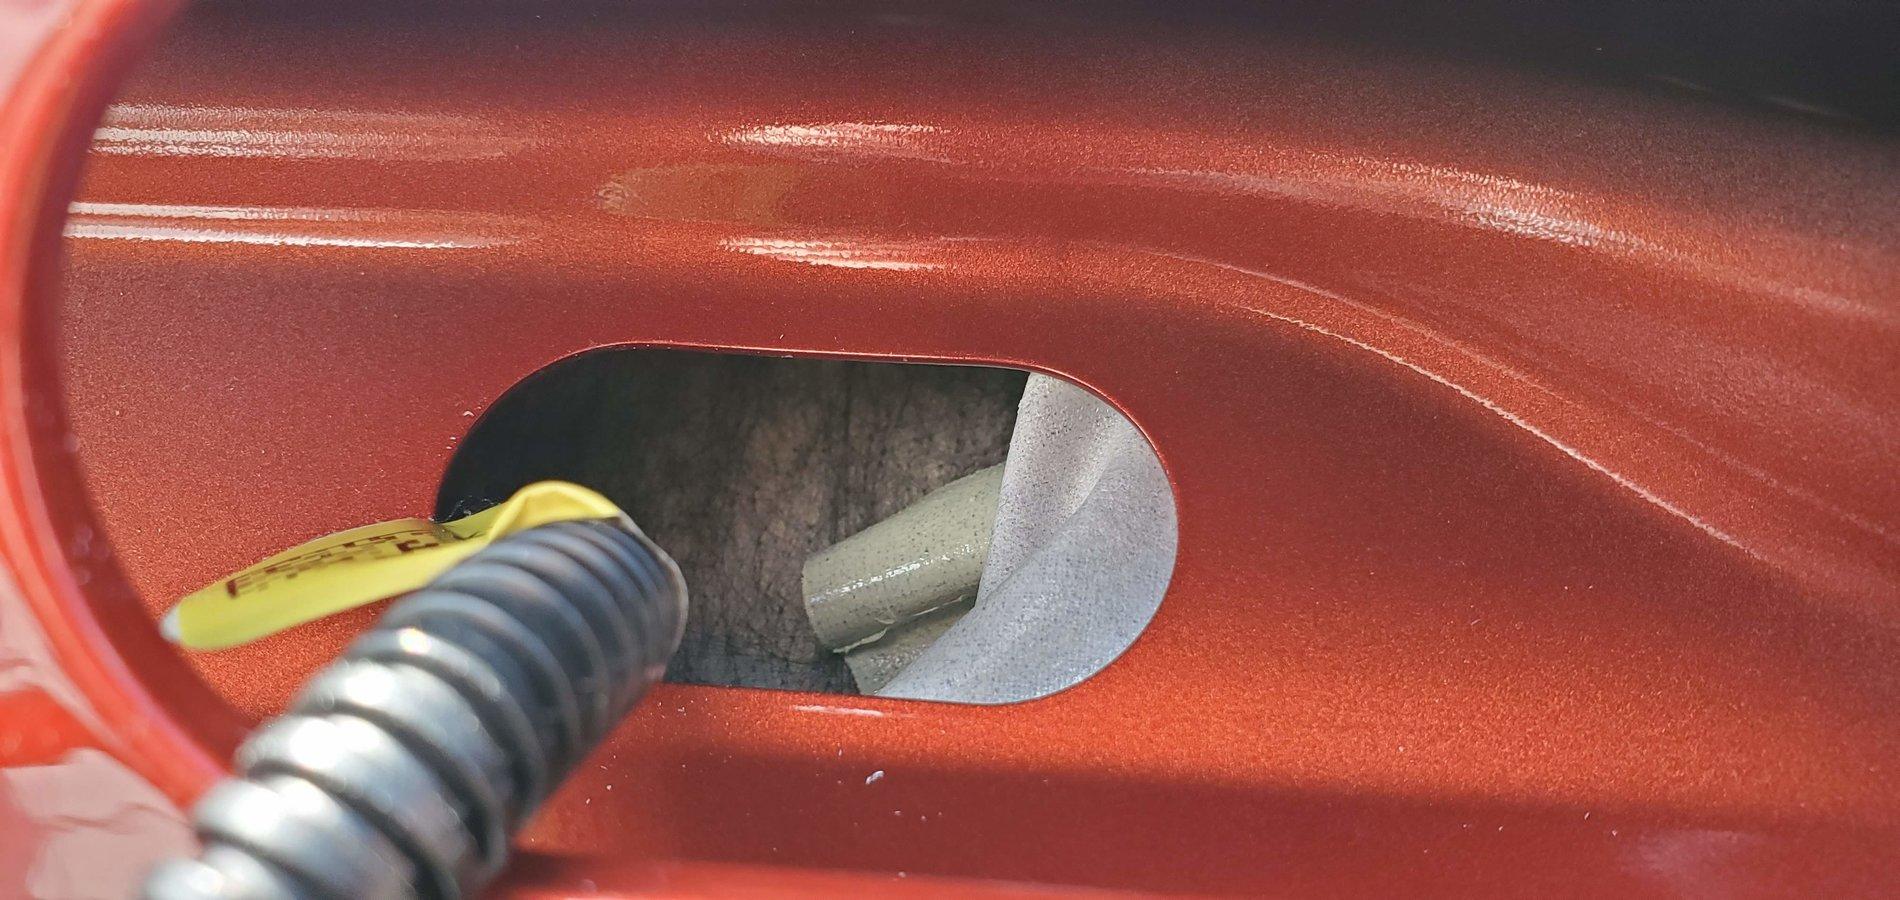
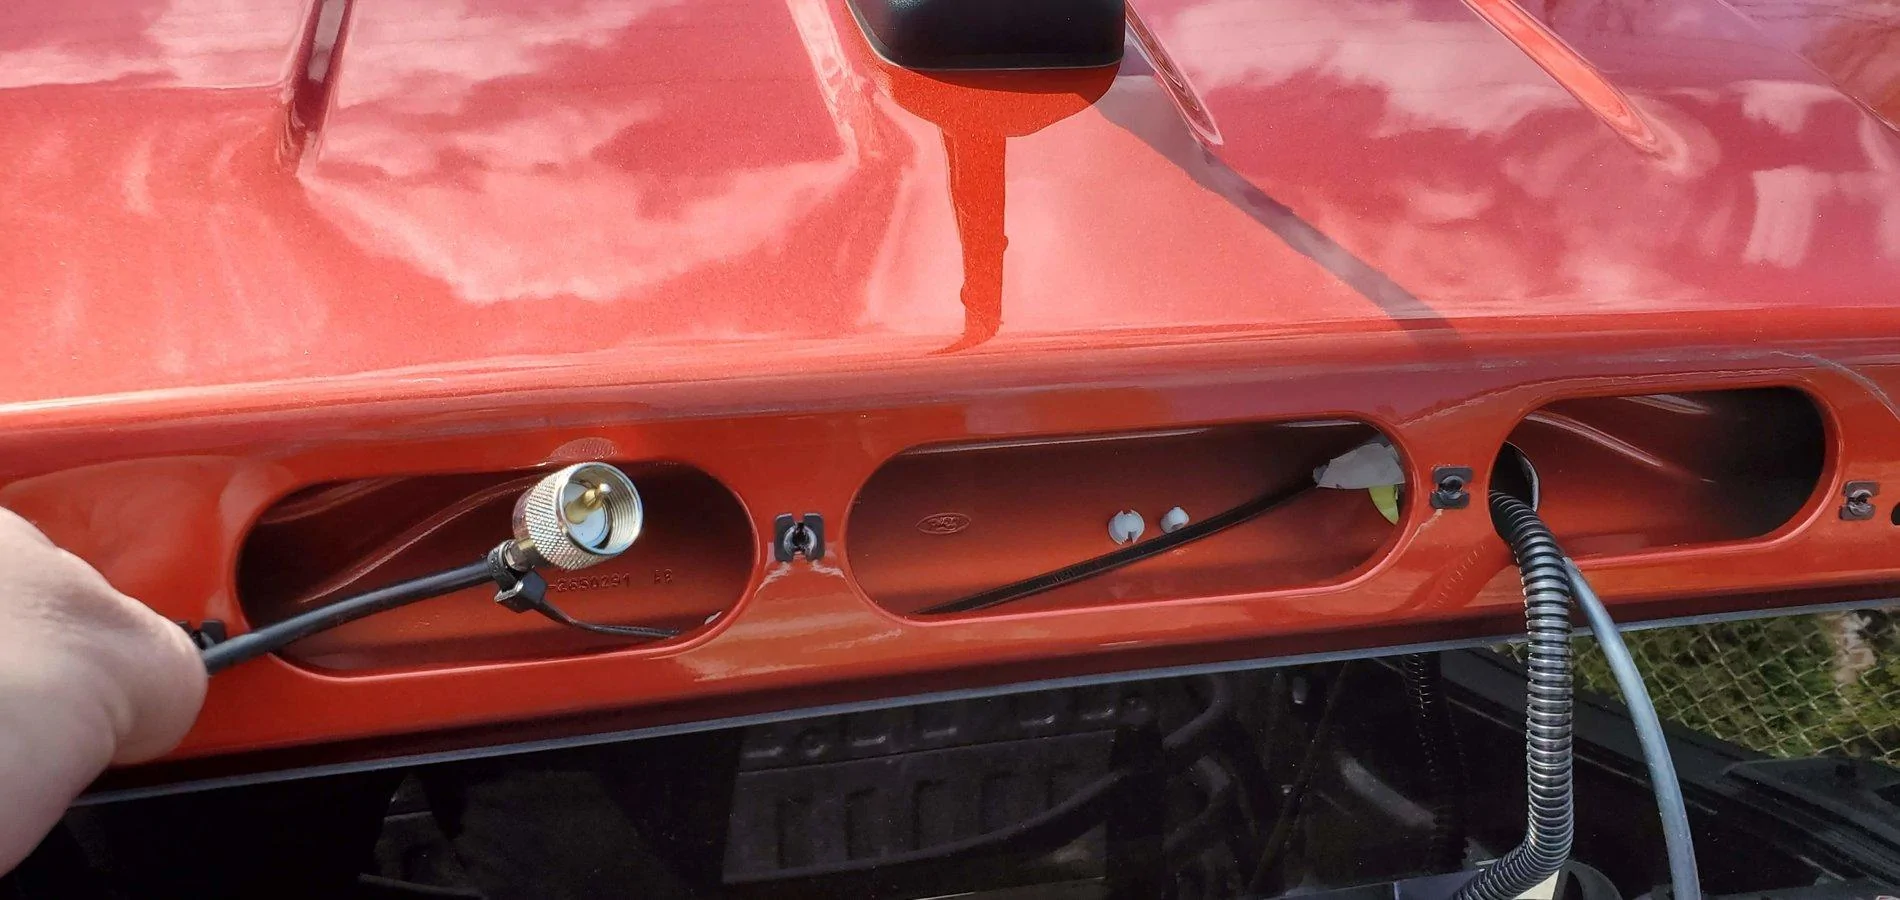
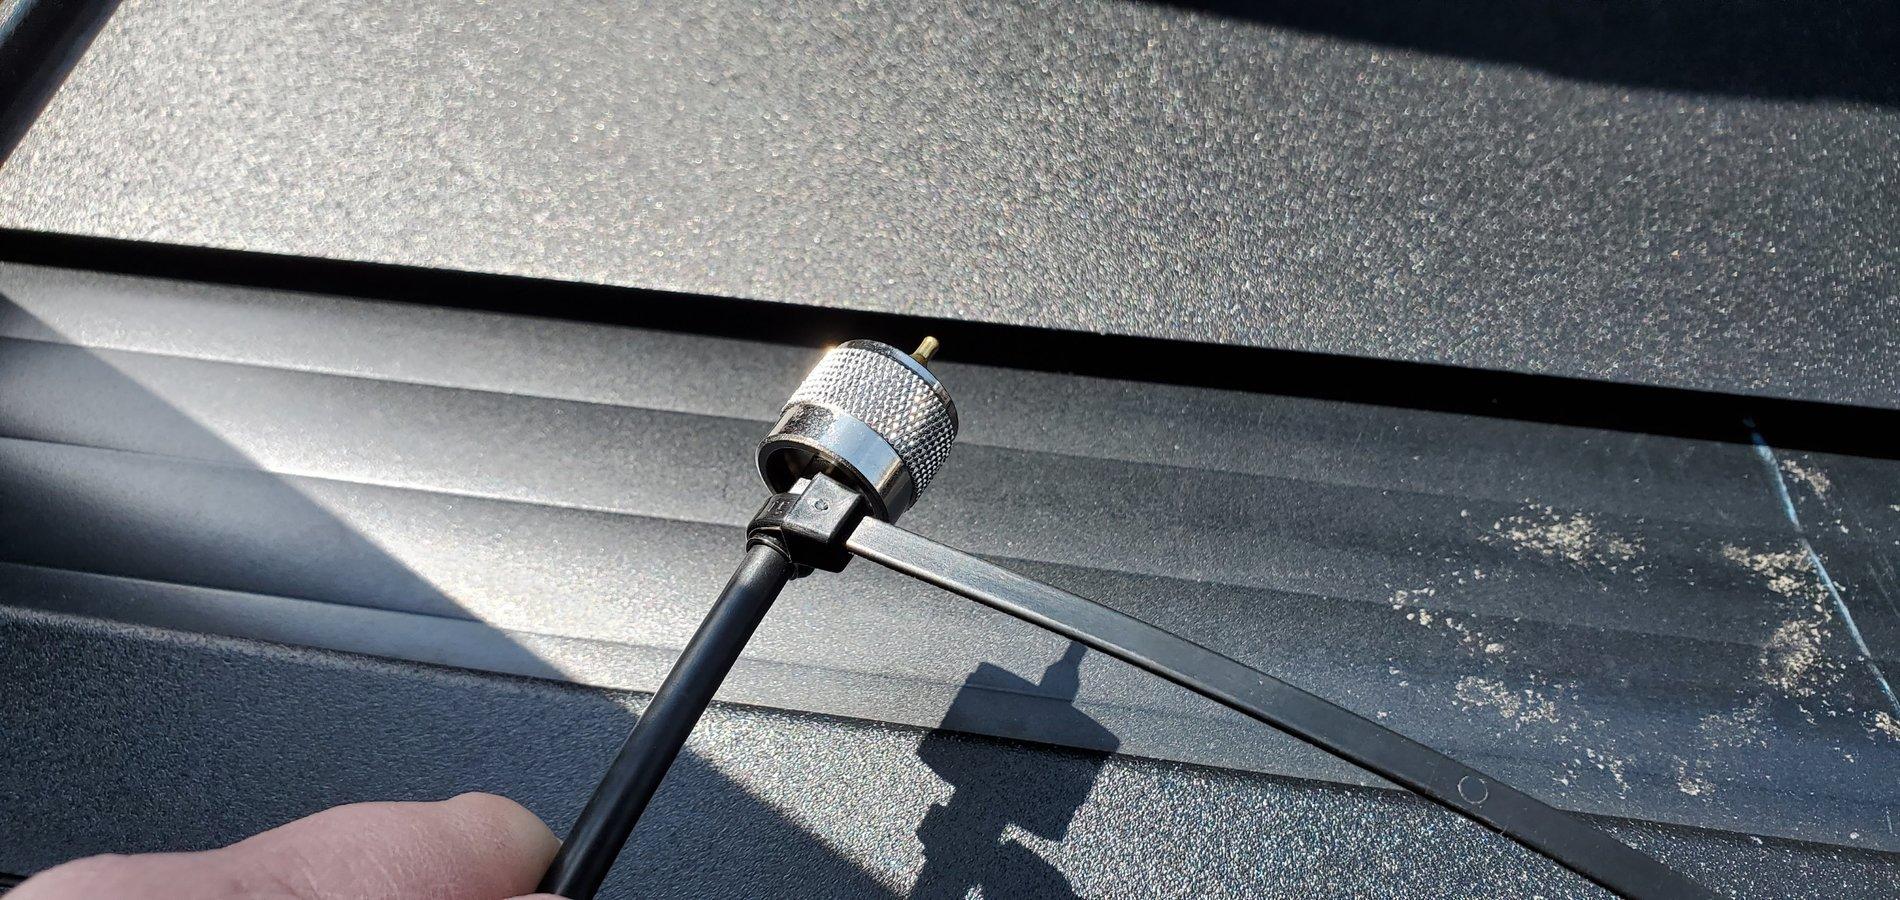
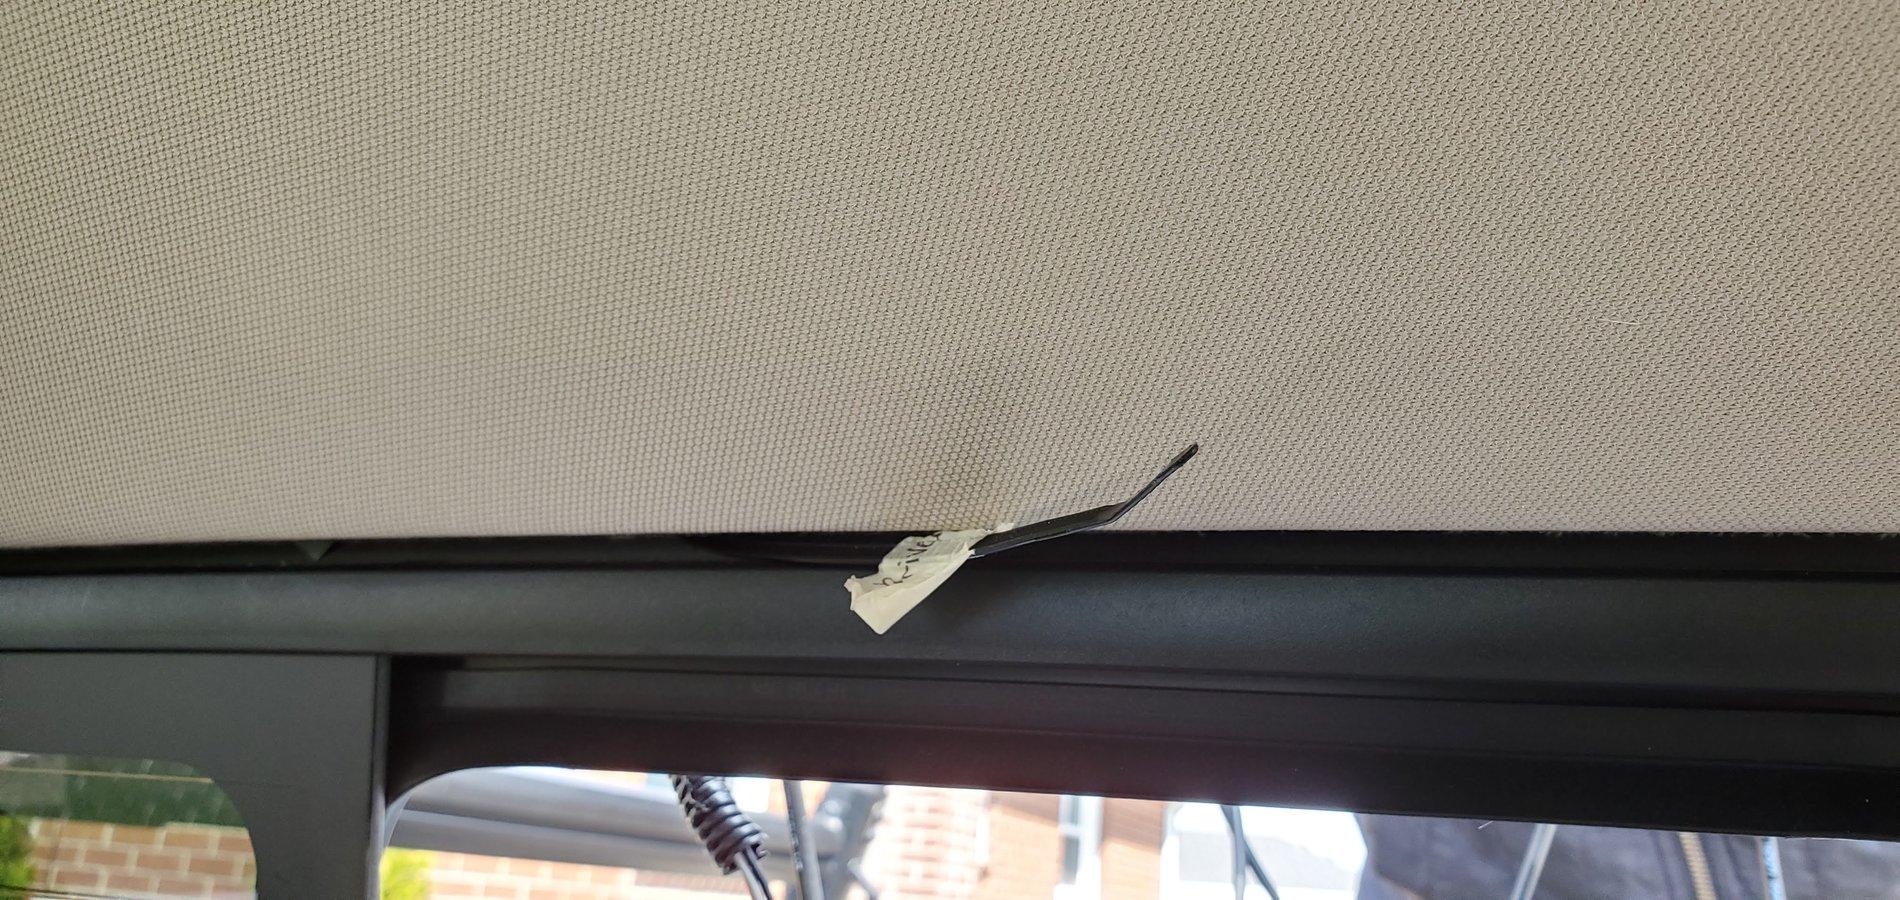
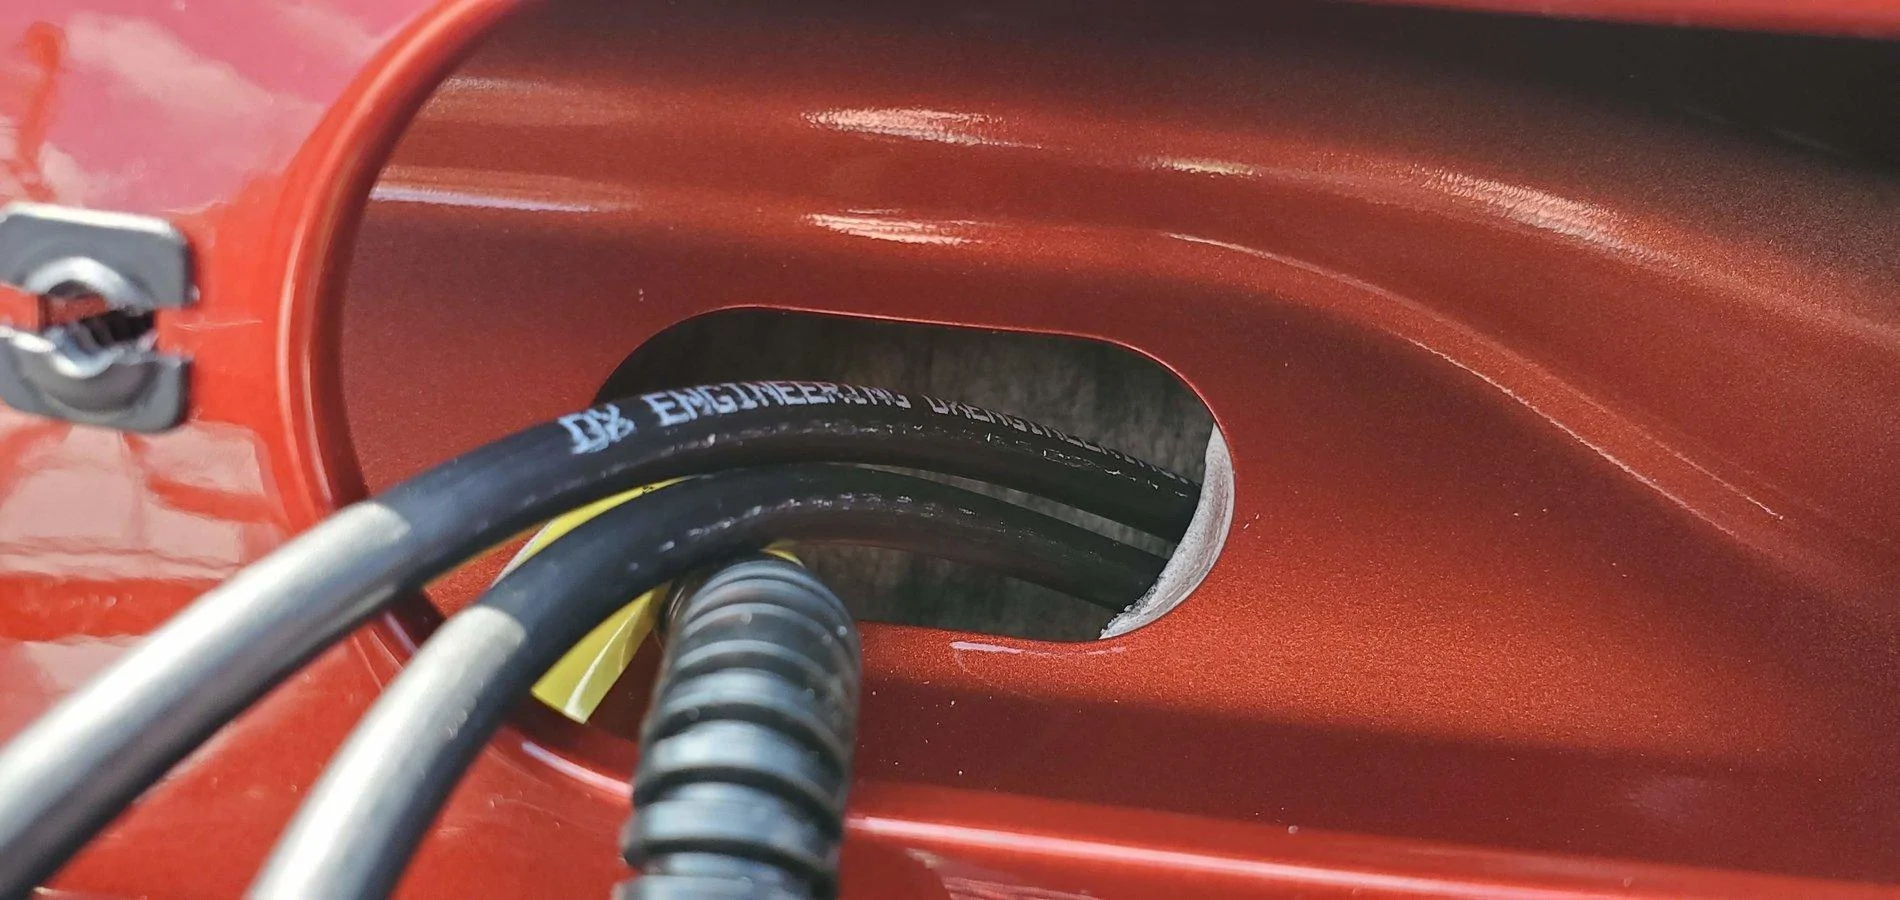
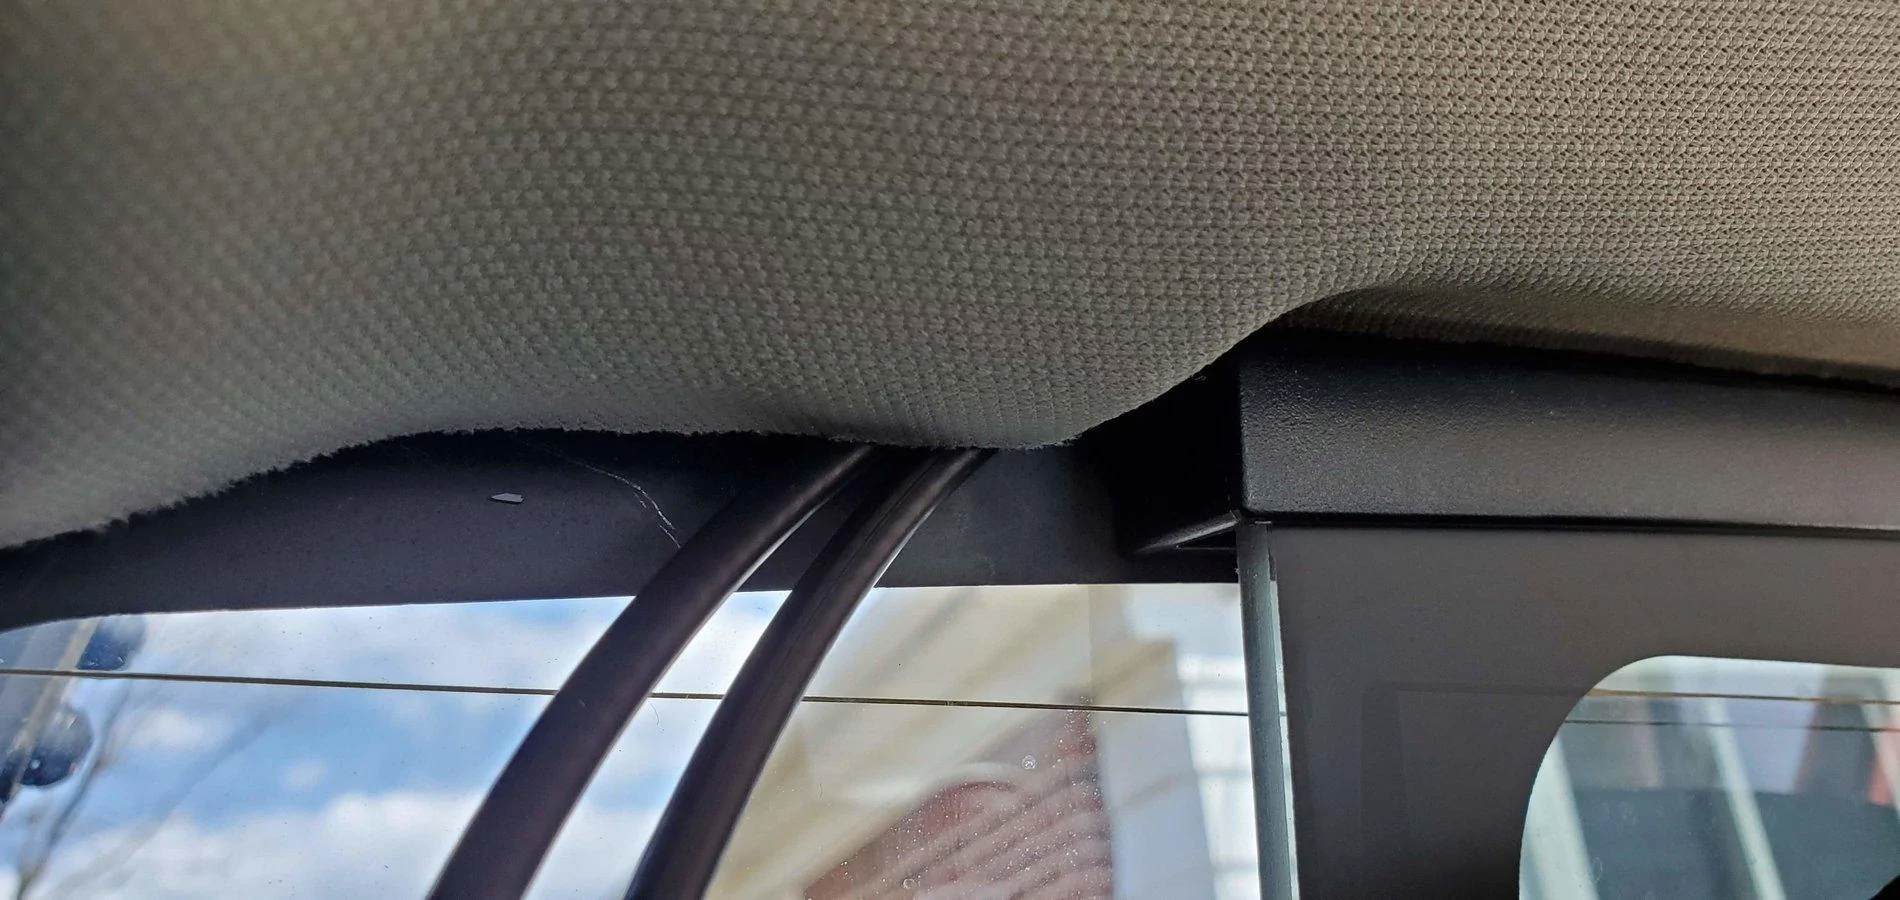
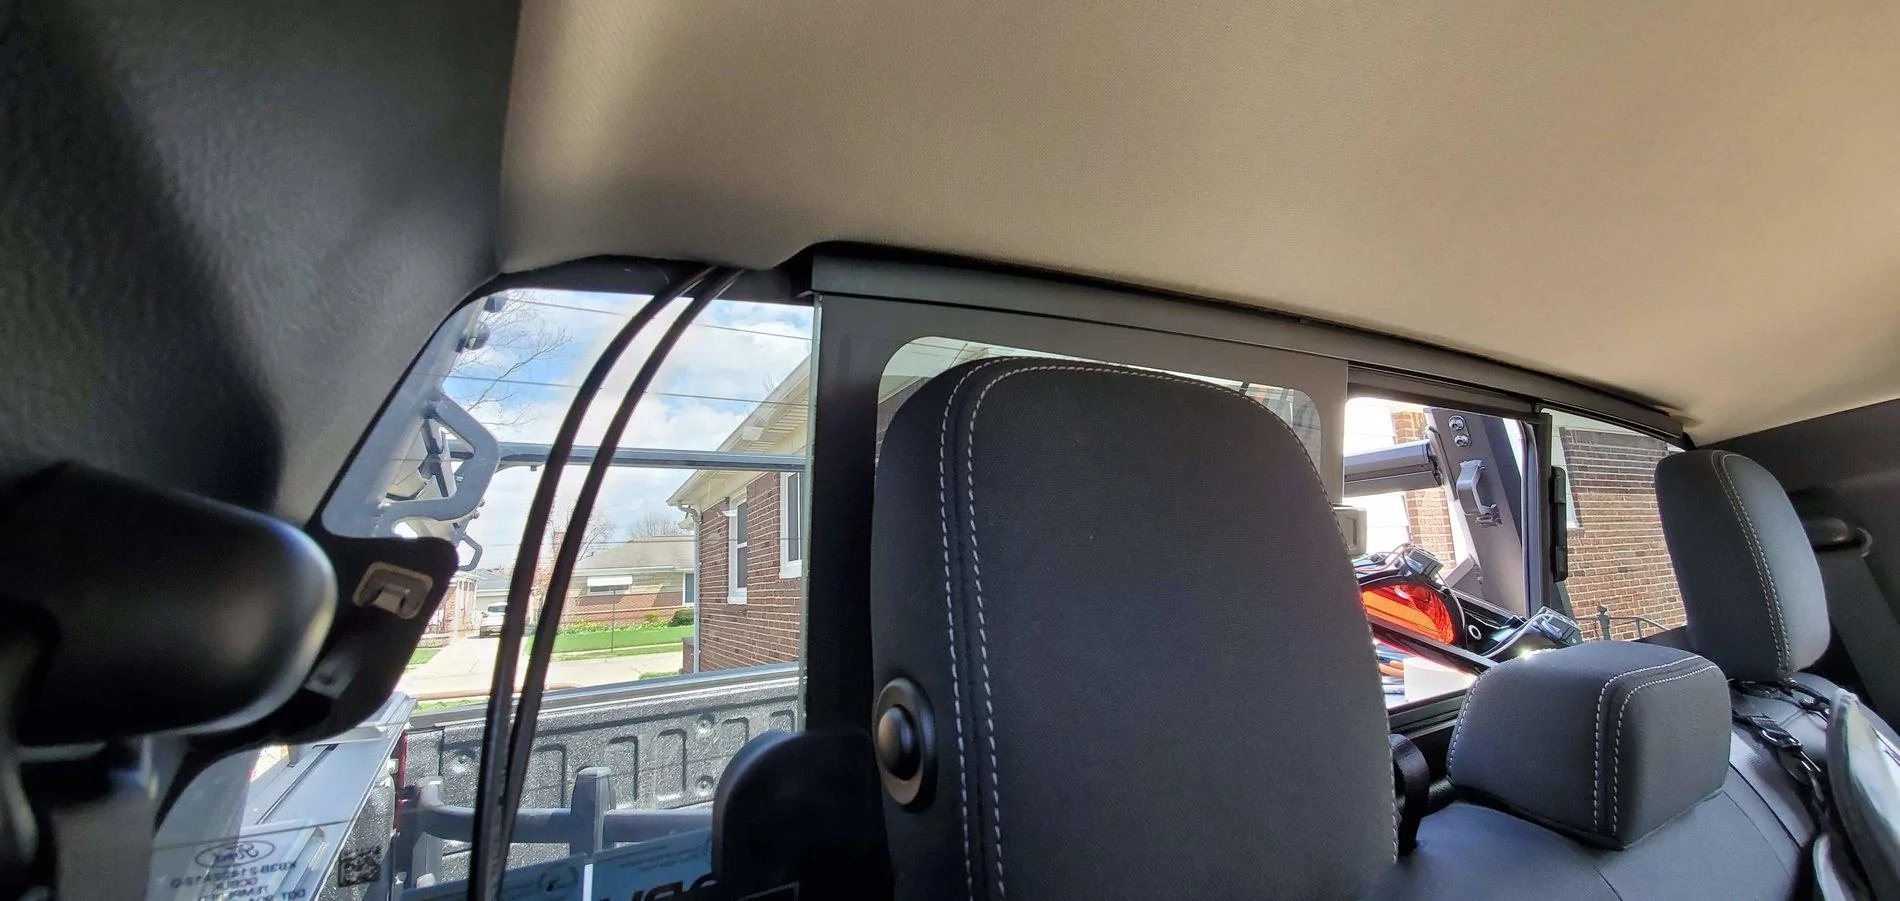
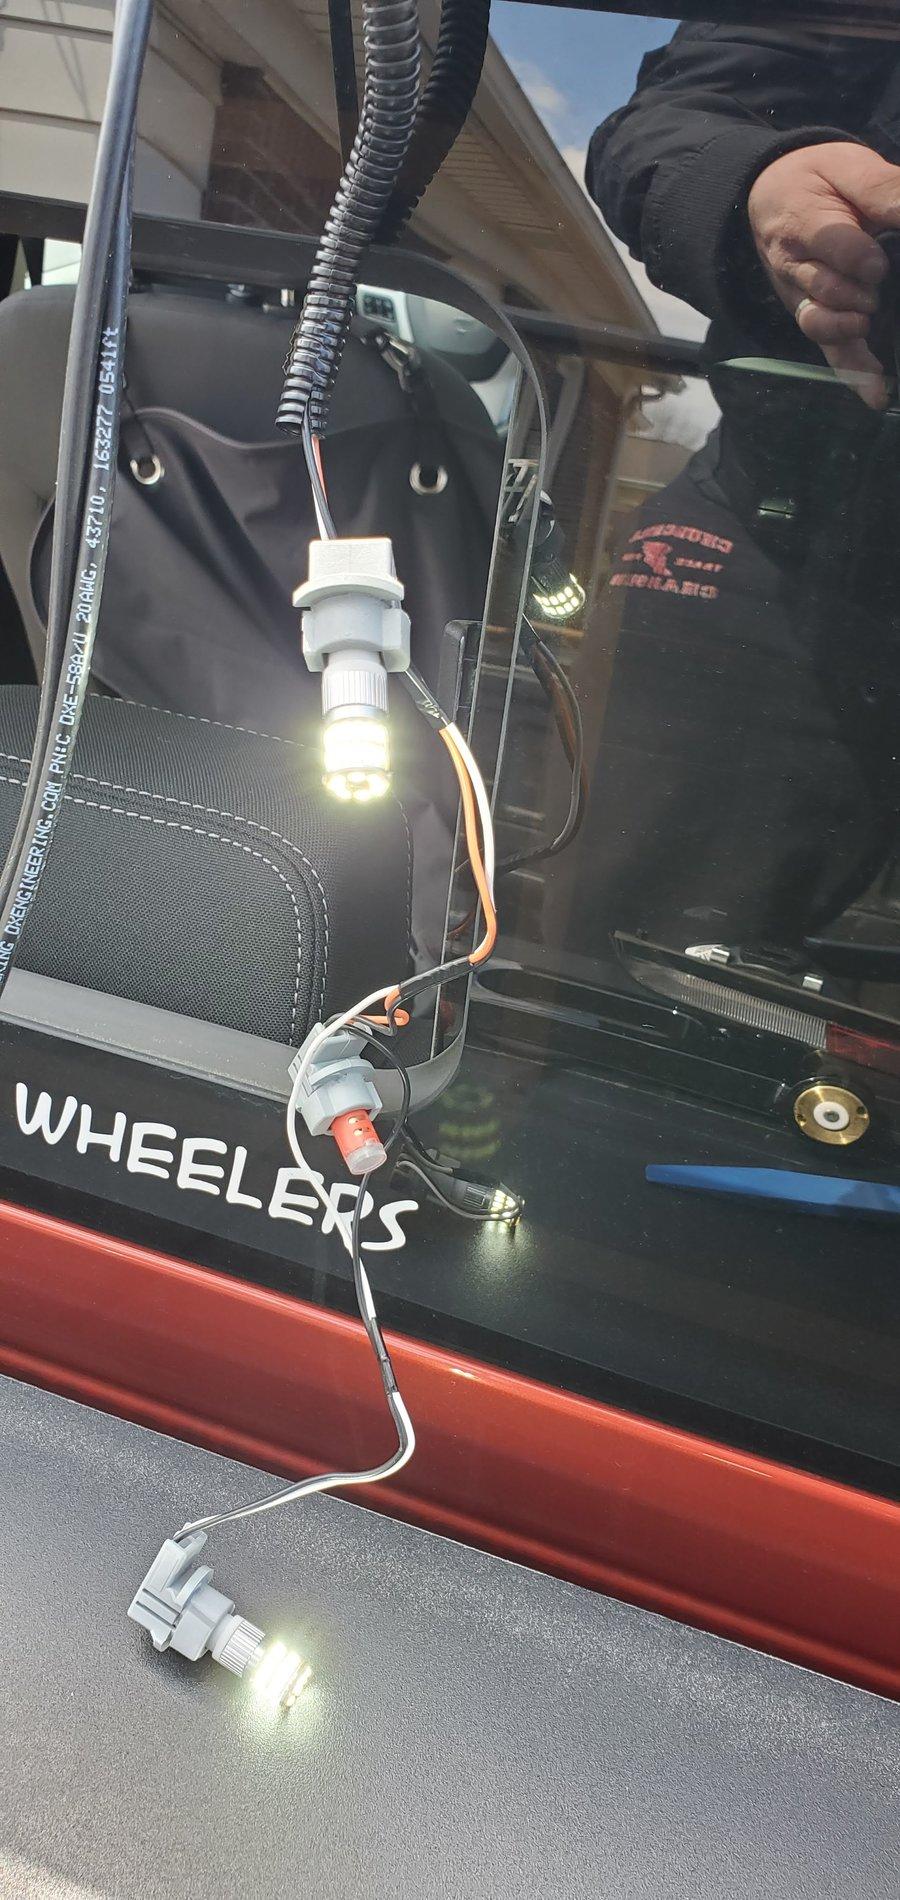
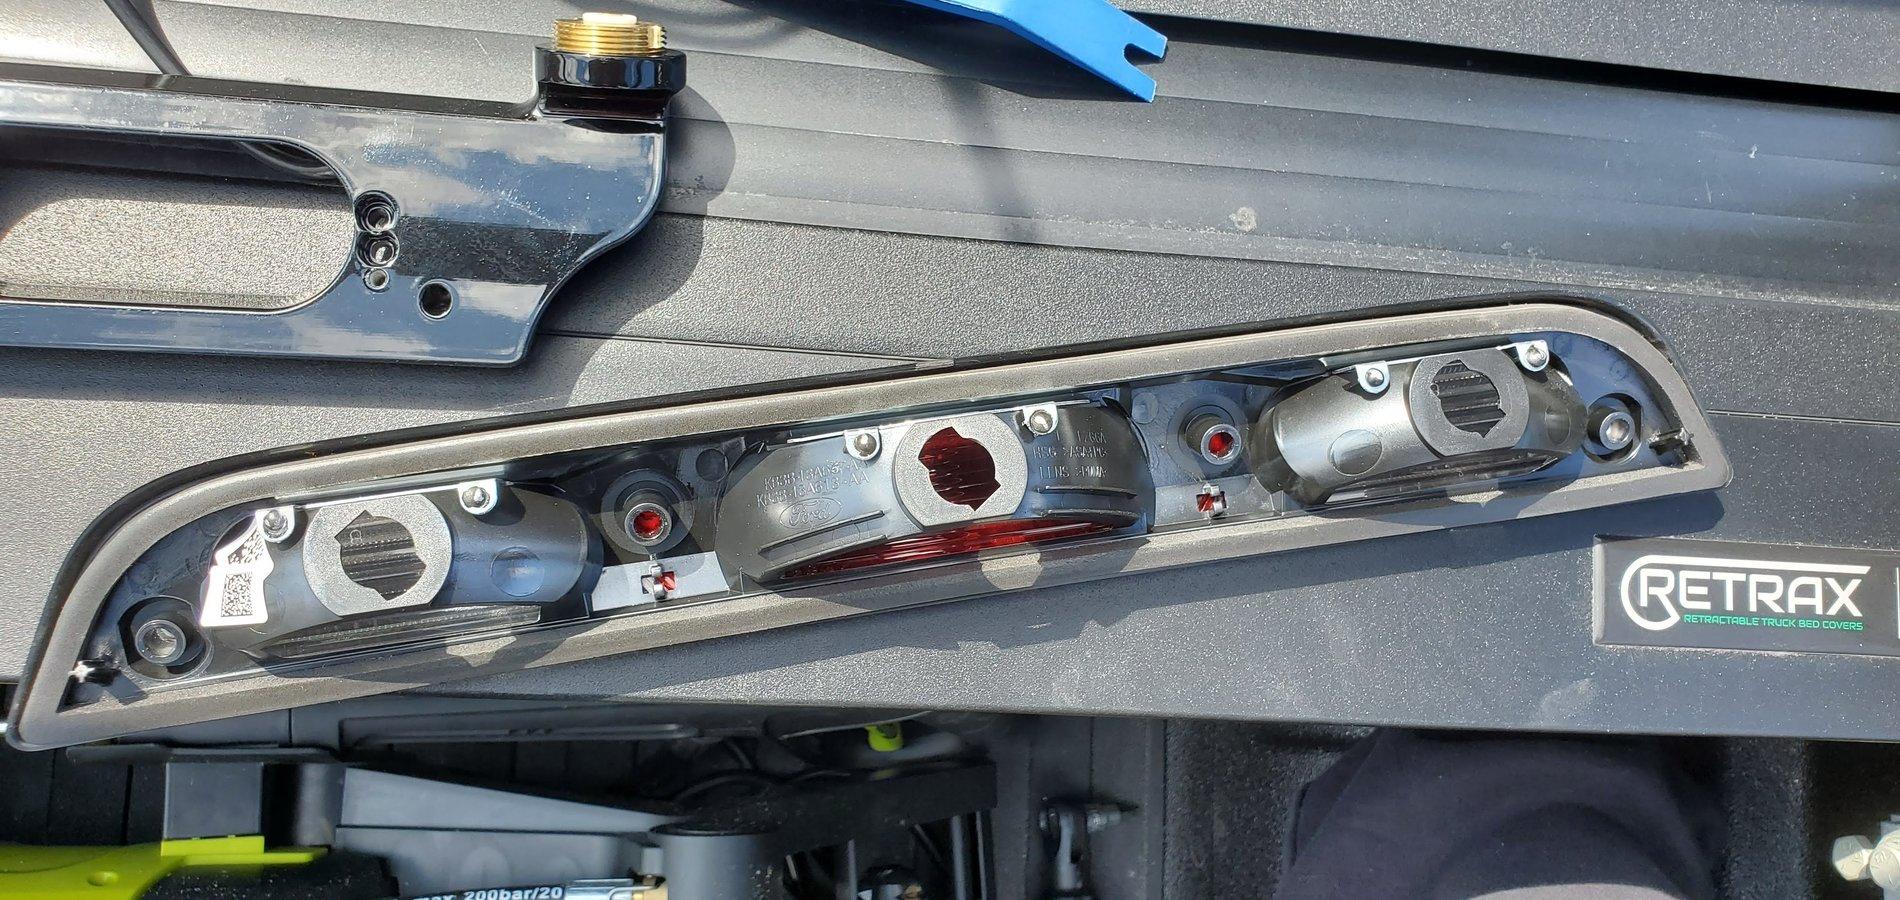
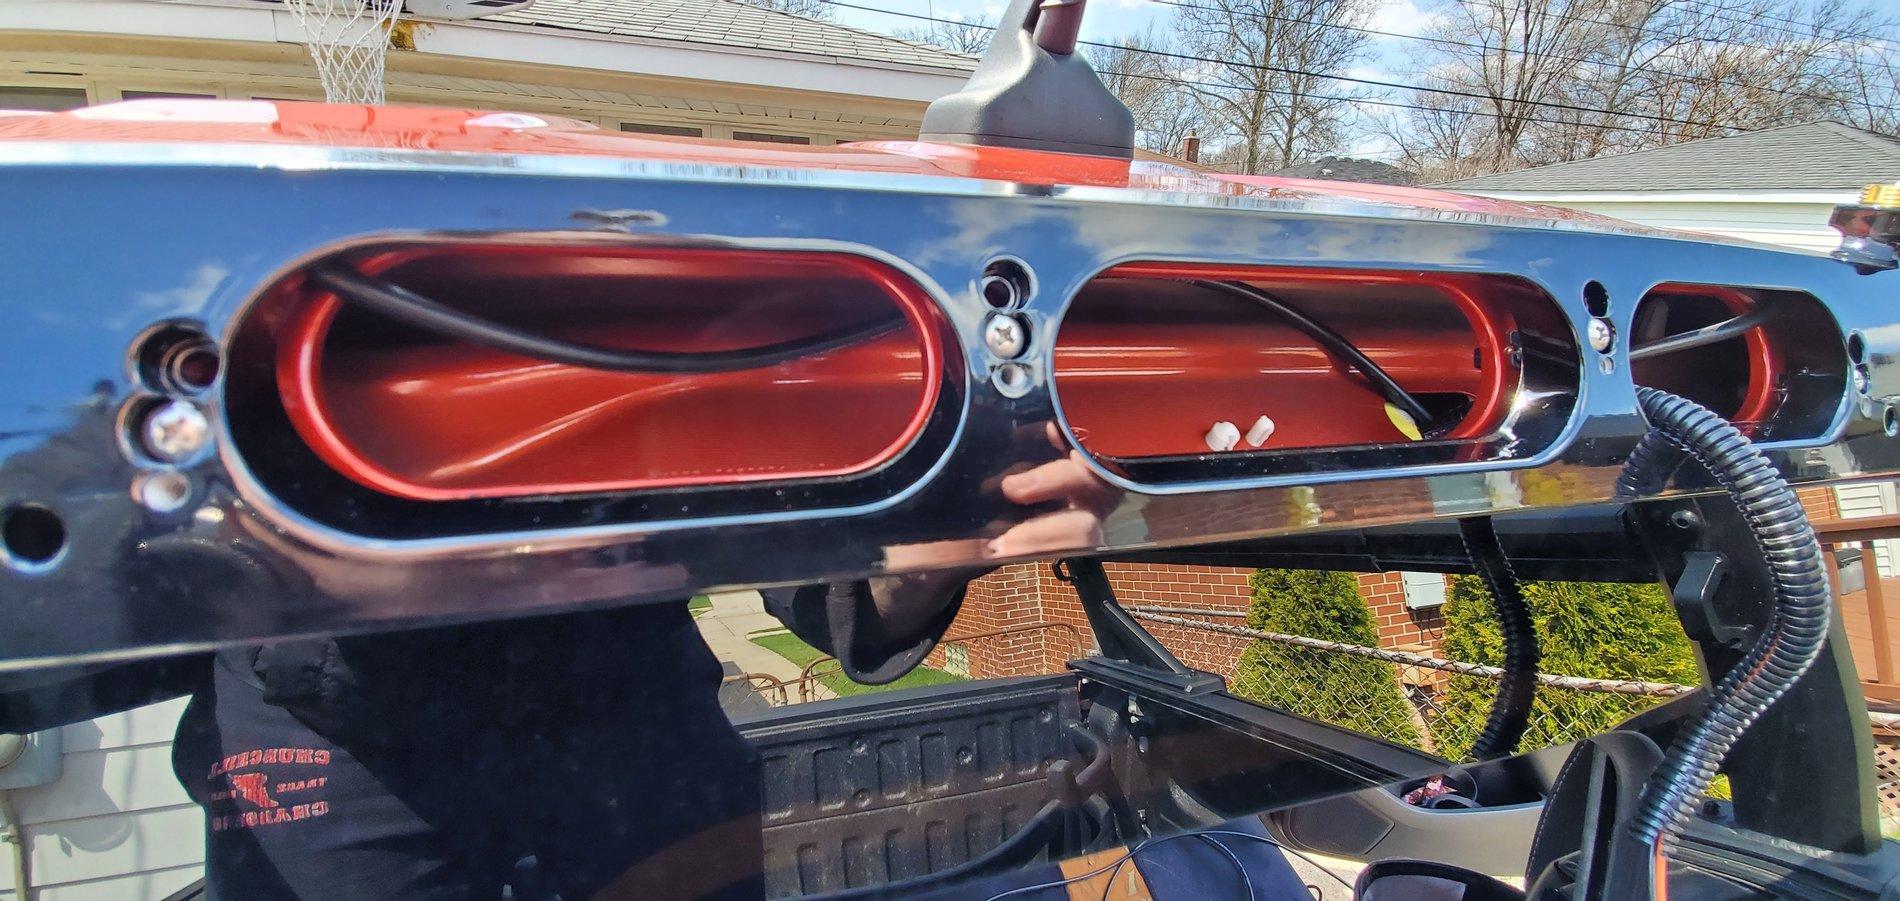
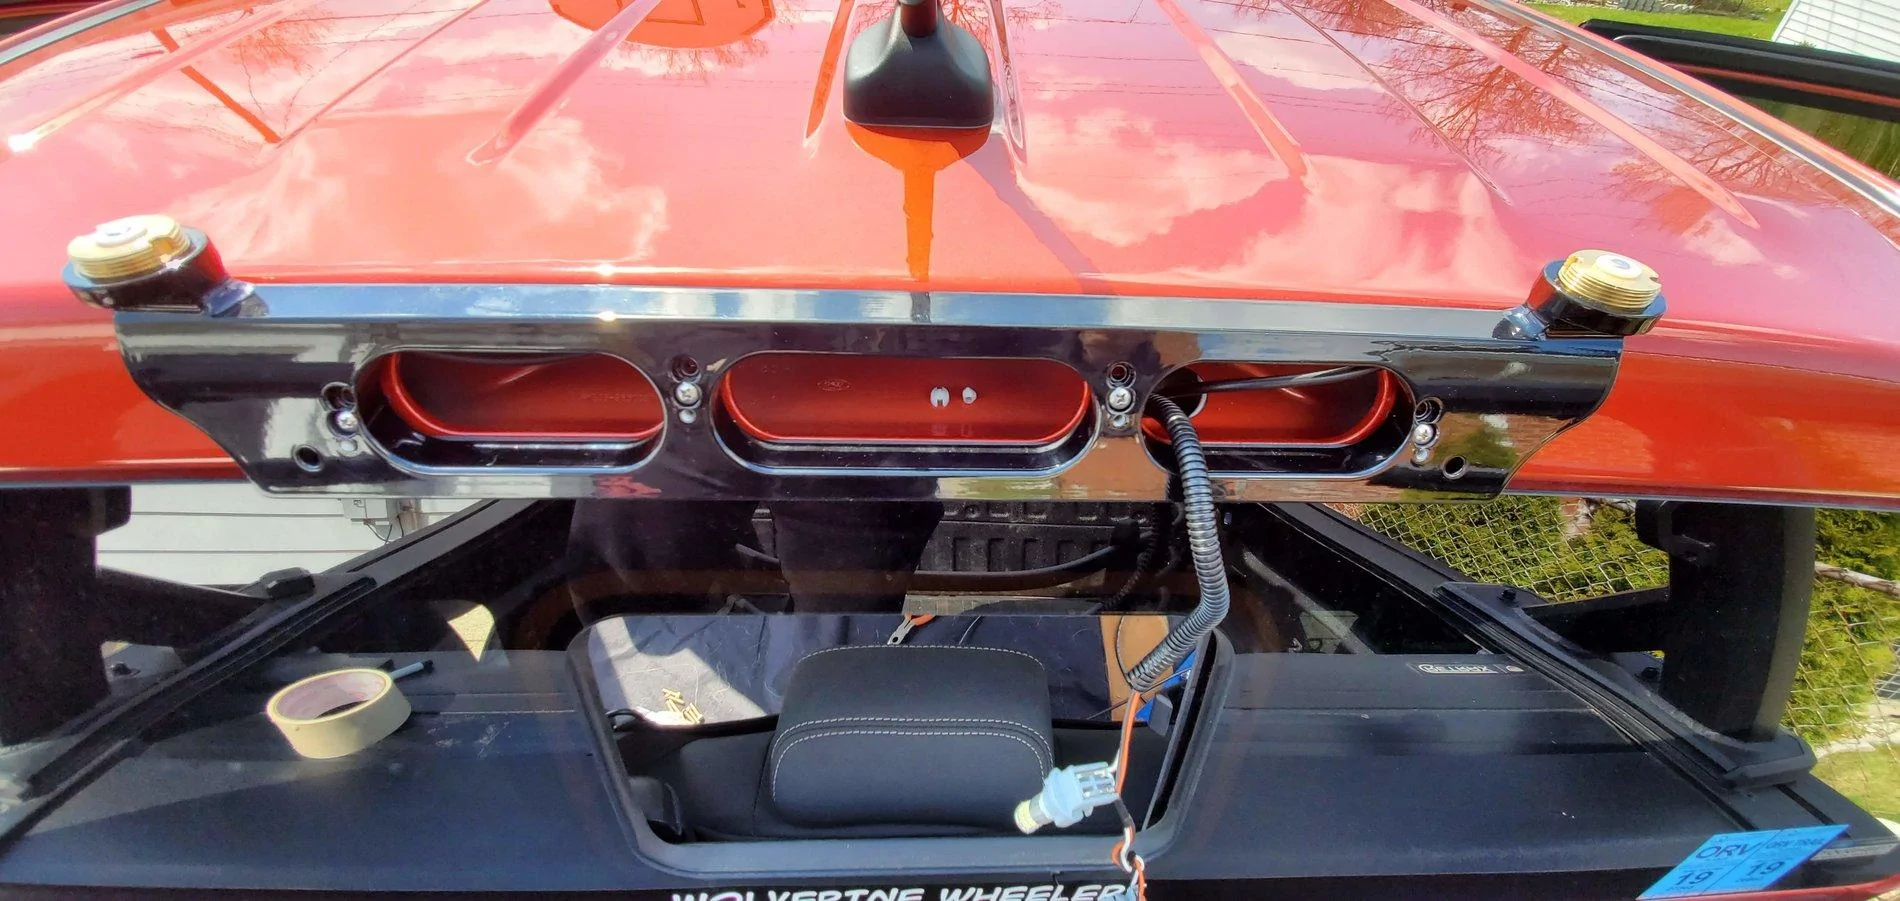
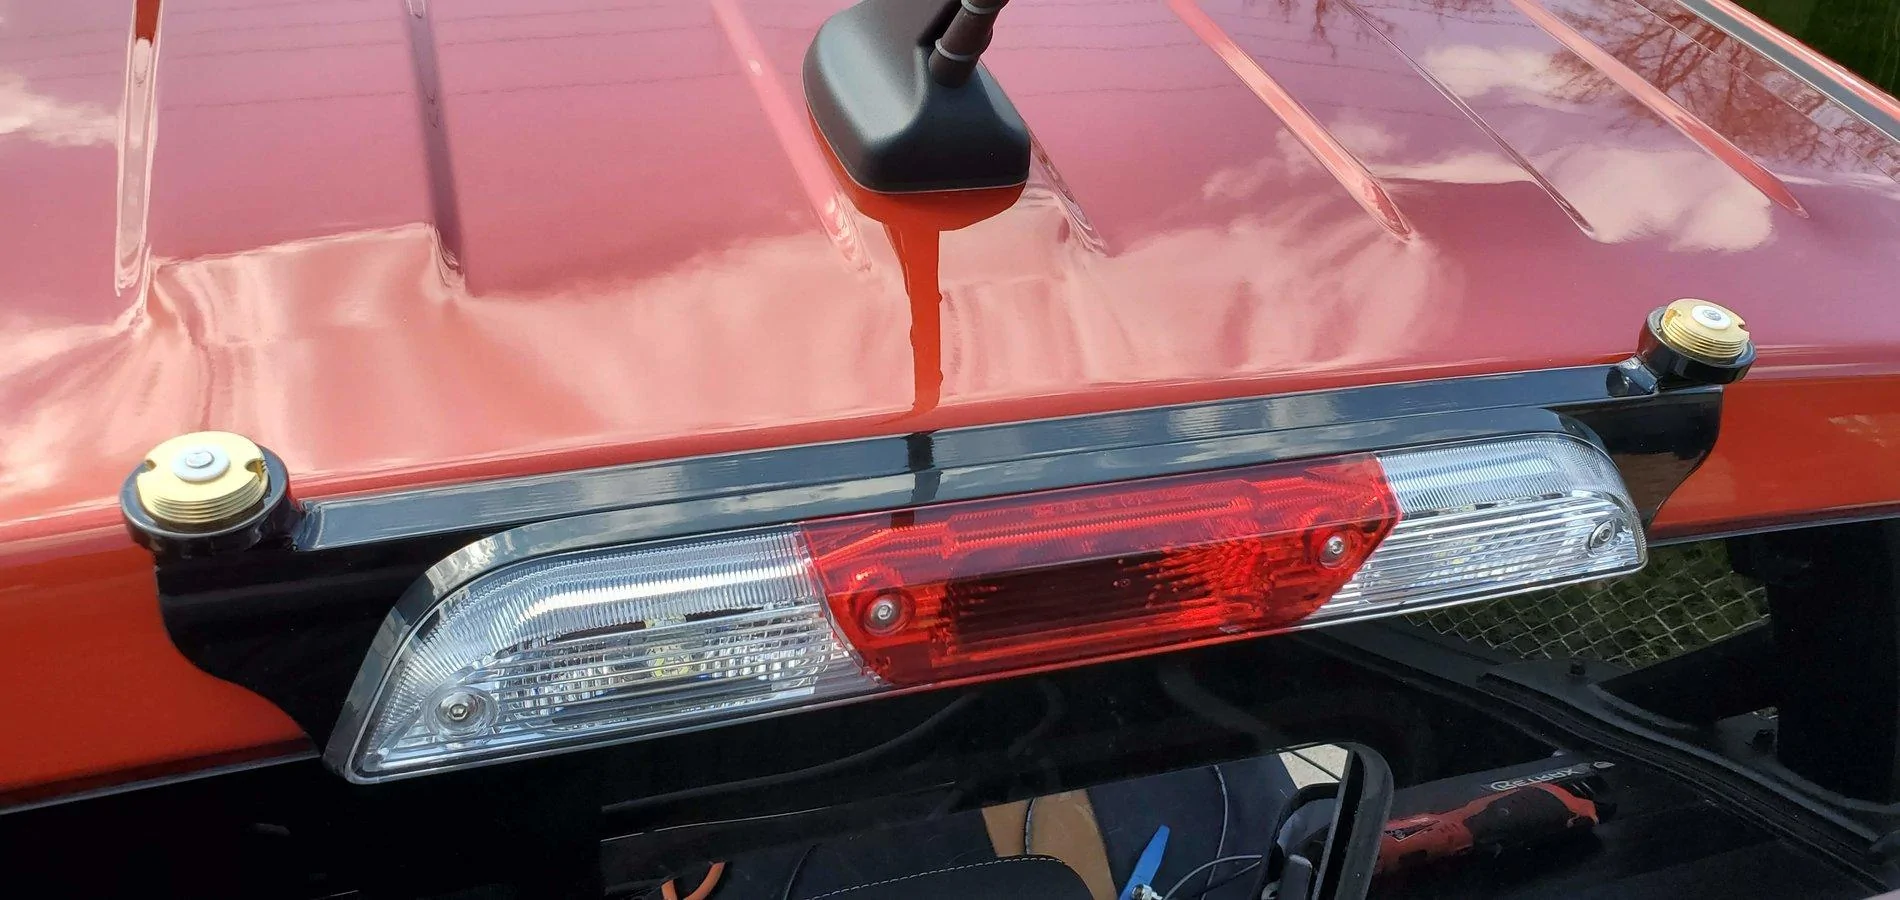
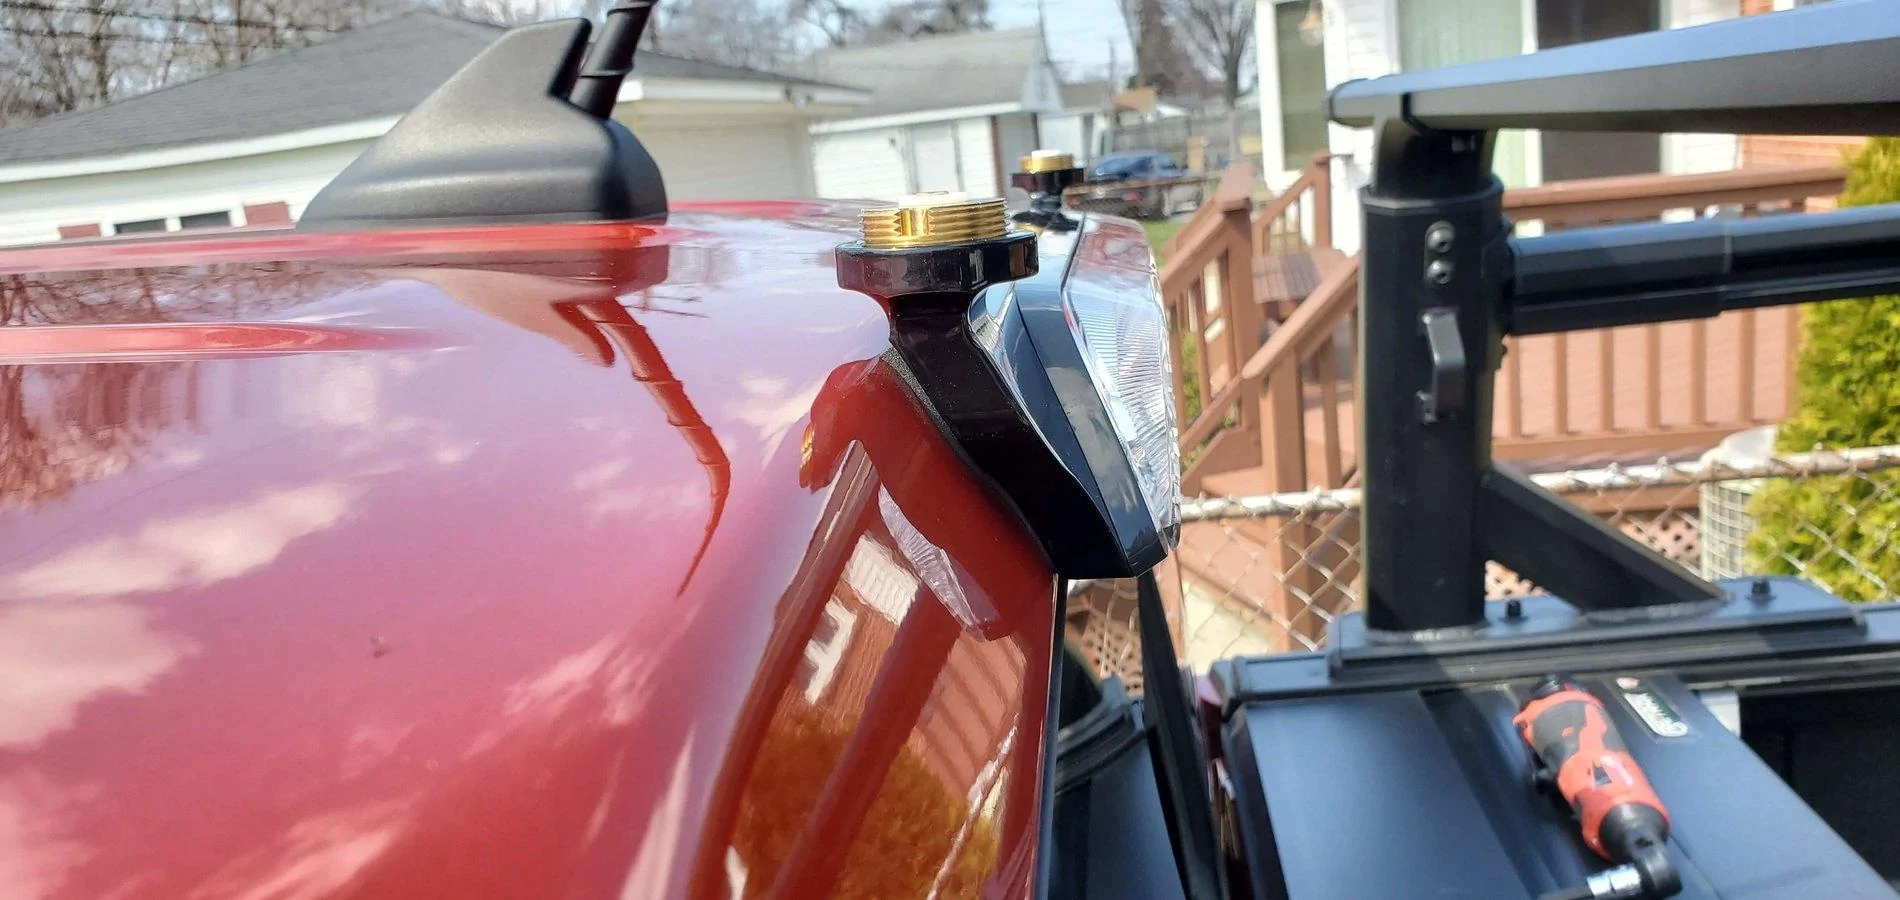
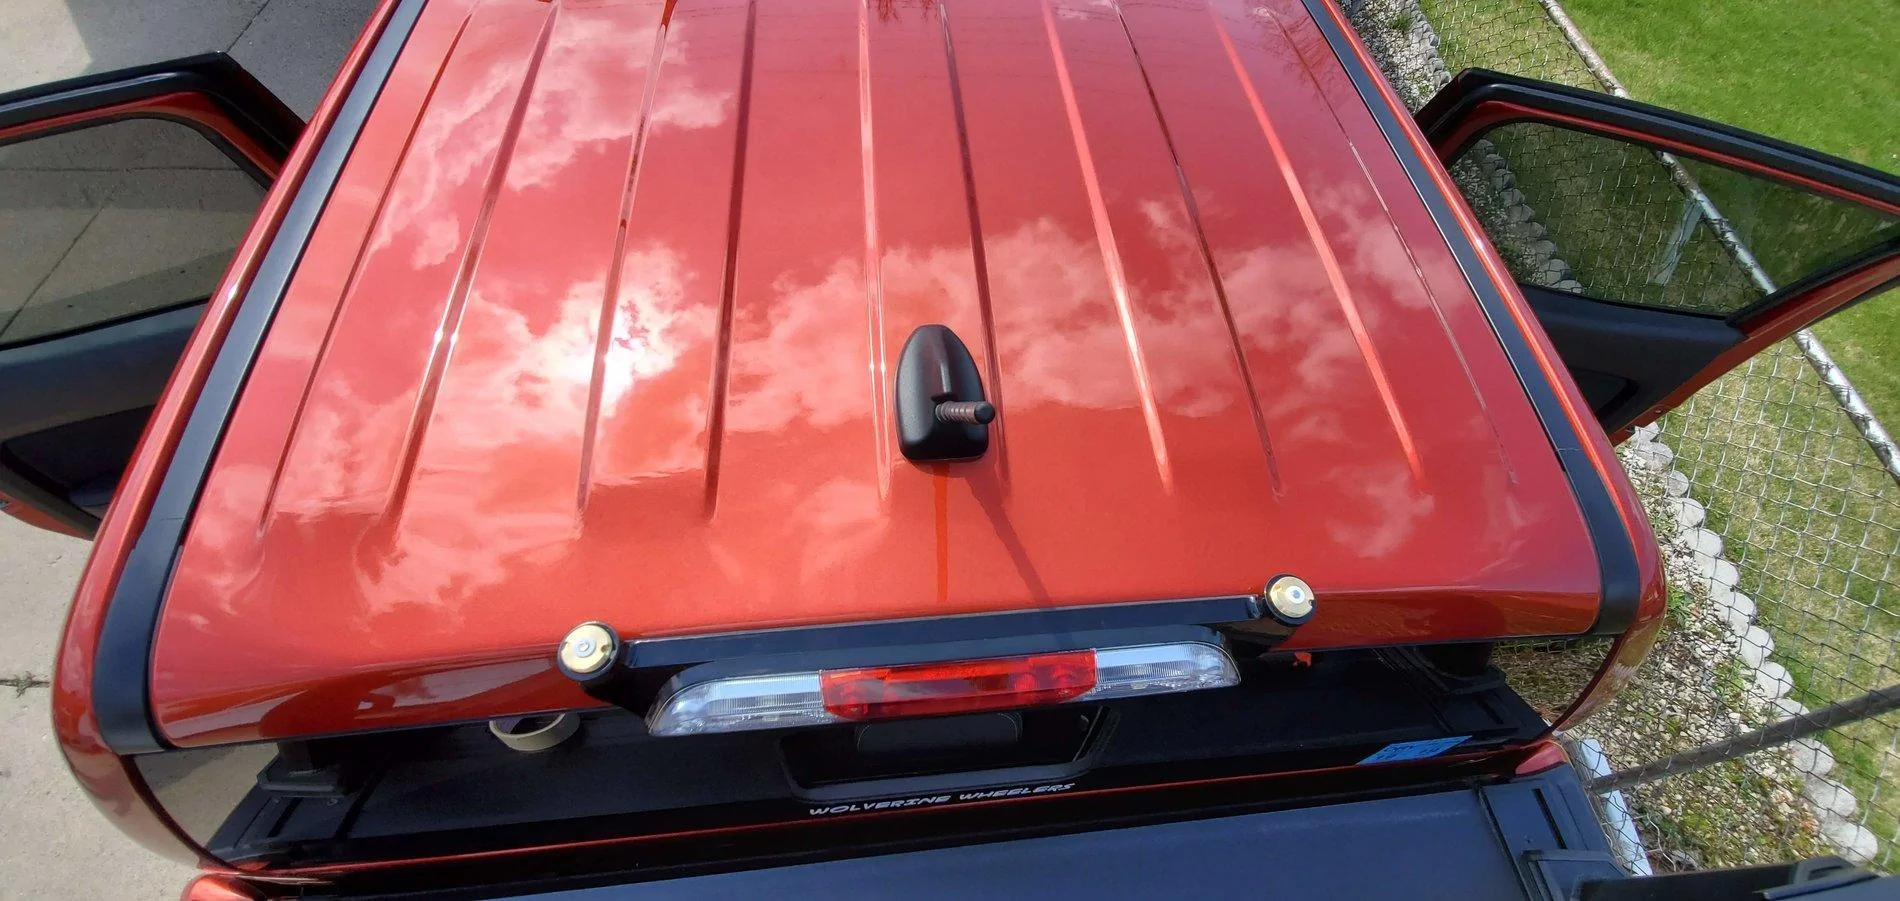
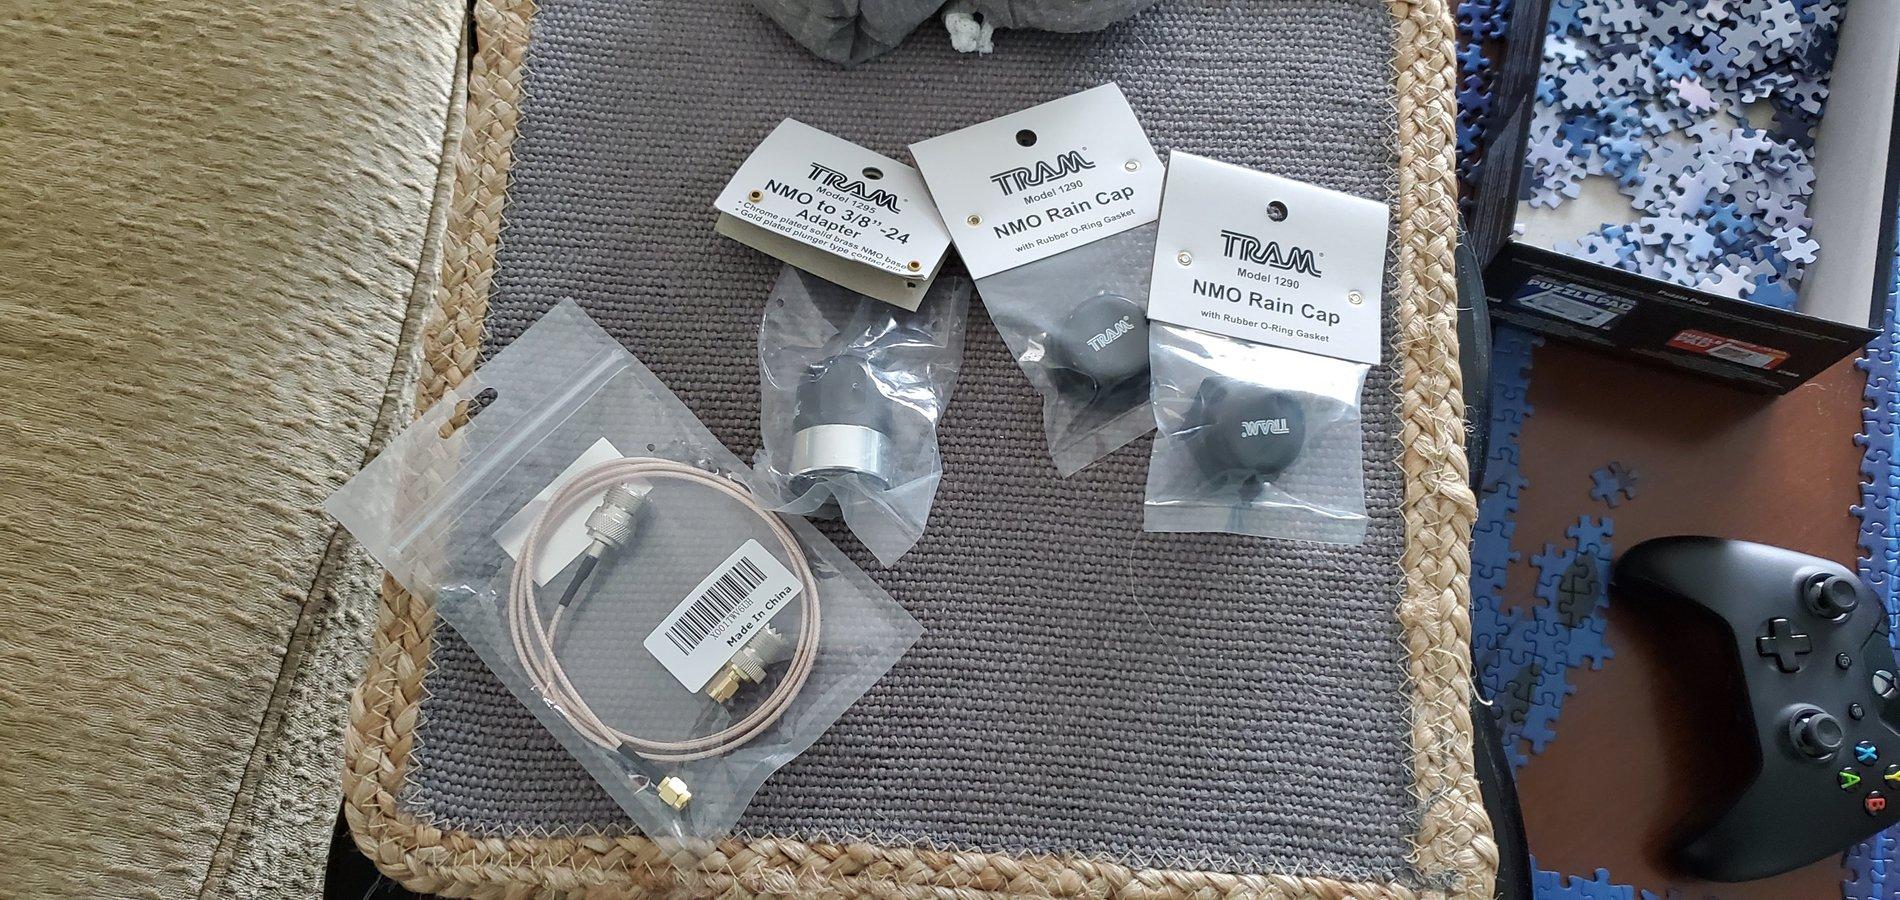
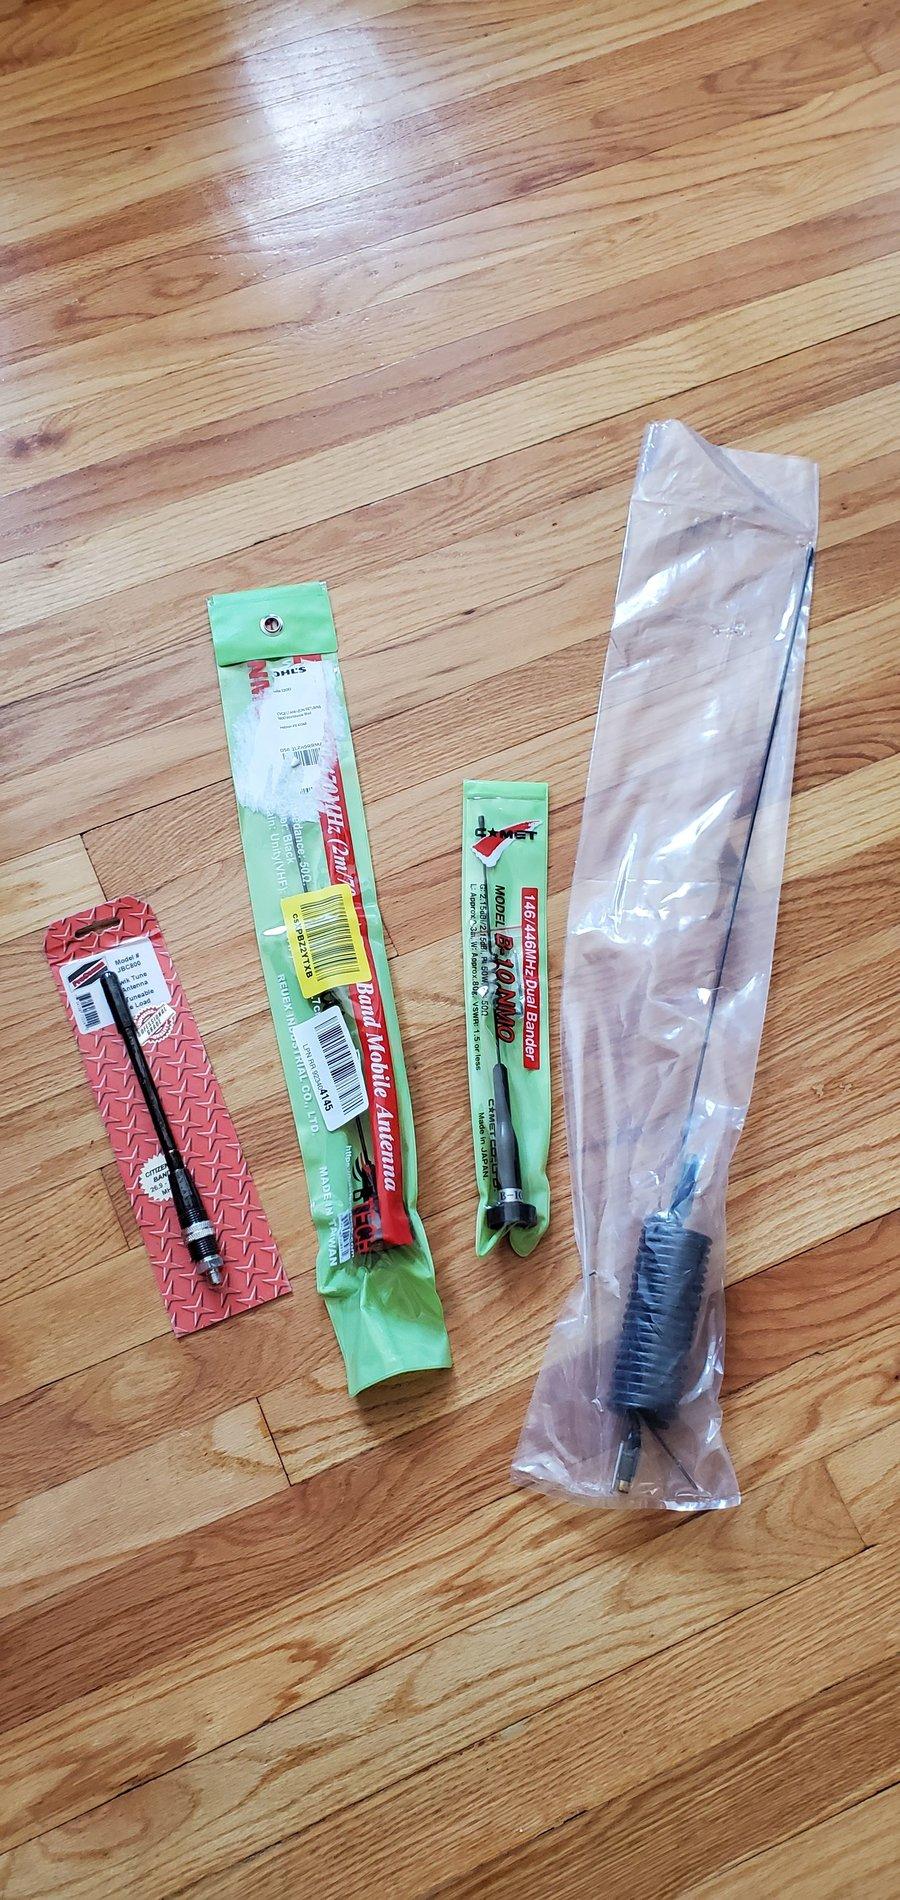
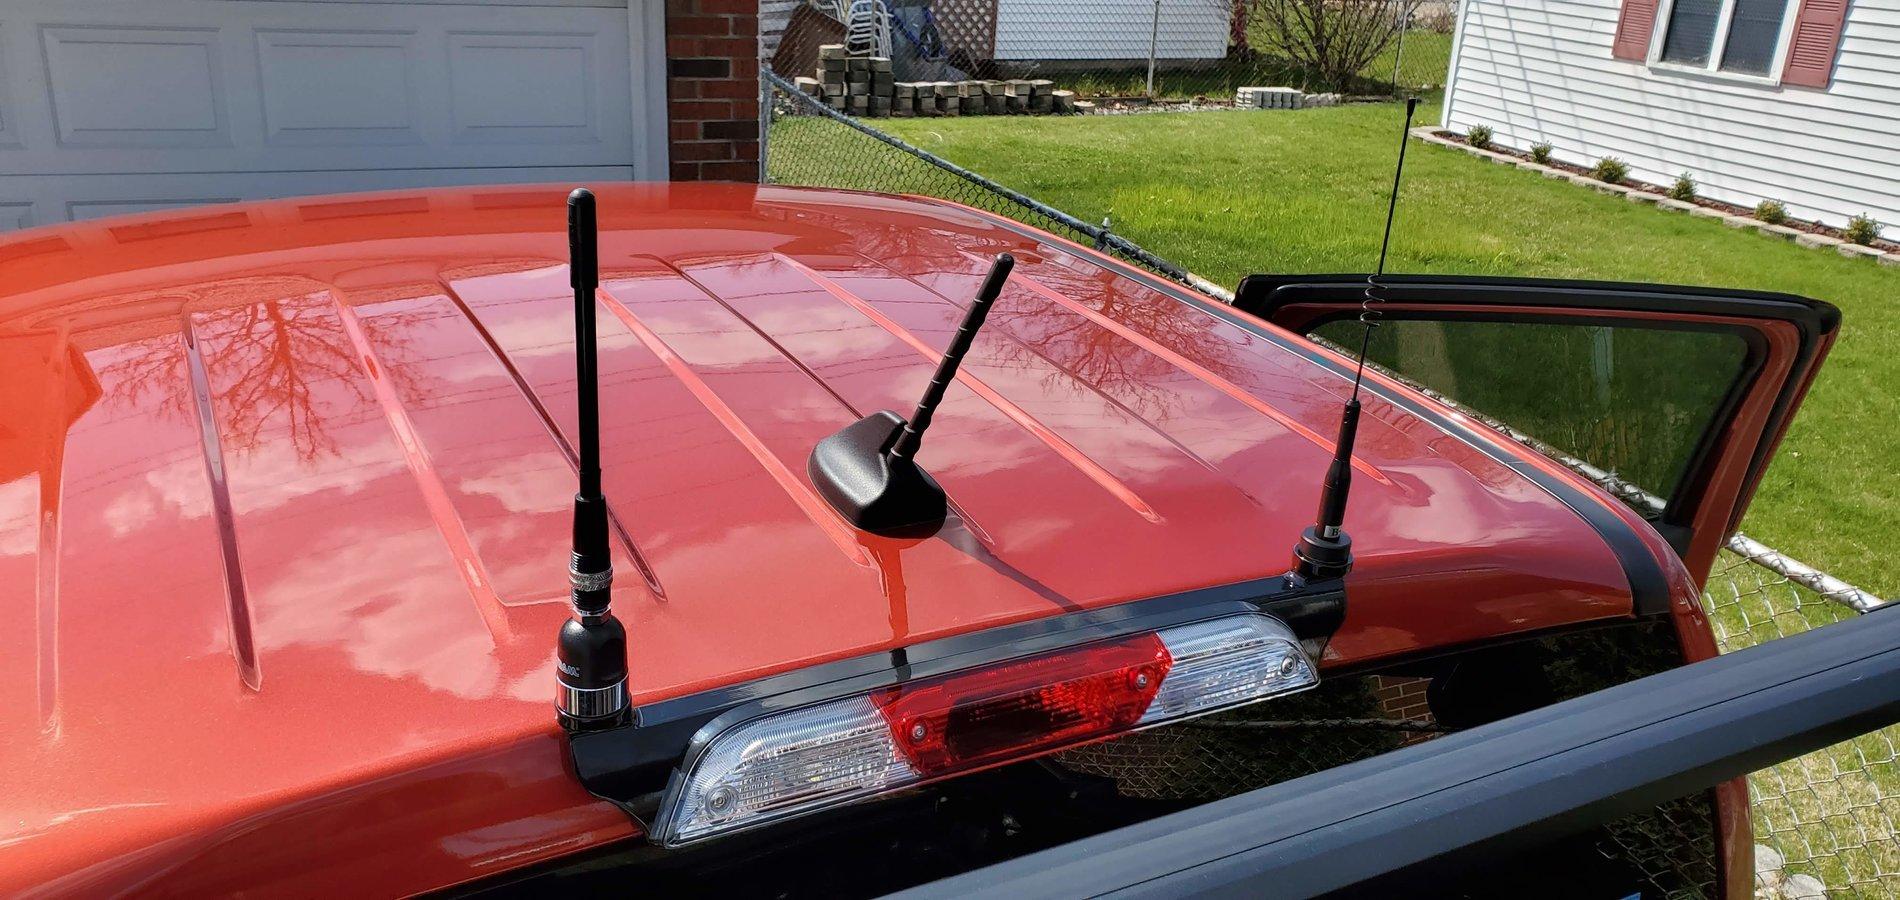
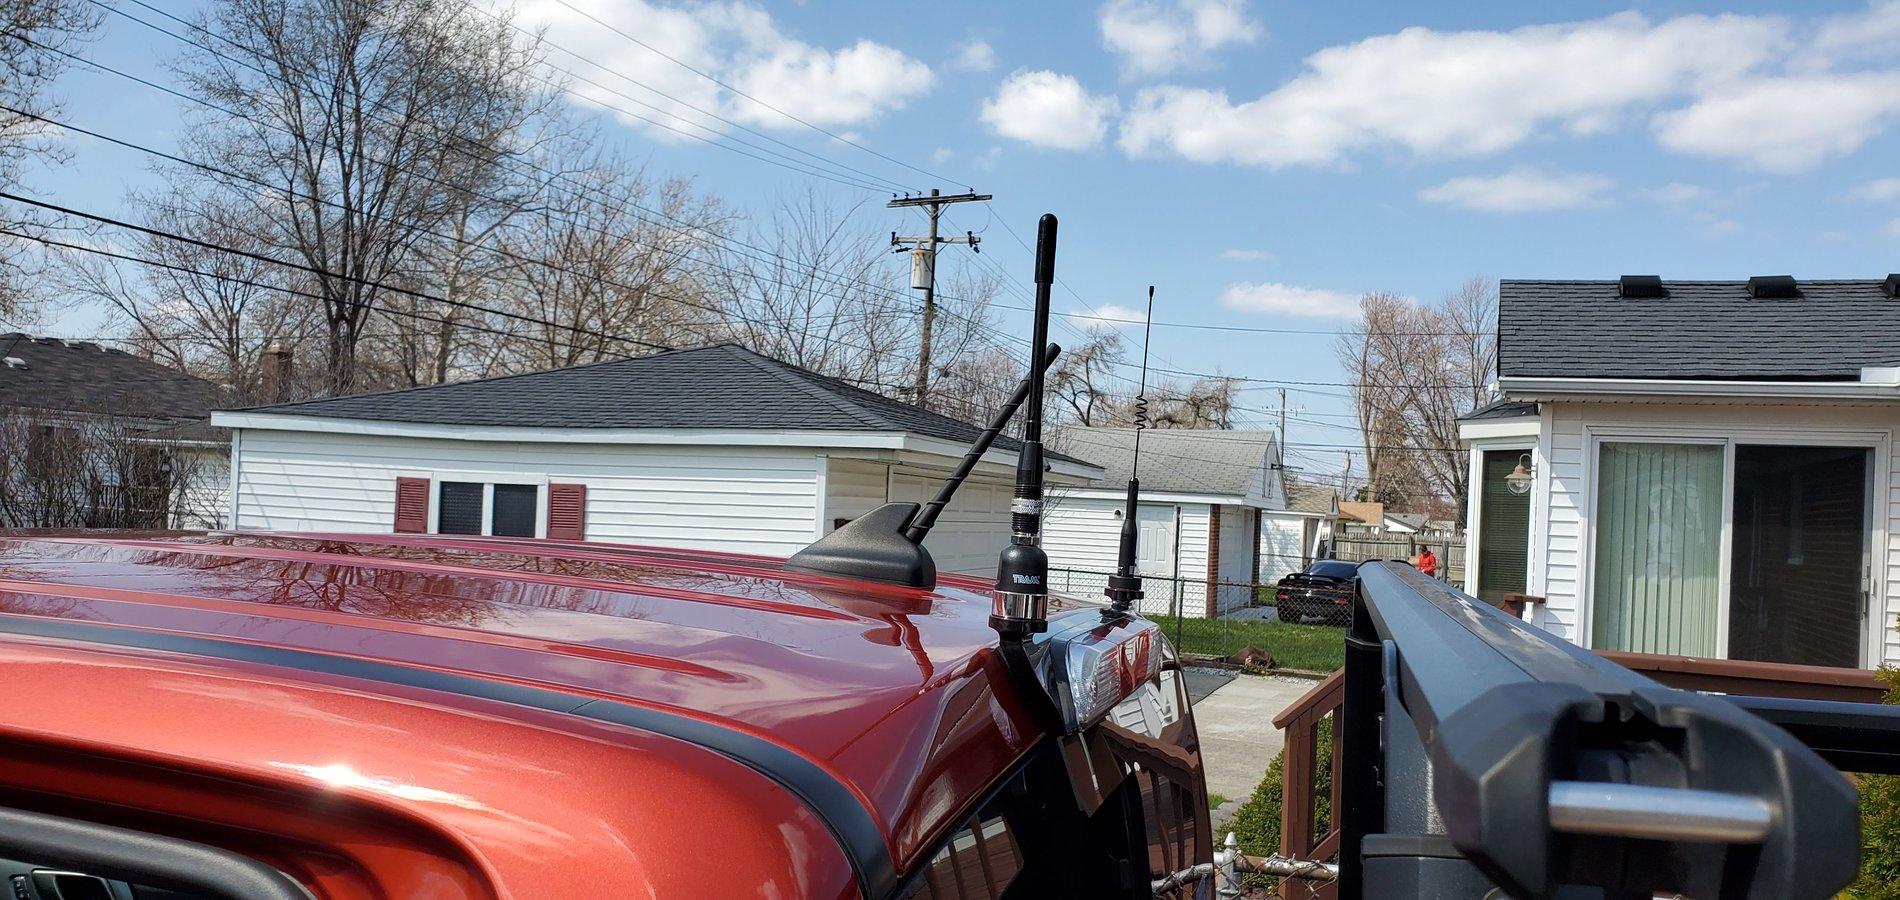
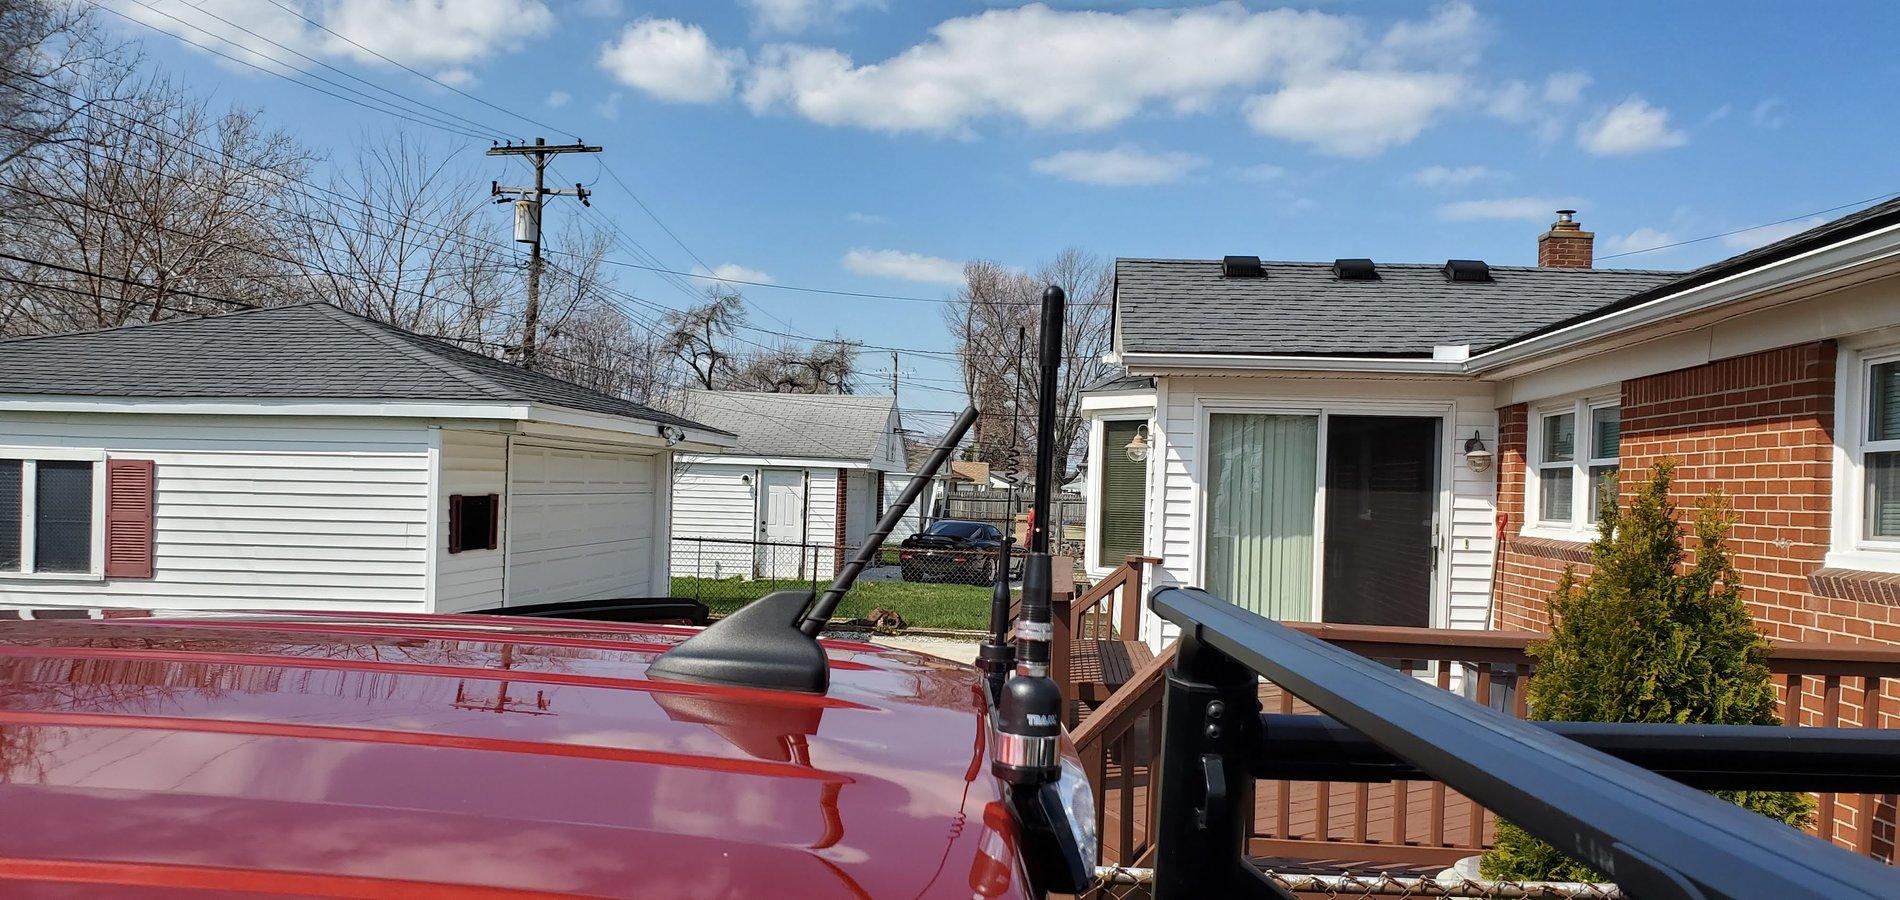
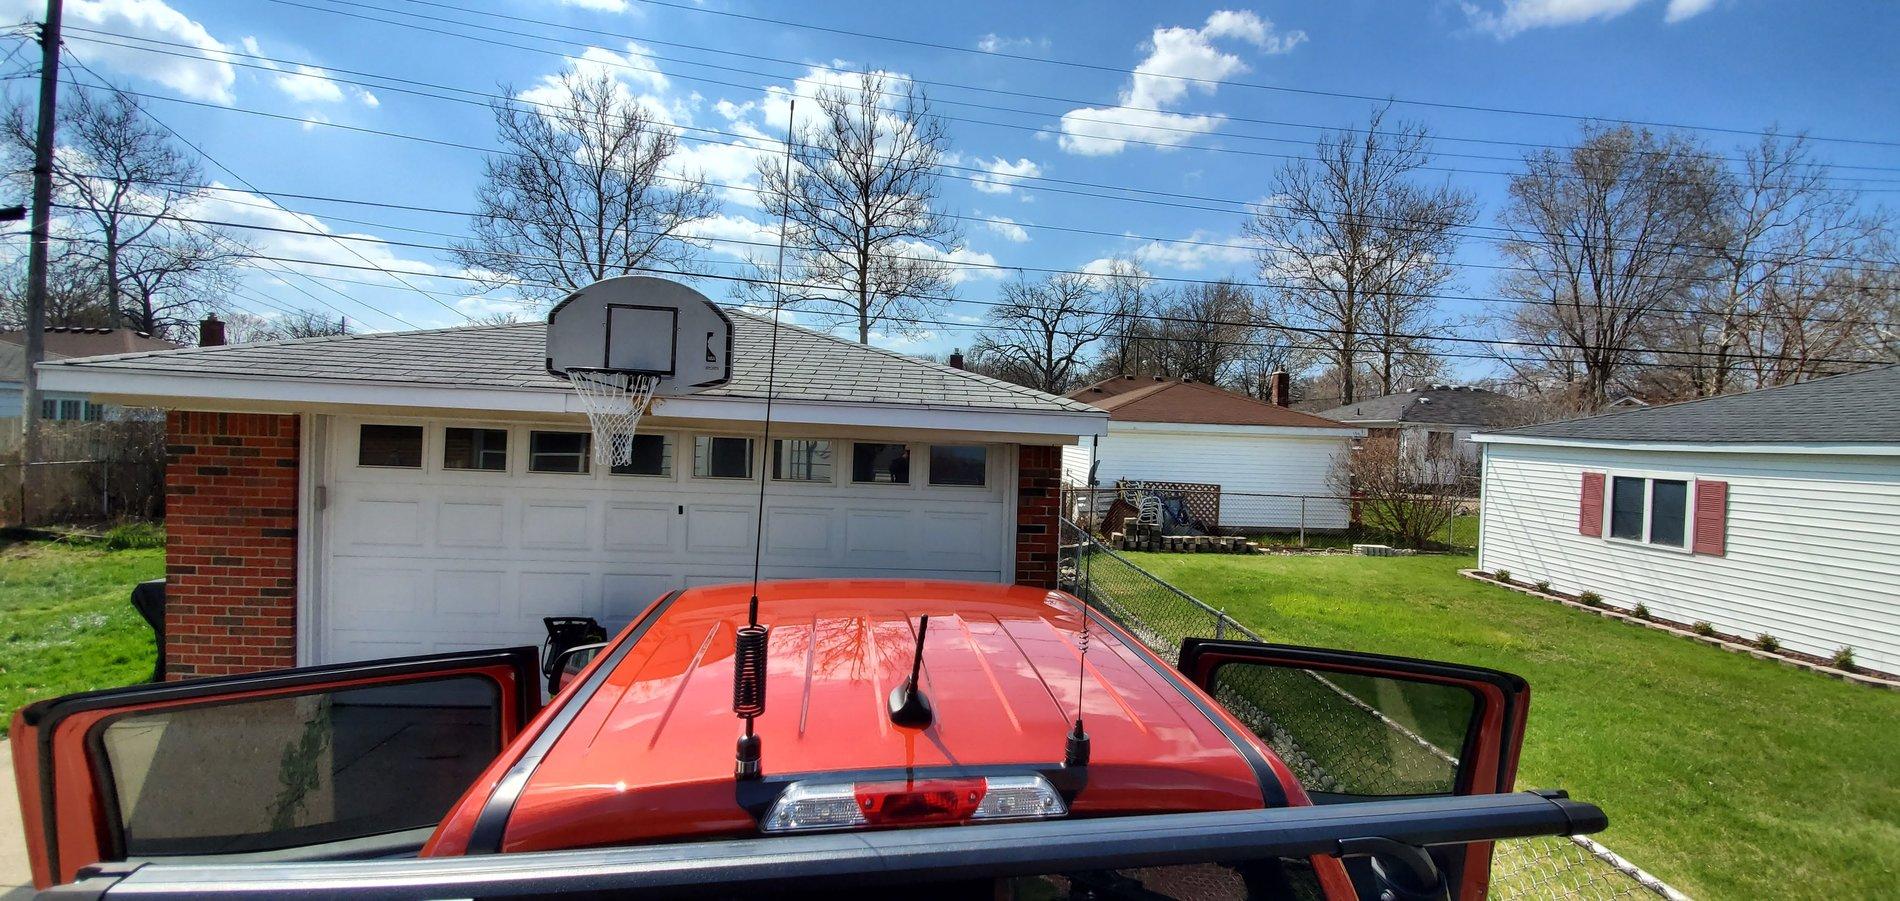
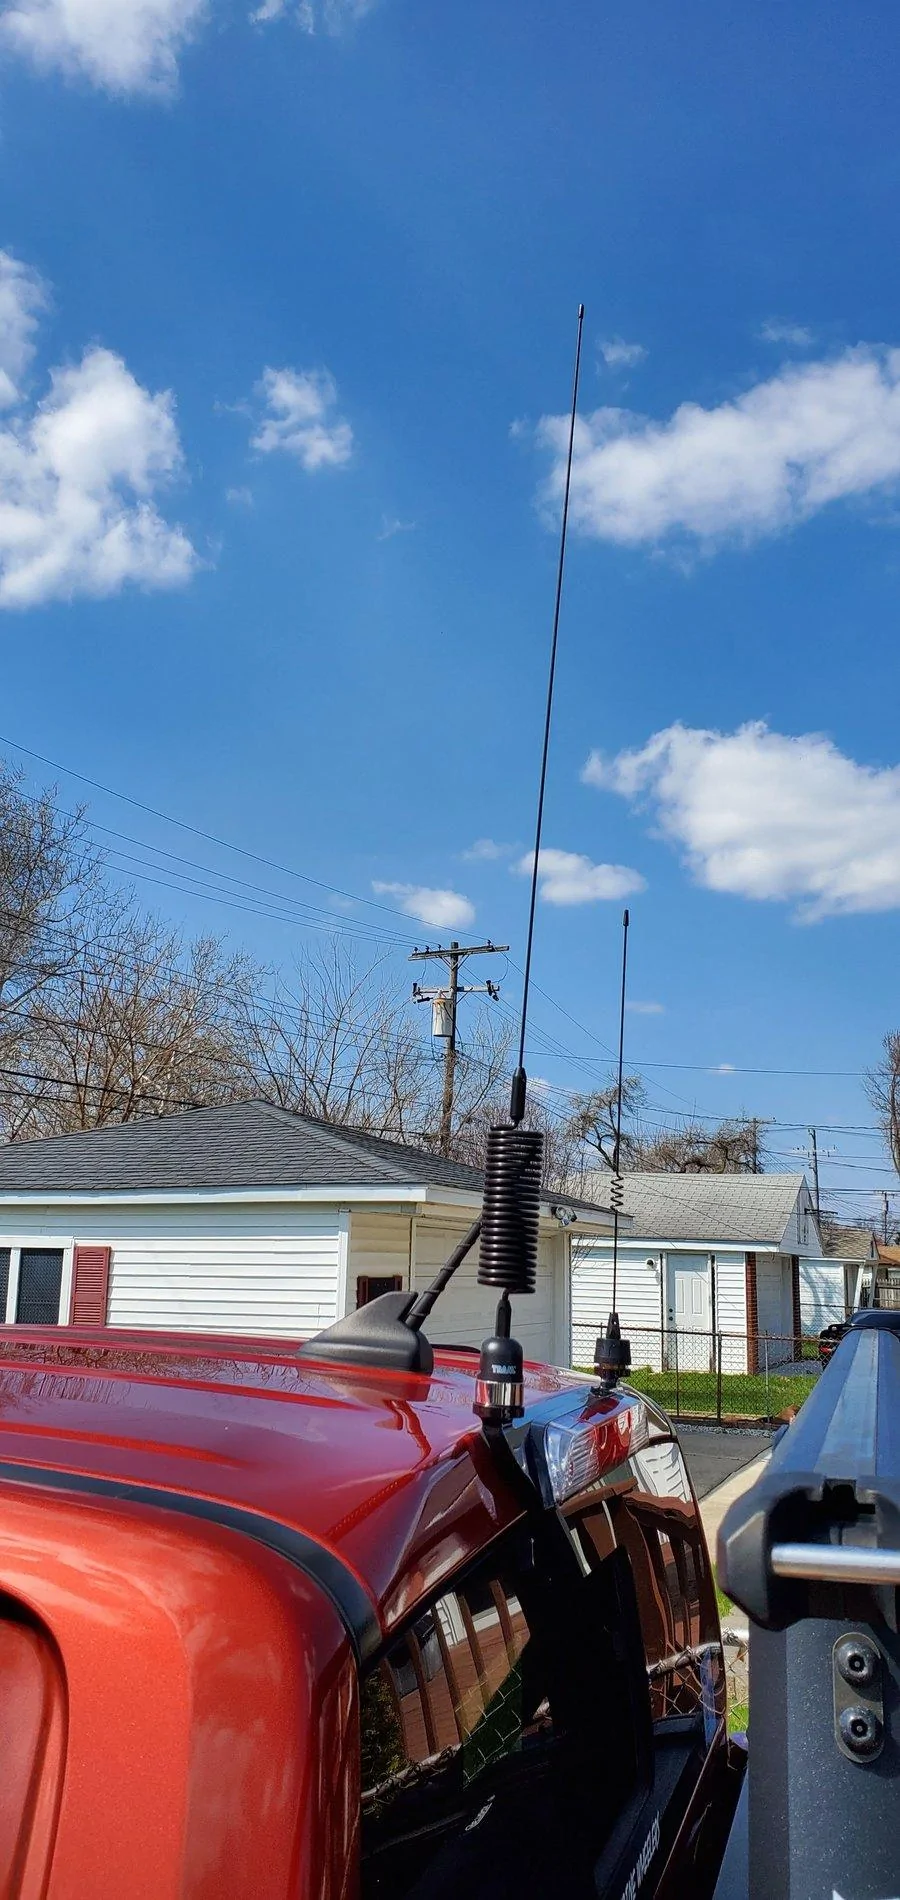
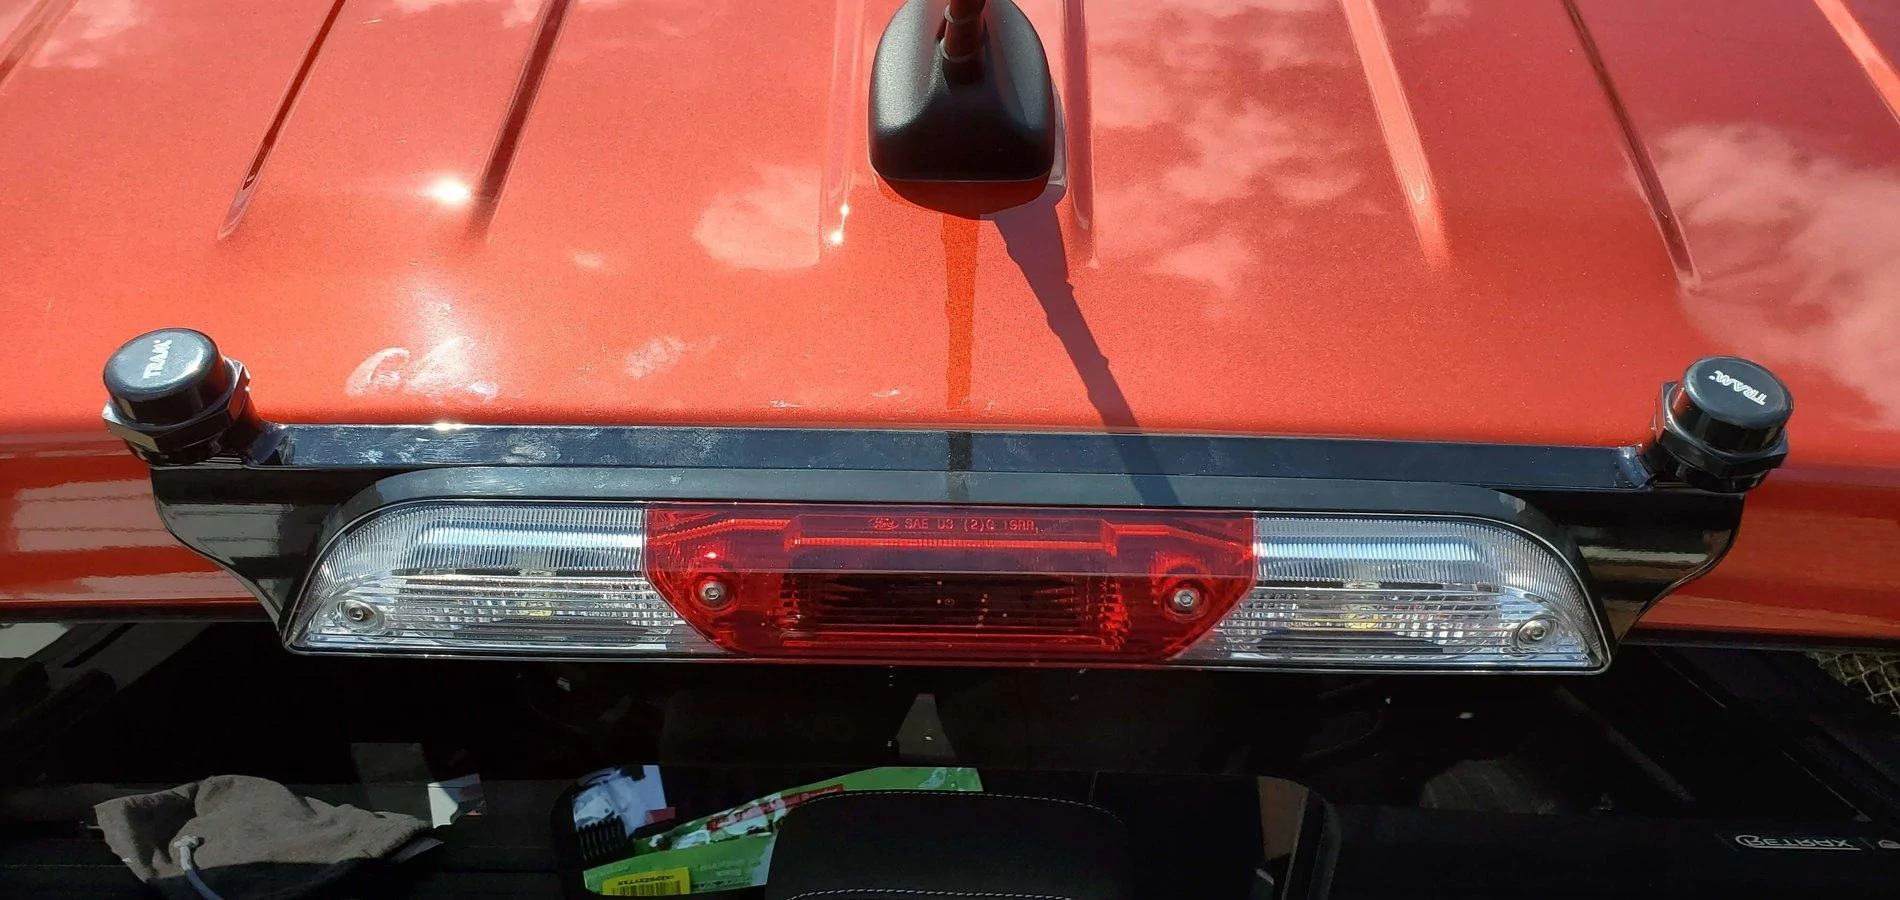
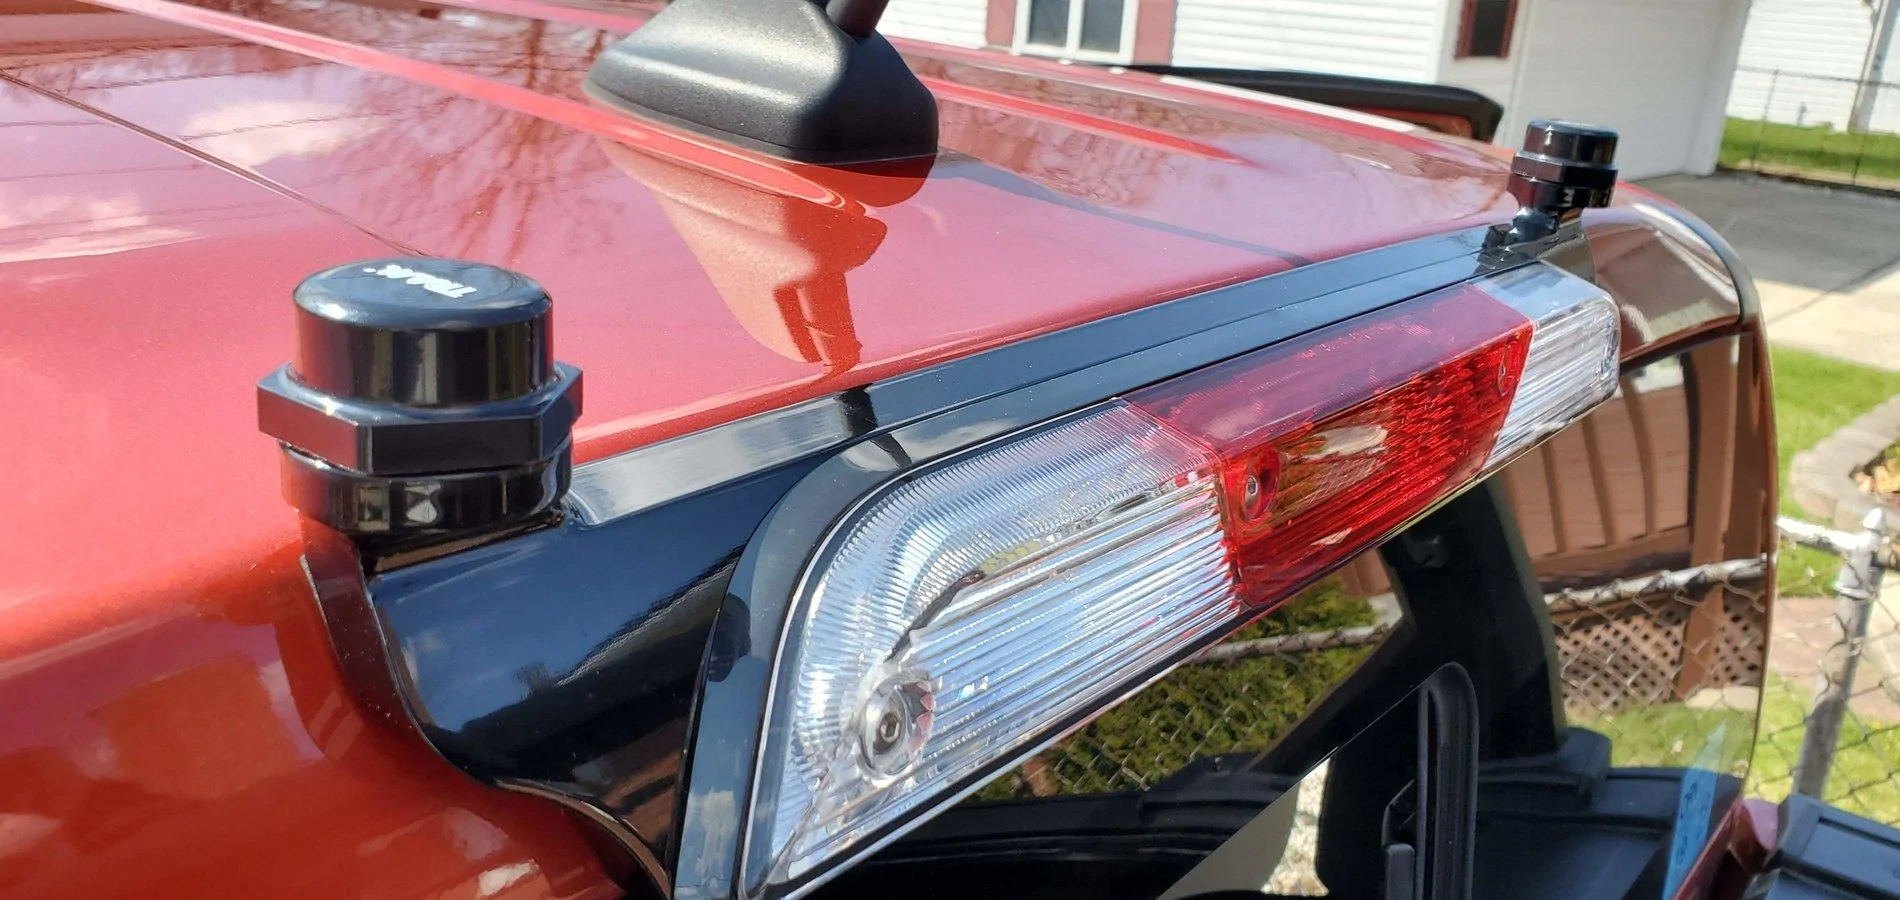
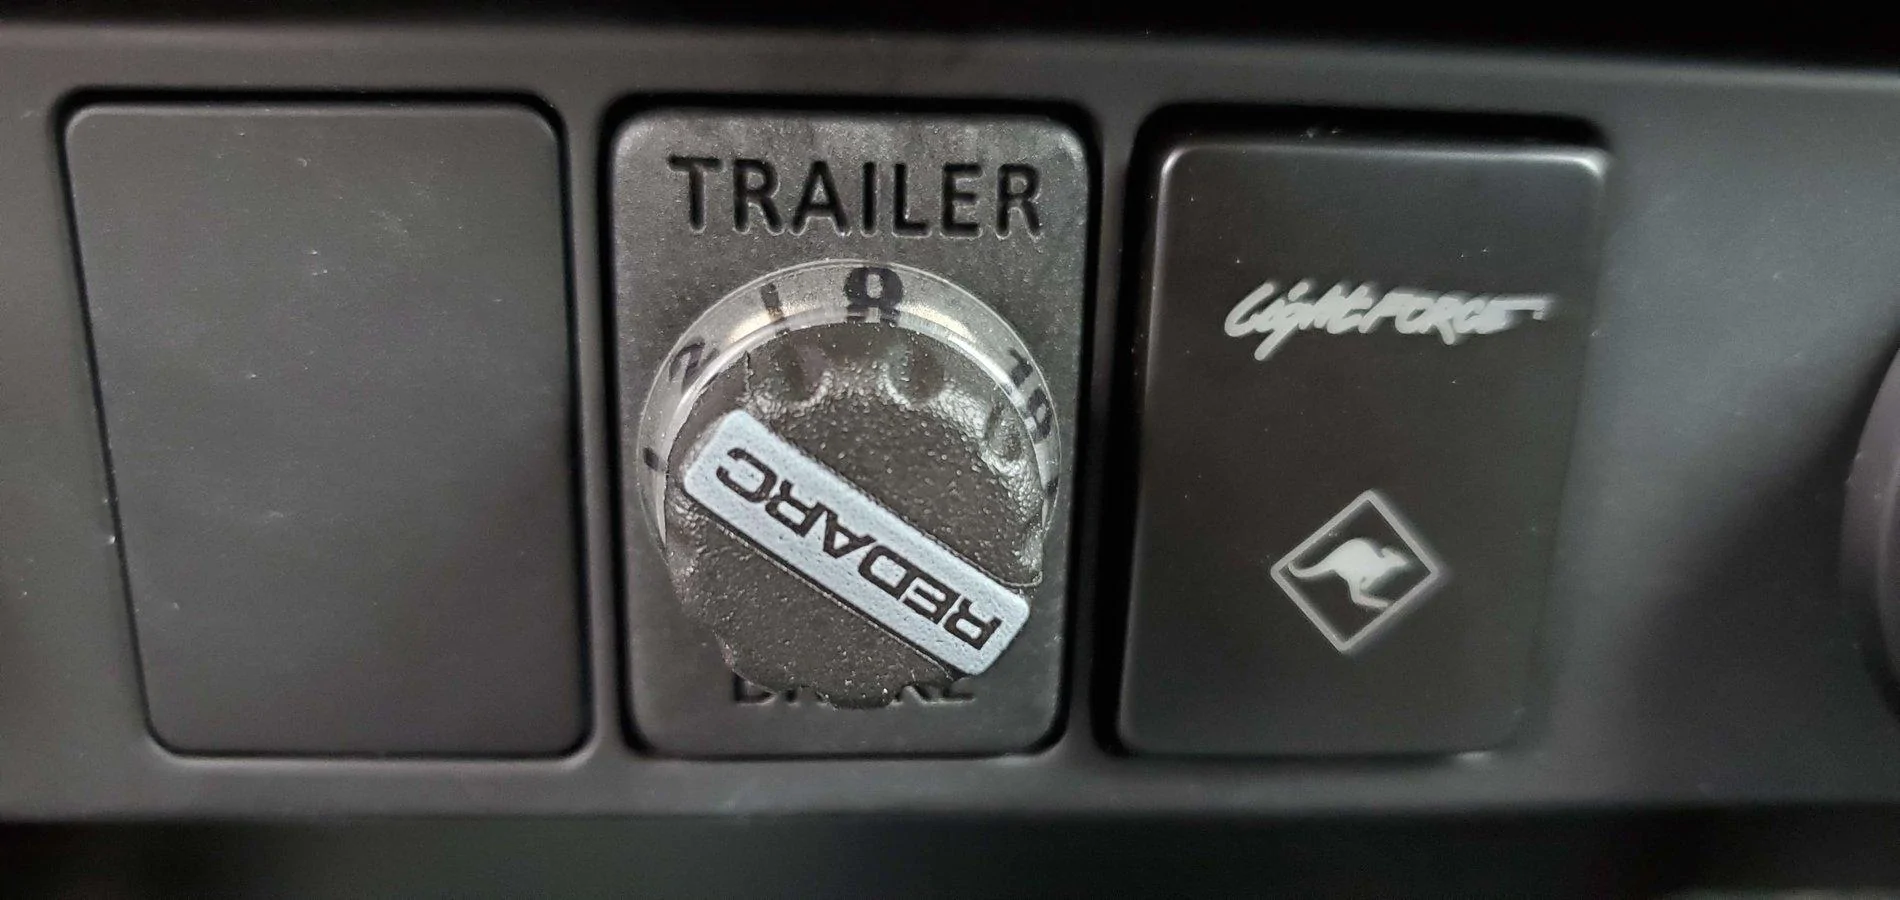
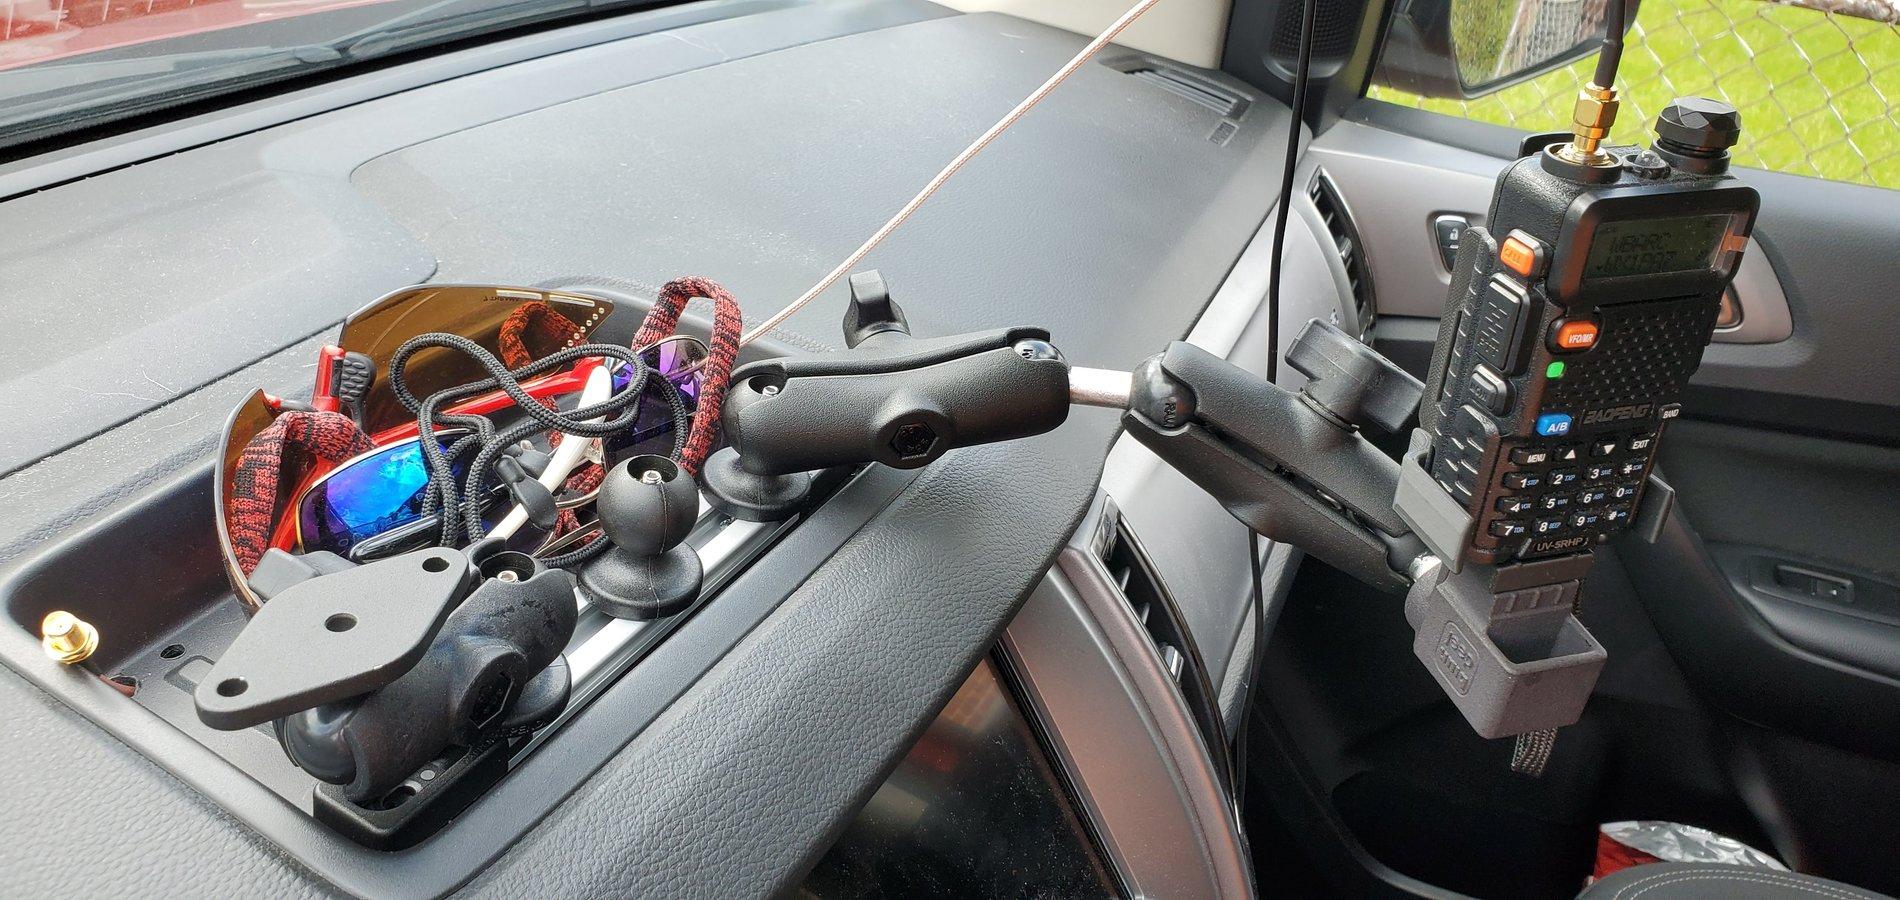
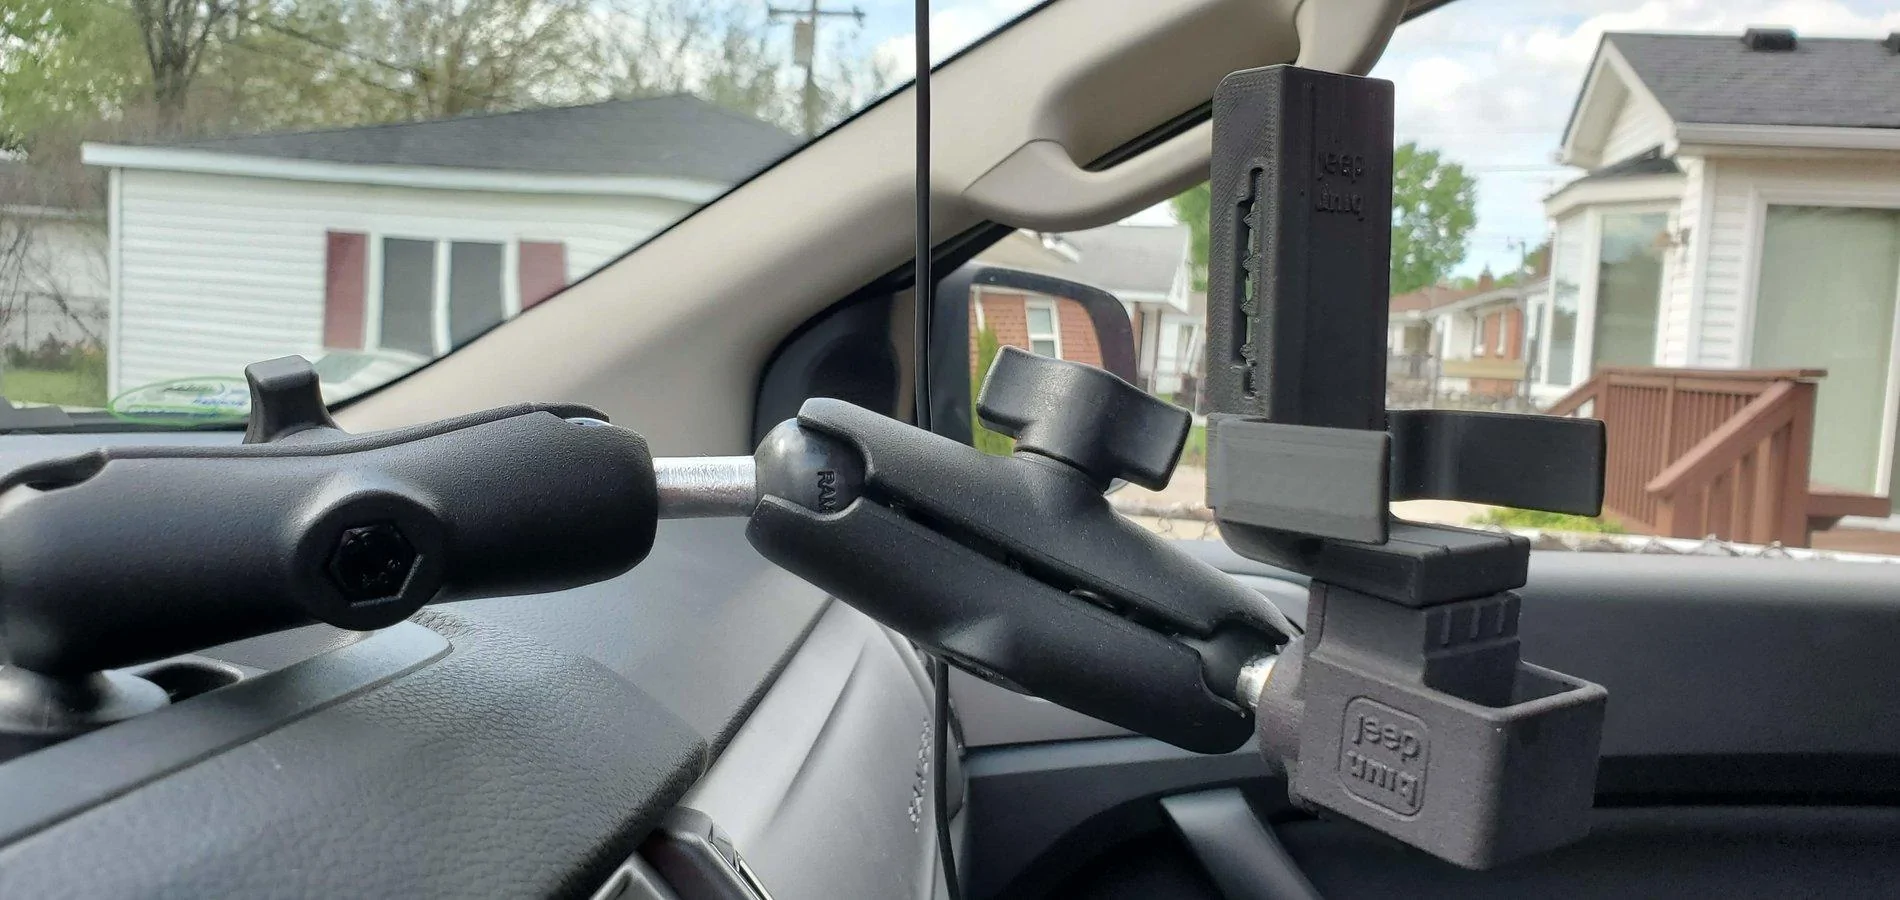
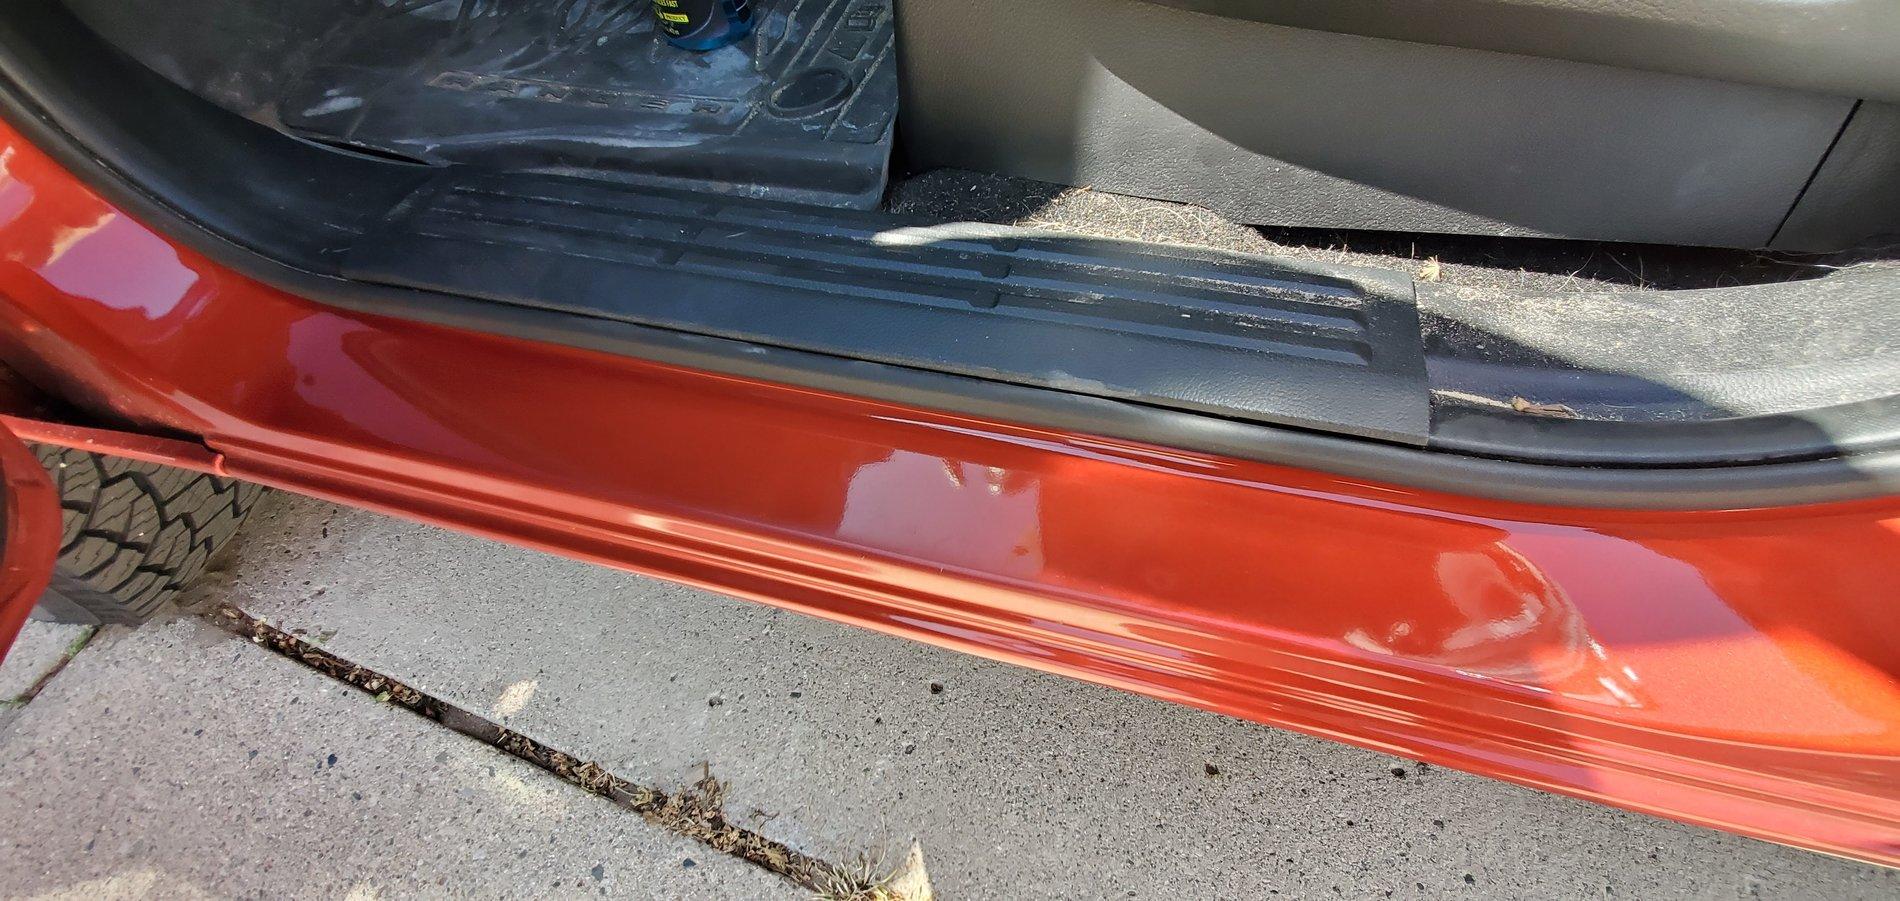
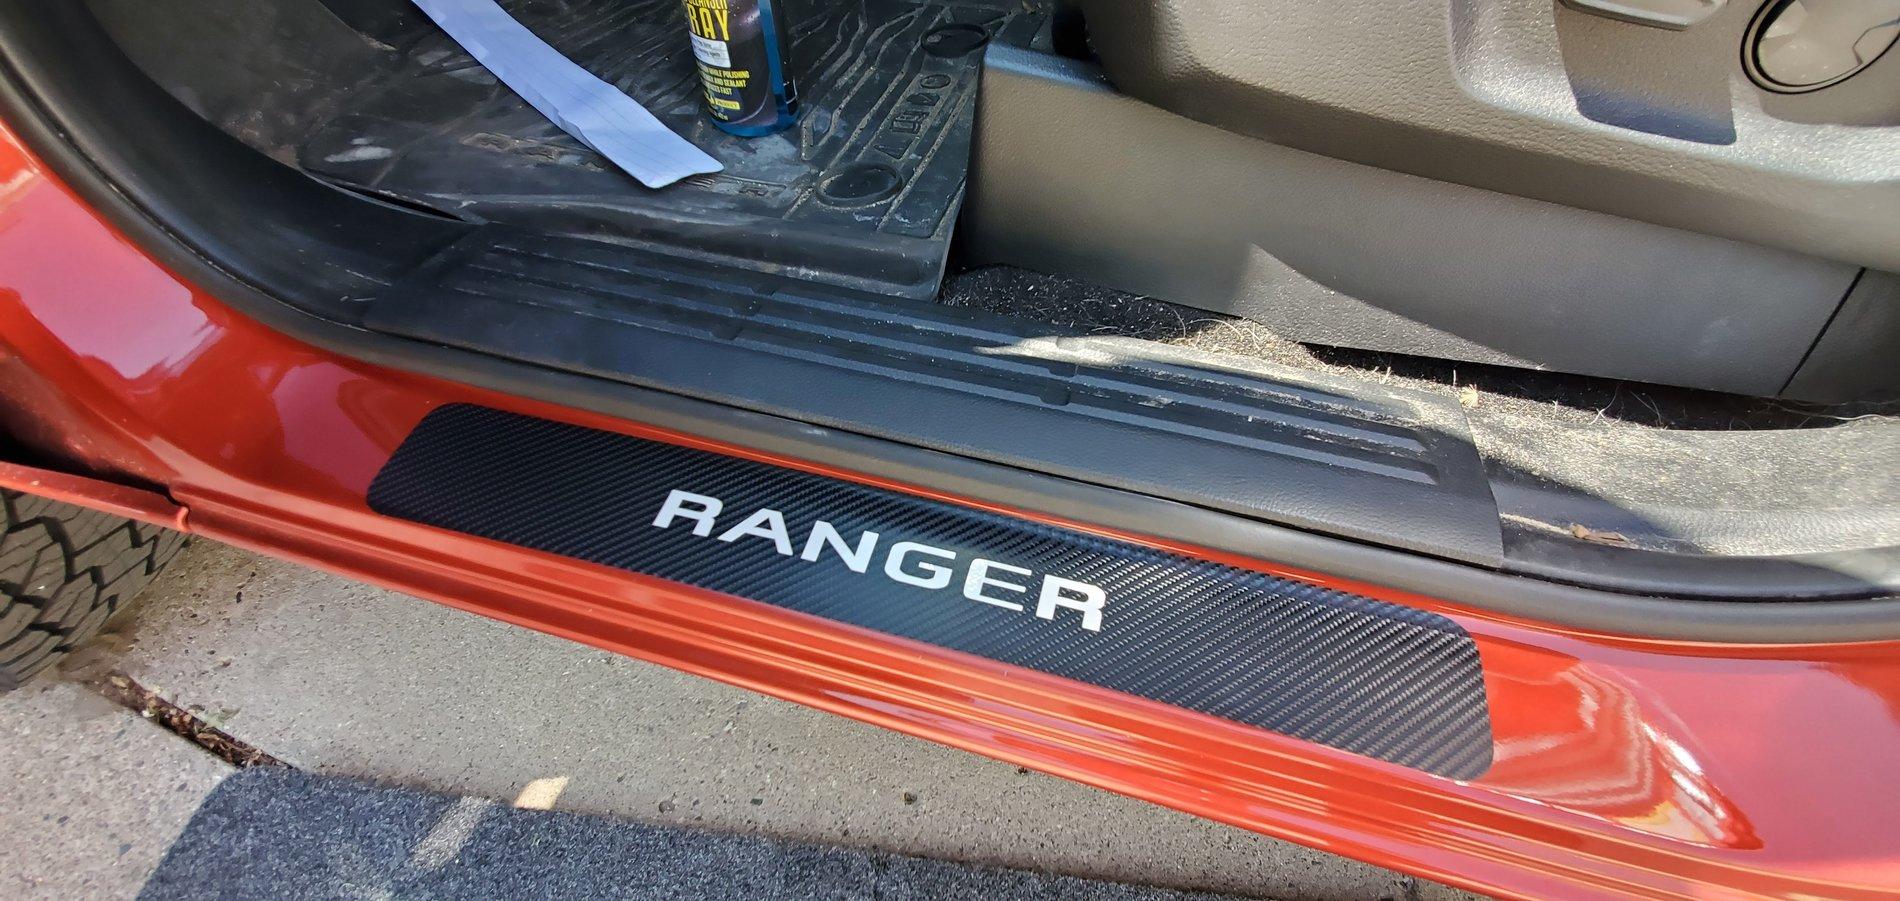
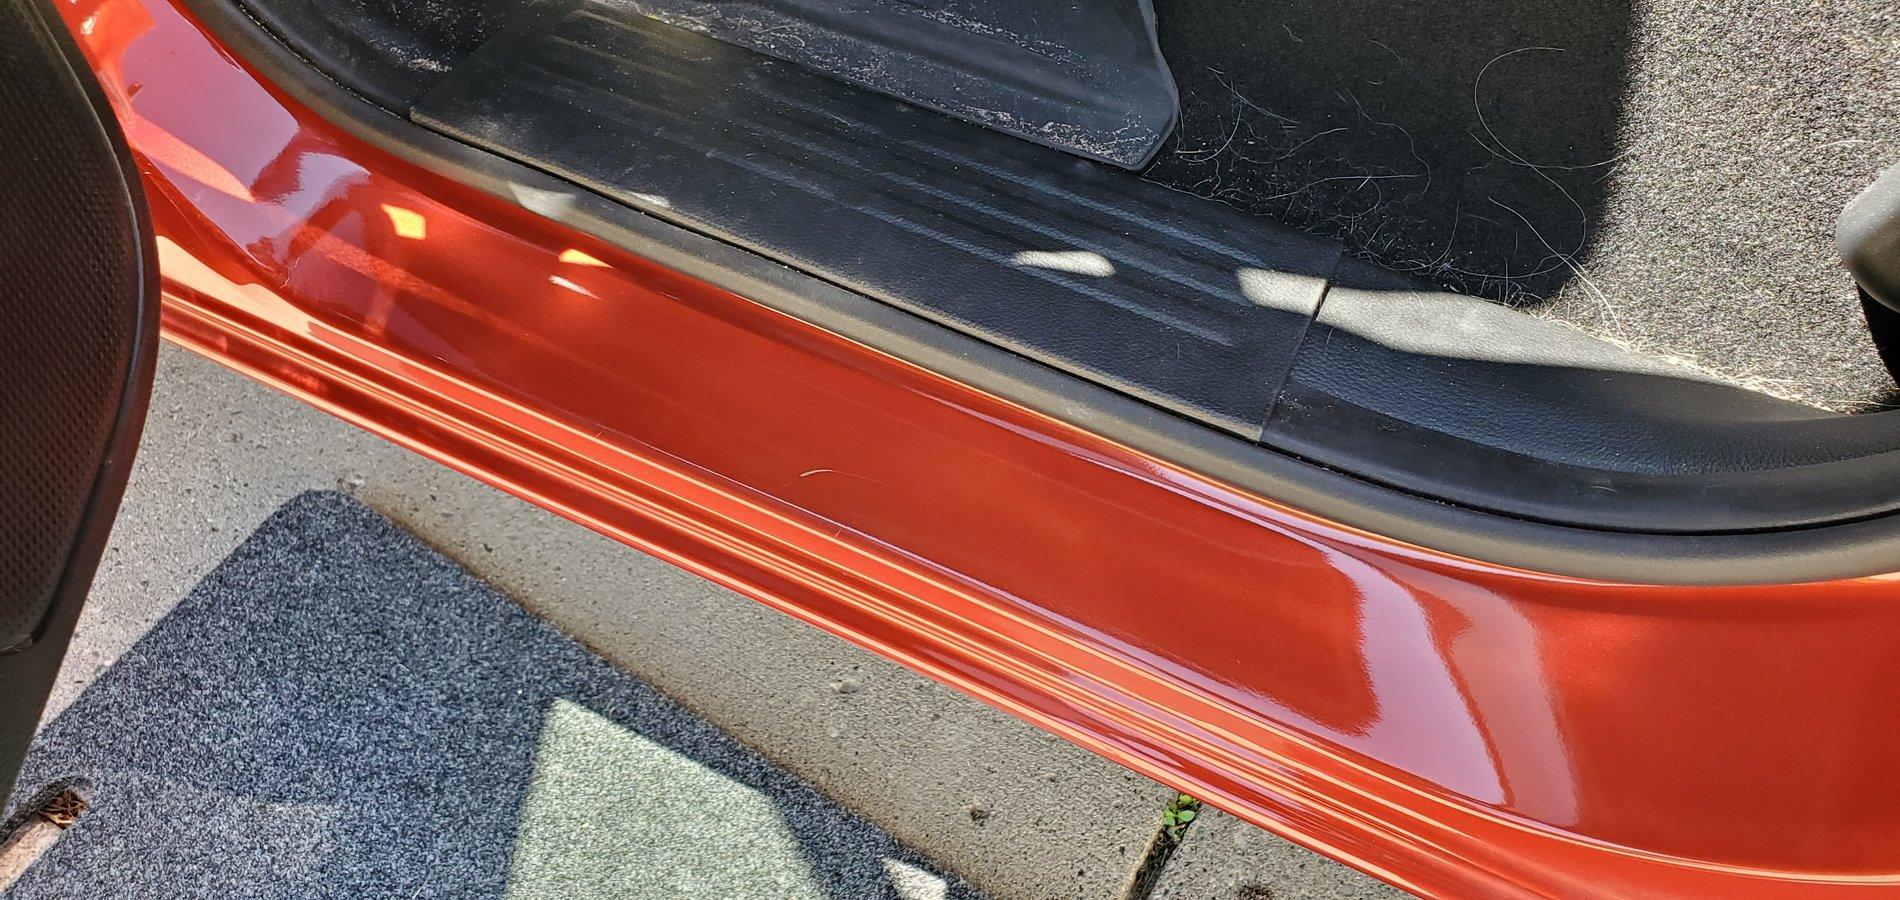
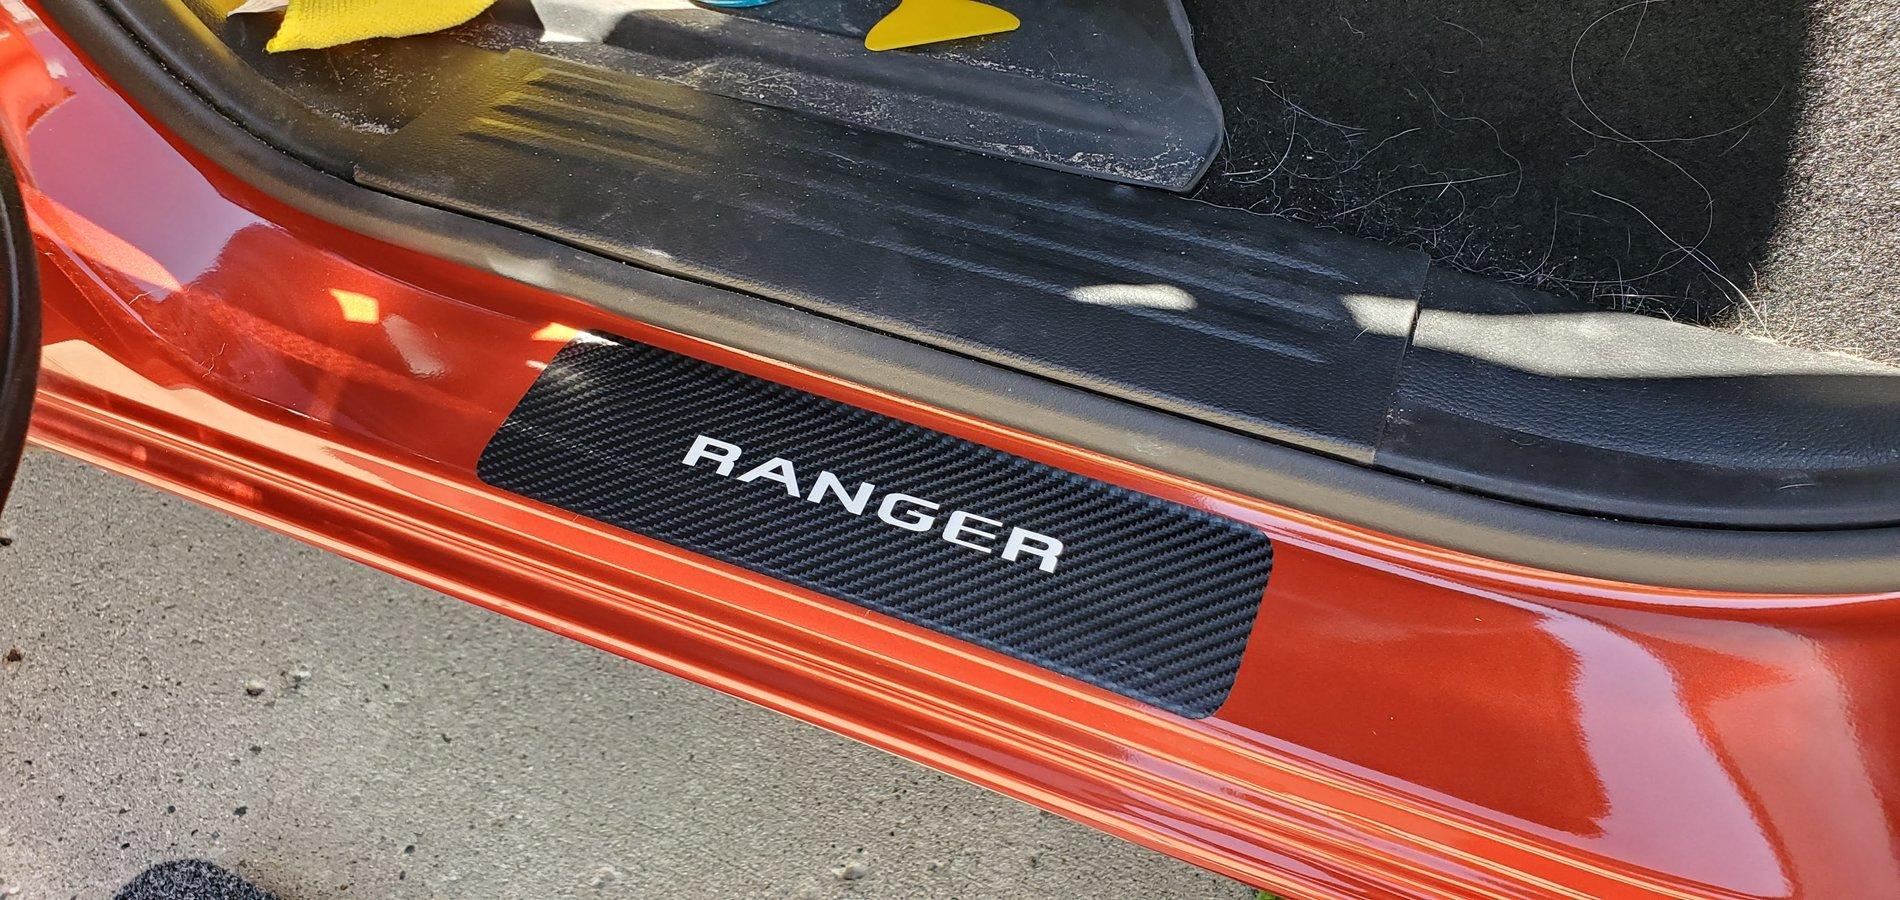
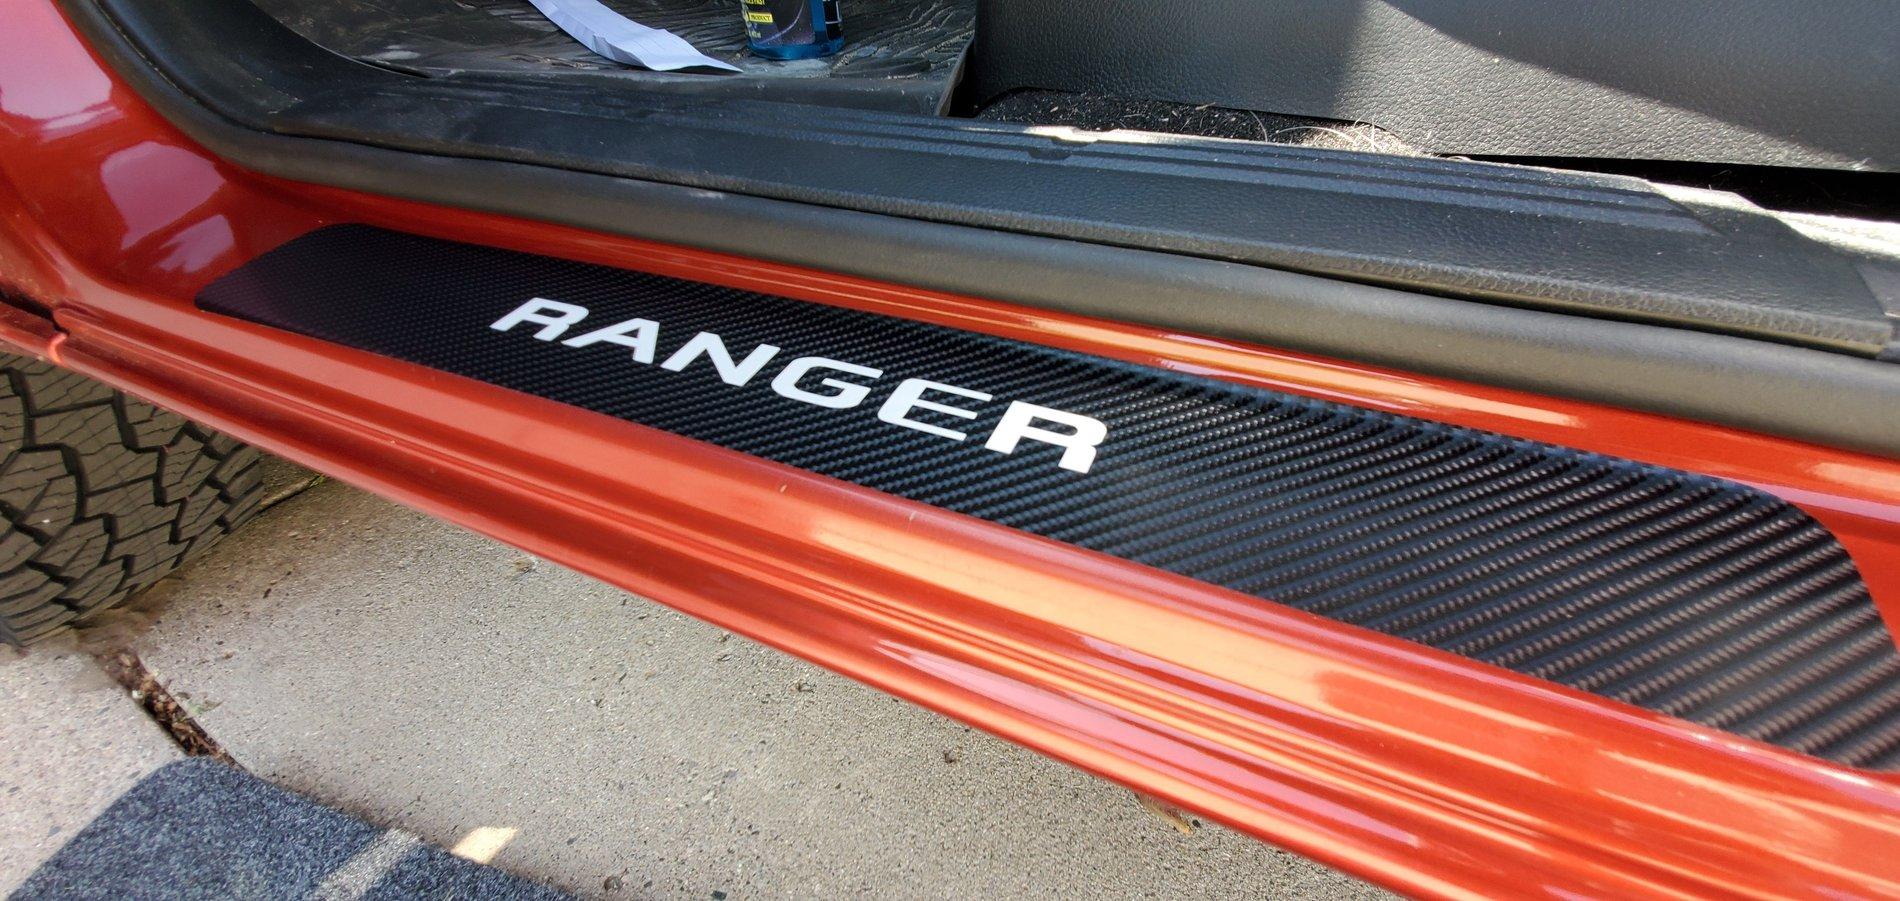
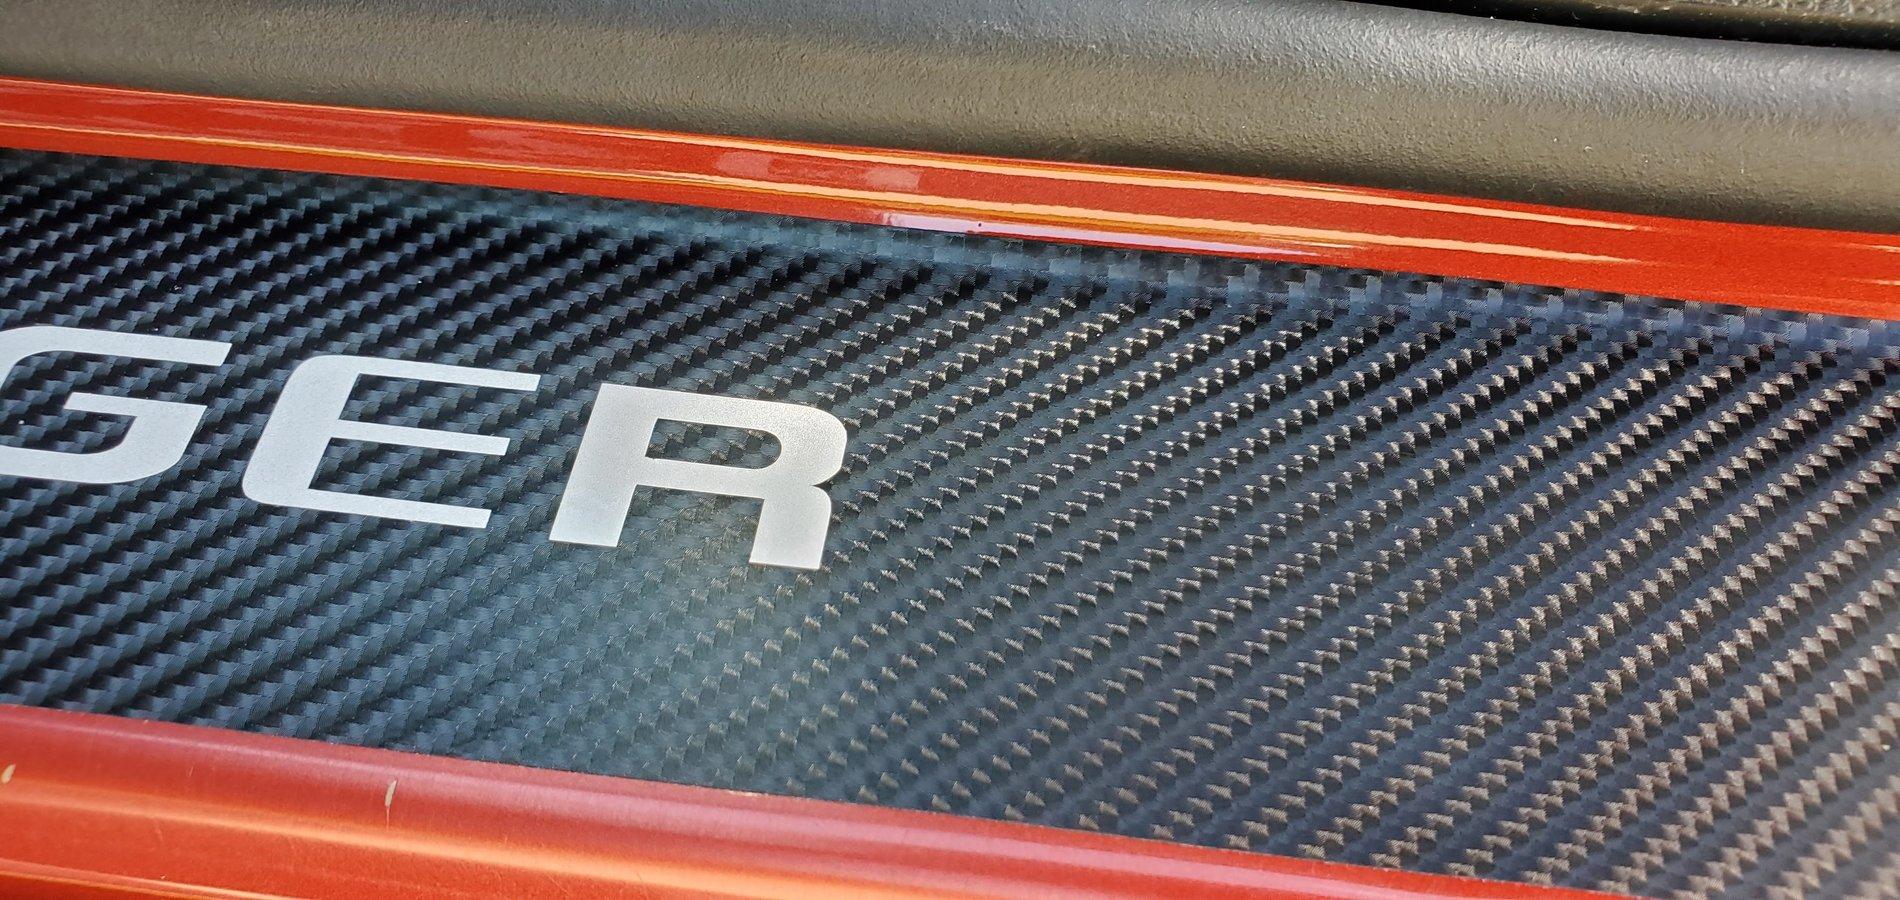
Also, I have some other misc. part around that will be installed soon, including some door sill guards, Trailer Brake Controller, light force switch fascia, CB radio, mounts for CB and Ham radio, CHMSL antenna mount and associated cables! So stay tuned! Lots more to come!
Sponsored


PatrickM

Well-Known Member
First Name
Patrick
Joined
Jan 13, 2019
Threads
14
Messages
276
Reaction score
541
Location
Sin City
Website
www.pmiyoshiphoto.com
Vehicle(s)
Subaru Outback16, Ford Ranger 11
Occupation
ā­ tender
Vehicle Showcase
1
Ranger got to have some more fun this weekend! And the maiden voyage for the VersaBoard and the Jaylow mounts on the truck! The wife and I went out to a few local lakes in SE Michigan for some sunny fun on Sunday! The water was still a bit cold, but it was a beautiful spring Michigan day overall! Here's a few shots from the day and my wife enjoying the water a bit!

DJI_0157.jpg

DJI_0114.jpg

DJI_0110.jpg

DJI_0106.jpg

Anyways, here's the full setup on the Ranger now as well! We used the Overhaul HD and HD Bars, as well as the Short Bed SideBars attached to the RetraxOne XR Bed Cover. From there, we mounted the Yakima JayLow Kayak mount to hold my wife's VersaBoard (A hybrid SUP/Kayak ~56lbs). We also used the Yakima TopGrip on the SideBars to hold the paddle on the side of the rack! Here's the setup without the VersaBoard on it!

20190505_102311.jpg

20190505_102300.jpg

20190505_102253.jpg

20190505_102246.jpg

20190505_102241.jpg


And here's the setup with the VersaBoard mounted!

20190505_110601.jpg

20190505_110546.jpg

20190505_110612.jpg

20190505_110618.jpg

20190505_124327.jpg

20190505_124345.jpg


The setup worked very well and was completely secured with no issues! Even with a little bit of a cross wind on the expressway at 75 MPH, truck tracked very straight and smooth, and MPG was still great! Didn't lose a bit! Only thing I really noticed was that the strap that I ran from the front of the VersaBoard to front tow hook, I ran diagnoal to the passenger side hook with the board mounted on teh driver's side, and the lane keep assist was struggling a little with finding the right side of the lanes, as I realized the strap was crossing right in front of the camera, but no big deal! And it still worked most of the time, but definietly had to make sure not to rely on that for this drive with the strap mounted the way I had it! Other than that, I highly recommend this setup!
When I strap down I use this guy to go under the hood, this will prevent the strap from damaging the paint on the hood! And itā€™ll be out of the way of your view!
https://www.etrailer.com/Accessorie...NC0YZDvhT0FHa-4_8WJF6IzudedrT6rxoCOYYQAvD_BwE
These guys have overpriced, I got mine at REI for half the price. Donā€™t mind the photo of my outback, lol couldnā€™t find an image of the ranger example!! Nice ride btw
723BD8C2-F255-4DF2-A90E-0EE66418EF04.jpeg
19390101-EABB-4D74-BEEE-8F58257B09C7.jpeg
 
OP
OP
WxNerd2015

WxNerd2015

Well-Known Member
First Name
Trevor
Joined
Oct 17, 2018
Threads
9
Messages
296
Reaction score
1,032
Location
Gregory, Michigan
Vehicle(s)
2019 Ranger, 2011 Wrangler, 2017 Escape
Occupation
Applications Engineer
Vehicle Showcase
1
When I strap down I use this guy to go under the hood, this will prevent the strap from damaging the paint on the hood! And itā€™ll be out of the way of your view!
https://www.etrailer.com/Accessorie...NC0YZDvhT0FHa-4_8WJF6IzudedrT6rxoCOYYQAvD_BwE
These guys have overpriced, I got mine at REI for half the price. Donā€™t mind the photo of my outback, lol couldnā€™t find an image of the ranger example!! Nice ride btw
723BD8C2-F255-4DF2-A90E-0EE66418EF04.jpeg
19390101-EABB-4D74-BEEE-8F58257B09C7.jpeg
Thanks for the tip! I will look into! So far, the setup all the way to the front tow hook has worked well for me with no issues, but I will look into it! :like: :beer:
 
OP
OP
WxNerd2015

WxNerd2015

Well-Known Member
First Name
Trevor
Joined
Oct 17, 2018
Threads
9
Messages
296
Reaction score
1,032
Location
Gregory, Michigan
Vehicle(s)
2019 Ranger, 2011 Wrangler, 2017 Escape
Occupation
Applications Engineer
Vehicle Showcase
1
OP
OP
WxNerd2015

WxNerd2015

Well-Known Member
First Name
Trevor
Joined
Oct 17, 2018
Threads
9
Messages
296
Reaction score
1,032
Location
Gregory, Michigan
Vehicle(s)
2019 Ranger, 2011 Wrangler, 2017 Escape
Occupation
Applications Engineer
Vehicle Showcase
1
I first want to preface this post by stating that I purchased this product on my own and have no affiliation with Bullet Proof Diesel, but I want to share my honest opinions and experience when installing the Third Brake Light Dual Antenna Mount.

So what we have for review today is the Third Brake Light Dual Antenna Mount from Bullet Proof Diesel. They started out with creating these mounts for the 15+ Raptor and F-150, and have now created these for most of the modern trucks today!

90201160-2T.jpg

90201160-3T.jpg


These mounts are built solid. I believe they are machined out of solid steel, but they provide some great strength for your antenna mounting needs. Additionally, these come with two separate NMO antenna mounts located at either side of side. From the mounts, there is 15 feet of low profile coax cable for each antenna. and lastly, to provide a good and safe seal to the truck, there is a thick gasket across the entire backside of the mount, and two cab supports for your antennas as well so no damage will come to your cab.

I purchased this mount for $499. I know $499 is still quite a steep price, definitely some sticker shock with it, but this was the mount that I thought looked the best, and fit my need the best. From this entire mount, that is definitely the biggest downside, as that price is a hard pill to swallow, but once you get the mount in your hands, you know you have a great mount that will last a long time!

I chose this mount as I will be needing to run both a CB Radio and a VHF/UHF Radio from my truck and I had had my eye on these for a while. Additionally, I wanted a most ideal antenna location on the the truck, without needing to drill into the body or make too many, or really any body modifications. The highest mounting location you can get in the middle of the roof of the vehicle, and this is about the closest I can get, short of using a magnet mount, and I wanted more permanent than that. From there, I also had to take into consideration the location of the stock antenna on the Ranger. This is located in the middle of the rear taillight, sloped back. If one were to use the single antenna mount, my concern would be the antennas being much to close together or even touching. So moving the antennas out to the side of the third brake light gives more space for each antenna to prevent interference as well. And lastly, I really do like the look of this truck in OEM fashion, so I don't want to change that too much at this time! And this mount is definitely one of the most OEM looking mounts that I can see!

So with that out of the way, on to getting the mount and a couple of struggles starting out! I will cover the installation procedure in the next post then! When I received the mount, my first two impressions were that It was very heavy (very solid), and that it was quite large. I couldn't believe that taillight was that big, but it definitely appears a bit smaller on the truck than holding it in your hands. Everything was packaged great in the box and the mount was basically ready for installation. I did however have a few failed starts with getting the mount installed though, as there is a white felt sticker over the hole where the stock taillight wiring passes into the cab. It had no play, and I could not even attempt to move the wiring at all, let alone pass a coax cable through! I was also hesitant to push too hard to move the felt or poke a hole through it, as I didn't want to damage my headliner on the other side.

20200416_165756.jpg


Not the white felt looking portion. It was actually sealed extremely tightly around that hole and held on stronger than you would think. But after some further investigation, I contacted Bullet Proof Diesel for some customer service, and they actually brought a Ranger into their facility and investigated themselves to provide me with further details and pictures from their side as to how to run through the cab! Definitely some great customer service that I really appreciated! Specifically Andrew from Bullet Proof Diesel for the helpful information!

Last thing to note is, when I purchased this mount, it was only listed for the F-150s, though the Ranger is the same taillight, and it was also verified for the Ranger, so the instructions that came with the mount, are specific to the F-150. In most of the installation, it really makes no difference, but the portion of routing the wiring through the mount and cab is where the confusion came in. SO please read the following post for my details on the Ranger installation for this mount!

20200418_153609.jpg
 
Last edited:


OP
OP
WxNerd2015

WxNerd2015

Well-Known Member
First Name
Trevor
Joined
Oct 17, 2018
Threads
9
Messages
296
Reaction score
1,032
Location
Gregory, Michigan
Vehicle(s)
2019 Ranger, 2011 Wrangler, 2017 Escape
Occupation
Applications Engineer
Vehicle Showcase
1
On to the installation now! As mentioned in the previous post, this is the Third Brake Light Dual Antenna Mount for 2019 Ford Ranger from Bullet Proof Diesel! Just to repeat a couple of things, removing the taillight itself is very simple, however I struggled with where to route the wiring through the cab, as the hole was pretty much sealed up with a piece of felt from the factory and didn't even really allow movement of the factory wiring harness, let alone getting two coax cables through! And the directions were F-150 specific that came with the mount, so all is very similar, with the exception of the wiring locations in the cab.

SO...after some work with customer service over at Bullet Proof Diesel, they were able to provide me a great explanation and some pictures as to what I needed to do, and I was able to progress from there. Here is what it looks like behind the Ranger's third brake light.

20200416_165756.jpg

20200416_165804.jpg

20200416_165816.jpg


Note that hole is covered by what appears to be some sort of felt pad! So the first step, after removing the taillight of coarse, is to start right at the side the wiring loom goes through and give it a good amount of pressure with your thumb to release this sticker from the loom and the cab. You will have to give it more force than you would think for what it is, but it will start to release and open that hole up much better! And don't worry, there is a good amount of room behind the headliner there, so using your finger, you shouldn't worry about any headliner damage! Once removed, the hole should look something like this:

20200418_144253.jpg


You can see the back of the headliner through the hole, but you, like me, might wonder what that piece of felt was for. To the best of my knowledge so far, it seems as though it was there to block light from coming into the cab from the third brake light. The third brake light is not fully sealed on the inside, so when the cab lights are on, I actually get a small light spot on the inside of the headliner now, but all it is, is the light reflecting into the cab slightly, no big deal!

Next up, is to start to run the 15 feet of coax cable through into the cab for each antenna mount that you have. In my case, two! Before you start though, I caution a few things to take into consideration, as well as a few notes! First, note where your antenna is located on the mount and where the wiring runs. This caused me to have to remove one of the cables completely and start from scratch because I did not pay close enough attention. Here is the backside of the antenna mount:

20200418_151147.jpg


In the dual mount, note how each of the cables comes through at the outside edge of the light. (For the single mount, it will come through the middle). Also note in the above picture that there are three separate holes for the third brake light. In the directions, nothing is specifically stated which holes on the outside of the cab to run the wiring through, so I just took the most direct route, as the mount was still sitting on the bed cover until I run the wiring, which was the right side hole. I ran all of the wiring through and then went to put the mount up to the cab and released that I needed to run the driver's side antenna cable through the driver's side hole. It is a very slight difference, but make sure you get it right the first time because it is not something you would notice right away when installing! So for the dual mount, you initial cable routing should look something like this with one going through teh passenger side hole and the other the driver's side:

20200418_151152.jpg


Next, make sure to label each wire for driver's side and passenger side. It's a minor detail, but once they are passed through the cab, it's a lot harder to tell them apart! SO I just took a small piece of tape on each able and labels DS and PS so i could more easily keep the cables straight on the inside.

And lastly, on the Ranger, it is very hard to try and get your fingers behind the headliner at the taillight, as with our manual sliding real window, the track does not provide enough space to move the headliner or pull it down without potentially damaging it. So I decided to try and make locating the wires a bit easier. I attached a zip tie to the end of each coax like below:

20200418_144347.jpg


From there, I then had my wife go inside the truck, and I carefully routed the zip tie straight down along the headliner until it appeared on the inside of the cab.

20200418_151304.jpg


Once my wife saw it, she pulled the zip tie through a bit further, so we had a good handhold, while I carefully routed the coax end into the cab. This also eliminated the need for us to try and pass the coax through the headliner right there. What it did do, was allow us to use the zip tie as a guide to pull sideways along the headliner to the passenger side and run the coax inside the headliner with no troubles. Once you get to the passenger side, the rear window track stops and allows more space for you to easily pull the coax through. However this part definitely takes two people to make it a lot easier!

20200418_145606.jpg

20200418_145531.jpg

20200418_145536.jpg


Once the coax cables are inside the cab, the next step is getting the mount placed up to the cab and routing the stock wiring harness through the mount. The directions specify that you should disconnect the light wiring from the plug inside the cab. These clips are really are to release to begin with, and I decided against it due to the fact that you cannot get your fingers behind the headliner to push the clip back in after removed. So I opted to remove the wiring from the third brake light, which turned out to be super easy, and I had new LED bulbs from Diode Dynamics to install anyways. The bulbs simply just twist out, and the clips along the backside of the light easily release the wiring loom. I then replaced the stock bulbs with the LED bulbs and verified that they were working properly, and then it was time to get the mount up!

20200418_145744.jpg

20200418_145747.jpg


Also, it is important to note that this part is specific to the XL and XLT Rangers with the halogen third brake light, not the LED one. I do not have any experience with the LED Third Brake Lights!

Now, with the wring loom free, route the loom through the passenger side hole in the mount and place the mount then up to the cab like below:

20200418_151621.jpg

20200418_151626.jpg


The kit provides new pan head phillips screws to attach the mount to the cab using the stock mounting holes. On the mount itself, that would be the middle holes. Now is also the time to attache the cab supports if you will be installing them. On the dual mount, that consists of two two piece that you place on the inside of the cab, and you drill through the upper holes on the mount, through the cab, and then you can attach the strengthening brackets through those holes. This is the one step that I did not do. I did not feel like drilling through my cab, and the mount itself felt solid enough in it's current location as is. Additionally, I do not plan on running larger antennas very option, and the truck is not parked in a garage, so there are very minimal conditions that I would experience currently that would cause me to need the strengthening bracket, but that can be each our your own choices when installing. I decided to take my chances for now. On the single mount, I believe you only need to drill the upper middle two holes, as there is only one support bracket for the middle.

Moving on, I next grabbed my third brake light, and started reinstalling the wiring loom to the light housing, and it went back in just at it came out, with no problems at all! Honestly, if you have the halogen light, I have no idea why you would struggle with the plug in the cab, this method is so much easier! Once the lights are installed back into their sockets and the loom is attached, Bullet Proof Diesel also supplies new button head cap screws to install the taillight, and you thread those through the light housing and into the bottom holes of the mount. Initially, there will appear to be a big gap between the light housing and mount, but as you tighten the screws up, it sucks the housing up very nicely to the mount and seals great!

And without further adieu...here is the mount installed on the truck!

20200418_152424.jpg

20200418_152429.jpg

20200418_152440.jpg

20200418_152447.jpg

20200418_152451.jpg


Overall, once I figured out the routing into the cab and I got out of my own way with some dumb mistakes, this mount was very easy to install, and with the right info and procedures you could easily get this installed in 30 minutes to an hour! The fitment is perfect and I love the look! It feels very solid and everything installed exactly as it was supposed to! I have now had the mount on for almost a month I believe and it has worked great, no noises, no leaks, and all the cables and lighting is working as it should! I know it is pricey, but if you can afford it, you get what you pay for, and this is a very high quality mount that is going to last a long time!

Additionally, here's a few shots of the new LEDs in the third brake light as well as night!

20200416_205623.jpg

20200416_205649.jpg

20200416_205721.jpg

20200416_205708.jpg
 
OP
OP
WxNerd2015

WxNerd2015

Well-Known Member
First Name
Trevor
Joined
Oct 17, 2018
Threads
9
Messages
296
Reaction score
1,032
Location
Gregory, Michigan
Vehicle(s)
2019 Ranger, 2011 Wrangler, 2017 Escape
Occupation
Applications Engineer
Vehicle Showcase
1
Lastly, I of coarse how some radios still to install, along with the mounting for them and the antennas. I am still working on the radio mounts. Those will be done soon, but I will cover my antenna setups that I will be using here and some links to what I have here.

20200418_152957.jpg

20200418_153235.jpg


First up, I needed to make sure the bases were NMO mounts, as this is what the mount included. I needed an antenna for CB bands, and an antenna for UHF/VHF bands. And lastly, I considered two setups, one for daily use, and one for heavier use.

First up, NMO antennas for Ham bands are no problem to find, as their are plenty of options, however the options for CB antennas are much more limited. So I decided, instead of limiting myself on antenna choices, I would use the Tram 3/8 24 antenna adapter (TRAM1295). This adapter basically allows you to attach a standard thread CB antenna (3/8 24) to an NMO mount.

81di4ihIucL._AC_SL1500_.jpg


With that figured out, I then set out on finding my daily antennas. My main priorities with the daily antennas were to keep them right around the height of the stock radio antenna, as they should then be able to fit into lower clearance locations without needing to take the antennas off, such as parking garages and such. I figured that if the stock radio antenna is that height, that should be a relative standard for most locations to be able to fit with extra antennas as well.

So for the CB, I settled on the ProComm 8" Base Loaded CB Antenna (JBC800)

61sFHYIkd-L._AC_SL1500_.jpg


And for the Ham, I went with the Comet B-10NMO

s-l1600.jpg


Both of these antennas end up sitting about 10" high and fit with the height of the stock radio antenna greatly!

20200418_153606.jpg

20200418_153630.jpg

20200418_153638.jpg


Next up was the heavy use setup. This would be used for Amateur Radio Club and Emergency operations, Off Road Trips, Convoy trips, etc. where I know I will need better antennas to help get further range and make everything clearer. Here, I was only restricted by making sure they had the right base mounts. No height or other restrictions!

For the CB, I settled on the Mini Stinger Springer 90cm Antenna in Black. For CB a longer antenna will in many cases preform much better as the ideal length is 102", and with this base loaded antenna (the coils), it definitely should work out pretty well when I am utilizing it more heavily!

s-l1600 (1).jpg


And for the Ham, I went with the Nagoya NMO-72 19.25" Antenna.

71kqoNScquL._AC_SL1500_.jpg


And this setup definitely gets some more height, but I have already utilized it some and it gets great reception for me! The antennas attach great to the mount and no movement or anything like that has occurred.

20200418_154141.jpg

20200418_154204.jpg


And lastly, I also do know there are times that I might remove the antennas completely, and especially with NMO mounts, you do not want to leave them exposed to the elements, so I got a couple of rain caps from Tram as well! They feel like a cheaper plastic, but should do their jobs fine, just make sure not to lose the o ring in the base of the caps as they were not seated very good when I got mine and I almost lost one!

20200418_154501.jpg

20200418_154505.jpg


And lastly, here's a few shots of the whole truck with the antennas on! Besides, who of us doesn't want to see more of the Ranger on here, it's a beautiful truck!

20200419_090518.jpg

20200419_090527.jpg

20200419_090539.jpg

20200419_090558.jpg

20200419_090612.jpg
 
OP
OP
WxNerd2015

WxNerd2015

Well-Known Member
First Name
Trevor
Joined
Oct 17, 2018
Threads
9
Messages
296
Reaction score
1,032
Location
Gregory, Michigan
Vehicle(s)
2019 Ranger, 2011 Wrangler, 2017 Escape
Occupation
Applications Engineer
Vehicle Showcase
1
Managed a few more installations in the past week here as well! I was able to finish up the trailer brake controller of which I went with the Redarc Tow Pro Elite like many on here! If you want to see more of the details on the installation, check out oggvorbis's thread on the install. I followed his just about to a the whole way through, just my biggest difference was that I got an insert for the rake controller head instead of drilling one of the switch blanks!

20200424_165056.jpg


I will say though, finishing the installation of the wiring harness to the truck harness and getting the trailer brake controller box mounted under the dash were a lot hard than I thought! I am not a small guy, and that floorboard you need to work in is quite small. After a lot of breaks and choice words and all that, I did finally manage to get it all connected, but Ford does not do us any favors with trying to get this installed in the floorboard. If they would have put a plug at least from the factory so that you could do the wiring outside the truck would have been so much better! But all in all, everything is installed, and I don't have a trailer around at the moment to test, but all the other functions seem to be working properly!

Additionally, I just provide a few quick details, as it is still not complete, but I managed to progress on my radio installs up at the dashboard with mounting my Ram Mounts 5" T-Track to the dash tray. Additionally, I ran my antenna cables and got the mounts up on the dash, but my soldering iron wasn't working, so I could not finish the power wires for the CB Radio, so that will be installed another day and I will do a full write-up on it then! For the meantime though, my Ham setup is working and everything is almost complete!

20200523_171011.jpg

20200523_171258.jpg
 
OP
OP
WxNerd2015

WxNerd2015

Well-Known Member
First Name
Trevor
Joined
Oct 17, 2018
Threads
9
Messages
296
Reaction score
1,032
Location
Gregory, Michigan
Vehicle(s)
2019 Ranger, 2011 Wrangler, 2017 Escape
Occupation
Applications Engineer
Vehicle Showcase
1
With the weather warming up, I was finally like it was time to install my door sill guards! I got these HD 3M Vinyl decals off of eBay a long while ago and just have been procrastinating getting around to installing them! They do not provide any impact protecting, however, they will protect the paint in the door jams (which was already getting scratched up at a couple doors). Being adhesive decals though, I wanted the temperature to be on the warmer side installing them so that they would be easier to work with and a bit more forgiving and I am glad I did. These allow you to place and peel them back off as needed while you are placing them on so you can carefully work the bubbles out and make sure it is straight and it doesn't ruin the adhesive, but once you place the entire decal down and press, it locks into place tight!

Here are some before and after shots of the front:

20200526_155943.jpg


20200526_160623.jpg


And of the rear:

20200526_160745.jpg

20200526_161013.jpg


Overall, I am very happy with the fit and finish of these and I love the carbon fiber look! I think they should do the job pretty dang well and for only $16, it wasn't a bad deal at all! Unfortunately, I cannot find any from the same seller on eBay as of today, so I can't provide a link, but will keep updated on how these perform.

20200526_160630.jpg


20200526_160641.jpg
 

Truckee Bill

Well-Known Member
First Name
Bill
Joined
Oct 31, 2019
Threads
0
Messages
51
Reaction score
60
Location
Truckee, CA
Vehicle(s)
2019 Ford Ranger XLT Supercrew 4 x 4; 2015 Nissan Murano; 2019 Honda CRF 250F; 2007 Kawasaki Vulcan;
Occupation
Construction Consultant
Oh man, those would be perfect! Hope they come back in stock.
 

Brisko_Michigan

Well-Known Member
First Name
Chris
Joined
May 17, 2020
Threads
6
Messages
101
Reaction score
204
Location
IVO Detroit
Vehicle(s)
2019 Ford Ranger XLT FX4
Occupation
USG
Vehicle Showcase
1
Managed a few more installations in the past week here as well! I was able to finish up the trailer brake controller of which I went with the Redarc Tow Pro Elite like many on here! If you want to see more of the details on the installation, check out oggvorbis's thread on the install. I followed his just about to a the whole way through, just my biggest difference was that I got an insert for the rake controller head instead of drilling one of the switch blanks!

20200424_165056.jpg


I will say though, finishing the installation of the wiring harness to the truck harness and getting the trailer brake controller box mounted under the dash were a lot hard than I thought! I am not a small guy, and that floorboard you need to work in is quite small. After a lot of breaks and choice words and all that, I did finally manage to get it all connected, but Ford does not do us any favors with trying to get this installed in the floorboard. If they would have put a plug at least from the factory so that you could do the wiring outside the truck would have been so much better! But all in all, everything is installed, and I don't have a trailer around at the moment to test, but all the other functions seem to be working properly!

Additionally, I just provide a few quick details, as it is still not complete, but I managed to progress on my radio installs up at the dashboard with mounting my Ram Mounts 5" T-Track to the dash tray. Additionally, I ran my antenna cables and got the mounts up on the dash, but my soldering iron wasn't working, so I could not finish the power wires for the CB Radio, so that will be installed another day and I will do a full write-up on it then! For the meantime though, my Ham setup is working and everything is almost complete!

20200523_171011.jpg

20200523_171258.jpg
great run down(s). thank you for sharing the process in such detail.
 

Bsenecal

Well-Known Member
First Name
Brian
Joined
May 21, 2020
Threads
0
Messages
572
Reaction score
1,542
Location
Milton Vermont
Vehicle(s)
2019 Ford Ranger Supercrew, 2017 Ford Fusion Sport, 1968 Ford Mustang
Occupation
Military
So last Wednesday (April 17th), the bed cover finally came! And just in time for leaving for a trip to head Up North (in Michigan) on Thursday! My wife and I were able to get it installed in just a few hours and everything fits very well! Thanks @PandaMotorworks for the great suggestion and great deal on the cover!

And since it was a few posts ago, the cover that I got is the RetraxOne XR which is the Polycarbonite Retractable Cover with the T-Slots!

It came in two packages, with the main contents being the side rails and front rail in one package and the canister, hardware and filler plate in the other! The directions were a bit confusing as to where to start, as the extra Ranger specific directions said they were in place of steps 1 and 2, when in reality, they were in place of step 3 of placing the header channel on before lifting the canister and bed rails in the bed. Also, a couple of the diagrams were not the most clear and with words at a minimum on the directions, their was a bit of interpretation needed! But overall, the cover went on well and fits and looks great! I am very happy with it!

The canister definitely takes up less space than I thought it would in the bed and shouldn't be an issue for most of what we do! It does sit a little high (Maybe a 1/4"? Nothing is open. All weather striping is sealed to truck) at the back of the rails, but I believe this is mostly due to everything being very tight initially, and I expect it to settle just right as time goes on.

And a couple of installation tips as well.
  1. When installing rails to canister, feed the rollers into the side channels, then lift the front of the rail up a little to get it to go all the way to the back of the canister to line the holes up for the screws. We struggled for a while trying to slide them until we finally lifted them up and the rails slide right where they needed to then.
  2. When installing the clamps to the bed, make sure to not over tighten them. the 6.7 ft/lbs of torque is very little, and it is very easy to over tighten them and bend your bed rail, so pay attention!
  3. Remove the film on the top of the bed cover before putting in the channels. Once in the channels, the film does not come off as nicely.
  4. Watch the position of the well nuts for the header channel carefully to make sure that they are compressing evenly around the holes in the bed to properly secure the header channel.
  5. When attempting to slide the bed cover into the side channels, make sure to unlock and release the handle to allow the bed cover to slide in freely to the channels. It comes locked and will not allow you to slide it in past the first couple of rollers.
  6. Pay attention to some of the steps with differences between the MX and XR models. (Such as step 5 with alternate steps)
I believe that should be all the tips and some mistakes we made, that would have made it go smoother, but easy mistakes to make! Anyways, I am happy with the cover and can't wait to use it more! Here's some pics of it installed:

20190417_171726.jpg

20190417_194942.jpg

20190417_194947.jpg

20190417_195004.jpg

20190417_195012.jpg

20190417_195018.jpg

20190417_195048.jpg


For more information on the Retrax and Embark cover installation and other tips and tricks, see the below links:

https://www.ranger5g.com/forum/threads/embark-ls-retrax-pro-xr-read-this-before-installation.1811/
https://www.ranger5g.com/forum/threads/aftermarket-bed-roof-rack-system.1542/
https://www.ranger5g.com/forum/threads/its-time-for-a-road-trip.2348/
Looks great ! I recently ordered the same one except I went with the Pro version for the lifetime warranty and made out of aluminum.
They were out of stock so Iā€™m patiently waiting.
Brian
 

Bsenecal

Well-Known Member
First Name
Brian
Joined
May 21, 2020
Threads
0
Messages
572
Reaction score
1,542
Location
Milton Vermont
Vehicle(s)
2019 Ford Ranger Supercrew, 2017 Ford Fusion Sport, 1968 Ford Mustang
Occupation
Military
Next up in the installation was installing the HD Bars to the Overhaul HD. This was actually the most difficult part by far, but did not have to be. The bars themselves have a measurement on the bottom, so trying to get the bars set up evenly across the truck is fairly easy in that matter, however the driver side front leg and the passenger side leg both were a little tight where you set the bar into the mount, and actually ended up scratching the coating on the HD bars slightly, as well as shifting the bar just off even every time we pushed it into the mount. If you have the patience and take your time, you will get the measurements even, it just takes some trial and error!

And before you set he bars into the mounts, make sure to add the nut plates for the bolts to attached the bars to the OverHaul HD and slide them to the middle of the bar, as I learned the hard way, once the bars are pressed down, they do not slide through far enough from the outside. It will make everything much easier if you install those nut plates first!

You then have to install the bolts, 4 per bar, 2 on each side, to attach the bars to the OverHaul HD. The inside bolts are relatively easy to do and all 4 of the inside bolts went in with almost not hassle as you had to locate the nut plate correctly, and I just pulled those in place with a screwdriver through the hole, and then installed the bolt. the outside holes, which are recessed are much harder, and I fought with trying to install these for over an hour, trying very trick I could think of! My big mistake...I tightened the inside bolts up, thinking it would help hold the nutplate steady for the outside bolts...and that was a big mistake. I finally loosened the inside bolts to just a few threads, and all of a sudden, the bolts went in with no issues! So make sure you DO NOT TIGHTEN HD BAR BOLTS UNTIL ALL 4 ARE STARTED on each bar! This is my biggest tip for sure from this install!

20190428_134555.jpg

20190428_134601.jpg


Lastly, i also installed the SideBars, and these were a breeze, as everything lined up as it should to existing holes in the Overhaul HD and tightened up nicely! Not much to say on that part of the install as it is very straight forward. Just make sure you get the front bar of the t-track system where you would like to position it as the small piece does slide to adjust it's position. And from there, enjoy!

20190428_141849.jpg

20190428_141901.jpg

20190428_141907.jpg

20190428_141911.jpg

20190428_141919.jpg

20190428_141930.jpg

20190428_142459.jpg

20190428_142517.jpg

20190428_143344.jpg

20190428_143353.jpg

20190428_143358.jpg

20190428_143404.jpg


Lastly, here's a few clearance shots in the garage, as well as what can be seen with my setup from the mirrors of the truck!

20190428_143453.jpg

20190428_143506.jpg

20190428_143509.jpg

20190428_143552.jpg

20190428_143604.jpg
Why did you add the side bars? I thought I had seen some just using the front and back racks with the cross bars. Iā€™m thinking of the same set up if Thule doesnā€™t get their quality control issues fixed on their rack.

Brian
 

ElSolo

Well-Known Member
First Name
Rick
Joined
Jul 14, 2020
Threads
4
Messages
89
Reaction score
202
Location
Santa Barbara, CA
Vehicle(s)
2020 Ford XLT, Lightning Blue, FX2 pkg, 301A pkg, Tow pkg.
Ranger got to have some more fun this weekend! And the maiden voyage for the VersaBoard and the Jaylow mounts on the truck! The wife and I went out to a few local lakes in SE Michigan for some sunny fun on Sunday! The water was still a bit cold, but it was a beautiful spring Michigan day overall! Here's a few shots from the day and my wife enjoying the water a bit!

DJI_0157.jpg

DJI_0114.jpg

DJI_0110.jpg

DJI_0106.jpg

Anyways, here's the full setup on the Ranger now as well! We used the Overhaul HD and HD Bars, as well as the Short Bed SideBars attached to the RetraxOne XR Bed Cover. From there, we mounted the Yakima JayLow Kayak mount to hold my wife's VersaBoard (A hybrid SUP/Kayak ~56lbs). We also used the Yakima TopGrip on the SideBars to hold the paddle on the side of the rack! Here's the setup without the VersaBoard on it!

20190505_102311.jpg

20190505_102300.jpg

20190505_102253.jpg

20190505_102246.jpg

20190505_102241.jpg


And here's the setup with the VersaBoard mounted!

20190505_110601.jpg

20190505_110546.jpg

20190505_110612.jpg

20190505_110618.jpg

20190505_124327.jpg

20190505_124345.jpg


The setup worked very well and was completely secured with no issues! Even with a little bit of a cross wind on the expressway at 75 MPH, truck tracked very straight and smooth, and MPG was still great! Didn't lose a bit! Only thing I really noticed was that the strap that I ran from the front of the VersaBoard to front tow hook, I ran diagnoal to the passenger side hook with the board mounted on teh driver's side, and the lane keep assist was struggling a little with finding the right side of the lanes, as I realized the strap was crossing right in front of the camera, but no big deal! And it still worked most of the time, but definietly had to make sure not to rely on that for this drive with the strap mounted the way I had it! Other than that, I highly recommend this setup!
Great shots and really nice set up. Just got my truck this week and Iā€™m looking for a soft tonneau cover for it that wonā€™t prevent me from using a rack system similar to Yakima. Do you (or anyone for that matter) know of a soft tonneau system that still allows for rack installation?
 
OP
OP
WxNerd2015

WxNerd2015

Well-Known Member
First Name
Trevor
Joined
Oct 17, 2018
Threads
9
Messages
296
Reaction score
1,032
Location
Gregory, Michigan
Vehicle(s)
2019 Ranger, 2011 Wrangler, 2017 Escape
Occupation
Applications Engineer
Vehicle Showcase
1
Why did you add the side bars? I thought I had seen some just using the front and back racks with the cross bars. Iā€™m thinking of the same set up if Thule doesnā€™t get their quality control issues fixed on their rack.

Brian
I ended up choosing the Yakima for a few reasons, but one of them was that their rack was already an approved Ford Accessory, so I was certain it would work great on this truck! As for the side bars, you do not have to run them, and there are many who are not running them. Personally though, the side bars give me a few benefits, first one being that it boxes in the whole rack system and makes it even more stable and ridged. The towers themselves were fine, but when I was installing, they did have just a slight bit of play in them just on their own, with the side bars, they are completely ridged to the bed with zero movement. Additionally, I knew I would haul kayaks/SUPs on there and wanted to mount the paddles down lower to the sides of the rack, plus I could use the side mounts for other accessories too as needed. And lastly, I liked the complete boxes look of the rack this way as opposed to just the towers.
Sponsored


Top