Eibach install

OP
OP
armoredpig

armoredpig

Well-Known Member
First Name
Joseph
Joined
Mar 7, 2020
Threads
24
Messages
367
Reaction score
1,147
Location
VA
Vehicle(s)
2019 Ford Ranger STX
Occupation
Nurse
For people installing in the future:

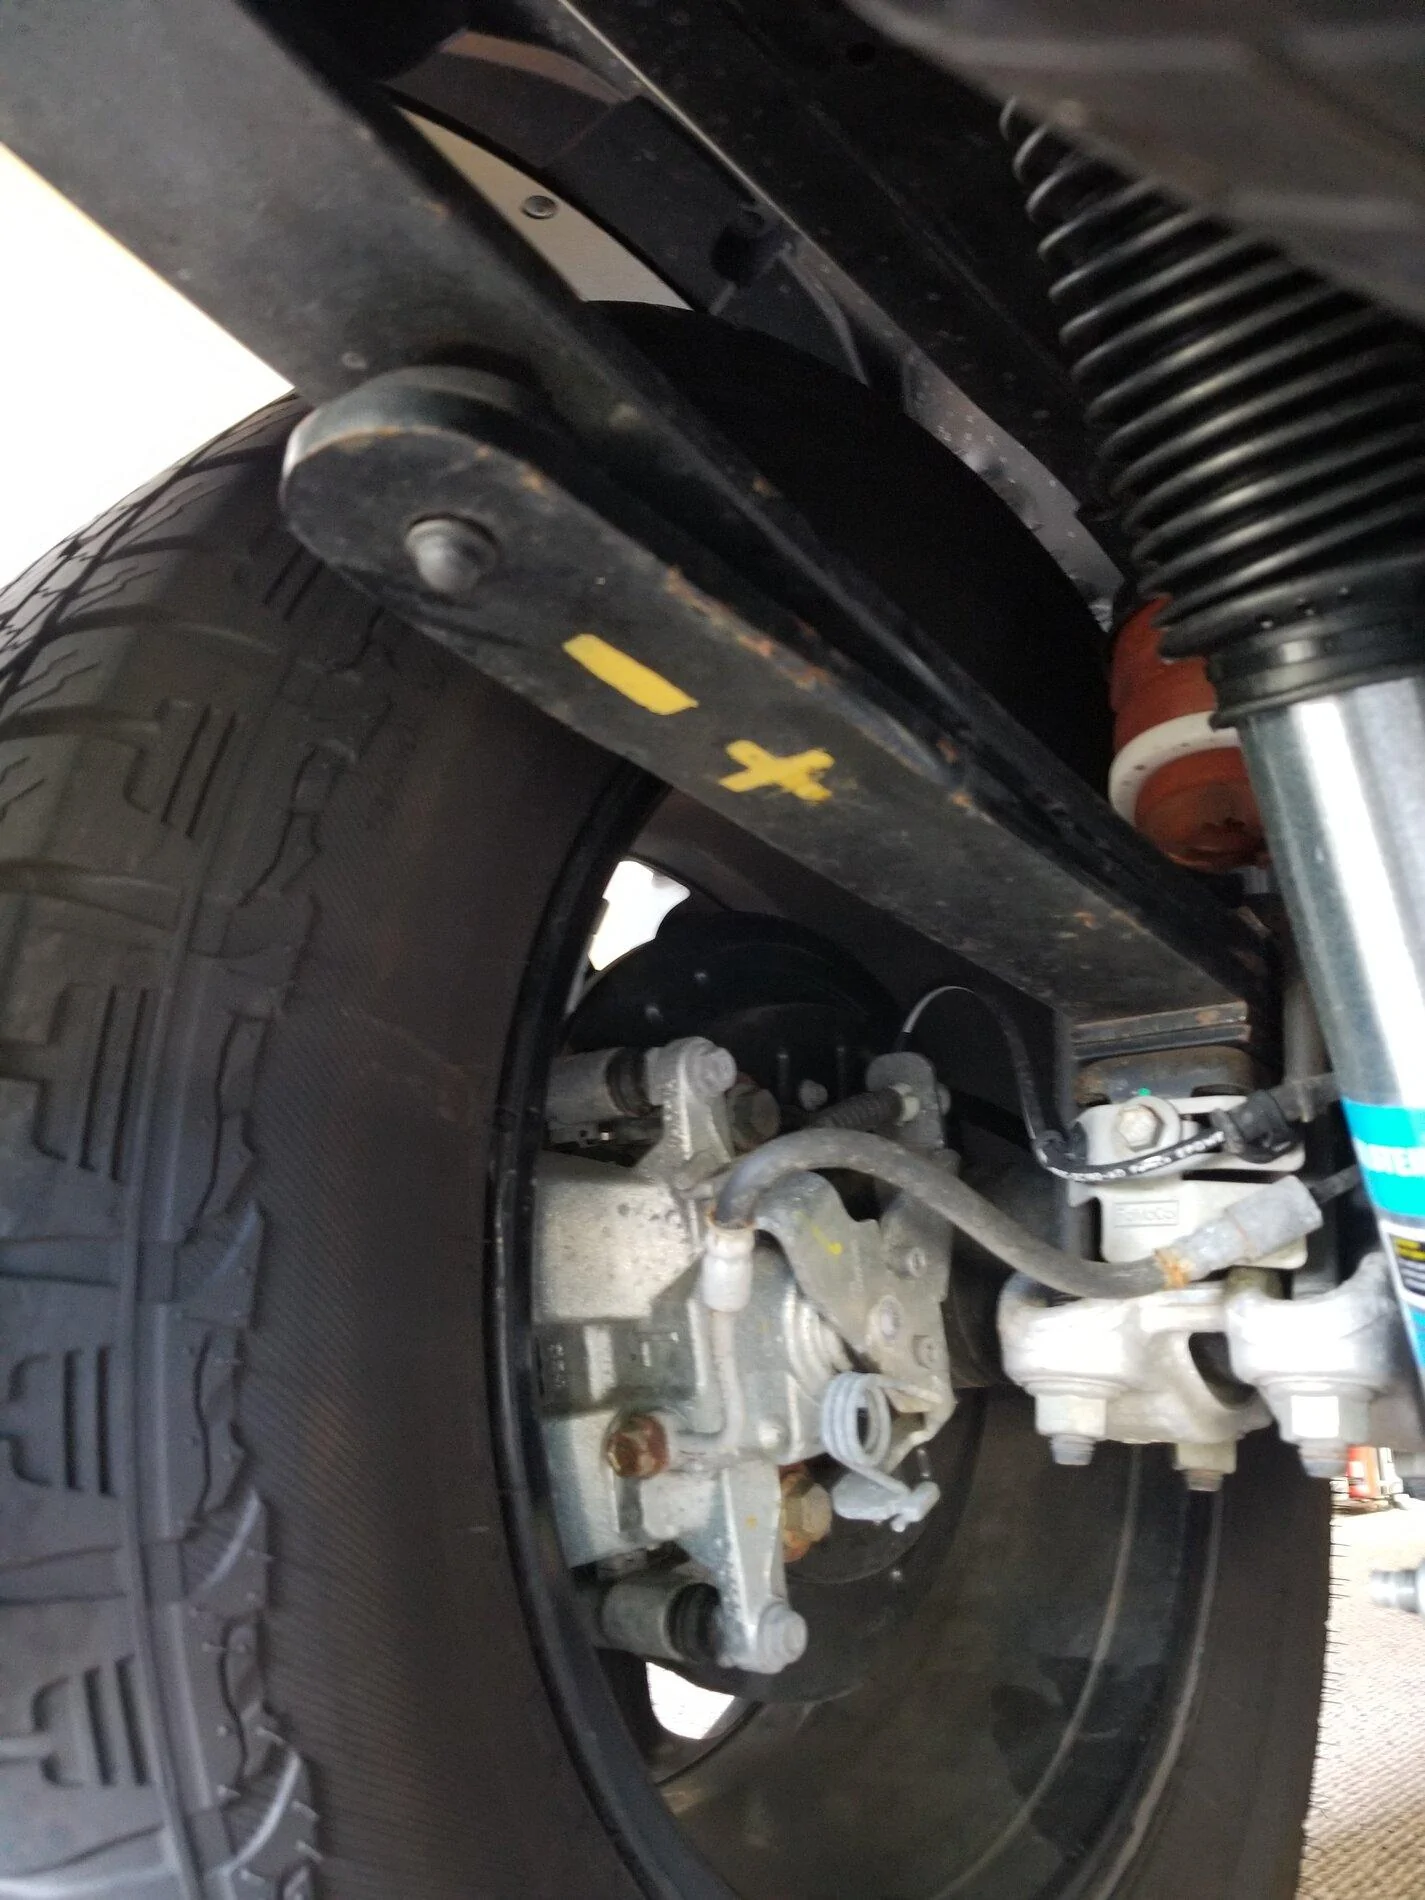
The rear shocks are removed with a 15mm socket. Using an impact gun makes quick work of it. The passenger side upper nut is in a channel that makes it hard to put back in. Try to leave it in that channel!

The shocks won't fall out on their own when the bolts are out, so no worries about getting bonked. Compress the shocks slightly to pull them out.

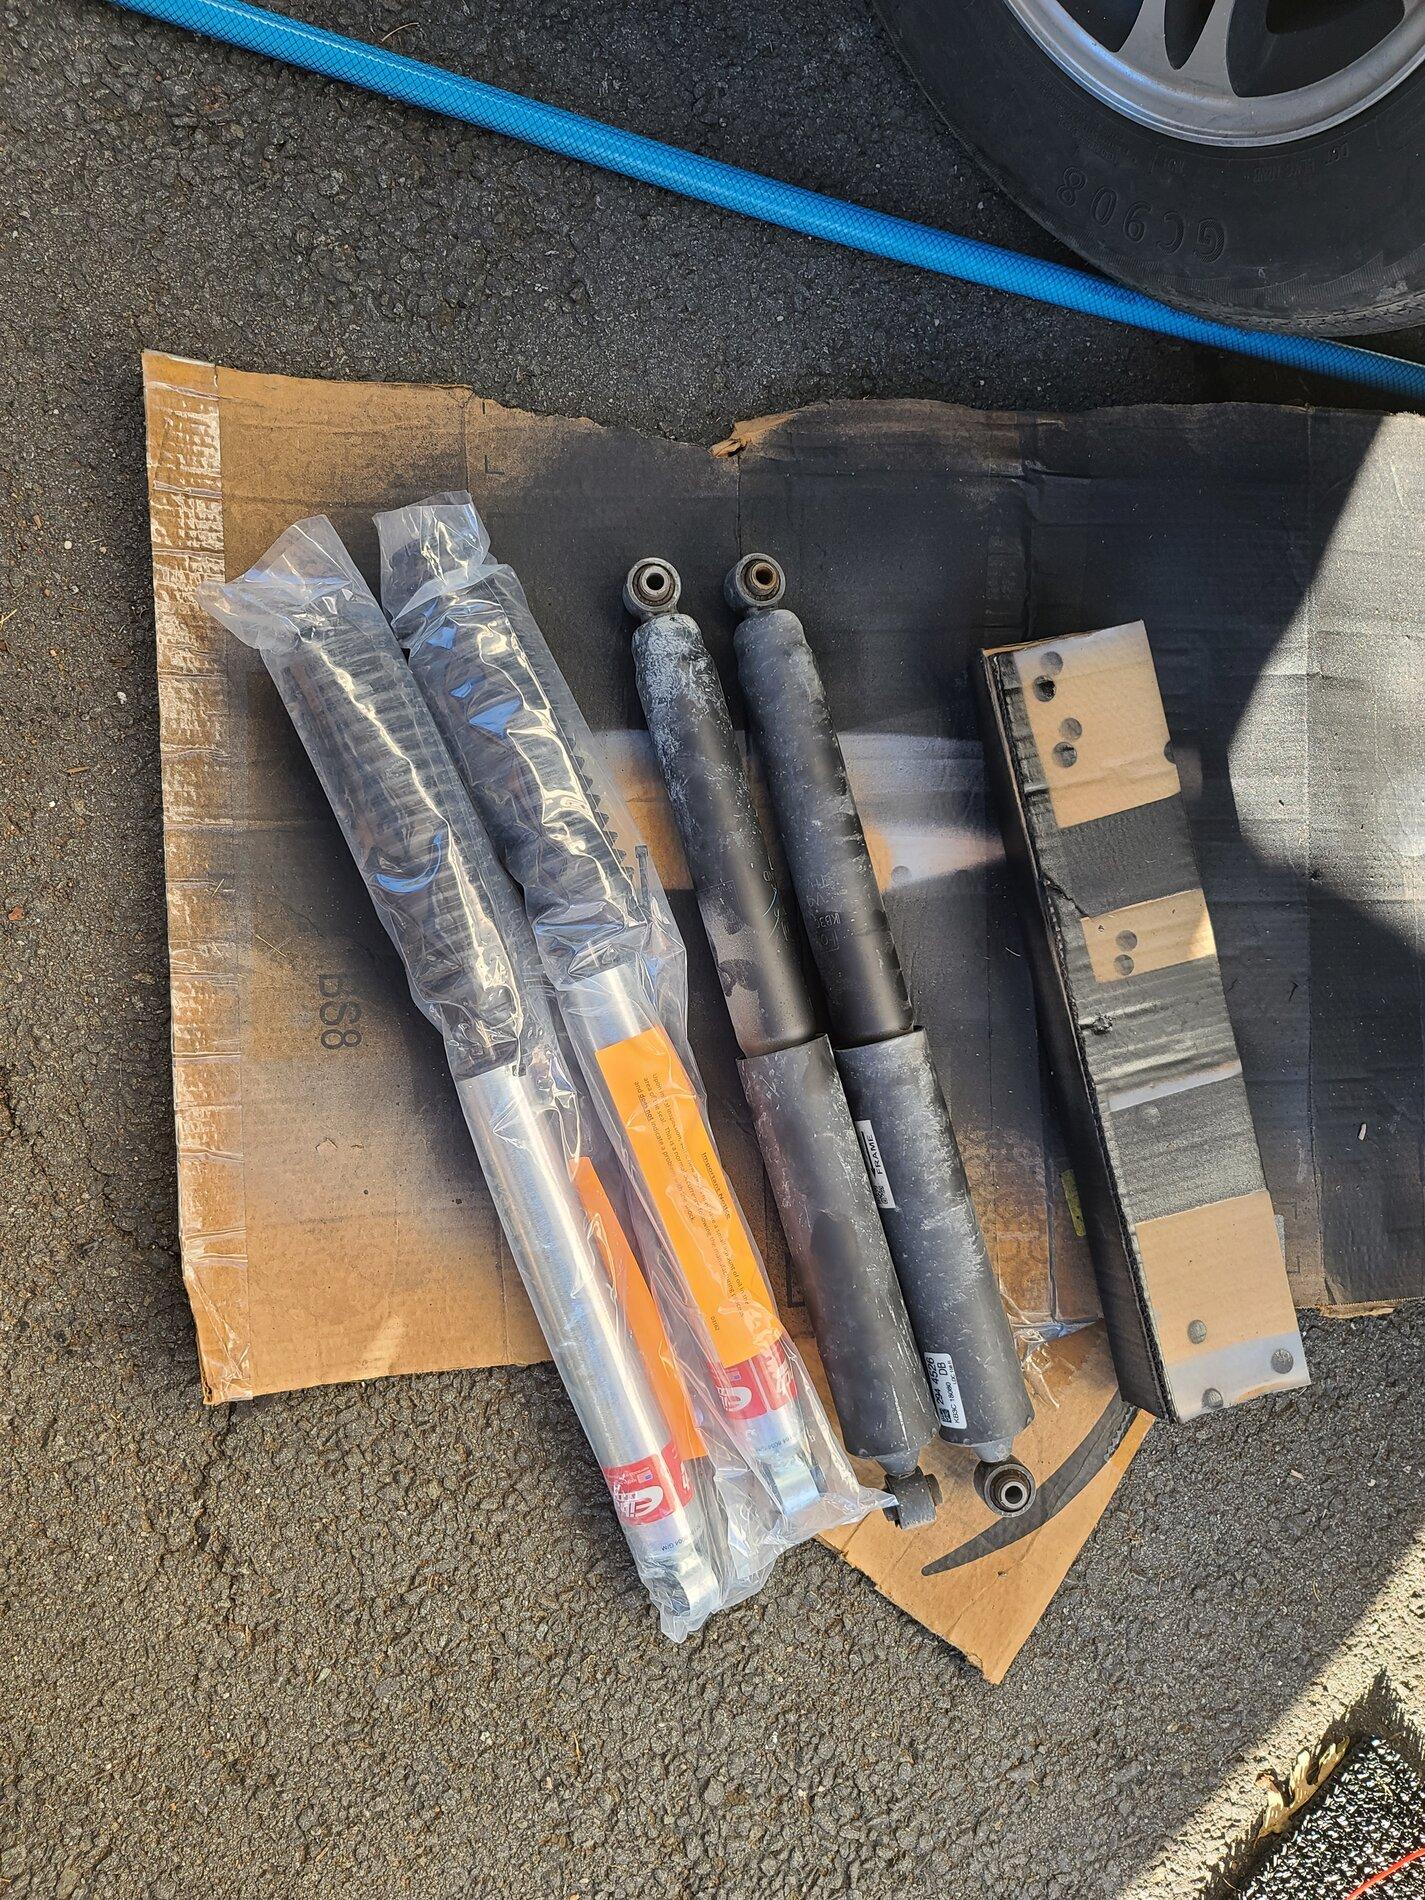
You will have to jack the truck to get the new ones in though, as the axle droop will help you position the new shocks, which are linger and MUCH harder to compress.

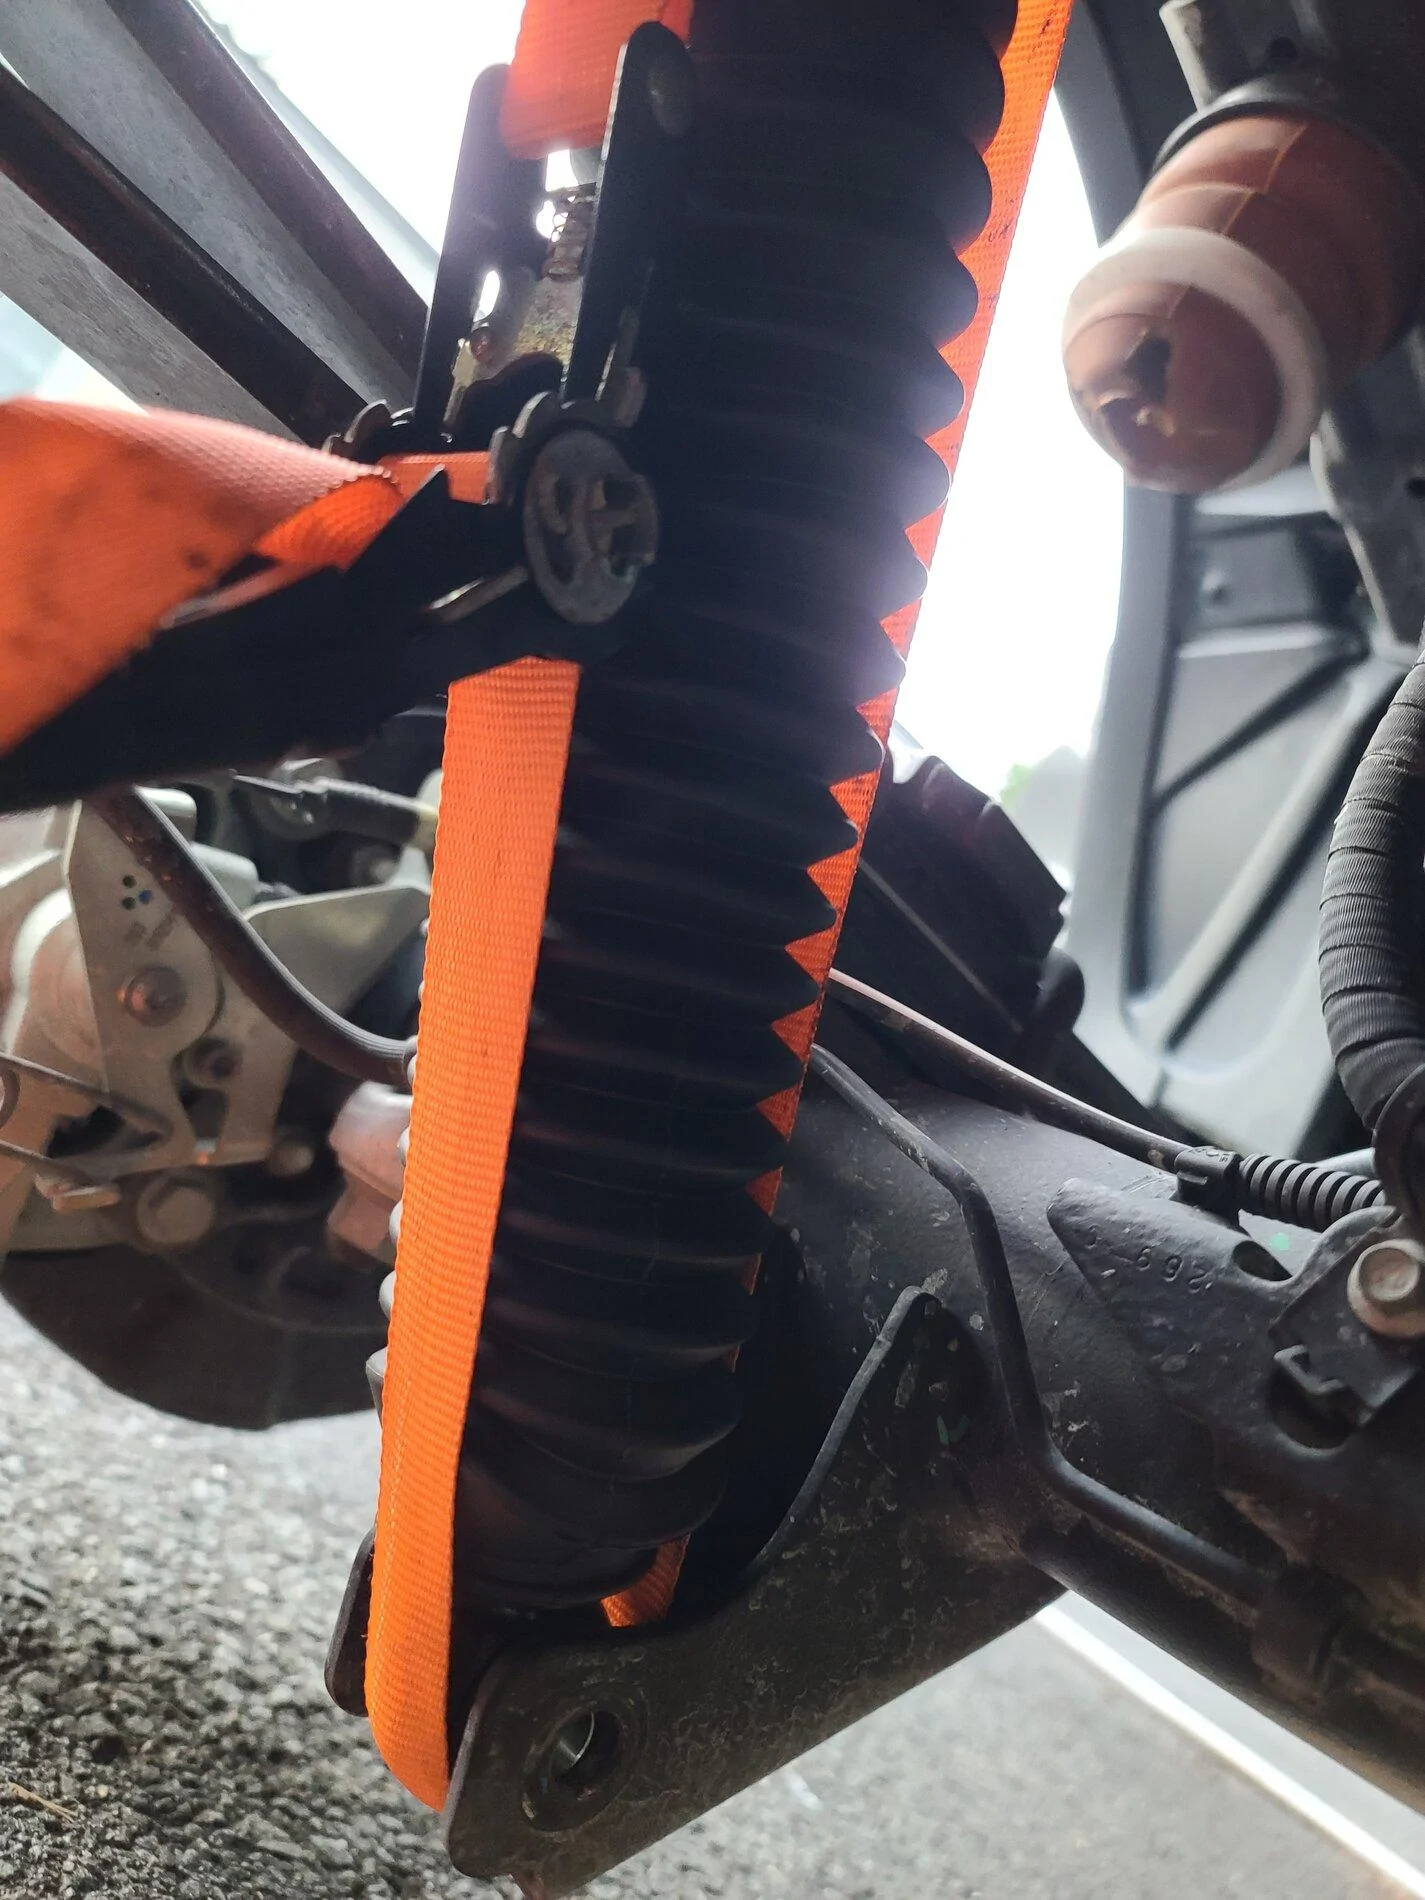
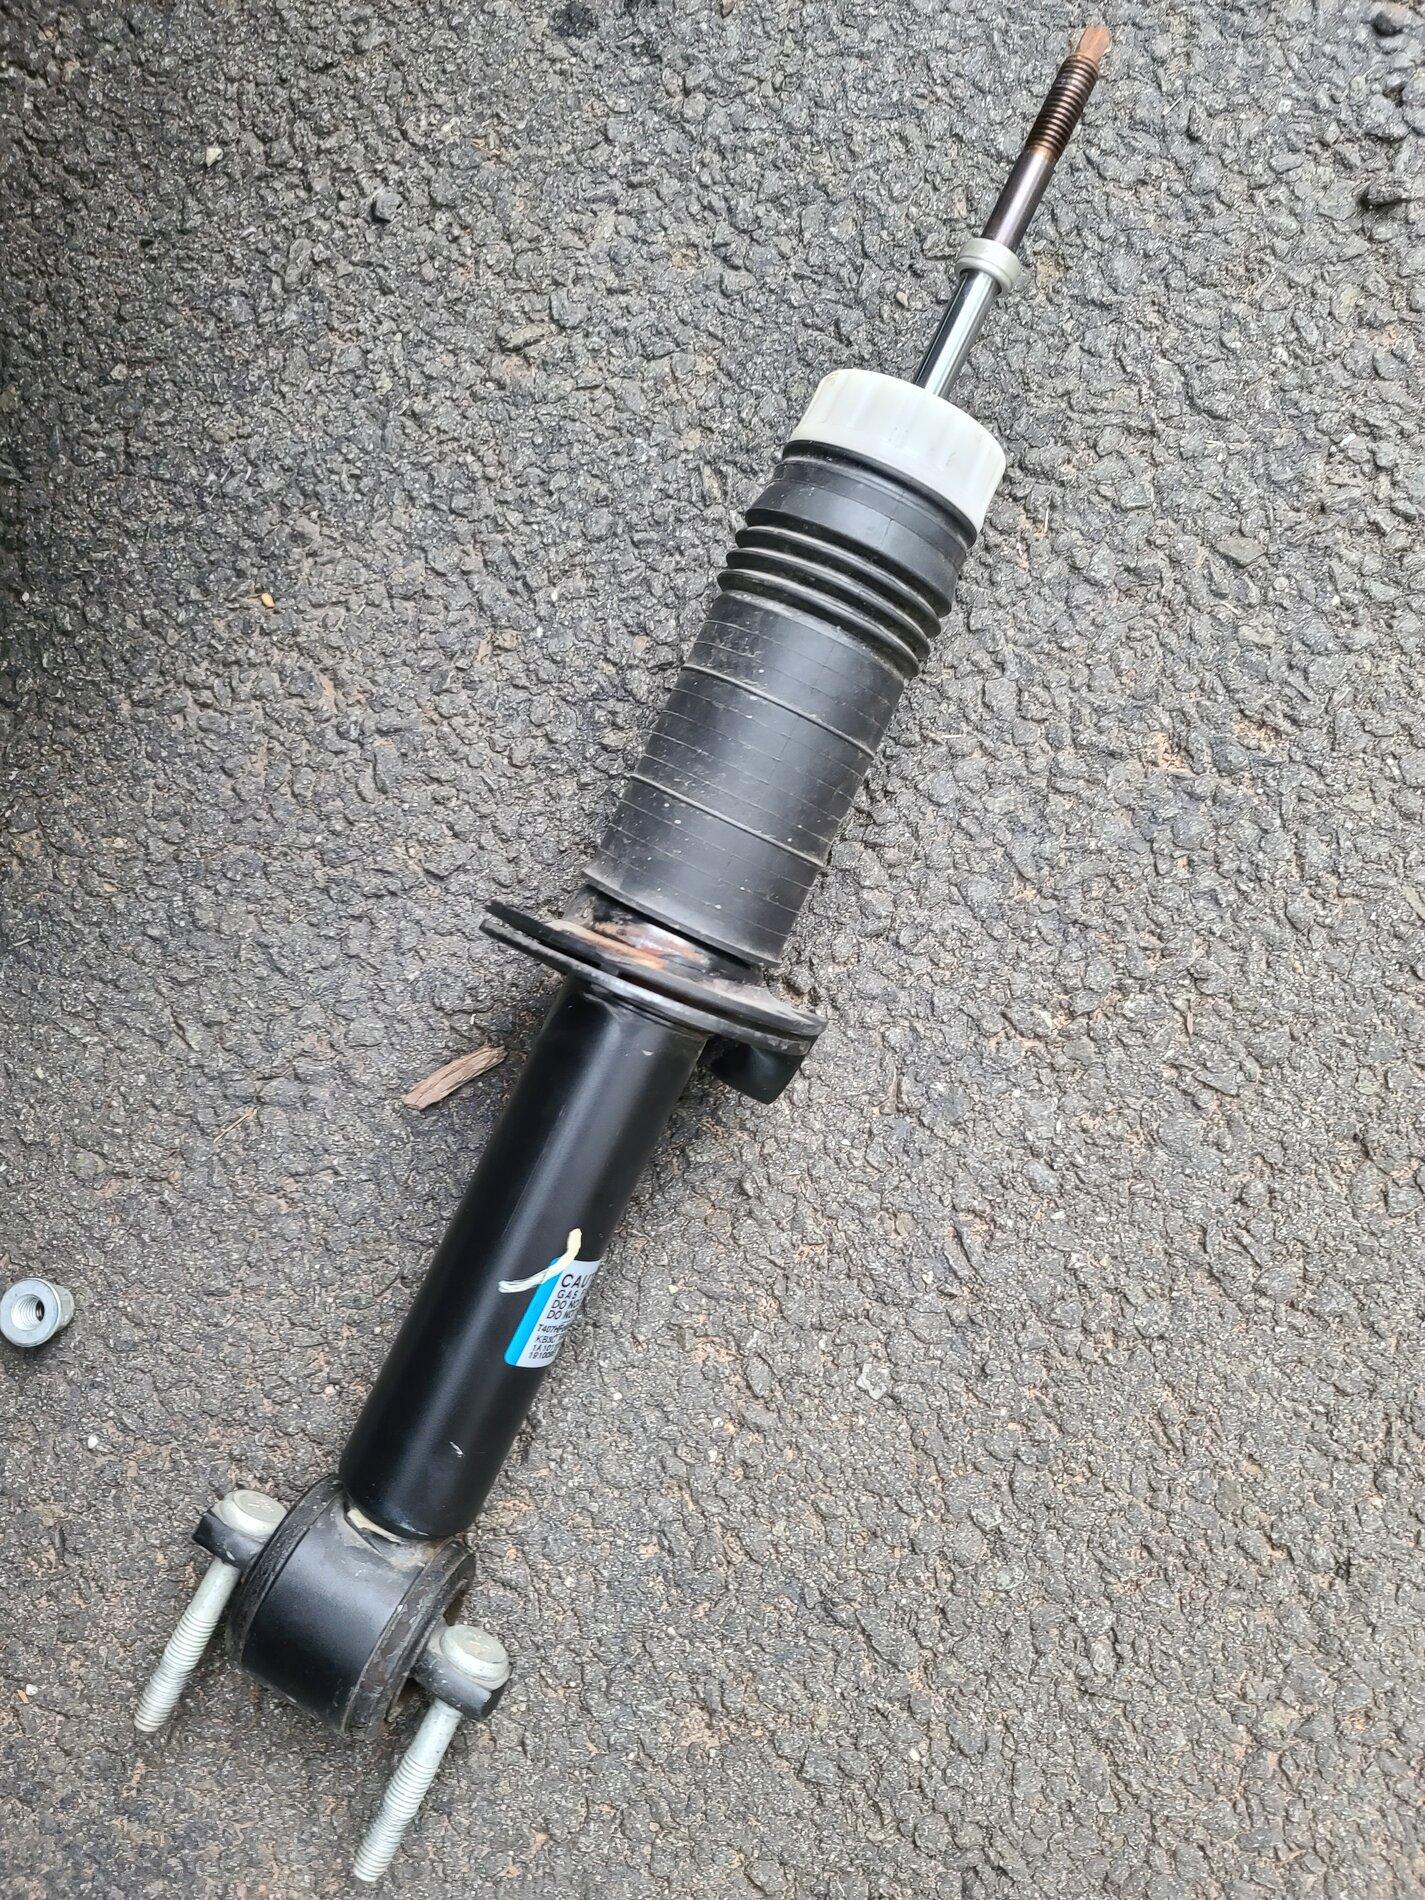
The shocks can be reinstalled in either orientation. I opted for boots down because I read somewhere that boots up can hold salt/grime and also the boots only cover the shaft which is more puncture resistant than the body.
20200830_172800.jpg
Sponsored

 
Last edited:

P. A. Schilke

Well-Known Member
First Name
Phil
Joined
Apr 3, 2019
Threads
142
Messages
7,016
Reaction score
36,207
Location
GV Arizona
Vehicle(s)
2019 Ranger FX4 Lariat 4x4, 2020 Lincoln Nautilus, 2005 Alfa Motorhome
Occupation
Engineer Retired
Vehicle Showcase
1
15988215731931864309901874945391.jpg


This is what I am talking about I don't think it has anything to do with front and back as they are duplicated on both sides
Hi Rick

Pretty sure this is an assembly aid that is used by a camera to verify correct assemble..

Best,
Phil Schilke
Ranger Vehicle Engineering
Ford Motor Co Retired
 
OP
OP
armoredpig

armoredpig

Well-Known Member
First Name
Joseph
Joined
Mar 7, 2020
Threads
24
Messages
367
Reaction score
1,147
Location
VA
Vehicle(s)
2019 Ford Ranger STX
Occupation
Nurse
Got my rear installed! Pretty straight forward, tho a long reach jack would have been very helpful.

20200830_205904.jpg


The Eibach shocks are MUCH stiffer than stock. Compressing them by hand is a no go. I used a ratchet strap to good effect.
20200830_192536.jpg


There's no need to force the shackle bolts into place, just use your jack to play with the position of the axle.

All and all, I'd rate the rear a 3/10 difficulty.
Tools needed: torque wrench, a ratchet strap, jack stands, a jack, impact wrench highly recommended, 19mm socket, 19mm wrench (for the bds shackles), 15mm socket for the shocks) and if I'm not mistaken, a 21mm socket (for the stock shackles).

Torque specs from BDS are 51ft lb for the shocks, 76ft lb for the shackle bolts.

The bds shackles gave one inch exactly
20200830_205544.jpg

20200830_160339.jpg


So far, even with just the rears, the bounciness, and swaying after hitting a bump is almost gone. Firm ride. But funny looking for now.


Msfitoy

Well-Known Member
First Name
Sid
Joined
Mar 5, 2019
Threads
60
Messages
7,740
Reaction score
22,596
Location
North Carolina
Vehicle(s)
2019 Ranger, 2003 MINI Cooper S, 2021 Honda CT125
Occupation
Automotive, Industrial Designer
Vehicle Showcase
1

Msfitoy

Well-Known Member
First Name
Sid
Joined
Mar 5, 2019
Threads
60
Messages
7,740
Reaction score
22,596
Location
North Carolina
Vehicle(s)
2019 Ranger, 2003 MINI Cooper S, 2021 Honda CT125
Occupation
Automotive, Industrial Designer
Vehicle Showcase
1
Got my rear installed! Pretty straight forward, tho a long reach jack would have been very helpful.

20200830_205904.jpg


The Eibach shocks are MUCH stiffer than stock. Compressing them by hand is a no go. I used a ratchet strap to good effect.
20200830_192536.jpg


There's no need to force the shackle bolts into place, just use your jack to play with the position of the axle.

All and all, I'd rate the rear a 3/10 difficulty.
Tools needed: torque wrench, a ratchet strap, jack stands, a jack, impact wrench highly recommended, 19mm socket, 19mm wrench (for the bds shackles), 15mm socket for the shocks) and if I'm not mistaken, a 21mm socket (for the stock shackles).

Torque specs from BDS are 51ft lb for the shocks, 76ft lb for the shackle bolts.

The bds shackles gave one inch exactly
20200830_205544.jpg

20200830_160339.jpg


So far, even with just the rears, the bounciness, and swaying after hitting a bump is almost gone. Firm ride. But funny looking for now.
That's one way to place the rear shocks in place...in my case I jacked up the axle lol...
 

DocE3Gun

Well-Known Member
First Name
Dillen
Joined
May 20, 2020
Threads
9
Messages
319
Reaction score
914
Location
Missouri
Vehicle(s)
2020 Ranger Lariat Fx4
Occupation
self employed
We installed the Eibach kit in my buddy's garage. Luckily he had all the needed tools and more experience than myself. The spring compressor kit wasn't horrible, but a little nerve-wracking after hearing horror stories.

The biggest thing we learned from the left front setup was to remove the axle nut on the right front.....after getting the half shaft reinserted correctly and cleaning everything back up of course.
 
OP
OP
armoredpig

armoredpig

Well-Known Member
First Name
Joseph
Joined
Mar 7, 2020
Threads
24
Messages
367
Reaction score
1,147
Location
VA
Vehicle(s)
2019 Ford Ranger STX
Occupation
Nurse
We installed the Eibach kit in my buddy's garage. Luckily he had all the needed tools and more experience than myself. The spring compressor kit wasn't horrible, but a little nerve-wracking after hearing horror stories.

The biggest thing we learned from the left front setup was to remove the axle nut on the right front.....after getting the half shaft reinserted correctly and cleaning everything back up of course.
Yes! As soon as the tools get here, I'll be knocking out my fronts. Will remove the axle shafts from the hubs before I undo anything else!
 
OP
OP
armoredpig

armoredpig

Well-Known Member
First Name
Joseph
Joined
Mar 7, 2020
Threads
24
Messages
367
Reaction score
1,147
Location
VA
Vehicle(s)
2019 Ford Ranger STX
Occupation
Nurse
20200903_182232.jpg

OK, so I've gotten my passenger side apart without breaking any bones. But I'm running into some trouble! How do I get the bottom spring perch off?

Edit: Nvm! Just pull it over the riveted fastener on top.
 
Last edited:

RangerDangerStranger

Well-Known Member
First Name
Chris
Joined
Mar 14, 2020
Threads
12
Messages
315
Reaction score
409
Location
SF Bay Area
Vehicle(s)
2022 Nissan Frontier SV in Tactical Green Metallic
Occupation
Cool Dude
Pull the plastic shield off over the piston, there is a foam damper in there also, remember the order and placement of them. A few light taps with hammer should break the perch free, towards the top of the strut. Everrthing will slide over the retaining ring.
 
OP
OP
armoredpig

armoredpig

Well-Known Member
First Name
Joseph
Joined
Mar 7, 2020
Threads
24
Messages
367
Reaction score
1,147
Location
VA
Vehicle(s)
2019 Ford Ranger STX
Occupation
Nurse
I got it all installed, but question: are you supposed to put on the original yellow bump stop with its white spacer? How about the black dust boot?

The Eibach instructions are really unclear. As of now, I just have the spring perch, lower black plastic isolator, top hat, and black rubber upper isolator.
 

DocE3Gun

Well-Known Member
First Name
Dillen
Joined
May 20, 2020
Threads
9
Messages
319
Reaction score
914
Location
Missouri
Vehicle(s)
2020 Ranger Lariat Fx4
Occupation
self employed
We installed all the original parts onto the eibach units.
 

RangerDangerStranger

Well-Known Member
First Name
Chris
Joined
Mar 14, 2020
Threads
12
Messages
315
Reaction score
409
Location
SF Bay Area
Vehicle(s)
2022 Nissan Frontier SV in Tactical Green Metallic
Occupation
Cool Dude
?
tbe bilstien instructions say keep the foam bumper stock height with no or 1" lift. trim other wise. you might want to look at the bilstien insrtuctions online, i believe they will cross well.
Sponsored


Top