DIY City Slicker Bed Cover

myothercarizahearse

Well-Known Member
First Name
Dave
Joined
Apr 26, 2020
Threads
18
Messages
1,880
Reaction score
6,631
Location
Cleveland, Ohio
Vehicle(s)
2019 Ranger STX 4x4 w/ GFC V2, 1987 Caddy hearse
Occupation
Unretired
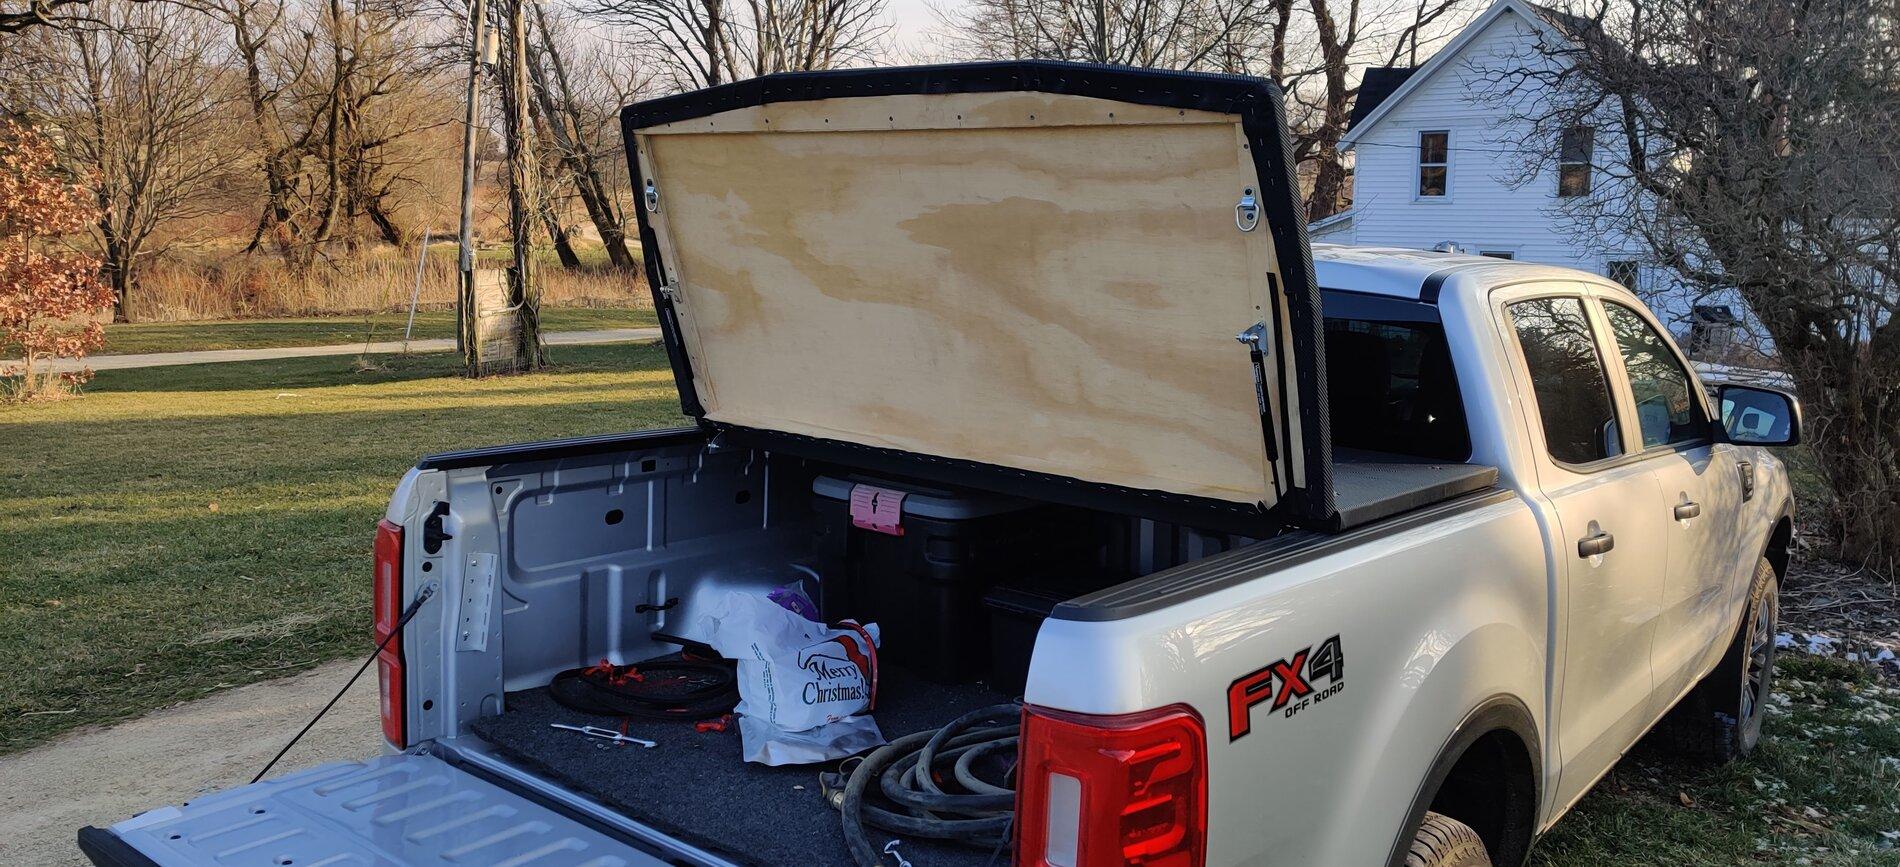
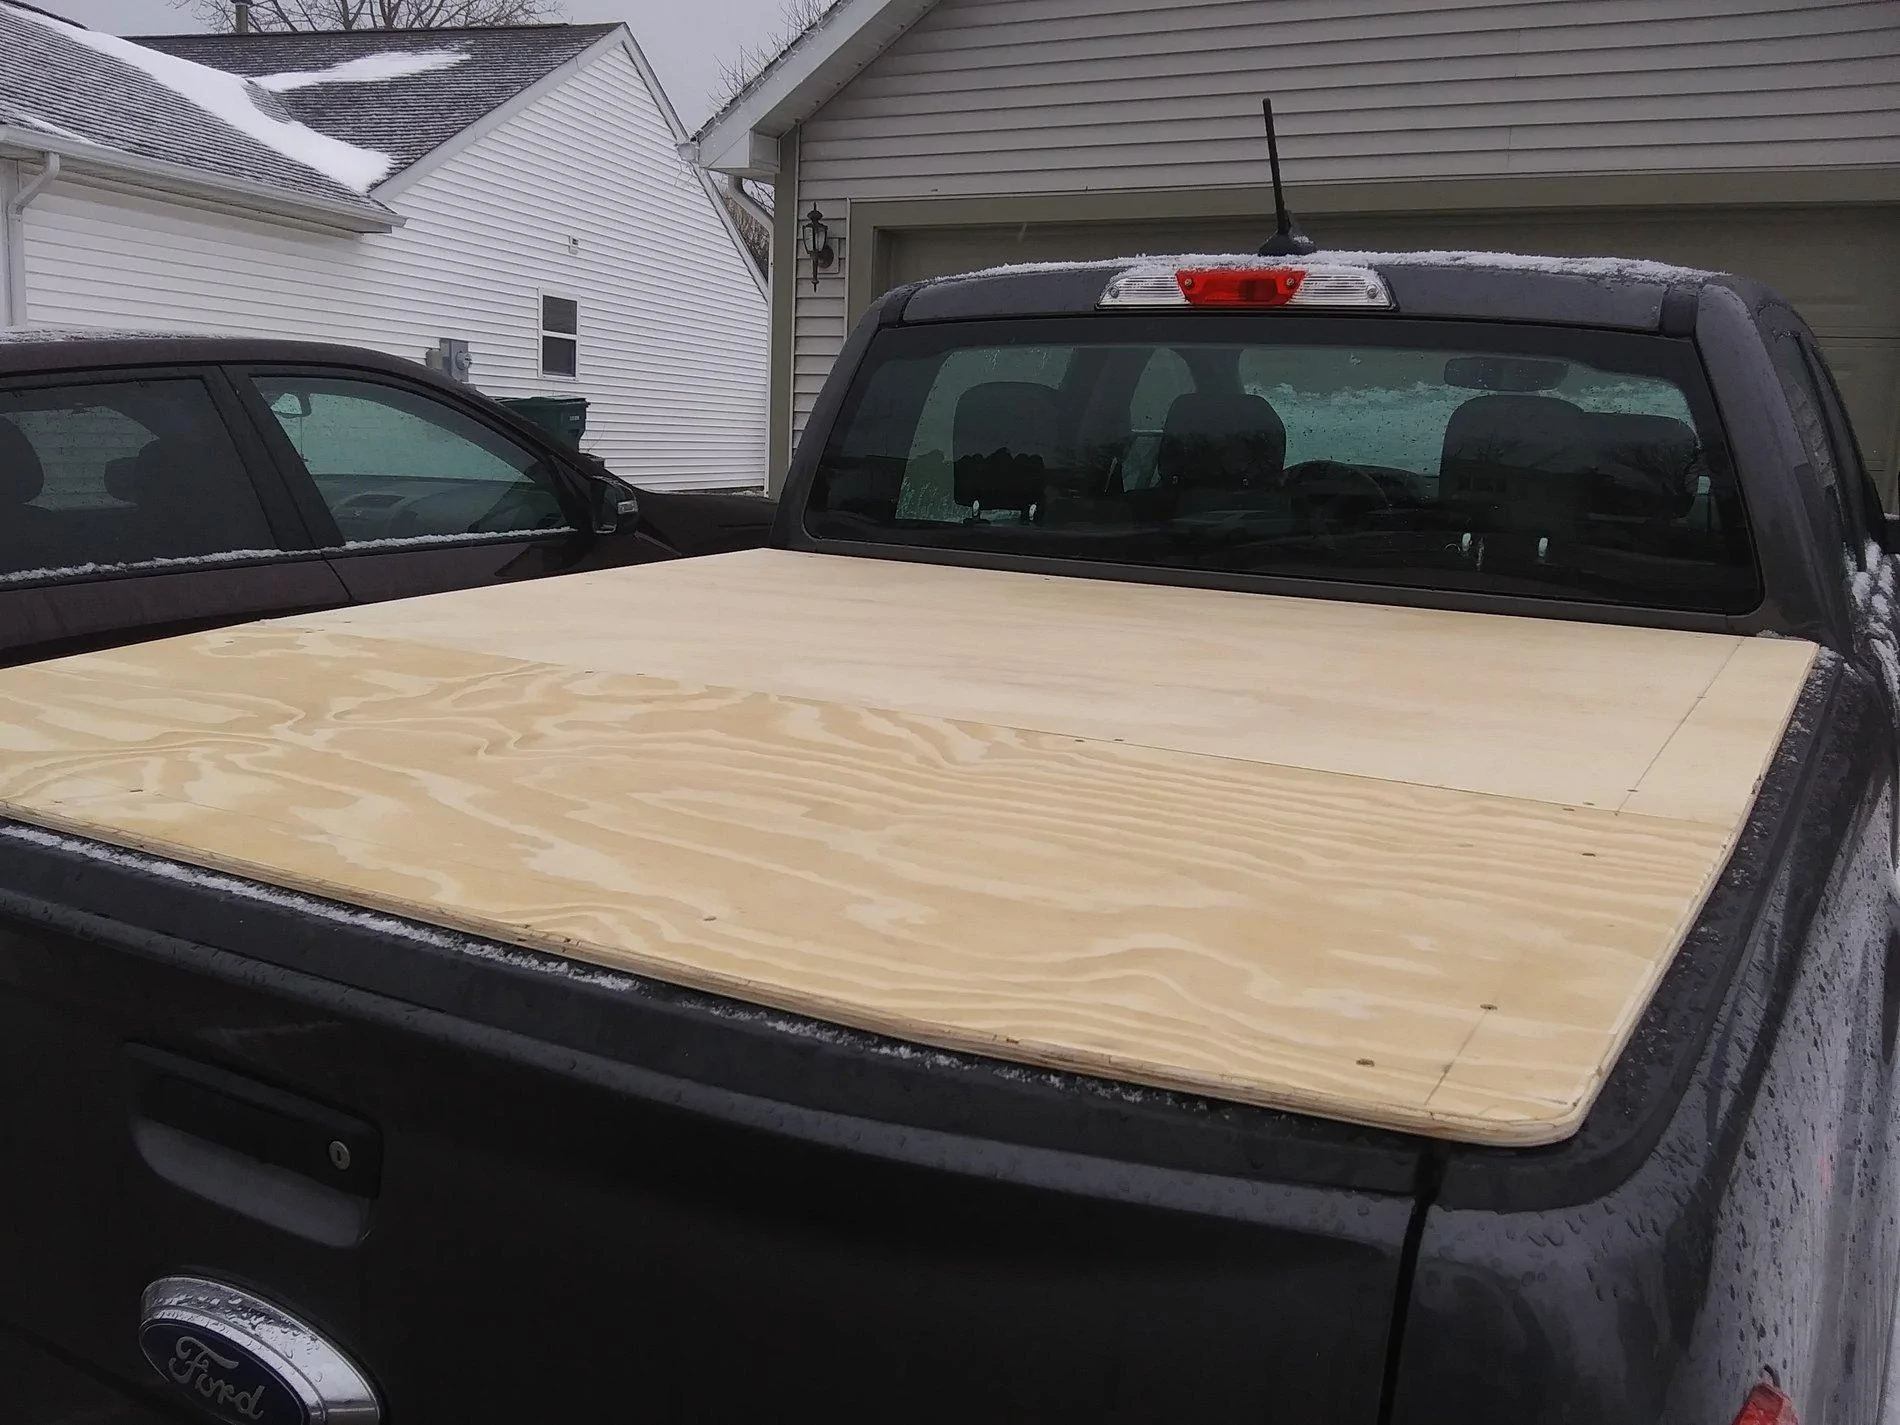
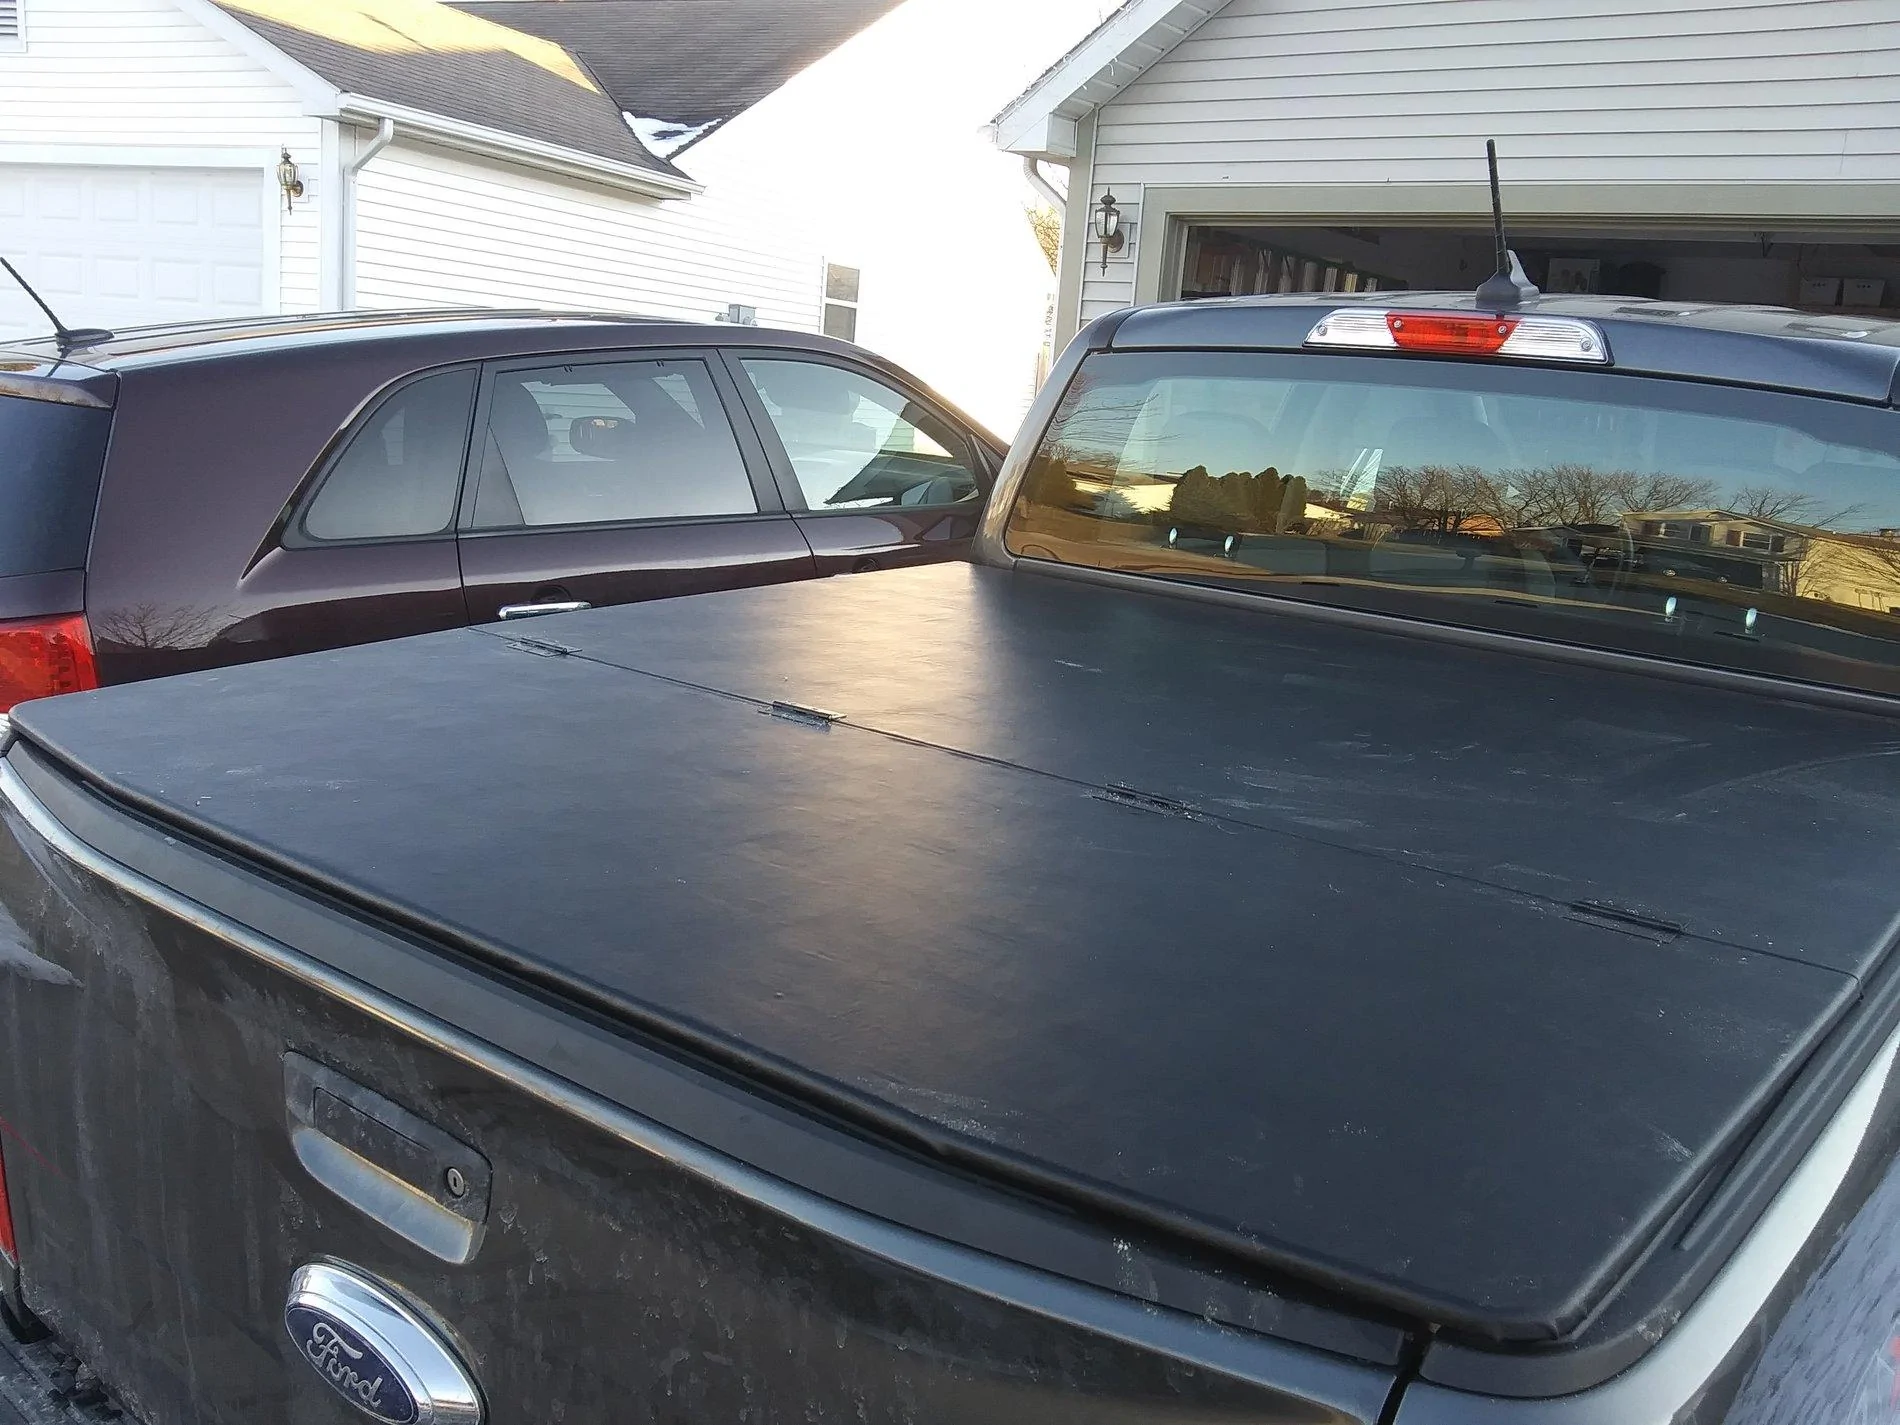
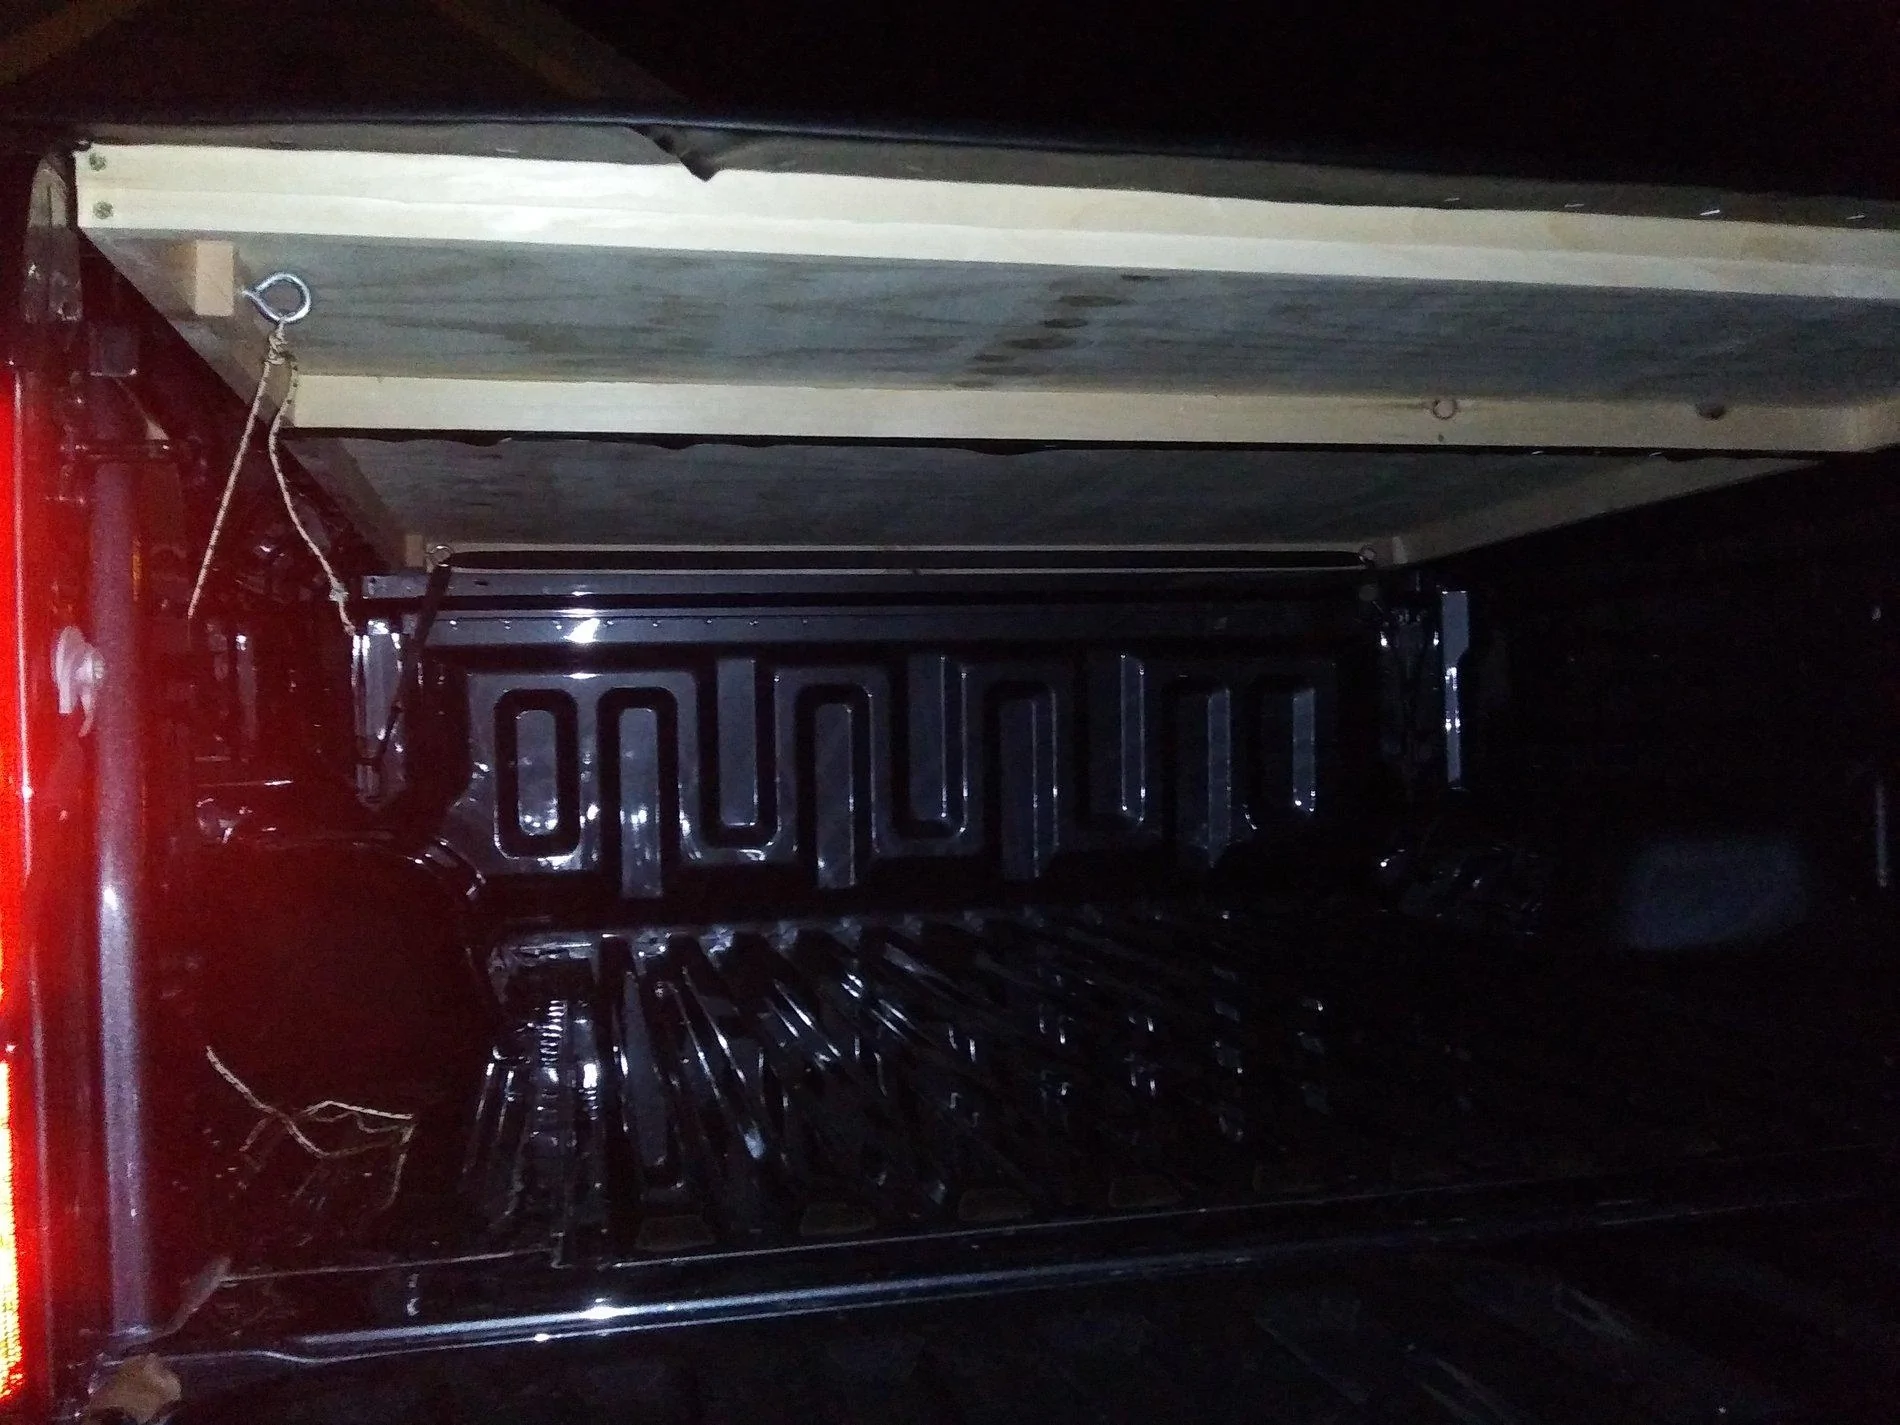
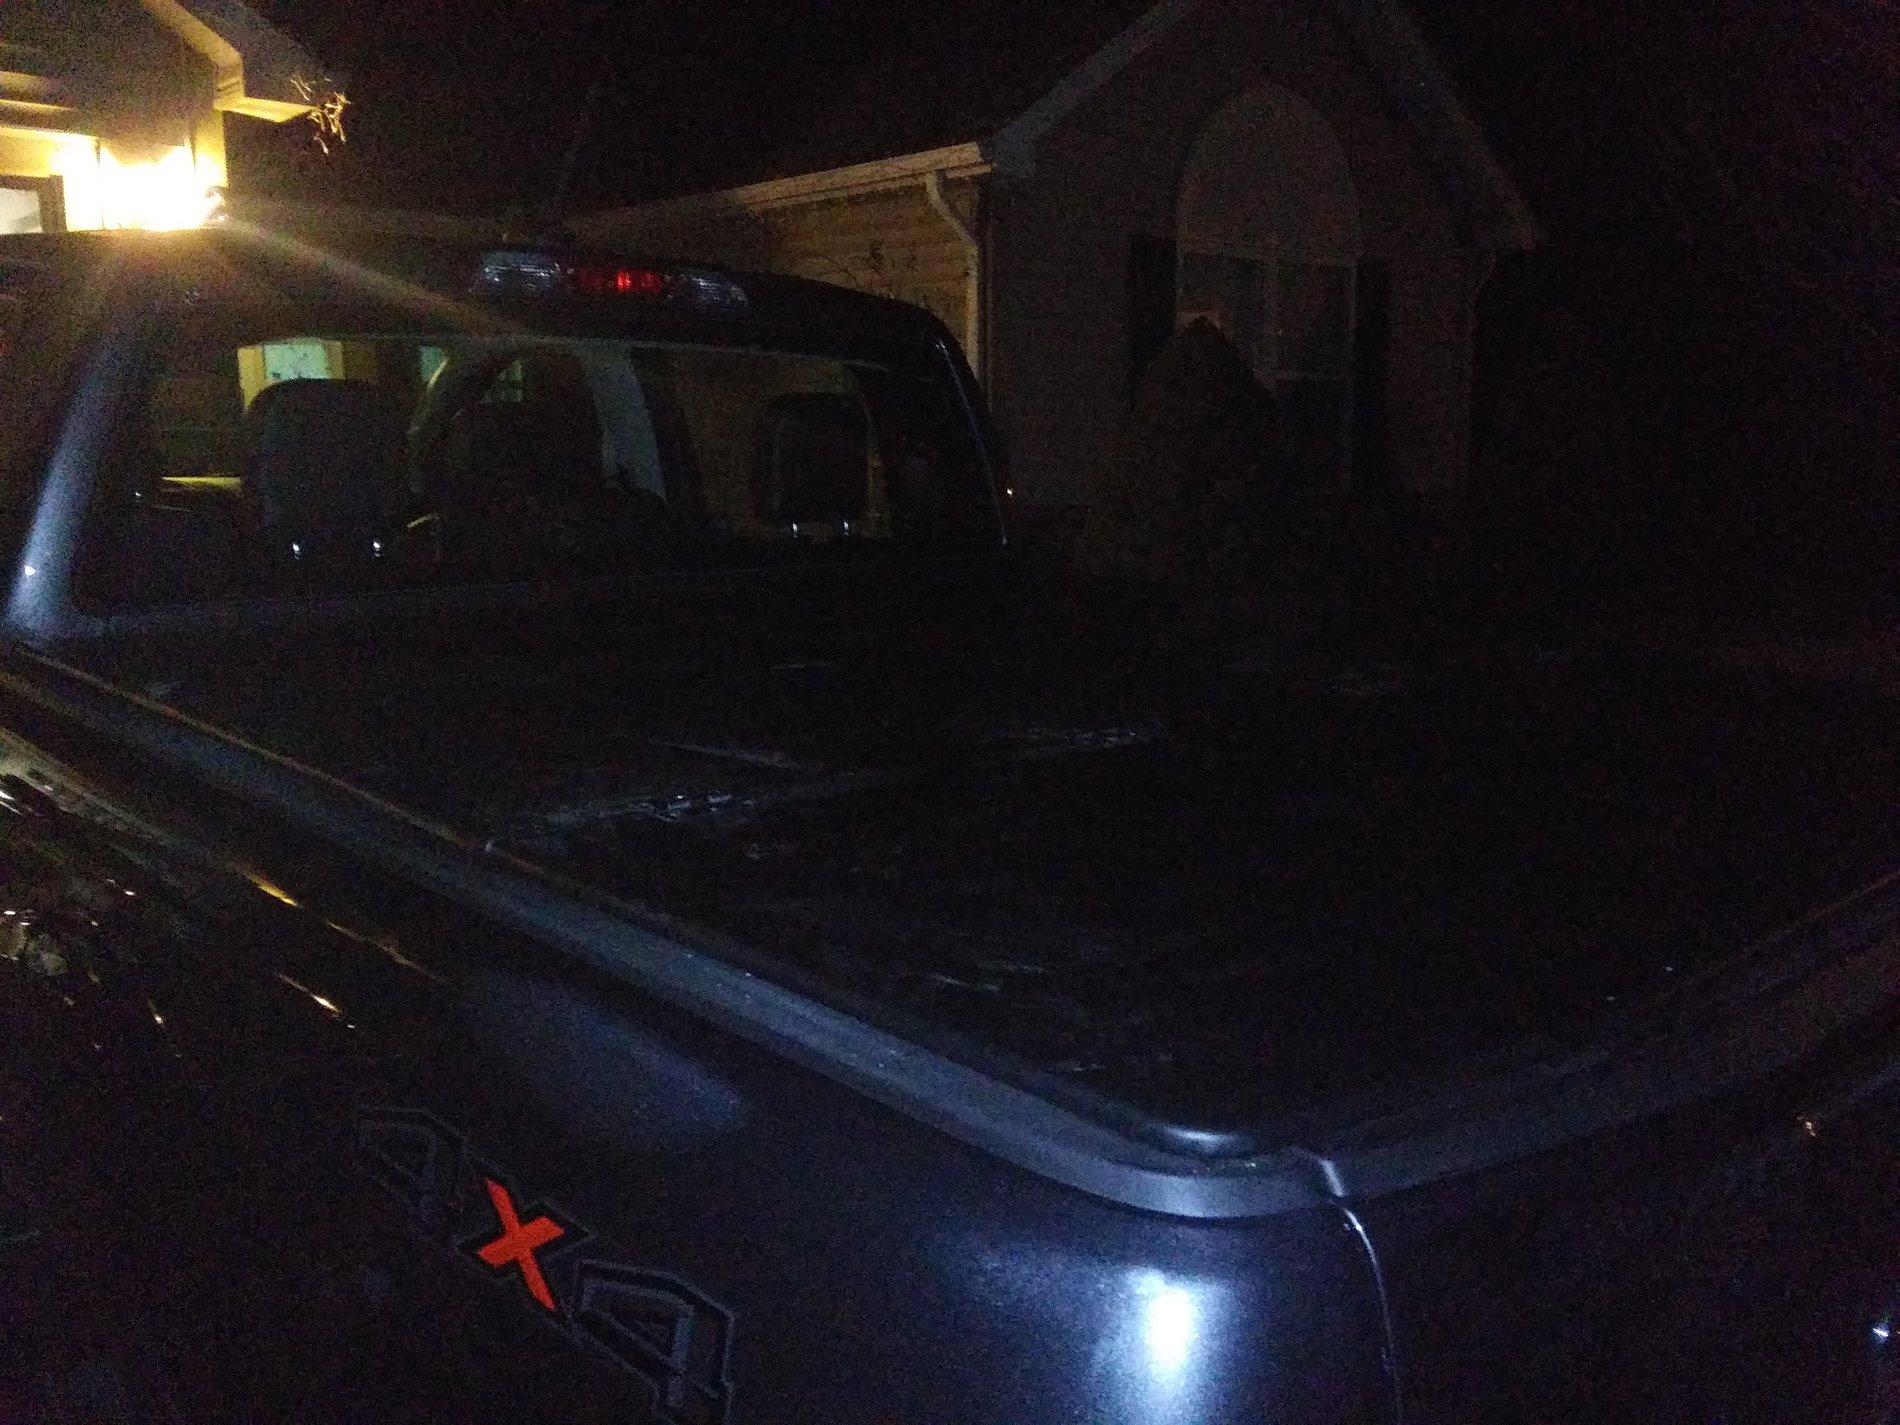
herculiner is $20 a quart and that should have been enough. I have a aluminum tool box and that keeps any covers from fitting. Sometimes you need a little more security and that cover would be easy to remove and reinstall AND takes up little space in the garage.... this might go on the project list. I love Ranger5g every time I think I'm out of things to do, POOF another mod to make the truck more useful
Sponsored

 
OP
OP
jsphlynch

jsphlynch

Well-Known Member
First Name
Joe
Joined
Oct 16, 2018
Threads
11
Messages
907
Reaction score
2,436
Location
WV
Vehicle(s)
2019 Ford Ranger XL
I love Ranger5g every time I think I'm out of things to do, POOF another mod to make the truck more useful
Let me fix that for you:

"...every time I think I'm out of things to do spend money on, POOF another mod to make the truck more useful decrease my bank account balance."

I love this forum, but it's definitely not a place to peruse if you have poor impulse control!
 
OP
OP
jsphlynch

jsphlynch

Well-Known Member
First Name
Joe
Joined
Oct 16, 2018
Threads
11
Messages
907
Reaction score
2,436
Location
WV
Vehicle(s)
2019 Ford Ranger XL
UPDATE:

About 9 months in, and so far so good. I only have the cover on about 25% of the time because usually I prefer the open bed. But when the situation arises that I need the cover, it only takes ~5 minutes for me to get it on and secured.

I added some swing-out loops to the top (see picture below). With them, if I have some extra stuff that doesn't need the protection of the cover, I can easily just tie it down on top of the cover. They're screwed in with the screws penetrating down into the cover's frame, so quite secure, and very useful.
20201113_080426.jpg


Only drawback so far is that there is a very, very slight sag across the width of the cover (picture below, though it's so slight the sag is hard to see. Yes truck is very dusty. I just got back from a trip.). If you're copying my design, you may want to either use a stiffer wood on the frame cross-pieces, or possibly a little thicker piece of wood.
20201113_080455.jpg
 

Bluestem

Well-Known Member
First Name
Chris
Joined
Jun 17, 2020
Threads
3
Messages
108
Reaction score
260
Location
Capron, il
Vehicle(s)
'19 Ranger
Wow, I've been inspired. This looks great Joe. After looking over your design and noticing the pile of scrap lumber and plywood laying around my shop I may tackle this as well. I have my eye on a fancy topper but like you need to save my pennies ( many of them apparently) and am somewhat handy. Not sure when it'll happen but my Empire of Dirt doesn't have a heated shop so if I don't get to in the next couple weeks it won't happen till the flowers pop out of the ground next spring, that being said I may try to do a few things a bit different: add a piece of 1x4 along the bed rail sections so I can fashion these clamps instead of using ratchet straps, and maybe figure out a way to add some gas struts and a lock for the "hatch".

I'll keep be back if I have questions, thanks!


OP
OP
jsphlynch

jsphlynch

Well-Known Member
First Name
Joe
Joined
Oct 16, 2018
Threads
11
Messages
907
Reaction score
2,436
Location
WV
Vehicle(s)
2019 Ford Ranger XL
Wow, I've been inspired. This looks great Joe. After looking over your design and noticing the pile of scrap lumber and plywood laying around my shop I may tackle this as well. I have my eye on a fancy topper but like you need to save my pennies ( many of them apparently) and am somewhat handy. Not sure when it'll happen but my Empire of Dirt doesn't have a heated shop so if I don't get to in the next couple weeks it won't happen till the flowers pop out of the ground next spring, that being said I may try to do a few things a bit different: add a piece of 1x4 along the bed rail sections so I can fashion these clamps instead of using ratchet straps, and maybe figure out a way to add some gas struts and a lock for the "hatch".

I'll keep be back if I have questions, thanks!
Go for it! And of course, report back on how the project goes.

For a lock, one thing I looked at was using a locking latch for a topper. Quite a few options available online that might be worth considering.
 

Bluestem

Well-Known Member
First Name
Chris
Joined
Jun 17, 2020
Threads
3
Messages
108
Reaction score
260
Location
Capron, il
Vehicle(s)
'19 Ranger
I had a chance to throw something together. I should have taken a few more pictures. I don't like using the turnbuckles to lock the lid but it's what I had and it pulls it tight. I'll figure a locking cam latch or something when it warms back up on the other side of winter.
Costs:
Plywood (already had it but) 2 sheets 3/4" BCX plywood: $82
toolbox clamps: $20
gas struts: $18 (I'd get the 67 lb version if was to do it over, the 45lb version doesn't pull the lid up but holds it)
marine vinyl: $80
3m 77 super adhesive: $10

I put it together about the same as Joe but doubled up the plywood on the edges that cover the bedrails.
IMG_20201218_145602.jpg
IMG_20201218_145716.jpg
IMG_20201218_145531.jpg

IMG_20201209_061015.jpg
IMG_20201209_061045.jpg
 

Kemo Sabe

Well-Known Member
First Name
Kemo
Joined
Dec 22, 2019
Threads
1
Messages
239
Reaction score
364
Location
Upstate SC
Vehicle(s)
2019 Ranger
The backstory:
When I bought my truck, I thought I had absolutely no need for a tonneau cover (hereafter simply called “bed cover” because I keep misspelling tonneau). So when the sales guy showed me a pickup with a factory hard cover on it, I simply told him no thanks, I’d like to keep my thousand bucks.

So I purchase a truck without such a cover. Fantastic truck. Drives nice. Really comfortable. All the kids fit in the back seat and are still easily within reach. And it’s a truck so there’s lots of room in the bed for various cargo. The wife agrees with all those points, and starts suggesting that these perks make it a better option for our 4000-mile road trip this summer than the family SUV. There is, of course, one problem with this plan: I don’t have a cover to protect all our stuff in the back from weather and/or greedy fingers. How to solve this problem?

Plan A: I’ll simply buy a canopy/capper/topper/whatever they’re called these days. Would be a nice way to maximize protected space in the bed…oh holy crap are those things expensive and I just spent all my money on a truck!

Plan B: Ok, what if I got a cheap bed cover as a temporary method to protect our stuff. Decided I didn’t like the options available in the price point (dirt cheap) I was looking for.

Plan C: Hmm, DIYAndy made a pretty decent Hillbilly hard cover for not too much cash. I’ll bet I could do something similar. (Seriously, huge shoutout to @DIYAndy for providing the starting point for this project)

What I really liked about DIYAndy’s cover:
-Inexpensive
-Looks decent
-Functional
-Inexpensive
-Doubles as a mobile bar top
-Easy to build
-Inexpensive
-Gets the job done

Where I thought there was room for improvement in DIYAndy’s design:
-His tie-down system, though elegant in its simplicity, used quite a bit of room in the bed
-Would like better access to bed without needing to completely remove a section
-While it doesn’t look bad, could we do something to make it a little less hillbilly looking?
-Could it be made a little more weather-tight?

After multiple (ok, it was only 1) design sessions consisting of using a state of the art computer to play video games while drinking beer, followed by scribbling some stuff down on the back of an envelope, which I subsequently lost, I had a mild hangover and a plan to make the following changes to DIYAndy’s design:
1) Increase the plywood thickness to ½ inch to increase rigidity and thereby decrease the necessary framing
2) Instead of a “ladder” frame, only do a perimeter frame, and use 1x2 instead of 2x2
3) Use two sections instead of three, with the rear section hinged to allow it to fold up for better bed access
4) Use clamps to attach it to the bed (this ended up not working so I later added straps, but at a different anchor point than DIYAndy)
5) Instead of paint, cover the whole thing with vinyl
6) Add rubber seals

The end result is the DIY City Slicker Bed Cover™. The improvements were not without compromise, as it is not possible to use this bed cover as a mobile bar top.

Materials list (all prices before sale prices, taxes, or shipping, where applicable):
-2 of 4x8 sheets of ½ inch plywood (B/C grade) ($20.85 each)
-5 of 8 ft 1x2’s (Must be straight and true, so don't buy cheap furring strips) ($2.49 each)
-4 medium strength hinges (purchased in packs of 2 for $2.99 each)
-4 yards x 56 inches of marine vinyl fabric ($8.34 per yard)
*Just want to add here that several people in the reviews for the vinyl complained that it came folded up, so their vinyl has creases. Mine came nicely rolled on a cardboard tube.
-1 can of 3M Spray Adhesive ($9.96)
-Wood Glue (on hand)
-Miscellaneous screws and nails (on hand)
-4 eye-screws ($2.12 per 2-pack)
-Ratcheting tie-downs (swiped from my deer stand, so I’ll have to buy replacements before fall)
-Crappy cheap tiedowns ($4.99)
-Rubber Seals as desired (not yet added)
-Miscellaneous bandaids, number needed may vary (on hand)
-Beer (save for after completion, or else purchase extra bandaids) (Price may vary)

Step-By-Step

1) Look admiringly at the pile of supplies. Call it a day, go inside and watch football
20200125_163703.jpg

2) Cut plywood to size. Remember the old adage to measure twice and cut once, or else mistakes may happen (I bring this up for no reason in particular). Since I have the 5-ft bed, I did my cover in two sections, with the front section approximately 3 ft long, and the back section about 2 ft long. Note that the plywood will sit on top of bed rails, which narrow toward the back, so size accordingly. Also note that the top of the tailgate is not completely flat, so I cut that section to follow the contours (see picture below)
20200208_200409.jpg


3) Cut 1x2’s to size for frames. The frame fits just inside the rails, with just a little space between the rails and the frame. Each bed cover section has its own perimeter frame.

4) Screw/nail together frames, using a little wood glue for extra security.
20200125_172808.jpg

5) Attach frames to plywood using wood glue and screws/nails. Note that I placed the “C” side of the plywood facing toward the frame (see my hindsight note about this towards the bottom of this post). As you can see in the picture below, the frames on the two sections butt up against each other at the joint between the two sections, but that is the only place where the frames go all the way to the edges of the plywood.
20200208_221509.jpg

6) Optional: I used a ÂĽ inch roundover bit to route the edges of the plywood.

7) Add a strip of 1 x 2 flat (ripped on the table saw to make it a little narrower) on the cab end of the bottom of the cover to help fill the gap between the bulkhead rail and the cover. You’ll see what I mean.
20200208_212451.jpg


I was doing a lot of test fits on the truck as I went along. Here's a test fit of the two pieces of the cover while still bare wood:
20200209_134122.jpg


8) Cover the top with the vinyl fabric using LOTS of spray adhesive (do this in a very well ventilated area). Wrap the vinyl around the edges and staple to the bottom of the cover. Note that this is the first time I’ve tried doing something like this, so I didn’t quite stretch the vinyl over the cover perfectly. It still looks good IMO, but the perfectionist in me is a little disappointed.

9) Paint hinges black to somewhat match the fabric.
20200208_214402.jpg


10) Attach hinges using provided screws.

Here's another test-fit after adding the hinges. Just ignore how dirty the truck is.
20200216_173521.jpg


11) Install eye-screws where appropriate, so that they roughly line up with the tiedowns in the bed. I added a little blocking to help ensure strength at the attachment points.
20200216_193637.jpg


12) Add seals as desired. (Haven’t done yet, but I’m going to at least add a seal down the gap between the two panels.)

13) Use a strap between the bed tie-downs and the eye-screws to fasten the whole thing to the truck (see my “hindsight” note about this below), and the cheap tie-downs to hold down the folding section. Was dark when I did this, but you can kinda sorta see what it looks like in these pictures. I'll need to add another anchor point towards the middle. Inside:
20200218_194331.jpg

And out:

20200218_194400.jpg


14) Grab a beer and drink whilst admiring your handiwork.

Overall Price (assuming I did my math right, excluding sale pricing, taxes, and shipping): $112.68 before adding any seals, and not including supplies on hand.

Hands-on Time Required: ~6 hrs, not including step 1, spread out over multiple small bits here and there.

I figure if it lasts me at least two years, this will have been a sound investment of both money and effort, and then I can revisit Plan A.

In Hindsight…
Of course, now that I’ve made the whole thing, there’s a couple things I wish I had done a little differently:
-I wish I had made the section the folds up just a little longer. Not much, just a few inches to improve access.
-As I mentioned, I oriented the plywood so the nicer side faced up. However, that’s the side that got wrapped in vinyl, I should have faced it the other way so the nicer side would be the one that remains visible on the completed cover.
-I didn’t originally intend to use straps to hold the cover down. I had purchased these cheap topper clamps on Amazon with the plan to clamp the frame of the cover to the side of the bedrails. This didn’t work for a variety of reasons, including that the clamps were just a tiny bit smaller than I anticipated. I’ve kept the clamps, and hope to modify them in such a way as to make it work.
-I’m not super happy with my use of the cheap tie-downs to lash down the folding section. They get in the way a little bit, plus they don’t secure things as well as I hoped since the cords are more stretchy than I expected and slip out of the locking apparatus pretty easily. At the very least, I’m going to upgrade these to a higher quality version, but I’d really like to incorporate something that will latch under the rails. My original design called for using cane bolts to do this, but couldn’t find any that would work the way I envisioned, hence the switch to the cheap tie-downs.

Disclaimers:
I’m not an engineer and am in no way qualified to make claims about the robustness of the design. Any person who attempts to replicate this design assumes full responsibility for the finished product. This product is not intended to diagnose, treat, cure, or prevent any disease. Void where prohibited.

California Proposition 65 Warning: This product contains chemicals known to the State of California to cause cancer and birth defects or other reproductive harm.
Really nicely constructed with a superbly written construction article!
Sponsored


Top