jblc
Well-Known Member
- Thread starter
- #1
I've learned much from reading these forums -- thanks all ") I'll share back some of what I've learned as well.
I'll share back some of what I've learned as well.
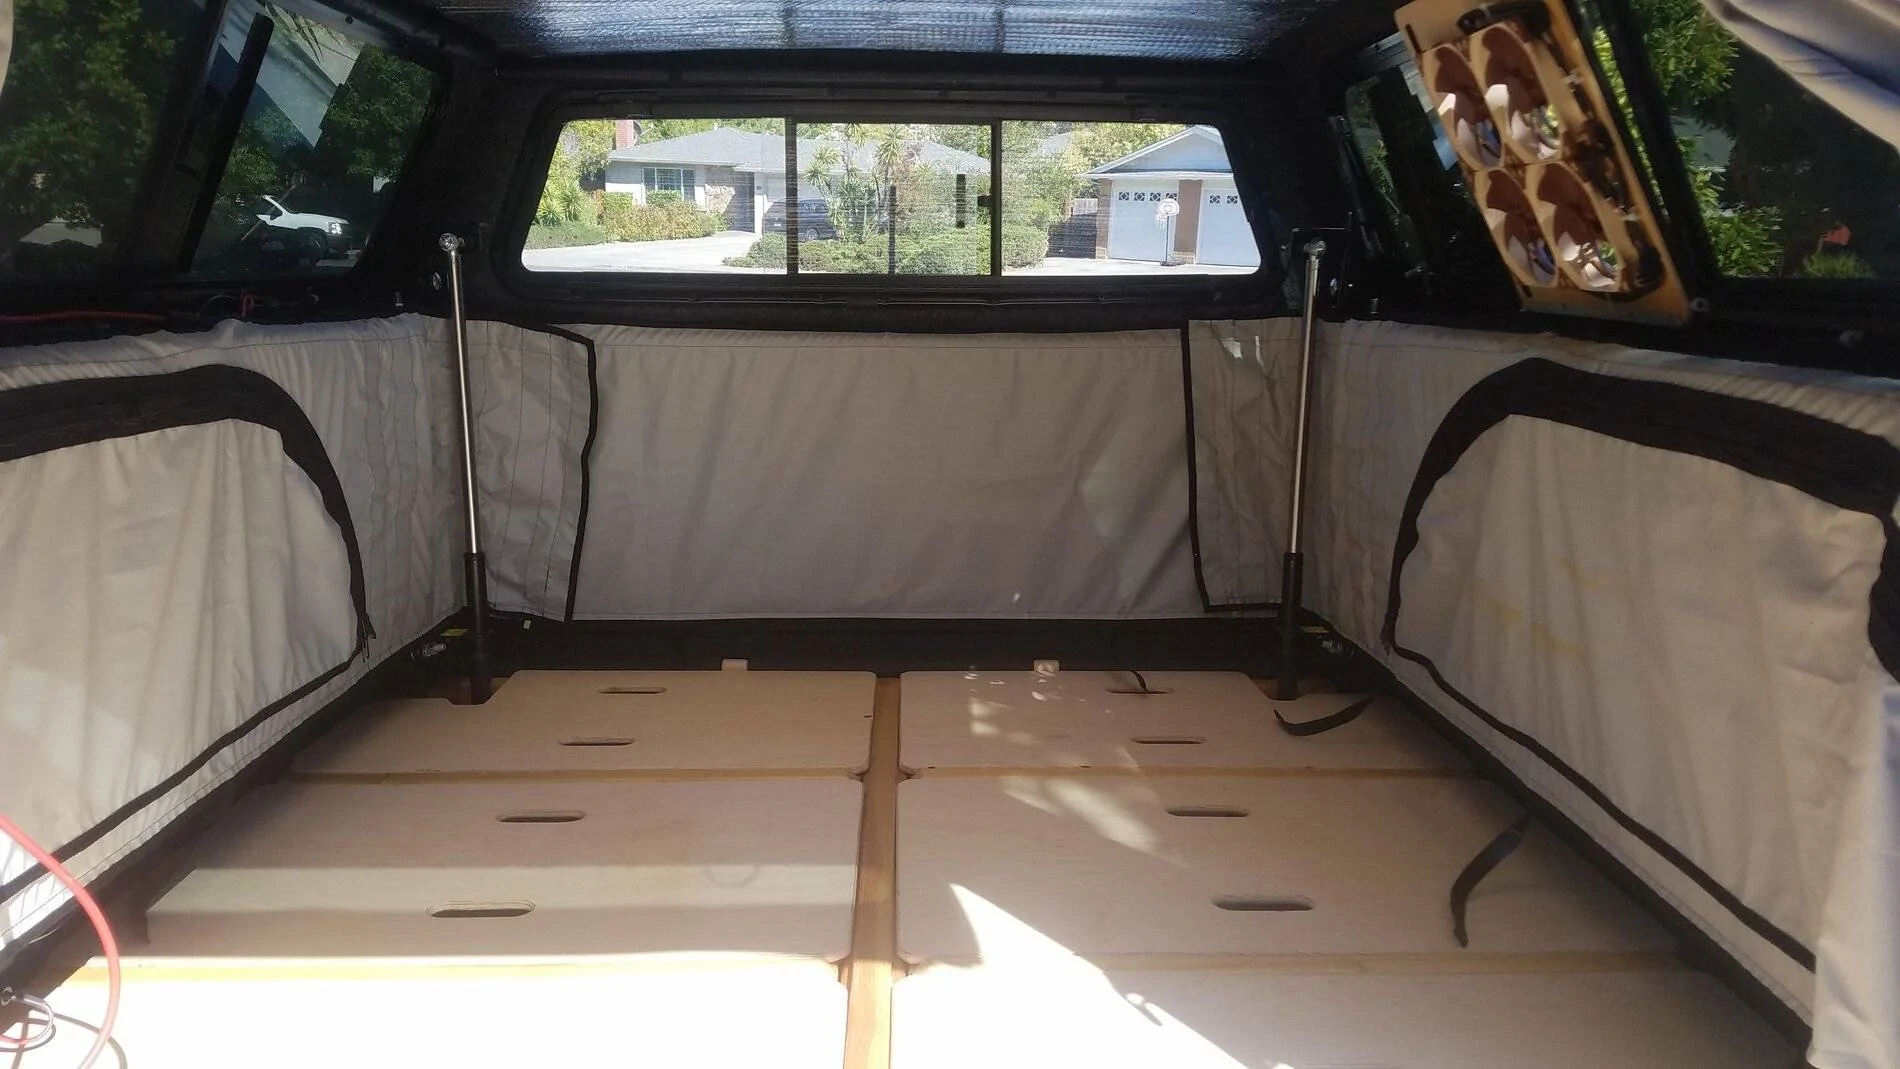
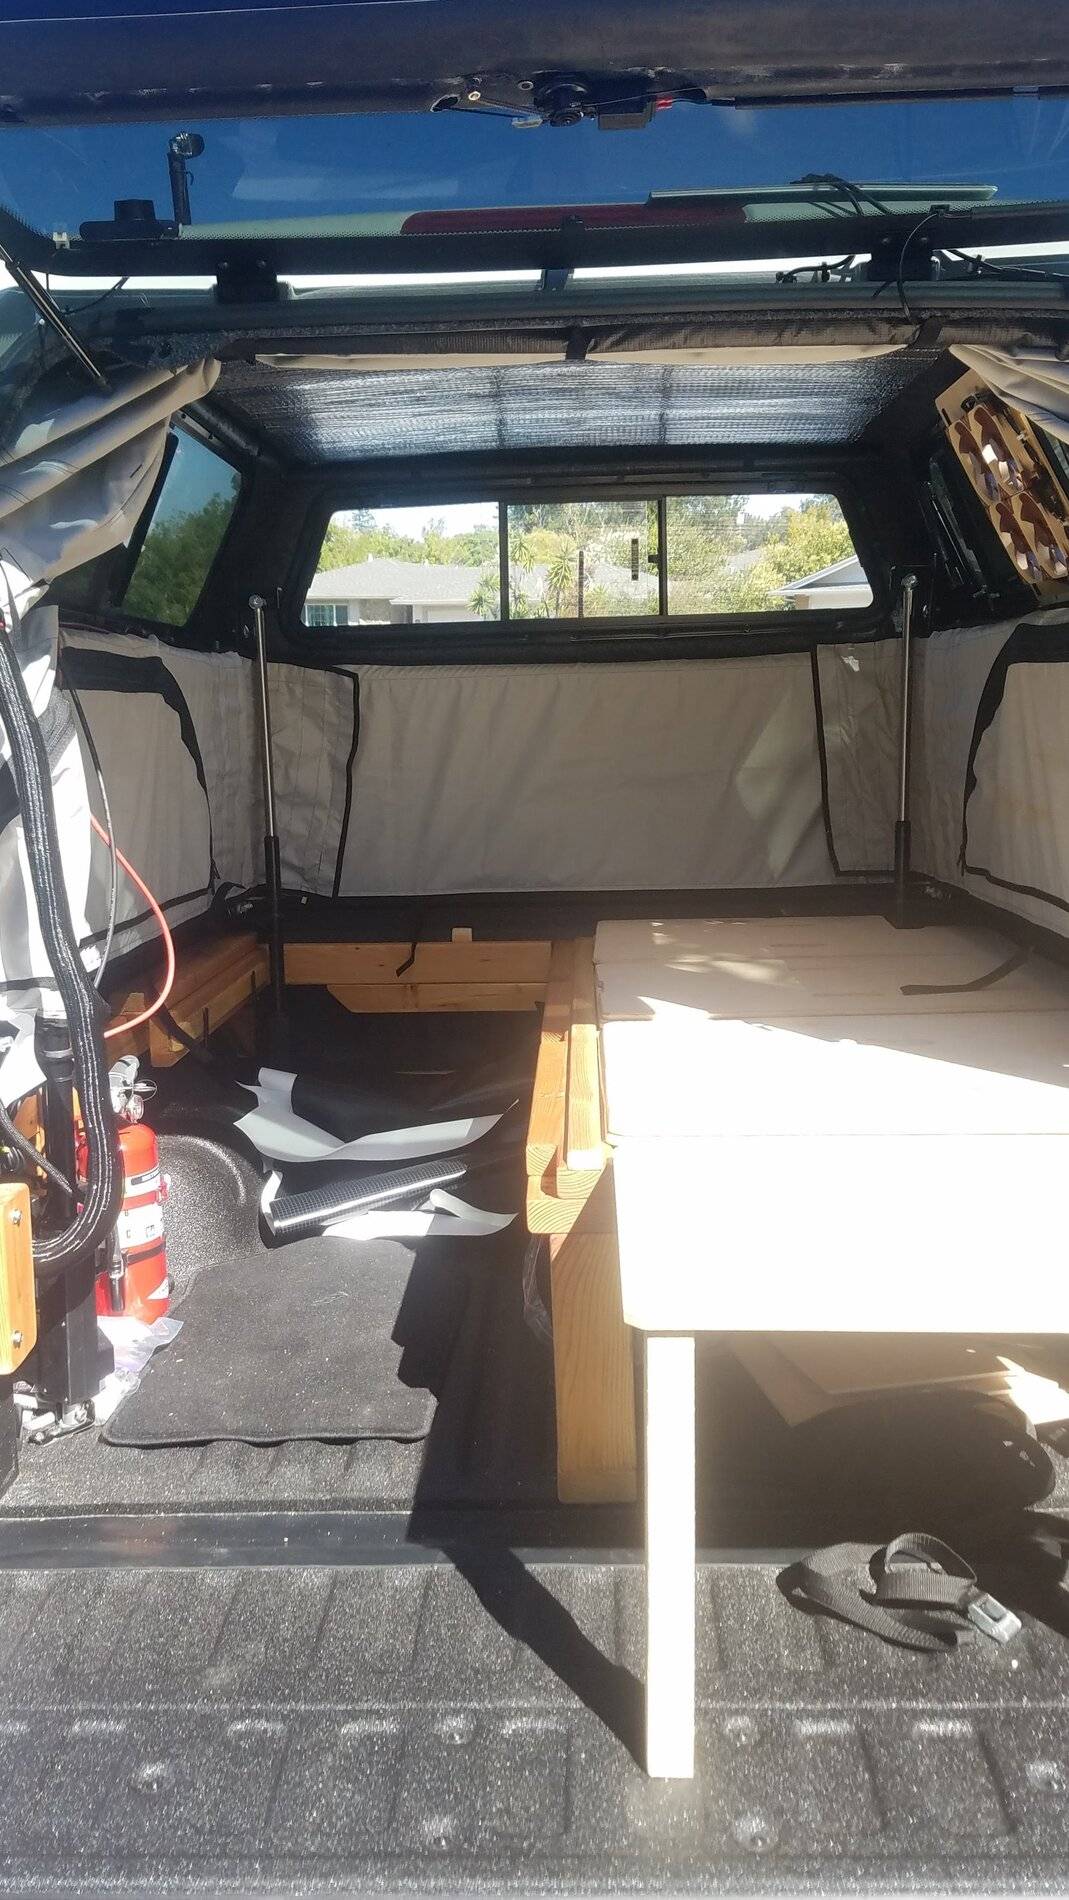
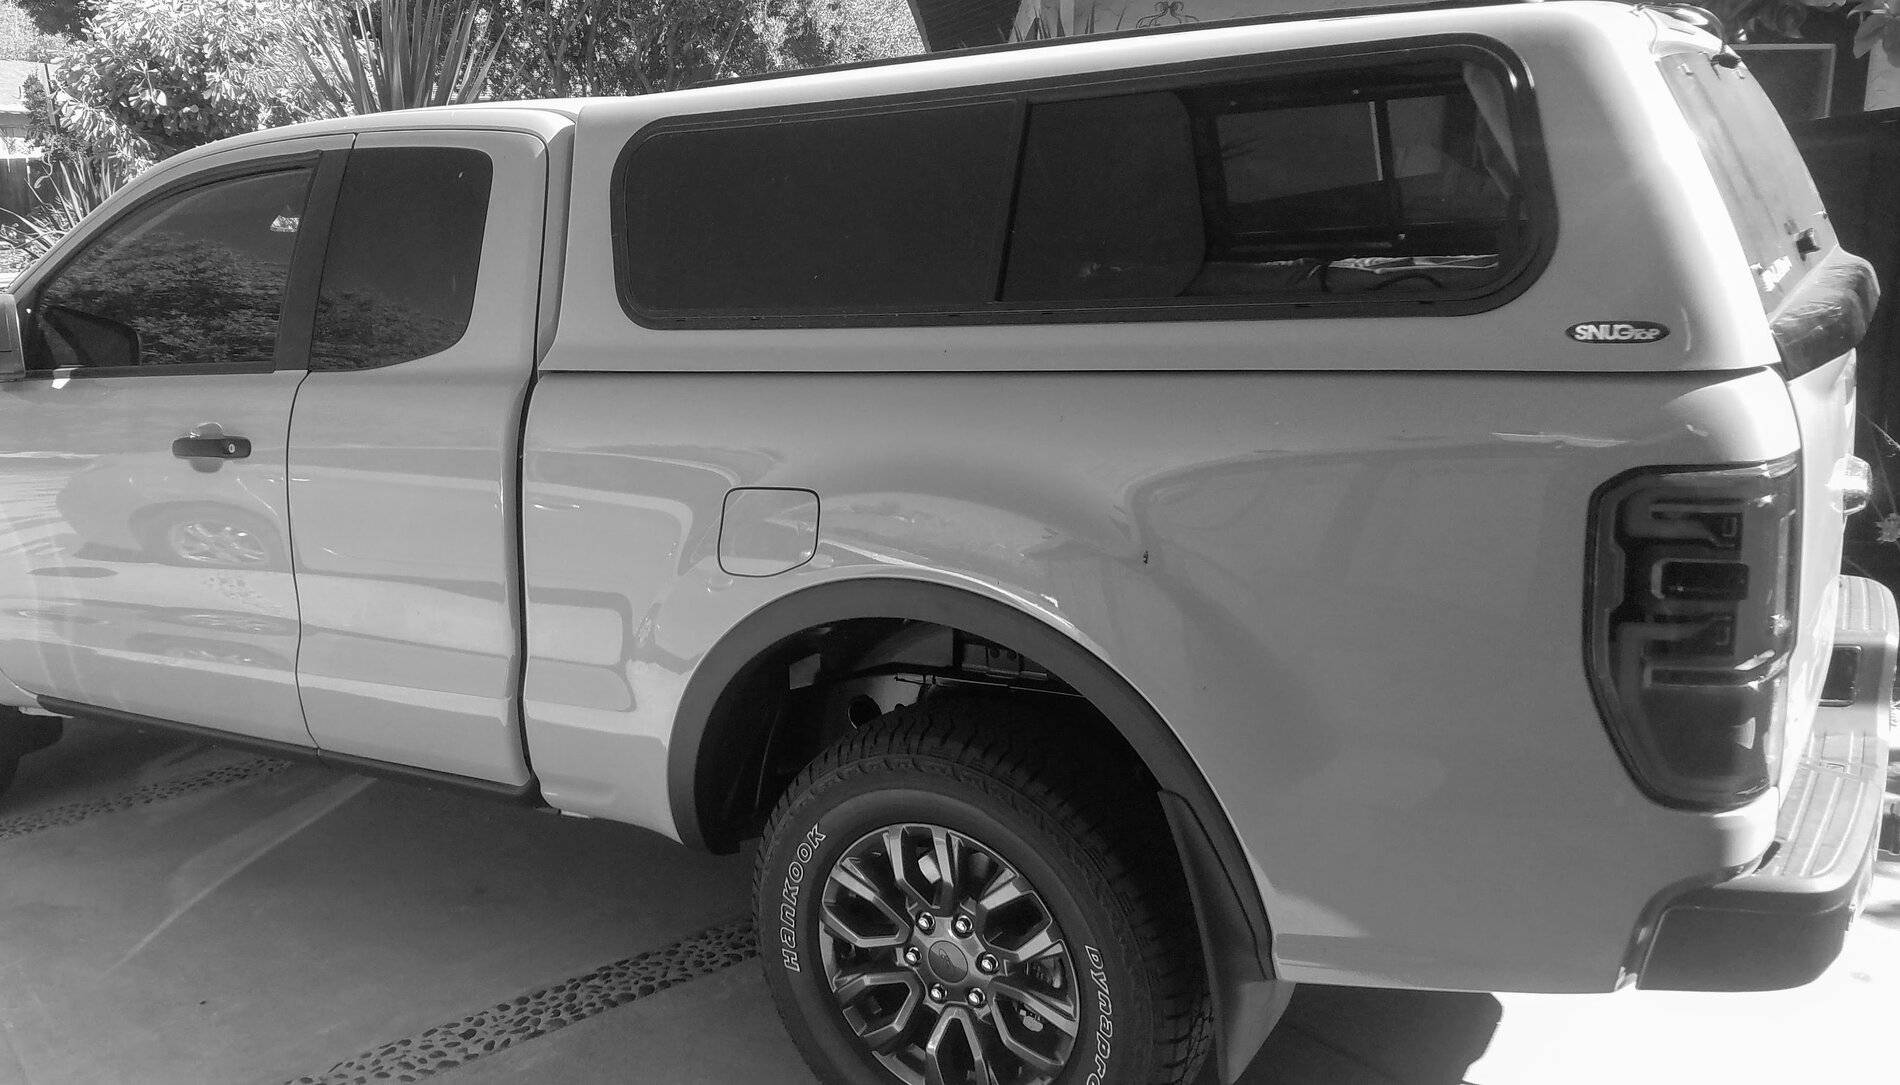
This thread is about a build to make a versatile camper that looks as inconspicuous as possible. I had one with my '97 XLT, and have been working on additional changes to my '21 XLT FX2, since it arrived 4 weeks ago (it was a factory order)
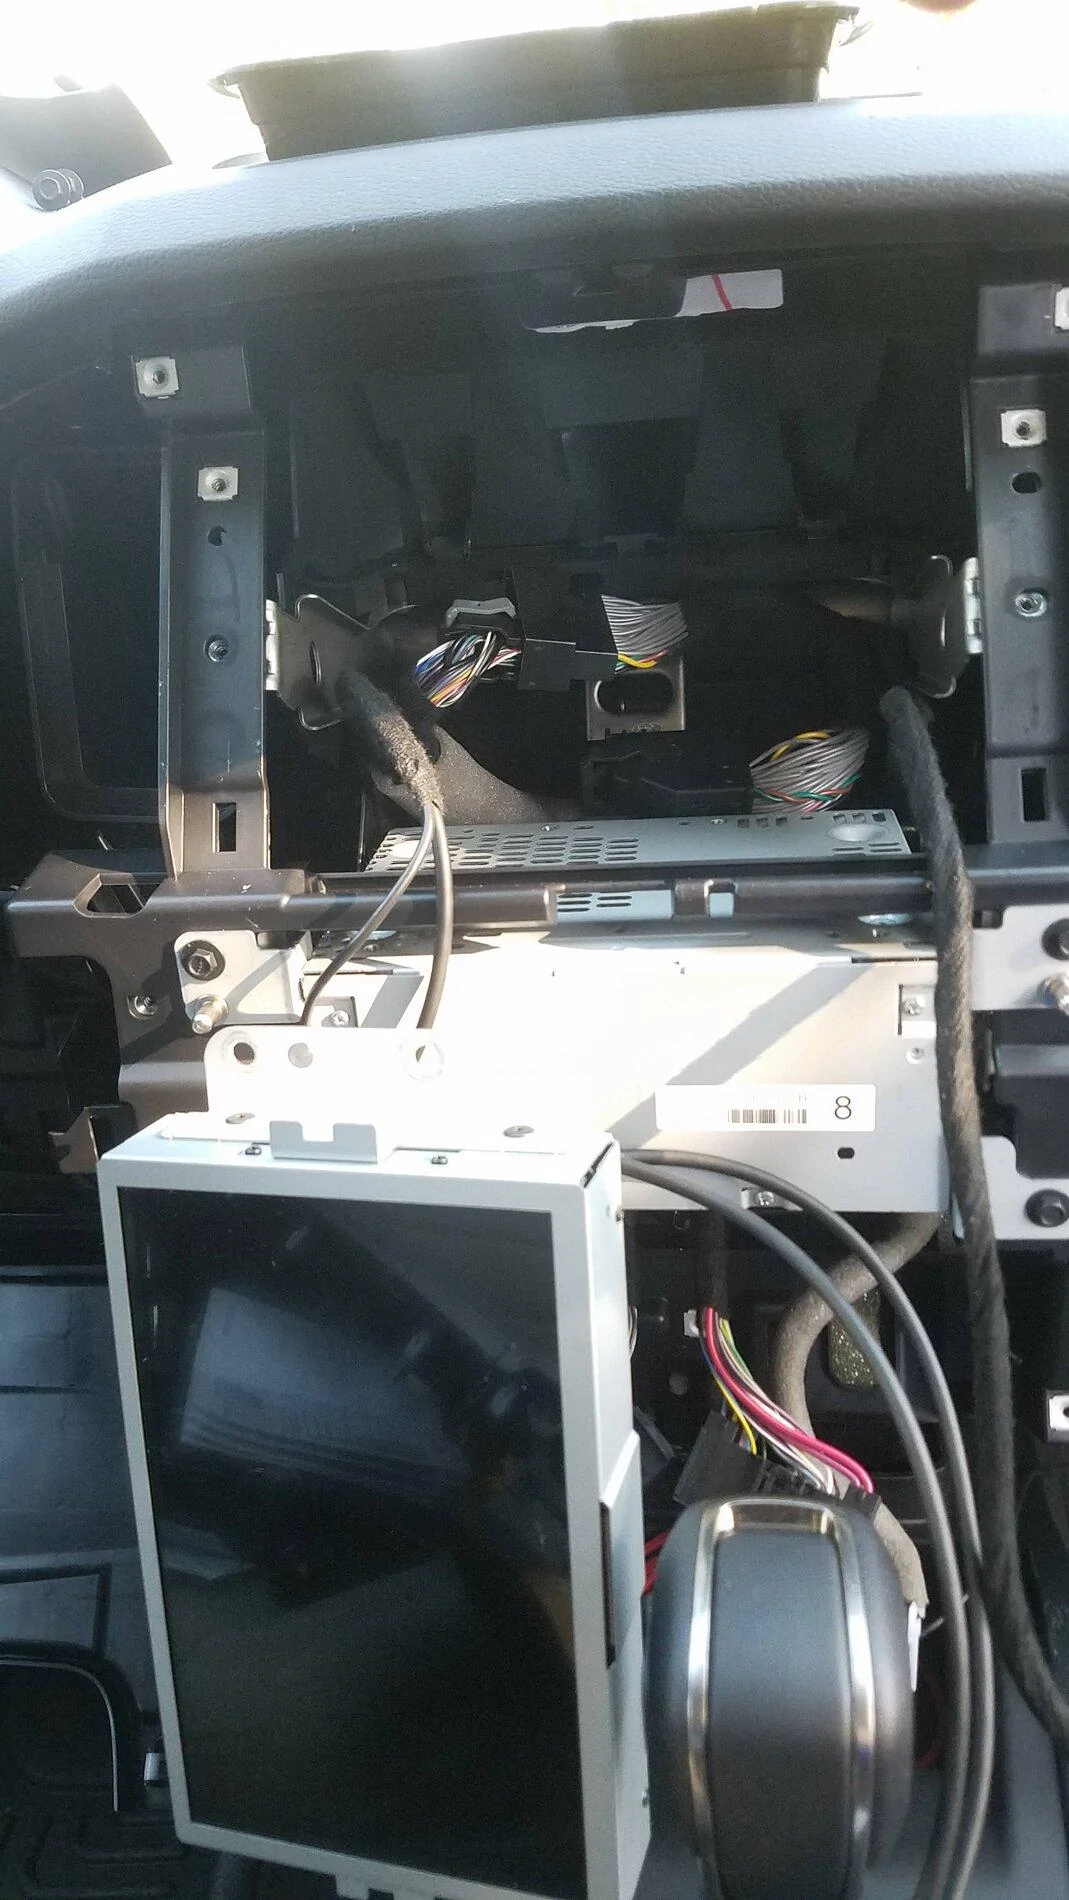
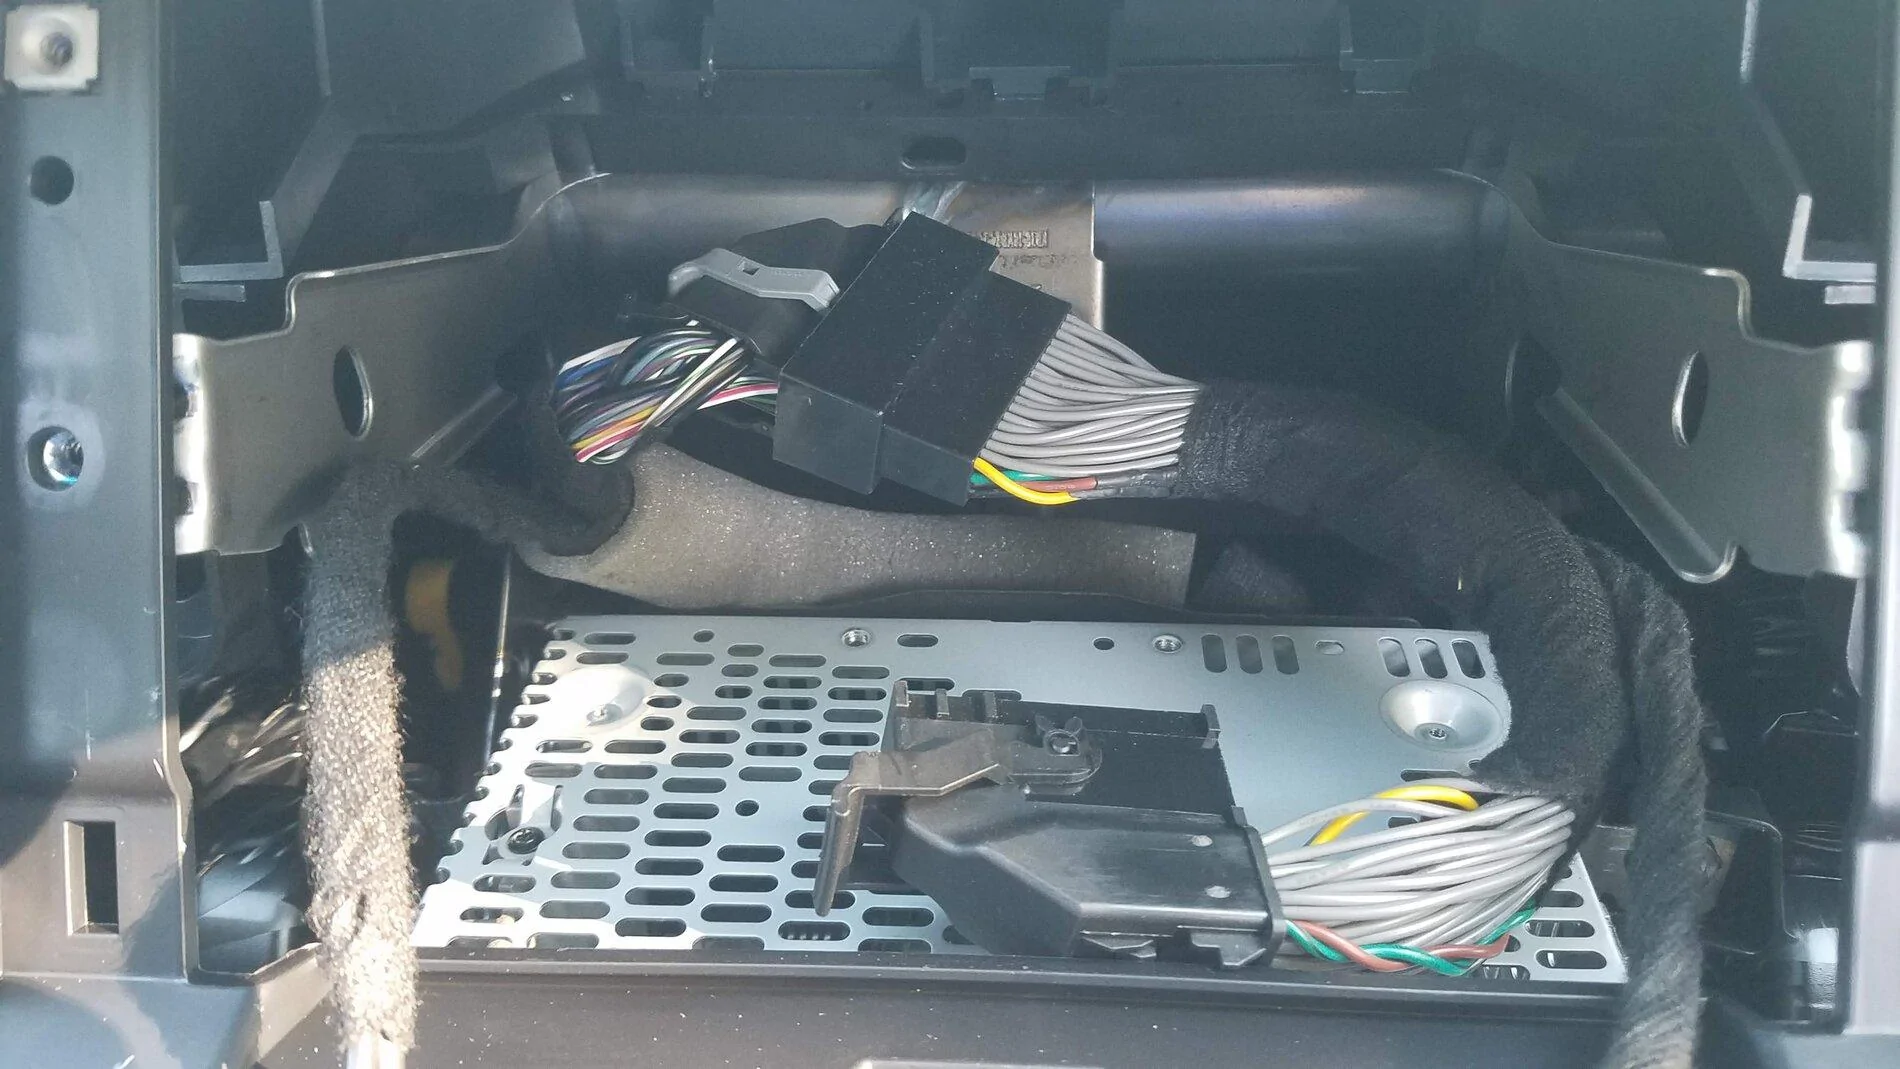
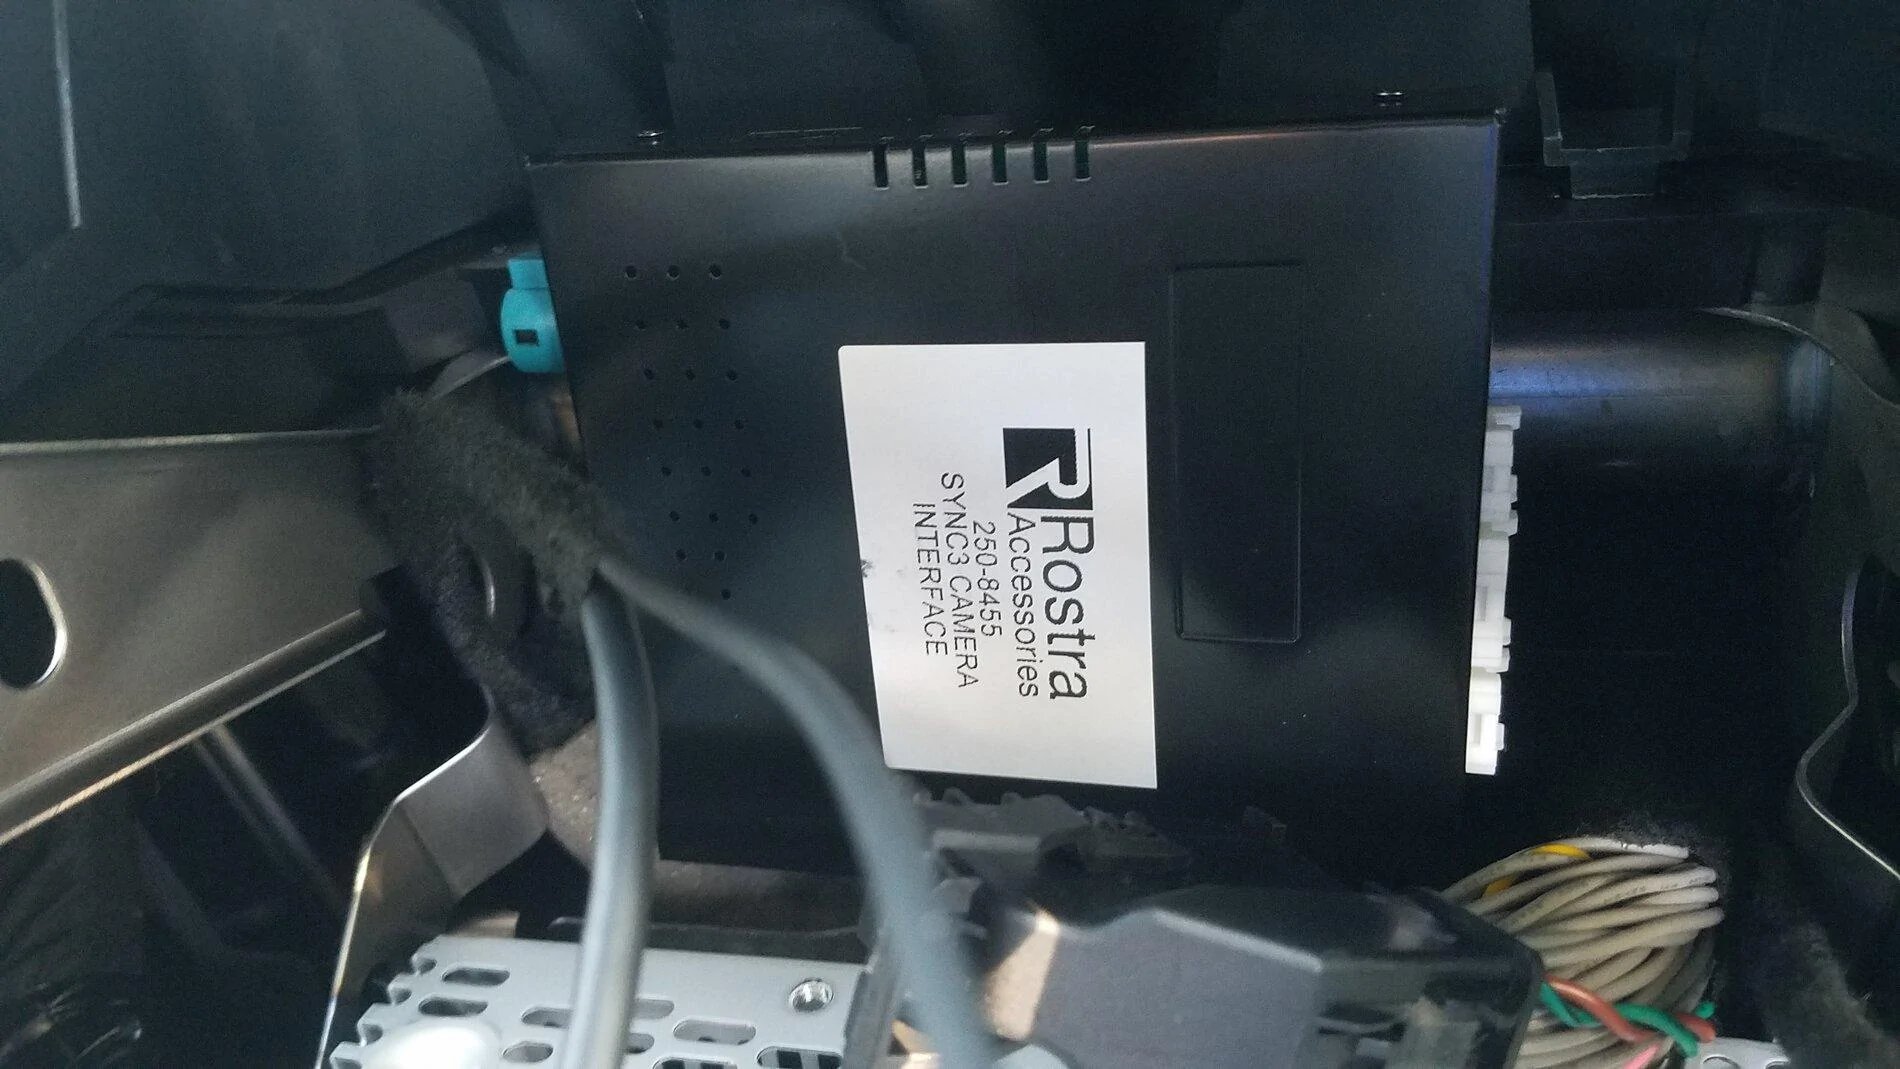
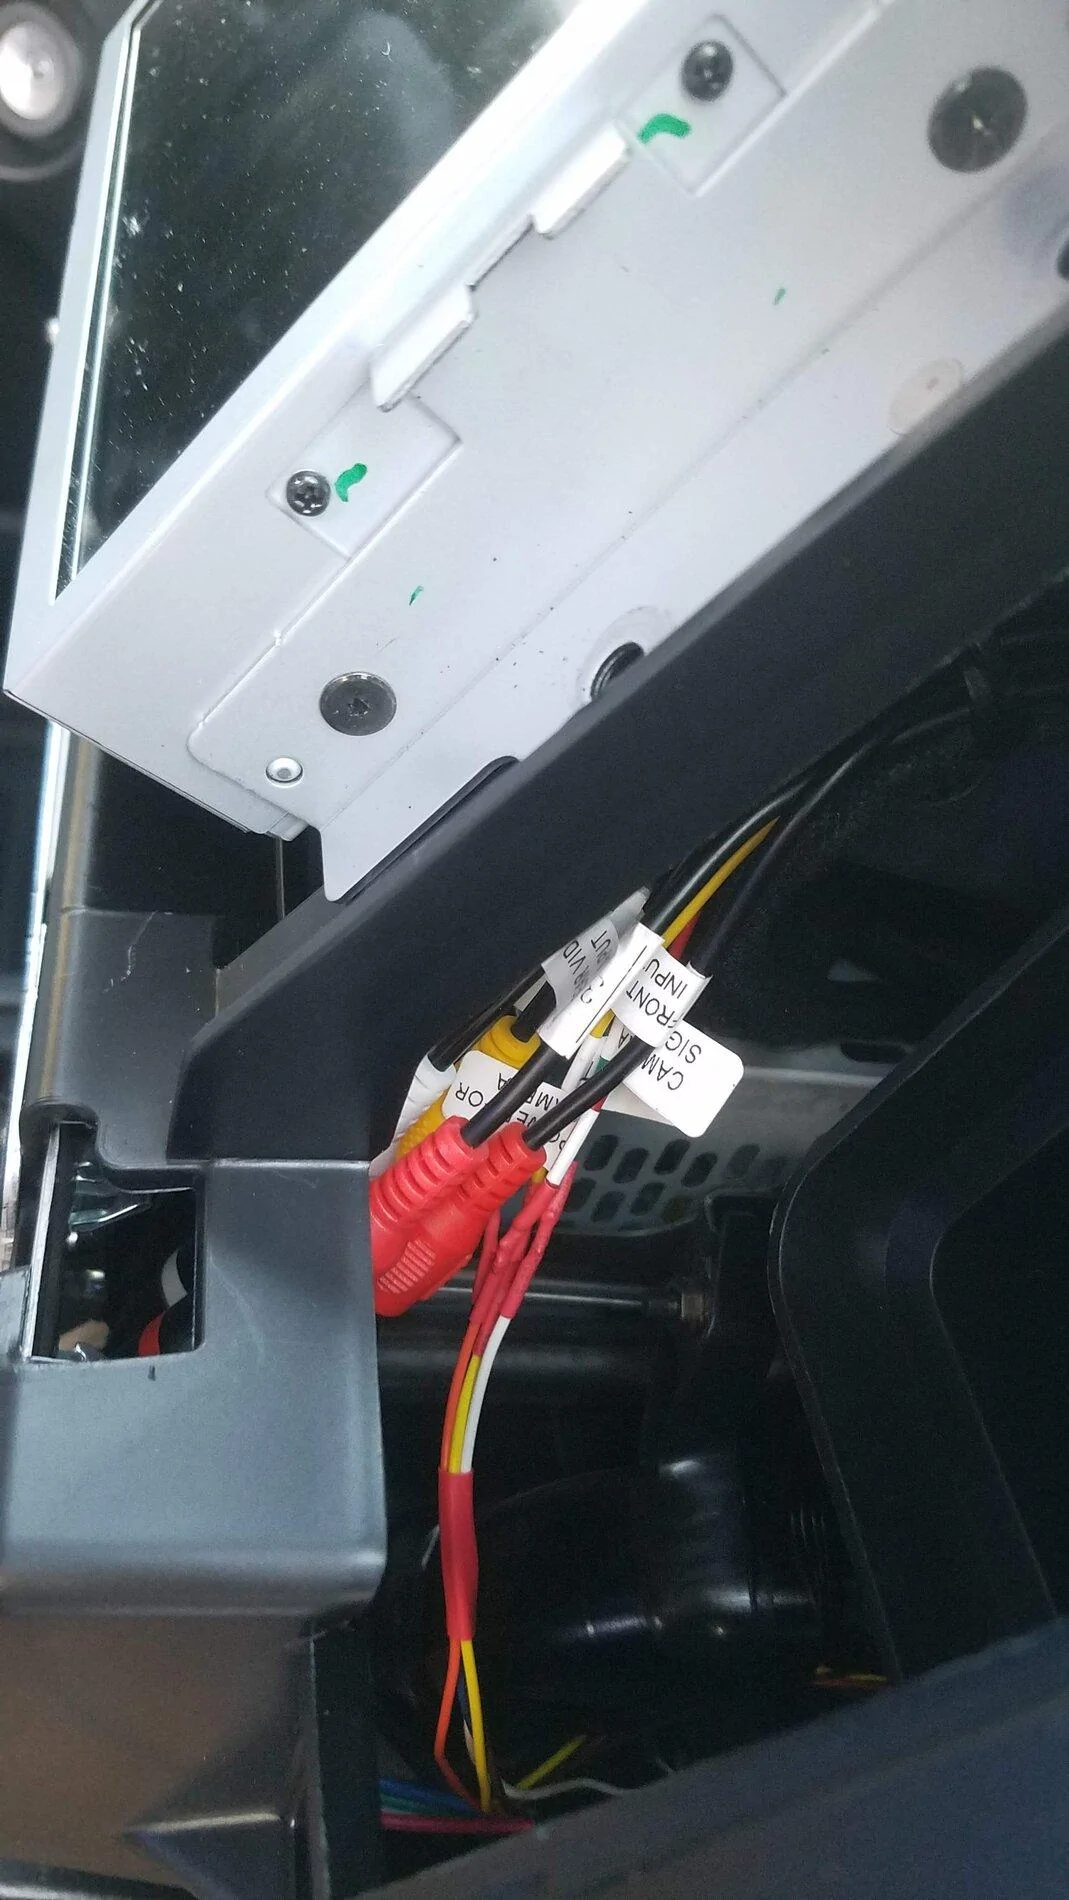
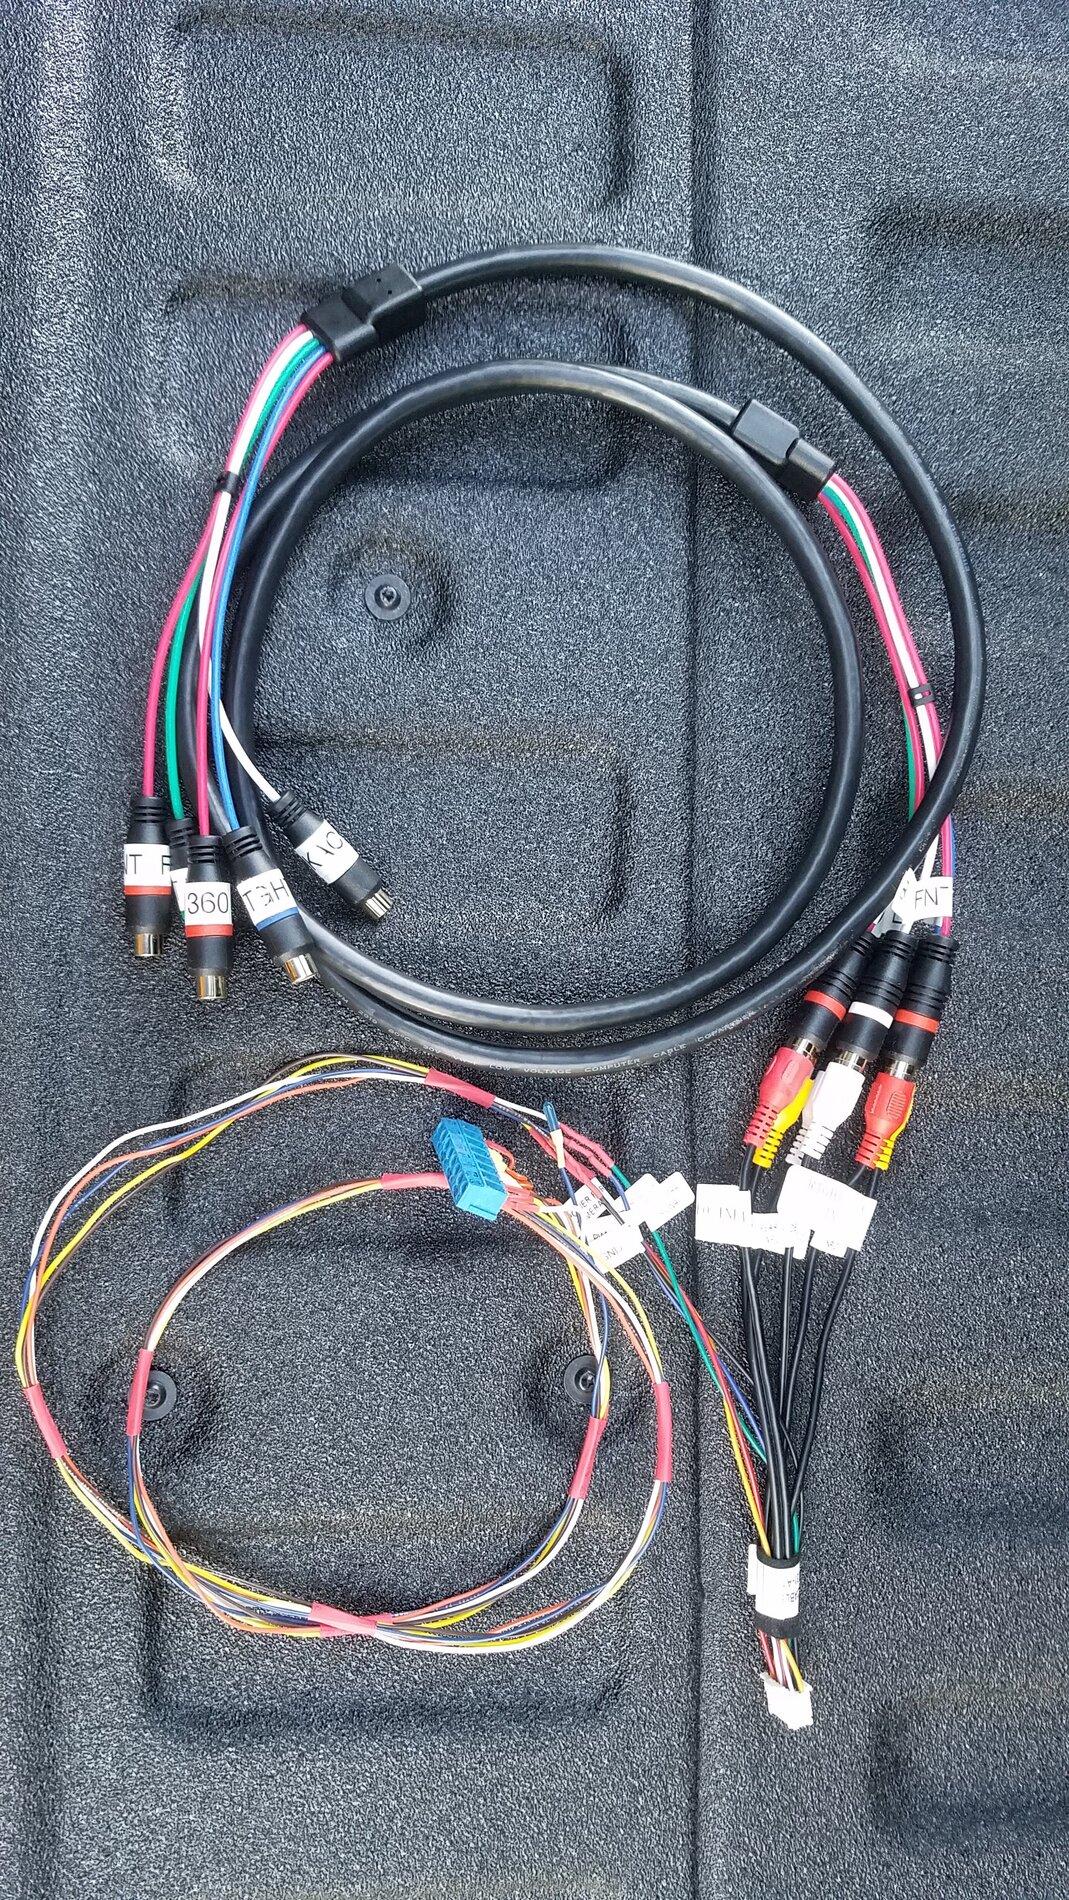
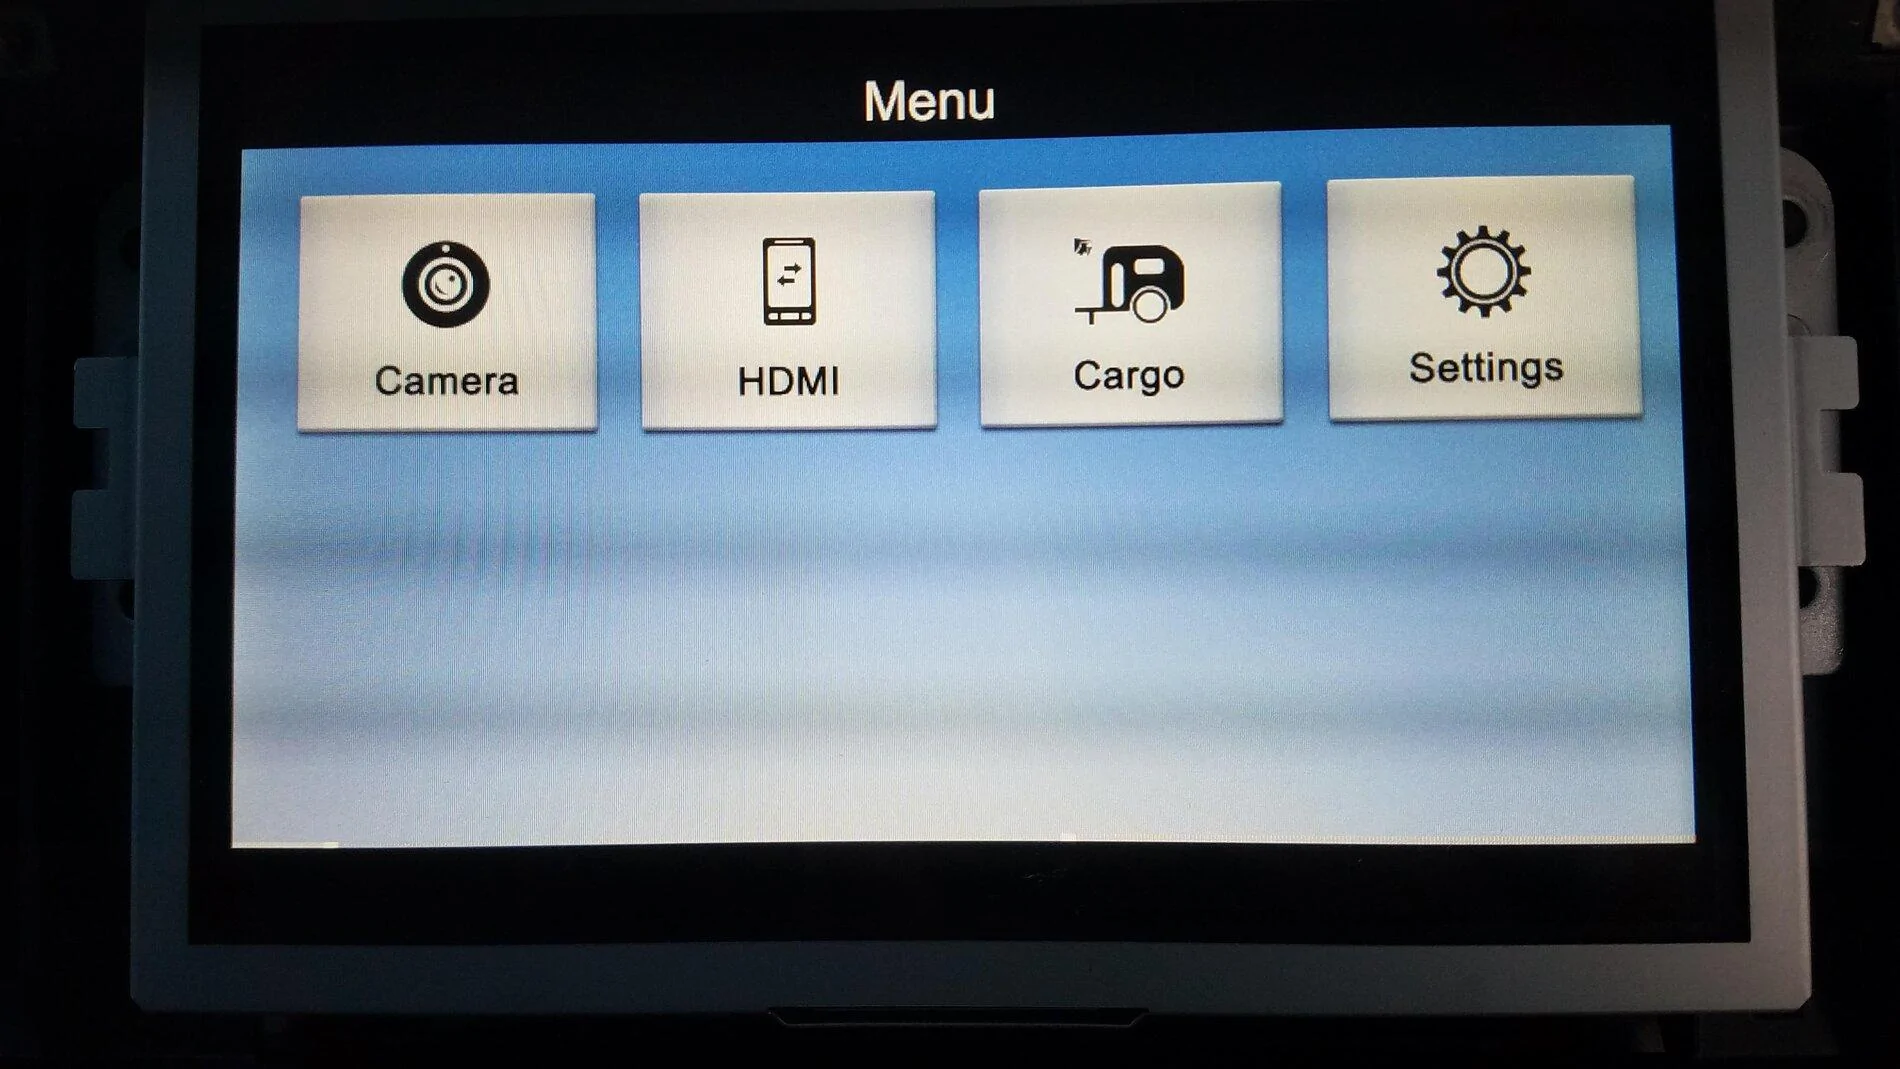
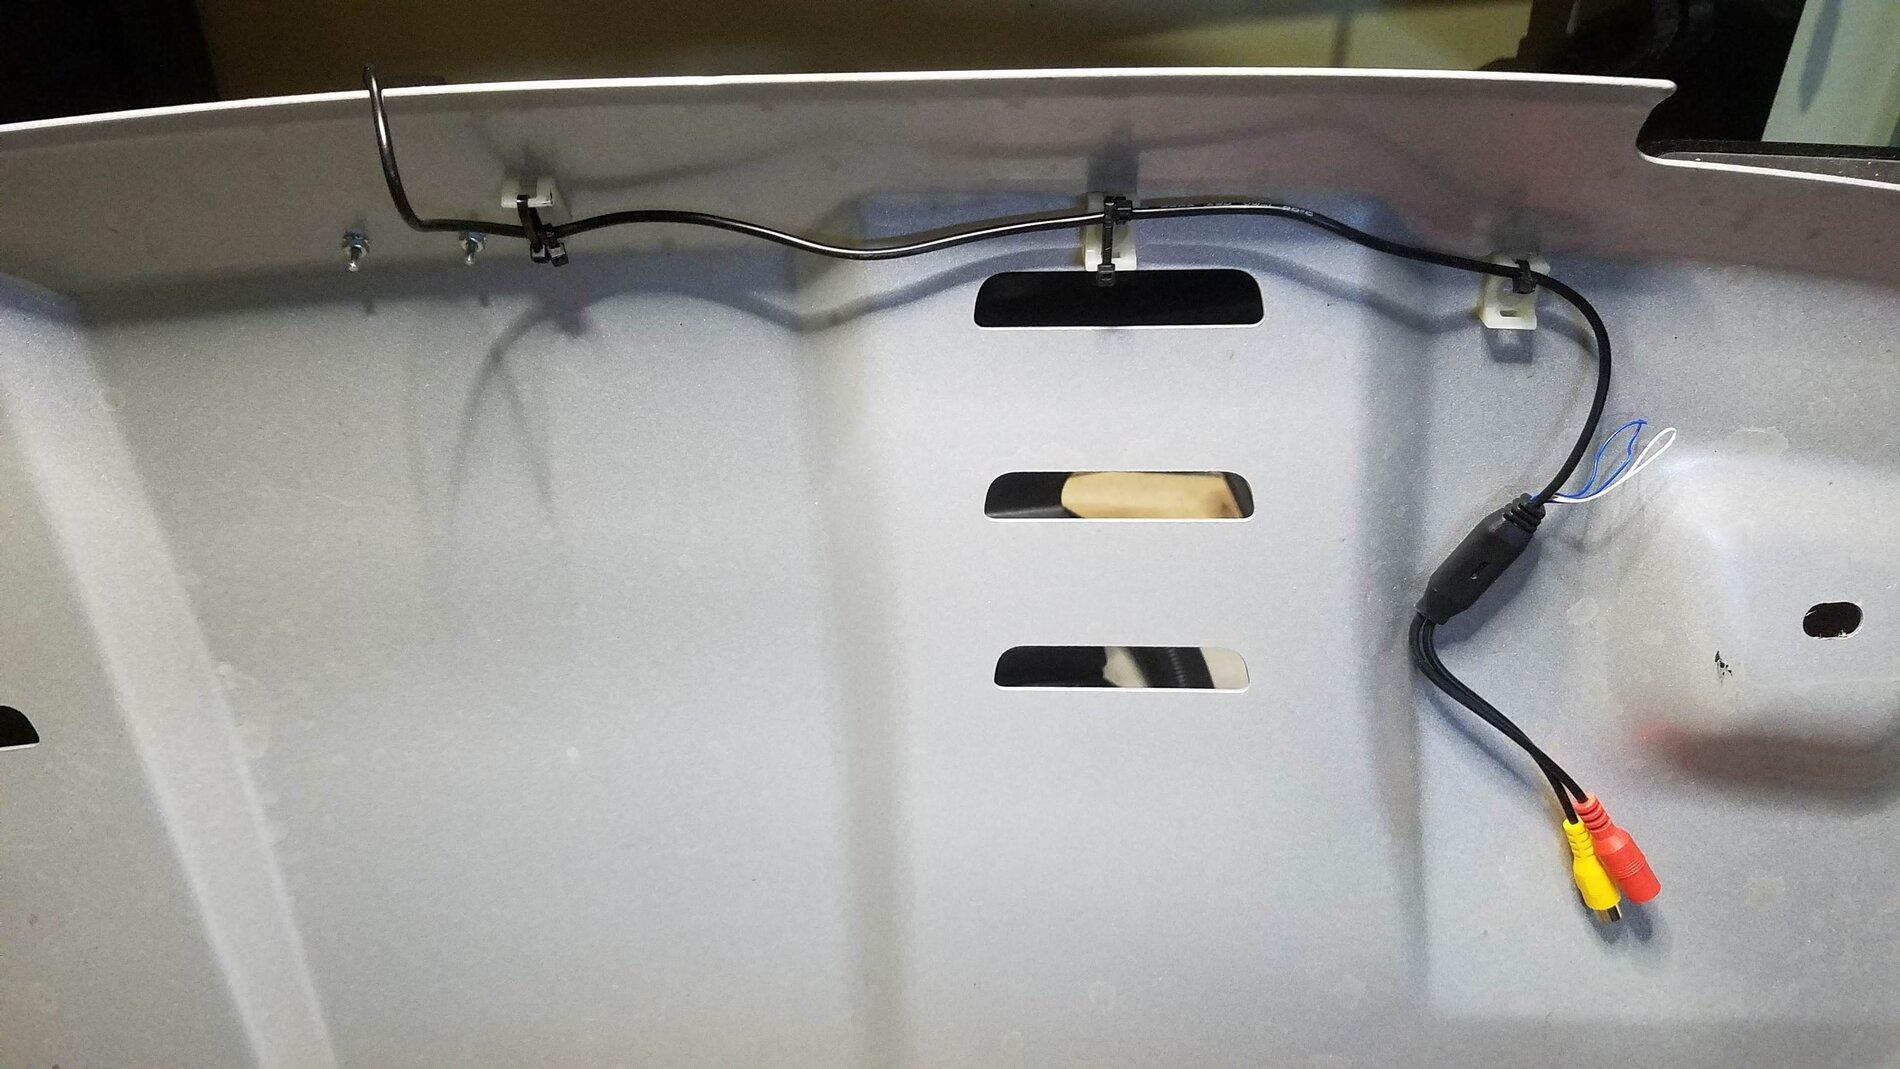
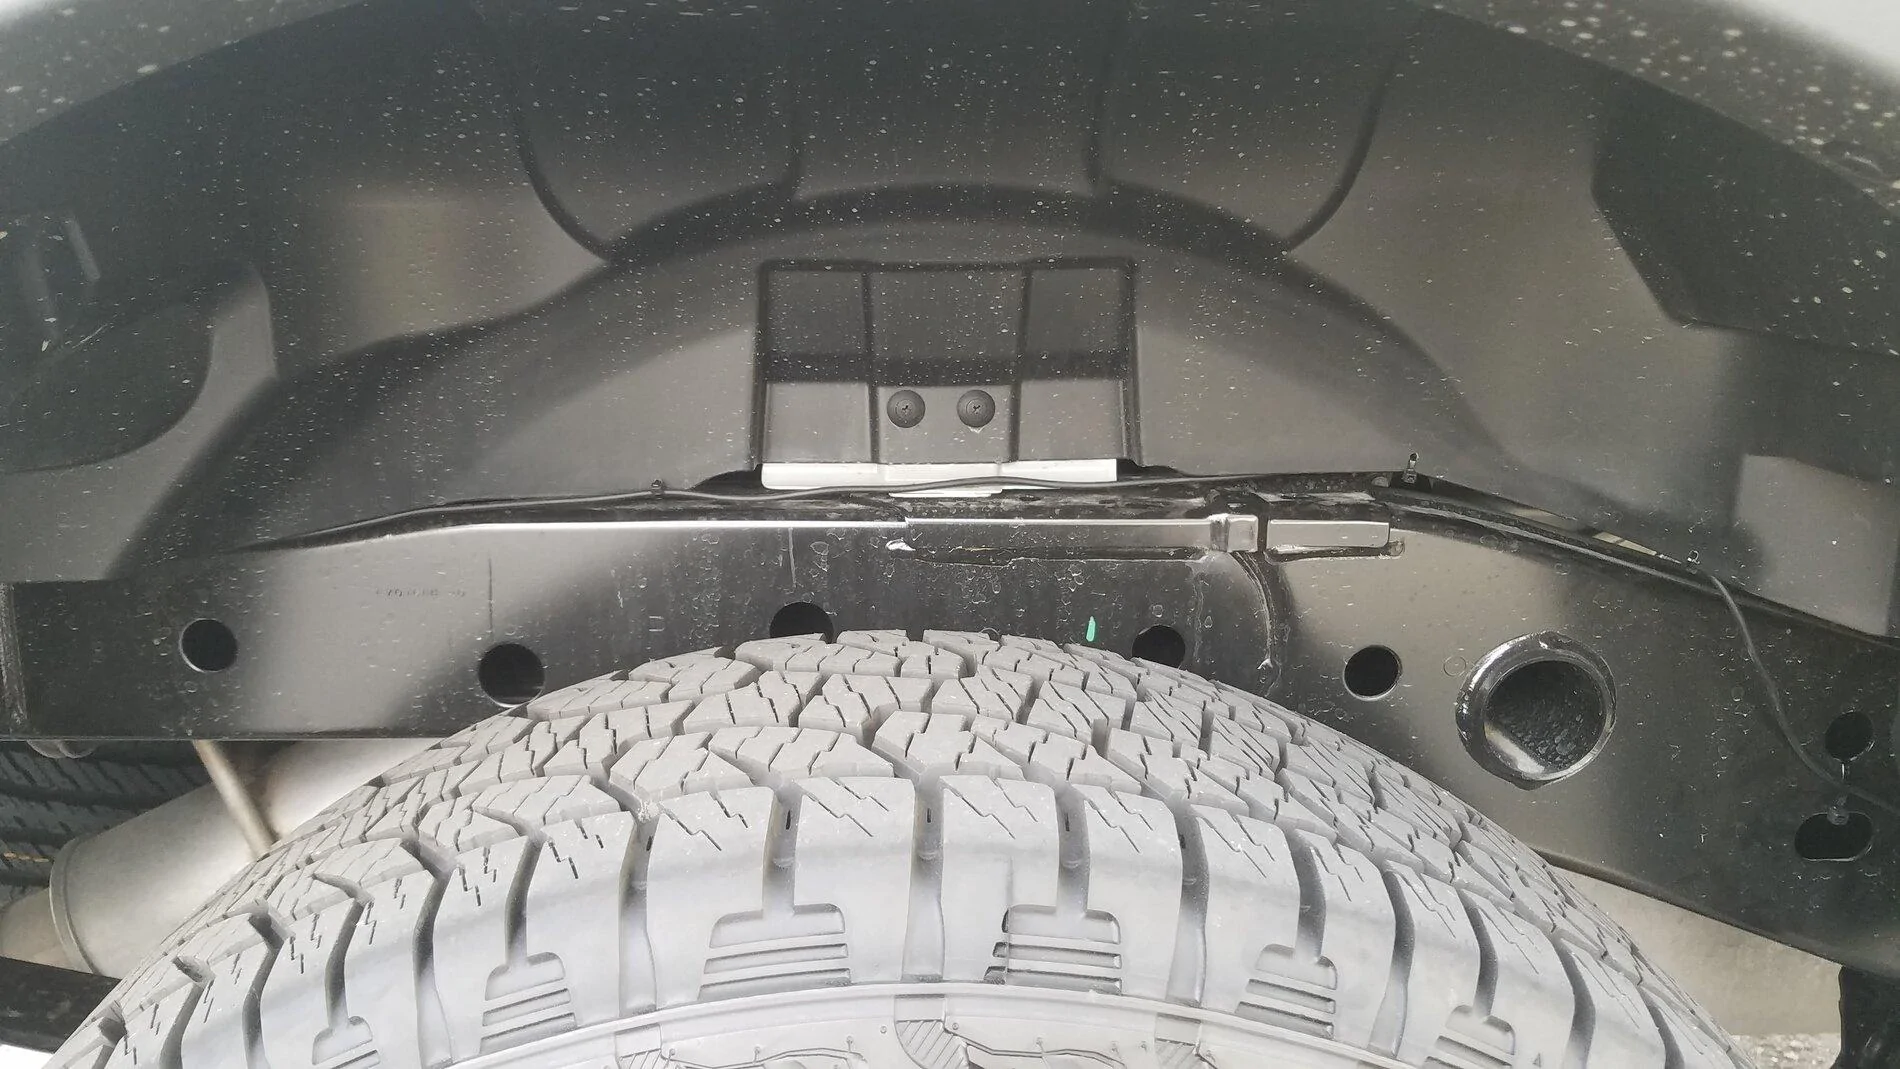
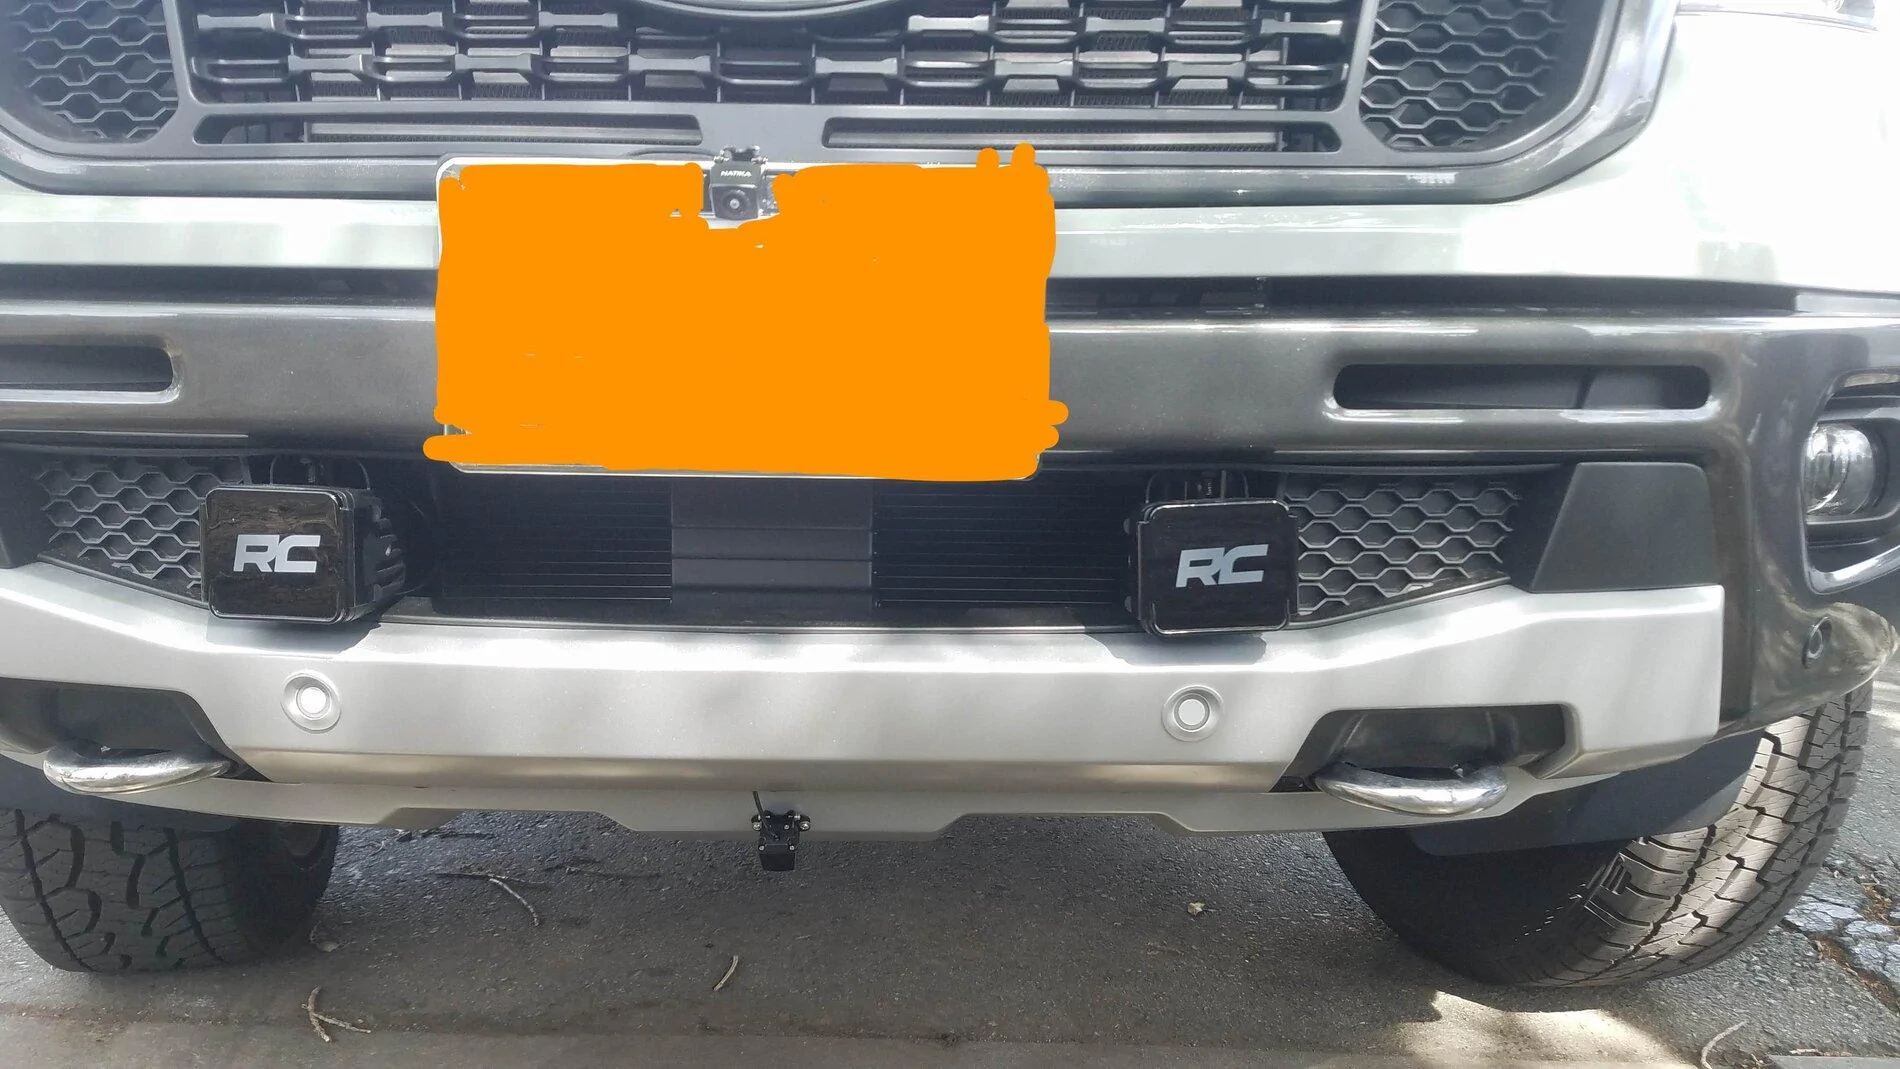
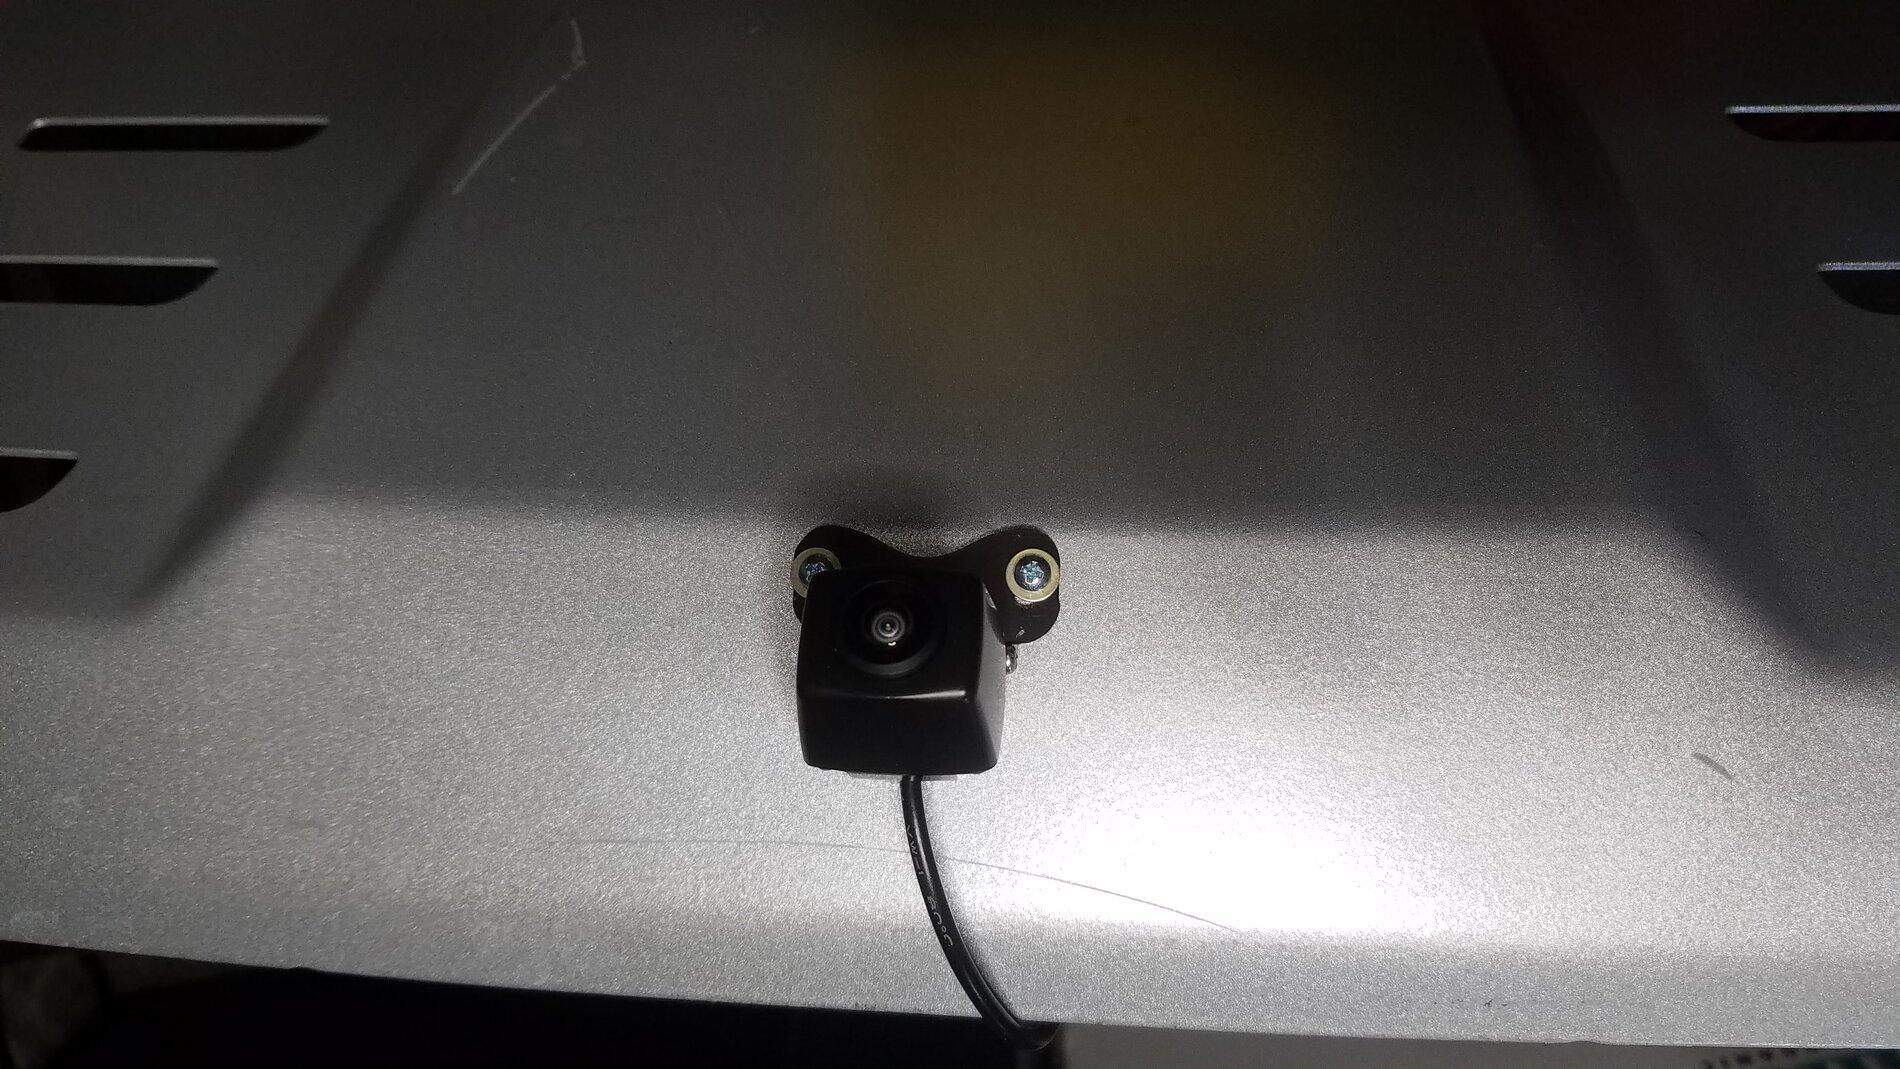
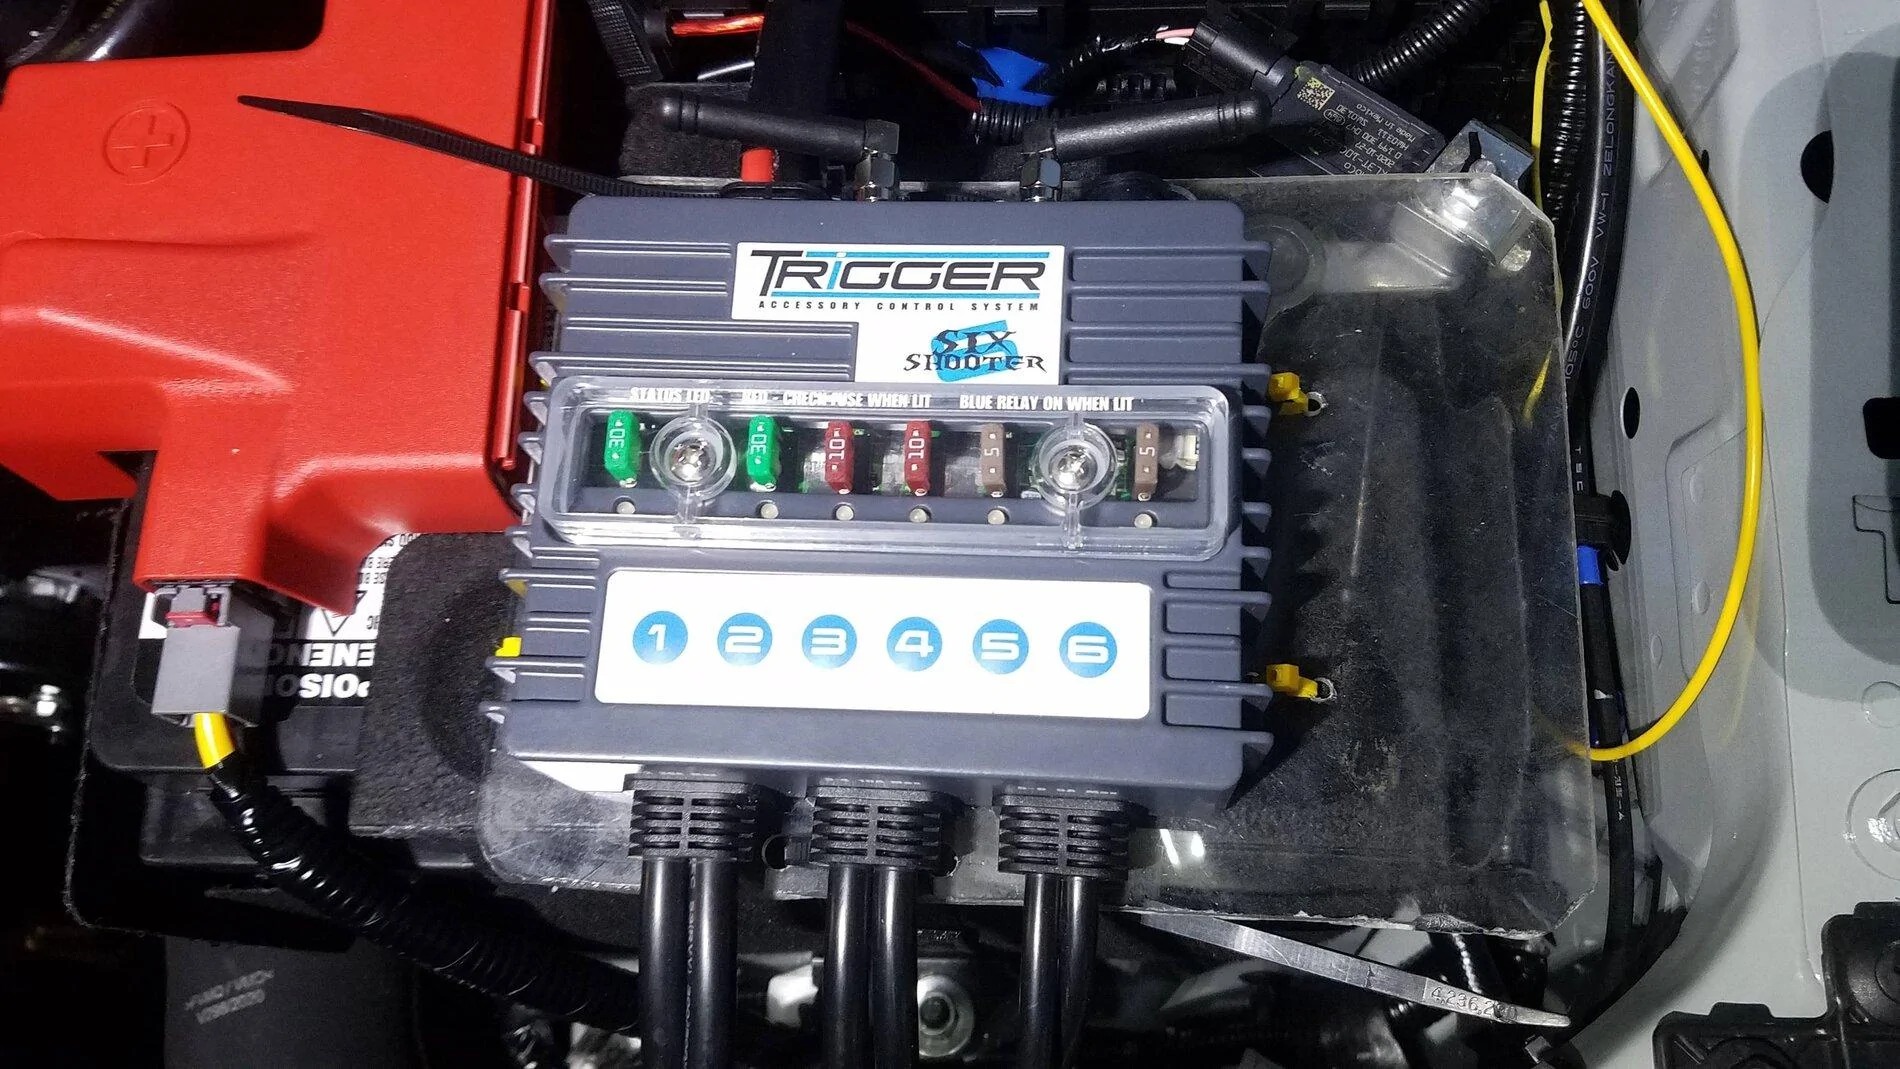
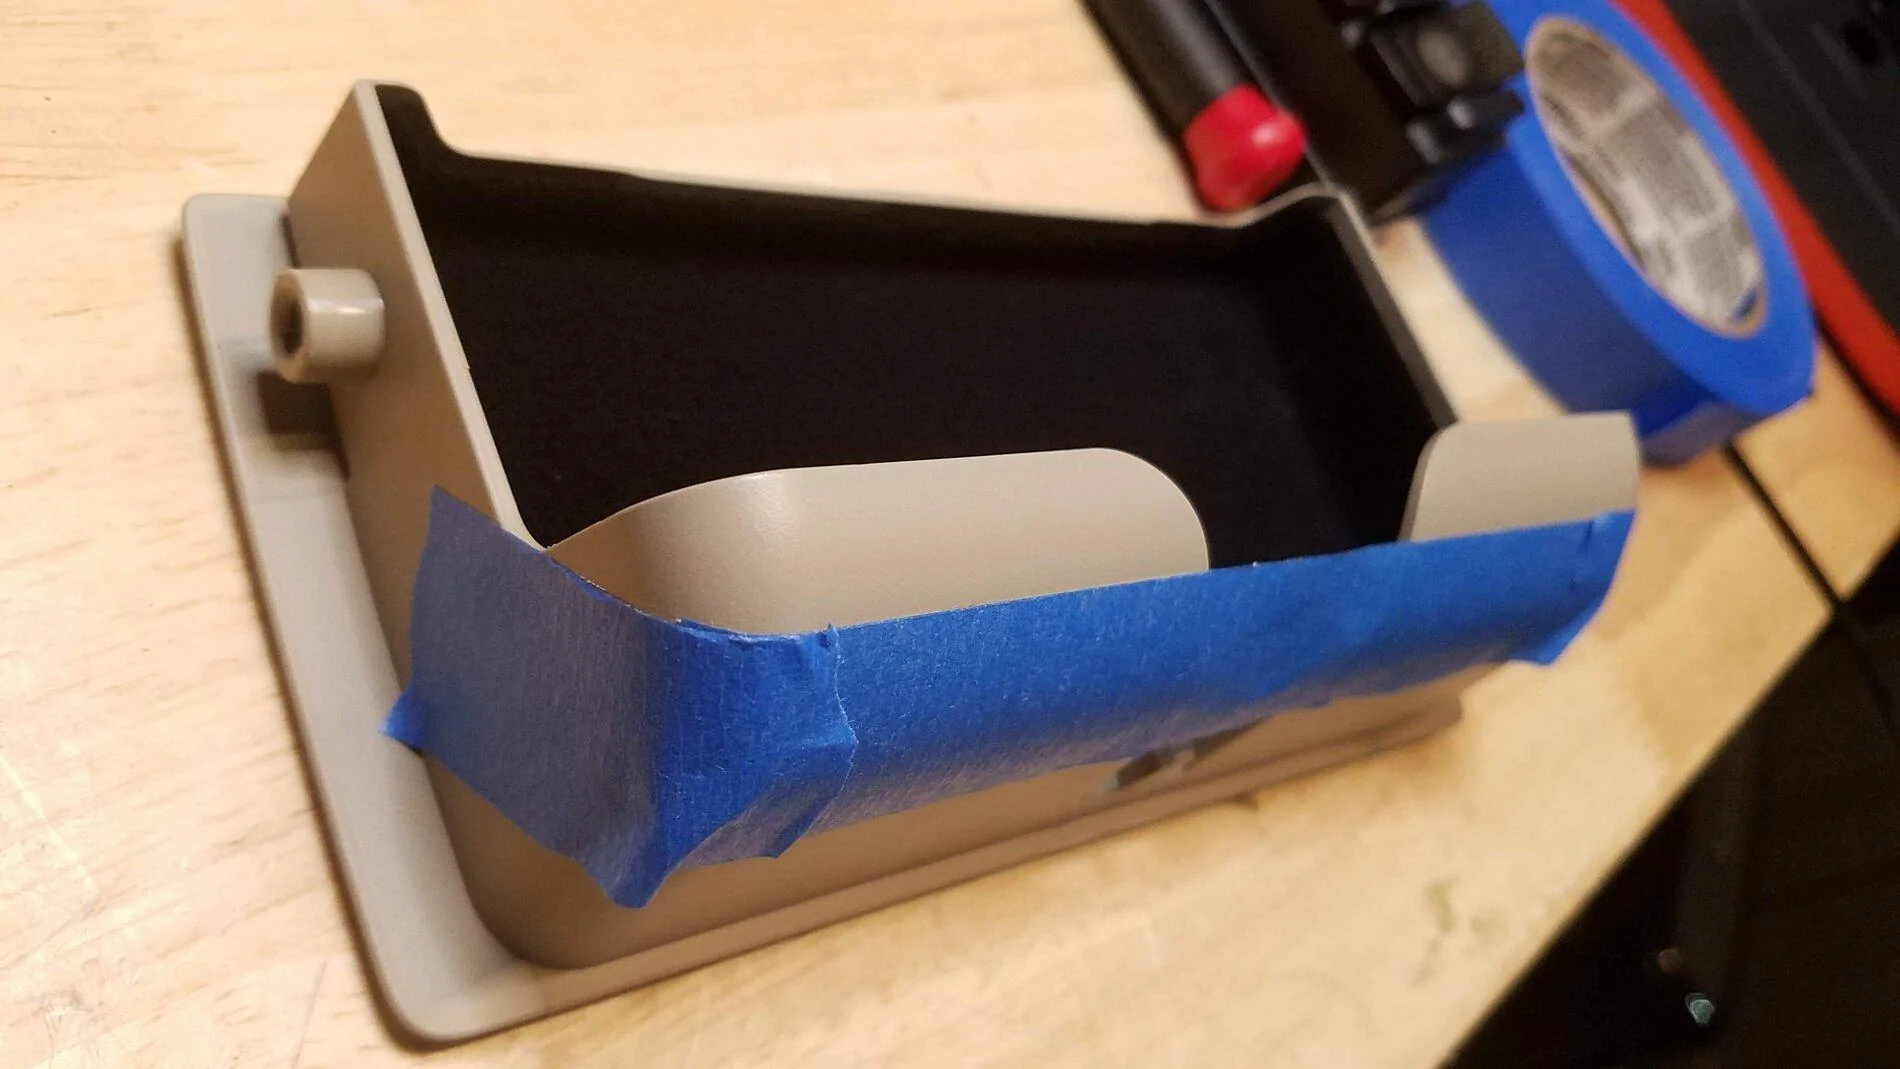
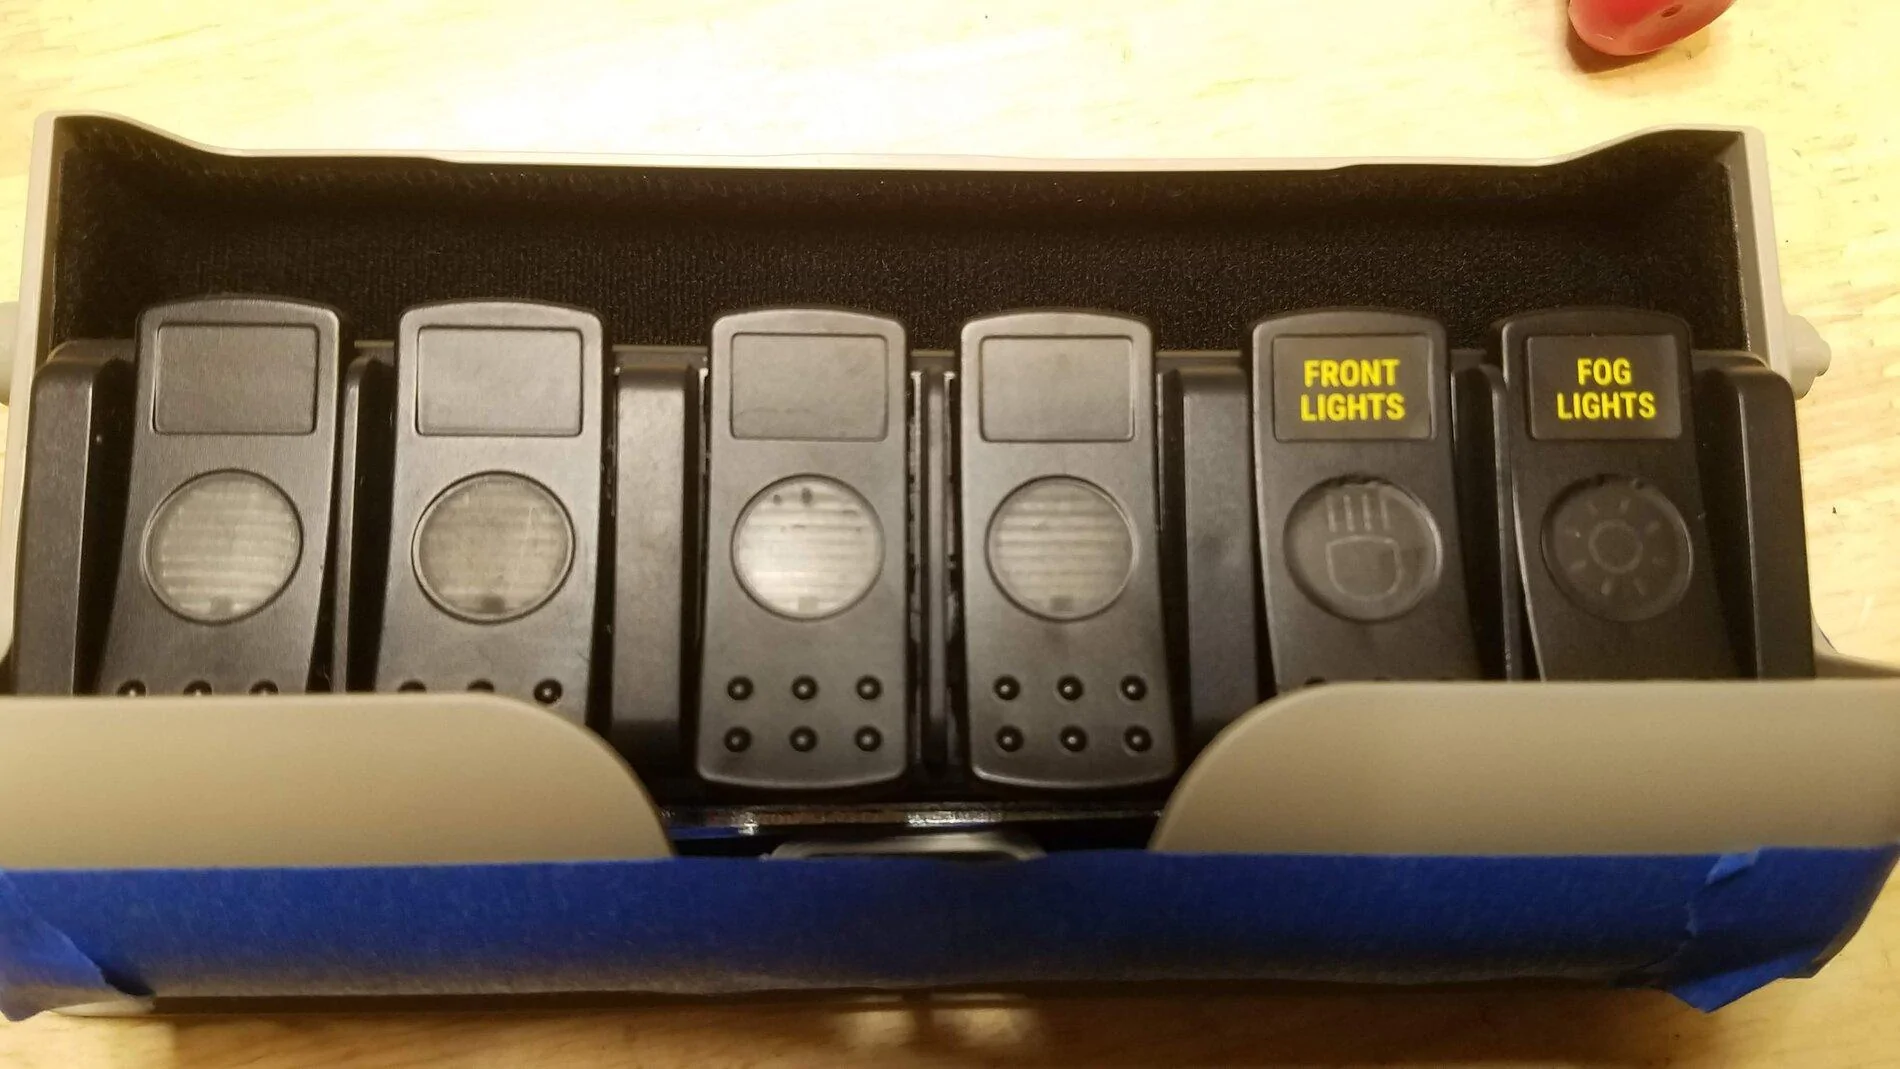
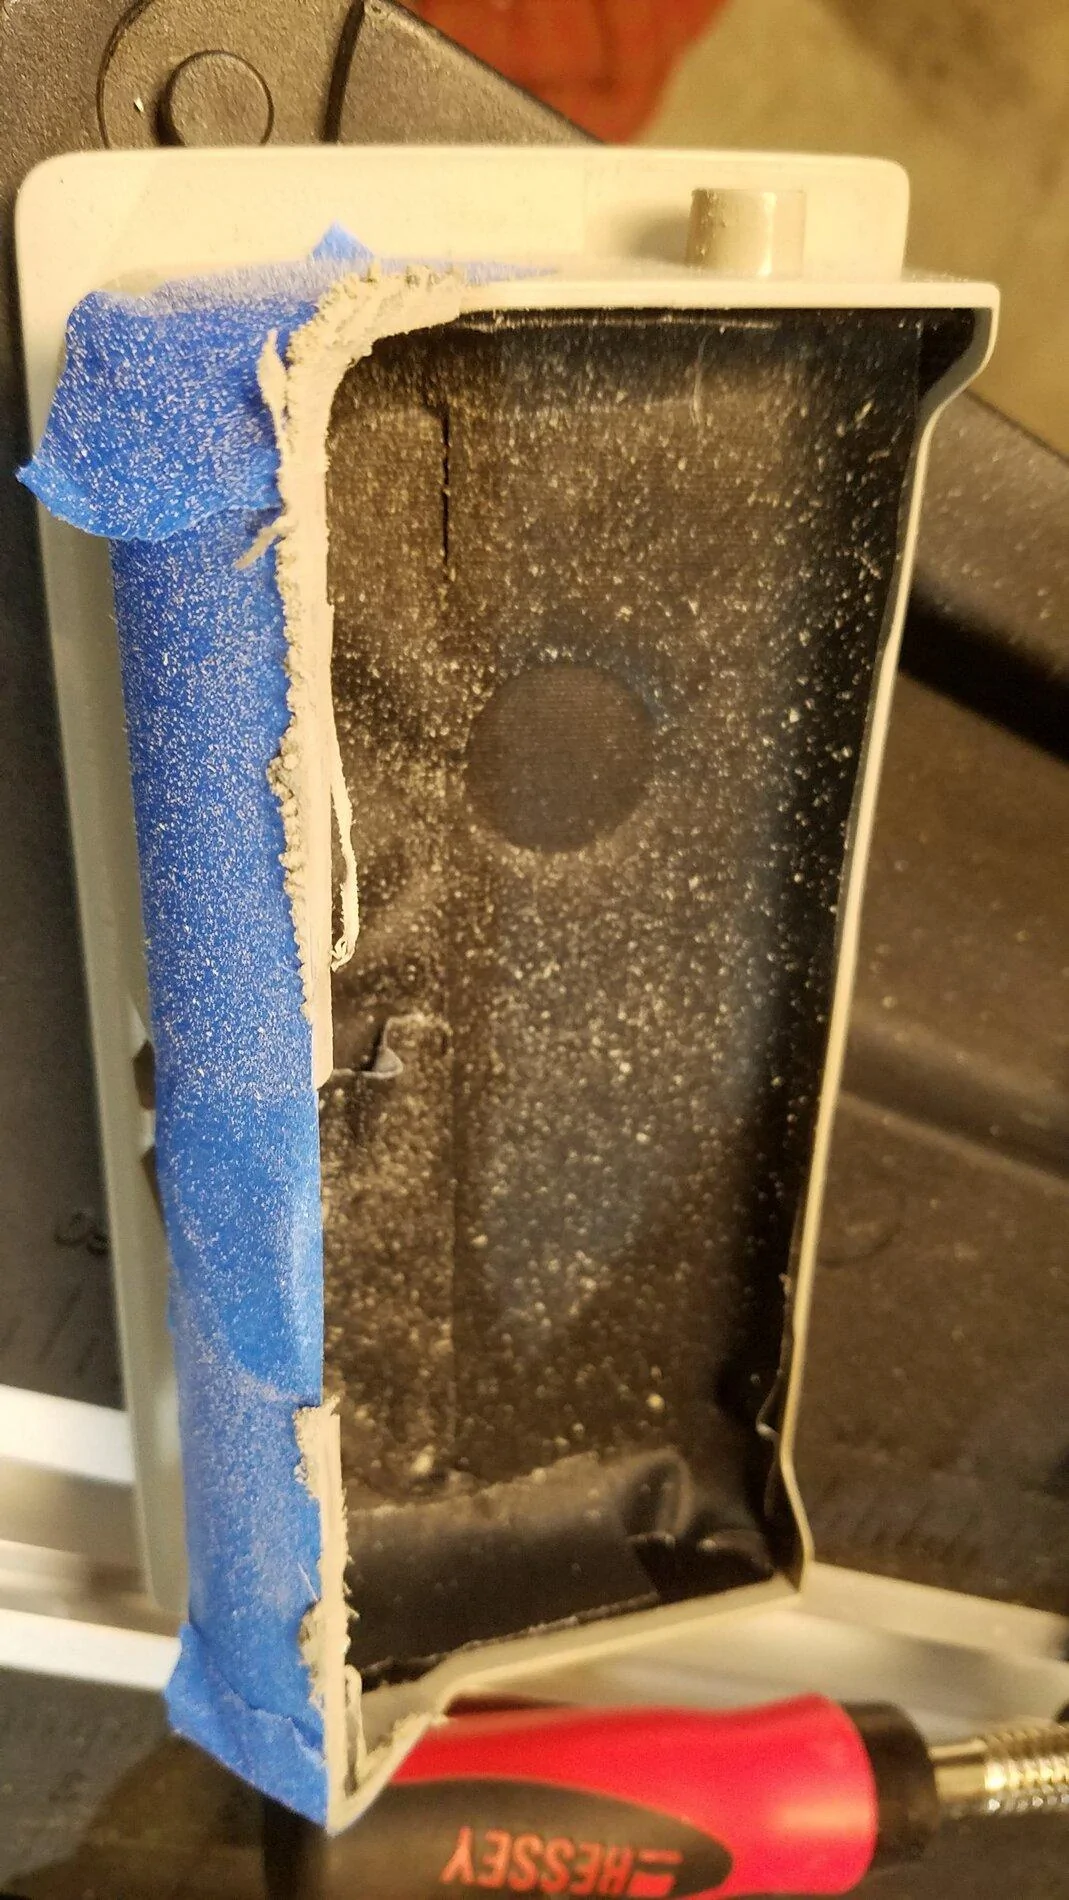
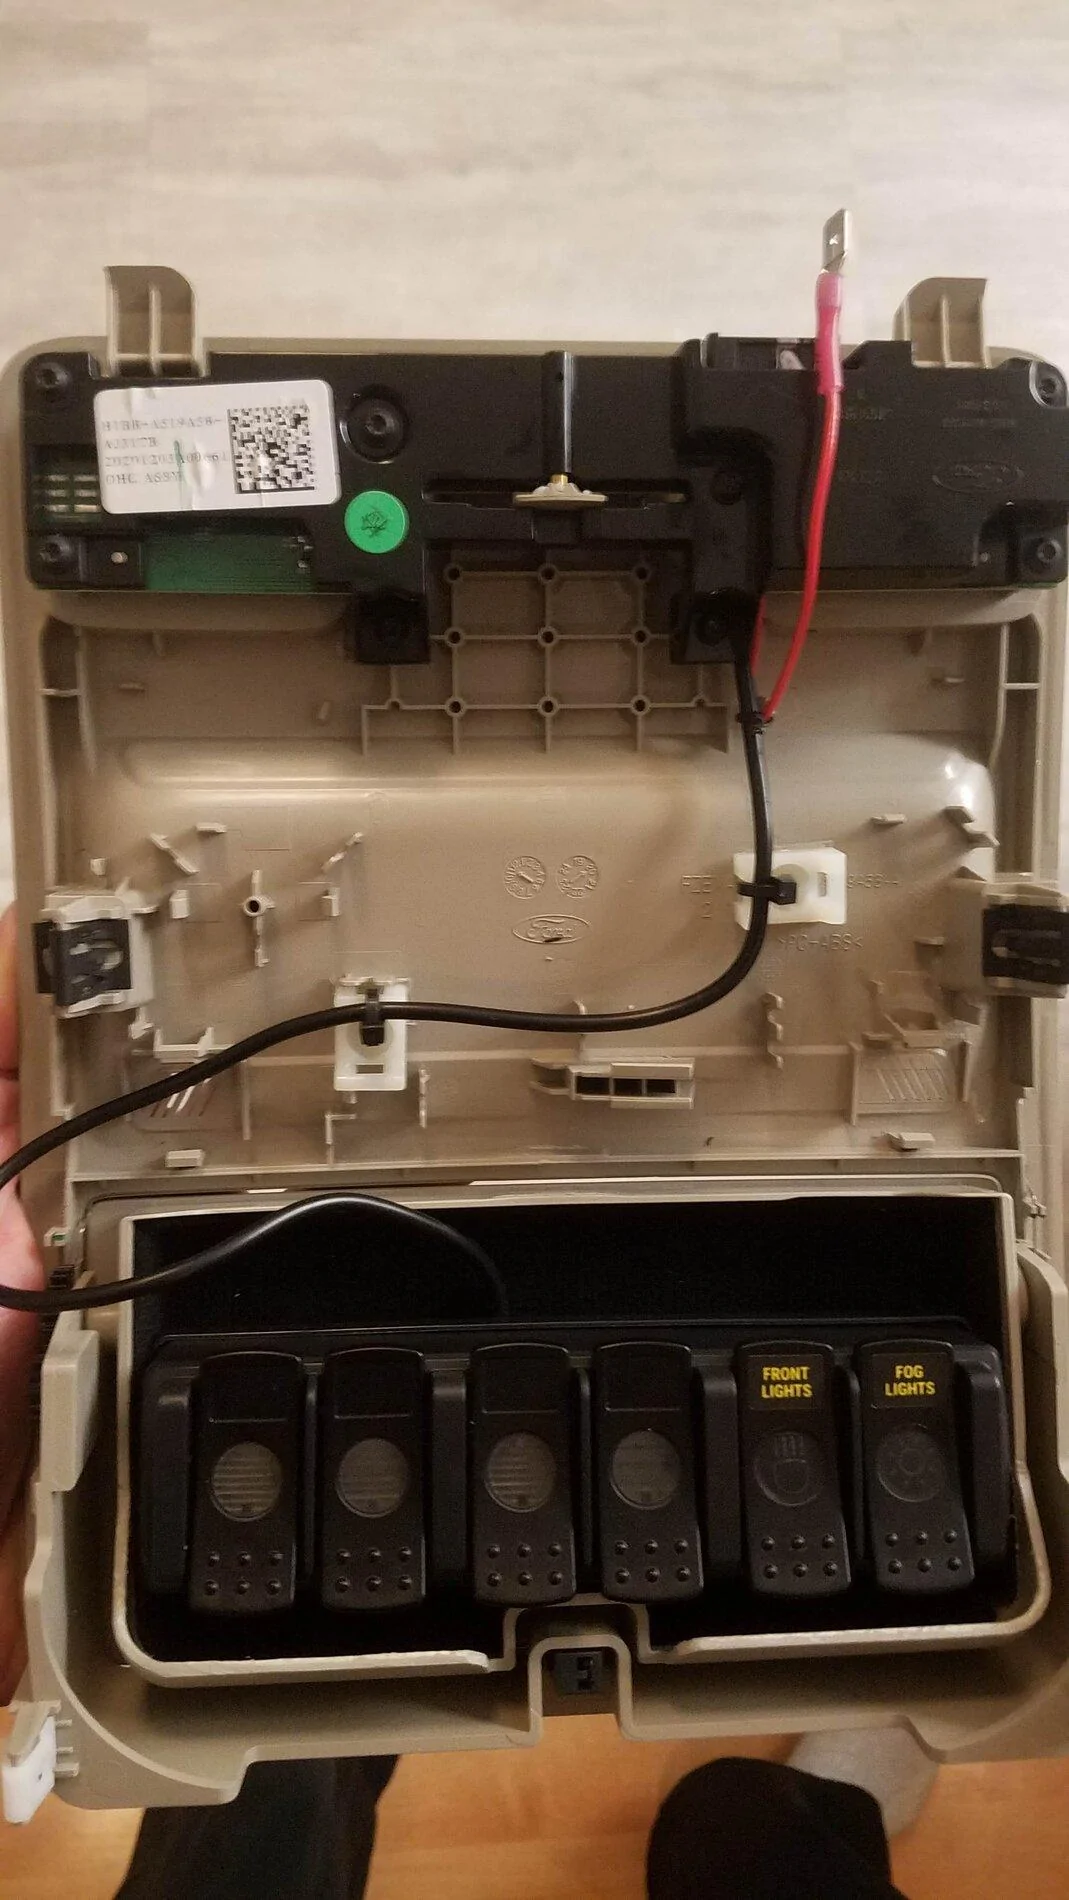
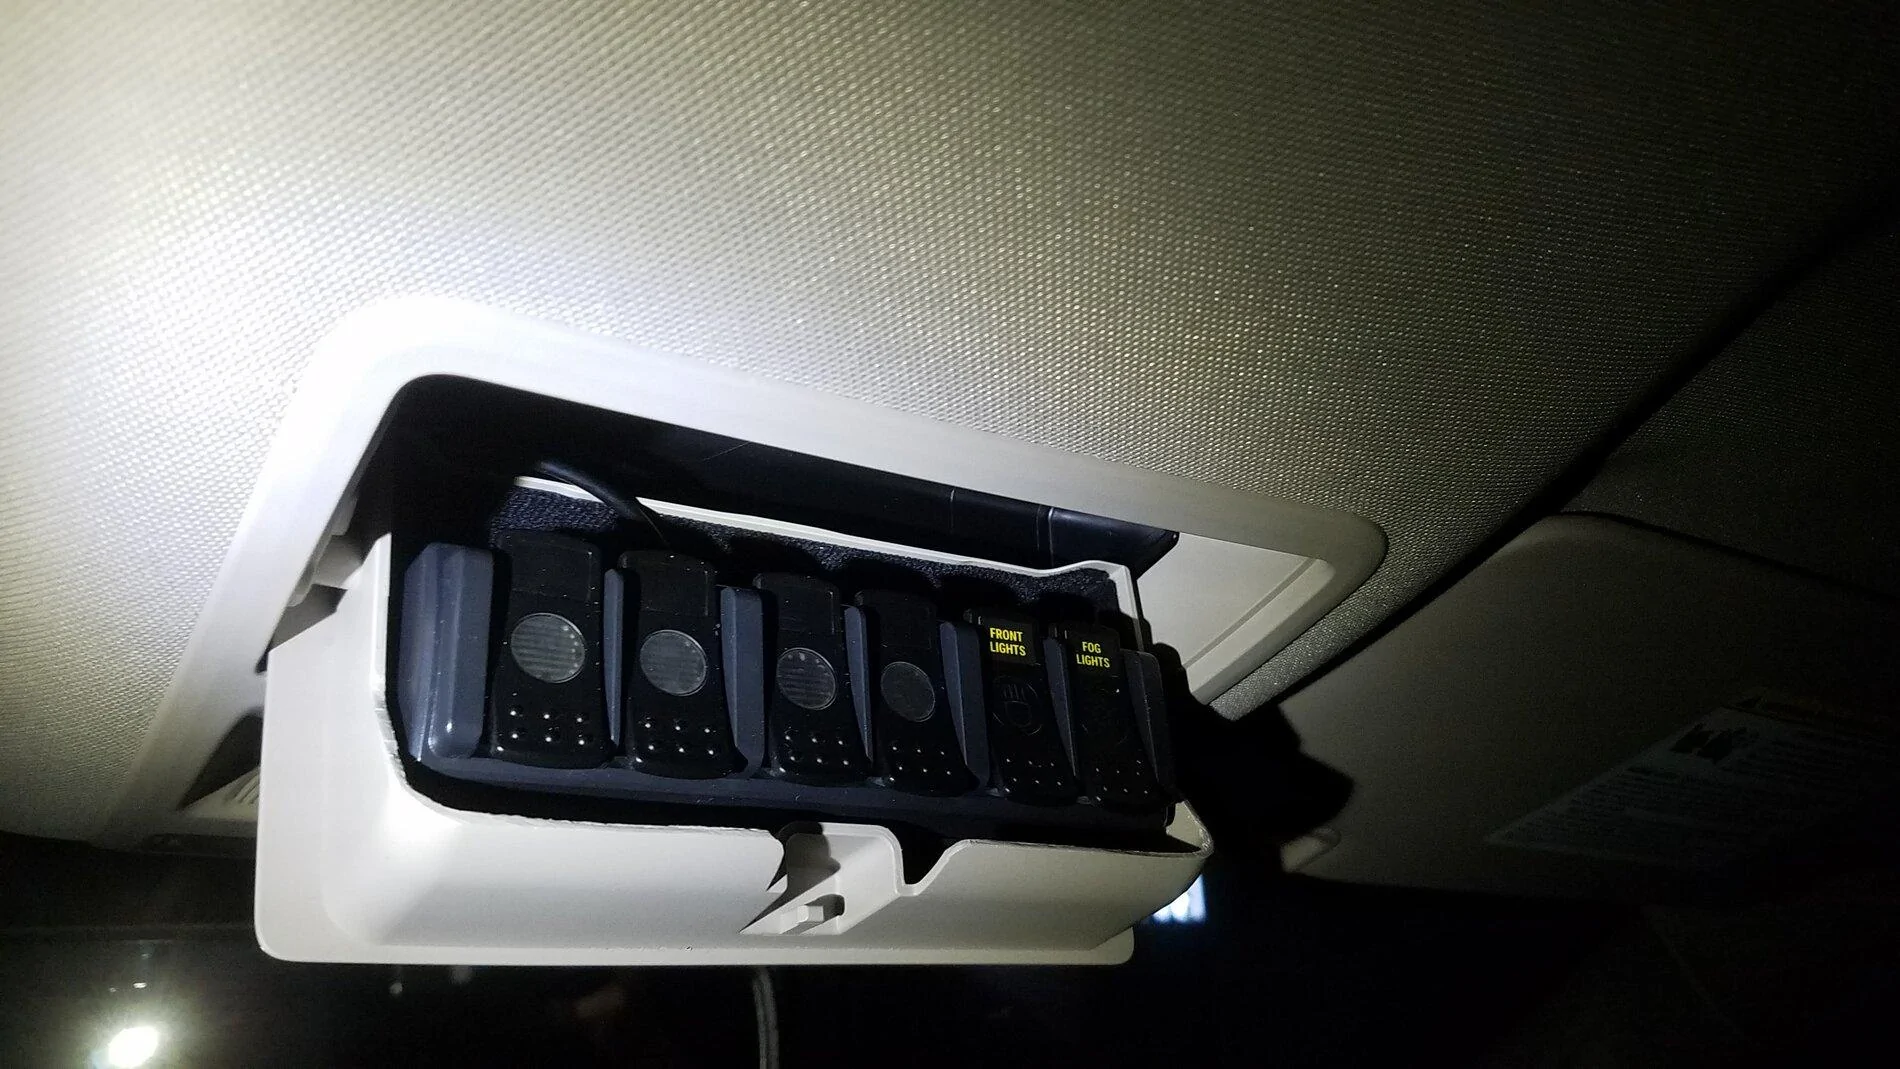
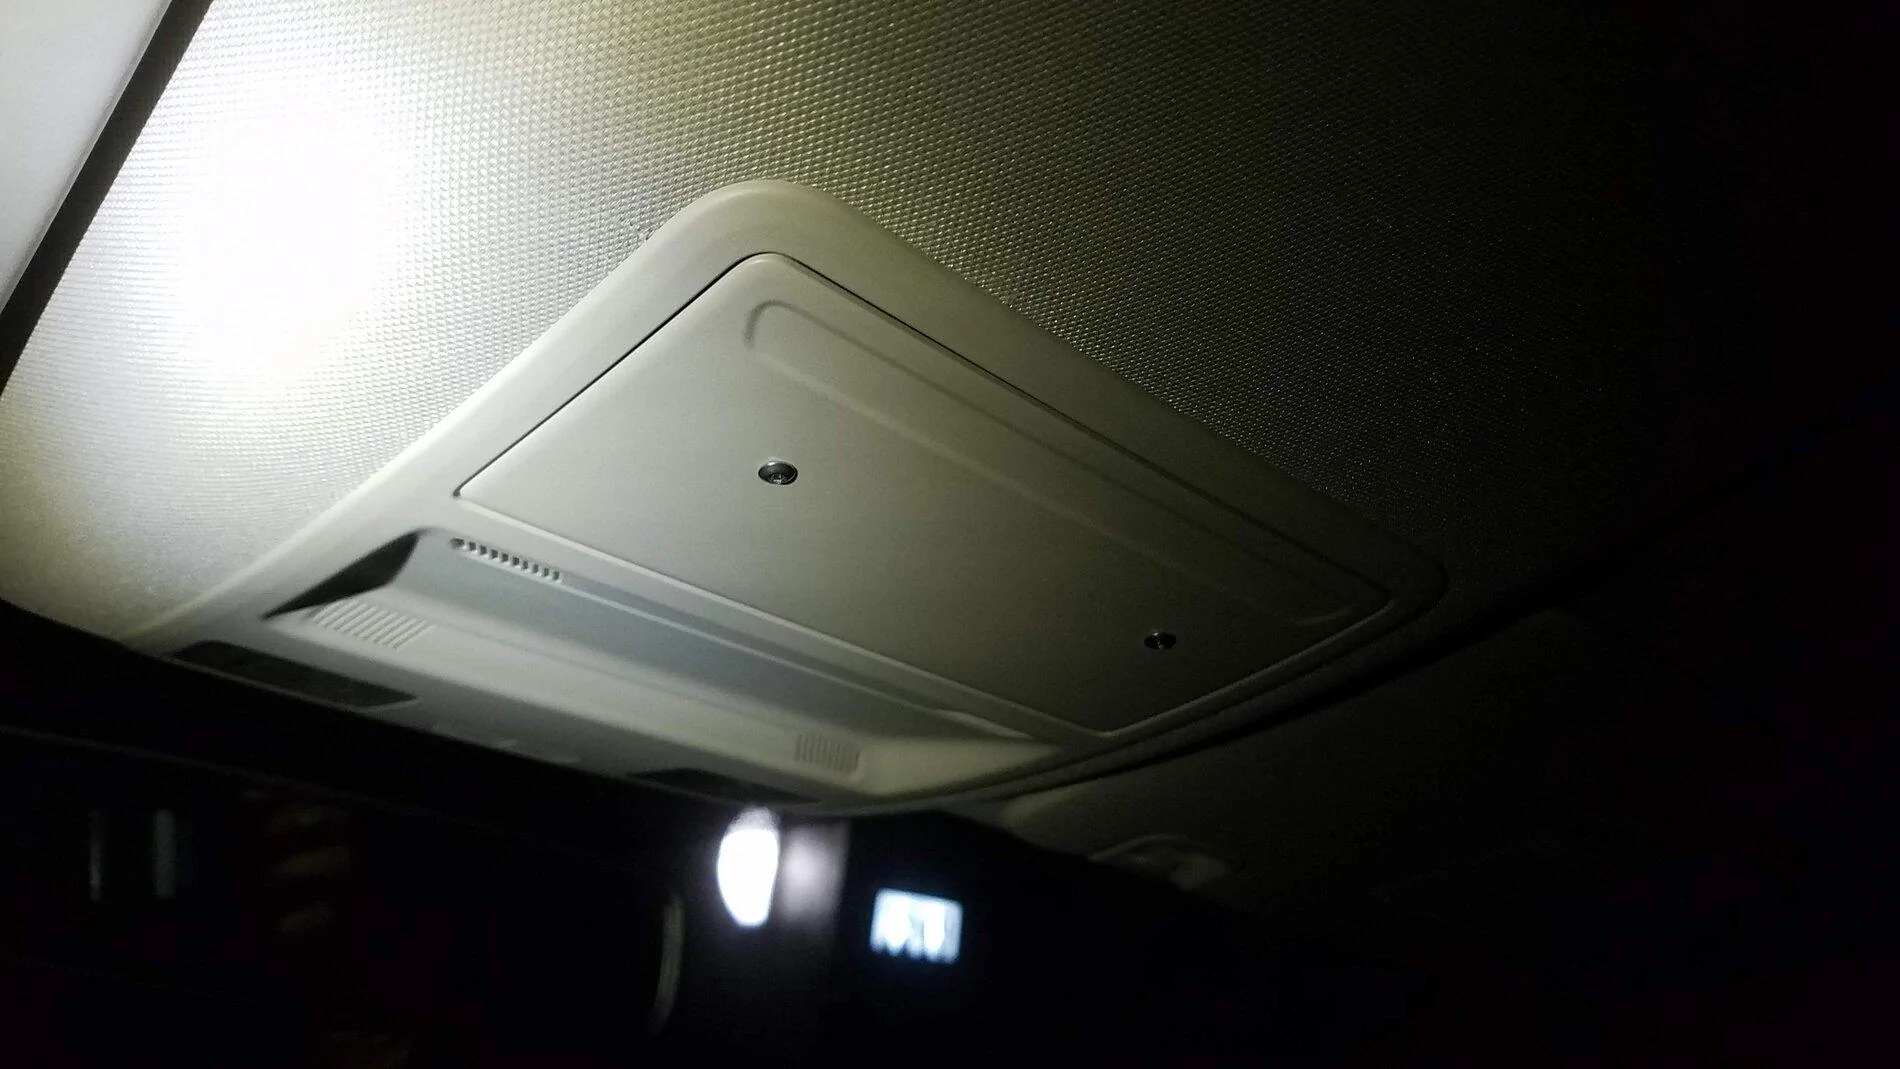
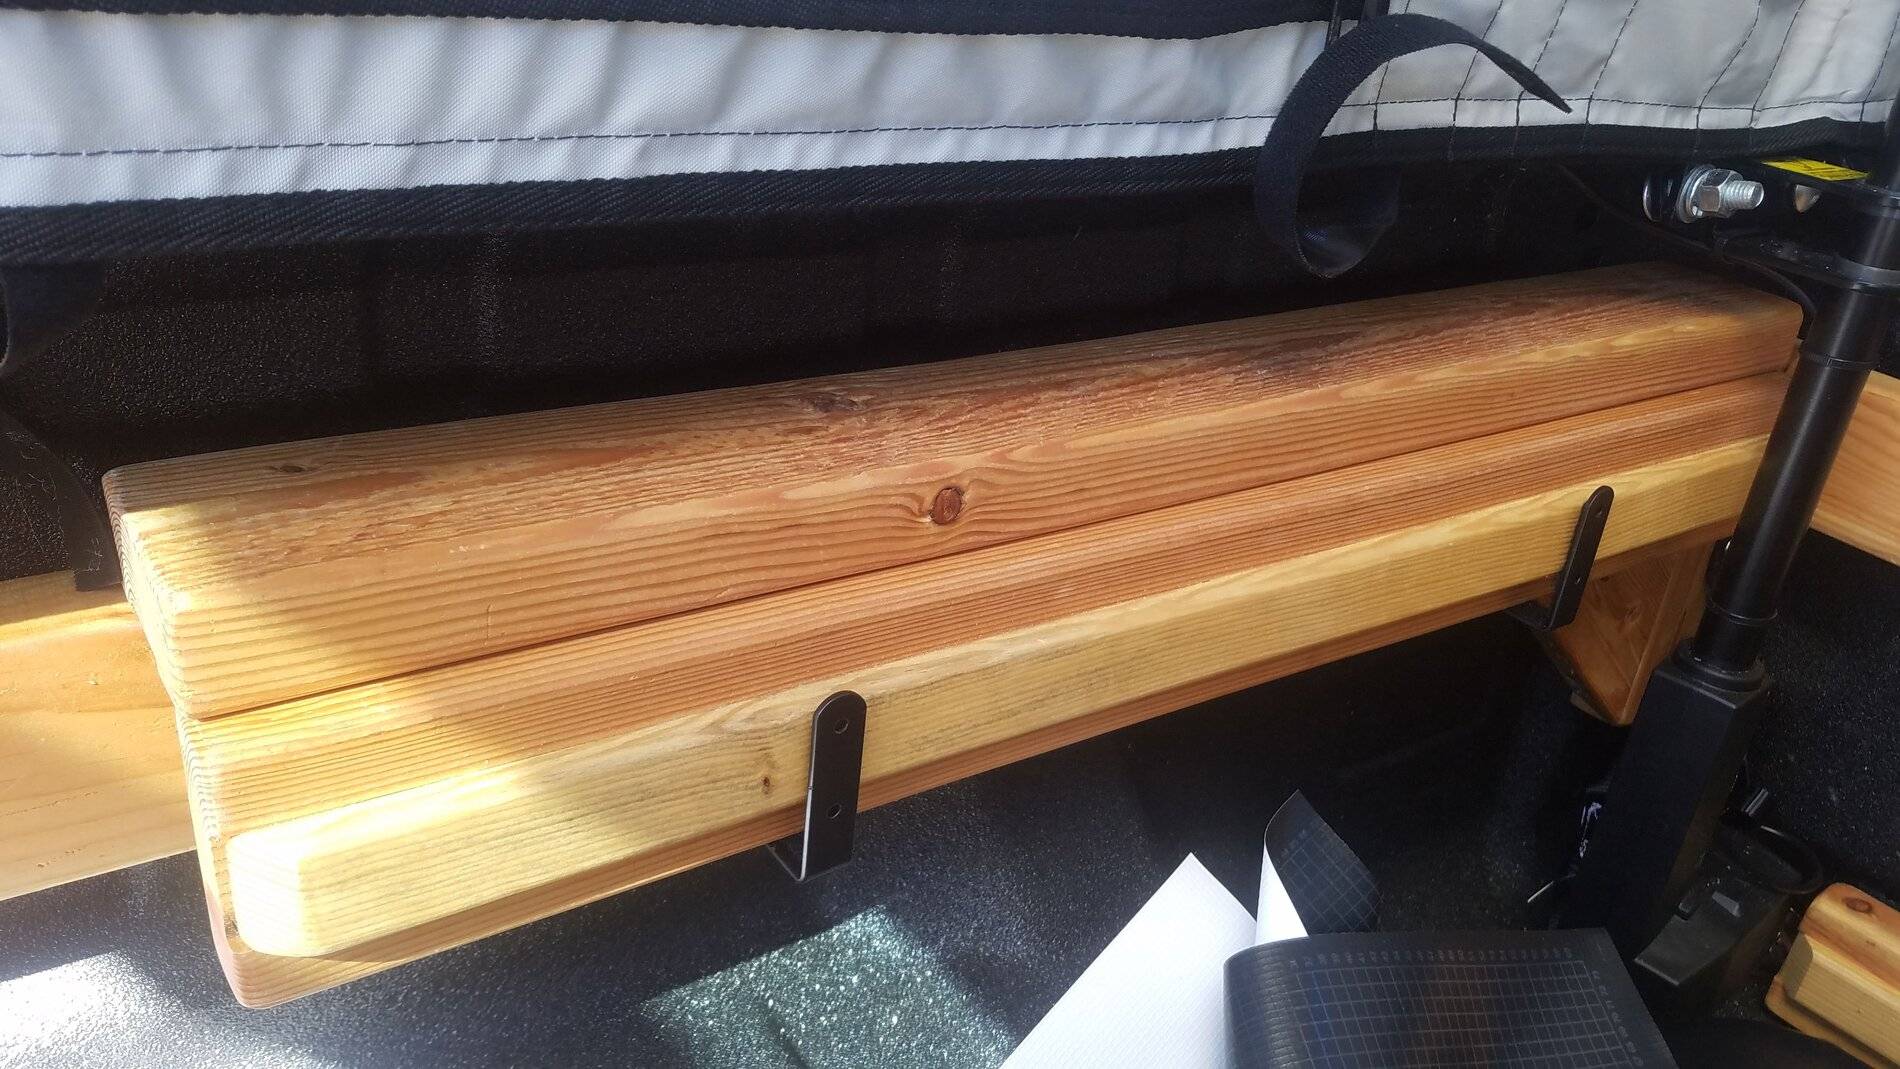
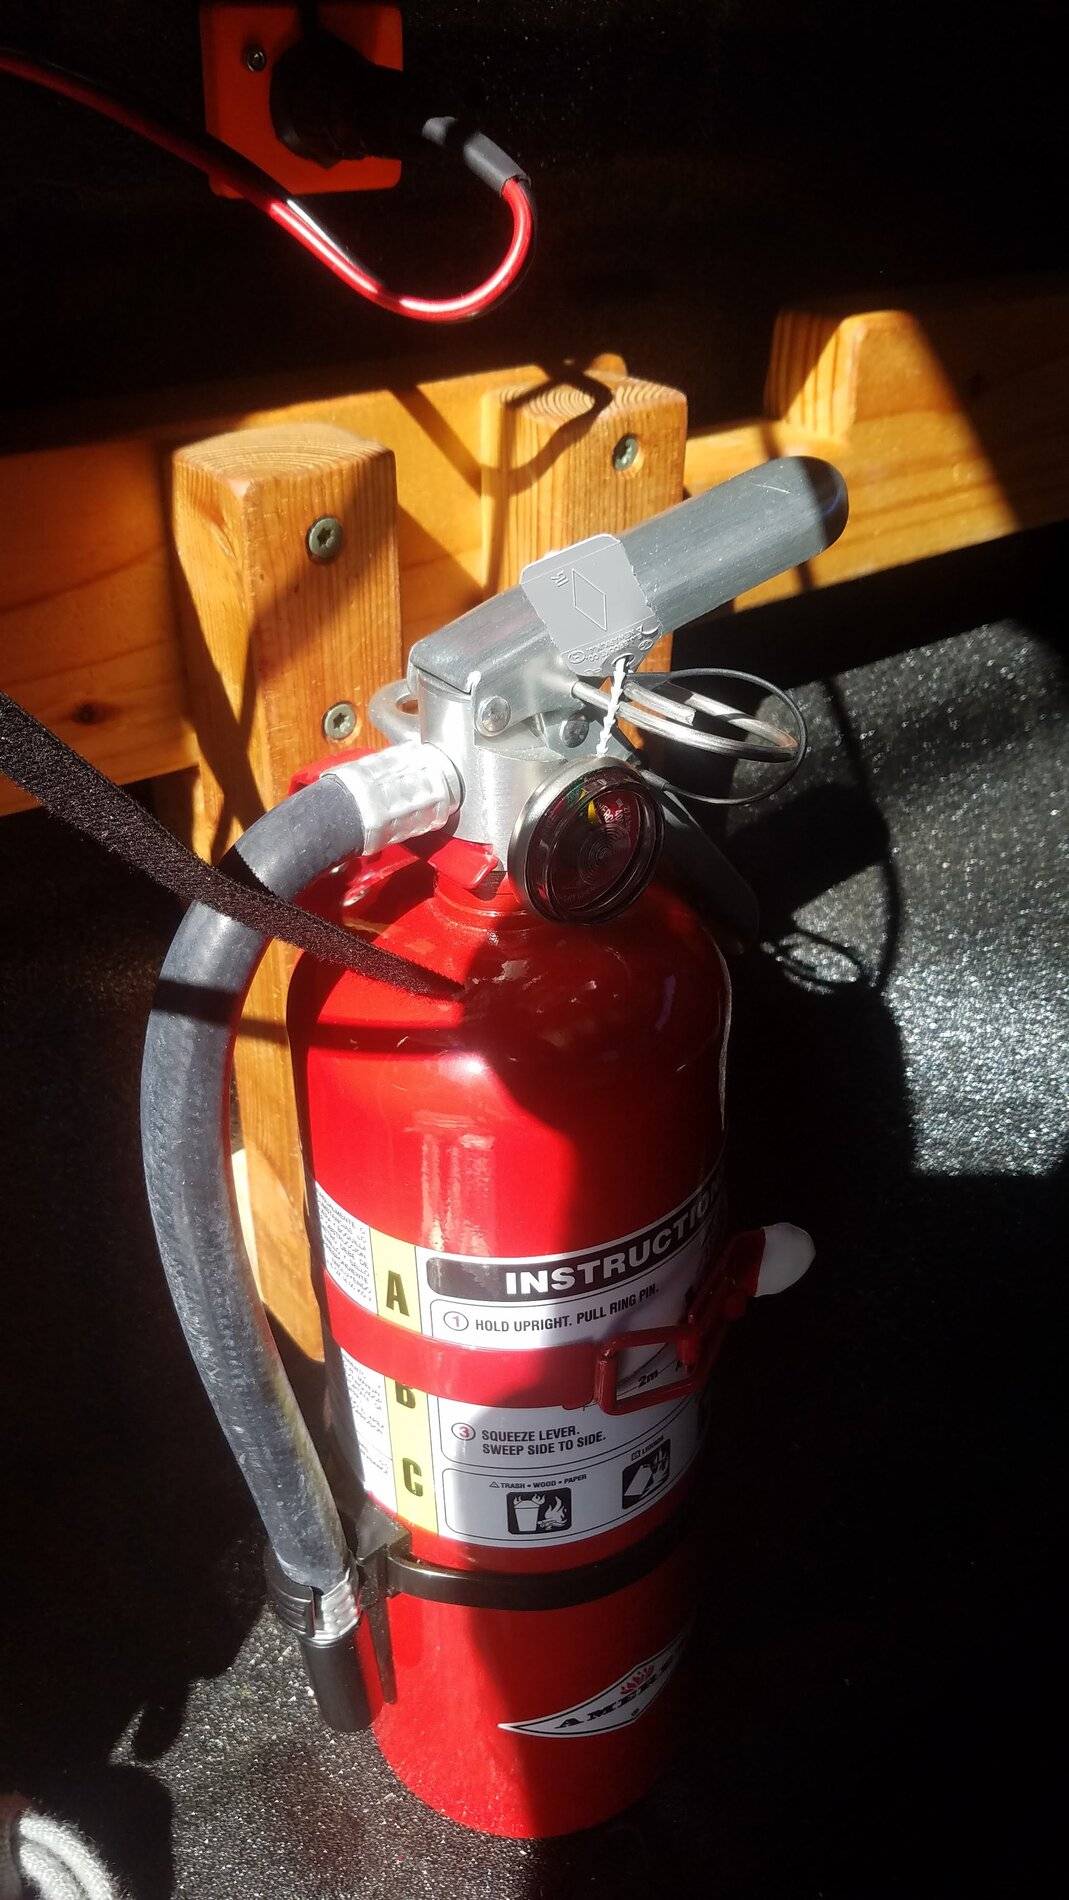
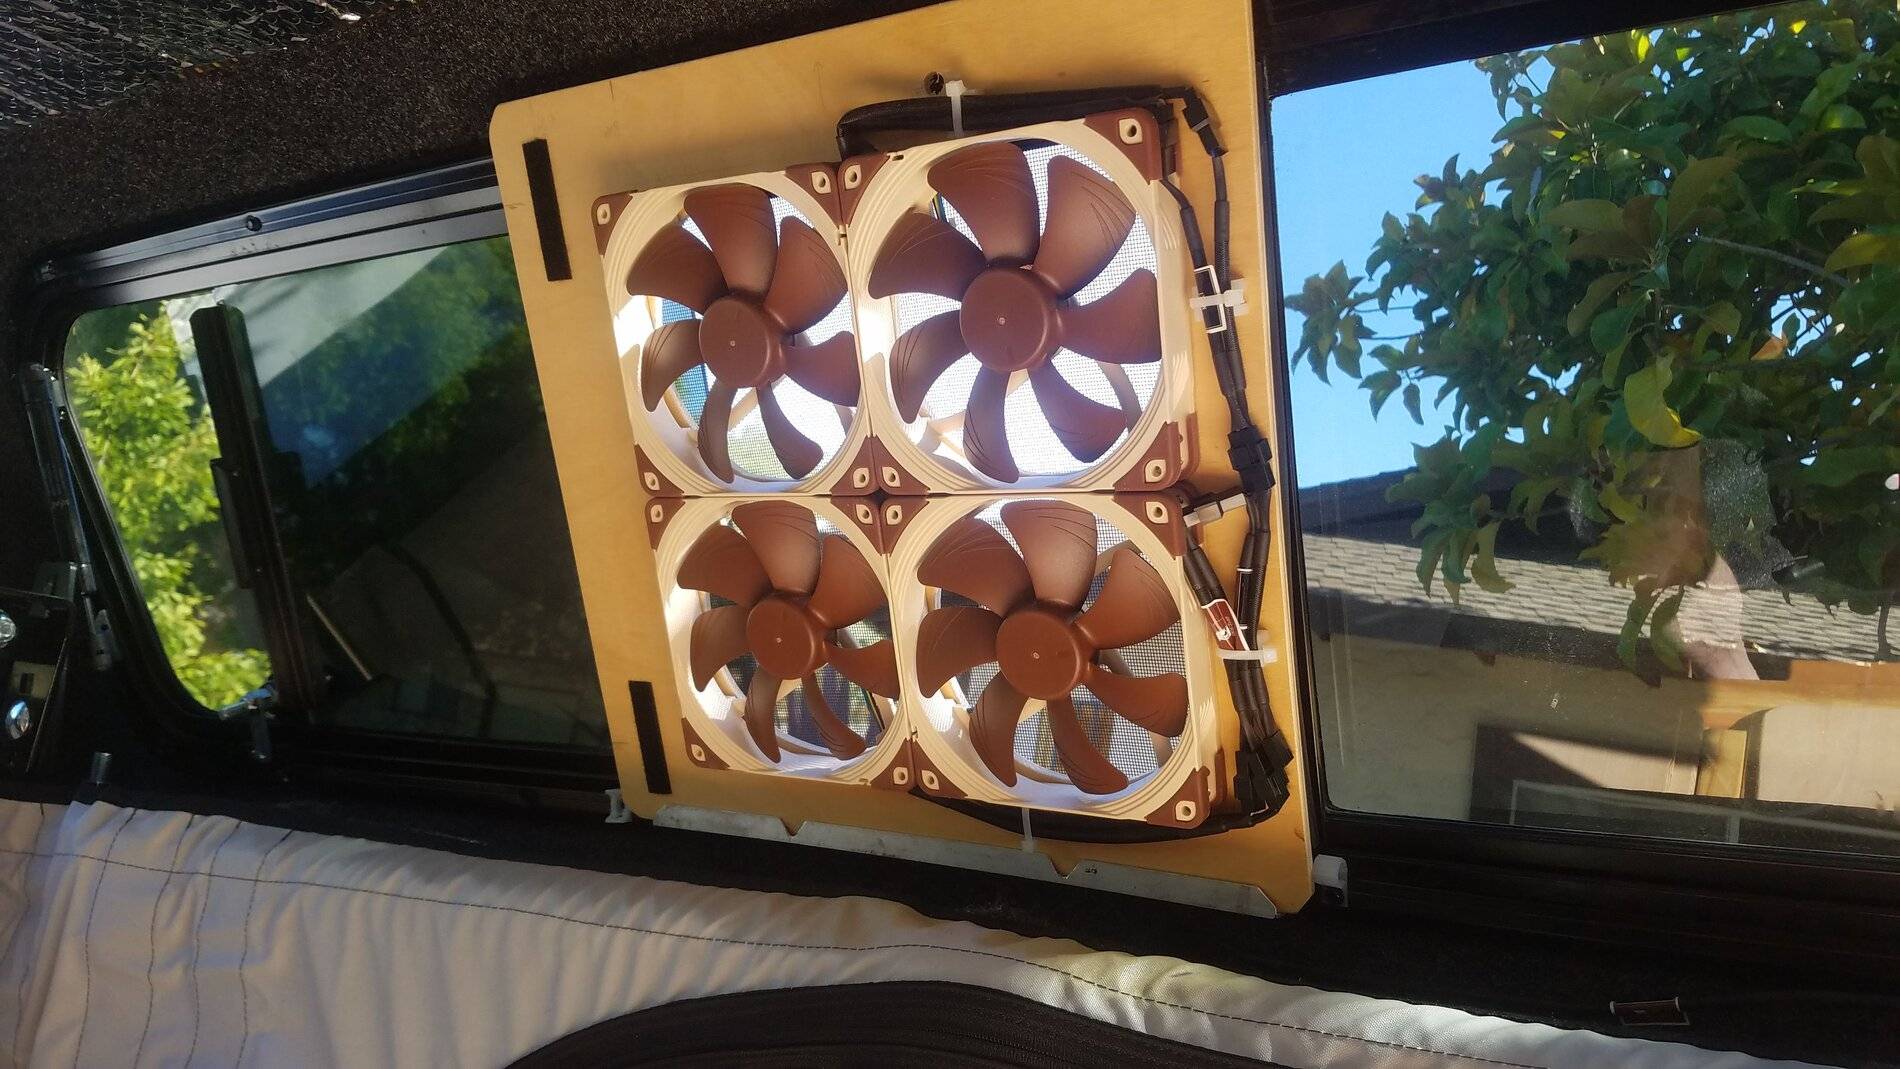
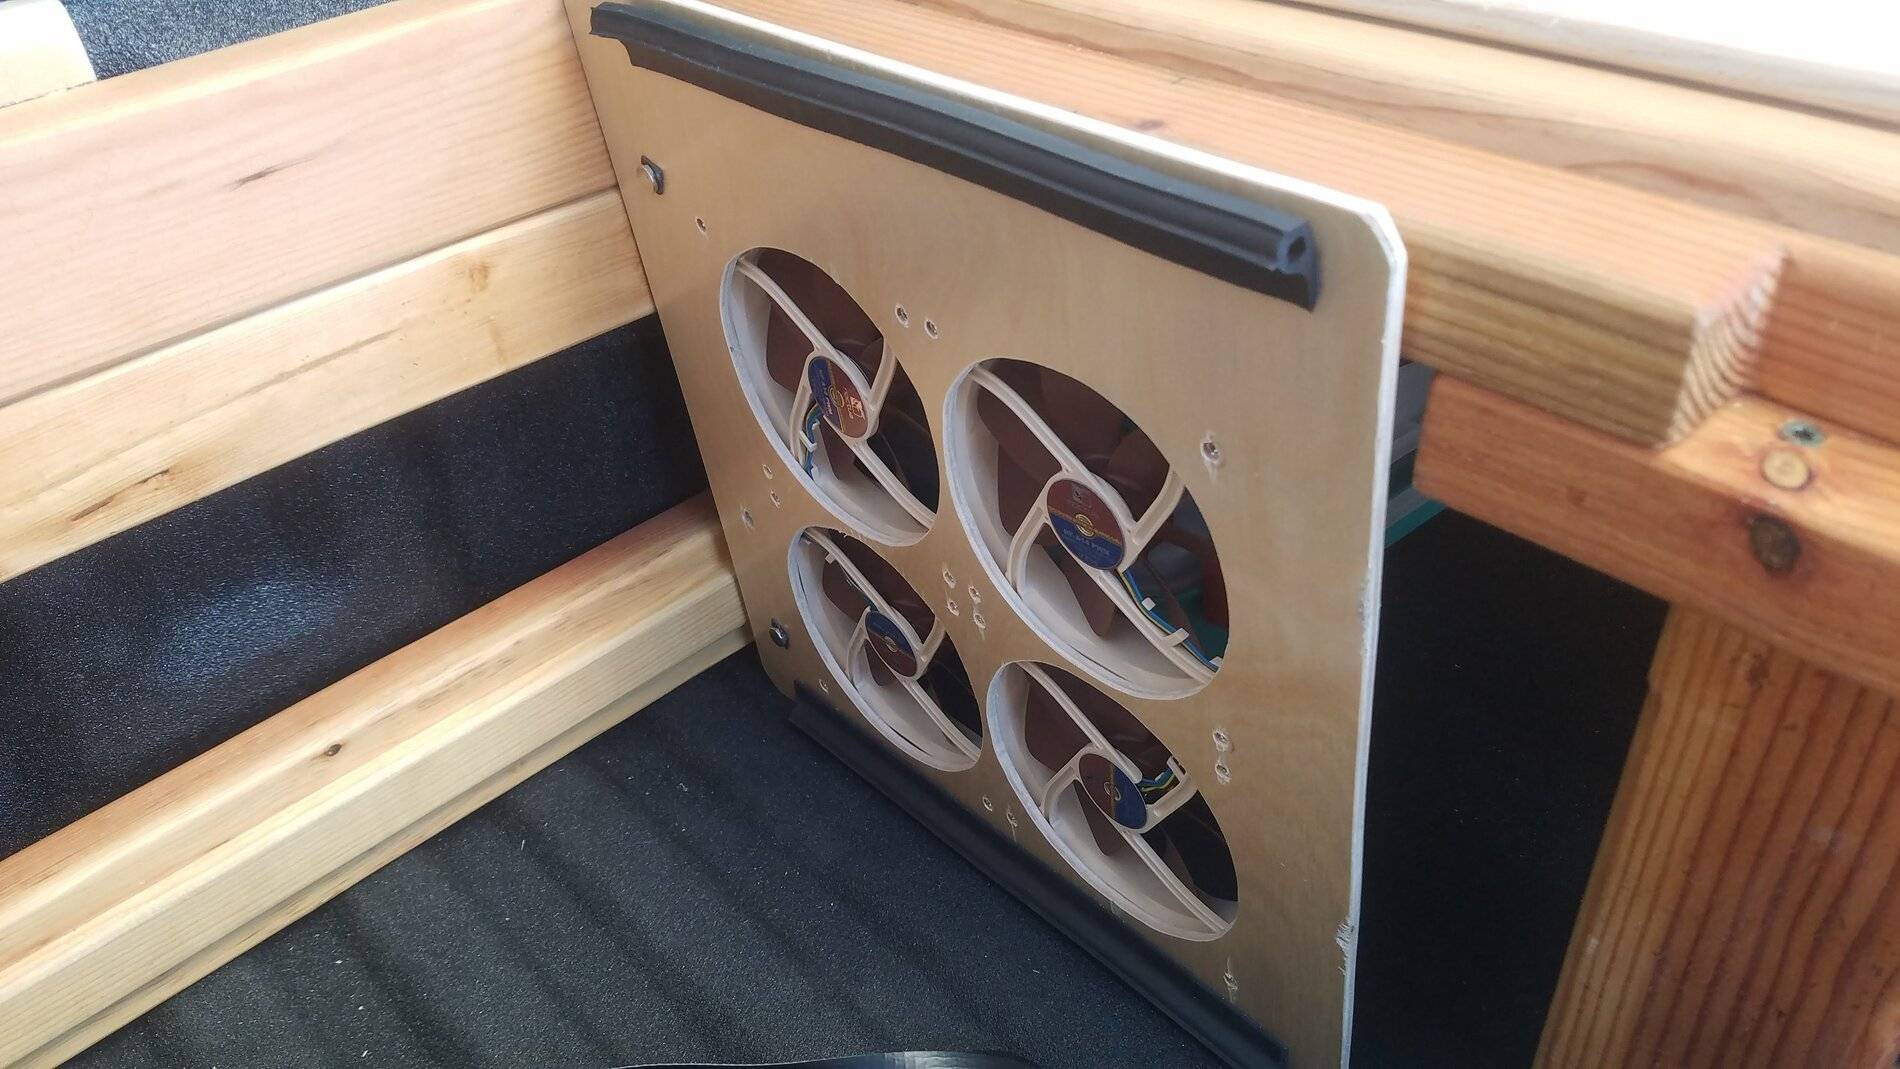
Summary of vehicle: electrically expandable living space, 9x camera system, light offroad setup, additional lighting, custom wiring and electronics, long-duration living (solar, water, fuel, etc).
These are all done in as simple and robust way possible, avoiding complexity when possible.
Later I'll post external photos, but for now, I'll start with posts on some sub-smaller projects.
I'll share back some of what I've learned as well.This thread is about a build to make a versatile camper that looks as inconspicuous as possible. I had one with my '97 XLT, and have been working on additional changes to my '21 XLT FX2, since it arrived 4 weeks ago (it was a factory order)
Summary of vehicle: electrically expandable living space, 9x camera system, light offroad setup, additional lighting, custom wiring and electronics, long-duration living (solar, water, fuel, etc).
These are all done in as simple and robust way possible, avoiding complexity when possible.
Later I'll post external photos, but for now, I'll start with posts on some sub-smaller projects.
Sponsored
Last edited: