Blacking Out (Plasti-dip) emblems/bumpers/grill/gills

njrucci

Well-Known Member
First Name
nick
Joined
Aug 5, 2019
Threads
15
Messages
46
Reaction score
25
Location
york pa
Vehicle(s)
2019 ford ranger
Vehicle Showcase
1
I did my tailgate, came out great! Thanks for the idea!! Like the way your taillights looked, so decided to murder that too, lol. I went tint though. Didnt have the cohones to paint them.

20190915_013927.jpg
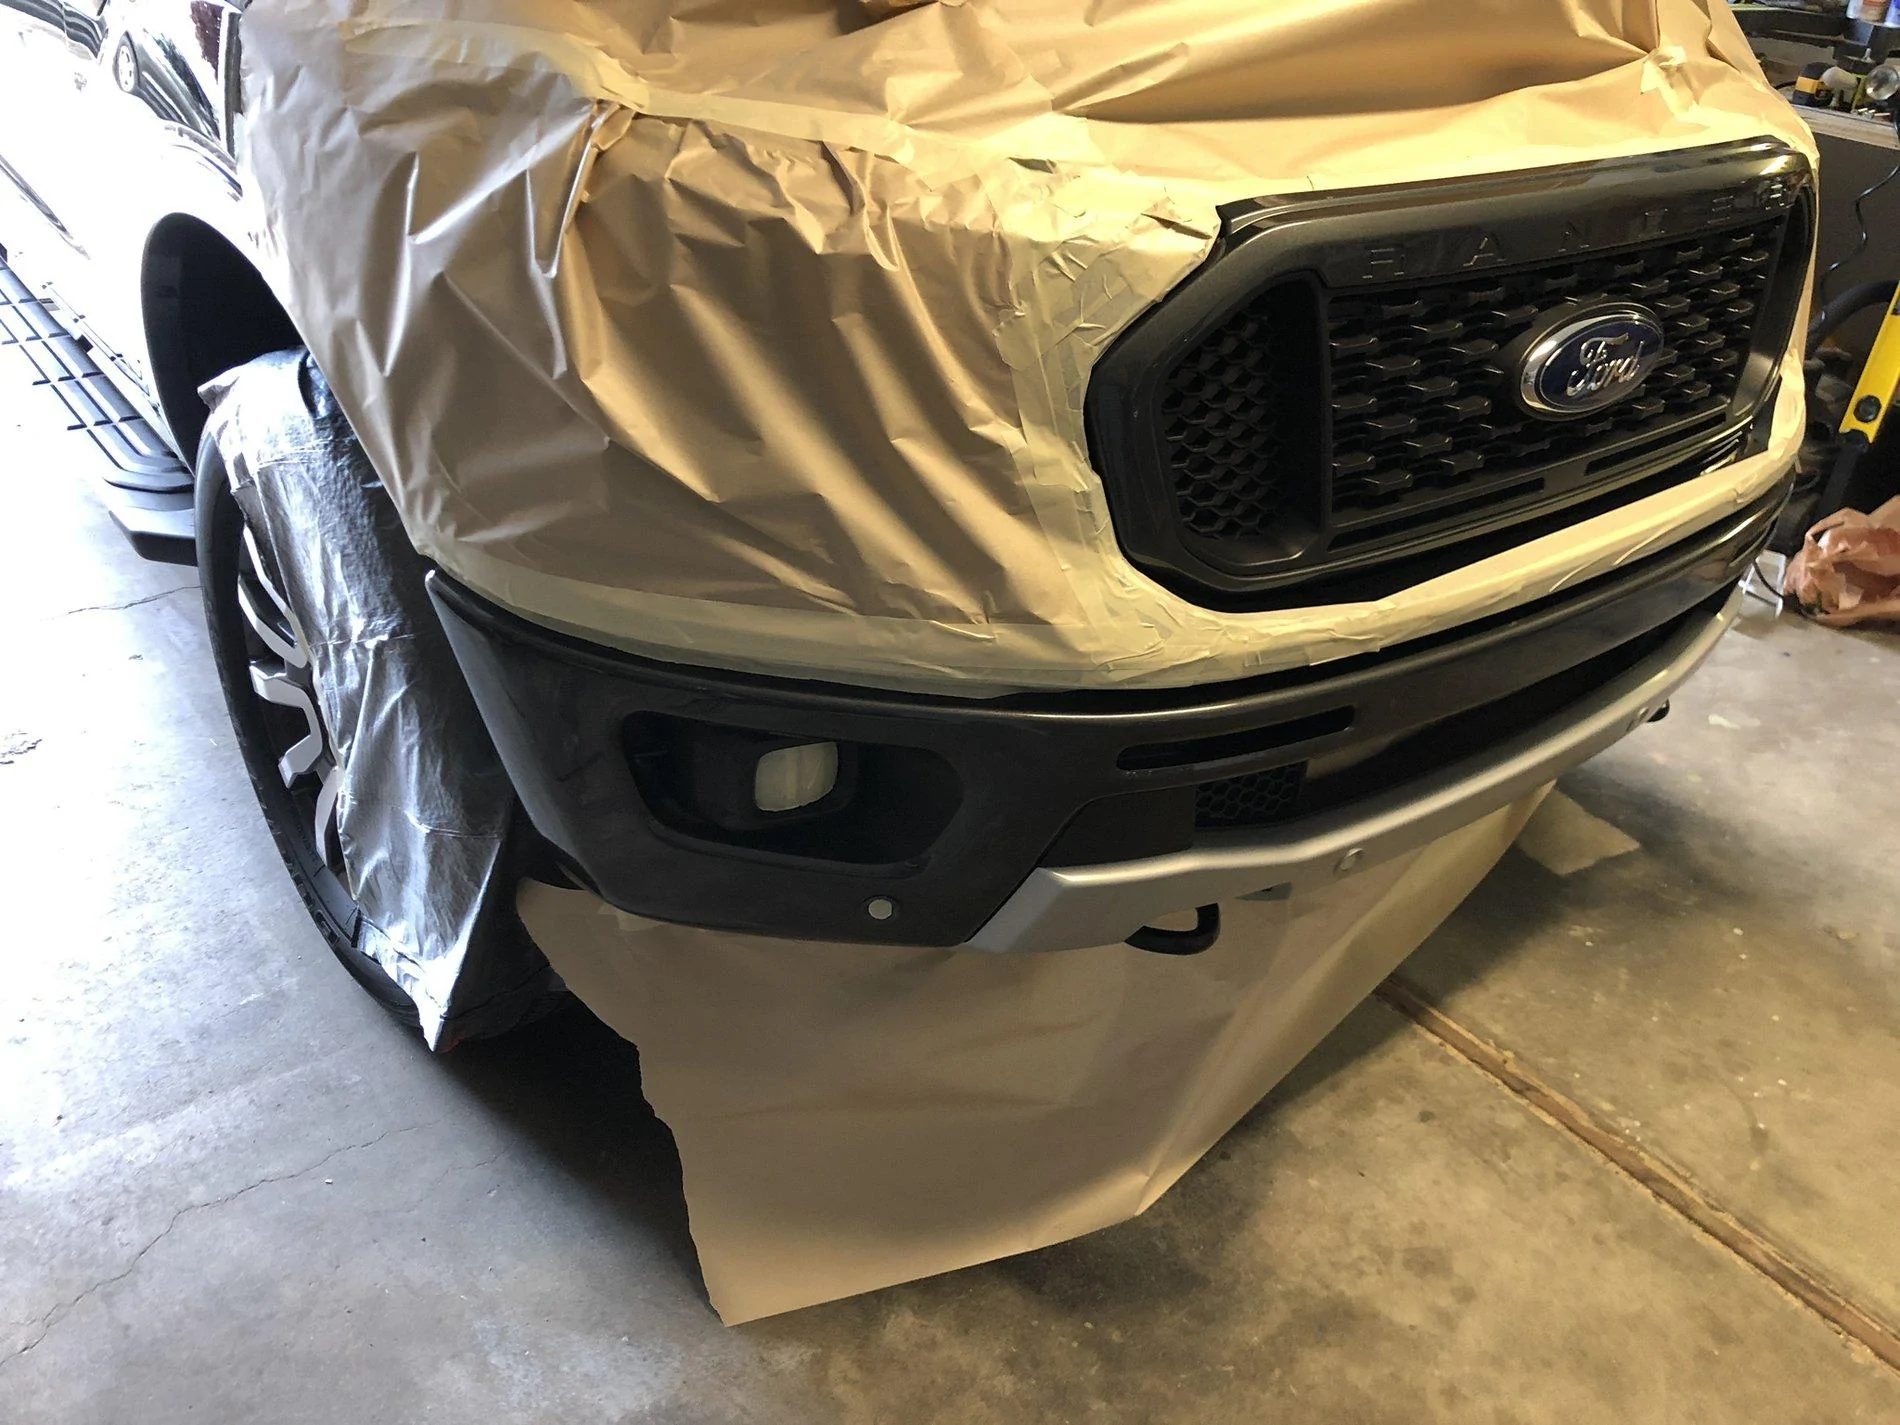
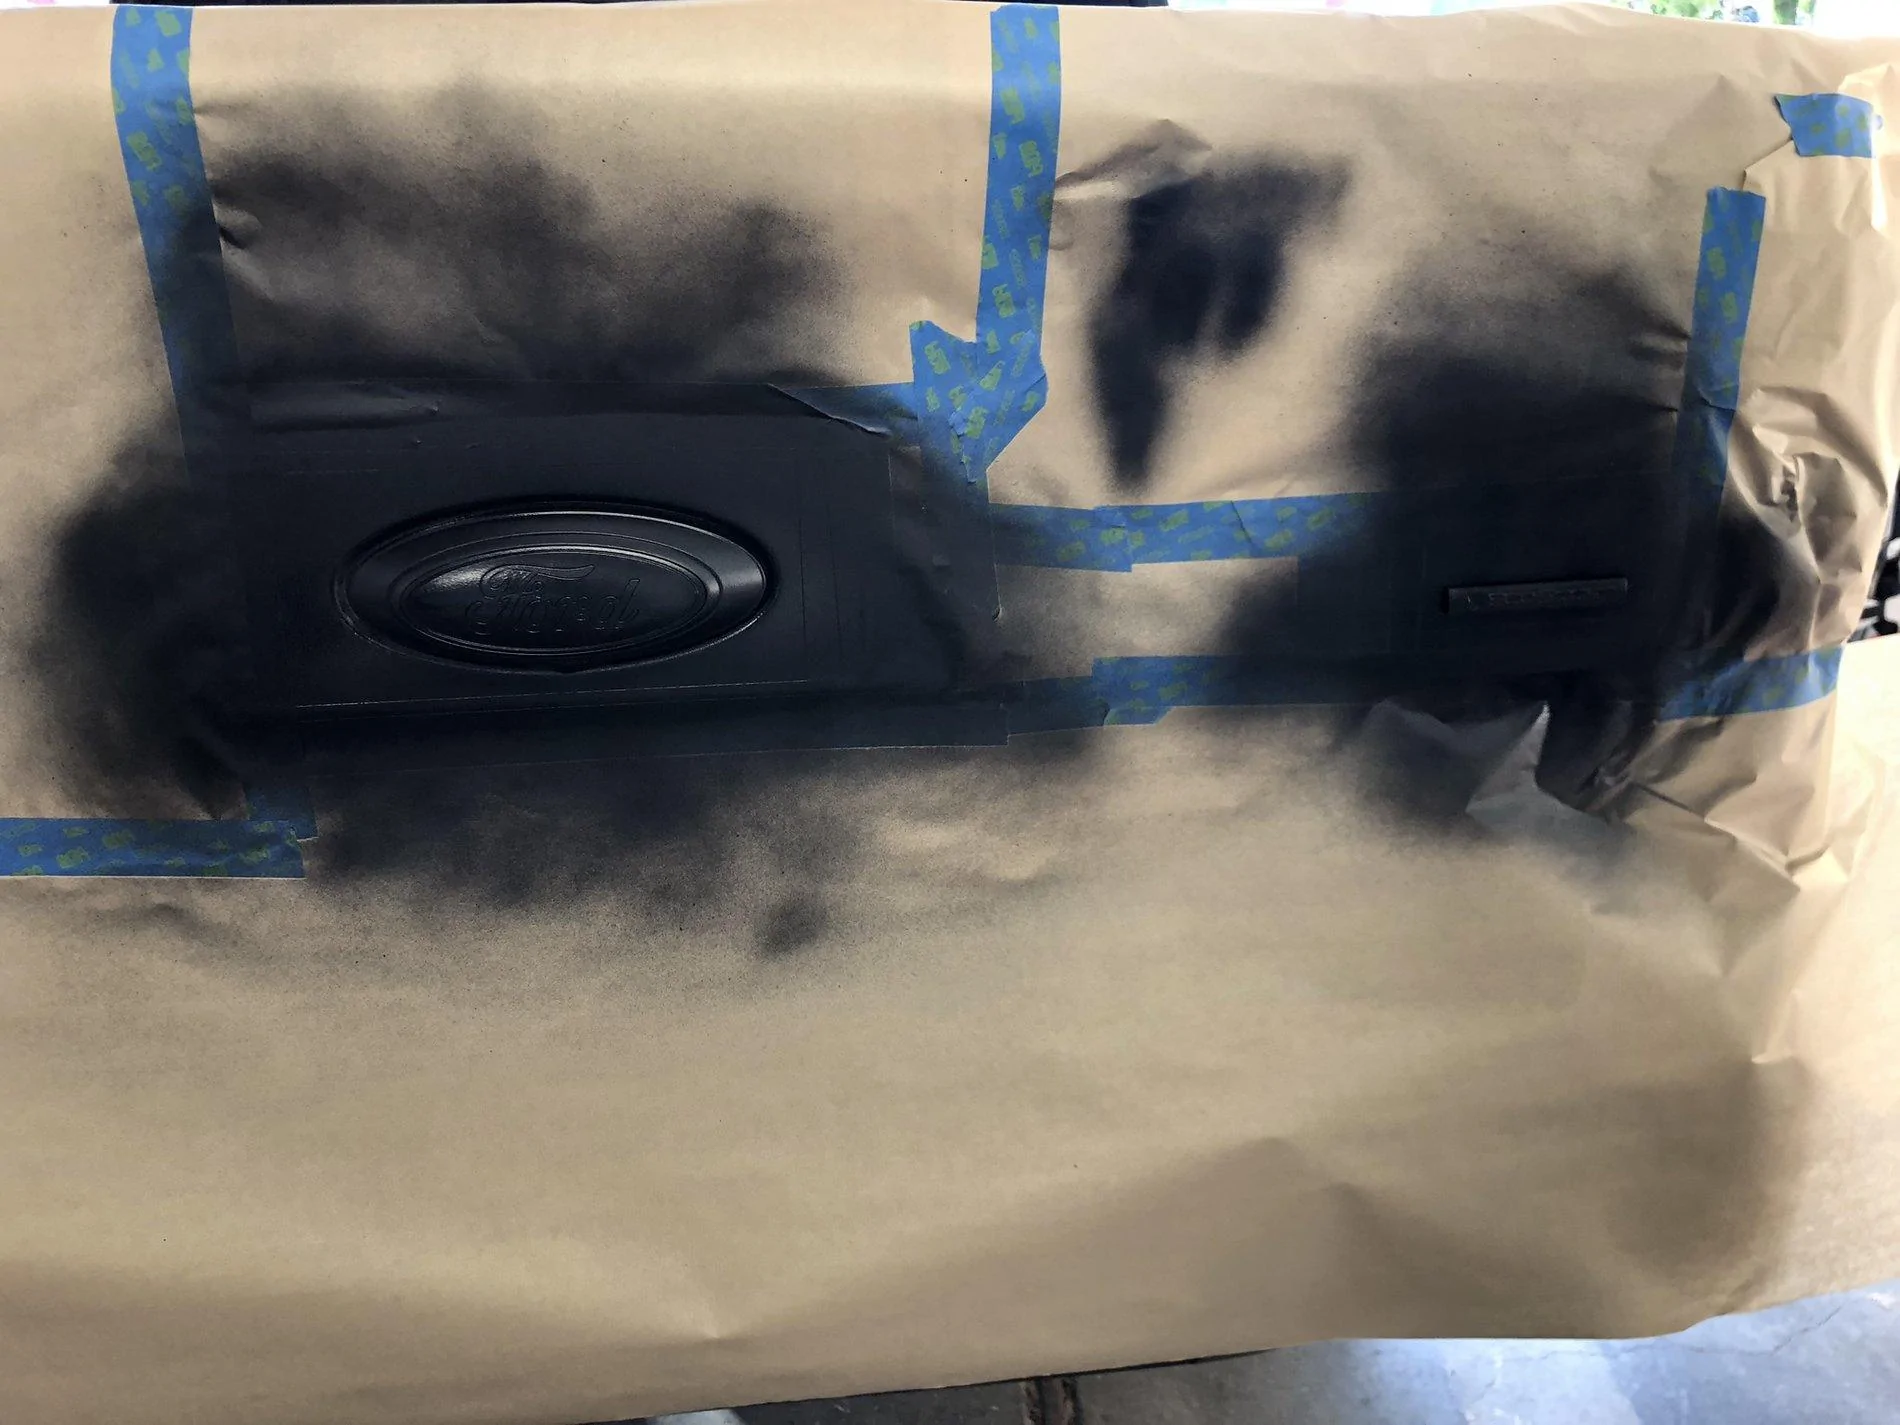
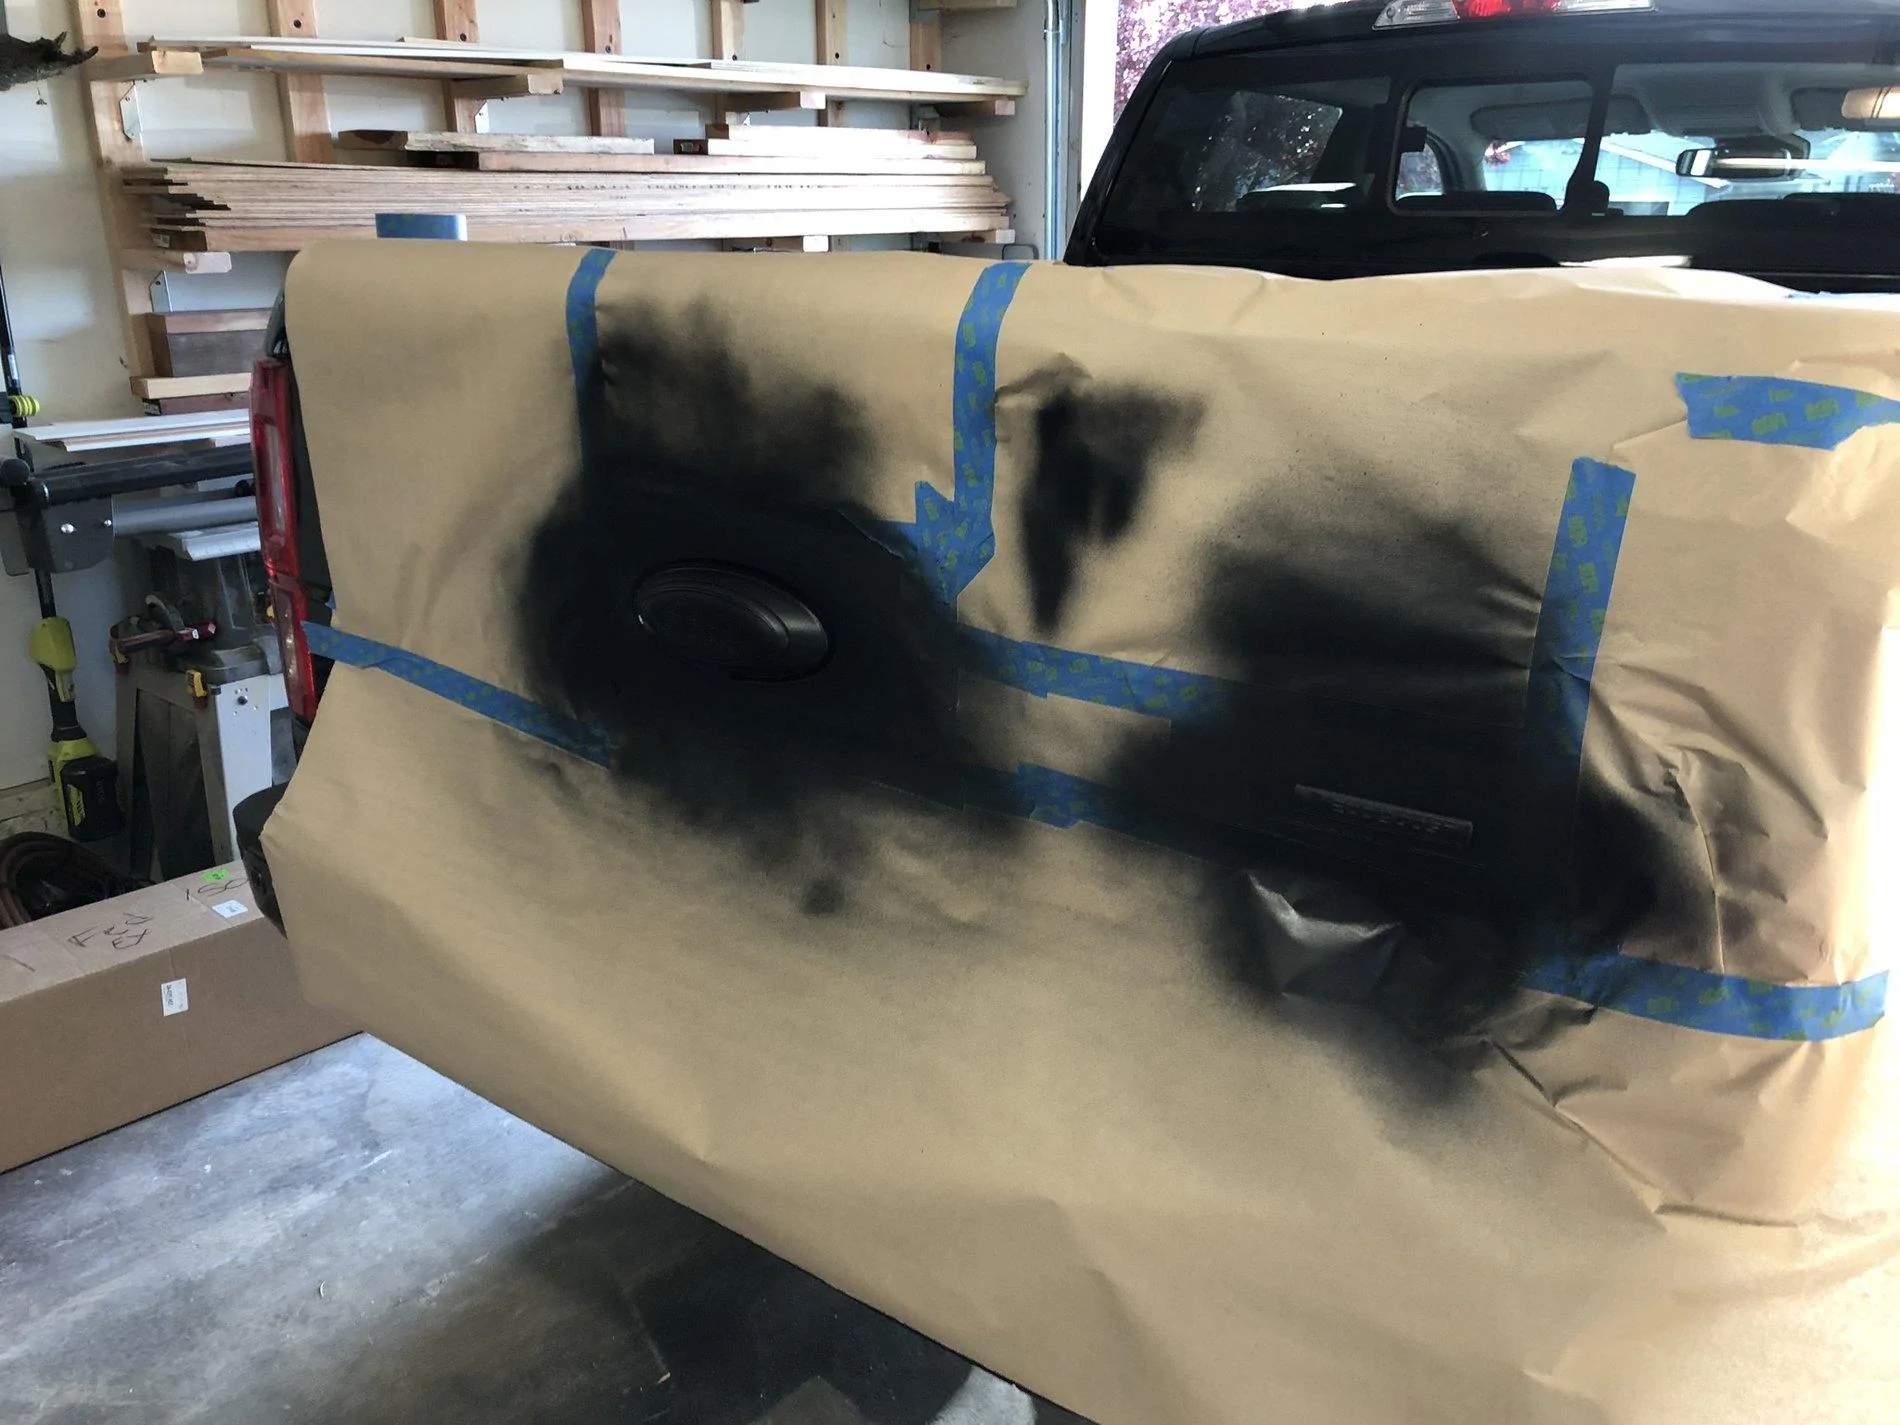
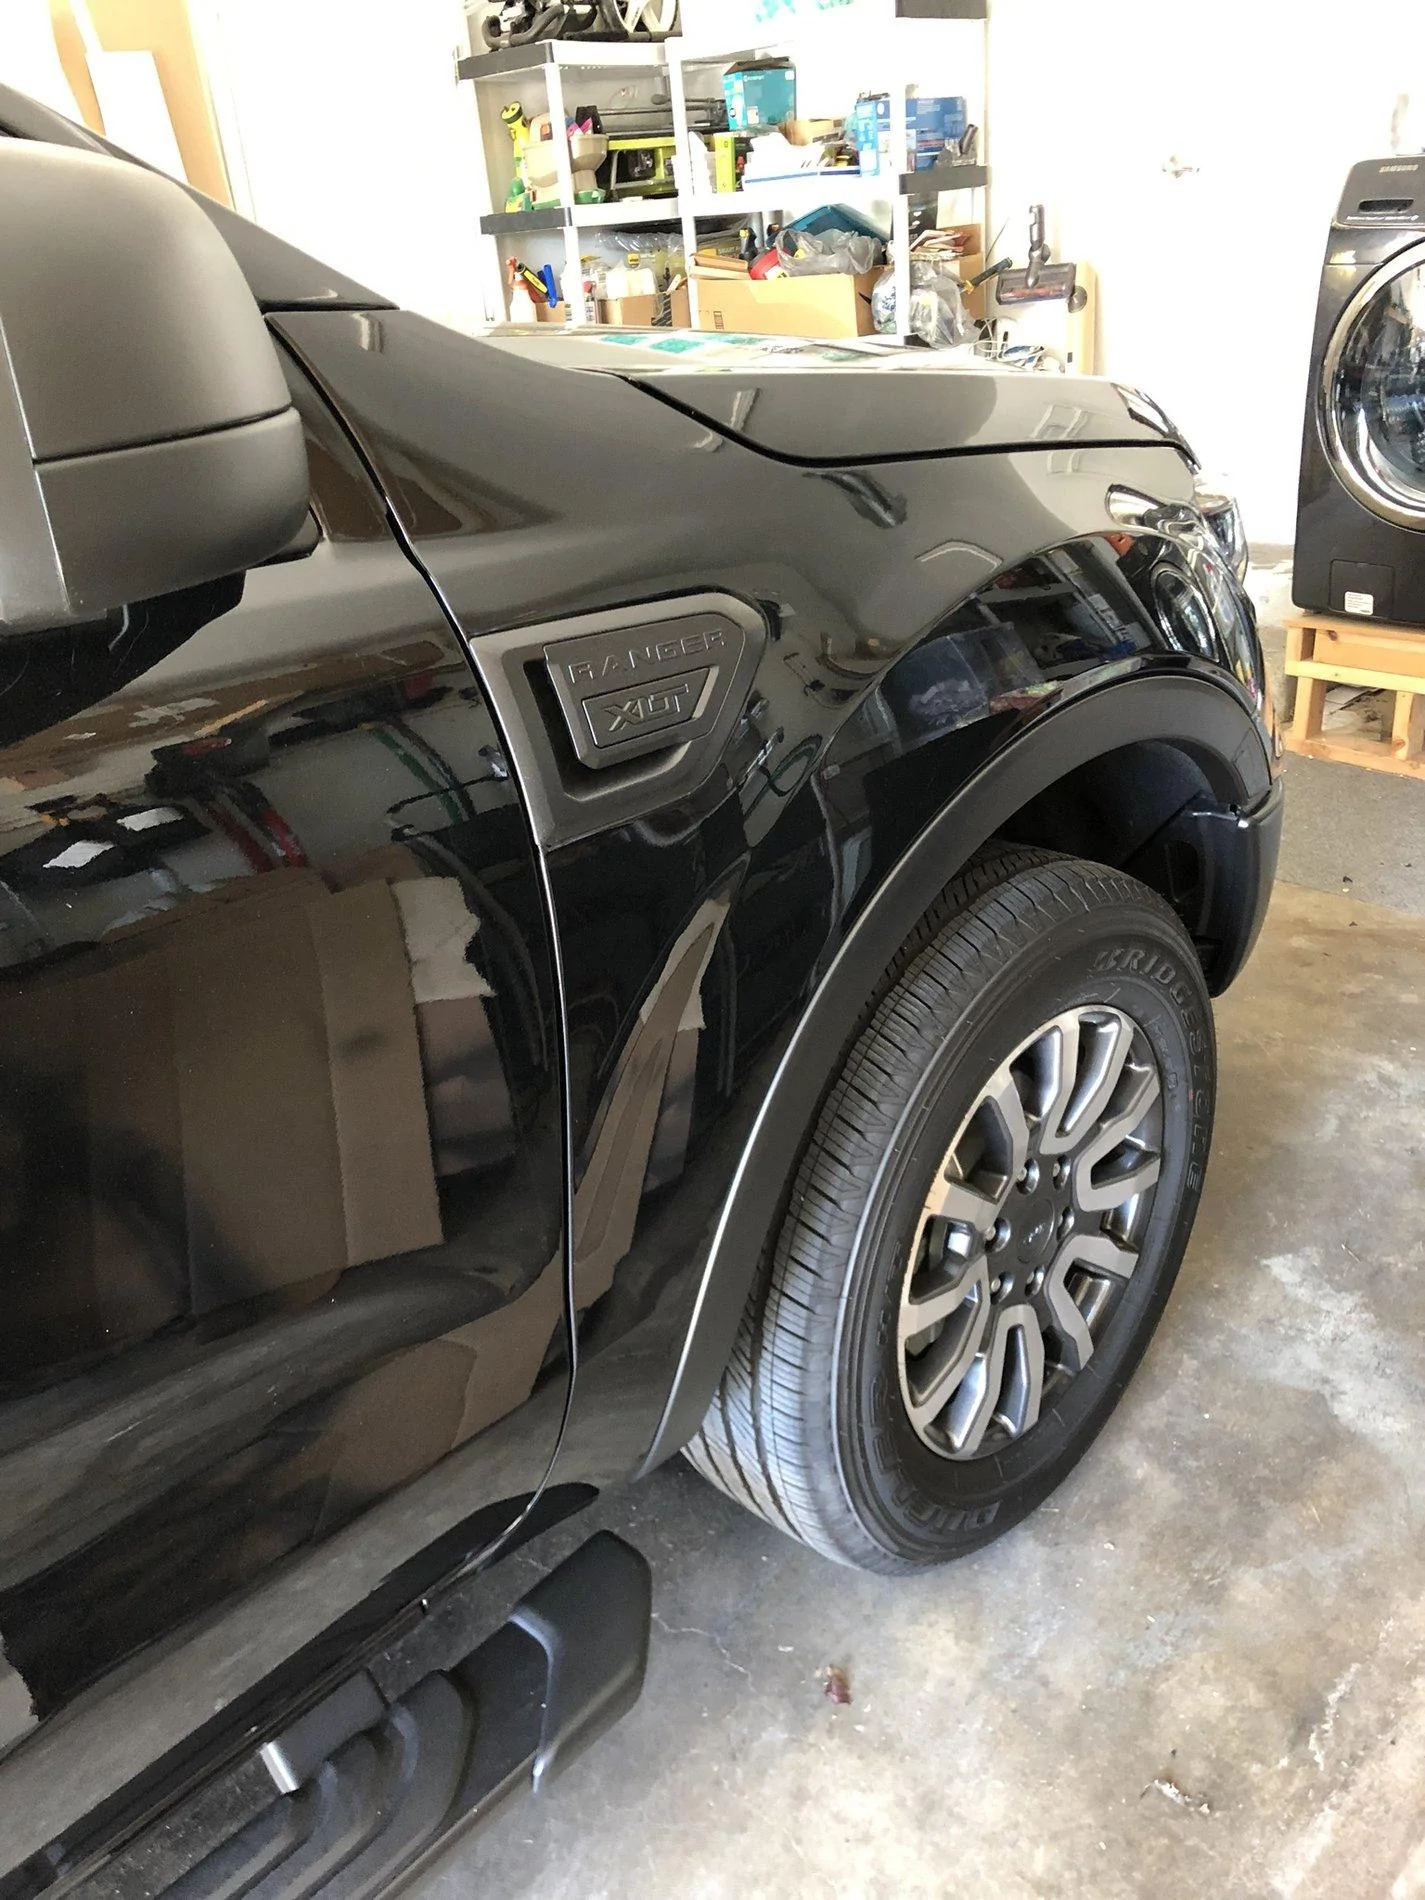
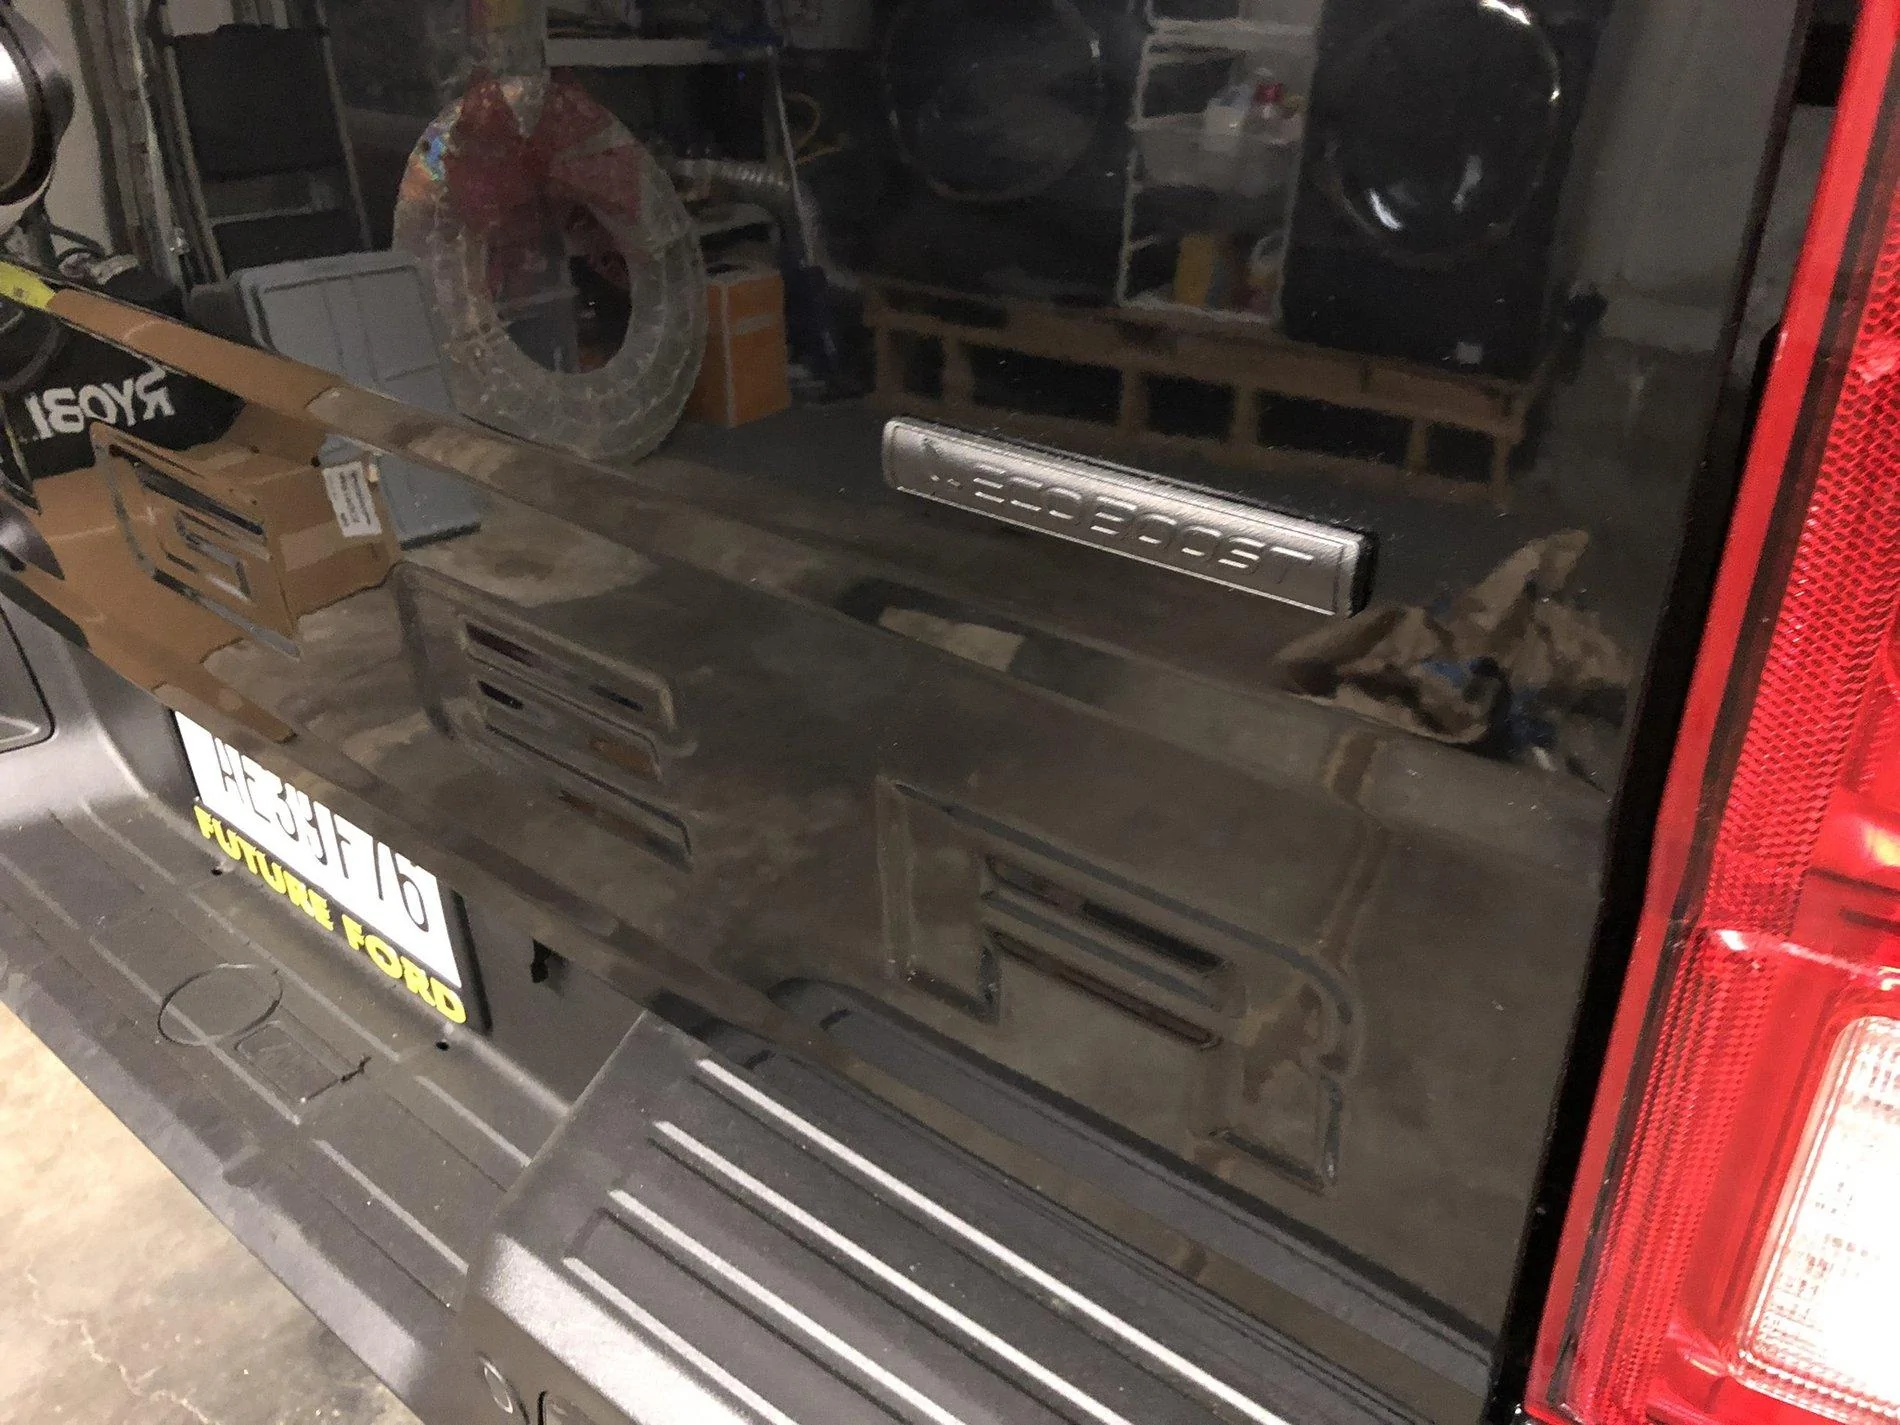
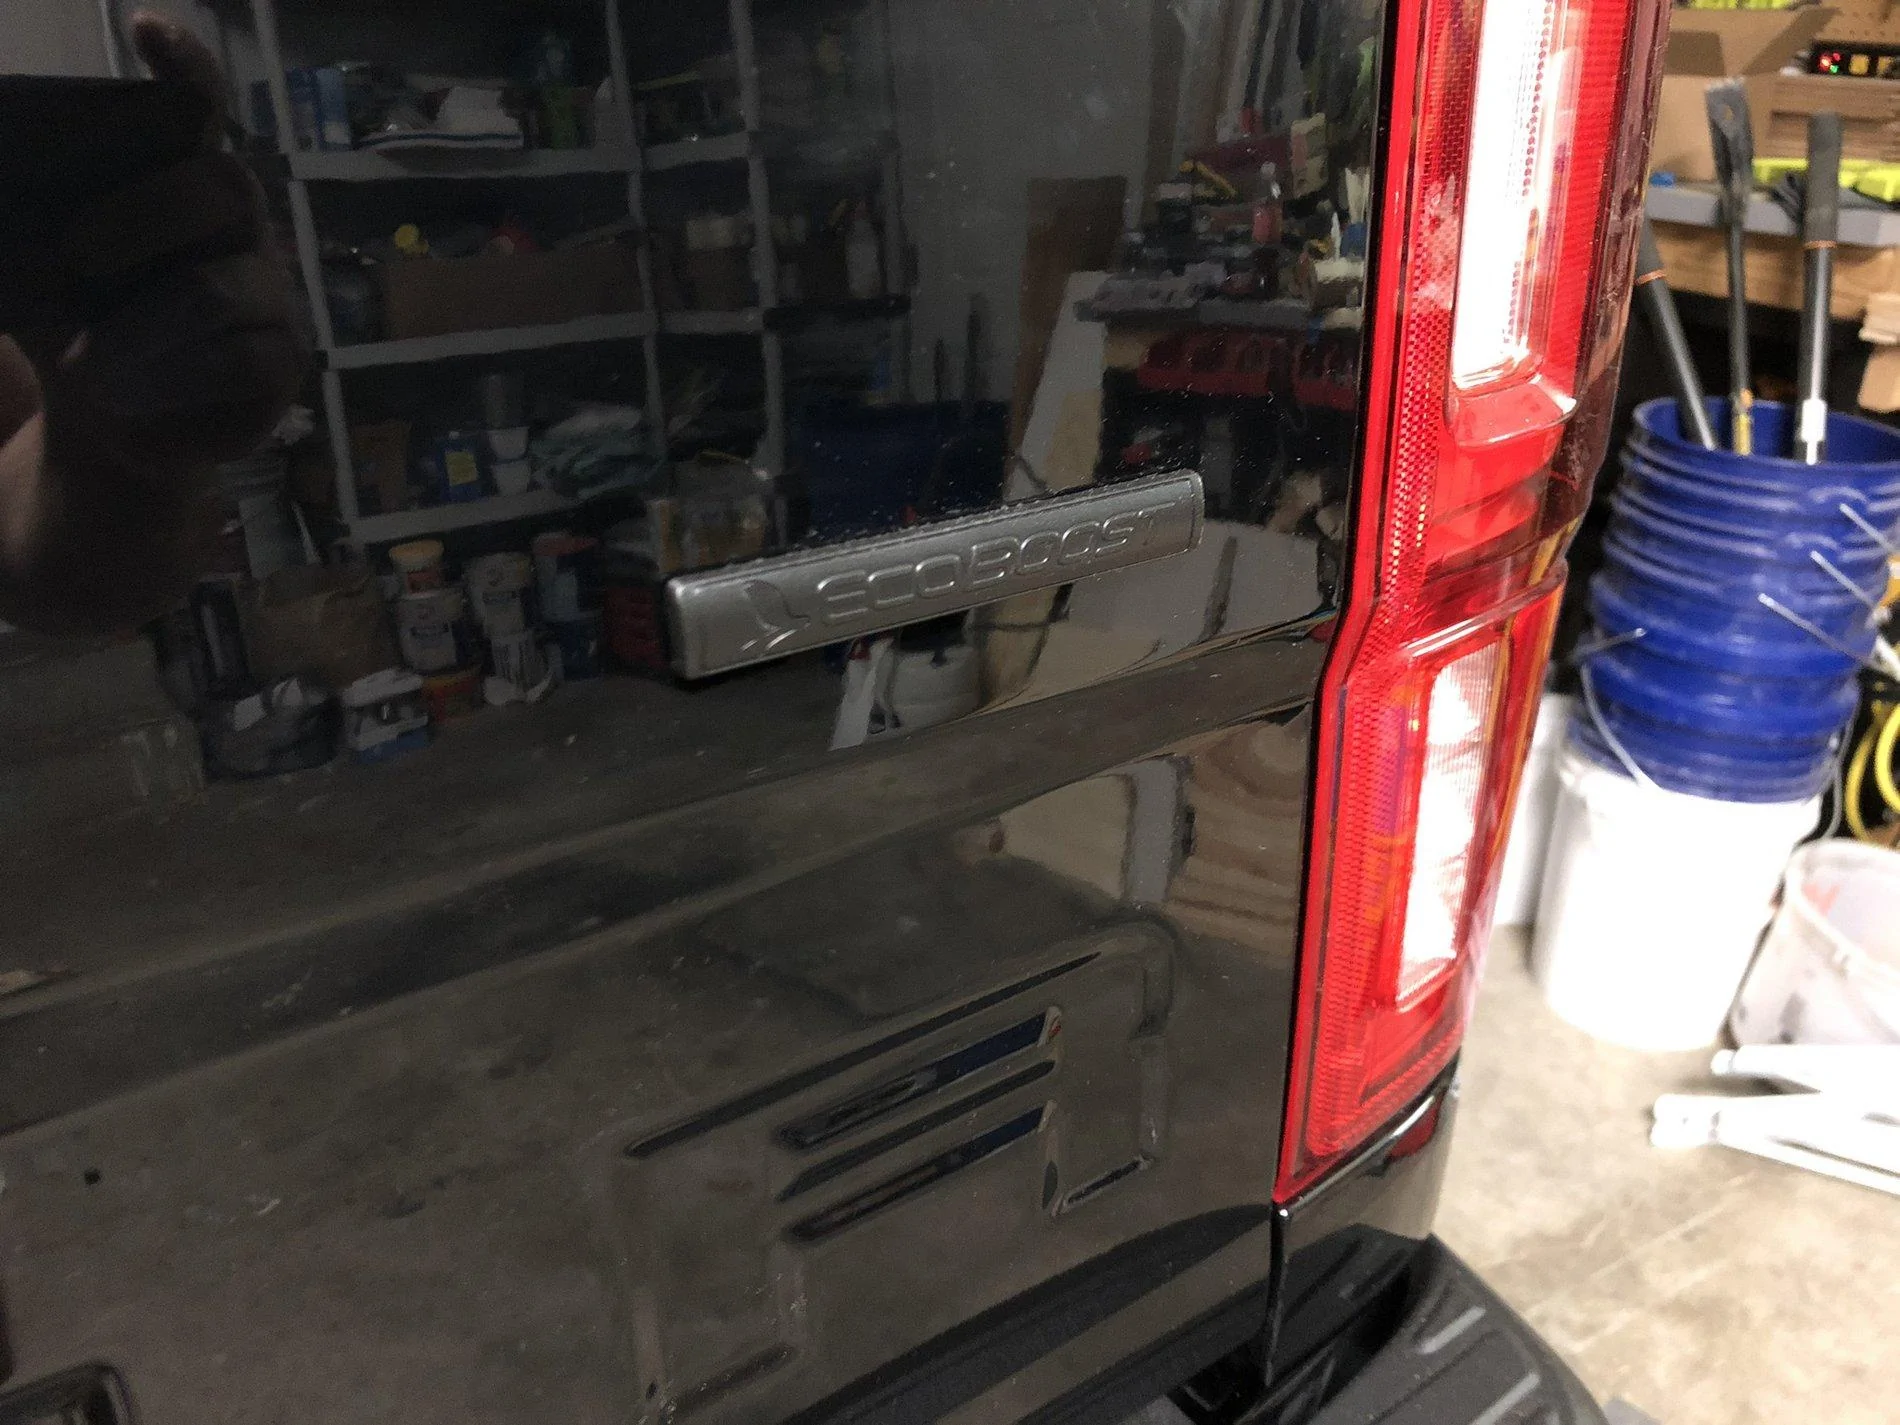
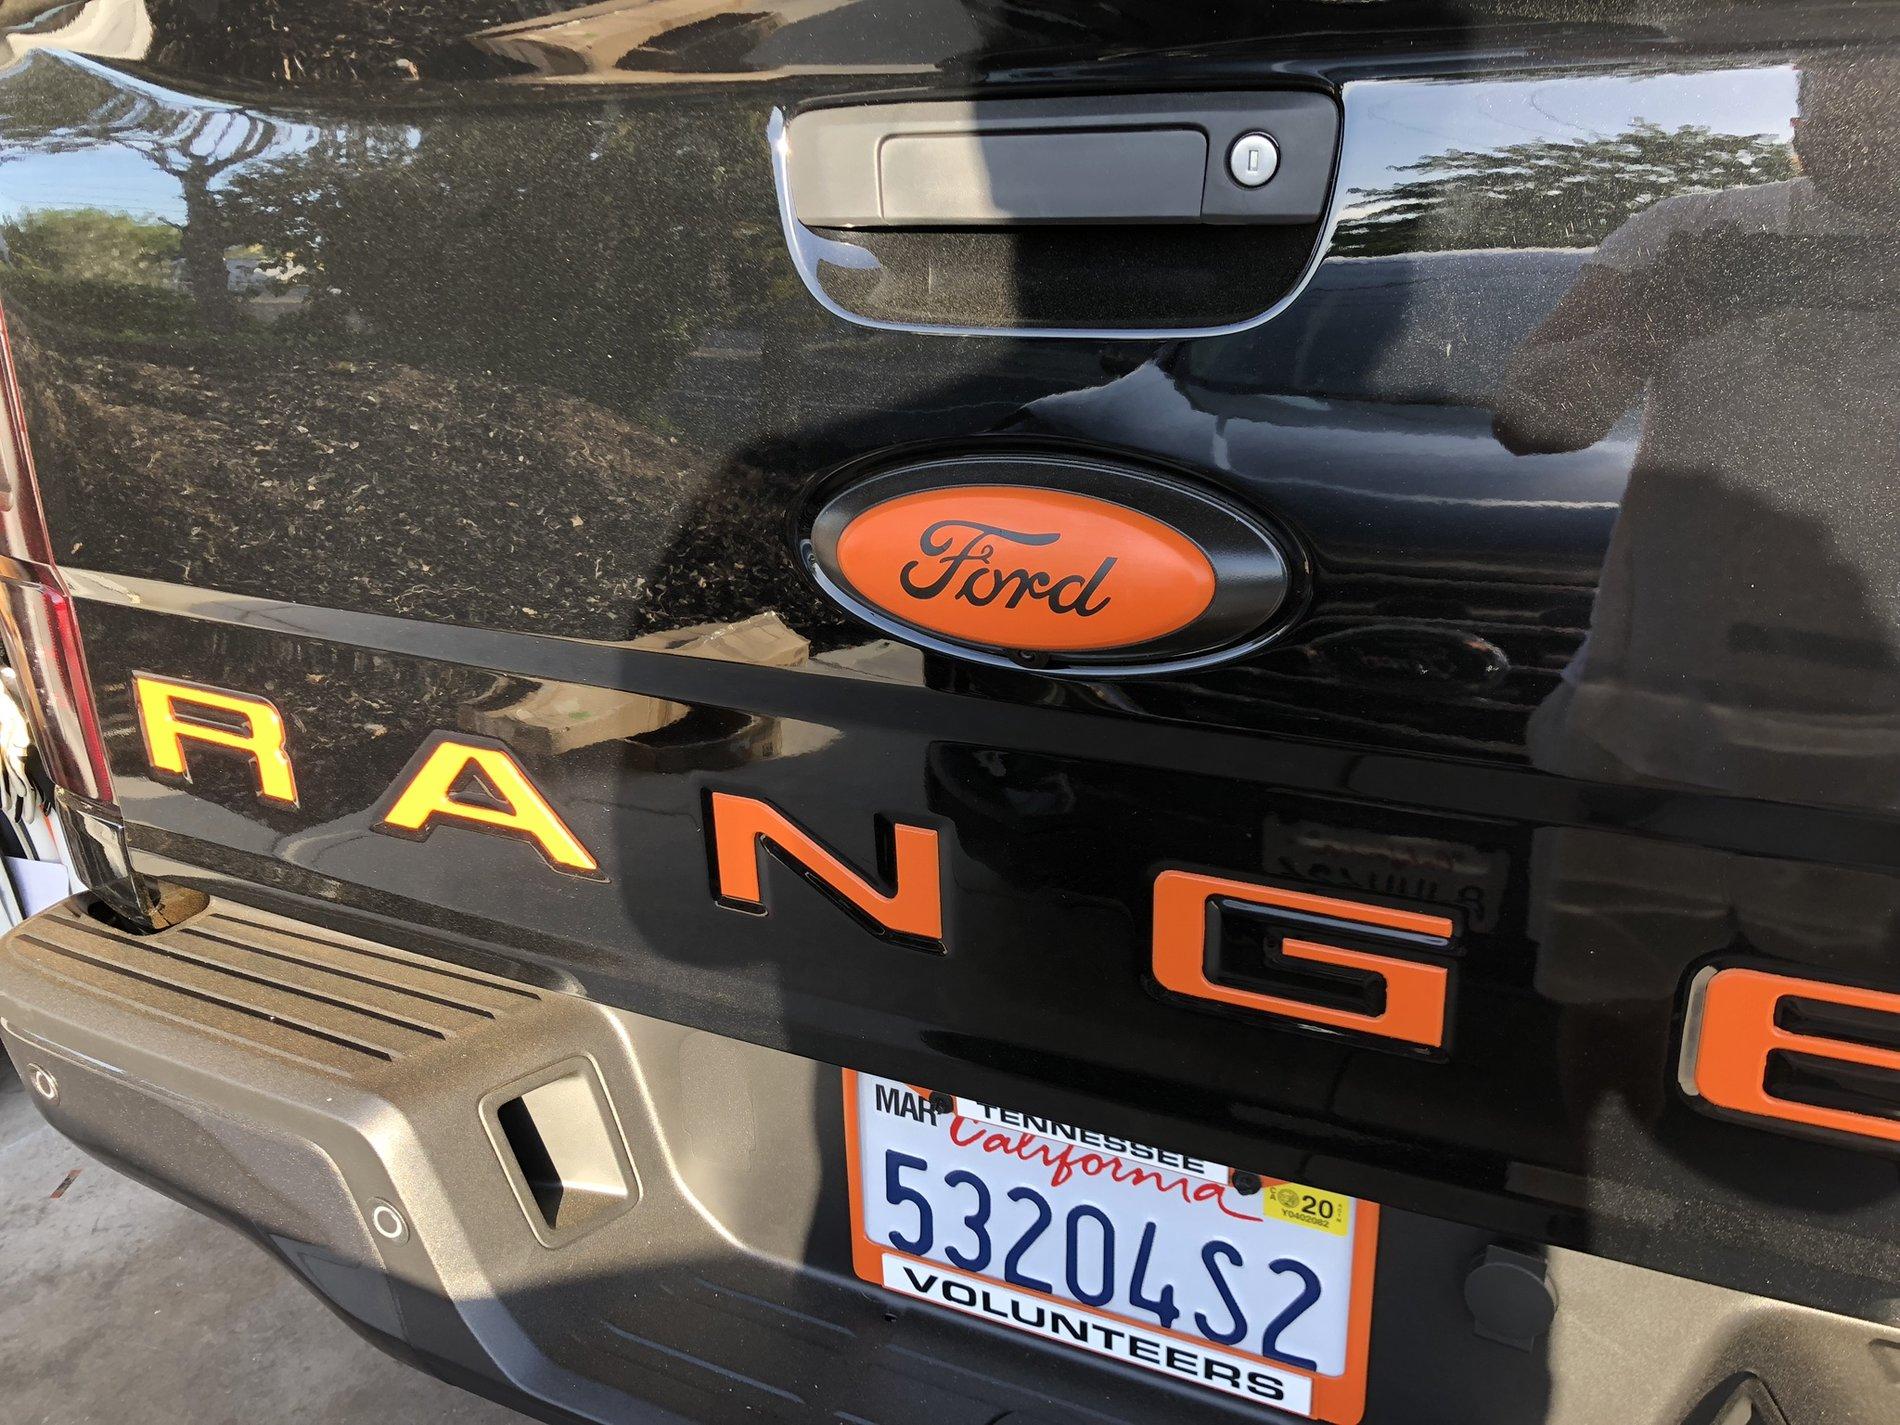
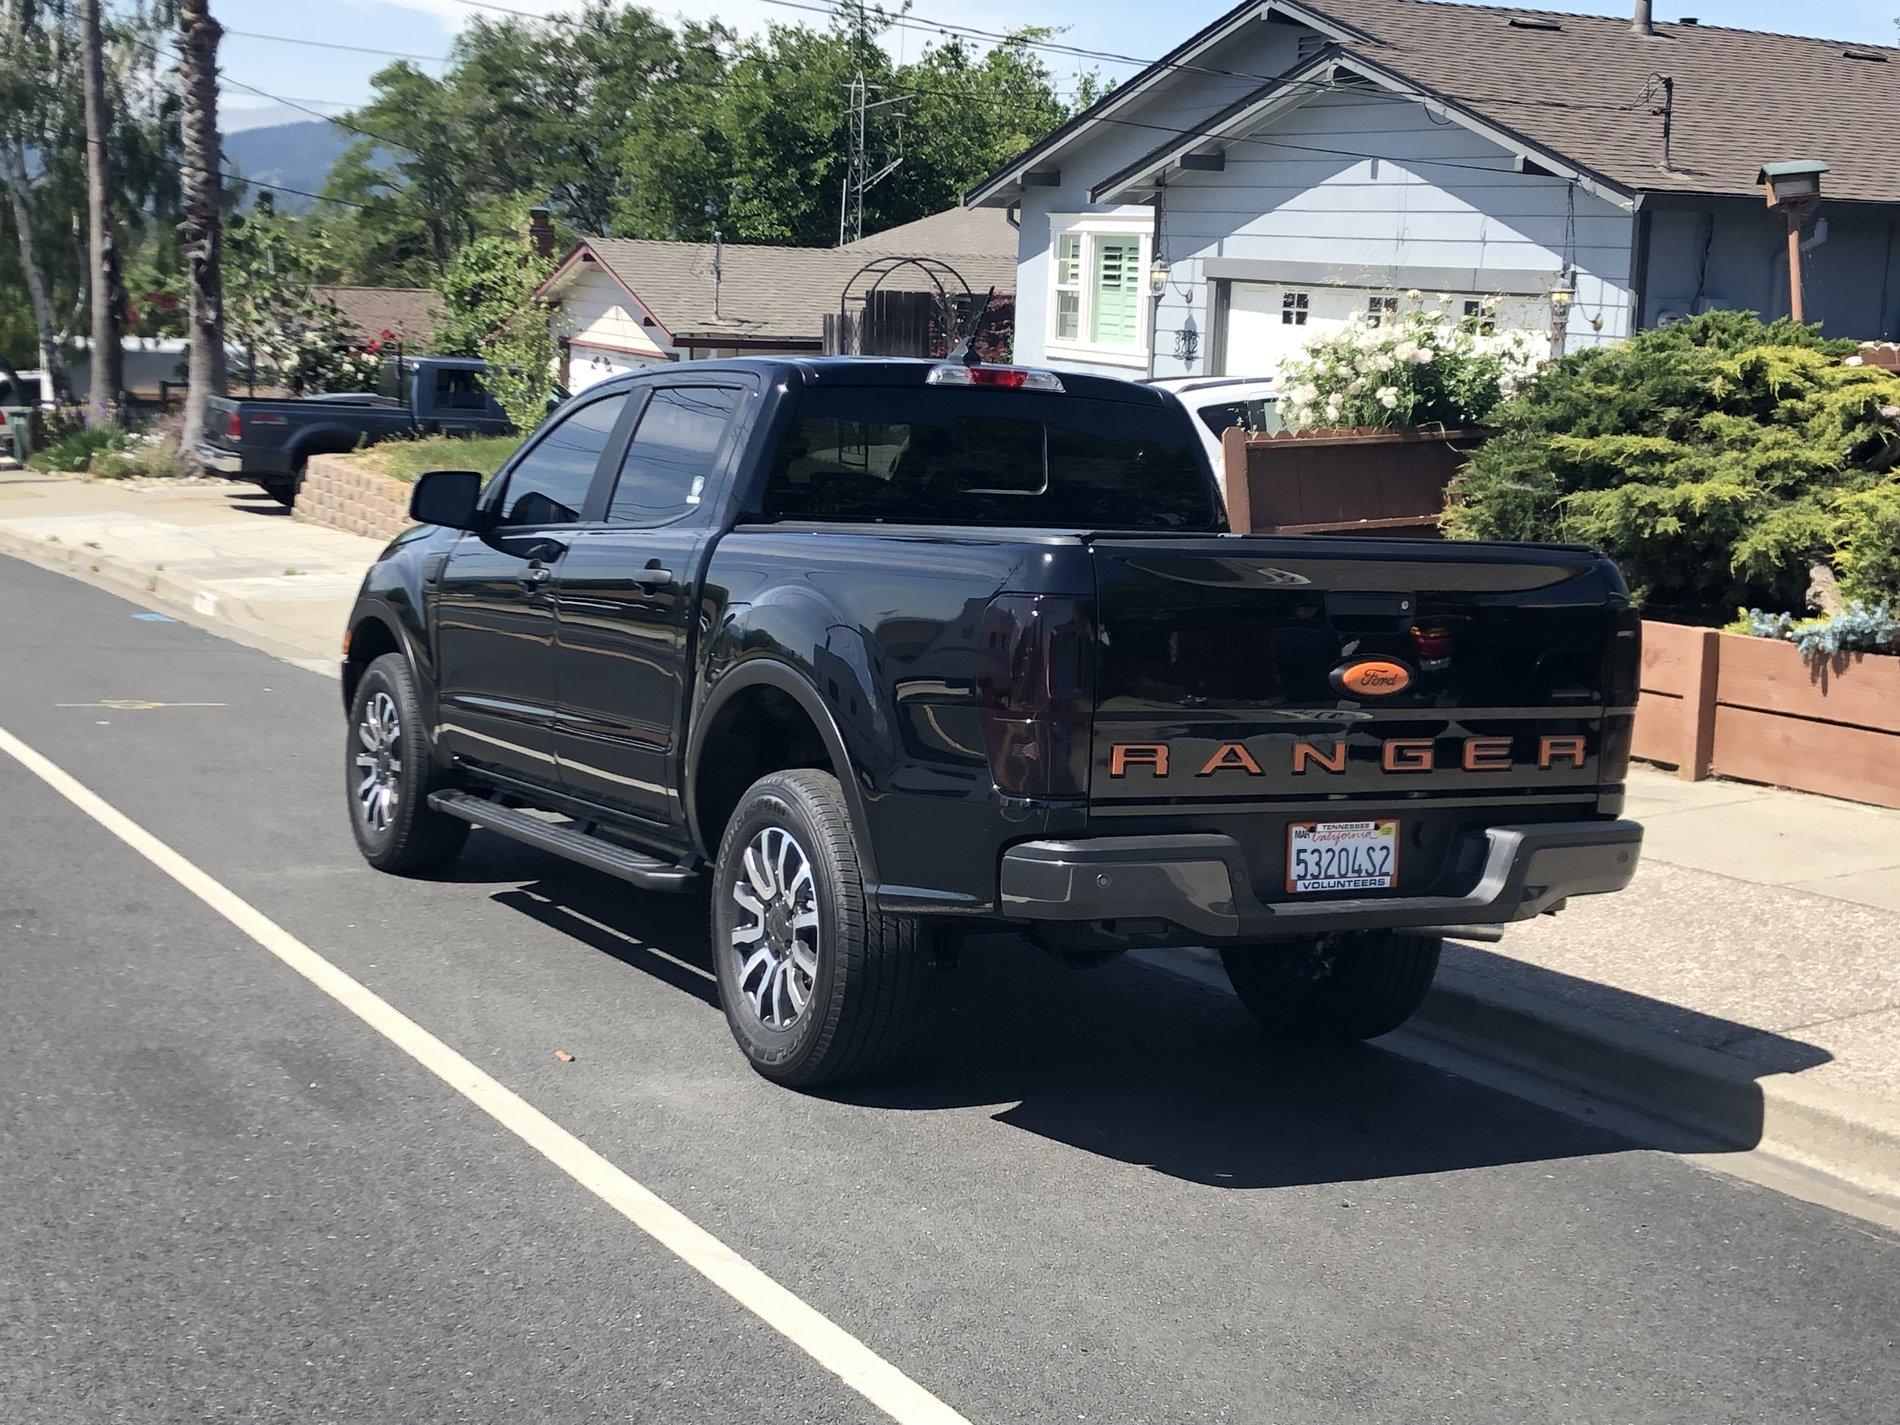
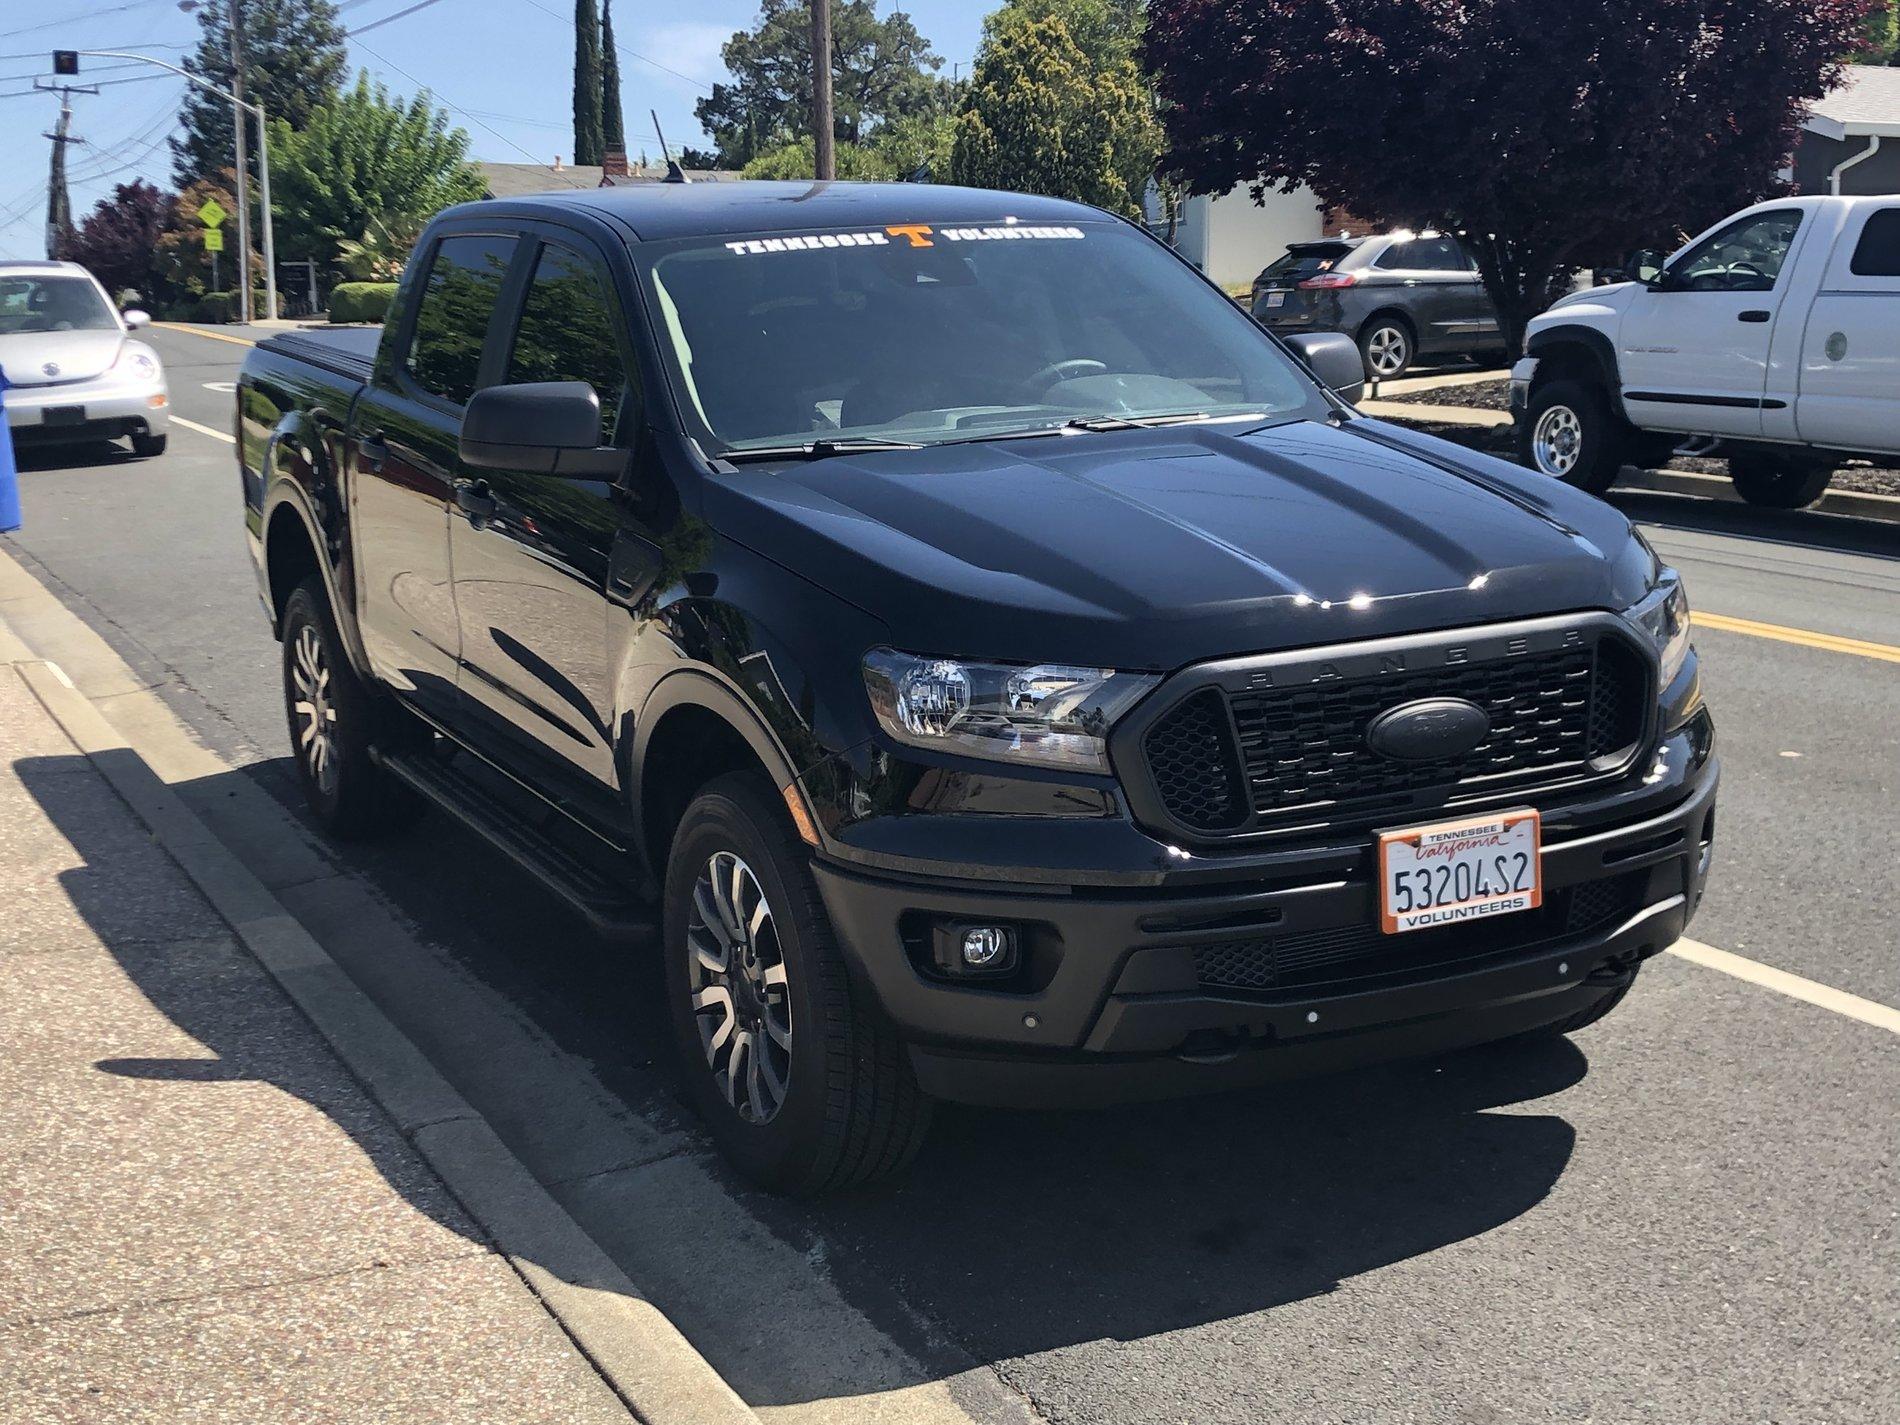
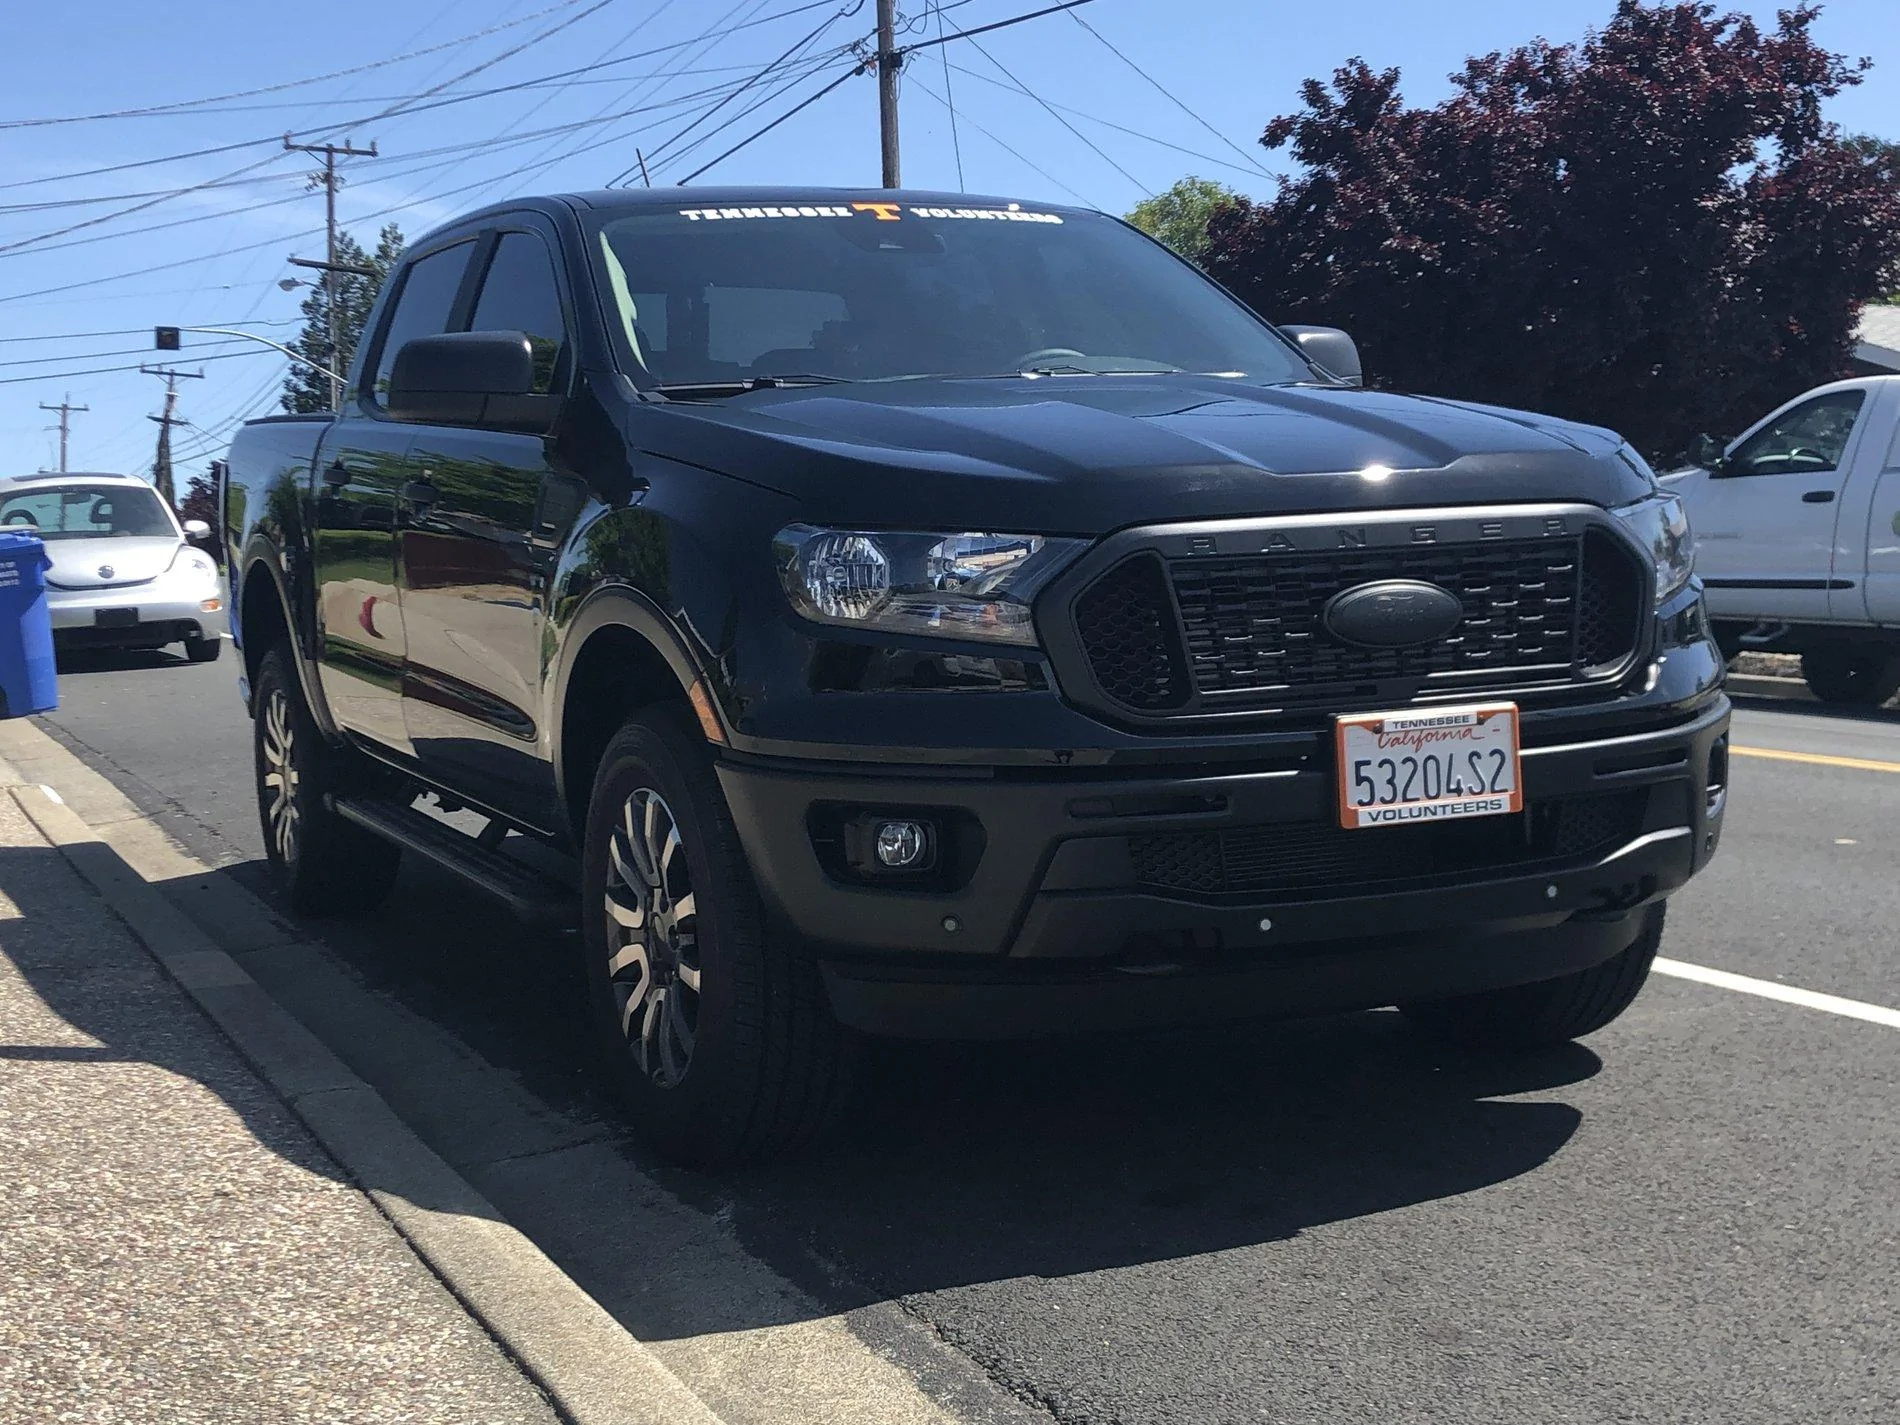
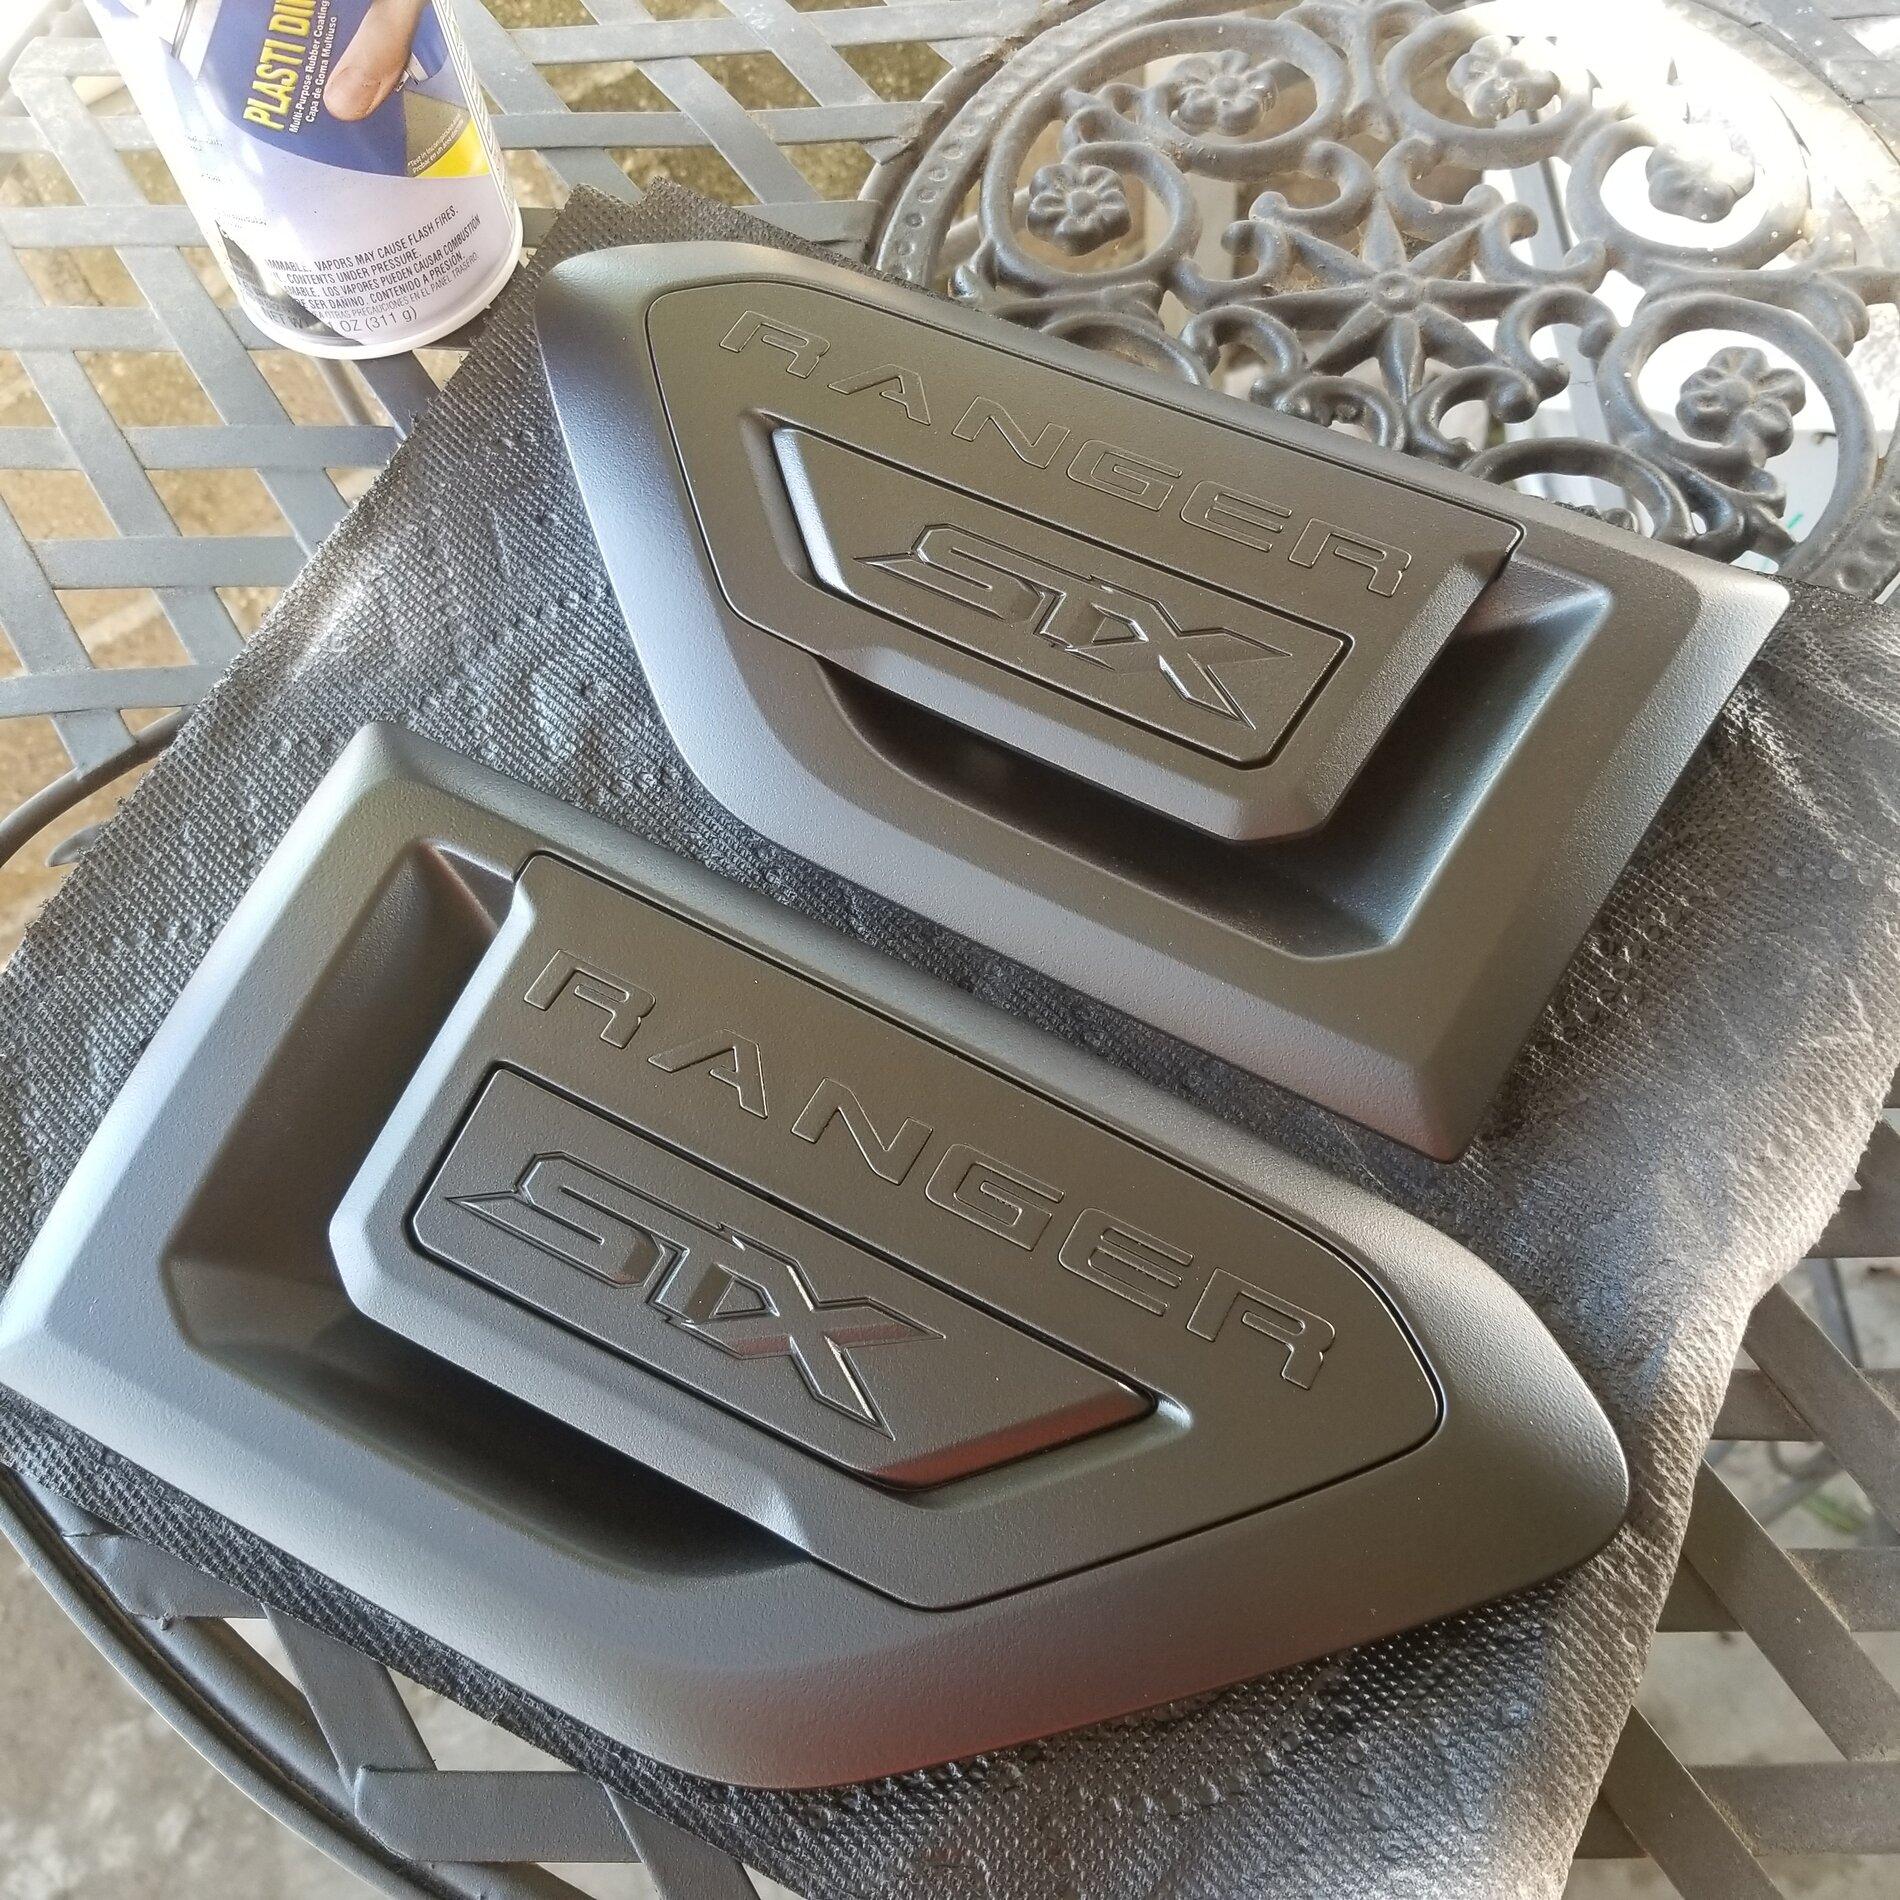
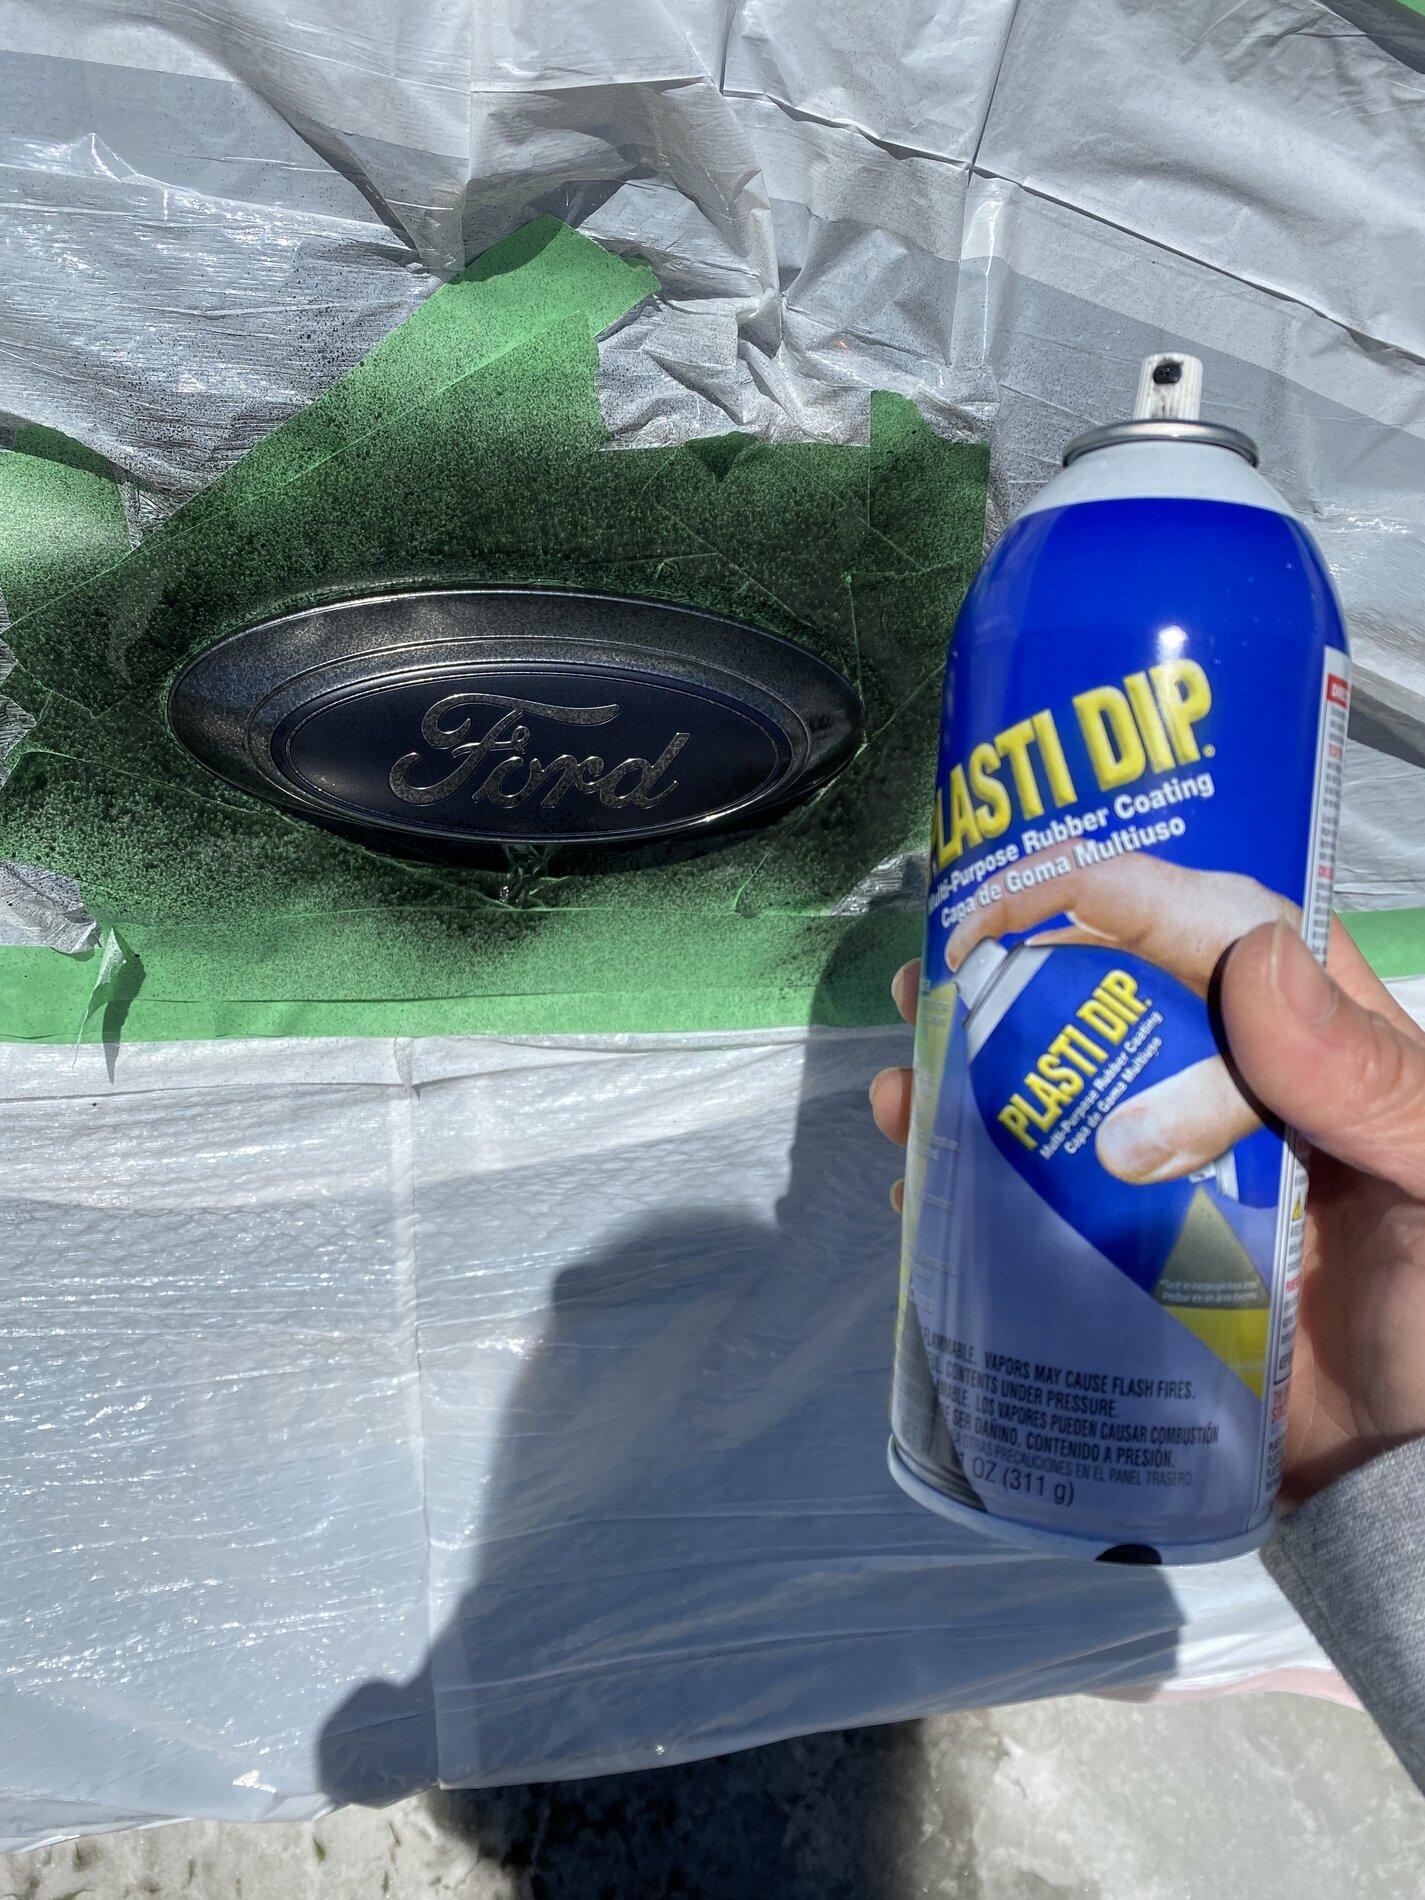
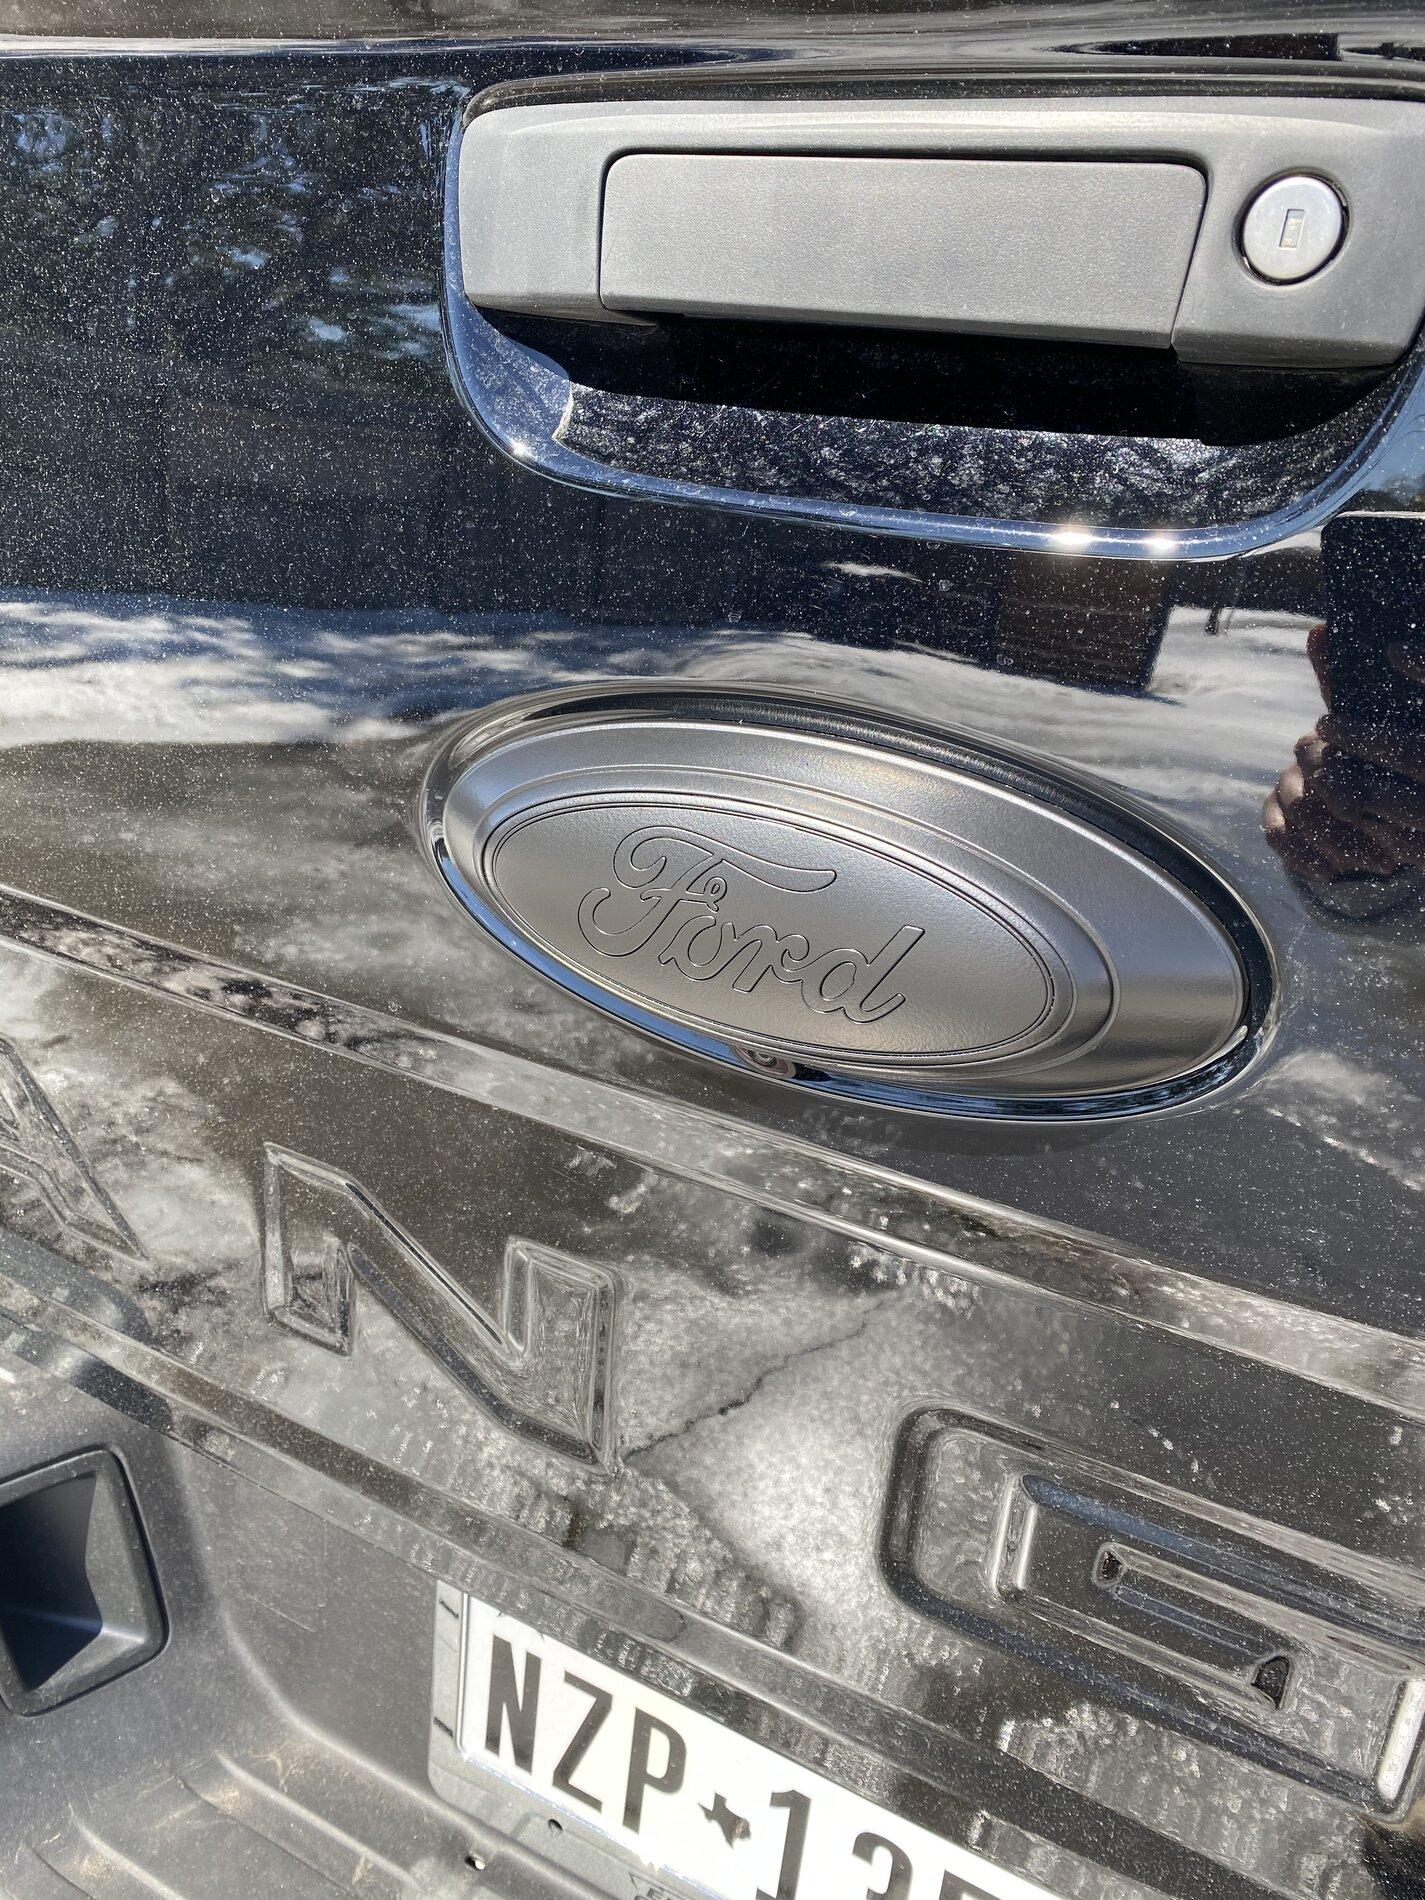
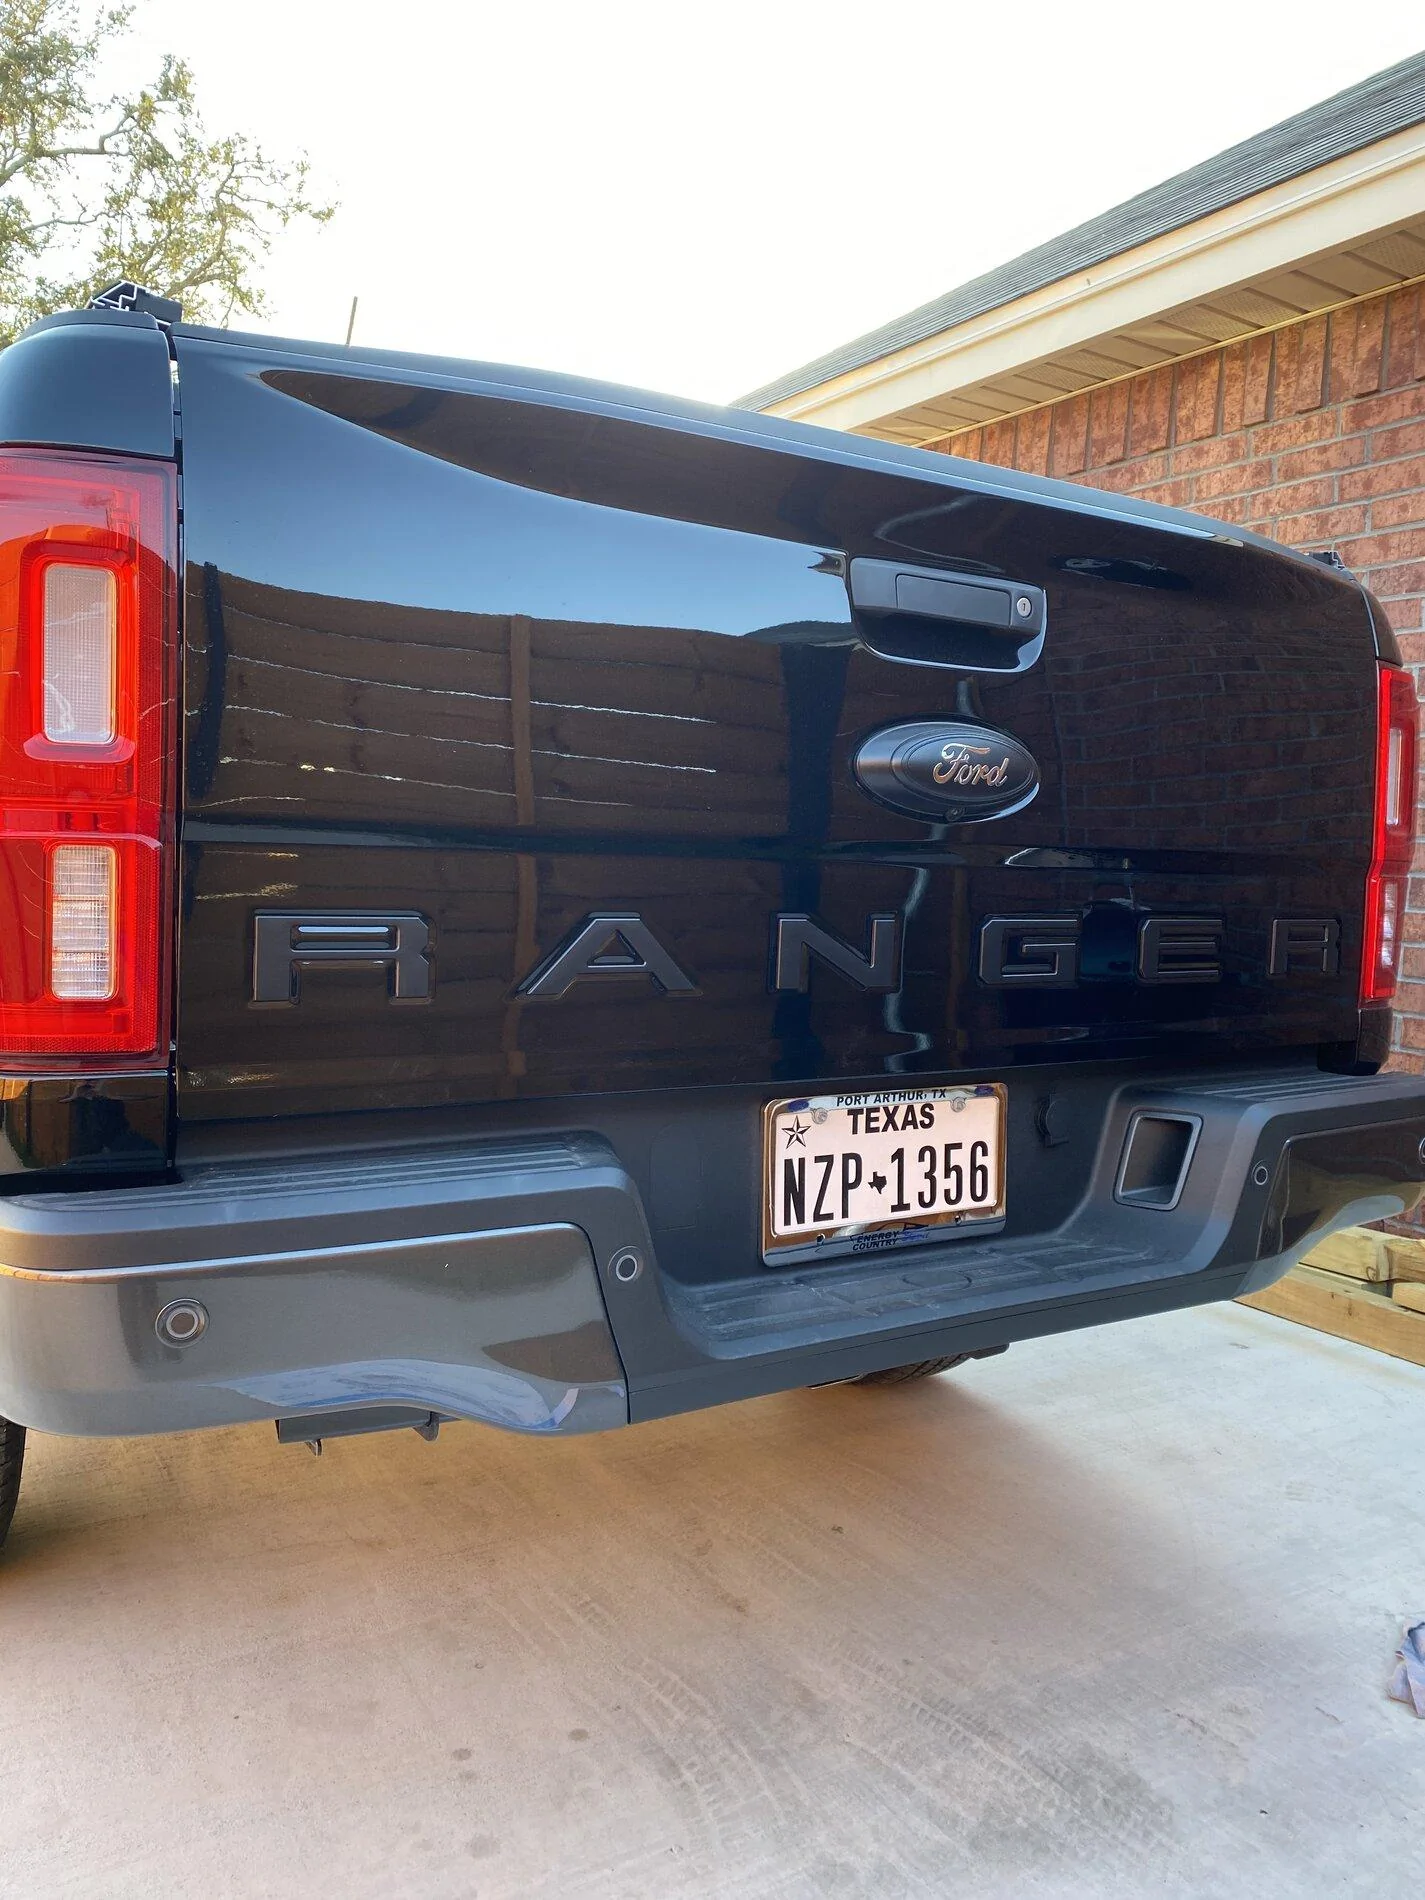
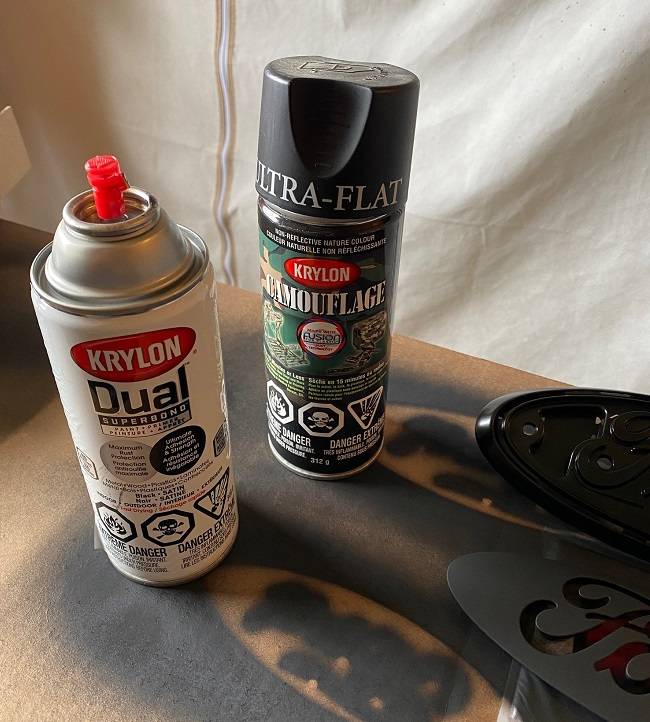
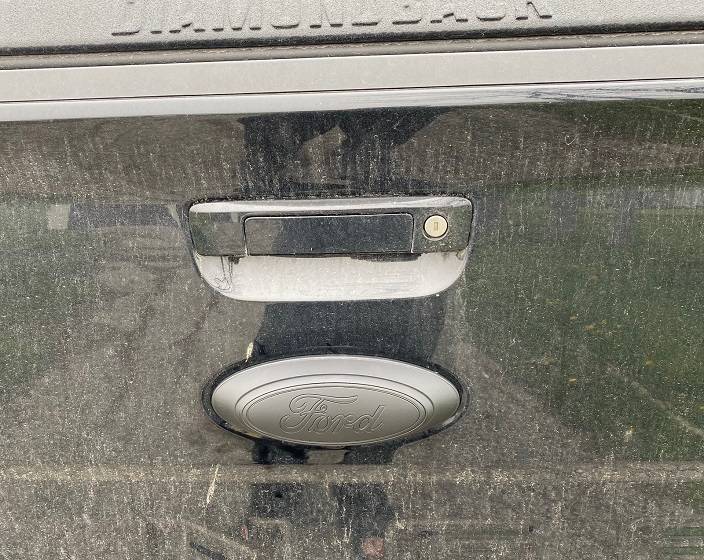
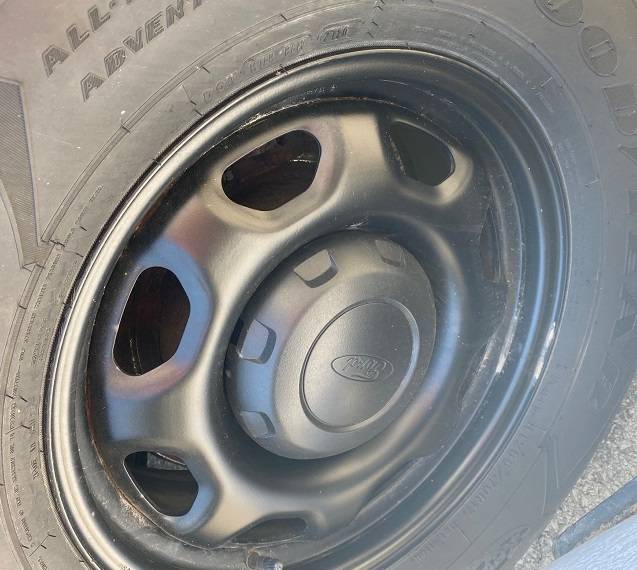
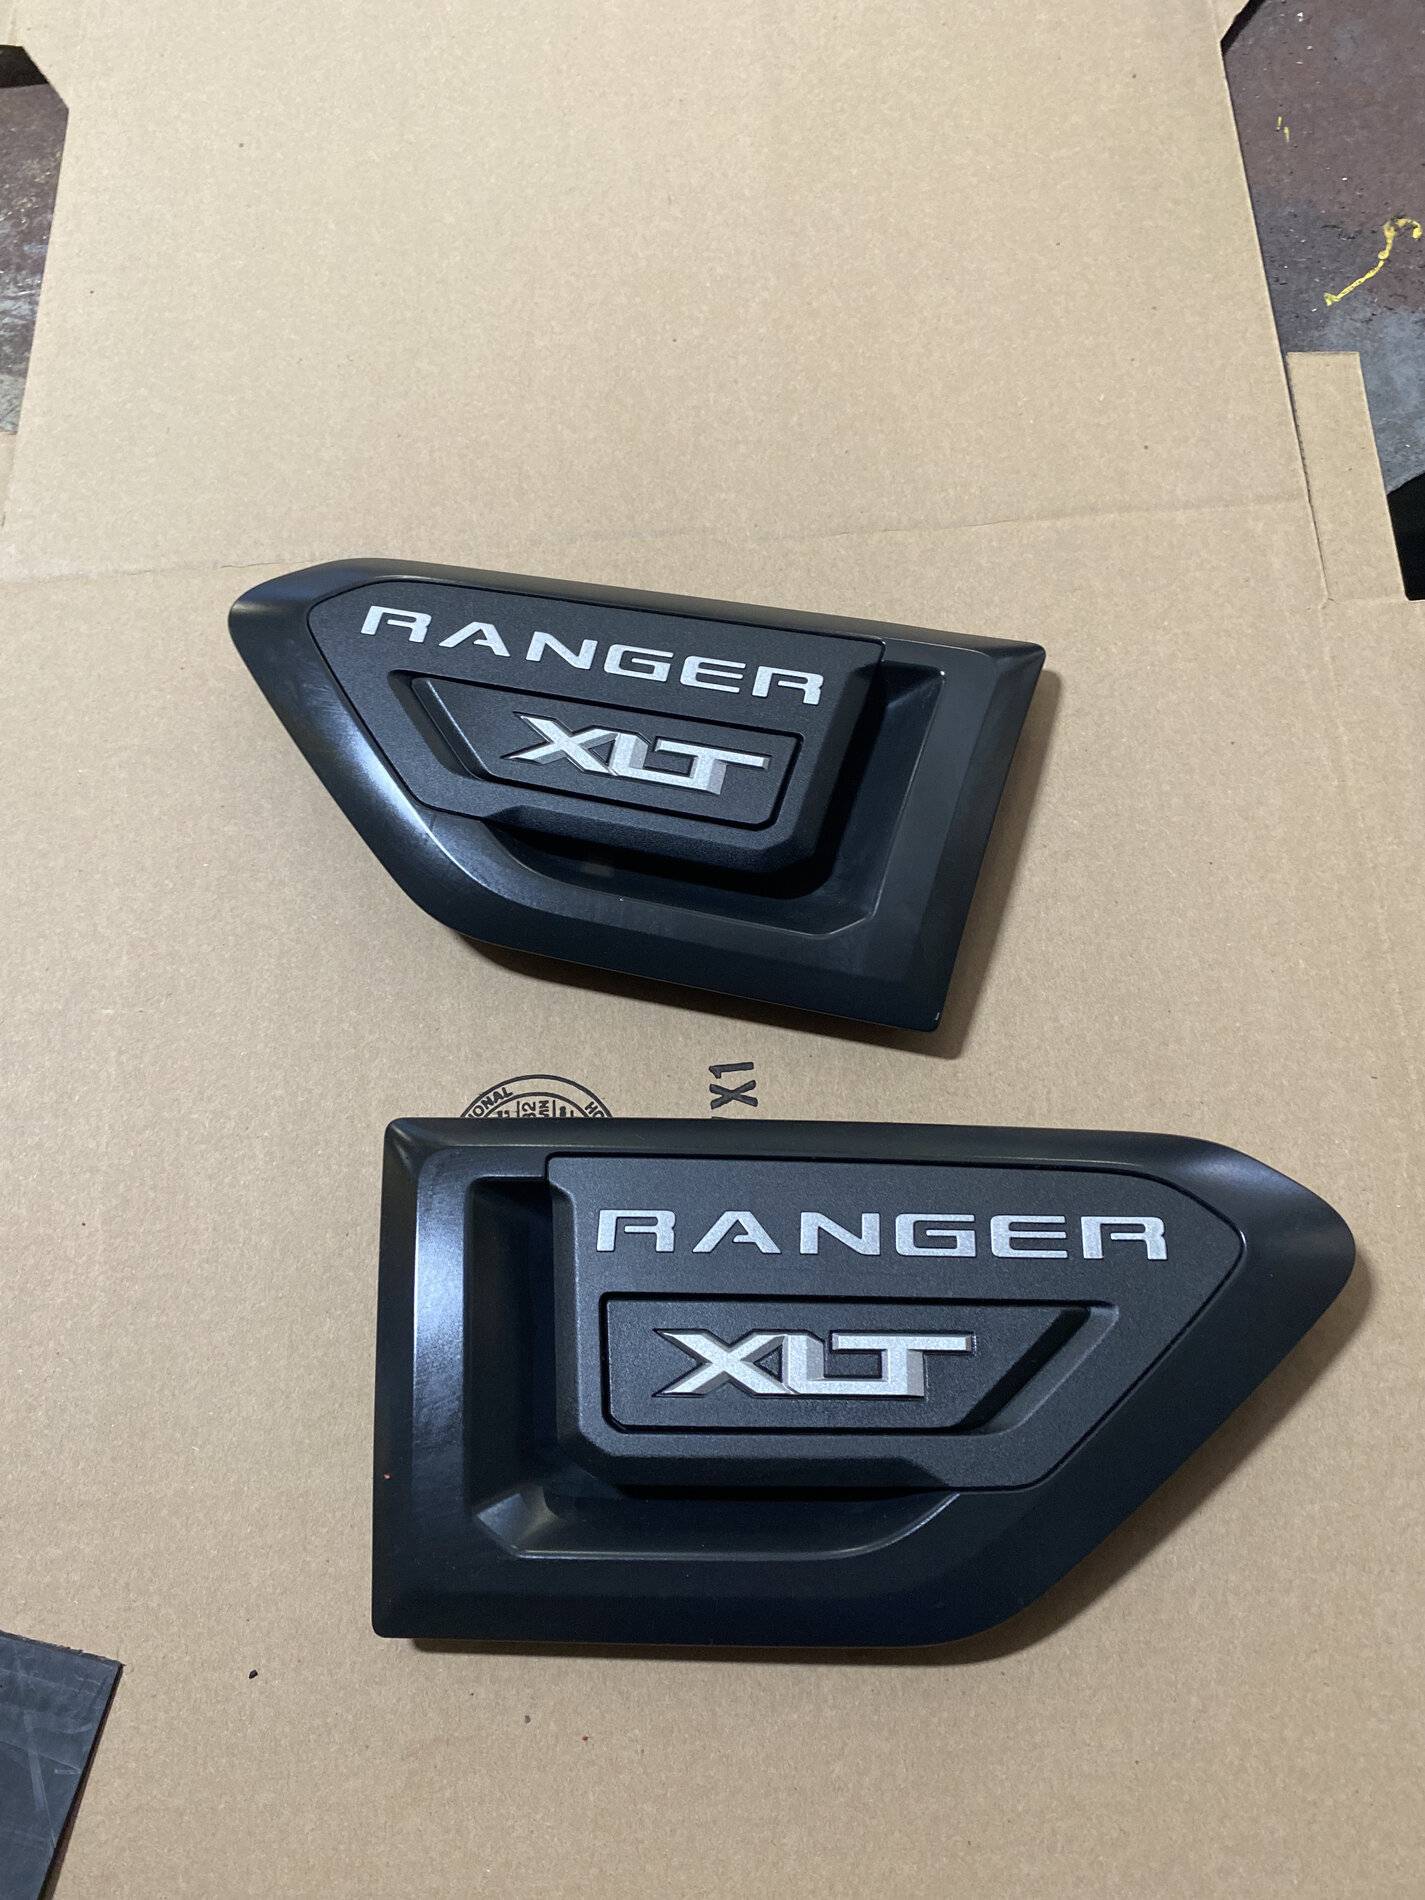
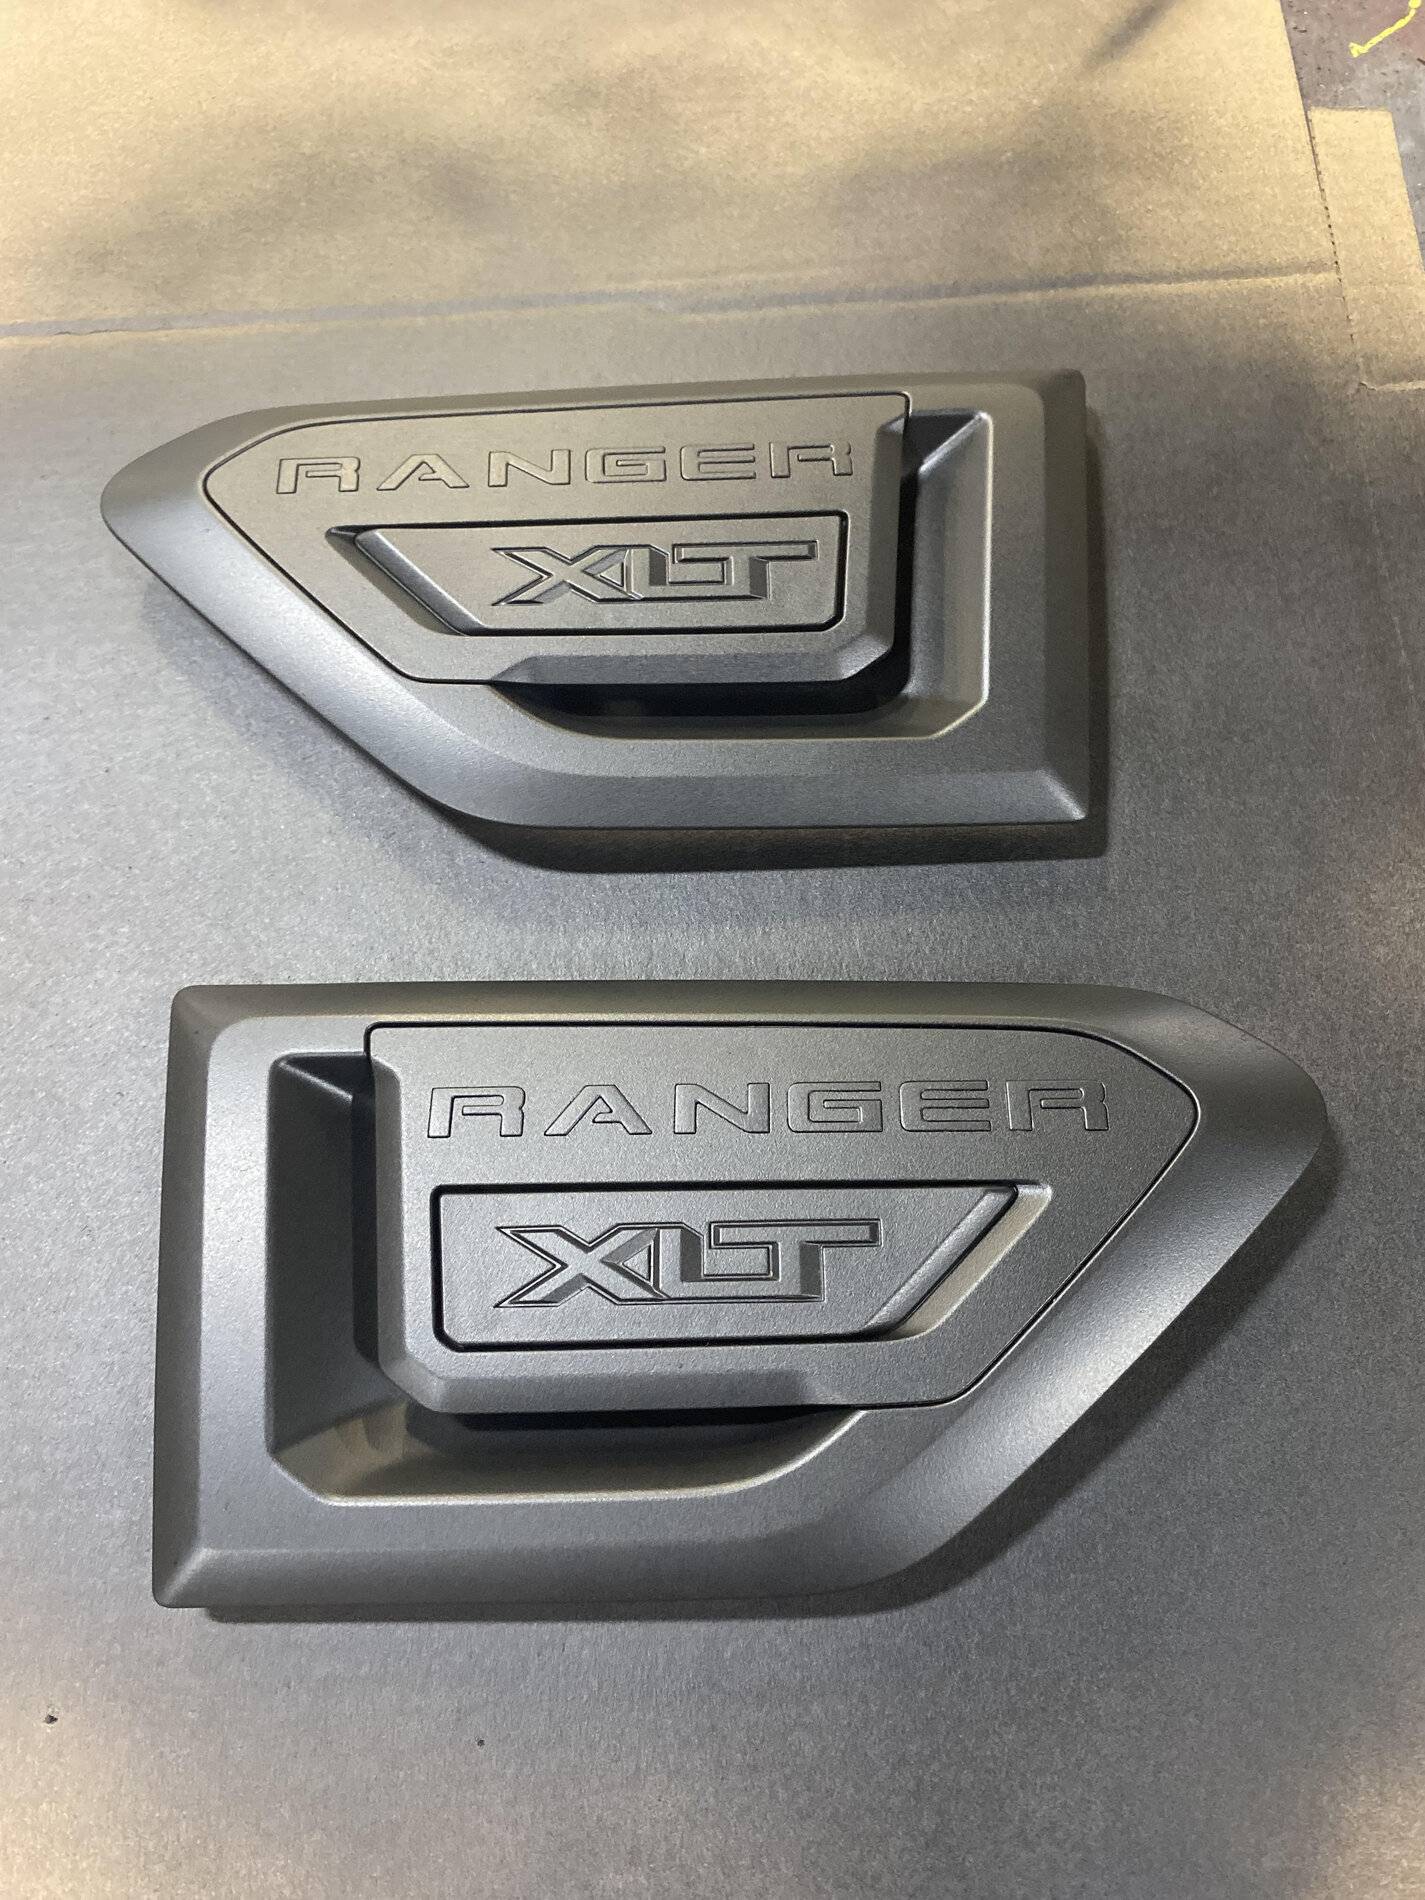
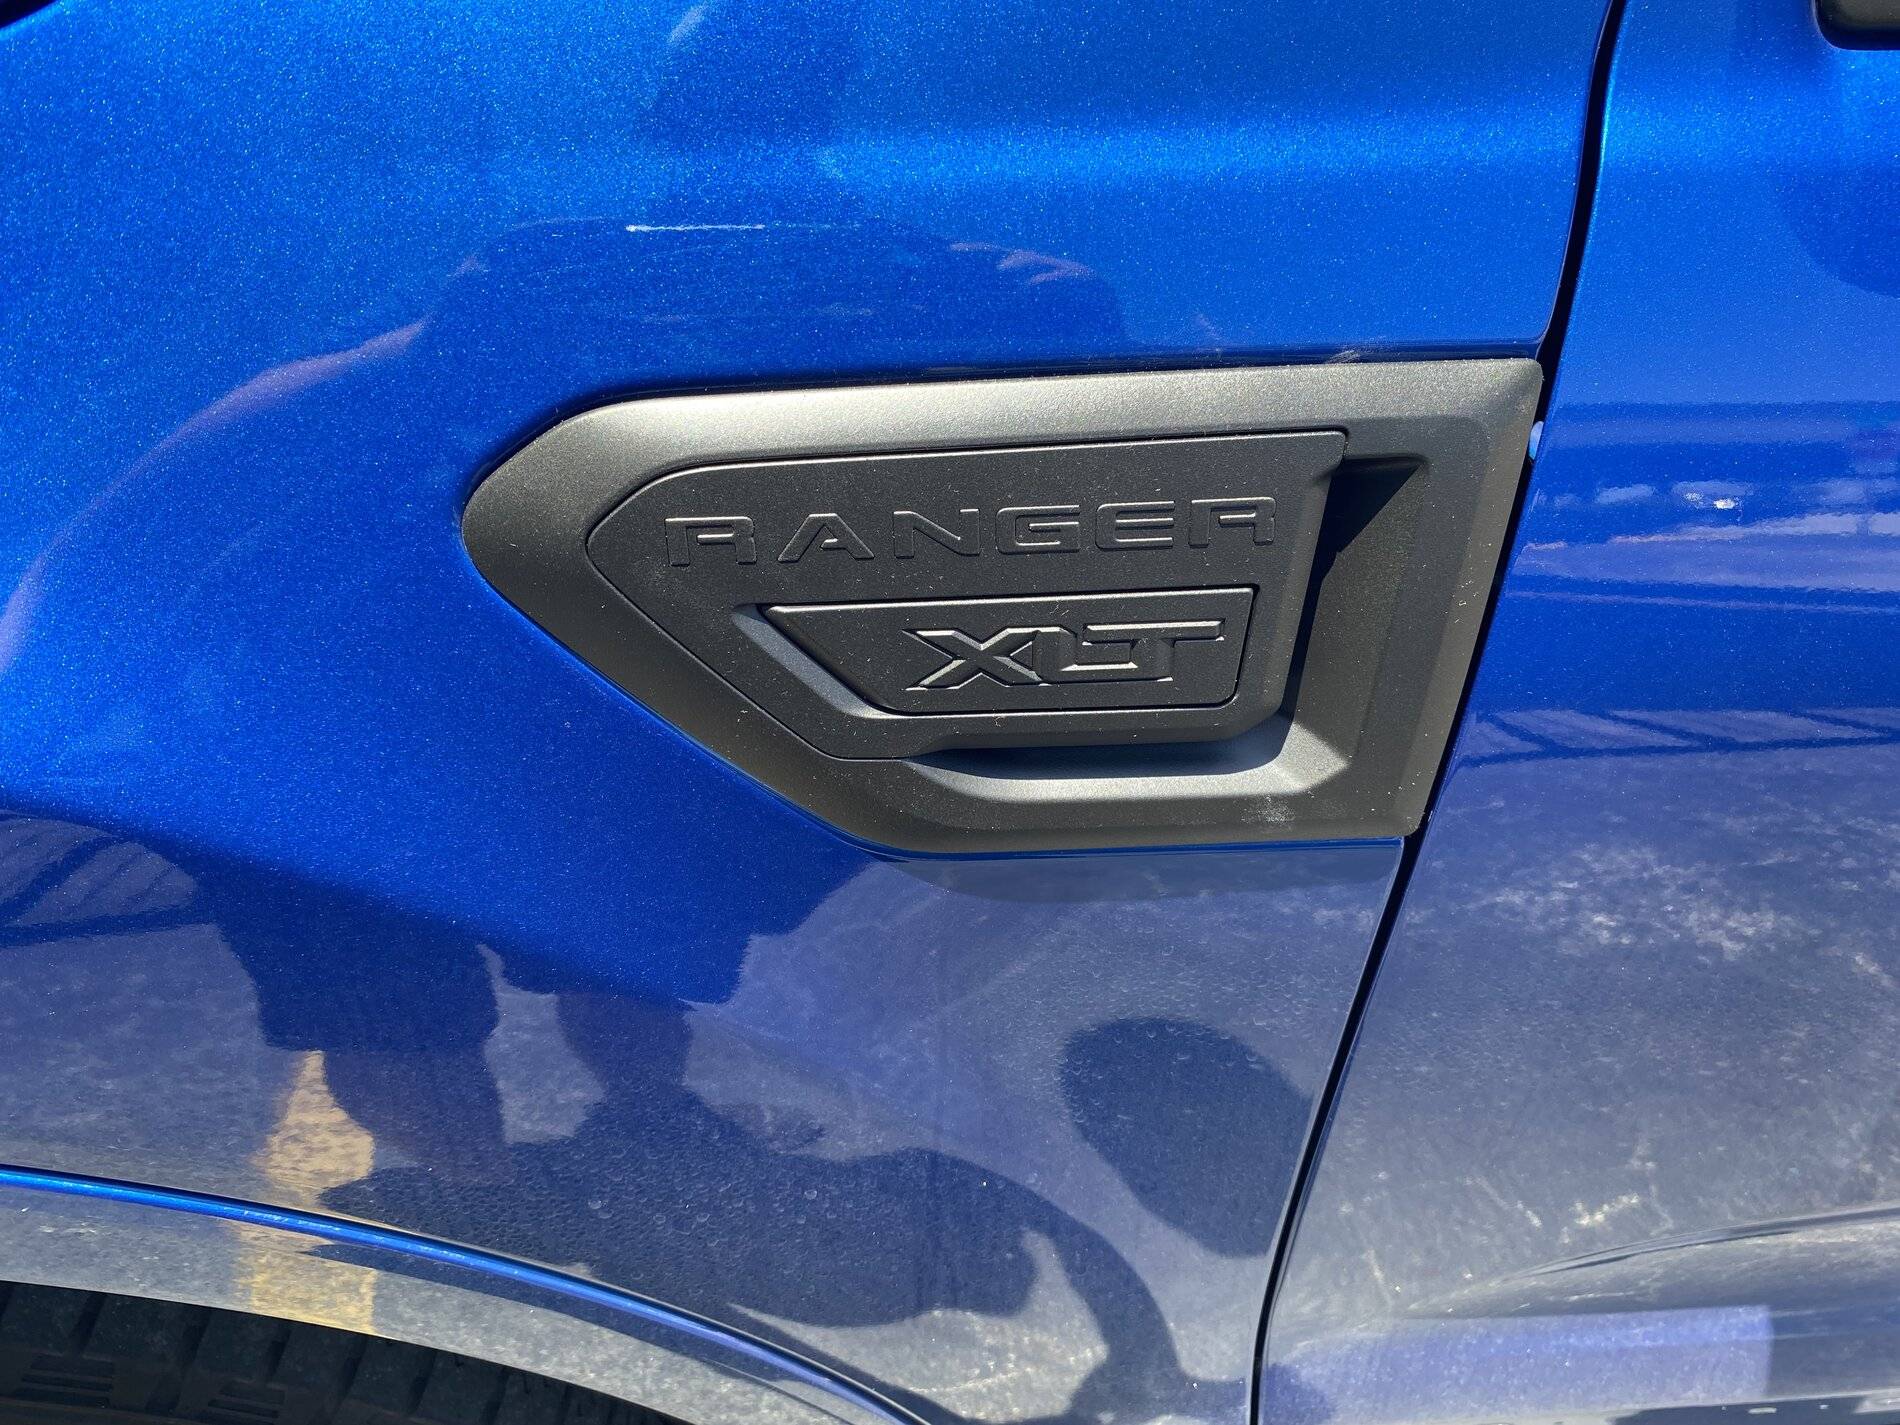
Where did you get the tint to do the tail lights??
Sponsored


njrucci

Well-Known Member
First Name
nick
Joined
Aug 5, 2019
Threads
15
Messages
46
Reaction score
25
Location
york pa
Vehicle(s)
2019 ford ranger
Vehicle Showcase
1
I figure since I have done all this and seem to keep reposting on other threads how to do this and posting pictures I would just put all in one thread so hopefully all can find it. (Maybe pin to the top of forum?).

As I have said in other posts, anyone can plasti-dip this stuff with a little practice and patience. It’s very DIY friendly and you should not waste money paying someone to do it unless you have plenty of disposable income. The steps are easy and worst case, if it looks awful you can peel/rub off(with microfiber towel) and retry. I have used the black and go mango plasti-dip colors which I ordered from https://www.dipyourcar.com or you can find several colors at local hardware/auto parts store.

The basic process is to tape off roughly an inch outside of what you want to plasti-dip and then cover far enough away to avoid over spray. Why you tape off, let cans of plasti-dip sit in a bowl of warm water (helps the spray lay down much smoother! Then, spray a LIGHT coat (at most 50% coverage) and let dry for about 15 mins, then put down WET but NOT heavy coats to fully cover and go at each coat from different angles to get all the sides, etc. MAKE SURE to thouroughly coat the roughly 1in area between what you want plasti-dip and the tape also or peeling will be much more difficult. Let each coat dry for 15 mins or so and after 5 to 7 coats let it dry for 45 mins. After that slowly and methodically peel the tape and the plasti-dip back to the edge of what you ultimately want plasti-dipped. The plasti-dip will naturally break at the edge and leave a pretty clean and precise edge.

Avoid rubbing/washing for a few days to allow to fully cure. After that I have put a pressure washer right up to it and had no issue at all with peeling.

Hope this is helpful and give people the confidence to try. Feel free to DM me or reply to this if you have questions. This stuff is amazing!

391667AB-C653-4742-AED3-DC652BA5B5FF.jpeg


46870EB2-A167-4C0C-8CA7-42CDC5690F5B.jpeg


4E1BC5DF-A98A-4A0A-BE4A-F45BFBE8EF0D.jpeg


8AB404C7-562C-4766-B743-FFA1183CADED.jpeg


ABA4A9A9-9BBB-46C0-A752-5EA618B46F53.jpeg


D031DA6E-26BB-497D-9B99-C39CCFAC10AA.jpeg


C753F437-D206-4208-94AC-84EF6DE2A1AC.jpeg


D0637699-F67C-439A-9421-C37E5EEAD92C.jpeg


6A67092E-A584-422D-AB6F-95DB78F962F6.jpeg


B67F2A8B-FC59-42DA-950C-377358552B65.jpeg


B53EE8F6-CF0C-42D5-ACBE-5CEBA072A7F8.jpeg


4FE33748-BB99-4EA9-BD29-3F66E2FDE3F0.jpeg


88AC0778-891D-44D0-B272-41097A424BBD.jpeg


7436E698-4AB9-420B-999C-903A3584D118.jpeg


68A26B5B-EEDD-405E-86CF-0763B75633A1.jpeg


0E445C7F-5984-43D5-8C0A-B7AFE11B73F4.jpeg
Did you Plasty dip the tail lights also?
 

NurseNeil

Well-Known Member
First Name
Neil
Joined
Dec 25, 2020
Threads
56
Messages
413
Reaction score
710
Location
Winston-Salem,NC
Vehicle(s)
2020 Ranger XLT, SPORT
Occupation
Nurse
I figure since I have done all this and seem to keep reposting on other threads how to do this and posting pictures I would just put all in one thread so hopefully all can find it. (Maybe pin to the top of forum?).

As I have said in other posts, anyone can plasti-dip this stuff with a little practice and patience. It’s very DIY friendly and you should not waste money paying someone to do it unless you have plenty of disposable income. The steps are easy and worst case, if it looks awful you can peel/rub off(with microfiber towel) and retry. I have used the black and go mango plasti-dip colors which I ordered from https://www.dipyourcar.com or you can find several colors at local hardware/auto parts store.

The basic process is to tape off roughly an inch outside of what you want to plasti-dip and then cover far enough away to avoid over spray. Why you tape off, let cans of plasti-dip sit in a bowl of warm water (helps the spray lay down much smoother! Then, spray a LIGHT coat (at most 50% coverage) and let dry for about 15 mins, then put down WET but NOT heavy coats to fully cover and go at each coat from different angles to get all the sides, etc. MAKE SURE to thouroughly coat the roughly 1in area between what you want plasti-dip and the tape also or peeling will be much more difficult. Let each coat dry for 15 mins or so and after 5 to 7 coats let it dry for 45 mins. After that slowly and methodically peel the tape and the plasti-dip back to the edge of what you ultimately want plasti-dipped. The plasti-dip will naturally break at the edge and leave a pretty clean and precise edge.

Avoid rubbing/washing for a few days to allow to fully cure. After that I have put a pressure washer right up to it and had no issue at all with peeling.

Hope this is helpful and give people the confidence to try. Feel free to DM me or reply to this if you have questions. This stuff is amazing!

391667AB-C653-4742-AED3-DC652BA5B5FF.jpeg


46870EB2-A167-4C0C-8CA7-42CDC5690F5B.jpeg


4E1BC5DF-A98A-4A0A-BE4A-F45BFBE8EF0D.jpeg


8AB404C7-562C-4766-B743-FFA1183CADED.jpeg


ABA4A9A9-9BBB-46C0-A752-5EA618B46F53.jpeg


D031DA6E-26BB-497D-9B99-C39CCFAC10AA.jpeg


C753F437-D206-4208-94AC-84EF6DE2A1AC.jpeg


D0637699-F67C-439A-9421-C37E5EEAD92C.jpeg


6A67092E-A584-422D-AB6F-95DB78F962F6.jpeg


B67F2A8B-FC59-42DA-950C-377358552B65.jpeg


B53EE8F6-CF0C-42D5-ACBE-5CEBA072A7F8.jpeg


4FE33748-BB99-4EA9-BD29-3F66E2FDE3F0.jpeg


88AC0778-891D-44D0-B272-41097A424BBD.jpeg


7436E698-4AB9-420B-999C-903A3584D118.jpeg


68A26B5B-EEDD-405E-86CF-0763B75633A1.jpeg


0E445C7F-5984-43D5-8C0A-B7AFE11B73F4.jpeg
Were you not worried about getting dip thru the grill and messing things up?
 

MXGOLF

Well-Known Member
First Name
Mark
Joined
Dec 5, 2020
Threads
31
Messages
1,152
Reaction score
4,699
Location
Oregon
Vehicle(s)
Lucille my 2020 Ranger Lariat 4x4 -2007 Yamaha FZ6
Occupation
Sales / Photographer


NurseNeil

Well-Known Member
First Name
Neil
Joined
Dec 25, 2020
Threads
56
Messages
413
Reaction score
710
Location
Winston-Salem,NC
Vehicle(s)
2020 Ranger XLT, SPORT
Occupation
Nurse
yep. BTW, dipyourcar.com has a ton of colors. Also there's a company called superwrap that has glossy black spray-able vinyl that peels like plastidip.
I haven't plasti dipped yet, but super wrap is a more professional type of product in my opinion. It's more of a vinyl wrap.
 

BigHen0213

Well-Known Member
First Name
John
Joined
Apr 22, 2020
Threads
0
Messages
47
Reaction score
153
Location
Fort Lauderdale, FL
Vehicle(s)
2019 Ford Ranger XLT
Occupation
Sales/Management
253B3776-11F6-41BF-BBDB-AC85E00CED0F.jpeg
9FC7DC4D-946A-461C-BA6B-9812FAFF9284.jpeg
EA393782-6F4E-40AD-AC8F-093C3FE9AB4A.jpeg
Plasti dip logo Then peel off the Ford wording.
Ok, I have a question. How well does Plasti Dip stick if it appears to be so easy to peel? I'm leery about doing the emblems because I've seen others comment that you can peel it off if you don't like the look. I ask because is this something that will start to peel after a few months in the S. Florida sun?
Is there an optimal way to prepare the Ford badges to get a better adherence of the dip spray? I am doing the fender vents this weekend and don't have any worries about those (because I can remove them), but with the badges (and possibly the grill) I want to crawl before I walk.

Apologies for any redundancies.
 

Davejb

Well-Known Member
First Name
David
Joined
Sep 26, 2020
Threads
4
Messages
110
Reaction score
244
Location
New Hampshire
Vehicle(s)
2020 Ranger XL STX
It sticks very well, I did the wheels of my Wrangler when I had it, went through 3 New England winters and still looked new, all I did was wash beforehand, no other prep other than stuffing some newspaper in to keep the rotors from getting covered. When I traded it for the Ranger the dealer thought they were factory black.

j.jpg
 

Sanford & Son Salvage

Well-Known Member
Joined
Mar 12, 2021
Threads
1
Messages
49
Reaction score
117
Location
Virginia
Vehicle(s)
2020 Ranger 4WD, SCab
I figure since I have done all this and seem to keep reposting on other threads how to do this and posting pictures I would just put all in one thread so hopefully all can find it. (Maybe pin to the top of forum?).

As I have said in other posts, anyone can plasti-dip this stuff with a little practice and patience. It’s very DIY friendly and you should not waste money paying someone to do it unless you have plenty of disposable income. The steps are easy and worst case, if it looks awful you can peel/rub off(with microfiber towel) and retry. I have used the black and go mango plasti-dip colors which I ordered from https://www.dipyourcar.com or you can find several colors at local hardware/auto parts store.

The basic process is to tape off roughly an inch outside of what you want to plasti-dip and then cover far enough away to avoid over spray. Why you tape off, let cans of plasti-dip sit in a bowl of warm water (helps the spray lay down much smoother! Then, spray a LIGHT coat (at most 50% coverage) and let dry for about 15 mins, then put down WET but NOT heavy coats to fully cover and go at each coat from different angles to get all the sides, etc. MAKE SURE to thouroughly coat the roughly 1in area between what you want plasti-dip and the tape also or peeling will be much more difficult. Let each coat dry for 15 mins or so and after 5 to 7 coats let it dry for 45 mins. After that slowly and methodically peel the tape and the plasti-dip back to the edge of what you ultimately want plasti-dipped. The plasti-dip will naturally break at the edge and leave a pretty clean and precise edge.

Avoid rubbing/washing for a few days to allow to fully cure. After that I have put a pressure washer right up to it and had no issue at all with peeling.

Hope this is helpful and give people the confidence to try. Feel free to DM me or reply to this if you have questions. This stuff is amazing!

391667AB-C653-4742-AED3-DC652BA5B5FF.jpeg


46870EB2-A167-4C0C-8CA7-42CDC5690F5B.jpeg


4E1BC5DF-A98A-4A0A-BE4A-F45BFBE8EF0D.jpeg


8AB404C7-562C-4766-B743-FFA1183CADED.jpeg


ABA4A9A9-9BBB-46C0-A752-5EA618B46F53.jpeg


D031DA6E-26BB-497D-9B99-C39CCFAC10AA.jpeg


C753F437-D206-4208-94AC-84EF6DE2A1AC.jpeg


D0637699-F67C-439A-9421-C37E5EEAD92C.jpeg


6A67092E-A584-422D-AB6F-95DB78F962F6.jpeg


B67F2A8B-FC59-42DA-950C-377358552B65.jpeg


B53EE8F6-CF0C-42D5-ACBE-5CEBA072A7F8.jpeg


4FE33748-BB99-4EA9-BD29-3F66E2FDE3F0.jpeg


88AC0778-891D-44D0-B272-41097A424BBD.jpeg


7436E698-4AB9-420B-999C-903A3584D118.jpeg


68A26B5B-EEDD-405E-86CF-0763B75633A1.jpeg


0E445C7F-5984-43D5-8C0A-B7AFE11B73F4.jpeg
Looks Good... Just wondering how well it has held up over the years?
 

JACKSMYDOG

Well-Known Member
First Name
Jay
Joined
May 8, 2021
Threads
35
Messages
1,995
Reaction score
6,115
Location
Ontario
Vehicle(s)
2020 Ranger Lariat FX4 Black
Occupation
Retired
Nice work to all!

I took the grill and taillight badges off, drilled the plastic rivet-welds and painted the blue flat black Krylon Camo Ultra flat, which is very rubbery like Plasti-dip. Then I used Krylon semi-gloss superbond black for the chrome pieces.

yULF0J8.jpg


I did 5 layers of paint, but didn't want to over do it and cause chipping when I re-assembled. I hot glued them back together and I was very happy, but wanted to add some protection so I hit them with Plasti-dip clear, which reacted with the gloss and caused some slippage.


The front didn't get clear, so it turned out as I planned, but the rear was bad. I assembled the rear and dipped the whole thing flat black, which hides the mess unless you look really close.

bBVunbh.jpg

jGHtfTc.jpg


nJnI1Qs.jpg

juk1AaL.jpg


Whether to leave them on the vehicle or not, the front is very easy. Only two 10mm nuts on the back, under the top shroud which is held by plastic plugs. Even if just painting single colour I think it's as fast/easy to remove as tape and clean after, plus it allows a level paint application. YMMV

The rear is a little tougher, and often the plastic clips break. Easily repaired with hot glue or 3M 2way tape, but I'm not sure I'd bother taking it off, unless I was doing 2 tone and really wanted perfect colour separation.

Black package has blacked side badges, and I didn't get an EcoBoost badge. If it were, I'd have just peeled it off as it's only 3M taped on, and then wash reducer of finger rub to remove any extra adhesive. Toss it in the glove box for the next owner in case they want it.

nJnI1Qs.jpg
 
Last edited:

JACKSMYDOG

Well-Known Member
First Name
Jay
Joined
May 8, 2021
Threads
35
Messages
1,995
Reaction score
6,115
Location
Ontario
Vehicle(s)
2020 Ranger Lariat FX4 Black
Occupation
Retired
My last truck rims.

Standard silver factory F-150 rims that were well used and rusting. I peeled the rubber and valve, sent them for a sand-blast then for flat black powder coat. Center caps are black plasti-dip.

They only have 3,000 miles on them, and still like new. It's just dirt in the photos.

9GgjYE0.jpg
 

BigHen0213

Well-Known Member
First Name
John
Joined
Apr 22, 2020
Threads
0
Messages
47
Reaction score
153
Location
Fort Lauderdale, FL
Vehicle(s)
2019 Ford Ranger XLT
Occupation
Sales/Management
Fender inserts done. Took about 20 seconds to get them out with a trim tool. A quick wipe down with some naptha, let them air dry then I followed D-nguy56's suggestion about passes and # of coats.
1.JPG
2.jpg
3.JPG
After the 5th coat I let them dry for nearly 2 hours before I installed them back in the truck. Gotta say that I LOVE the look.
You are all a bad influence....... : )
 

njrucci

Well-Known Member
First Name
nick
Joined
Aug 5, 2019
Threads
15
Messages
46
Reaction score
25
Location
york pa
Vehicle(s)
2019 ford ranger
Vehicle Showcase
1
I did my tailgate, came out great! Thanks for the idea!! Like the way your taillights looked, so decided to murder that too, lol. I went tint though. Didnt have the cohones to paint them.

20190915_013927.jpg
What tint did you use for the tail lights?
Sponsored


Top