pboggini
Well-Known Member
- First Name
- Pete
- Joined
- Nov 30, 2018
- Threads
- 12
- Messages
- 235
- Reaction score
- 253
- Location
- San Jose, CA
- Vehicle(s)
- 2019 Lightning Blue XL Ranger 4x2 Supercrew.
- Thread starter
- #1
Adding this to the DIY section since it's probably a better place for it. I posted:
https://www.ranger5g.com/forum/threads/replaced-12v-outlet-with-usb.3306/
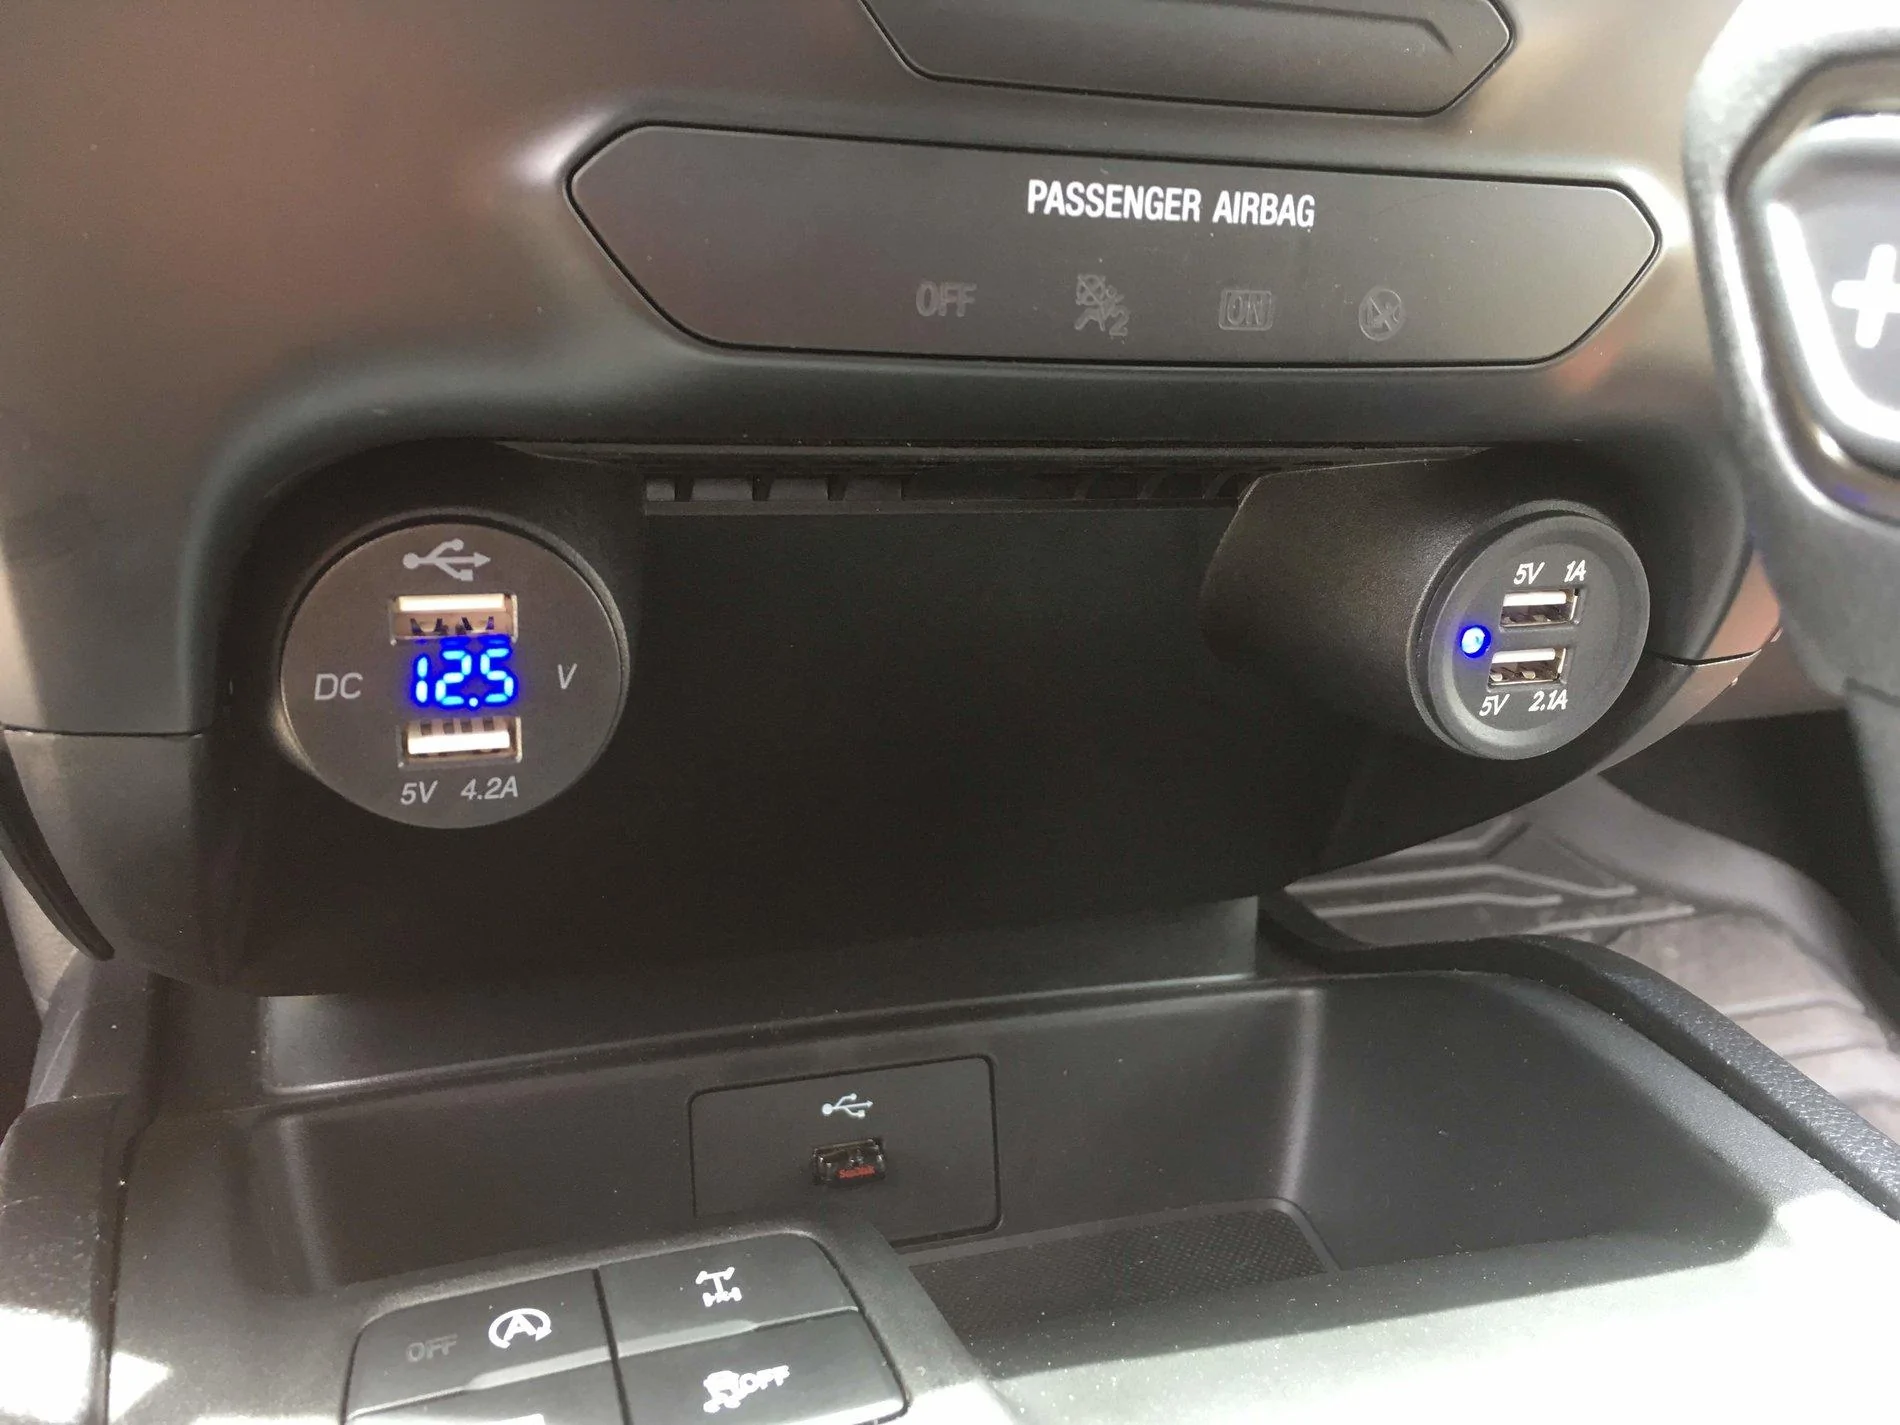
when I installed the first USB ports in my truck replacing the drivers 12V outlet. Today, I decided to move that one to the passenger side and install a new one on the drivers that has 2x2.1 ports and a voltage display. I decided to take a few pictures which hopefully make this easier for someone doing this for the first time.
As mentioned before, I bought this USB outlet first:
https://www.ebay.com/itm/Waterproof-Dual-USB-Charger-Socket-Outlet-3-1-amp-Panel-Mount-Jack-Motorcycle/121459789583?_trkparms=aid=1110001&algo=SPLICE.SIM&ao=1&asc=20131231084308&meid=a61d7bb83f45436aabd98fb8d236b125&pid=100010&rk=6&rkt=12&sd=122045952660&itm=121459789583&_trksid=p2047675.c100010.m2109
After installation, I decided to buy this one:
https://www.ebay.com/itm/12V-24V-Ca...var=413537903137&_trksid=p2060353.m2749.l2649
I also went to Mike's Bikes in Palo Alto and picked up a couple of 1-1/8" 5mm headset spacers. You can use 10mm if you like but it looks like 5mm is just enough such that I didn't have to do any filing on the tabs on the nut holding it in. They fit perfectly!
Armed with all of this, I disassembled it all again and then replaced the second 12V, put the 2x2.1 w/ Voltage on the drivers side and the 1A/2A on the passenger side.
Steps:
1) Pull open the fuse box cover, the handle is in the first pic entitled fuse-box-handle. Once open, it looks like the pic entitled fuse-box-open.
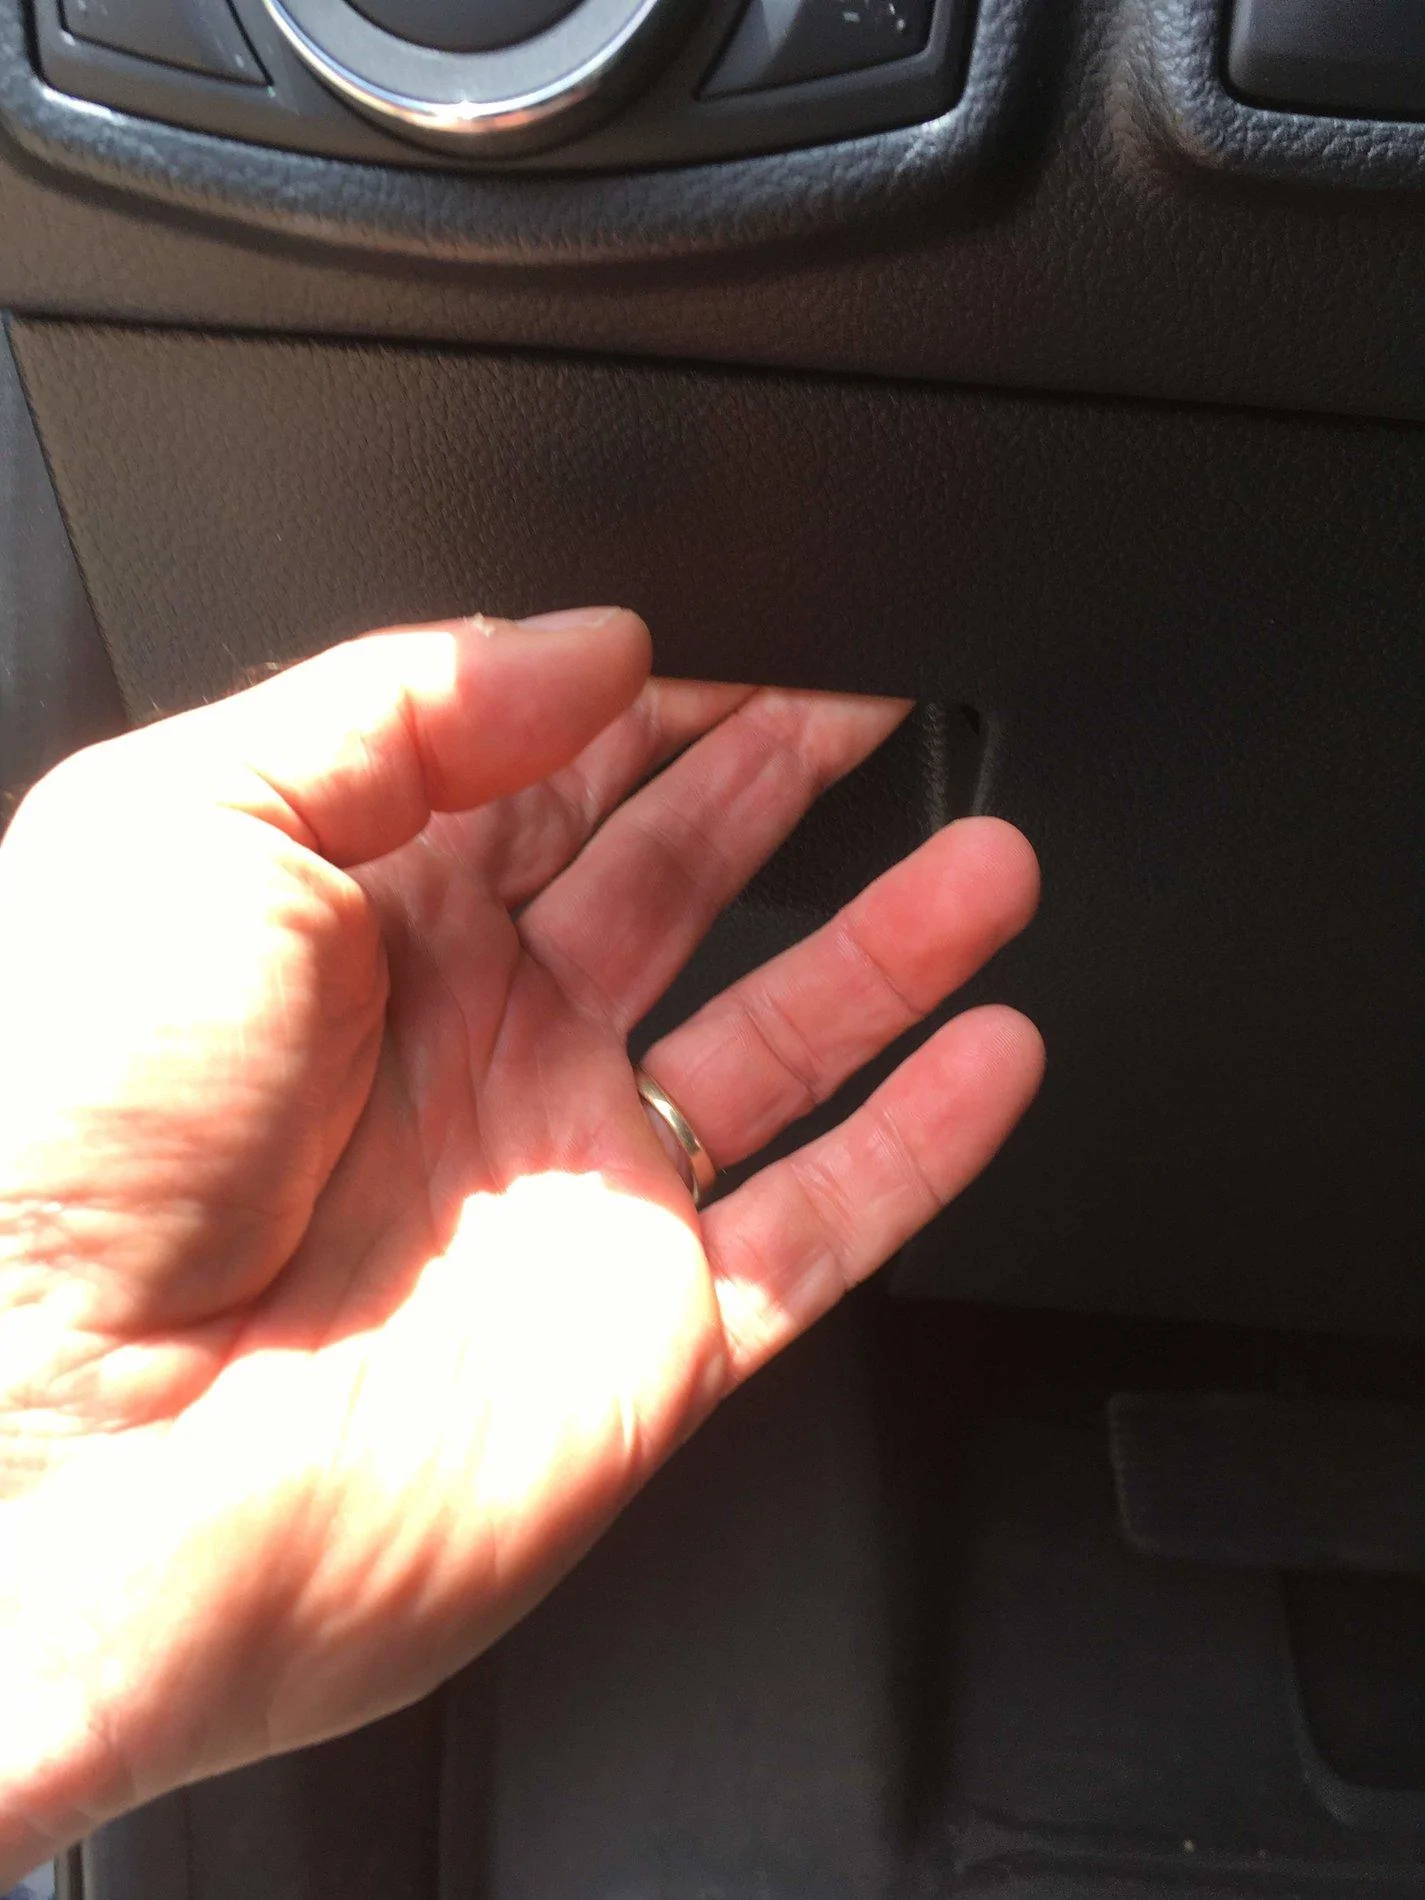
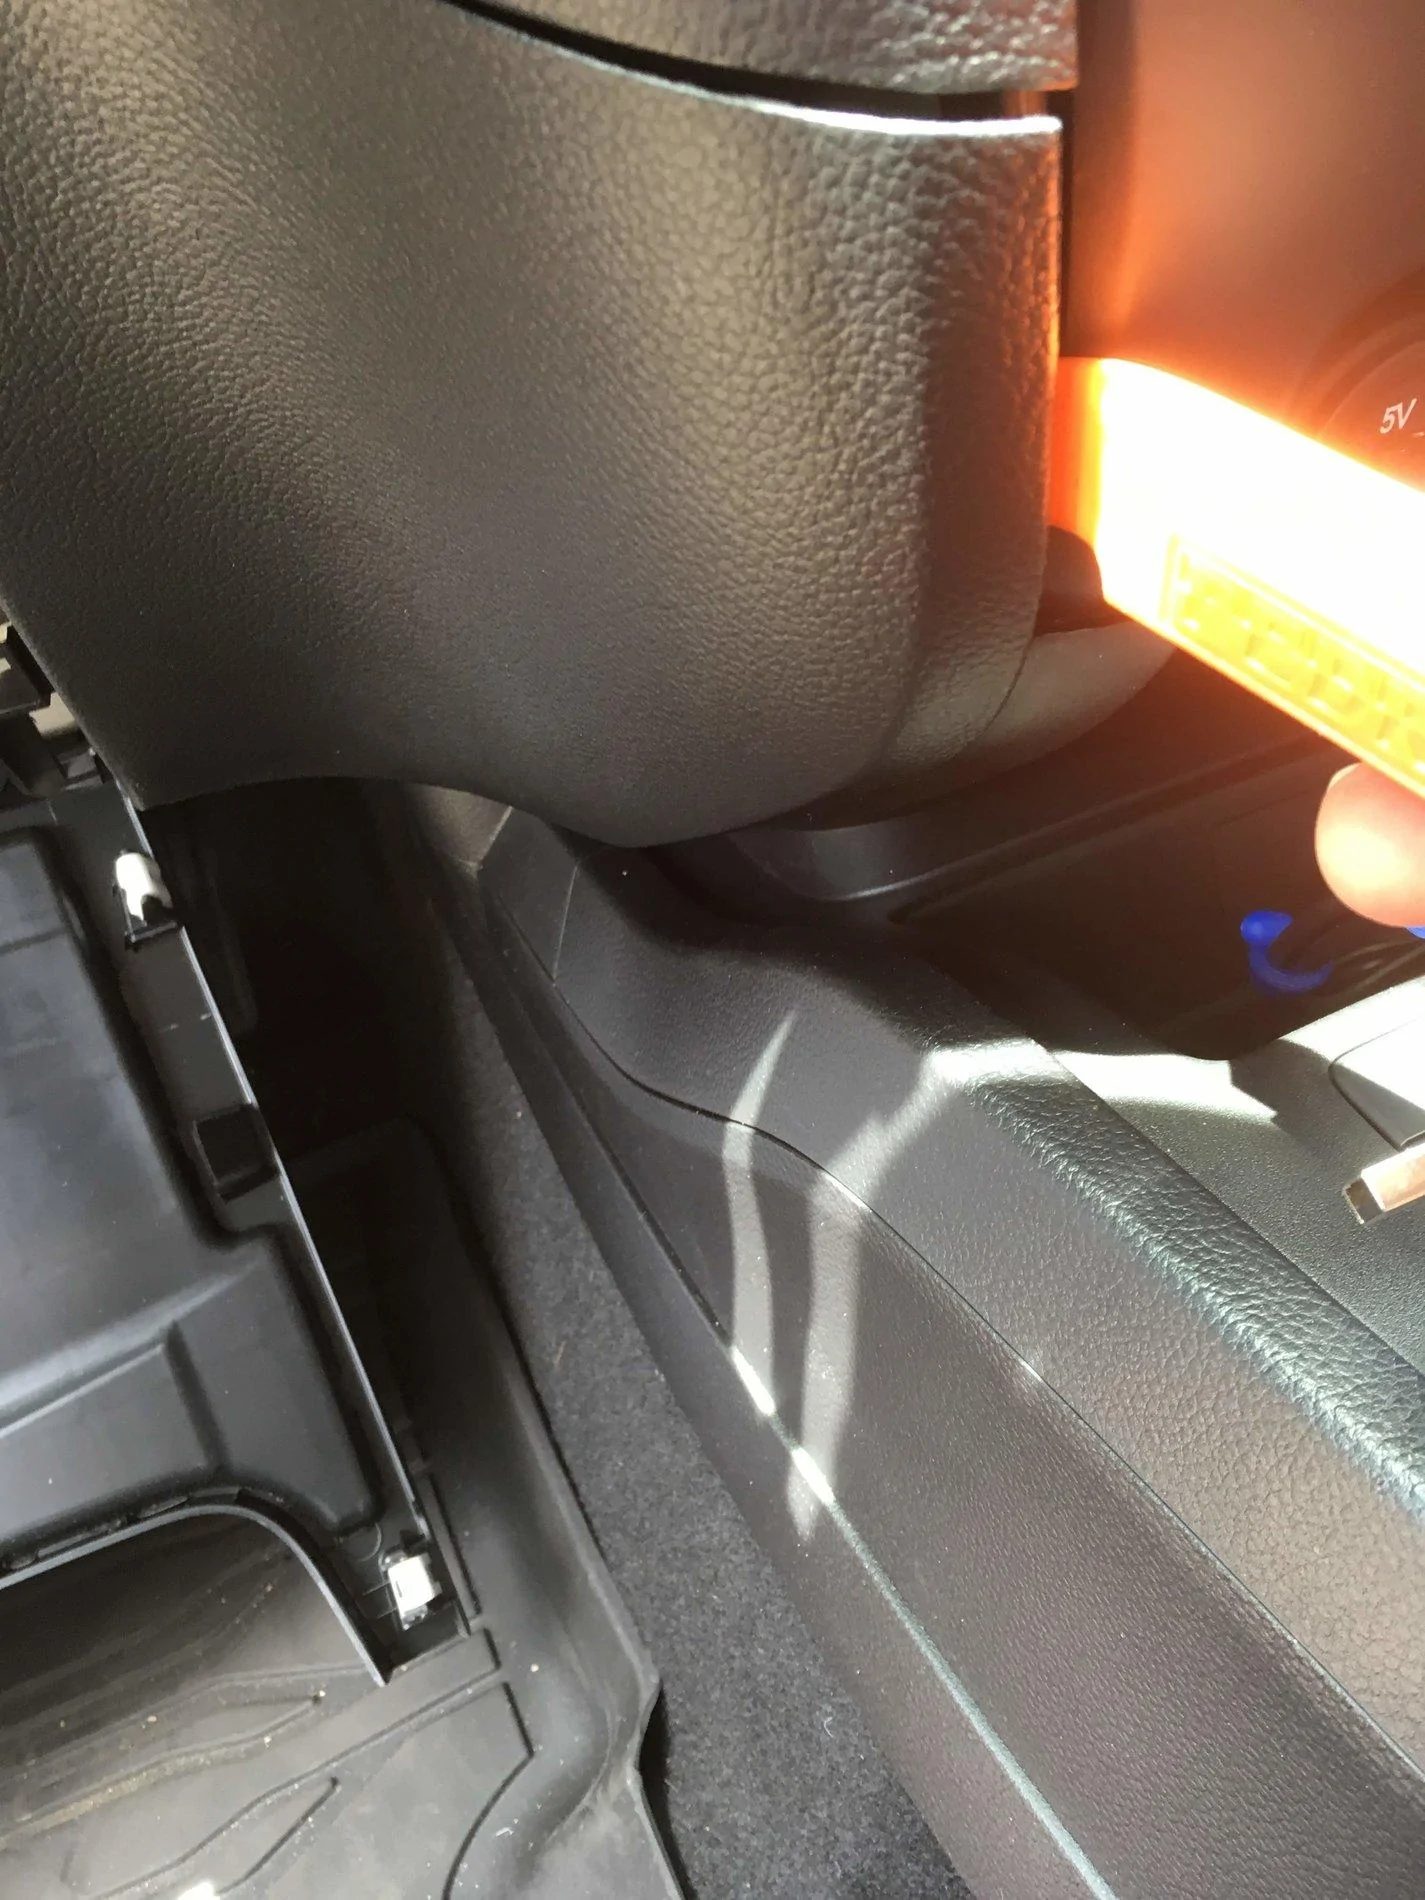
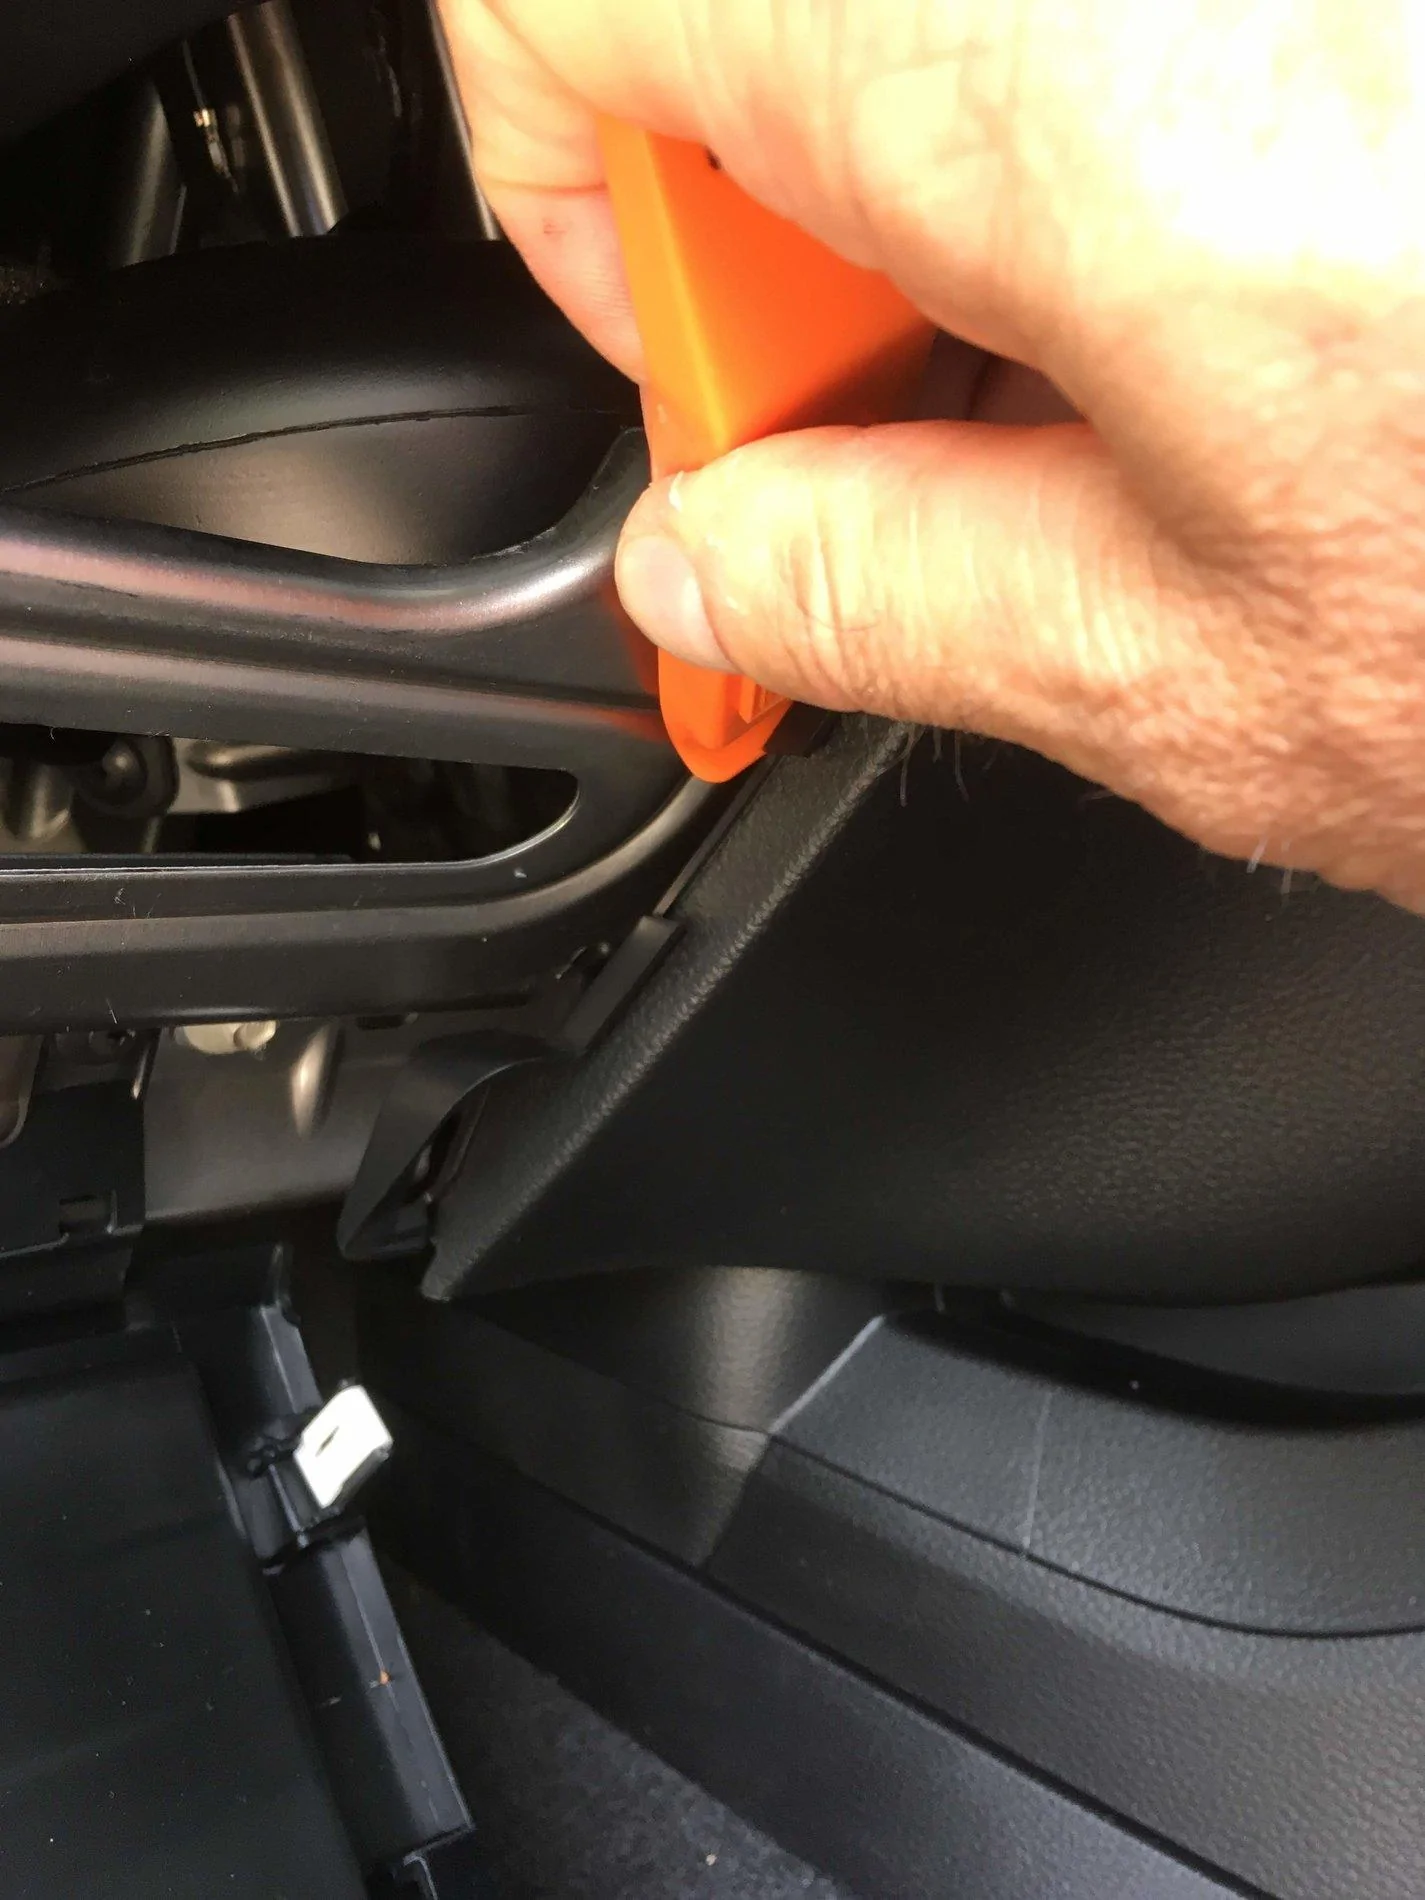
2) Pry the driver's side panel next to the outlet starting in the spot illustrated in pic drivers-panel-first-pry. What I found worked great was then holding that part with my hand and then sliding the plastic tire iron down towards the bottom which helped pop out the tabs on that side. I then pried on the other side as illustrated in drivers-panel-second-pry and the panel just popped out.
3) Open the glove box and then pry the other panel in the mirror image using the bike tire iron.
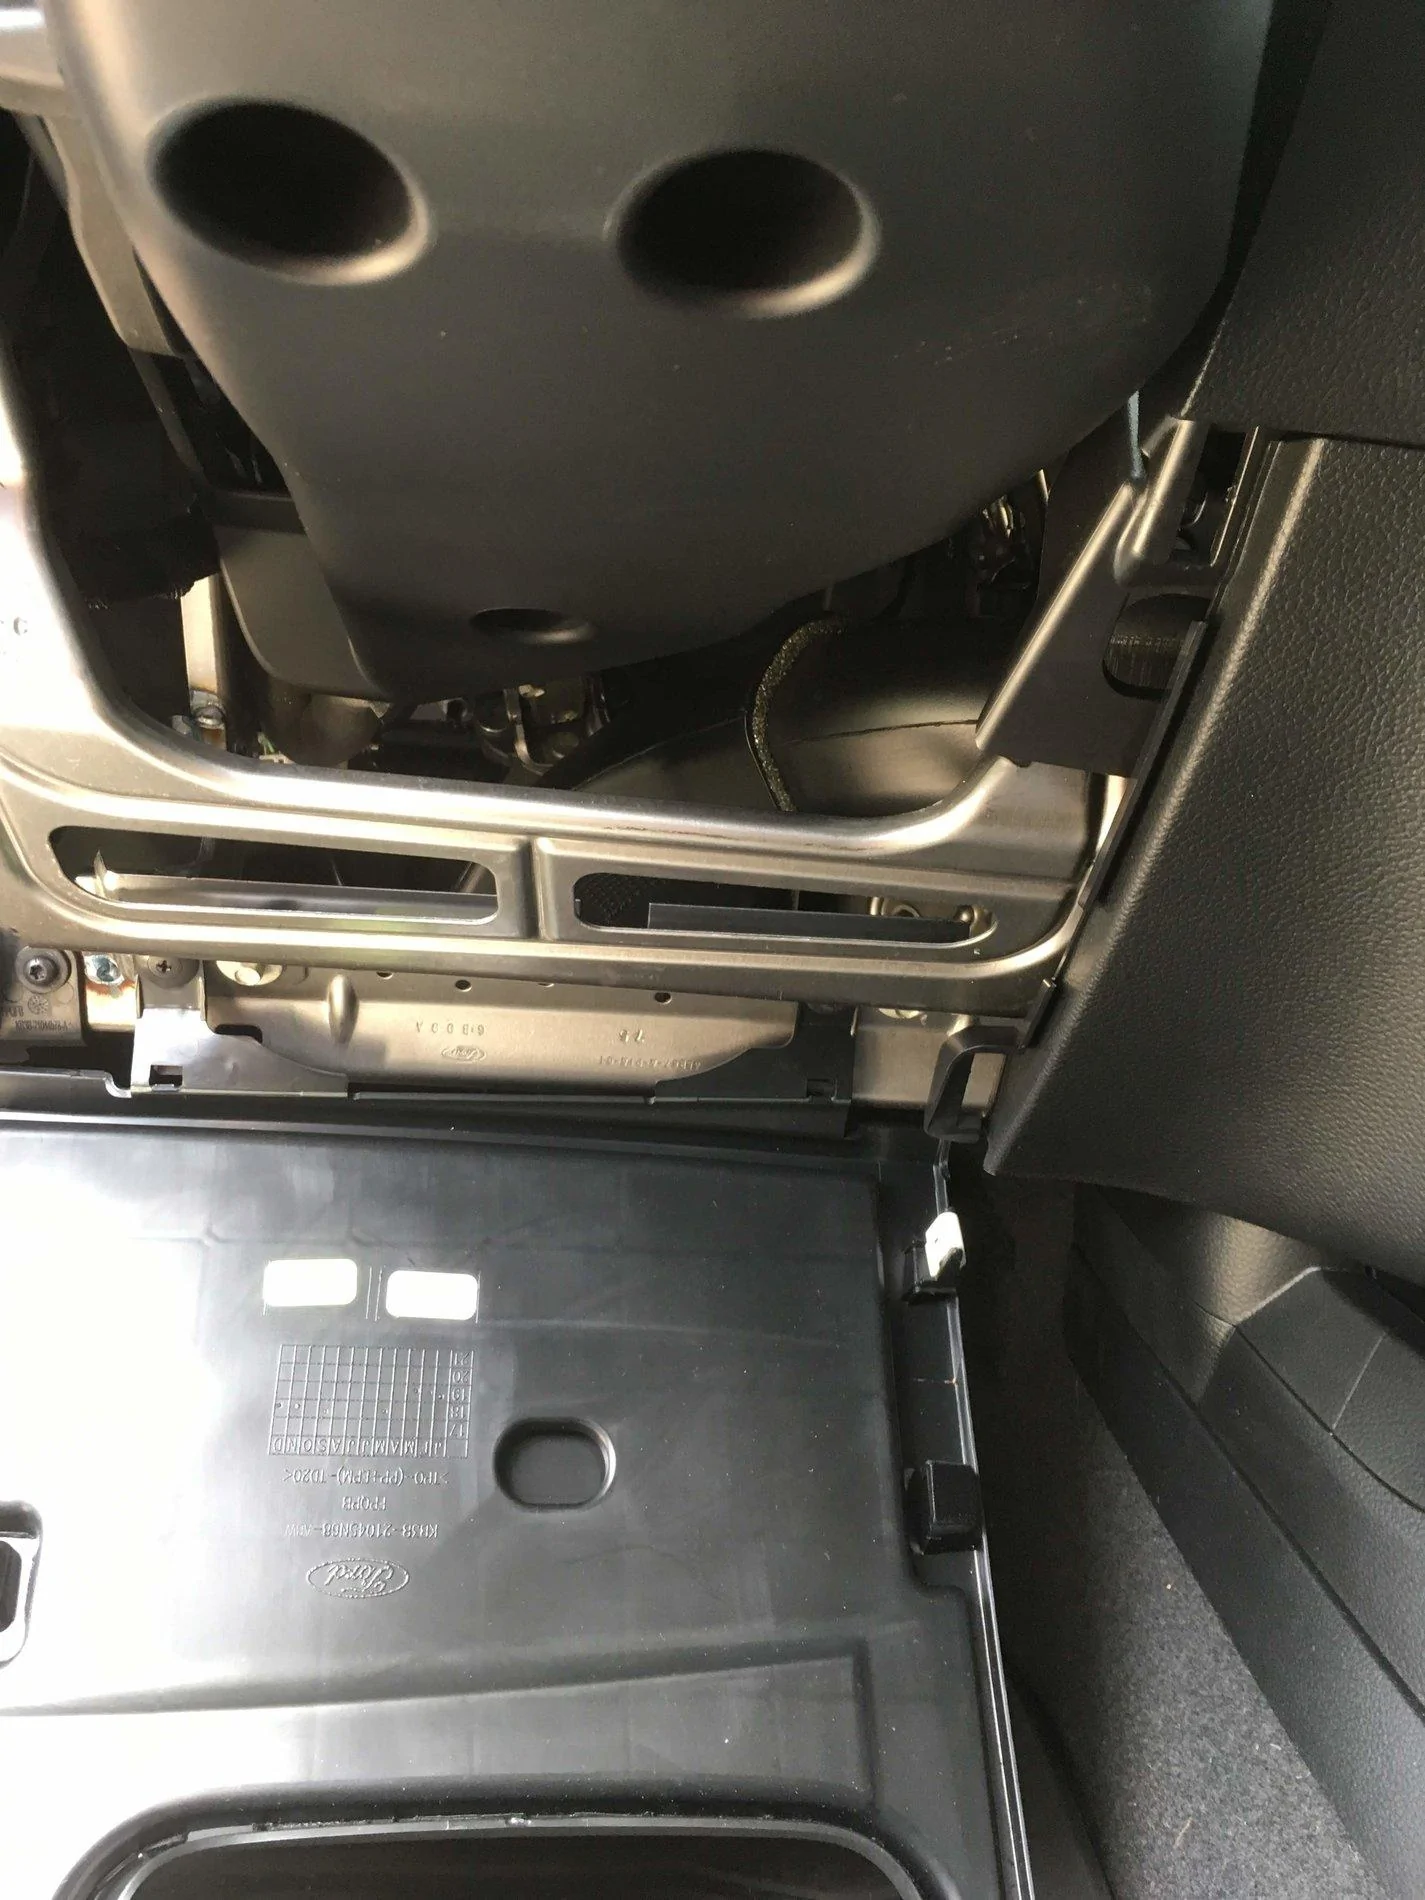
4) Unscrew the 2x7mm screws and then use the tire iron to pry the main panel out as seen in the video here:
5) Once the panel is out, remove the connectors for the power to the 12V outlets per the same video.
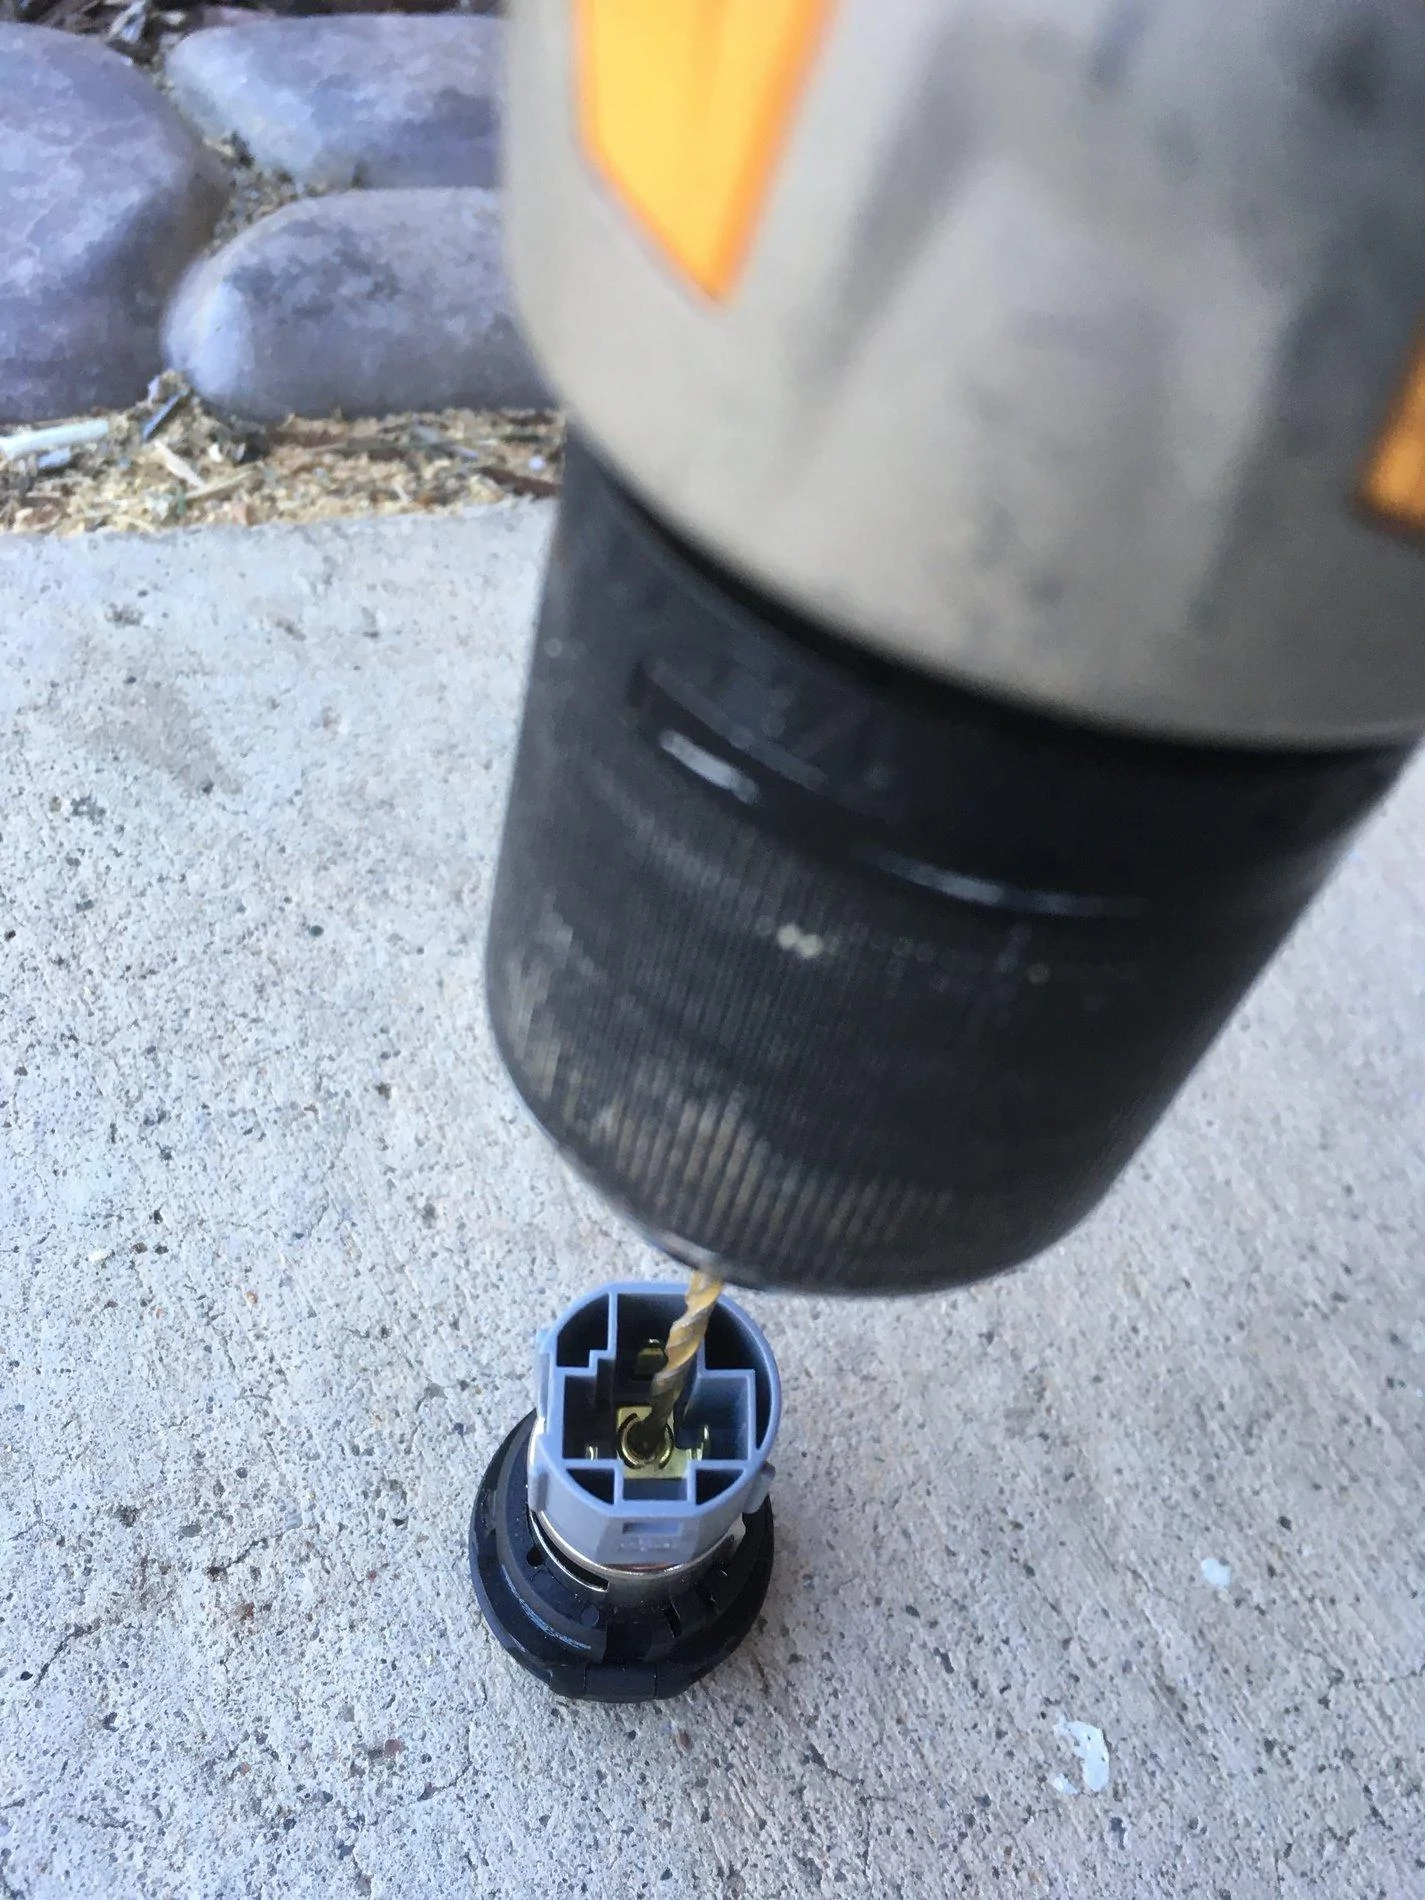
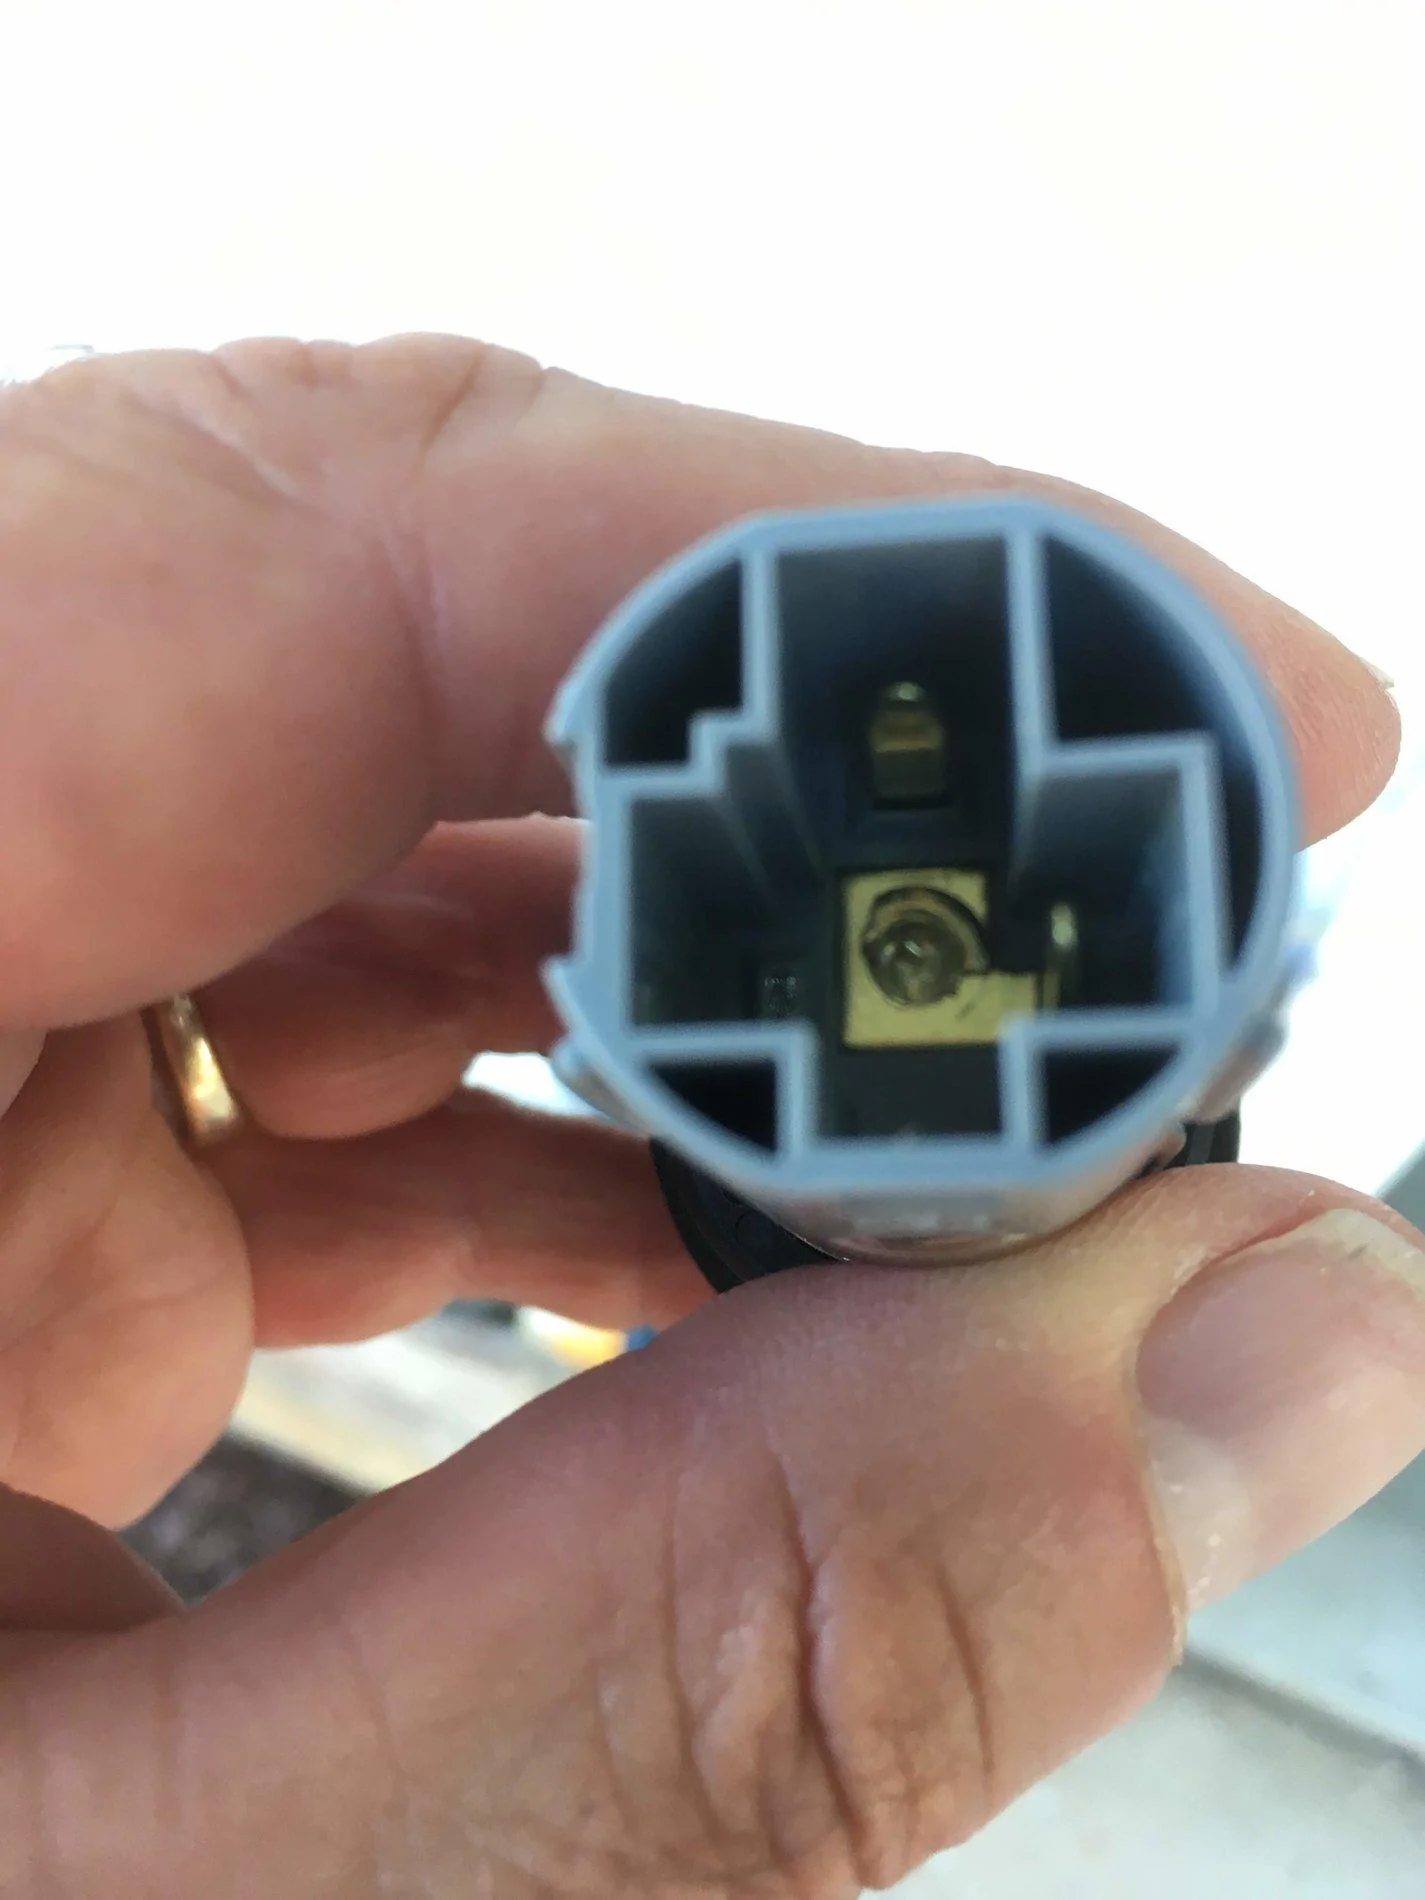
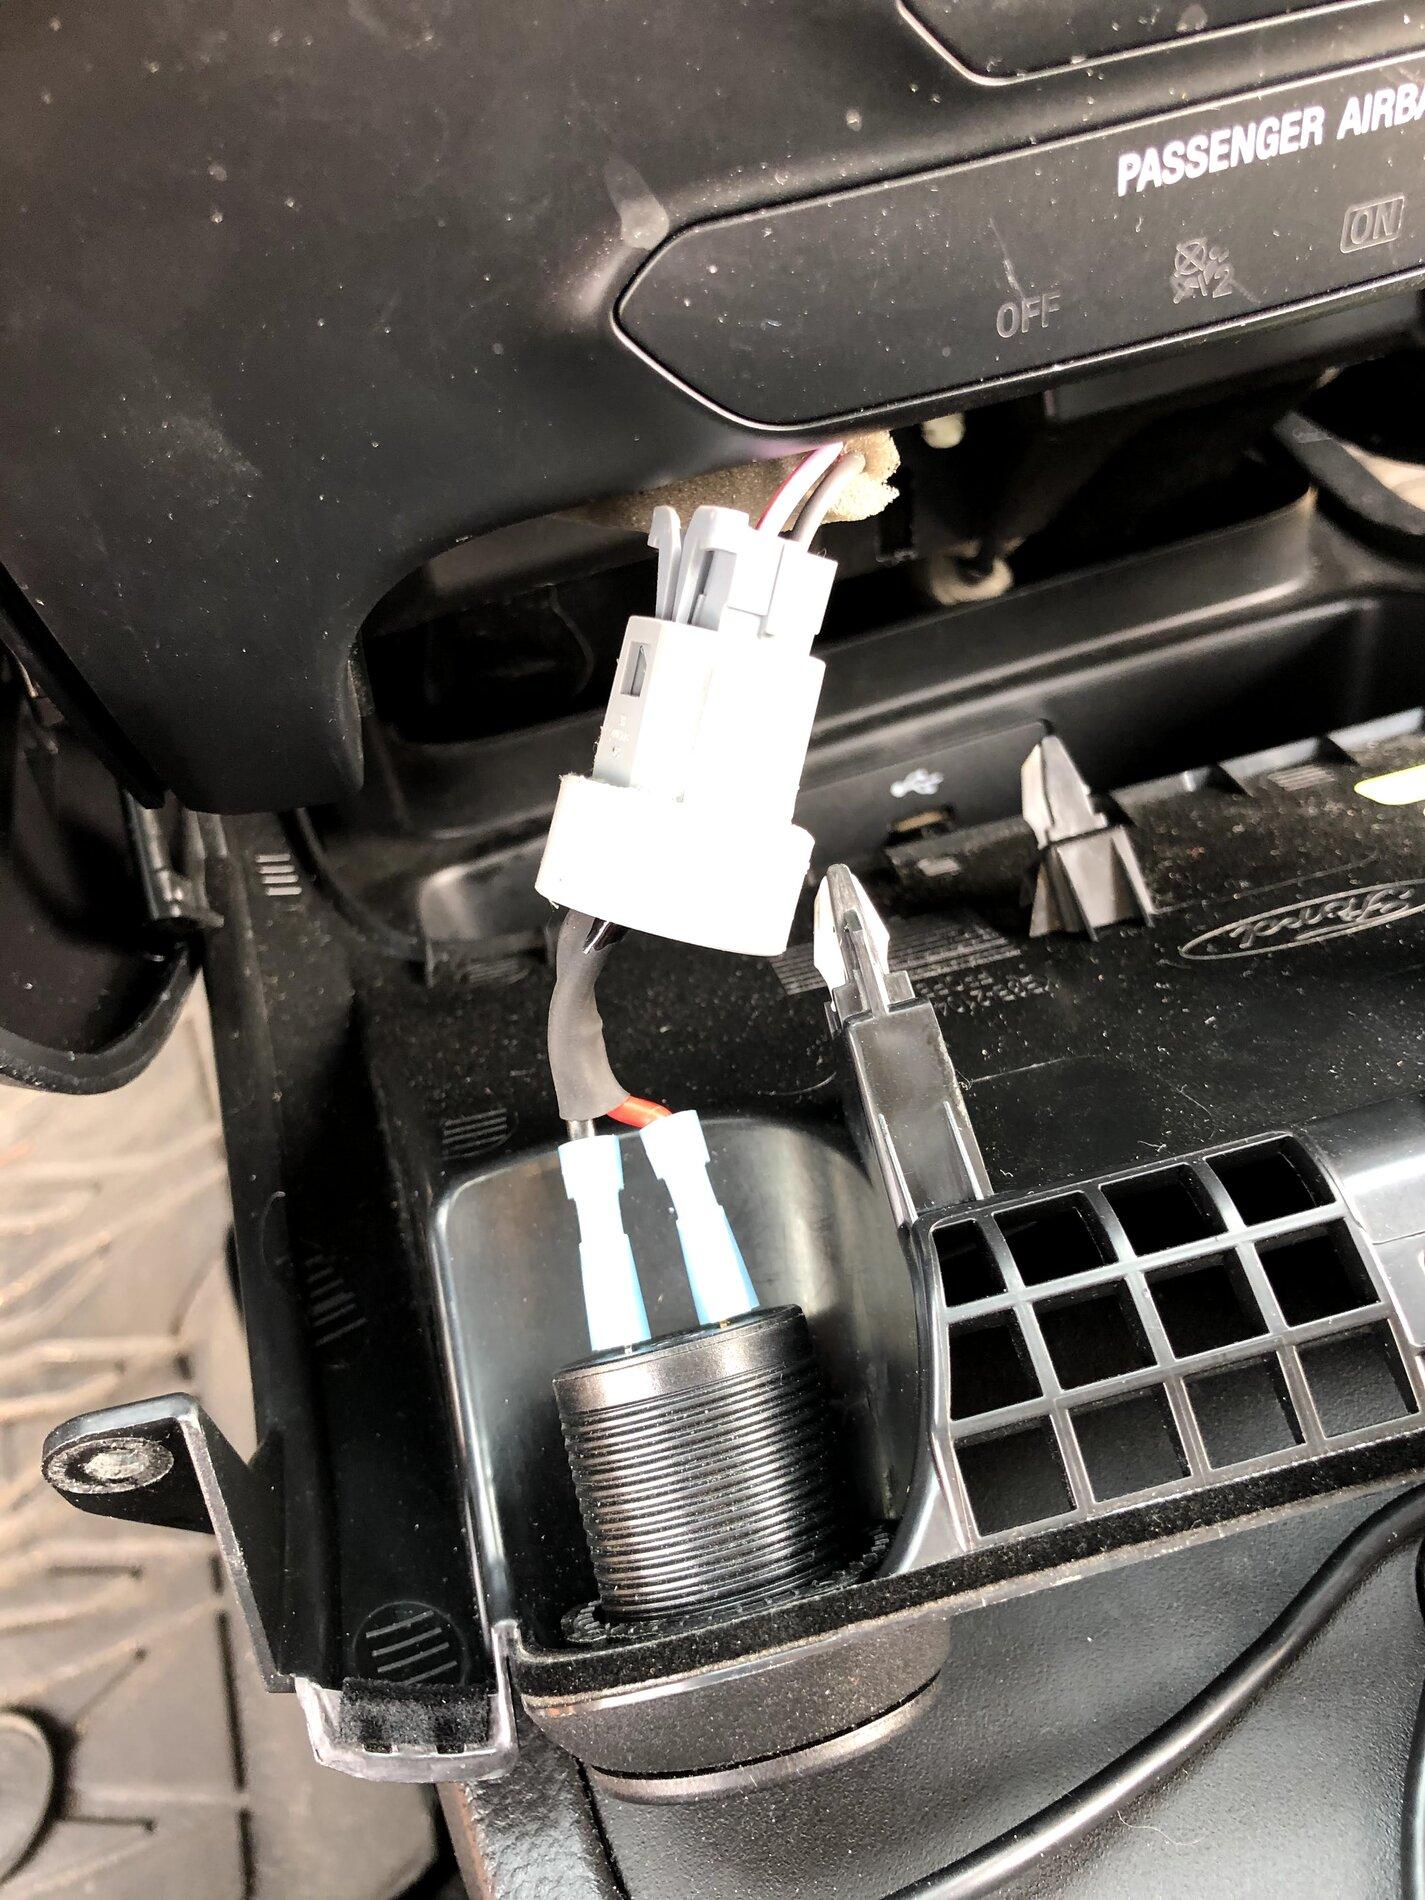
6) Next, remove the 12V outlets from the panel. To me, this was the biggest pain 'cause I didn't want to be too rough and scratch anything. What worked was using a large flat head screw driver on the tabs while pushing on the back of the outlet. I would get one side mostly out and then if I could get the tire iron in there, I could pry it out enough to get the entire tab outside. The second tab was somewhat tough due to the pressure (kind of reminded me of when we'd penny a door shut") ) but prying and pushing resulted in them coming out.
) but prying and pushing resulted in them coming out.
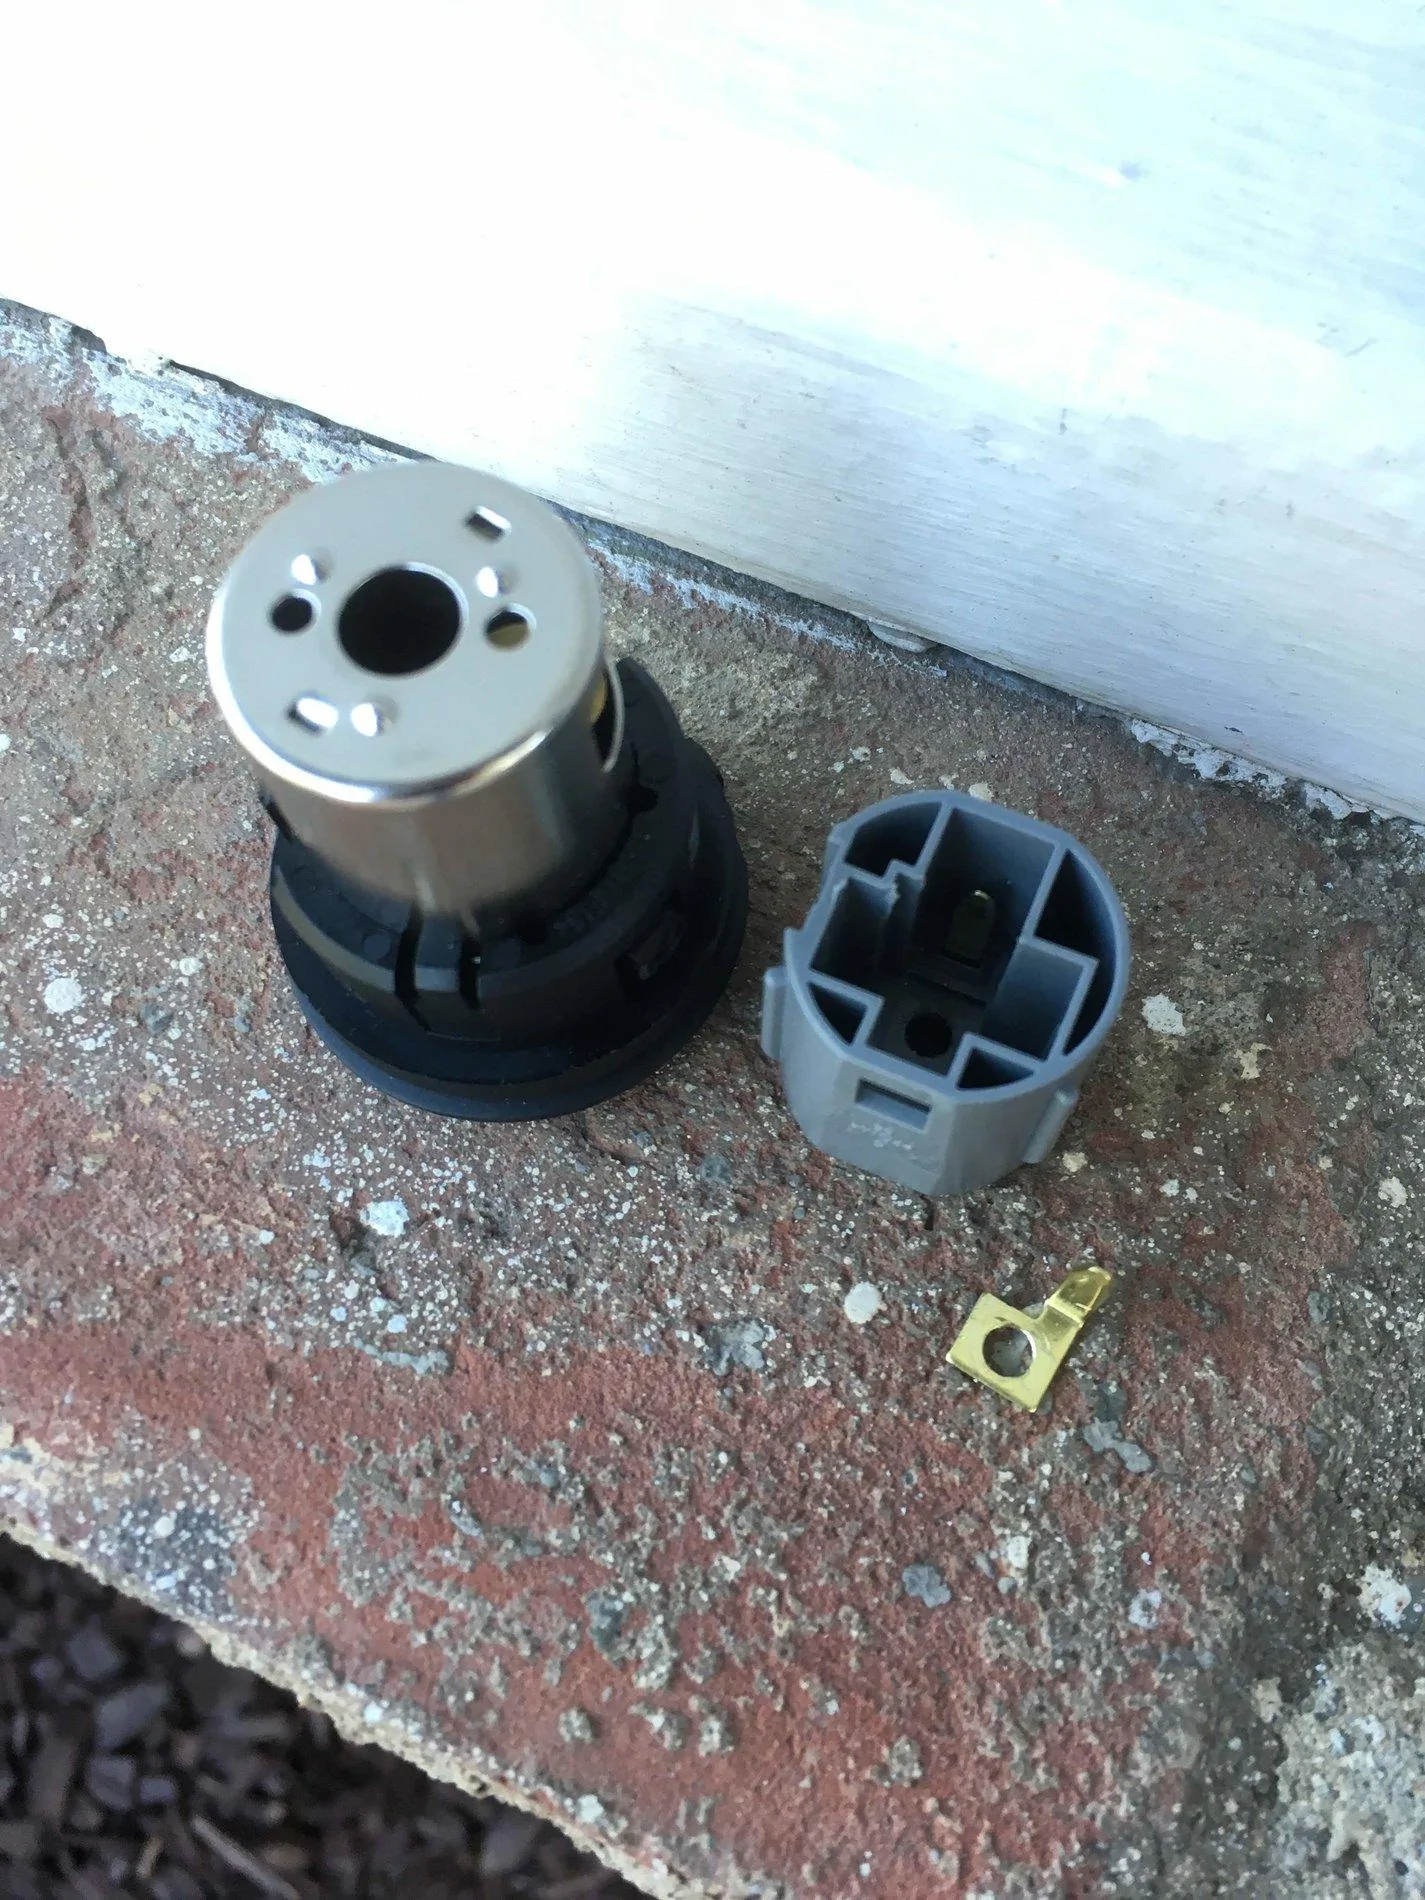
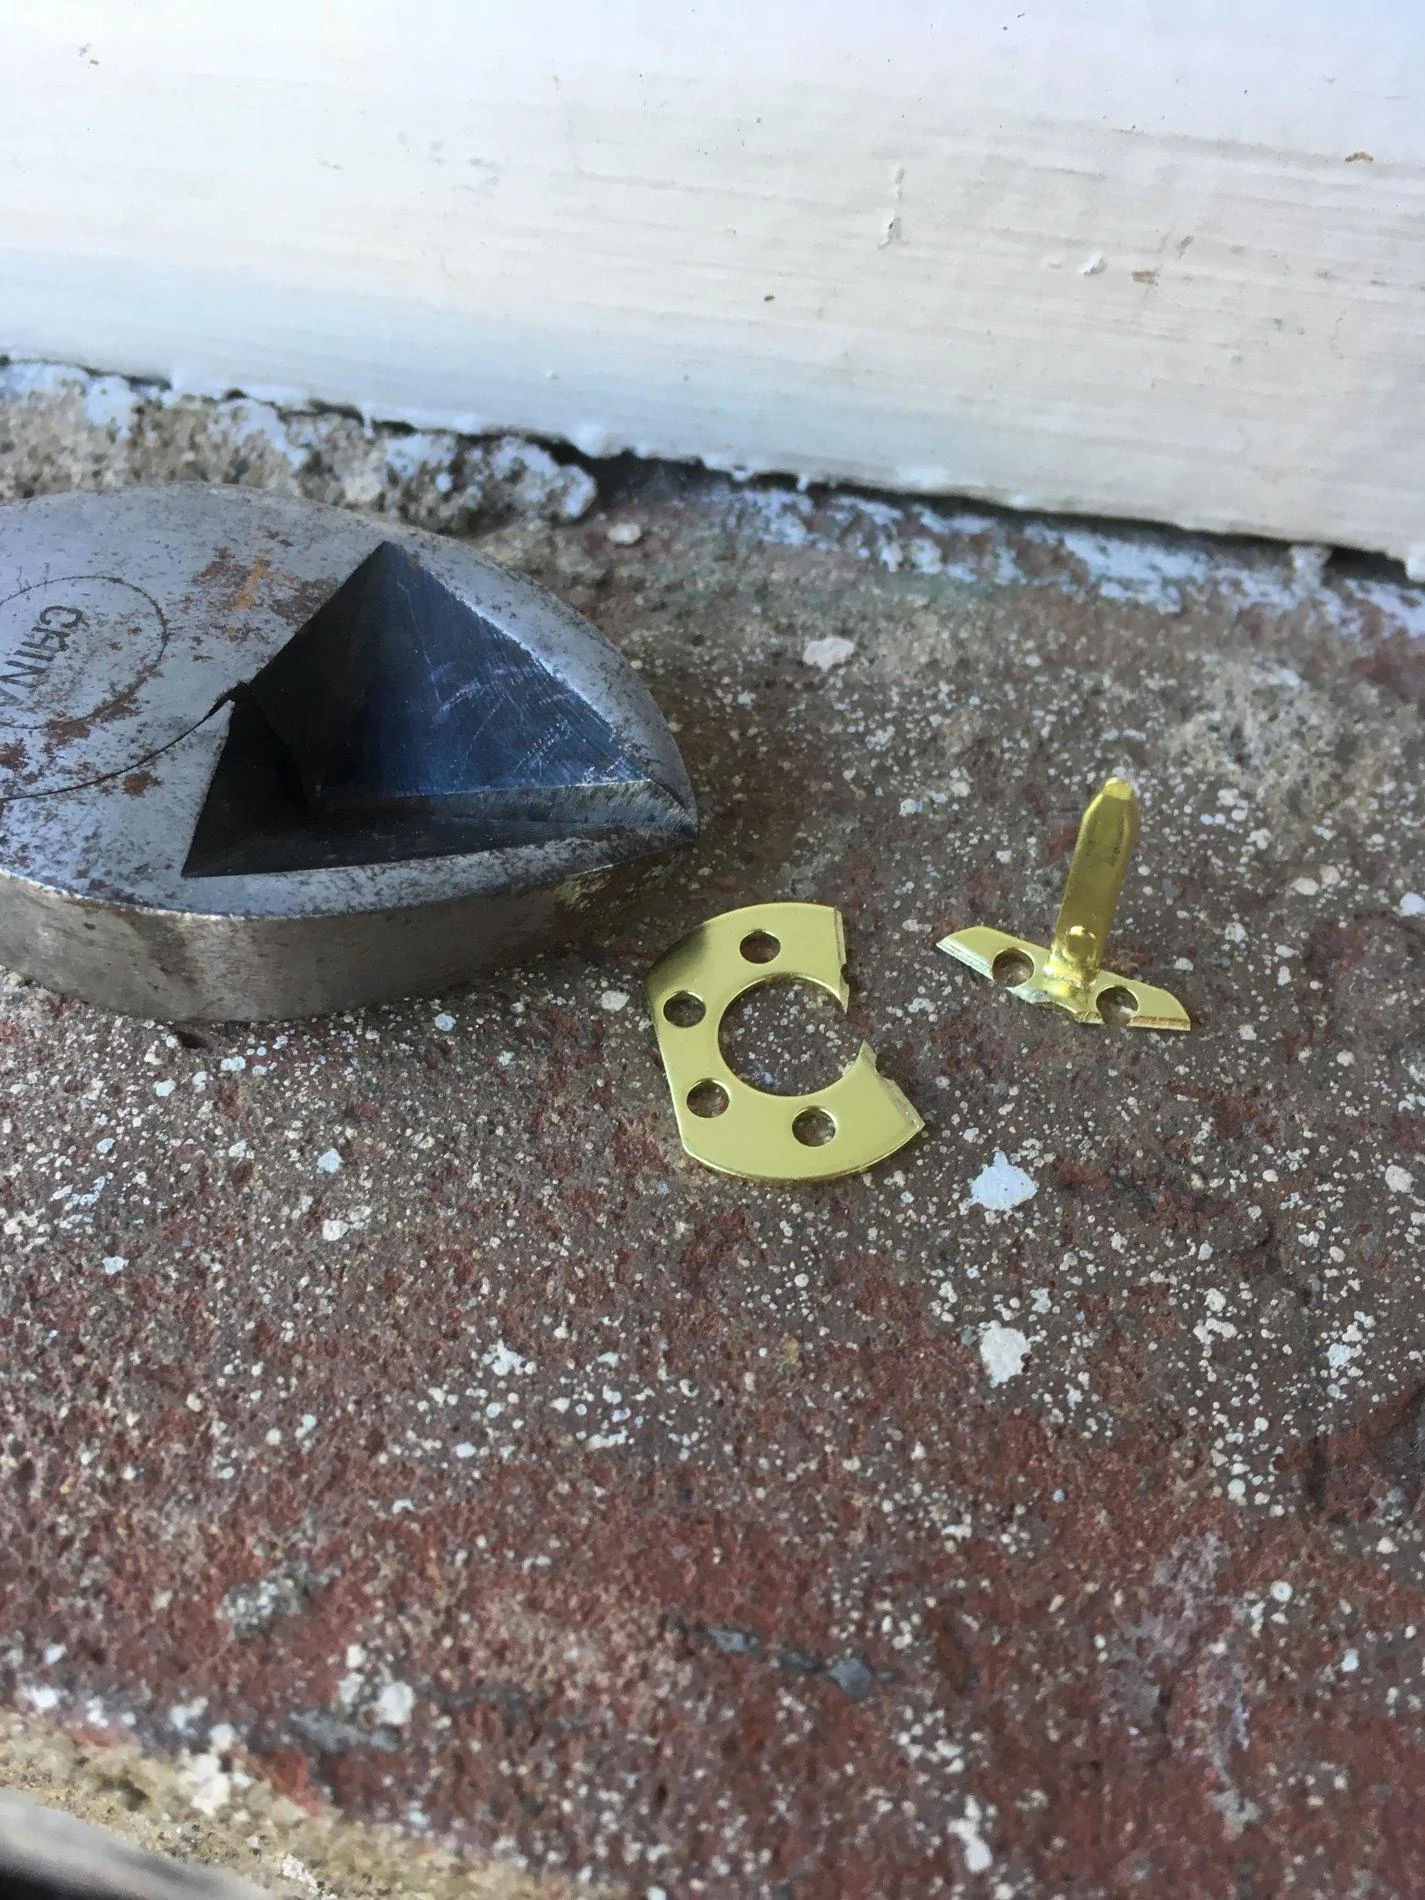
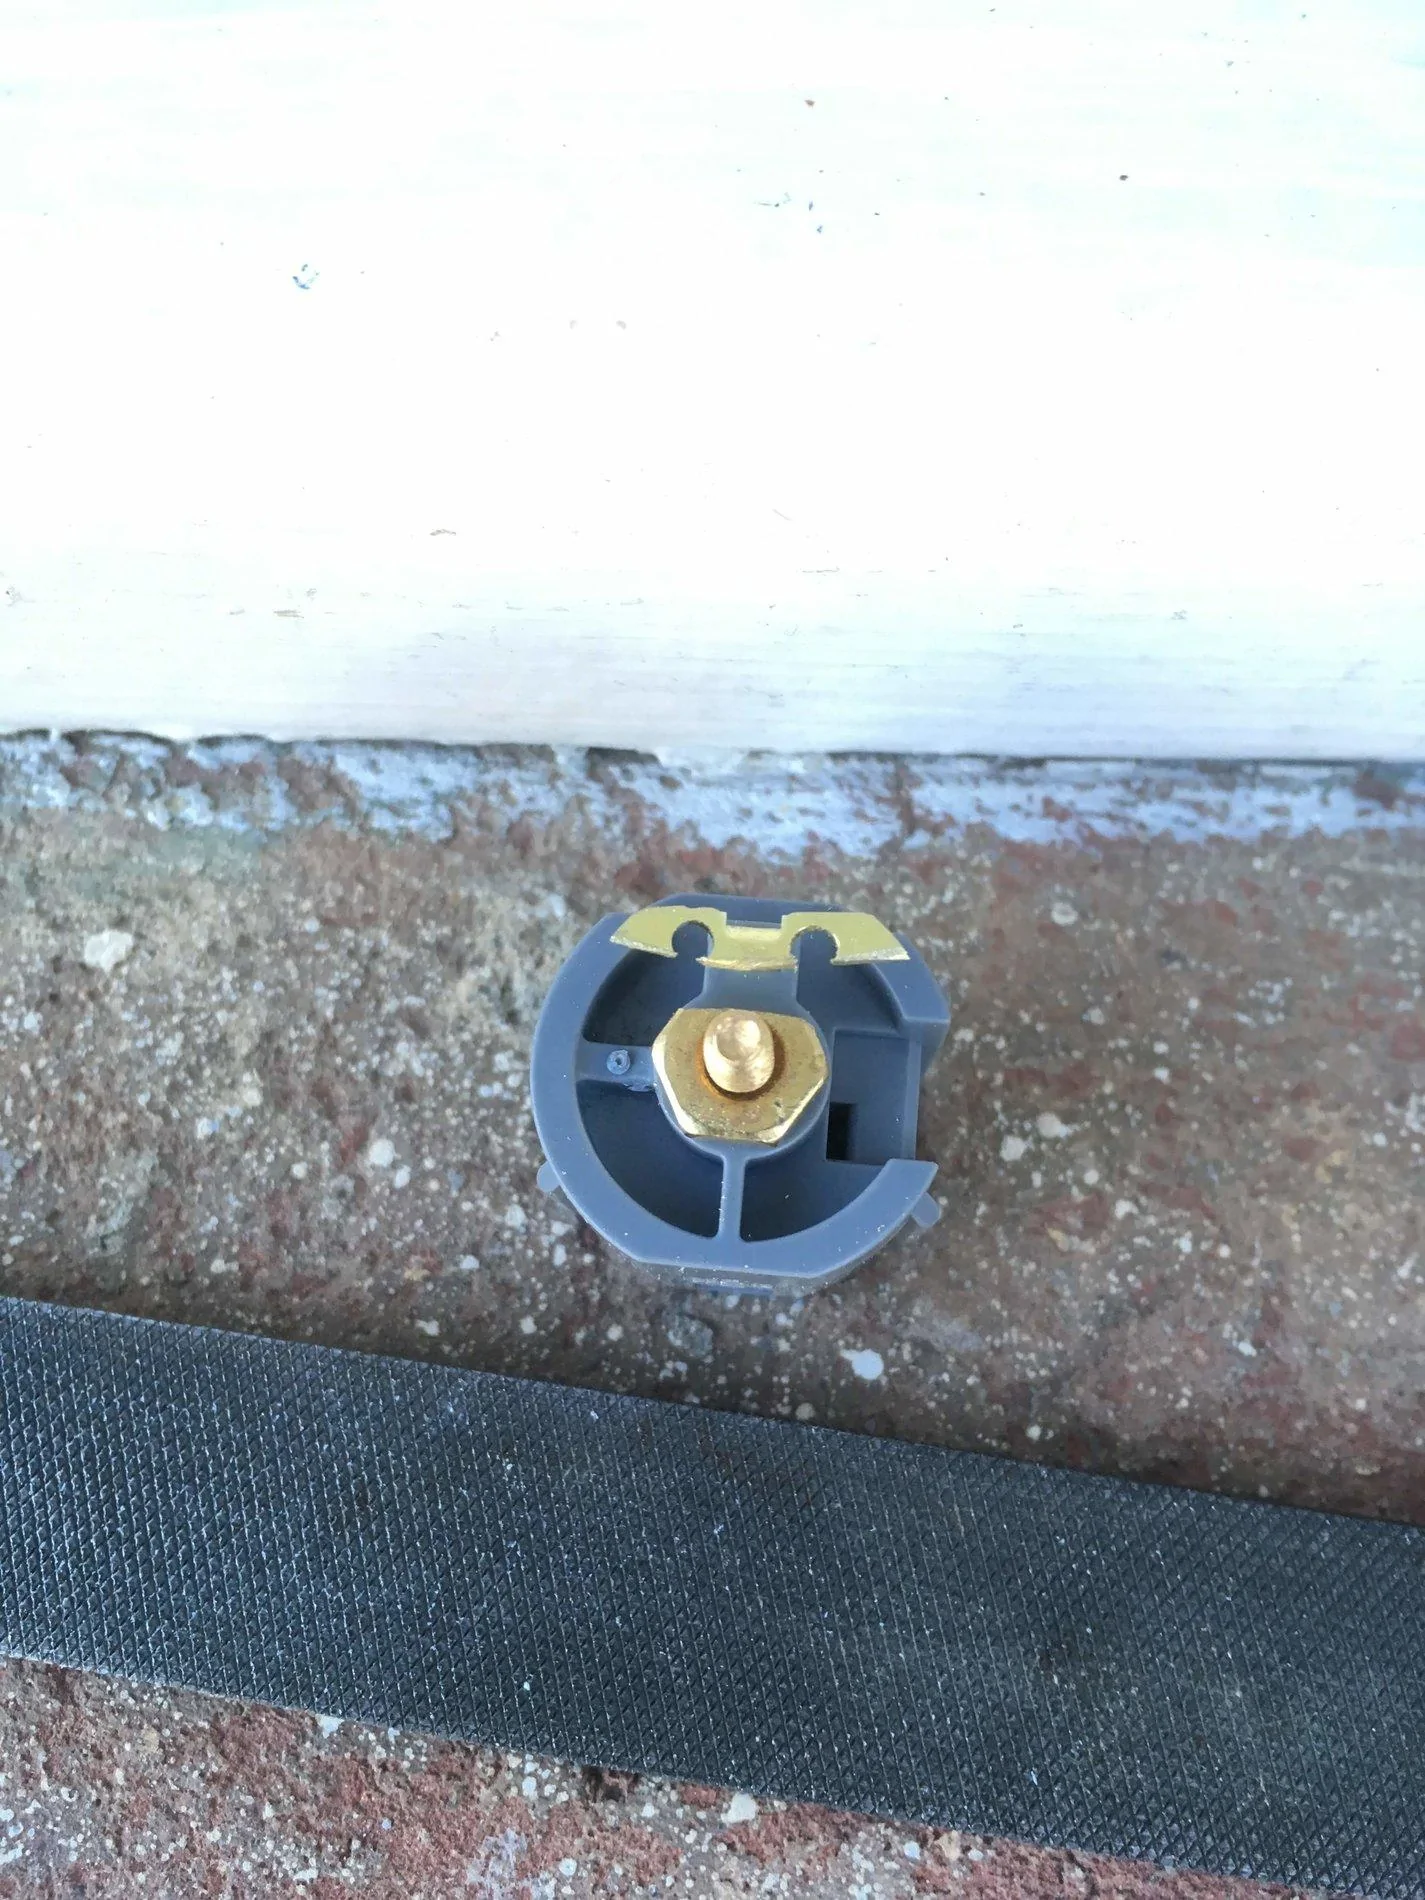
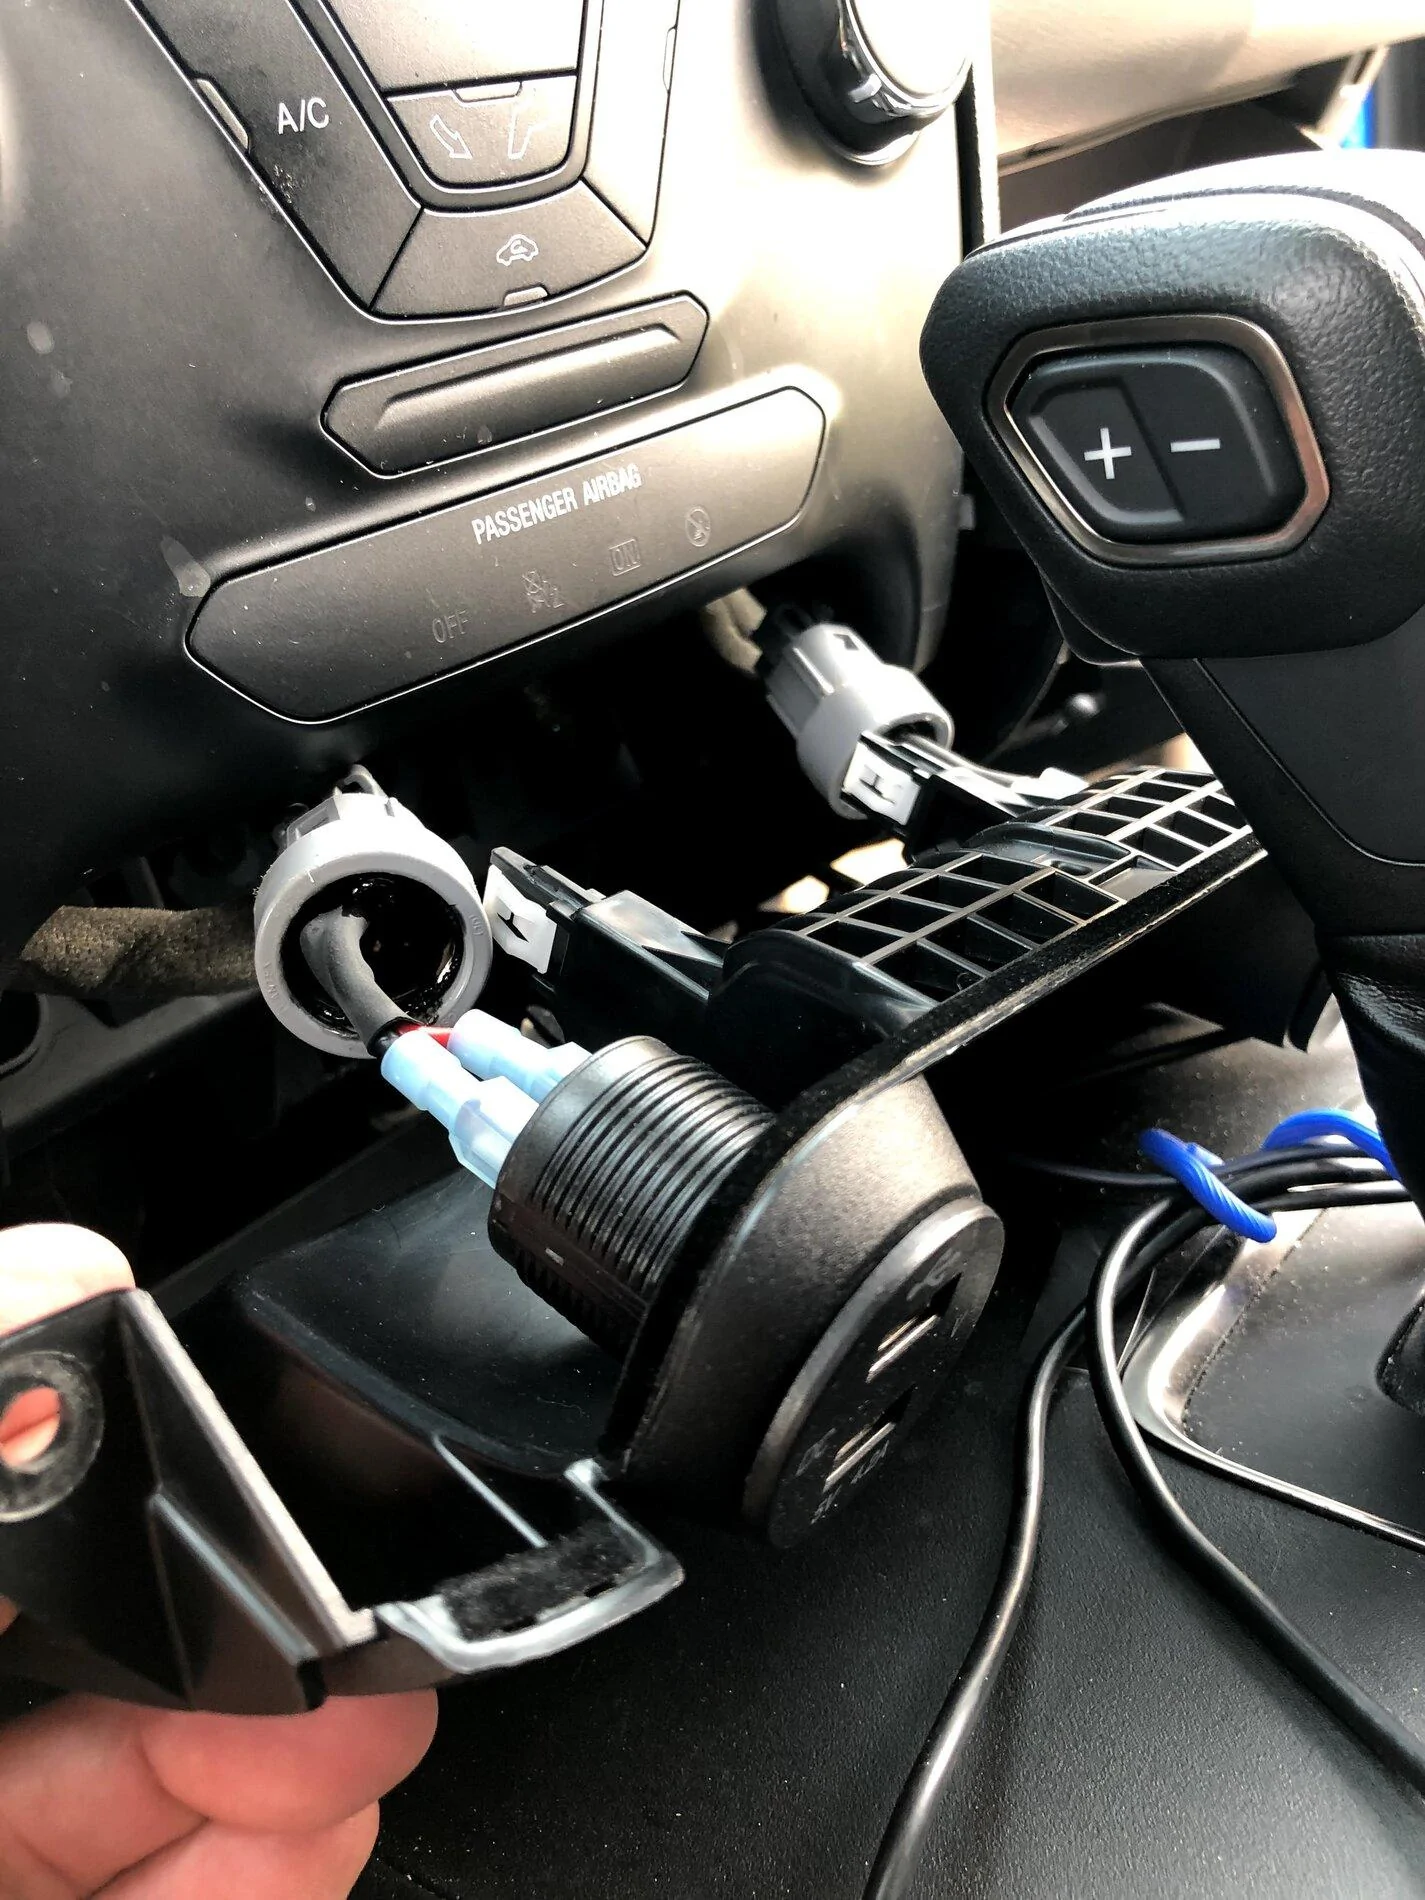
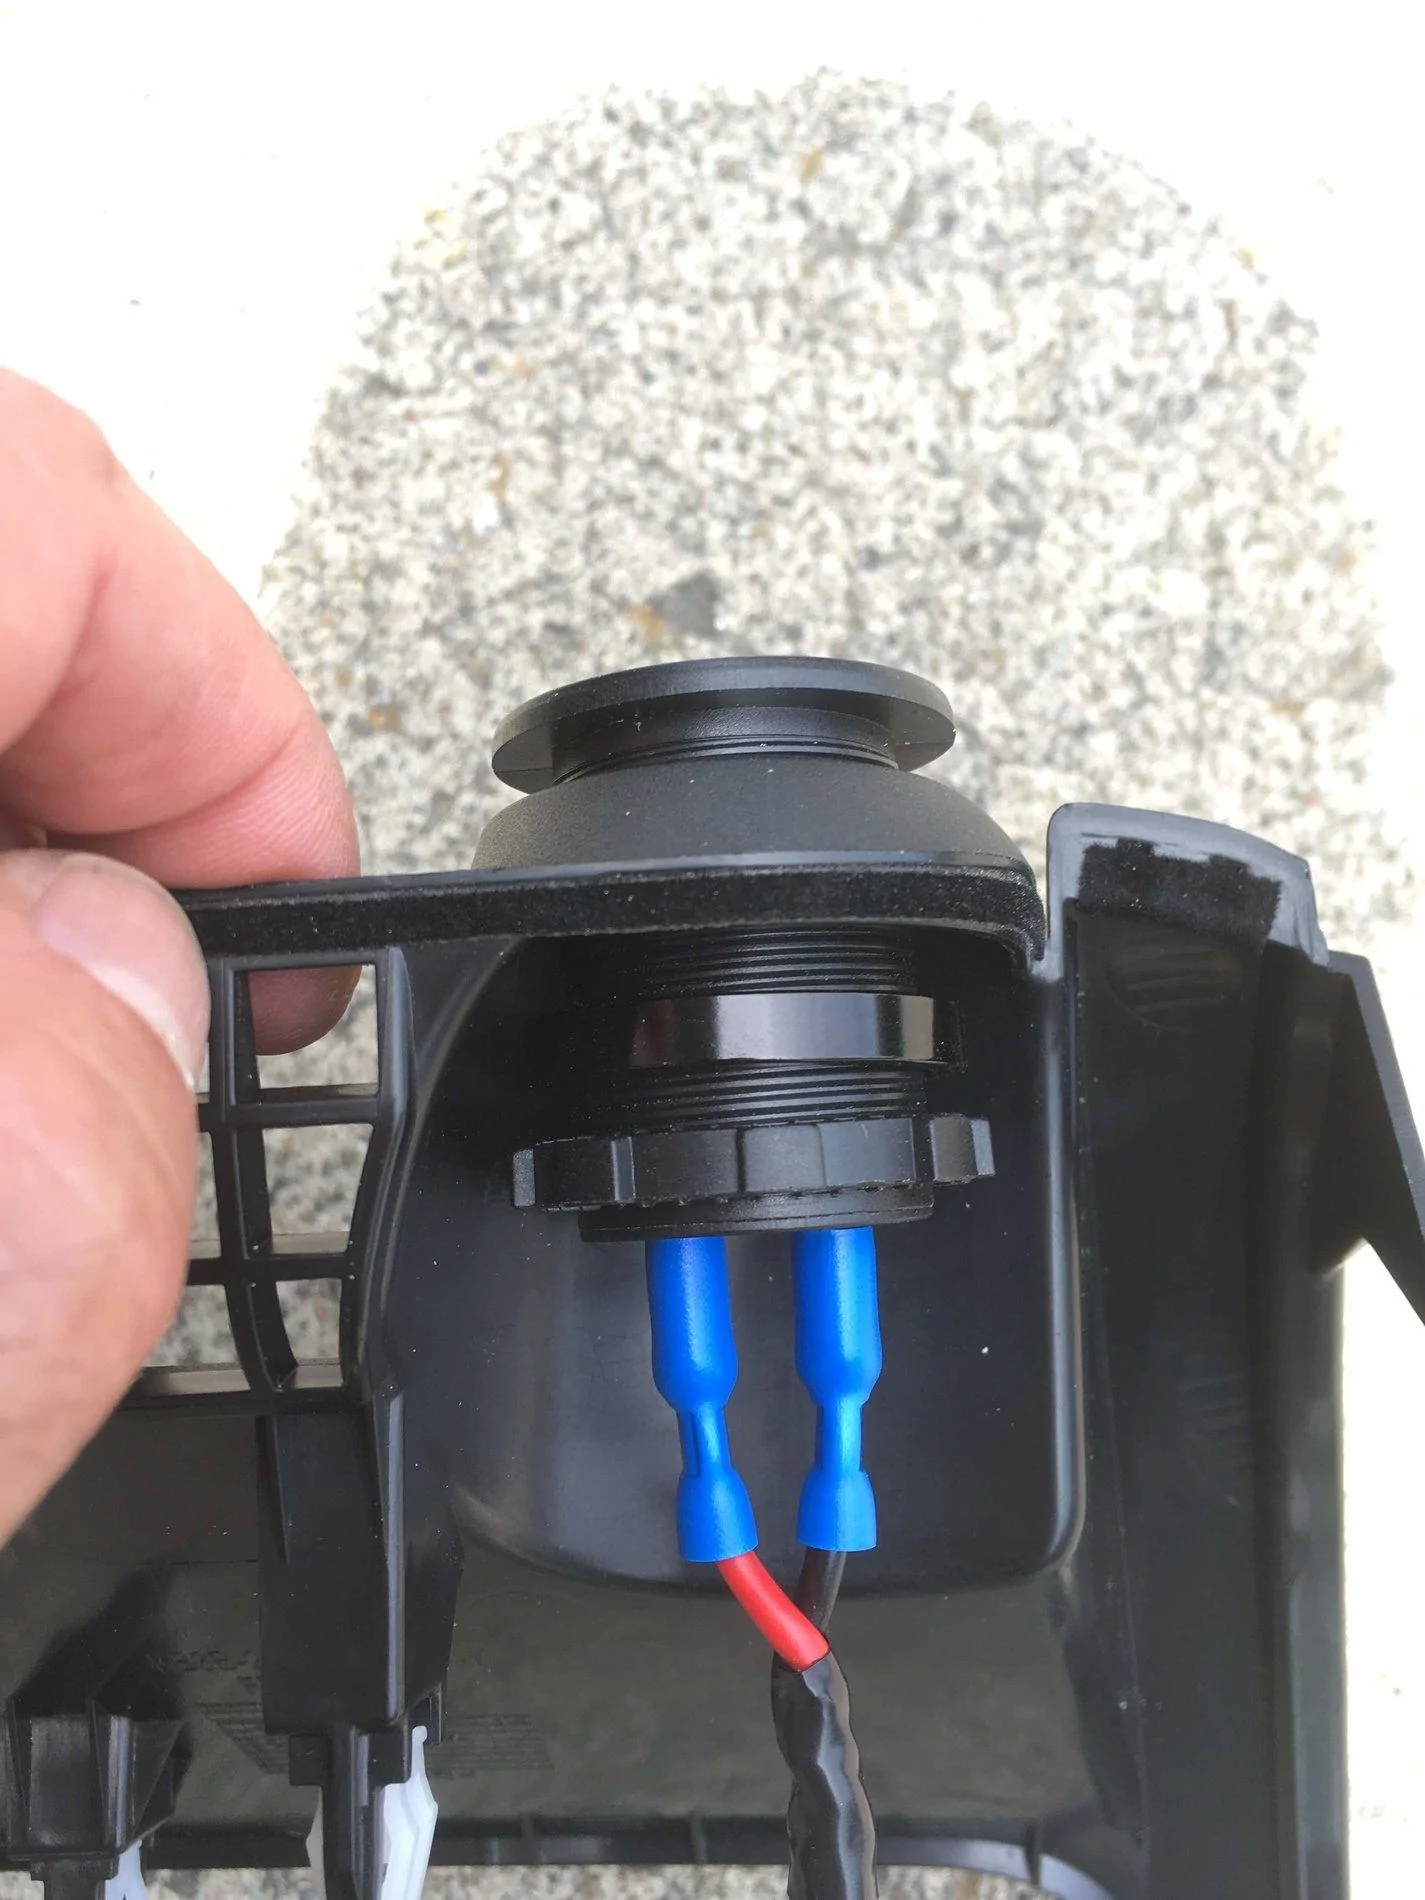
7) Now you can install the ports of your choice with one headset spacer per side between the panel and the nut. My locksmith cousin told me that there are some "mortis" spacers that he said looked a lot like the headset spacers. For me, getting the spacers from the bike shop was simple. See the USB-spacer-nut picture for how I put them in.
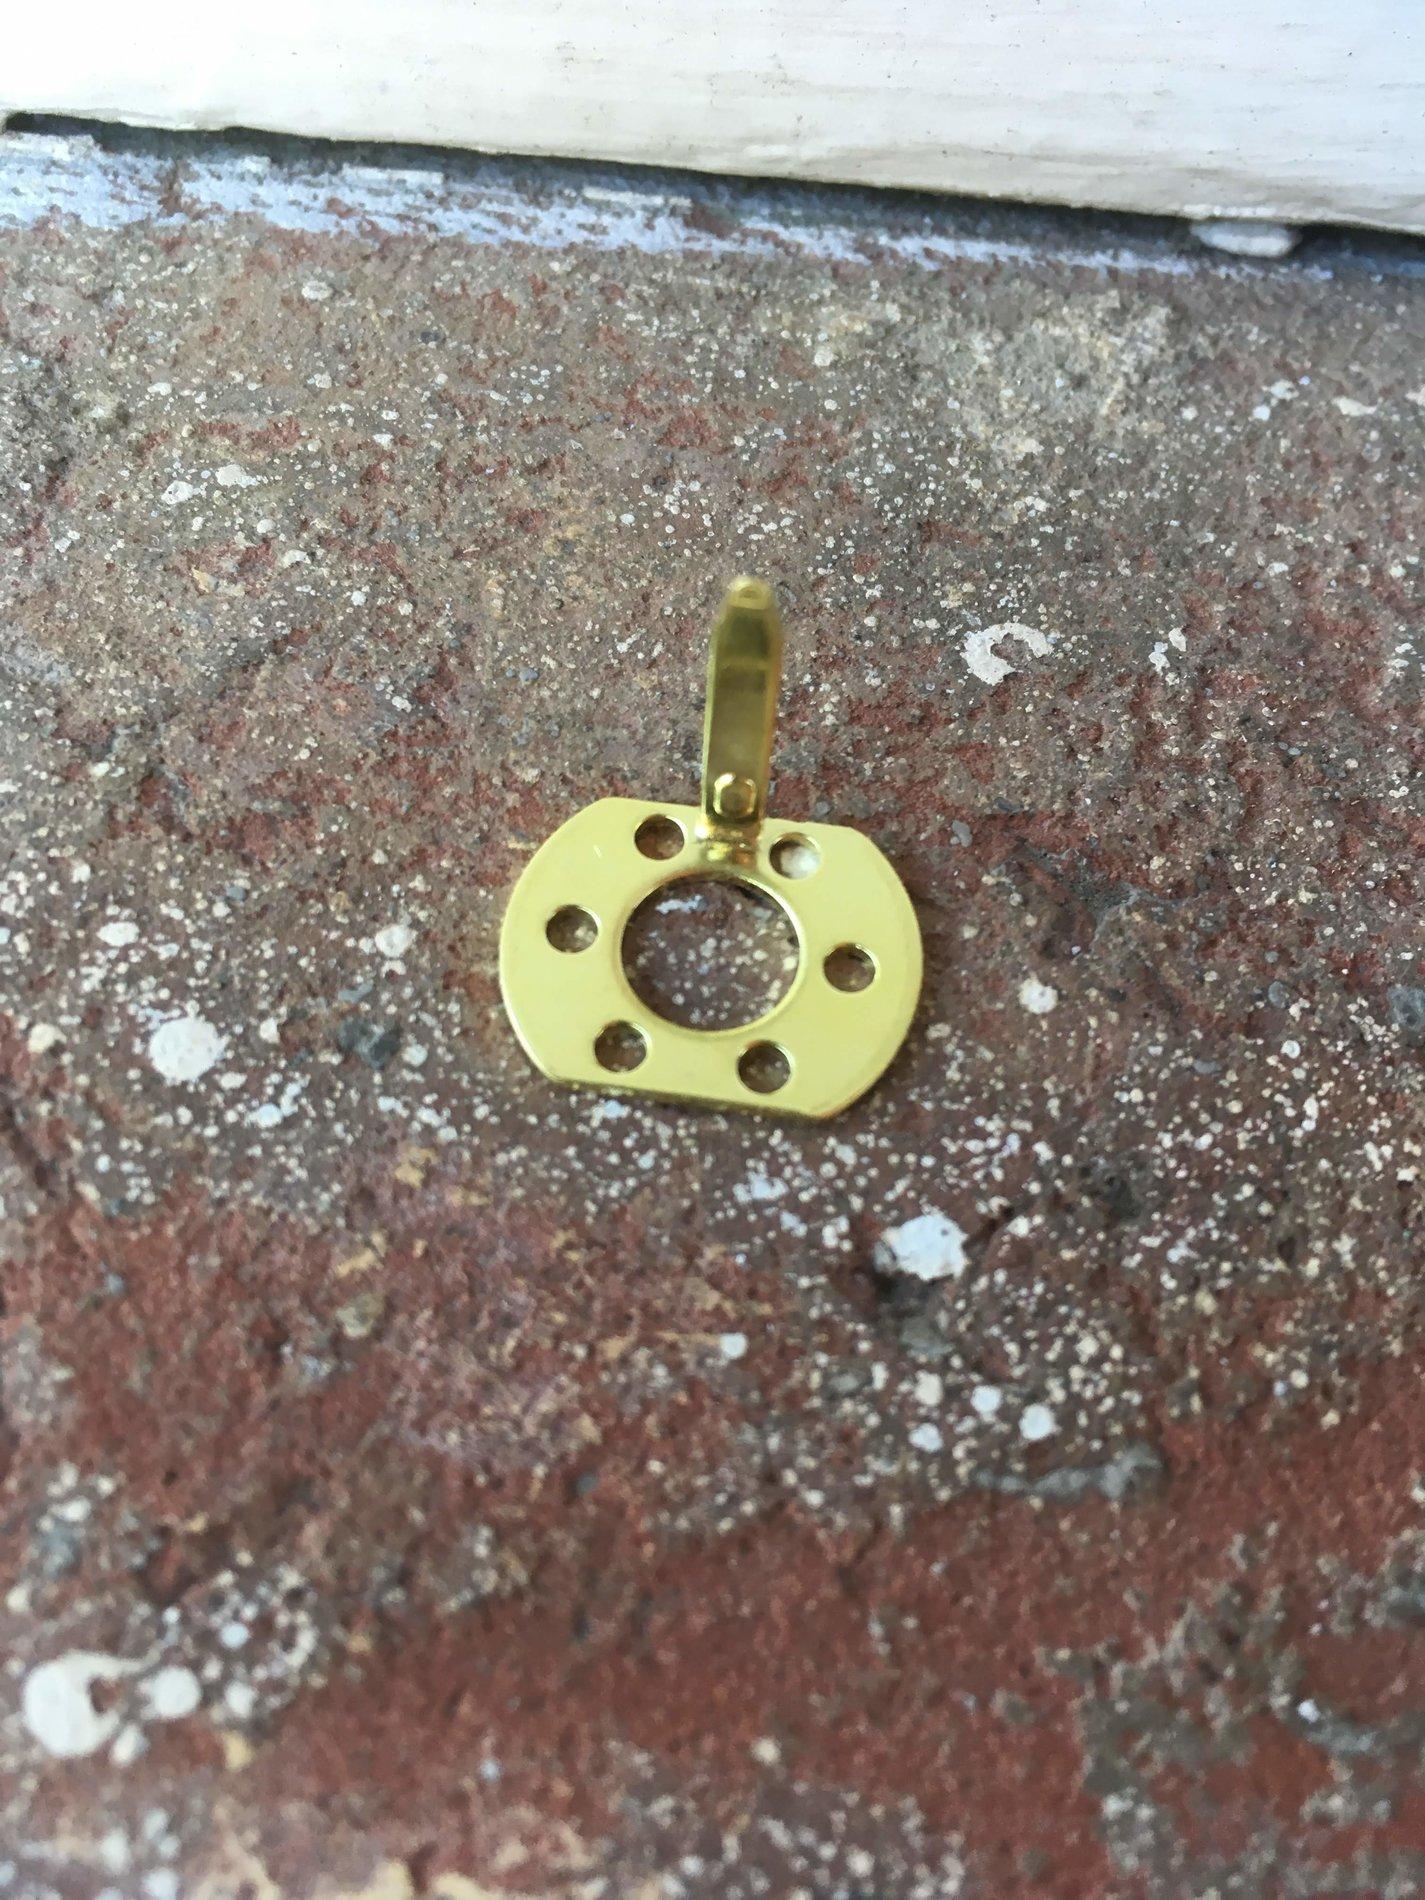
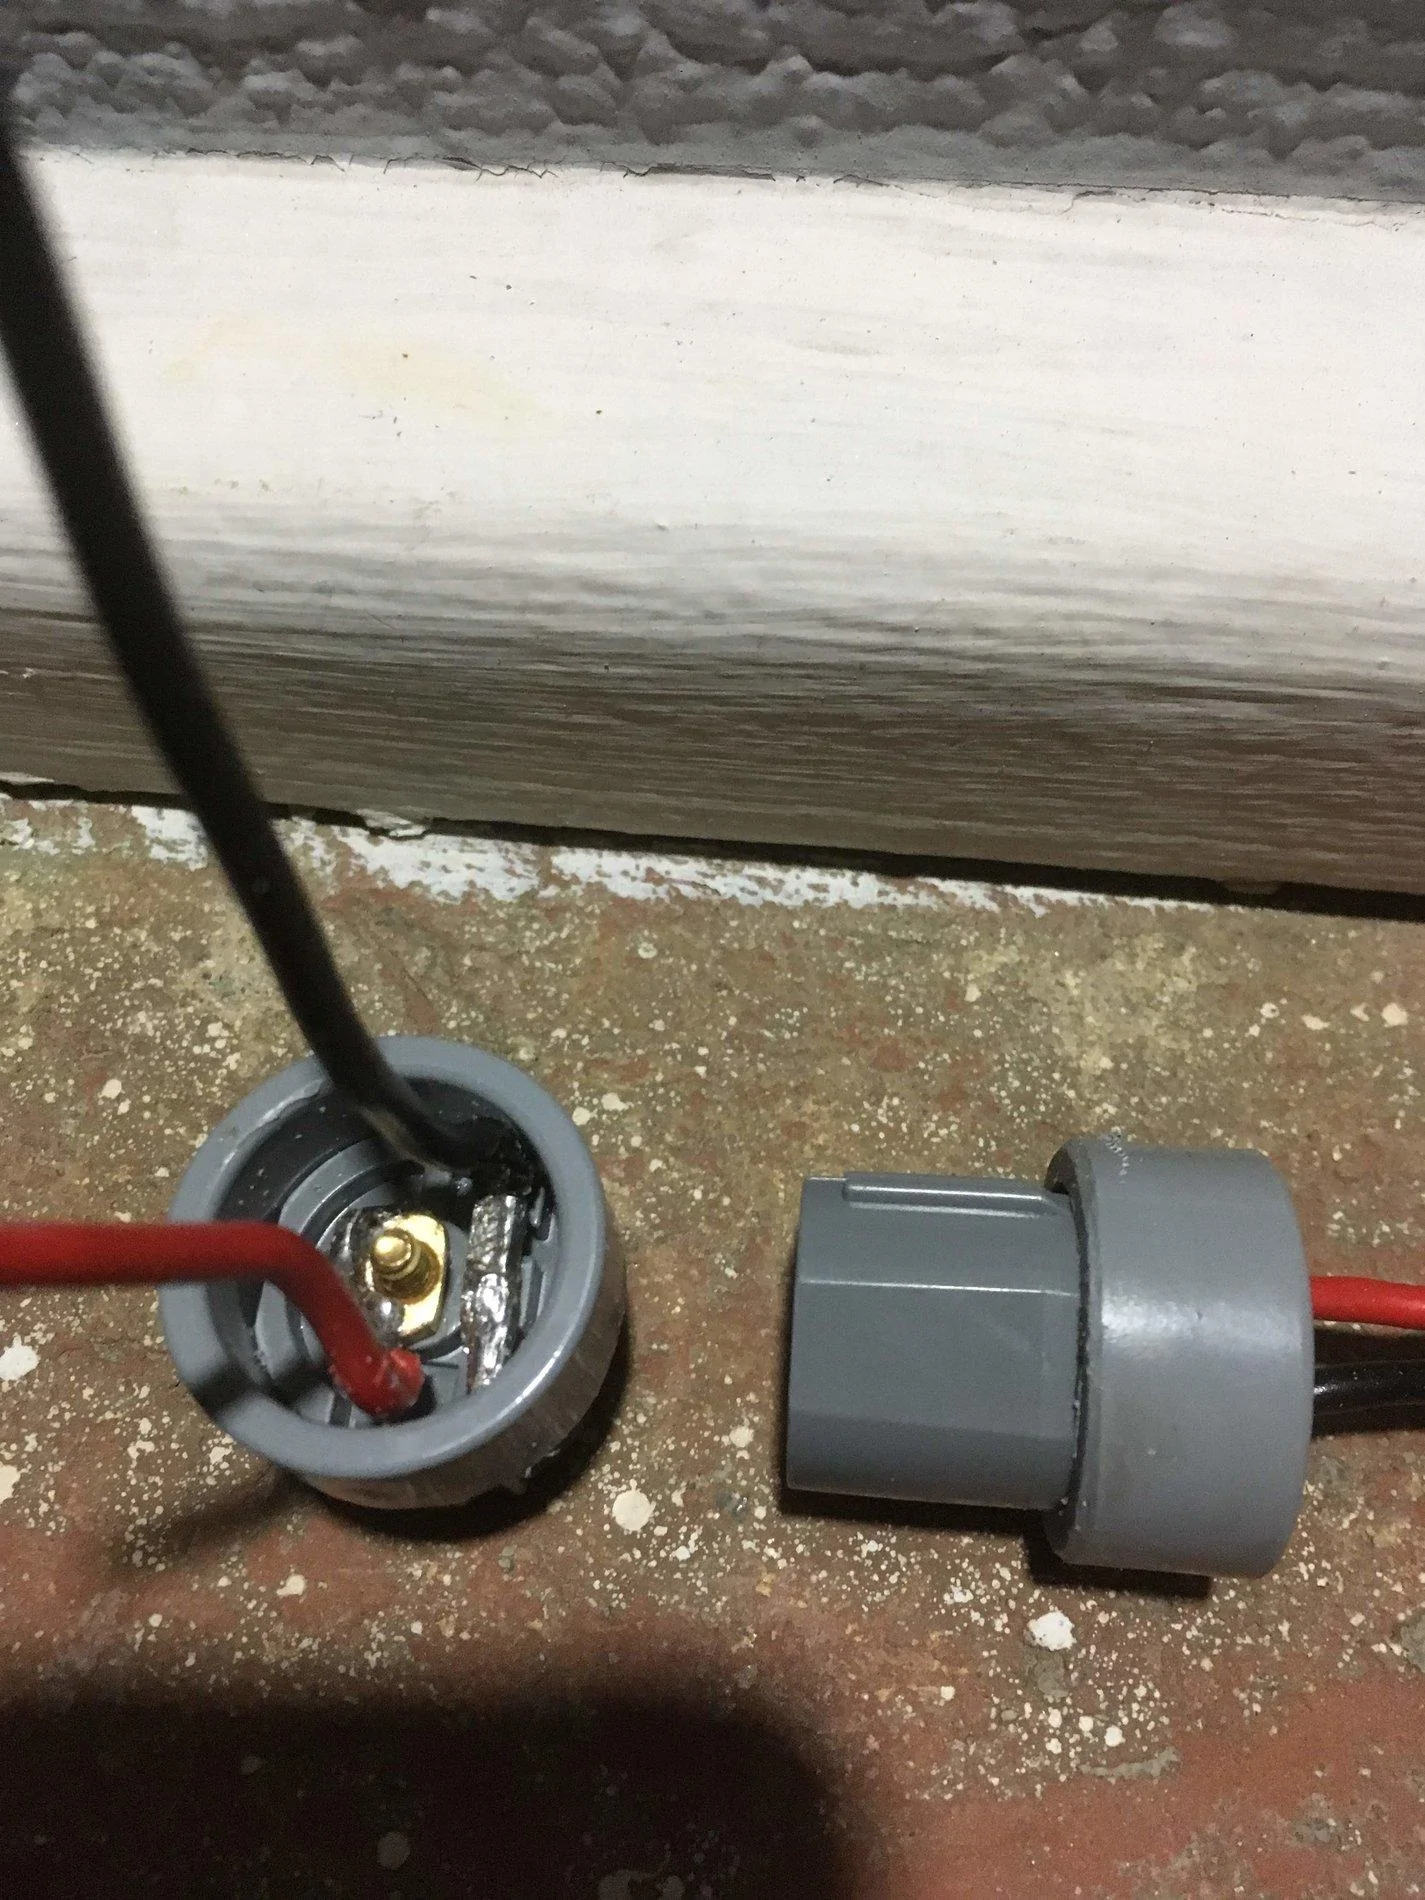
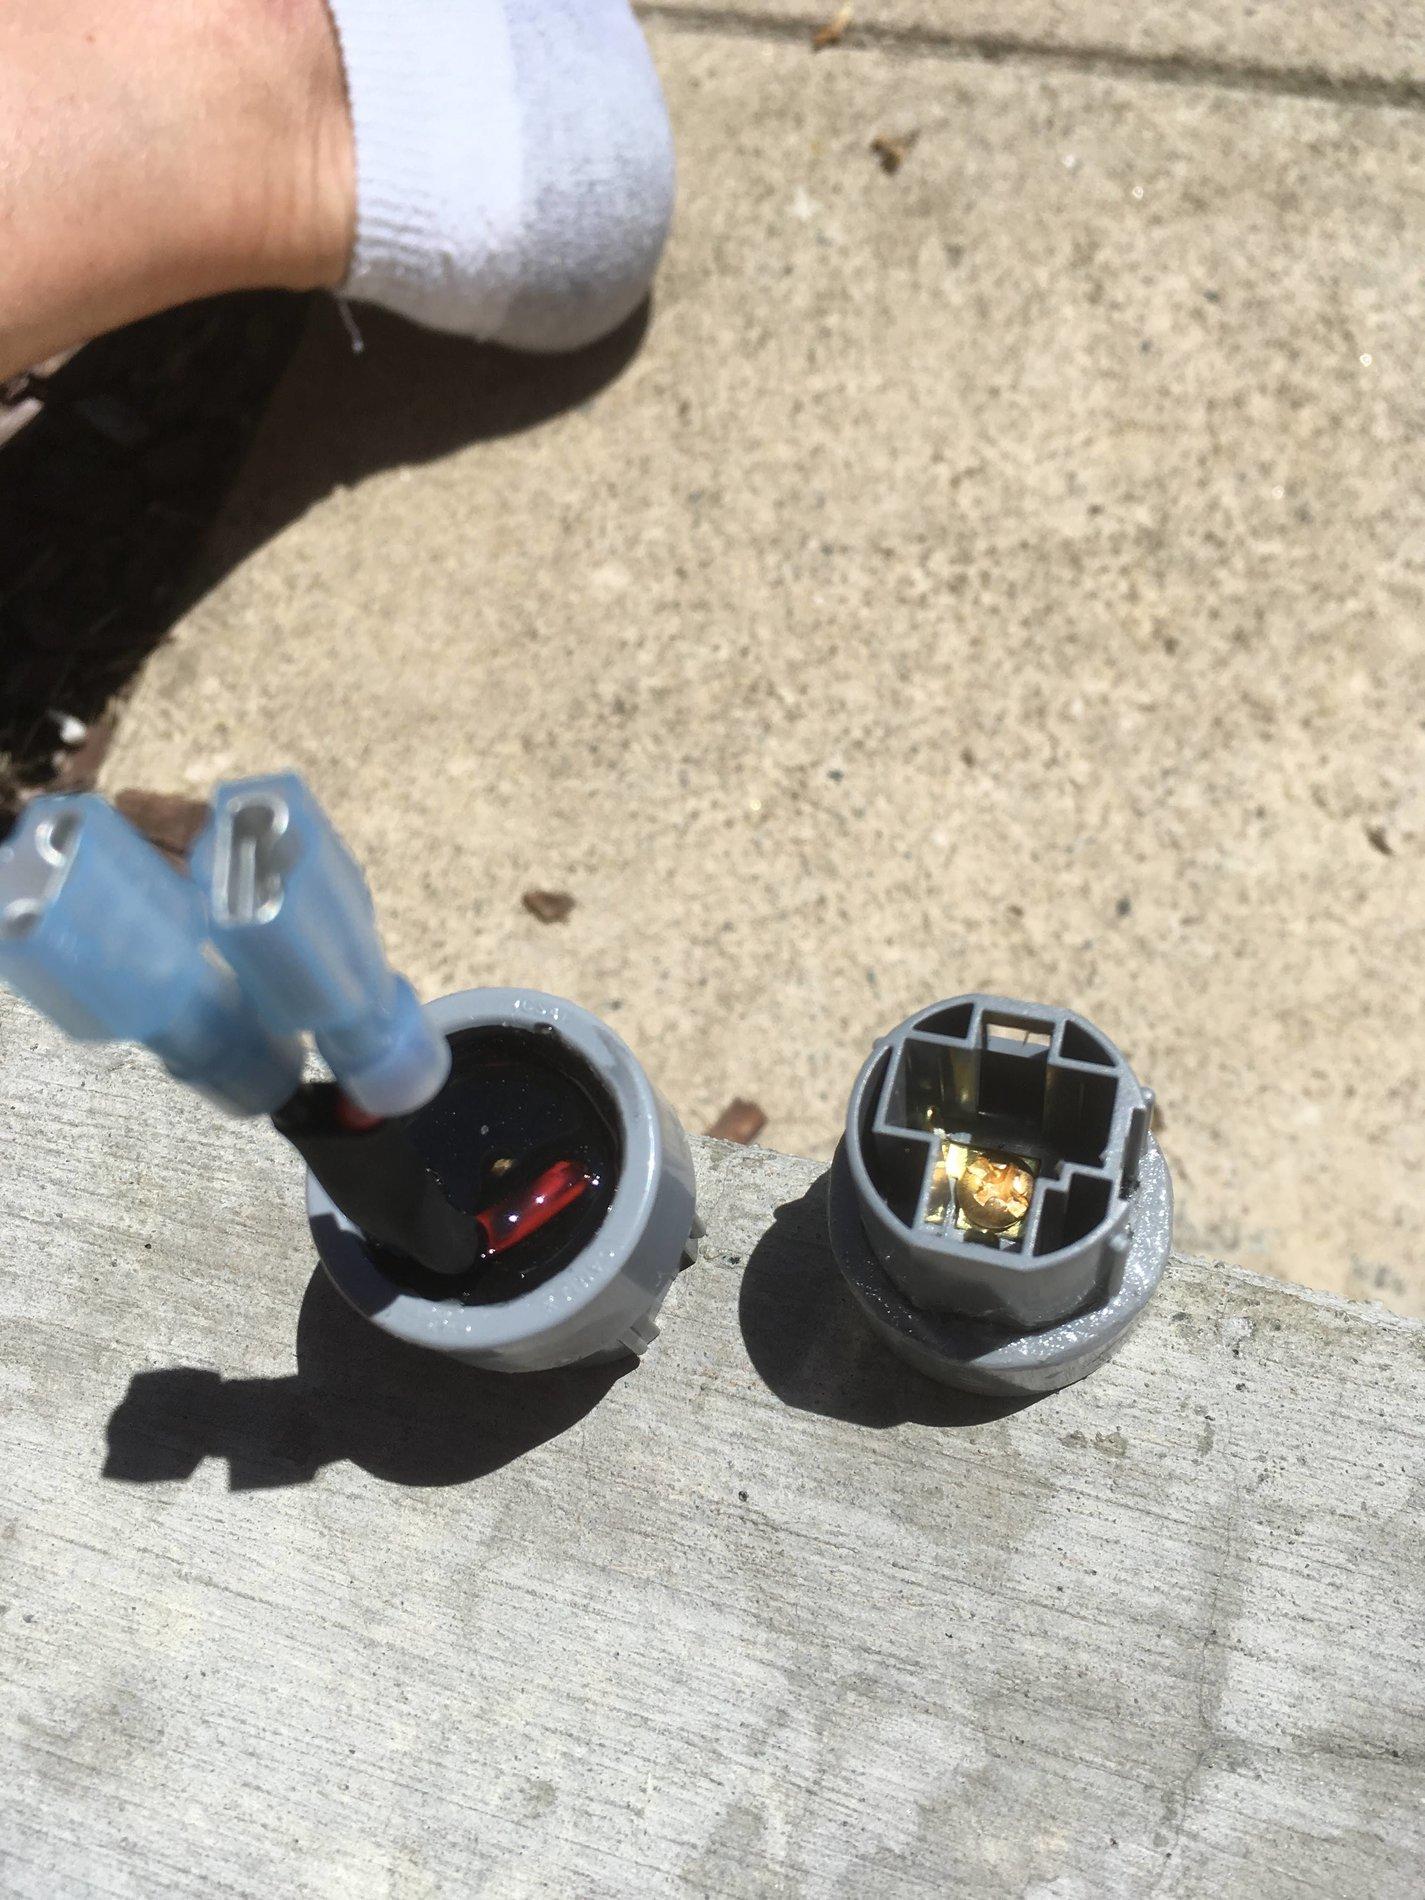
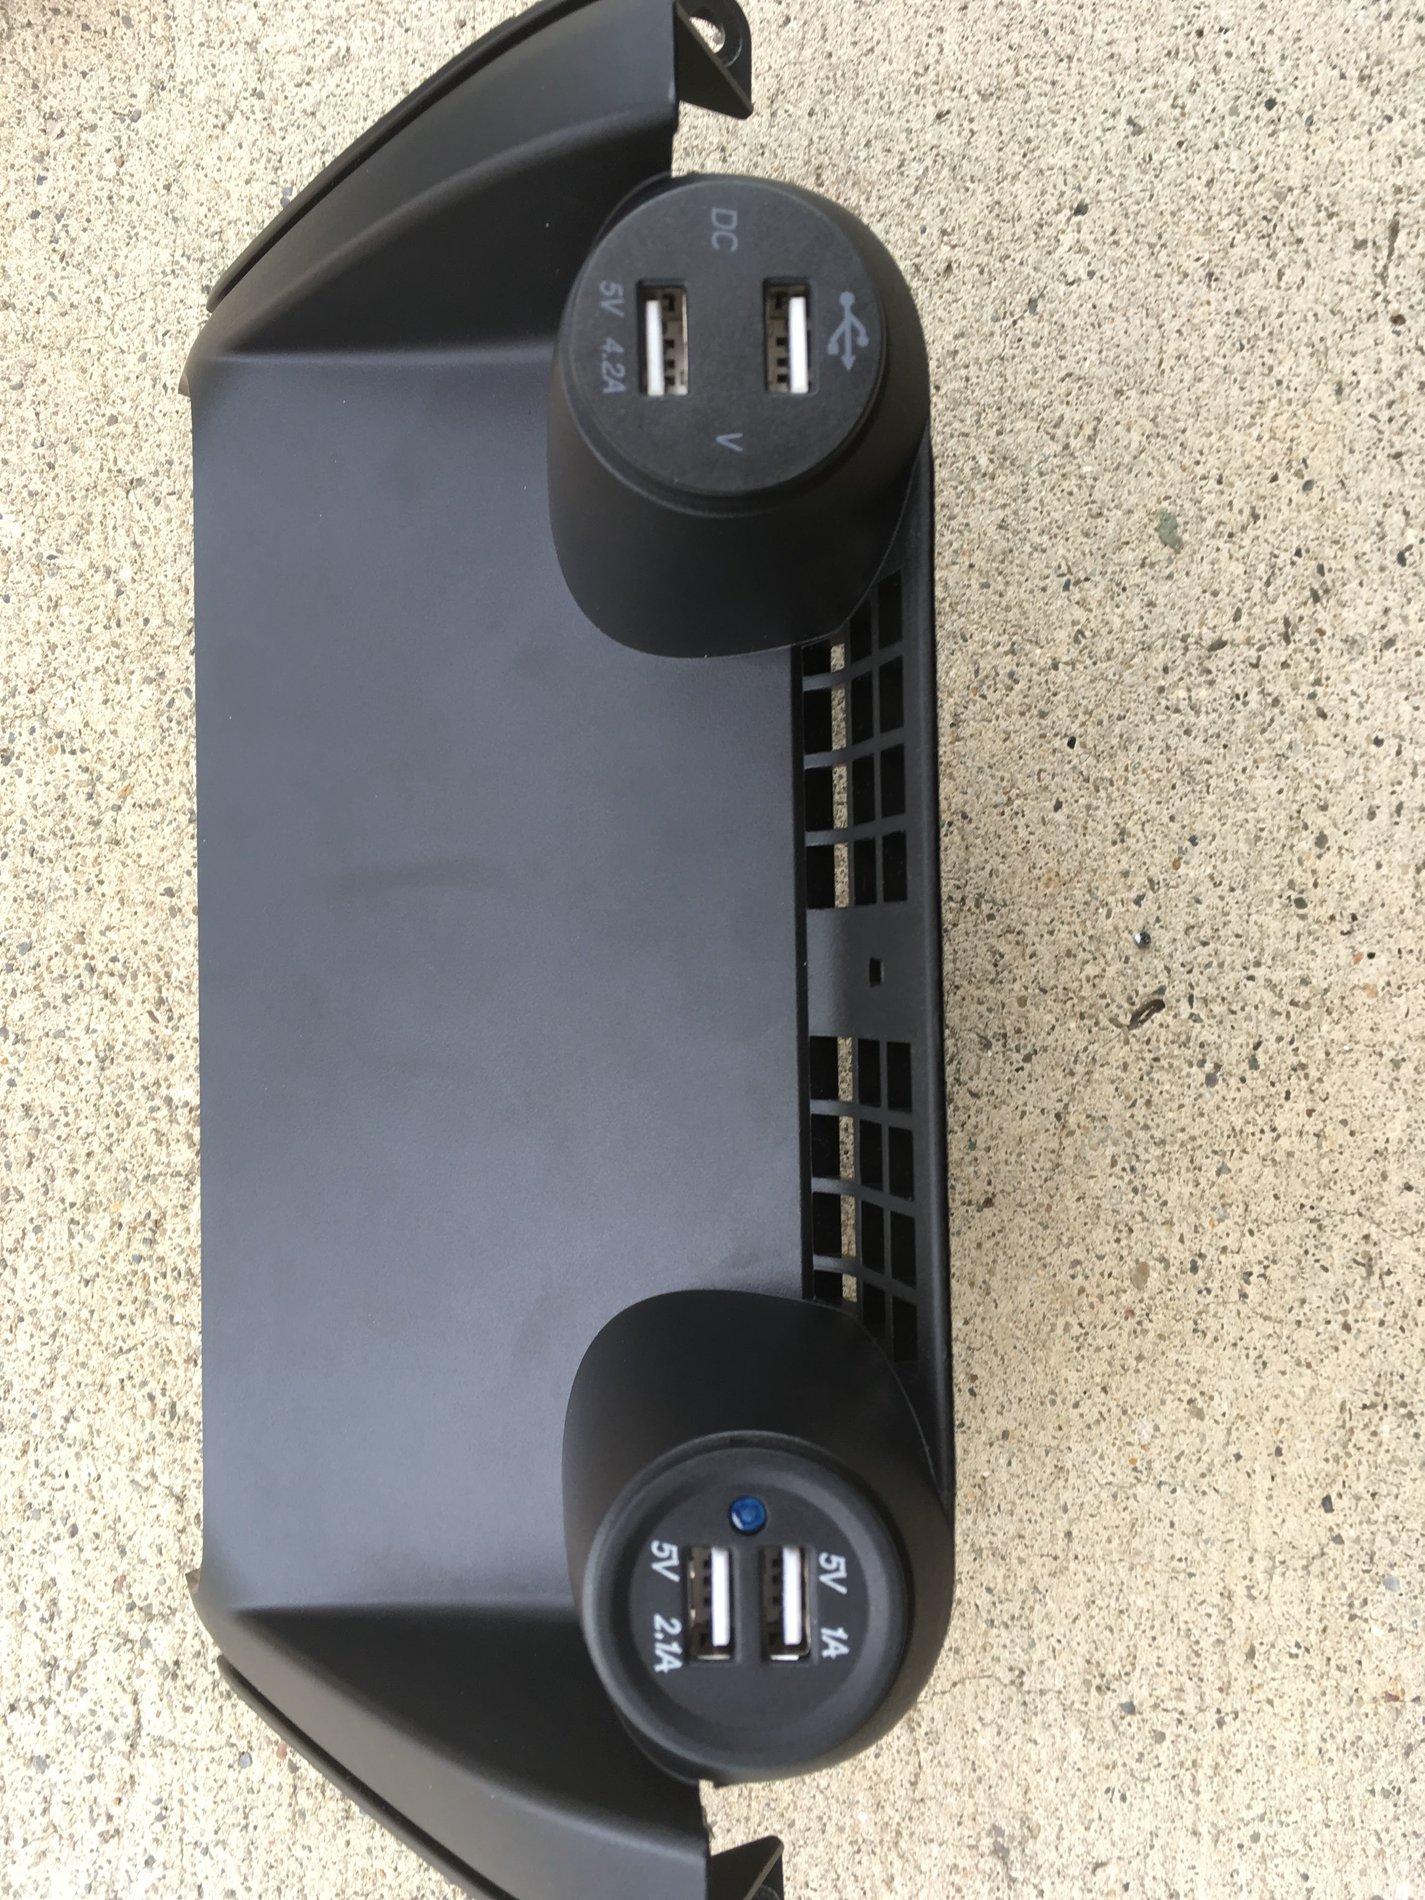
8) Tighten the nut down with it lined up and you are set. As you can see from the pics, I made some small jumper harnesses out of 14ga wire and some spade connectors. I think if I could have found 1/8" connectors I wouldn't have had to cut the male spacers in half but I went with what I had and they fit very well.
9) After installing the panel, I found that the two side panels went in super easy if I lined up the tabs and then used my fist to lightly tap on the top part near where I did the first pry. They would just pop right in.
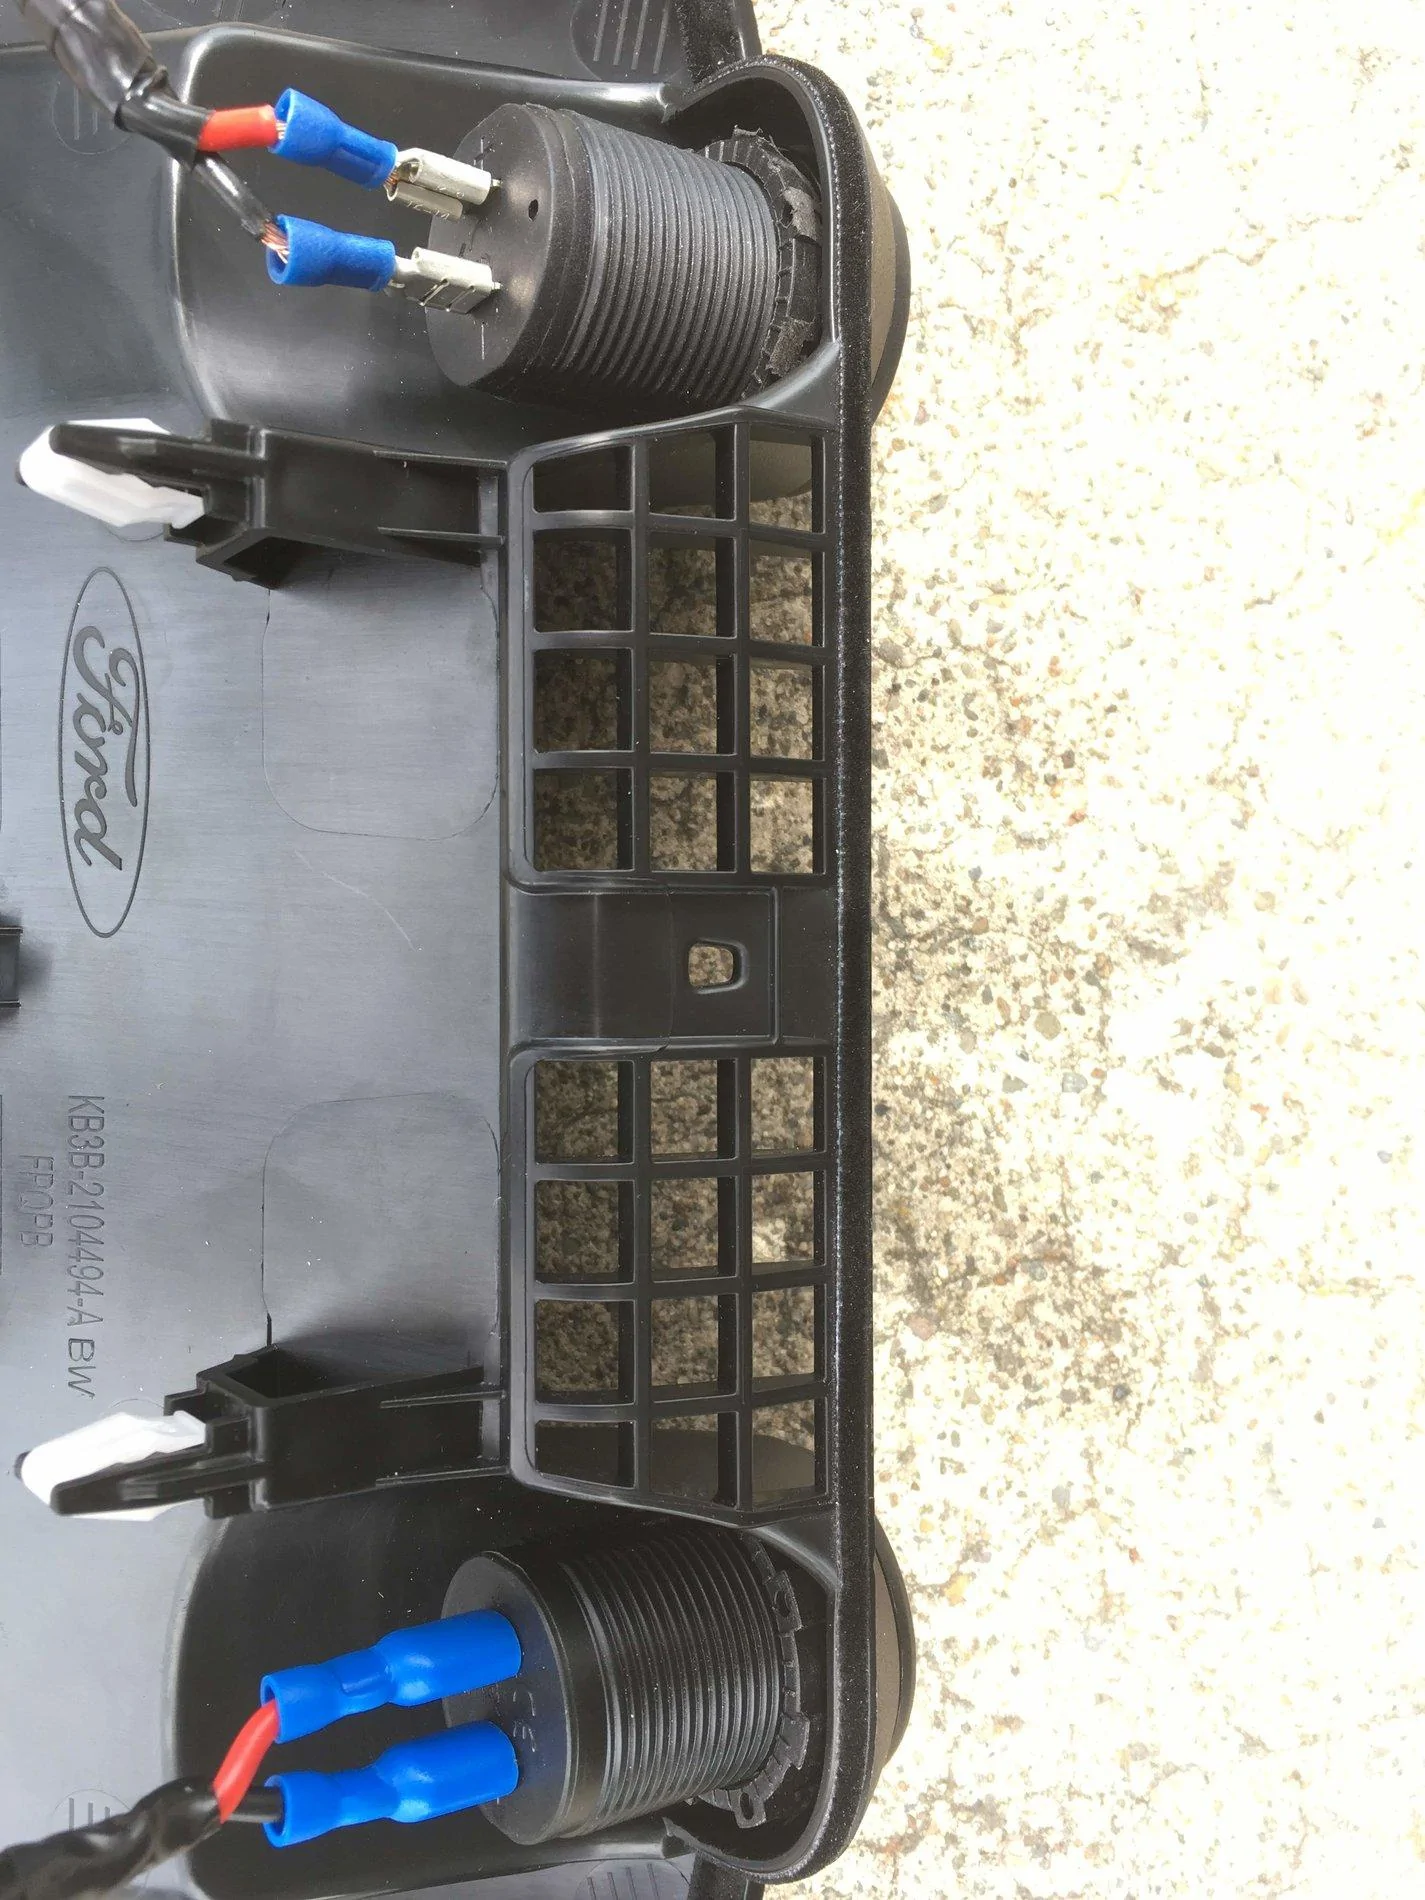
10) The three assembled pics show the back, front and with it installed in the truck.
Hope this more detailed set of steps and pic's help someone.


https://www.ranger5g.com/forum/threads/replaced-12v-outlet-with-usb.3306/
when I installed the first USB ports in my truck replacing the drivers 12V outlet. Today, I decided to move that one to the passenger side and install a new one on the drivers that has 2x2.1 ports and a voltage display. I decided to take a few pictures which hopefully make this easier for someone doing this for the first time.
As mentioned before, I bought this USB outlet first:
https://www.ebay.com/itm/Waterproof-Dual-USB-Charger-Socket-Outlet-3-1-amp-Panel-Mount-Jack-Motorcycle/121459789583?_trkparms=aid=1110001&algo=SPLICE.SIM&ao=1&asc=20131231084308&meid=a61d7bb83f45436aabd98fb8d236b125&pid=100010&rk=6&rkt=12&sd=122045952660&itm=121459789583&_trksid=p2047675.c100010.m2109
After installation, I decided to buy this one:
https://www.ebay.com/itm/12V-24V-Ca...var=413537903137&_trksid=p2060353.m2749.l2649
I also went to Mike's Bikes in Palo Alto and picked up a couple of 1-1/8" 5mm headset spacers. You can use 10mm if you like but it looks like 5mm is just enough such that I didn't have to do any filing on the tabs on the nut holding it in. They fit perfectly!
Armed with all of this, I disassembled it all again and then replaced the second 12V, put the 2x2.1 w/ Voltage on the drivers side and the 1A/2A on the passenger side.
Steps:
1) Pull open the fuse box cover, the handle is in the first pic entitled fuse-box-handle. Once open, it looks like the pic entitled fuse-box-open.
2) Pry the driver's side panel next to the outlet starting in the spot illustrated in pic drivers-panel-first-pry. What I found worked great was then holding that part with my hand and then sliding the plastic tire iron down towards the bottom which helped pop out the tabs on that side. I then pried on the other side as illustrated in drivers-panel-second-pry and the panel just popped out.
3) Open the glove box and then pry the other panel in the mirror image using the bike tire iron.
4) Unscrew the 2x7mm screws and then use the tire iron to pry the main panel out as seen in the video here:
5) Once the panel is out, remove the connectors for the power to the 12V outlets per the same video.
6) Next, remove the 12V outlets from the panel. To me, this was the biggest pain 'cause I didn't want to be too rough and scratch anything. What worked was using a large flat head screw driver on the tabs while pushing on the back of the outlet. I would get one side mostly out and then if I could get the tire iron in there, I could pry it out enough to get the entire tab outside. The second tab was somewhat tough due to the pressure (kind of reminded me of when we'd penny a door shut
) but prying and pushing resulted in them coming out.7) Now you can install the ports of your choice with one headset spacer per side between the panel and the nut. My locksmith cousin told me that there are some "mortis" spacers that he said looked a lot like the headset spacers. For me, getting the spacers from the bike shop was simple. See the USB-spacer-nut picture for how I put them in.
8) Tighten the nut down with it lined up and you are set. As you can see from the pics, I made some small jumper harnesses out of 14ga wire and some spade connectors. I think if I could have found 1/8" connectors I wouldn't have had to cut the male spacers in half but I went with what I had and they fit very well.
9) After installing the panel, I found that the two side panels went in super easy if I lined up the tabs and then used my fist to lightly tap on the top part near where I did the first pry. They would just pop right in.
10) The three assembled pics show the back, front and with it installed in the truck.
Hope this more detailed set of steps and pic's help someone.
Sponsored