Titchadesh
Well-Known Member
- Thread starter
- #1
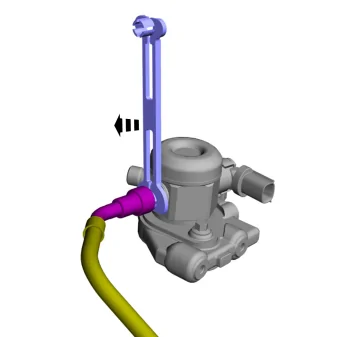
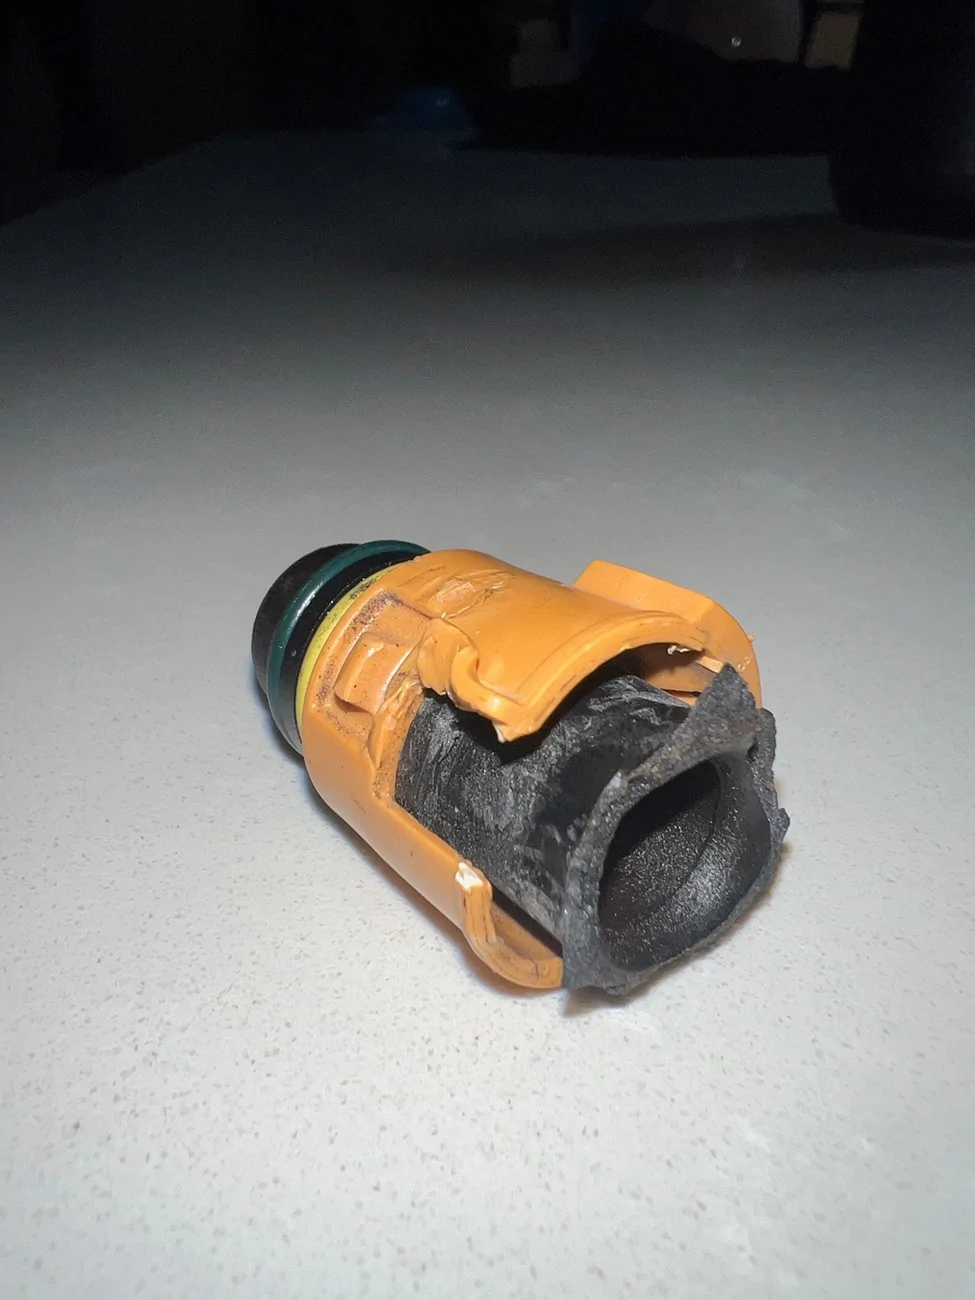
Had a spare hour to burn today so thought I'd install my Ford Performance Oil-Air Separator kit (M-6766-R23) that I've been sitting on for the past couple of months. It's a super easy install and normally takes a lay person ~15 minutes to install. I installed the bracket which was easy enough and went to disconnect the top end of the PCV tube. I followed instructions and pried under it lifting straight up and avoided any leverage and using barely any force at all, the spigot that feeds into the valve cover sheared right off. That connection point felt super brittle to me, and I suppose on a 2019 with ~89,000 miles and many heat cycles I shouldn't be too surprised that it was easy for this thin connection point to fail.
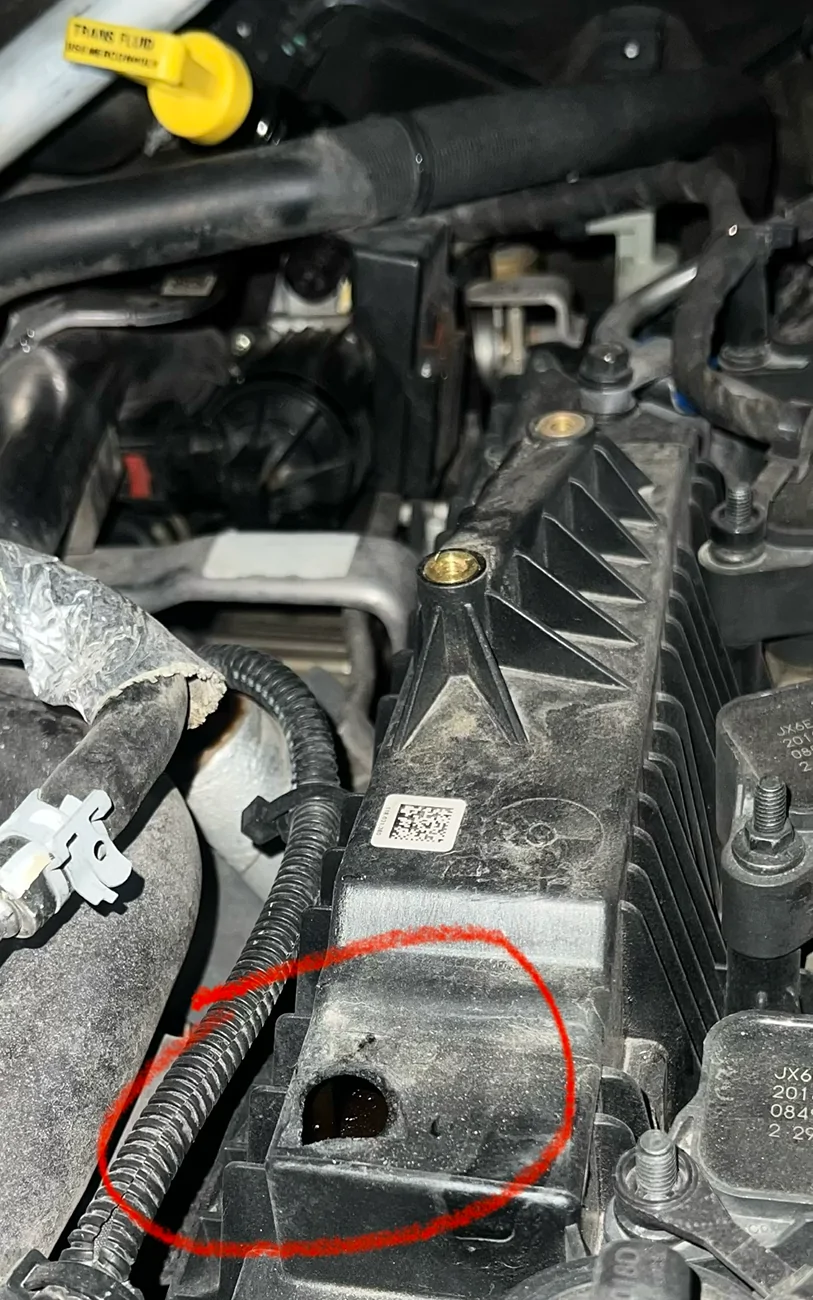
The breakable tamper-proof connectors were way stronger than the spigot connection point they attached to. So what was supposed to be an easy install is now turning into an engine valve cover replacement
I wish I could go back in time and arrange for my dealership to install this so that the spigot would have failed on them (and it would have!) and then they would be more likely on the hook for the replacement. But those who have installed this particular kit before know--it is such an easy process that anyone could do it themselves.
Just a word of warning when working in and around these engineered plastic pieces that are aging inside your engine bay...they can be brittle! And maybe not worth the risk of a DIY no matter how simple it could be.
Sponsored