ReigleCM
Well-Known Member
- Joined
- Jun 8, 2022
- Threads
- 22
- Messages
- 301
- Reaction score
- 707
- Location
- Fort Collins, CO
- Vehicle(s)
- 2021 Ford Ranger XLT
- Occupation
- NASA Geospatial Analyst
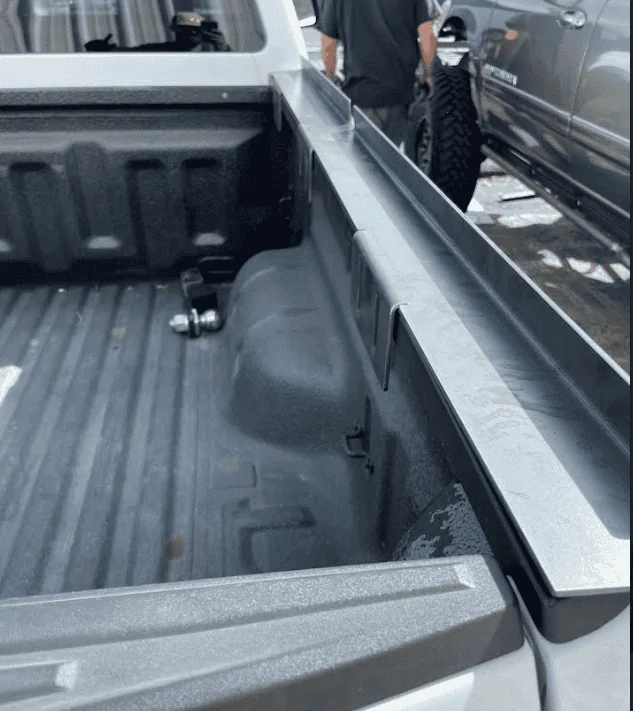
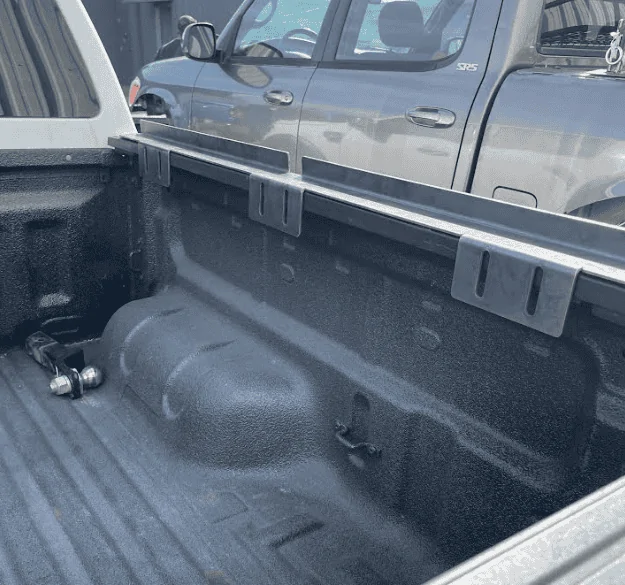
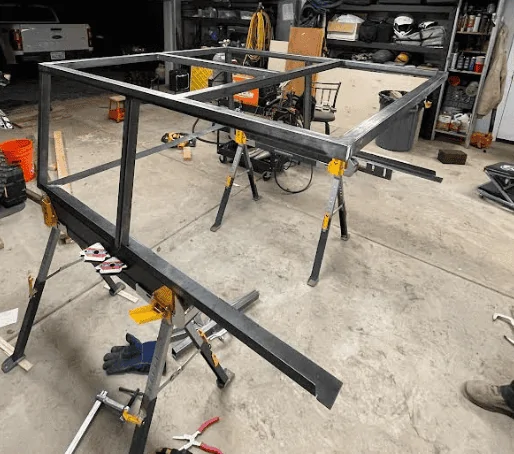
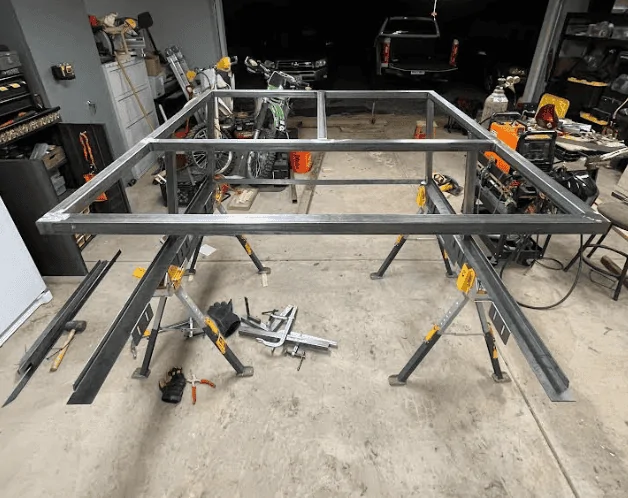
Pretty good weight for steel! Especially considering it's only 25lbs more than a GFC!Its .065” wall, so it is really light. I also sized down to 1/8” plate on the bed rails. I went steel for ease of fabrication and cost.
The total camper will weigh around 300lbs fully built. My model says the frame itself accounts for 90lbs of that. That was with the 3/16 plate in the design, so it’s likely closer to 85.
For reference, GFC V2 weighs 275lbs.
Sponsored